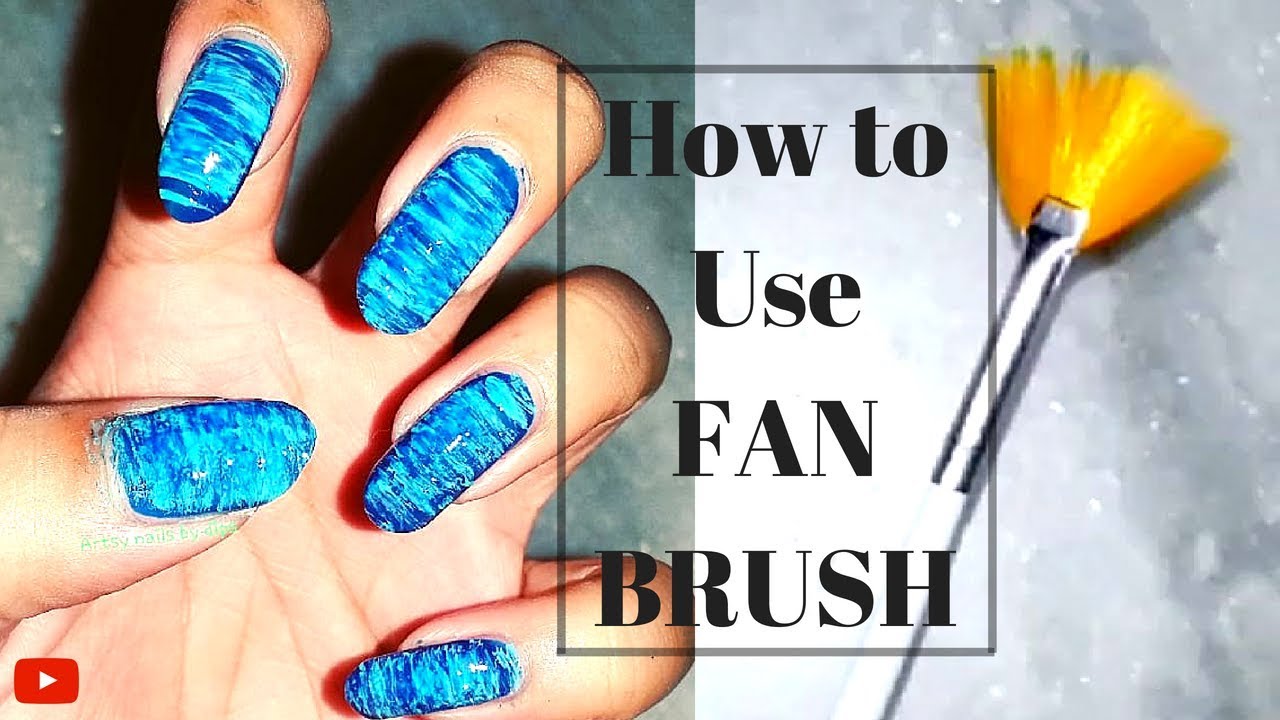
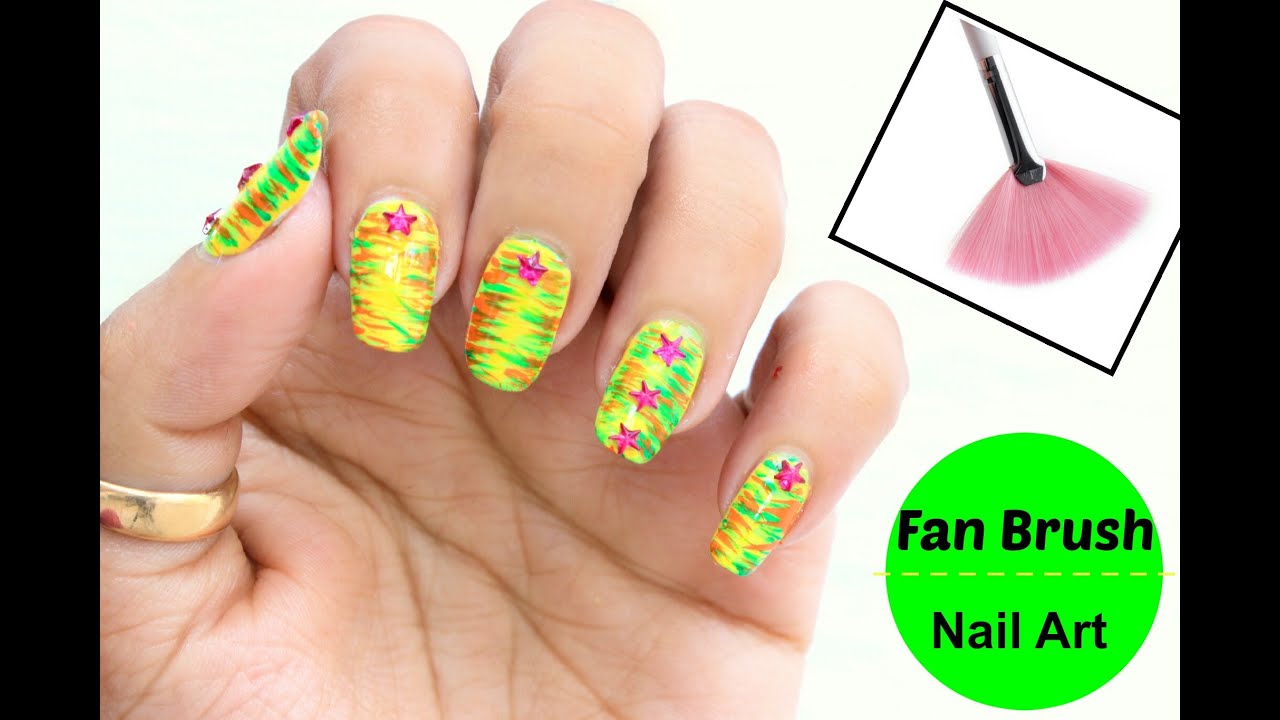
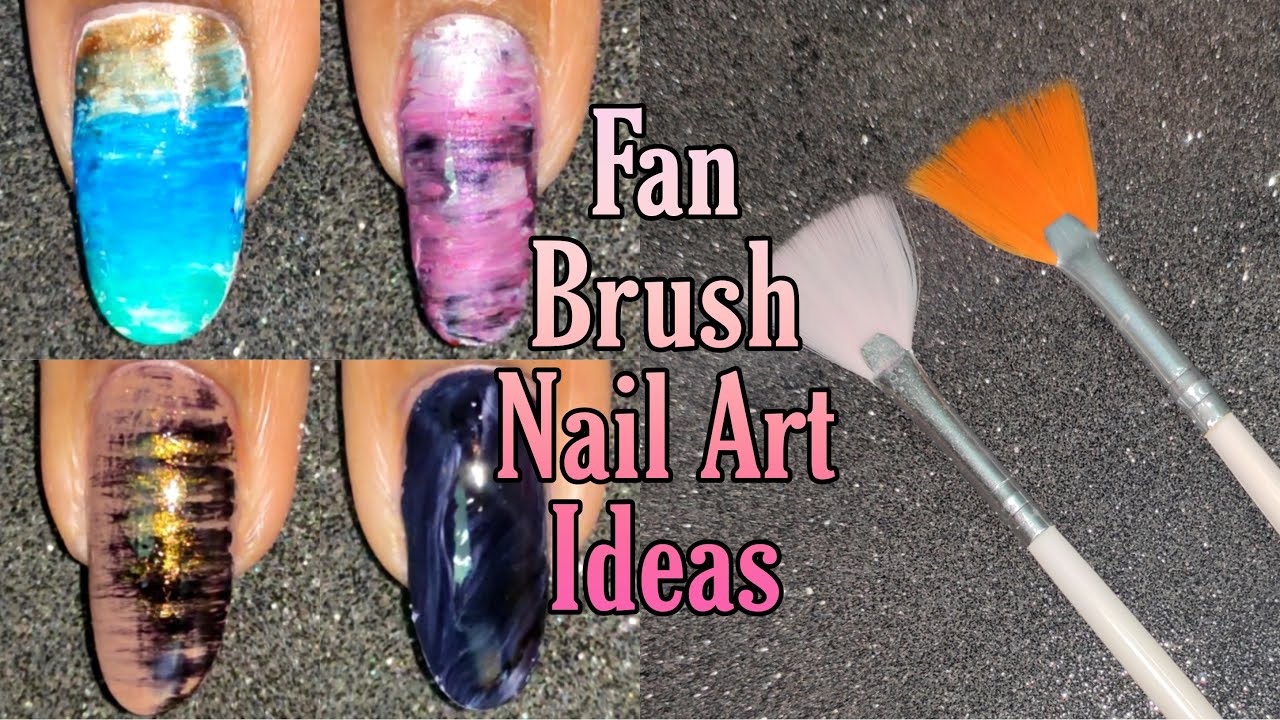
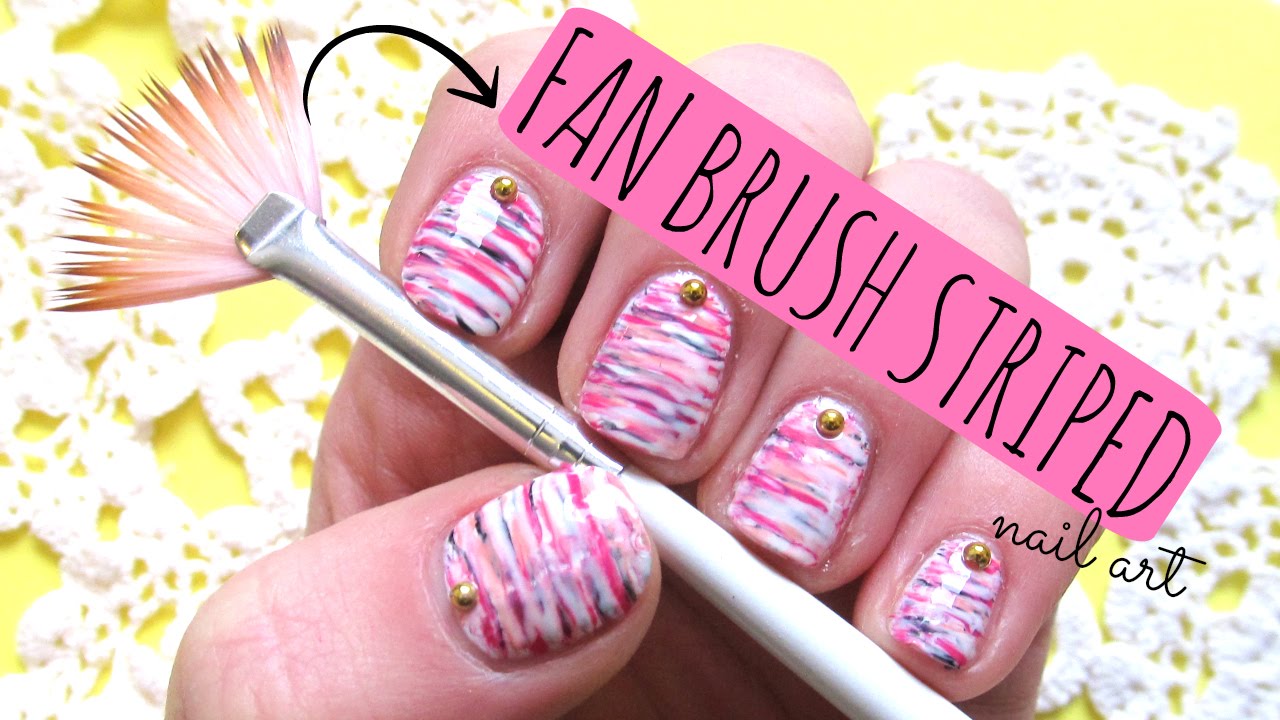
Are you tired of the same old nail art designs and want to try something new? Look no further, because fan brush nail art is here to elevate your nail game! This tutorial will guide you through the step-by-step process of creating stunning fan brush nail art designs. First, you will need a fan brush, which is a flat, thin brush with bristles fanned out. Dip the tip of the brush in your desired nail polish color and gently sweep it across your nail. This will create a soft, feathery effect. Next, use a different color and repeat the same process, slightly overlapping the first color. You can experiment with different color combinations and layering techniques to create unique designs. Once you are satisfied with the design, let it dry and finish off with a top coat for a glossy finish. Voila, your very own fan brush nail art!1. Fan Brush Nail Art Tutorial


1. Fan Brush Nail Art Tutorial


If you are new to fan brush nail art, it might seem a bit intimidating at first. But don't worry, there are plenty of easy designs that you can try out to get the hang of it. One simple design is to paint your nails with a light base color and use a fan brush to create vertical stripes in a contrasting color. You can also use the fan brush to create a gradient effect by blending two different colors on your nail. Another easy design is to use the fan brush to create a splatter effect. Dip the brush in a bold color and tap it lightly on your nail to create tiny paint splatters. This is a fun and effortless way to add some texture to your nails.2. Easy Fan Brush Nail Art Designs


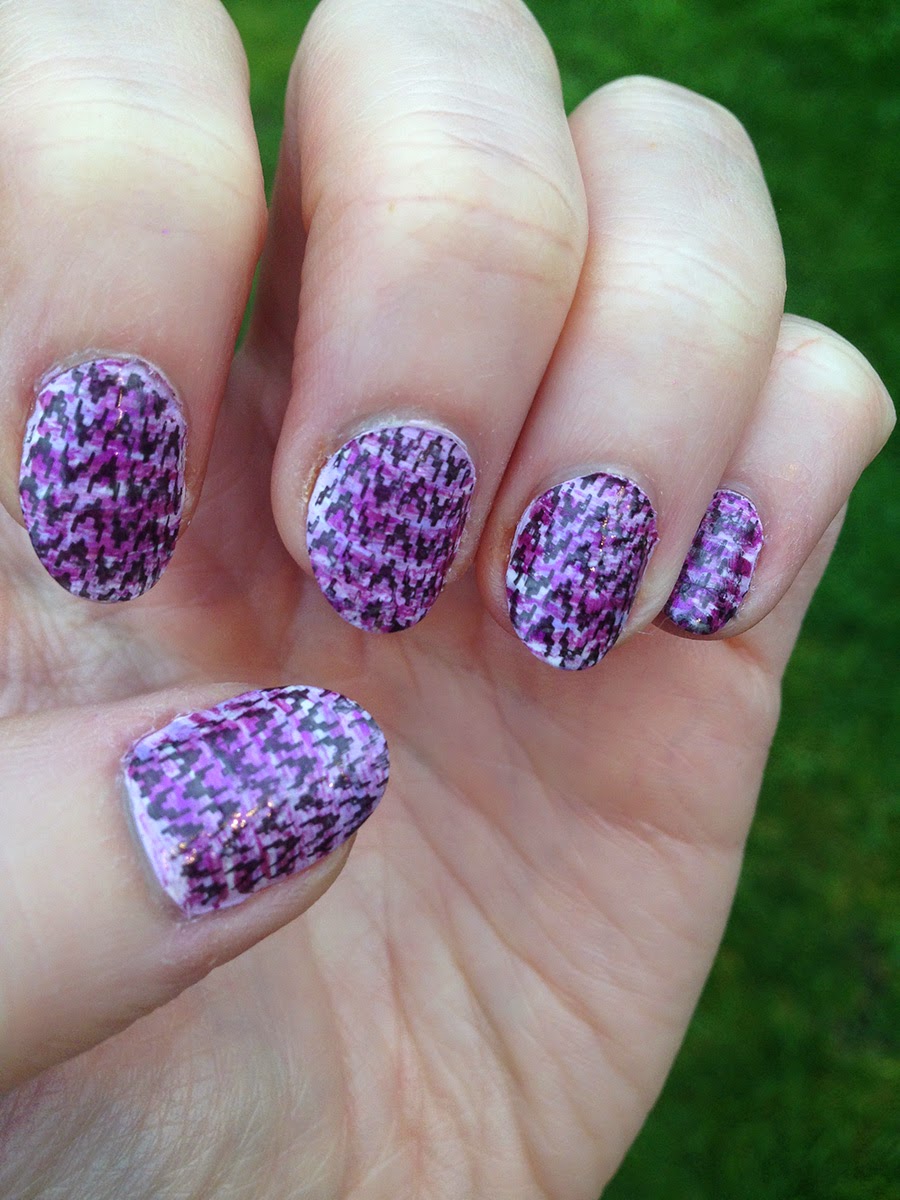
2. Easy Fan Brush Nail Art Designs


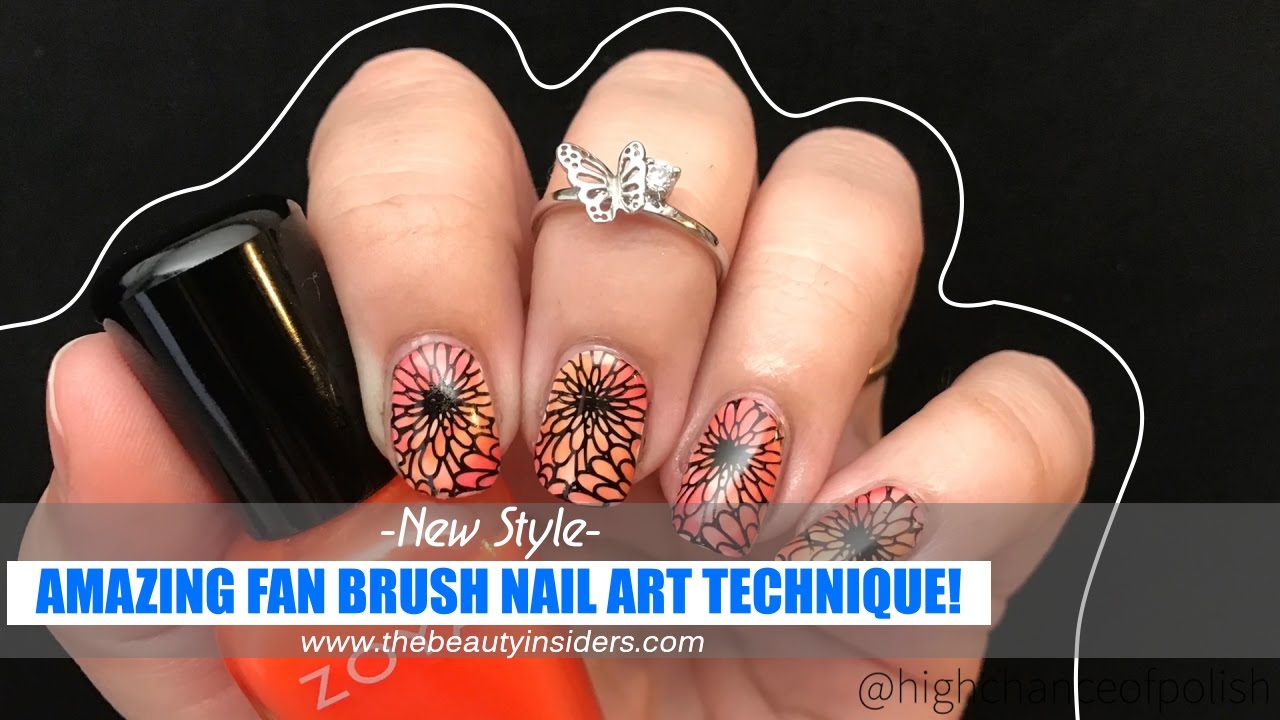
The possibilities are endless when it comes to fan brush nail art. Here are some creative ideas to inspire your next manicure: - Create a colorful rainbow design by using different shades of the same color family with the fan brush technique. - Use the fan brush to create an ombre effect by blending two different colors together on your nail. - Add some glitter to your fan brush design by using a glitter polish and lightly sweeping the brush over your nail. - Create a floral design by using the fan brush to create petal shapes in different colors.3. Fan Brush Nail Art Ideas


3. Fan Brush Nail Art Ideas

If you are new to fan brush nail art, it's best to start with simple designs and gradually work your way up to more intricate ones. Here are some tips for beginners: - Practice on a piece of paper before trying it on your nails to get a feel for the brush and technique. - Use light, thin strokes with the brush to achieve a soft and delicate look. - Don't be afraid to make mistakes, as they can easily be fixed with a cotton swab dipped in nail polish remover. - Have fun and experiment with different colors and designs!4. Fan Brush Nail Art for Beginners

4. Fan Brush Nail Art for Beginners
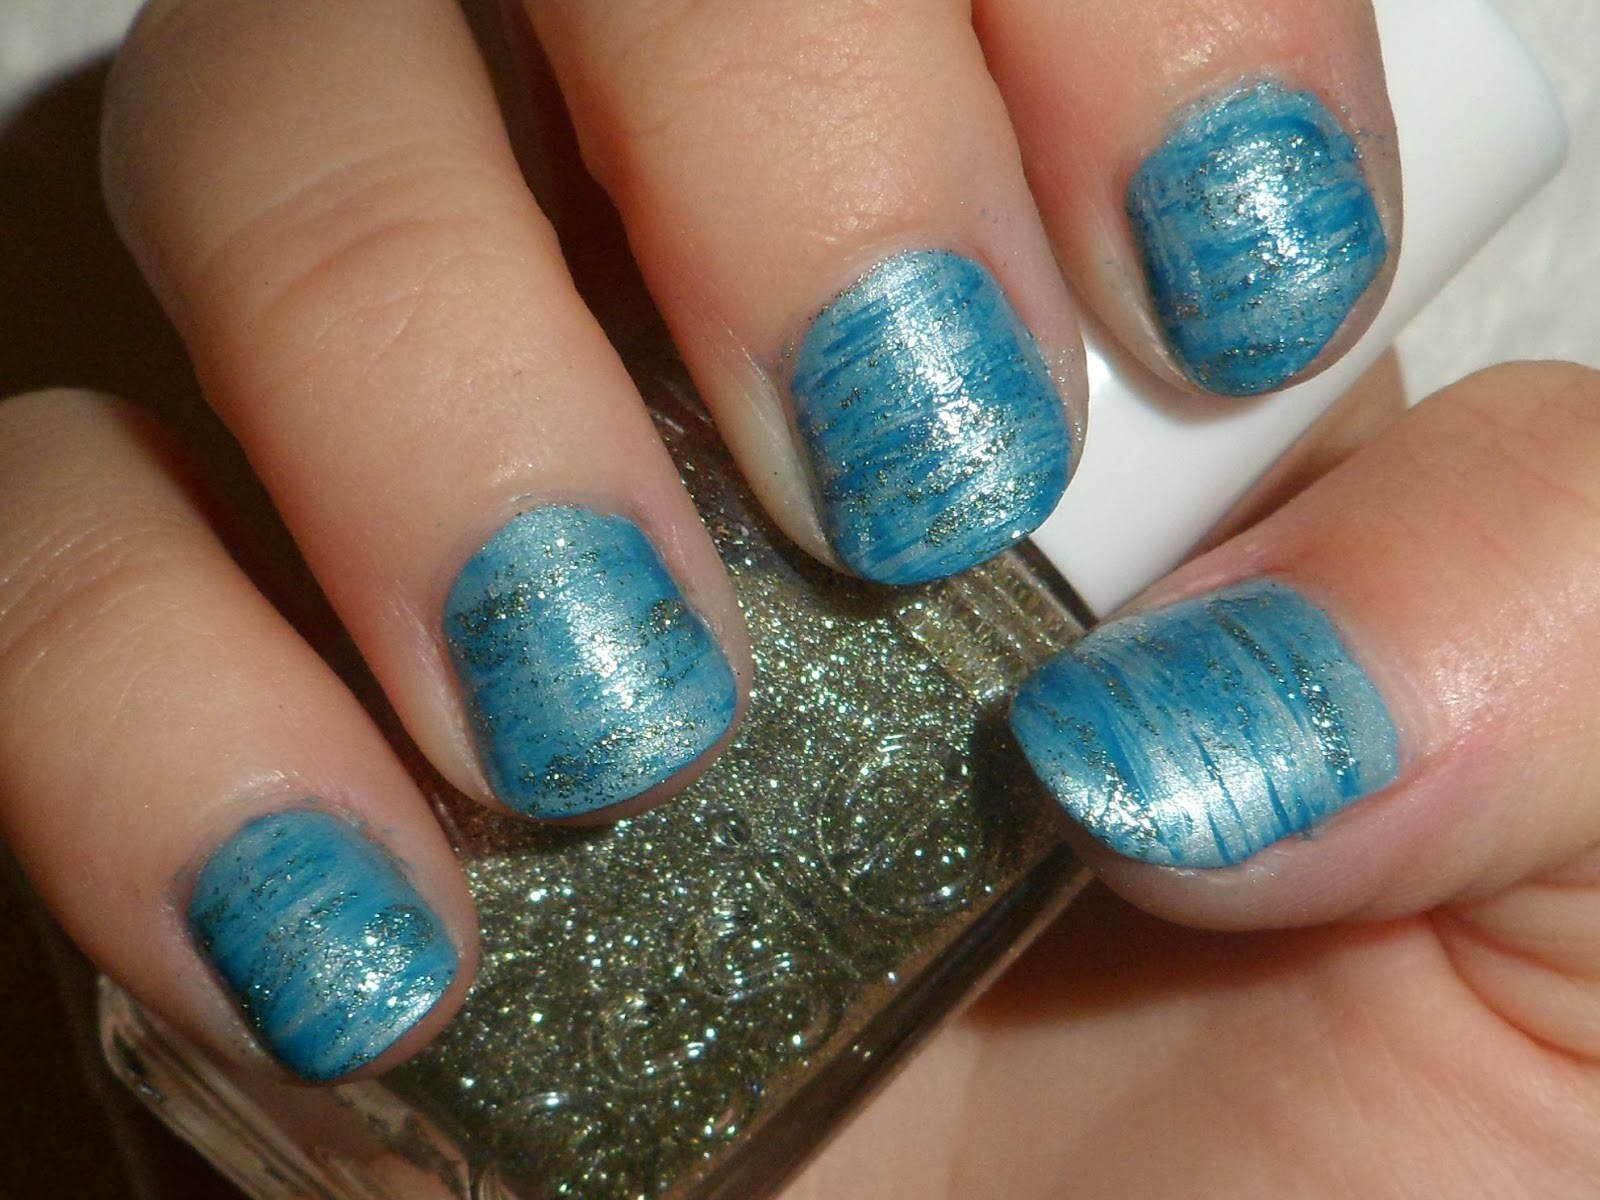
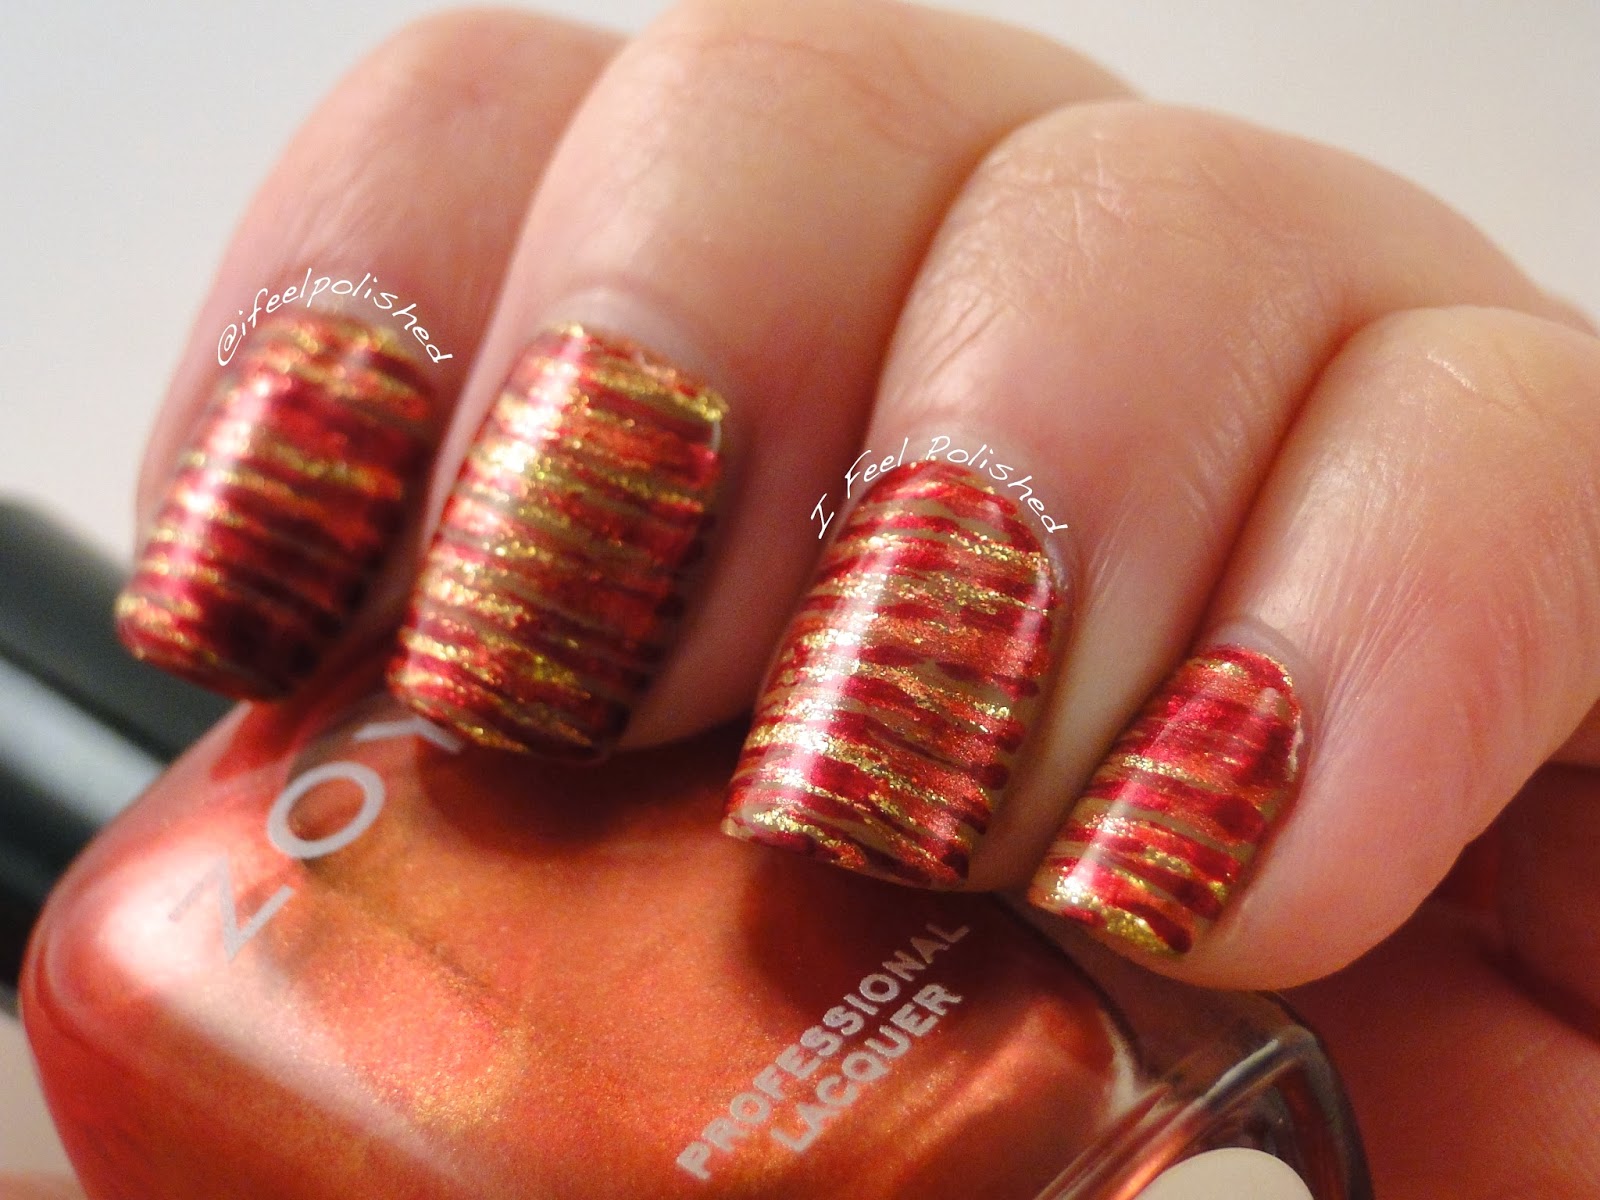
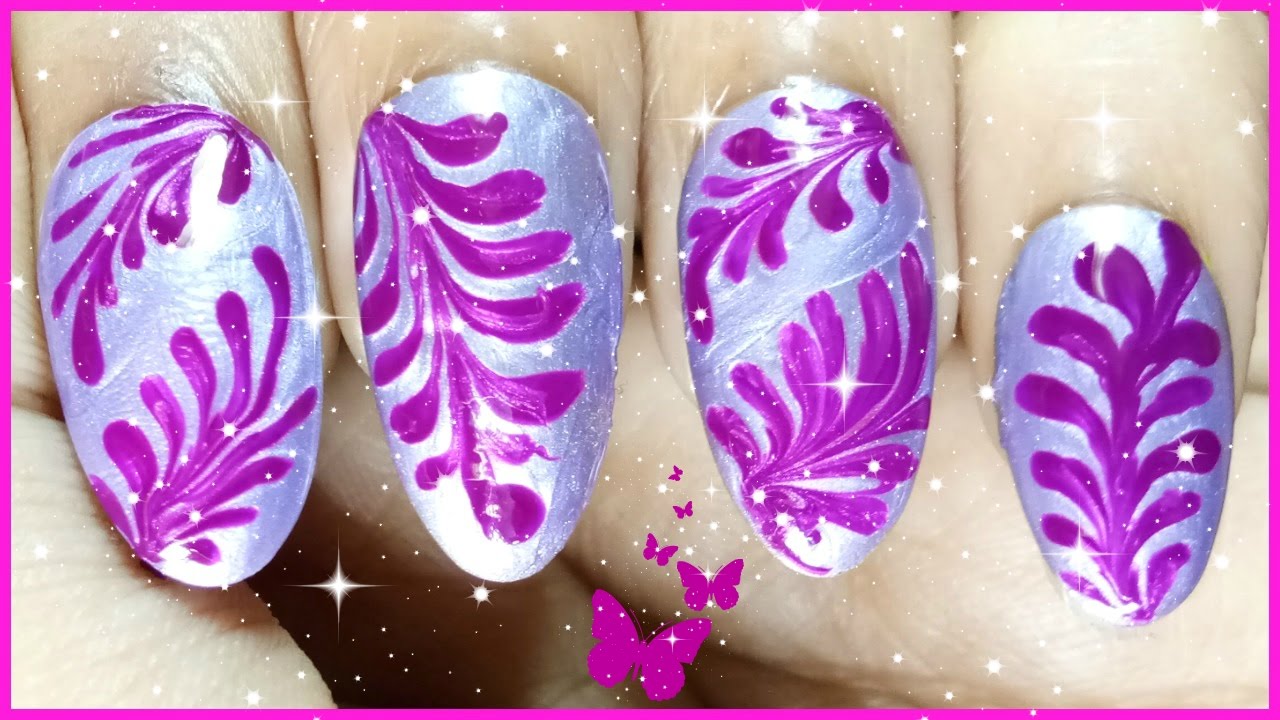
There are various techniques you can use with a fan brush to create different effects. Here are some popular ones: - The feathering technique: Dip the fan brush in your desired color and gently sweep it across your nail, creating a feather-like effect. - The ombre technique: Use the fan brush to blend two colors together on your nail, creating a smooth gradient effect. - The splatter technique: Dip the fan brush in a bold color and tap it lightly on your nail to create tiny paint splatters. - The swirl technique: Use the fan brush to create swirls or waves on your nail by gently dragging the brush in a curved motion.5. Fan Brush Nail Art Techniques

5. Fan Brush Nail Art Techniques


Here is a step-by-step guide to create a simple fan brush nail art design: Step 1: Start by applying a base coat to protect your nails. Step 2: Paint your nails with a light base color and let it dry completely. Step 3: Dip the fan brush in a contrasting color and gently sweep it across your nail in a vertical direction. Step 4: Repeat the same process with a different color, slightly overlapping the first color. Step 5: Let it dry and apply a top coat for a glossy finish. Step 6: Clean up any excess polish around your nails with a cotton swab dipped in nail polish remover.6. Fan Brush Nail Art Step by Step

6. Fan Brush Nail Art Step by Step
Short nails can also look stunning with fan brush nail art. Here are some designs that are perfect for shorter nails: - A simple vertical stripe design using two different colors. - A diagonal ombre design using two or three shades of the same color. - A splatter design using a bold color on a neutral base. - A floral design by creating small petal shapes with the fan brush.7. Fan Brush Nail Art Designs for Short Nails


7. Fan Brush Nail Art Designs for Short Nails


Long nails offer more surface area, making them perfect for more intricate fan brush designs. Here are some ideas to try: - A colorful rainbow design using different shades of the same color with the fan brush technique. - A swirl design using the fan brush to create curved lines and shapes on the nail. - A geometric design by layering different shapes and colors with the fan brush. - A galaxy design using a fan brush to create a blend of colors and add some glitter for a starry effect.8. Fan Brush Nail Art Designs for Long Nails
8. Fan Brush Nail Art Designs for Long Nails

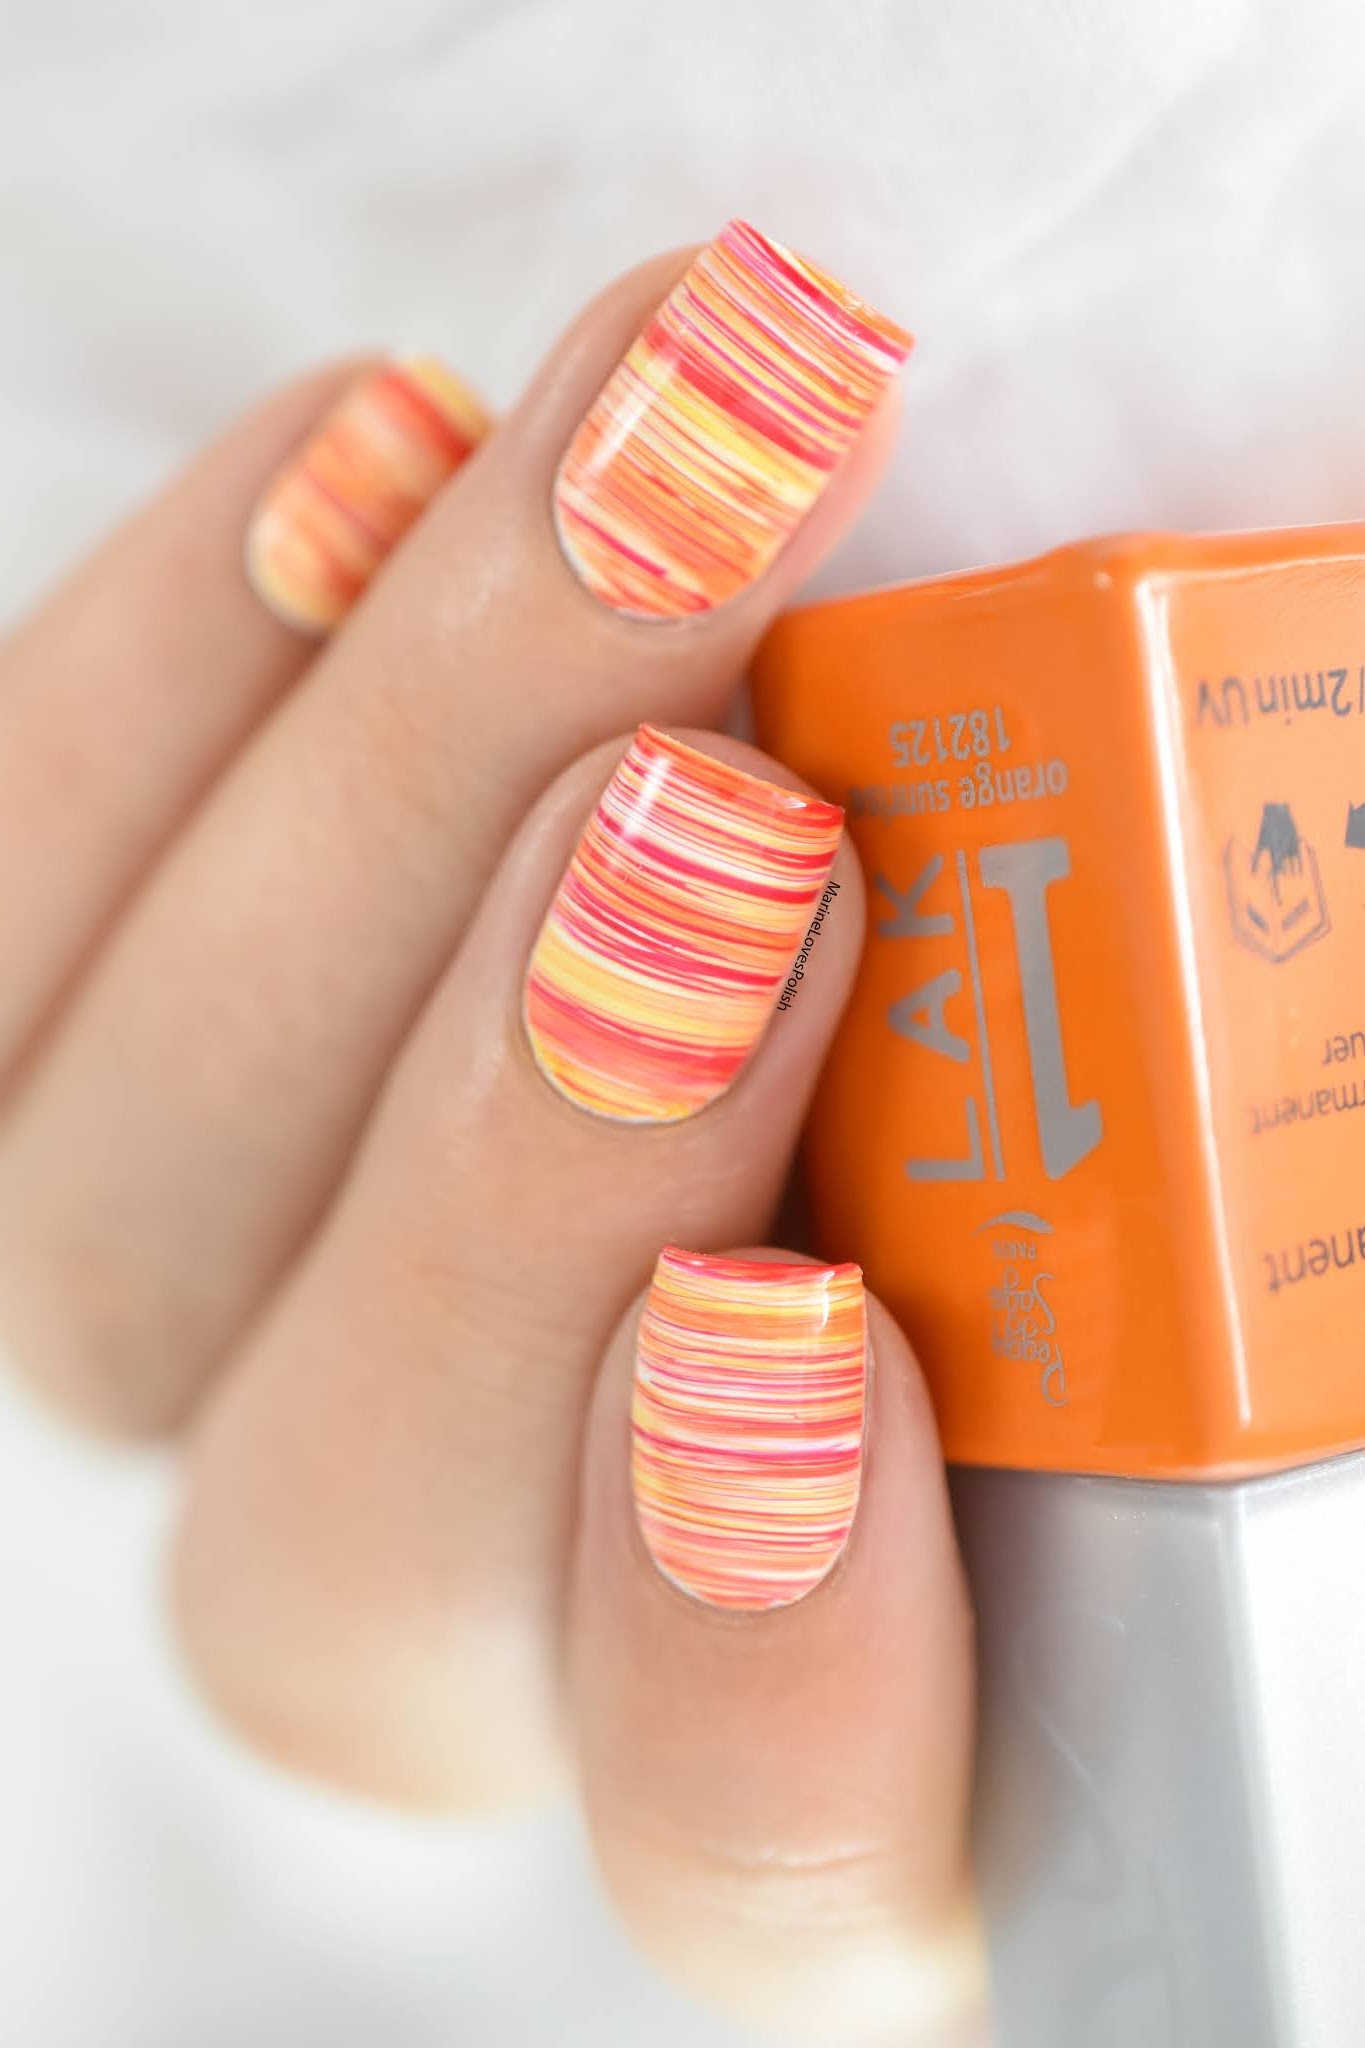
Fall is the perfect time to experiment with warm, earthy tones and cozy nail art designs. Here are some fan brush nail art ideas for the season: - A fall foliage design by using the fan brush to create leaf shapes in various shades of orange, red, and yellow. - A plaid design by using the fan brush to create criss-cross lines in brown, orange, and burgundy. - A pumpkin design by using the fan brush to create small dots in a bright orange shade on a neutral base. - A gradient design using colors like burnt orange, mustard yellow, and deep red with the fan brush technique.9. Fan Brush Nail Art Designs for Fall

9. Fan Brush Nail Art Designs for Fall
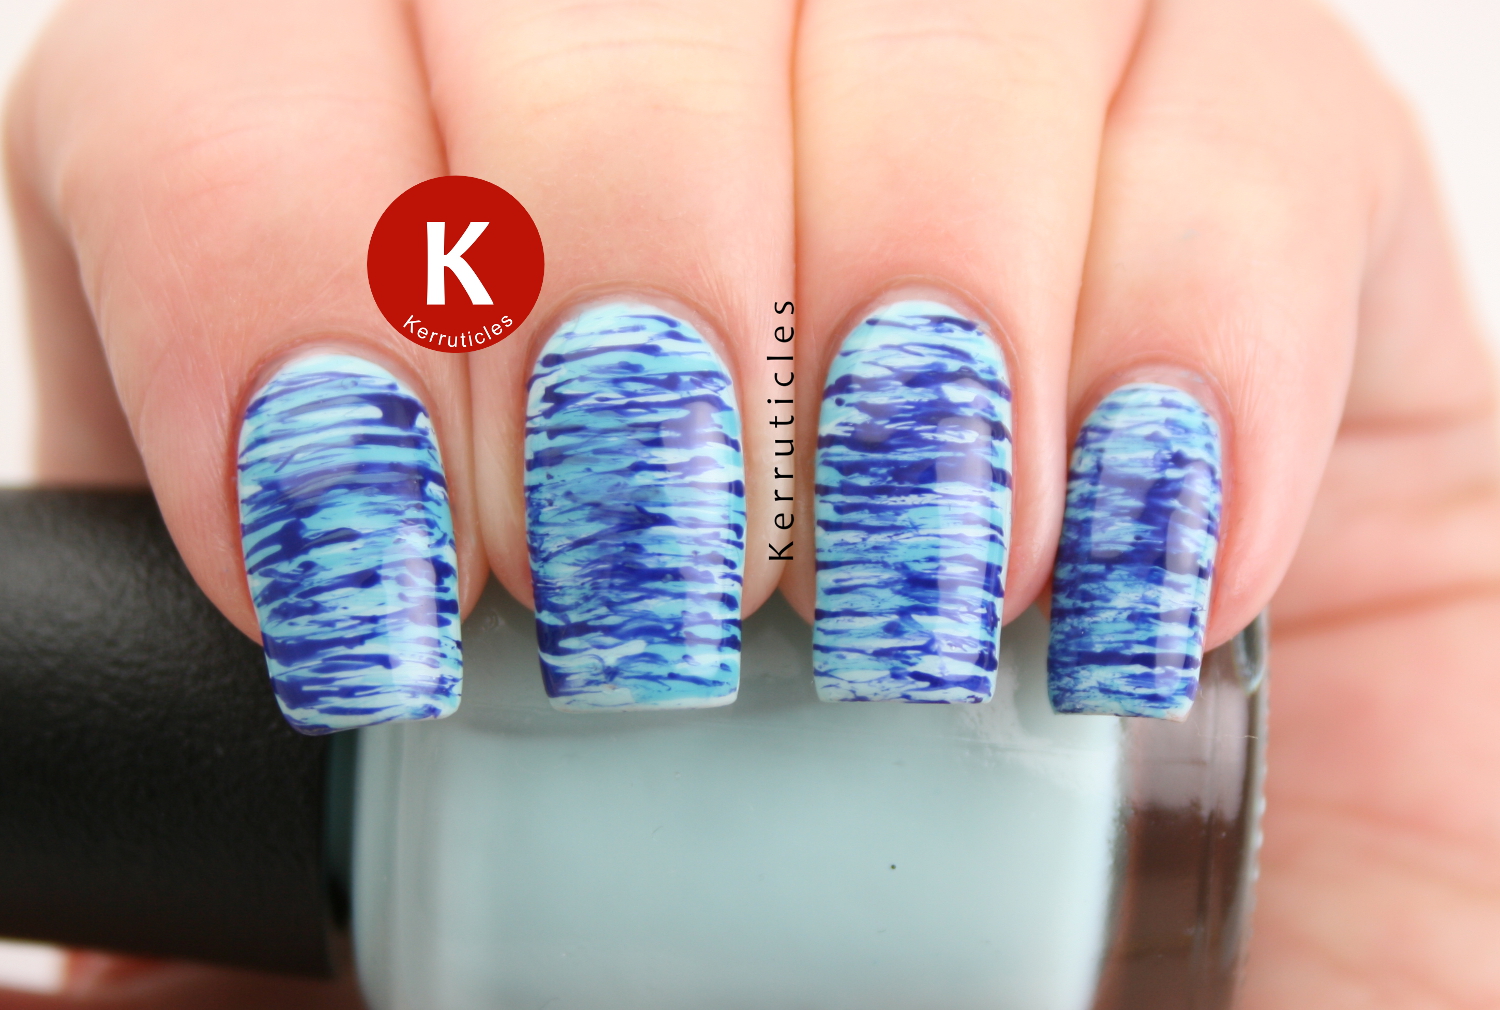
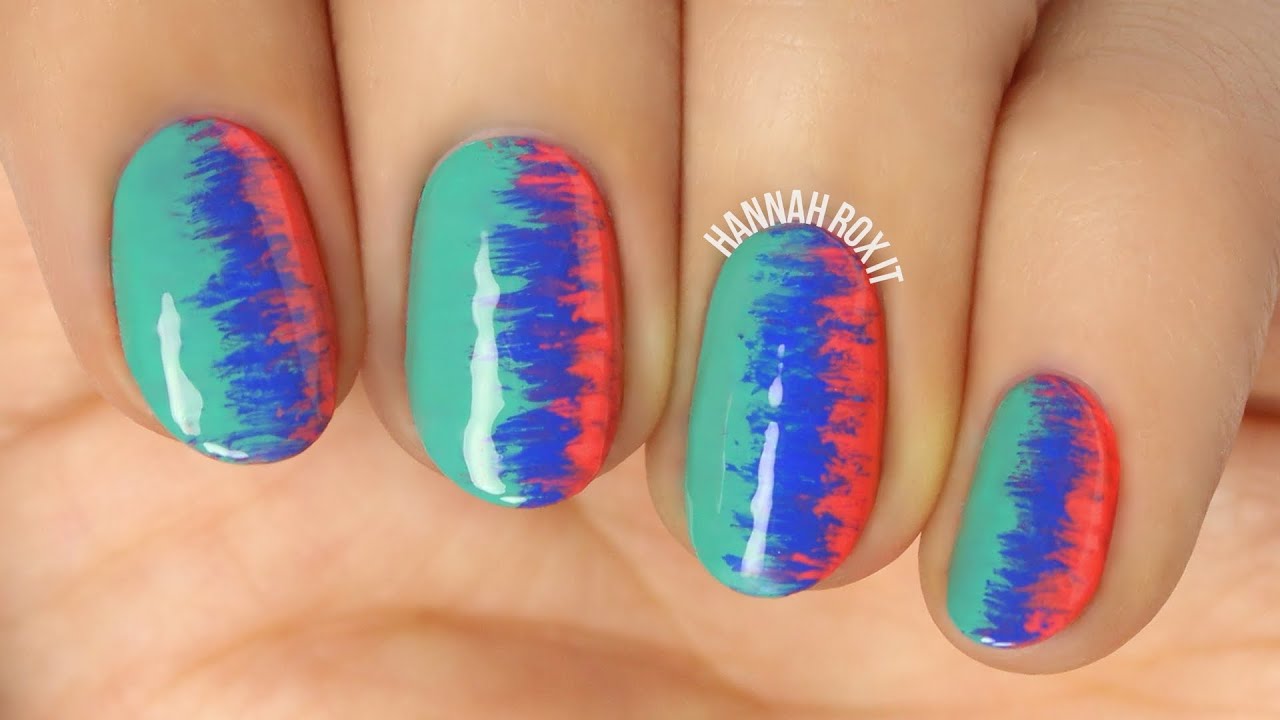
Summer calls for bright and vibrant colors, making fan brush nail art perfect for the season. Here are some ideas to try: - A sunset design using the fan brush to create a blend of warm colors like pink, orange, and yellow on a white base. - A beachy design by using the fan brush to create waves or seashells in shades of blue and white. - A tropical design using the fan brush to create palm leaf shapes in green, yellow, and orange on a pastel base. - A tie-dye design by using the fan brush to create swirls and patterns with different colors on a white base. In conclusion, fan brush nail art is a fun and versatile technique that allows you to create endless designs on your nails. With a little practice and experimentation, you can master this technique and create stunning nail art that will make your hands stand out. So go ahead and try out these top 10 fan brush nail art designs for your next manicure!10. Fan Brush Nail Art Designs for Summer
10. Fan Brush Nail Art Designs for Summer
How to Create Stunning Fan Brush Nail Art Designs for Your Home

The Power of Fan Brush Nail Art
 Fan brush nail art designs have taken the world of home decor by storm. With its delicate strokes and intricate patterns, this trend has become a popular choice for adding a touch of elegance and sophistication to any room. It is a technique that involves using a fan brush to create unique designs on the walls of your home.
Choosing the Right Colors
 The key to achieving a stunning fan brush nail art design is choosing the right colors.
Bold
and
contrasting
colors work best for this technique. Think
black and white
,
navy blue and gold
, or
emerald green and rose gold
. These color combinations not only create a striking contrast but also add depth and dimension to the design.
The key to achieving a stunning fan brush nail art design is choosing the right colors.
Bold
and
contrasting
colors work best for this technique. Think
black and white
,
navy blue and gold
, or
emerald green and rose gold
. These color combinations not only create a striking contrast but also add depth and dimension to the design.
Prepping Your Nails
 Before you can start creating your fan brush nail art, you need to prep your nails. Begin by cleaning and buffing your nails to create a smooth surface. Then, apply a base coat to protect your nails and help the design last longer.
Gel polish
is recommended for this technique as it dries quickly and provides a glossy finish.
Before you can start creating your fan brush nail art, you need to prep your nails. Begin by cleaning and buffing your nails to create a smooth surface. Then, apply a base coat to protect your nails and help the design last longer.
Gel polish
is recommended for this technique as it dries quickly and provides a glossy finish.
Creating the Design
 Now comes the fun part – creating the design. Dip your fan brush into the chosen colors and start making gentle strokes on your nails.
Experiment
with different brush sizes and movements to create unique patterns. You can also
layer
different colors for a more intricate design.
Don't be afraid
to make mistakes – the beauty of fan brush nail art is in its imperfections.
Now comes the fun part – creating the design. Dip your fan brush into the chosen colors and start making gentle strokes on your nails.
Experiment
with different brush sizes and movements to create unique patterns. You can also
layer
different colors for a more intricate design.
Don't be afraid
to make mistakes – the beauty of fan brush nail art is in its imperfections.
Sealing the Design
 Once you're happy with your design, it's time to seal it with a top coat. This will not only protect your design but also add a glossy finish.
Allow
the top coat to dry completely before touching anything to avoid smudging.
Once you're happy with your design, it's time to seal it with a top coat. This will not only protect your design but also add a glossy finish.
Allow
the top coat to dry completely before touching anything to avoid smudging.
Where to Use Fan Brush Nail Art
 Fan brush nail art can be used in any room of your home, from the living room to the bedroom. It can also be used on
accent walls
,
statement ceilings
, or even
as a backdrop
for shelves or artwork. The possibilities are endless, and the result is always eye-catching.
Fan brush nail art can be used in any room of your home, from the living room to the bedroom. It can also be used on
accent walls
,
statement ceilings
, or even
as a backdrop
for shelves or artwork. The possibilities are endless, and the result is always eye-catching.
In Conclusion
 Fan brush nail art is a
simple
yet
effective
way to add a touch of elegance to your home. With the right colors and techniques, you can create stunning designs that will elevate the look of any room. So, go ahead and give this trend a try – your walls will thank you.
Fan brush nail art is a
simple
yet
effective
way to add a touch of elegance to your home. With the right colors and techniques, you can create stunning designs that will elevate the look of any room. So, go ahead and give this trend a try – your walls will thank you.


