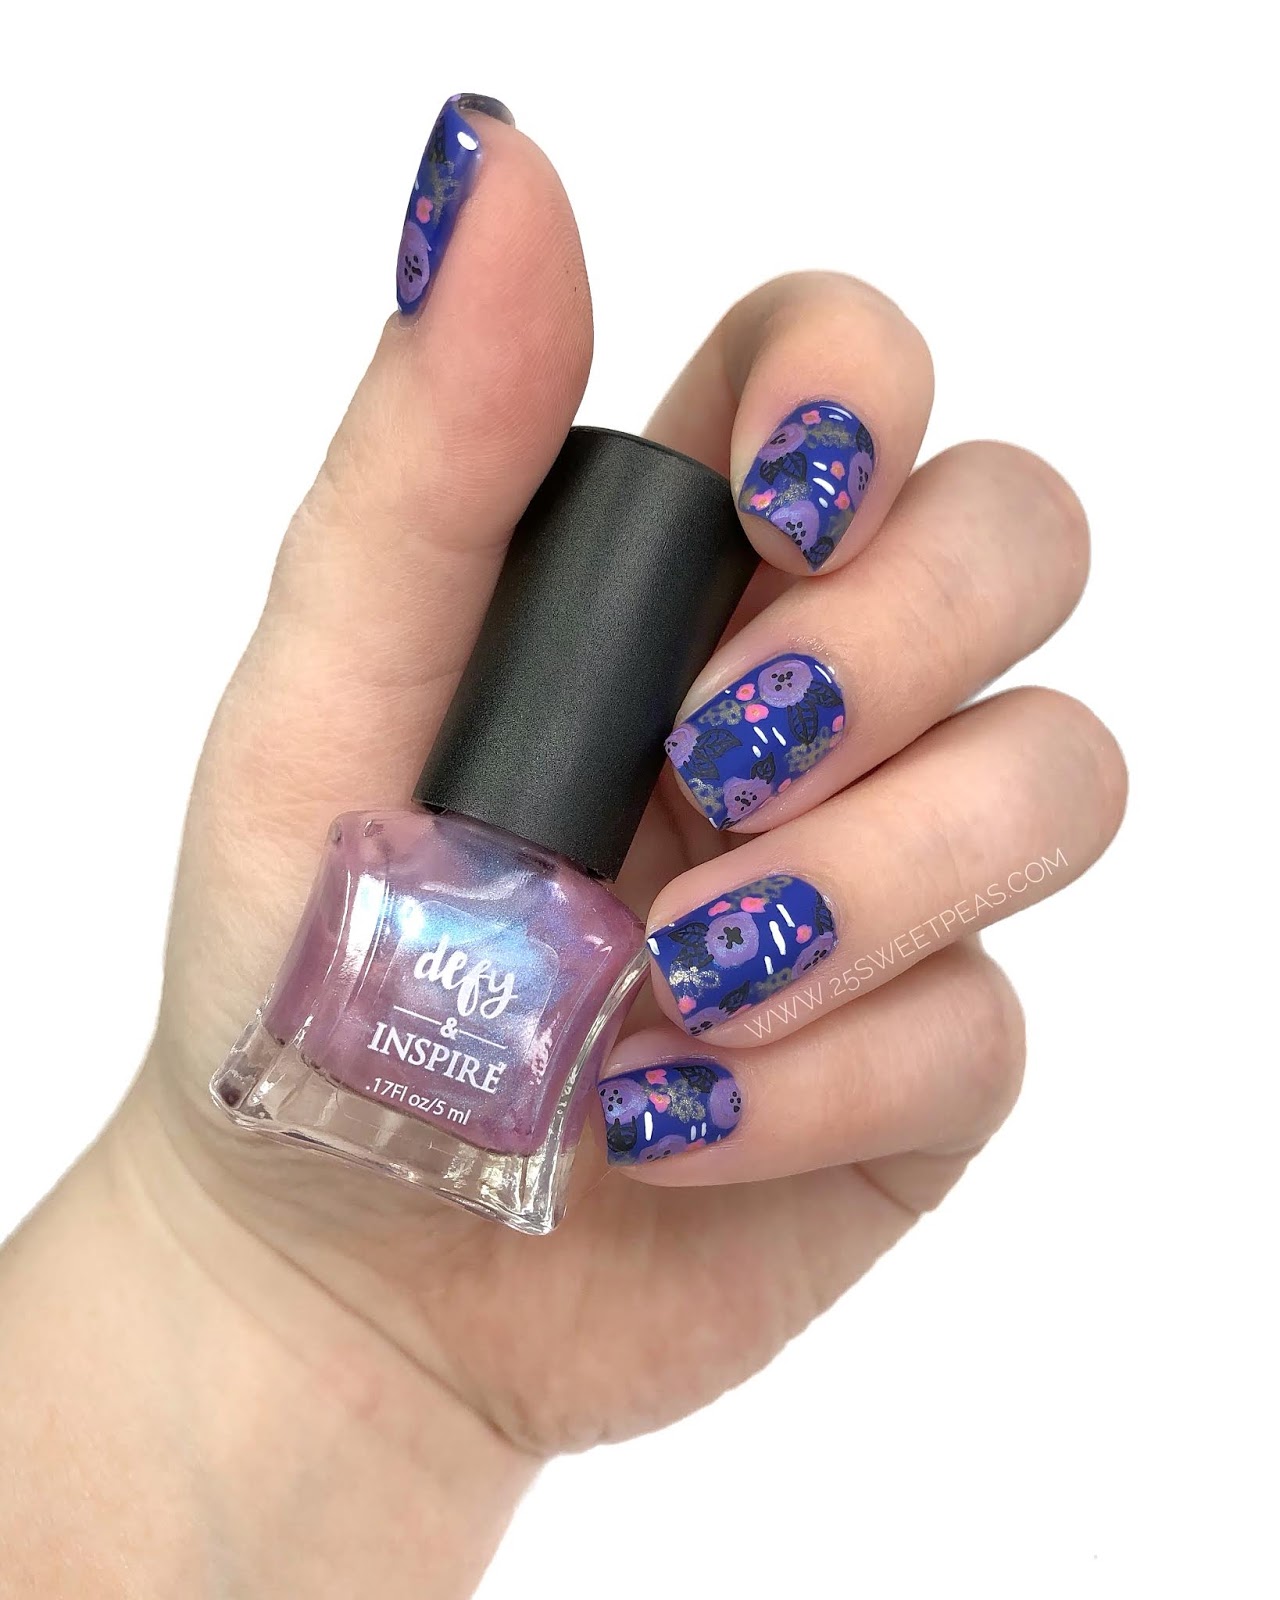
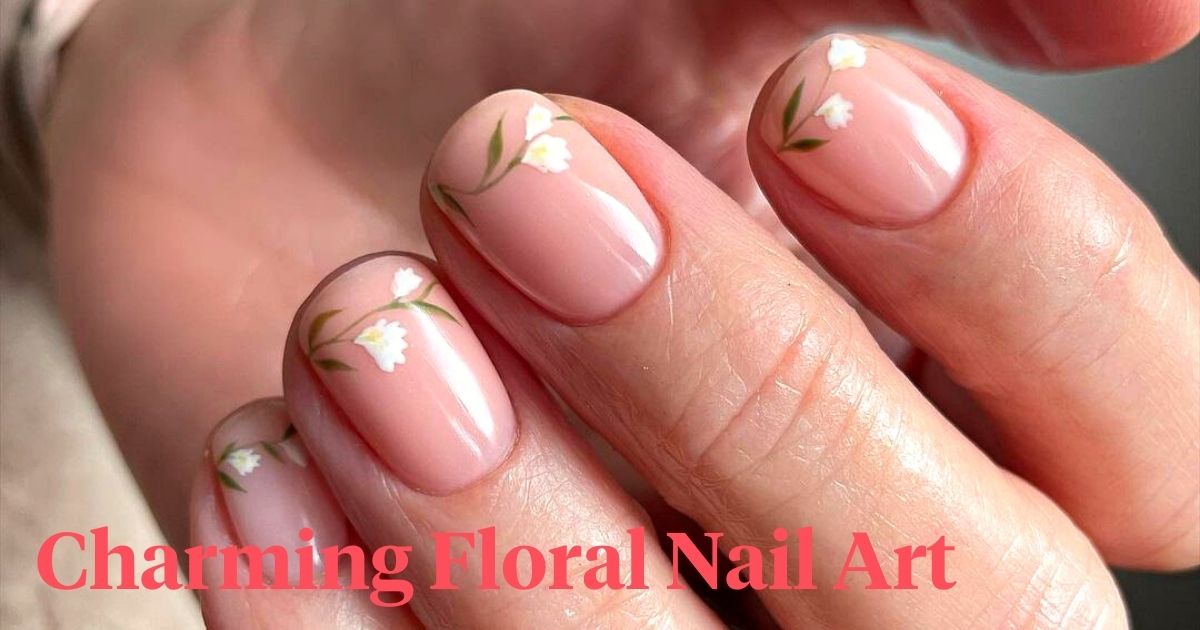
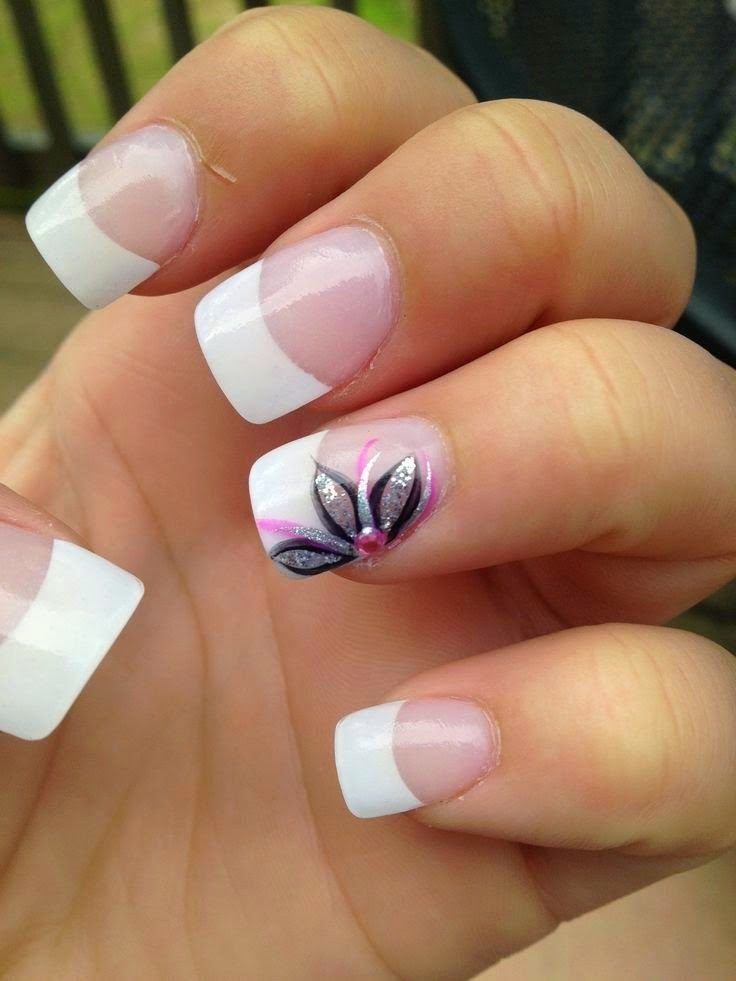
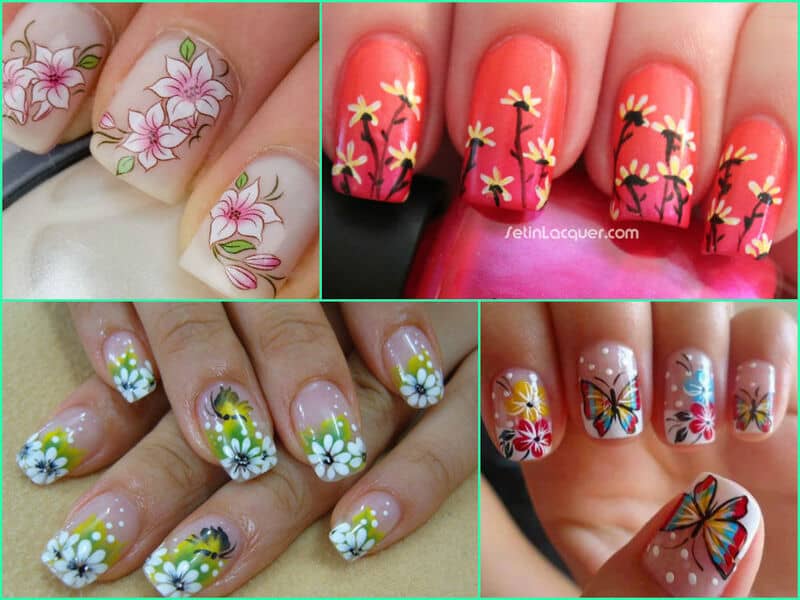
If you're new to the world of nail art, creating intricate designs may seem intimidating. But don't worry, with this easy floral nail art design tutorial, you'll have stunning nails in no time! To start, gather your tools: a base coat, your choice of nail polish colors, a fine-tipped brush, a dotting tool, and a top coat. Don't forget to protect your work surface with a towel or paper towel. Begin by applying a base coat to your nails to prevent staining and help your polish last longer. Once dry, apply two coats of your desired base color and let them dry completely. Now comes the fun part - creating the floral design! Using a fine-tipped brush, dip it in a contrasting color and carefully create small petals around the edges of your nails. You can make them as big or as small as you'd like, and they don't have to be perfect - after all, no flower is identical! Next, use a dotting tool to create the center of your flower with a different color. You can also use the dotting tool to add small dots of color around the petals to create a more realistic look. Once you're satisfied with your floral design, let it dry for a few minutes before applying a top coat to seal in your design and give it a glossy finish. And voila, you now have a beautiful floral nail art design!1. Easy Floral Nail Art Design Tutorial
1. Easy Floral Nail Art Design Tutorial

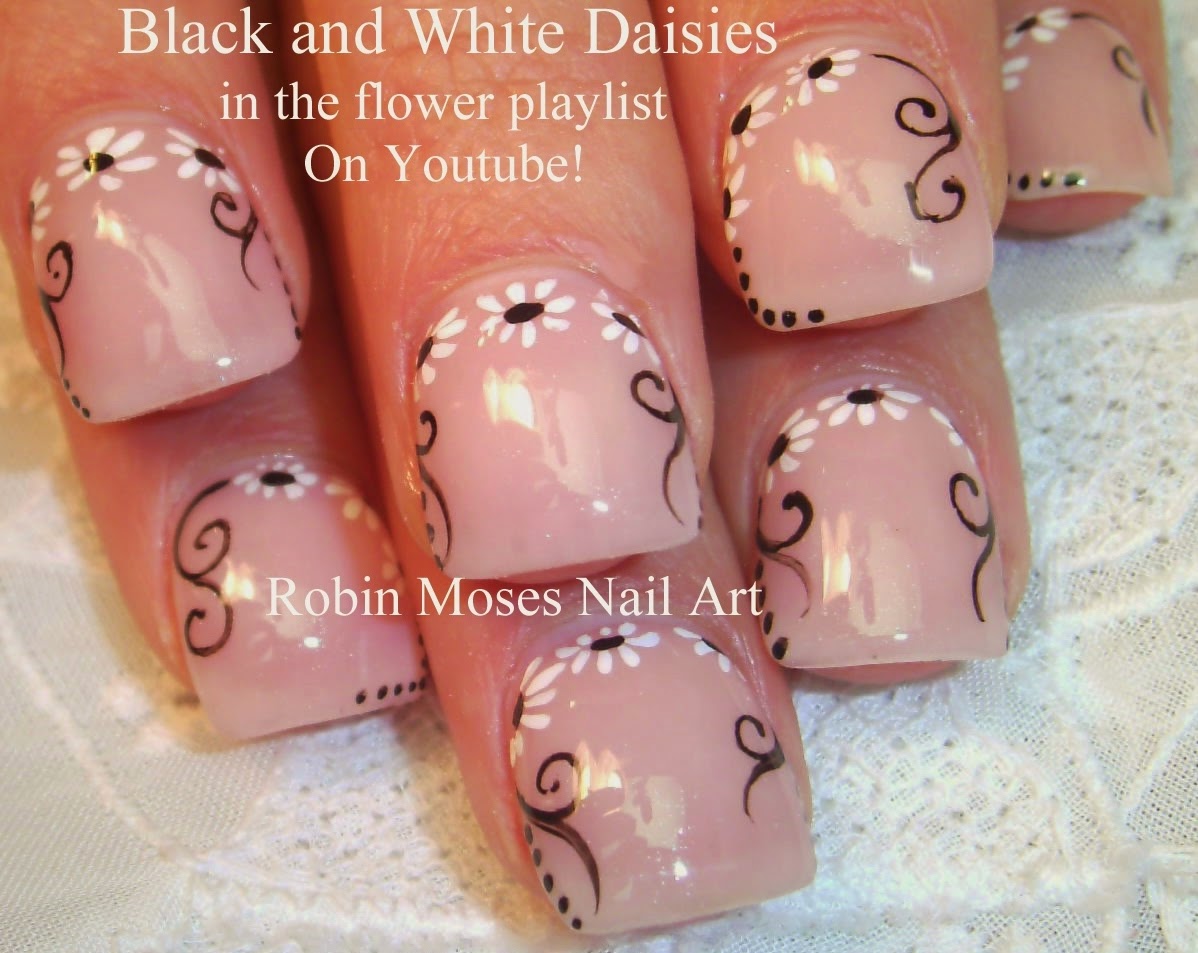

If you're a fan of floral patterns, why not incorporate them into your nail art? With this step by step guide, you'll learn how to create a stunning floral nail art design that will make your nails stand out. First, gather your supplies: a base coat, a light-colored nail polish, a dark-colored nail polish, a thin nail art brush, a dotting tool, and a top coat. Make sure to choose colors that complement each other for a cohesive look. Start by applying a base coat to protect your nails and help the polish adhere better. Once dry, apply two coats of your light-colored polish and let it dry completely. Next, use a thin nail art brush to create small petals around the edges of your nails. You can use a different color than your base or mix in some glitter for added shine. For the center of your flower, use a dotting tool and a darker color to create a small circle. You can also use the dotting tool to add small dots of color around the petals for a more realistic look. After letting your design dry for a few minutes, apply a top coat to seal in your design and give it a glossy finish. And there you have it, a beautiful floral nail art design!2. Step by Step Guide to Creating Floral Nail Art

2. Step by Step Guide to Creating Floral Nail Art


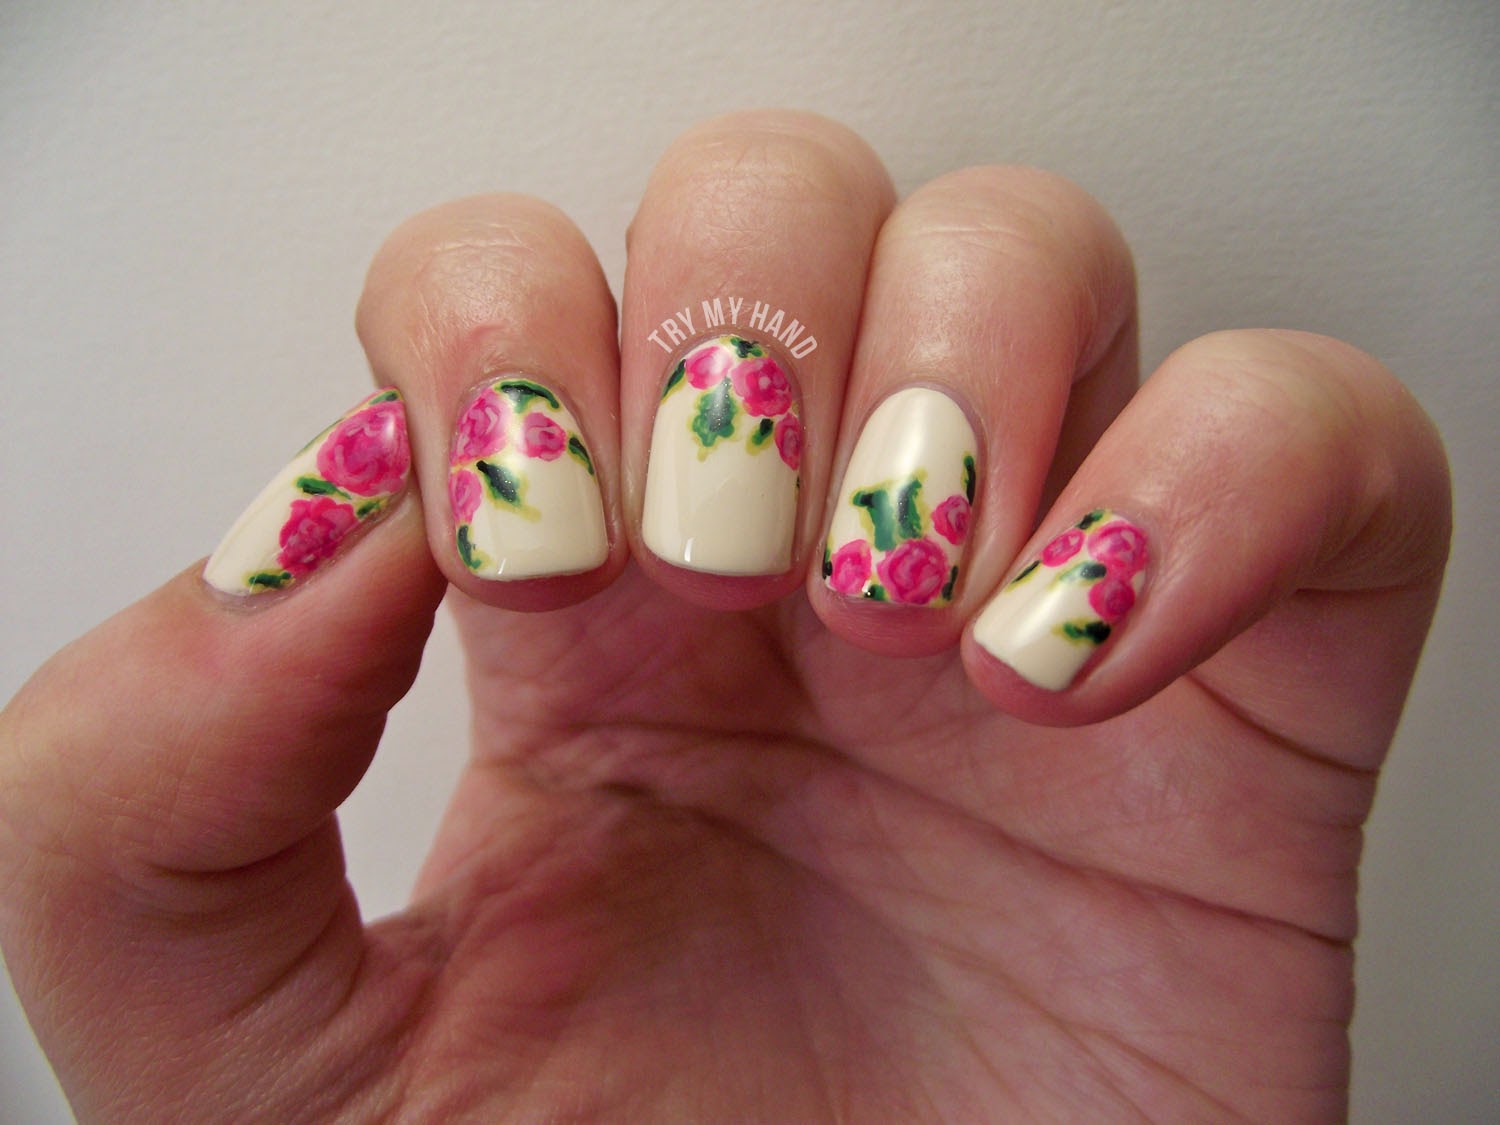
Don't let a lack of experience stop you from trying out new nail art designs. With this DIY floral nail art design, even beginners can achieve a professional-looking manicure. Start by gathering your supplies: a base coat, your choice of nail polish colors, a nail art brush, a dotting tool, and a top coat. You can also use nail stickers or decals if you're not confident in your freehand skills. Begin by applying a base coat to protect your nails and help the polish adhere better. Once dry, apply two coats of your desired base color and let it dry completely. Using a nail art brush, create small petals around the edges of your nails, using different colors for each flower. You can also use the brush to add leaves or stems to your design. If you're using nail stickers or decals, apply them now and then use a dotting tool to add small dots of color around the design for a more intricate look. Once your design is dry, apply a top coat to seal it in and give it a glossy finish. And just like that, you've created a beautiful DIY floral nail art design!3. DIY Floral Nail Art Design for Beginners


3. DIY Floral Nail Art Design for Beginners


Who said nail art had to be complicated? This simple step by step floral nail art tutorial will show you how to create a gorgeous design with minimal effort. Start by gathering your supplies: a base coat, your choice of nail polish colors, a thin nail art brush, a dotting tool, and a top coat. You can also use nail stickers or decals if you prefer. Begin by applying a base coat to protect your nails and help the polish adhere better. Once dry, apply two coats of your desired base color and let it dry completely. Using a thin nail art brush, create small petals around the edges of your nails with a different color for each flower. You can also use the brush to add leaves or stems to your design. If you're using nail stickers or decals, apply them now and then use a dotting tool to add small dots of color around the design for a more intricate look. After letting your design dry for a few minutes, apply a top coat to seal in your design and give it a glossy finish. And there you have it, a simple yet stunning floral nail art design!4. Simple Step by Step Floral Nail Art Tutorial

4. Simple Step by Step Floral Nail Art Tutorial


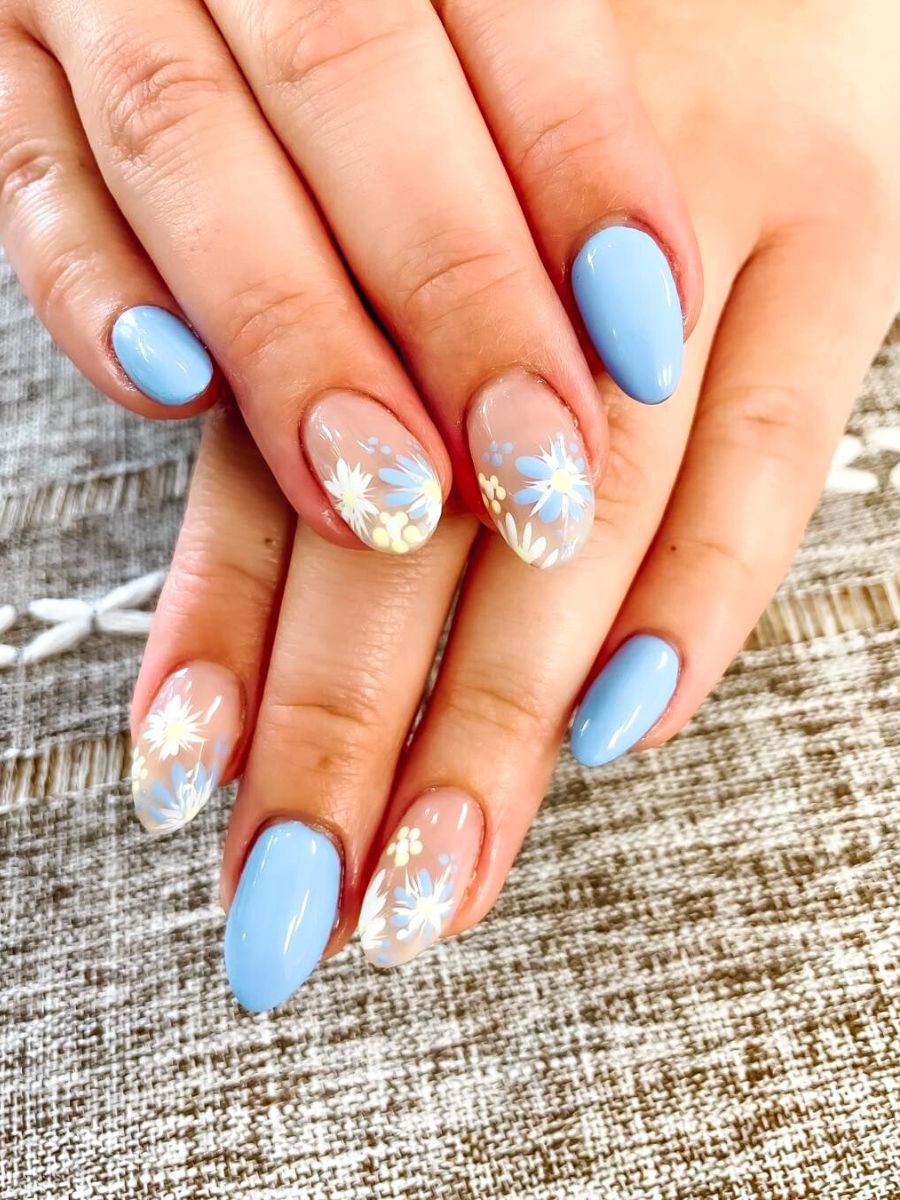
Floral nail art is a great way to add a pop of color and personality to your manicure. Follow these steps to create a stunning floral nail art design that will make your nails stand out. First, gather your supplies: a base coat, your choice of nail polish colors, a fine-tipped brush, a dotting tool, and a top coat. You can also use nail stickers or decals for added convenience. Start by applying a base coat to protect your nails and help the polish adhere better. Once dry, apply two coats of your desired base color and let it dry completely. Using a fine-tipped brush, create small petals around the edges of your nails, using a different color for each flower. You can also use the brush to add leaves or stems to your design. If you're using nail stickers or decals, apply them now and then use a dotting tool to add small dots of color around the design for a more intricate look. After letting your design dry for a few minutes, apply a top coat to seal in your design and give it a glossy finish. And there you have it, a stunning floral nail art design that will surely turn heads!5. How to Create a Stunning Floral Nail Art Design


5. How to Create a Stunning Floral Nail Art Design


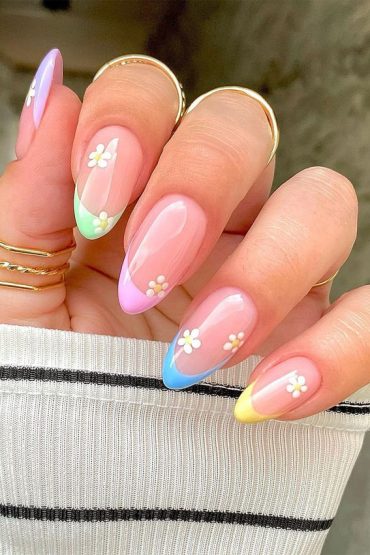
Spring is the perfect time to rock some floral nail art. Follow this step by step guide to create a beautiful floral design that will make your nails bloom. First, gather your supplies: a base coat, your choice of pastel nail polish colors, a fine-tipped brush, a dotting tool, and a top coat. You can also use nail stickers or decals if you prefer. Begin by applying a base coat to protect your nails and help the polish adhere better. Once dry, apply two coats of your desired base color and let it dry completely. Using a fine-tipped brush, create small petals around the edges of your nails, using a different color for each flower. You can also use the brush to add leaves or stems to your design. If you're using nail stickers or decals, apply them now and then use a dotting tool to add small dots of color around the design for a more intricate look. After letting your design dry for a few minutes, apply a top coat to seal in your design and give it a glossy finish. And just like that, you have a beautiful floral nail art design perfect for spring!6. Step by Step Floral Nail Art Design for Spring

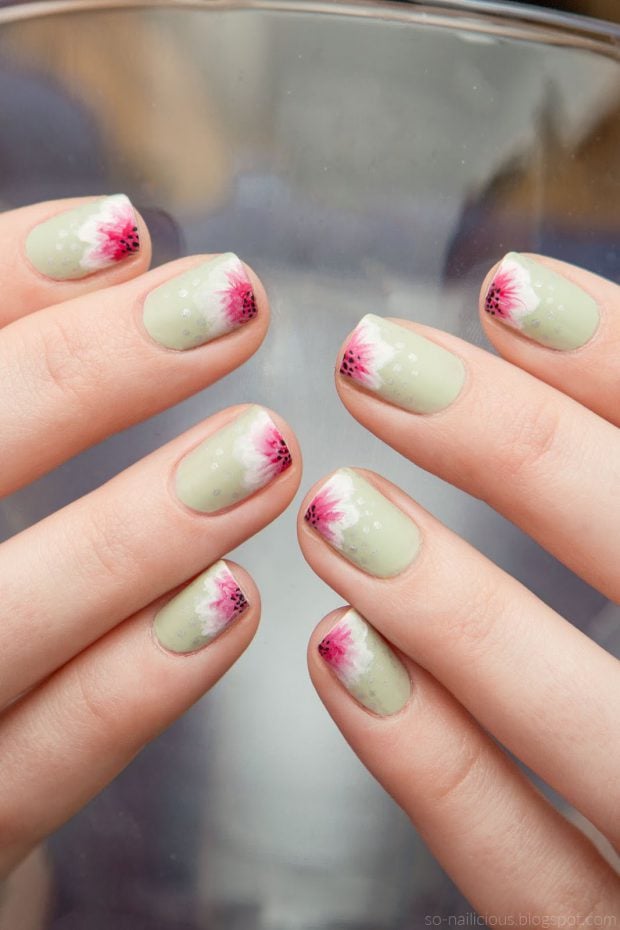
6. Step by Step Floral Nail Art Design for Spring


Think you can't rock floral nail art because of your short nails? Think again! Follow this tutorial to create a gorgeous floral design that will look great on any nail length. First, gather your supplies: a base coat, your choice of nail polish colors, a fine-tipped brush, a dotting tool, and a top coat. You can also use nail stickers or decals for added convenience. Apply a base coat to protect your nails and help the polish adhere better. Once dry, apply two coats of your desired base color and let it dry completely. Using a fine-tipped brush, create small petals around the edges of your nails, using a different color for each flower. You can also use the brush to add leaves or stems to your design. If you're using nail stickers or decals, apply them now and then use a dotting tool to add small dots of color around the design for a more intricate look. After letting your design dry for a few minutes, apply a top coat to seal in your design and give it a glossy finish. And there you have it, a beautiful floral nail art design that works for short nails too!7. Floral Nail Art Design Tutorial for Short Nails

7. Floral Nail Art Design Tutorial for Short Nails


Creating a floral nail art design may seem daunting, but with this step by step guide, you'll be able to perfect your skills in no time. First, gather your supplies: a base coat, your choice of nail polish colors, a fine-tipped brush, a dotting tool, and a top coat. You can also use nail stickers or decals for added convenience. Start by applying a base coat to protect your nails and help the polish adhere better. Once dry, apply two coats of your desired base color and let it dry completely. Using a fine-tipped brush, create small petals around the edges of your nails, using a different color for each flower. You can also use the brush to add leaves or stems to your design. If you're using nail stickers or decals, apply them now and then use a dotting tool to add small dots of color around the design for a more intricate look. After letting your design dry for a few minutes, apply a top coat to seal in your design and give it a glossy finish. With practice, you'll be able to perfect your floral nail art design skills and create beautiful manicures every time!8. Step by Step Guide to Perfecting Your Floral Nail Art

8. Step by Step Guide to Perfecting Your Floral Nail Art

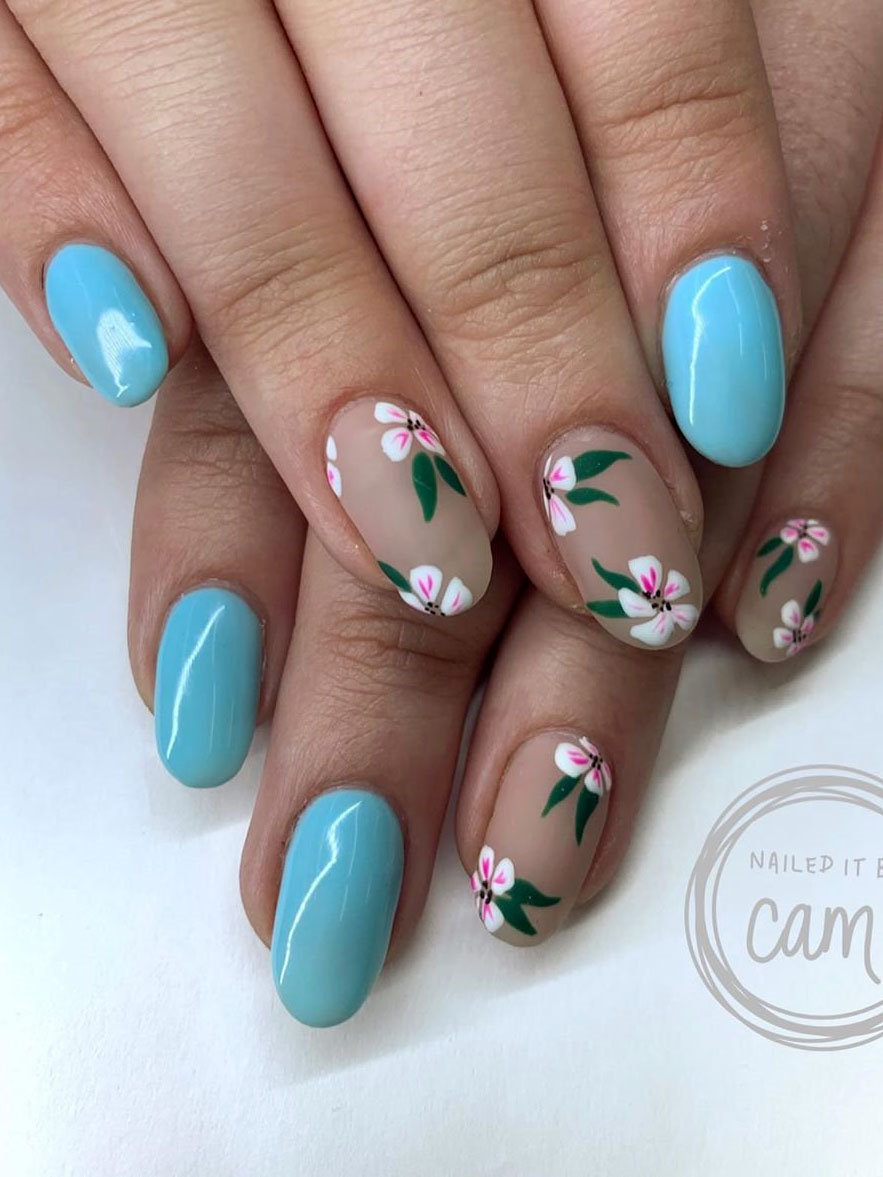
Summer is the perfect time to experiment with bright and colorful nail art designs. Follow this tutorial to create a beautiful floral design that will make your nails pop. First, gather your supplies: a base coat, your choice of bright nail polish colors, a fine-tipped brush, a dotting tool, and a top coat. You can also use nail stickers or decals if you prefer. Start by applying a base coat to protect your nails and help the polish adhere better. Once dry, apply two coats of your chosen base color and let it dry completely. Using a fine-tipped brush, create small petals around the edges of your nails, using a different color for each flower. You can also use the brush to add leaves or stems to your design. If you're using nail stickers or decals, apply them now and then use a dotting tool to add small dots of color around the design for a more intricate look. After letting your design dry for a few minutes, apply a top coat to seal in your design and give it a glossy finish. And there you have it, a beautiful floral nail art design perfect for the summer season!9. Beautiful Floral Nail Art Design for Summer

9. Beautiful Floral Nail Art Design for Summer

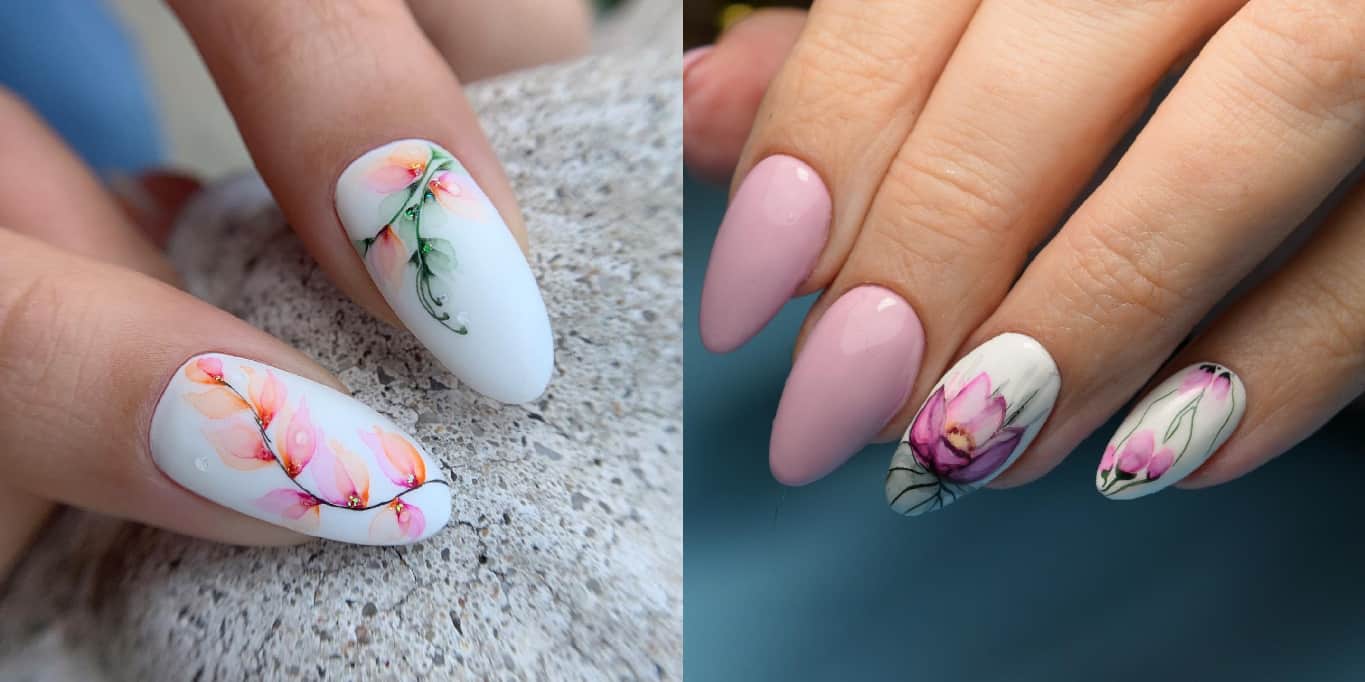
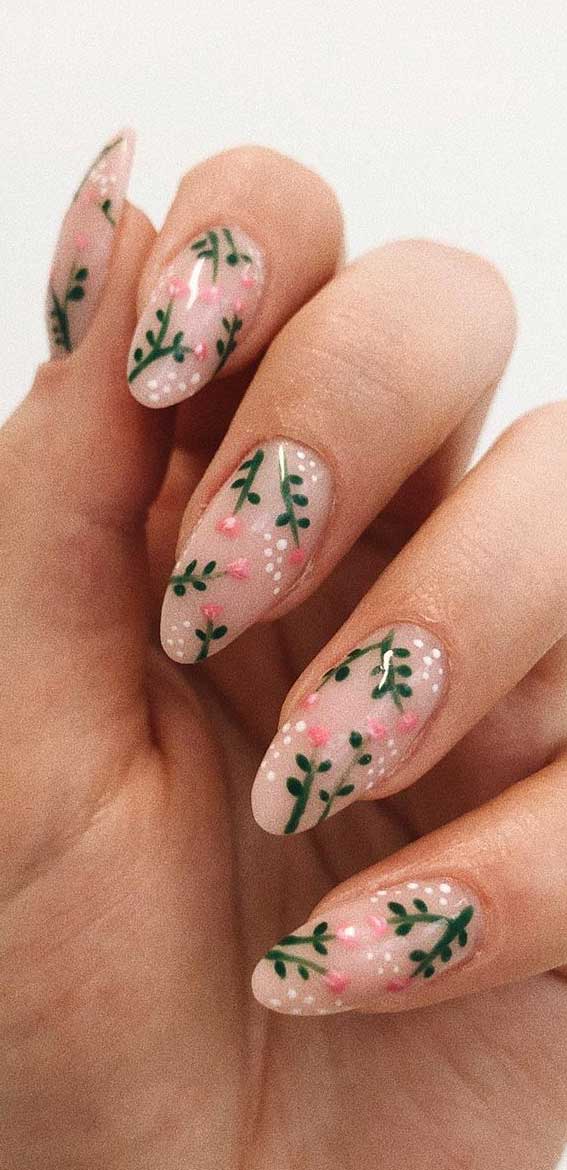
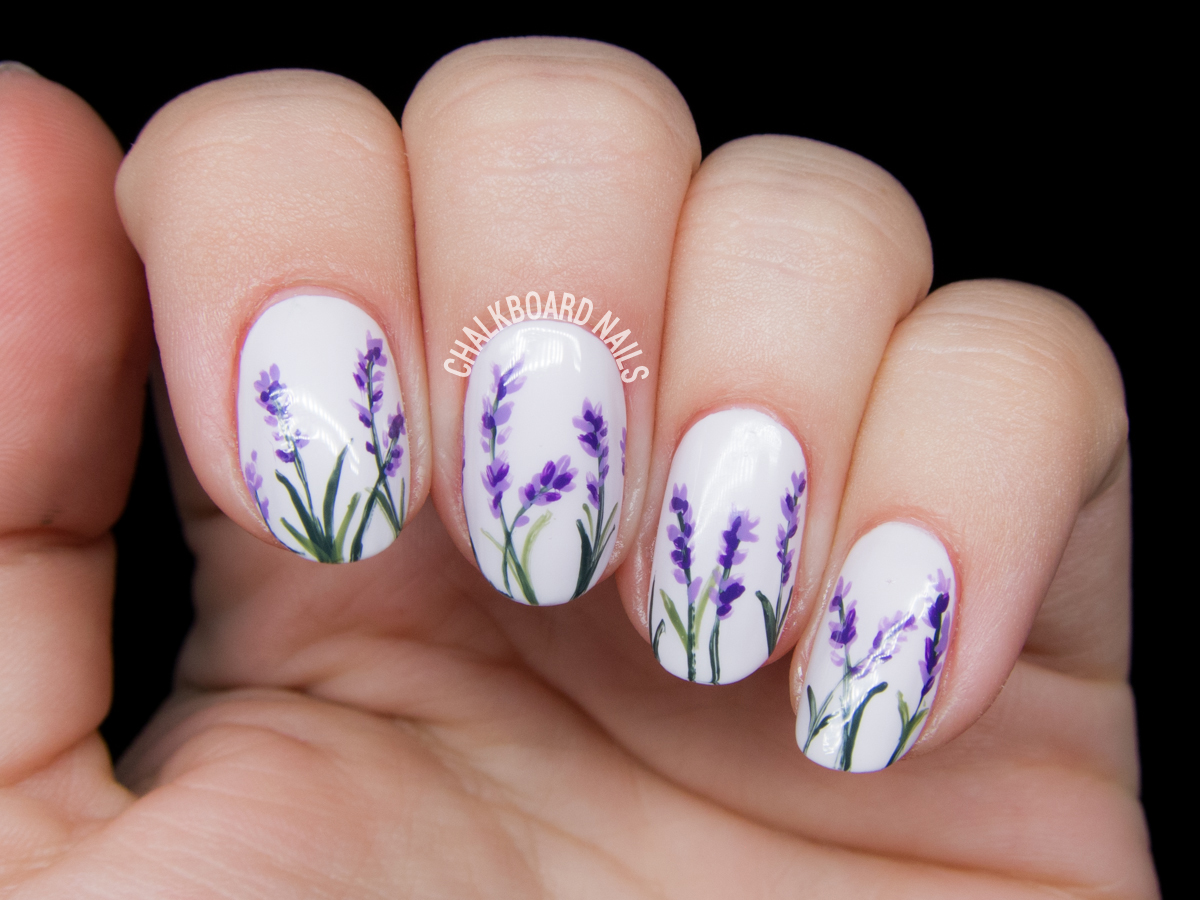
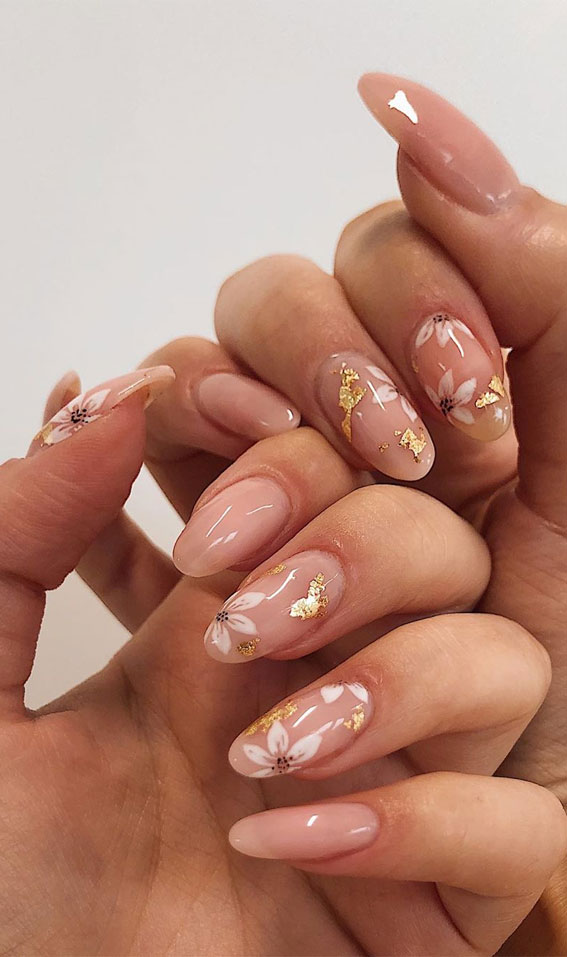
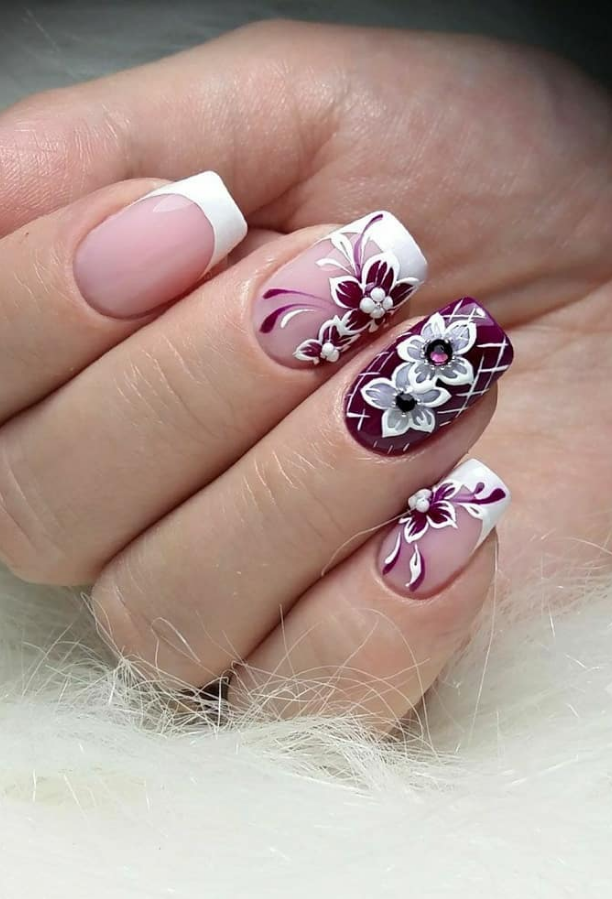
Long nails are perfect for creating intricate and detailed nail art designs, and this step by step tutorial will show you how to create a stunning floral design. Start by gathering your supplies: a base coat, your choice of nail polish colors, a fine-tipped brush, a dotting tool, and a top coat. You can also use nail stickers or decals for added convenience. Begin by applying a base coat to protect your nails and help the polish adhere better. Once dry, apply two coats of your desired base color and let it dry completely. Using a fine-tipped brush, create small petals around the edges of your nails, using a different color for each flower. You can also use the brush to add leaves or stems to your design.10. Step by Step Floral Nail Art Design for Long Nails


10. Step by Step Floral Nail Art Design for Long Nails
Adding Dimension to Your Floral Nail Art Design

Creating Depth with Layering
 When it comes to floral nail art design, the key to achieving a professional and eye-catching look lies in creating dimension. By layering different elements of your design, you can add depth and complexity to your nails. One way to do this is by using
ombre
techniques to blend different colors together. Start by painting your nails with a light base color, then use a sponge to dab on a darker shade towards the tips of your nails. This will give the illusion of a gradient effect, similar to the way flowers naturally transition from light to dark.
When it comes to floral nail art design, the key to achieving a professional and eye-catching look lies in creating dimension. By layering different elements of your design, you can add depth and complexity to your nails. One way to do this is by using
ombre
techniques to blend different colors together. Start by painting your nails with a light base color, then use a sponge to dab on a darker shade towards the tips of your nails. This will give the illusion of a gradient effect, similar to the way flowers naturally transition from light to dark.
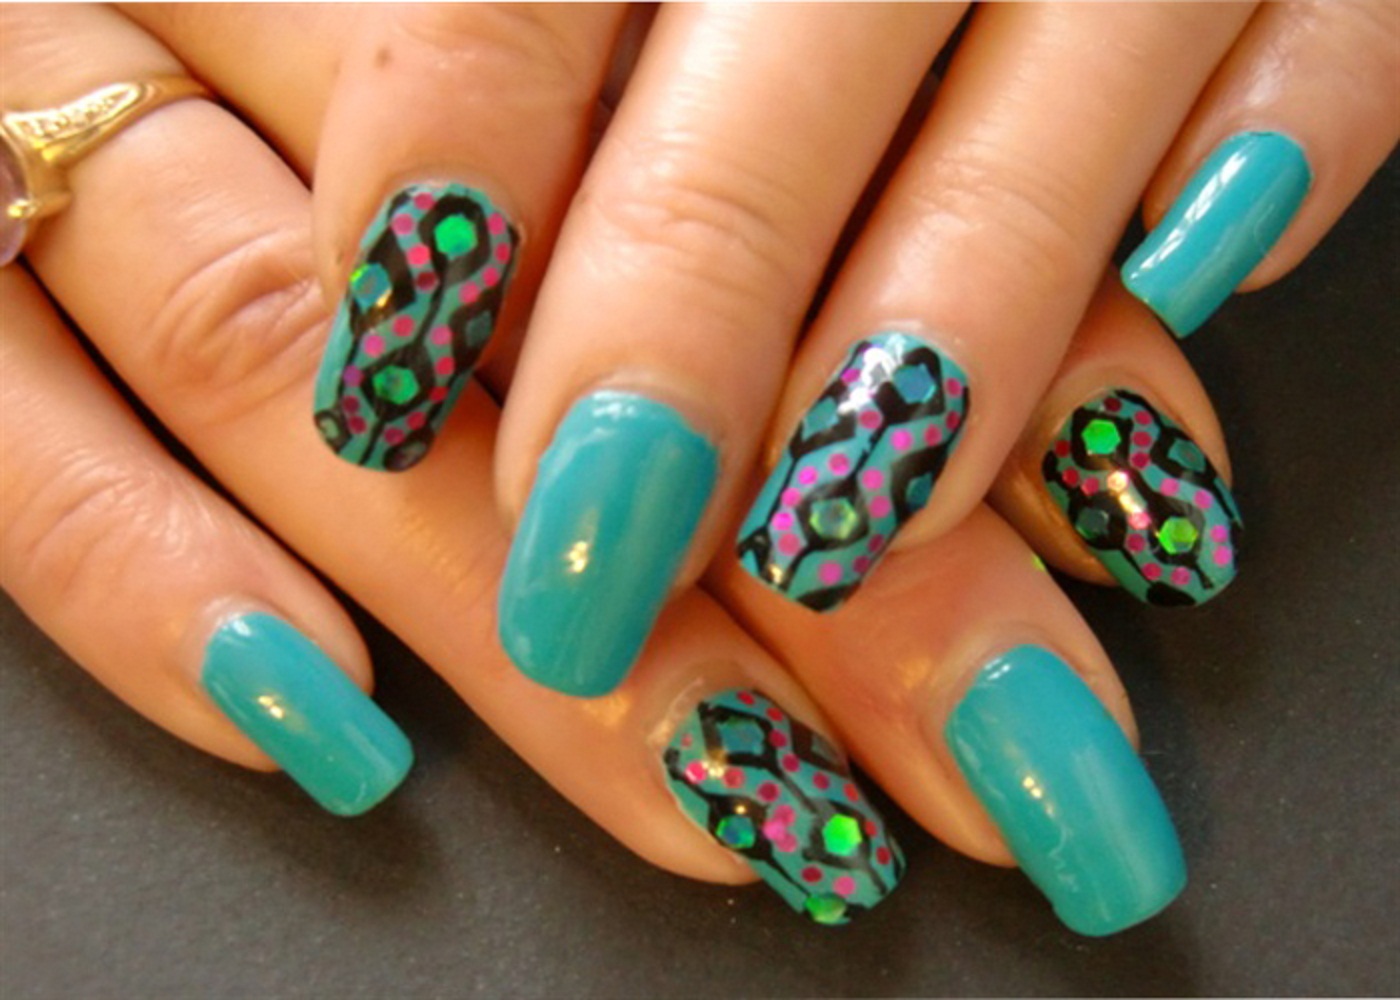
Playing with Texture
 Another way to add dimension to your floral nail art is by incorporating different textures. This can be done by using
matte
and
glossy
topcoats, or by adding
embellishments
like rhinestones or glitter. For example, you can paint your nails with a glossy base color, then use a matte topcoat to create a textured background. Next, add small rhinestones or glitter in the center of your flowers for a pop of sparkle. This will give your floral design a three-dimensional look.
Another way to add dimension to your floral nail art is by incorporating different textures. This can be done by using
matte
and
glossy
topcoats, or by adding
embellishments
like rhinestones or glitter. For example, you can paint your nails with a glossy base color, then use a matte topcoat to create a textured background. Next, add small rhinestones or glitter in the center of your flowers for a pop of sparkle. This will give your floral design a three-dimensional look.
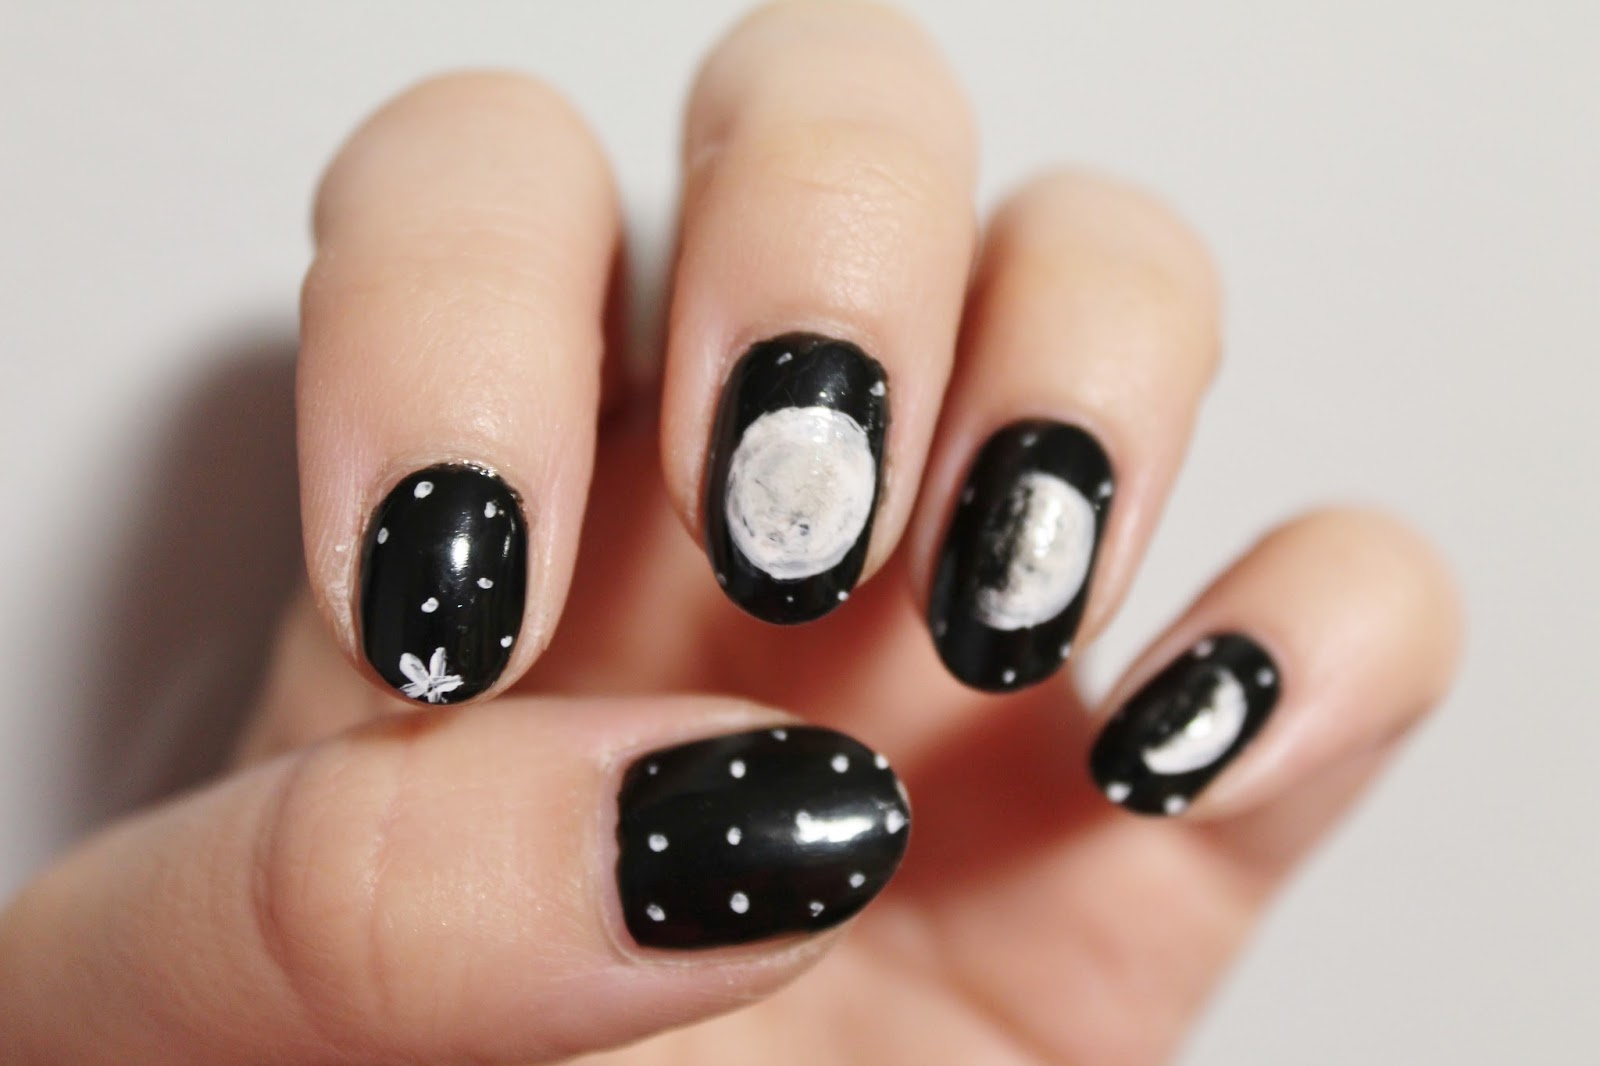
Embracing Negative Space
 Another great way to add dimension to your floral nail art design is by embracing negative space. Instead of painting a solid color on your entire nail, leave some areas bare to create a
stained glass
effect. This can be done by using thin brushes to create intricate lines and shapes, resembling the outlines of flowers. This technique creates an illusion of depth and movement, making your floral design appear more lifelike.
Another great way to add dimension to your floral nail art design is by embracing negative space. Instead of painting a solid color on your entire nail, leave some areas bare to create a
stained glass
effect. This can be done by using thin brushes to create intricate lines and shapes, resembling the outlines of flowers. This technique creates an illusion of depth and movement, making your floral design appear more lifelike.
By incorporating these tips into your floral nail art designs, you can take your skills to the next level and create stunning and dimensional nail art that will surely turn heads. So don't be afraid to experiment with different techniques and have fun with your designs. Your nails are a blank canvas, so let your creativity bloom!


