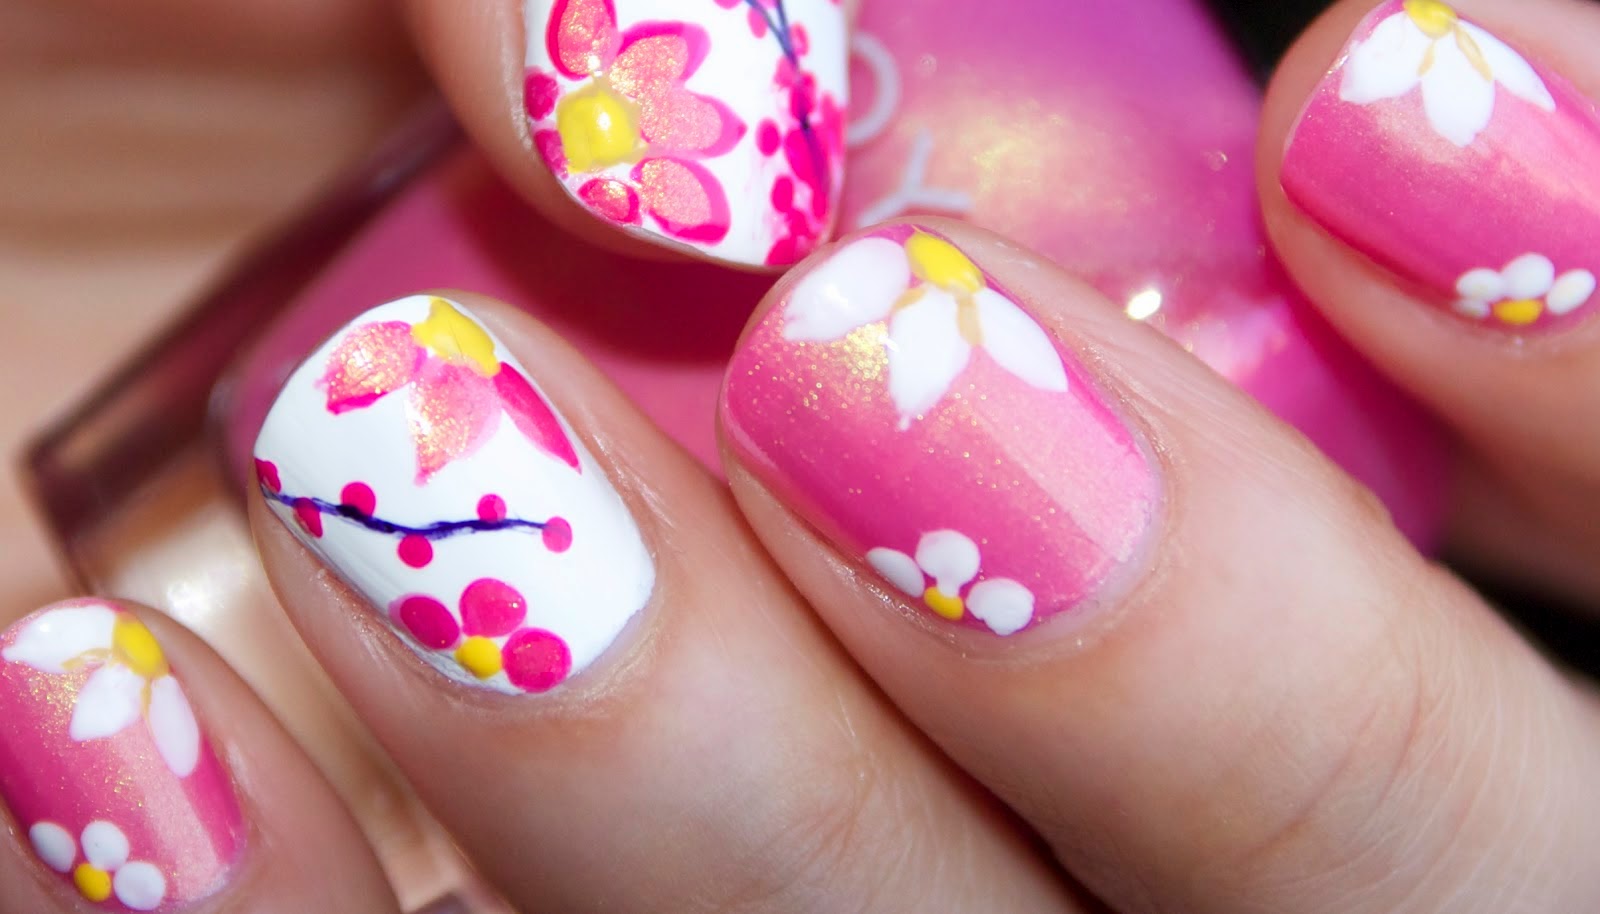
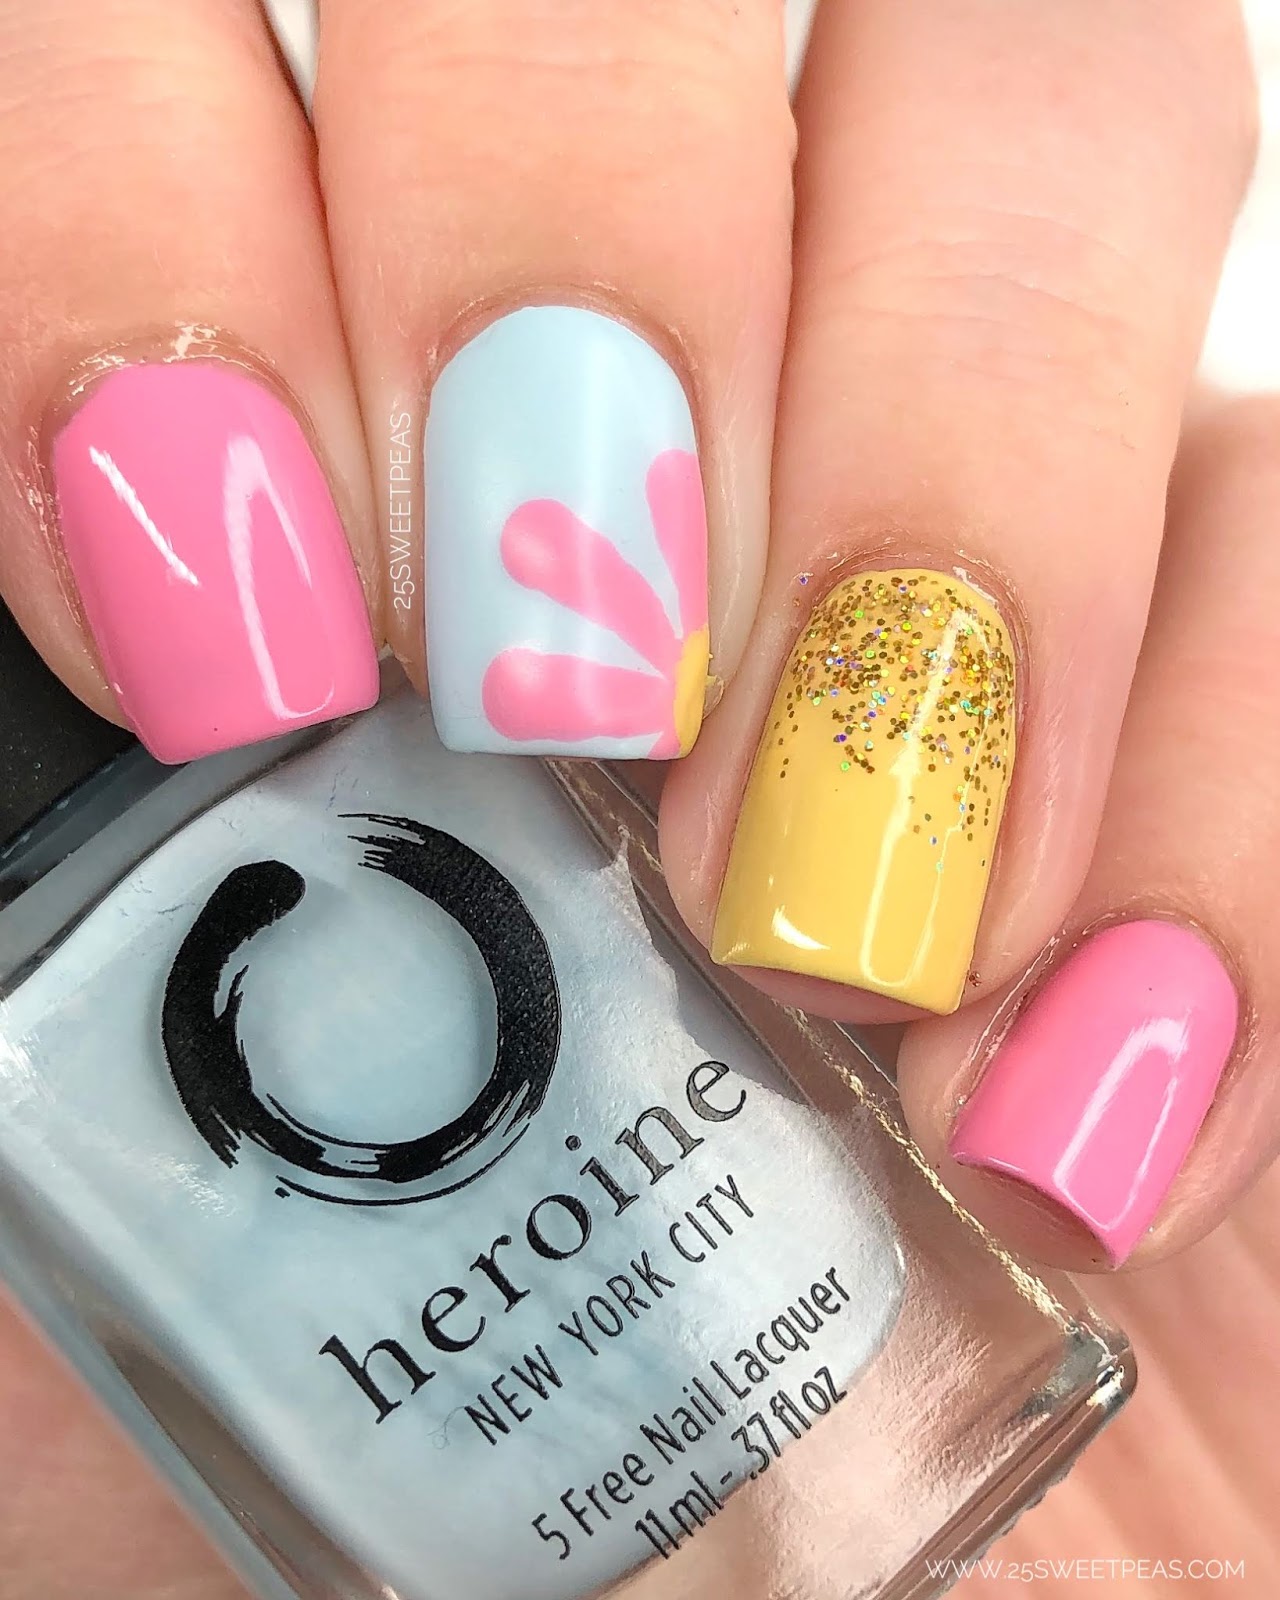
Creating beautiful flower nail art doesn't have to be difficult or time-consuming. In fact, with this easy step by step tutorial, you can have gorgeous floral designs on your nails in no time. All you need are a few basic nail polish colors, a dotting tool, and a steady hand. So let's get started! To begin, apply a base coat to protect your nails and allow it to dry completely. Then, using a pastel pink nail polish, paint your nails as the base color. This will serve as the background for our flower design. Next, take a white nail polish and dip your dotting tool into it. Begin creating small dots in a circular pattern on your nail, leaving some space between each dot. This will create the petals of the flower. Repeat this process on all of your nails. Once the dots have dried, take a yellow nail polish and use the dotting tool to create a smaller dot in the center of each white dot. This will give your flower a pop of color and dimension. For the final touch, take a green nail polish and using a thin brush, create small curved lines around the flowers to represent the leaves and stems. You can also add in some light green accents to add more depth to the design. Finish off with a top coat to seal in your design and give it a glossy finish. And there you have it, a simple and easy flower nail art design that looks like it took hours to create!1. Easy Flower Nail Art Design Tutorial

1. Easy Flower Nail Art Design Tutorial


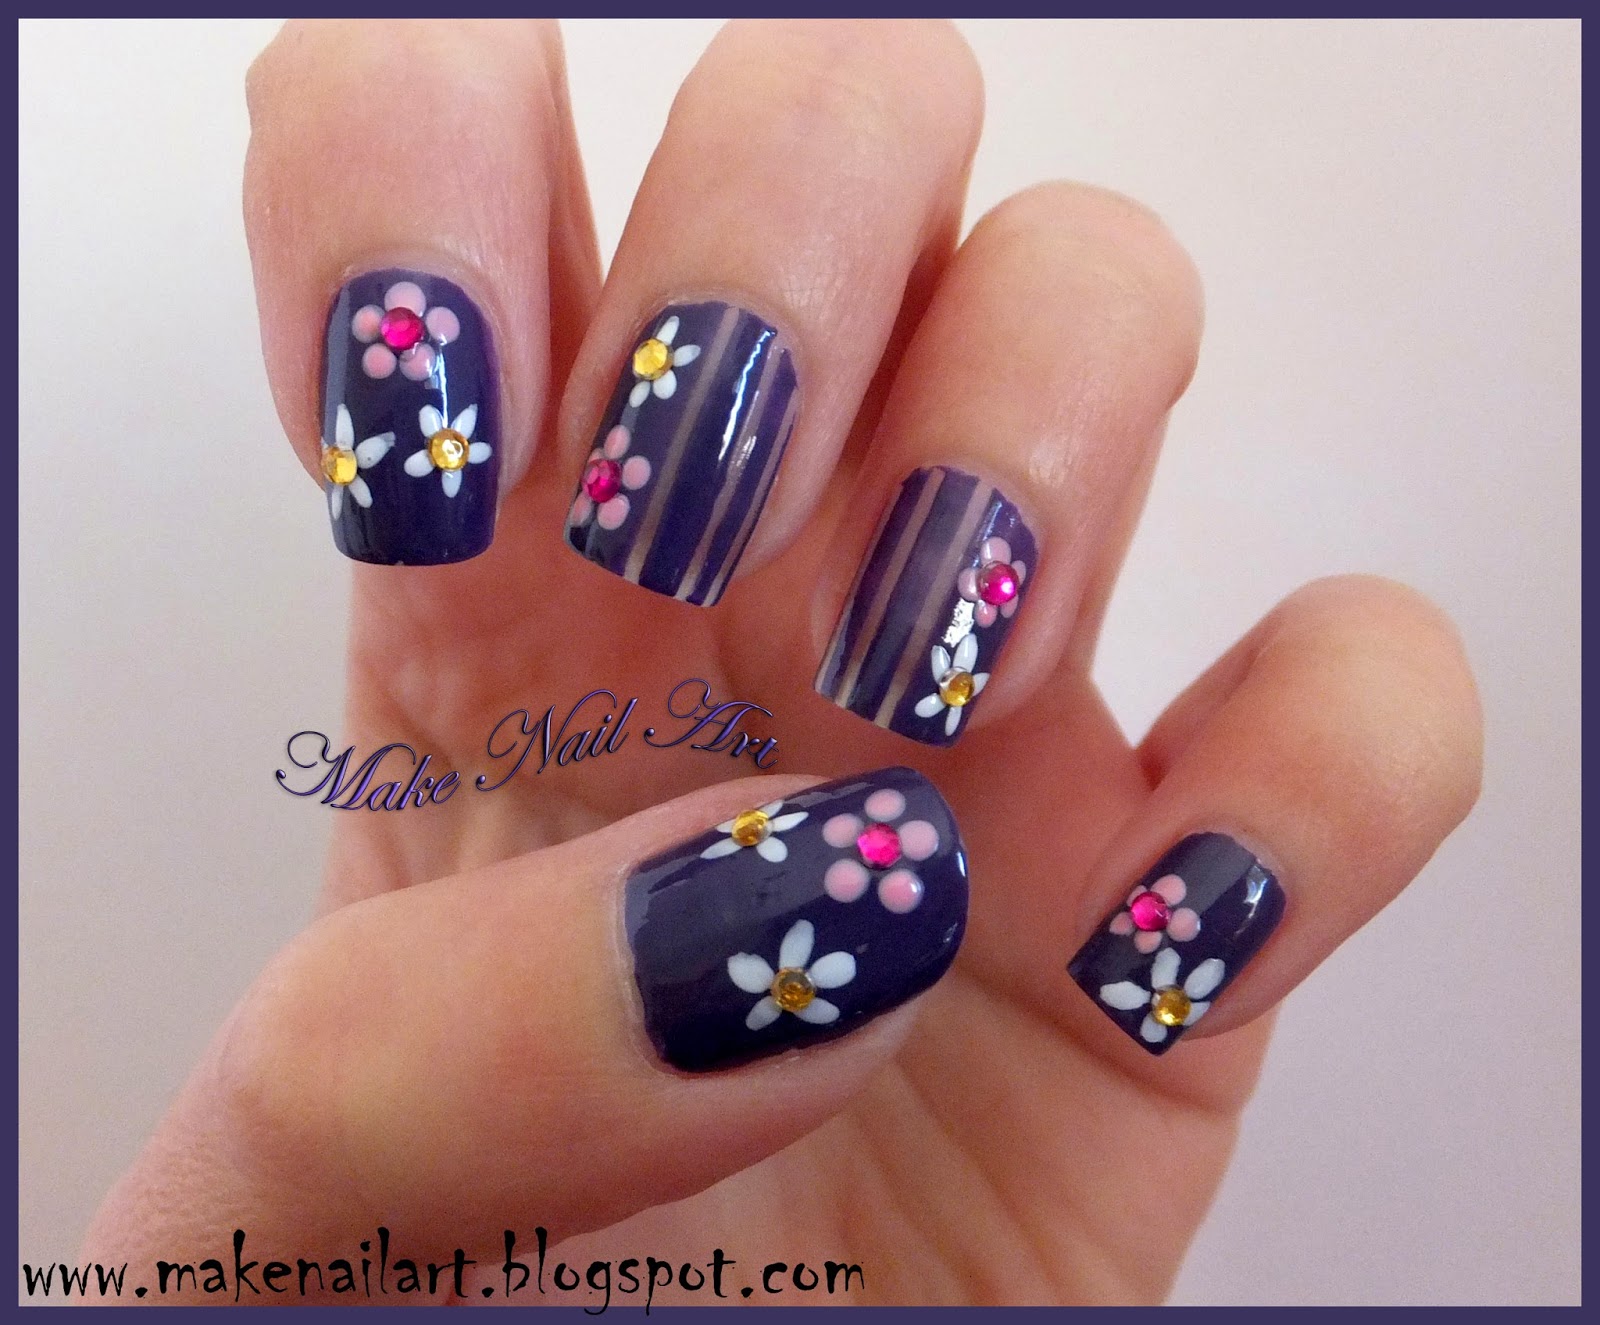
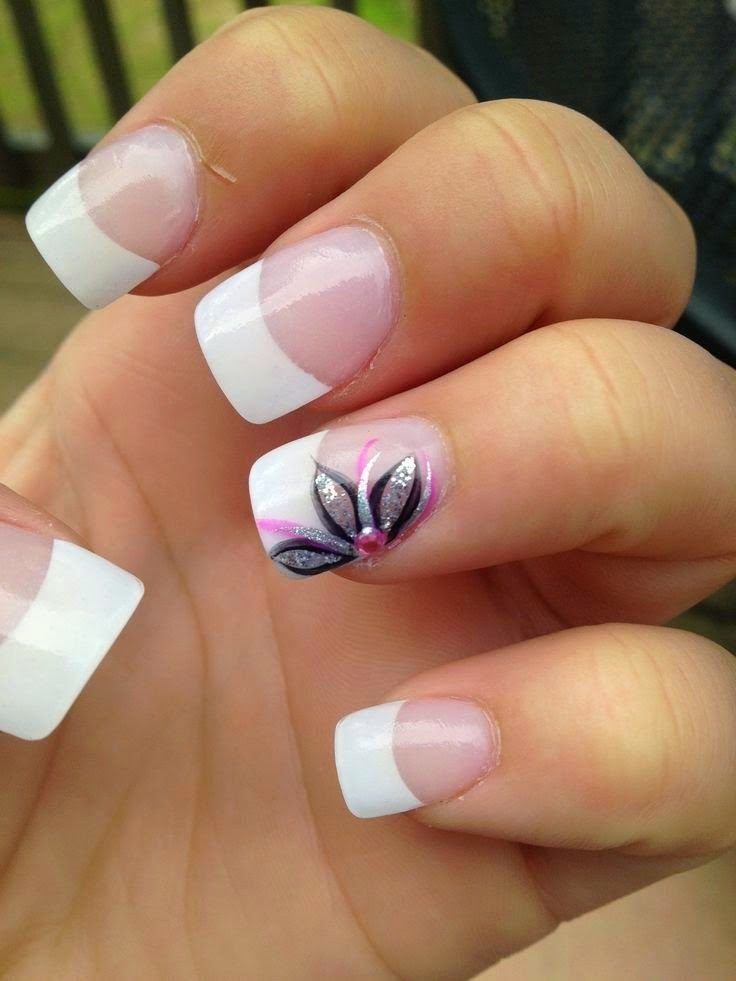
If you're a visual learner and prefer a more detailed tutorial, this step by step flower nail art video is perfect for you. With clear instructions and close-up shots, you'll be able to recreate this beautiful floral design on your nails in no time. Start by applying a base coat and letting it dry completely. Then, using a light purple nail polish, paint your nails as the base color. This will give your flower design a soft and feminine touch. Next, take a dark purple nail polish and using a thin brush, create small oval shapes on your nails. These will serve as the petals of the flower. Don't worry about making them perfect, as the imperfections will give your design a more natural look. Once the petals have dried, take a yellow nail polish and using a dotting tool, create small dots in the center of each petal. This will give your flower a pop of color and make it stand out. For the final step, use a light green nail polish and create thin lines around the petals to represent the leaves. You can also add in some dark green accents for more dimension. Finish off with a top coat and you're done!2. Step by Step Flower Nail Art Tutorial

2. Step by Step Flower Nail Art Tutorial


If you're looking for a more unique and creative flower nail art design, this DIY video is perfect for you. With a mix of different techniques and colors, you'll have a one-of-a-kind floral design on your nails that will surely turn heads. Start by applying a base coat and letting it dry. Then, using a light blue nail polish, paint your nails as the base color. This will represent the sky for our floral design. Next, take a white nail polish and using a thin brush, create small curved lines on your nails to represent clouds. You can make them as big or small as you'd like, and don't worry about making them perfect. Once the clouds have dried, take a pink nail polish and using a dotting tool, create small dots on your nails to represent flowers. You can use different shades of pink to add more depth to the design. For the final touch, take a green nail polish and create small lines around the flowers to represent the stems. You can also add in some light green accents for more dimension. Finish off with a top coat and you'll have a beautiful floral design that looks like it was hand-painted!3. DIY Flower Nail Art Design Video

3. DIY Flower Nail Art Design Video


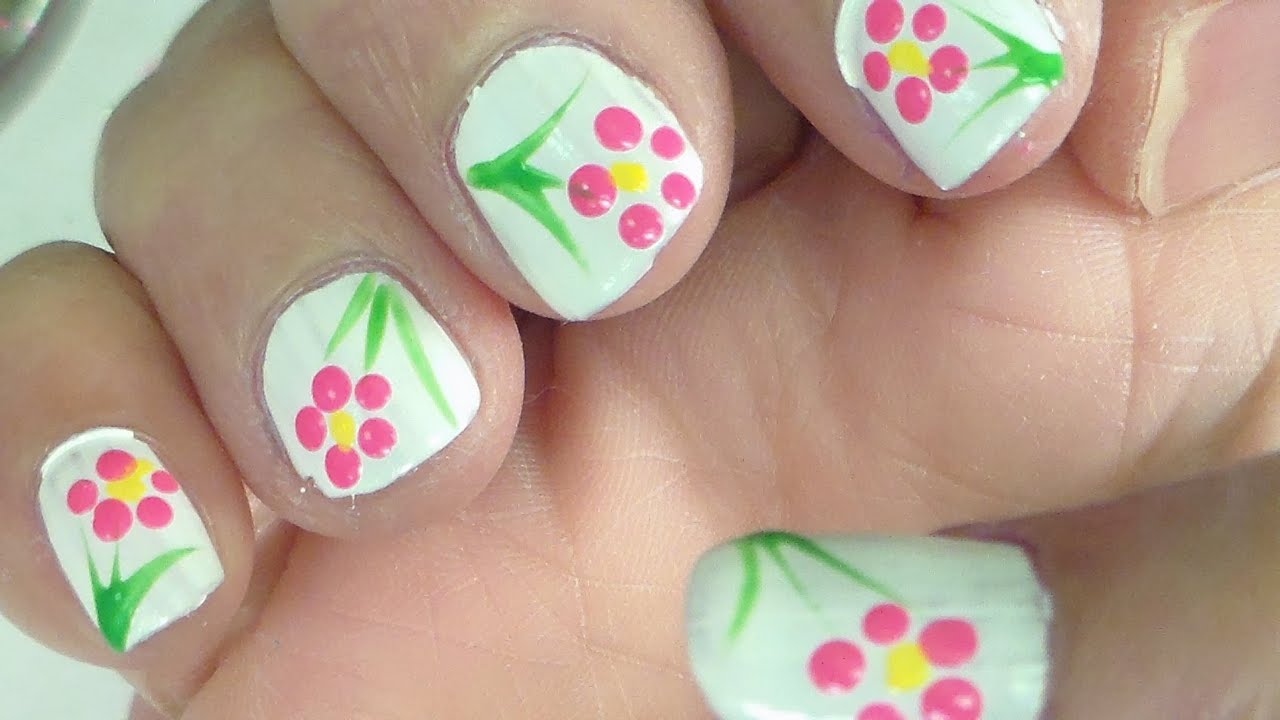
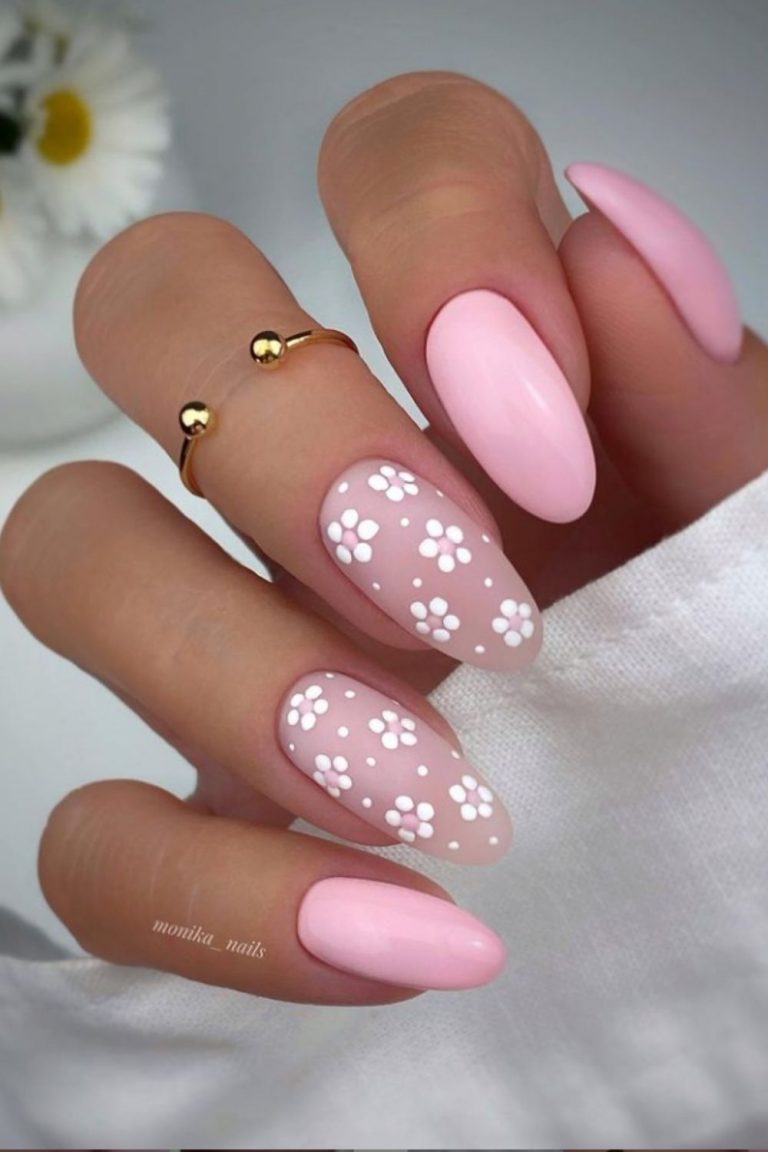
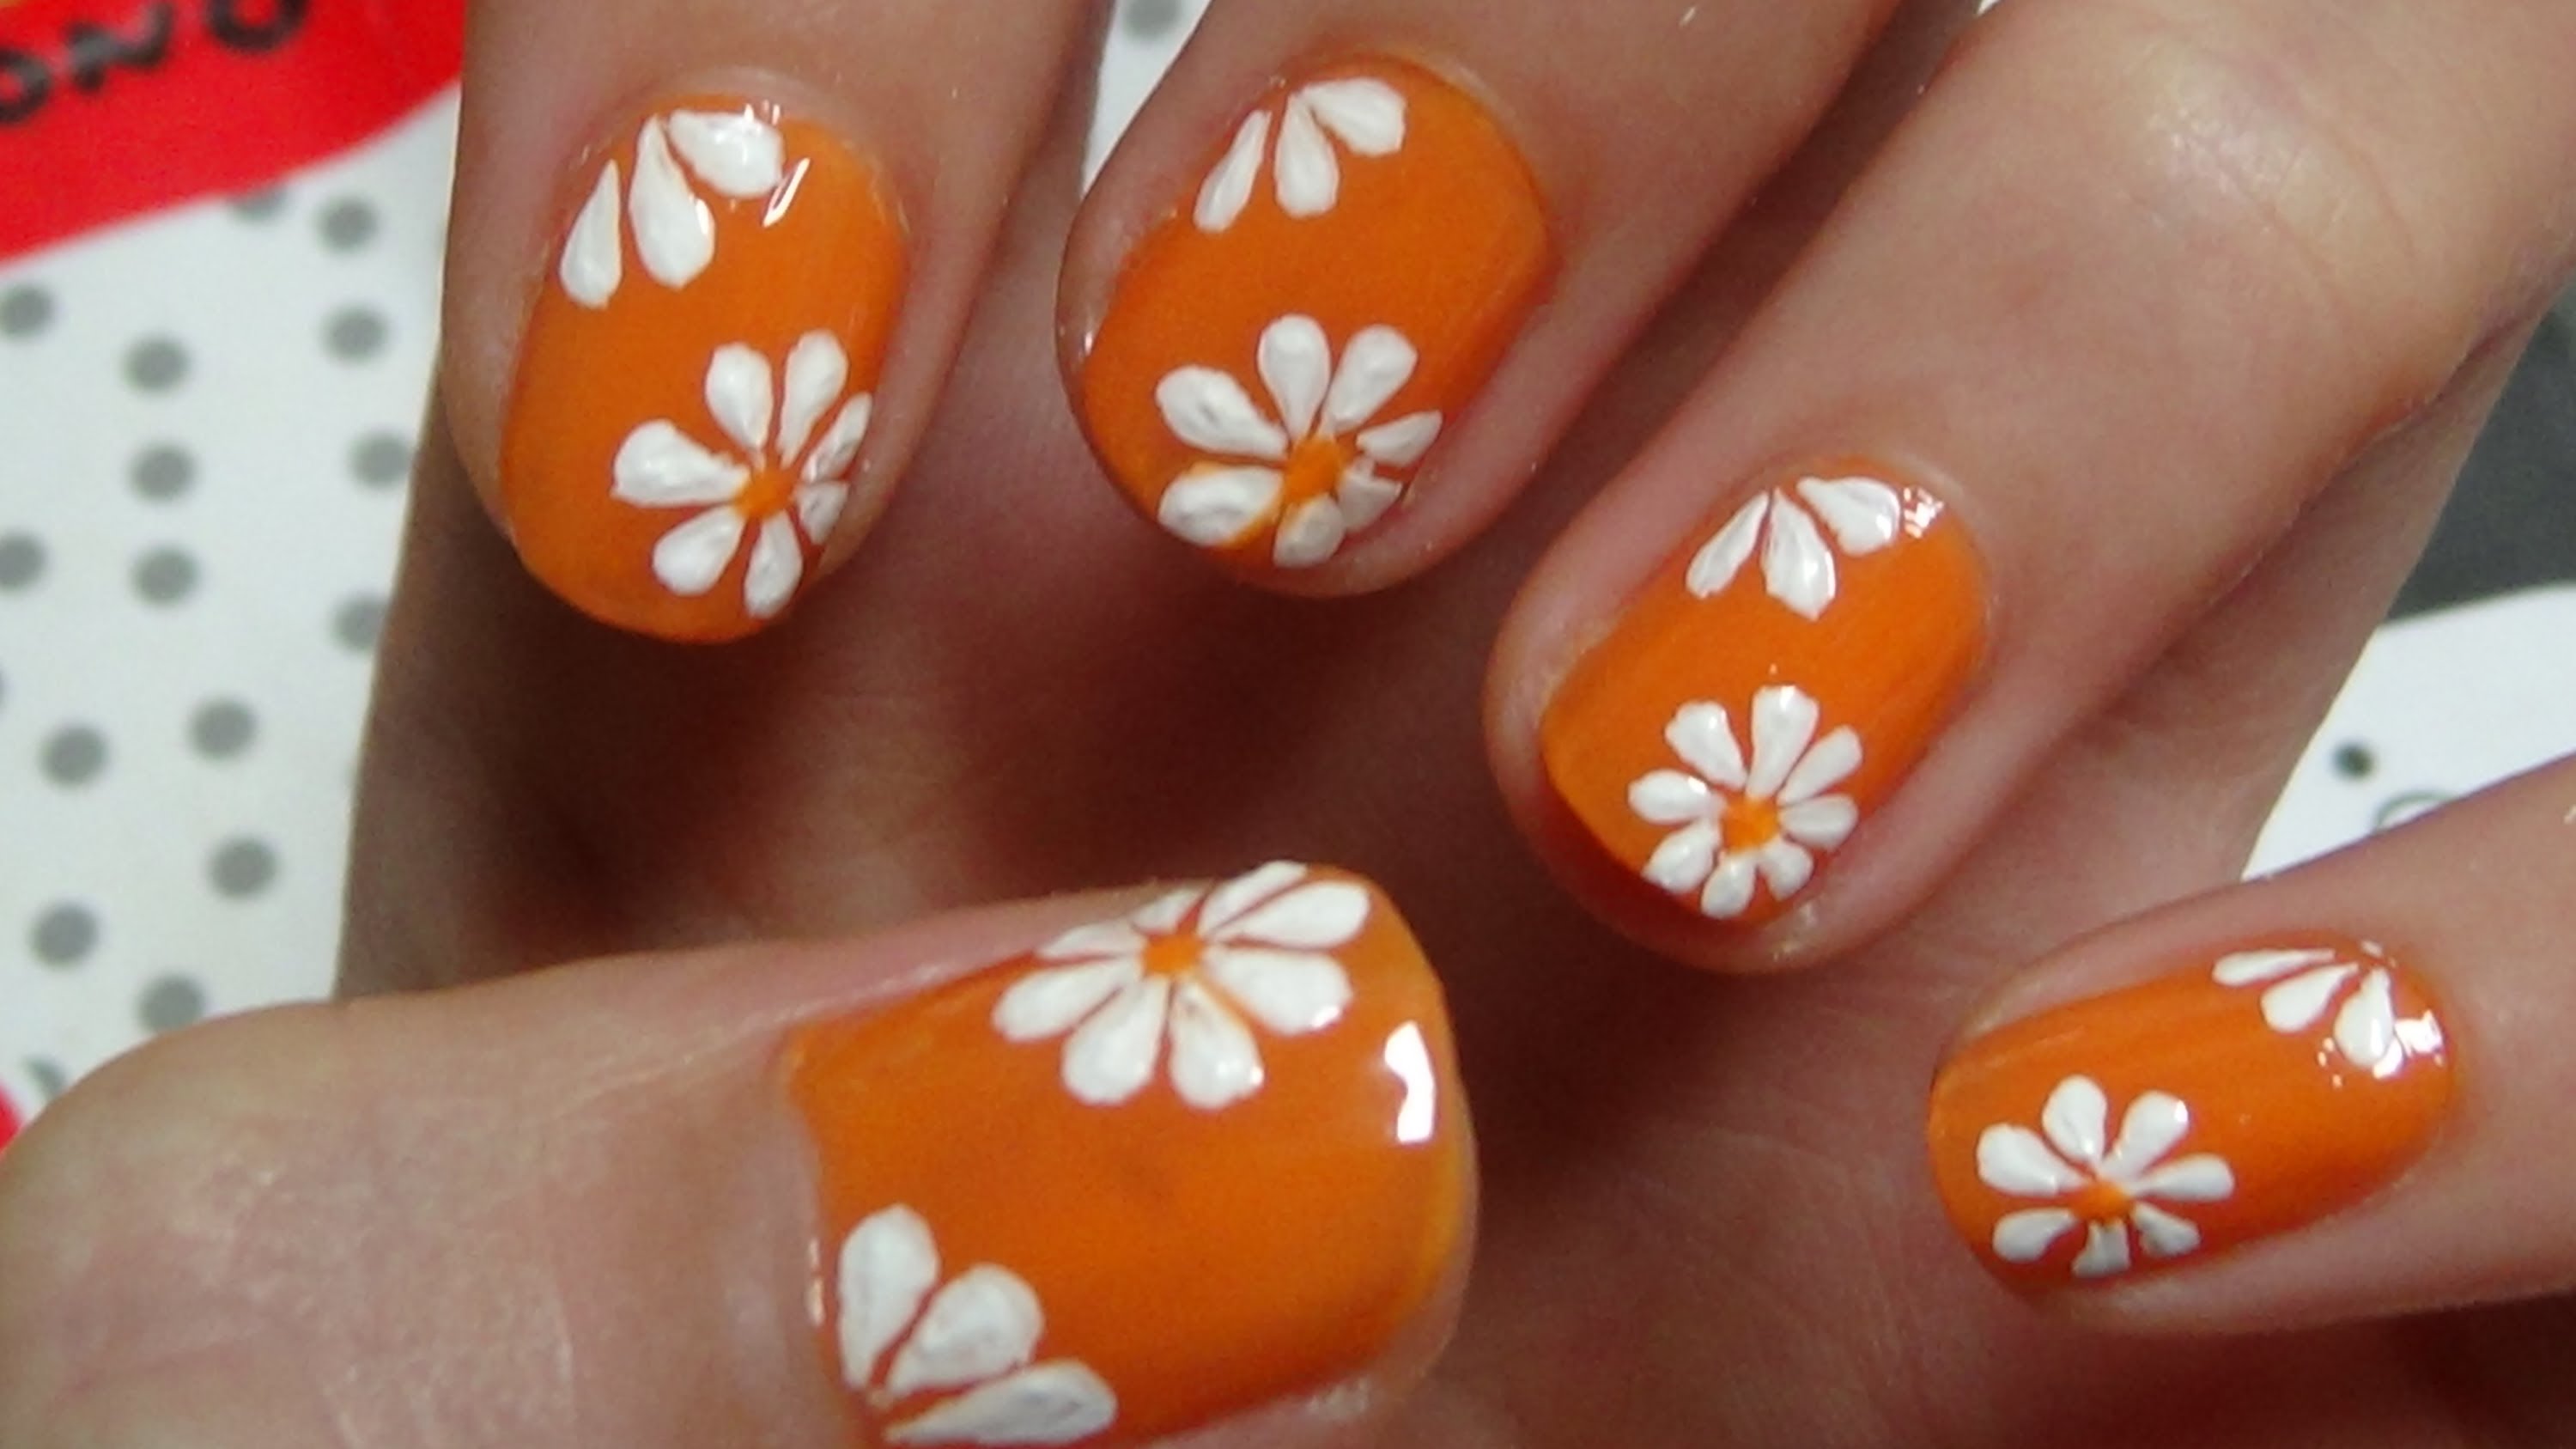
If you're new to nail art, don't worry! This simple flower nail art tutorial is perfect for beginners. With just a few basic nail polish colors and tools, you'll be able to create a stunning floral design on your nails in no time. Start by applying a base coat and letting it dry. Then, using a light pink nail polish, paint your nails as the base color. This will give your design a soft and delicate touch. Next, take a white nail polish and using a dotting tool, create small dots in a circular pattern on your nails to represent the petals of the flower. You can make them as big or small as you'd like, and don't worry about making them perfect. Once the petals have dried, take a yellow nail polish and create a small dot in the center of each flower. This will give your design a pop of color and make it stand out. For the final step, use a green nail polish and create small curved lines around the flowers to represent the leaves and stems. You can also add in some light green accents for more dimension. Finish off with a top coat and you'll have a beautiful and simple floral design on your nails.4. Simple Flower Nail Art Tutorial for Beginners


4. Simple Flower Nail Art Tutorial for Beginners

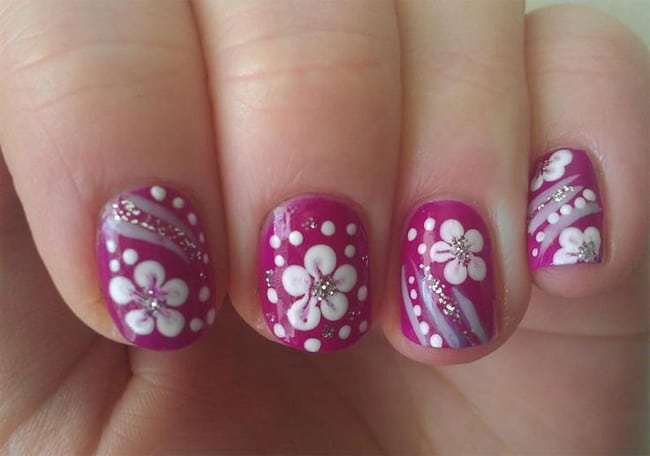
If you're looking for a more intricate and detailed flower nail art design, this step by step tutorial is for you. With a mix of different techniques, you'll have a beautiful and unique floral design on your nails that will make a statement. Start by applying a base coat and letting it dry. Then, using a light purple nail polish, paint your nails as the base color. This will give your design a soft and feminine touch. Next, take a white nail polish and using a thin brush, create small oval shapes on your nails to represent the petals of the flower. You can make them as big or small as you'd like, and don't worry about making them perfect. Once the petals have dried, take a pink nail polish and using a dotting tool, create small dots in the center of each petal. You can use different shades of pink to add more depth to the design. For the final touch, use a green nail polish and create thin lines around the petals to represent the leaves. You can also add in some light green accents for more dimension. Finish off with a top coat and you'll have a stunning floral design on your nails.5. How to Create a Floral Nail Design Step by Step
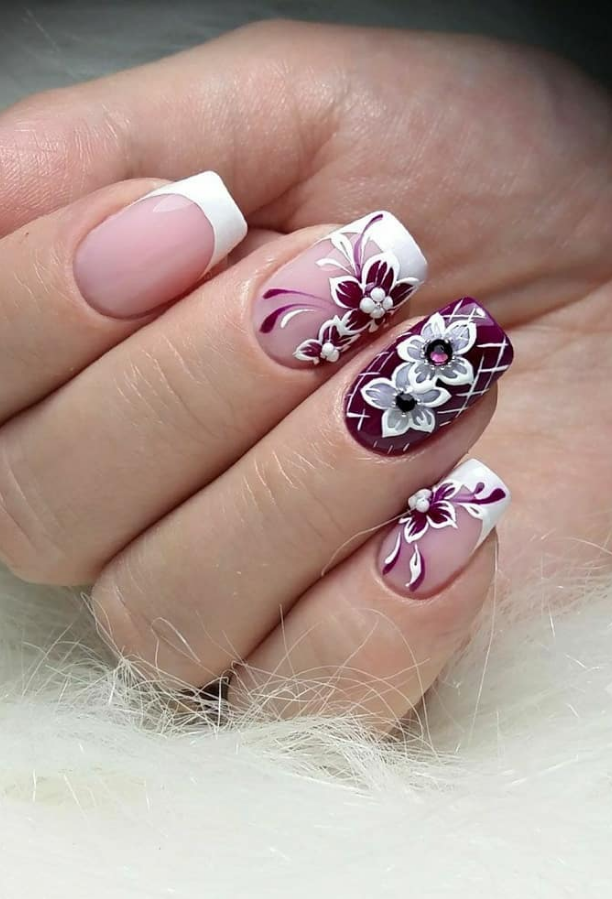
5. How to Create a Floral Nail Design Step by Step


Who says you can't have beautiful nail art on short nails? This cute flower nail art tutorial is perfect for those with shorter nails but still want to rock a floral design. And the best part? It's super easy to recreate! Start by applying a base coat and letting it dry. Then, using a light blue nail polish, paint your nails as the base color. This will represent the sky for our floral design. Next, take a white nail polish and using a thin brush, create small curved lines on your nails to represent clouds. You can make them as big or small as you'd like, and don't worry about making them perfect. Once the clouds have dried, take a pink nail polish and using a dotting tool, create small dots on your nails to represent flowers. You can use different shades of pink to add more depth to the design. For the final touch, take a green nail polish and create small lines around the flowers to represent the stems. You can also add in some light green accents for more dimension. Finish off with a top coat and you'll have a cute and fun floral design on your short nails.6. Cute Flower Nail Art Tutorial for Short Nails


6. Cute Flower Nail Art Tutorial for Short Nails
:max_bytes(150000):strip_icc()/284224607_818102752504475_277547827964259801_n-3ef75484d6c149c986288e35e05275b0.jpg)


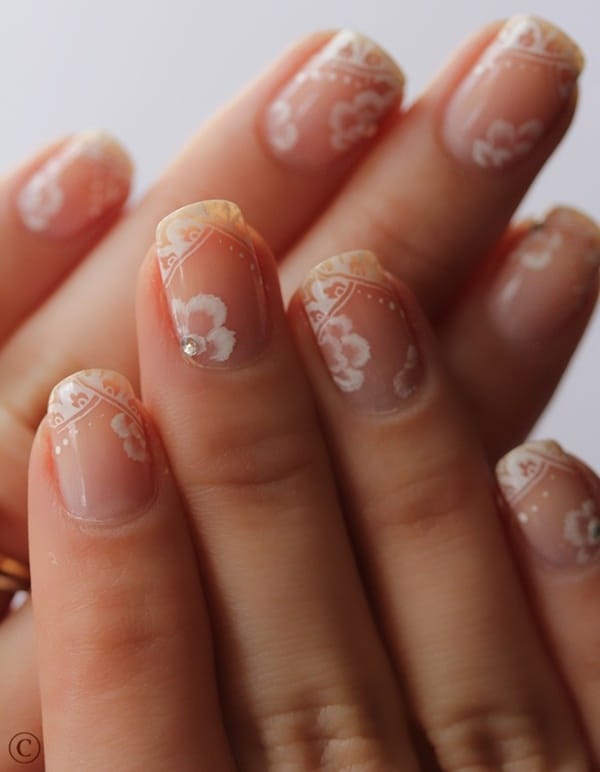
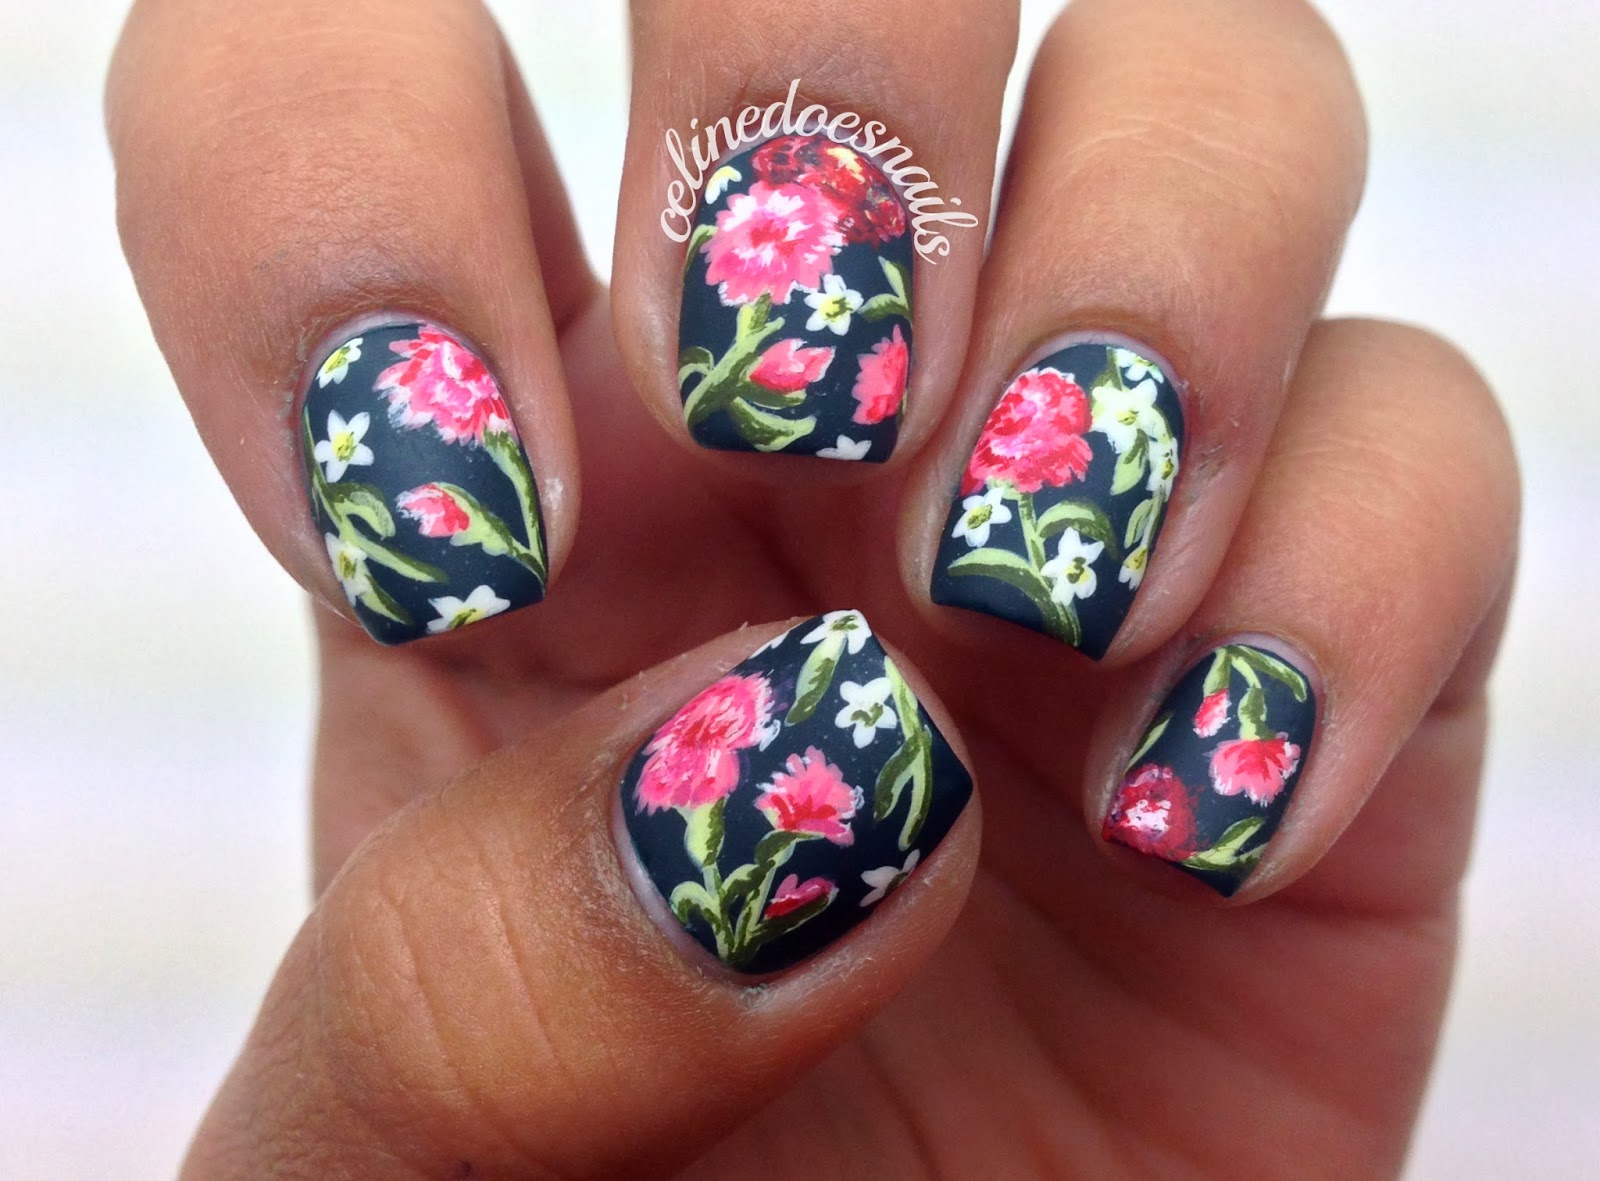
If you're a perfectionist and want your flower nail art to be flawless, this step by step guide is perfect for you. With detailed instructions and tips, you'll be able to create a stunning and professional-looking floral design on your nails. Start by applying a base coat and letting it dry. Then, using a nude nail polish, paint your nails as the base color. This will give your design a clean and sophisticated look. Next, take a white nail polish and using a thin brush, create small oval shapes on your nails to represent the petals of the flower. You can make them as big or small as you'd like, and try to make them as symmetrical as possible. Once the petals have dried, take a yellow nail polish and using a dotting tool, create a small dot in the center of each petal. This will give your flower a pop of color and make it stand out. For the final touch, use a green nail polish and create thin lines around the petals to represent the leaves. You can also add in some light green accents for more dimension. Finish off with a top coat and you'll have a flawless and gorgeous floral design on your nails.7. Step by Step Guide to Floral Nail Art
7. Step by Step Guide to Floral Nail Art
If you have longer nails and want to show off a more intricate and detailed flower nail art design, this tutorial is perfect for you. With a mix of techniques and colors, you'll have a stunning floral design that will make a statement. Start by applying a base coat and letting it dry. Then, using a pastel yellow nail polish, paint your nails as the base color. This will give your design a soft and delicate touch. Next, take a light pink nail polish and using a thin brush, create small oval shapes on your nails to represent the petals of the flower. You can make them as big or small as you'd like, and try to make them as symmetrical as possible. Once the petals have dried, take a white nail polish and using a dotting tool, create small dots in the center of each petal. You can use different shades of white to add more dimension to the flowers. For the final step, use a green nail polish and create thin lines around the petals to represent the leaves. You can also add in some light green accents for more dimension. Finish off with a top coat and you'll have a stunning and intricate floral design on your long nails.8. Flower Nail Art Design Tutorial for Long Nails

8. Flower Nail Art Design Tutorial for Long Nails
If you're short on time but still want to have beautiful flower nail art, this easy and quick tutorial is perfect for you. With just a few simple steps, you'll have a gorgeous floral design on your nails in no time. Start by applying a base coat and letting it dry. Then, using a light purple nail polish, paint your nails as the base color. This will give your design a soft and feminine touch. Next, take a white nail polish and using a dotting tool, create small dots in a circular pattern on your nails to represent the petals of the flower. You can make them as big or small as you'd like, and don't worry about making them perfect. Once the petals have dried, take a yellow nail polish and create a small dot in the center of each flower. This will give your design a pop of color and make it stand out. For the final touch, use a green nail polish and create small curved lines around the flowers to represent the leaves and stems. You can also add in some light green accents for more dimension. Finish off with a top coat and you'll have a beautiful and quick floral design on your nails.9. Easy and Quick Flower Nail Art Tutorial

9. Easy and Quick Flower Nail Art Tutorial
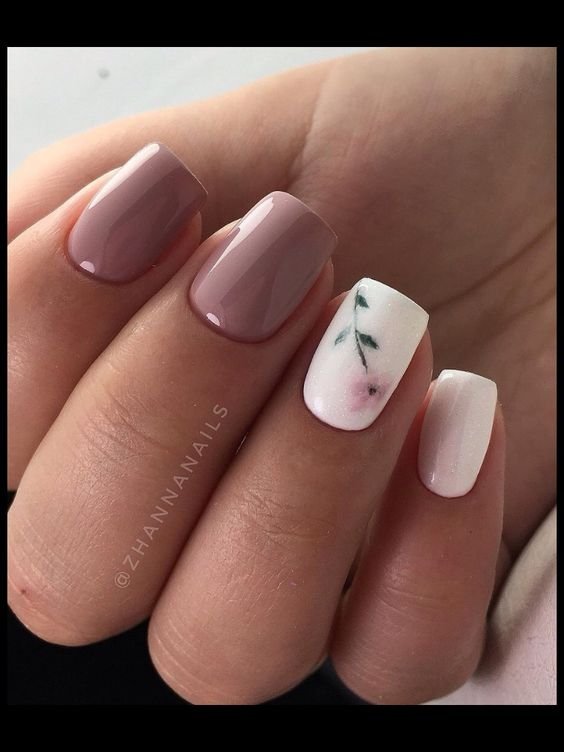
If you want a more elegant and sophisticated flower nail art design, this step by step video is perfect for you. With a mix of techniques and colors, you'll have a stunning floral design that is perfect for special occasions or everyday wear. Start by applying a base coat and letting it dry. Then, using a nude nail polish, paint your nails as the base color. This will give your design a clean and sophisticated look. Next, take a white nail polish and using a thin brush, create small oval shapes on your nails to represent the petals of the flower. You can make them as big or small as you'd like, and try to make them as symmetrical as possible. Once the petals have dried, take a light pink nail polish and using a dotting tool, create a small dot in the center of each petal. This will give your flower a pop of color and make it stand out. For the final touch, use a green nail polish and create thin lines around the petals to represent the leaves. You can also add in some light green accents for more dimension. Finish off with a top coat and you'll have an elegant and stunning floral design on your nails.10. Step by Step Video for Elegant Flower Nail Design

10. Step by Step Video for Elegant Flower Nail Design


Floral Nail Art: A Beautiful and Versatile Design

Unlock Your Creativity with Flower Nail Art
 Flower nail art is a popular trend that has taken the beauty world by storm. From delicate daisies to vibrant roses, these designs add a touch of femininity and elegance to any nail look. With the rise of social media and the availability of step-by-step video tutorials, it has become easier than ever to achieve stunning flower nail art designs right in the comfort of your own home.
Step-by-Step Guide to Perfect Flower Nail Art
 Before diving into the world of flower nail art, it's important to gather the necessary tools. This includes a base coat, top coat, a selection of nail polish colors, a detailing brush or dotting tool, and
nail polish remover
for any mistakes. Once you have your tools ready, it's time to get creative!
The first step is to apply a base coat to protect your nails and create a smooth surface for the nail polish to adhere to. Next, choose your desired color for the base of your flower design. This can be a classic nude or a bold pop of color, depending on your personal style. Once the base color is dry, it's time to start creating your flower design.
Before diving into the world of flower nail art, it's important to gather the necessary tools. This includes a base coat, top coat, a selection of nail polish colors, a detailing brush or dotting tool, and
nail polish remover
for any mistakes. Once you have your tools ready, it's time to get creative!
The first step is to apply a base coat to protect your nails and create a smooth surface for the nail polish to adhere to. Next, choose your desired color for the base of your flower design. This can be a classic nude or a bold pop of color, depending on your personal style. Once the base color is dry, it's time to start creating your flower design.
Choose Your Favorite Flower and Start Painting
 There are many different types of flowers that can be recreated on your nails, such as roses, sunflowers, and daisies.
Roses
are a popular choice for their romantic and feminine look, while
sunflowers
bring a touch of summer and brightness to any nail look. For beginners,
daisies
are a great option as they are simple to create and can be customized with different colors.
Using a detailing brush or dotting tool, start by creating the center of your flower. This can be a small dot or a larger circle, depending on the type of flower you are creating. Then, add petals around the center using a different color of nail polish. Continue adding petals until you are satisfied with the look of your flower.
There are many different types of flowers that can be recreated on your nails, such as roses, sunflowers, and daisies.
Roses
are a popular choice for their romantic and feminine look, while
sunflowers
bring a touch of summer and brightness to any nail look. For beginners,
daisies
are a great option as they are simple to create and can be customized with different colors.
Using a detailing brush or dotting tool, start by creating the center of your flower. This can be a small dot or a larger circle, depending on the type of flower you are creating. Then, add petals around the center using a different color of nail polish. Continue adding petals until you are satisfied with the look of your flower.
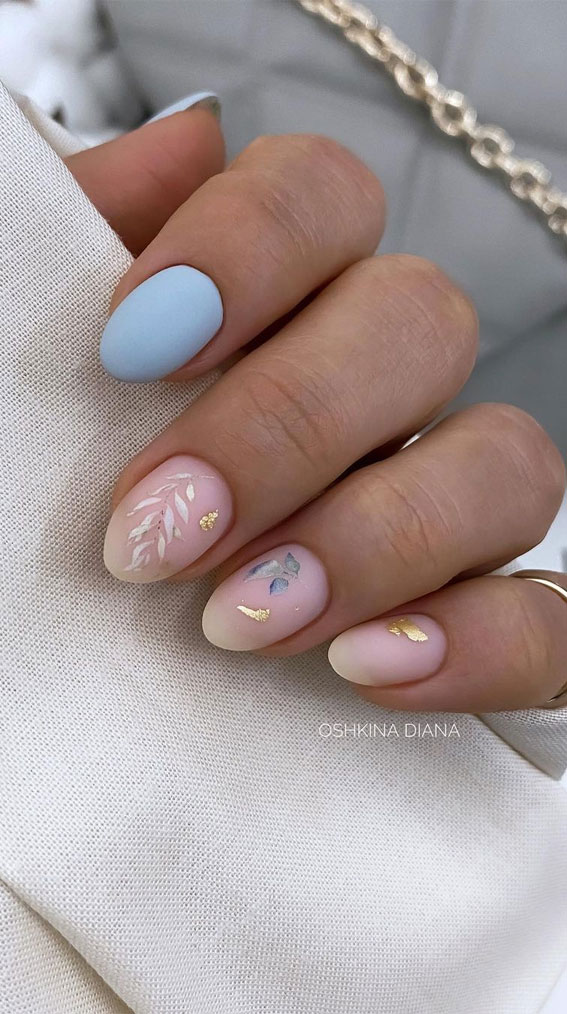
Get Creative with Different Techniques
 There are many different techniques that can be used to create stunning flower nail art designs. For a more realistic look, try using different shades of the same color to create depth and dimension. You can also add
rhinestones
or
glitter
to your design for an extra touch of sparkle and glamour.
Once your design is complete, finish with a top coat to seal in your design and add shine. And there you have it, a beautiful and versatile flower nail art design that is sure to make a statement.
There are many different techniques that can be used to create stunning flower nail art designs. For a more realistic look, try using different shades of the same color to create depth and dimension. You can also add
rhinestones
or
glitter
to your design for an extra touch of sparkle and glamour.
Once your design is complete, finish with a top coat to seal in your design and add shine. And there you have it, a beautiful and versatile flower nail art design that is sure to make a statement.
Final Thoughts
 Flower nail art is a fun and creative way to express yourself and add a touch of nature to your nails. With the help of step-by-step videos, anyone can achieve stunning flower nail art designs at home. So why not give it a try and unlock your creativity with this beautiful and versatile design?


