French manicures are a classic and timeless nail art design that is loved by many. It is a simple yet elegant look that is perfect for any occasion. If you want to achieve this chic look at home, follow this step by step tutorial to create your own French nail art.French Manicure Nail Art Tutorial


French Manicure Nail Art Tutorial


Creating French nail art doesn't have to be complicated. In fact, there are many easy designs that you can try to achieve the classic French look. One of the easiest ways is to use striping tape to create the perfect white tip. Simply place the tape diagonally on your nail and paint the tip with a white nail polish. Remove the tape while the polish is still wet and voila! You have a clean and crisp white tip.Easy French Nail Art Designs


Easy French Nail Art Designs


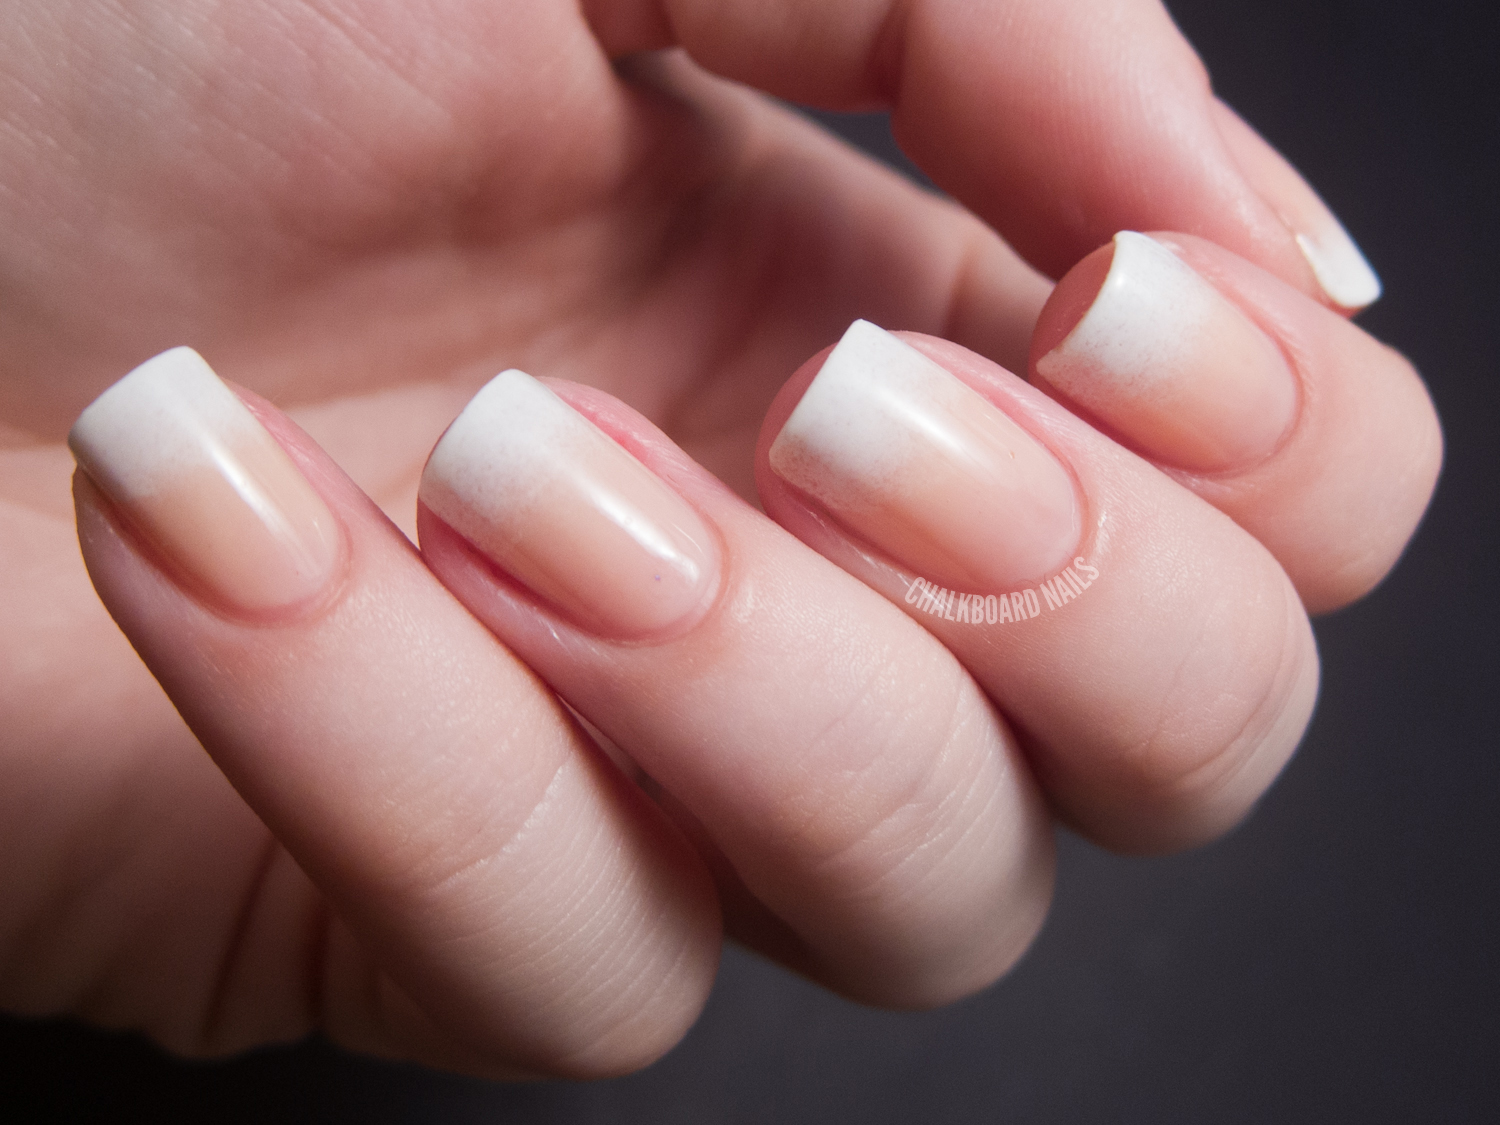
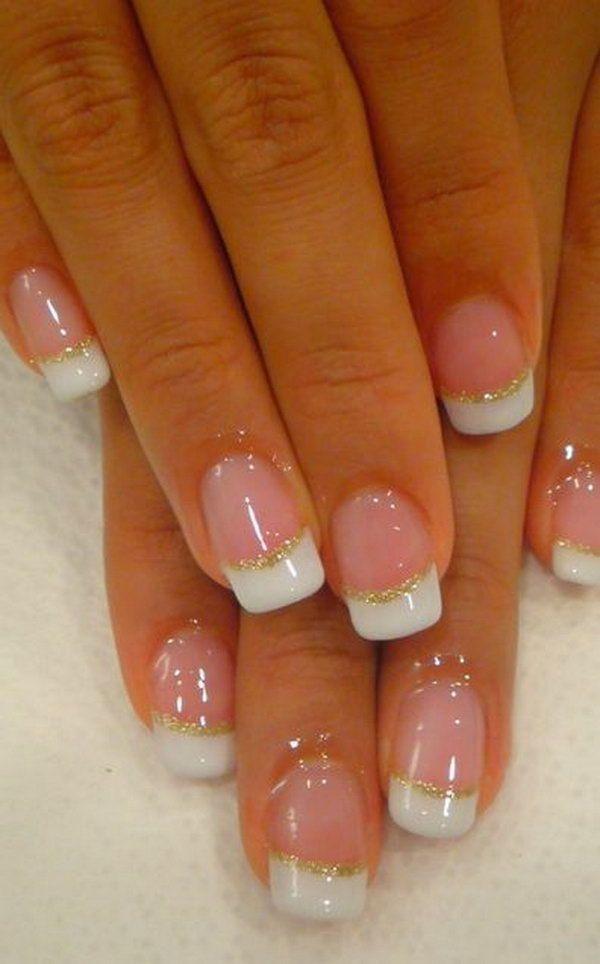
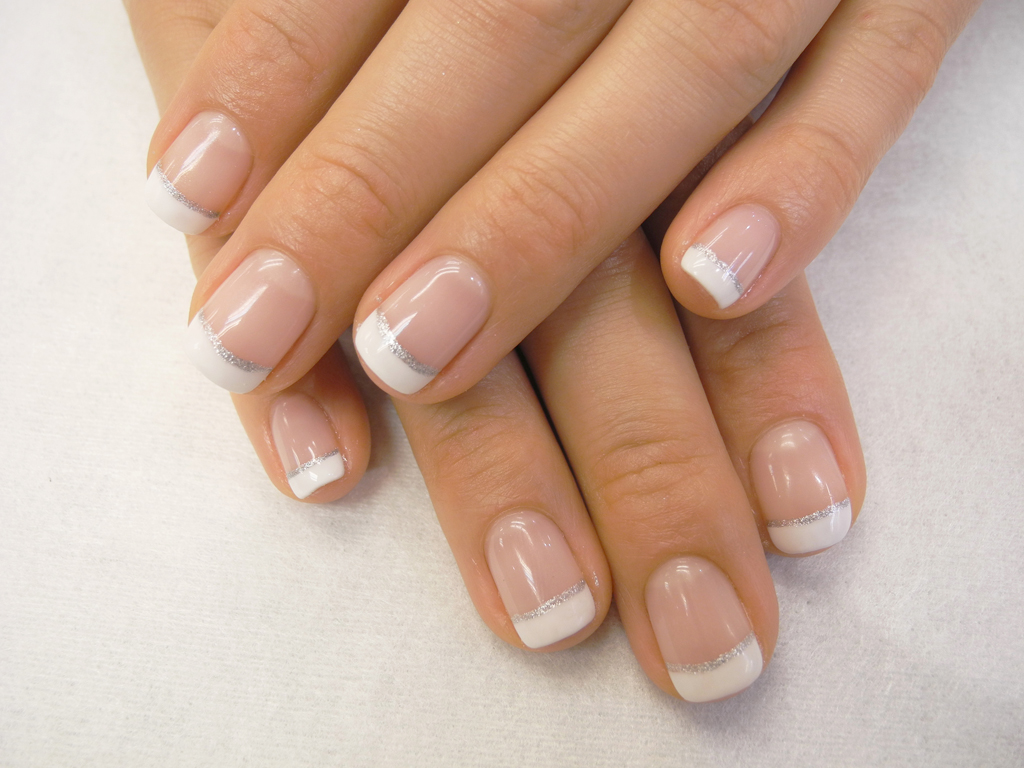
If you're new to the world of French nail art, don't worry. This step by step tutorial will guide you through the process of creating a perfect French manicure. Start by prepping your nails with a base coat to protect them. Then, using a French manicure nail guide, place it on your nail to create a guideline for the white tip. Paint the tip with a white nail polish and let it dry. Next, remove the guide and paint the rest of your nail with a sheer pink or nude color. Finish off with a top coat for a glossy finish.Step by Step French Nail Art Tutorial


Step by Step French Nail Art Tutorial


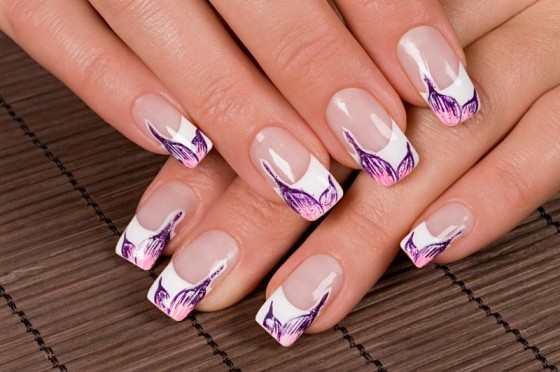
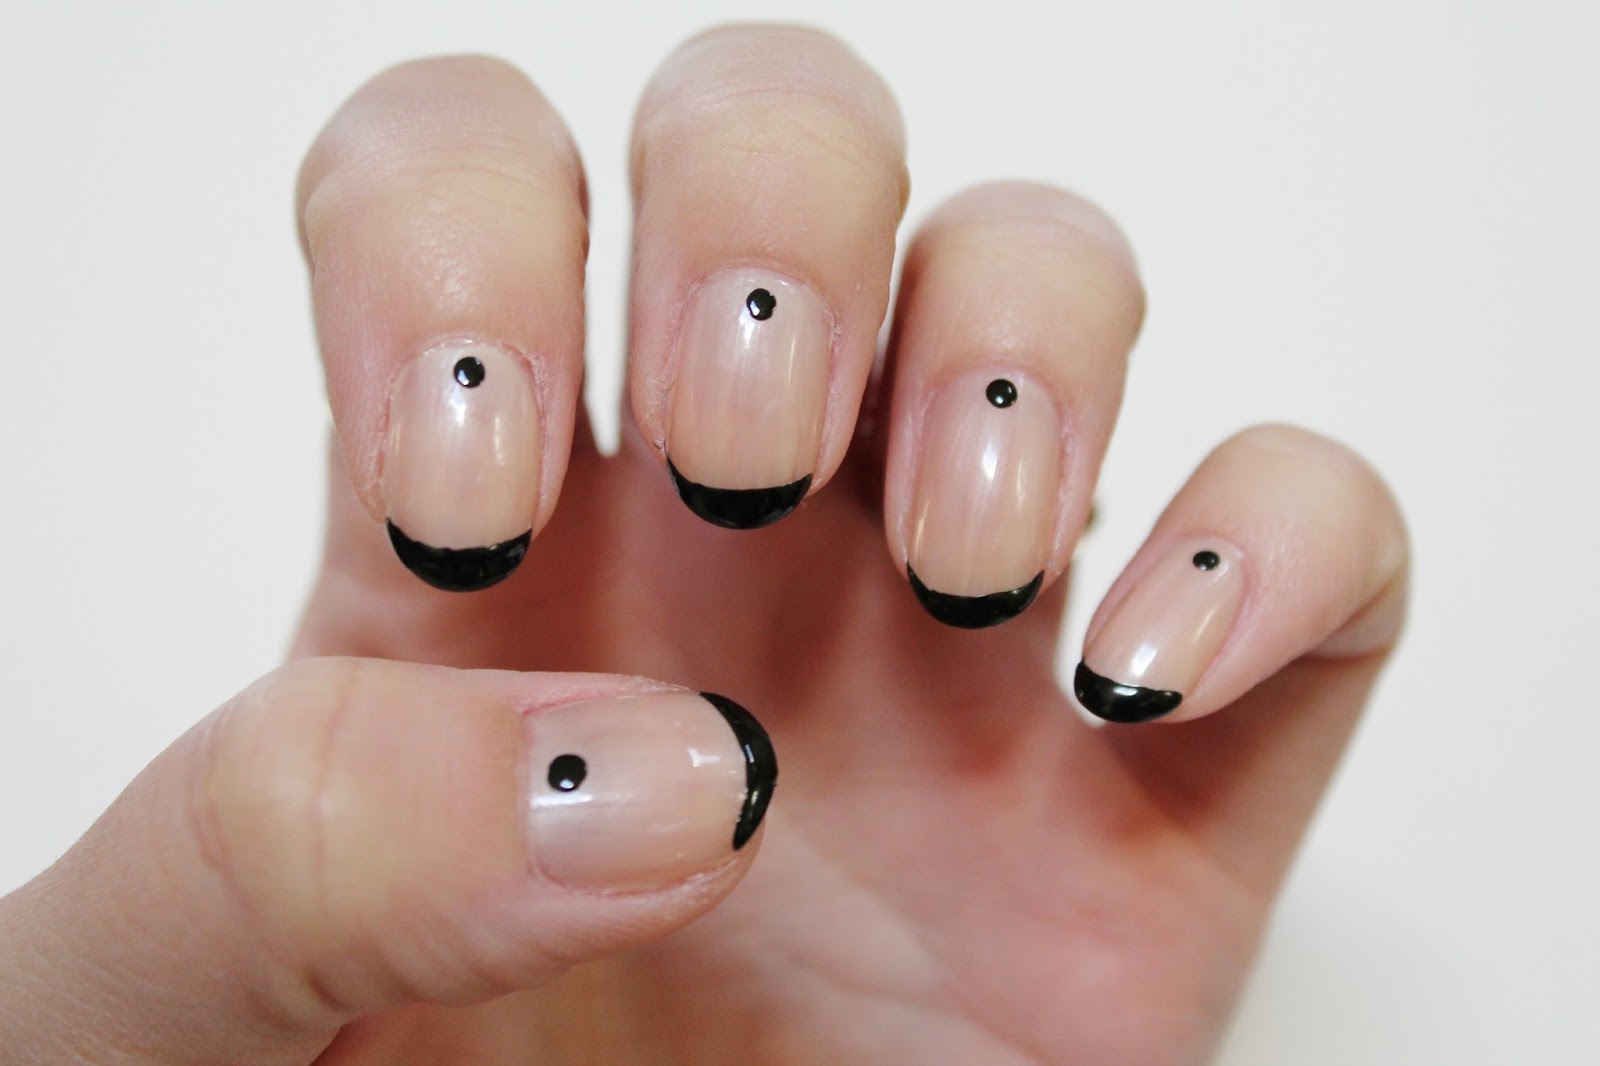
If you're a beginner in the world of nail art, French manicures are a great place to start. The design is simple and easy to achieve, making it perfect for beginners. To add a twist to the classic French look, you can try using different colors for the tip, such as pastel shades or even glitter. You can also experiment with different shapes, such as a rounded tip or a reverse French manicure.French Nail Art Designs for Beginners


French Nail Art Designs for Beginners

Not everyone has the time or patience to create intricate nail art designs. If you want a simple and quick French nail art look, try this tutorial. Start by painting your nails with a sheer nude or pink color. Then, using a white nail polish, create a diagonal line across the tip of your nail. You can use a stripping brush or a nail art pen for more precision. Finish off with a clear top coat for a glossy and clean finish.Simple French Nail Art Tutorial


Simple French Nail Art Tutorial


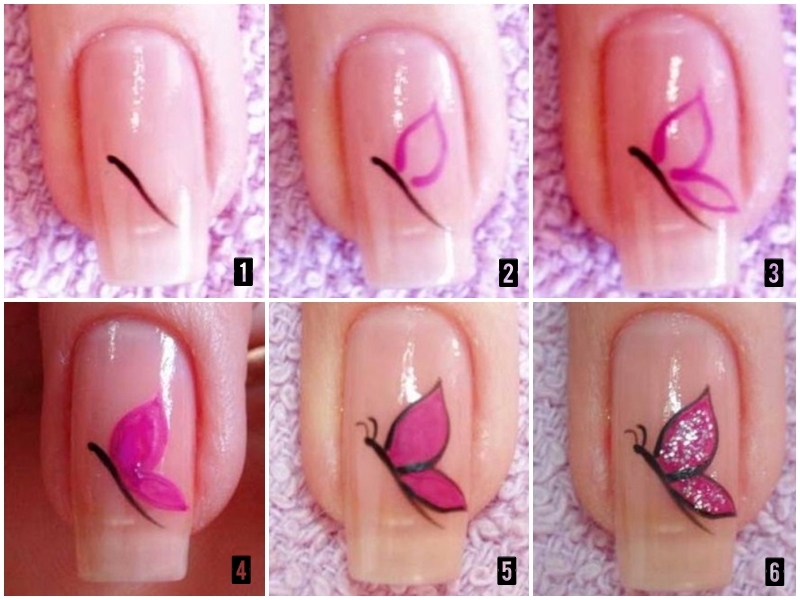
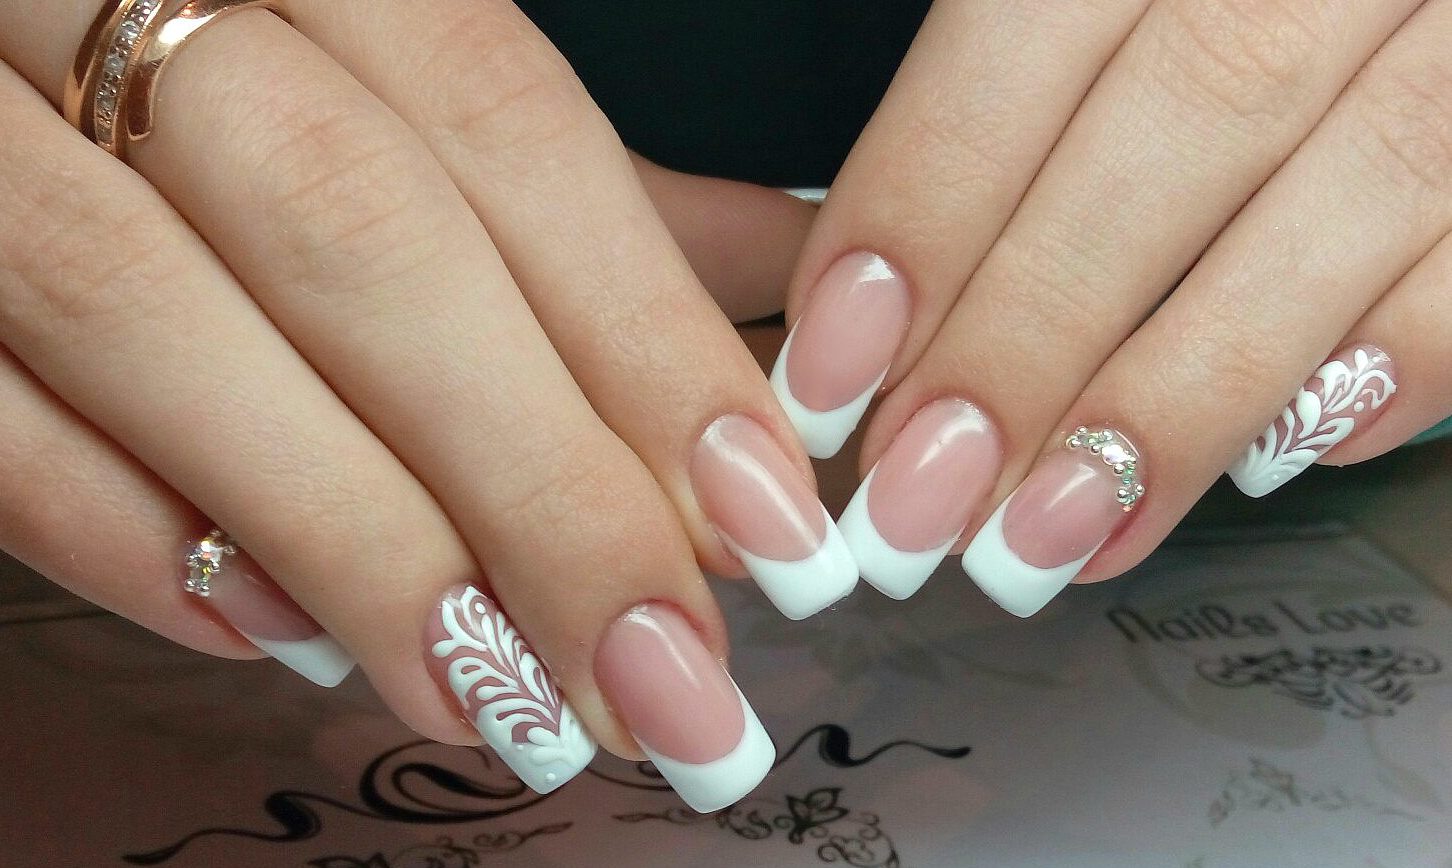
For a more detailed and step by step guide to creating French nail art, follow these steps. Start by prepping your nails with a base coat to protect them. Then, using a white nail polish, paint the tip of your nail in a curved shape. You can use a nail guide or a small brush for precision. Next, paint the rest of your nail with a sheer pink or nude color. For a more unique look, you can add small dots or stripes with a nail art brush or tool. Finish off with a top coat for a shiny finish.French Nail Art Step by Step Guide

French Nail Art Step by Step Guide
French nail art can be expensive if you get it done at a salon. But with this DIY tutorial, you can achieve the same look at home without breaking the bank. Start by prepping your nails with a base coat. Then, using a white nail polish, create a curved tip on your nails. You can also use a stencil or a nail art stamping plate to create a more intricate design. Finish off with a top coat for a glossy finish.DIY French Nail Art Tutorial


DIY French Nail Art Tutorial


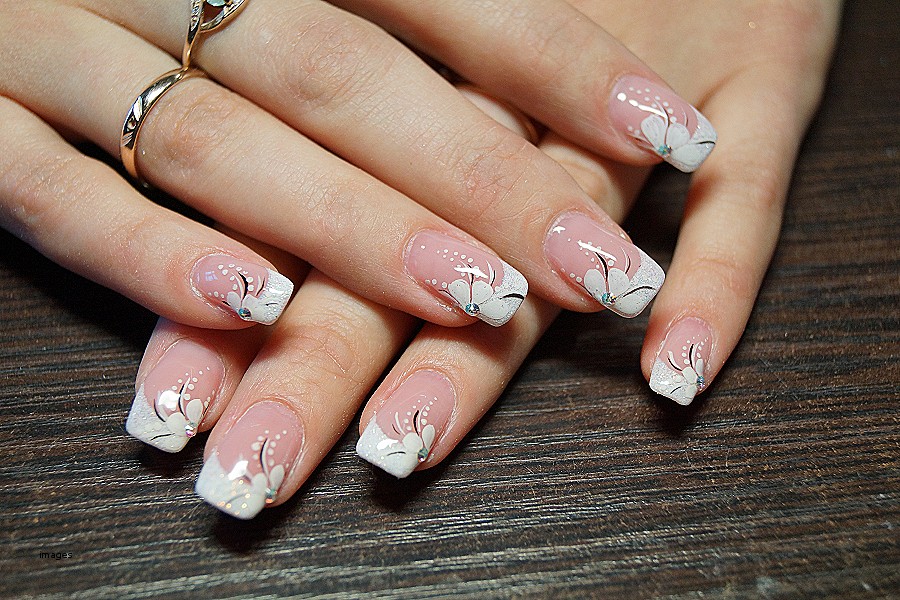
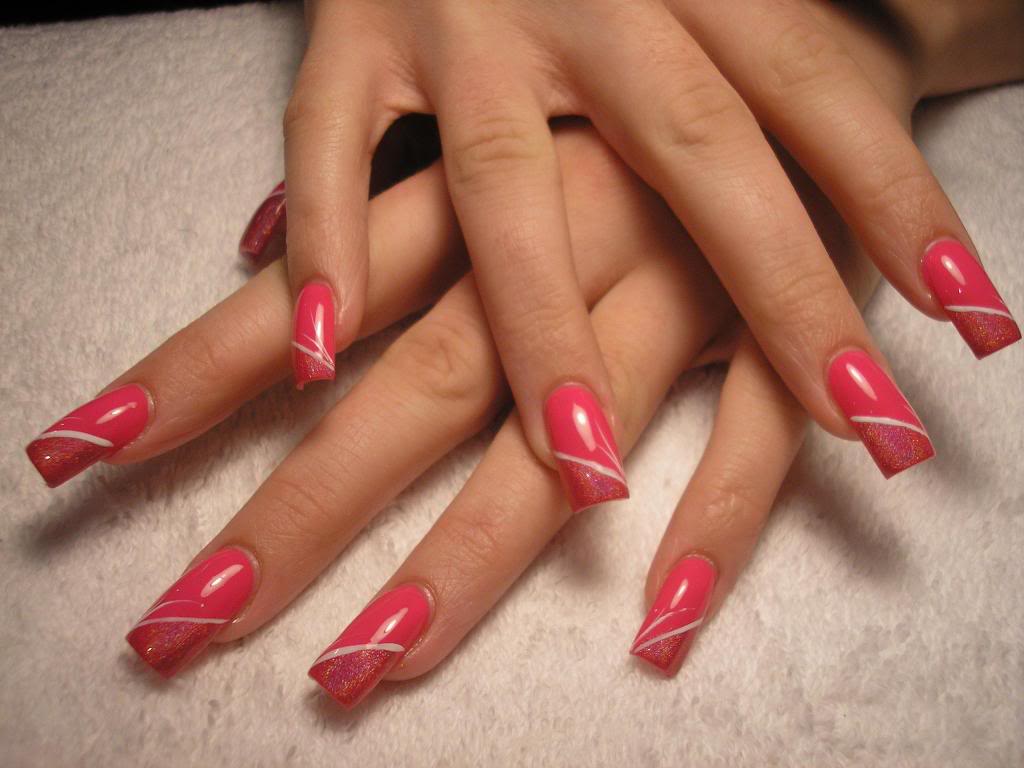
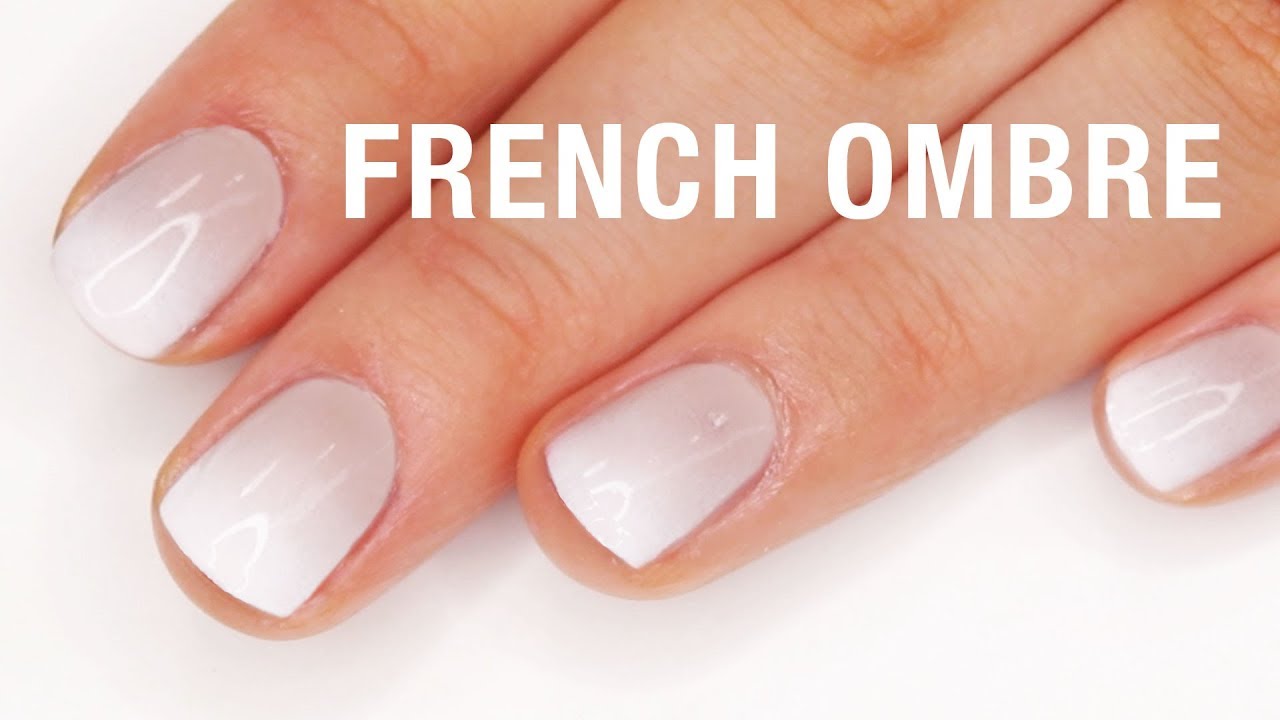
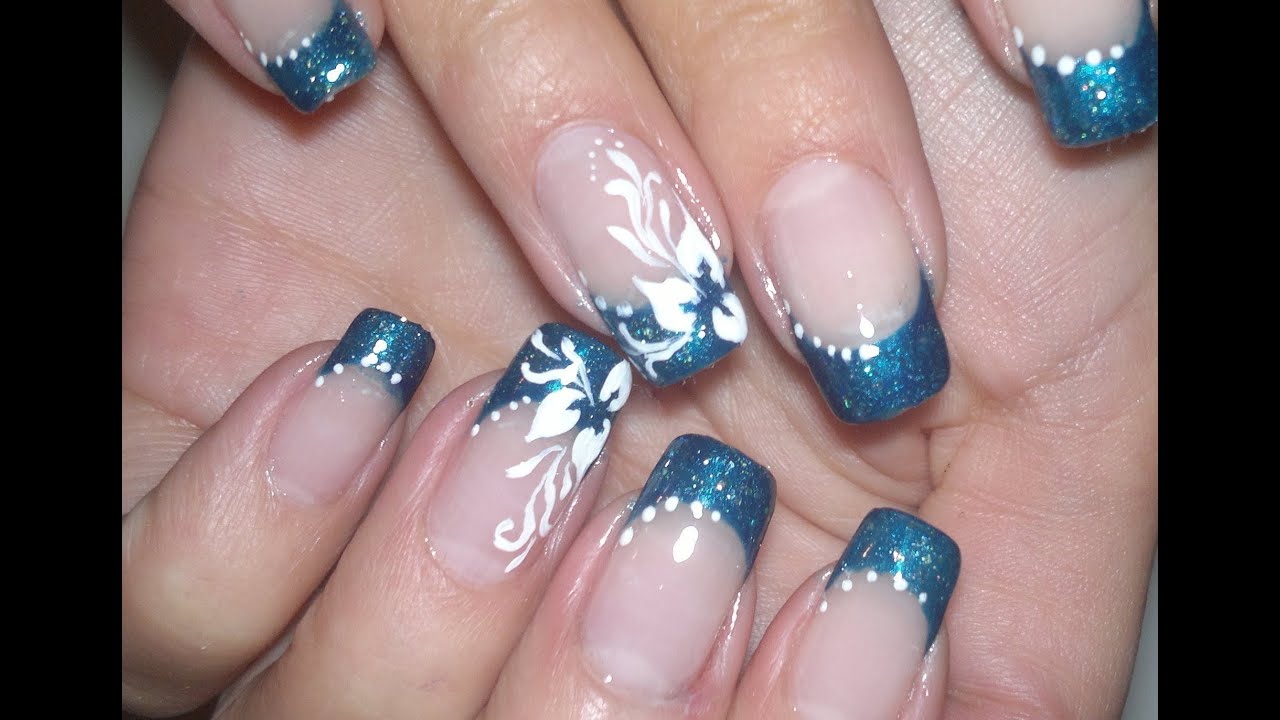
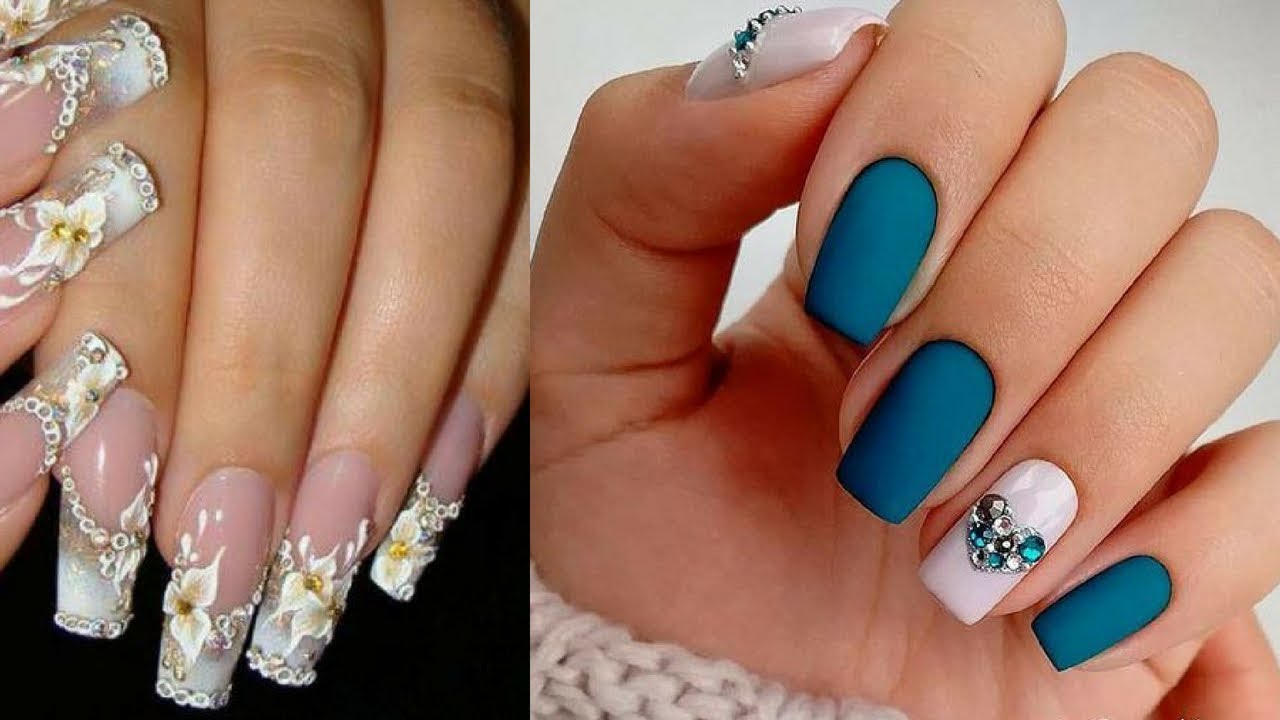
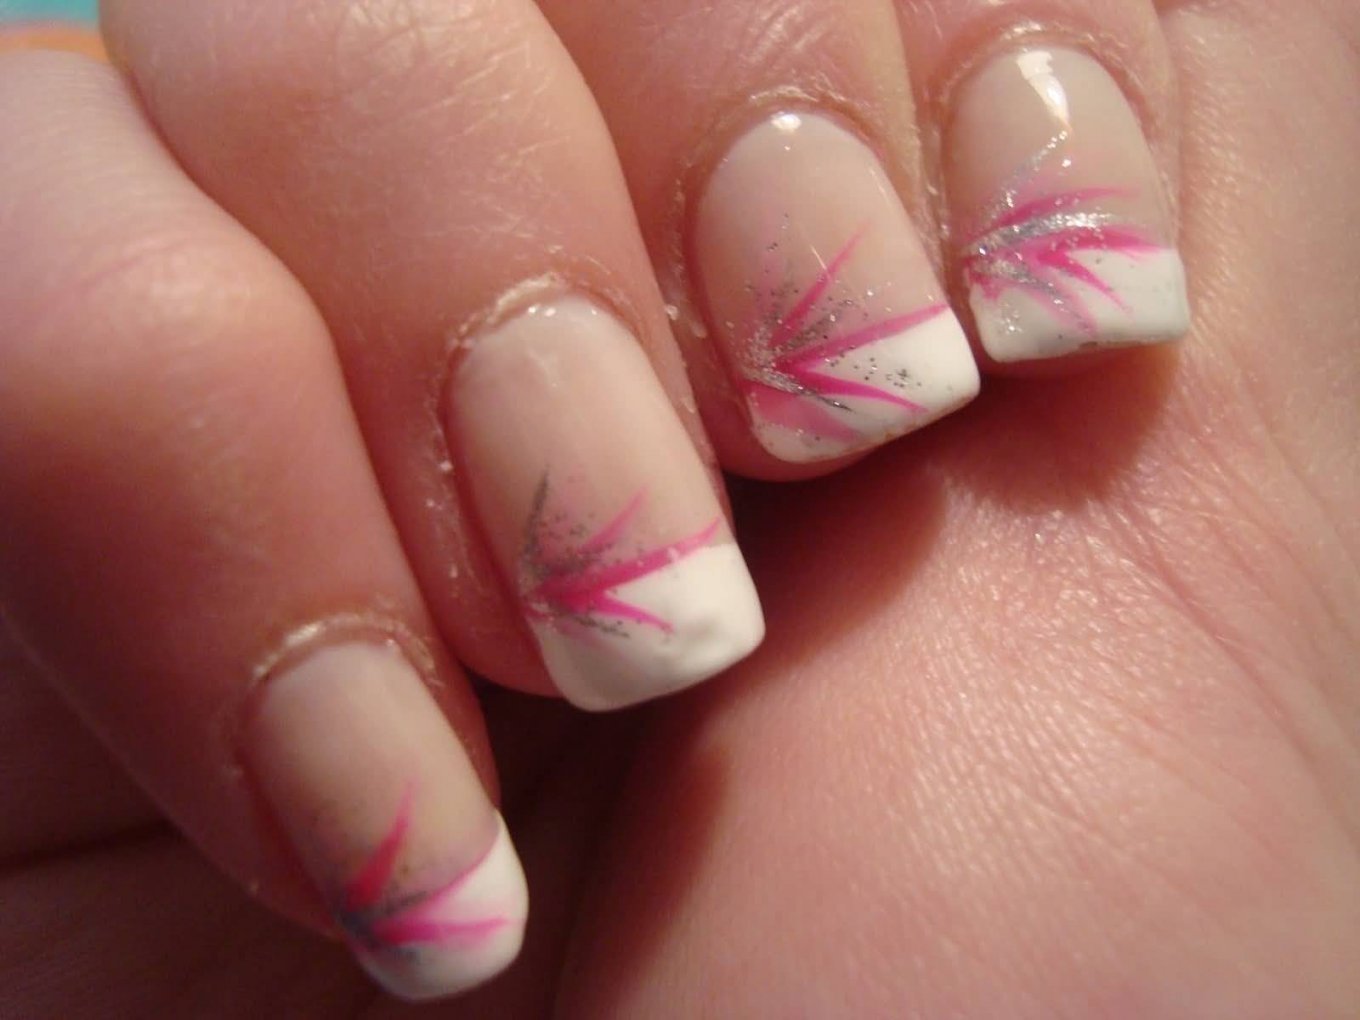
The possibilities are endless when it comes to French nail art designs. Apart from the classic white tip, you can experiment with different colors, shapes, and patterns to create unique and eye-catching designs. Some ideas include adding rhinestones or glitter to the tip, creating a ombre effect, or even incorporating French words or phrases on your nails.French Nail Art Design Ideas
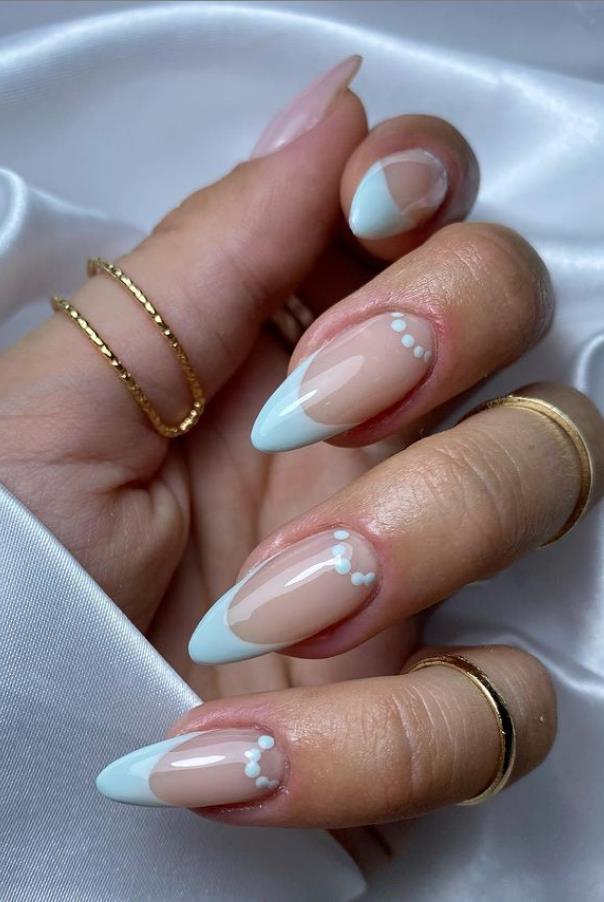
French Nail Art Design Ideas


With the right tools and techniques, you can easily do French nail art at home. Start by gathering all the necessary supplies, including a base coat, white nail polish, sheer pink or nude polish, and a top coat. Then, follow one of the tutorials mentioned above for a step by step guide. Remember to have patience and practice to achieve the perfect French look.How to Do French Nail Art at Home


How to Do French Nail Art at Home


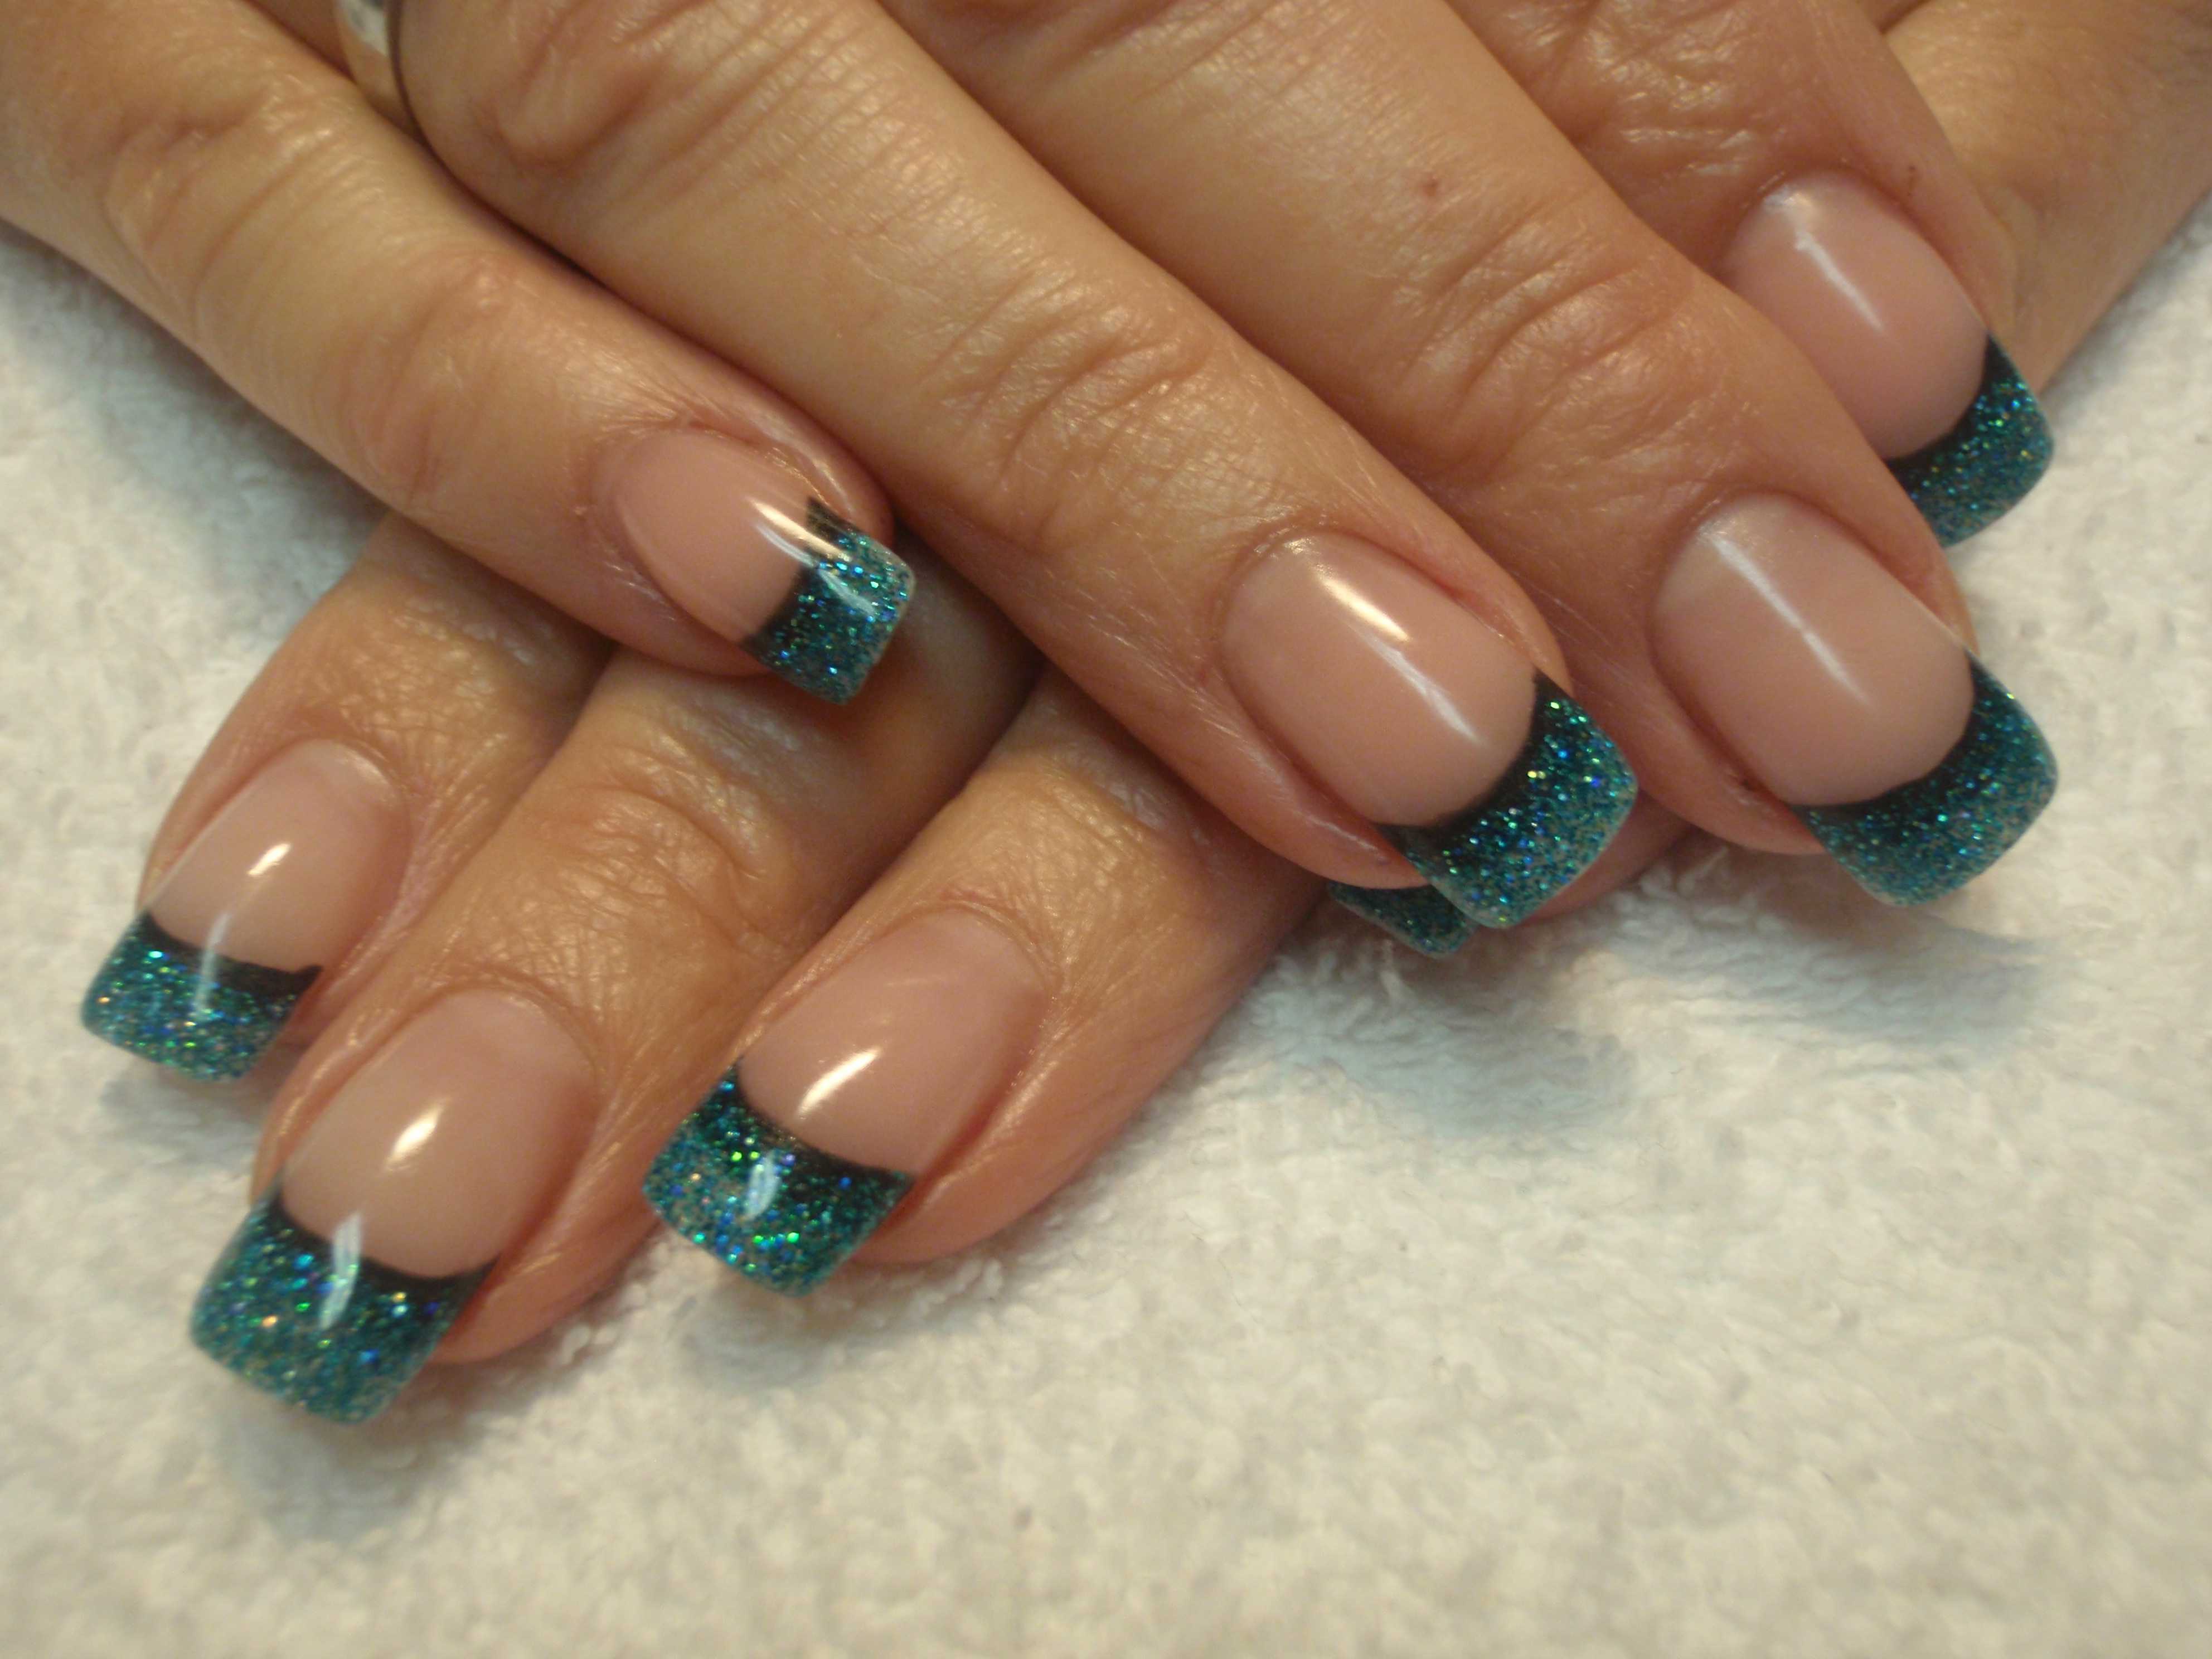
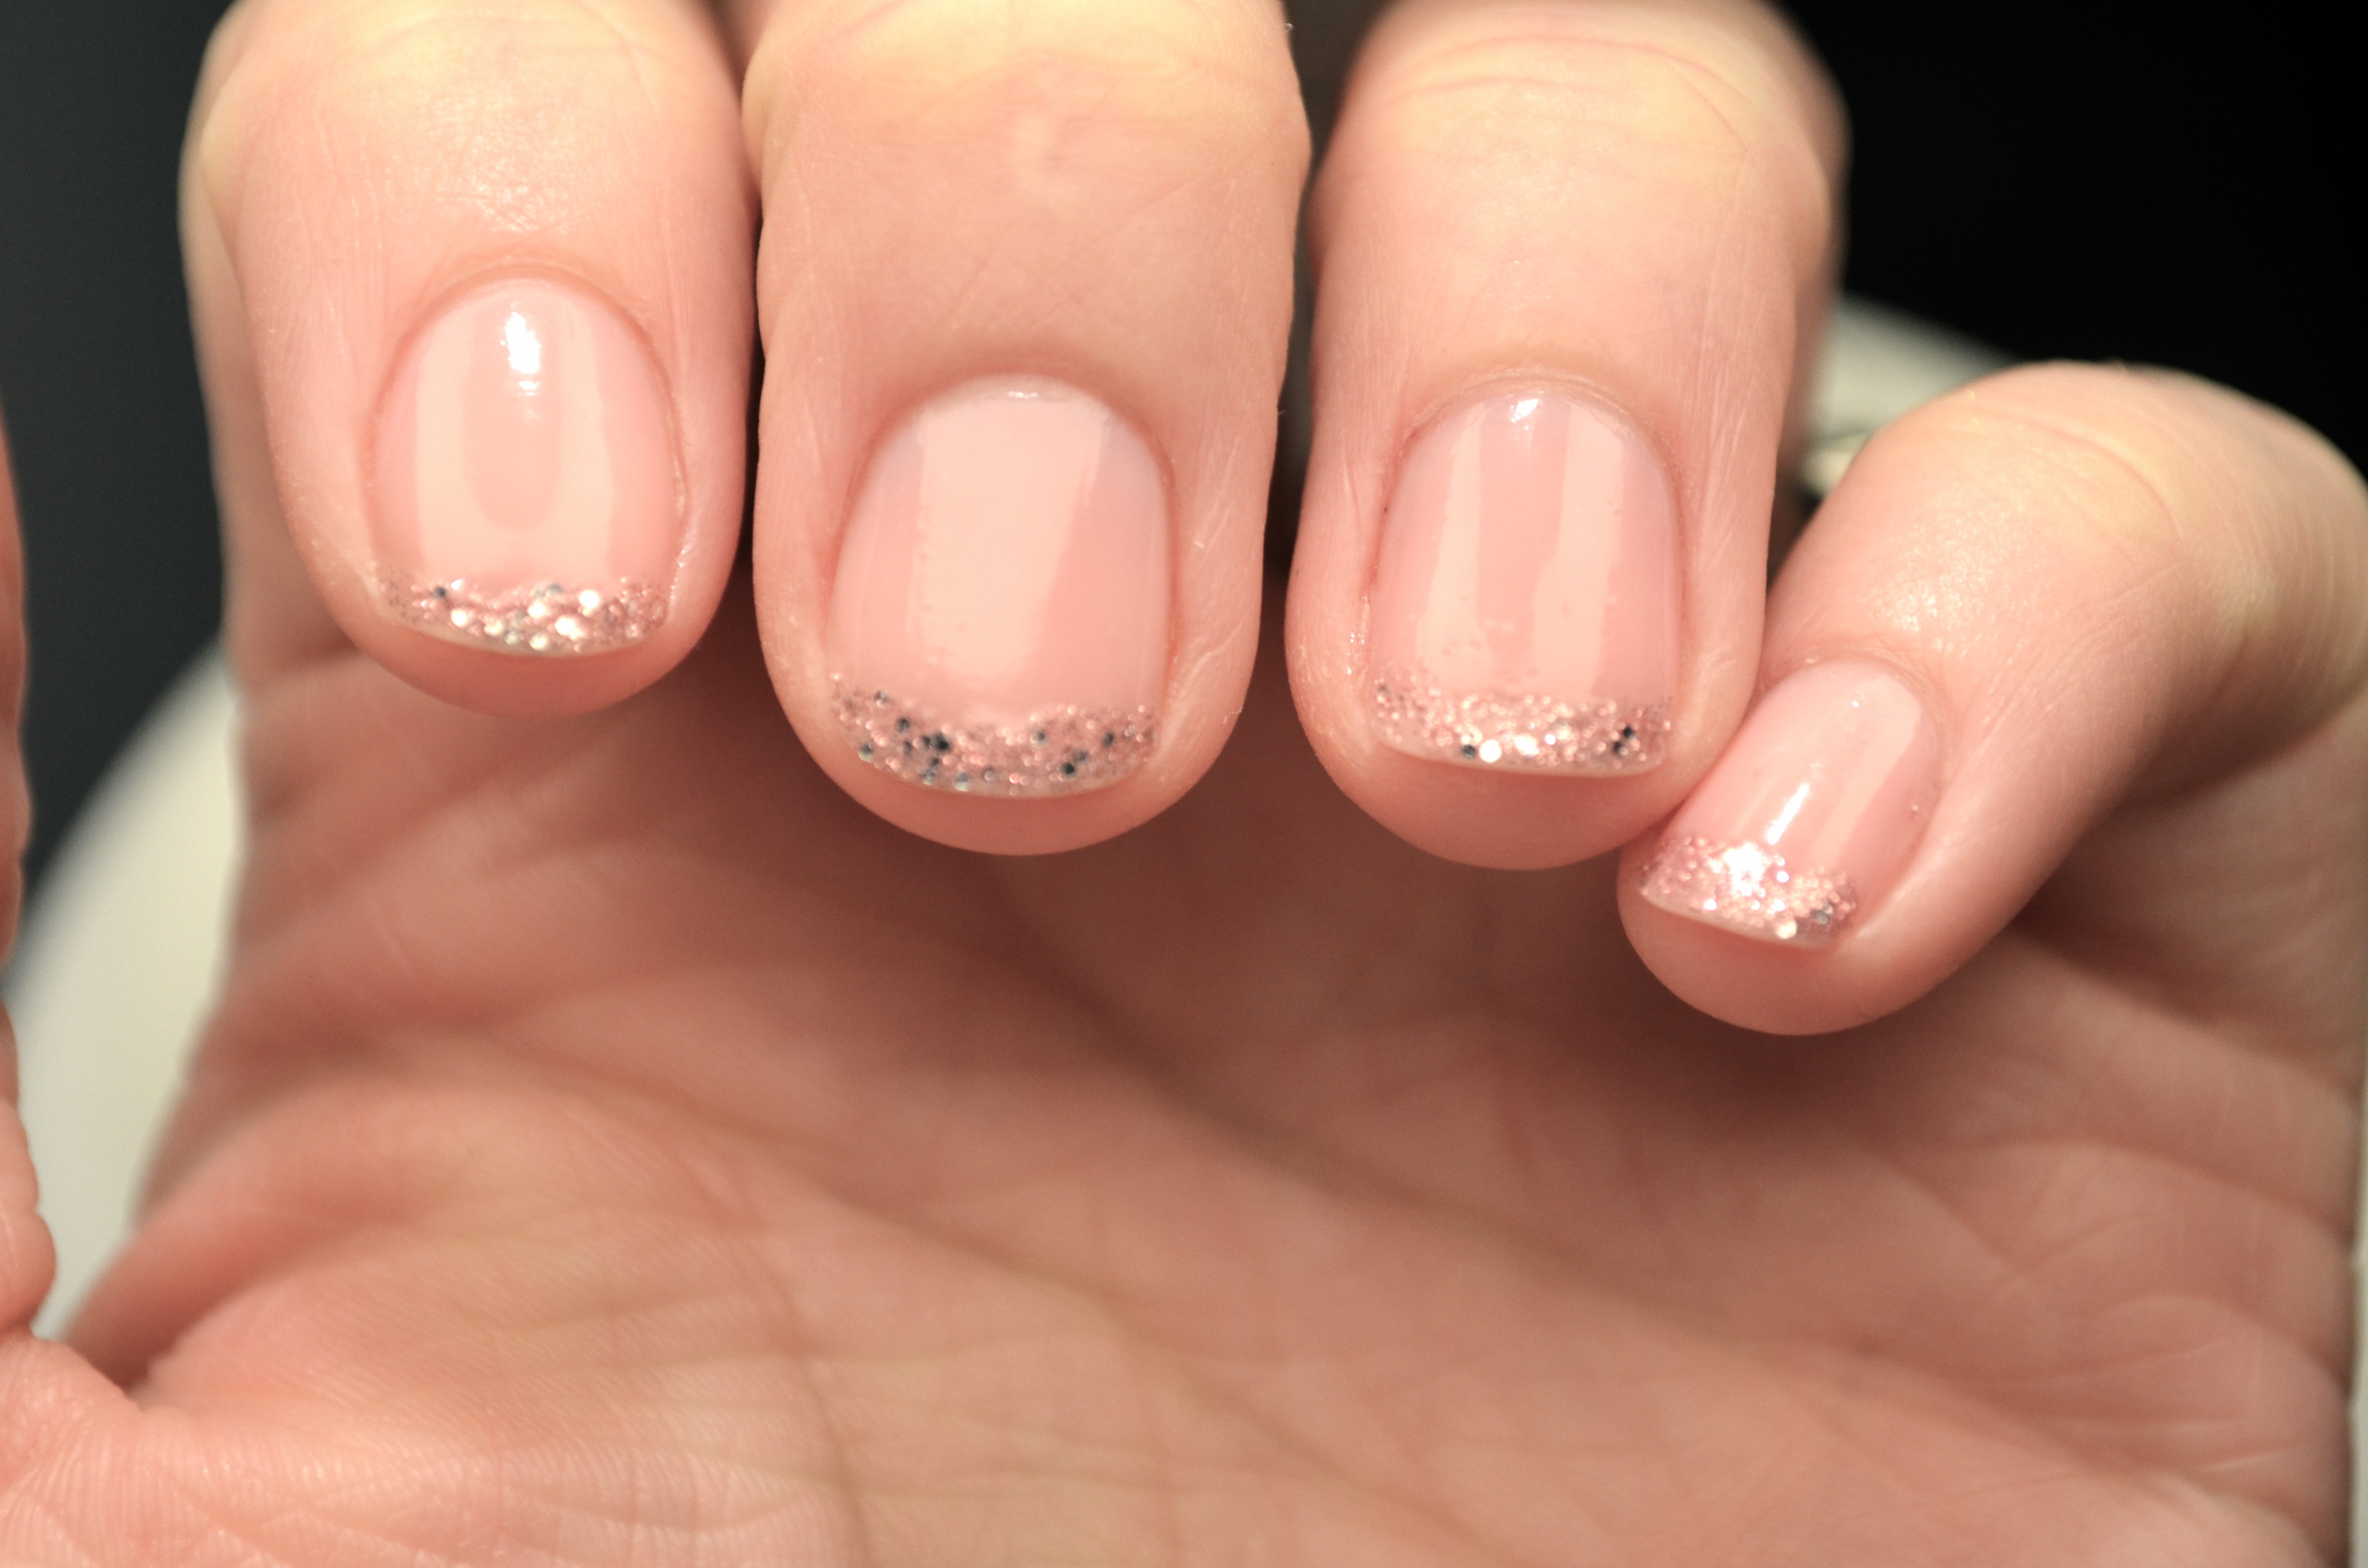
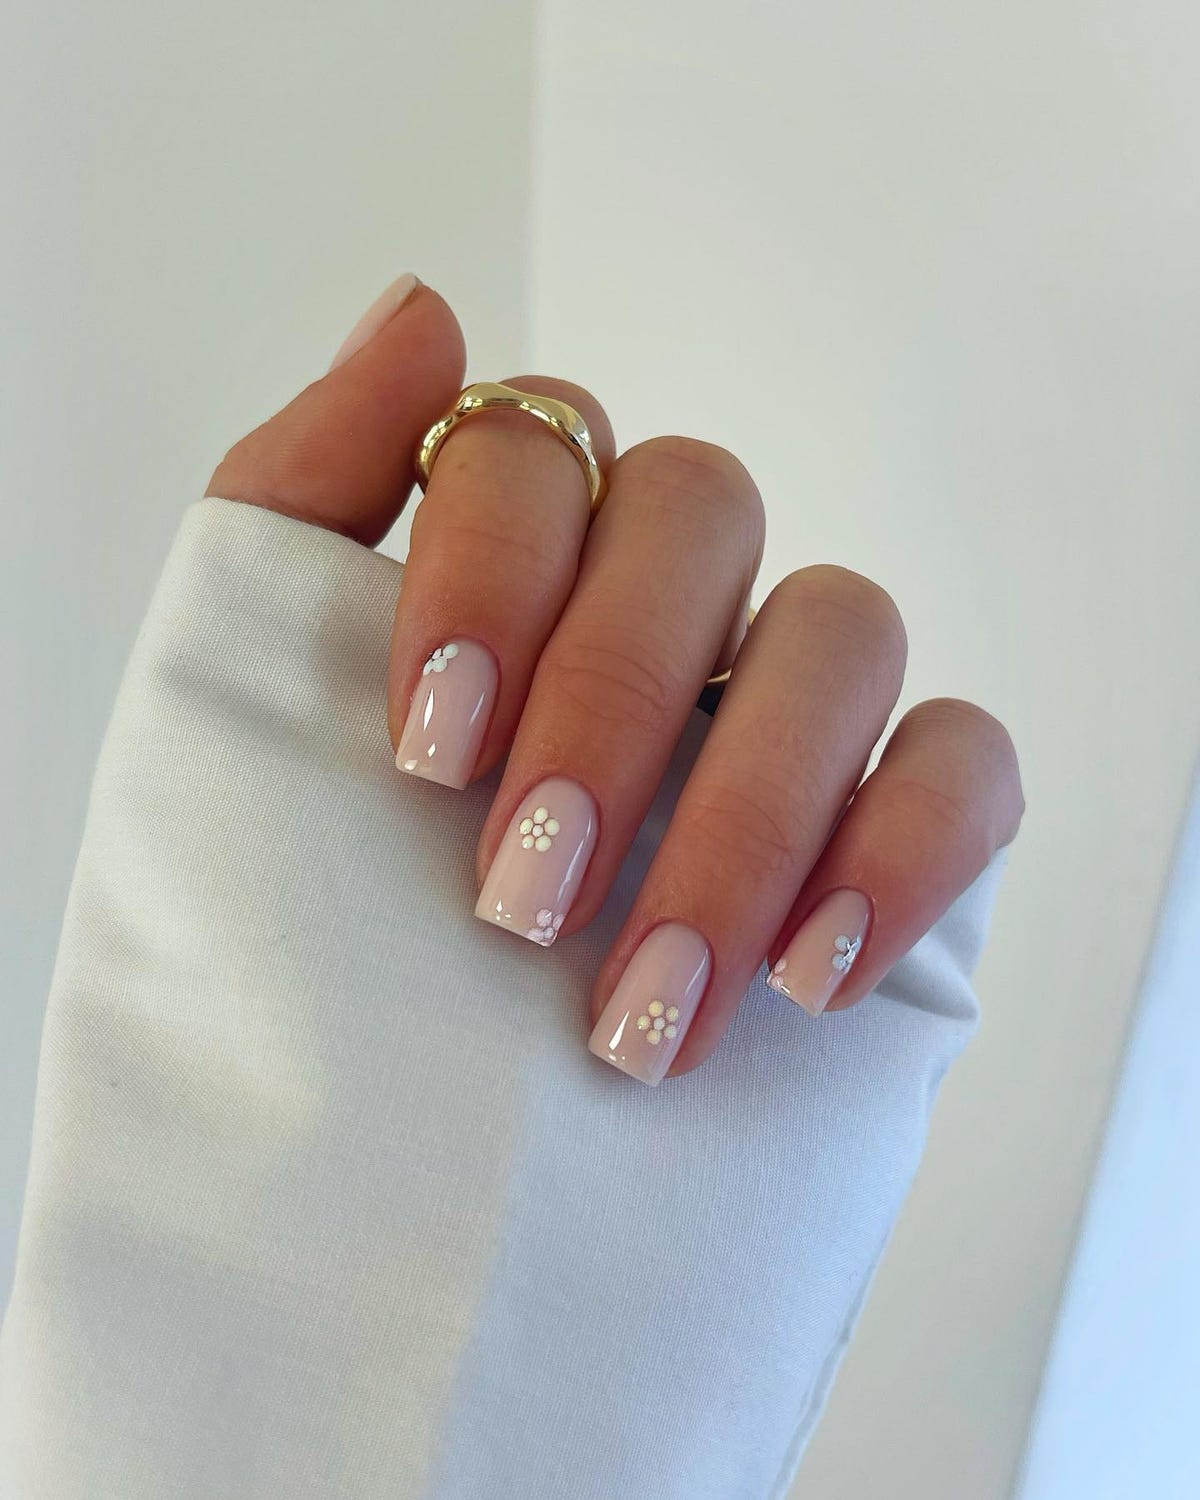
Short nails don't mean you can't rock a French manicure. In fact, it can look even more chic on shorter nails. To achieve a French look on short nails, follow these steps. Start by painting your nails with a sheer pink or nude color. Then, using a white nail polish, create a small curved tip on the edge of your nail. You can also add a thin line of glitter or a small gemstone on the tip for a touch of sparkle. Finish off with a top coat for a glossy finish.French Nail Art for Short Nails Step by Step


French Nail Art for Short Nails Step by Step

Creating the Perfect French Nail Art Design: Step by Step Guide

Step 1: Gather Your Supplies
 Before diving into your French nail art design, it's important to have all the necessary supplies on hand. You will need a clear base coat, white nail polish, a top coat, and a thin nail art brush. Additionally, having some nail polish remover and cotton swabs nearby will come in handy for any mistakes.
Step 2: Prep Your Nails
 For a flawless French nail art design, it's important to start with clean and well-prepped nails. Begin by removing any old nail polish and shaping your nails to your desired length and shape. Then, gently push back your cuticles and use a nail buffer to smooth out the surface of your nails.
Step 3: Apply the Base Coat
 To ensure your French nail art design lasts, start with a clear base coat. This will help protect your natural nails and create a smooth surface for the white polish to adhere to. Apply a thin layer of base coat and let it dry completely before moving on to the next step.
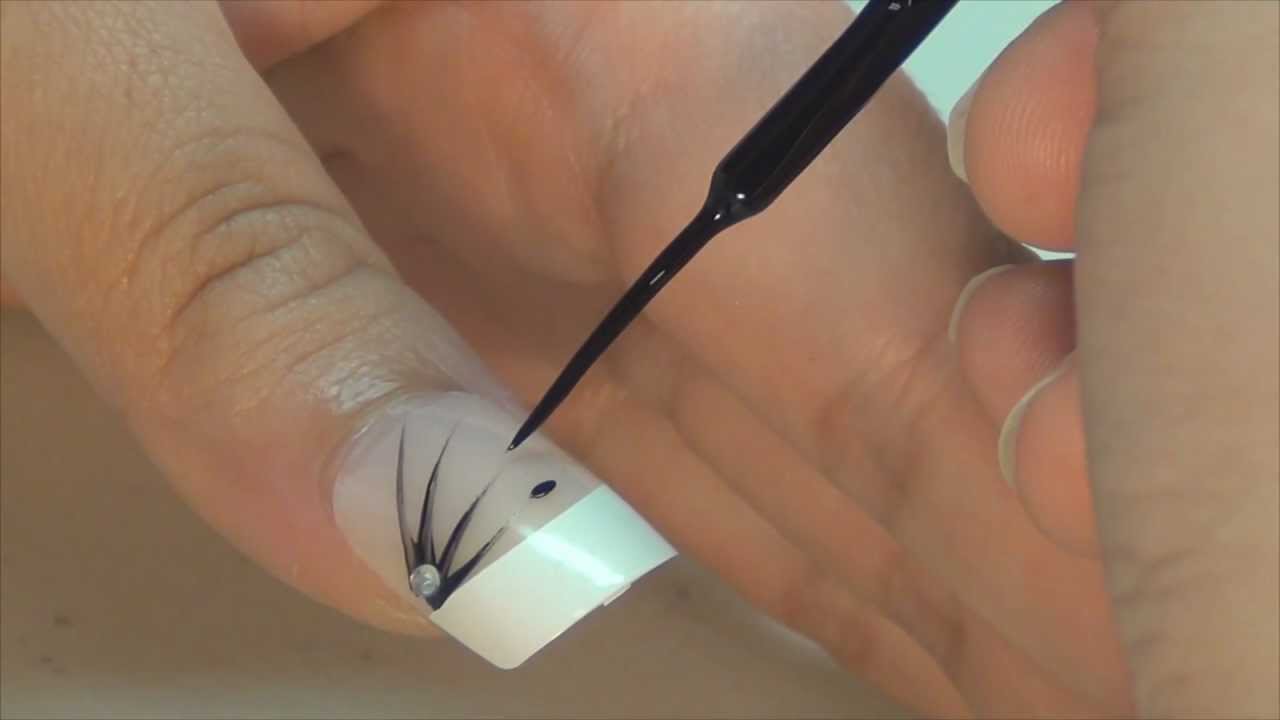
Step 4: Paint on the White Tips
 Using your thin nail art brush and white polish, carefully paint a thin white line across the tips of your nails. You can also use a French manicure sticker as a guide for a more precise line. Make sure to leave a small gap between the white tip and your cuticle. You can always clean up any mistakes with a cotton swab dipped in nail polish remover.
Step 5: Add the Finishing Touches
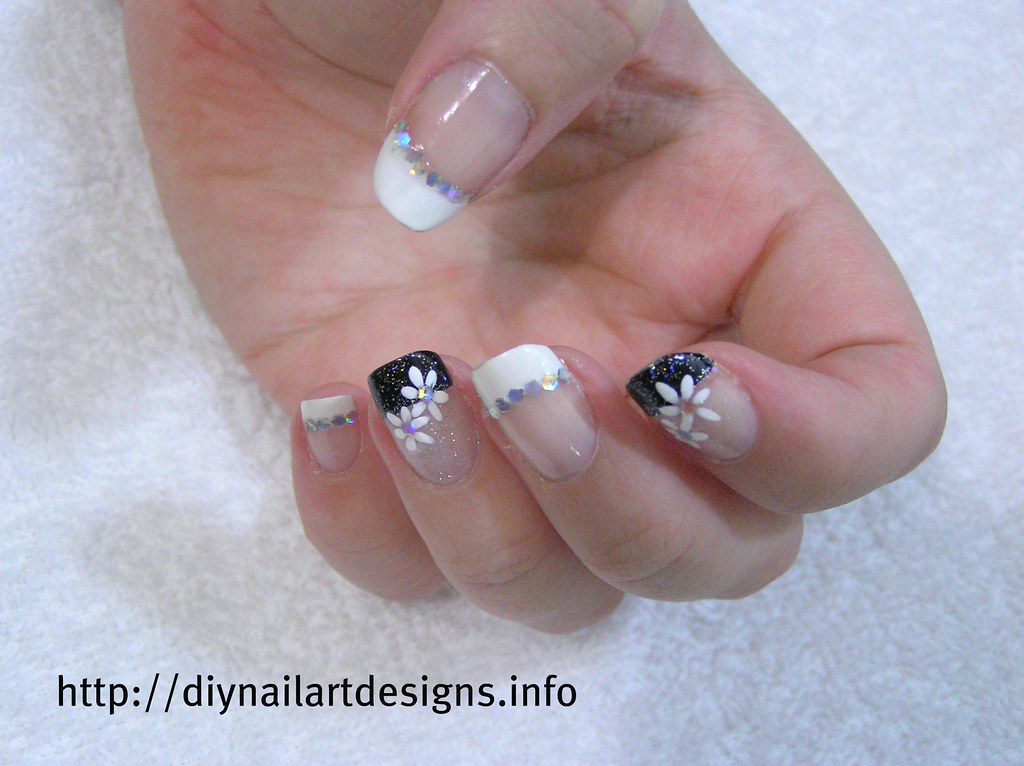
 Once the white tips are completely dry, apply a layer of top coat to seal in the design and add shine. This will also help your French nail art last longer. If you want to add some extra flair to your design, you can use the thin nail art brush and a different color polish to create small dots or stripes on top of the white tips.
Step 6: Let Your Nails Dry
 After completing your French nail art design, it's important to let your nails dry completely. This will prevent any smudging or smearing of the design. You can also use a quick-dry top coat to speed up the drying process.
Now you have a beautiful French nail art design that is sure to impress. With a little practice and patience, you can create a stunning and professional-looking manicure right at home. Give it a try and show off your stylish French nails to the world!
After completing your French nail art design, it's important to let your nails dry completely. This will prevent any smudging or smearing of the design. You can also use a quick-dry top coat to speed up the drying process.
Now you have a beautiful French nail art design that is sure to impress. With a little practice and patience, you can create a stunning and professional-looking manicure right at home. Give it a try and show off your stylish French nails to the world!


