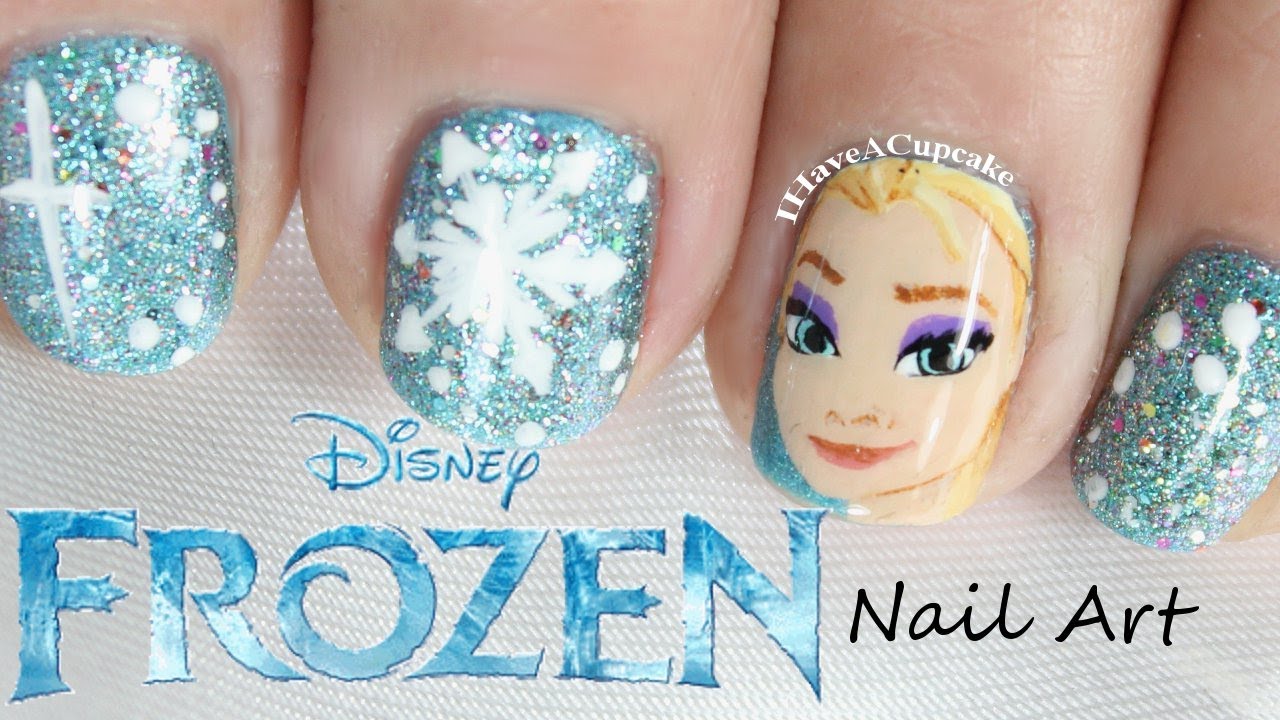
Frozen has captured the hearts of people of all ages with its enchanting story and beautiful characters. One of the most iconic elements of the movie is the stunning snowflake that adorns Queen Elsa's dress. It's no surprise that this design has become a popular choice for nail art enthusiasts. To achieve this look, start with a light blue base and add intricate white snowflakes using a nail stencil or a thin brush. Finish off with a sprinkle of glitter for a touch of magic.1. Frozen Snowflake Nail Art Design


1. Frozen Snowflake Nail Art Design


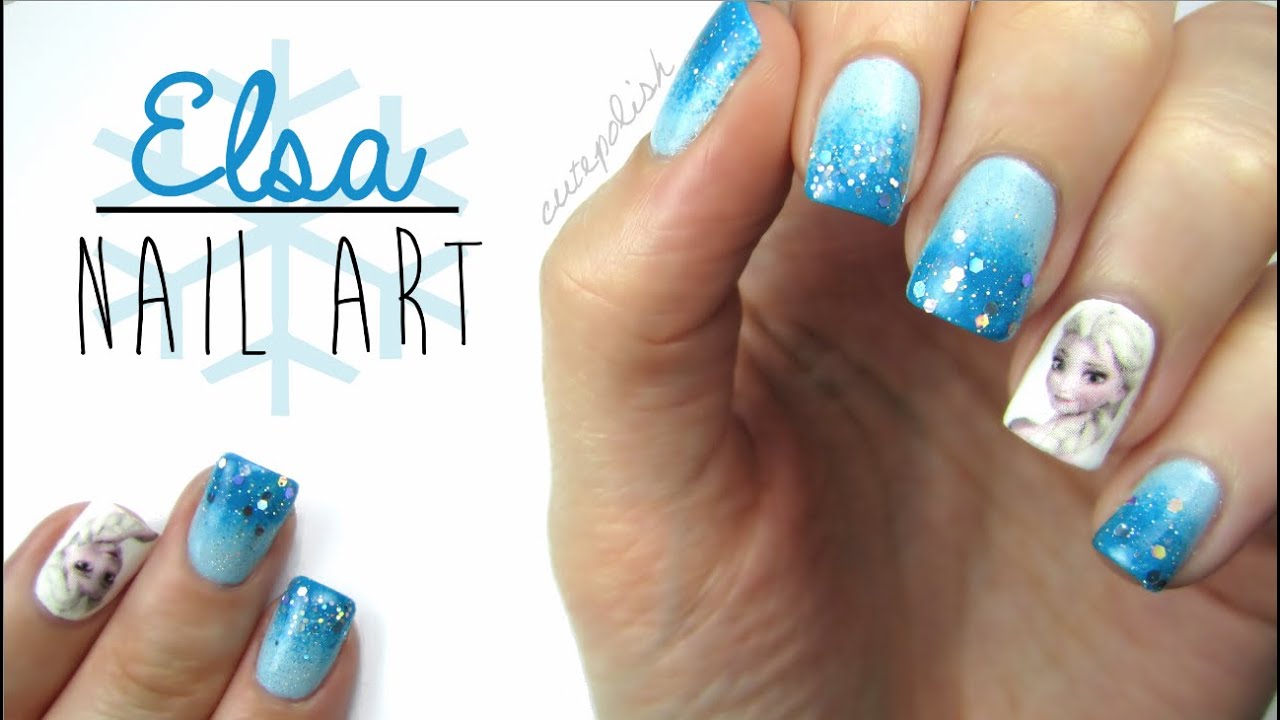
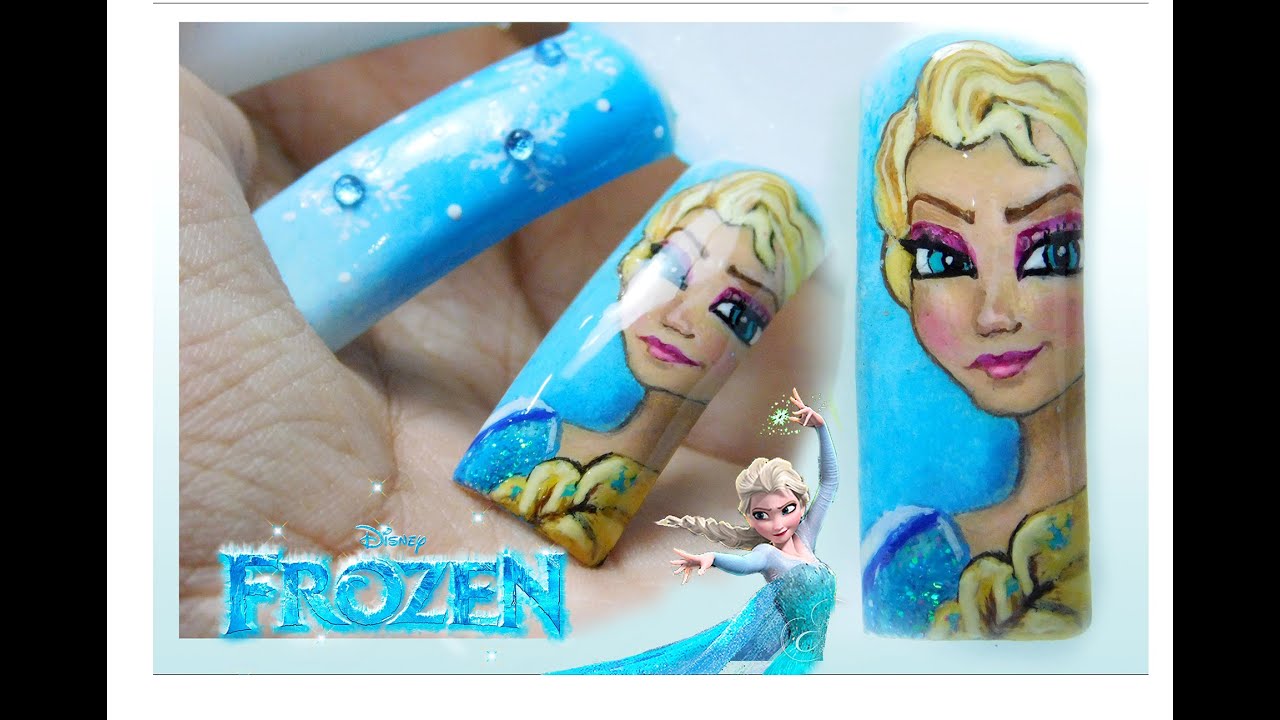
Queen Elsa's signature look is iconic and instantly recognizable. You can bring her icy beauty to your fingertips with an Elsa nail art design. Start with a soft lavender base and add some shimmer with a silver polish. Then, use a nail stencil or freehand to add snowflakes, glitter, and crystals for a touch of glamour. This design is perfect for any frozen fan or for a special occasion like a winter wedding.2. Elsa Inspired Nail Art Design


2. Elsa Inspired Nail Art Design
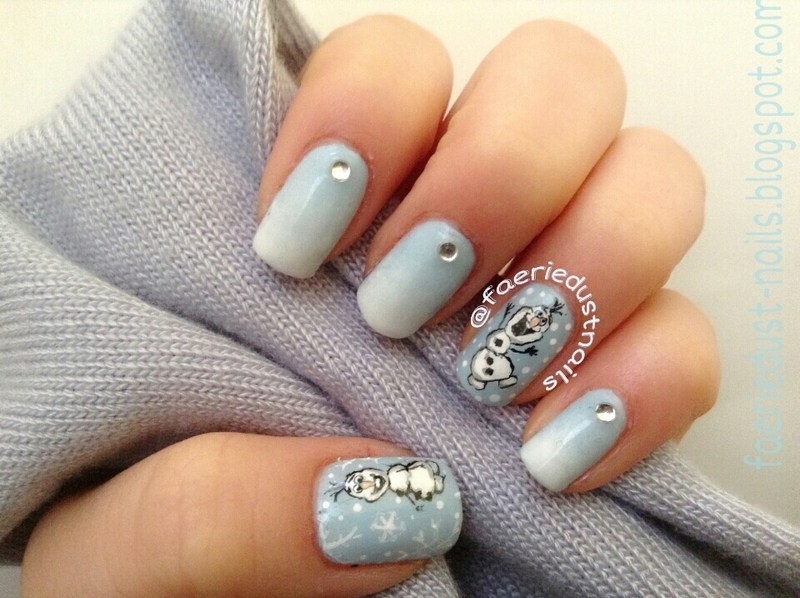

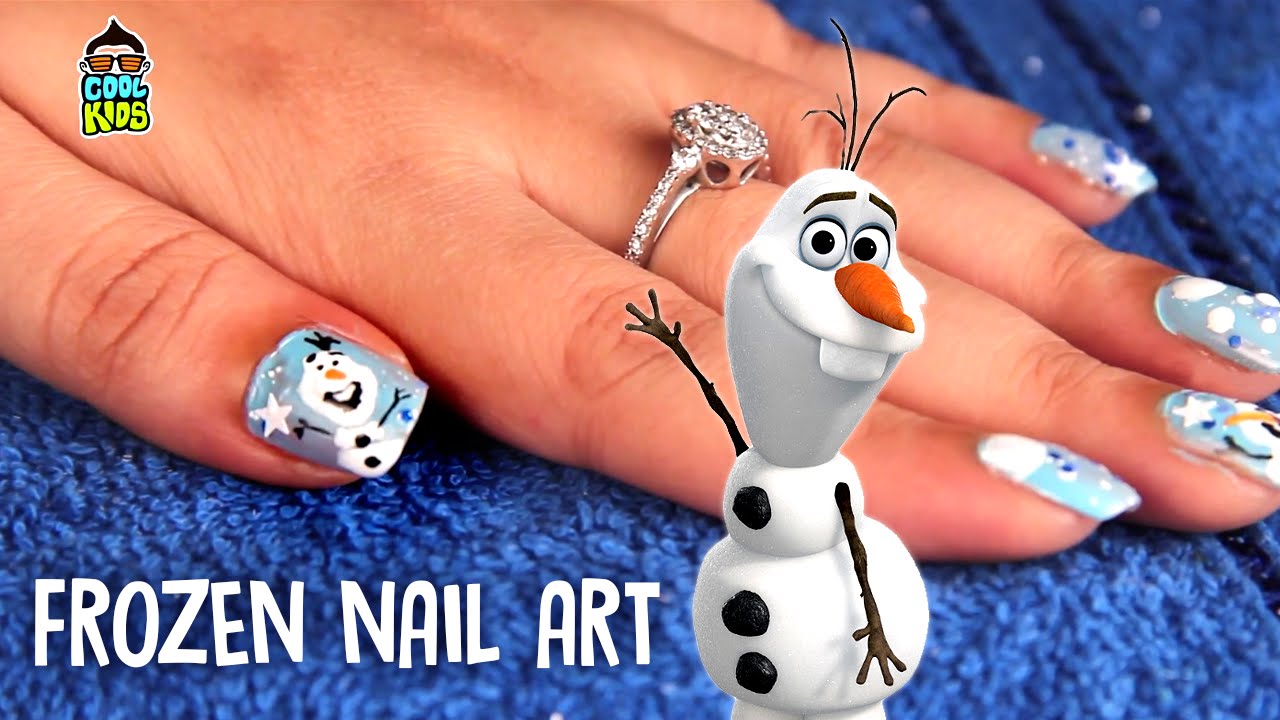
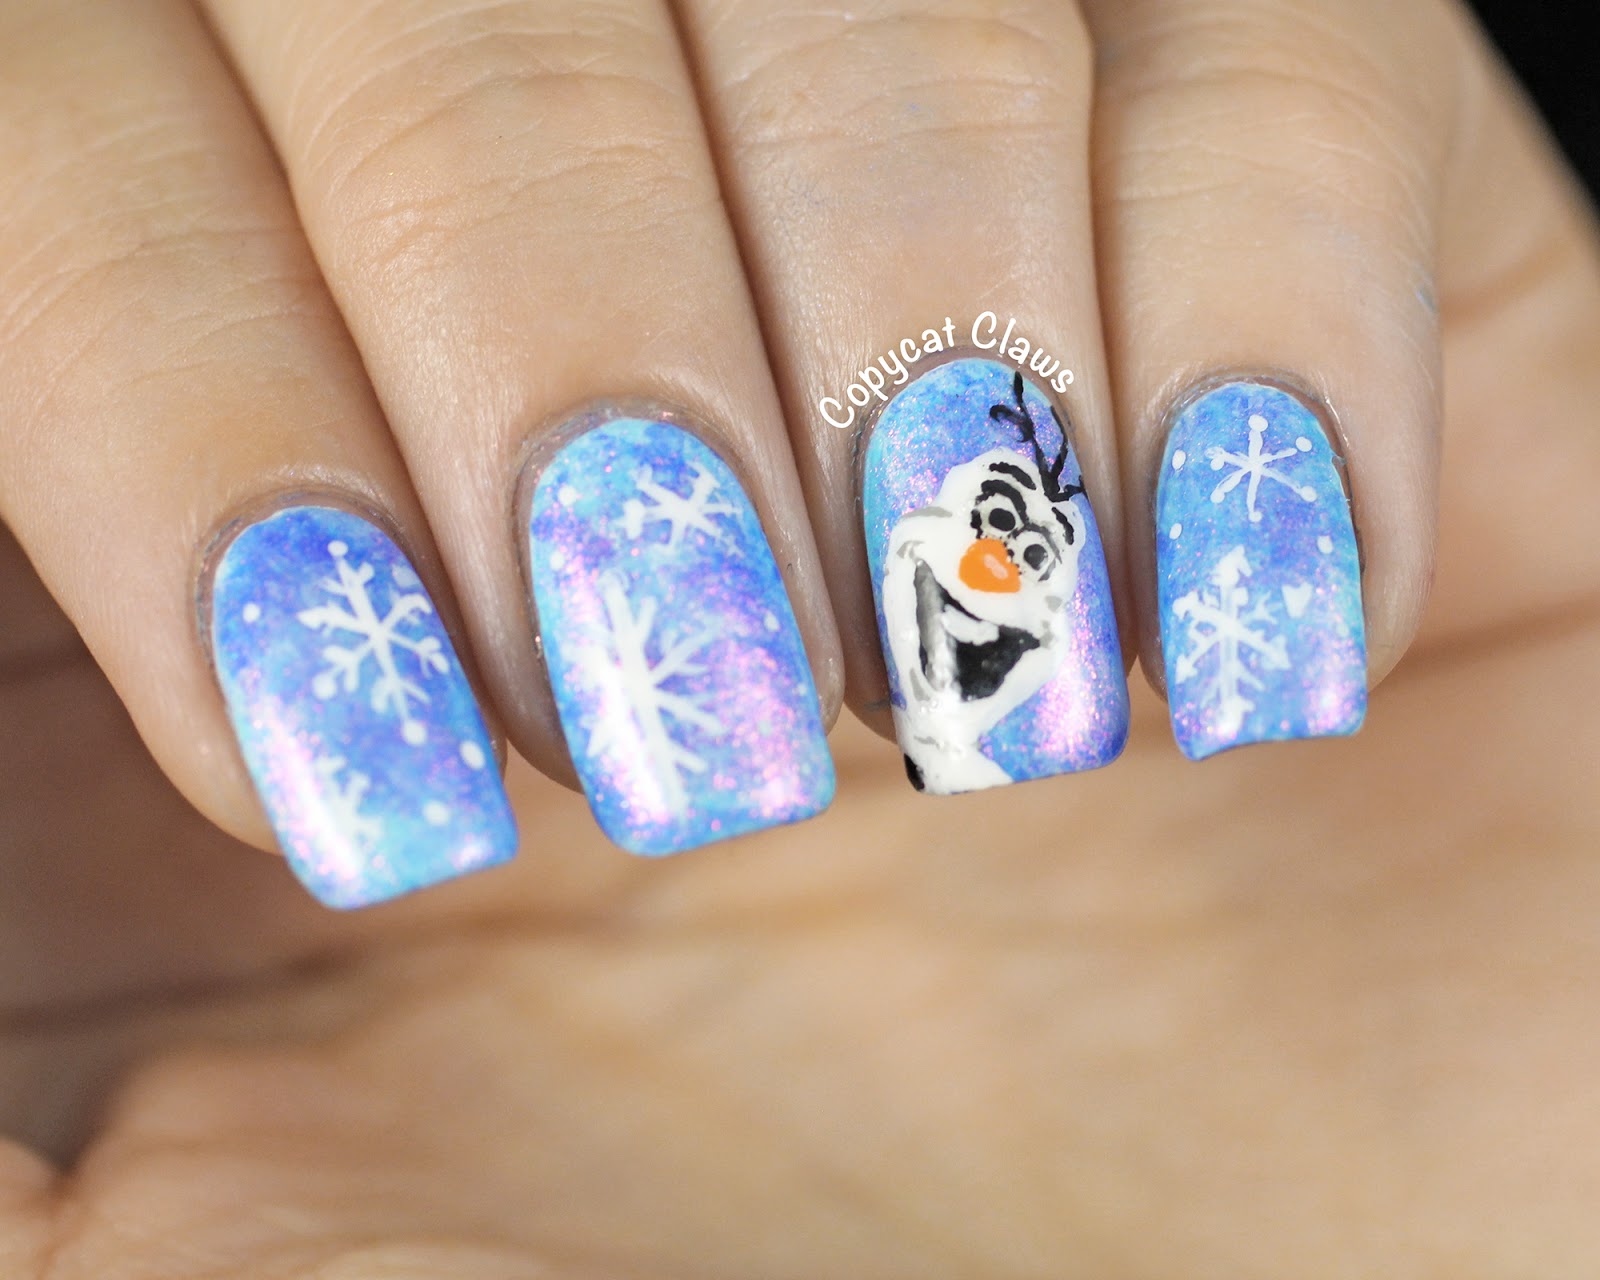
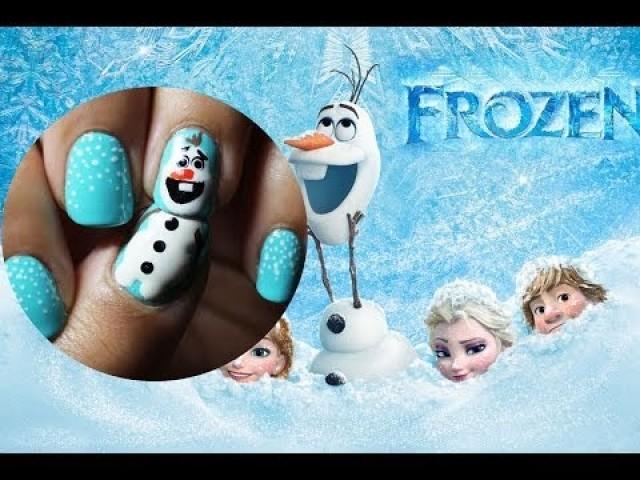
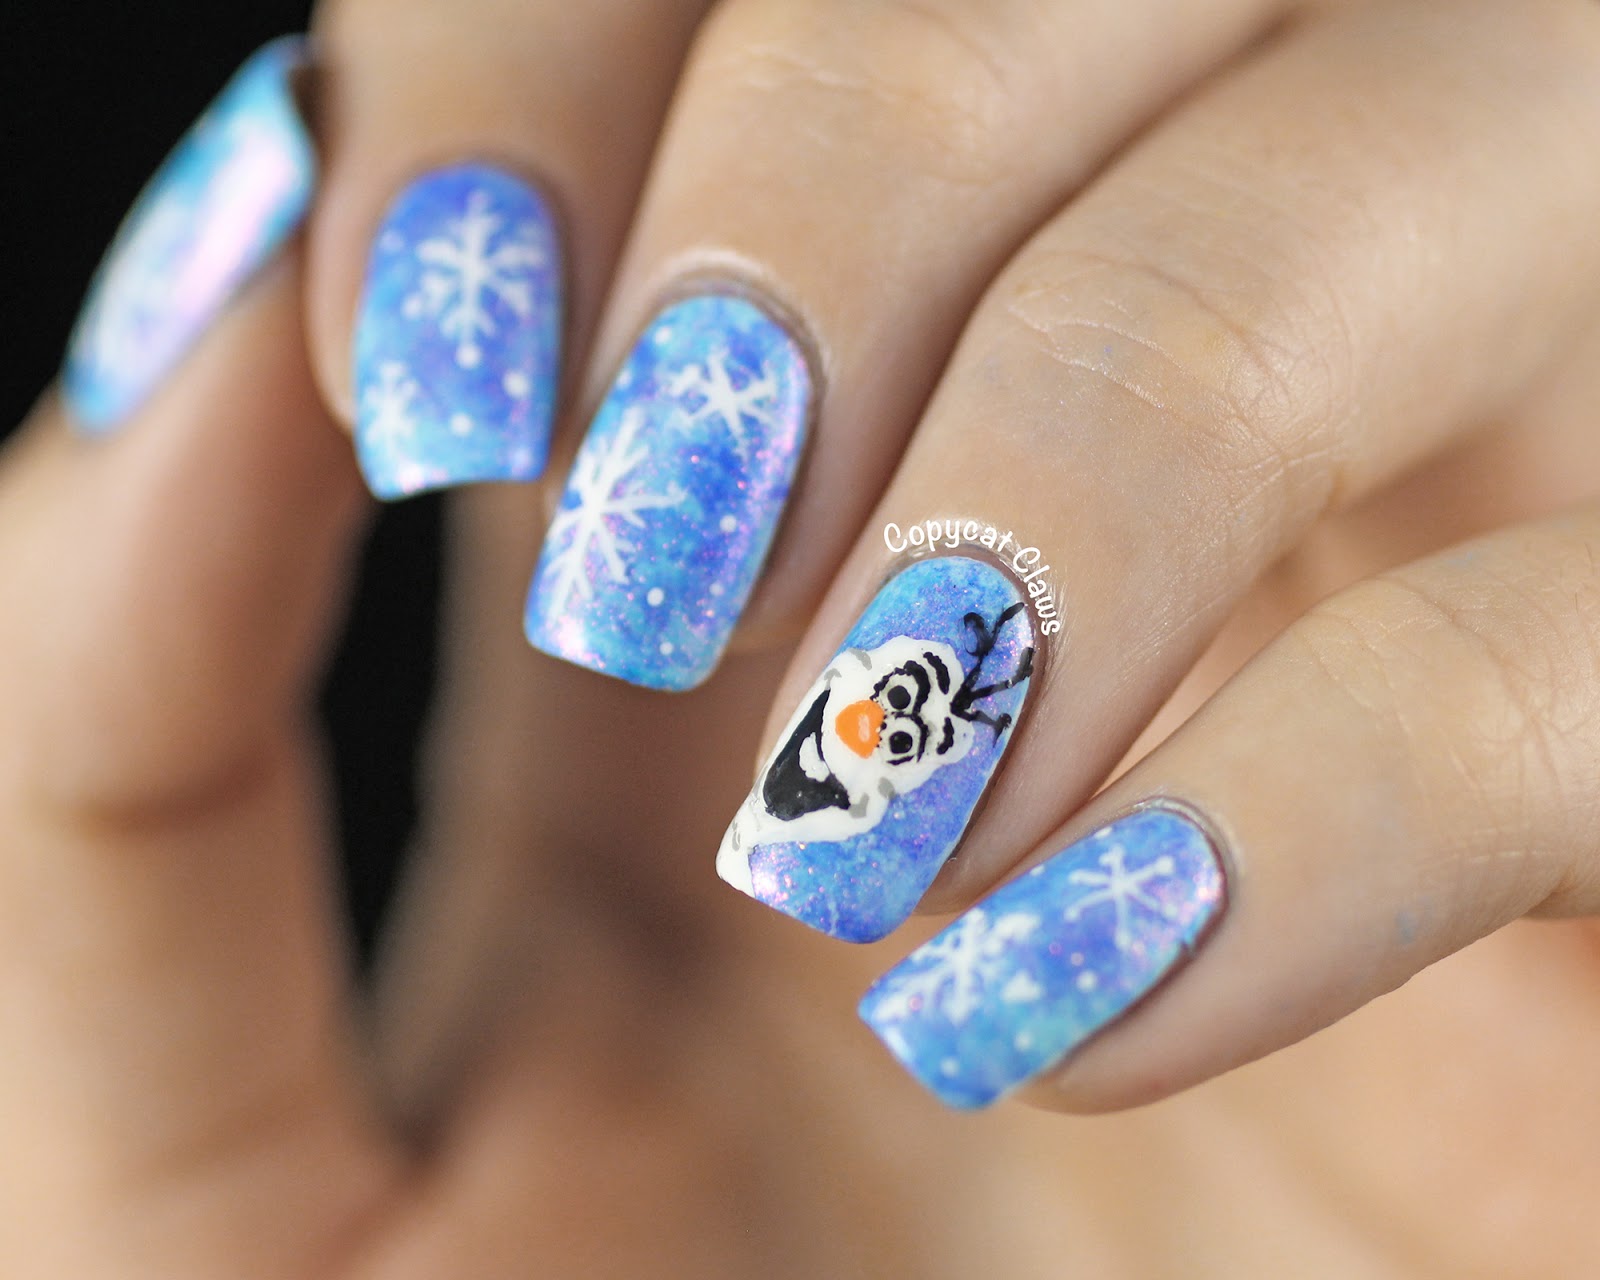
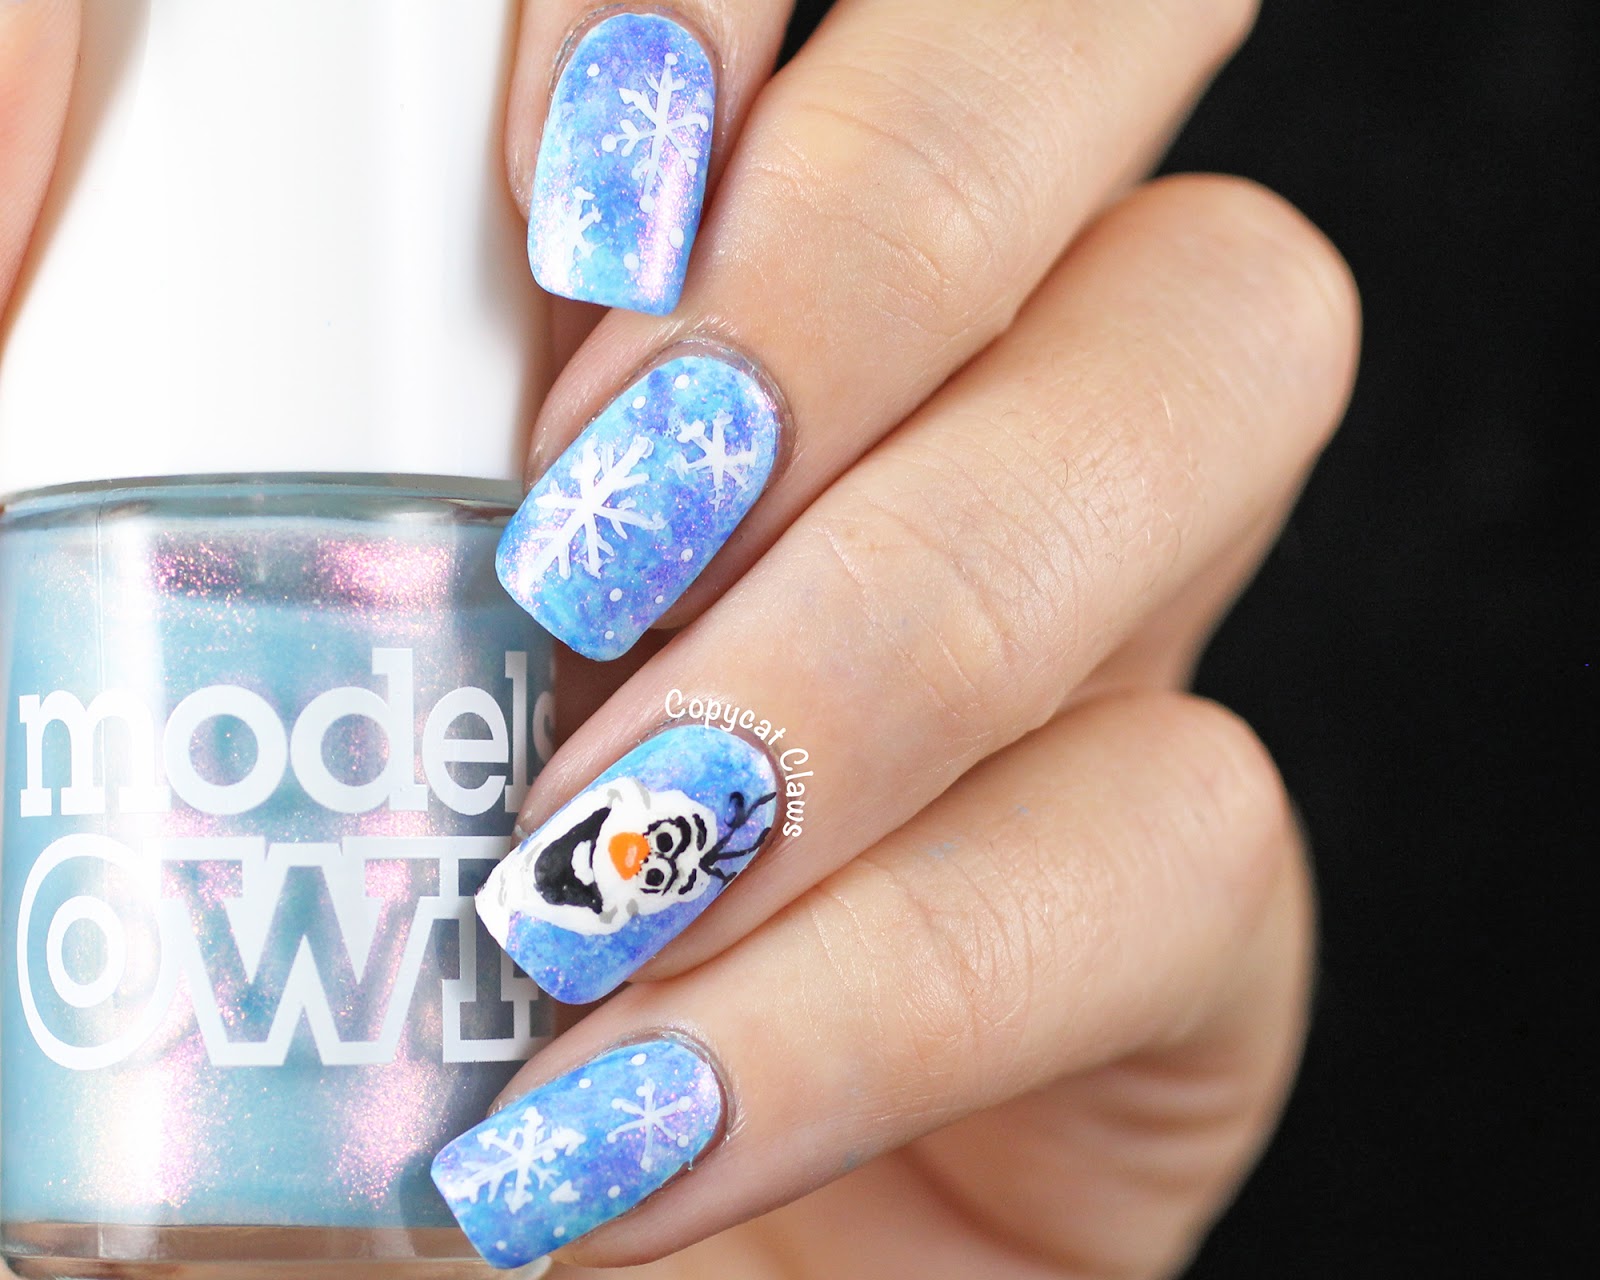
Who can resist the lovable and hilarious snowman, Olaf? This adorable character is a perfect inspiration for nail art. You can recreate Olaf's smiling face on your nails by using a white base and adding black details for his eyes and buttons. Use a thin brush to create his carrot nose and finish off with a top coat for a polished look. This design is sure to bring a smile to everyone's face.3. Olaf Nail Art Design


3. Olaf Nail Art Design


The majestic ice castle that Elsa creates is one of the most iconic scenes in the movie. You can bring this magical castle to your nails with a castle nail art design. Start with a light blue base and use a nail stencil or freehand to add white snowflakes and crystals for a sparkling effect. Then, use a silver polish to create the intricate details of the castle. This design is perfect for any frozen fan and will make you feel like a true ice queen.4. Frozen Castle Nail Art Design


4. Frozen Castle Nail Art Design


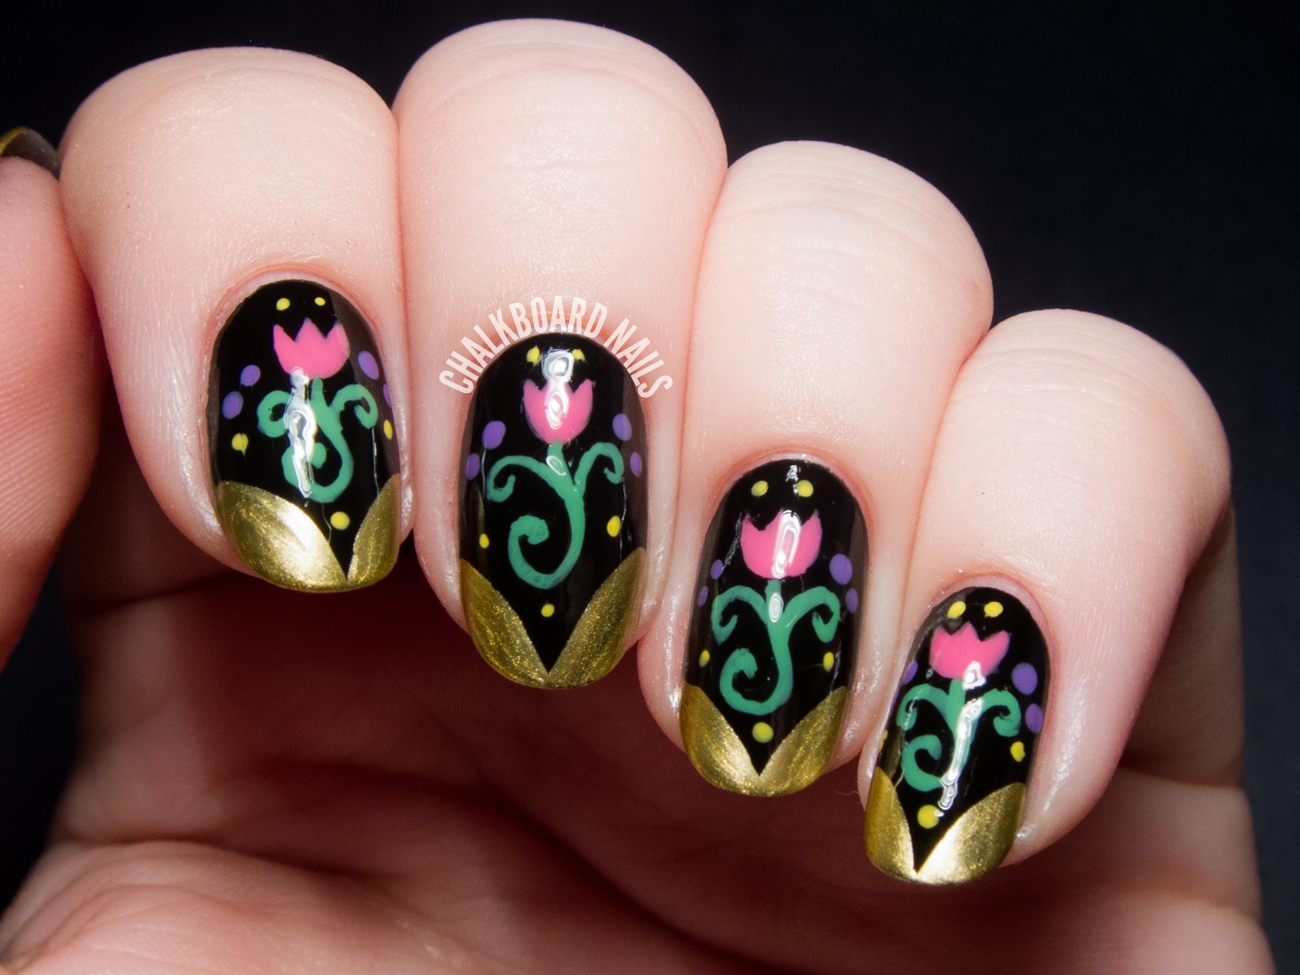
The bond between sisters Anna and Elsa is a central theme in Frozen. You can capture the essence of their relationship with a sister nail art design. Start with a pink base for Anna and a light blue base for Elsa. Use a nail stencil or freehand to add flowers and snowflakes to each nail. You can also add their names or silhouettes for a personalized touch. This design is perfect for sisters or best friends who share a special bond.5. Anna and Elsa Nail Art Design

5. Anna and Elsa Nail Art Design


The wintry setting of Frozen is brought to life in this nail art design. Start with a white base and add blue ombre or snowflakes for a snowy effect. Then, use a silver polish to add icicles and crystals for a touch of sparkle. You can even add a cute reindeer or penguin accent nail for some extra charm. This design is perfect for the winter season or for any Frozen fan who loves a touch of glamour.6. Frozen Winter Wonderland Nail Art Design


6. Frozen Winter Wonderland Nail Art Design

Channel your inner ice queen with this stunning nail art design. Start with a dark blue base and add silver glitter or crystals for a frozen effect. Use a nail stencil or freehand to add intricate ice details for a touch of elegance. You can also add some white accents for a frosty touch. This design is perfect for a special occasion or for anyone who wants to feel like a true ice queen.7. Ice Queen Nail Art Design


7. Ice Queen Nail Art Design

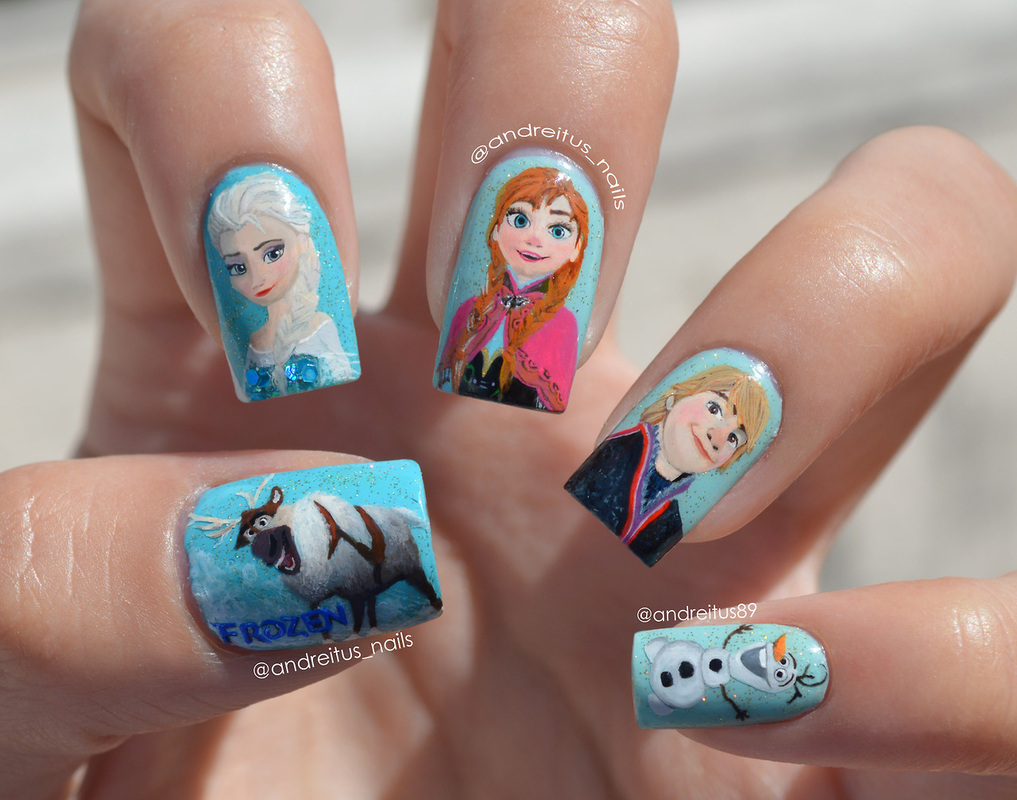
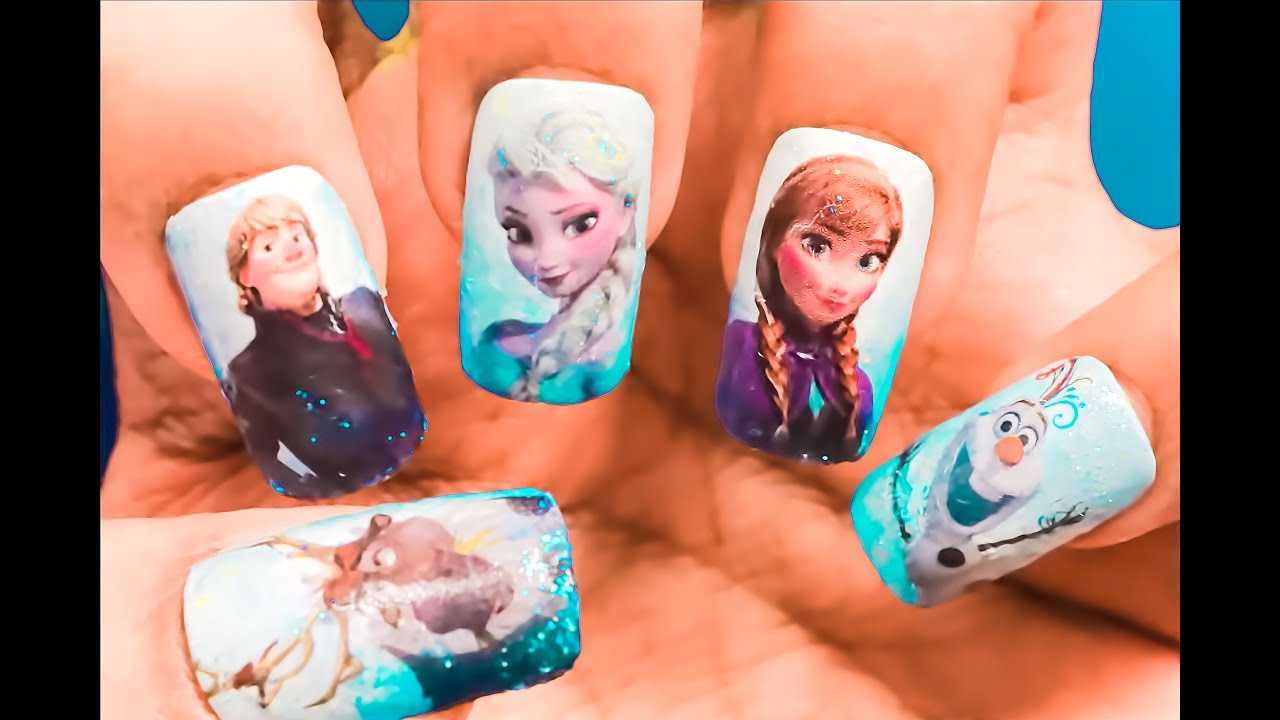
The characters in Frozen are what make the movie so lovable and memorable. You can pay tribute to your favorite characters with a character nail art design. Use a nail stencil or freehand to add Anna, Elsa, Olaf, and even Kristoff to each nail. You can also add quotes or icons related to each character for a personalized touch. This design is perfect for a movie marathon night or for any Frozen themed event.8. Frozen Character Nail Art Design

8. Frozen Character Nail Art Design


The frozen mountains of Arendelle are a breathtaking sight in the movie. You can bring this majestic landscape to your nails with a snowy mountain nail art design. Start with a dark blue base and use a sponge to create an ombre effect with white polish. Then, use a nail stencil or freehand to add snowy mountain peaks to each nail. Finish off with a top coat for a glossy finish. This design is perfect for any winter nail look or for any outdoor adventure lovers.9. Snowy Mountain Nail Art Design


9. Snowy Mountain Nail Art Design


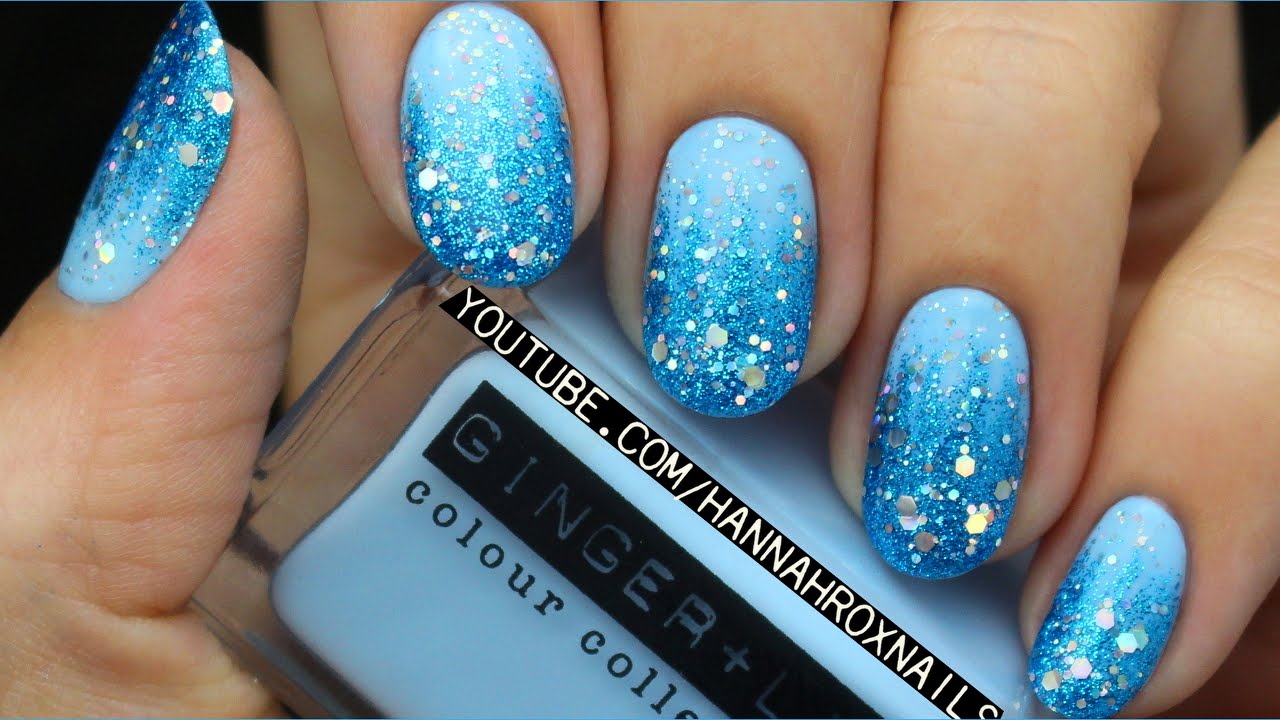
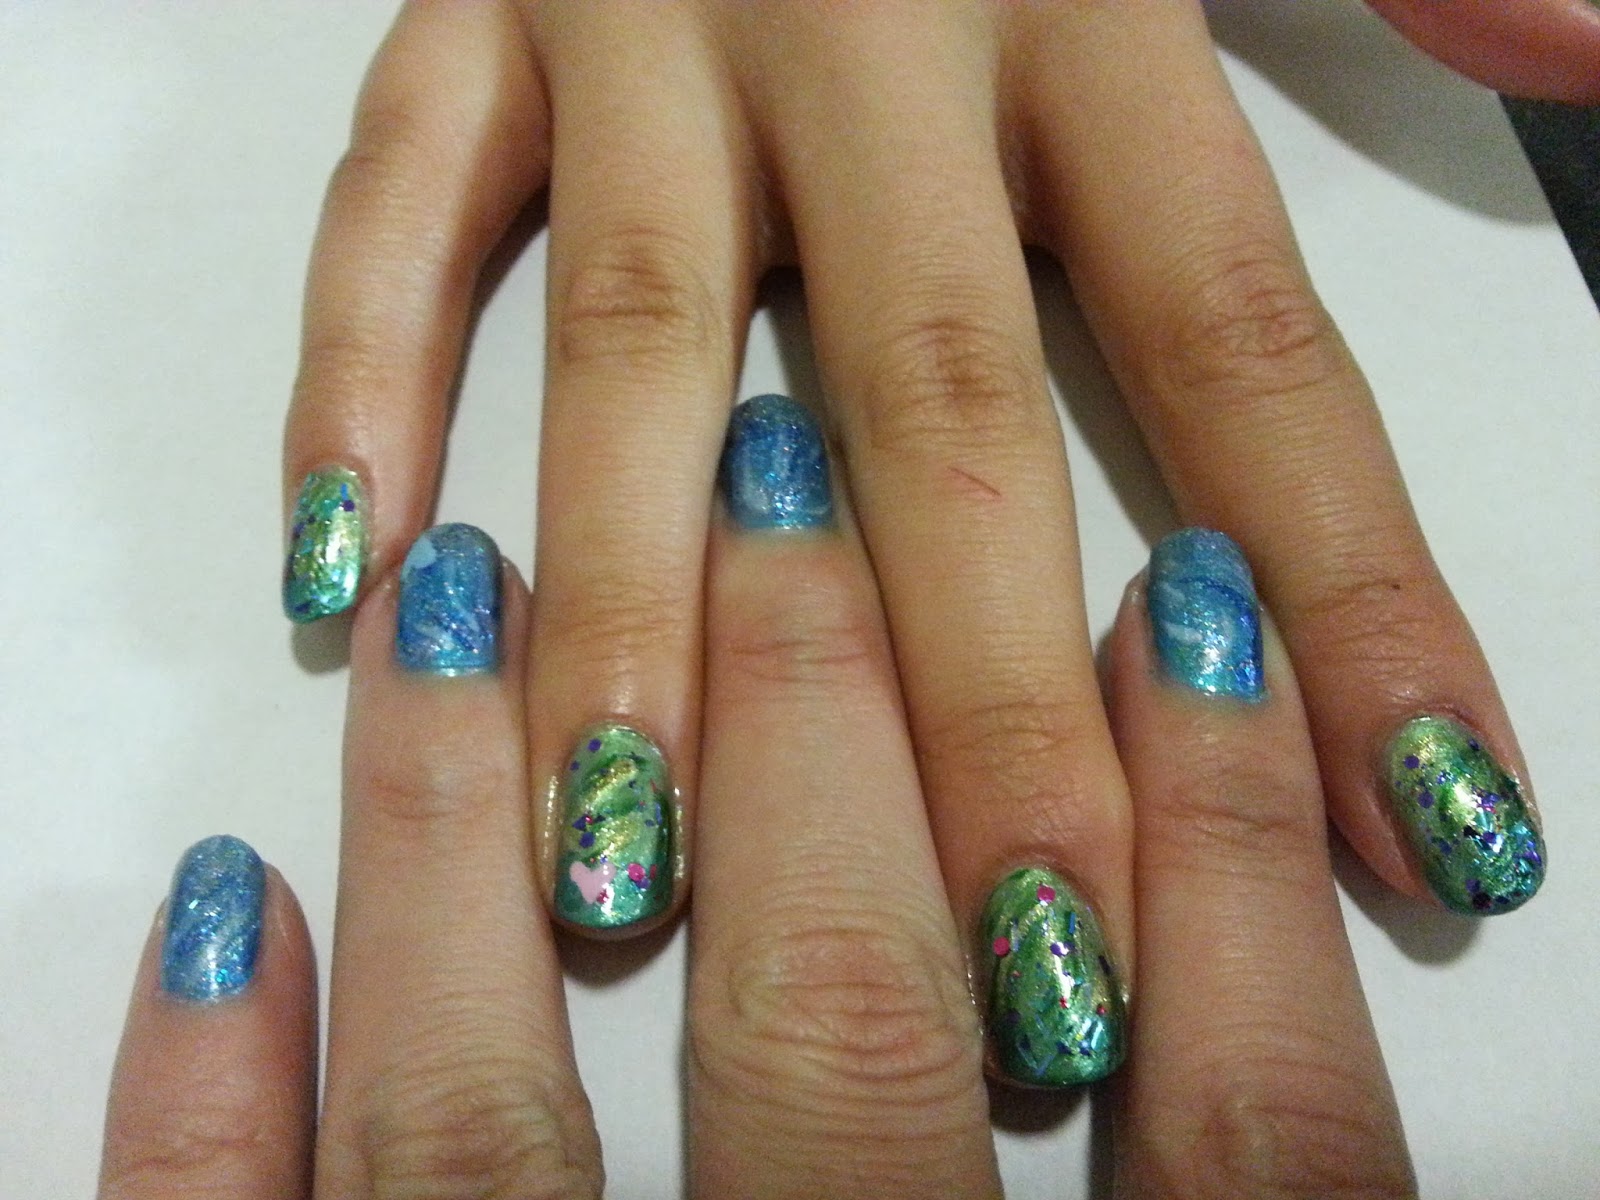
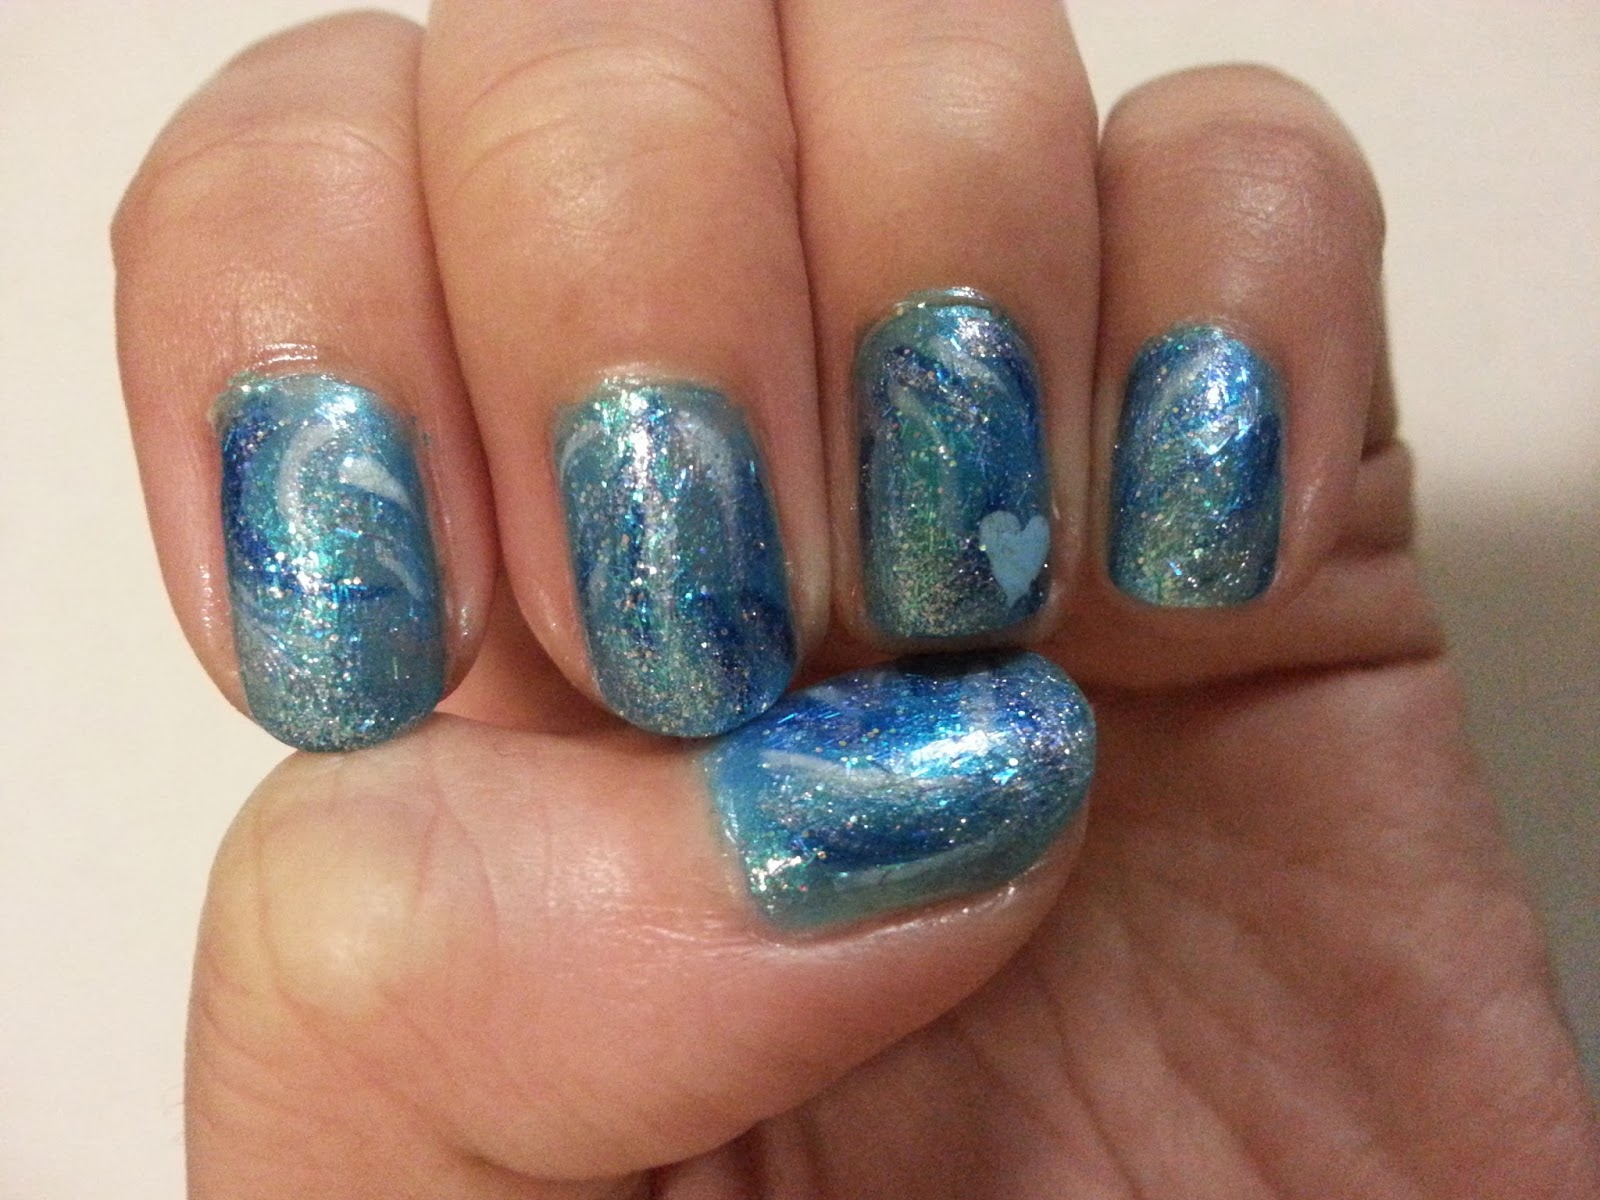
Glitter makes everything better, and Frozen inspired nail art is no exception. This design is perfect for anyone who wants a touch of sparkle and shine on their nails. Start with a blue or purple base and add glitter in different shapes and sizes for an icy effect. You can also add crystals or pearls for a touch of elegance. This design is perfect for any occasion and will make your nails stand out in a crowd.10. Frozen Glitter Nail Art Design


10. Frozen Glitter Nail Art Design


Frozen Nail Art Design: A Unique Way to Add a Touch of Winter to Your Nails

The Frozen Nail Art Trend
 One of the latest trends in the world of nail art is the
frozen nail art design
. Inspired by the popular Disney movie, Frozen, this design involves creating a frosty and icy look on the nails. It is a unique and creative way to add a touch of winter to your look, perfect for the colder months or for anyone who loves the magical world of Frozen. In this article, we will dive deeper into this trend and explore how you can achieve this
frozen
and
magical
look for your nails.
One of the latest trends in the world of nail art is the
frozen nail art design
. Inspired by the popular Disney movie, Frozen, this design involves creating a frosty and icy look on the nails. It is a unique and creative way to add a touch of winter to your look, perfect for the colder months or for anyone who loves the magical world of Frozen. In this article, we will dive deeper into this trend and explore how you can achieve this
frozen
and
magical
look for your nails.
Creating the Frozen Look
 To achieve the
frozen nail art design
, there are a few key elements that you need to focus on. The first is the color scheme. The colors used in this design are usually light blue, white, and silver to represent the icy and frosty feel. You can also add in some glitter or shimmer for a more magical touch. Next, you will need to choose the right tools, such as a thin brush or dotting tool, to create the intricate designs and details.
To achieve the
frozen nail art design
, there are a few key elements that you need to focus on. The first is the color scheme. The colors used in this design are usually light blue, white, and silver to represent the icy and frosty feel. You can also add in some glitter or shimmer for a more magical touch. Next, you will need to choose the right tools, such as a thin brush or dotting tool, to create the intricate designs and details.
Step-by-Step Guide
 To create the
frozen nail art design
, follow these simple steps:
1. Start by applying a base coat to your nails to protect them and create a smooth surface.
2. Apply a light blue nail polish as the base color. You can also use a gradient technique with white nail polish to create an ombre effect.
3. Use a thin brush or dotting tool to create small snowflakes or icicles on your nails using white or silver nail polish.
4. Add some glitter or shimmer on top for a magical touch.
5. Seal the design with a top coat to make it last longer and give it a glossy finish.
To create the
frozen nail art design
, follow these simple steps:
1. Start by applying a base coat to your nails to protect them and create a smooth surface.
2. Apply a light blue nail polish as the base color. You can also use a gradient technique with white nail polish to create an ombre effect.
3. Use a thin brush or dotting tool to create small snowflakes or icicles on your nails using white or silver nail polish.
4. Add some glitter or shimmer on top for a magical touch.
5. Seal the design with a top coat to make it last longer and give it a glossy finish.
Customizing the Design
 One of the best things about the
frozen nail art design
is that it can be customized to suit your preferences. You can add in other elements like snowmen, reindeer, or even characters from the movie, such as Elsa or Olaf. You can also experiment with different shades and textures to make it your own unique design.
In conclusion, the
frozen nail art design
is a fun and creative way to add a touch of winter magic to your nails. With the right colors, tools, and techniques, you can achieve a beautiful and intricate design that will surely make you stand out. So, why not give this trend a try and let your nails shine like the glistening snow?
One of the best things about the
frozen nail art design
is that it can be customized to suit your preferences. You can add in other elements like snowmen, reindeer, or even characters from the movie, such as Elsa or Olaf. You can also experiment with different shades and textures to make it your own unique design.
In conclusion, the
frozen nail art design
is a fun and creative way to add a touch of winter magic to your nails. With the right colors, tools, and techniques, you can achieve a beautiful and intricate design that will surely make you stand out. So, why not give this trend a try and let your nails shine like the glistening snow?


