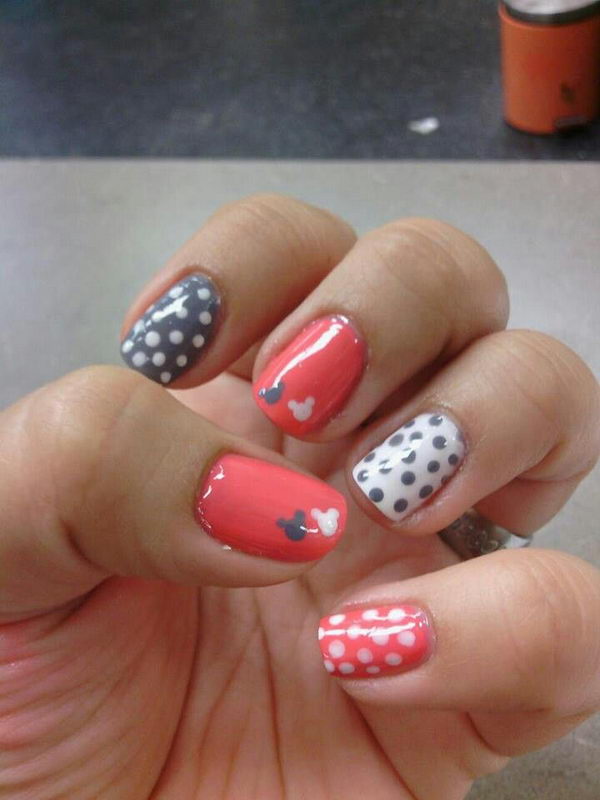
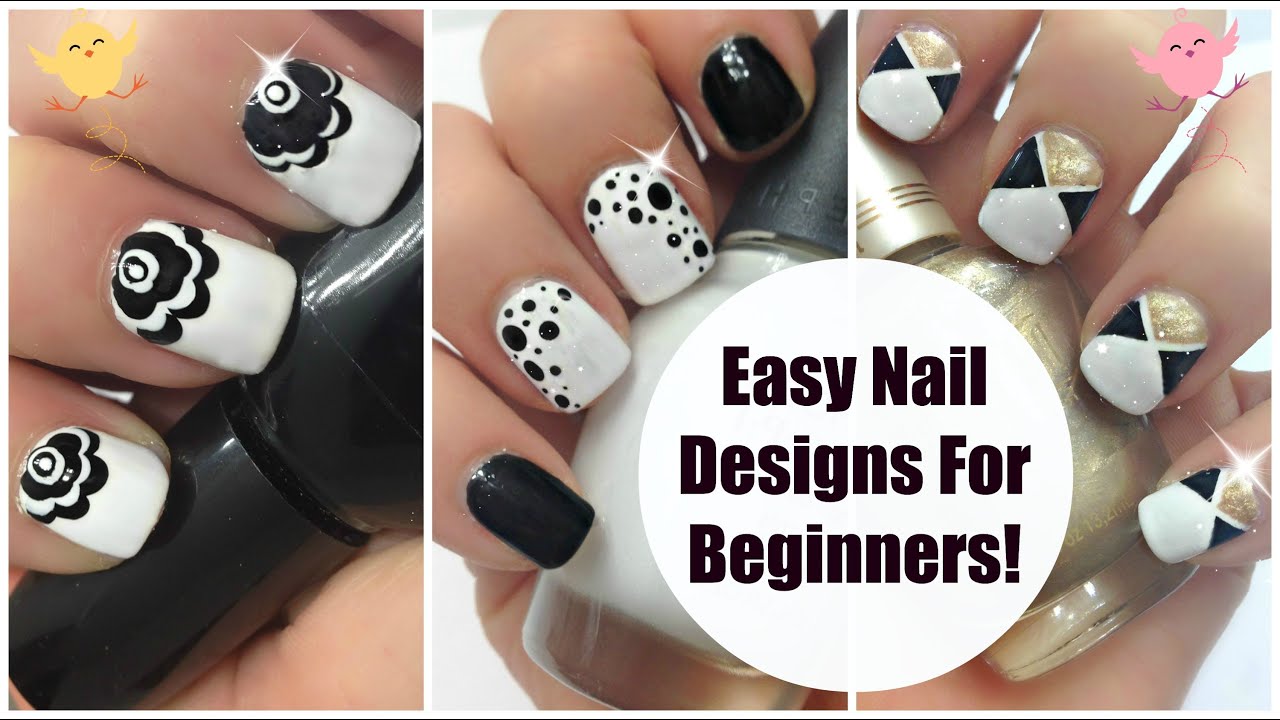
Are you new to the world of nail art? Want to try your hand at some creative and fun designs? Look no further! We've compiled a list of 10 easy nail art designs that are perfect for beginners. With our step-by-step guide, you'll be able to achieve these stunning looks in no time! Featured keywords: easy nail art designs, beginners, step-by-step guide. First up, we have the classic polka dot design. This is a simple yet cute design that can be achieved with a dotting tool or even a bobby pin! Start with a base color of your choice, then use your tool to create small dots all over your nails. You can stick to one color or mix it up with different shades. Finish off with a top coat for a glossy finish. Featured keywords: polka dot design, dotting tool, bobby pin, base color, top coat. Next, we have the trendy ombre design. This is a great way to add some color to your nails without any complicated techniques. Start with a light base color and then use a makeup sponge to dab on a darker shade towards the tips of your nails. You can play around with different color combinations to create a unique look. Featured keywords: ombre design, color, makeup sponge, tips, unique look. If you're feeling a little more adventurous, try out a geometric design. This can be achieved with striping tape and different nail polish colors. Simply place the tape on your nails in a geometric pattern and fill in the spaces with your chosen colors. Once the polish is dry, carefully remove the tape to reveal your bold and modern design. Featured keywords: geometric design, striping tape, nail polish, bold, modern. For a romantic and feminine look, try a floral design. You can achieve this with a small nail art brush or even a toothpick! Start with a base color and then use your tool to create small flowers or petals on your nails. This design is perfect for spring or any special occasion. Featured keywords: floral design, nail art brush, toothpick, base color, special occasion. Looking for a more subtle design? Try a half-moon manicure. This look is achieved by painting the bottom half of your nails with one color and the top half with another. You can use tape or a curved nail sticker to create a clean line. This design is perfect for a chic and sophisticated look. Featured keywords: half-moon manicure, one color, tape, curved nail sticker, chic, sophisticated.1. 10 Easy Nail Art Designs for Beginners: The Ultimate Guide!


1. 10 Easy Nail Art Designs for Beginners: The Ultimate Guide!


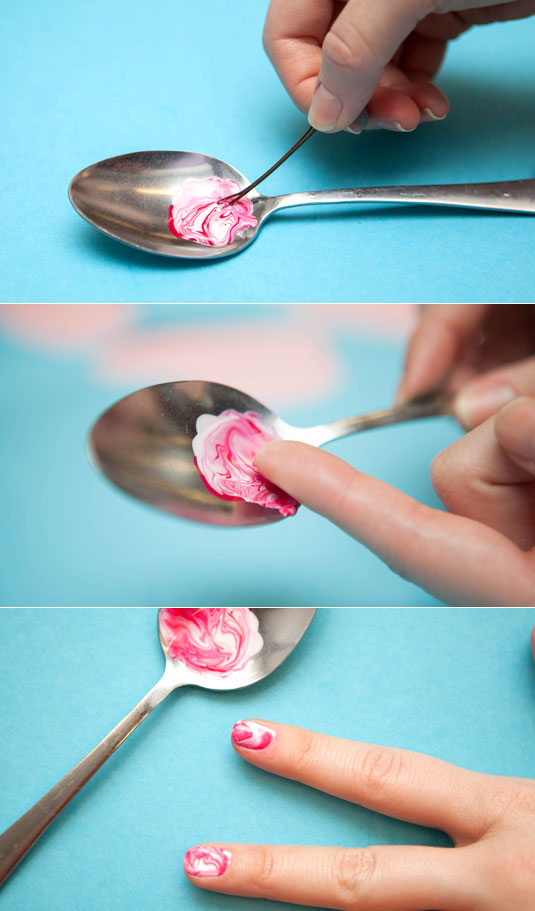
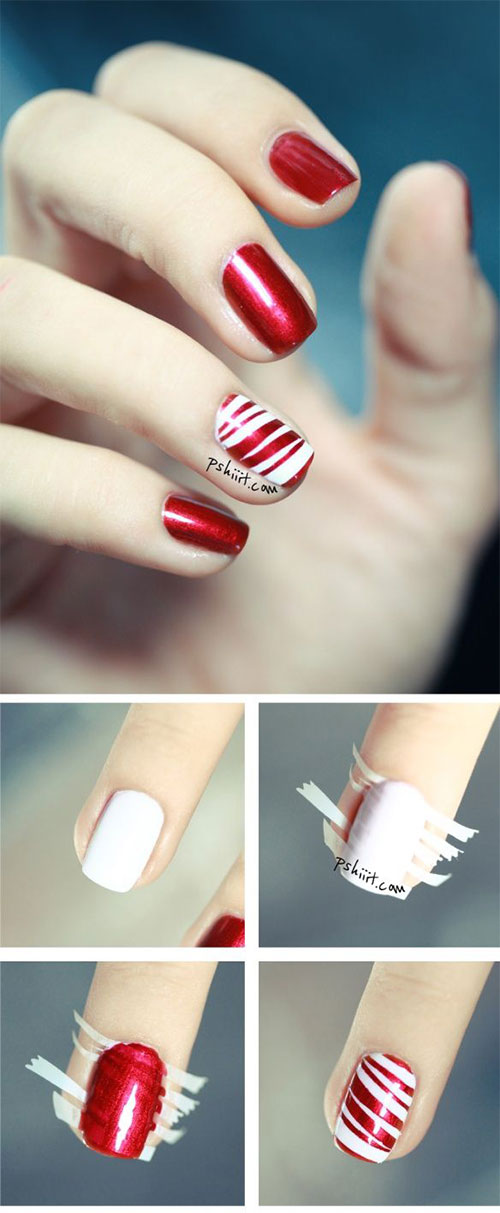
Ready to get your creative juices flowing? Here are 20 DIY nail art designs that are perfect for a fun and relaxing weekend activity. Grab your favorite nail polish colors and let's get started! Featured keywords: DIY nail art designs, weekend activity, nail polish colors. First up, we have a marble design that is surprisingly easy to achieve. All you need is a few different nail polish colors and a plastic sandwich bag. Start by painting your nails with a base color, then use the plastic bag to dab on the other colors in a random pattern. Finish off with a top coat for a glossy finish. Featured keywords: marble design, nail polish colors, plastic sandwich bag, base color, top coat, glossy finish. If you're a fan of stripes, try out a striped design on your nails. All you need is some striping tape and your chosen colors. Place the tape on your nails in a striped pattern and fill in the spaces with your colors of choice. Once the polish is dry, carefully remove the tape for clean and crisp lines. Featured keywords: striped design, striping tape, colors, pattern, crisp lines. For a unique and eye-catching design, try a negative space manicure. This is achieved by leaving a part of your nails unpainted and creating a design around it. You can use striping tape, nail stencils, or even freehand for this design. The possibilities are endless! Featured keywords: negative space manicure, unpainted, design, striping tape, nail stencils, freehand, possibilities. Next, we have a fun and playful design that is perfect for summer. The beach ball design is achieved by creating a circle of different colors on your nails, resembling a beach ball. You can use a dotting tool or even a toothpick to create this look. This design is sure to make a statement! Featured keywords: beach ball design, summer, circle, different colors, dotting tool, toothpick, statement. Looking for a simple yet elegant design? Try out the half-moon French manicure. This is achieved by painting the bottom half of your nails with a base color and the tips with a white polish. You can use tape or a half-moon nail sticker for a clean line. This design is perfect for any occasion. Featured keywords: half-moon French manicure, elegant, base color, white polish, tape, half-moon nail sticker, clean line, occasion.2. 20 DIY Nail Art Designs to Try This Weekend

2. 20 DIY Nail Art Designs to Try This Weekend


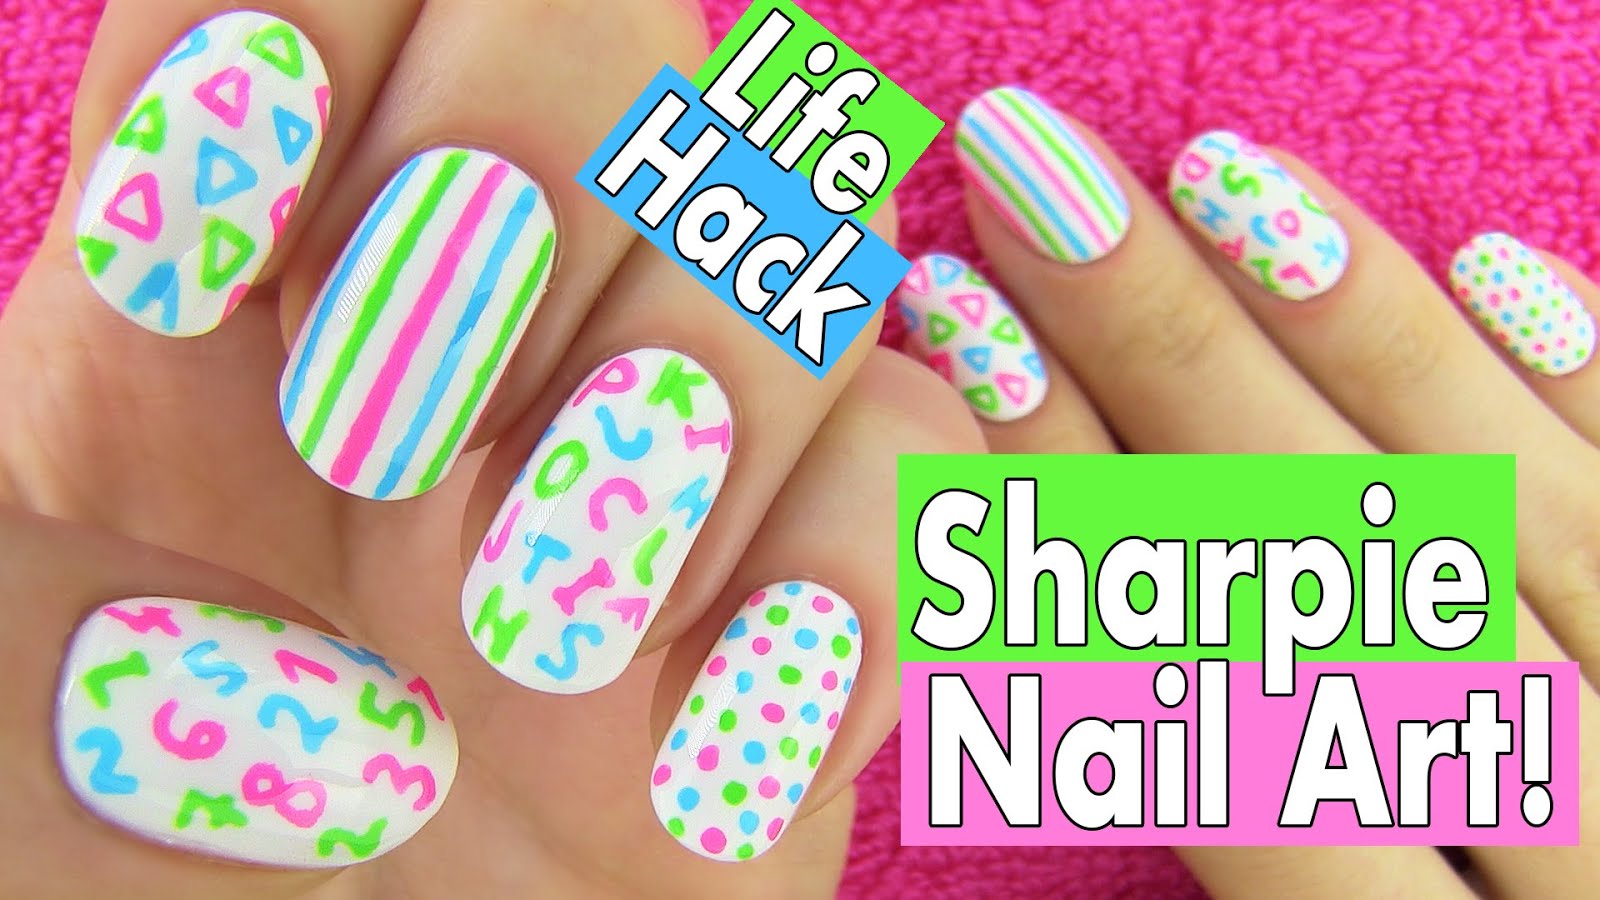
Want to learn some new nail art techniques? We've got you covered with 25 simple tutorials that are perfect for beginners. Grab your nail tools and let's get started! Featured keywords: nail art techniques, tutorials, beginners, nail tools. First up, we have a cute and easy heart design. This can be achieved by creating two dots next to each other and then using a toothpick to drag the polish down and connect them in a point. You can use different colors for a colorful look or stick to one color for a classic design. Featured keywords: heart design, dots, toothpick, drag, connect, point, different colors, classic design. If you're a fan of glitter, try out a glitter gradient design. This is achieved by painting your nails with a base color and then using a makeup sponge to dab on glitter polish towards the tips of your nails. You can use different color combinations for a fun and sparkly look. Featured keywords: glitter gradient design, base color, makeup sponge, glitter polish, tips, color combinations, fun, sparkly. Next, we have a design that is perfect for the holiday season. The Christmas tree design is achieved by creating a triangle shape on your nails with green polish and then adding a star on top with gold or silver polish. You can use a toothpick or nail art brush for this look. Featured keywords: Christmas tree design, triangle shape, green polish, star, gold polish, silver polish, toothpick, nail art brush. For a fun and playful look, try out a rainbow design. This can be achieved by painting your nails with a base color and then using a dotting tool or toothpick to create a rainbow with different polish colors. This design is perfect for any occasion and is sure to brighten up your day. Featured keywords: rainbow design, base color, dotting tool, toothpick, polish colors, occasion, brighten up. Looking for a bold and edgy design? Try out a tribal print design. This can be achieved by using striping tape to create geometric shapes on your nails and then filling in the spaces with different colors. You can also add small details with a nail art brush or toothpick. Featured keywords: tribal print design, striping tape, geometric shapes, colors, small details, nail art brush, toothpick.3. 25 Simple Nail Art Tutorials For Beginners
3. 25 Simple Nail Art Tutorials For Beginners

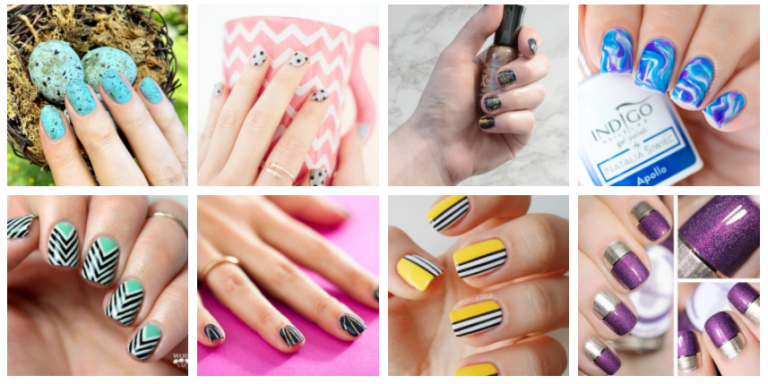


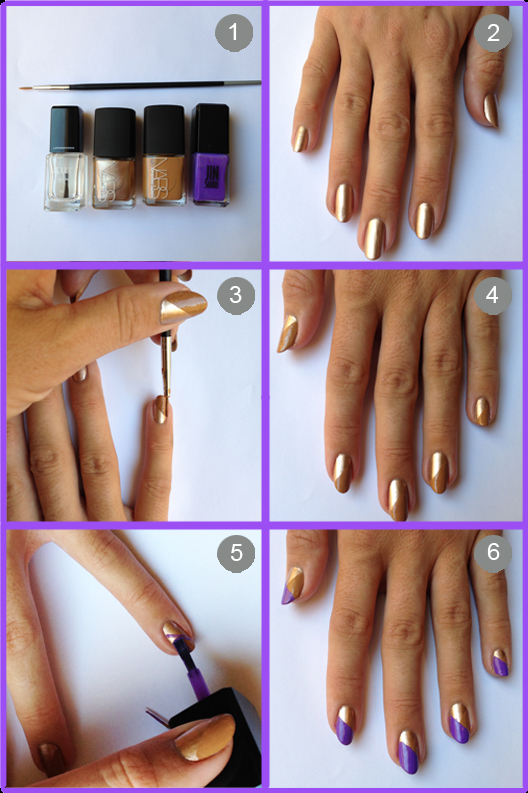
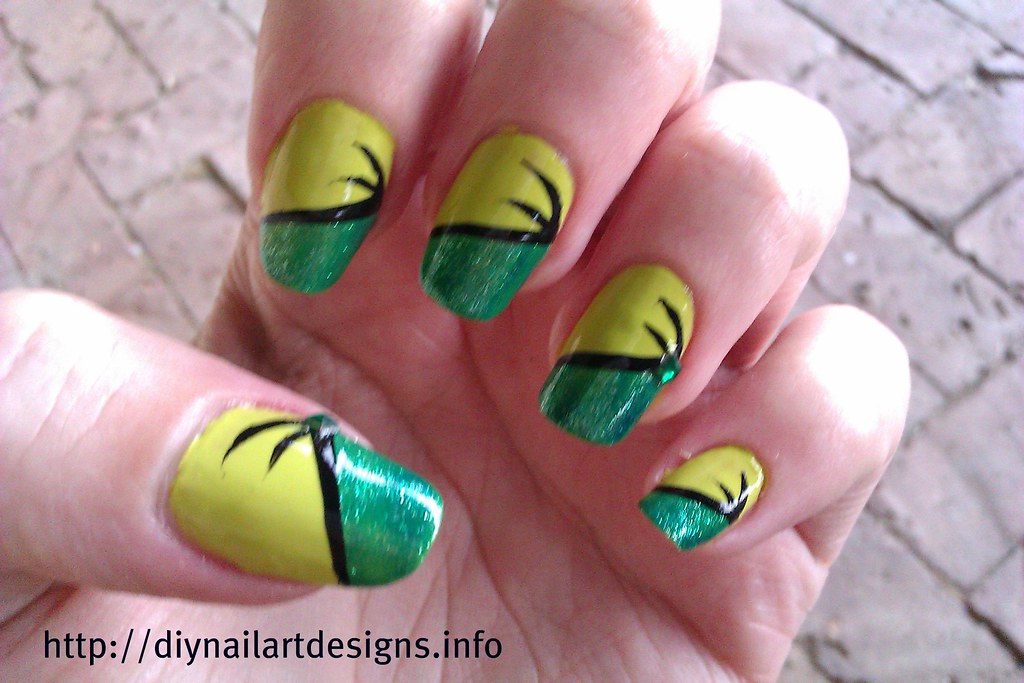
Don't have a lot of time to spend on intricate nail designs? Don't worry, we've got you covered with 30 easy designs that are perfect for beginners. These looks can be achieved in no time and still make a statement! Featured keywords: easy nail designs, beginners, time, statement. First up, we have a simple yet elegant design that is perfect for any occasion. The half and half design is achieved by painting one half of your nail with a base color and the other half with a different color. You can use tape or a nail sticker for a clean line. Featured keywords: half and half design, elegant, occasion, base color, different color, tape, nail sticker, clean line. If you're a fan of negative space designs, try out a cutout design. This is achieved by creating a negative space on your nails and then adding a small cutout shape with a nail art brush or toothpick. You can use different colors and shapes for a unique look. Featured keywords: cutout design, negative space, nail art brush, toothpick, different colors, shapes, unique. Next, we have a design that is perfect for the summer season. The palm tree design is achieved by using a toothpick or nail art brush to create a palm tree shape on a base color. You can also add some small dots for coconuts. Featured keywords: palm tree design, summer season, toothpick, nail art brush, base color, small dots, coconuts. For a chic and modern look, try out a color block design. This is achieved by using striping tape to create clean lines and fill in the spaces with different colors. This design is perfect for any occasion and is sure to make a statement. Featured keywords: color block design, chic, modern, striping tape, clean lines, different colors, occasion, statement. Looking for a design that is both simple and cute? Try out a polka dot and heart design. This can be achieved by creating small dots on your nails with a dotting tool or toothpick and then adding a heart on one or two nails with a brush or toothpick. Featured keywords: polka dot and heart design, simple, cute, dotting tool, toothpick, heart, brush.4. 30 Easy Nail Designs for Beginners


4. 30 Easy Nail Designs for Beginners


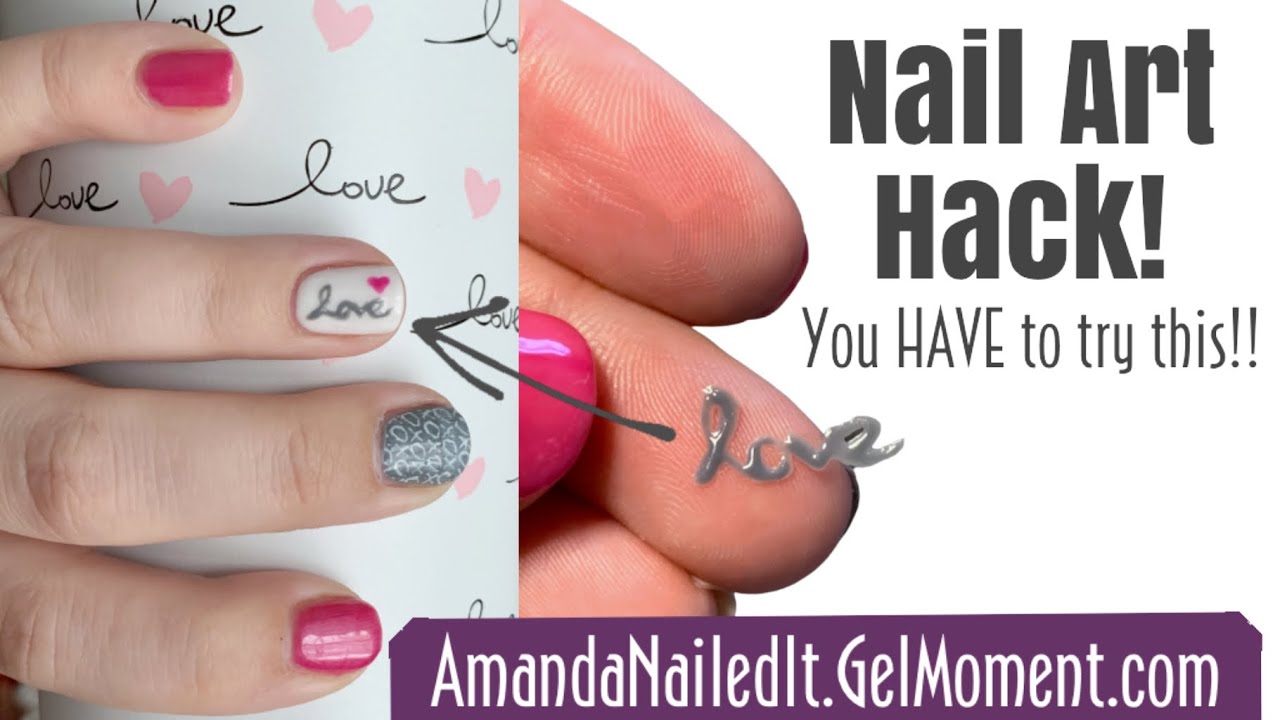
Short on time or don't have all the necessary tools for a nail design? These 40 DIY nail art hacks are here to save the day! These clever tips and tricks will make your nail art process a lot easier. Featured keywords: DIY nail art hacks, time, necessary tools, clever, tips and tricks, easier. First up, we have a hack for creating an ombre design without a makeup sponge. Simply paint your nails with your base color and then use a small piece of sponge to dab on the other color towards the tips. This creates a similar effect as a makeup sponge but with less mess. Featured keywords: ombre design, makeup sponge, base color, small piece of sponge, dab, other color, less mess. If you're struggling to paint your non-dominant hand, try this hack: paint your dominant hand first and then use a plastic bag to press onto your nails and transfer the polish onto your other hand. This will create a clean and even coat of polish. Featured keywords: non-dominant hand, paint, dominant hand, plastic bag, press, transfer, clean, even coat, polish. Next, we have a hack for creating a perfect French manicure. Use a band-aid to create a curved line on your nails and then paint the tips with white polish. This eliminates the need for a steady hand and creates a clean and precise line. Featured keywords: perfect French manicure, band-aid, curved line, nails, white polish, steady hand, clean, precise line. For a quick and easy glitter gradient, use a fan brush to apply glitter polish towards the tips of your nails. This creates a similar effect as using a makeup sponge but with less mess and a more precise application. Featured keywords: quick and easy, glitter gradient, fan brush, glitter polish, tips, makeup sponge, less mess, precise application. Looking for a hack to make your nail polish dry faster? Dip your nails in ice water for a few minutes after painting them. The cold temperature helps to set the polish and speed up the drying process. Featured keywords: nail polish, dry faster, dip, ice water, few minutes, cold temperature, set, speed up, drying process.5. 40 DIY Nail Art Hacks That Are Borderline Genius


5. 40 DIY Nail Art Hacks That Are Borderline Genius


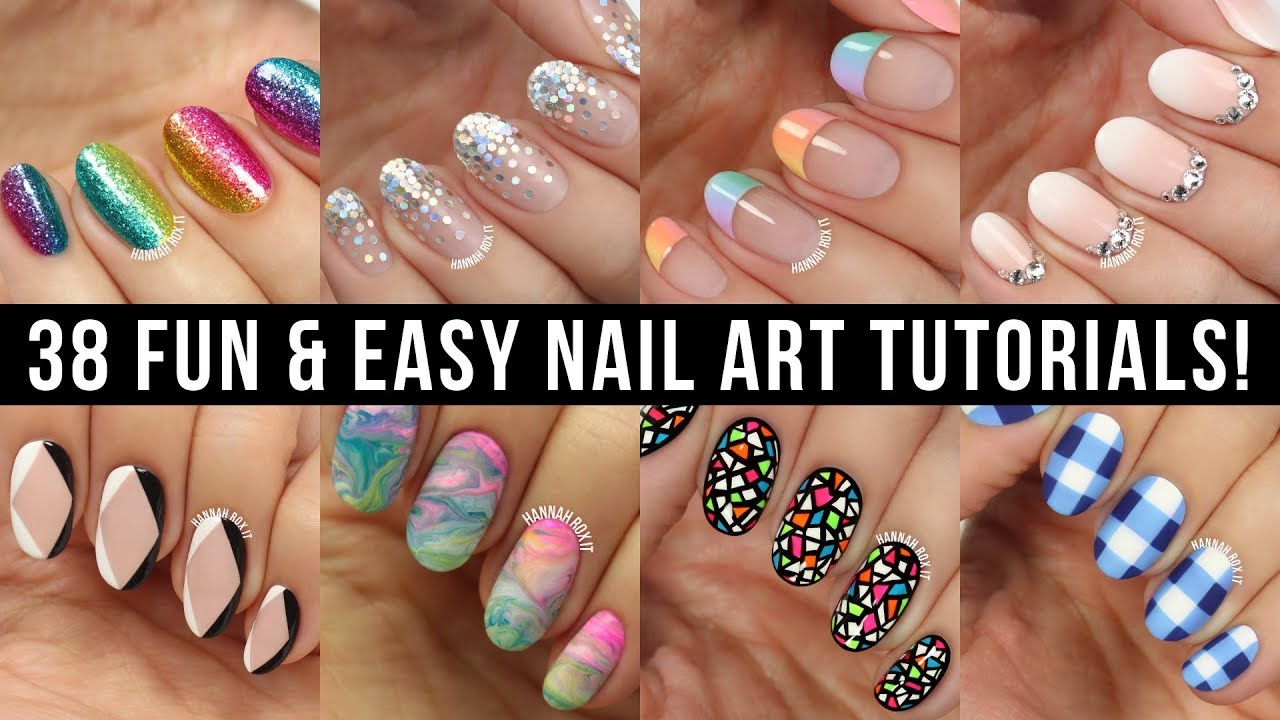
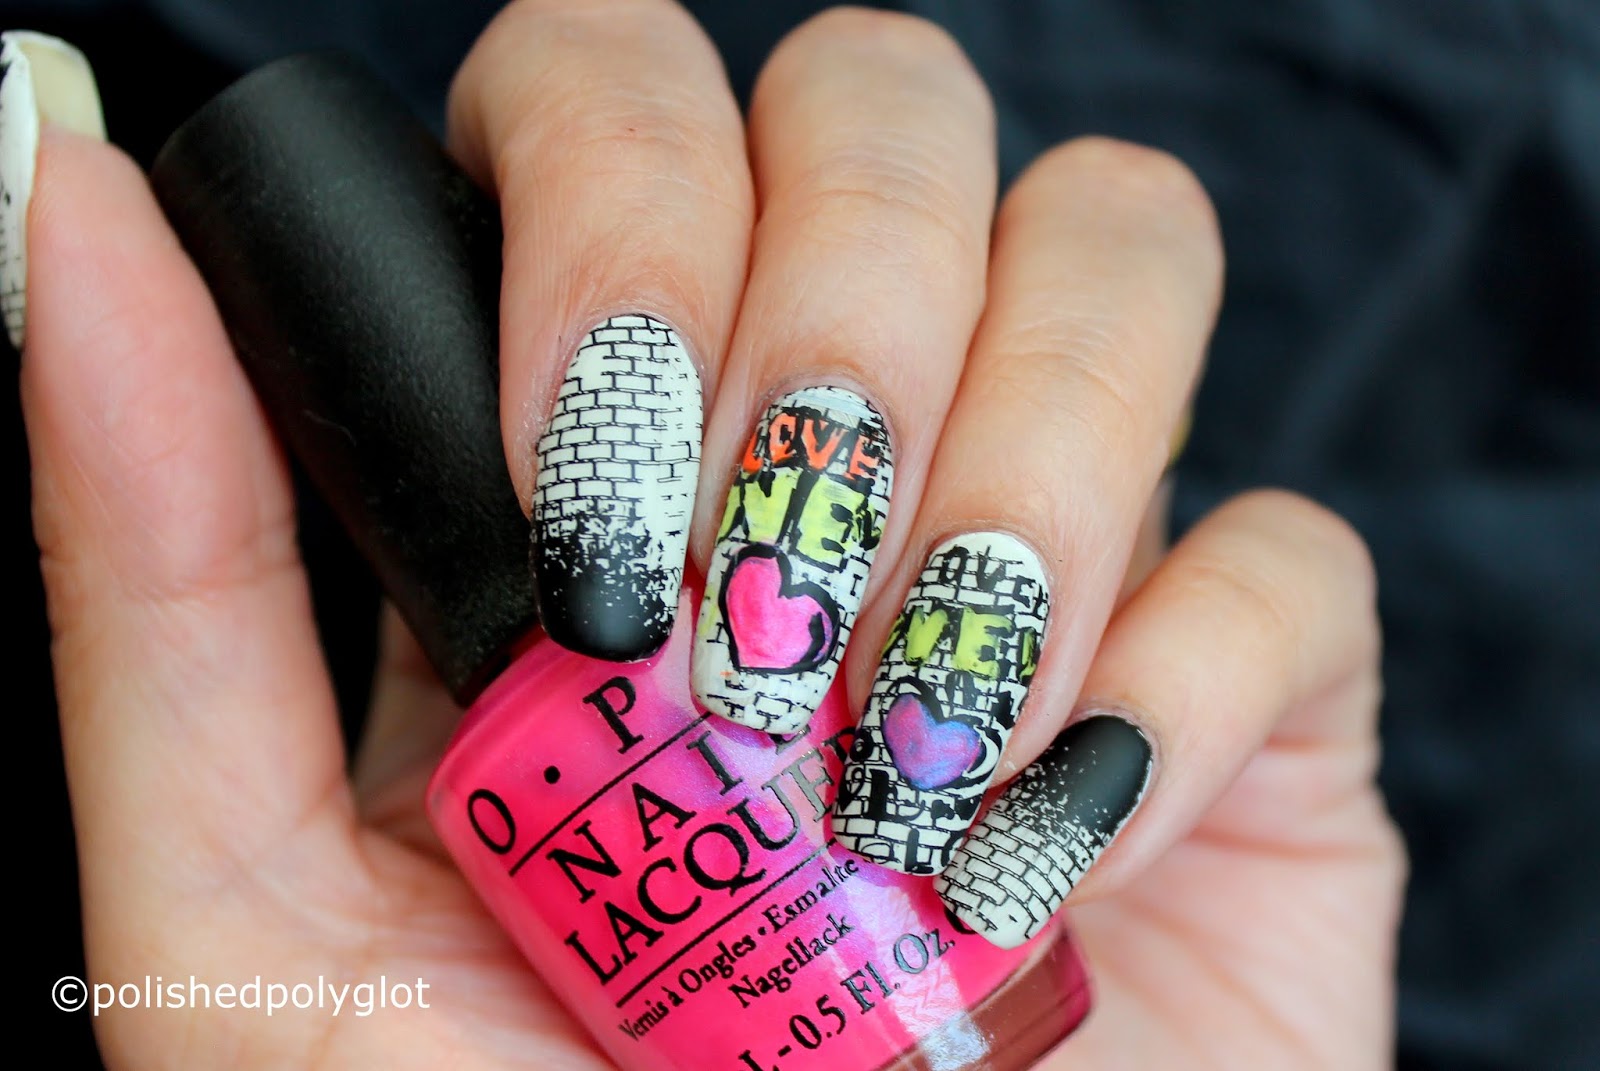
Ready to update your nail art game for 2016? We've got you covered with 50 cute, cool, simple, and easy nail art designs that will be on-trend for the year. Get ready to show off your stylish nails! Featured keywords: nail art game, update, 2016, cute, cool, simple, easy, on-trend, stylish nails. First up, we have a geometric design that combines different shapes and colors for a fun and modern look. Use striping tape or a nail art brush to create clean lines and fill in the spaces with your chosen colors. Featured keywords: geometric design, shapes, colors, modern, striping tape, nail art brush, clean lines. If you're a fan of floral designs, try out this hack for creating perfect flowers: use a bobby pin to create small dots and then use a toothpick to drag the polish outwards for petals. This creates a simple yet stunning flower design. Featured keywords: floral designs, hack, perfect flowers, bobby pin, small dots, toothpick, drag, polish, petals, simple, stunning.6. 50 Cute, Cool, Simple and Easy Nail Art Design Ideas for 2016


6. 50 Cute, Cool, Simple and Easy Nail Art Design Ideas for 2016


The Best Nail Design to Do at Home

Introduction
 When it comes to nail designs, there are endless possibilities to choose from. However, getting your nails done at a salon can be time-consuming and expensive. But why spend a fortune when you can create stunning nail designs right in the comfort of your own home? Not only is it cost-effective, but it also allows you to unleash your creativity and experiment with different designs. In this article, we will explore the
best nail design to do at home
that will have you showing off your beautiful nails in no time.
When it comes to nail designs, there are endless possibilities to choose from. However, getting your nails done at a salon can be time-consuming and expensive. But why spend a fortune when you can create stunning nail designs right in the comfort of your own home? Not only is it cost-effective, but it also allows you to unleash your creativity and experiment with different designs. In this article, we will explore the
best nail design to do at home
that will have you showing off your beautiful nails in no time.
Materials Needed
 Before we jump into the
nail design
ideas, let's first gather the necessary materials. You will need a base coat, top coat, nail polish in various colors, nail art tools (such as dotting tools, nail brushes, and striping tape), nail polish remover, cotton pads, and a clear nail polish for the top coat. You can find these materials at any local drugstore or beauty supply store.
Before we jump into the
nail design
ideas, let's first gather the necessary materials. You will need a base coat, top coat, nail polish in various colors, nail art tools (such as dotting tools, nail brushes, and striping tape), nail polish remover, cotton pads, and a clear nail polish for the top coat. You can find these materials at any local drugstore or beauty supply store.
Simple Nail Designs
 If you are new to
DIY nail designs
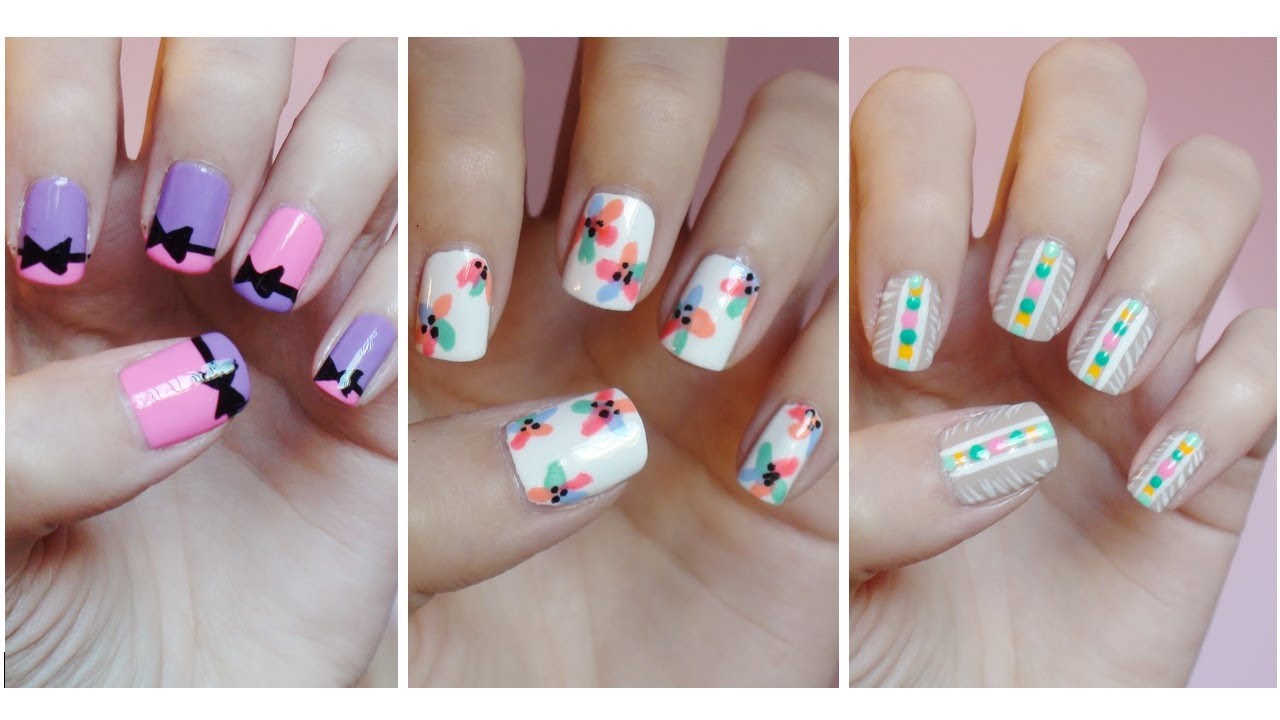
, starting with simple designs is the best way to go. One easy design that you can create at home is a
polka dot manicure
. All you need is two different colored nail polishes and a dotting tool. Start by applying the base coat and let it dry. Then, using the dotting tool, create small dots on your nails with the first color. Let it dry and then repeat the process with the second color, creating dots in between the first set of dots. Finish with a top coat, and you have a fun and colorful polka dot design.
If you are new to
DIY nail designs
, starting with simple designs is the best way to go. One easy design that you can create at home is a
polka dot manicure
. All you need is two different colored nail polishes and a dotting tool. Start by applying the base coat and let it dry. Then, using the dotting tool, create small dots on your nails with the first color. Let it dry and then repeat the process with the second color, creating dots in between the first set of dots. Finish with a top coat, and you have a fun and colorful polka dot design.
Intermediate Nail Designs
 For those who have some experience with
nail art
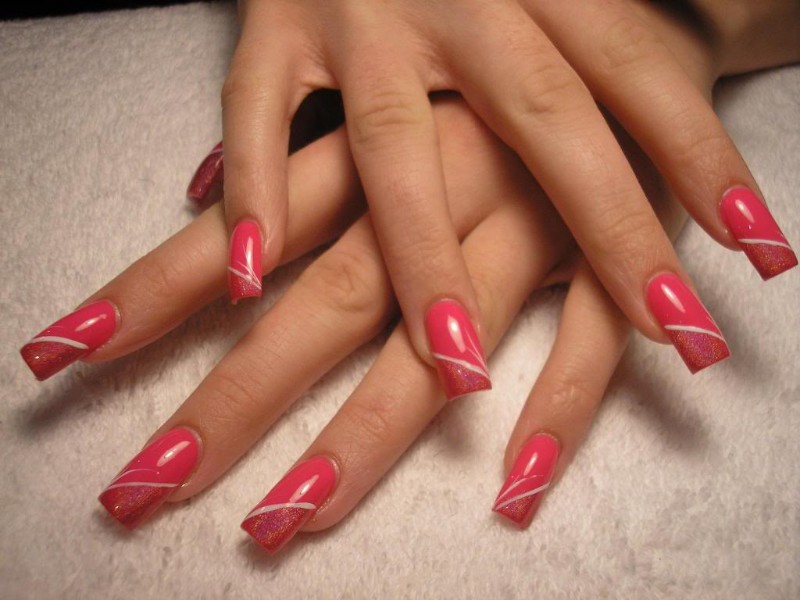
, you can try out more intricate designs at home. One popular design is the
french tip manicure
. To achieve this look, you will need a base coat, a nude nail polish, and a white nail polish. Start by applying the base coat and let it dry. Then, using the white nail polish, paint the tips of your nails in a curved motion. Let it dry before applying the nude polish on the rest of your nails. You can also add a twist to this classic design by using different colors for the tips.
For those who have some experience with
nail art
, you can try out more intricate designs at home. One popular design is the
french tip manicure
. To achieve this look, you will need a base coat, a nude nail polish, and a white nail polish. Start by applying the base coat and let it dry. Then, using the white nail polish, paint the tips of your nails in a curved motion. Let it dry before applying the nude polish on the rest of your nails. You can also add a twist to this classic design by using different colors for the tips.
Advanced Nail Designs
 For those who are up for a challenge, there are plenty of
advanced nail designs
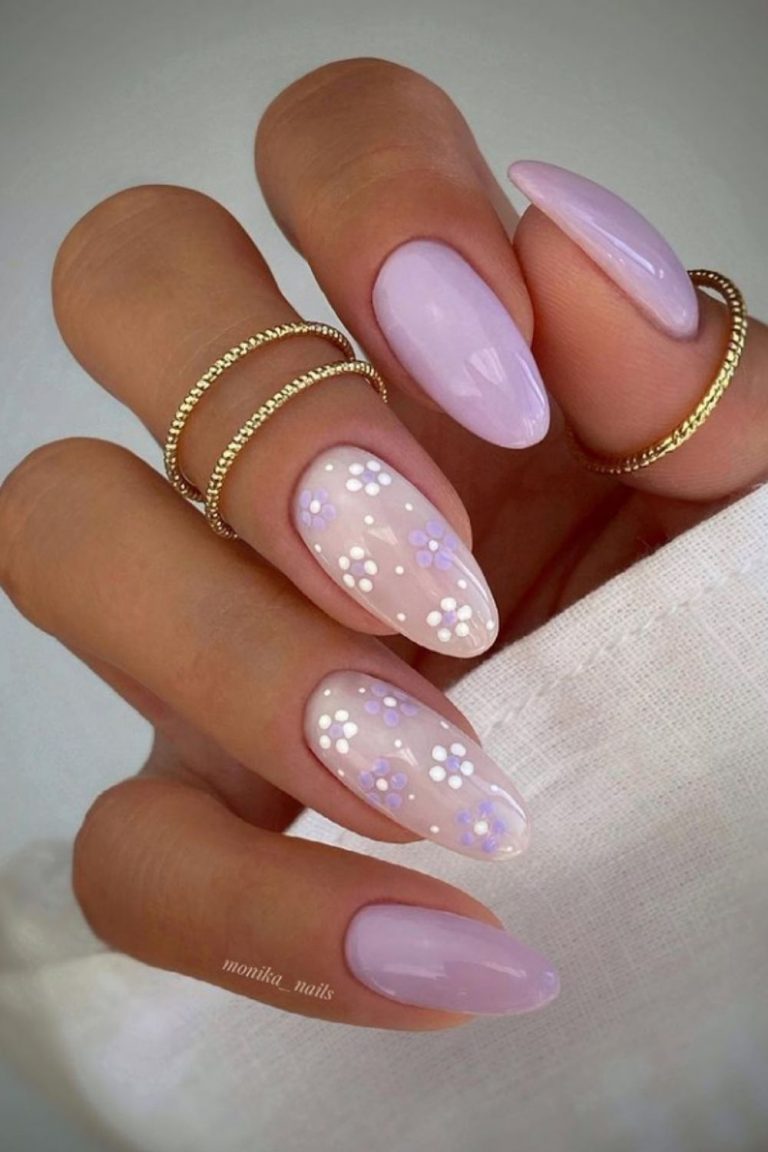
that you can try at home. One of them is the
ombre nails
look. This design requires multiple shades of the same color, a makeup sponge, and a top coat. Start by applying the base coat and let it dry. Then, paint the different shades of nail polish on the makeup sponge, starting with the lightest shade at the top. Dab the sponge onto your nails, creating a gradient effect. Finish with a top coat, and you have a beautiful ombre design.
For those who are up for a challenge, there are plenty of
advanced nail designs
that you can try at home. One of them is the
ombre nails
look. This design requires multiple shades of the same color, a makeup sponge, and a top coat. Start by applying the base coat and let it dry. Then, paint the different shades of nail polish on the makeup sponge, starting with the lightest shade at the top. Dab the sponge onto your nails, creating a gradient effect. Finish with a top coat, and you have a beautiful ombre design.
Conclusion
 In conclusion, doing your nails at home can be a fun and cost-effective way to achieve professional-looking designs. With the right tools and a little bit of practice, you can create stunning nail designs right in the comfort of your own home. So why wait? Try out these
nail design ideas
today and show off your beautiful nails to the world!
In conclusion, doing your nails at home can be a fun and cost-effective way to achieve professional-looking designs. With the right tools and a little bit of practice, you can create stunning nail designs right in the comfort of your own home. So why wait? Try out these
nail design ideas
today and show off your beautiful nails to the world!


