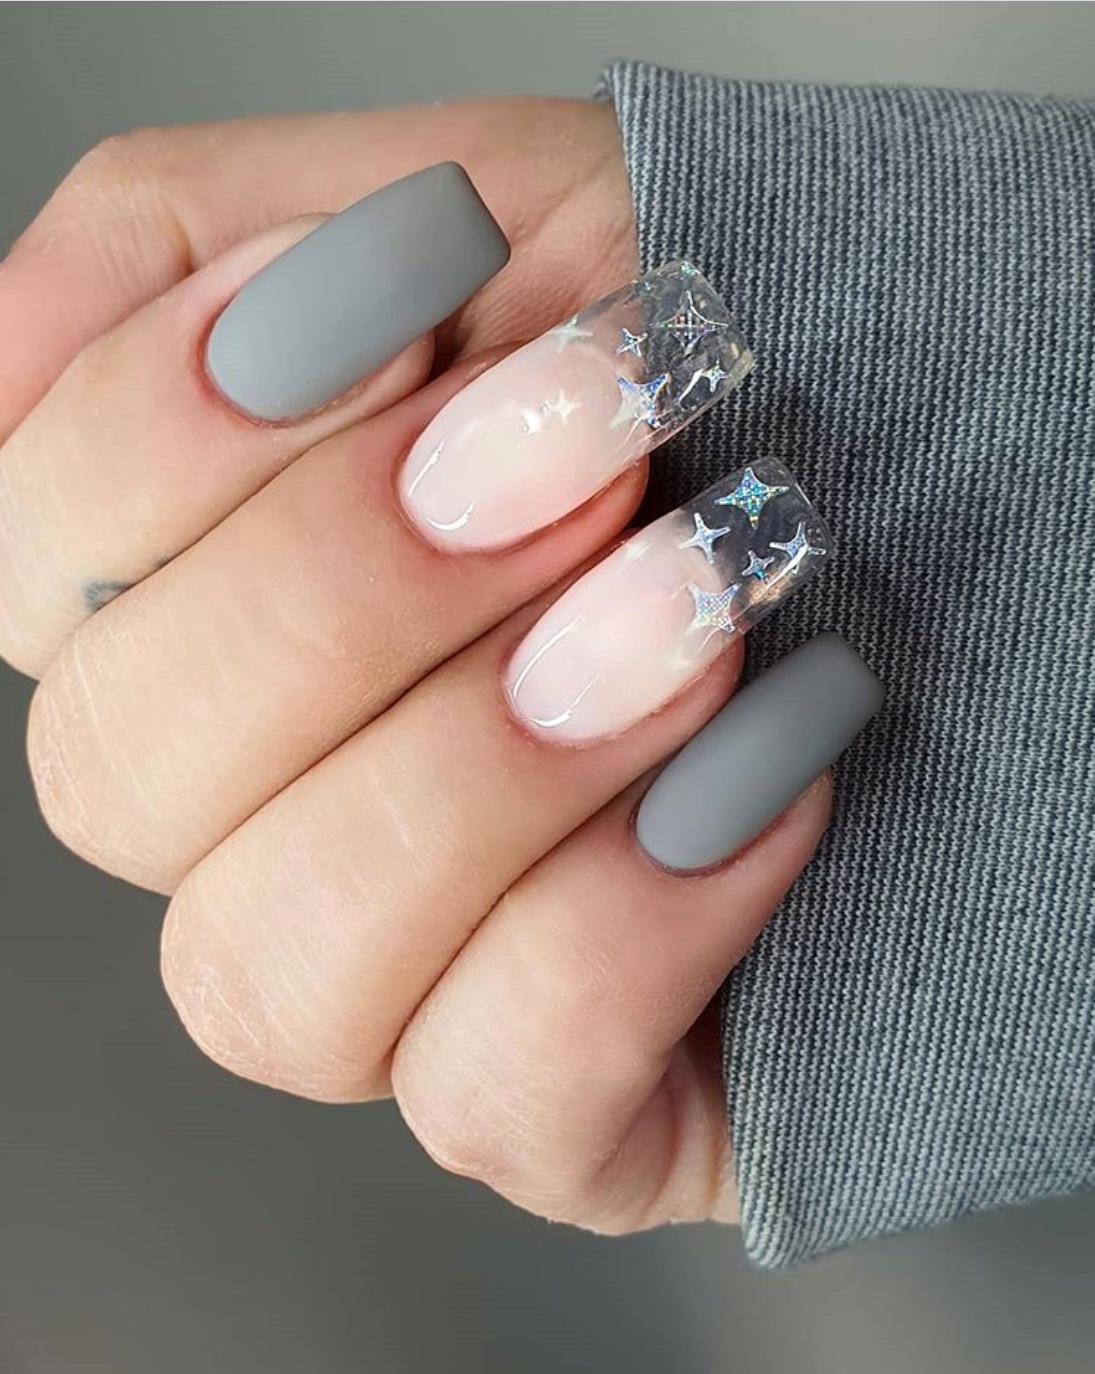
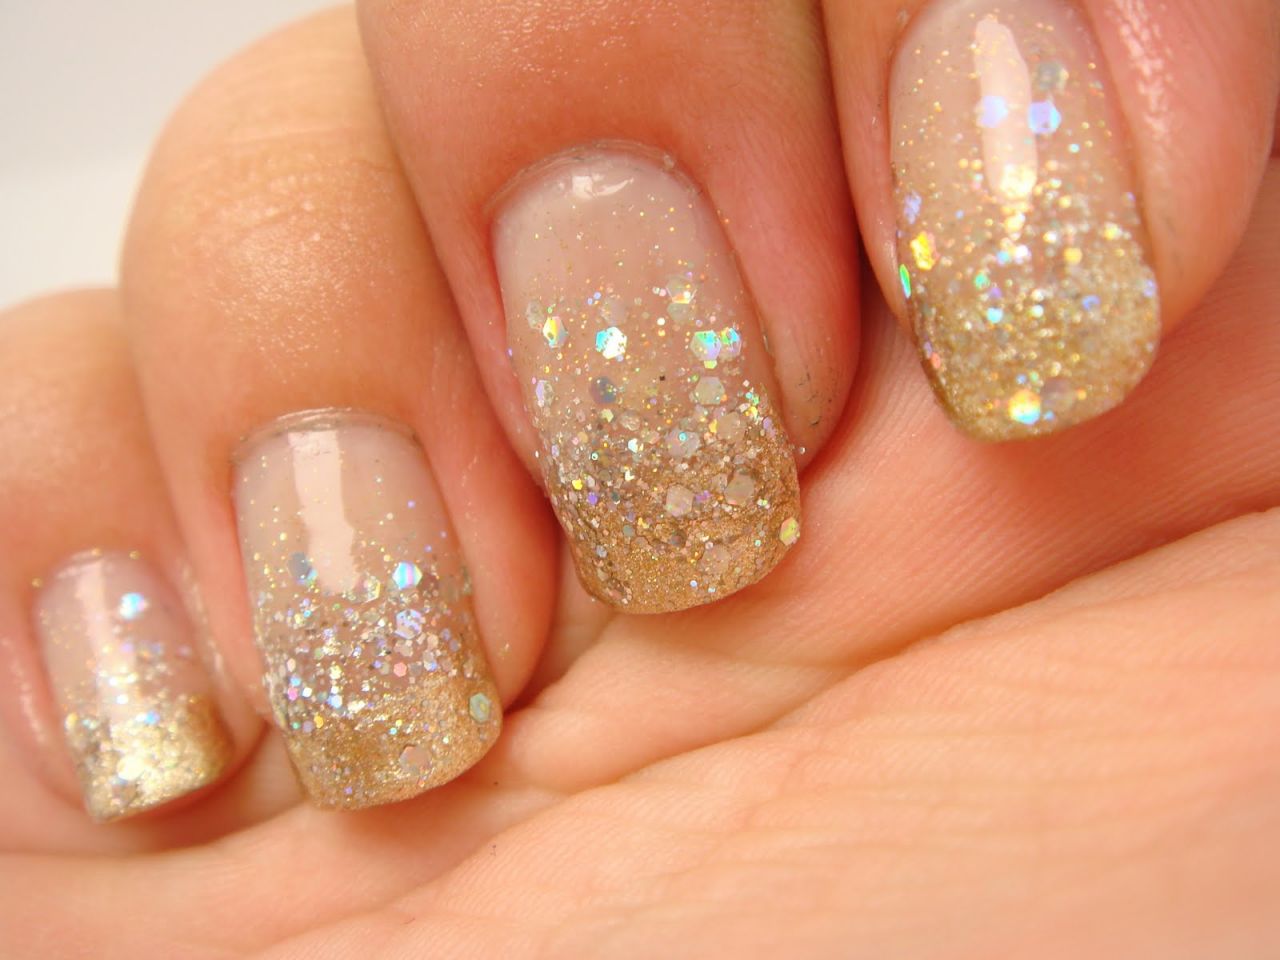
If you're a fan of sparkly nails, then this grey and silver glitter gel nail art design is perfect for you. The combination of grey and silver creates a chic and sophisticated look that is perfect for any occasion. The glitter adds a touch of glamour and will definitely make your nails stand out. To achieve this look, start by applying a base coat of grey gel nail polish and cure it under a UV or LED lamp. Then, using a thin brush, create diagonal lines across your nails with silver glitter gel polish. Cure it under the lamp and repeat the process until you get your desired amount of glitter. Finish off with a top coat and cure it one last time for a long-lasting and shiny finish.1. Grey and Silver Glitter Gel Nail Art Design

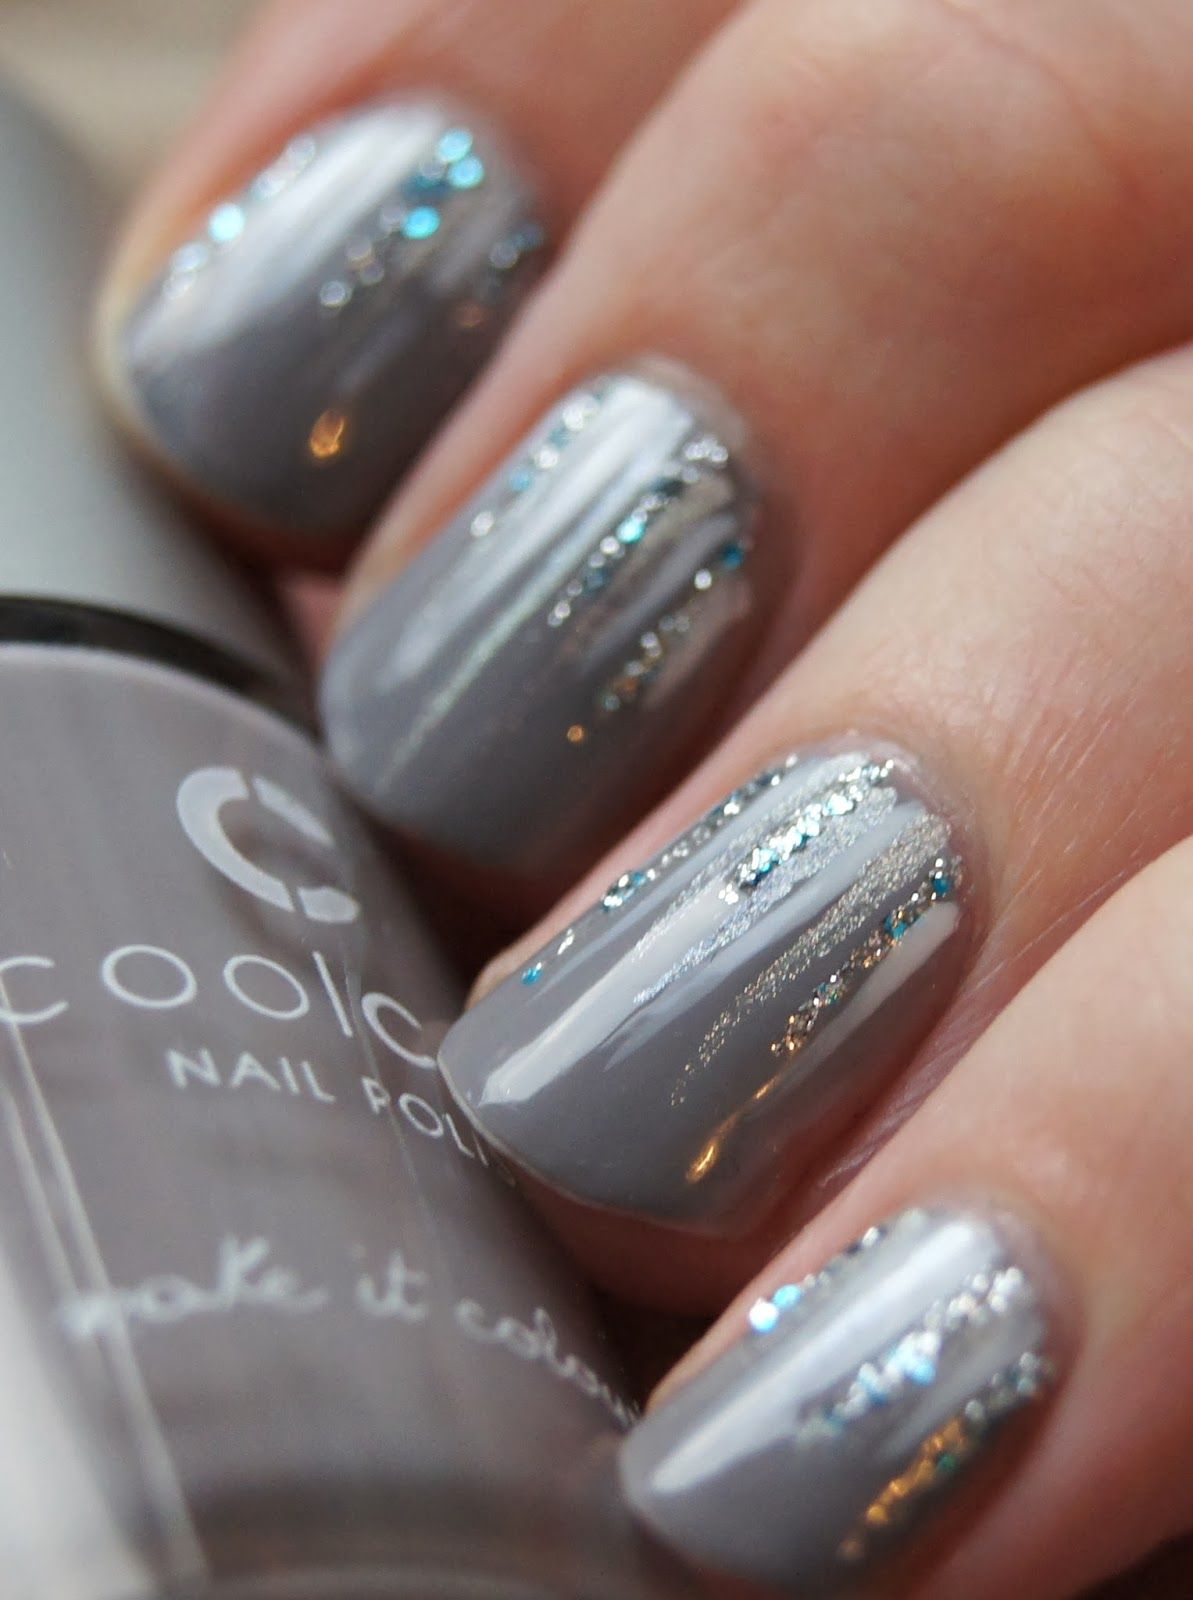

1. Grey and Silver Glitter Gel Nail Art Design


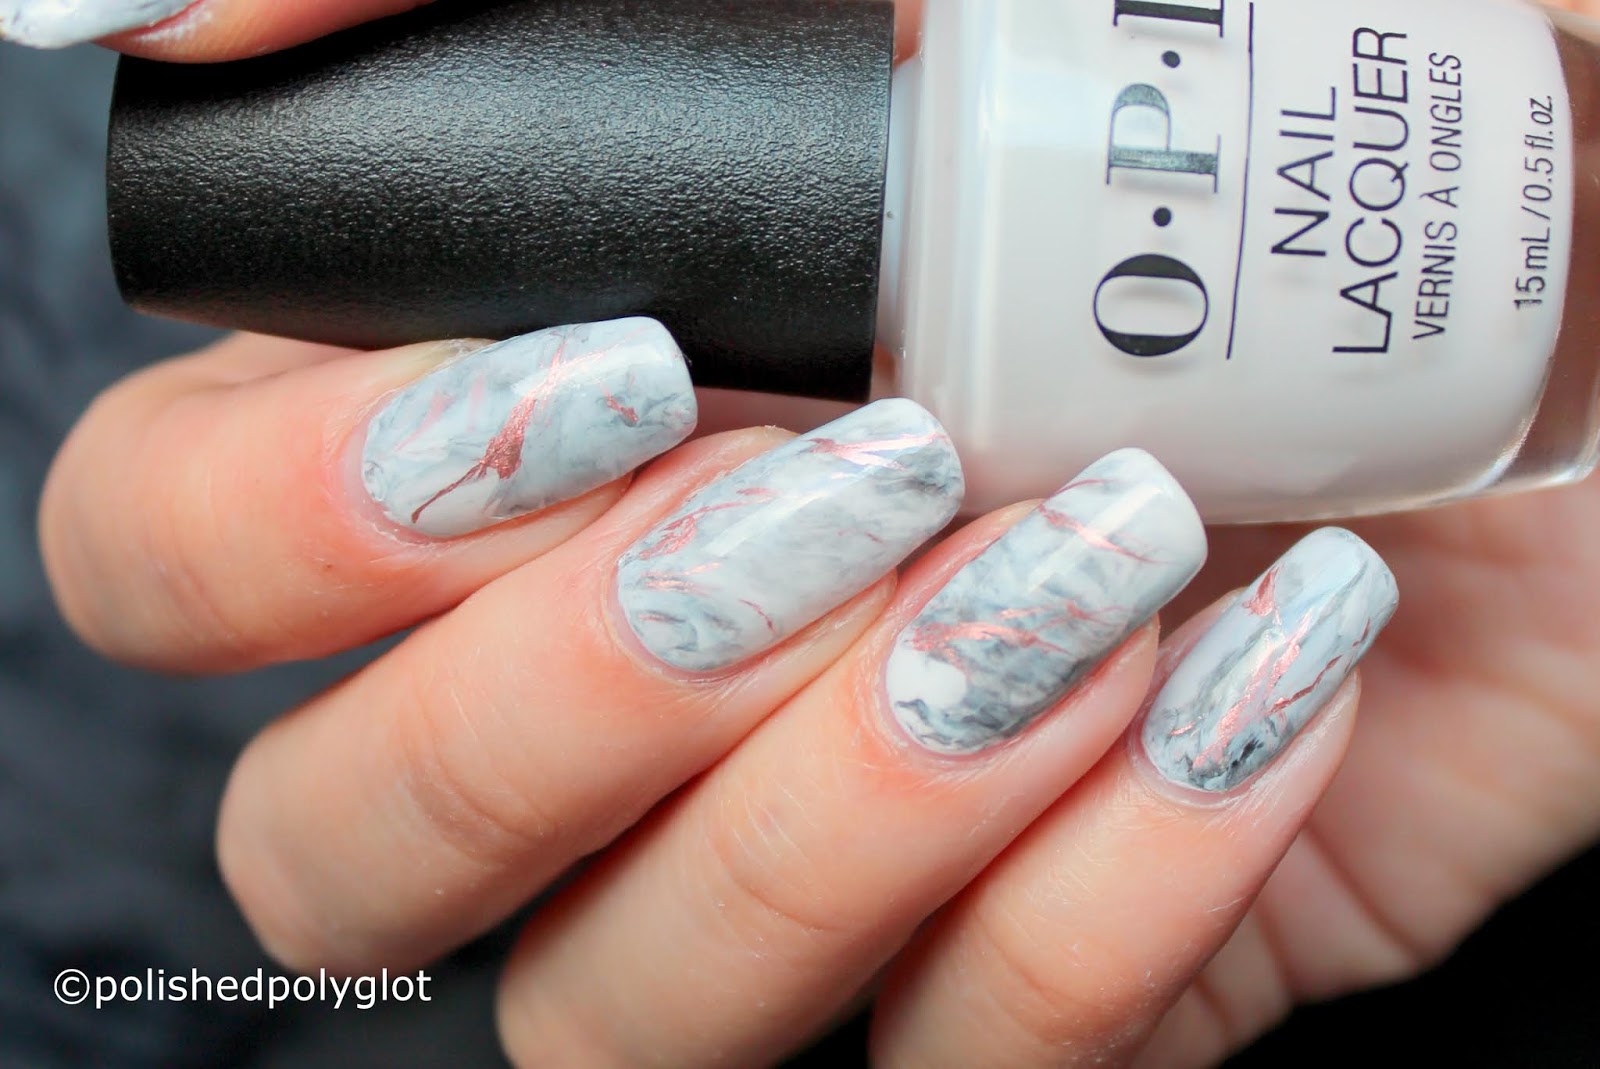
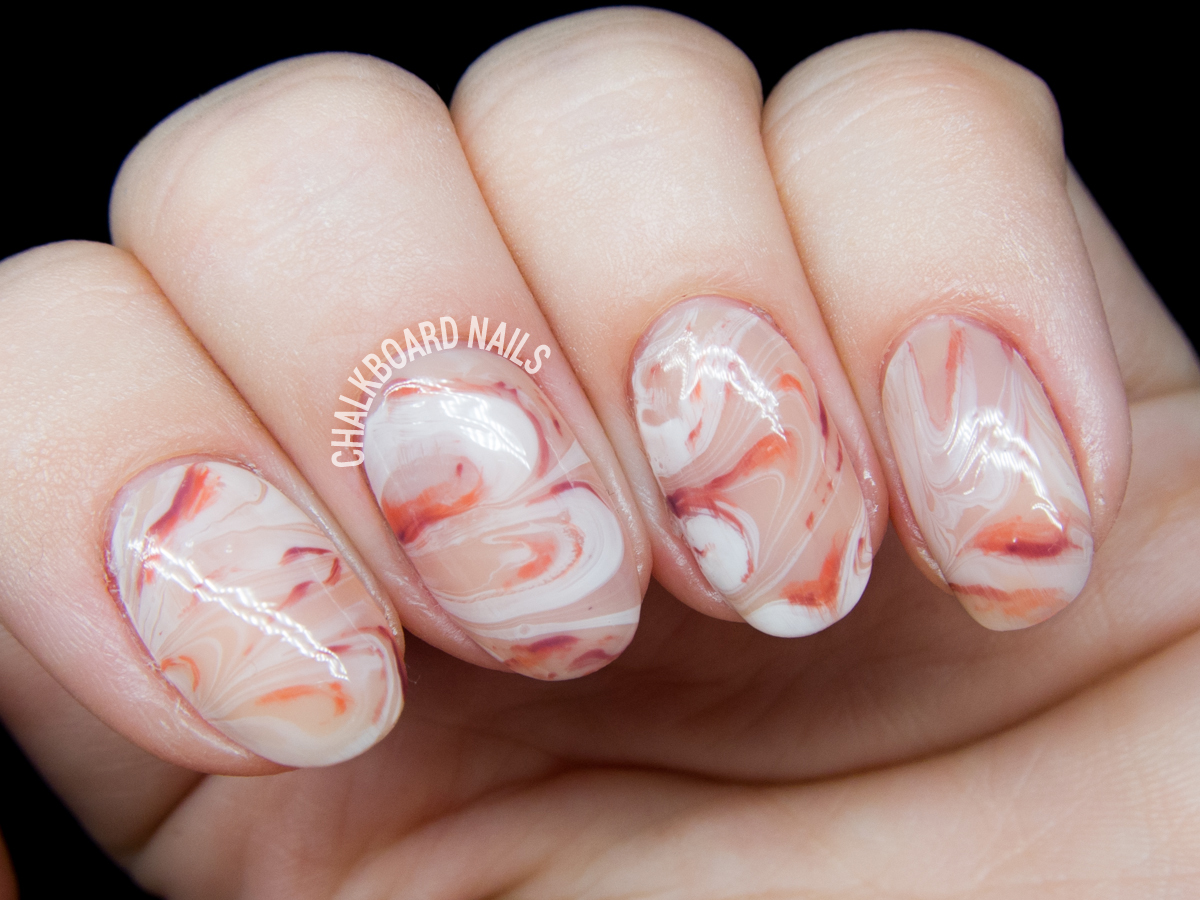
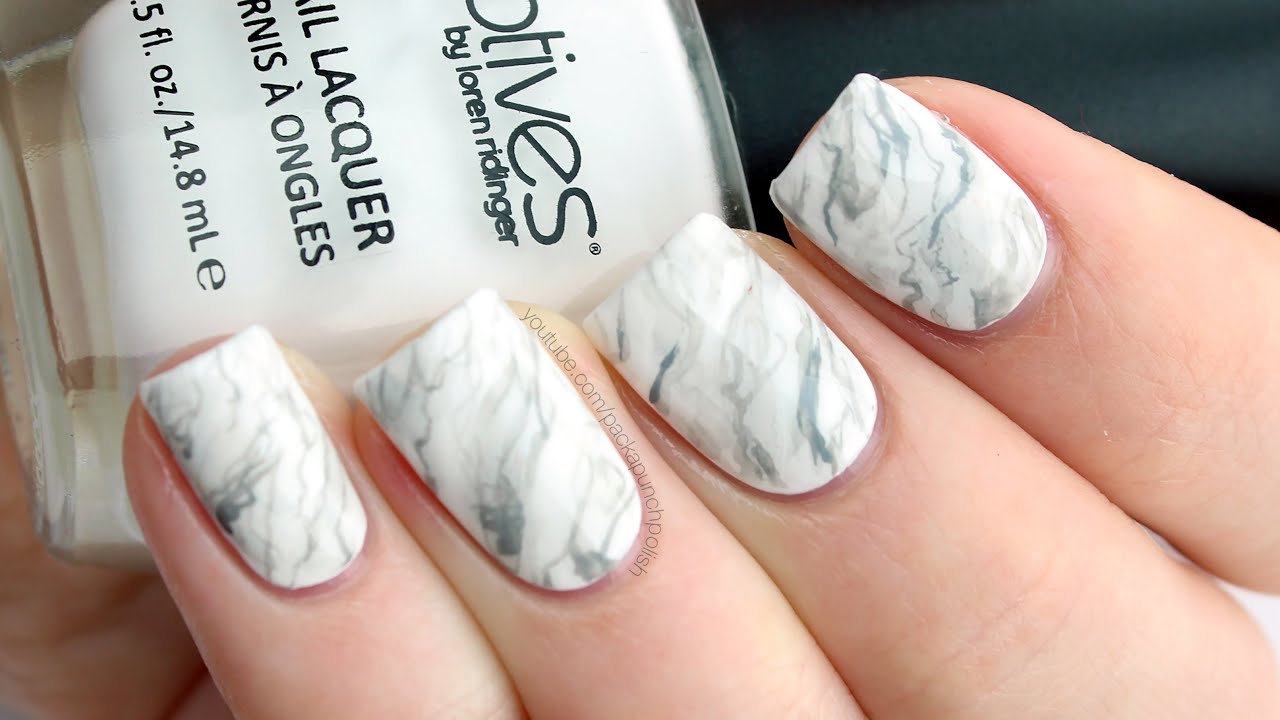
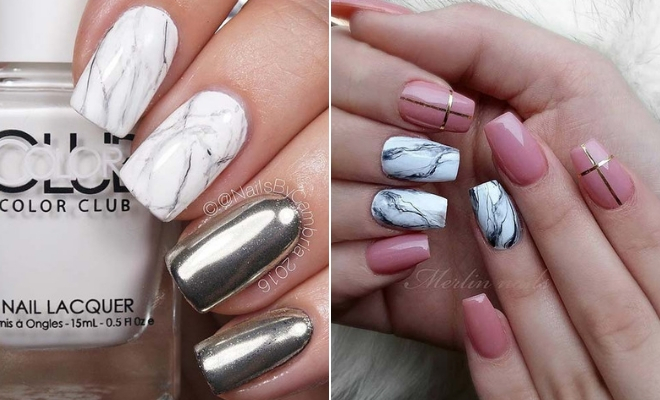
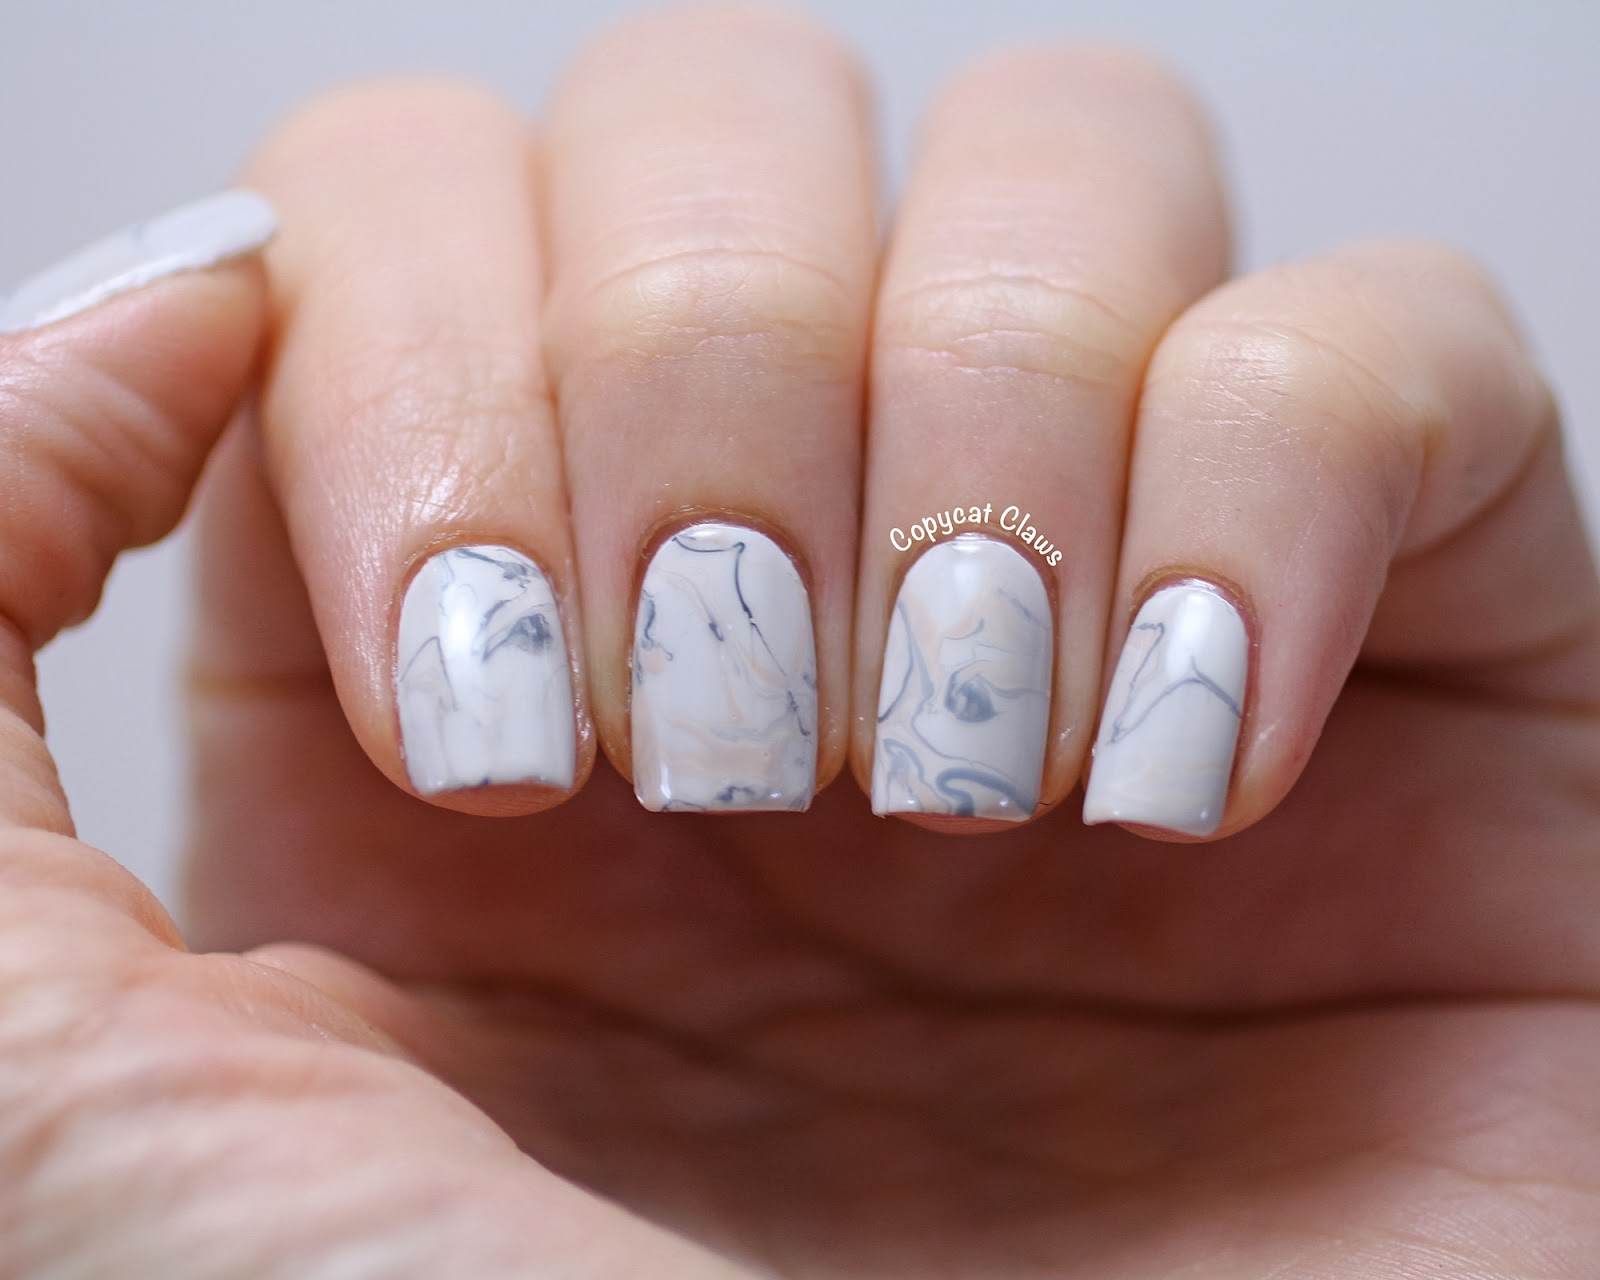
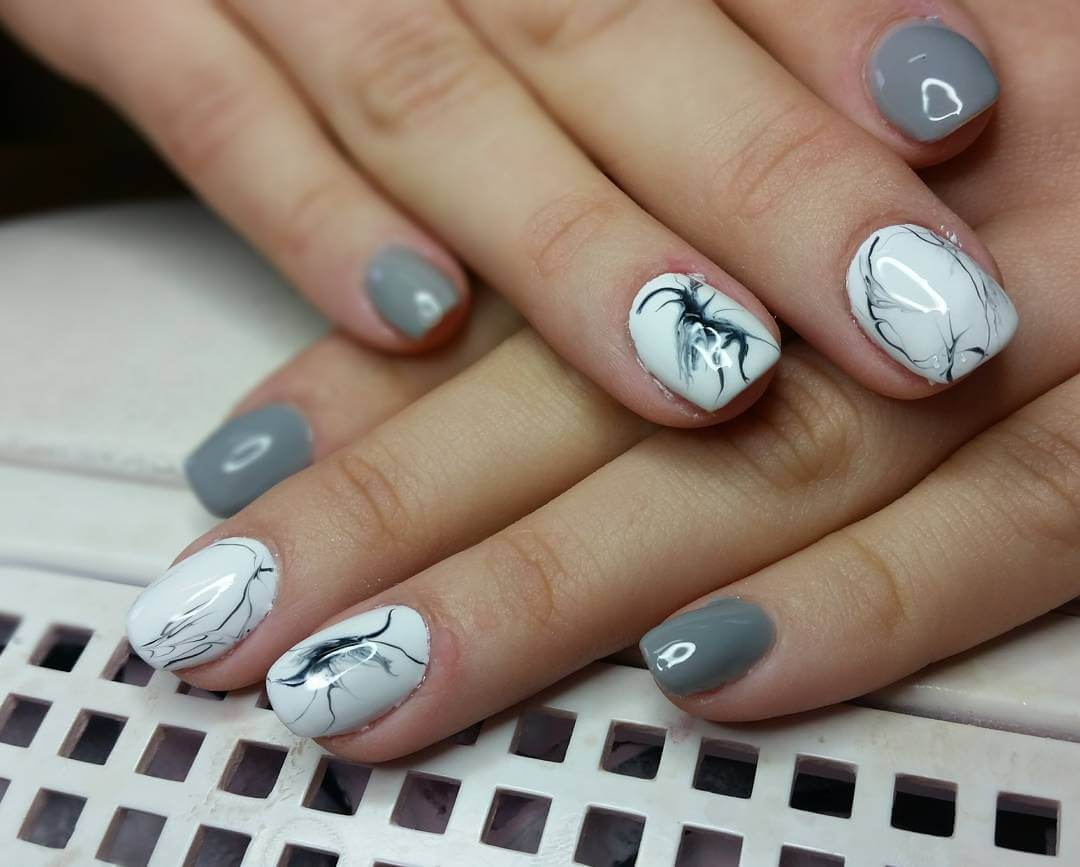
Marble nails are a popular trend in the nail art world, and this grey gel nail art design takes it to the next level. The combination of grey and white creates a beautiful marble effect that looks elegant and unique. This design is perfect for those who want something subtle yet eye-catching. To achieve this look, start by applying a base coat of white gel nail polish and cure it under a UV or LED lamp. Then, using a thin brush, create random swirls and lines with grey gel nail polish. Cure it under the lamp and repeat the process until you get your desired marble effect. Finish off with a top coat and cure it one last time for a flawless finish.2. Marble Grey Gel Nail Art Design


2. Marble Grey Gel Nail Art Design

Ombre nails are a classic and timeless design, and this grey ombre gel nail art takes it to a whole new level. The gradient effect of the grey shades creates a mesmerizing look that is perfect for any occasion. This design is also versatile as you can use any shade of grey to create your desired ombre effect. To achieve this look, start by applying a base coat of light grey gel nail polish and cure it under a UV or LED lamp. Then, using a makeup sponge, dab on dark grey gel nail polish on the tips of your nails. Gradually blend the colors together using the sponge until you achieve your desired ombre effect. Finish off with a top coat and cure it one last time for a flawless finish.3. Grey Ombre Gel Nail Art Design


3. Grey Ombre Gel Nail Art Design


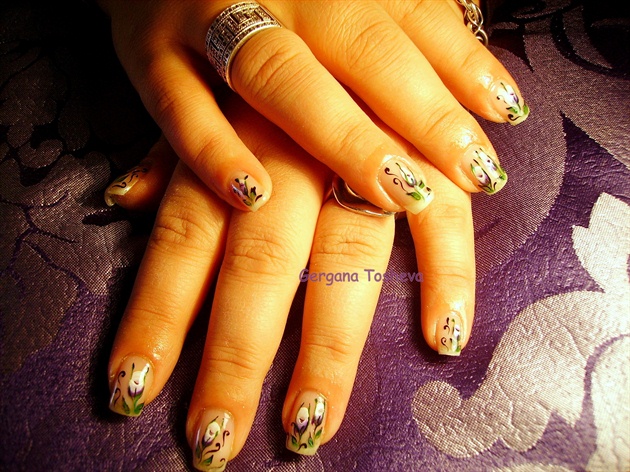
Floral nails are perfect for spring and summer, and this grey and white gel nail art design adds a modern twist to the classic floral design. The combination of grey and white creates a subtle and elegant look, while the floral accents add a touch of femininity. This design is perfect for those who want a delicate and chic nail art look. To achieve this look, start by applying a base coat of grey gel nail polish and cure it under a UV or LED lamp. Then, using a thin brush, create small flower designs using white gel nail polish. You can also add some leaves or vines for a more detailed look. Cure it under the lamp and finish off with a top coat for a glossy finish.4. Grey and White Floral Gel Nail Art Design


4. Grey and White Floral Gel Nail Art Design


If you want to add some glamour to your nails, then this grey and gold foil gel nail art design is perfect for you. The combination of grey and gold creates a luxurious and chic look that is perfect for any special occasion. The foil adds a touch of texture and shine, making this design stand out. To achieve this look, start by applying a base coat of grey gel nail polish and cure it under a UV or LED lamp. Then, using nail foil adhesive, apply small sections of gold nail foil onto your nails. You can also create a pattern or design with the foil if you prefer. Cure it under the lamp and finish off with a top coat for a flawless finish.5. Grey and Gold Foil Gel Nail Art Design


5. Grey and Gold Foil Gel Nail Art Design


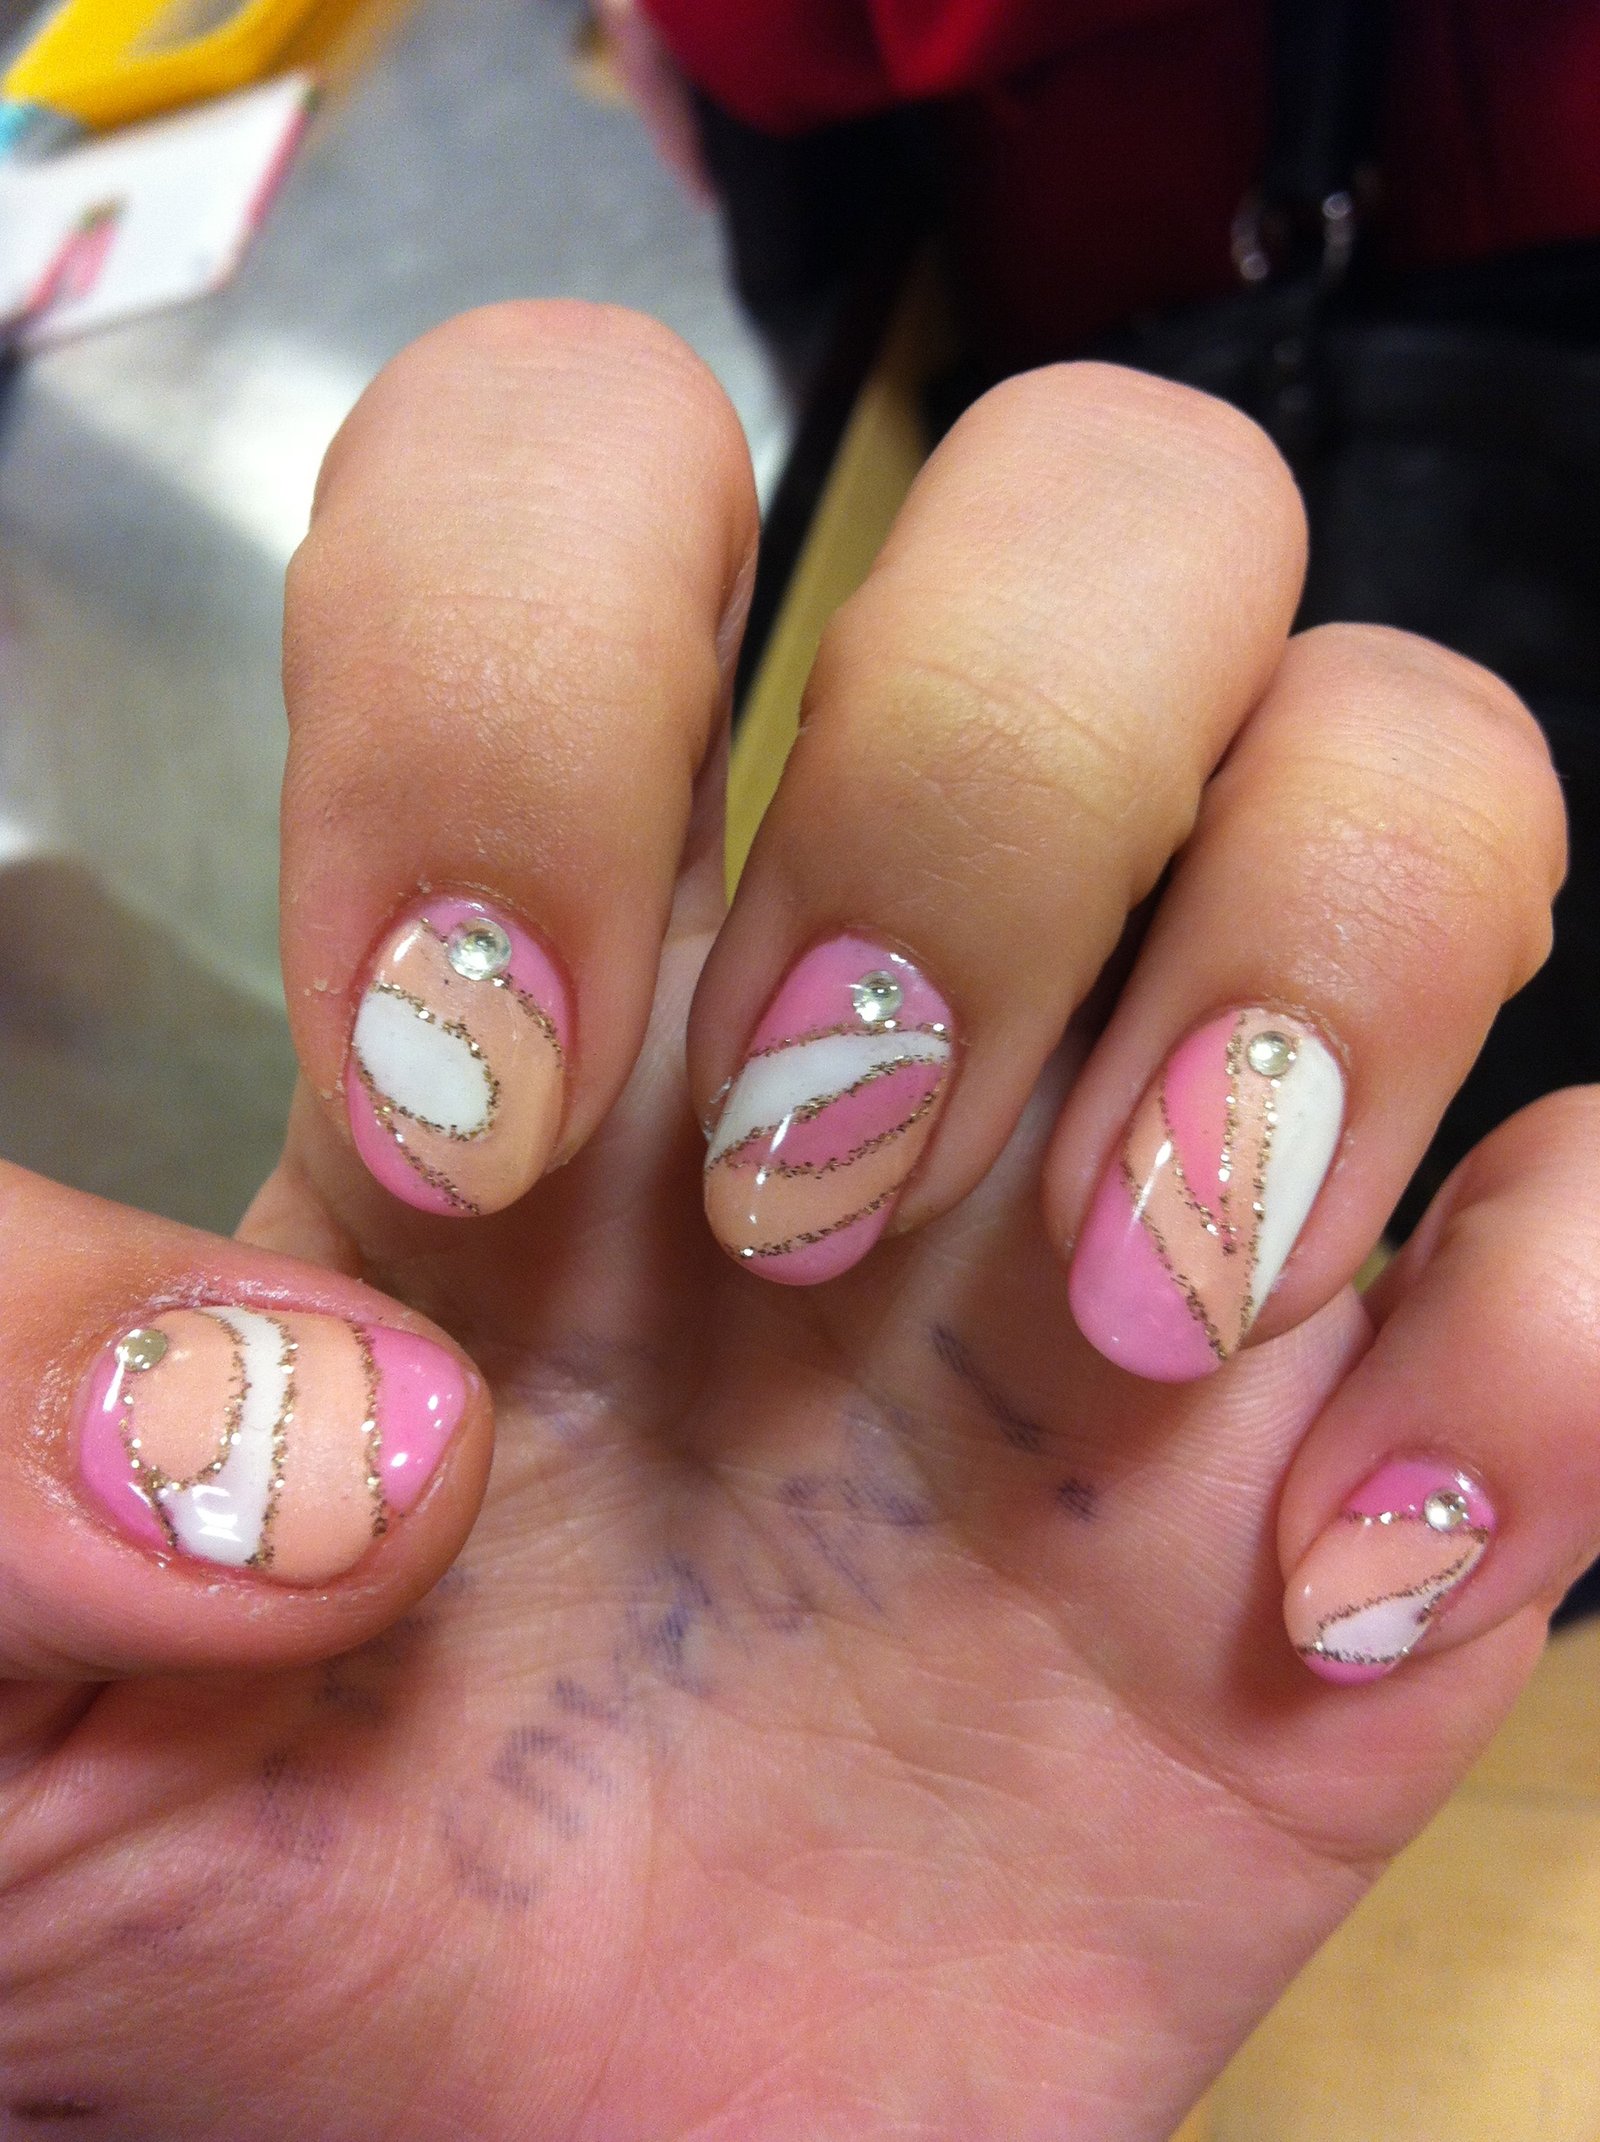
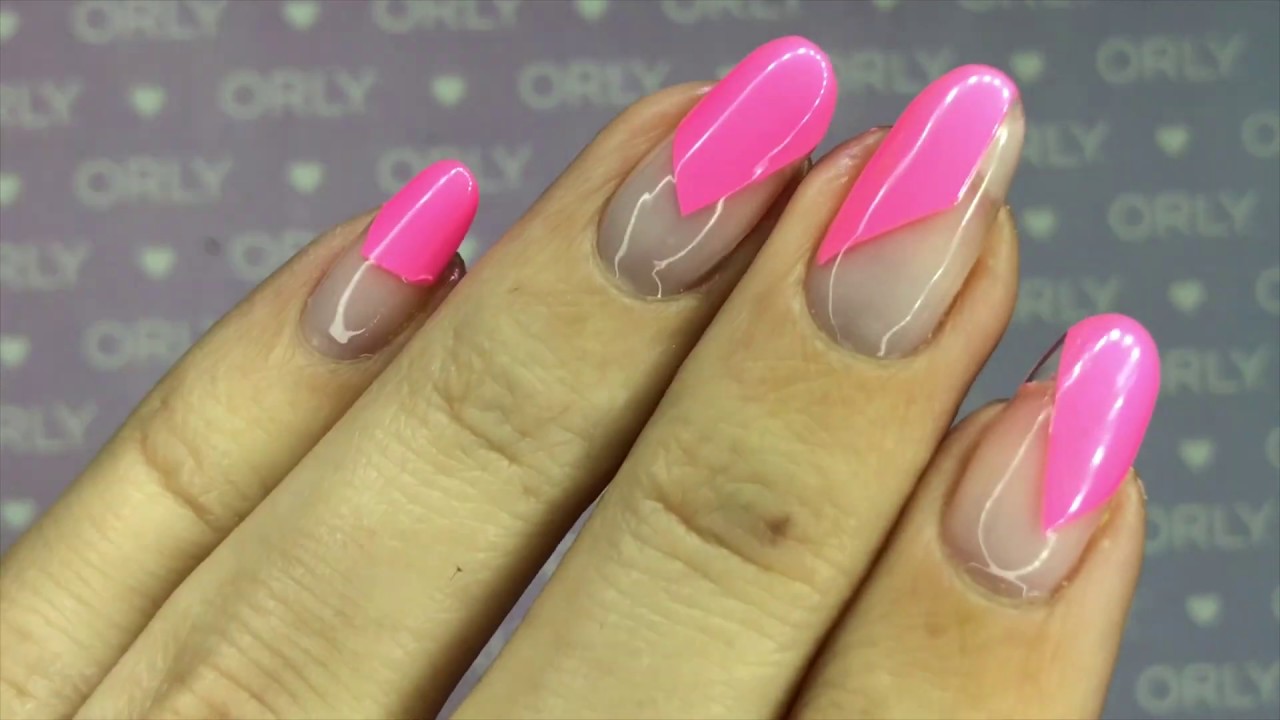
Geometric designs are trendy and modern, and this grey and pink gel nail art design is perfect for those who want to make a statement with their nails. The combination of grey and pink creates a playful and fun look, while the geometric shapes add a touch of sophistication. This design is perfect for those who want to stand out from the crowd. To achieve this look, start by applying a base coat of grey gel nail polish and cure it under a UV or LED lamp. Then, using nail striping tape, create geometric shapes on your nails. Fill in the shapes with pink gel nail polish and cure it under the lamp. Remove the tape and finish off with a top coat for a shiny finish.6. Grey and Pink Geometric Gel Nail Art Design

6. Grey and Pink Geometric Gel Nail Art Design

Striped nails are simple yet effective, and this grey and black striped gel nail art design is perfect for those who want a minimalist look. The combination of grey and black creates a sleek and elegant look, while the stripes add a touch of interest. This design is perfect for those who prefer a more understated nail art look. To achieve this look, start by applying a base coat of grey gel nail polish and cure it under a UV or LED lamp. Then, using nail striping tape, create straight lines on your nails. Fill in the spaces with black gel nail polish and cure it under the lamp. Remove the tape and finish off with a top coat for a flawless finish.7. Grey and Black Striped Gel Nail Art Design

7. Grey and Black Striped Gel Nail Art Design


Abstract nail art is perfect for those who love to experiment with different designs and colors. This grey and purple abstract gel nail art design is perfect for those who want a unique and creative look. The combination of grey and purple creates a beautiful contrast that is eye-catching and artistic. To achieve this look, start by applying a base coat of grey gel nail polish and cure it under a UV or LED lamp. Then, using a thin brush, create abstract shapes and lines with purple gel nail polish. You can also use other shades of purple or add in other colors if you prefer. Cure it under the lamp and finish off with a top coat for a shiny finish.8. Grey and Purple Abstract Gel Nail Art Design

8. Grey and Purple Abstract Gel Nail Art Design


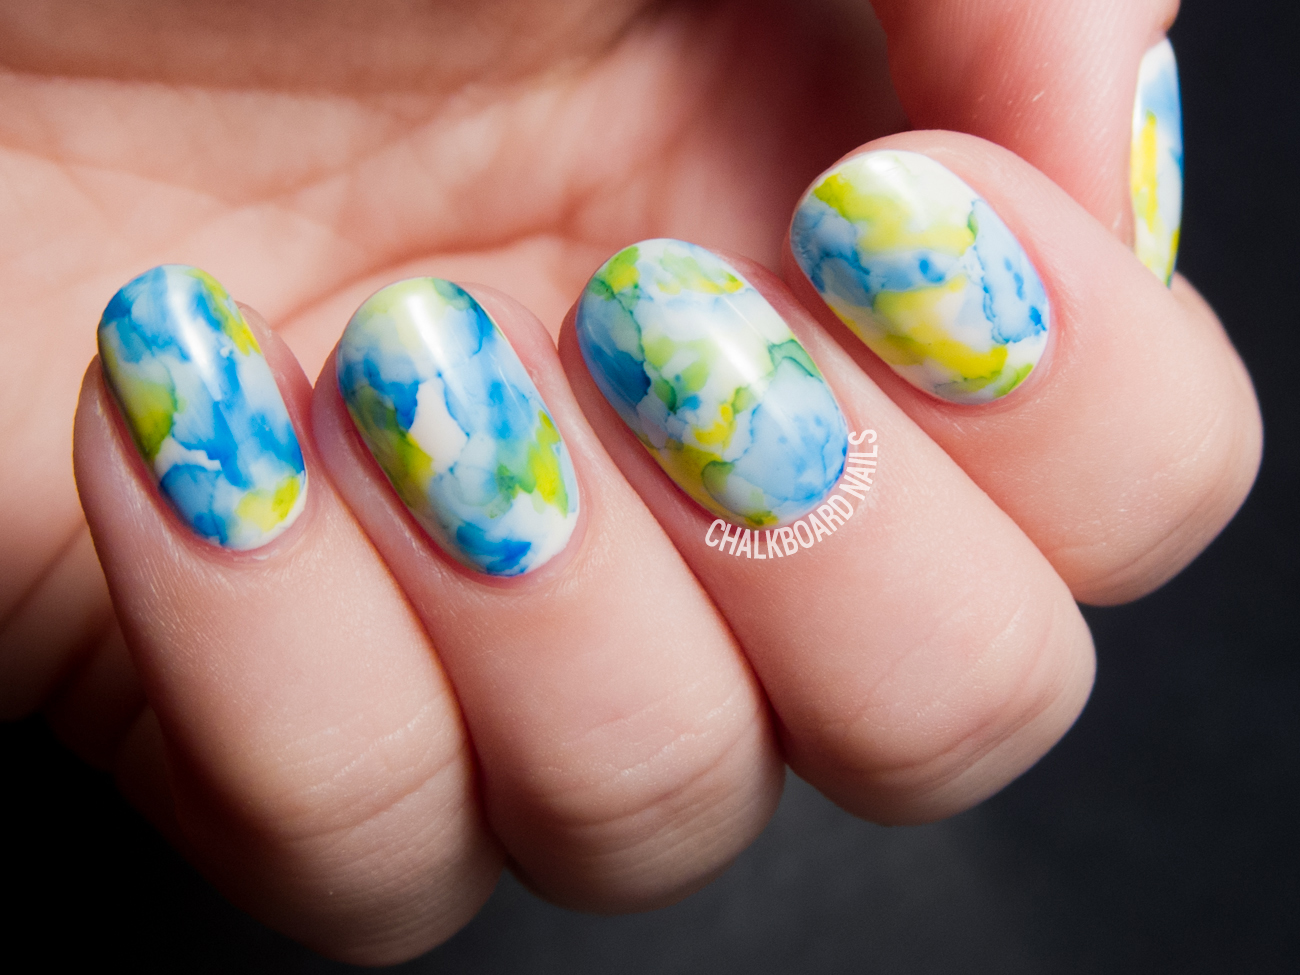
Marble nails are a popular choice for nail art, and this grey and blue marble gel nail art design adds a unique twist to the classic design. The combination of grey and blue creates a beautiful contrast that is perfect for any occasion. This design is perfect for those who want something subtle yet eye-catching. To achieve this look, start by applying a base coat of grey gel nail polish and cure it under a UV or LED lamp. Then, using a makeup sponge, dab on blue gel nail polish on the tips of your nails. Gradually blend the colors together using the sponge until you achieve your desired marble effect. Finish off with a top coat and cure it one last time for a flawless finish.9. Grey and Blue Marble Gel Nail Art Design


9. Grey and Blue Marble Gel Nail Art Design


If you want a nail art design that is both elegant and glamorous, then this grey and rose gold glitter gel nail art design is perfect for you. The combination of grey and rose gold creates a stunning and luxurious look that is perfect for any special occasion. The glitter adds a touch of sparkle and will definitely make your nails stand out. To achieve this look, start by applying a base coat of grey gel nail polish and cure it under a UV or LED lamp. Then, using a thin brush, create diagonal lines across your nails with rose gold glitter gel polish. Cure it under the lamp and repeat the process until you get your desired amount of glitter. Finish off with a top coat and cure it one last time for a long-lasting and shiny finish.10. Grey and Rose Gold Glitter Gel Nail Art Design


10. Grey and Rose Gold Glitter Gel Nail Art Design


How to Create a Stunning Grey Gel Nail Art Design

Achieve a Sophisticated Look with Grey Gel Nails
 When it comes to nail art, the possibilities are endless. From intricate designs to bold colors, there's no shortage of options to express your unique style. However, for those looking for a more understated and sophisticated look, grey gel nail art is the way to go. This timeless and versatile color is perfect for any occasion, whether it's a day at the office or a night out on the town. In this article, we'll show you how to create a stunning grey gel nail art design that will elevate your nail game to the next level.
The Beauty of Grey Gel Nails
 One of the main reasons why grey gel nails are so popular is their versatility. This color can range from light and airy to dark and moody, making it suitable for any season or mood. It also complements a variety of skin tones, making it a universally flattering choice. Moreover, grey gel nails have a sleek and polished finish, giving your nails a professional and put-together look.
Step-by-Step Guide to Creating a Grey Gel Nail Art Design
 Gather Your Supplies:
The first step to creating any nail art design is to gather all the necessary supplies. For a grey gel nail art design, you will need grey gel polish, a base coat, a top coat, a UV/LED light, a dotting tool, and any other nail art accessories you want to use.
Prep Your Nails:
Before you start applying the gel polish, make sure your nails are clean and dry. File and shape them to your desired length and remove any old polish using a gentle nail polish remover.
Apply the Base Coat:
The key to a long-lasting gel nail art design is a good base coat. Apply a thin layer of base coat to your nails and cure it under the UV/LED light for the recommended time.
Paint Your Nails:
Once the base coat is cured, it's time to apply the grey gel polish. Start with a thin layer and cure it under the light. Repeat this step until you achieve your desired opacity.
Get Creative:
Now comes the fun part – adding the design! Grab your dotting tool and create your desired design on your nails using a contrasting color. You can also use other accessories like stickers, rhinestones, or glitter to add some extra flair.
Seal the Design:
Once you're satisfied with your design, seal it with a layer of top coat and cure it under the light. This will give your design a glossy finish and protect it from chipping or peeling.
Clean Up:
After curing, you may notice some excess gel polish on your skin. Use a small brush dipped in nail polish remover to clean up any mistakes and ensure a clean and polished look.
Gather Your Supplies:
The first step to creating any nail art design is to gather all the necessary supplies. For a grey gel nail art design, you will need grey gel polish, a base coat, a top coat, a UV/LED light, a dotting tool, and any other nail art accessories you want to use.
Prep Your Nails:
Before you start applying the gel polish, make sure your nails are clean and dry. File and shape them to your desired length and remove any old polish using a gentle nail polish remover.
Apply the Base Coat:
The key to a long-lasting gel nail art design is a good base coat. Apply a thin layer of base coat to your nails and cure it under the UV/LED light for the recommended time.
Paint Your Nails:
Once the base coat is cured, it's time to apply the grey gel polish. Start with a thin layer and cure it under the light. Repeat this step until you achieve your desired opacity.
Get Creative:
Now comes the fun part – adding the design! Grab your dotting tool and create your desired design on your nails using a contrasting color. You can also use other accessories like stickers, rhinestones, or glitter to add some extra flair.
Seal the Design:
Once you're satisfied with your design, seal it with a layer of top coat and cure it under the light. This will give your design a glossy finish and protect it from chipping or peeling.
Clean Up:
After curing, you may notice some excess gel polish on your skin. Use a small brush dipped in nail polish remover to clean up any mistakes and ensure a clean and polished look.
Final Thoughts
 Grey gel nail art designs are a trendy and chic way to elevate your nail game. With their versatility and timeless appeal, they're a perfect choice for any occasion. By following these simple steps, you can create a stunning grey gel nail art design that will have everyone asking for your manicure tips. So go ahead and give your nails a sophisticated and stylish upgrade with this classic color.


