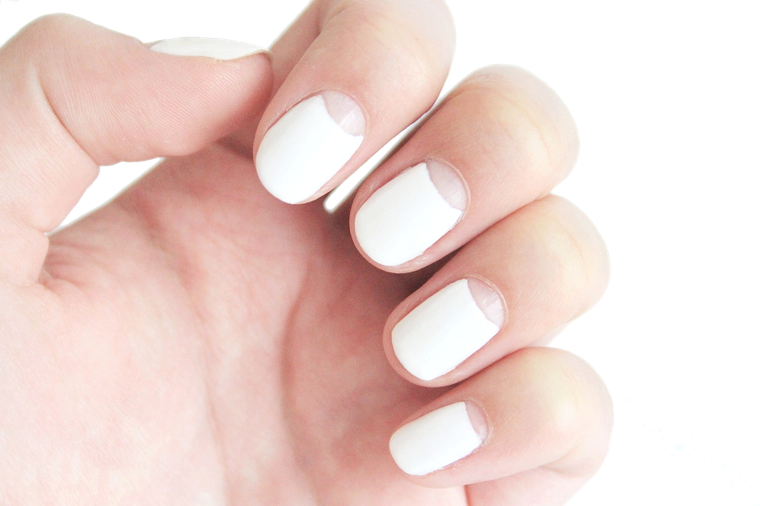
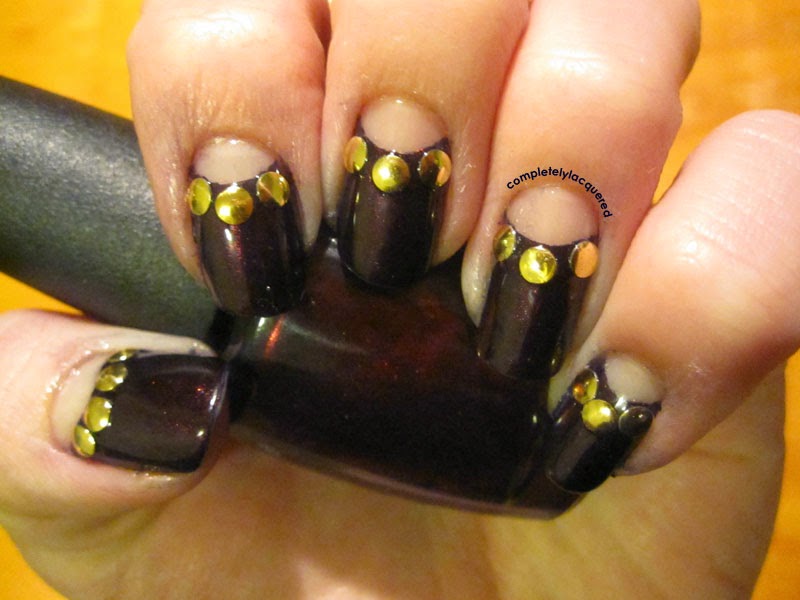
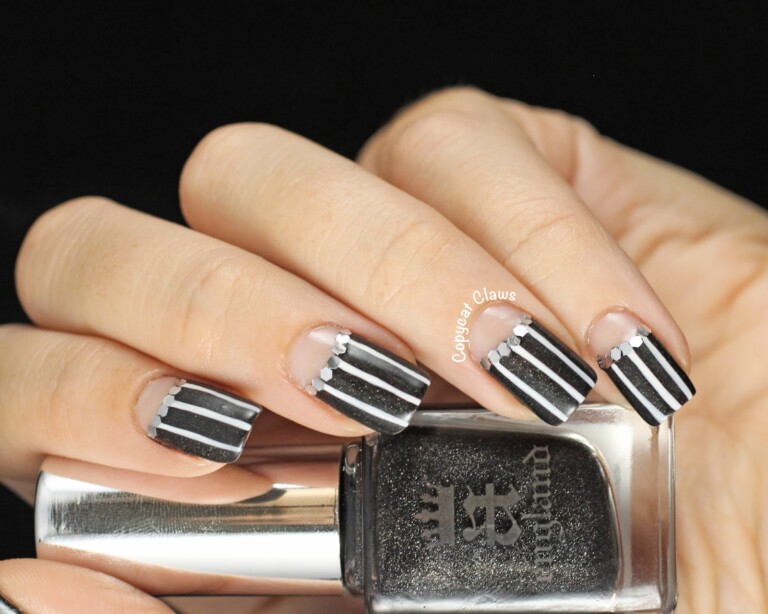
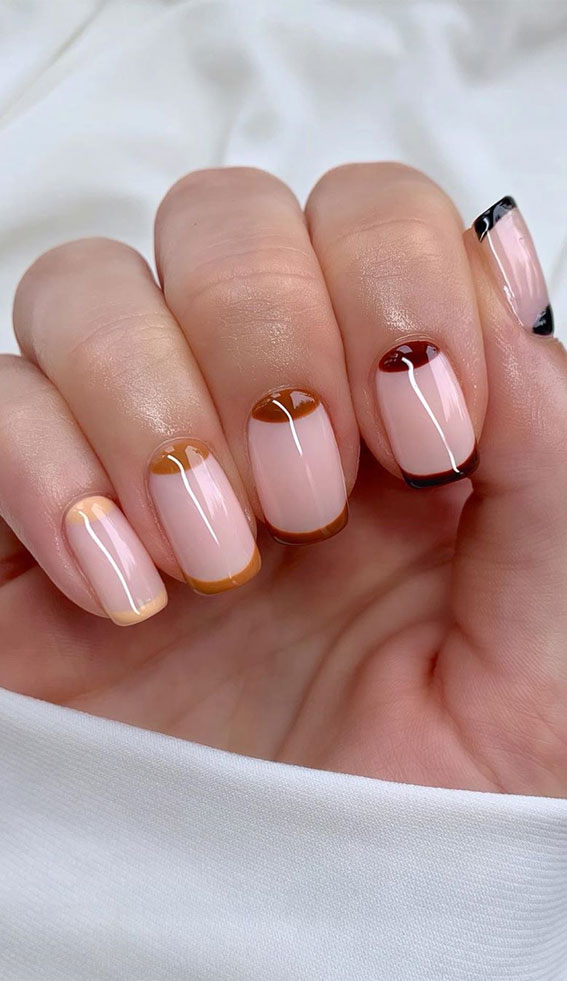
Achieving a gorgeous half-moon nail design doesn't have to be difficult or expensive. With just a few simple steps, you can create a stunning manicure that will have everyone asking how you did it. Here's our step by step guide on how to create the perfect half-moon nails.Half-Moon Nail Design Step by Step
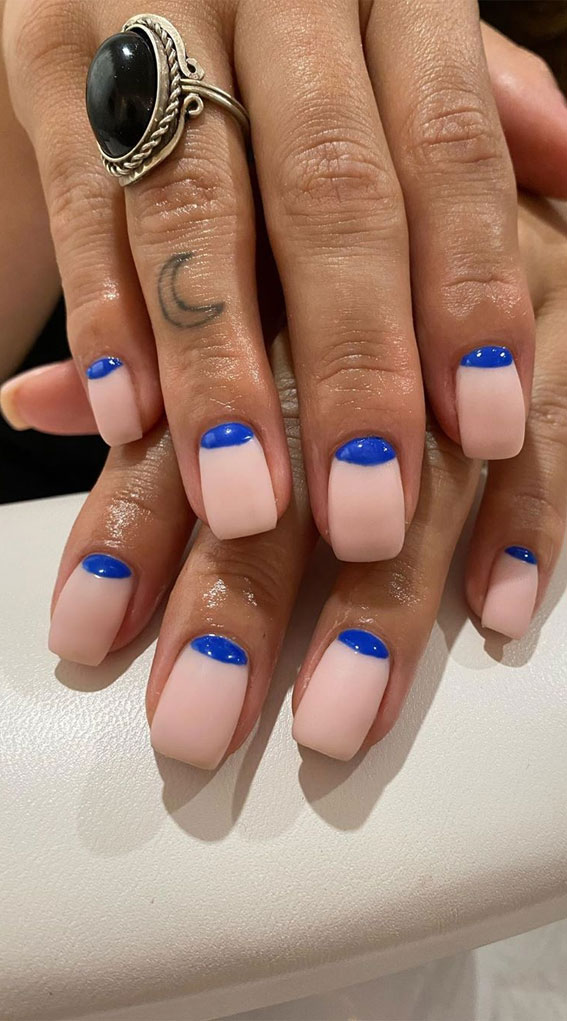

Half-Moon Nail Design Step by Step
:max_bytes(150000):strip_icc()/halfmoonmain-18b7e4cfc7cb495b9798f89a9e566116.jpg)
:max_bytes(150000):strip_icc()/117751237_1316912091996231_8870649993126286143_n-2905d22aebee4d339ea23269951297f2.jpg)
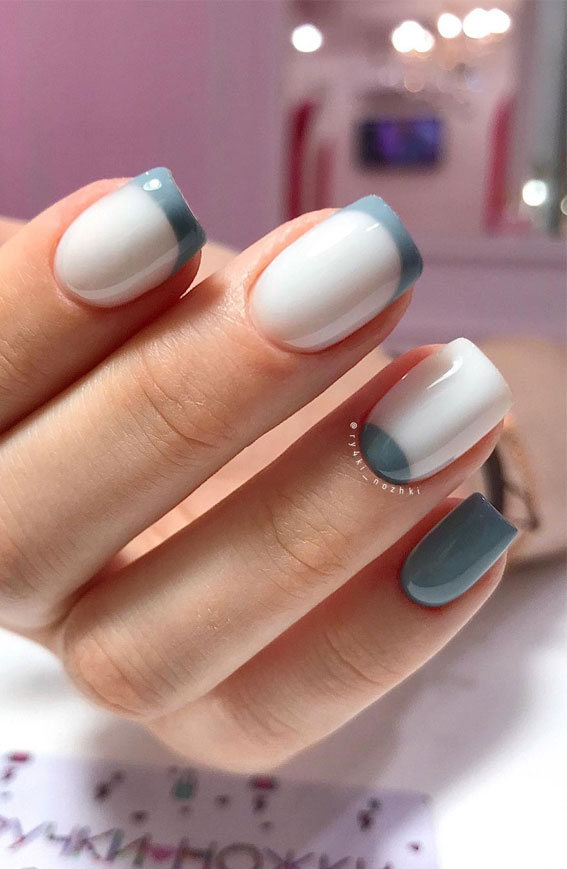
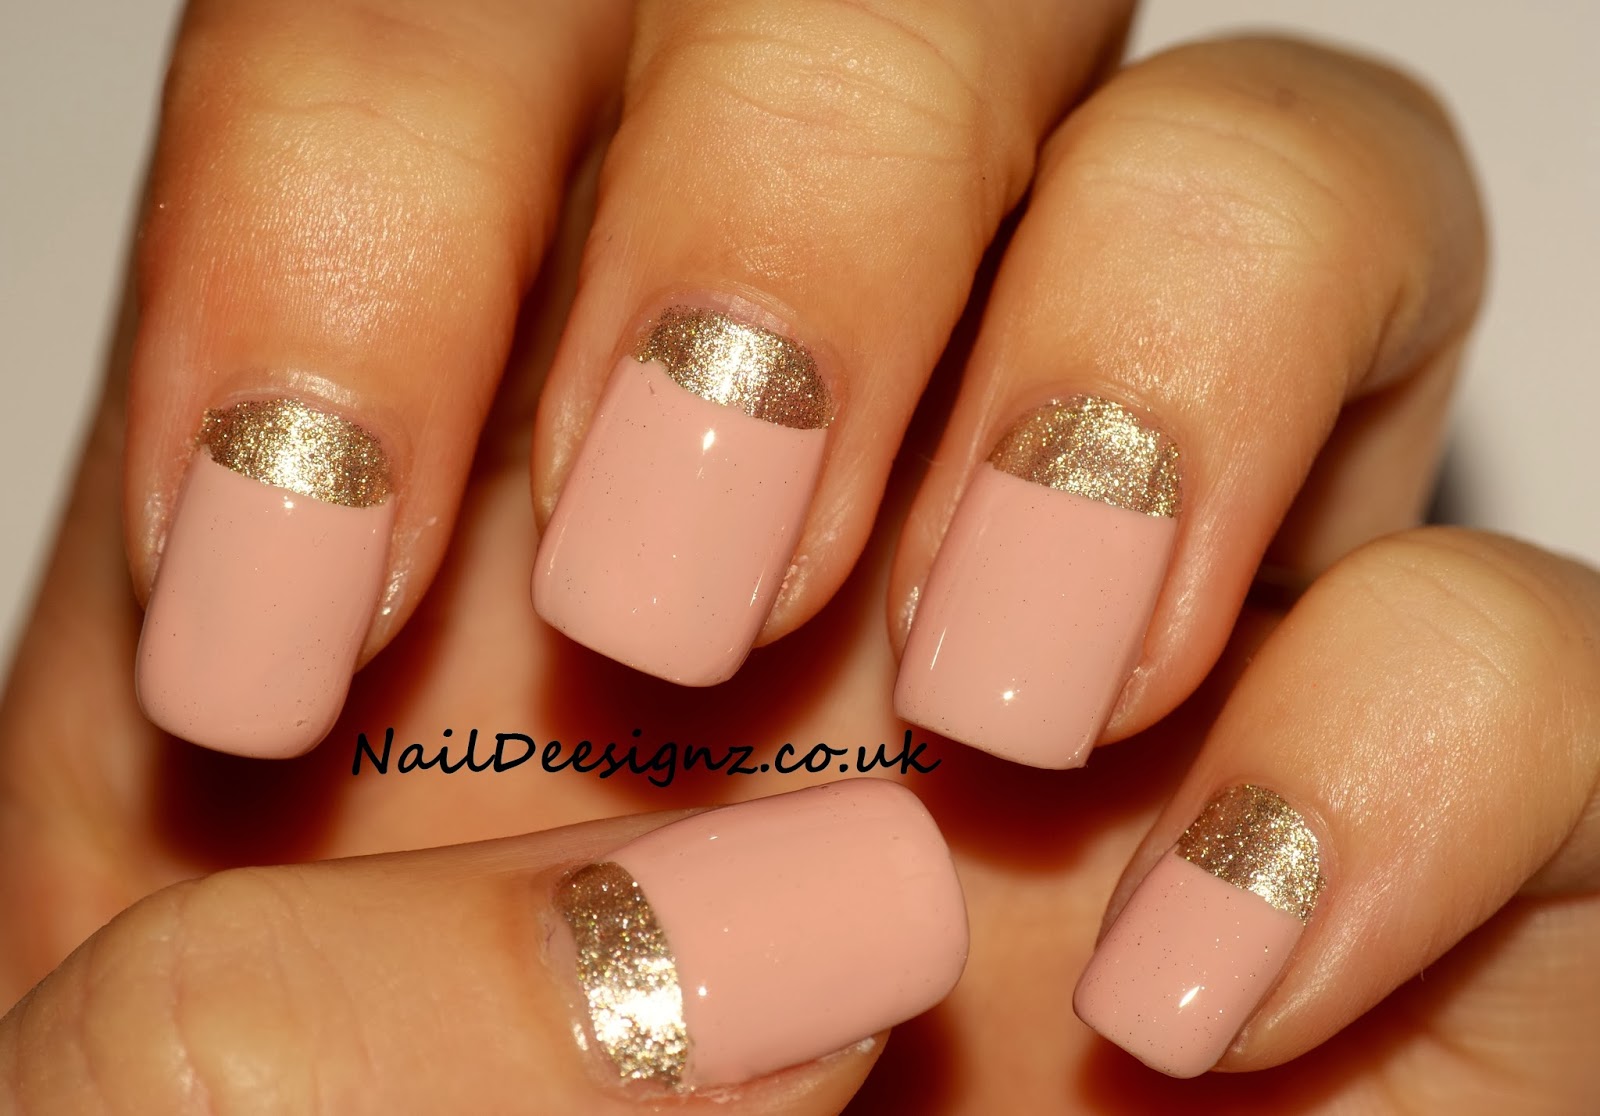
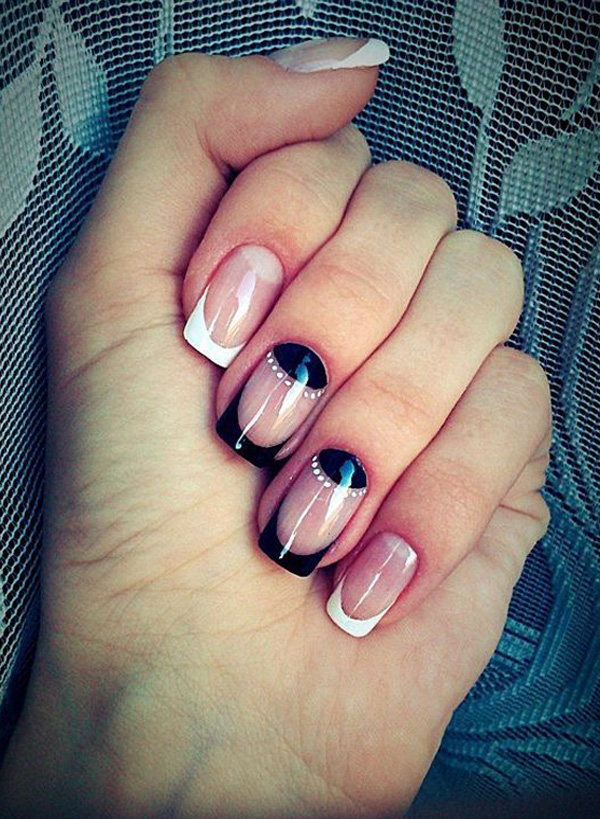
Are you a fan of unique and creative nail designs? Then the half-moon nail art is perfect for you. This style has been around for decades and has recently made a comeback in the fashion world. Follow our tutorial to learn how to create this classic and elegant nail design.Half-Moon Nail Art Tutorial
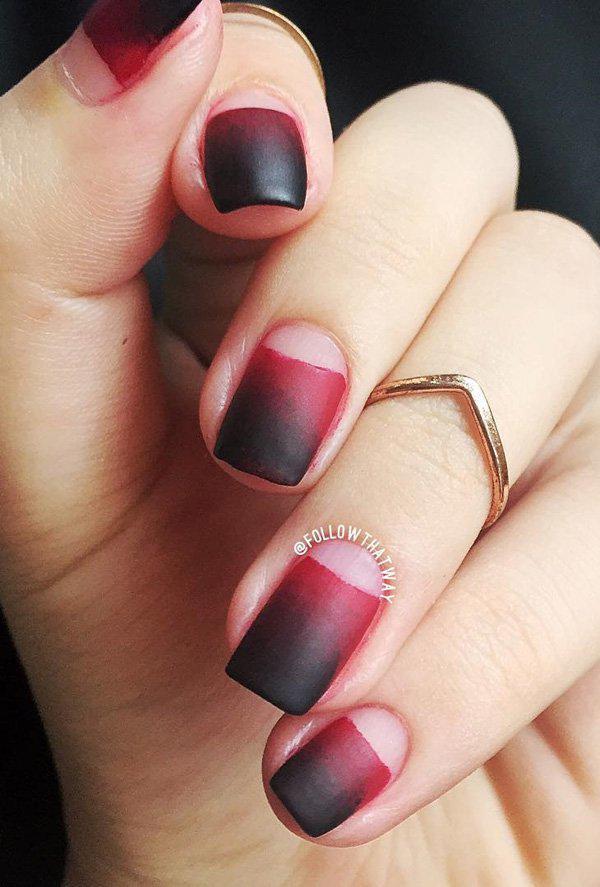
Half-Moon Nail Art Tutorial


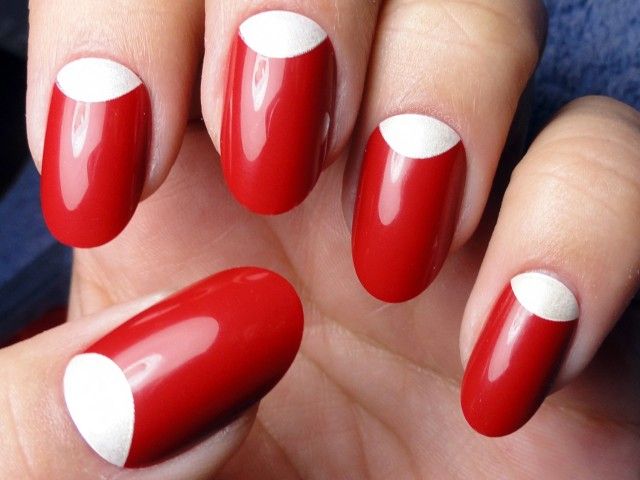
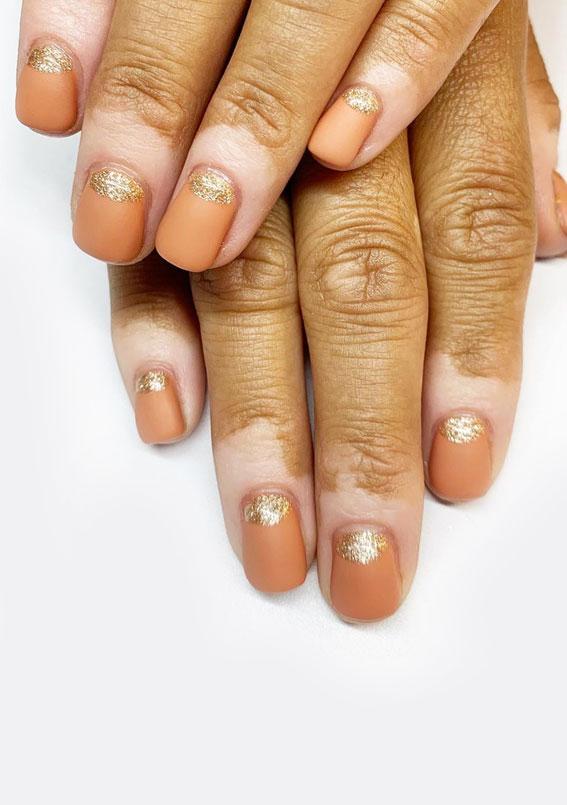
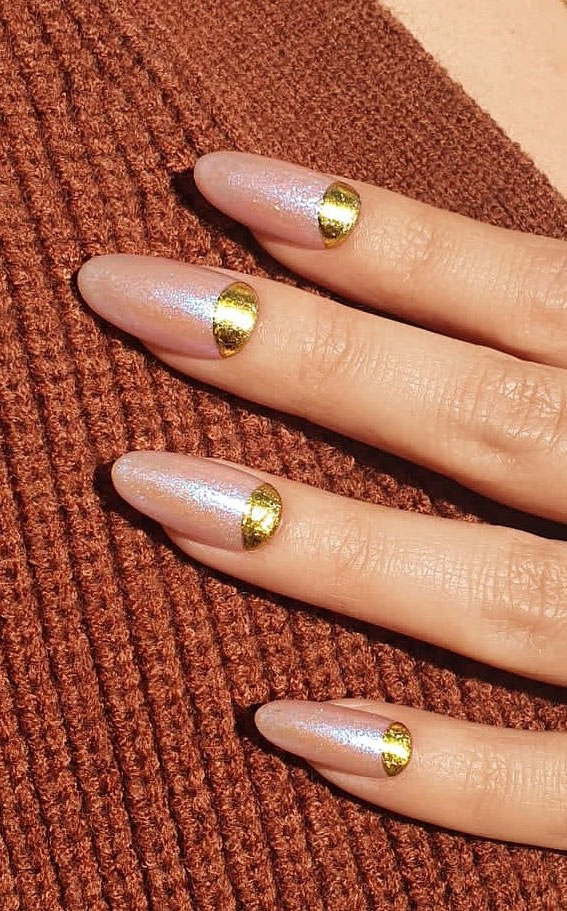
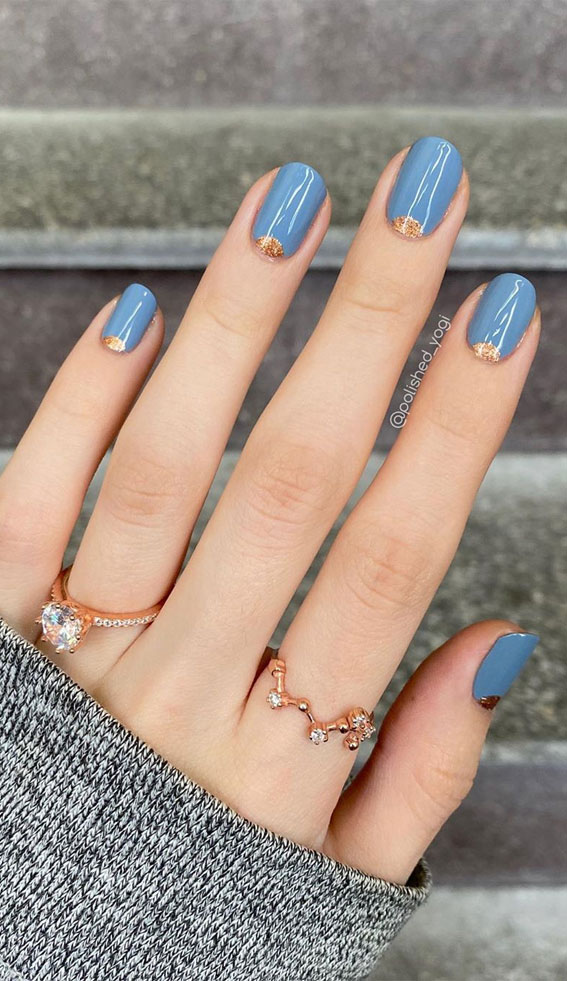
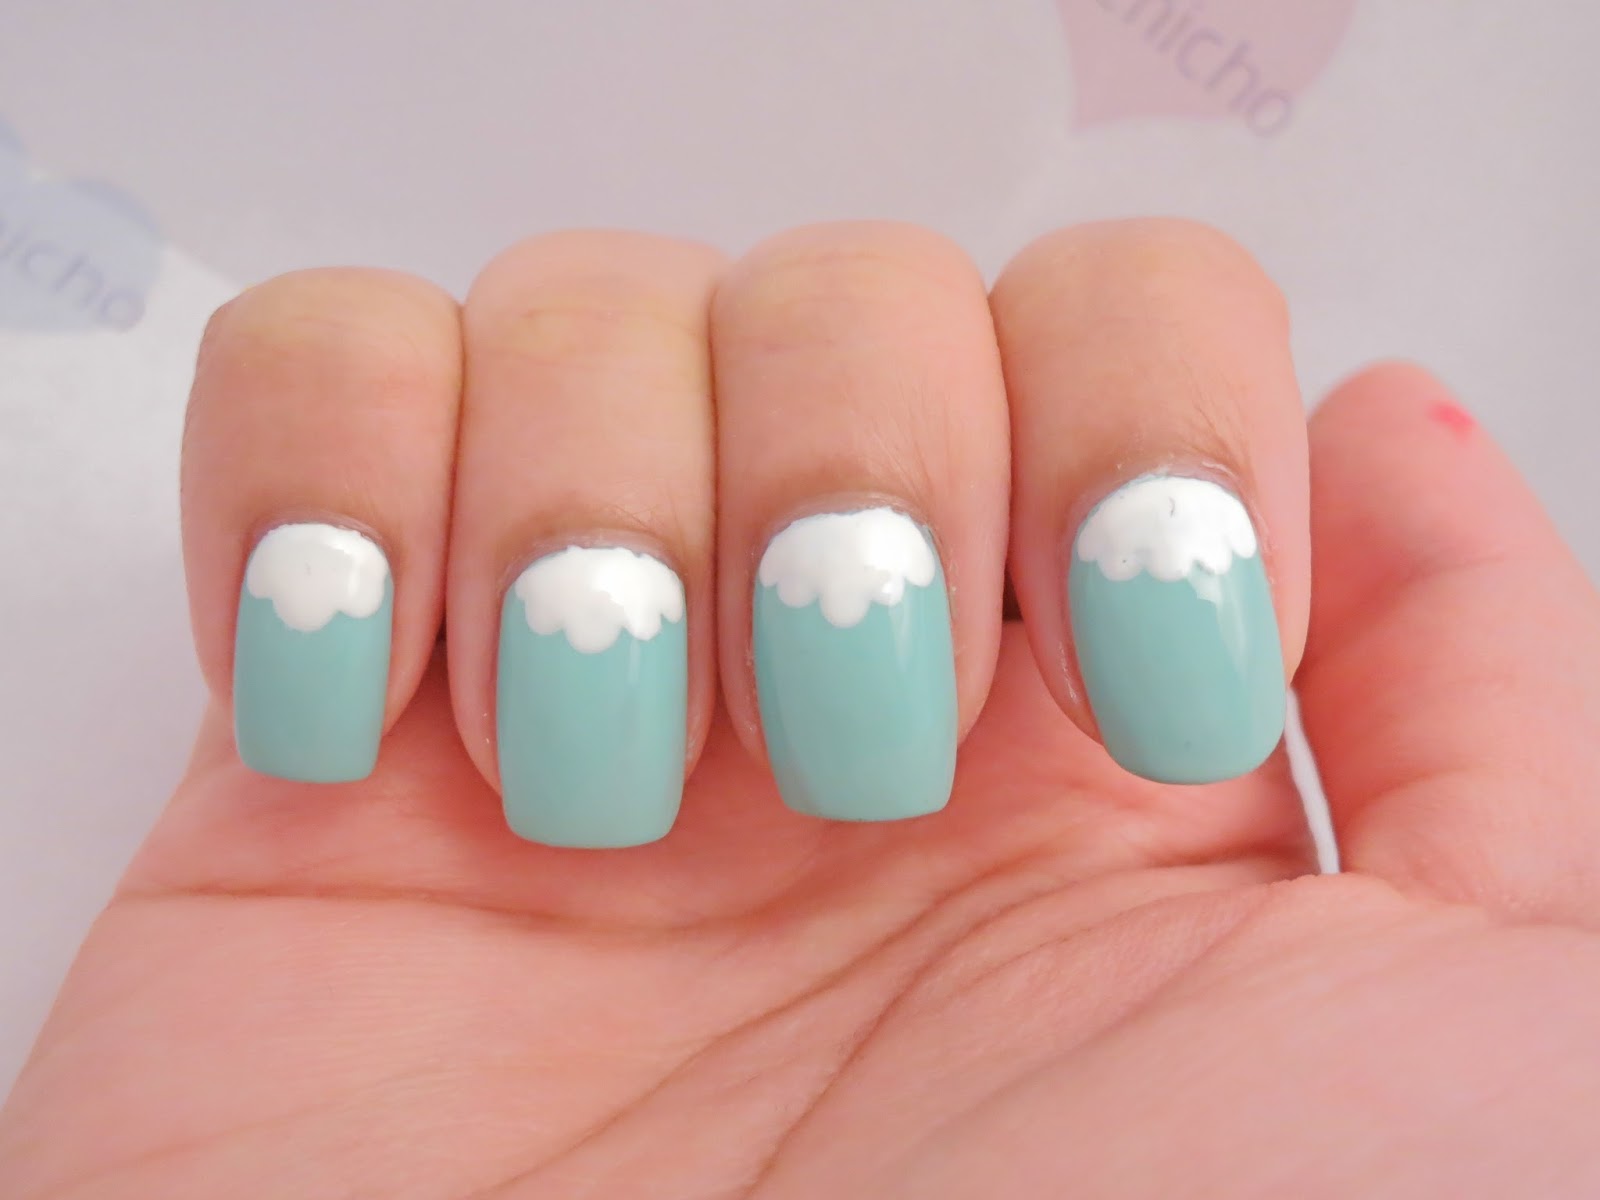
If you're short on time or don't have a lot of experience with nail art, don't worry. Creating half-moon nails can be done with just a few simple tools and takes no time at all. Our easy half-moon nails guide will have you sporting a chic and sophisticated look in minutes.Easy Half-Moon Nails


Easy Half-Moon Nails

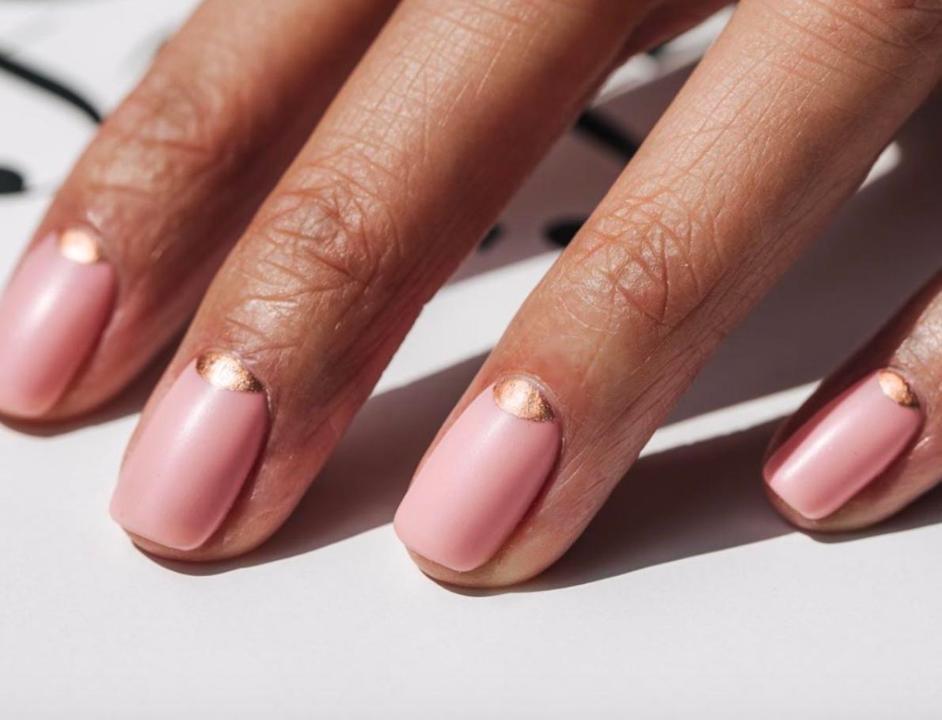
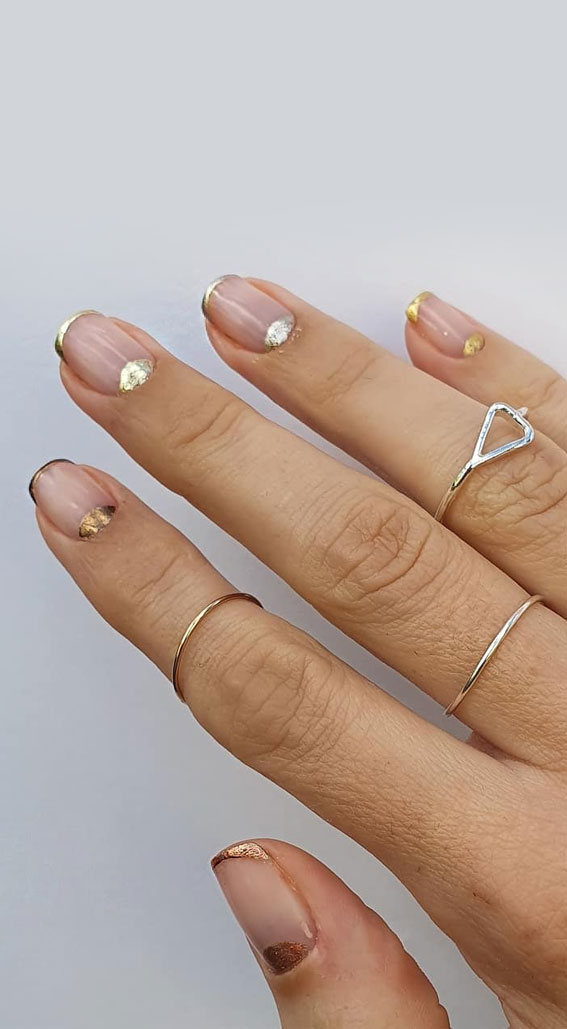
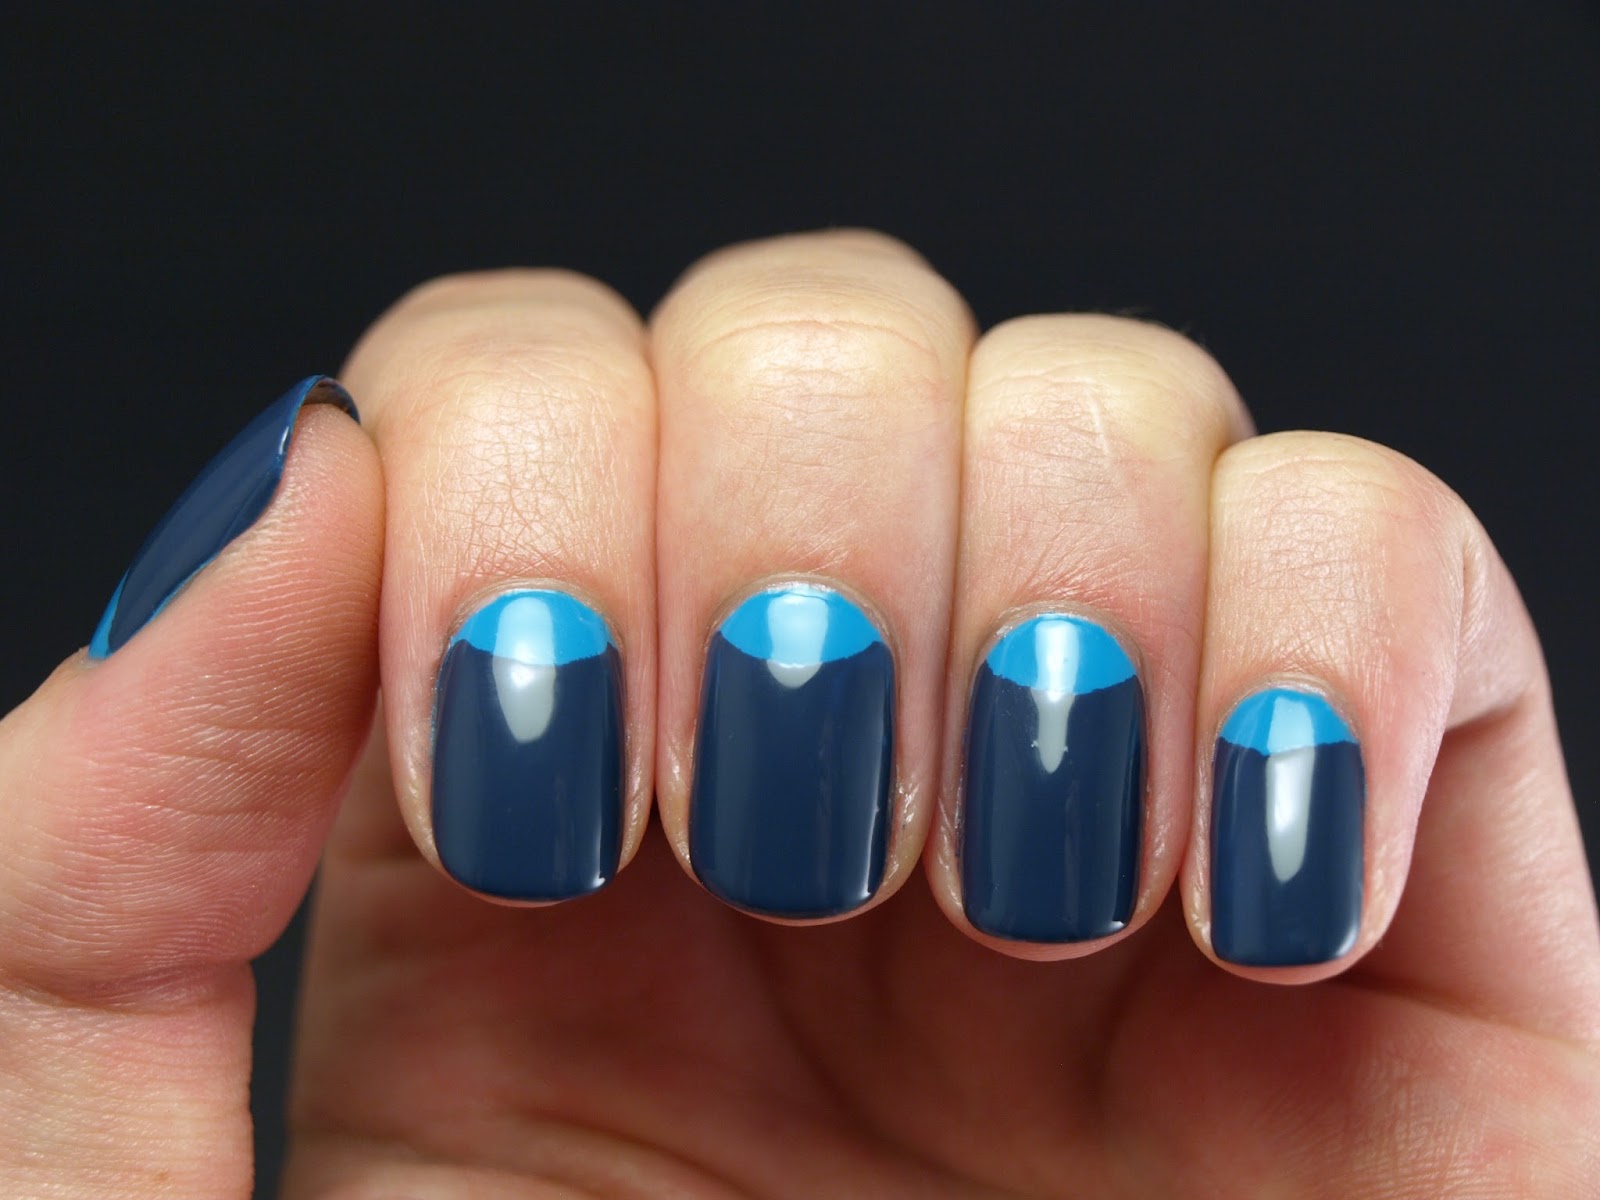
Why spend money at the salon when you can create a professional-looking half-moon manicure at home? With our DIY guide, you'll have the perfect nails without breaking the bank. All you need are a few basic tools and some creativity.DIY Half-Moon Manicure


DIY Half-Moon Manicure


Follow these step-by-step instructions to create stunning half-moon nails that will have all your friends begging for the secret. From choosing the right colors to mastering the perfect curve, our guide will walk you through each stage of creating the perfect half-moon manicure.Step by Step Half-Moon Nails

Step by Step Half-Moon Nails


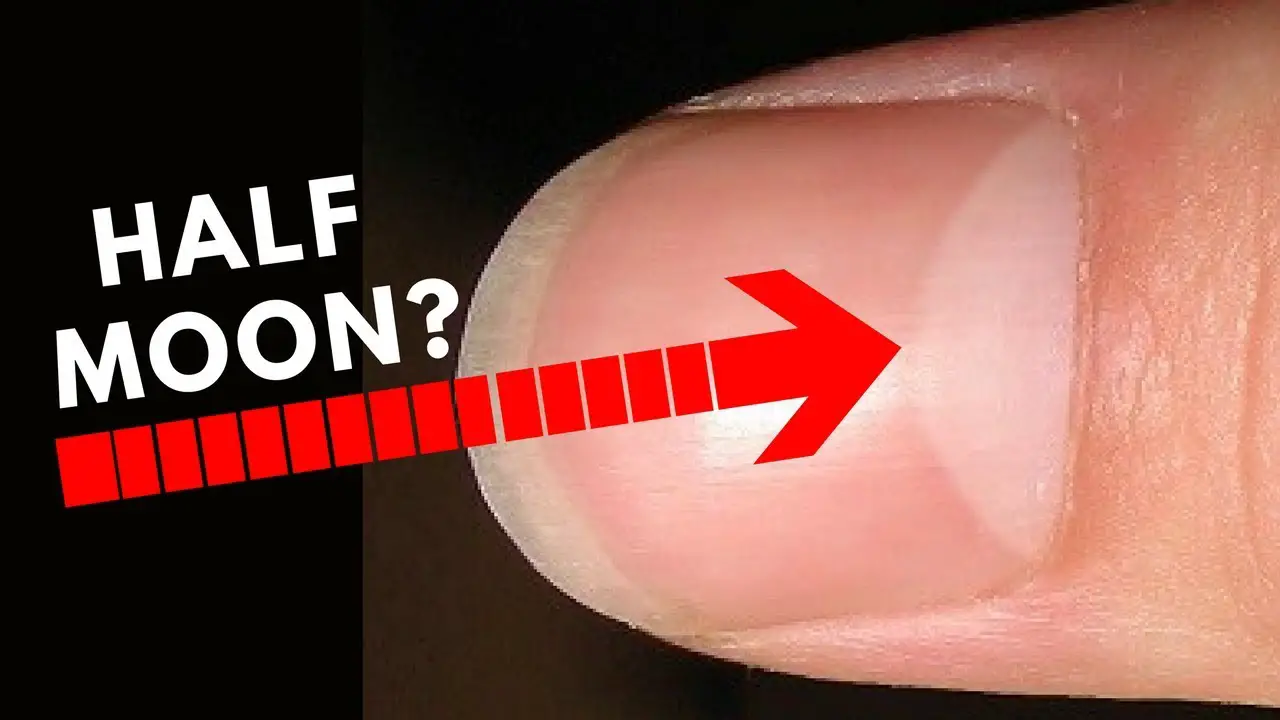
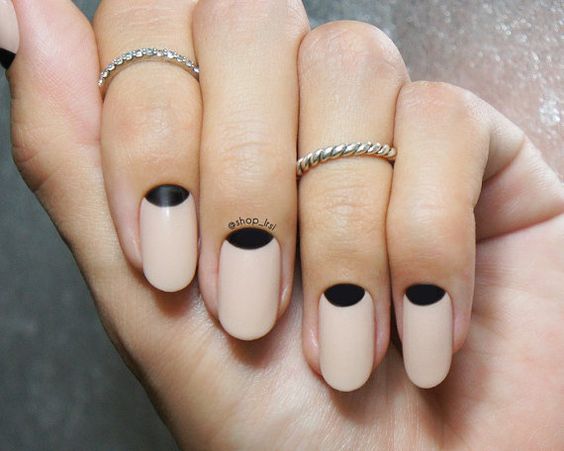
If you're new to the world of nail art, the half-moon design is a great place to start. With its simple yet elegant look, it's perfect for beginners who want to try something new. Our guide will give you all the tips and tricks you need to create a flawless half-moon nail design.Half-Moon Nail Design for Beginners

Half-Moon Nail Design for Beginners
For those who struggle with freehand nail art, using tape can be a lifesaver. With just a few strips of tape, you can create clean and precise half-moon nails that will look like they were done by a professional. Follow our guide to learn how to use tape for a flawless half-moon nail design.Half-Moon Nail Design with Tape

Half-Moon Nail Design with Tape
If you want to add some extra flair to your half-moon nails, why not try using stickers? They come in a variety of shapes and designs, making it easy to create a unique and eye-catching look. Our guide will show you how to use stickers to elevate your half-moon nail design.Half-Moon Nail Design with Stickers

Half-Moon Nail Design with Stickers
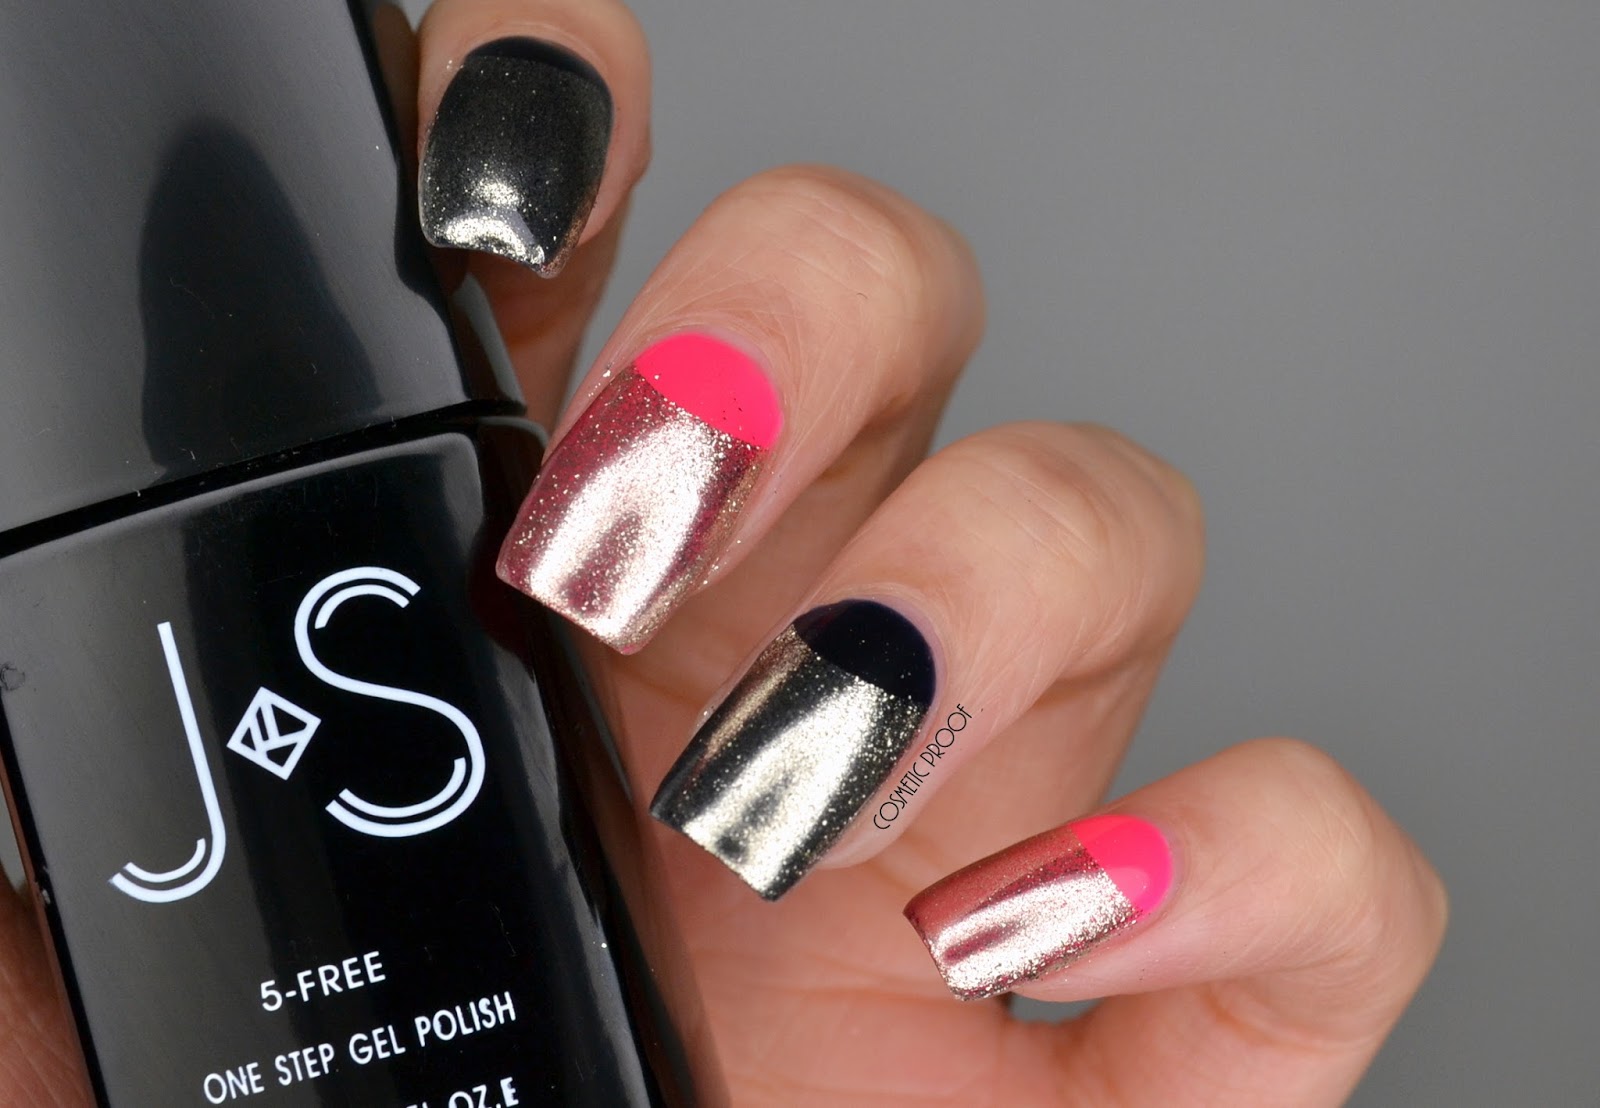
If you're a fan of classic nail polish, you'll be happy to know that you can create a stunning half-moon design with just a few shades of your favorite polish. Our guide will show you how to use different colors and finishes to achieve a beautiful and unique half-moon nail design.Half-Moon Nail Design with Nail Polish
Half-Moon Nail Design with Nail Polish


Gel polish is known for its long-lasting and durable finish, making it perfect for creating a half-moon nail design that will last for weeks. Our guide will show you how to use gel polish to achieve a flawless and professional-looking half-moon manicure.Half-Moon Nail Design with Gel Polish

Half-Moon Nail Design with Gel Polish

Master the Half-Moon Nail Design in Just a Few Simple Steps
Creating a Unique and Elegant Look for Your Nails
 If you want to add a touch of sophistication to your nail designs, then the half-moon nail design is the perfect choice for you. This classic and elegant look has been around for decades and has recently made a comeback in the world of nail art. It's a versatile design that can be dressed up or down, making it suitable for any occasion. If you're new to nail art, don't worry, we have a step-by-step guide to help you master the half-moon nail design in no time.
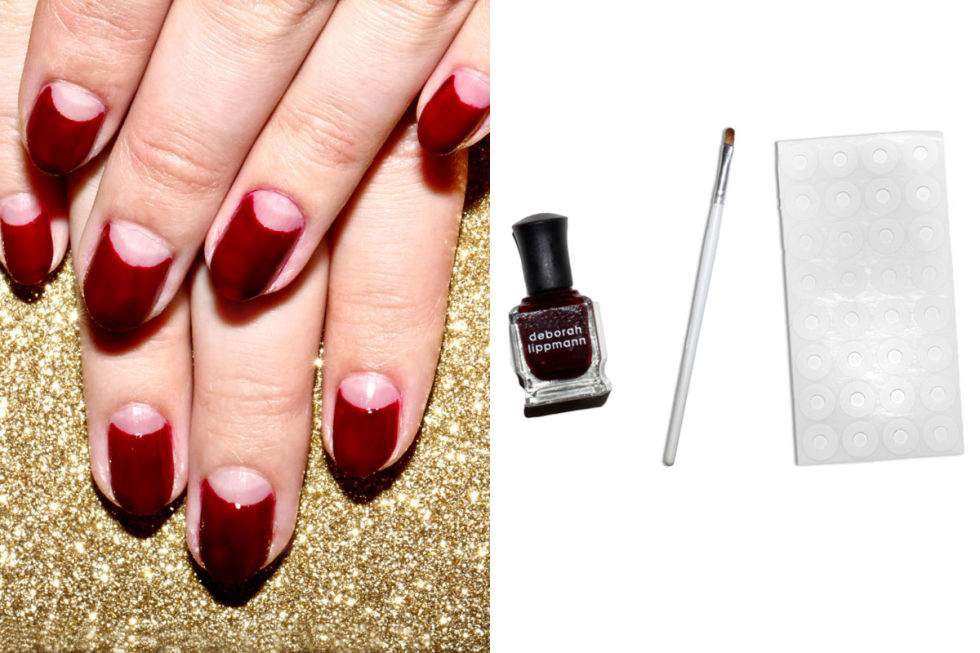
Gather Your Supplies
 Before you begin, make sure you have all the necessary supplies handy. You will need a
nail polish
in your desired color, a
nail polish remover
,
nail stickers or guides
, and a
top coat
. You can also add some
glitter, jewels, or other embellishments
to make your design stand out even more.
Before you begin, make sure you have all the necessary supplies handy. You will need a
nail polish
in your desired color, a
nail polish remover
,
nail stickers or guides
, and a
top coat
. You can also add some
glitter, jewels, or other embellishments
to make your design stand out even more.
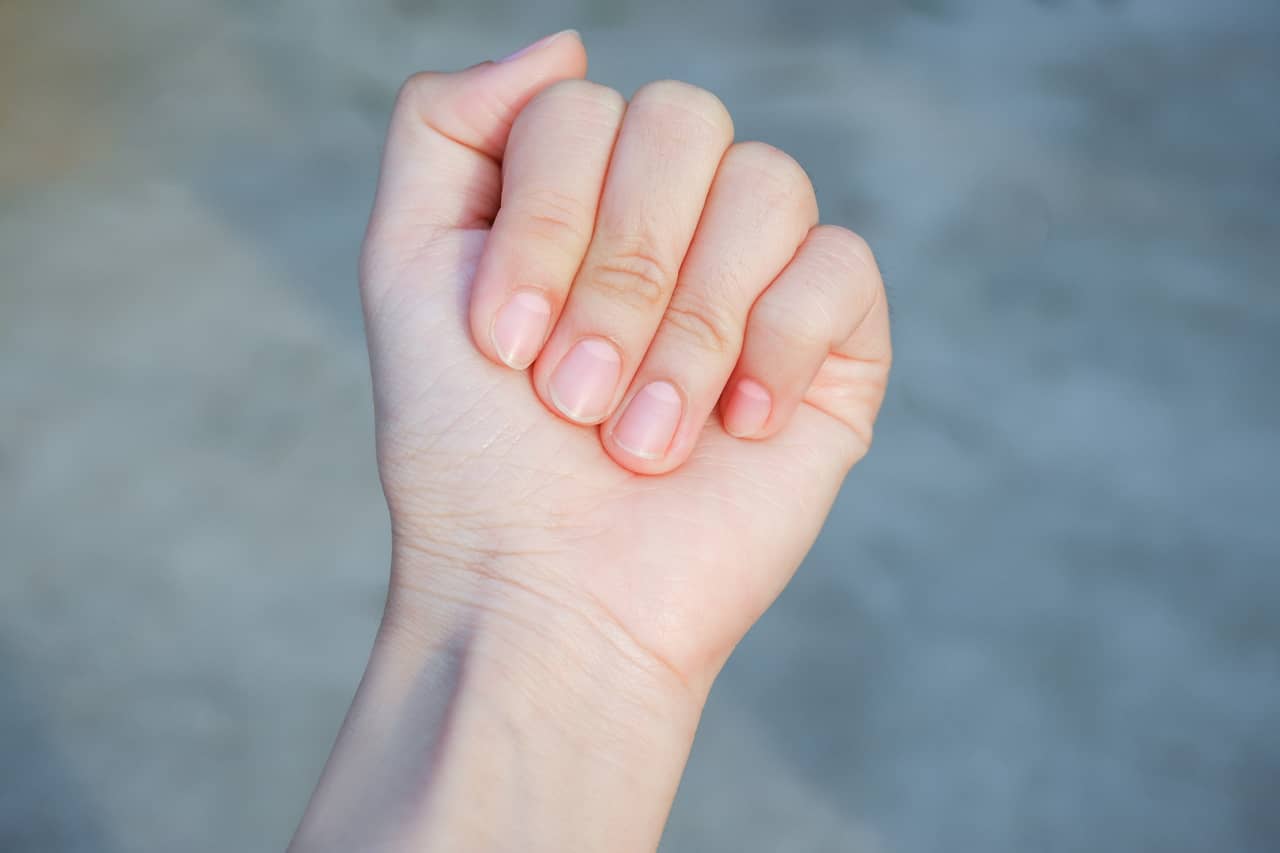
Step 1: Prep Your Nails
 Start by removing any old nail polish and shaping your nails to your desired length and shape. Use a
cuticle pusher
to gently push back your cuticles and trim any excess skin. This will create a clean and even base for your nail design.
Start by removing any old nail polish and shaping your nails to your desired length and shape. Use a
cuticle pusher
to gently push back your cuticles and trim any excess skin. This will create a clean and even base for your nail design.
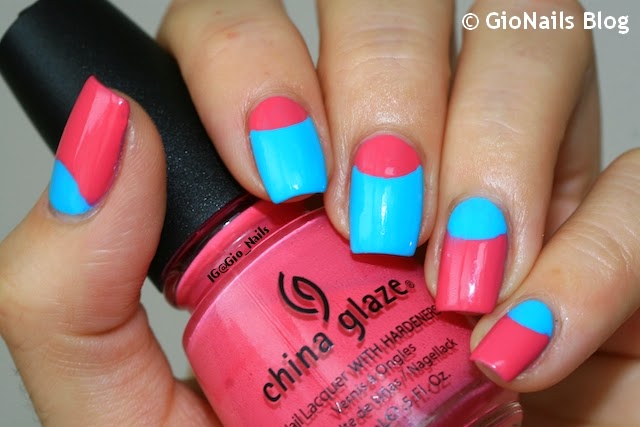
Step 2: Apply the Base Color
 Choose a
nail polish color
for your base and apply two coats for a fully opaque look. Let the polish dry completely before moving on to the next step.
Choose a
nail polish color
for your base and apply two coats for a fully opaque look. Let the polish dry completely before moving on to the next step.
Step 3: Apply the Stickers
 Using
nail stickers or guides
, place them at the base of your nails where you want the half-moon design to be. You can also use reinforcement stickers for school notebooks as a cheaper alternative.
Using
nail stickers or guides
, place them at the base of your nails where you want the half-moon design to be. You can also use reinforcement stickers for school notebooks as a cheaper alternative.
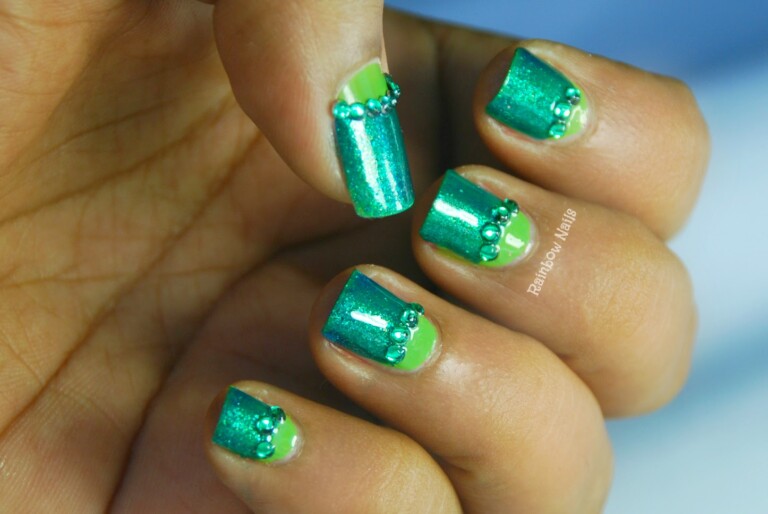
Step 4: Paint the Half-Moon
 Now it's time to paint the half-moon design. Using a
different nail polish color
, paint over the stickers and let it dry for a few minutes. Once the polish is dry, carefully remove the stickers to reveal the half-moon shape.
Now it's time to paint the half-moon design. Using a
different nail polish color
, paint over the stickers and let it dry for a few minutes. Once the polish is dry, carefully remove the stickers to reveal the half-moon shape.
Step 5: Add Finishing Touches
 To make your half-moon design truly unique, you can add some extra touches. You can use a
thin nail art brush
to create
stripes or patterns
on the half-moon or add some
glitter or jewels
for a touch of sparkle.
To make your half-moon design truly unique, you can add some extra touches. You can use a
thin nail art brush
to create
stripes or patterns
on the half-moon or add some
glitter or jewels
for a touch of sparkle.
Step 6: Seal with a Top Coat
 To protect your design and make it last longer, apply a
top coat
over your entire nail. This will also give your nails a shiny and professional finish.
Congratulations, you have now mastered the half-moon nail design! With a little bit of practice, you will be able to create this elegant and timeless look in no time. So go ahead and show off your unique and stylish nails with the half-moon design.
To protect your design and make it last longer, apply a
top coat
over your entire nail. This will also give your nails a shiny and professional finish.
Congratulations, you have now mastered the half-moon nail design! With a little bit of practice, you will be able to create this elegant and timeless look in no time. So go ahead and show off your unique and stylish nails with the half-moon design.


