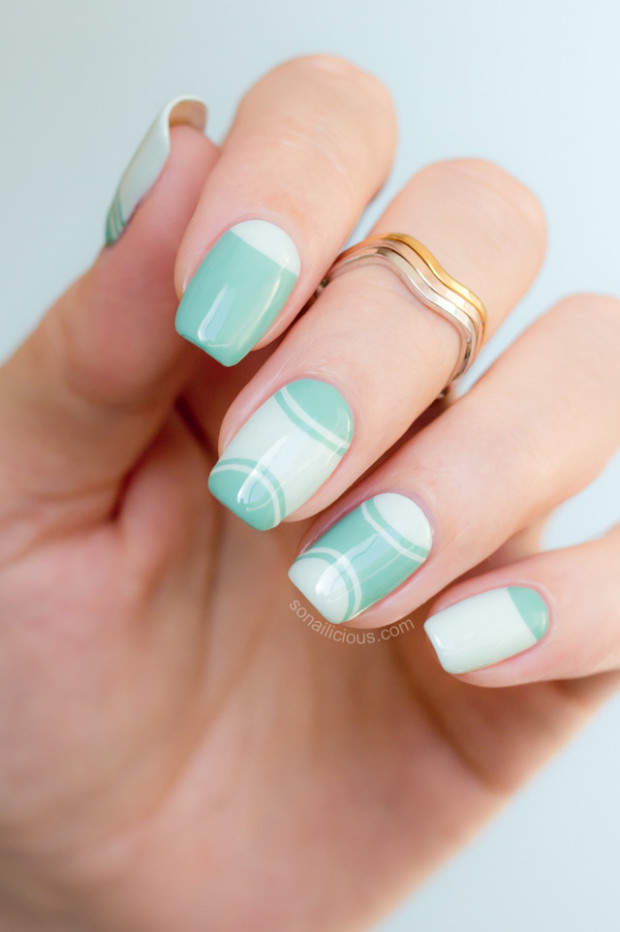
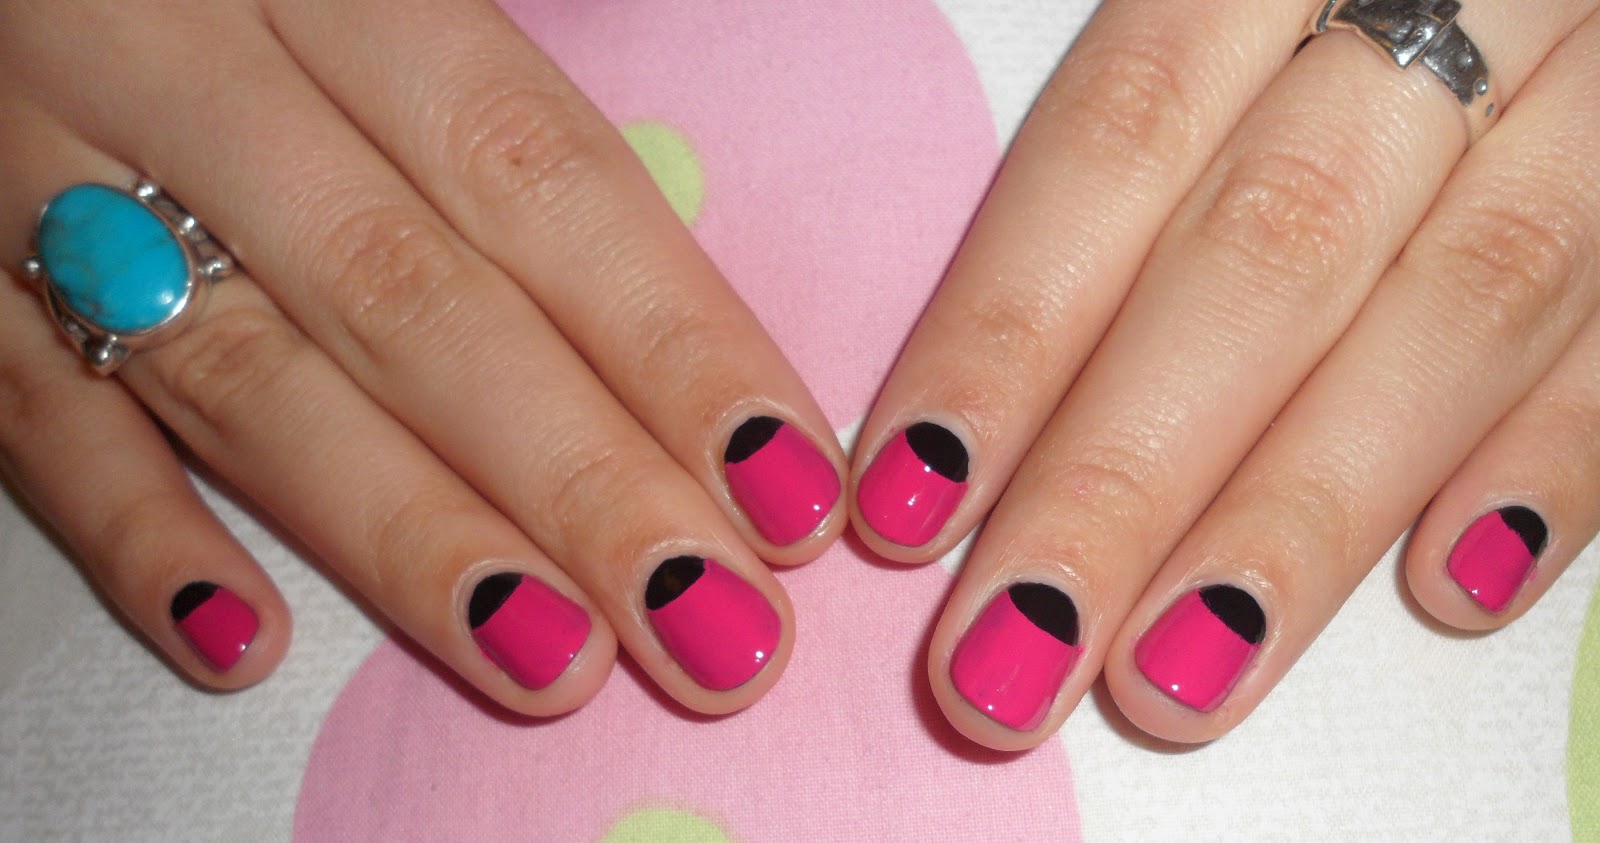
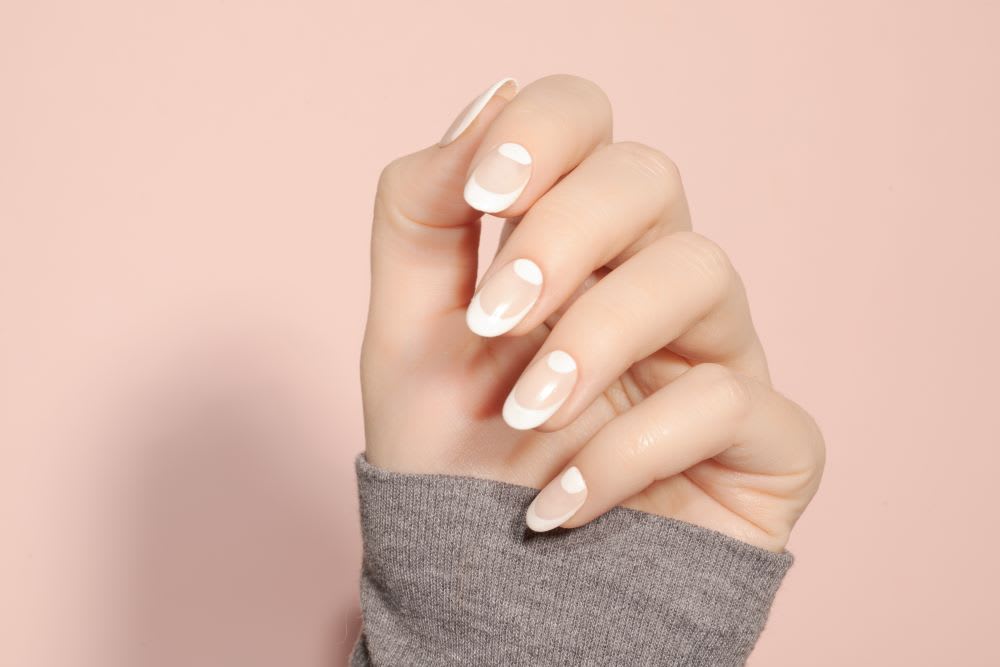
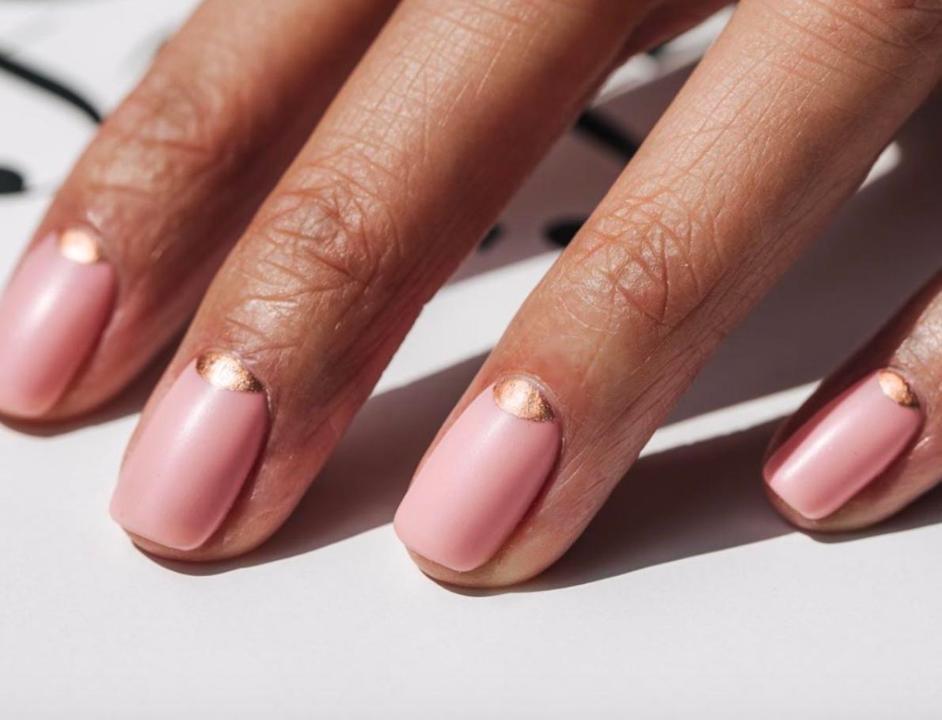
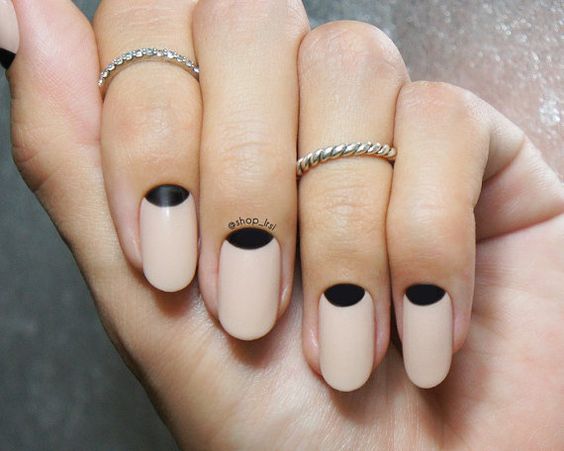
Have you been admiring the trendy half moon nail design but unsure of how to achieve it? Look no further, as we bring you a simple and easy guide to create the perfect half moon manicure in just 5 steps. Step 1: Prep your nails by shaping and buffing them to your desired length and shape. Apply a base coat to protect your nails and allow it to dry completely. Step 2: Choose your base color and apply 2 coats to your nails. Let it dry completely before moving on to the next step. Step 3: Take a nail guide or a small piece of tape and place it at the bottom of your nail, leaving a half moon shape at the base. Make sure to press it down firmly to avoid any polish bleeding. Step 4: Apply your chosen color for the half moon design, covering the top half of your nail. Remove the nail guide or tape immediately after applying the polish to avoid it from drying and sticking to your nail. Step 5: Finish off with a top coat to seal in your design and give it a glossy finish. And voila, you now have a chic half moon manicure! Experiment with different colors and designs for a unique look every time.1. How to Create a Half Moon Nail Design in 5 Easy Steps

1. How to Create a Half Moon Nail Design in 5 Easy Steps


:max_bytes(150000):strip_icc()/117751237_1316912091996231_8870649993126286143_n-2905d22aebee4d339ea23269951297f2.jpg)
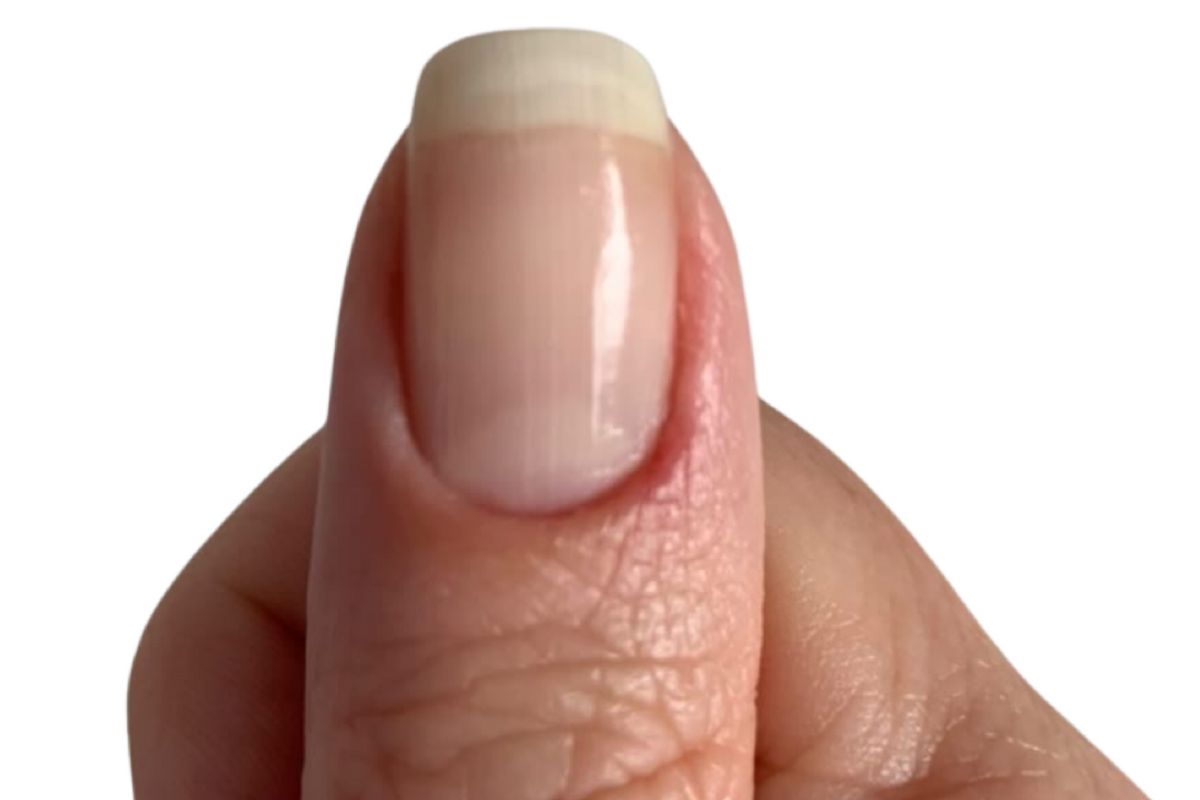

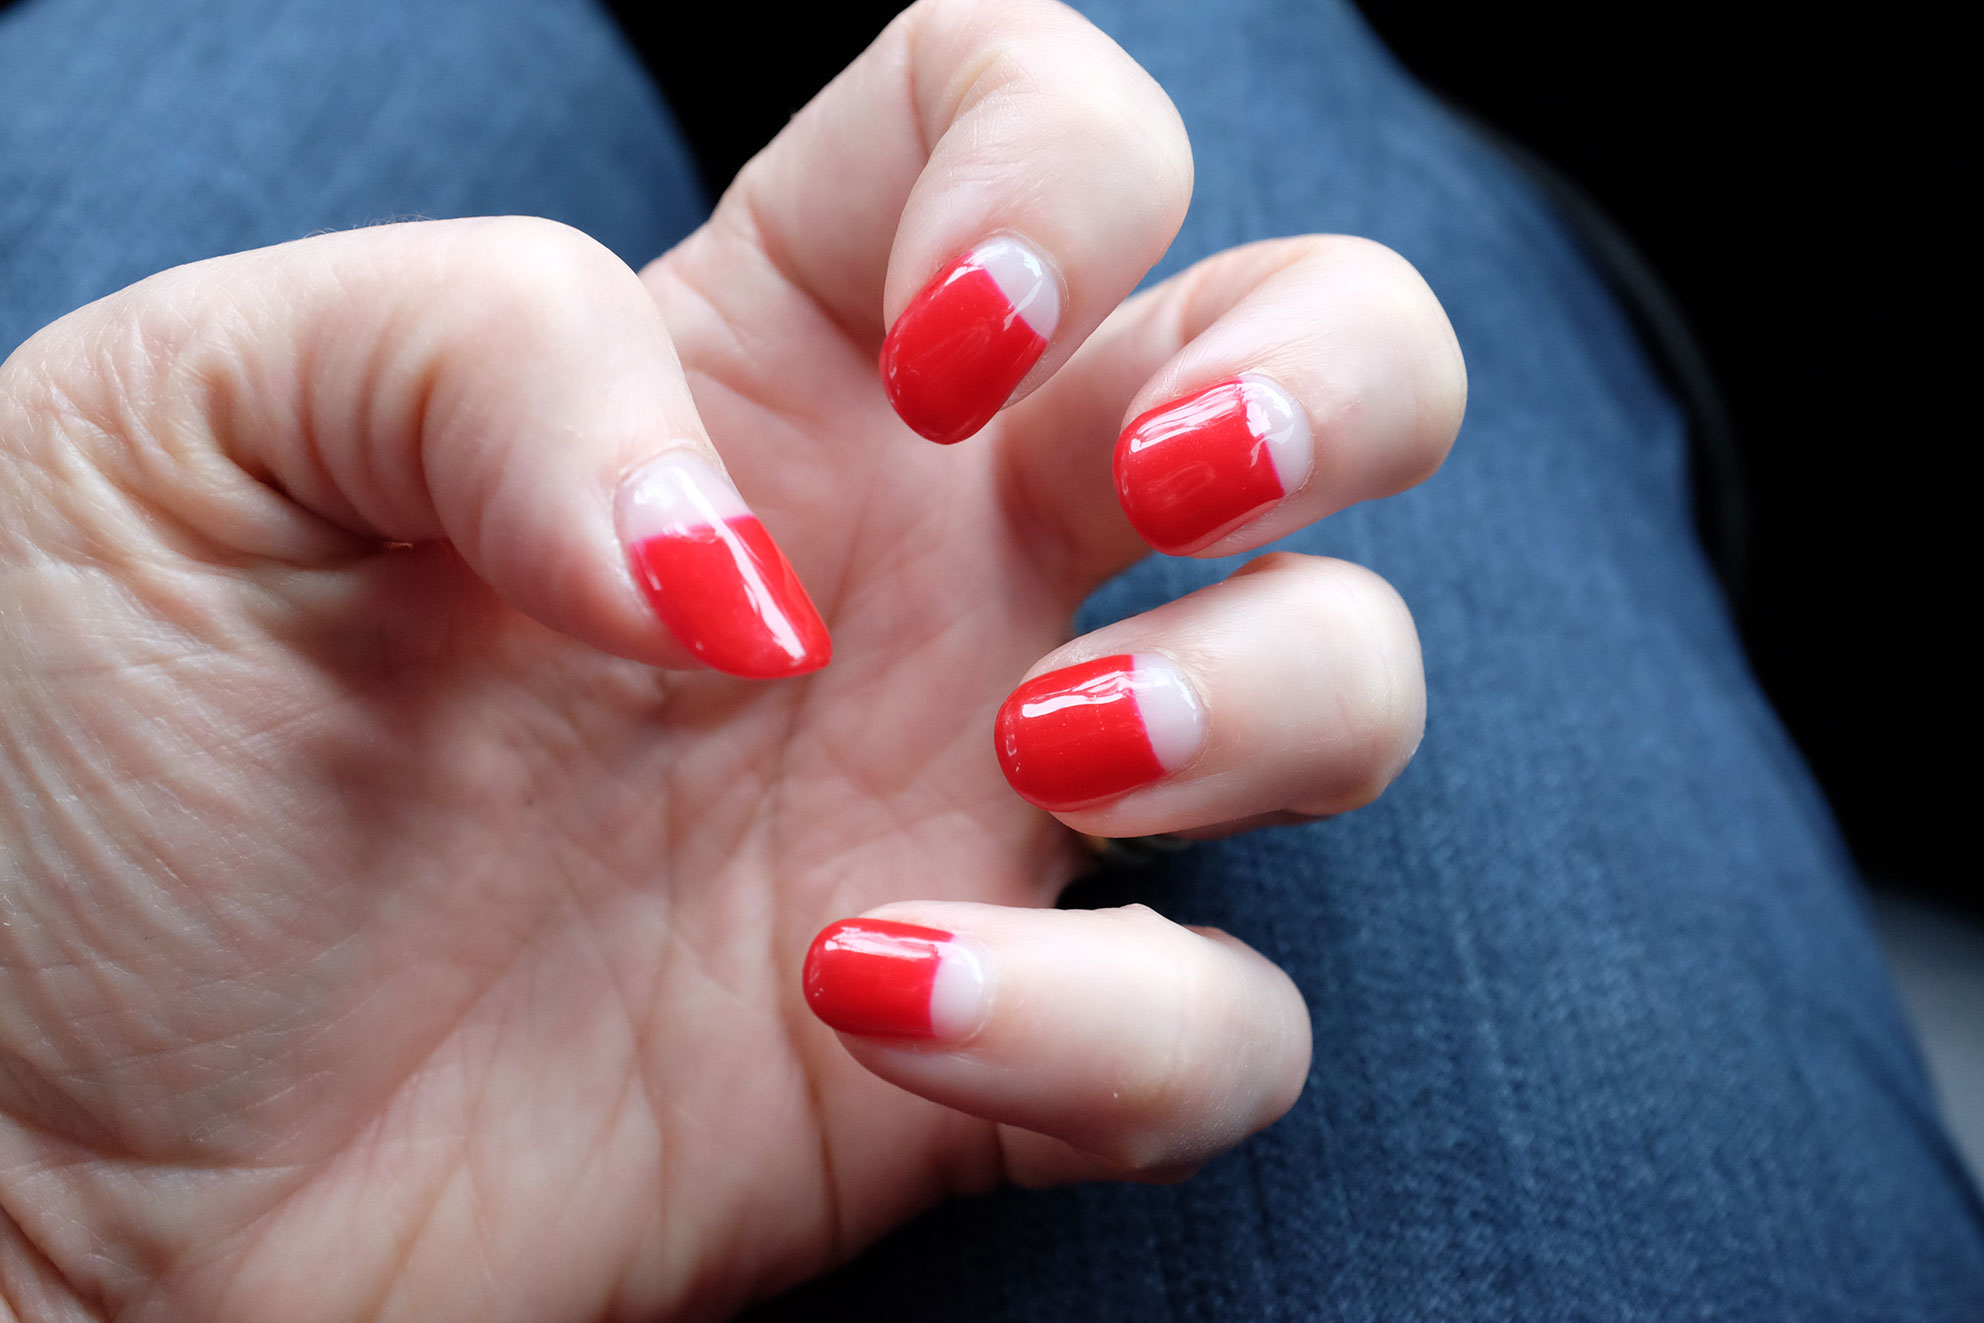
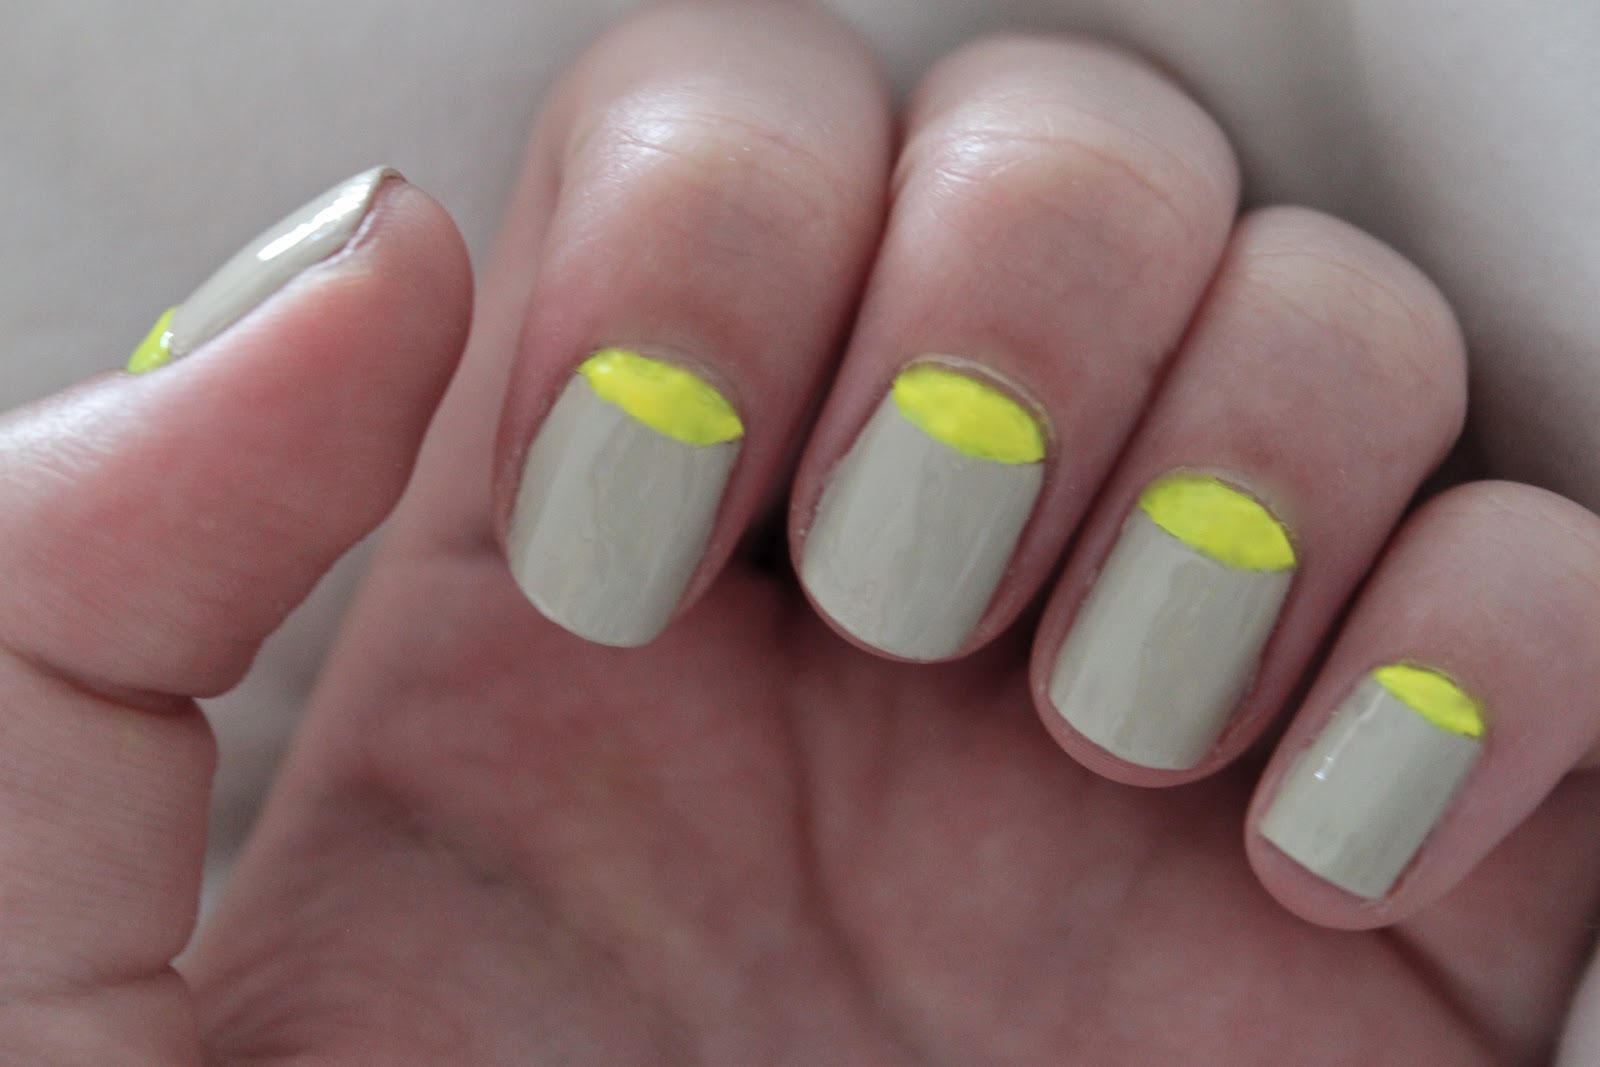
The half moon nail design is a classic and versatile look that can be dressed up or down, making it perfect for any occasion. Follow this step-by-step guide to achieve the perfect half moon manicure. Step 1: Start by prepping your nails. Shape and buff them to your desired length and apply a base coat to protect your nails. Step 2: Choose your base color and apply 2 coats to your nails. Allow it to dry completely before moving on to the next step. Step 3: Take a half moon nail stencil and place it at the base of your nail, leaving a half moon shape. Press it down firmly to avoid any polish bleeding. Step 4: Apply your chosen color for the half moon design, covering the top half of your nail. Remove the stencil immediately after applying the polish to avoid it from drying and sticking to your nail. Step 5: Finish off with a top coat to seal in your design and give it a glossy finish. Experiment with different colors and designs for a unique look every time. You can also add some nail gems or glitter for some extra sparkle.2. Step-by-Step Guide to Achieving the Perfect Half Moon Manicure


2. Step-by-Step Guide to Achieving the Perfect Half Moon Manicure
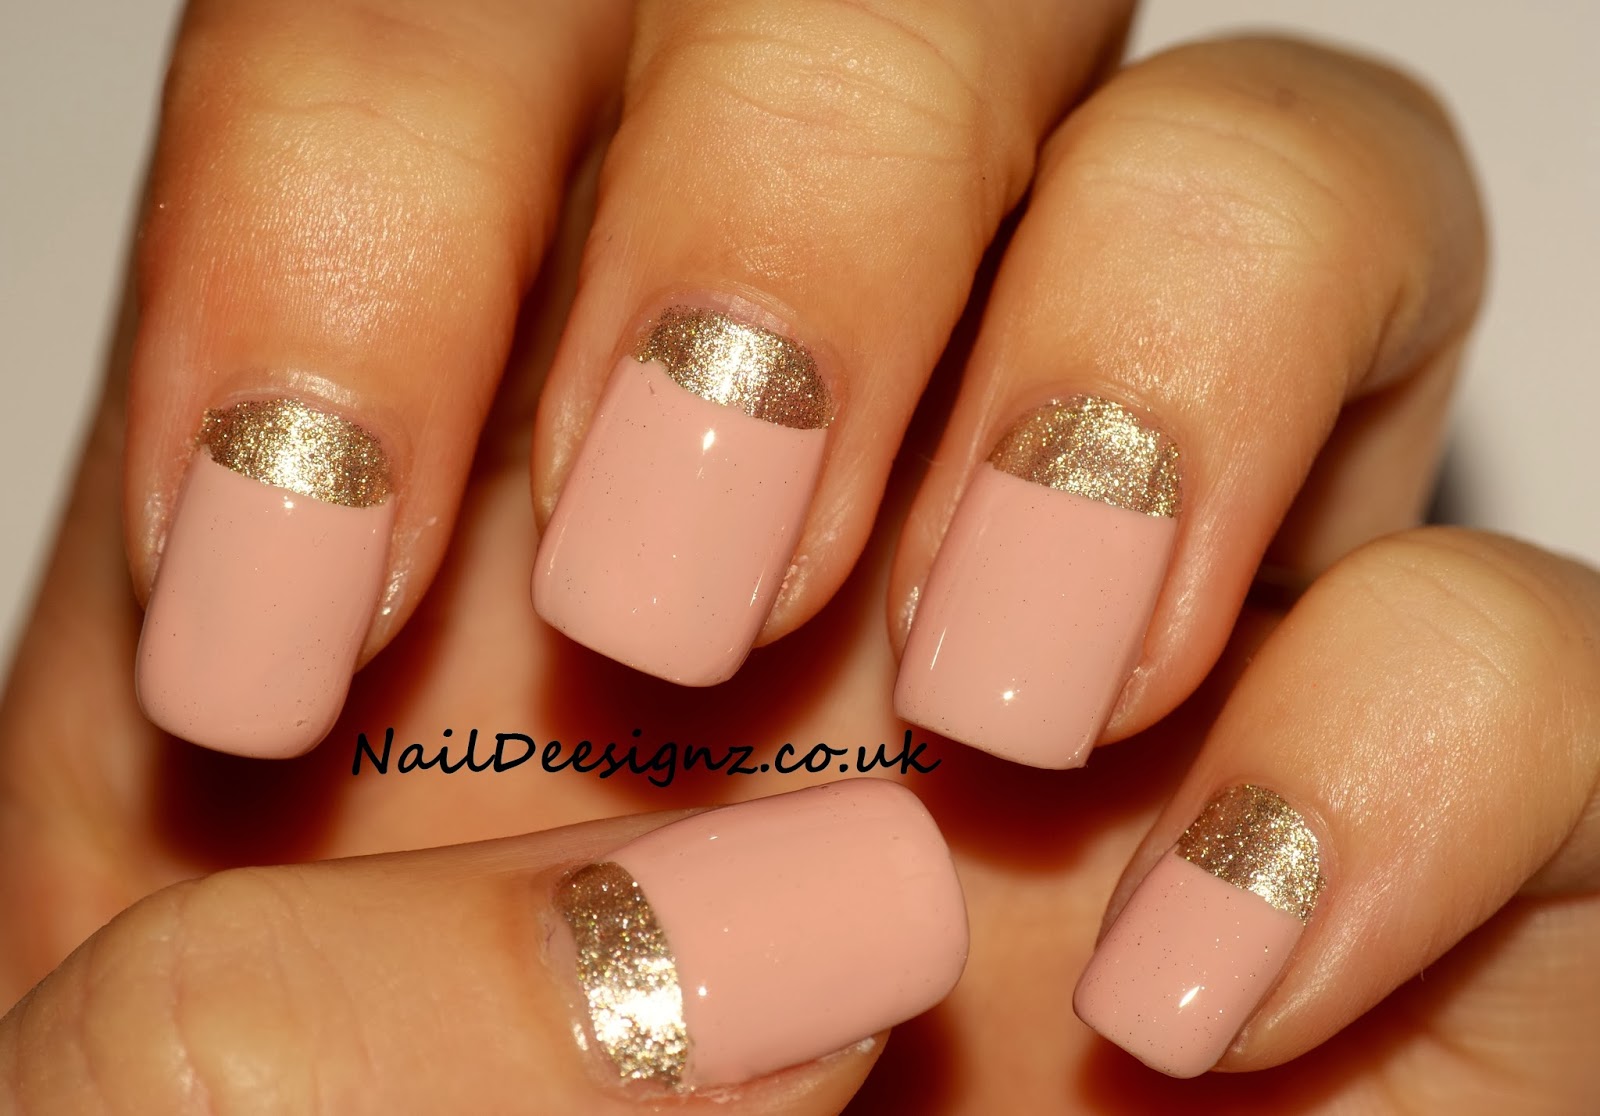

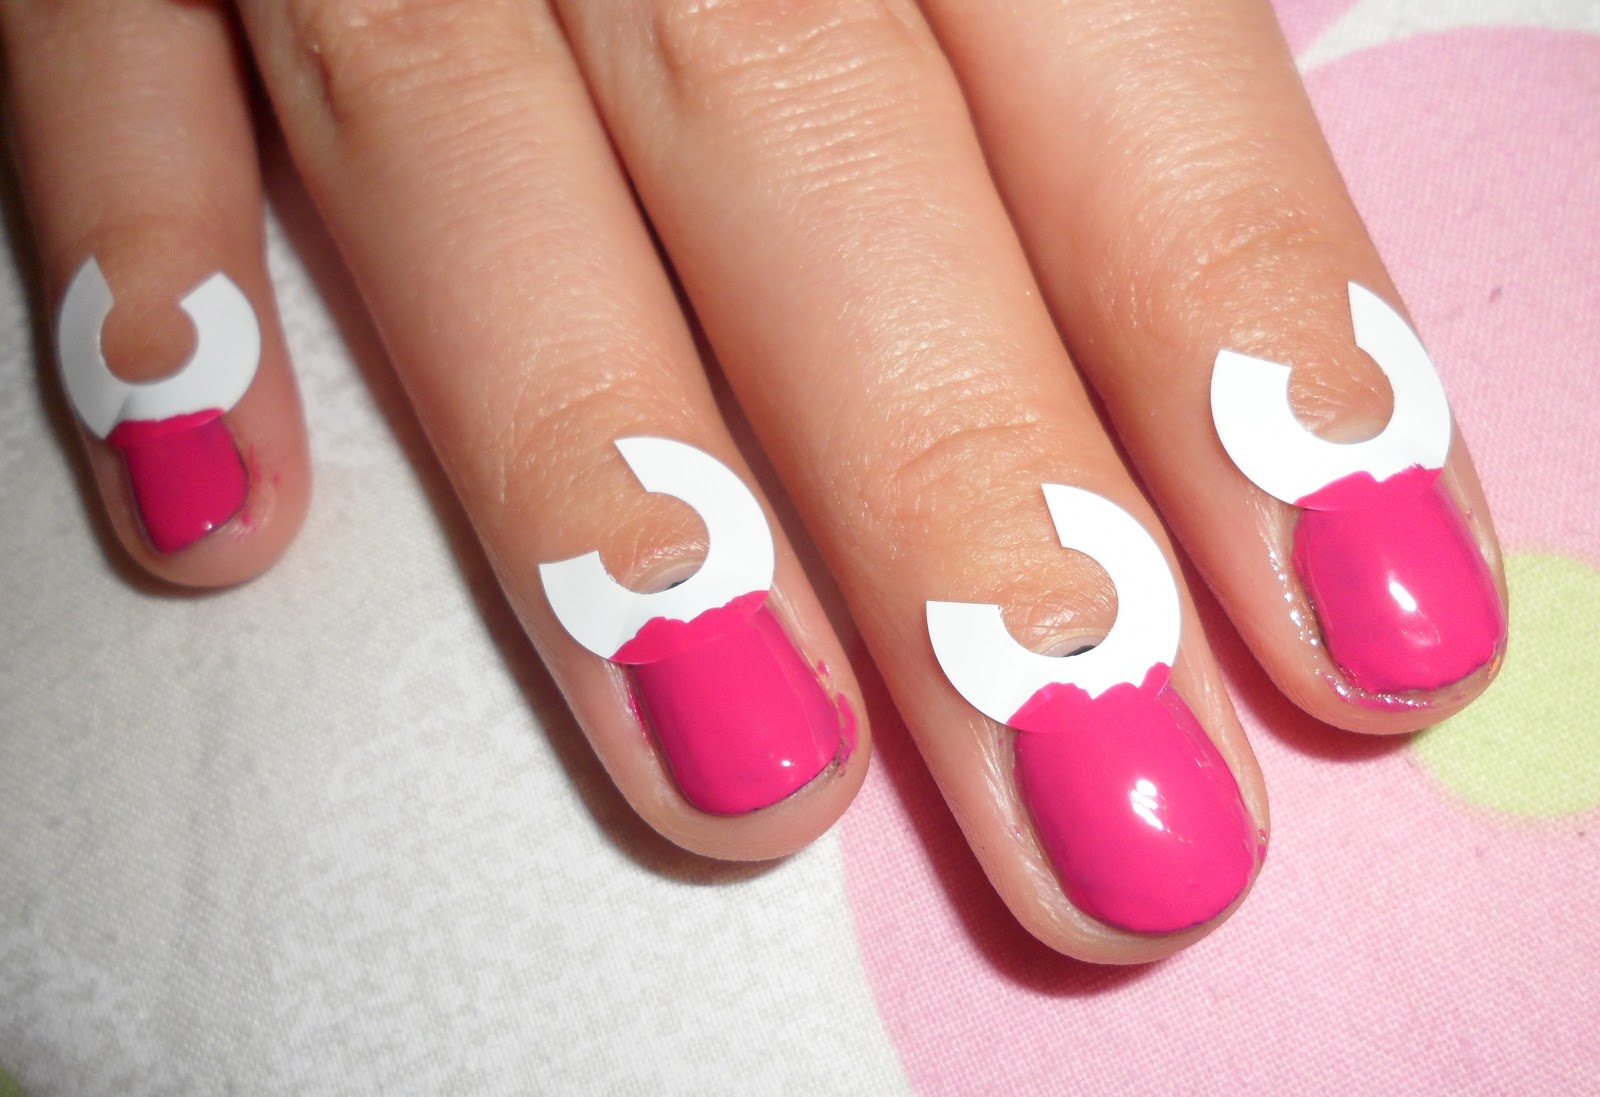
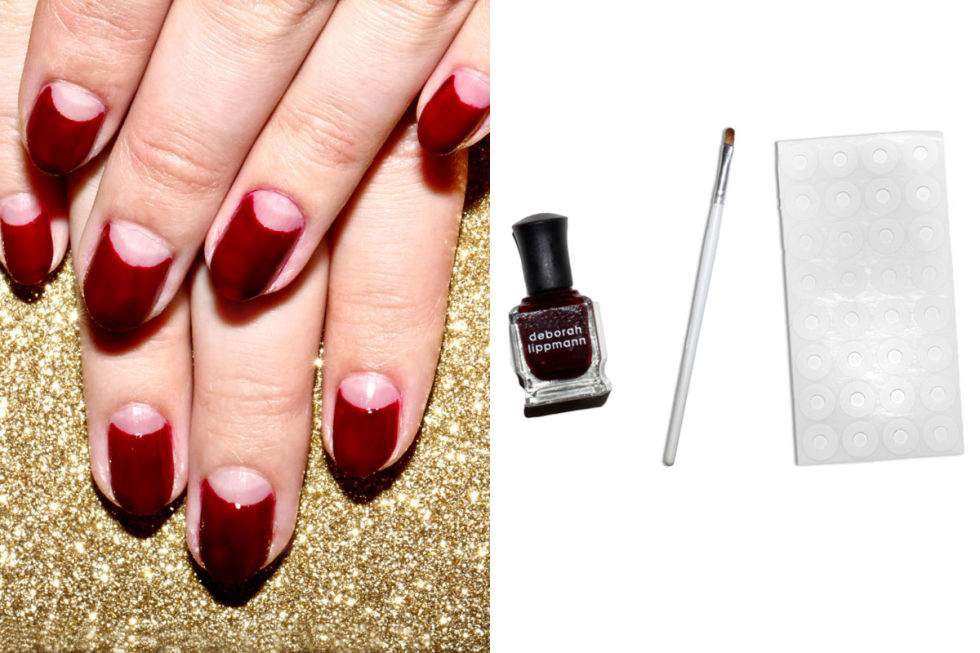
If you're looking for a simple and chic nail design, the half moon manicure is the perfect choice. Follow this tutorial for a quick and easy way to achieve this trendy look. Step 1: Prep your nails by shaping and buffing them to your desired length and shape. Apply a base coat to protect your nails and allow it to dry completely. Step 2: Choose your base color and apply 2 coats to your nails. Let it dry completely before moving on to the next step. Step 3: Take a half moon nail guide or a small piece of tape and place it at the base of your nail, leaving a half moon shape. Press it down firmly to avoid any polish bleeding. Step 4: Apply your chosen color for the half moon design, covering the top half of your nail. Remove the nail guide or tape immediately after applying the polish to avoid it from drying and sticking to your nail. Step 5: Finish off with a top coat to seal in your design and give it a glossy finish. And there you have it, a simple and chic half moon manicure that is perfect for any occasion.3. Half Moon Nail Art Tutorial: Simple and Chic Design
3. Half Moon Nail Art Tutorial: Simple and Chic Design


The half moon nail design may seem intimidating to some, but with the right tips and tricks, you can master this trendy look in no time. Here are some tips to help you achieve the perfect half moon manicure. Tip 1: Use gel polish for a long-lasting and glossy finish. Tip 2: For a neater and more precise half moon shape, use nail stickers or stencils. Tip 3: If you're using tape as a guide, make sure to remove it immediately after applying the polish to avoid it from drying and sticking to your nail. Tip 4: Experiment with different colors and designs for a unique look every time. Tip 5: Finish off with a top coat to seal in your design and give it a glossy finish.4. Mastering the Half Moon Nail Design: Tips and Tricks

4. Mastering the Half Moon Nail Design: Tips and Tricks
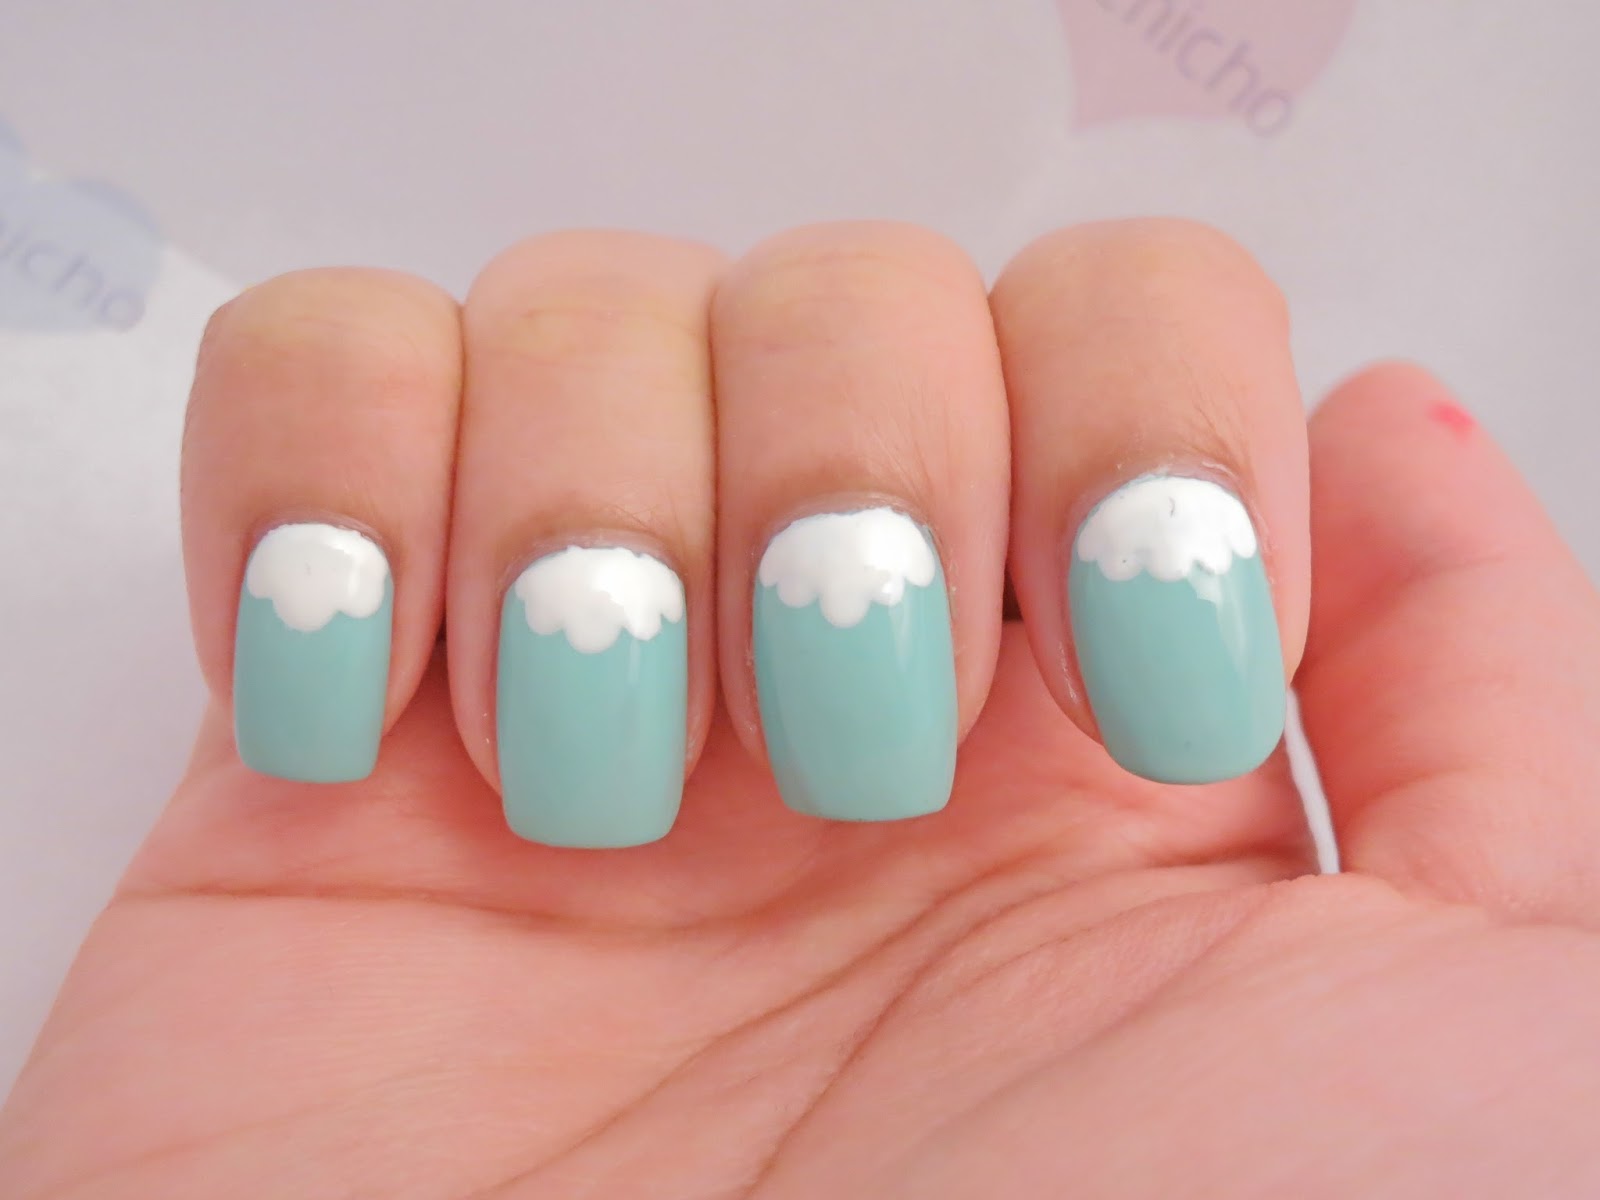

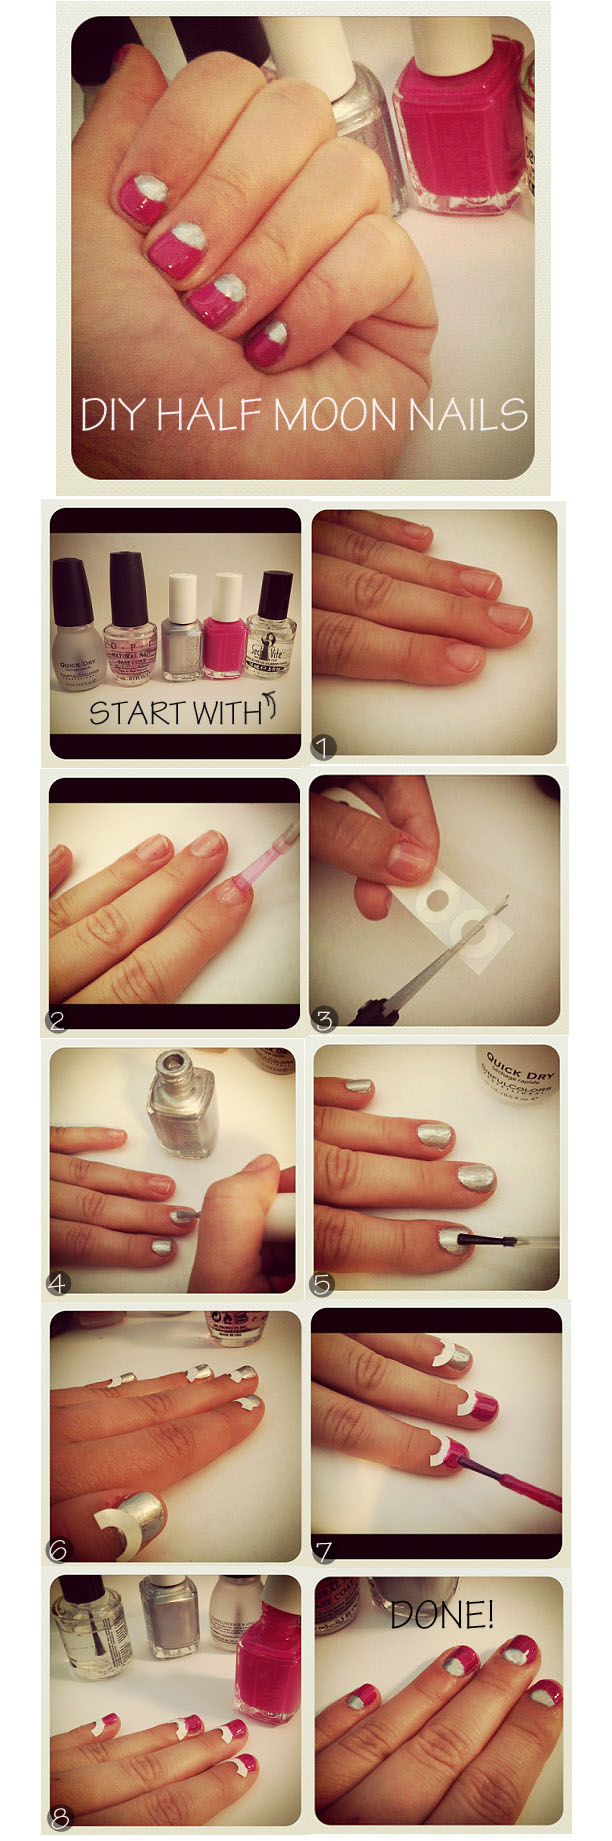
If you're new to the world of nail art, the half moon nail design is a great place to start. It's simple yet stylish, making it perfect for beginners. Follow this guide for a beginner-friendly DIY half moon nail design. Step 1: Prep your nails by shaping and buffing them to your desired length and shape. Apply a base coat to protect your nails and allow it to dry completely. Step 2: Choose your base color and apply 2 coats to your nails. Let it dry completely before moving on to the next step. Step 3: Take a half moon nail sticker and place it at the base of your nail, leaving a half moon shape. Press it down firmly to avoid any polish bleeding. Step 4: Apply your chosen color for the half moon design, covering the top half of your nail. Remove the sticker immediately after applying the polish to avoid it from drying and sticking to your nail. Step 5: Finish off with a top coat to seal in your design and give it a glossy finish. And there you have it, a simple and chic half moon manicure that is perfect for beginners.5. DIY Half Moon Nails: A Beginner's Guide


5. DIY Half Moon Nails: A Beginner's Guide


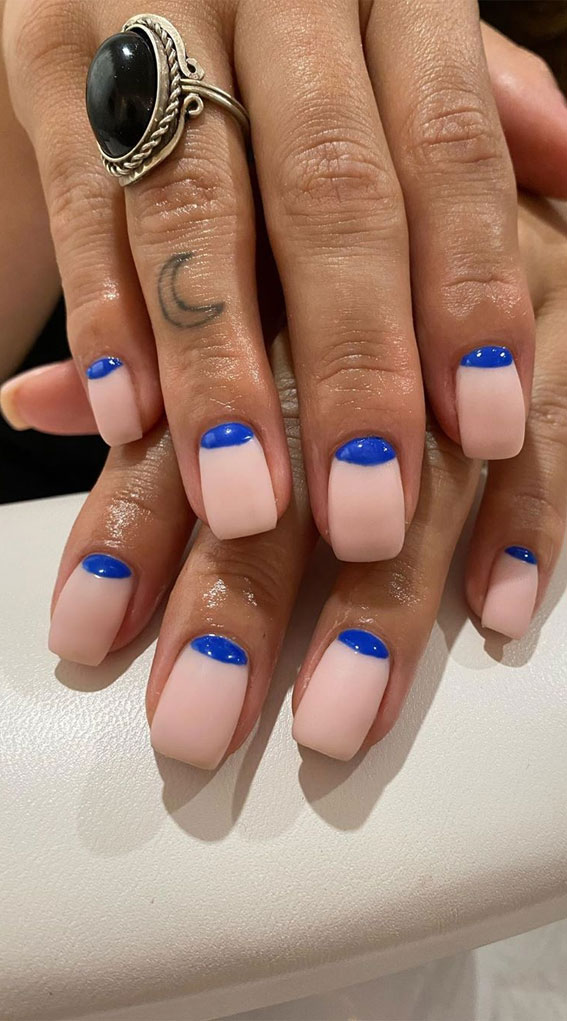
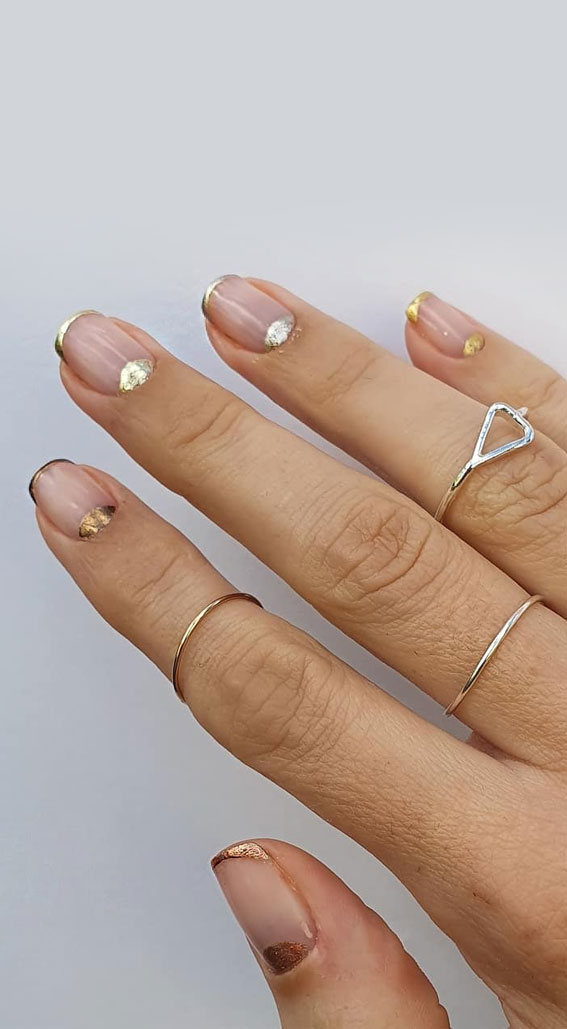
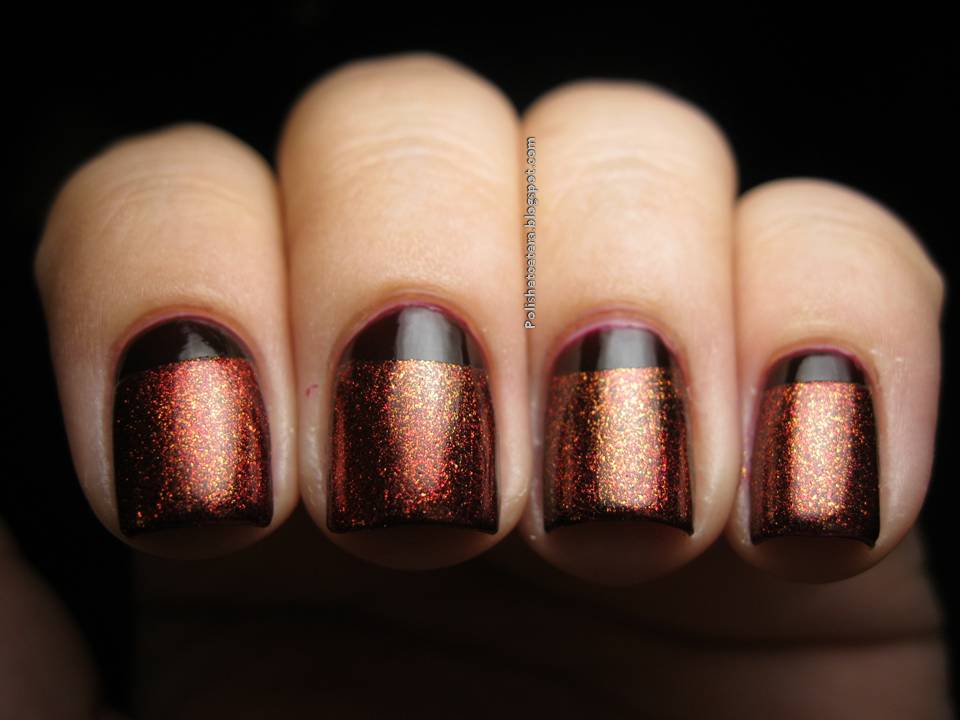
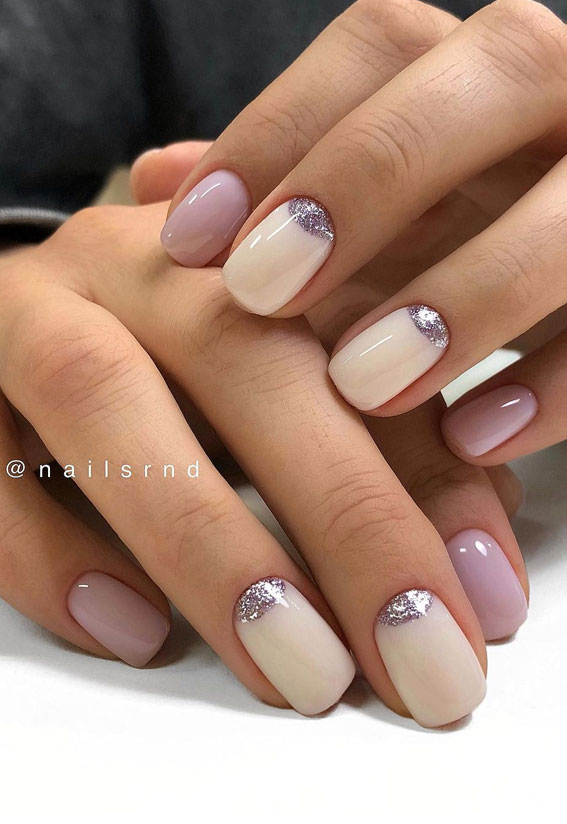
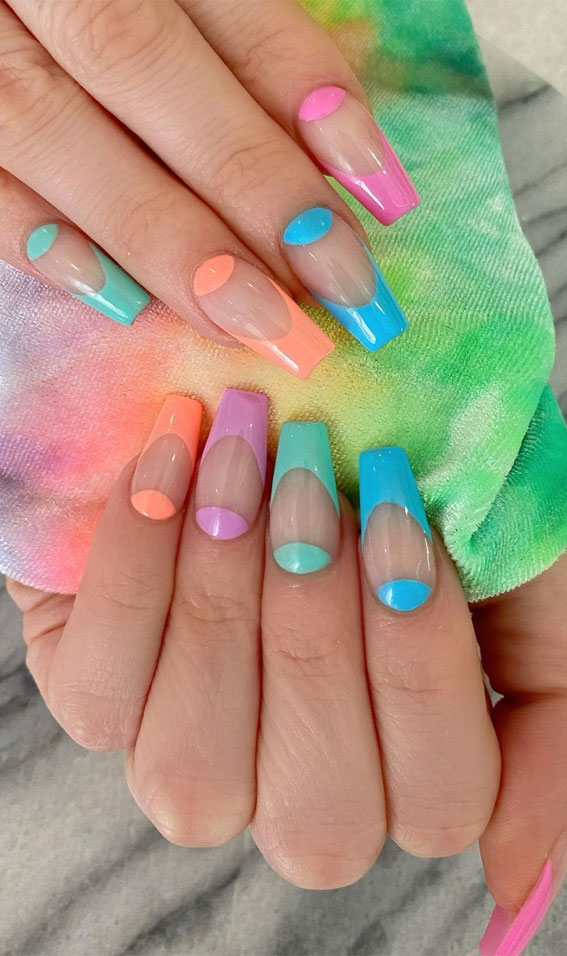
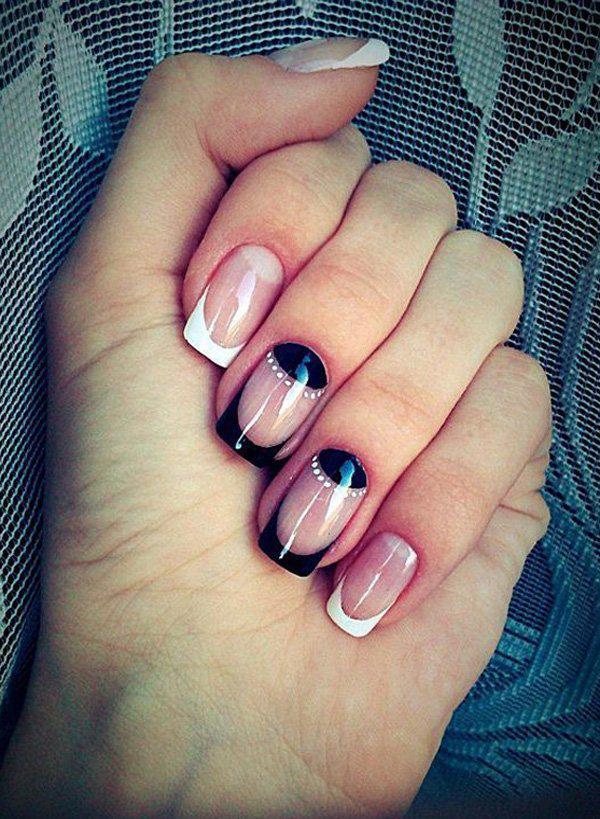
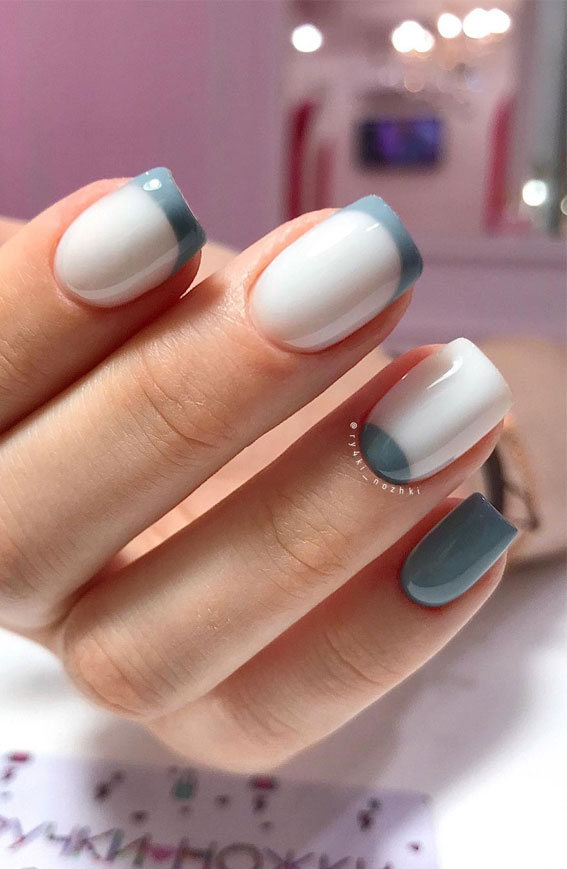
The half moon nail design is a versatile look that can be dressed up or down for any occasion. Here are some ideas to inspire your next half moon manicure. For a casual look: Use a neutral base color and add a pop of color for the half moon design. For a formal look: Opt for a classic French manicure with a half moon twist. For a party look: Use glitter or sequins for the half moon design for some extra sparkle. For a bridal look: Use a soft pastel base color and add some pearl beads for the half moon design. With so many options, the half moon nail design is perfect for any occasion and can be easily customized to suit your personal style.6. Half Moon Nail Design Ideas for Every Occasion


6. Half Moon Nail Design Ideas for Every Occasion

If you're looking for a quick and easy way to achieve the half moon nail design, nail stickers are the way to go. Here's how you can use nail stickers to create a stunning half moon design. Step 1: Prep your nails by shaping and buffing them to your desired length and shape. Apply a base coat to protect your nails and allow it to dry completely. Step 2: Choose your base color and apply 2 coats to your nails. Let it dry completely before moving on to the next step. Step 3: Take a half moon nail sticker and place it at the base of your nail, leaving a half moon shape. Press it down firmly to avoid any polish bleeding. Step 4: Apply your chosen color for the half moon design, covering the top half of your nail. Remove the sticker immediately after applying the polish to avoid it from drying and sticking to your nail. Step 5: Finish off with a top coat to seal in your design and give it a glossy finish. And there you have it, a stunning half moon manicure without any hassle.7. How to Use Nail Stickers to Create a Half Moon Design


7. How to Use Nail Stickers to Create a Half Moon Design
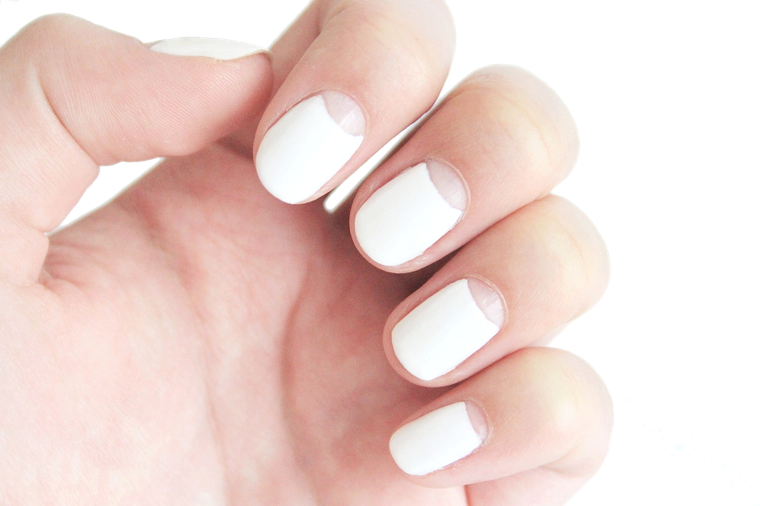
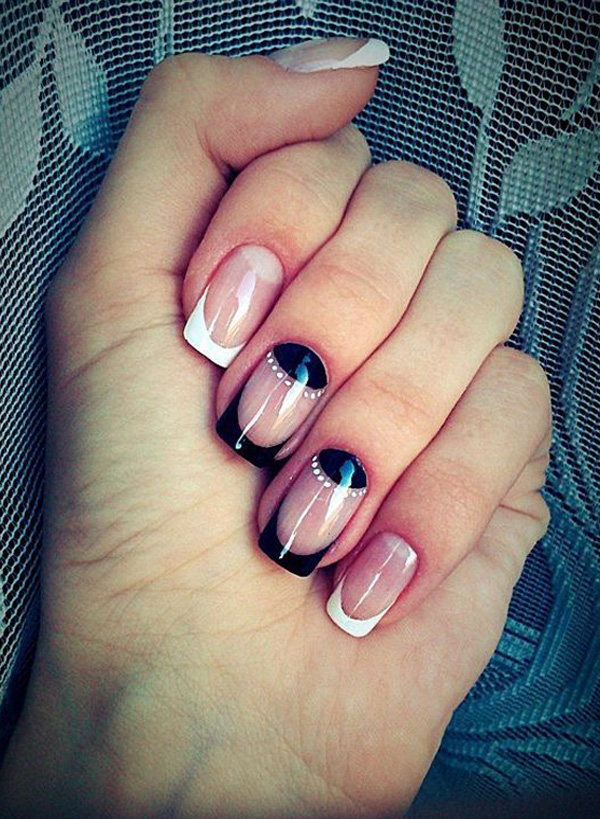
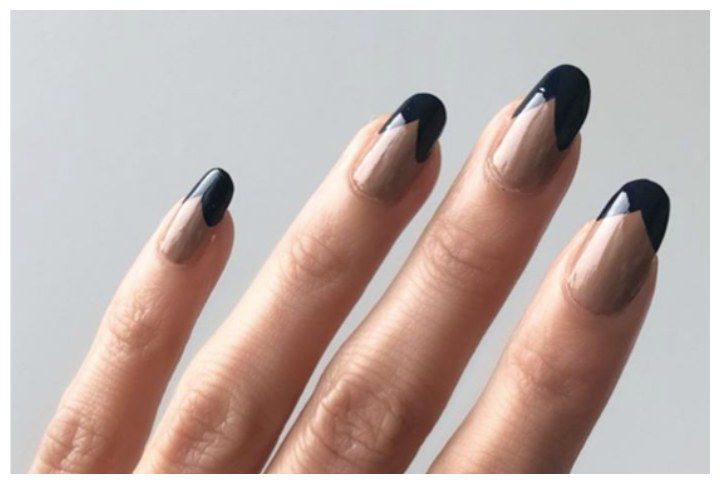
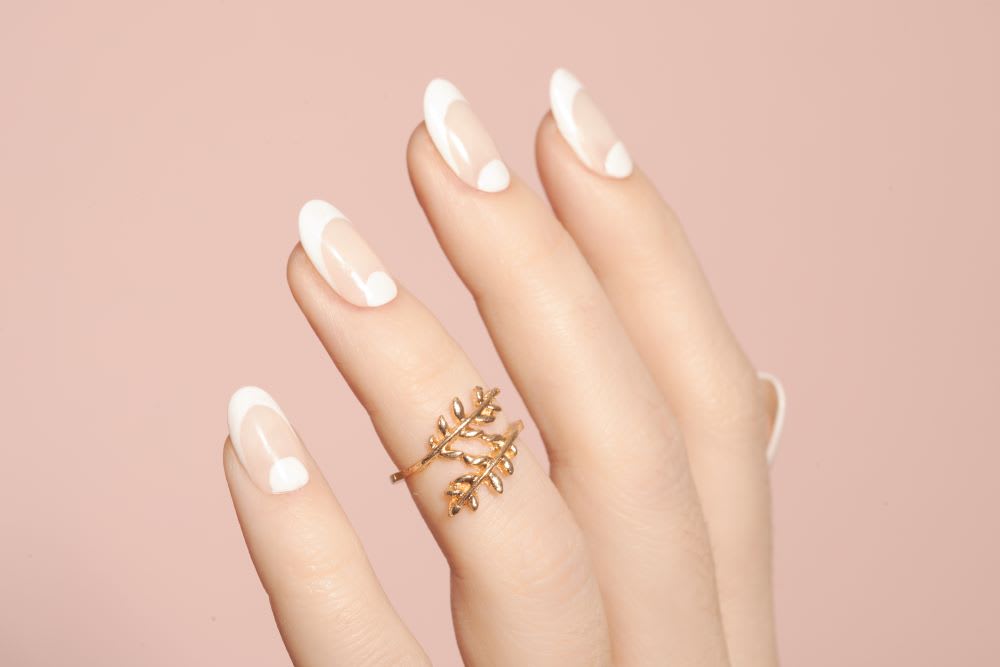
The classic French manicure has been a staple in the world of nail art for years. Add a modern twist to this classic look by incorporating a half moon design. Here's how you can achieve this chic look. Step 1: Prep your nails by shaping and buffing them to your desired length and shape. Apply a base coat to protect your nails and allow it to dry completely. Step 2: Apply a French manicure tip guide to the tips of your nails, leaving a small space at the base for the half moon design. Step 3: Apply a nude or light pink base color and let it dry completely. Step 4: Remove the French manicure tip guide and place a half moon nail sticker at the base of your nail, following the natural curve of your nail. Step 5: Apply a white polish over the half moon sticker and carefully remove it before the polish dries. Finish off with a top coat for a glossy finish.8. Half Moon Nails: The Classic French Manicure with a Twist

8. Half Moon Nails: The Classic French Manicure with a Twist

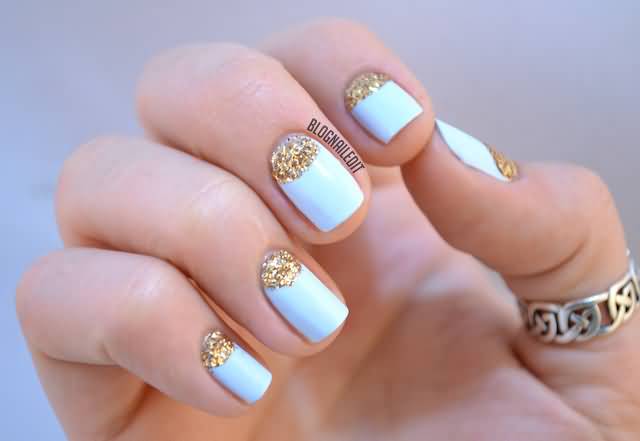
Who doesn't love a bit of sparkle on their nails? Add some glitz and glam to your half moon manicure with this step-by-step tutorial. Step 1: Prep your nails by shaping and buffing them to your desired length and shape. Apply a base coat to protect your nails and allow it to dry completely. Step 2: Choose a glittery base color and apply 2 coats to your nails. Let it dry completely before moving on to the next step. Step 3: Take a half moon nail guide or a small piece of tape and place it at the base of your nail, leaving a half moon shape. Press it down firmly to avoid any polish bleeding. Step 4: Apply a different glittery color for the half moon design, covering the top half of your nail. Remove the nail guide or tape immediately after applying the polish to avoid it from drying and sticking to your nail. Step 5: Finish off with a top coat to seal in your design and give it a glossy finish. And there you have it, a glittery half moon manicure that is sure to make a statement.9. Step-by-Step Tutorial for a Glittery Half Moon Nail Design

9. Step-by-Step Tutorial for a Glittery Half Moon Nail Design
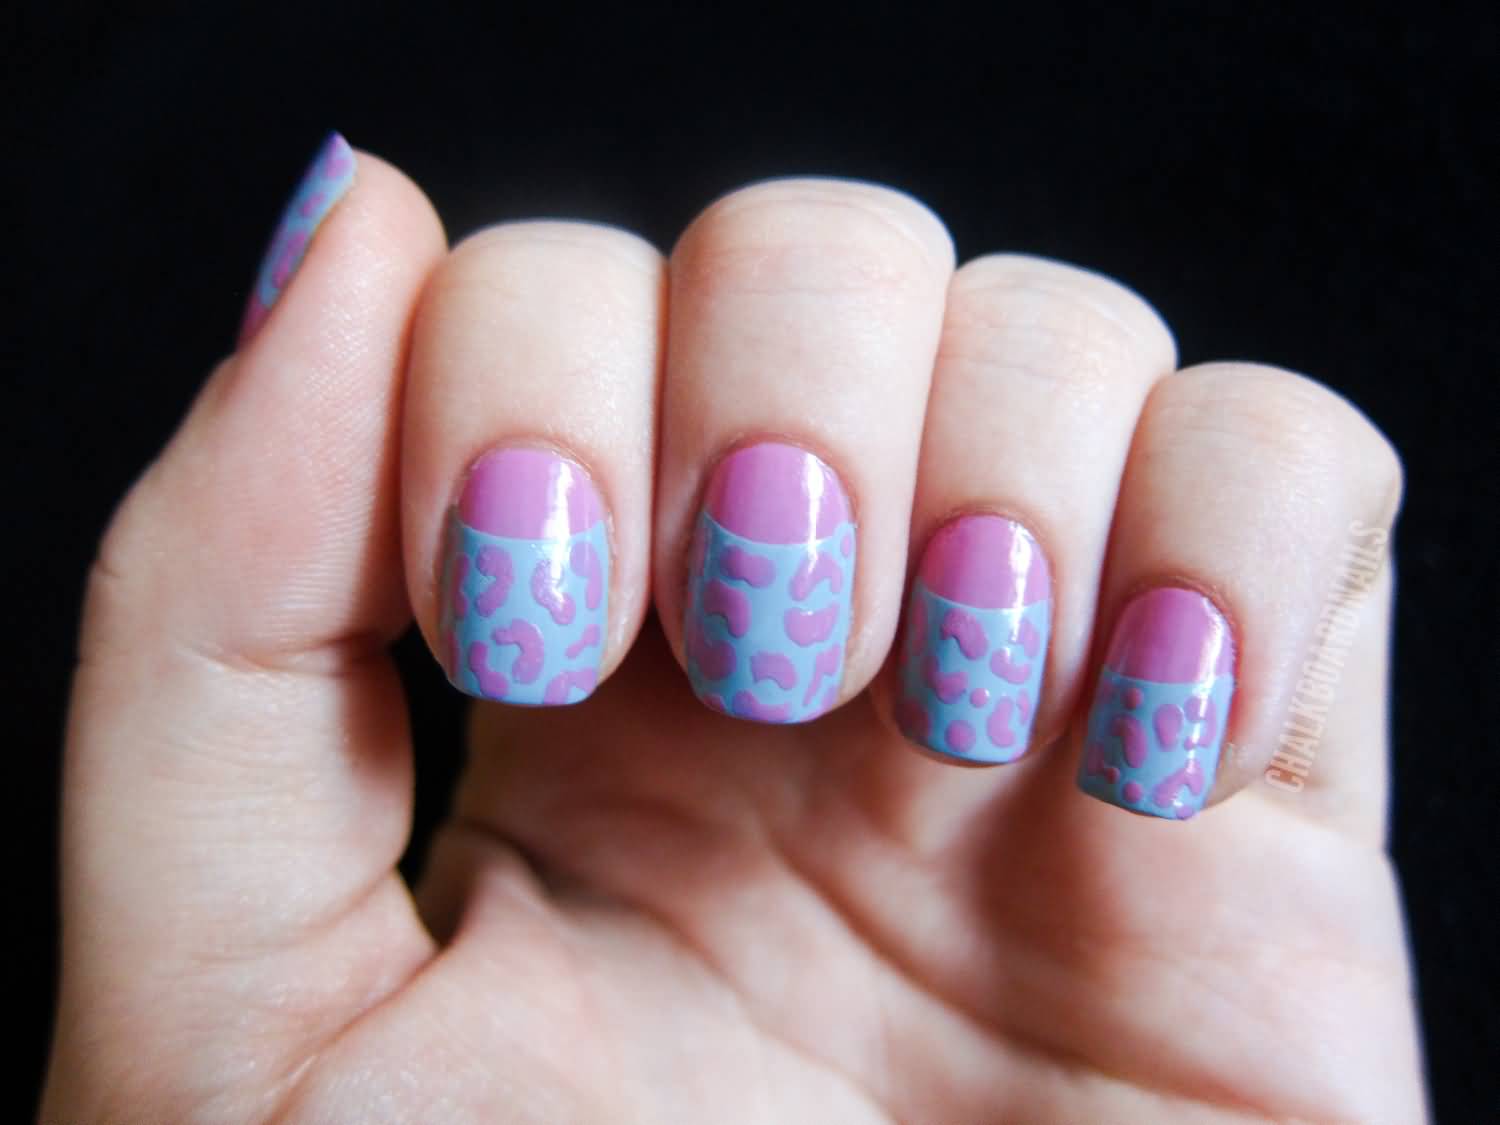
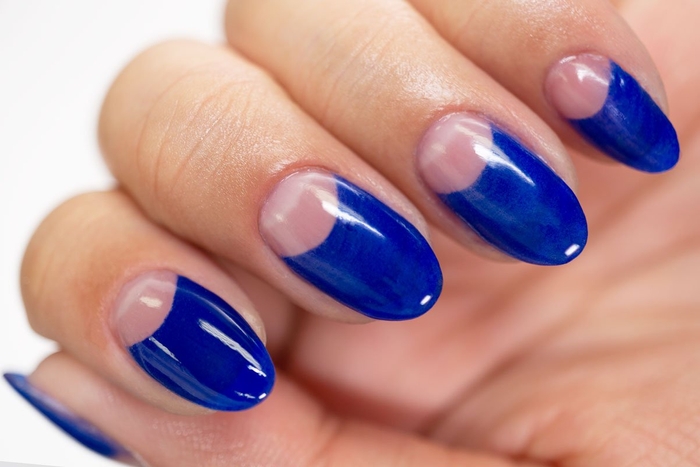
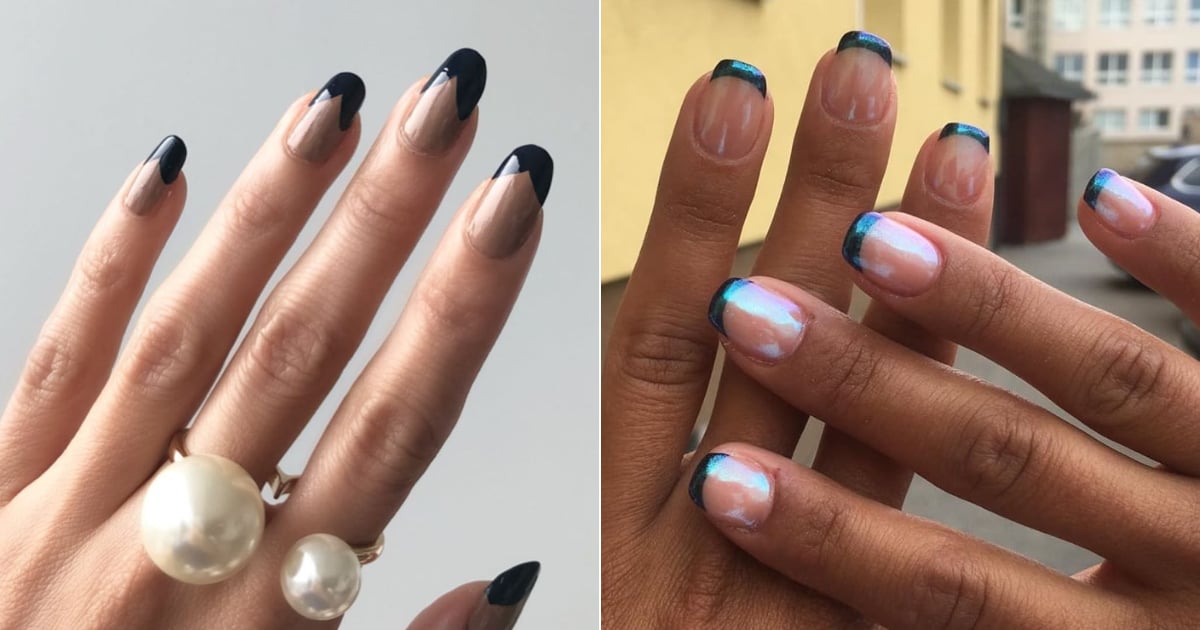
The half moon nail design has been around for decades, but it still remains a popular choice among fashion-forward individuals. Add a modern twist to this classic design with these tips. Tip 1: Use vibrant and bold colors for a more modern look. Tip 2: Experiment with different shapes and placement for the half moon design. Tip 3: Add some negative space to your half moon design for a unique and edgy look. Tip 4: Use metallic or chrome nail polish for a futuristic and modern twist on the half moon design. With these tips, you can easily create a modern and trendy half moon manicure that is sure to turn heads.10. Half Moon Nails: A Modern Twist on the Classic Design

10. Half Moon Nails: A Modern Twist on the Classic Design
Creating a Unique Half Moon Nail Design: Step by Step Guide
Step 5: Adding the Finishing Touches
 Once you have your half moon design and accent colors in place, it's time to add the finishing touches. This step is all about adding those extra details that will really make your half moon nail design stand out.
Use a thin nail art brush
to create intricate designs and patterns on your nails. This could include
adding swirls, stripes, or dots
to your half moon design, or creating
a gradient effect
on your accent nail.
Once you have your half moon design and accent colors in place, it's time to add the finishing touches. This step is all about adding those extra details that will really make your half moon nail design stand out.
Use a thin nail art brush
to create intricate designs and patterns on your nails. This could include
adding swirls, stripes, or dots
to your half moon design, or creating
a gradient effect
on your accent nail.
Step 6: Seal the Look
 To ensure that your half moon nail design lasts, it's important to
seal it with a topcoat
. This will not only help to protect your design, but also give your nails a glossy finish.
Wait for your nails to dry completely
before applying the topcoat to avoid any smudging or smearing.
To ensure that your half moon nail design lasts, it's important to
seal it with a topcoat
. This will not only help to protect your design, but also give your nails a glossy finish.
Wait for your nails to dry completely
before applying the topcoat to avoid any smudging or smearing.
Step 7: Maintenance and Care
 Now that your half moon nail design is complete, it's important to
take care of your nails
to maintain the look.
Moisturize your hands and cuticles regularly
to keep your nails healthy and prevent them from becoming dry and brittle. If you notice any chipping or peeling, simply
touch up the design with a small brush
and some nail polish.
Now that your half moon nail design is complete, it's important to
take care of your nails
to maintain the look.
Moisturize your hands and cuticles regularly
to keep your nails healthy and prevent them from becoming dry and brittle. If you notice any chipping or peeling, simply
touch up the design with a small brush
and some nail polish.
Get Creative and Have Fun!
 Half moon nail designs are a fun and unique way to express your personal style.
Don't be afraid to experiment with different colors and patterns
, and make the design your own. With this step by step guide, you now have all the tools you need to create a stunning half moon nail design. So go ahead,
grab your nail polish and get creative!
Half moon nail designs are a fun and unique way to express your personal style.
Don't be afraid to experiment with different colors and patterns
, and make the design your own. With this step by step guide, you now have all the tools you need to create a stunning half moon nail design. So go ahead,
grab your nail polish and get creative!


