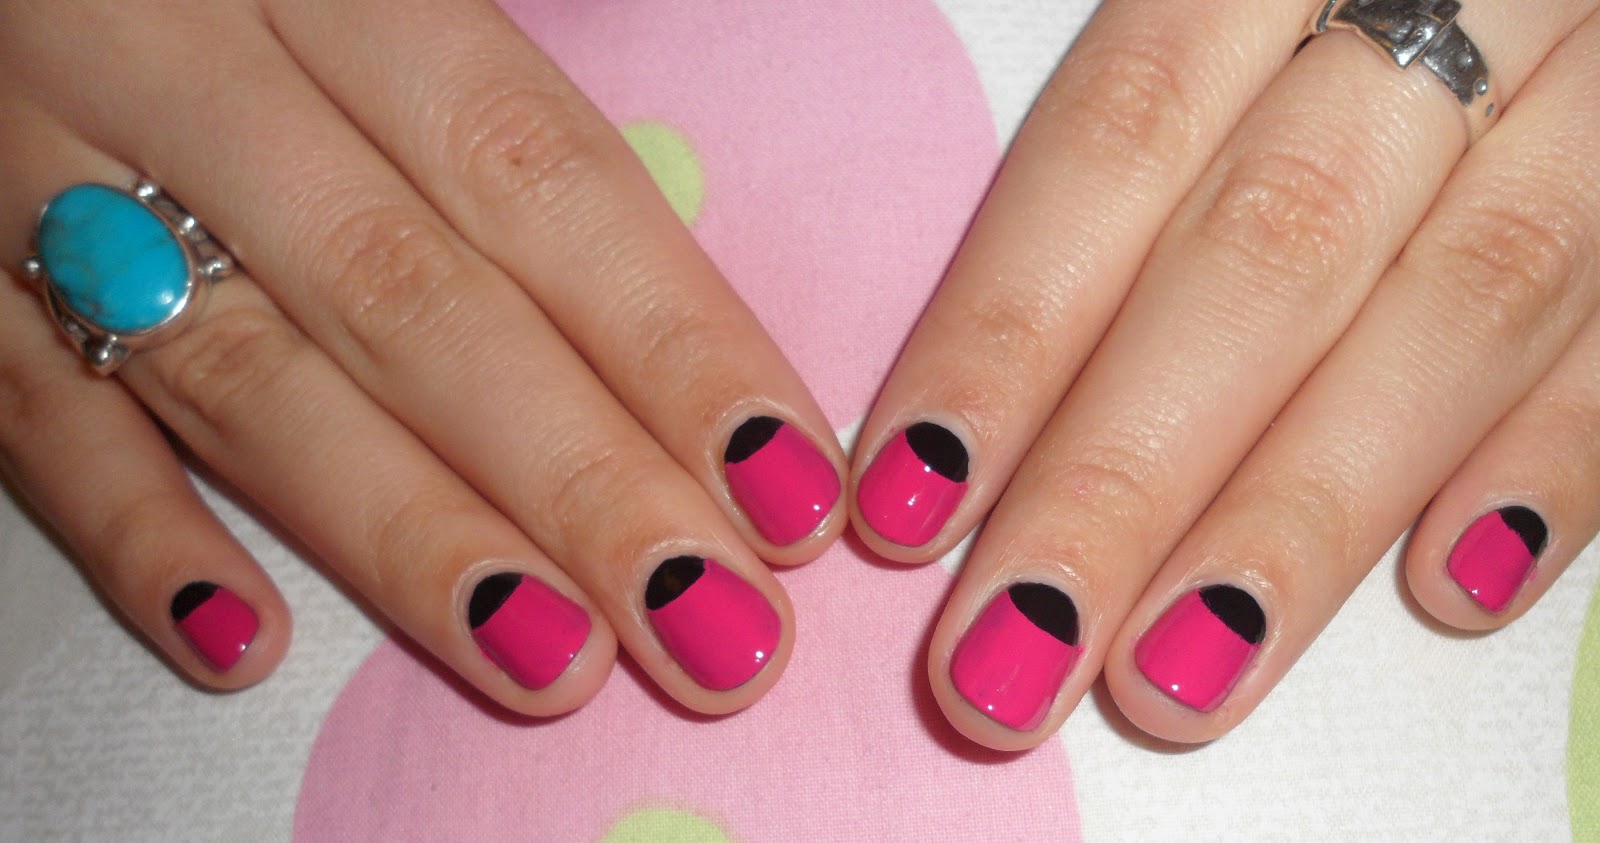
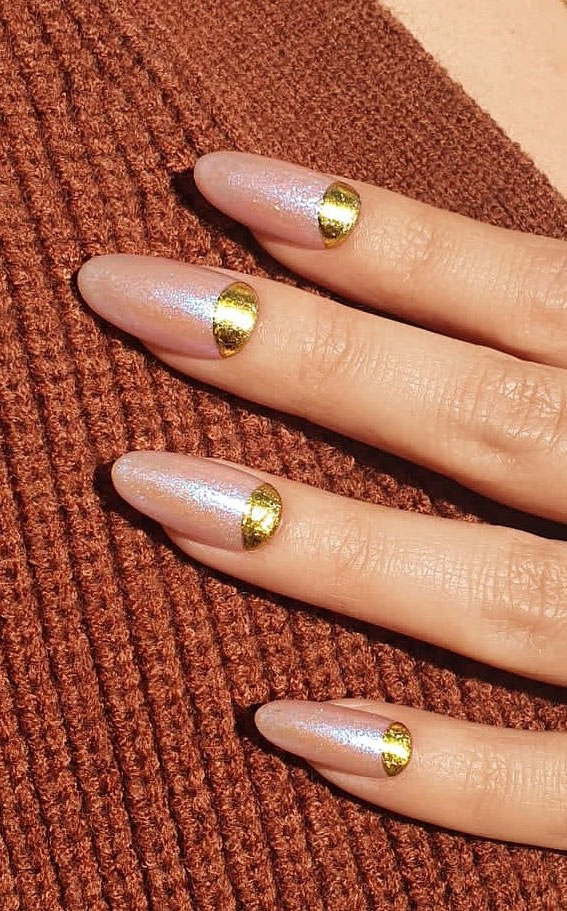
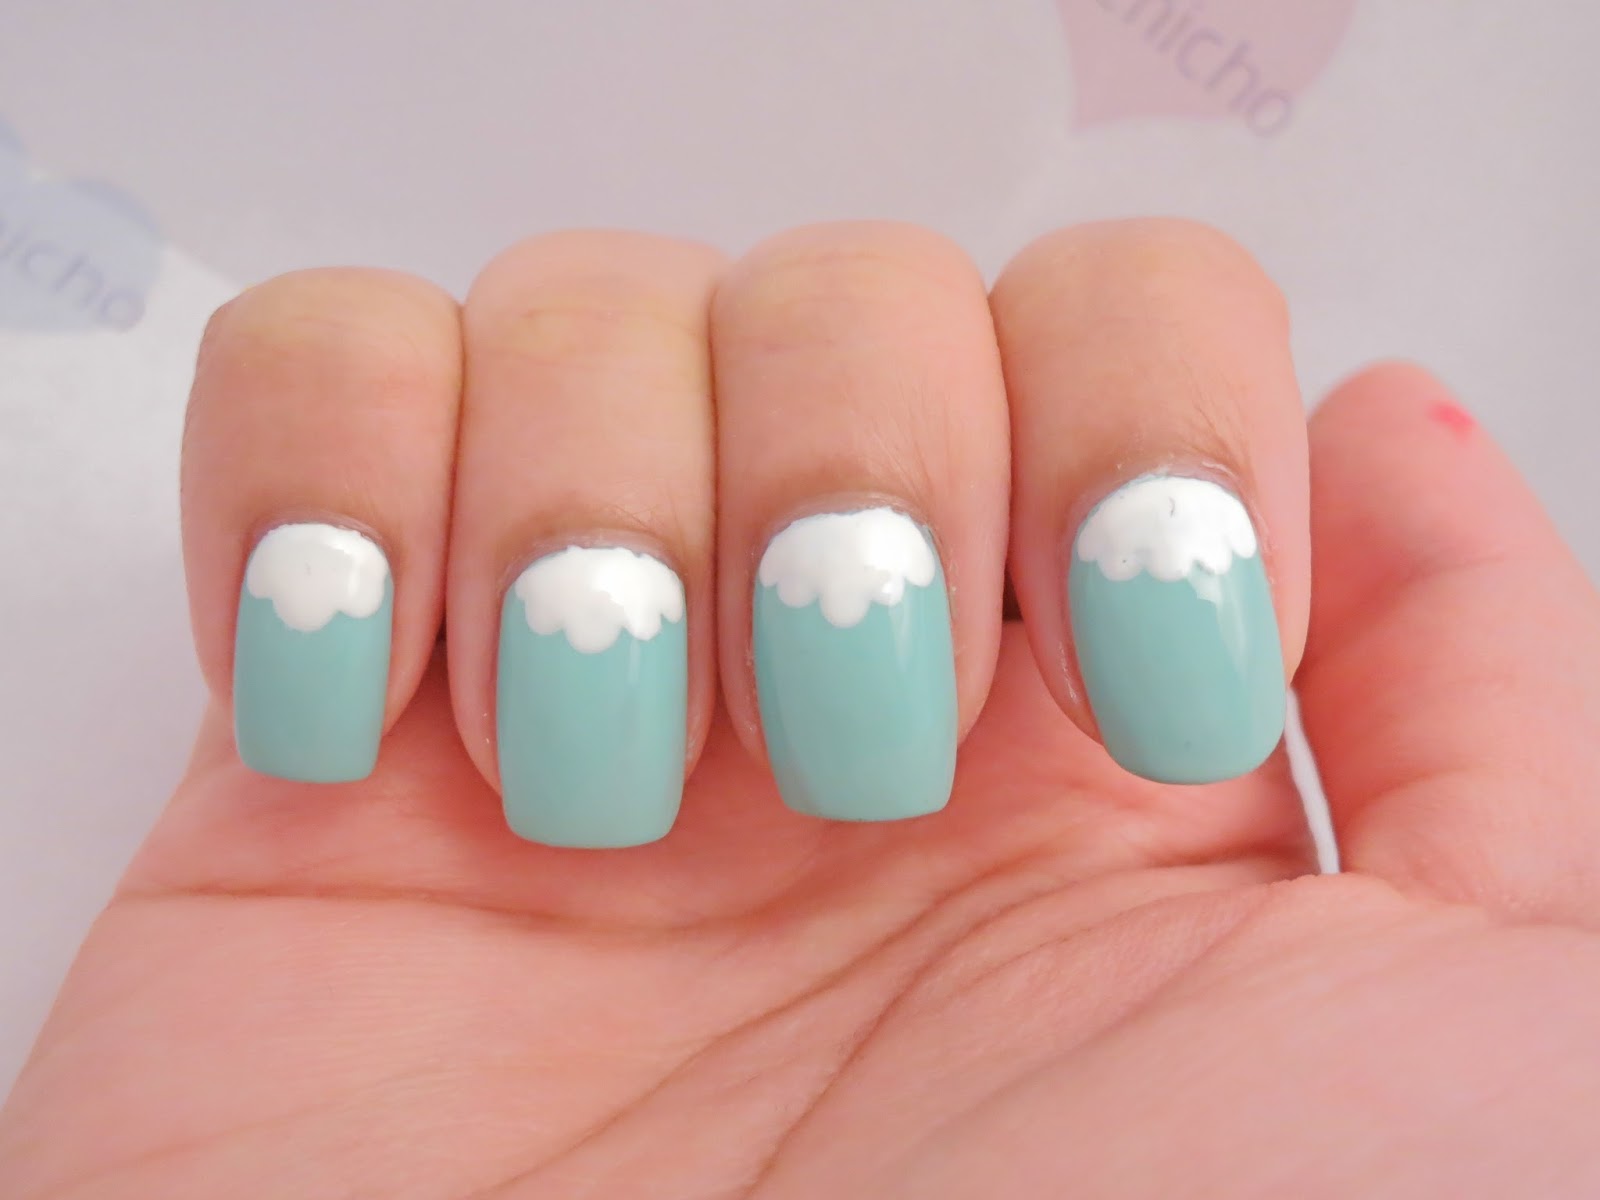
Achieving a half moon nail design with tips may seem daunting, but with the right tools and technique, you can create a stunning manicure that will surely turn heads. In this tutorial, we will guide you through the step-by-step process of creating a flawless half moon nail design with tips. So, grab your nail polish and let's get started!Half Moon Nail Design Tutorial

Half Moon Nail Design Tutorial


:max_bytes(150000):strip_icc()/117751237_1316912091996231_8870649993126286143_n-2905d22aebee4d339ea23269951297f2.jpg)
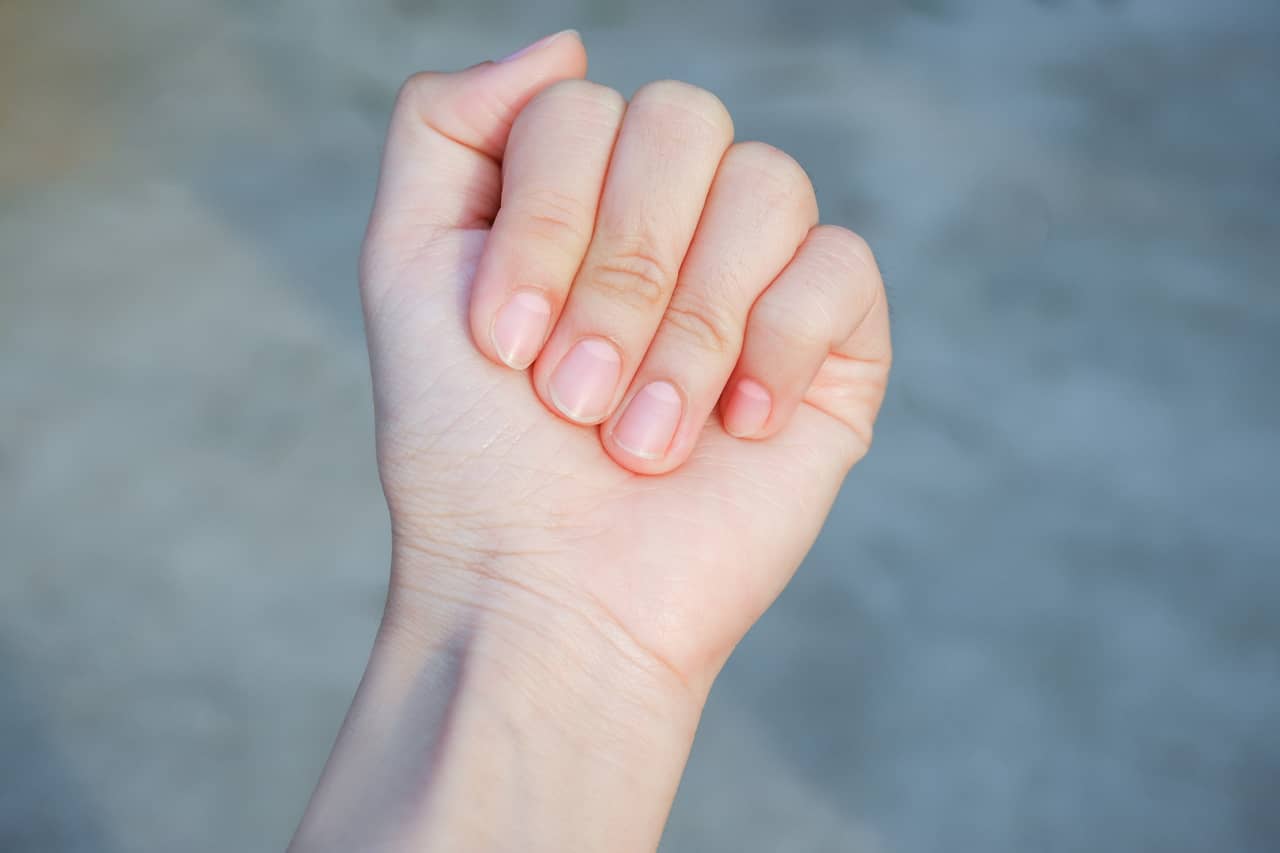
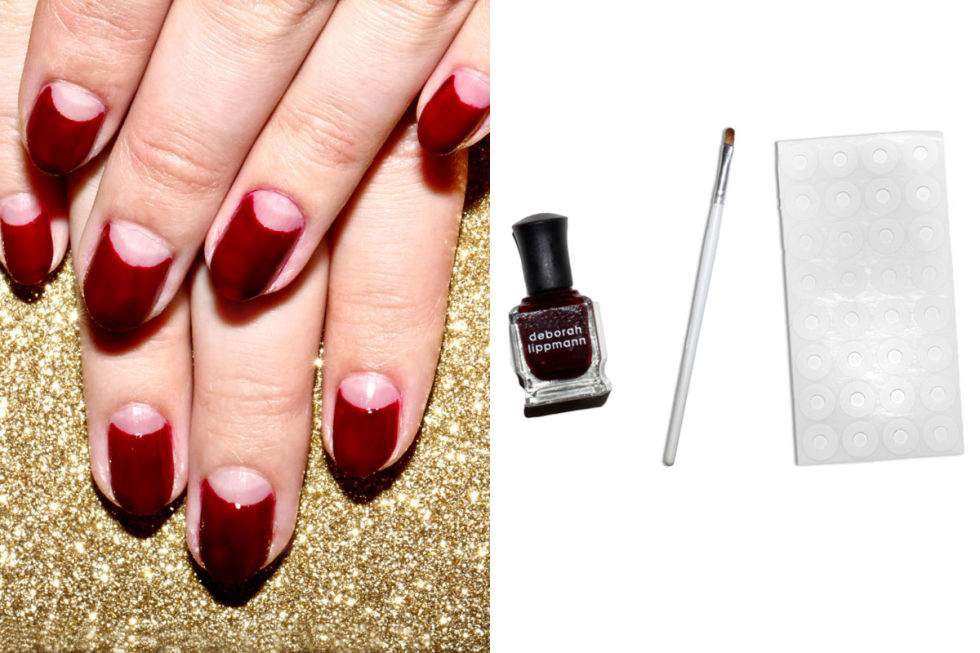
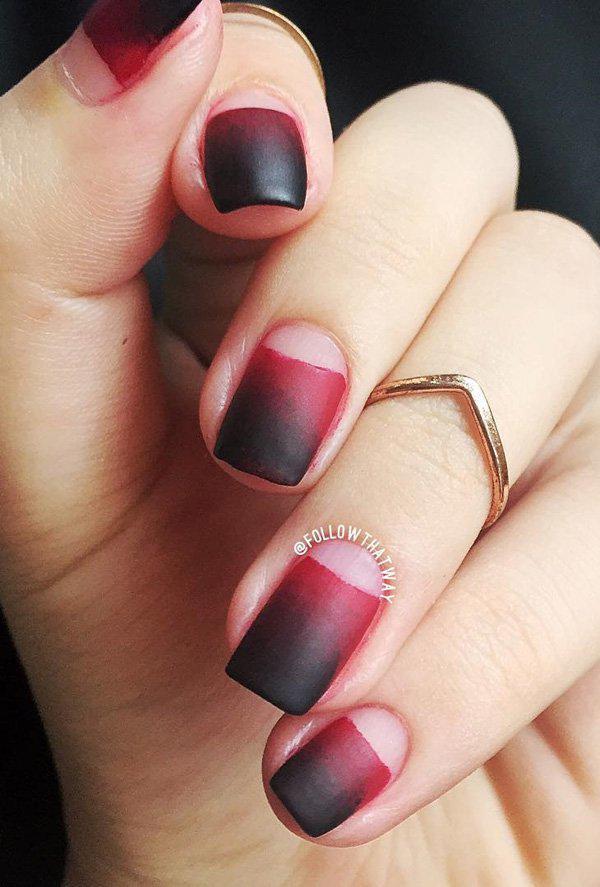
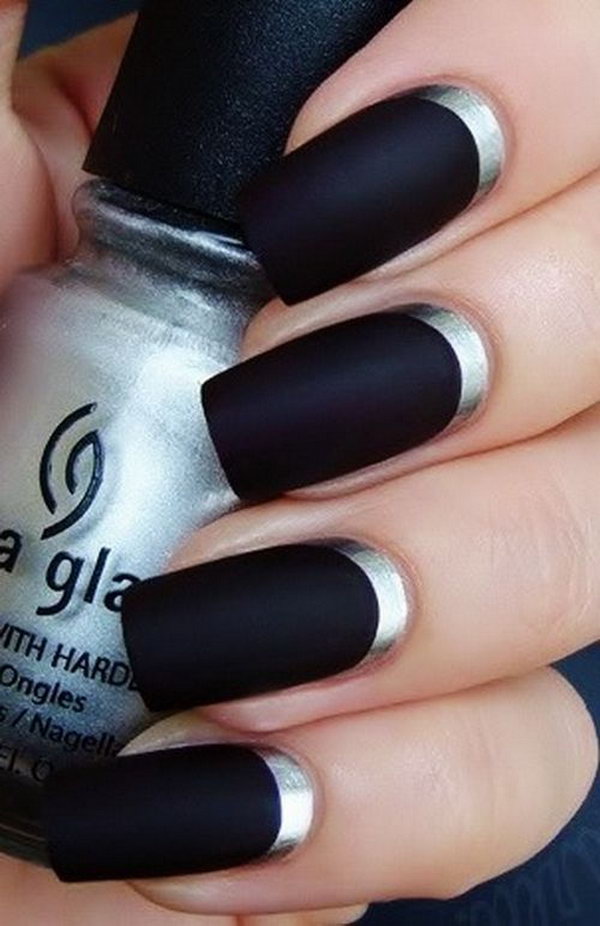
Before we begin, make sure you have all the necessary tools for this manicure. You will need a base coat, two nail polish colors of your choice, and nail tip guides (or you can use reinforcements from the office supply store). Pro Tip: To make your half moon nails stand out, choose two contrasting colors for your base and tips. Now, let's dive into the step-by-step guide for creating a half moon nail design with tips:How to Create a Half Moon Manicure with Tips

How to Create a Half Moon Manicure with Tips


Step 1: Start by applying a base coat to protect your nails and make your manicure last longer. Step 2: Once the base coat is dry, apply two coats of your chosen base color and let it dry completely. Step 3: Place the nail tip guide on the bottom half of your nail, leaving only the top half exposed. Step 4: Apply the second color on the tips of your nails, covering the exposed area above the guide. Step 5: Carefully remove the nail tip guide while the polish is still wet. Step 6: Let the polish dry completely before applying a top coat to seal the design and add shine. Congratulations, you have now created a beautiful half moon nail design with tips!Step-by-Step Guide for Half Moon Nails with Tips

Step-by-Step Guide for Half Moon Nails with Tips

If you are new to creating nail designs, don't worry. This half moon nail design with tips is perfect for beginners. Just follow the steps mentioned above, and you will have stunning nails in no time. Don't be afraid to experiment with different colors and techniques to find your unique style.Half Moon Nail Design Procedure for Beginners


Half Moon Nail Design Procedure for Beginners
Here are some tips and tricks to help you achieve the perfect half moon nail design with tips:Tips and Tricks for Perfect Half Moon Nails
Tips and Tricks for Perfect Half Moon Nails
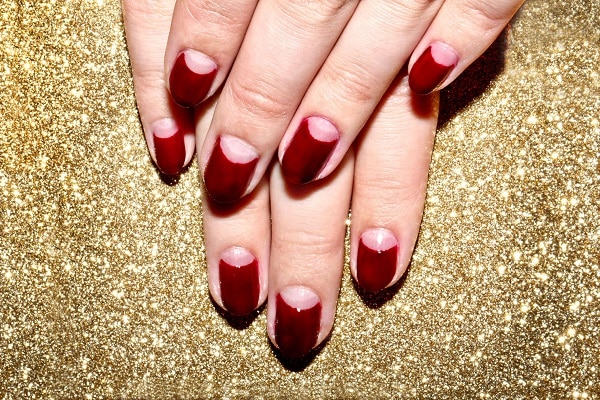
If you prefer using gel polish, you can still achieve a stunning half moon nail design with tips. The only difference is that you will need a UV or LED lamp to cure the polish. The steps remain the same; just make sure to cure each coat of polish under the lamp before moving on to the next step.Half Moon Nail Design with Gel Polish
Half Moon Nail Design with Gel Polish


With this simple and easy tutorial, you can create a beautiful half moon nail design with tips in the comfort of your own home. You don't have to spend a fortune at the salon to achieve this look. So, grab your favorite nail polish and get creative!DIY Half Moon Nails with Tips at Home
DIY Half Moon Nails with Tips at Home

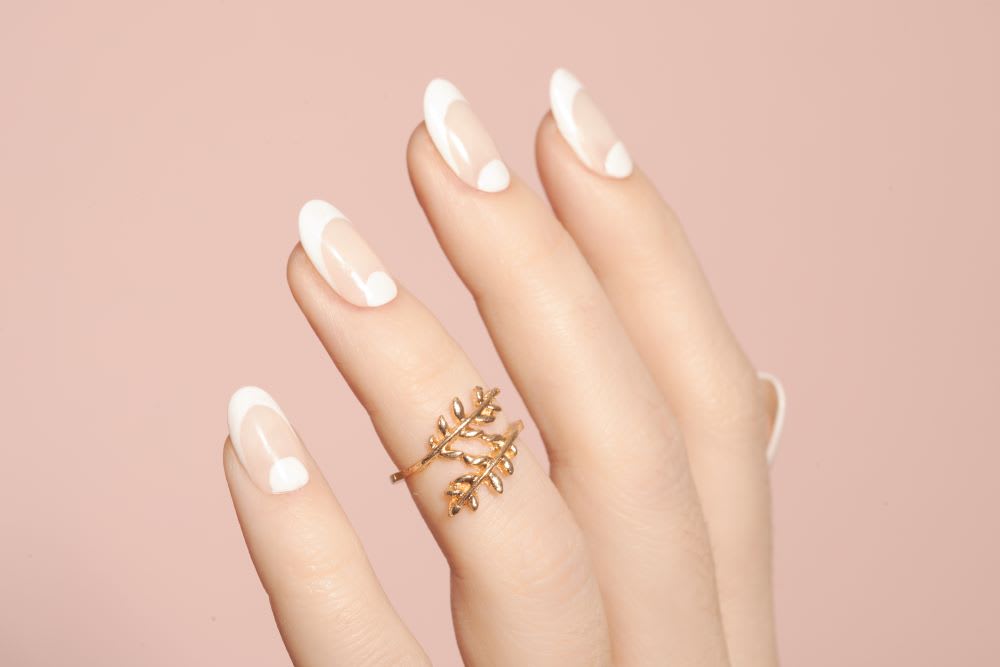


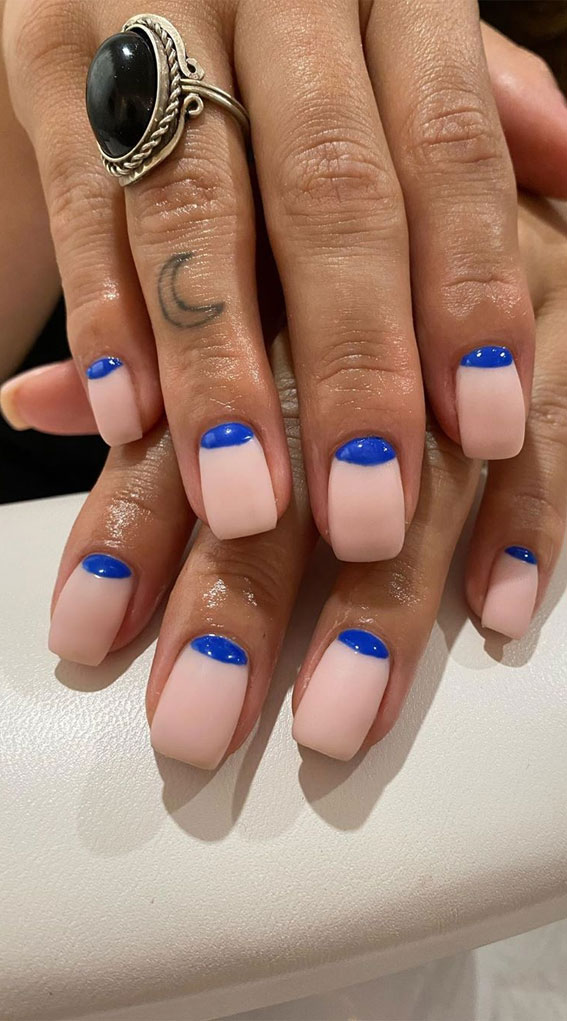
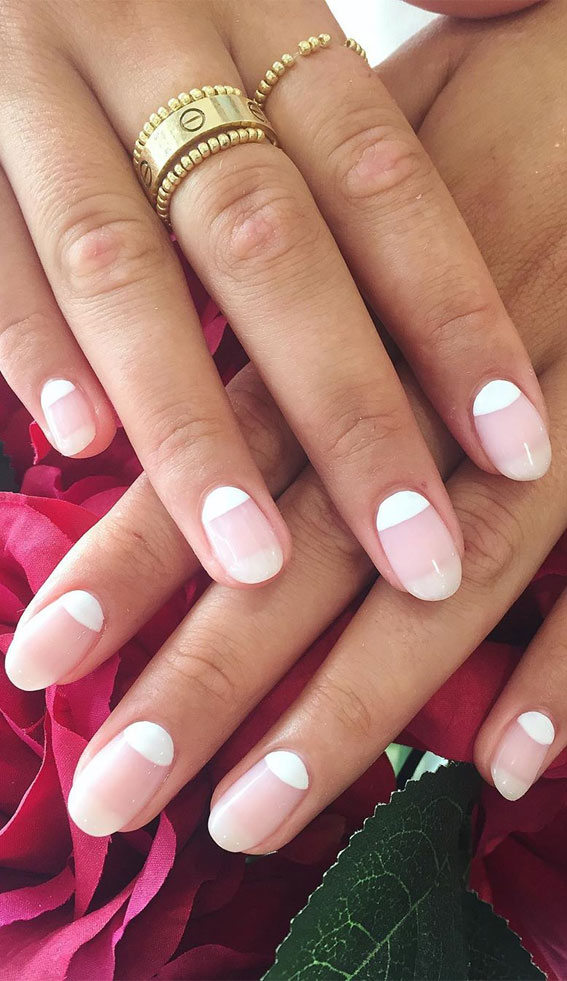
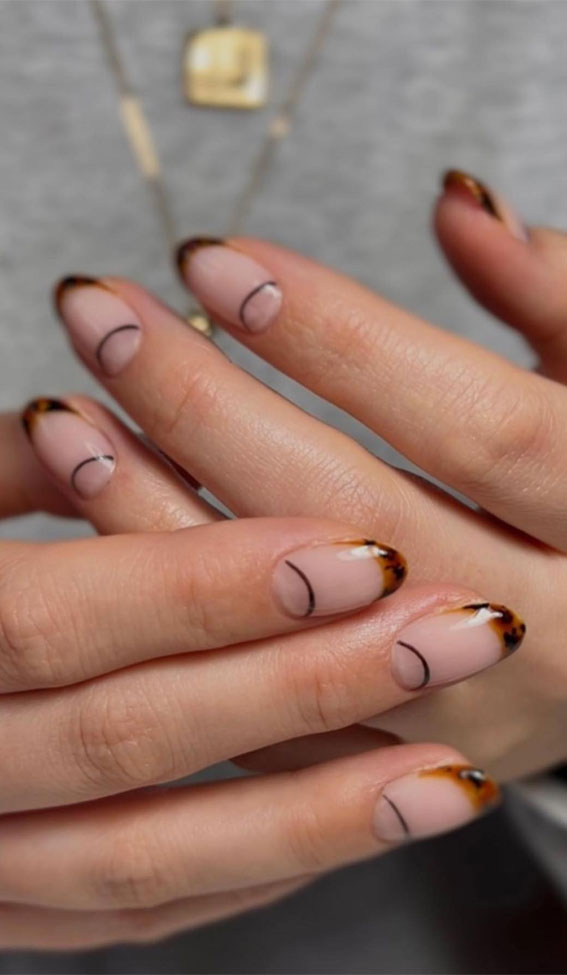
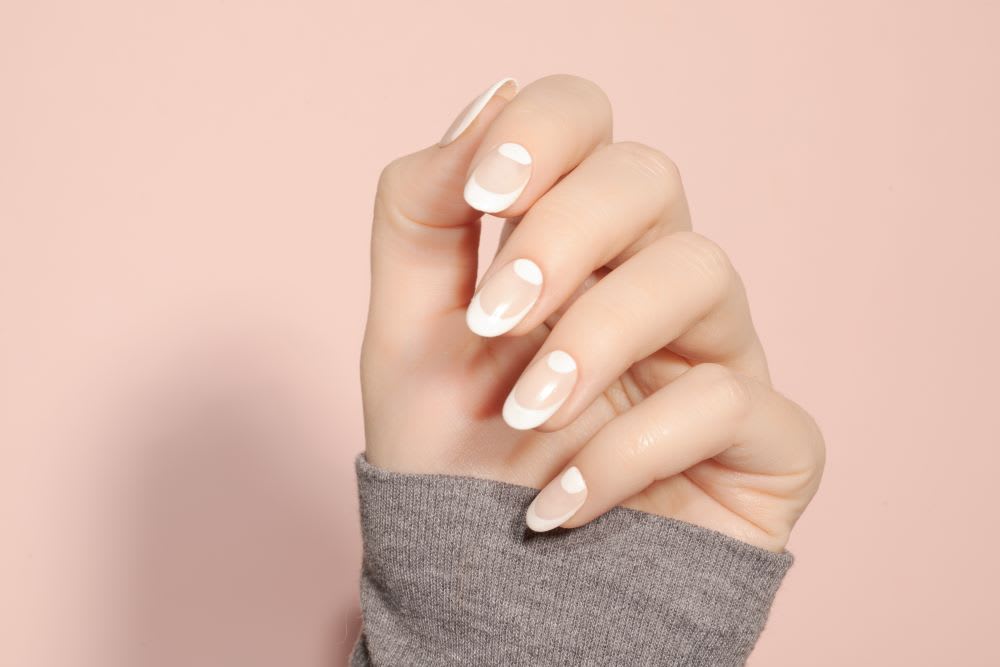
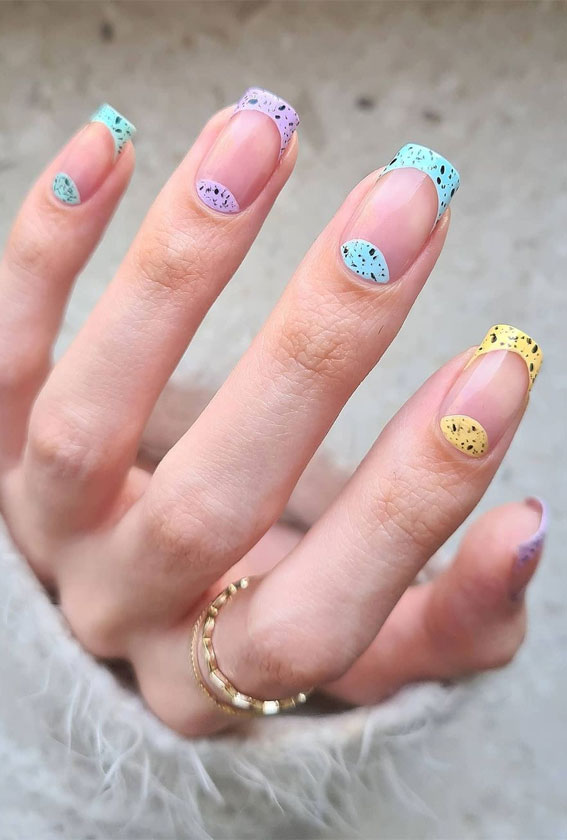
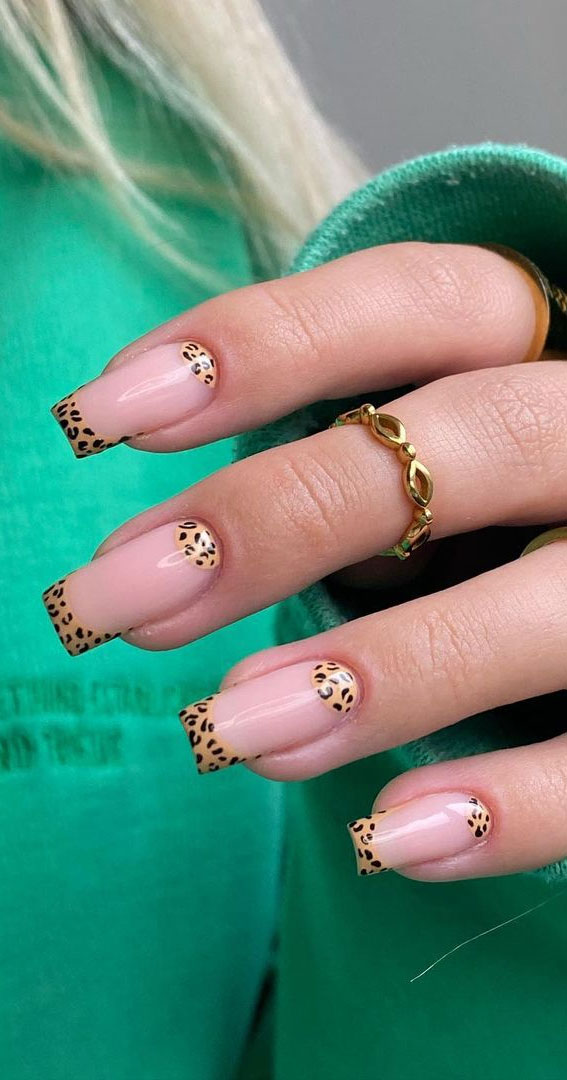
If you love the classic French manicure but want to add a twist, try combining it with a half moon nail design. Instead of using a solid color for the tips, opt for a white or nude polish for a subtle yet chic look.Half Moon Nail Design with French Tips
Half Moon Nail Design with French Tips
Now that you know how to create a half moon nail design with tips, here are some important things to keep in mind:Half Moon Nails with Tips: What You Need to Know
Half Moon Nails with Tips: What You Need to Know

To make your half moon nails last longer, avoid exposing them to harsh chemicals or excessive water. You can also apply a top coat every few days to keep them looking fresh. And don't forget to show off your beautiful nails to everyone! With this comprehensive guide, you can now confidently create a stunning half moon nail design with tips. So, go ahead and try it out for yourself. We'd love to see your creations, so don't forget to tag us on social media. Happy nail designing!How to Maintain Half Moon Nails with Tips

How to Maintain Half Moon Nails with Tips
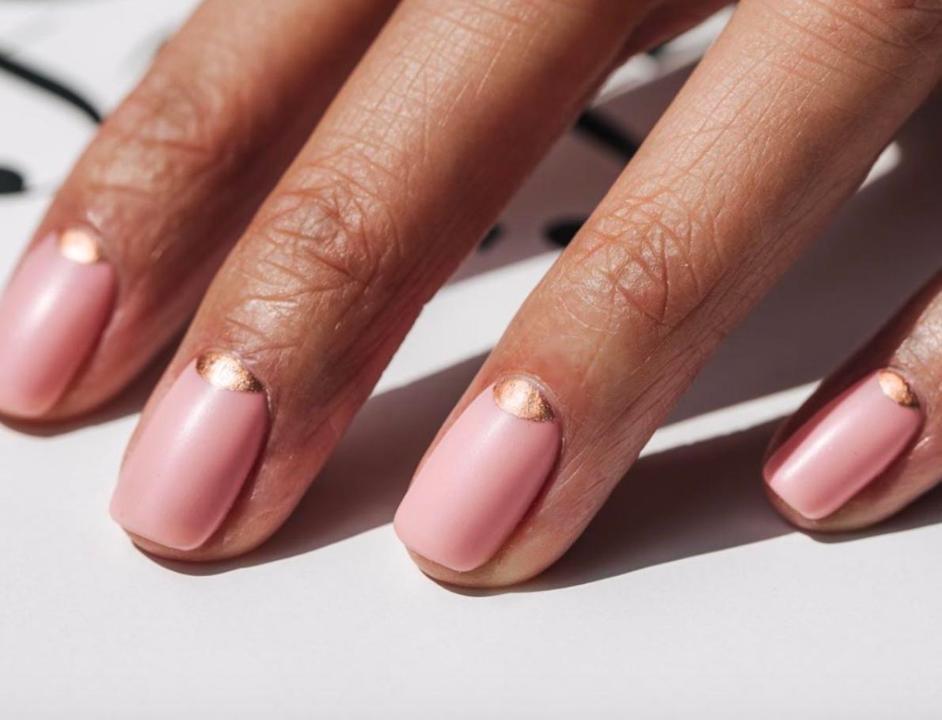
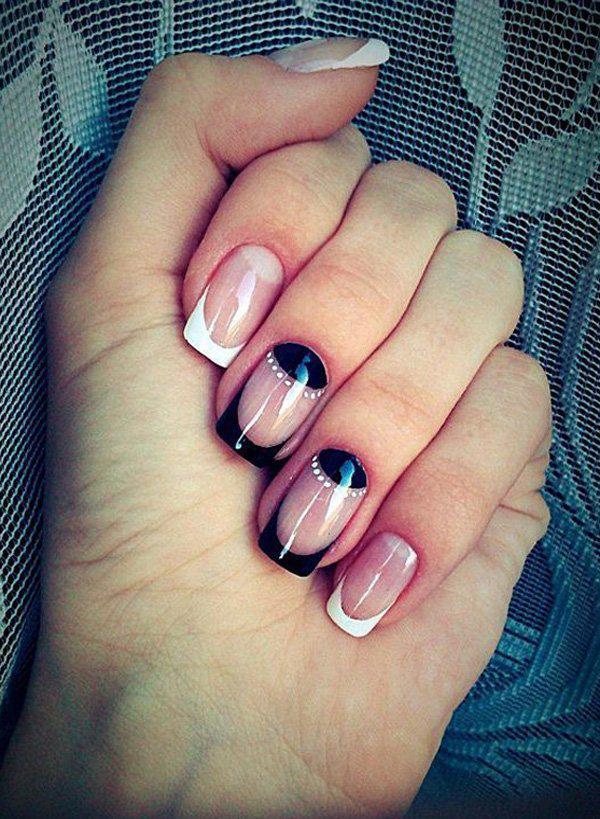
How to Achieve the Perfect Half Moon with Tip Nail Design
Adding a Touch of Elegance to Your Nail Art
 When it comes to nail art, there are endless possibilities to express your creativity and make a statement with your nails. One trend that has been gaining popularity recently is the half moon with tip nail design. This elegant and sophisticated look combines two classic nail styles – the half moon and the French tip – to create a unique and eye-catching design. In this article, we will walk you through the step-by-step procedure to achieve this stunning nail look.
Gather Your Tools and Materials
 Before you begin the nail design process, it is important to have all the necessary tools and materials on hand. You will need a base coat, top coat, two nail polish colors of your choice, a nail art brush or striping tape, and a nail polish remover for any mistakes. Make sure to choose colors that complement each other and will create a beautiful contrast on your nails.
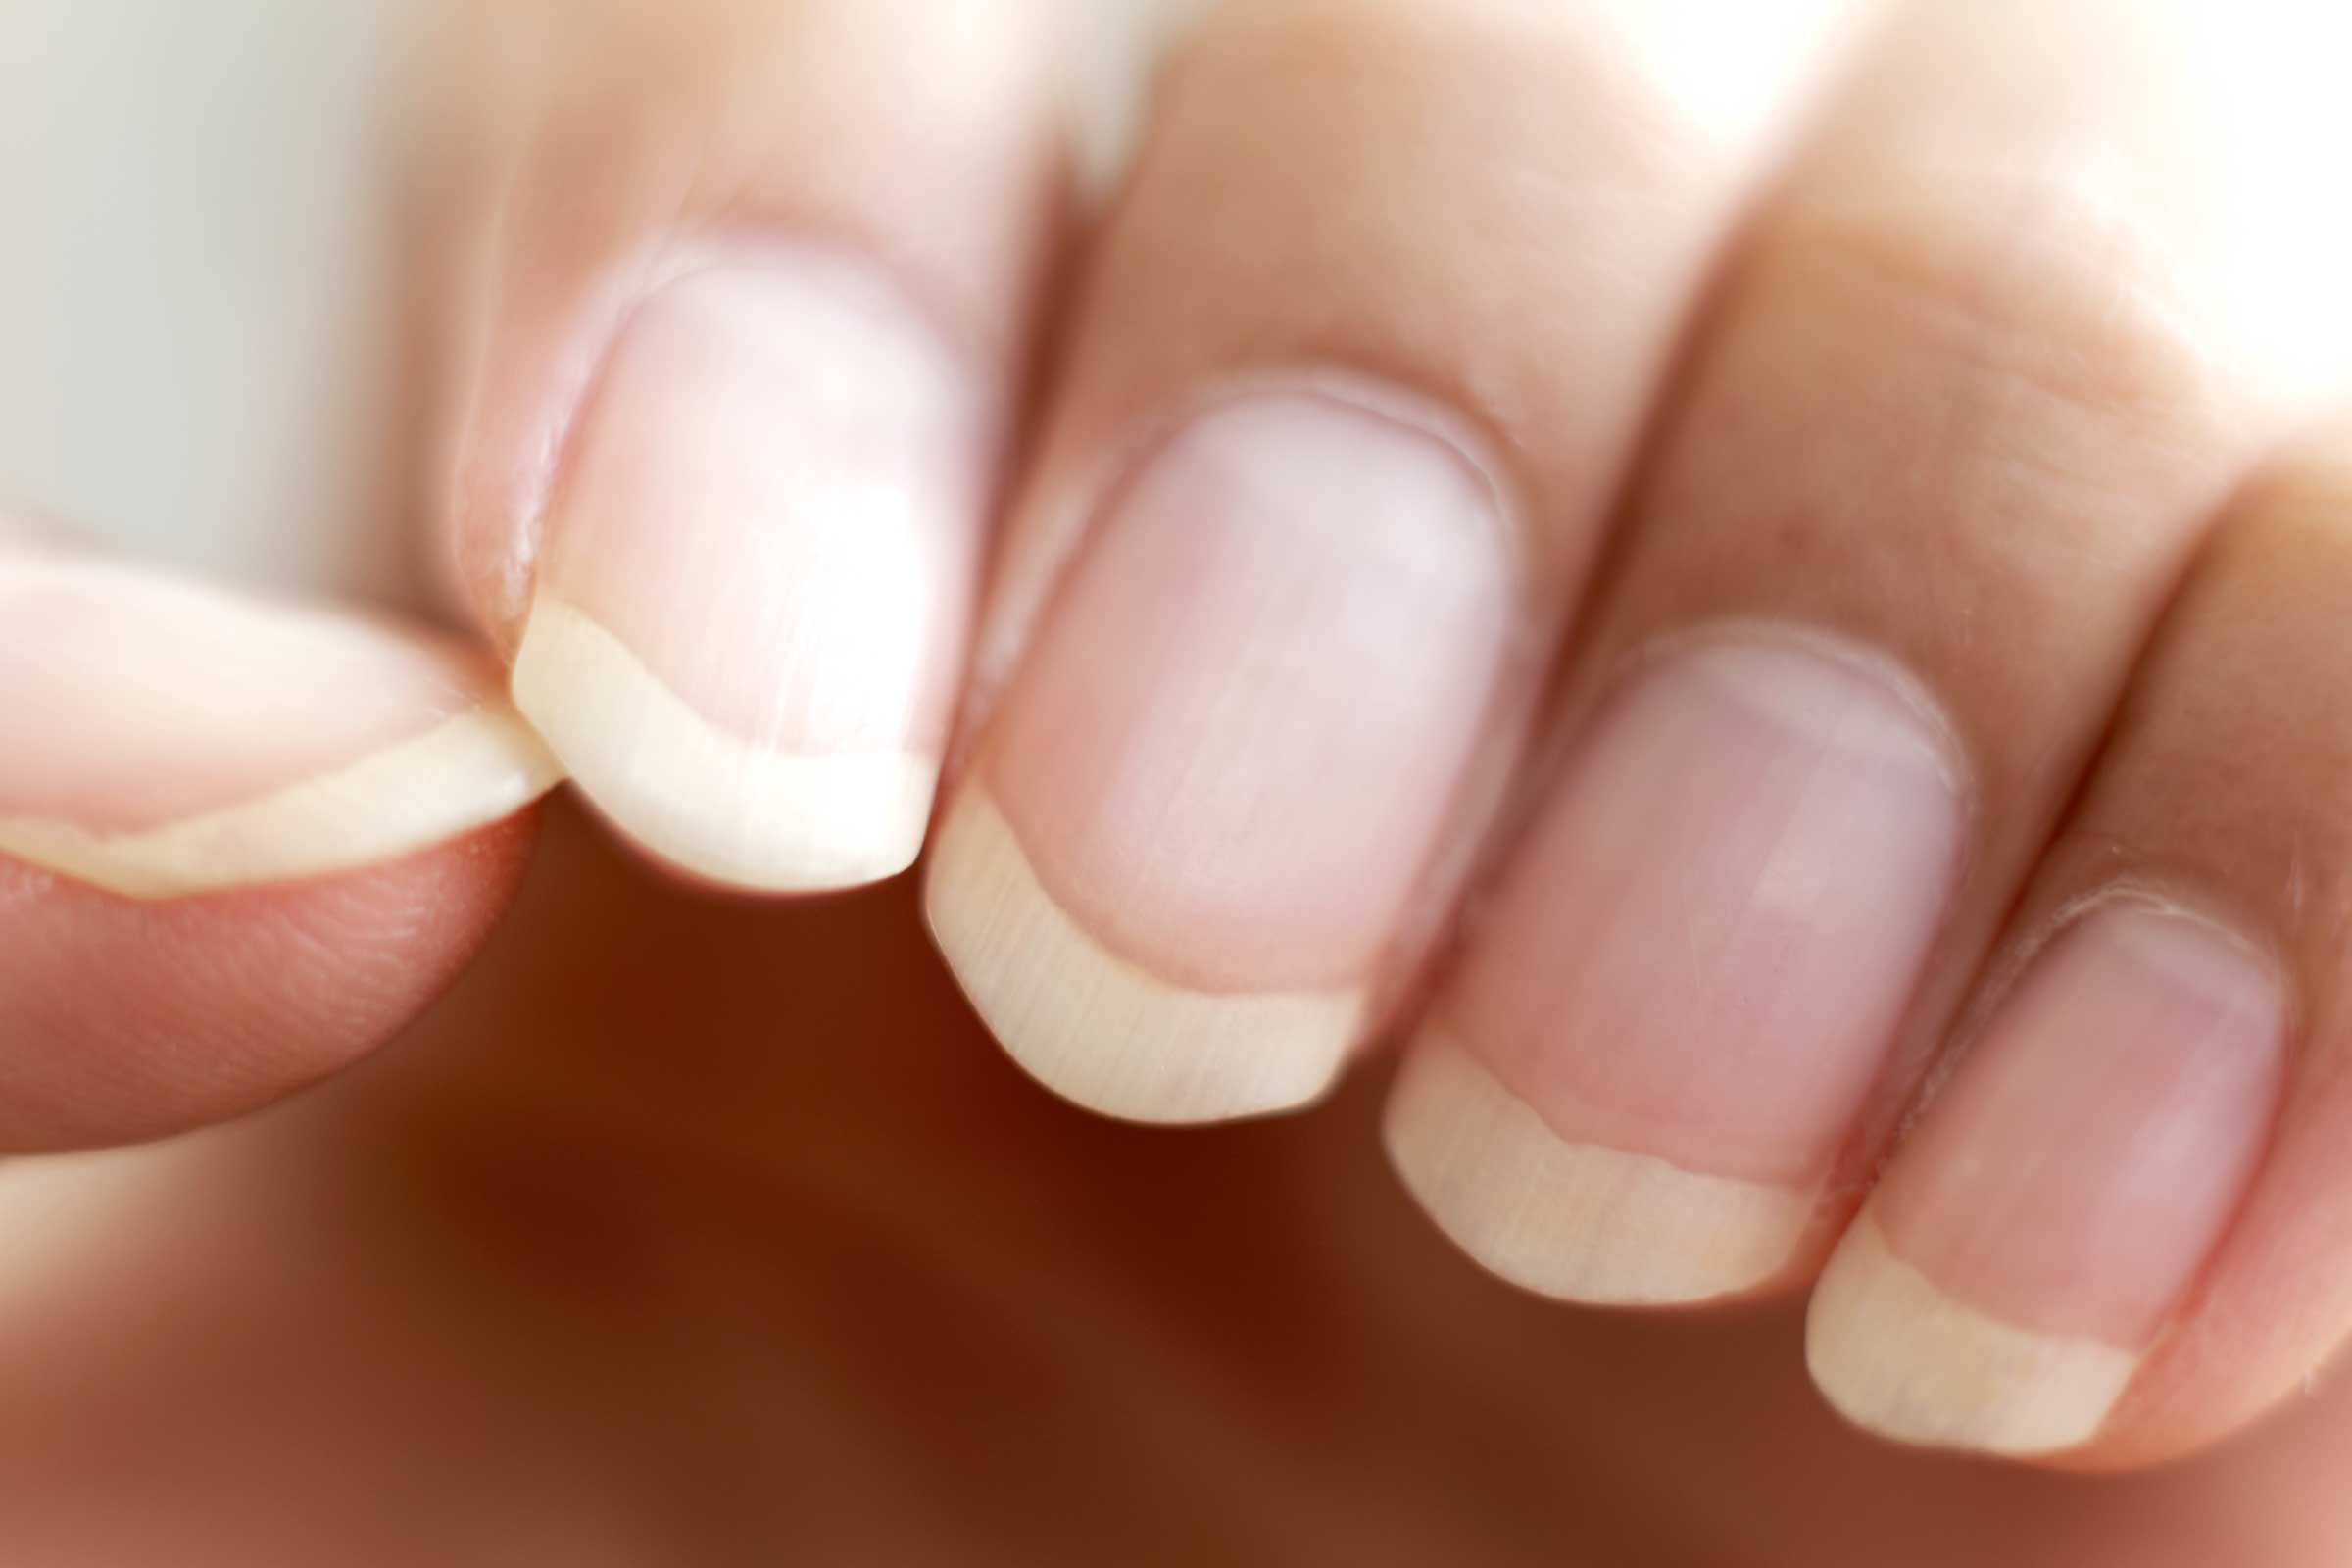
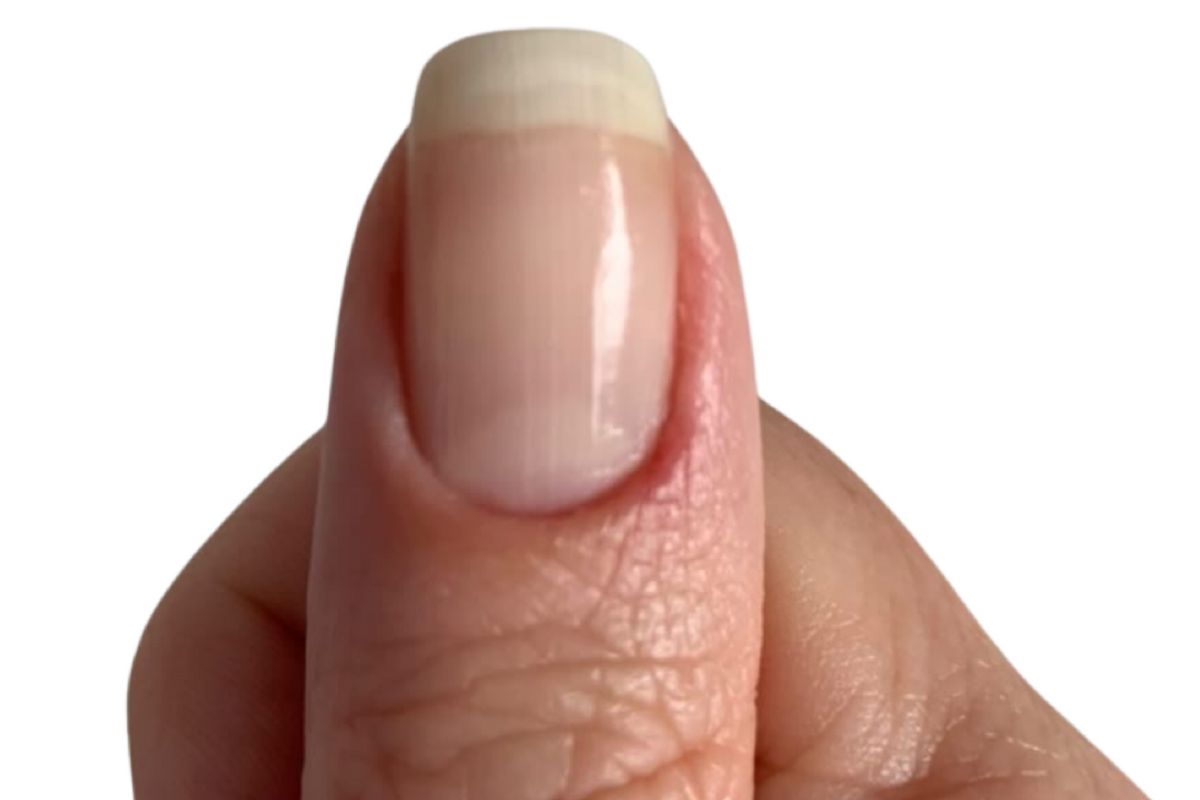
Prep Your Nails
 Start by ensuring that your nails are clean and free of any old polish. Then, apply a base coat to protect your nails and help the nail polish adhere better. Let the base coat dry completely before moving on to the next step.
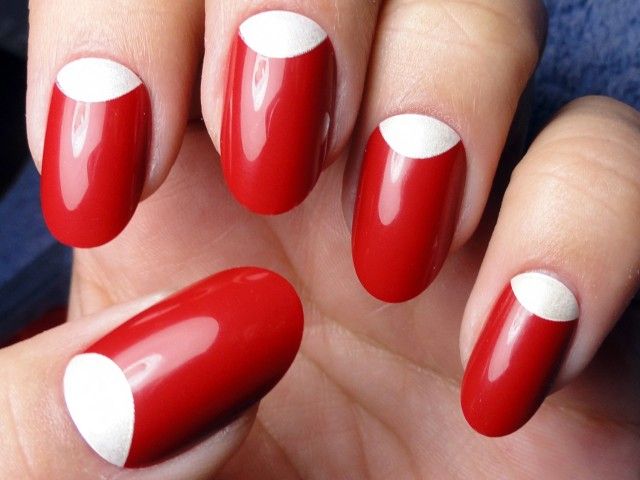
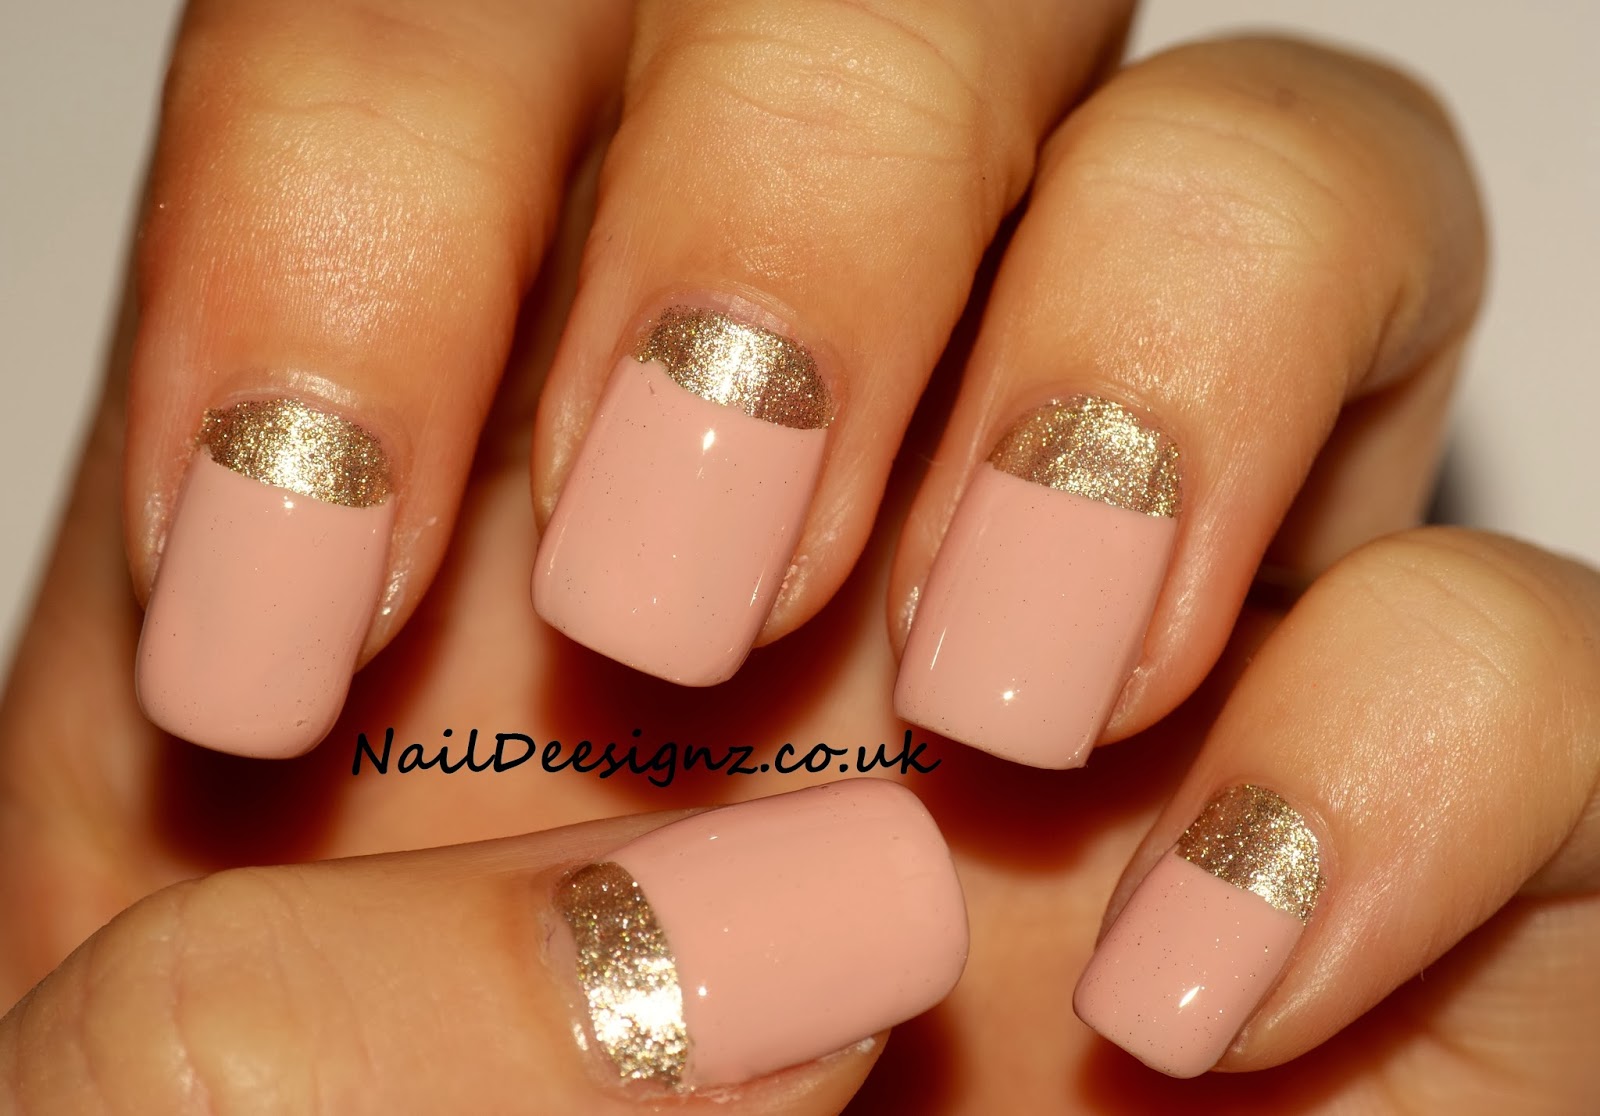
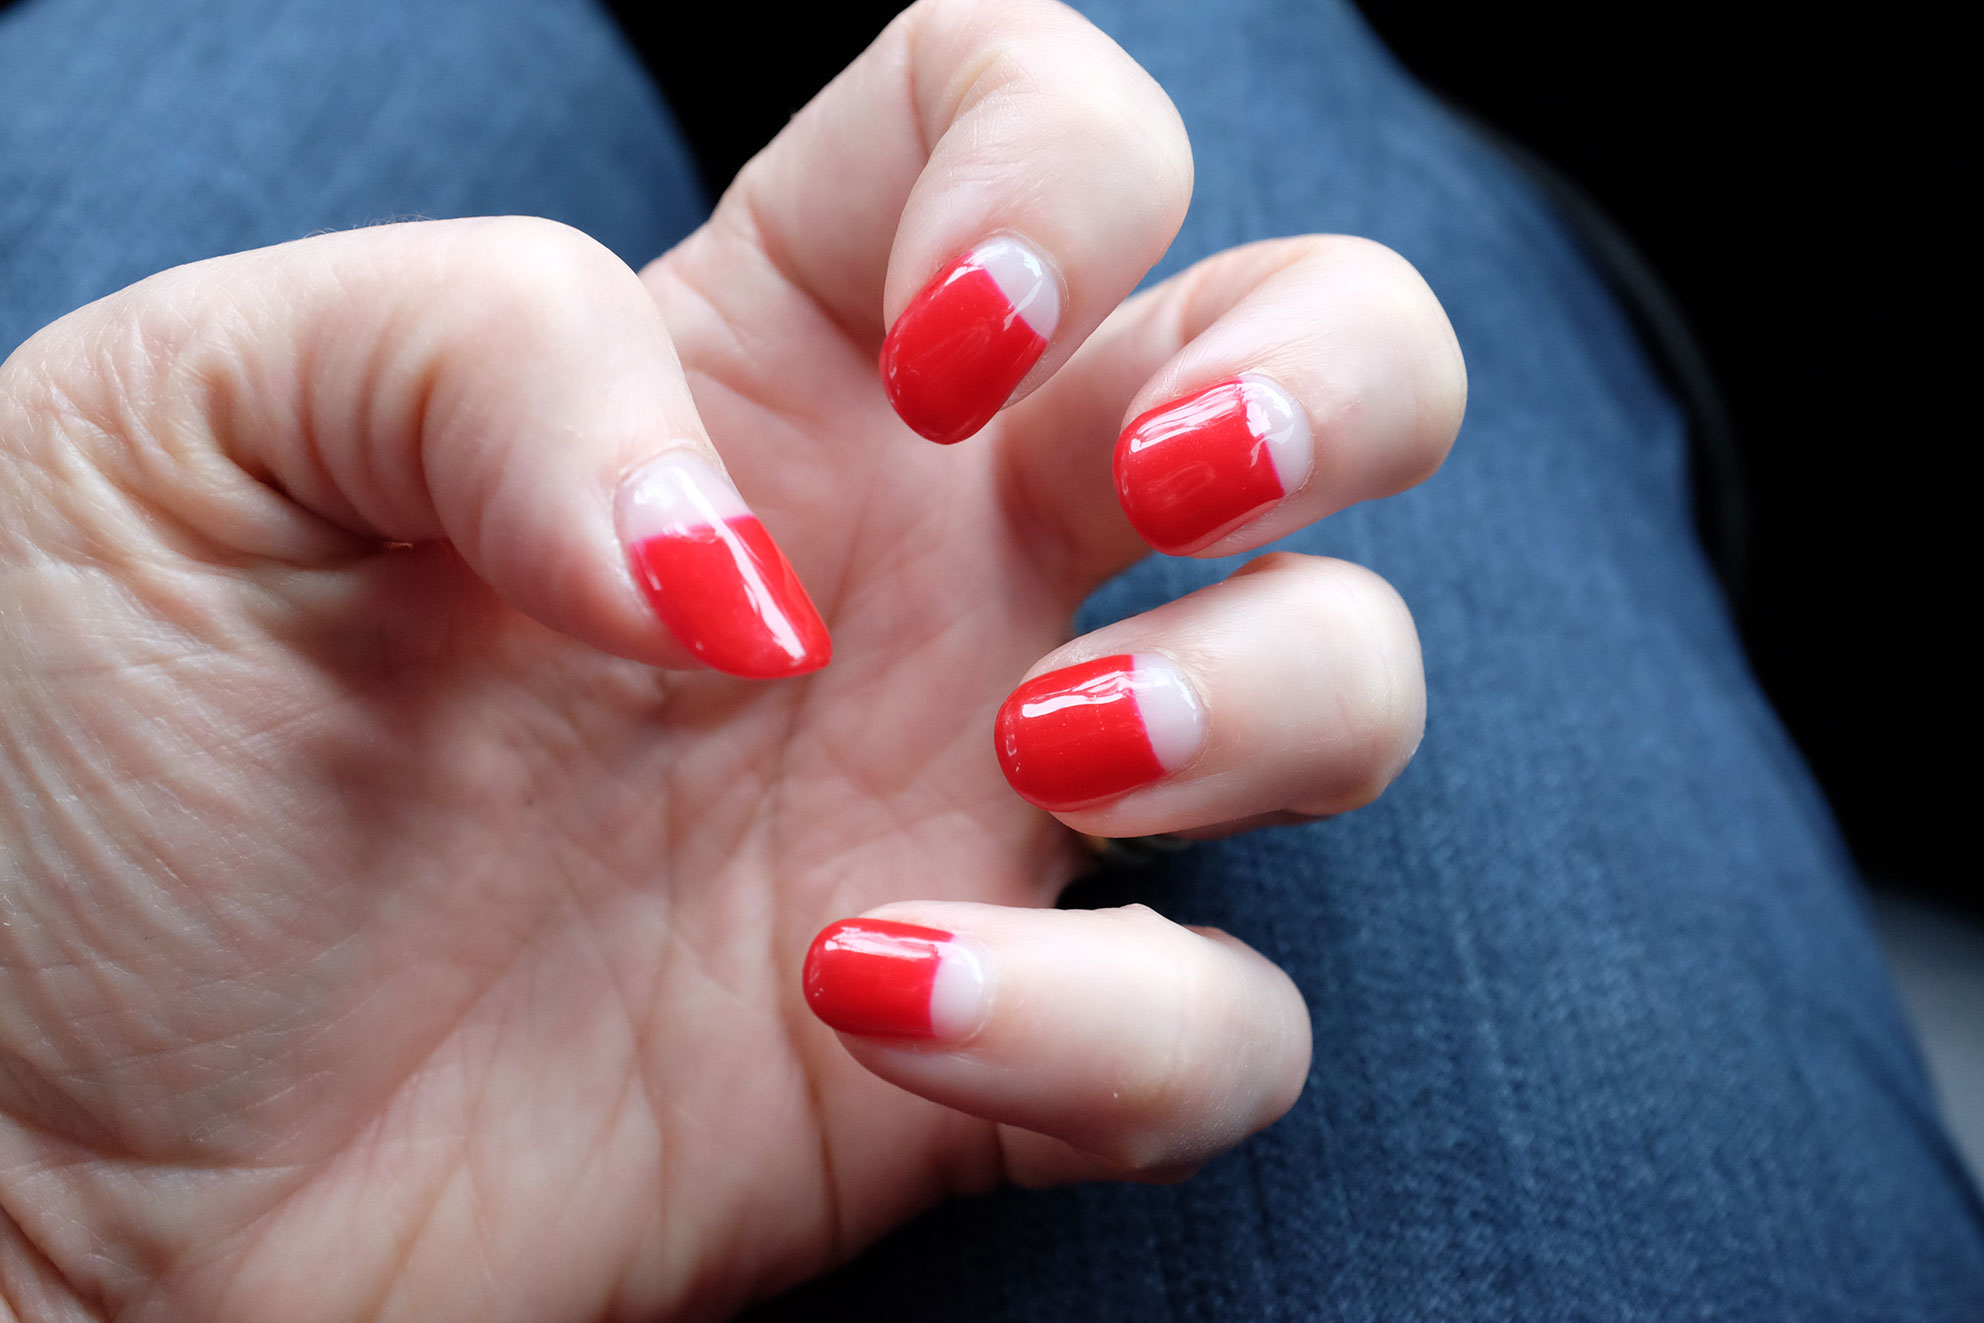
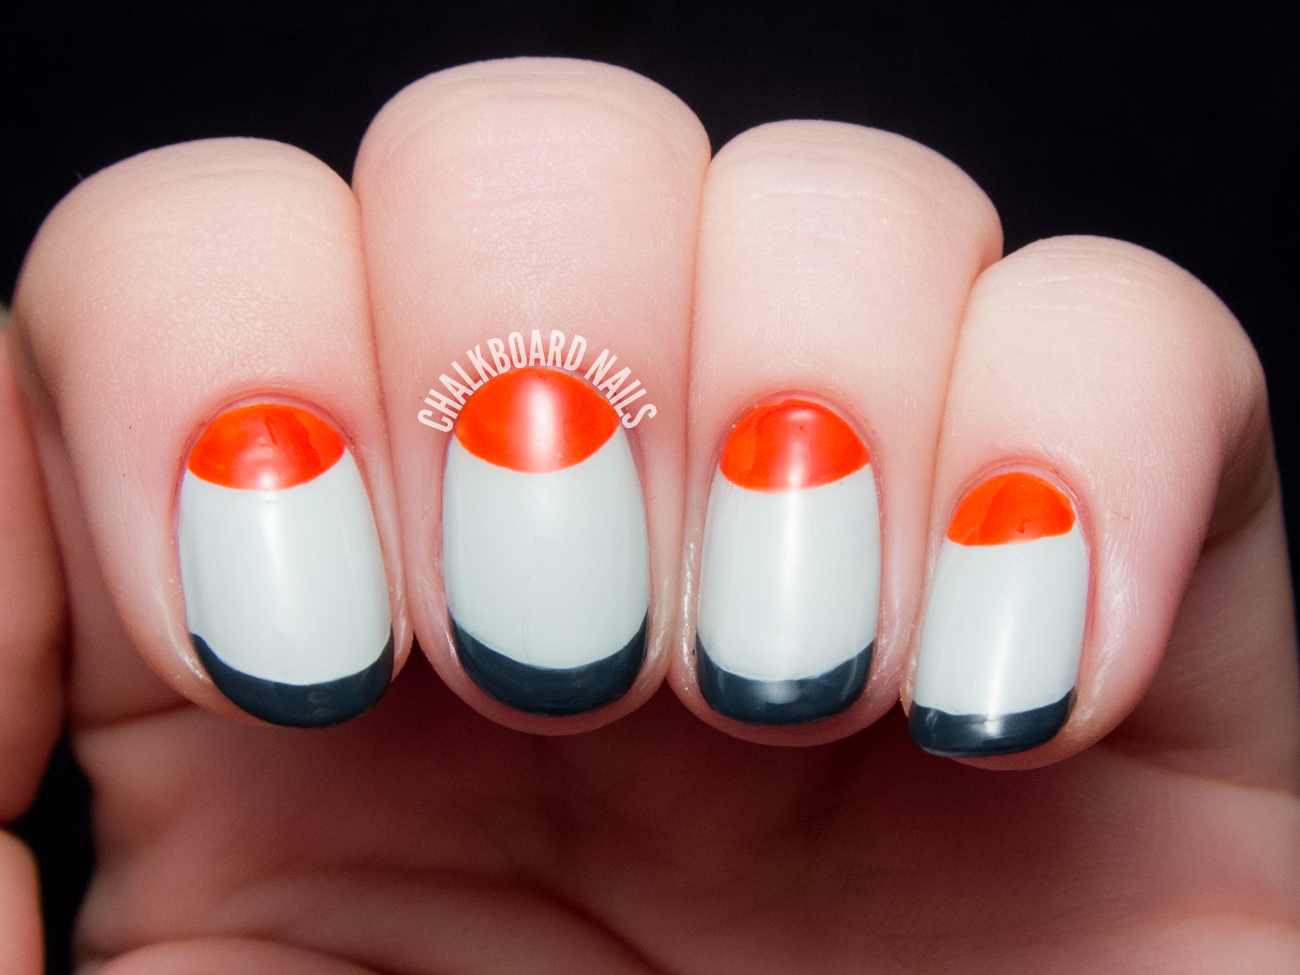
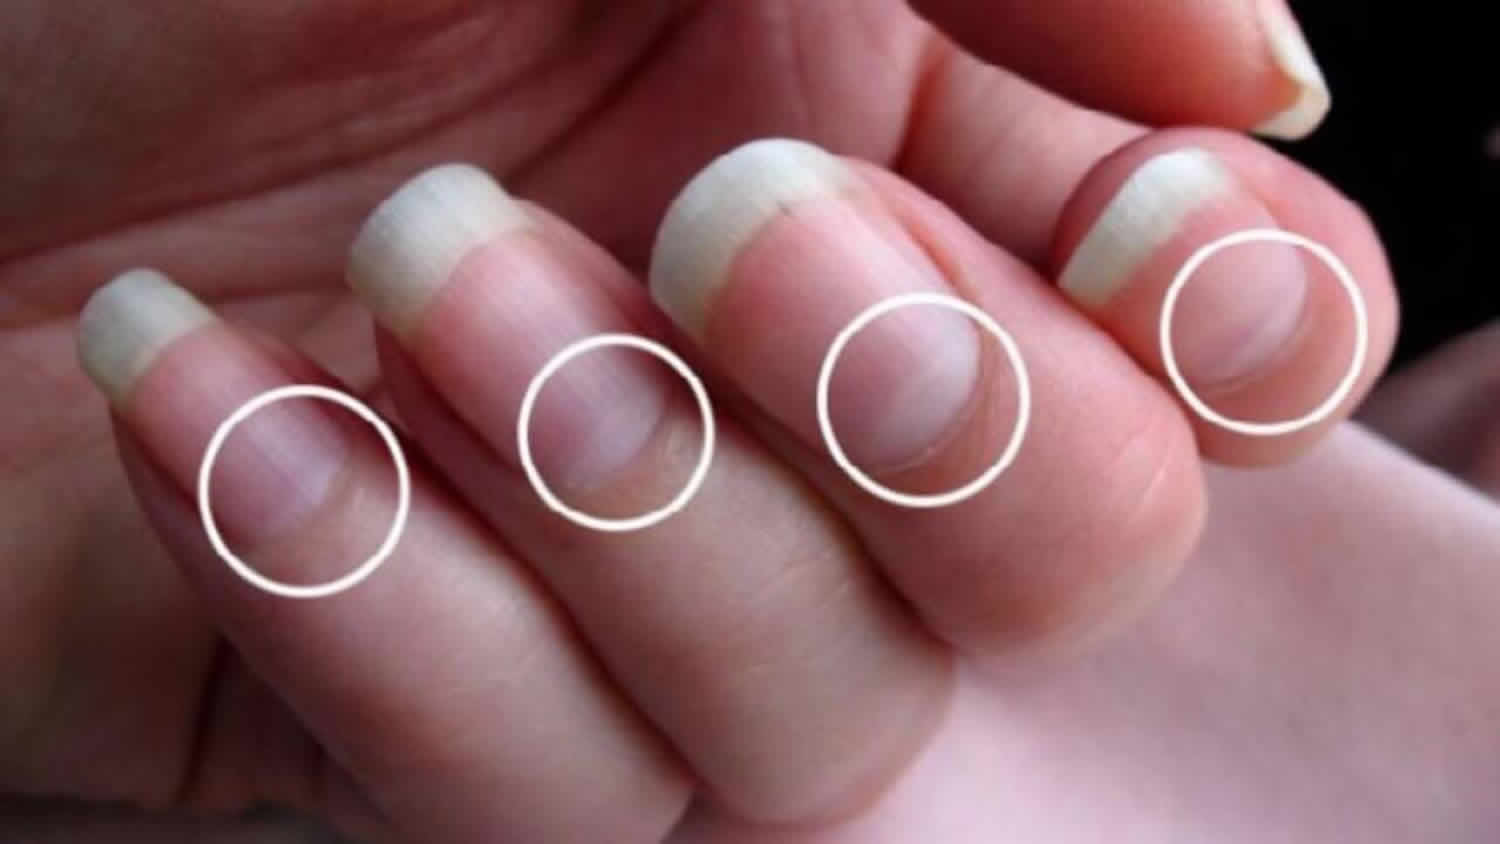
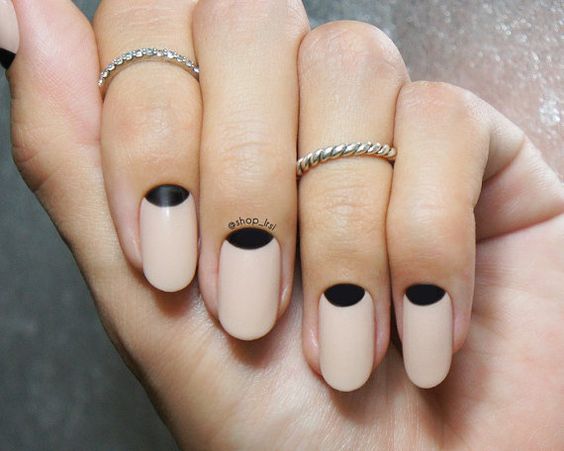
Create the Half Moon Shape
 Using a nail art brush or striping tape, carefully create a half moon shape at the base of your nail. This will serve as the outline for your French tip. You can also use a circular sticker or reinforcement label to achieve the half moon shape.
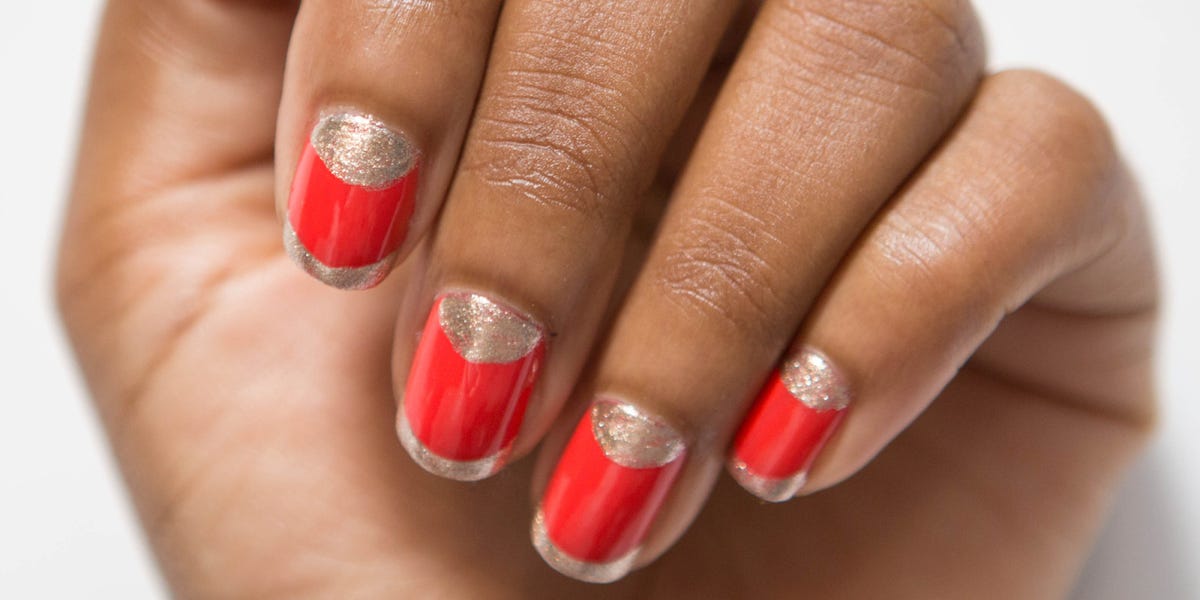
Add the French Tip
 Once the half moon shape is in place, use your second nail polish color to create the French tip on the remaining part of your nail. You can either freehand the tip or use a French tip sticker for a cleaner finish. Make sure to apply a generous amount of polish for a bold and defined tip.
Seal and Clean Up
 Once both the half moon and French tip are in place, carefully remove any stickers or tape and clean up any mistakes with a small brush dipped in nail polish remover. Allow the design to dry completely before adding a layer of top coat to seal and protect your nails.
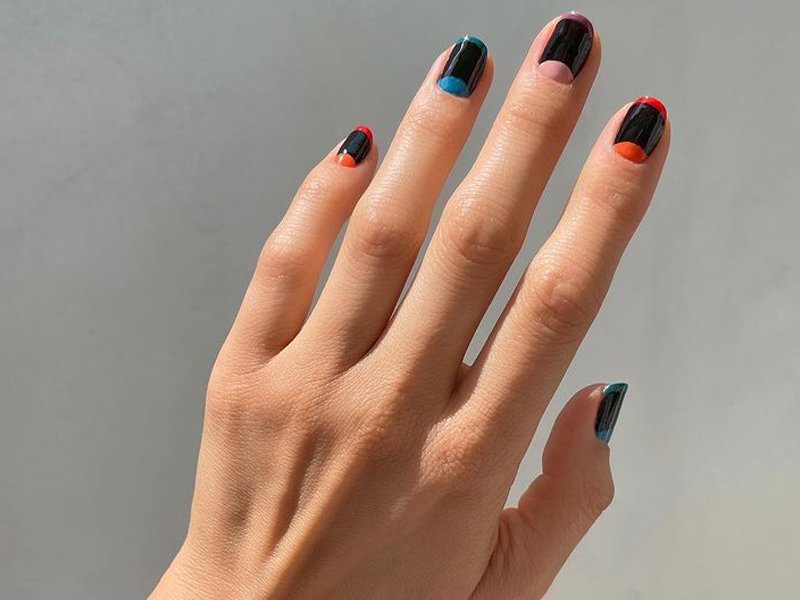
Finishing Touches
 To add a touch of glamour to your half moon with tip nail design, you can also incorporate some embellishments such as rhinestones or glitter. This will elevate your nail art and make it stand out even more.
Final Thoughts
 The half moon with tip nail design is a beautiful and versatile nail art that can be achieved with just a few simple steps. With a little bit of practice, you can master this look and add a touch of elegance to your nails. So go ahead and give it a try, and get ready to receive compliments on your stunning half moon with tip nails.


