Hello Kitty is a beloved character that has captured the hearts of people all over the world. From merchandise to clothing, Hello Kitty can be found in almost every aspect of our lives. So, why not incorporate this adorable feline into your nail art? If you have short nails, don't worry, because we have compiled a list of the top 10 Hello Kitty nail art designs that are perfect for short nails. Get ready to show off your cute and playful side with these designs! Hello Kitty Nail Art Designs for Short Nails


Hello Kitty Nail Art Designs for Short Nails


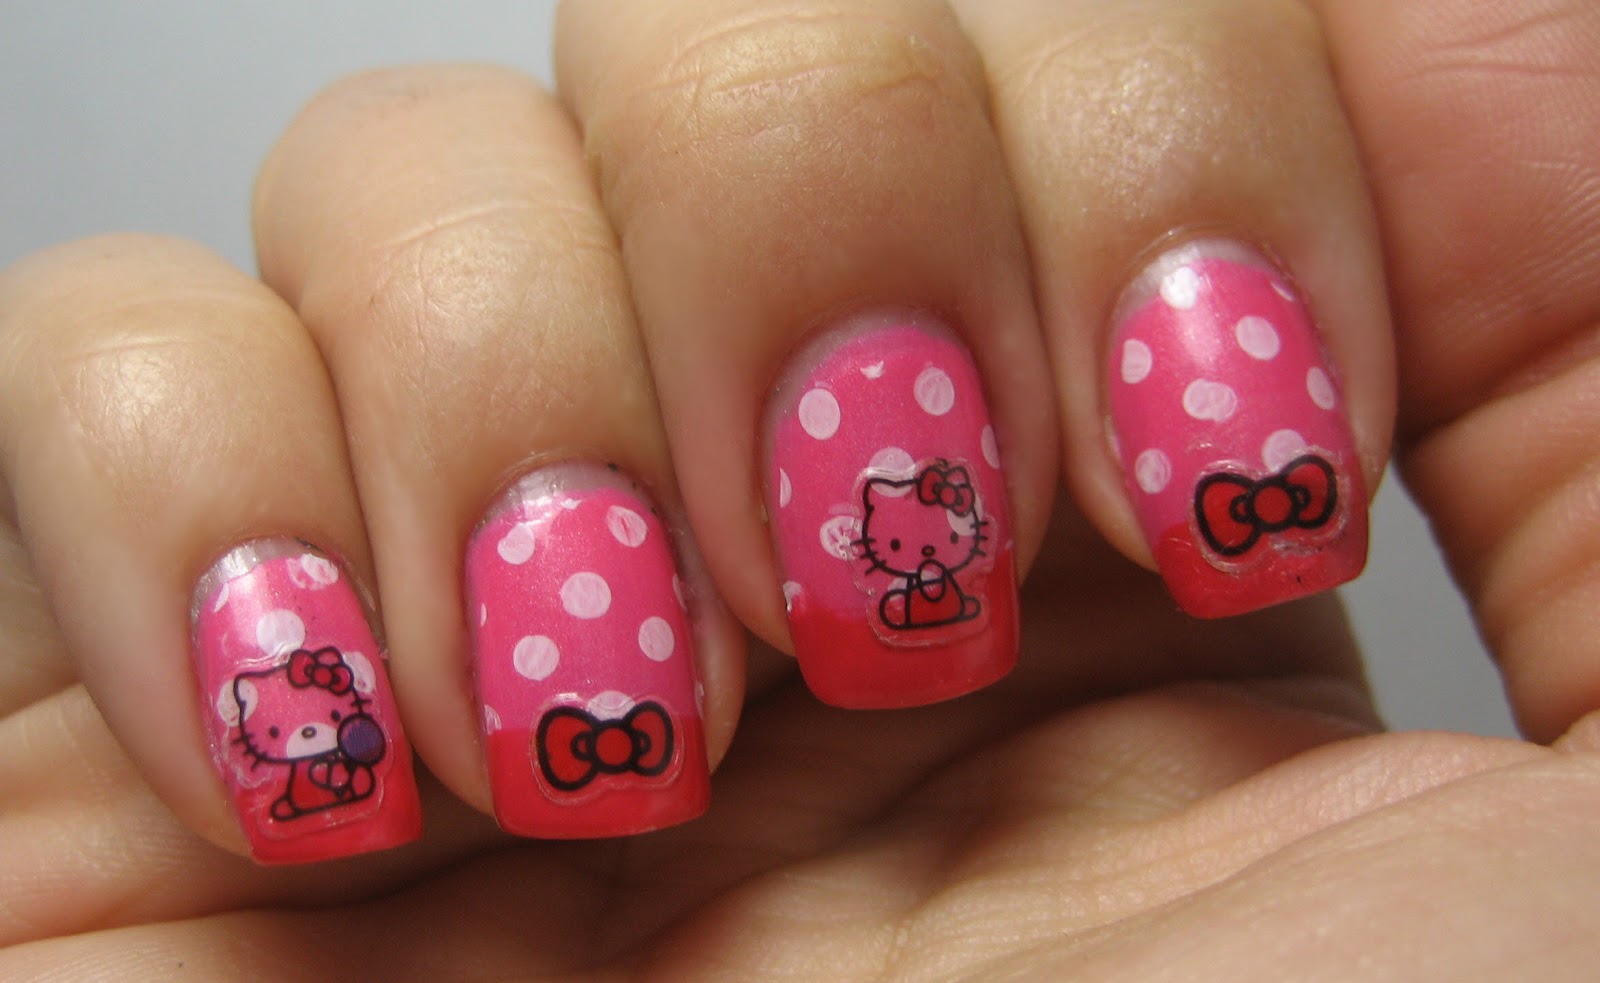
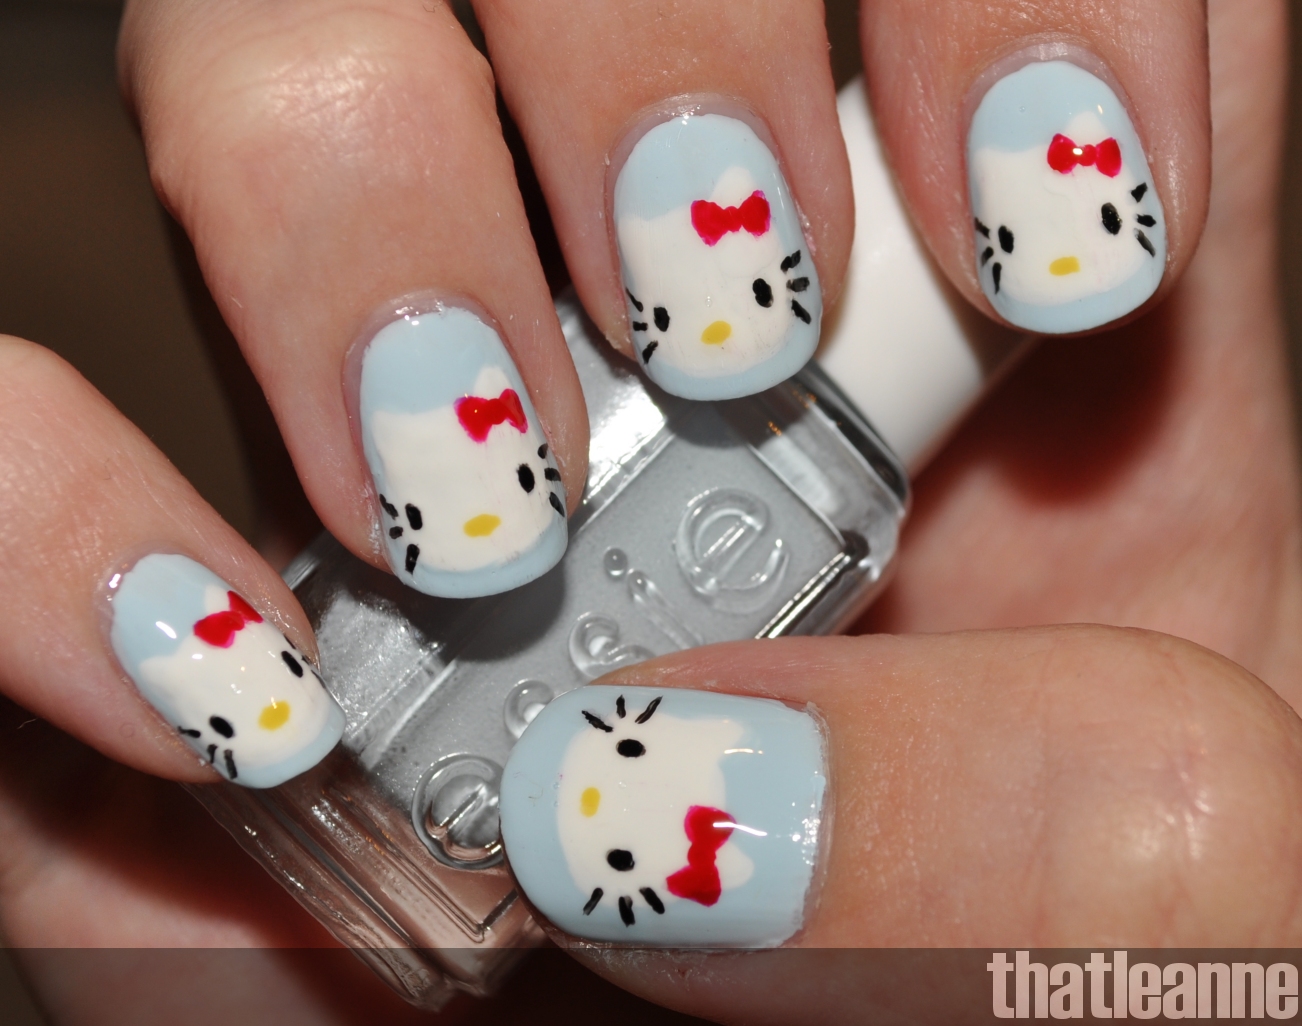
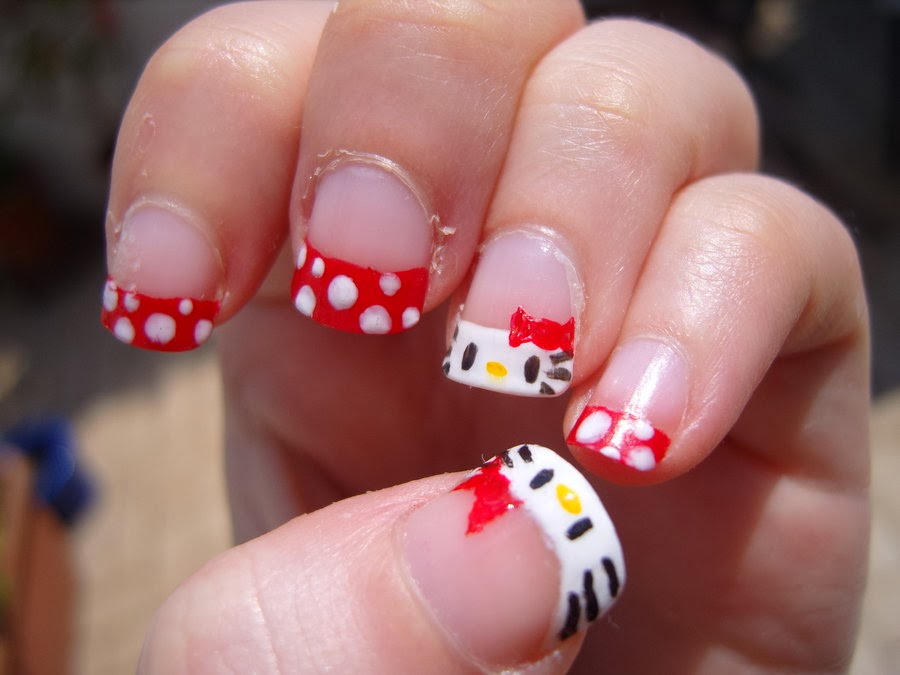
If you want to keep your nails looking cute and simple, then this Hello Kitty nail art design is perfect for you. Start off by painting your nails with a light pink base color. Then, using a thin brush or a toothpick, draw a small black bow on your ring finger. Next, use a dotting tool to create two white dots for the eyes and a black dot for the nose. Finally, draw on two small whiskers with a black nail art pen. This design is subtle yet adorable and will definitely make a statement on your short nails. Cute Hello Kitty Nail Art for Short Nails

Cute Hello Kitty Nail Art for Short Nails
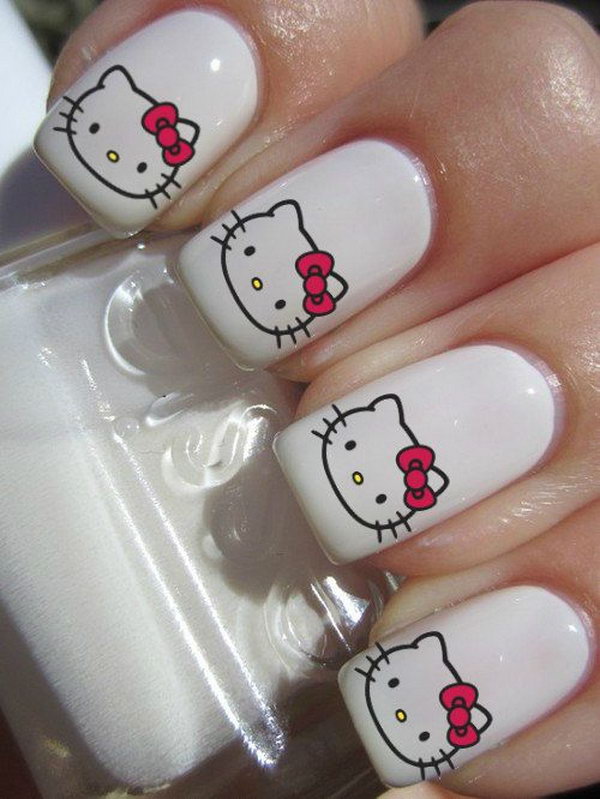
This Hello Kitty nail art design is perfect for beginners or those who are short on time. Start by painting your nails with a light pink base color. Then, using a white nail art pen or a toothpick, draw two small white circles for the eyes and a larger white circle for the nose. Next, use a black nail art pen to create two small dots for the pupils and a line for the mouth. Finally, draw on two small whiskers with the black nail art pen. This design is quick, easy, and perfect for short nails. Easy Hello Kitty Nail Art for Short Nails


Easy Hello Kitty Nail Art for Short Nails
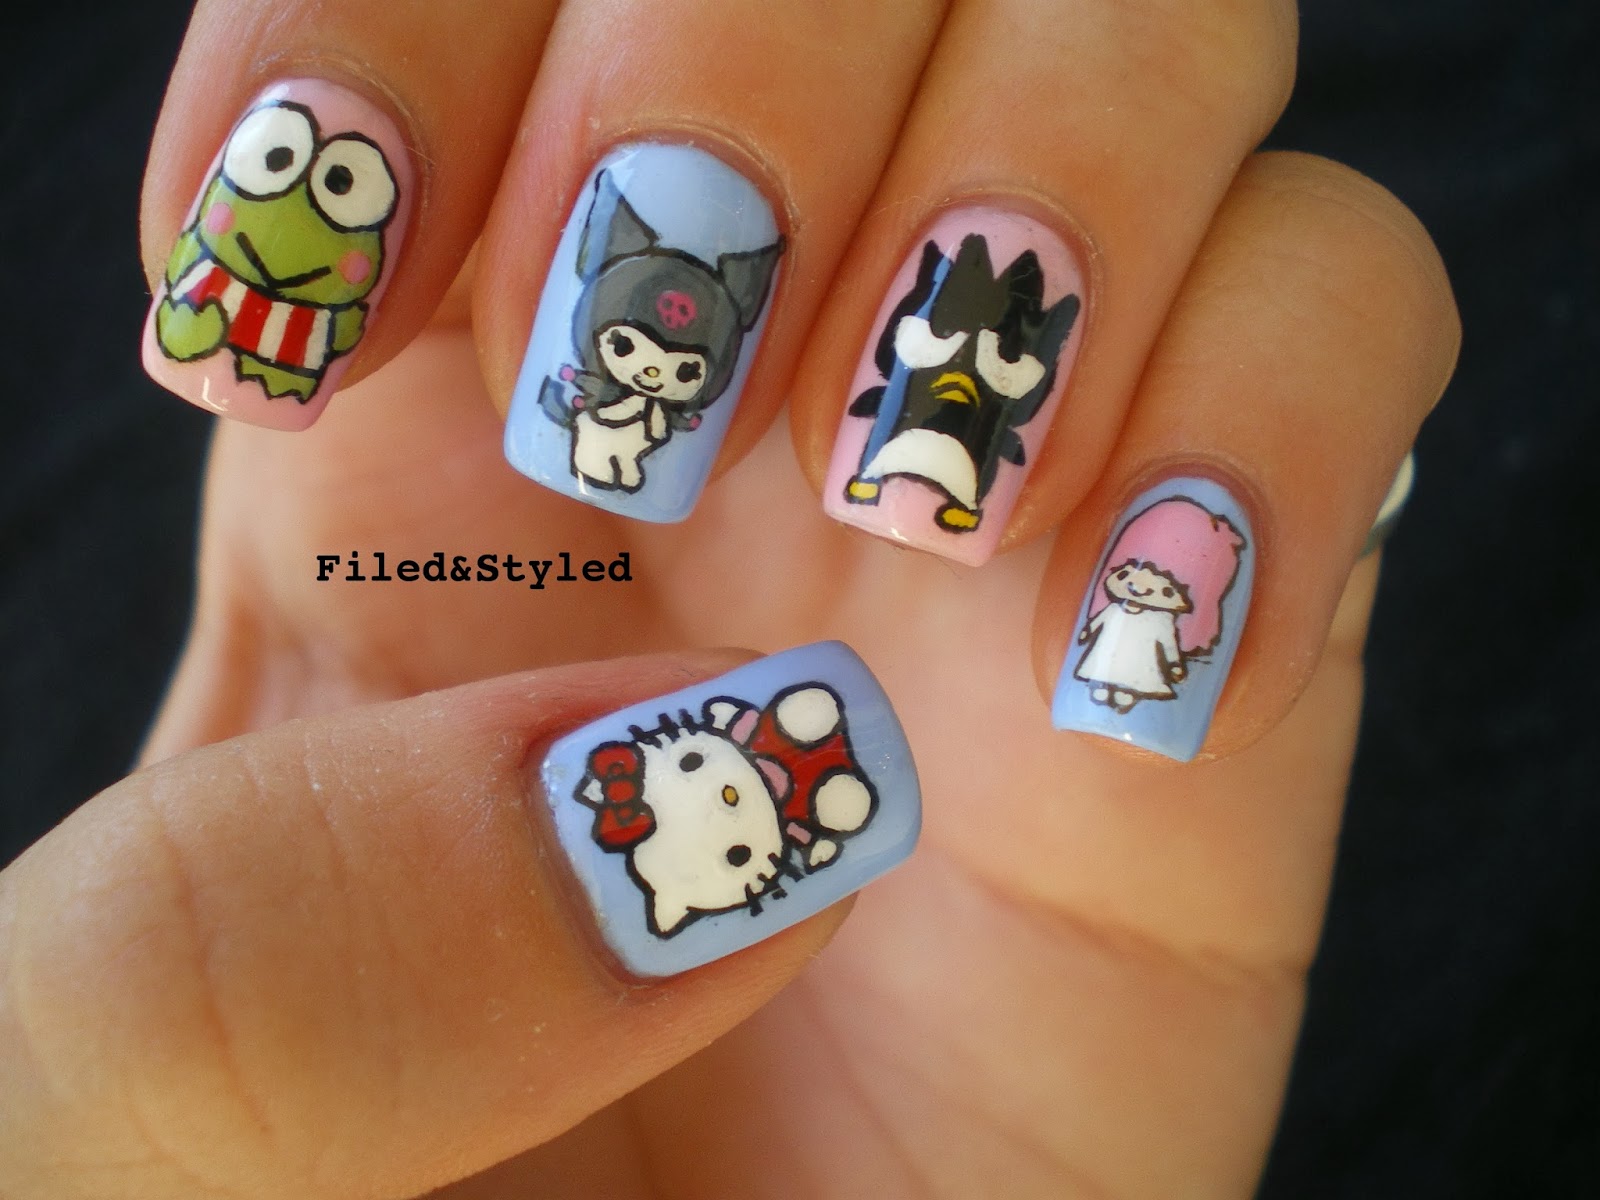


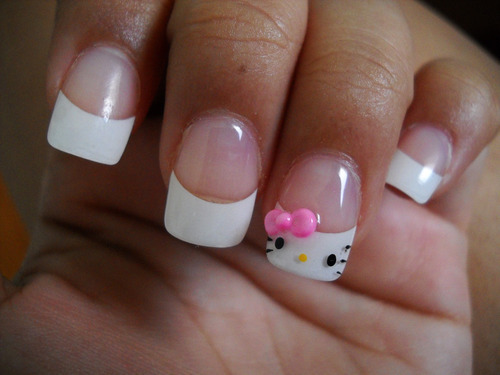
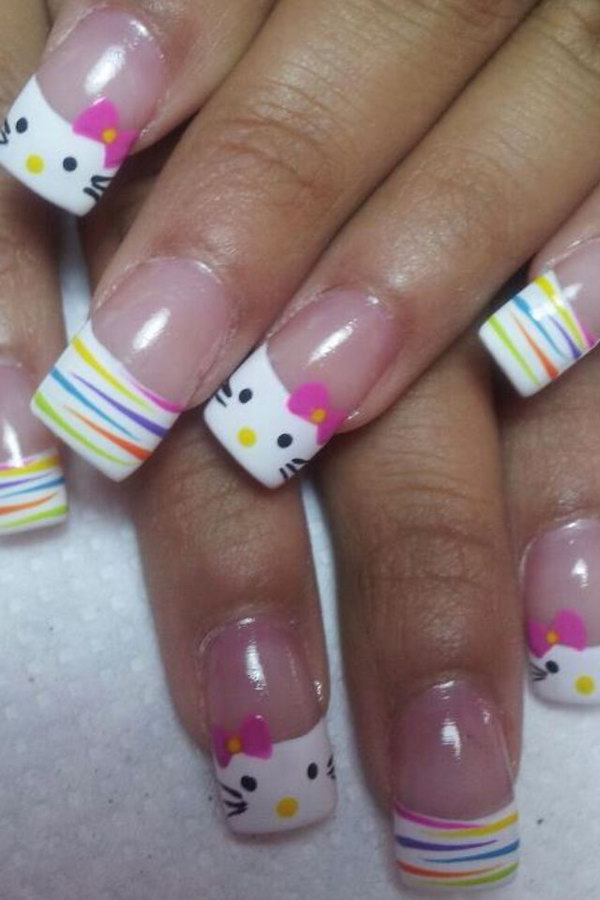
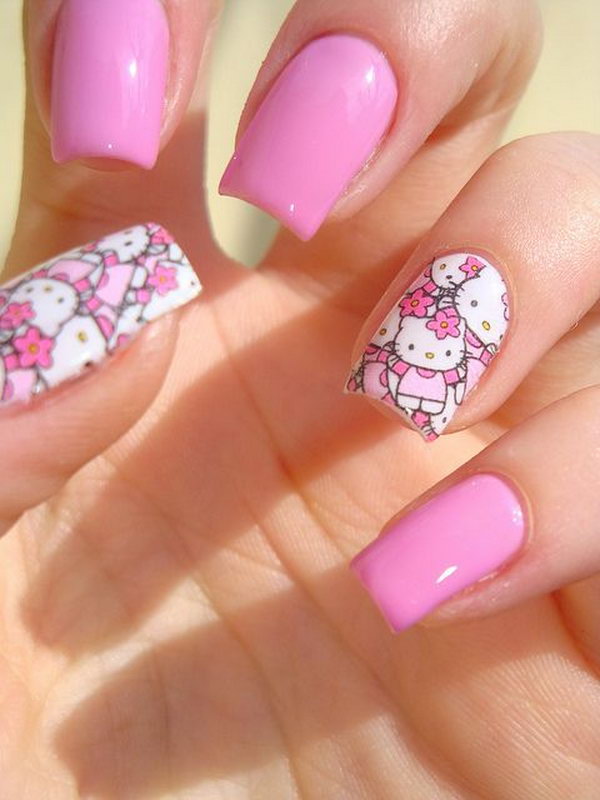
If you're looking for some inspiration for your Hello Kitty nail art, we have some ideas for you. You can create a simple and cute design by painting your nails with a light pink base color and then adding a small Hello Kitty face on one nail. You can also try a more intricate design by painting your nails with a pastel rainbow gradient and adding a 3D Hello Kitty bow on one nail. The possibilities are endless, so let your imagination run wild! Hello Kitty Nail Art Ideas for Short Nails

Hello Kitty Nail Art Ideas for Short Nails
Want to recreate a Hello Kitty nail art design but not sure how? Don't worry, we have you covered with this easy tutorial. Start off by painting your nails with a light pink base color. Then, using a toothpick or a thin brush, draw on two small white circles for the eyes and a larger white circle for the nose. Use a black nail art pen to create two small dots for the pupils and a line for the mouth. Finally, draw on two small whiskers with the black nail art pen. Finish off the design by adding a small 3D bow on one nail. Voila, you now have cute Hello Kitty nails! Hello Kitty Nail Art Tutorial for Short Nails

Hello Kitty Nail Art Tutorial for Short Nails

If you prefer a more detailed step by step guide, here is one for you. Start by painting your nails with a light pink base color. Then, using a toothpick or a thin brush, draw on two small white circles for the eyes and a larger white circle for the nose. Use a black nail art pen to create two small dots for the pupils and a line for the mouth. Next, draw on two small whiskers with the black nail art pen. Take a red nail polish and create a small bow on one nail. Finally, add a small 3D bow on top of the red nail polish. Your Hello Kitty nail art is now complete! Hello Kitty Nail Art for Short Nails Step by Step


Hello Kitty Nail Art for Short Nails Step by Step
Add some bling to your Hello Kitty nail art by incorporating rhinestones. Start by painting your nails with a light pink base color. Then, using a toothpick or a thin brush, draw on two small white circles for the eyes and a larger white circle for the nose. Use a black nail art pen to create two small dots for the pupils and a line for the mouth. Next, draw on two small whiskers with the black nail art pen. Take some clear nail polish and add rhinestones on the tips of your nails for a touch of glamour. This design is perfect for a special occasion or for those who love a little sparkle on their nails. Hello Kitty Nail Art for Short Nails with Rhinestones
Hello Kitty Nail Art for Short Nails with Rhinestones
If you're not confident with your nail art skills, don't worry, because you can still have cute Hello Kitty nails with the help of stickers. Start off by painting your nails with a light pink base color. Then, apply a Hello Kitty sticker on one nail. You can also add some small stickers, such as bows or hearts, on the other nails for a fun and playful touch. This design is perfect for those who want cute nails without putting in too much effort. Hello Kitty Nail Art for Short Nails with Stickers

Hello Kitty Nail Art for Short Nails with Stickers
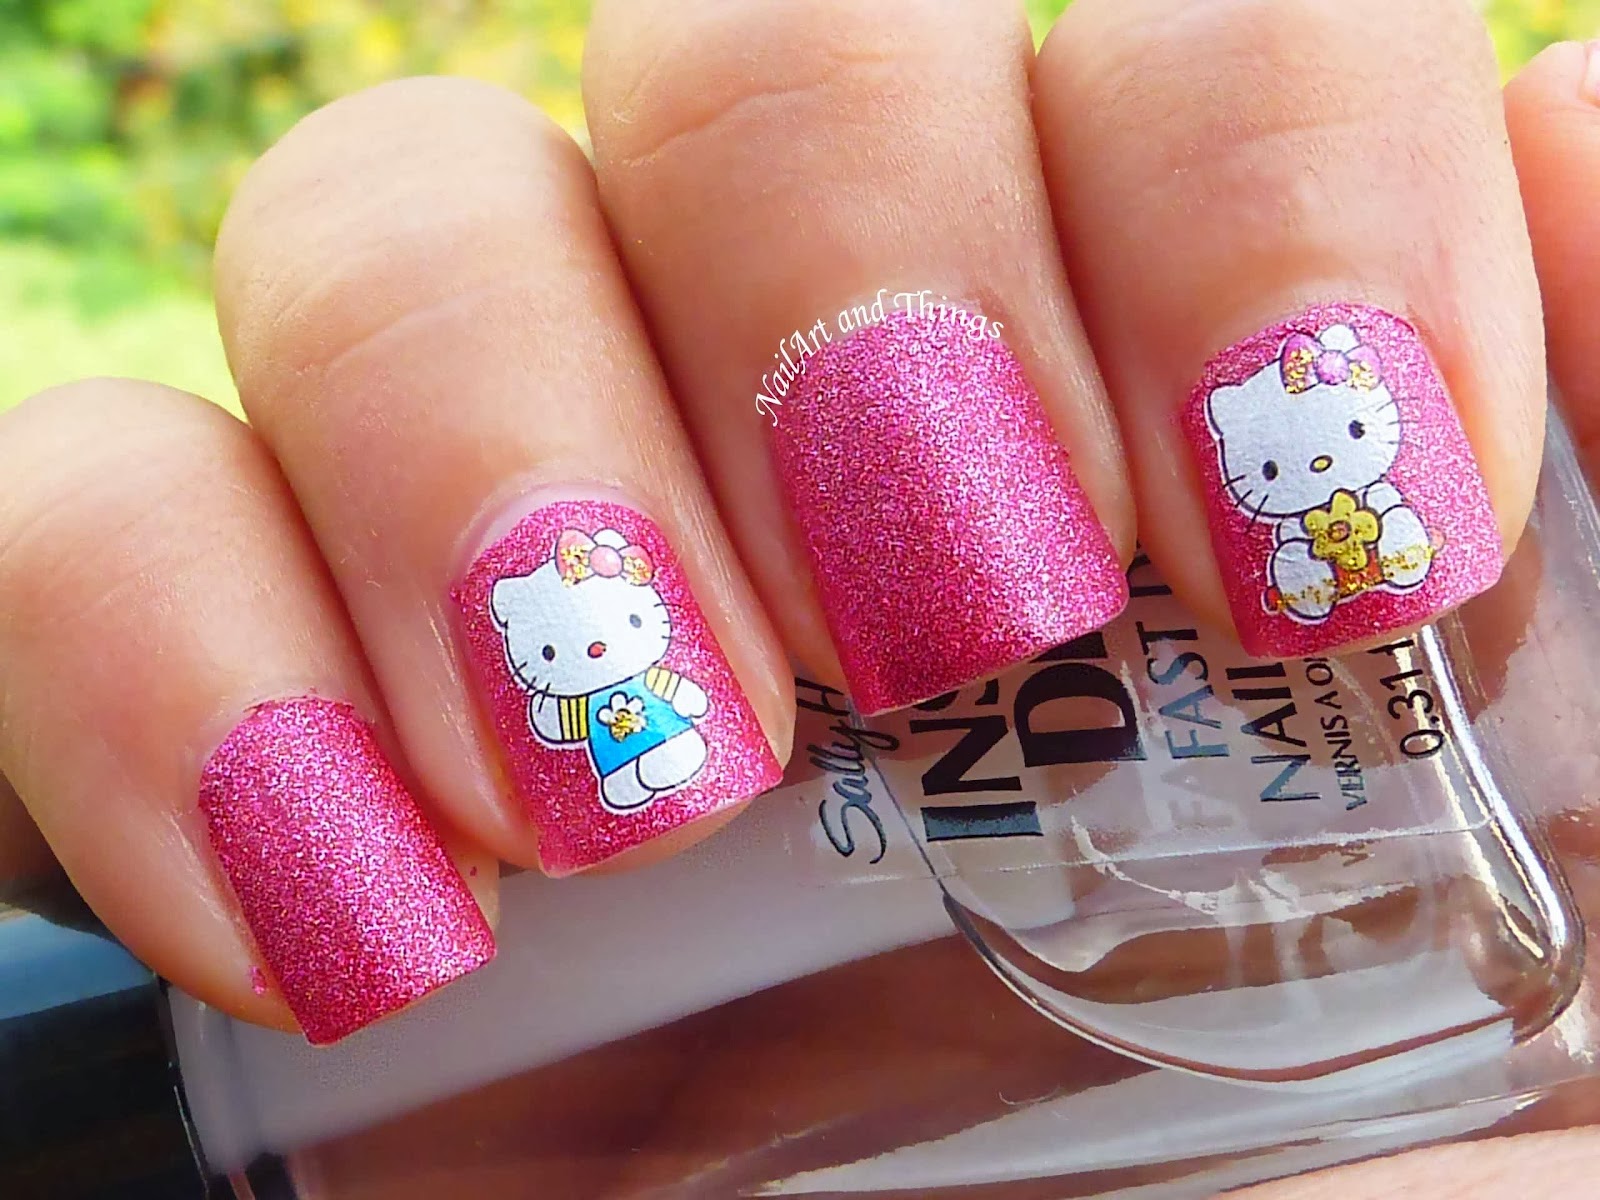
Add some sparkle to your Hello Kitty nail art with glitter. Start off by painting your nails with a light pink base color. Then, using a toothpick or a thin brush, draw on two small white circles for the eyes and a larger white circle for the nose. Use a black nail art pen to create two small dots for the pupils and a line for the mouth. Next, draw on two small whiskers with the black nail art pen. Take a clear nail polish and add some glitter on top of the design for a touch of glam. This design is perfect for those who love a little extra sparkle on their nails. Hello Kitty Nail Art for Short Nails with Glitter
Hello Kitty Nail Art for Short Nails with Glitter
Take your Hello Kitty nail art to the next level by adding a 3D bow. Start by painting your nails with a light pink base color. Then, using a toothpick or a thin brush, draw on two small white circles for the eyes and a larger white circle for the nose. Use a black nail art pen to create two small dots for the pupils and a line for the mouth. Next, draw on two small whiskers with the black nail art pen. Take a red nail polish and create a small bow on one nail. Add a small 3D bow on top of the red nail polish for a cute and playful touch. With these top 10 Hello Kitty nail art designs for short nails, you can show off your love for this adorable character in a fun and creative way. Whether you prefer a simple design or one with extra bling, there is a Hello Kitty nail art design for everyone. So, get your nail polish ready and let the cuteness overload begin! Hello Kitty Nail Art for Short Nails with 3D Bow
Hello Kitty Nail Art for Short Nails with 3D Bow
The Popularity of Hello Kitty Nail Art Designs for Short Nails
Why Hello Kitty?
 When it comes to cute and iconic characters, Hello Kitty is one of the first that comes to mind. This adorable little feline has captured the hearts of people all over the world, and it's no surprise that it's also a popular choice for nail art designs. With its simple yet recognizable design,
Hello Kitty
is perfect for
short nails
as it can be easily incorporated into any nail shape and size.
When it comes to cute and iconic characters, Hello Kitty is one of the first that comes to mind. This adorable little feline has captured the hearts of people all over the world, and it's no surprise that it's also a popular choice for nail art designs. With its simple yet recognizable design,
Hello Kitty
is perfect for
short nails
as it can be easily incorporated into any nail shape and size.
The Appeal of Short Nails
 Short nails have become increasingly popular in recent years, and for good reason. Not only are they easier to maintain, but they also allow for more creativity and versatility when it comes to nail art designs. With
Hello Kitty
nail art, you can create a fun and playful look on your short nails without having to worry about intricate details or long nails getting in the way.
Short nails have become increasingly popular in recent years, and for good reason. Not only are they easier to maintain, but they also allow for more creativity and versatility when it comes to nail art designs. With
Hello Kitty
nail art, you can create a fun and playful look on your short nails without having to worry about intricate details or long nails getting in the way.
How to Achieve the Perfect Hello Kitty Nail Art Design for Short Nails
 To create the perfect
Hello Kitty
nail art design for short nails, you don't need to be a professional nail artist. All you need are a few tools and a little bit of creativity. Start by choosing a base color that complements the iconic pink and white colors of Hello Kitty. Then, using a thin brush or a dotting tool, you can easily create
Hello Kitty's
signature bow, whiskers, and nose. For a more subtle look, you can opt for a single
Hello Kitty
accent nail or go all out with multiple designs on each nail.
To create the perfect
Hello Kitty
nail art design for short nails, you don't need to be a professional nail artist. All you need are a few tools and a little bit of creativity. Start by choosing a base color that complements the iconic pink and white colors of Hello Kitty. Then, using a thin brush or a dotting tool, you can easily create
Hello Kitty's
signature bow, whiskers, and nose. For a more subtle look, you can opt for a single
Hello Kitty
accent nail or go all out with multiple designs on each nail.
Final Thoughts
 With its timeless appeal and versatility,
Hello Kitty
nail art designs for short nails are a must-try for anyone looking to add a touch of cuteness to their manicure. Whether you're a fan of the character or simply looking for a fun and playful nail design,
Hello Kitty
is the perfect choice for short nails. So why not give it a try and let your nails make a statement with this adorable feline?
With its timeless appeal and versatility,
Hello Kitty
nail art designs for short nails are a must-try for anyone looking to add a touch of cuteness to their manicure. Whether you're a fan of the character or simply looking for a fun and playful nail design,
Hello Kitty
is the perfect choice for short nails. So why not give it a try and let your nails make a statement with this adorable feline?


