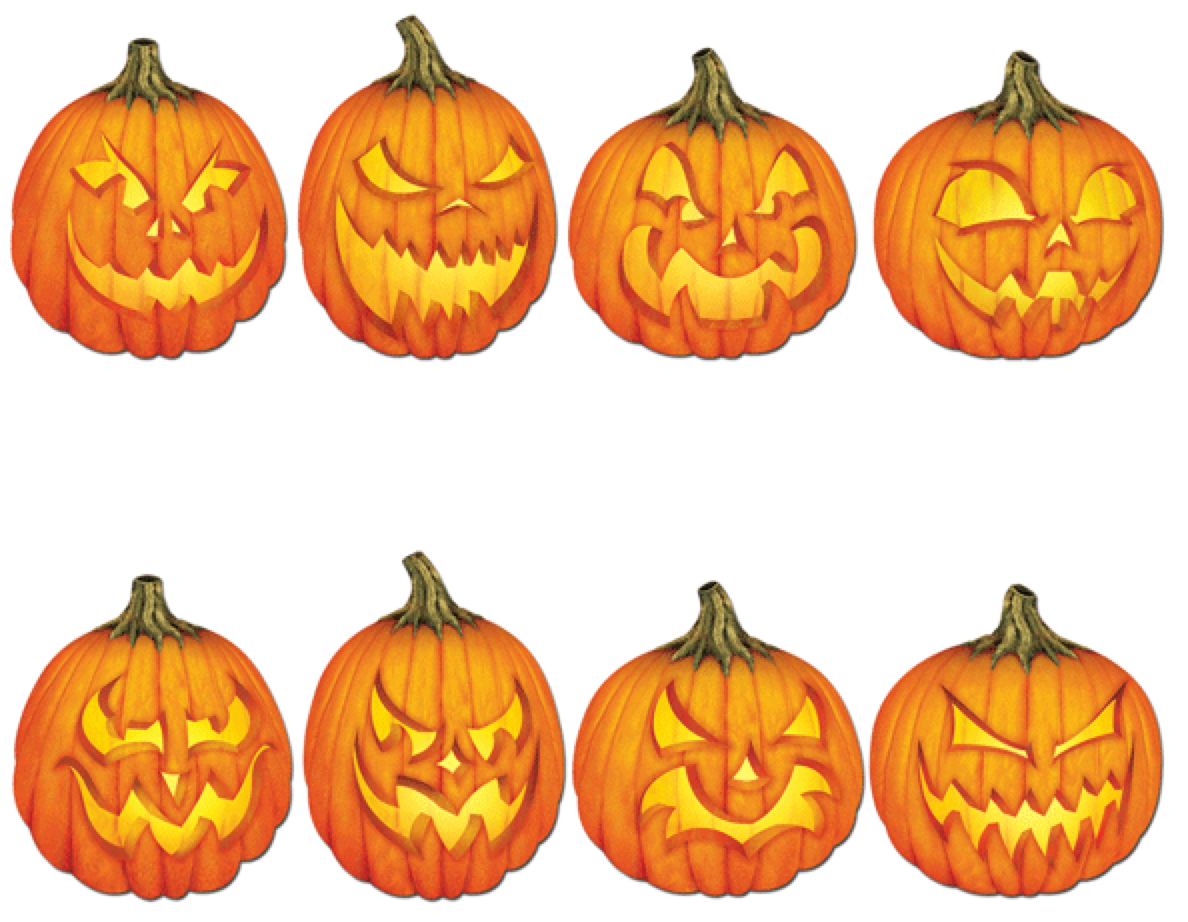
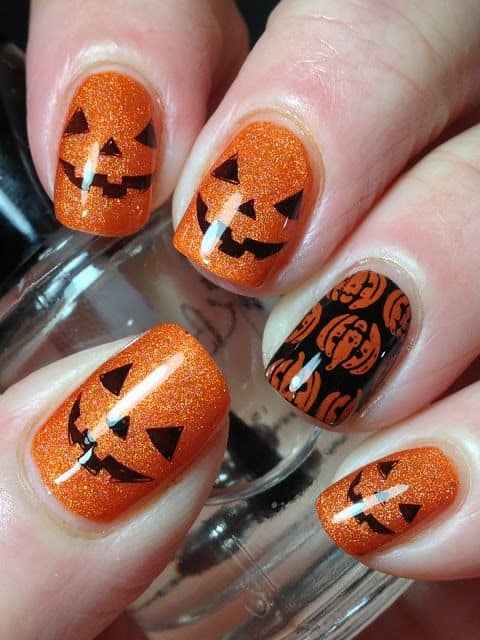
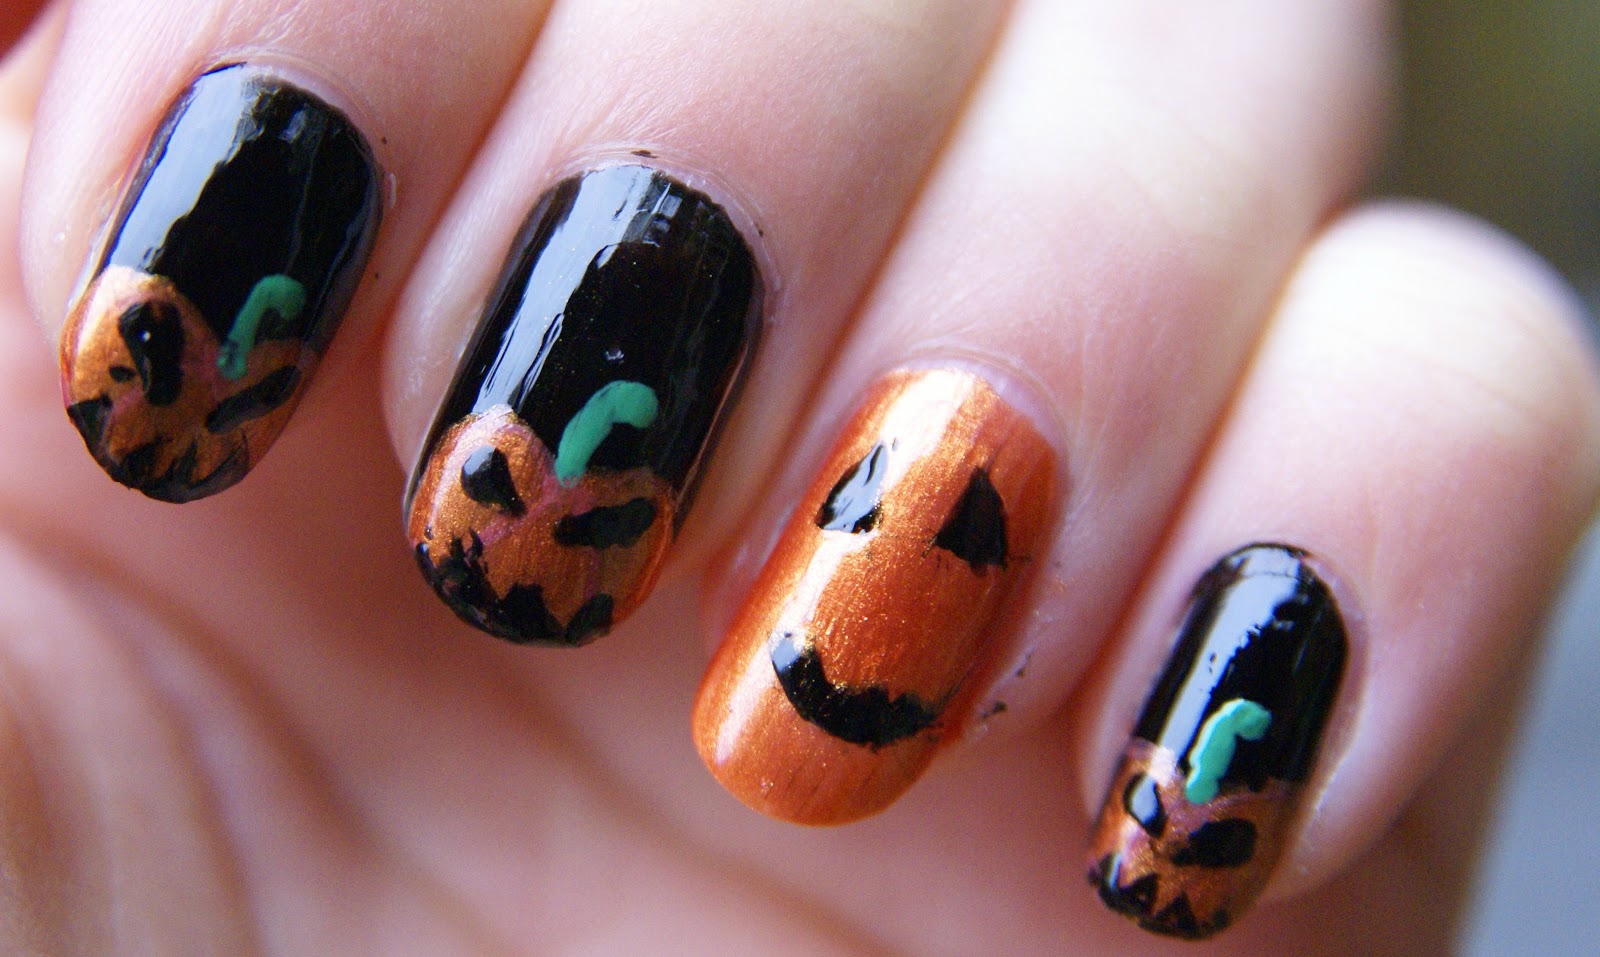
Looking for a fun and festive way to spice up your nails this Halloween? Look no further than these Jack O Lantern nail designs! With just a few simple tools and some creative imagination, you can transform your nails into spooky works of art that are sure to impress. To get started, you will need an orange and black nail polish, a thin nail brush, and some nail stencils or small stickers. You can find these tools at your local drugstore or beauty supply store. Once you have everything you need, follow these steps to create your own Halloween Jack O Lantern nail art. Step 1: Prep your nails Before you begin, make sure your nails are clean and free of any old nail polish. Apply a base coat to protect your nails and help the nail polish adhere better. Step 2: Paint your nails orange Using the orange nail polish, paint all of your nails except for your ring finger. This will be your accent nail. Step 3: Create the Jack O Lantern face Using the black nail polish and a thin nail brush, create a Jack O Lantern face on your accent nail. You can use stencils or stickers to help guide you, or you can freestyle it for a more unique look. Step 4: Add details Once the black nail polish has dried, add any additional details to your Jack O Lantern face, such as a stem or evil eyebrows. Get creative with it! Step 5: Paint your ring finger Now it's time to paint your ring finger. You can either paint it black to match the Jack O Lantern face, or you can paint it glow in the dark for a fun twist. Just make sure to let it dry completely before moving on to the next step. Step 6: Seal it in Once all of your nails are dry, apply a top coat to seal in your design and help it last longer. Congratulations, you now have a spooky and festive Jack O Lantern nail design that is perfect for Halloween! You can also use this tutorial to create different variations, such as smiling Jack O Lanterns or scary ones. The possibilities are endless, so have fun with it and let your imagination run wild!1. "Halloween Jack O Lantern Nail Art Tutorial"


1. "Halloween Jack O Lantern Nail Art Tutorial"


If you're new to nail art or just want a simpler design, this easy Jack O Lantern nail design is perfect for you. With minimal tools and little effort, you can have festive nails in no time. Step 1: Prep your nails Start by prepping your nails as you normally would before painting them. This includes removing any old nail polish and applying a base coat. Step 2: Paint your nails orange Using an orange nail polish, paint all of your nails except for your ring finger. Make sure to apply at least two coats for an even and opaque color. Step 3: Create the Jack O Lantern face Using a black nail polish and a small dotting tool, create a Jack O Lantern face on your ring finger. You can also use the end of a bobby pin or the tip of a toothpick as a substitute. Step 4: Add details Once the black nail polish has dried, you can add any extra details to your Jack O Lantern face, such as eyebrows or a stem. Again, experiment and get creative with it! Step 5: Seal it in Finally, apply a top coat to seal in your design and give it a shiny finish. That's all there is to it! This easy Jack O Lantern nail design is perfect for beginners or anyone who wants a simple and adorable look. You can also switch up the colors and use different shades of orange or even neon colors for a more unique touch.2. "Easy Jack O Lantern Nail Design for Beginners"


2. "Easy Jack O Lantern Nail Design for Beginners"
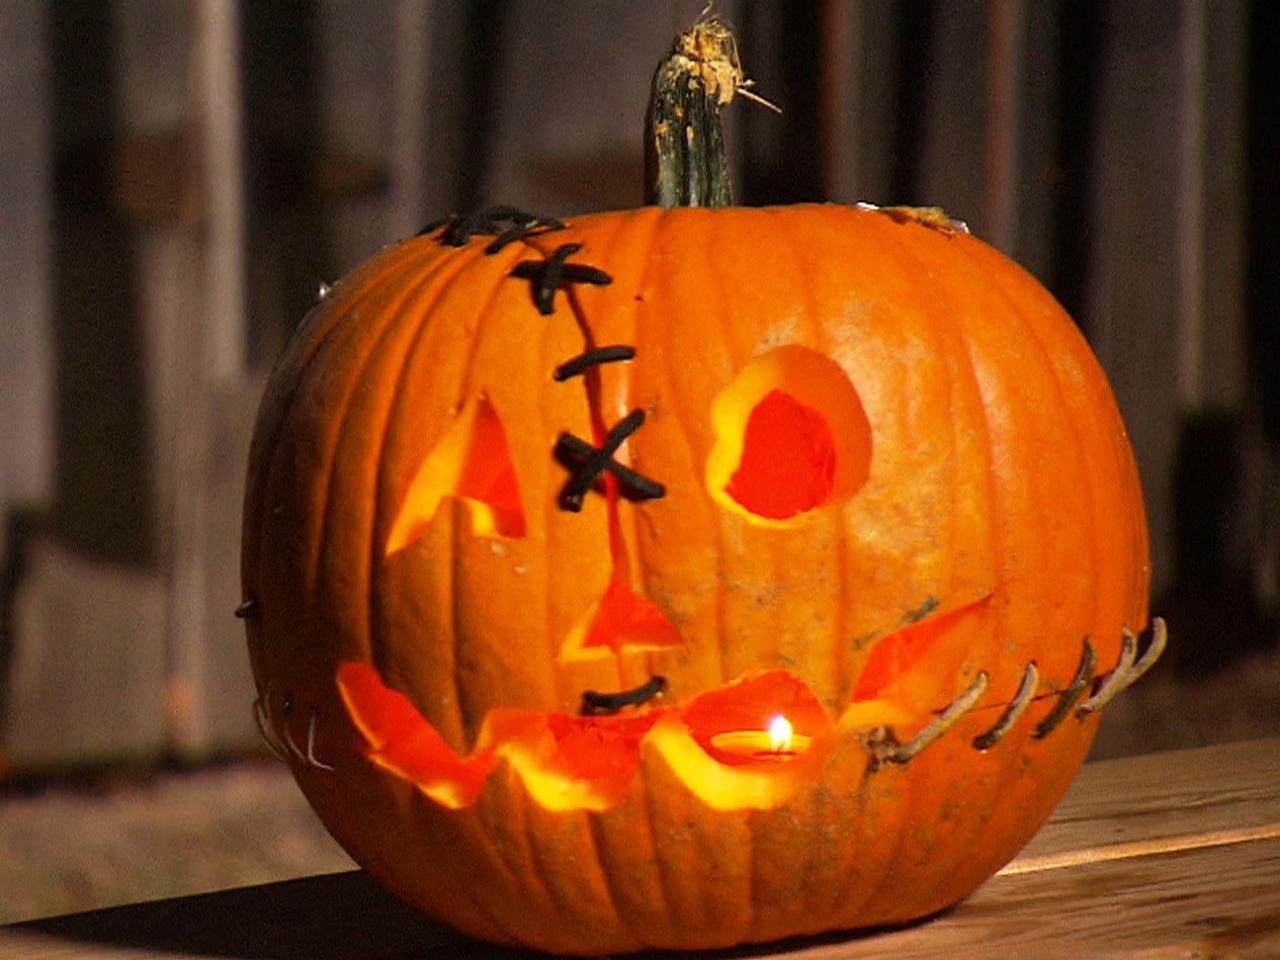


If you want to take your Jack O Lantern nail art to the next level, try these spooky designs that are perfect for Halloween. These designs are a bit more advanced, so don't be afraid to take your time and practice a few times before attempting the final look. 1. Bloody Jack O Lantern For this design, you will need a red nail polish, a black nail polish, and a thin nail brush. Start by painting your nails orange and creating a Jack O Lantern face with the black nail polish. Then, use the thin nail brush to create drips of blood coming from the mouth and eyes of your Jack O Lantern. 2. Jack O Lantern Graveyard This design requires a bit more skill and patience, but the end result is worth it. Start by painting your nails black and creating a spooky graveyard scene with white and gray nail polish. Then, using a small dotting tool, create a few Jack O Lanterns scattered throughout the graveyard. 3. Creepy Clown Jack O Lantern For this design, you will need a white nail polish, a black nail polish, a red nail polish, and a thin nail brush. Start by painting your nails white and creating a Jack O Lantern face with the black nail polish. Then, using the thin nail brush, create a creepy clown hat on top of the Jack O Lantern's head with the red nail polish. These spooky Jack O Lantern nail designs are sure to turn heads and add a chilling touch to your Halloween look. Don't be afraid to experiment and make them your own by adding your own twists and details.3. "Spooky Jack O Lantern Nail Designs for Halloween"


3. "Spooky Jack O Lantern Nail Designs for Halloween"


Want to get your kids into the Halloween spirit? These cute Jack O Lantern nail designs are perfect for little ones and are easy enough for them to do themselves. 1. Pumpkin Face Nails For this design, all you need is an orange nail polish and a black nail polish. Start by painting the nails orange and then use the black nail polish to create a simple Jack O Lantern face on each nail. 2. Candy Corn Nails This design is perfect for kids who may not want a traditional Jack O Lantern on their nails. You will need a white nail polish, an orange nail polish, and a yellow nail polish for this design. Start by painting the nails white and then create a gradient effect by painting the tips with the orange nail polish and the bottom with the yellow nail polish. 3. Glitter Jack O Lantern Nails For this fun and sparkly design, you will need an orange nail polish, a black nail polish, and some orange glitter. Start by painting the nails orange and then add a Jack O Lantern face with the black nail polish. Before the black polish dries, sprinkle some orange glitter on top for a magical touch. These cute Jack O Lantern nail designs are perfect for kids who want to join in on the Halloween fun. They are simple, adorable, and age-appropriate for little ones.4. "Cute Jack O Lantern Nail Designs for Kids"


4. "Cute Jack O Lantern Nail Designs for Kids"


Want to add a spooky twist to your Jack O Lantern nail design? Try incorporating glow in the dark elements for a haunting effect! To achieve this look, you will need an orange nail polish, a black nail polish, and some glow in the dark nail polish or powder. Start by painting your nails orange and creating a Jack O Lantern face with the black nail polish. Then, use the glow in the dark nail polish or powder to add a ghostly glow to your design. You can also use the glow in the dark element on its own for a more subtle look. This Jack O Lantern nail design is perfect for Halloween parties or trick-or-treating at night. It adds a spooky touch to your nails and is sure to impress.5. "Glow in the Dark Jack O Lantern Nail Design"


5. "Glow in the Dark Jack O Lantern Nail Design"


If you want to add some glam to your Jack O Lantern nail design, try incorporating rhinestones for a sparkly touch. To create this look, you will need an orange nail polish, a black nail polish, a clear top coat, and some small rhinestones. Start by painting your nails orange and creating a Jack O Lantern face with the black nail polish. Then, using a toothpick or a small dotting tool, add a small drop of clear polish where you want to place the rhinestones. Use the toothpick or dotting tool to pick up the rhinestones and place them on the wet clear polish. Once everything is dry, apply a top coat to seal in your design. This Jack O Lantern nail design is perfect for a Halloween party or any other festive occasion. It adds a touch of elegance to your nails and is sure to make a statement.6. "Jack O Lantern Nail Design with Rhinestones"

6. "Jack O Lantern Nail Design with Rhinestones"


If you want a more subtle Jack O Lantern look, try this black and orange design that is perfect for fall. For this design, you will need a black nail polish, an orange nail polish, and a small dotting tool. Start by painting your nails black and then use the dotting tool to create small orange dots on each nail. Once the dots have dried, use the black nail polish and the dotting tool to create Jack O Lantern faces on the orange dots. This design is simple, festive, and perfect for autumn.7. "Black and Orange Jack O Lantern Nail Design"


7. "Black and Orange Jack O Lantern Nail Design"
.JPG)


Add a spooky touch to your Jack O Lantern nail design by incorporating a spider web accent. To achieve this look, you will need an orange nail polish, a black nail polish, and a small dotting tool. Start by painting your nails orange and creating a Jack O Lantern face with the black nail polish. Then, use the dotting tool to create a spider web on your accent nail. You can also add a small plastic spider for an extra creepy effect. This Jack O Lantern nail design is perfect for Halloween parties or for anyone who wants to add a spooky element to their nails. It's simple, fun, and perfect for the holiday season.8. "Jack O Lantern Nail Design with Spider Web Accent"


8. "Jack O Lantern Nail Design with Spider Web Accent"


If you're a fan of all things autumn, this Jack O Lantern nail design is perfect for you. It incorporates a pumpkin patch accent for a festive touch. To achieve this look, you will need an orange nail polish, a green nail polish, and a small dotting tool. Start by painting your nails orange and creating a Jack O Lantern face with the green nail polish. Then, use the dotting tool to create a pumpkin patch on your accent nail. You can also add extra details to the pumpkins with the dotting tool and different colors of nail polish.9. "Jack O Lantern Nail Design with Pumpkin Patch Accent"


9. "Jack O Lantern Nail Design with Pumpkin Patch Accent"

Transform Your Nails into Spooktacular Jack O Lanterns with These Nail Design Ideas

Get into the Halloween Spirit with Jack O Lantern Nail Designs
 If you're someone who loves all things spooky and festive, then you'll definitely want to try out some
jack o lantern nail designs
this Halloween. These fun and creative nail designs are the perfect way to add some Halloween spirit to your look and stand out from the crowd. Plus, they're easy to do and can be customized to fit your personal style. Here are some
professional tips
and
inspiration
to help you create the perfect jack o lantern nails.
If you're someone who loves all things spooky and festive, then you'll definitely want to try out some
jack o lantern nail designs
this Halloween. These fun and creative nail designs are the perfect way to add some Halloween spirit to your look and stand out from the crowd. Plus, they're easy to do and can be customized to fit your personal style. Here are some
professional tips
and
inspiration
to help you create the perfect jack o lantern nails.
Choose Your Base Color
 The first step in creating
jack o lantern nails
is to choose a base color. While the traditional Halloween colors of black and orange are always a good choice, you can also get creative and use other colors like purple, green, or even glitter. If you want your jack o lanterns to really pop, go for a white base color. This will make the orange and black details stand out even more.
The first step in creating
jack o lantern nails
is to choose a base color. While the traditional Halloween colors of black and orange are always a good choice, you can also get creative and use other colors like purple, green, or even glitter. If you want your jack o lanterns to really pop, go for a white base color. This will make the orange and black details stand out even more.
Get Creative with Shapes and Designs
 Now it's time to get creative with the actual jack o lantern design. You can either use a nail stamping tool or freehand your design with a thin nail brush. Start by creating the outline of a pumpkin shape on each nail, then fill it in with orange polish. Next, use black polish to add the eyes, nose, and mouth. Don't be afraid to play around with different shapes and designs, like adding a stem or leaves to your pumpkins.
Add Some Dimension
 To take your jack o lantern nails to the next level, add some dimension with 3D elements. This can include using mini rhinestones as pumpkin seeds, or even using a small piece of green felt to create a textured stem. You can also use a matte topcoat to give your pumpkins a more realistic look.
Protect Your Design
 Once you've completed your jack o lantern nail design, make sure to protect it with a topcoat. This will not only add shine to your nails, but it will also help keep your design intact and prevent chipping. You can even use a quick-drying topcoat to save time and ensure your nails are ready to show off in no time.
Now that you have some
jack o lantern nail design ideas
and
professional tips
, it's time to get creative and make your nails spooktacular this Halloween. Whether you're attending a costume party or just want to add some festive fun to your everyday look, these nail designs are the perfect way to get into the Halloween spirit. So grab your nail polish and get ready to transform your nails into cute and creepy jack o lanterns.
Once you've completed your jack o lantern nail design, make sure to protect it with a topcoat. This will not only add shine to your nails, but it will also help keep your design intact and prevent chipping. You can even use a quick-drying topcoat to save time and ensure your nails are ready to show off in no time.
Now that you have some
jack o lantern nail design ideas
and
professional tips
, it's time to get creative and make your nails spooktacular this Halloween. Whether you're attending a costume party or just want to add some festive fun to your everyday look, these nail designs are the perfect way to get into the Halloween spirit. So grab your nail polish and get ready to transform your nails into cute and creepy jack o lanterns.


