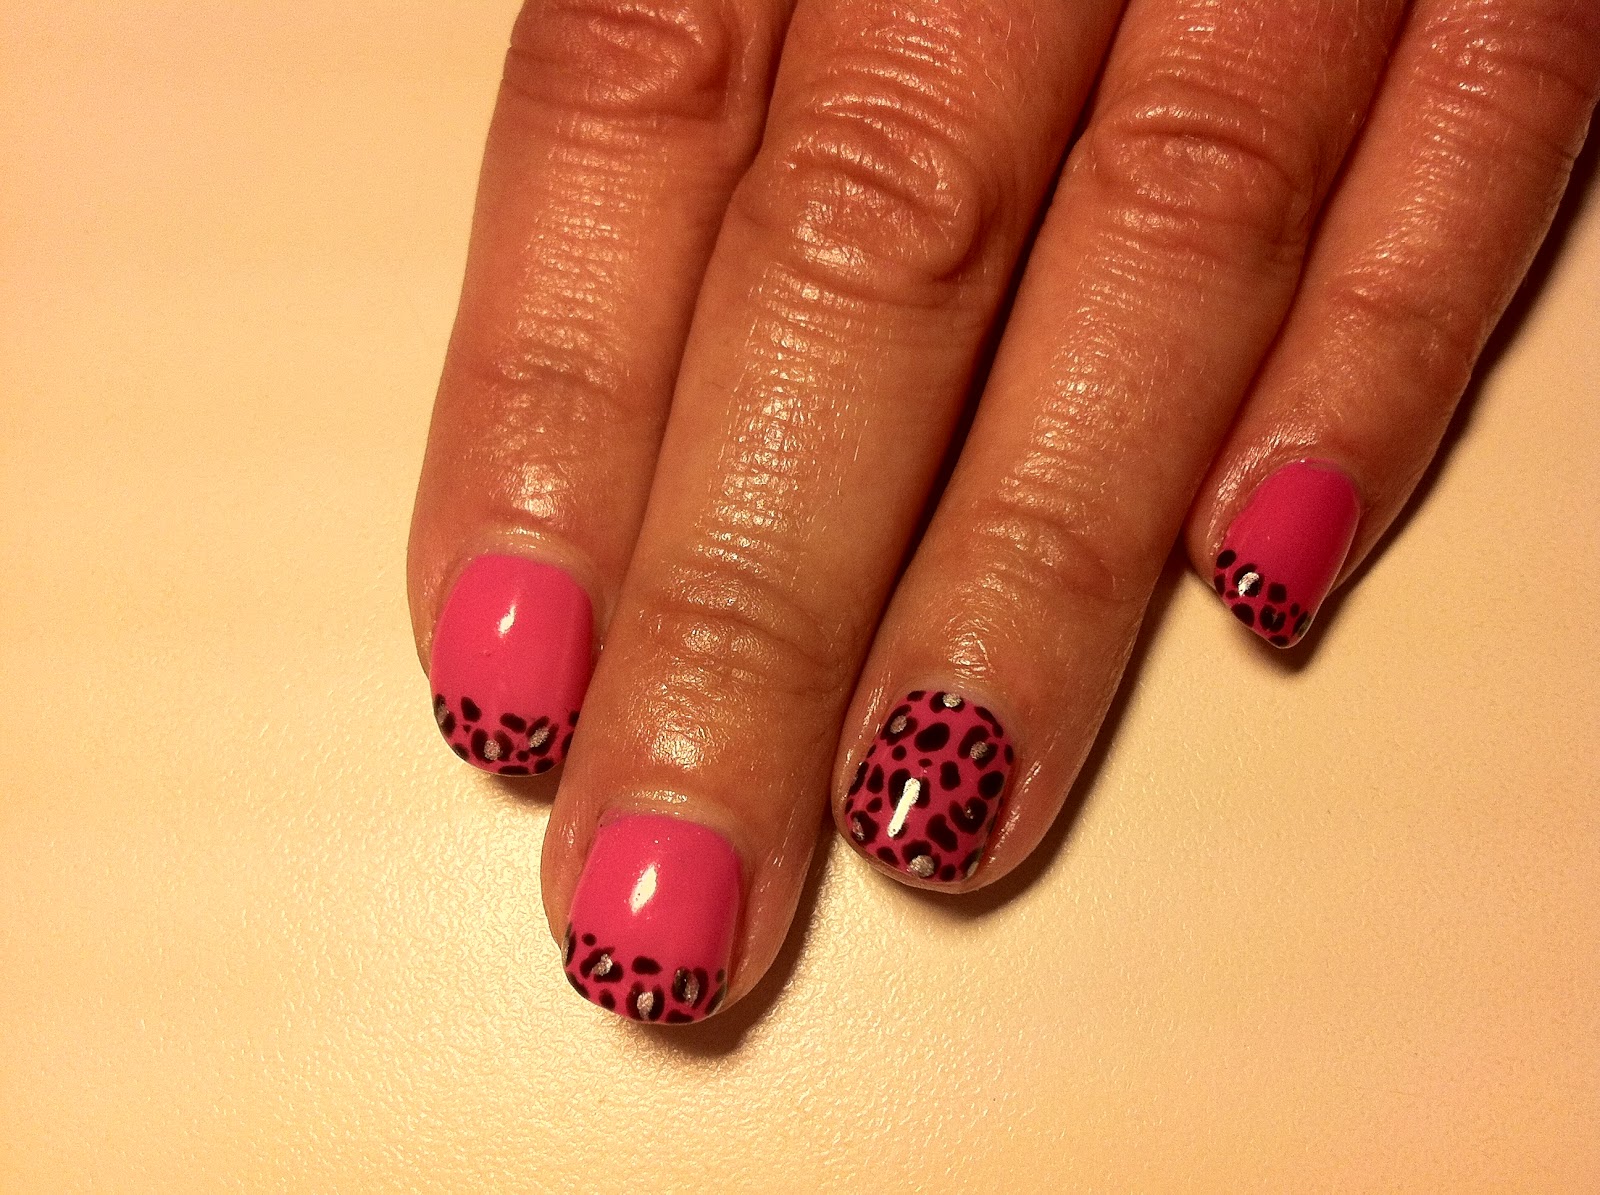
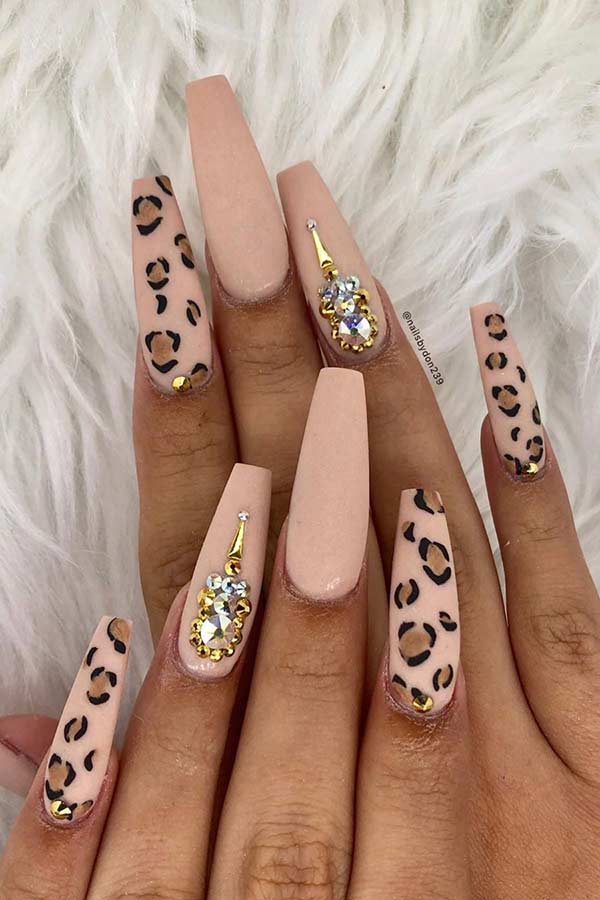
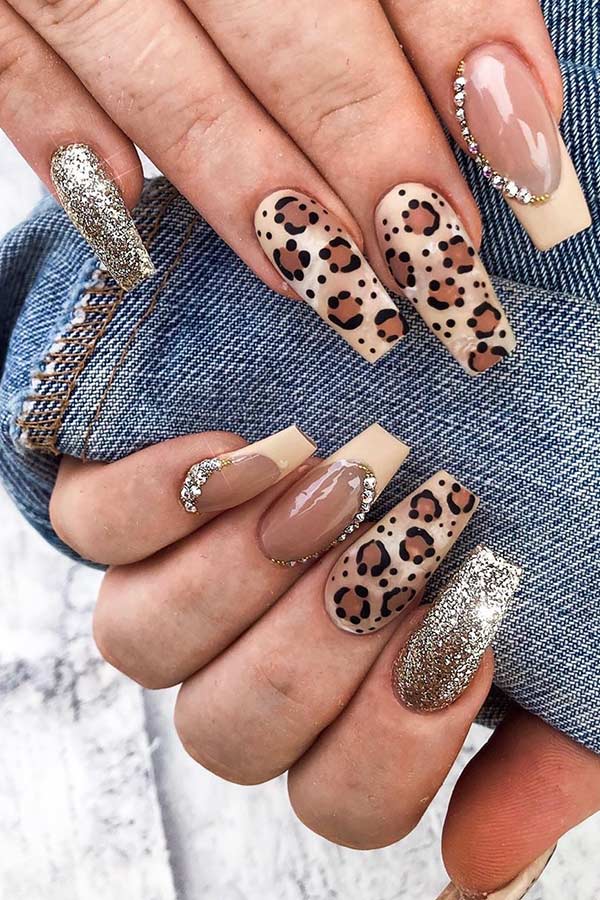
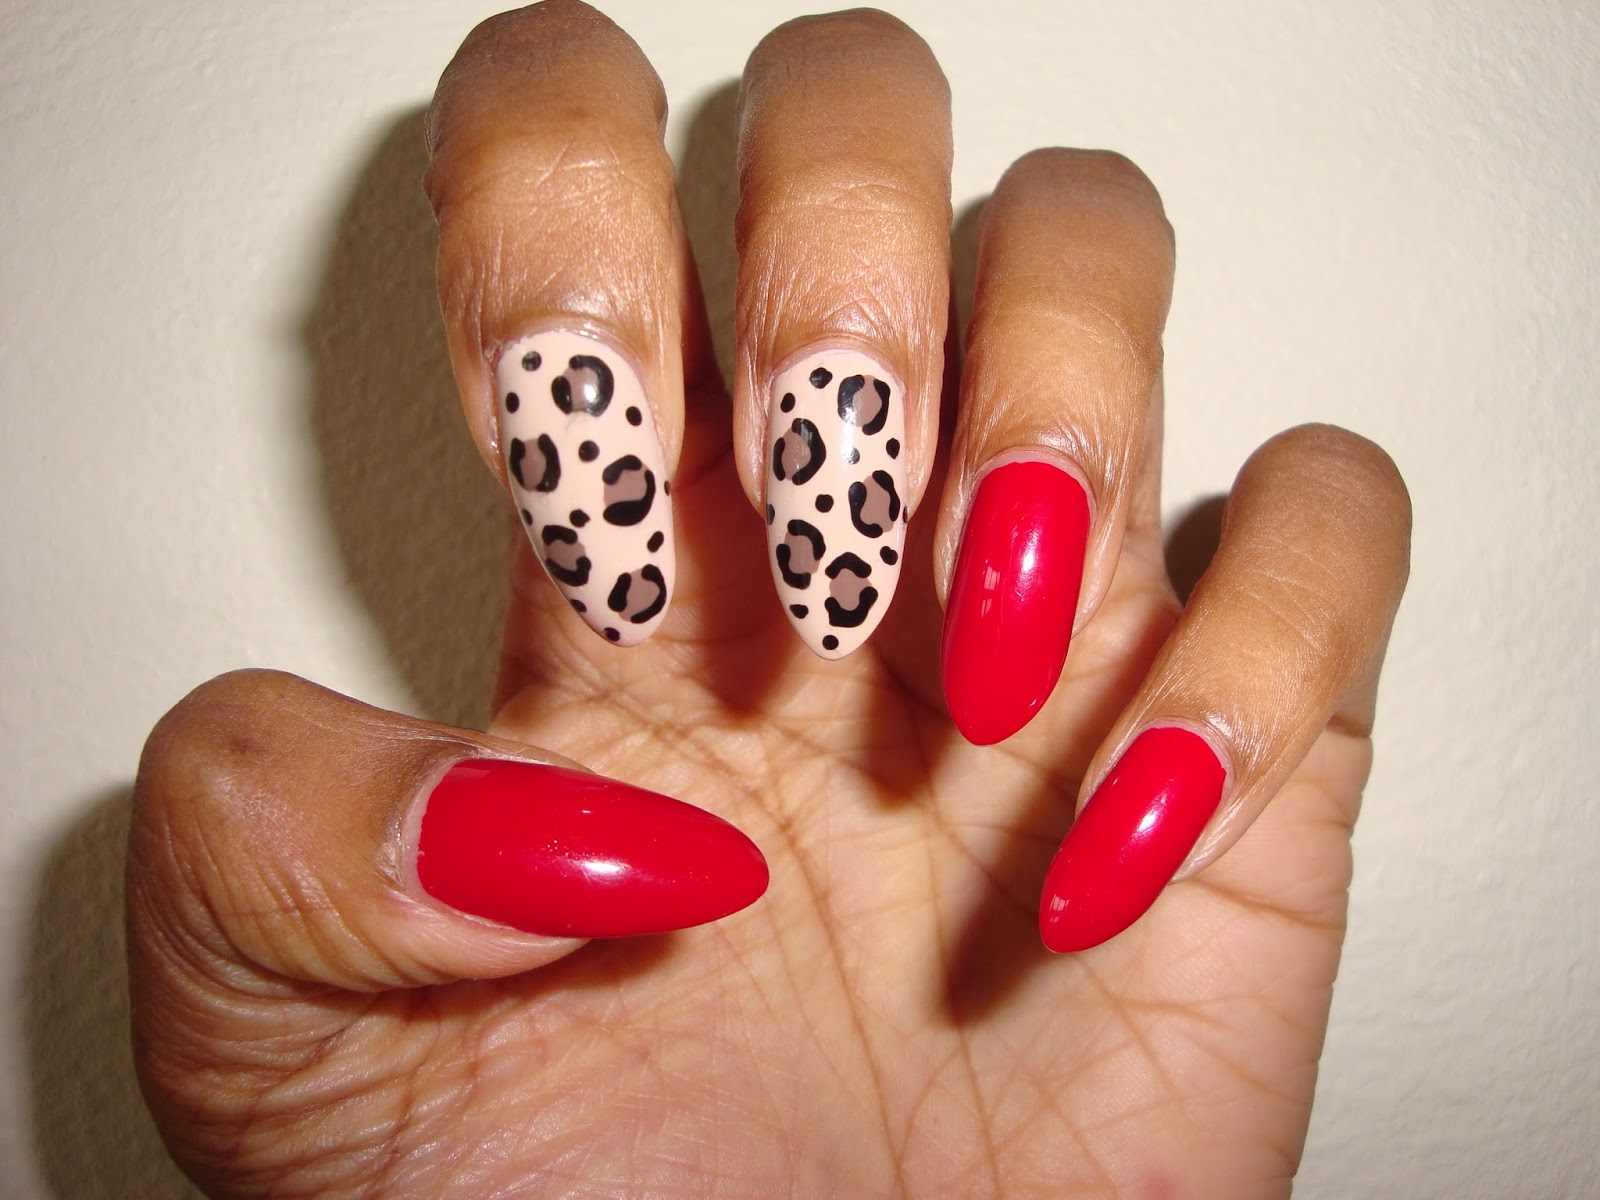
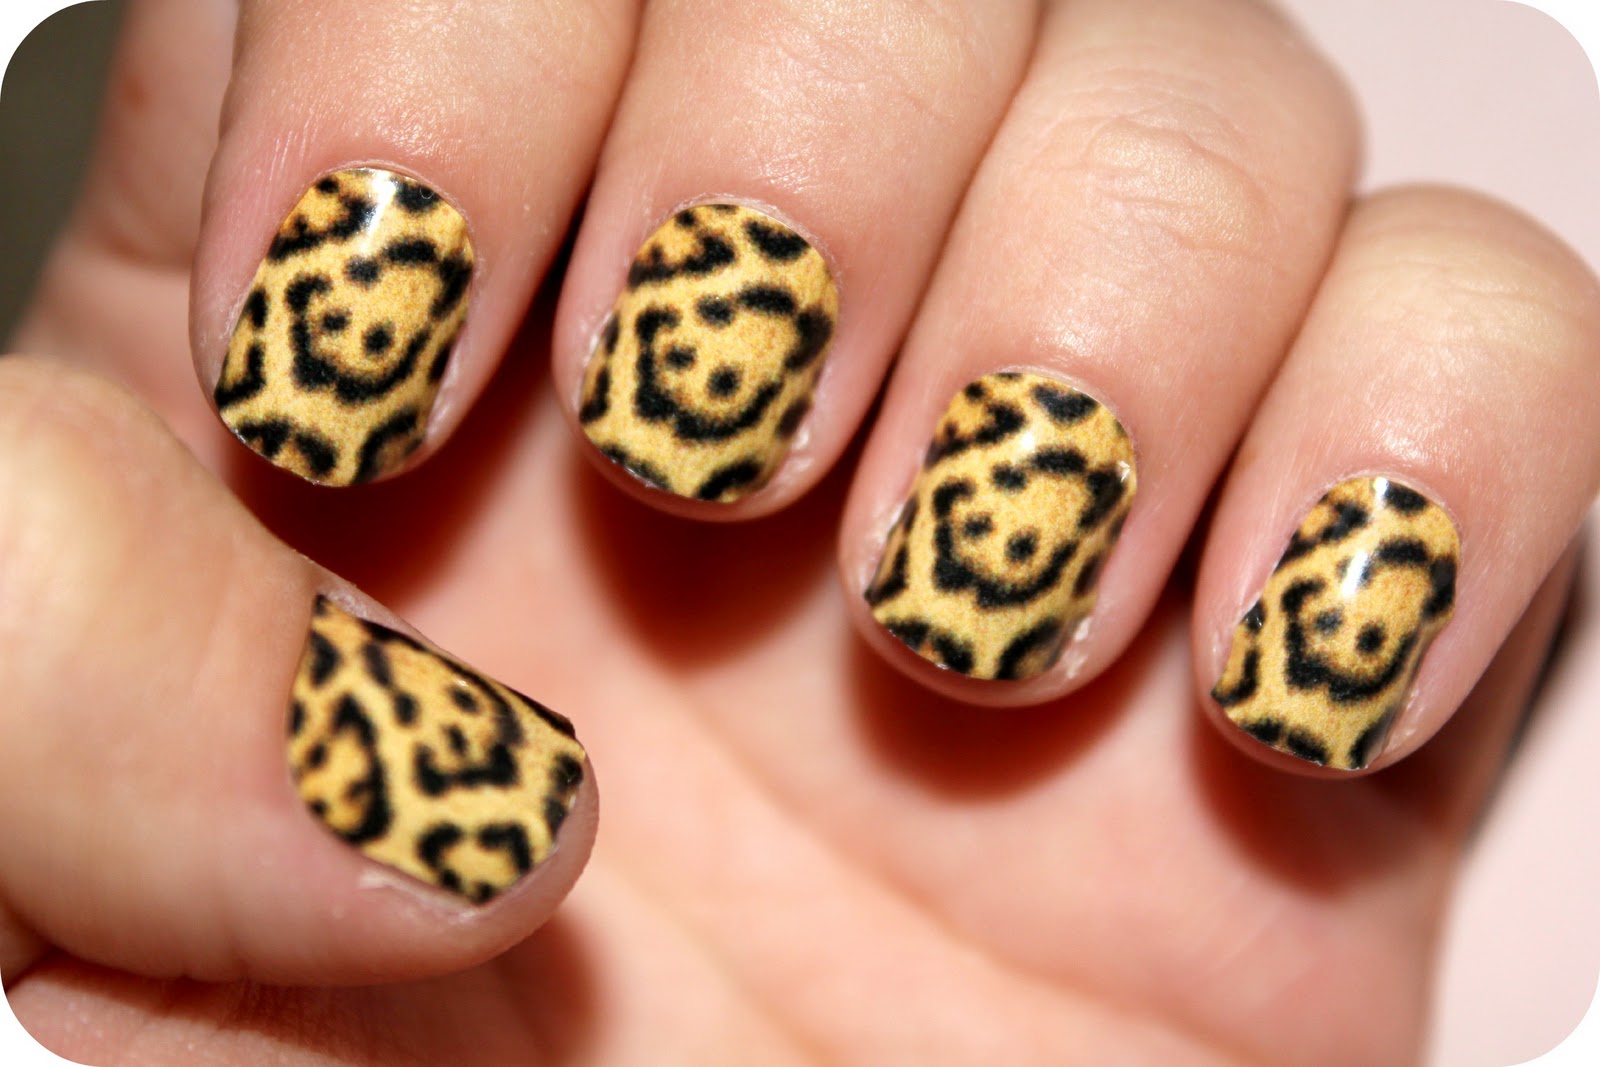
Leopard print is a classic and trendy design that has been around for decades. It's a bold and fierce pattern that adds a touch of wildness to any outfit or nail look. If you're looking to add some fierceness to your nails, then you'll love this step-by-step tutorial on how to create a leopard print nail design. To start, you'll need a few nail polish colors. The traditional leopard print colors are black, brown, and gold, but feel free to get creative and use any colors you like. You'll also need a base coat, top coat, and a small dotting tool or toothpick. Start by applying a base coat to your nails to protect them and help the polish last longer. Once the base coat is dry, apply two coats of your chosen base color. Let it dry completely before moving on to the next step. Next, it's time to create the leopard print pattern. Take your second color and use the dotting tool or toothpick to create random dots on your nails. These dots will serve as the centers of your leopard spots, so make them different sizes and shapes. Now, take your third color and use the dotting tool or toothpick to create a border around the dots. This will give the illusion of spots. Make sure to leave some space between the border and the dots to create a more realistic look. Repeat this process on all of your nails, creating different patterns and spacing between the spots. You can also add smaller dots in between the leopard spots to add more dimension to the design. Once you're happy with the leopard print pattern, let it dry completely. Then, apply a top coat to seal in the design and add shine to your nails. Voila! You now have a fierce and trendy leopard print nail design.1. Leopard Print Nail Design Tutorial

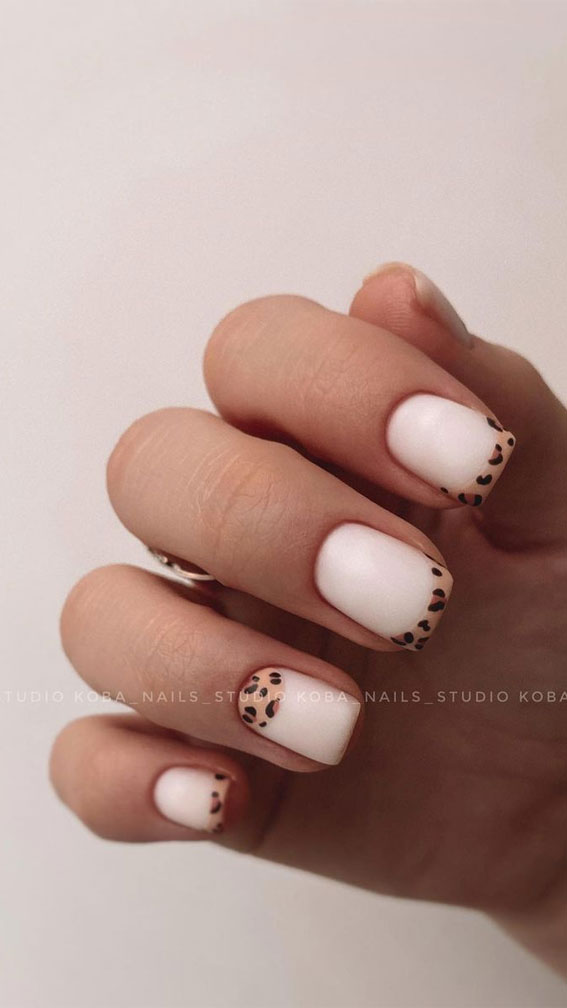
1. Leopard Print Nail Design Tutorial
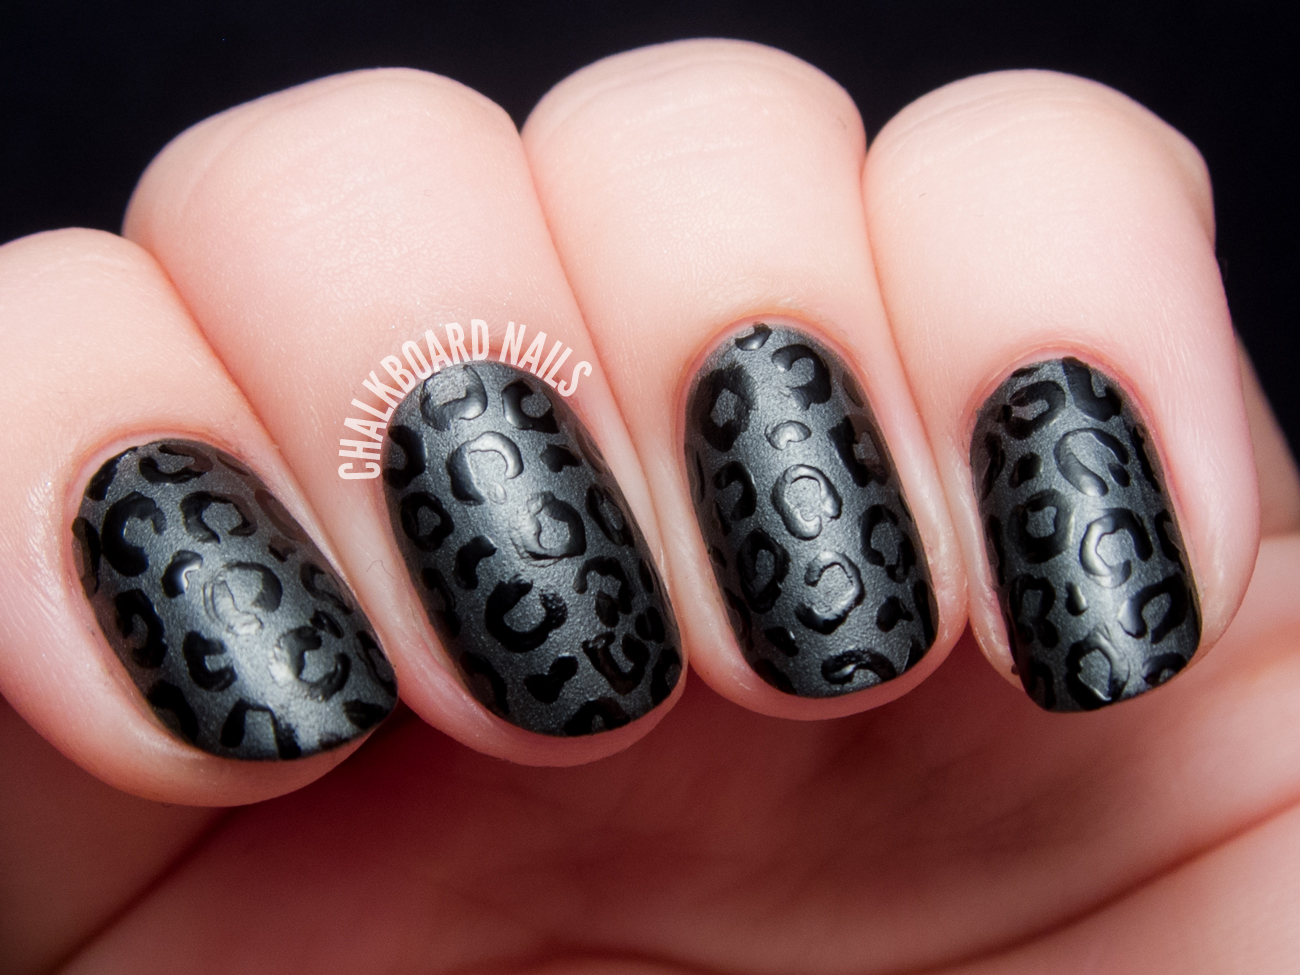

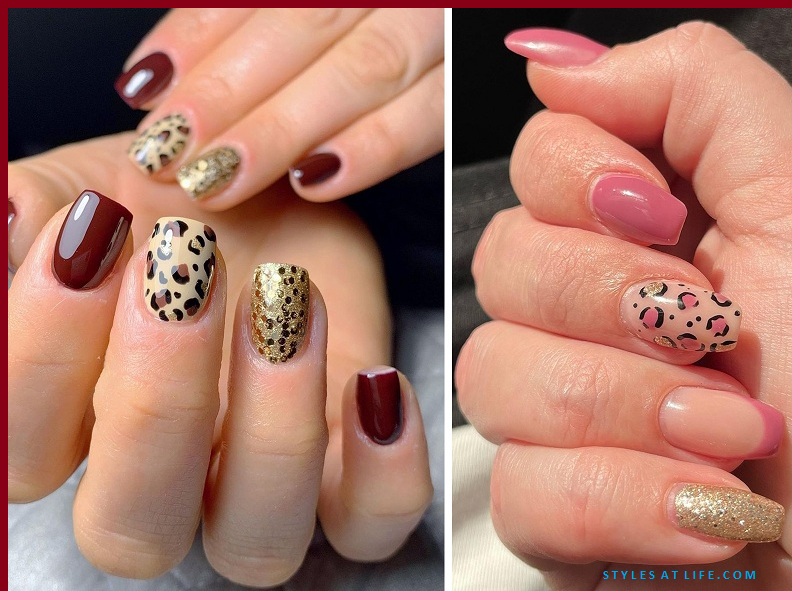

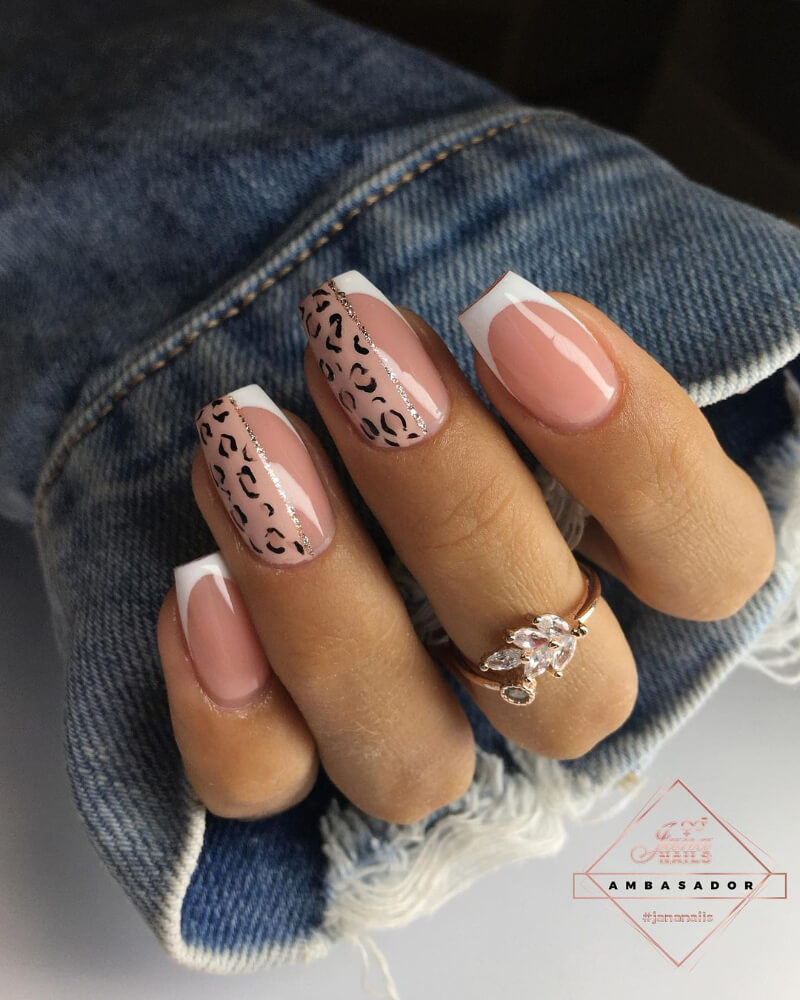
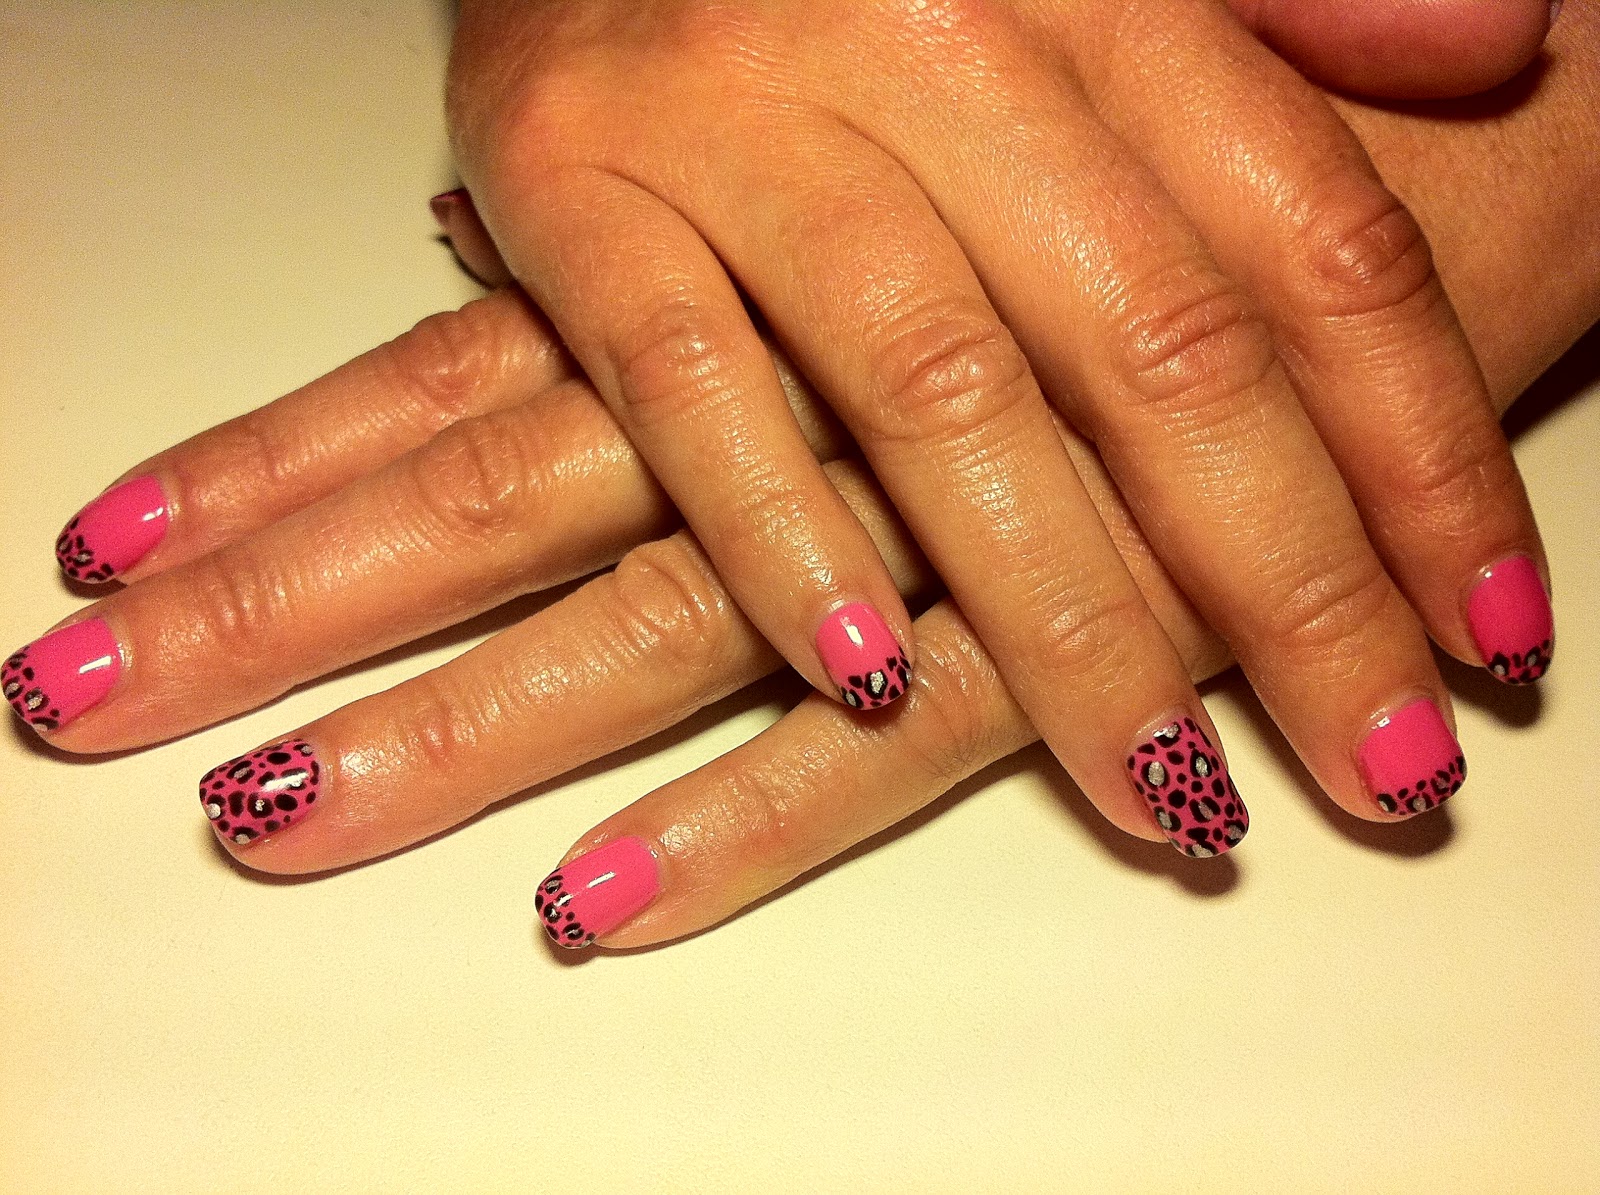
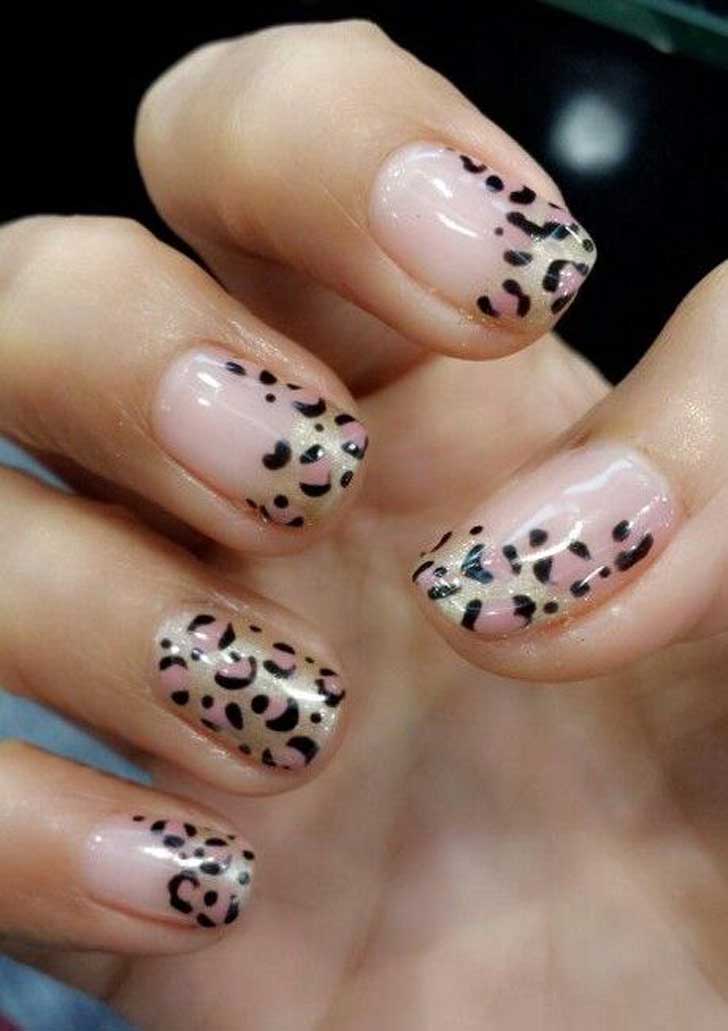
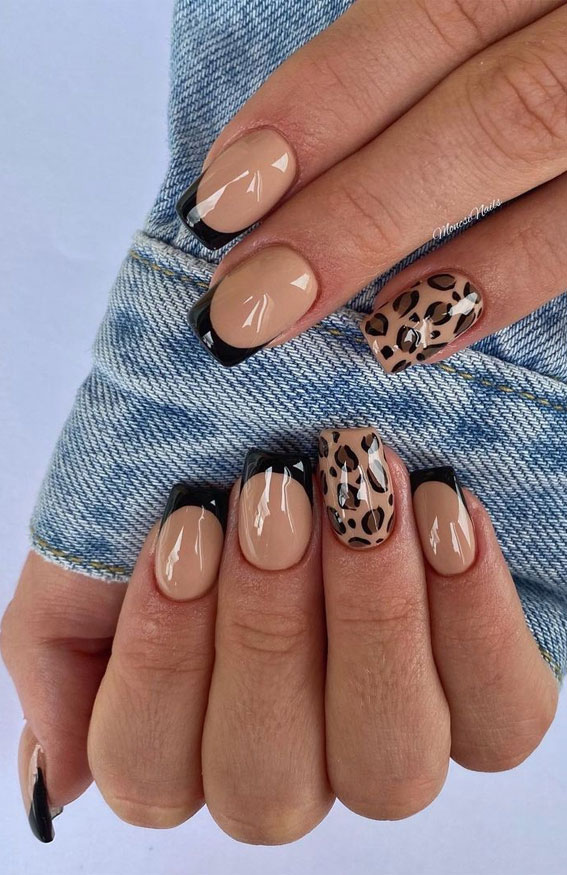
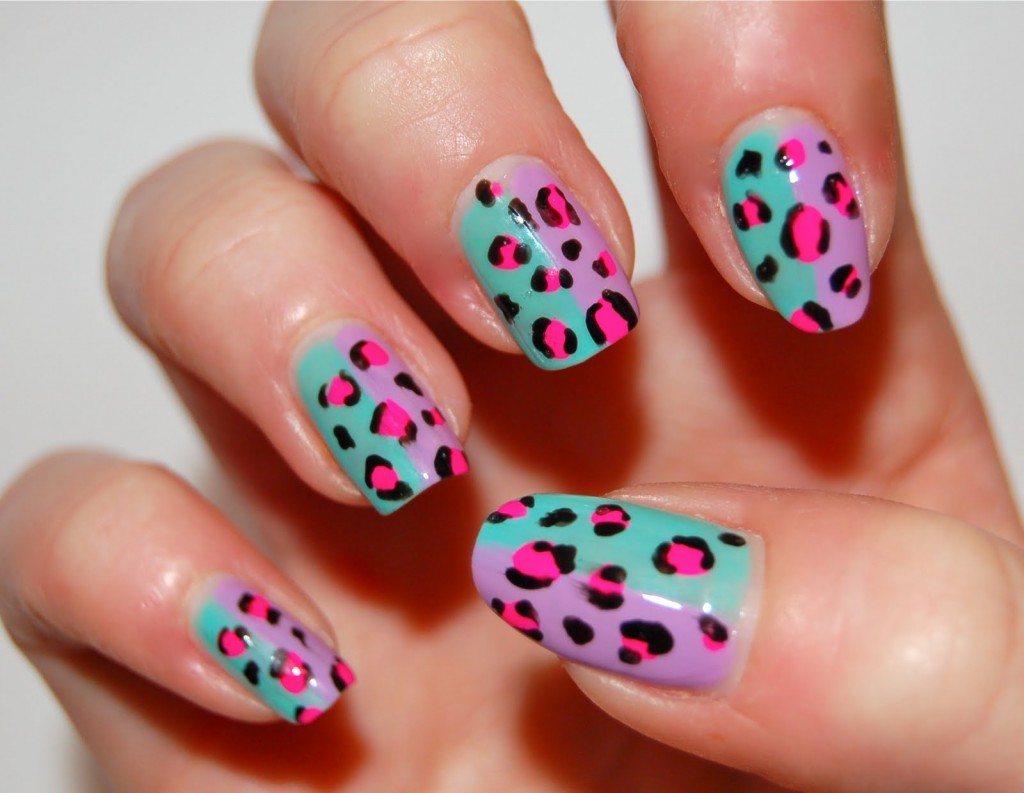
If you're new to nail art or don't have a lot of time on your hands, then this easy leopard print nail art tutorial is perfect for you. It only requires two nail polish colors and a toothpick or small brush, making it a quick and simple design to achieve. Start by applying a base coat to your nails to protect them and help the polish last longer. Once the base coat is dry, apply two coats of your chosen base color. Let it dry completely before moving on to the next step. Next, take your second color and use the toothpick or small brush to create random dots on your nails. These dots will serve as the centers of your leopard spots, so make them different sizes and shapes. Now, use the toothpick or small brush to create a border around the dots. Make sure to leave some space between the border and the dots to create a more realistic look. Repeat this process on all of your nails, creating different patterns and spacing between the spots. You can also add smaller dots in between the leopard spots to add more dimension to the design. Once you're happy with the leopard print pattern, let it dry completely. Then, apply a top coat to seal in the design and add shine to your nails. And that's it! You now have a simple and chic leopard print nail art that will surely turn heads.2. Easy Leopard Print Nail Art


2. Easy Leopard Print Nail Art


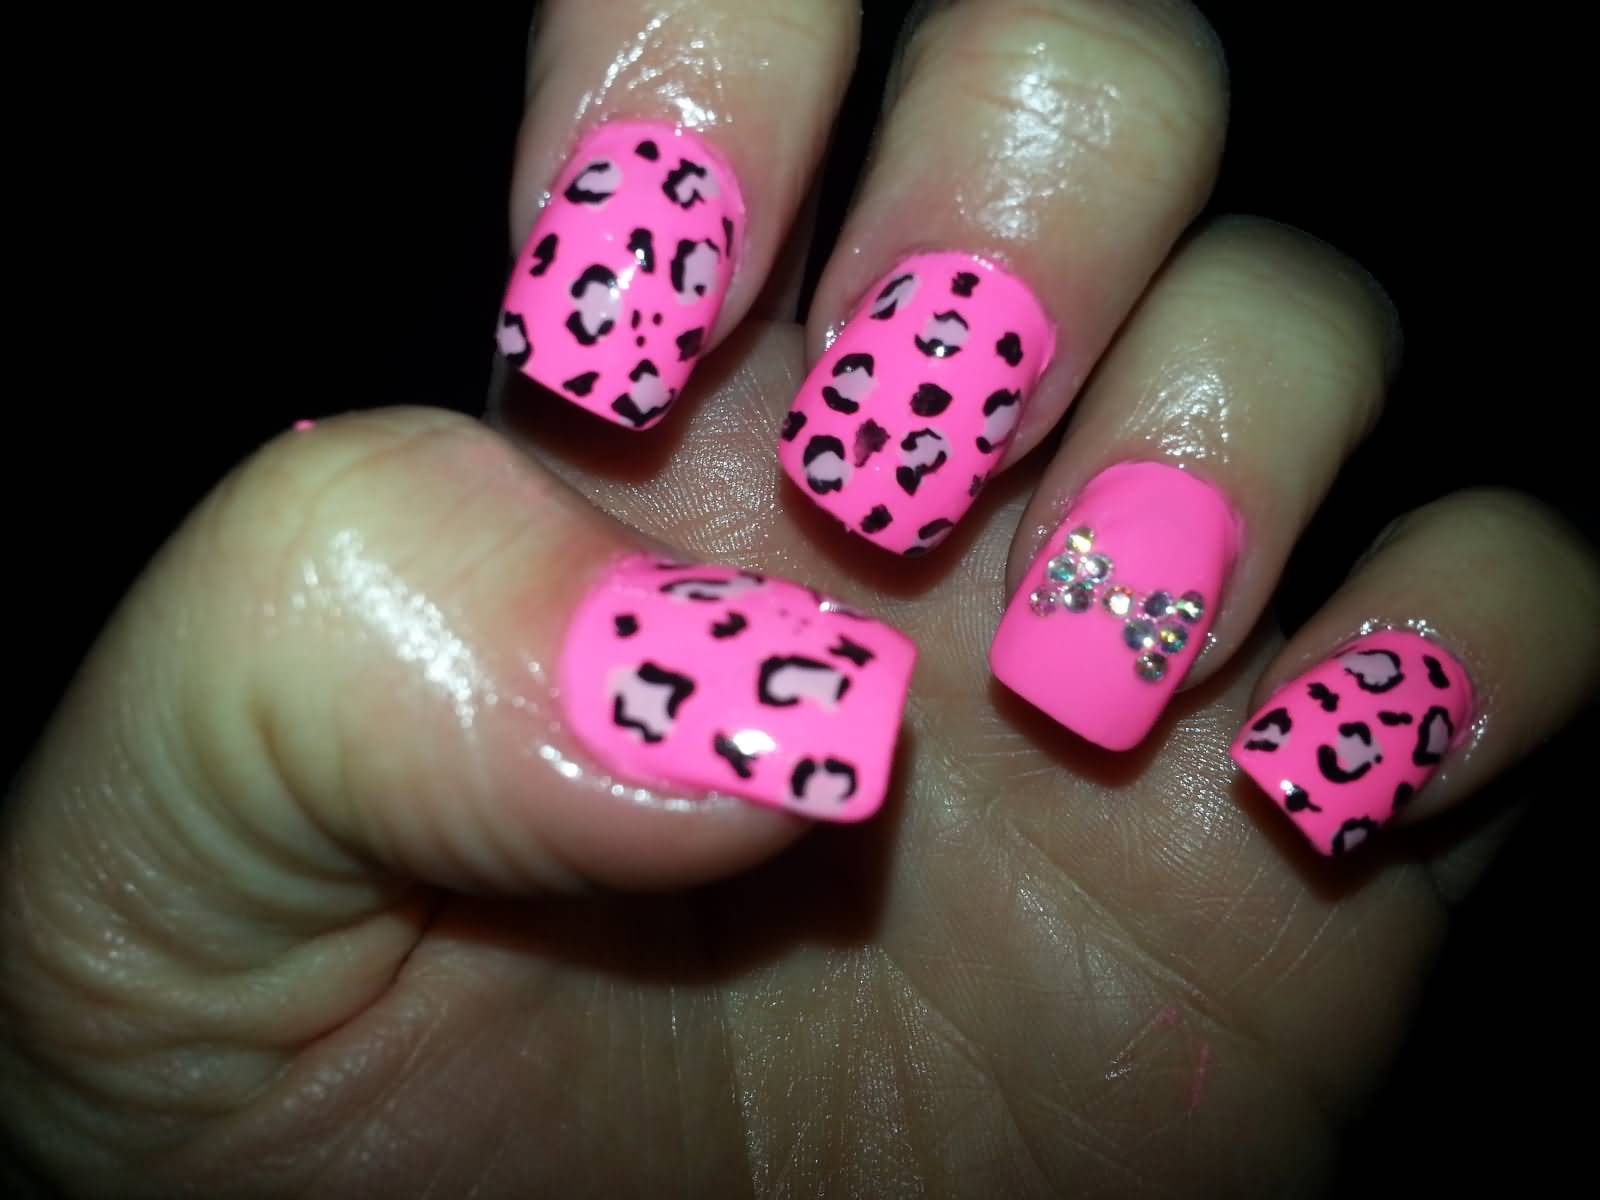

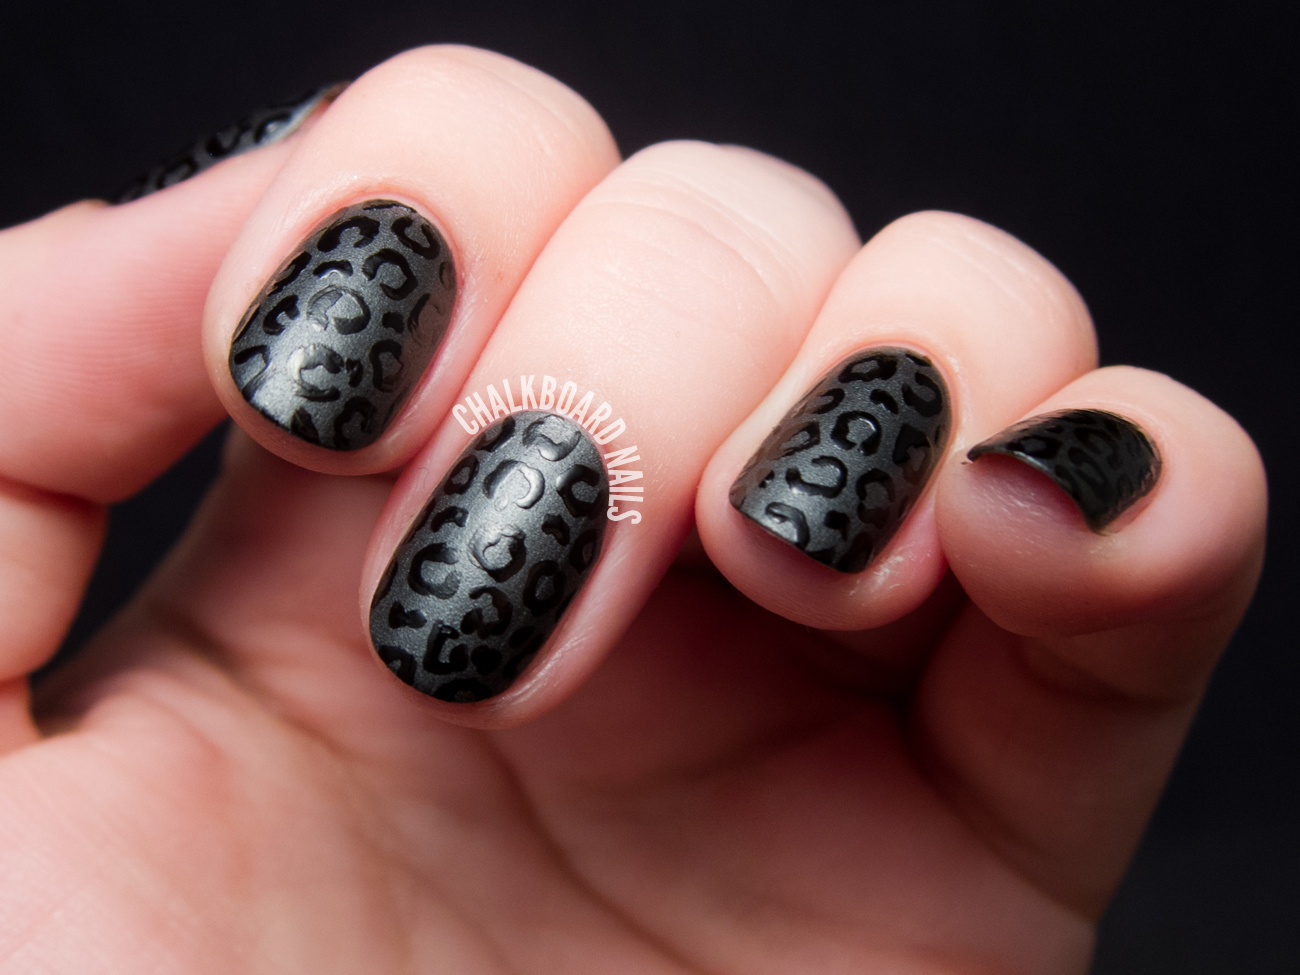
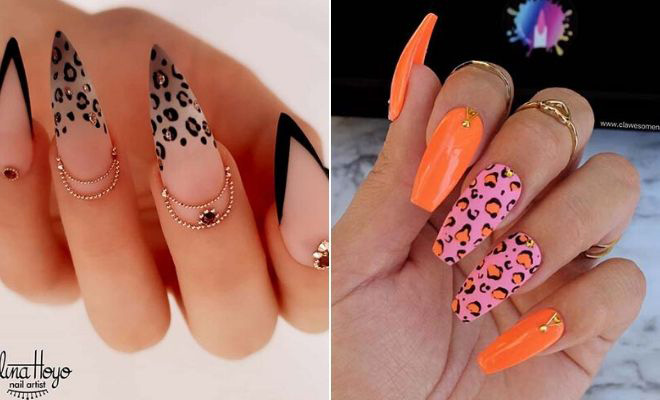
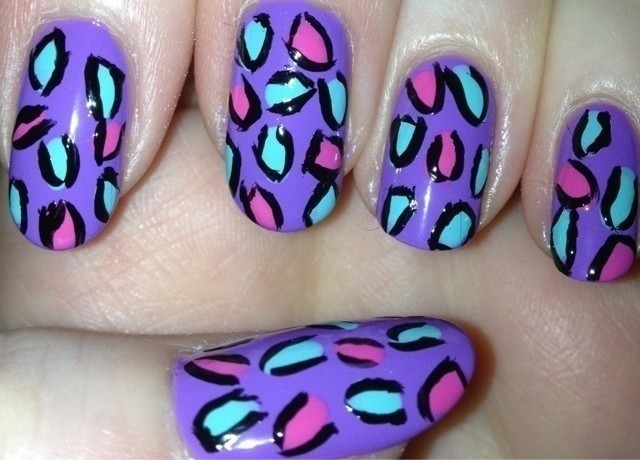
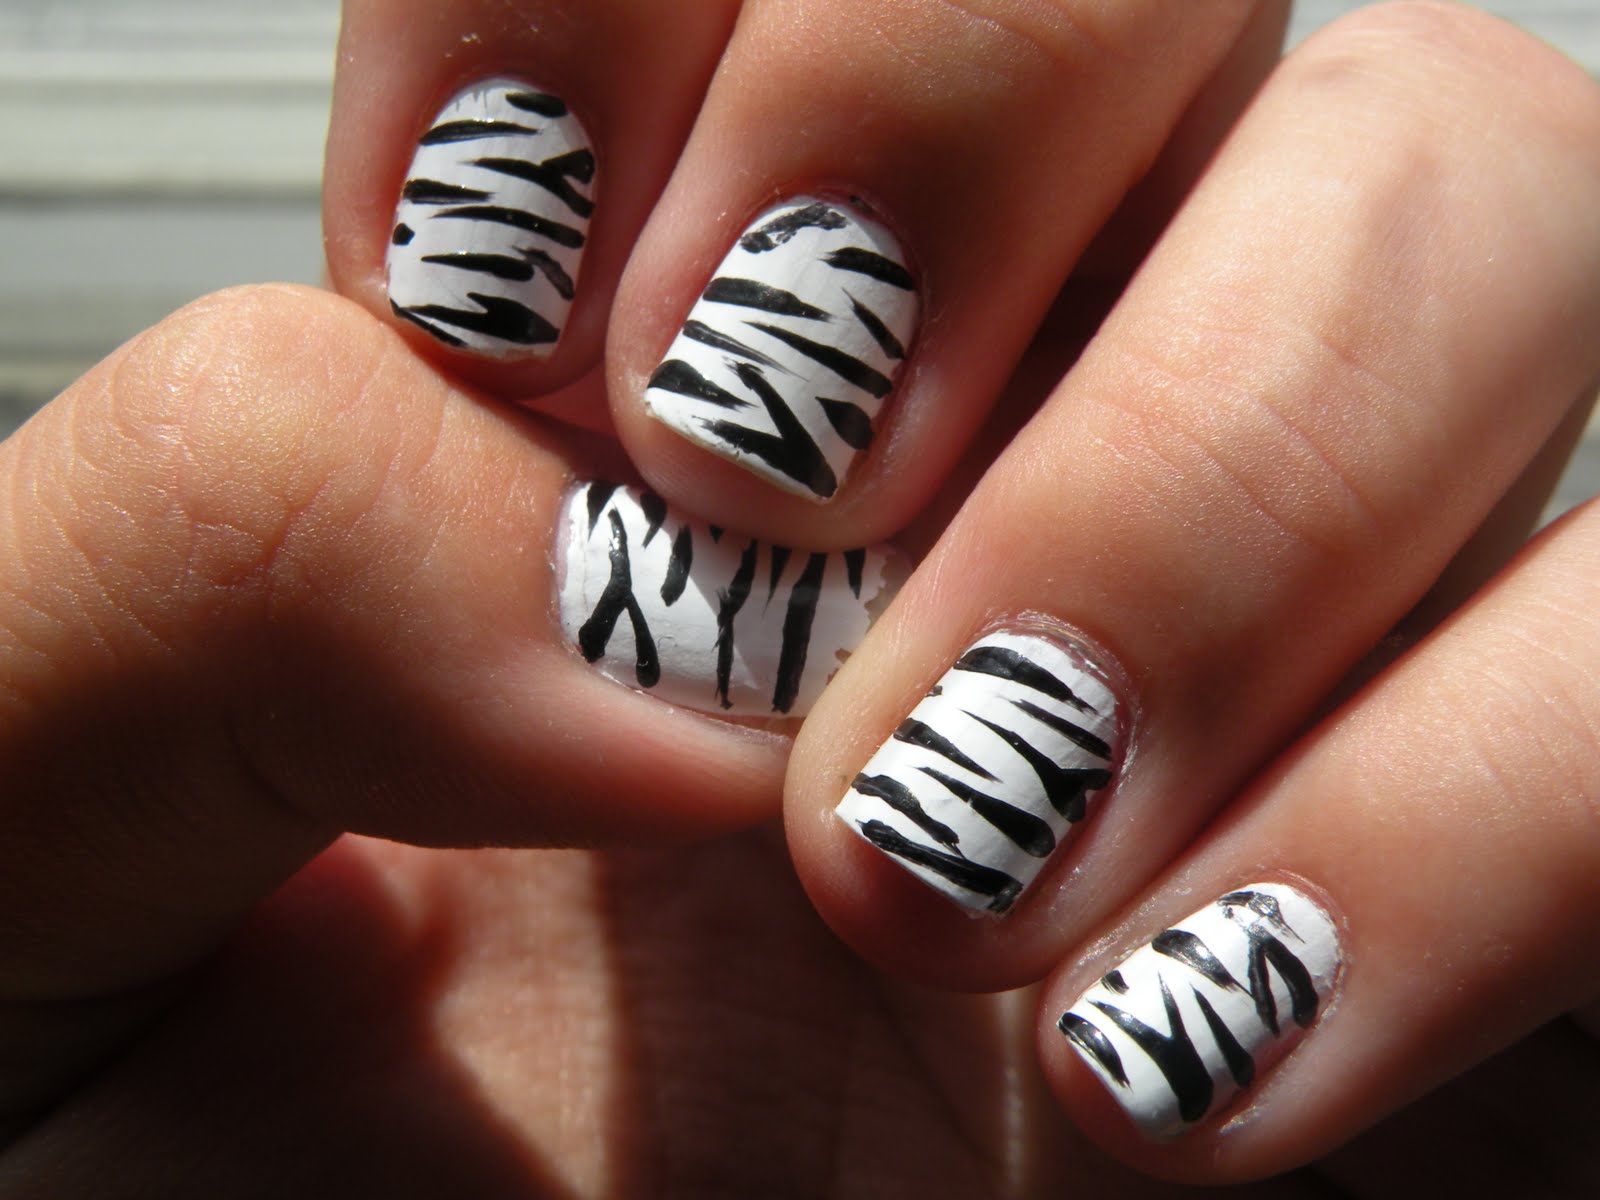
If you're a visual learner, then this step-by-step leopard print nail design tutorial is perfect for you. We'll break down the process into easy-to-follow steps so you can create the perfect leopard print nails. Step 1: Prep your nails by removing any old polish and filing them into your desired shape. Apply a base coat to protect your nails. Step 2: Apply two coats of your chosen base color and let it dry completely. Step 3: Using a dotting tool or toothpick, create random dots on your nails using your second color. Step 4: Use the dotting tool or toothpick to create a border around the dots, leaving some space in between to create the illusion of spots. Step 5: Repeat this process on all of your nails, creating different patterns and spacing between the spots. Step 6: Add smaller dots in between the leopard spots to add more dimension to the design. Step 7: Let the design dry completely before applying a top coat to seal it in and add shine. And there you have it! Stunning leopard print nails in just a few easy steps.3. Step by Step Leopard Print Nails

3. Step by Step Leopard Print Nails


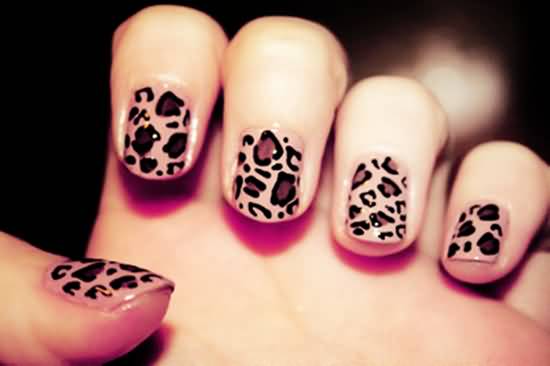
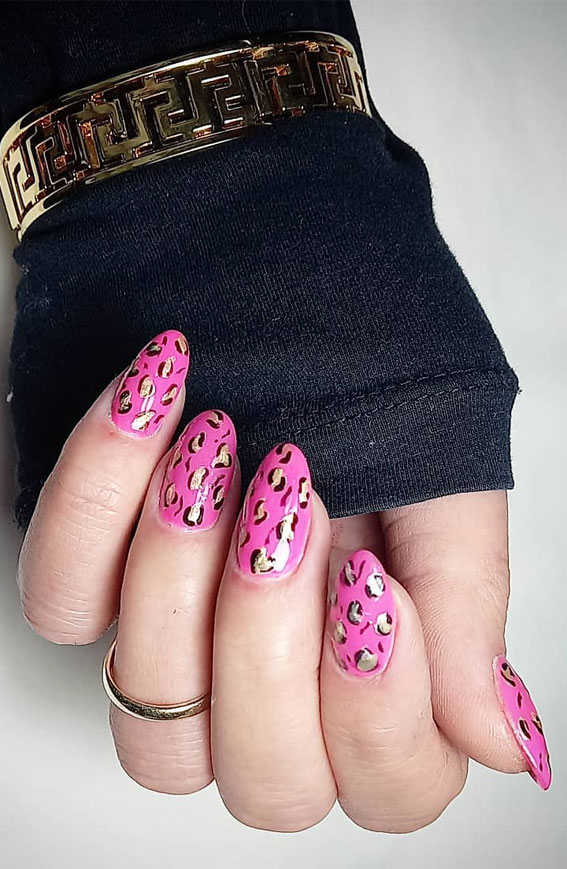
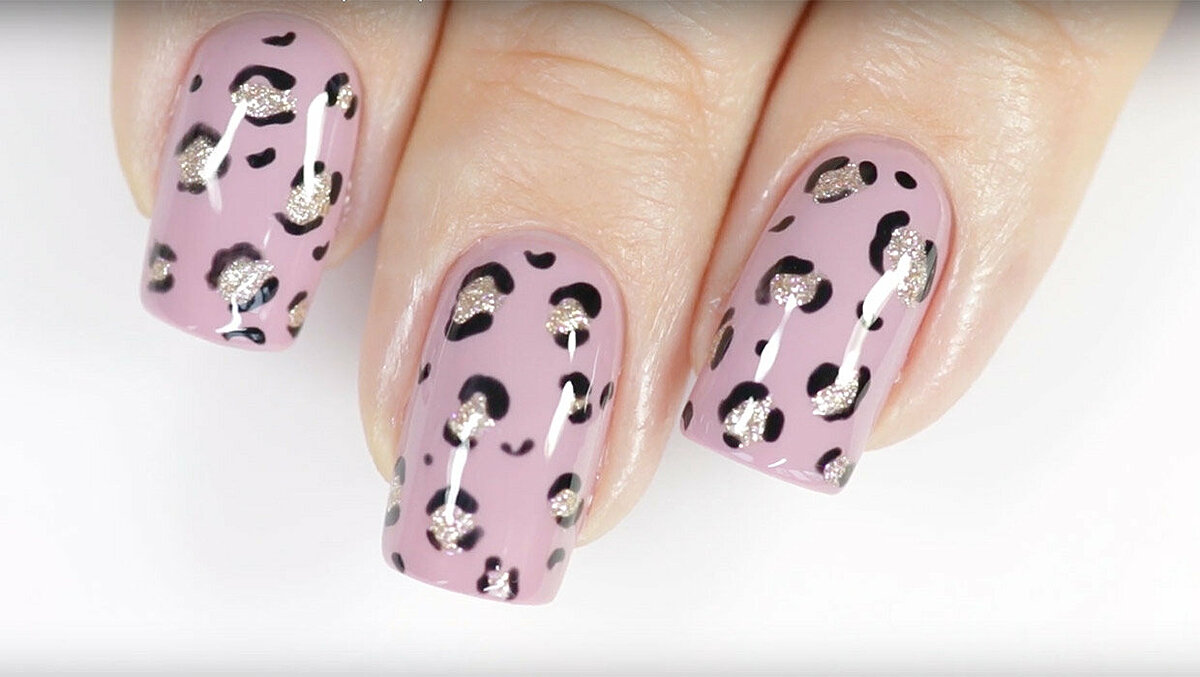
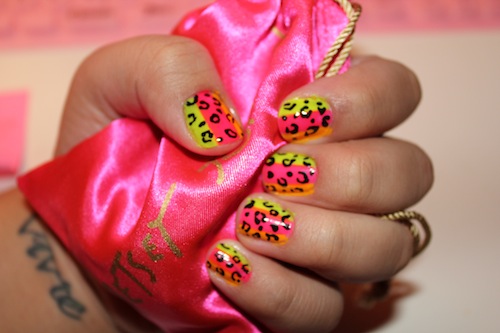
Not everyone has the time or budget to go to a nail salon, but that doesn't mean you can't have beautiful leopard print nails. With this DIY leopard print nail design, you can achieve salon-worthy nails in the comfort of your own home. To start, you'll need a few nail polish colors, a base coat, top coat, and a small dotting tool or toothpick. You can also add in some nail stickers or decals for an extra touch of glam. Start by prepping your nails with a base coat to protect them. Once the base coat is dry, apply two coats of your chosen base color and let it dry completely. Now, take your dotting tool or toothpick and create random dots on your nails using your second color. Make sure to vary the sizes and shapes of the dots for a more realistic look. Next, use the dotting tool or toothpick to create a border around the dots, leaving some space in between to create the illusion of spots. Repeat this process on all of your nails, creating different patterns and spacing between the spots. You can also add in nail stickers or decals for a unique touch. Once you're happy with the design, let it dry completely before applying a top coat to seal it in and add shine. And there you have it! A stunning DIY leopard print nail design.4. DIY Leopard Print Nail Design

4. DIY Leopard Print Nail Design

Are you a beginner in the world of nail art? Don't worry; this leopard print nail design is perfect for you. It's simple and easy to achieve, making it a great design to start with. To start, you'll need a few nail polish colors, a base coat, top coat, and a small dotting tool or toothpick. You can also use nail stickers or decals for an extra touch of glam. First, prep your nails with a base coat to protect them. Once the base coat is dry, apply two coats of your chosen base color and let it dry completely. Next, take your dotting tool or toothpick and create random dots on your nails using your second color. Make sure to vary the sizes and shapes of the dots for a more realistic look. Then, use the dotting tool or toothpick to create a border around the dots, leaving some space in between to create the illusion of spots. Repeat this process on all of your nails, creating different patterns and spacing between the spots. You can also add in nail stickers or decals for a unique touch. Once you're happy with the design, let it dry completely before applying a top coat to seal it in and add shine. And there you have it! A simple yet stunning leopard print nail art for beginners.5. Leopard Print Nail Art for Beginners

5. Leopard Print Nail Art for Beginners

Leopard print nails may seem intimidating to achieve, but with this step-by-step tutorial, you'll be able to create them with ease. Start by prepping your nails with a base coat to protect them. Once the base coat is dry, apply two coats of your chosen base color and let it dry completely. Next, take your dotting tool or toothpick and create random dots on your nails using your second color. Make sure to vary the sizes and shapes of the dots for a more realistic look. Now, use the dotting tool or toothpick to create a border around the dots, leaving some space in between to create the illusion of spots. Repeat this process on all of your nails, creating different patterns and spacing between the spots. You can also add in smaller dots in between the leopard spots to add more dimension to the design. Once you're happy with the leopard print pattern, let it dry completely. Then, apply a top coat to seal in the design and add shine to your nails. And there you have it! Leopard print nails that will make a statement.6. How to Create Leopard Print Nails

6. How to Create Leopard Print Nails


If you're a fan of gel polish, then you'll love this leopard print nail design. It's long-lasting and perfect for those who want their nails to stay flawless for weeks. To start, you'll need a few gel polish colors, a base coat, top coat, and a small dotting tool or toothpick. You can also use gel nail stickers or decals for an extra touch of glam. First, prep your nails with a base coat to protect them. Once the base coat is dry, apply two coats of your chosen base color and cure each coat under a UV or LED lamp. Next, take your dotting tool or toothpick and create random dots on your nails using your second gel polish color. Cure the dots under the lamp. Now, use the dotting tool or toothpick to create a border around the dots, leaving some space in between to create the illusion of spots. Cure this under the lamp as well. Repeat this process on all of your nails, creating different patterns and spacing between the spots. You can also add in gel nail stickers or decals for a unique touch. Cure everything under the lamp one last time. Once everything is cured, apply a top coat to seal in the design and add shine. Cure this under the lamp and wipe off any tacky residue with a gel cleanser. And there you have it! A stunning leopard print nail design with gel polish.7. Leopard Print Nail Design with Gel Polish
7. Leopard Print Nail Design with Gel Polish

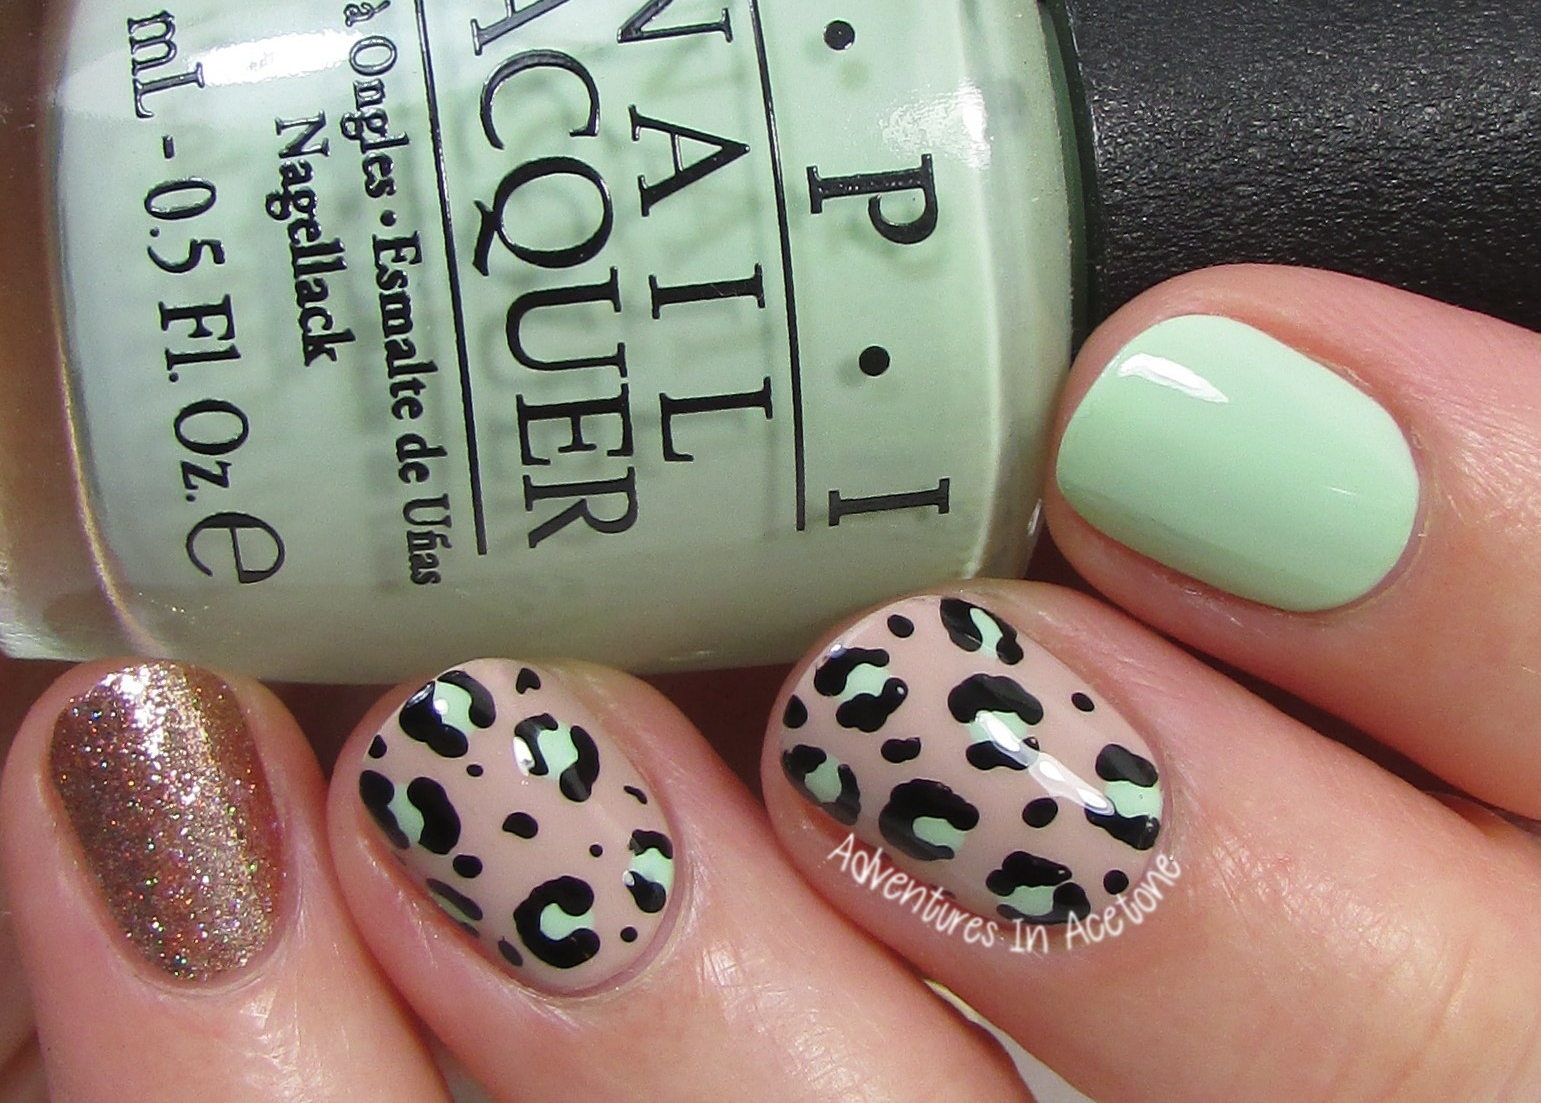
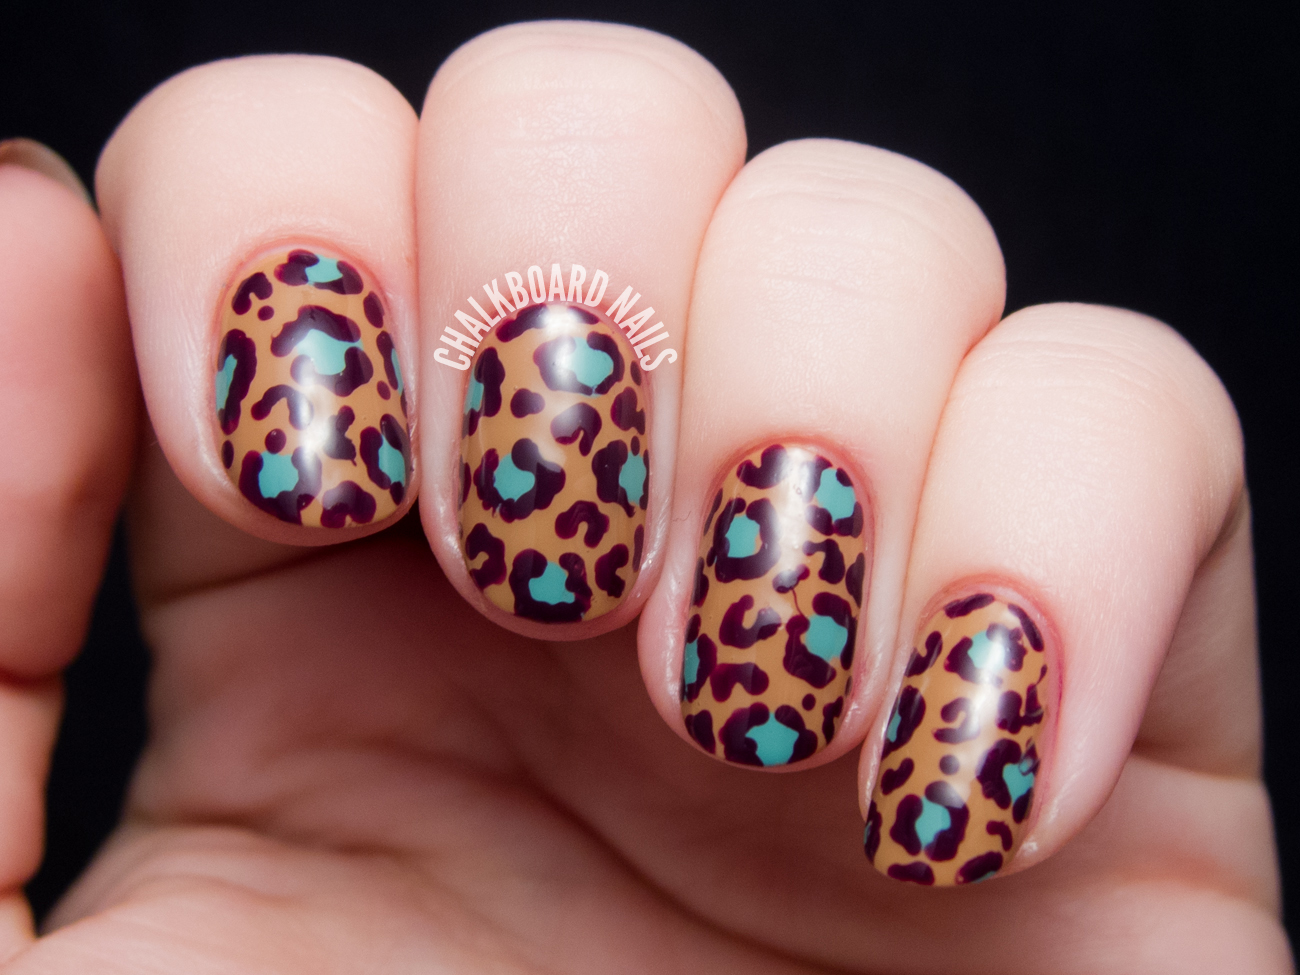
Acrylic paint is a great alternative to traditional nail polish when it comes to nail art. It's easy to work with and provides more control over the design. Follow this tutorial to create a beautiful leopard print nail design with acrylic paint. First, prep your nails by removing any old polish and filing them into your desired shape. Then, apply a base coat to protect your nails. Next, apply two coats of your chosen base color and let it dry completely. Now, take your acrylic paint and a small brush and create random dots on your nails using your second color. Make sure to vary the sizes and shapes of the dots for a more realistic look. Then, use the brush to create a border around the dots, leaving some space in between to create the illusion of spots. Repeat this process on all of your nails, creating different patterns and spacing between the spots. You can also add in smaller dots in between the leopard spots to add more dimension to the design. Once you're happy with the leopard print pattern, let it dry completely. Then, apply a top coat to seal in the design and add shine to your nails. And that's it! Beautiful leopard print nails using acrylic paint.8. Leopard Print Nail Design with Acrylic Paint

8. Leopard Print Nail Design with Acrylic Paint


Stamping is a popular technique in nail art that allows you to create intricate designs with ease. Follow this tutorial to create a stunning leopard print nail design using stamping. First, prep your nails by removing any old polish and filing them into your desired shape. Then, apply a base coat to protect your nails. Next, apply two coats of your chosen base color and let it dry completely. Now, take a stamping plate with a leopard print pattern and a stamping tool. Apply black stamping polish onto the pattern and use the stamping tool to transfer the design onto your nails. Repeat this process on all of your nails, creating different patterns and spacing between the spots. You can also use different colors for the leopard print pattern if you'd like. Once you're happy with the design, let it dry completely before applying a top coat to seal it in and add shine. And there you have it! A beautiful leopard print nail design with stamping.9. Leopard Print Nail Design with Stamping


9. Leopard Print Nail Design with Stamping

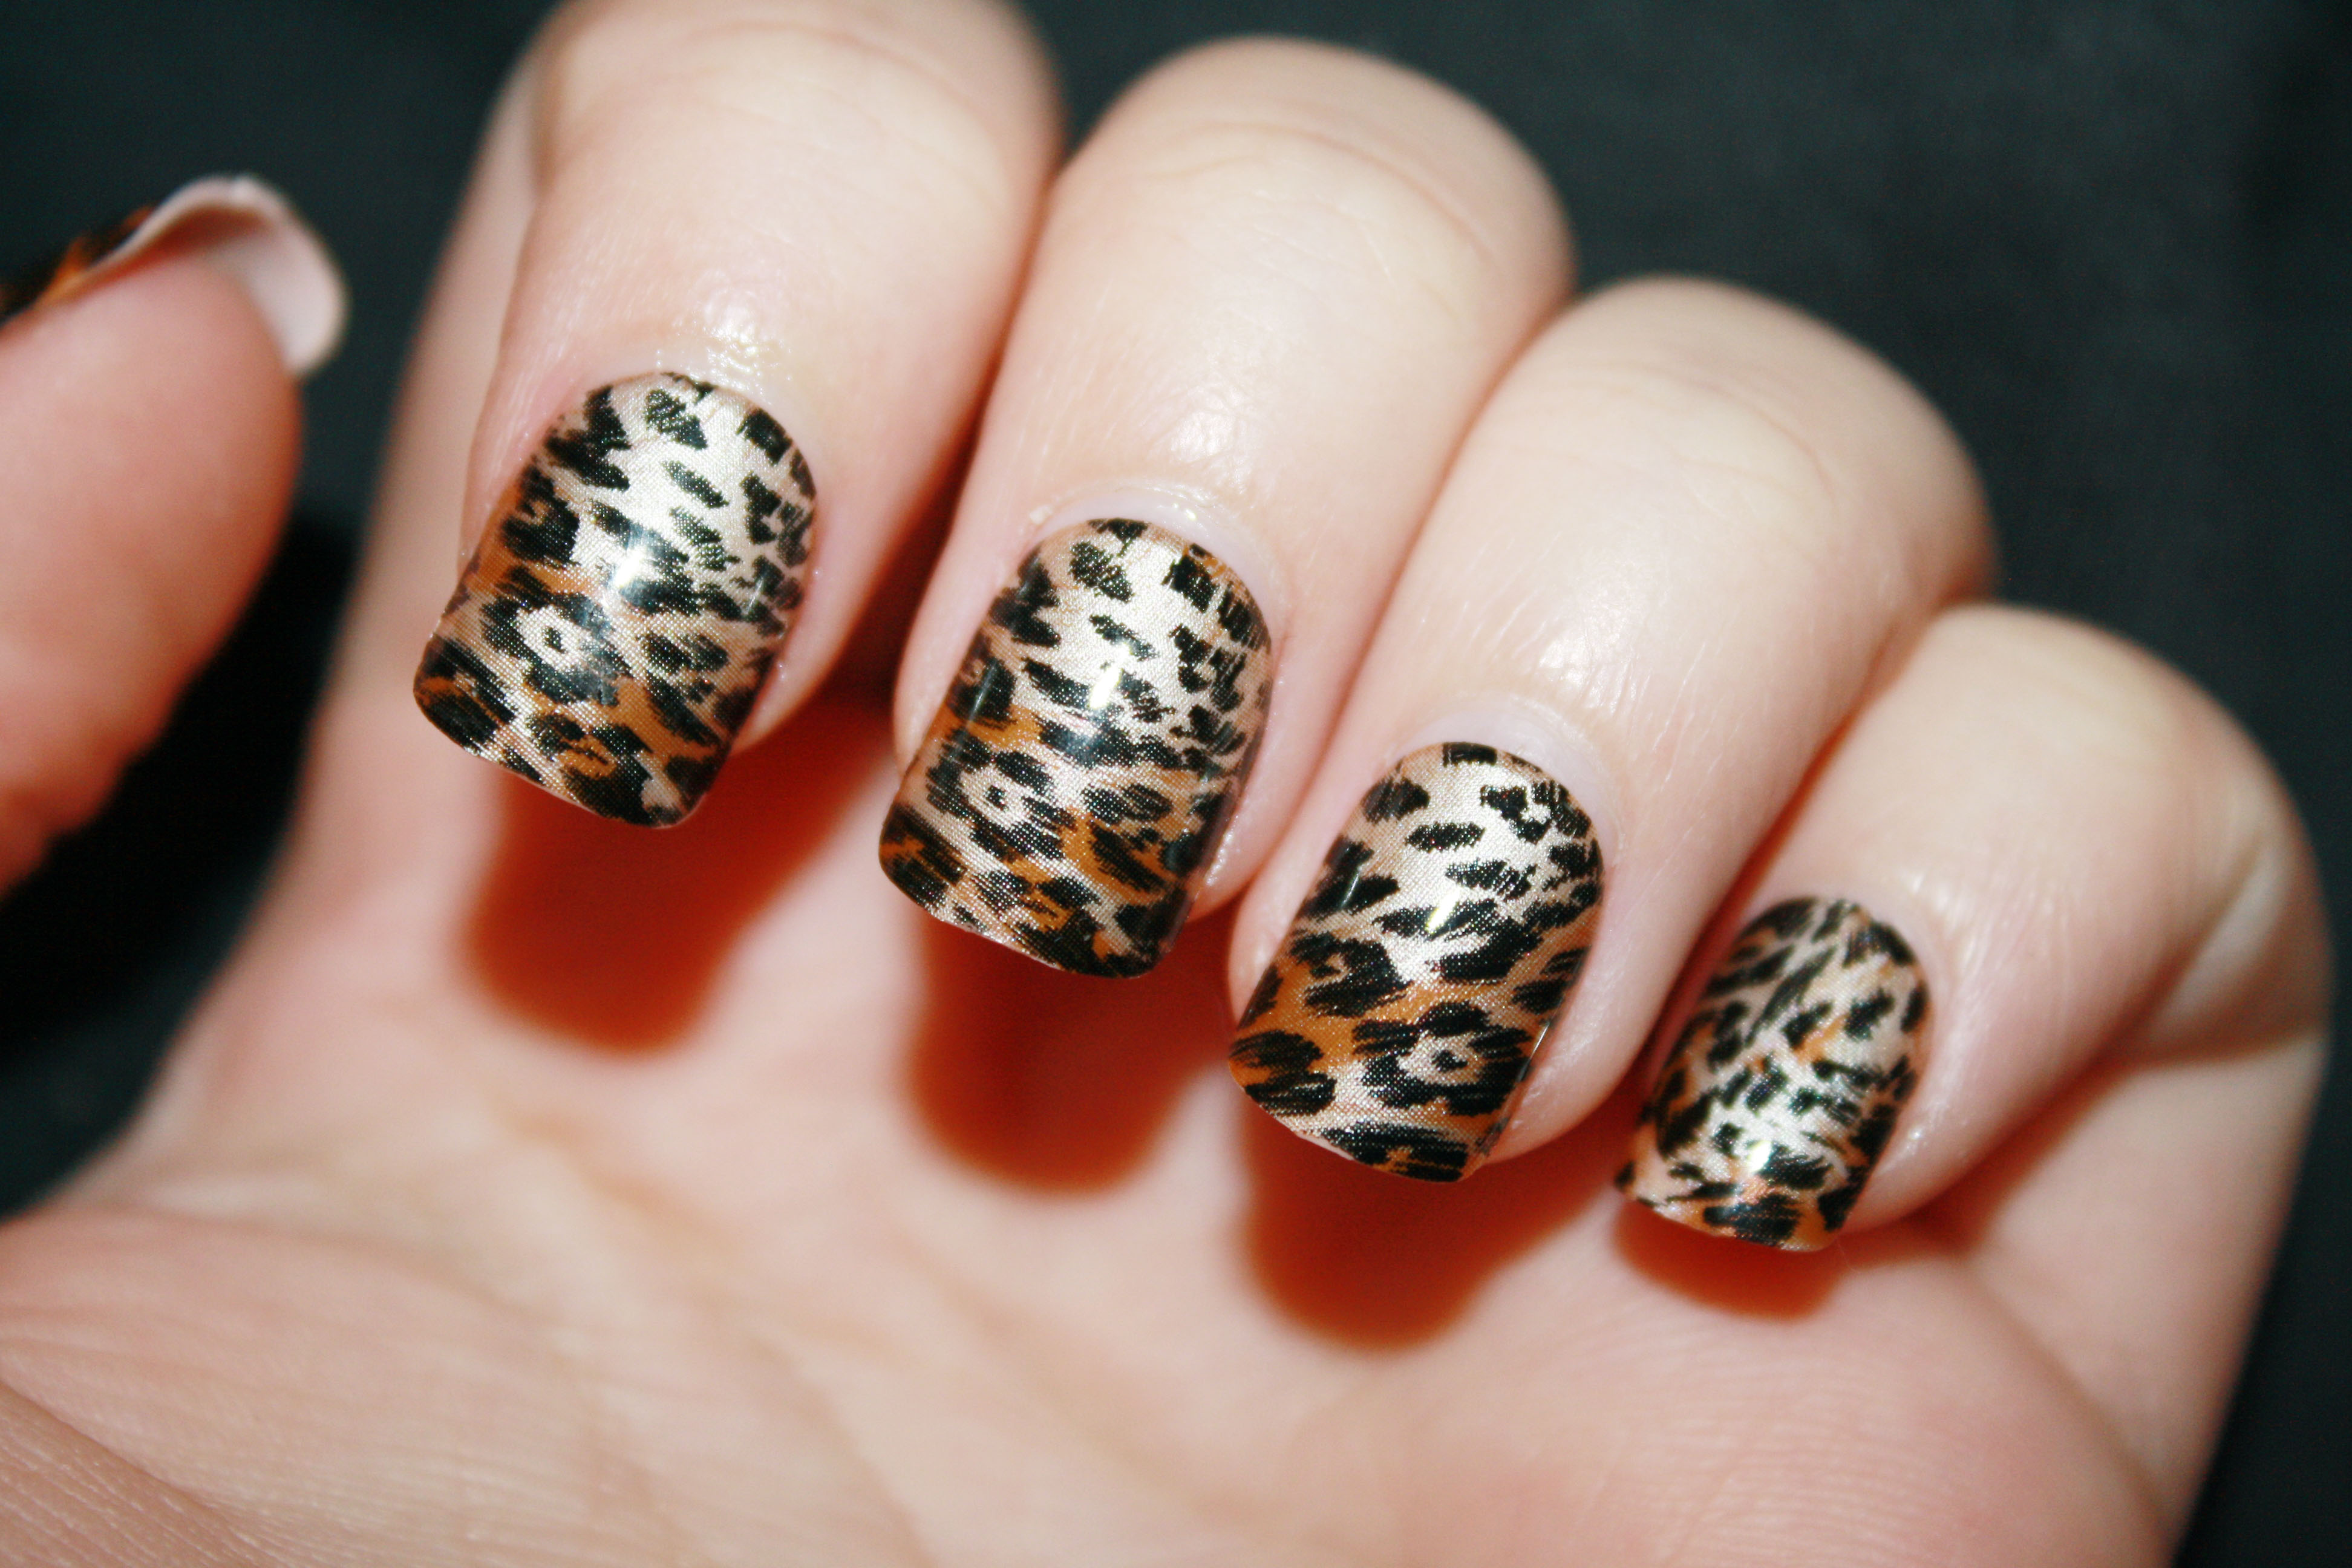
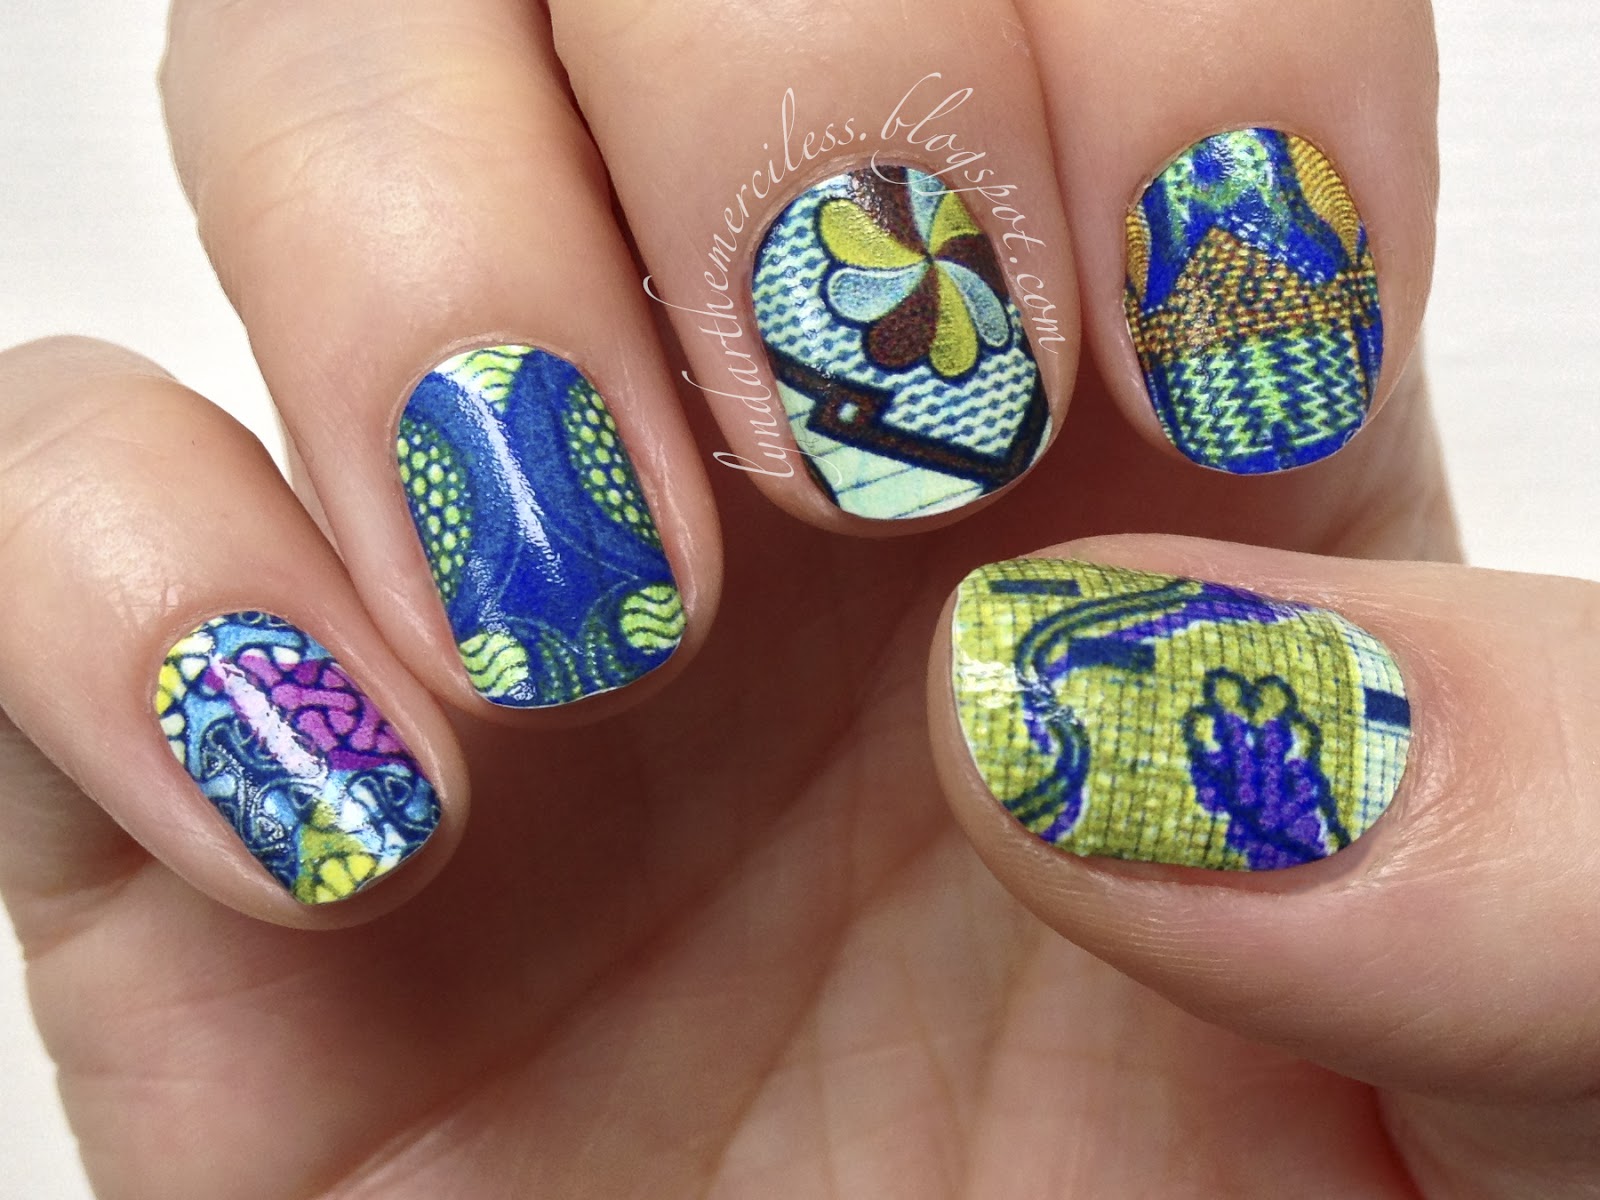
If you're not confident in your nail art skills, then nail wraps are a great option for achieving a stunning leopard print design. Follow this tutorial to create leopard print nails using nail wraps. First, prep your nails by removing any old polish and filing them into your desired shape. Then, apply a base coat to protect your nails. Next, apply two coats of your chosen base color and let it dry completely. Now, take your nail wraps with a leopard print design and apply them to your nails following the instructions on the package. Once all of your nails are covered with the nail wraps, use a nail file to file off any excess wrap and seal the edges with a top coat. And there you have it! Beautiful leopard print nails with minimal effort.10. Leopard Print Nail Design with Nail Wraps
10. Leopard Print Nail Design with Nail Wraps

Creating a Leopard Print Nail Design: A Step-by-Step Guide

Bringing the Wild into Your Nail Art
 When it comes to nail designs, the possibilities are endless. From simple solid colors to intricate patterns, there is something for everyone. One trend that has been gaining popularity is the
leopard print nail design
. This fierce and stylish design is perfect for those looking to add a touch of wildness to their nails. In this article, we will guide you through the steps to create your very own leopard print nail design.
When it comes to nail designs, the possibilities are endless. From simple solid colors to intricate patterns, there is something for everyone. One trend that has been gaining popularity is the
leopard print nail design
. This fierce and stylish design is perfect for those looking to add a touch of wildness to their nails. In this article, we will guide you through the steps to create your very own leopard print nail design.
Gather Your Materials
 Before diving into the actual design process, make sure you have all the necessary materials. This includes a base coat, top coat,
nail polish
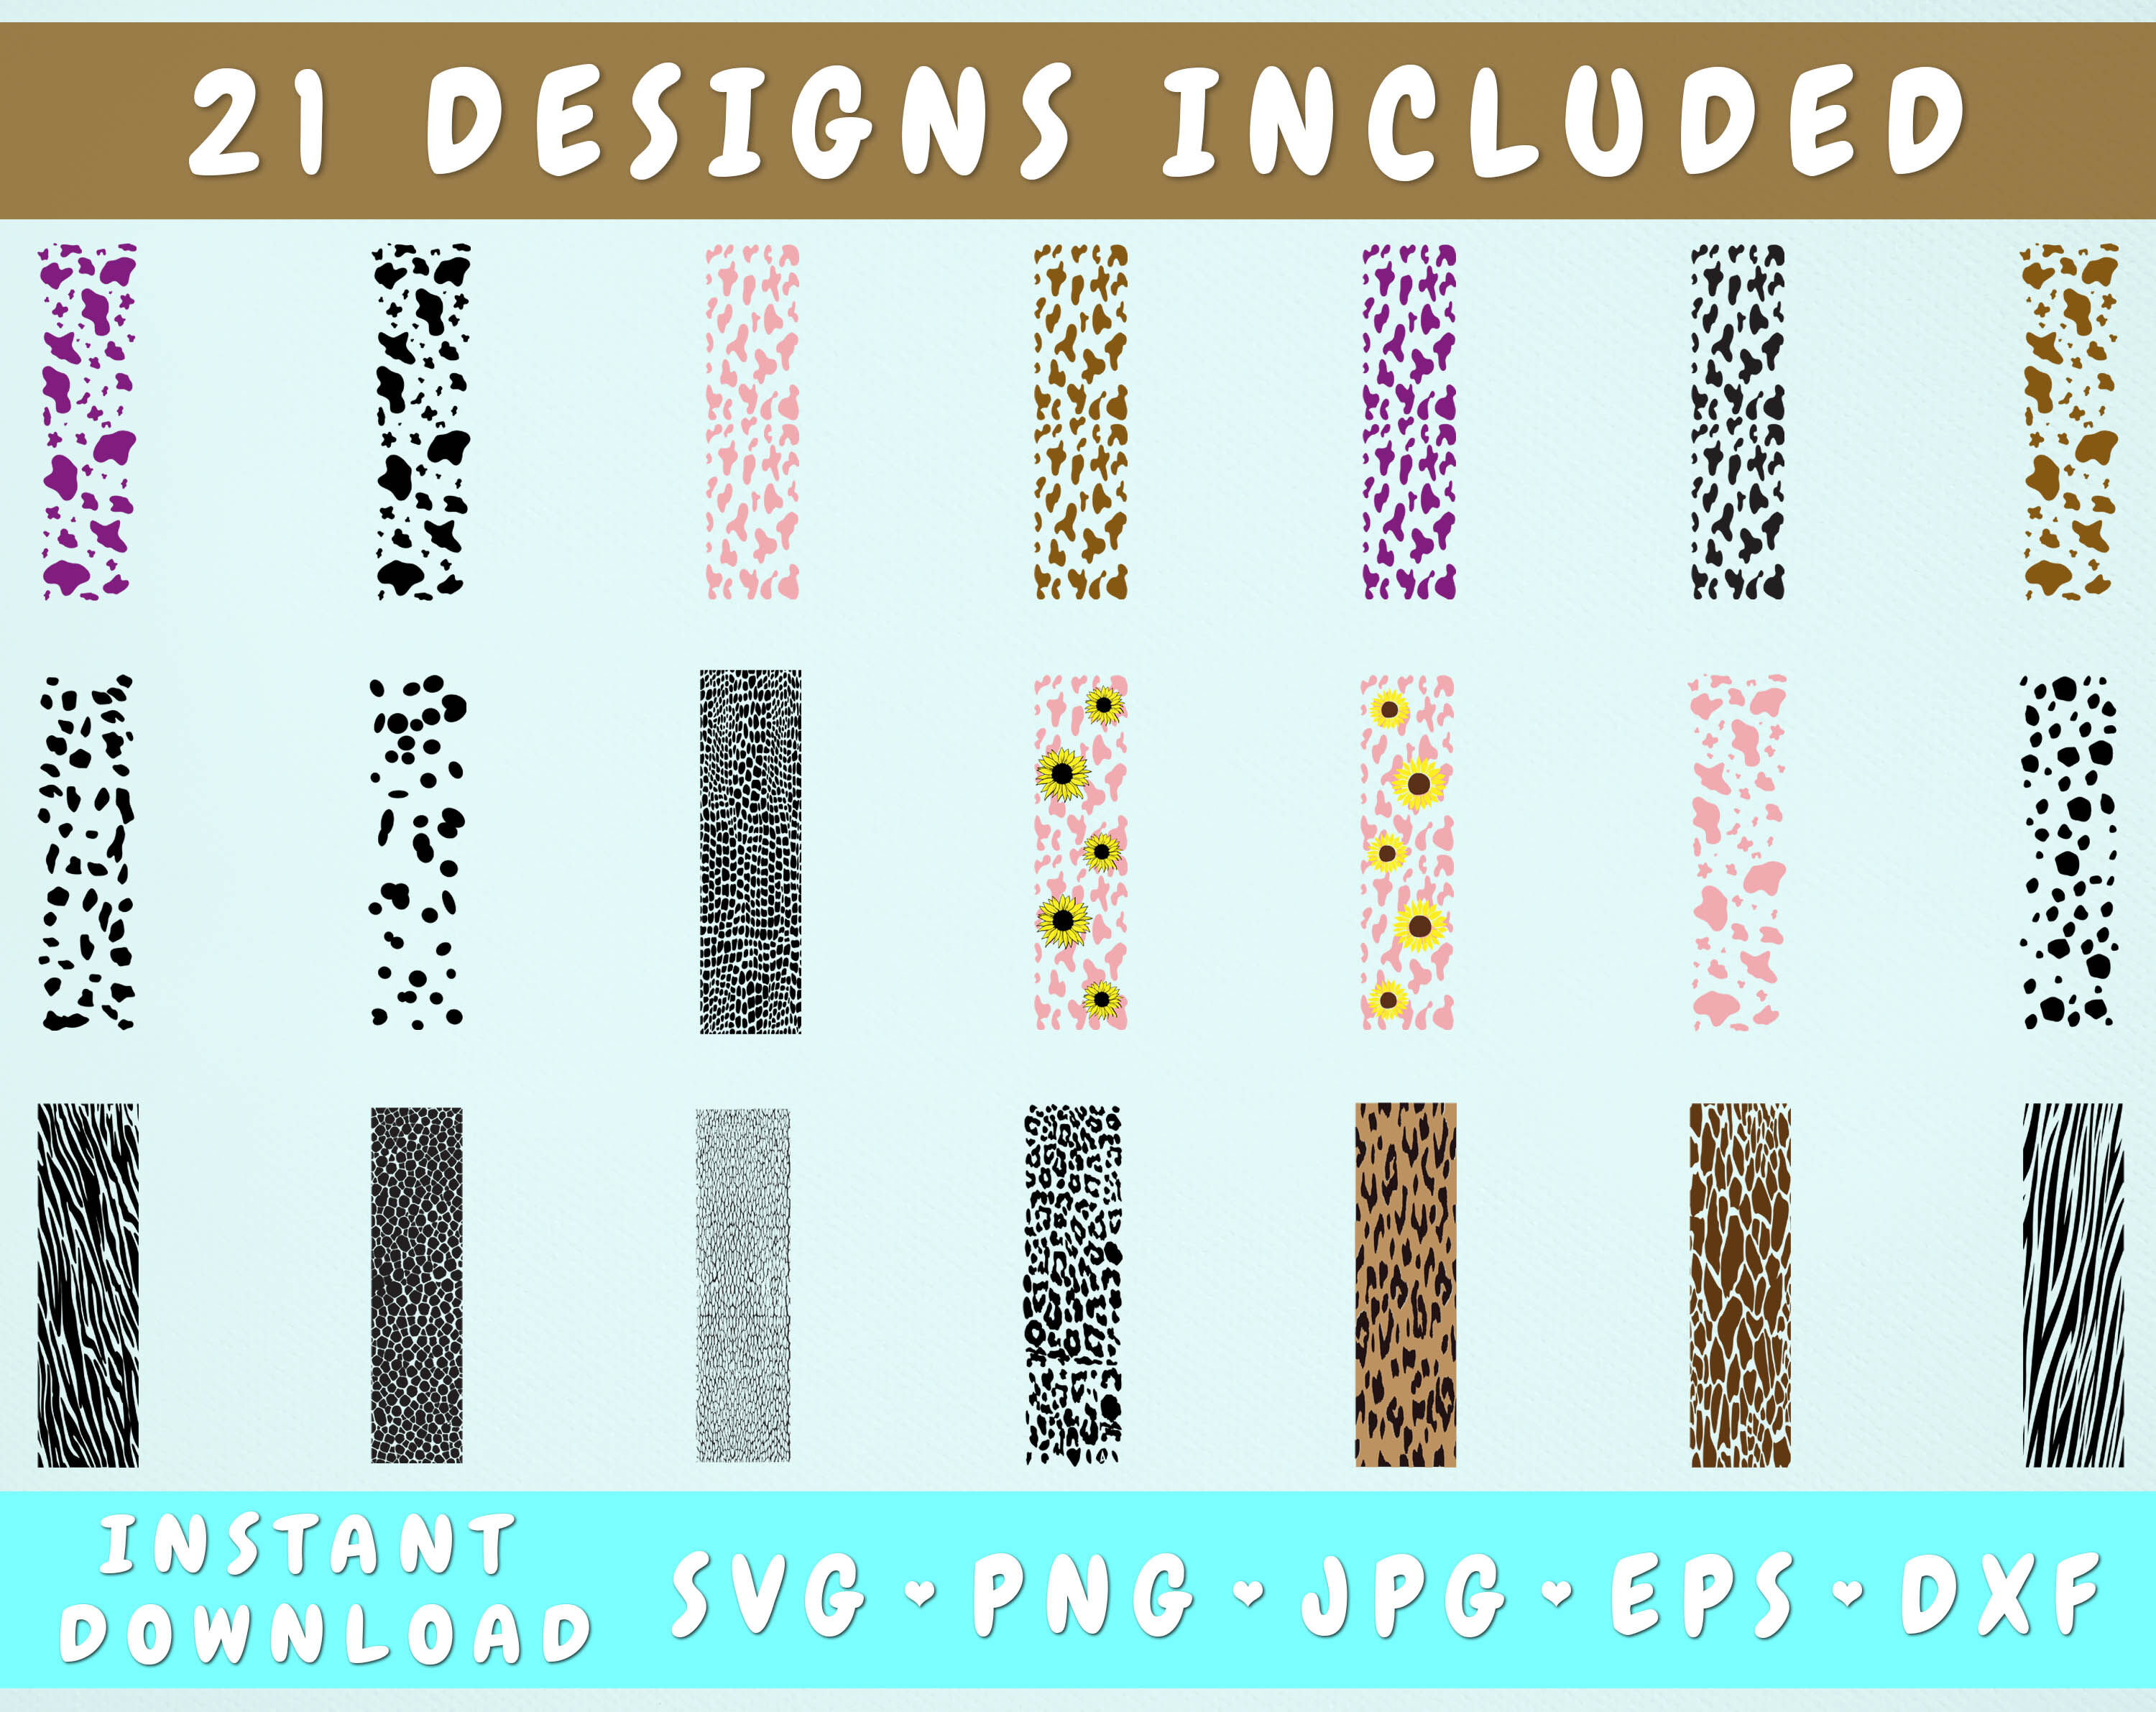
in the colors of your choice, a thin nail art brush or toothpick, and a
leopard print stencil
. The stencil can be purchased from a beauty supply store or easily made at home using a piece of plastic or paper with small holes punched in it.
Before diving into the actual design process, make sure you have all the necessary materials. This includes a base coat, top coat,
nail polish
in the colors of your choice, a thin nail art brush or toothpick, and a
leopard print stencil
. The stencil can be purchased from a beauty supply store or easily made at home using a piece of plastic or paper with small holes punched in it.
Prep Your Nails
 Start by removing any old nail polish and shaping your nails to your desired length and shape. Next, apply a base coat to protect your nails from staining and to help the polish adhere better. Let the base coat dry completely before moving on to the next step.
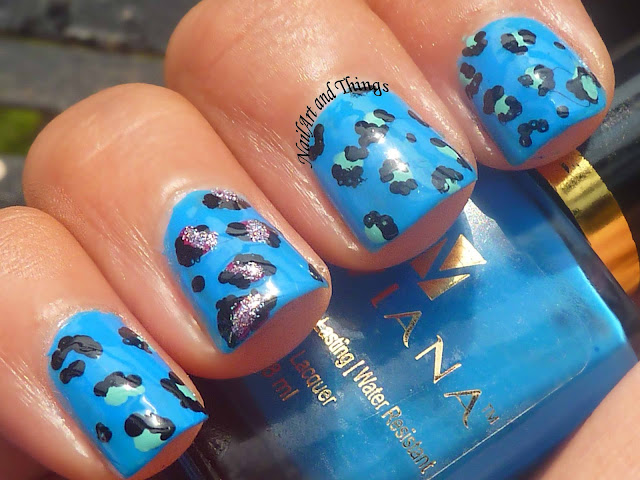
Apply the Base Color
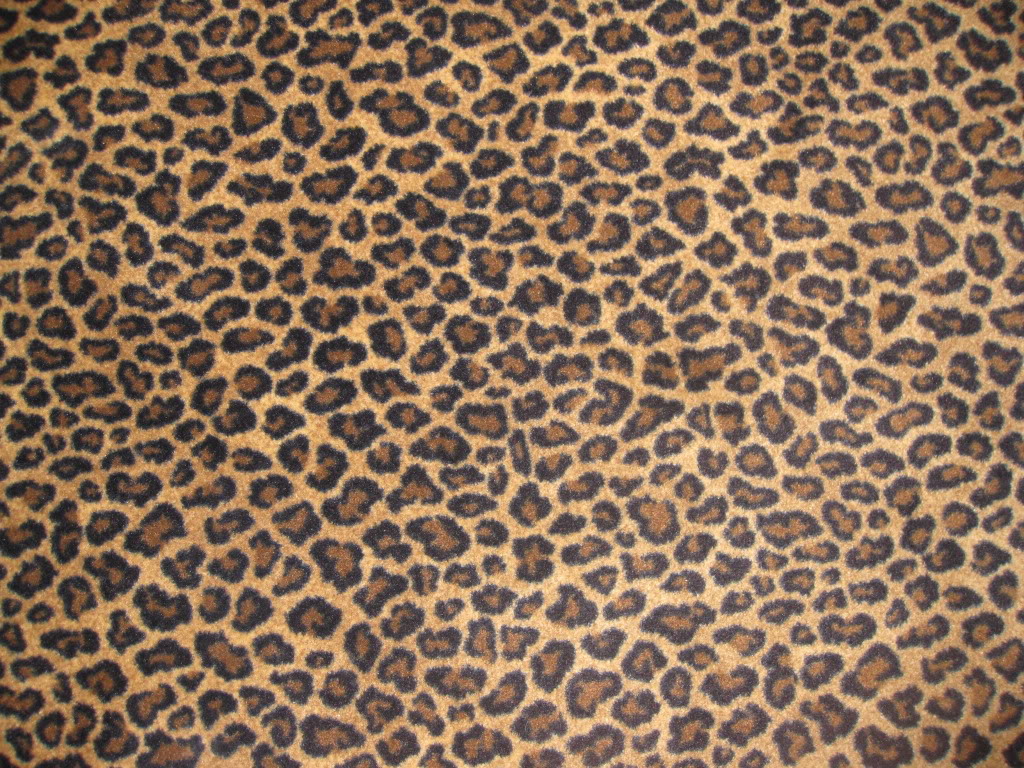
 Choose a color for your base coat that will complement the
leopard print
design. This can be a neutral color like beige, white, or black, or a fun pop of color like red or blue. Apply 1-2 coats of your chosen color and let it dry completely.
Choose a color for your base coat that will complement the
leopard print
design. This can be a neutral color like beige, white, or black, or a fun pop of color like red or blue. Apply 1-2 coats of your chosen color and let it dry completely.
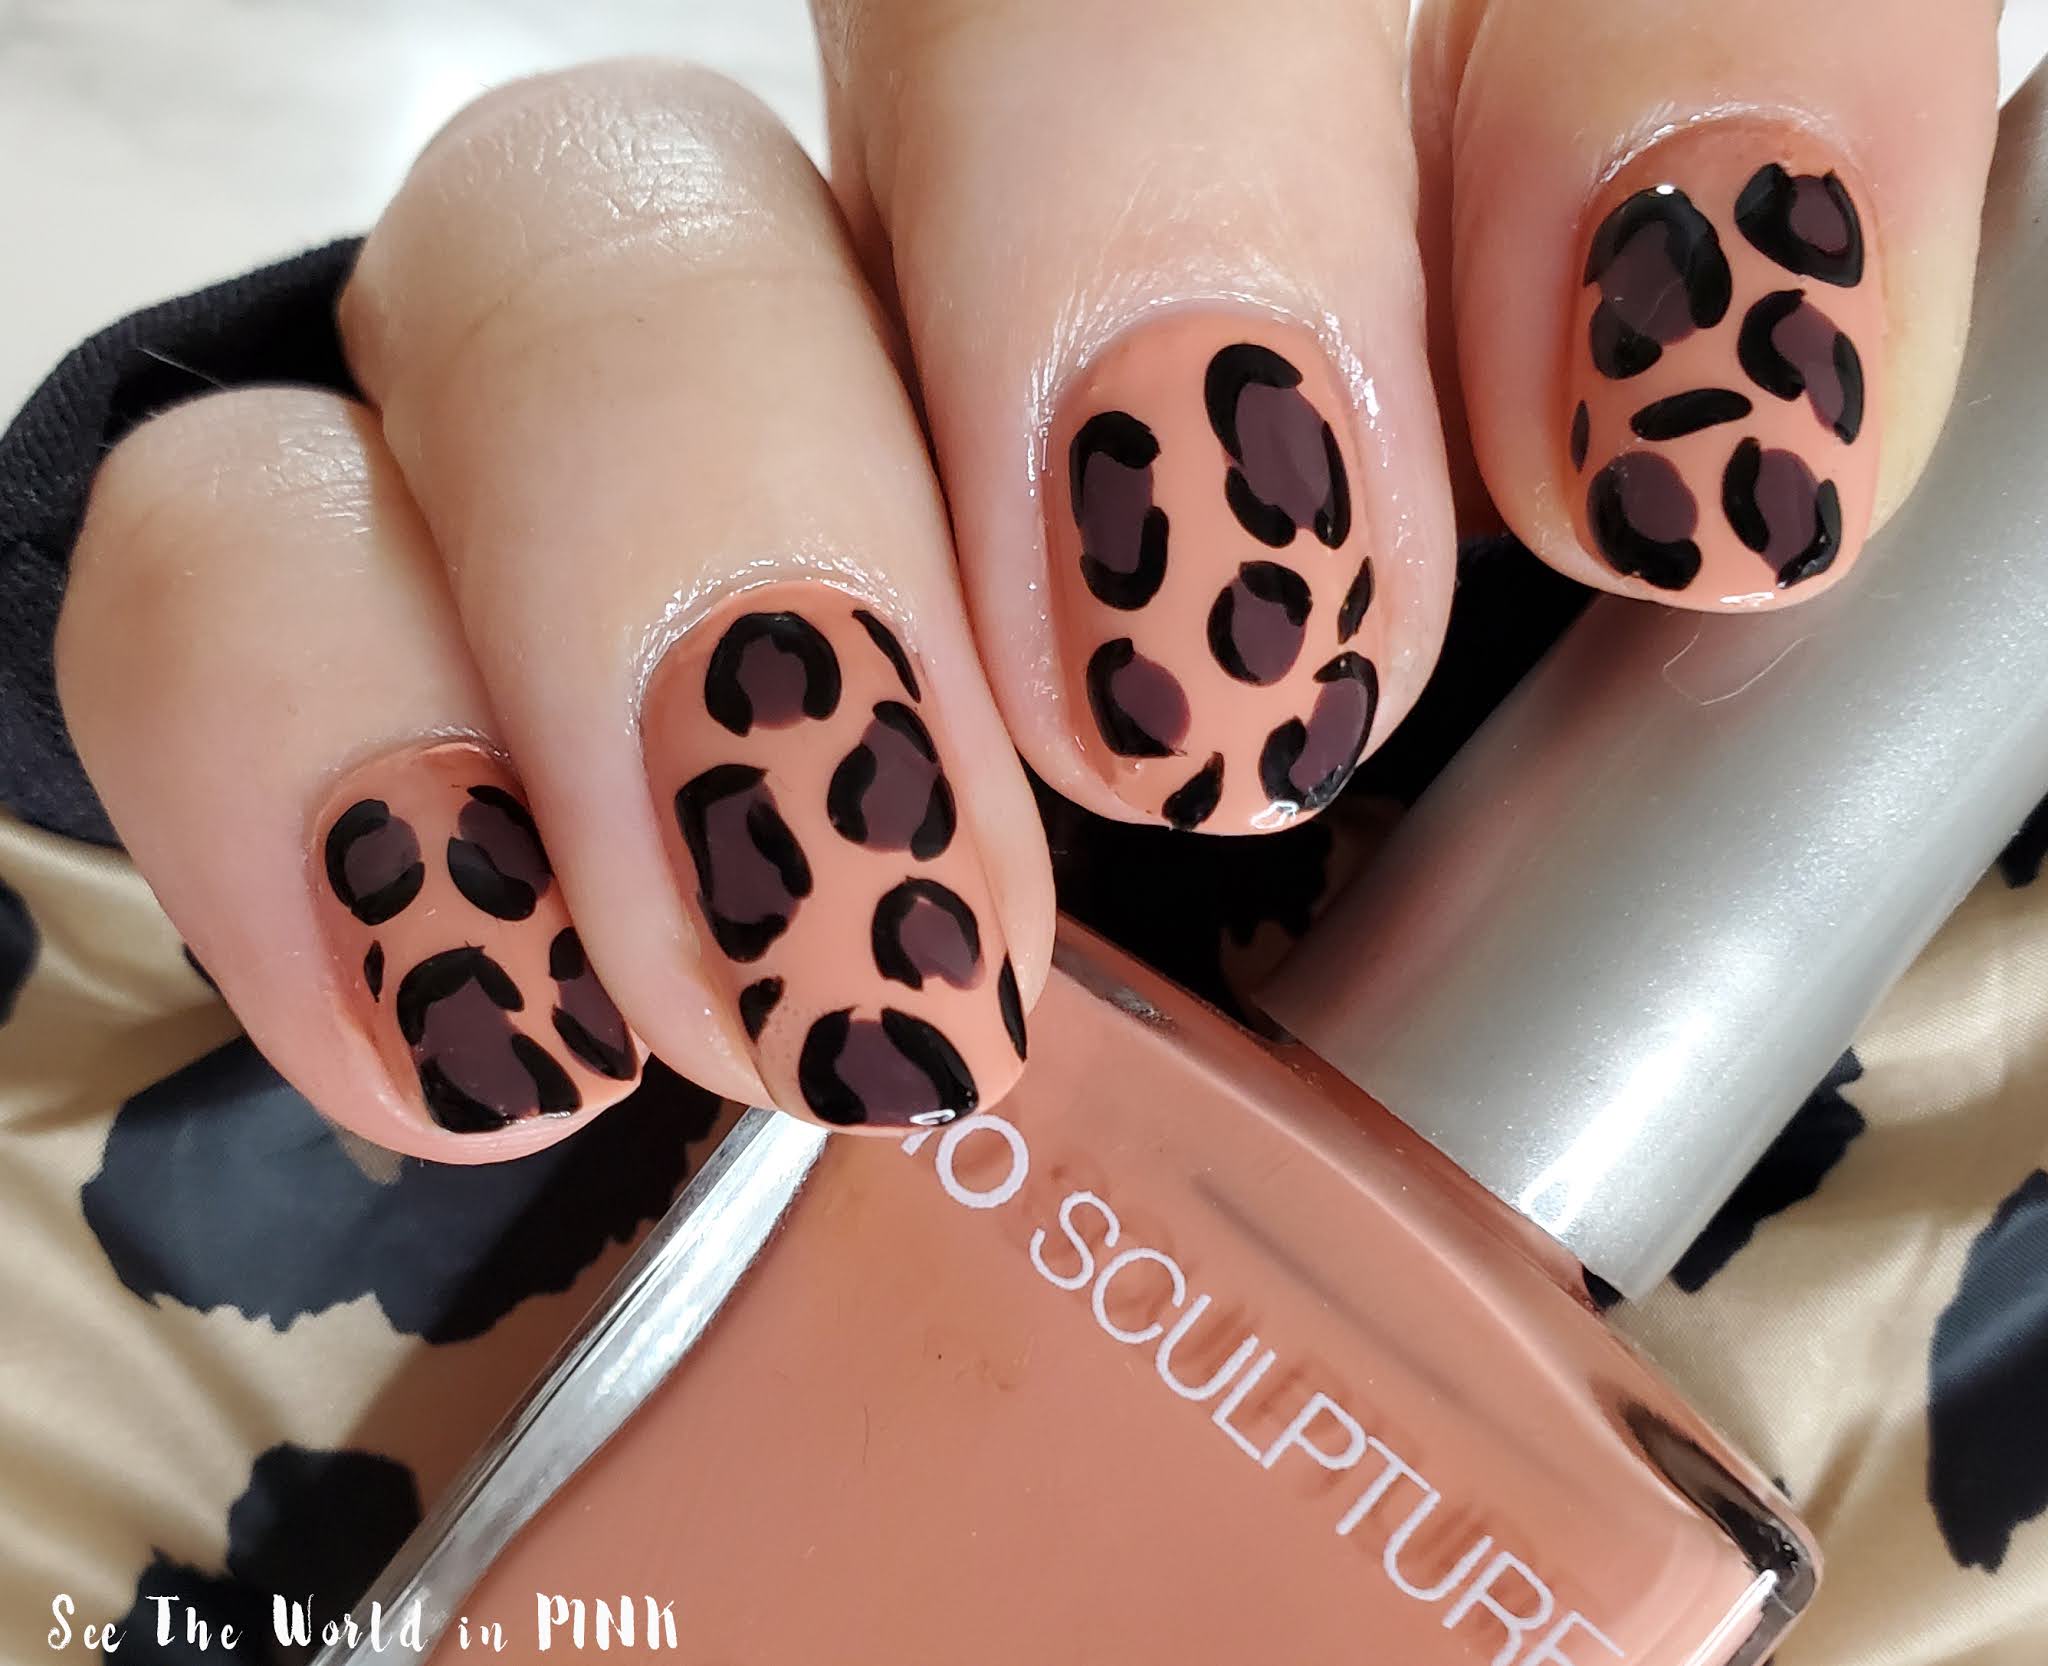
Create the Leopard Print
 Using your nail art brush or toothpick, dip it into the second color of your choice and create random splotches on your nails. These will serve as the base for your leopard spots. Make sure to leave some space between the splotches for the third color.
Next, use your stencil or toothpick to create the
leopard spots
on top of the splotches. This can be done by dipping your tool into the third color and creating small circles or irregular shapes. Play around with the size and placement of the spots to create a more natural and realistic look.
Using your nail art brush or toothpick, dip it into the second color of your choice and create random splotches on your nails. These will serve as the base for your leopard spots. Make sure to leave some space between the splotches for the third color.
Next, use your stencil or toothpick to create the
leopard spots
on top of the splotches. This can be done by dipping your tool into the third color and creating small circles or irregular shapes. Play around with the size and placement of the spots to create a more natural and realistic look.
Add the Finishing Touches
 Once the spots have dried, use your brush or toothpick to add small black lines around the spots to give them a more defined and
wild
look. You can also add a few extra black dots in blank spaces to make the design more intricate.
Finally, apply a top coat to seal in your design and add shine. This will also help your design last longer and prevent chipping.
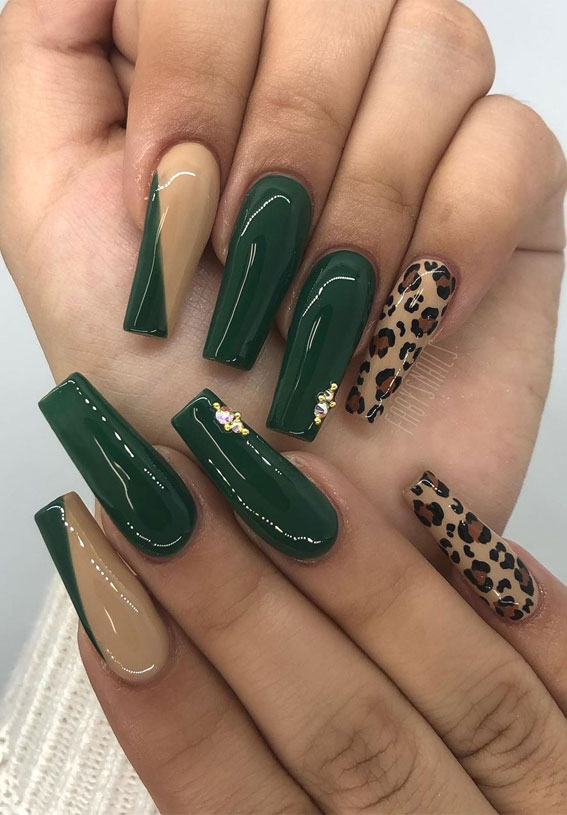
Now you have your very own
leopard print nail design
that is sure to turn heads. Don't be afraid to get creative and use different colors to make the design your own. Have fun and unleash your inner
wild side
with this fierce and stylish nail design.
Once the spots have dried, use your brush or toothpick to add small black lines around the spots to give them a more defined and
wild
look. You can also add a few extra black dots in blank spaces to make the design more intricate.
Finally, apply a top coat to seal in your design and add shine. This will also help your design last longer and prevent chipping.
Now you have your very own
leopard print nail design
that is sure to turn heads. Don't be afraid to get creative and use different colors to make the design your own. Have fun and unleash your inner
wild side
with this fierce and stylish nail design.


