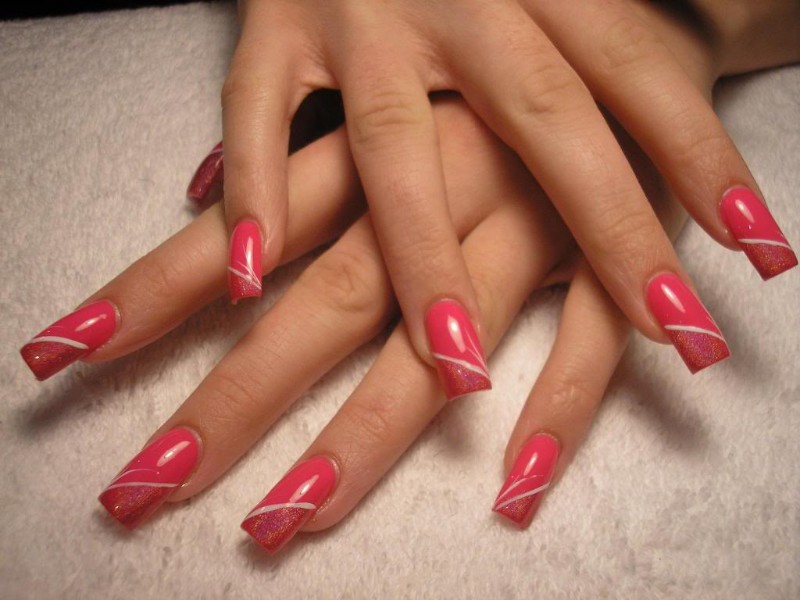
If you've been scrolling through Instagram or Pinterest lately, chances are you've come across some gorgeous marble nail art designs. This trend has taken the nail world by storm, and for good reason. The swirling patterns and blend of colors create a unique and eye-catching look that can elevate any outfit. But how do you achieve this stunning look yourself? Don't worry, we've got you covered with this step by step guide to mastering marble nail art!1. Marble Nail Art Tutorial: Step by Step Guide


1. Marble Nail Art Tutorial: Step by Step Guide


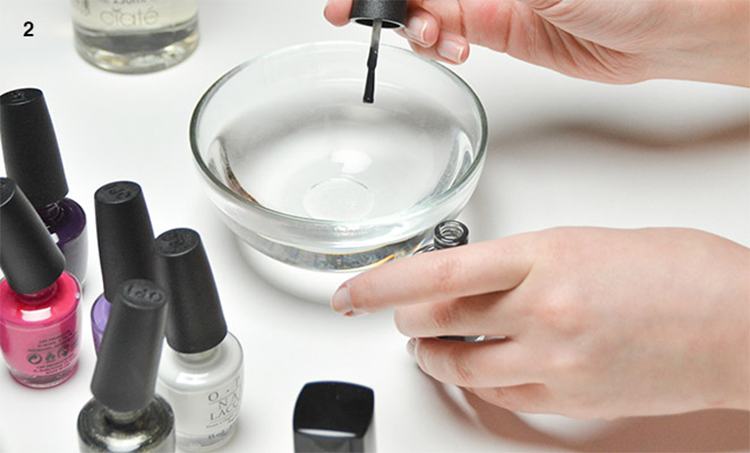
Marble nail art may seem intimidating, but with a little practice and the right technique, it can be easy to recreate at home. The best part? You don't need any fancy tools or professional skills. All you need are a few nail polishes, a cup of water, and a toothpick. Start with a light-colored base coat and drip a few drops of a darker color on the surface of the water. Use a toothpick to create a swirl pattern, then dip your nail into the water. Repeat the process with different colors until you achieve your desired marble effect.2. Easy Marble Nail Art Designs for Beginners


2. Easy Marble Nail Art Designs for Beginners


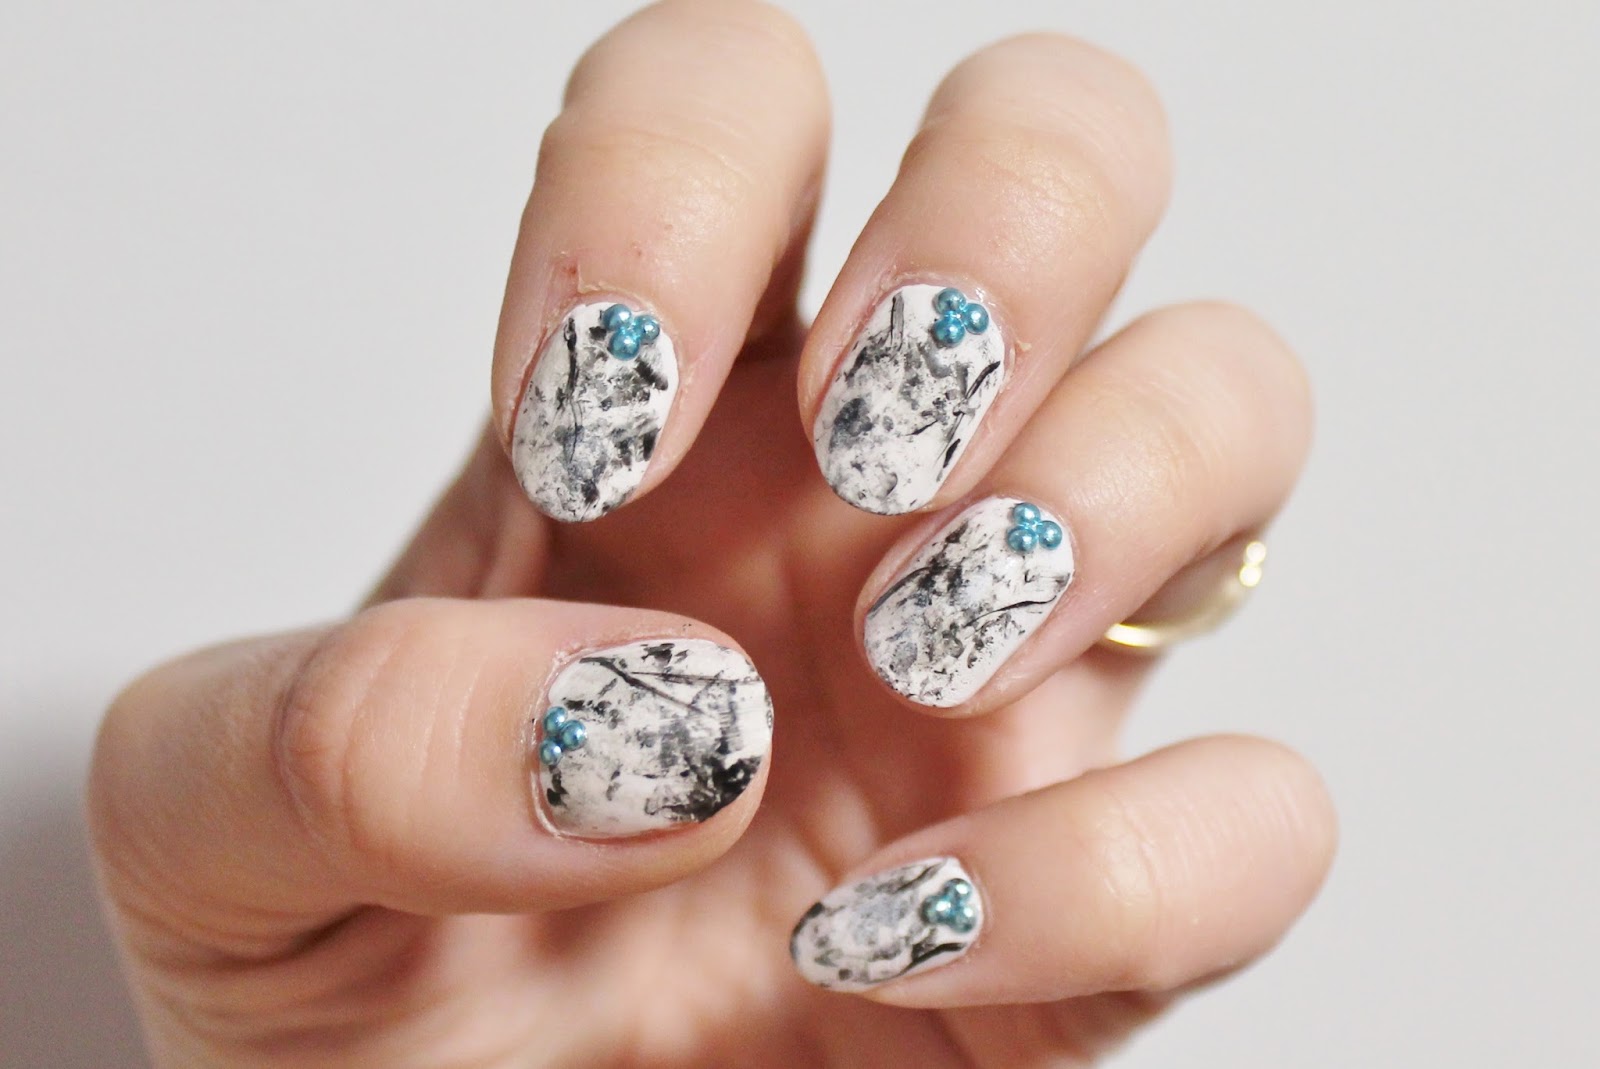
If you're feeling a little more adventurous, you can try a different method for creating marble nail art. This one involves using plastic wrap to dab and blend the nail polish on your nails, creating a more abstract marble design. Start by painting your nails with a base color and let it dry. Then, apply a few drops of different colored nail polish on the plastic wrap. Press the wrap onto your nail and dab lightly to transfer the polish. Repeat this process with different colors until you achieve your desired look.3. DIY Marble Nail Art: Step by Step Instructions


3. DIY Marble Nail Art: Step by Step Instructions


If you want to take your marble nail art to the next level, you can try incorporating different techniques and tools. For example, you can use a thin brush to create more defined swirls, or a sponge to dab on different shades for a softer look. Experiment with different colors, tools, and techniques to find your own unique marble nail art style. Don't be afraid to get creative and try new things!4. How to Create a Marble Nail Art Design at Home


4. How to Create a Marble Nail Art Design at Home


To create a professional-looking marble nail art design, it's important to pay attention to the details. Make sure to clean up any excess polish around your nails with a small brush dipped in nail polish remover. You can also use a Q-tip or small brush to clean up any polish that may have transferred onto your skin. Additionally, you can add a layer of top coat to help blend and smooth out any harsh lines or imperfections in your design. This will also help your manicure last longer and prevent chipping.5. Step by Step Guide to Perfecting Marble Nail Art


5. Step by Step Guide to Perfecting Marble Nail Art
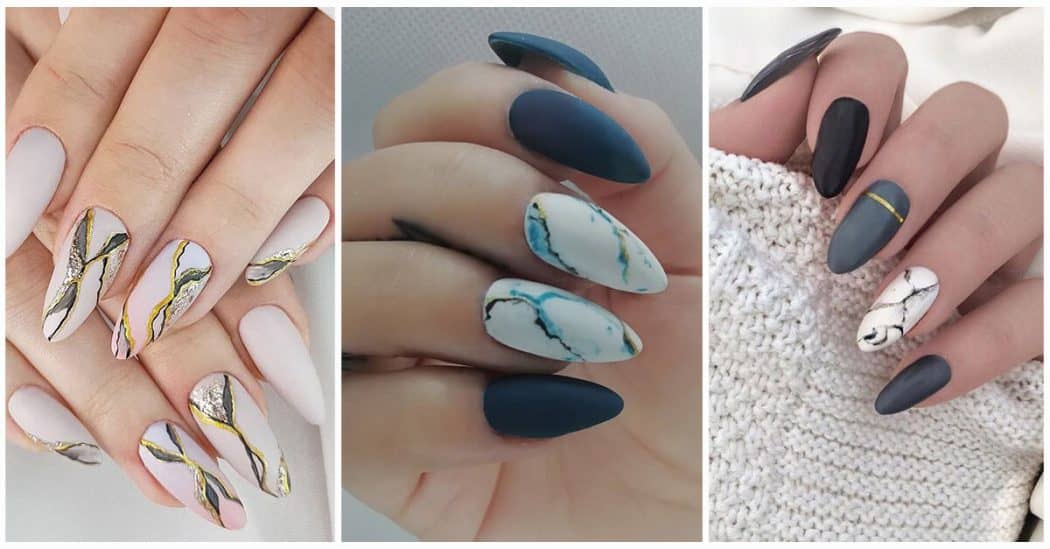


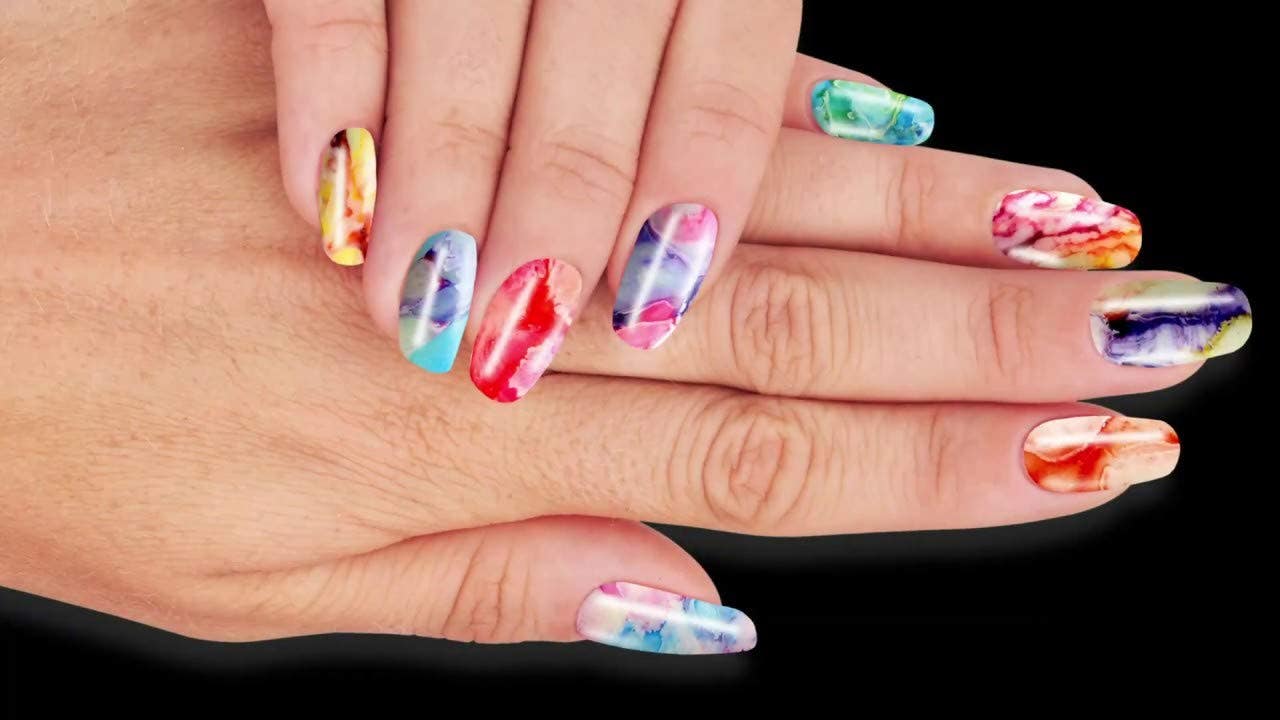
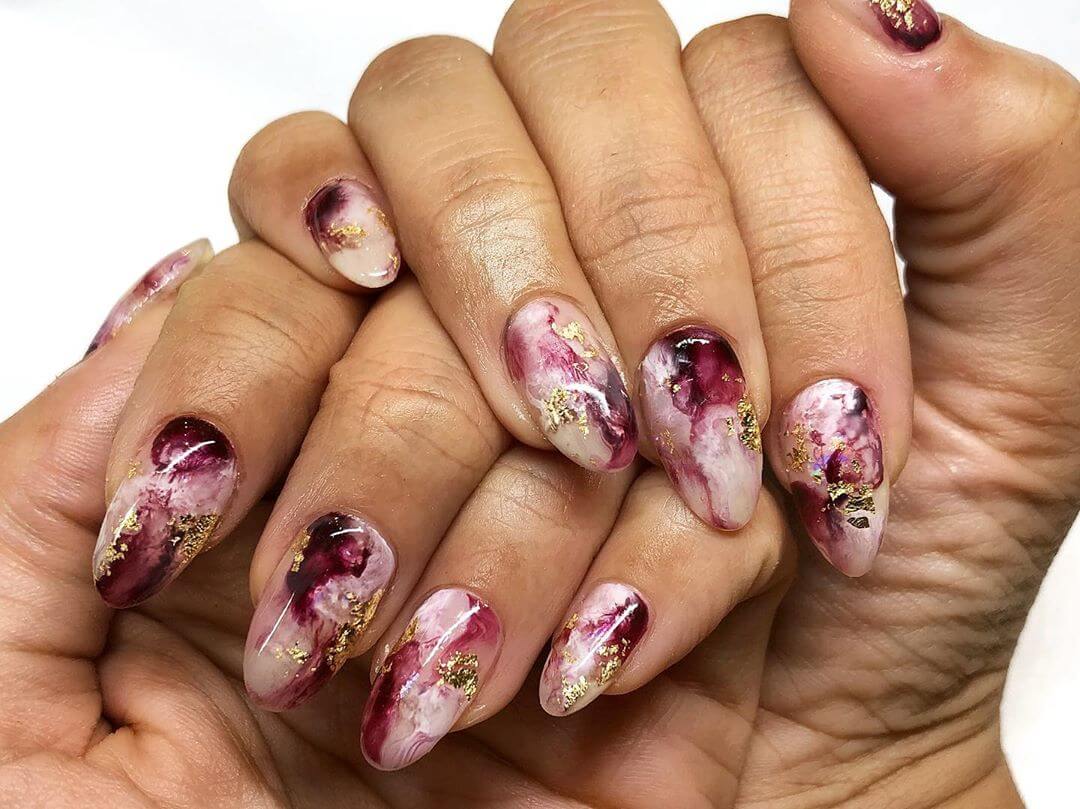
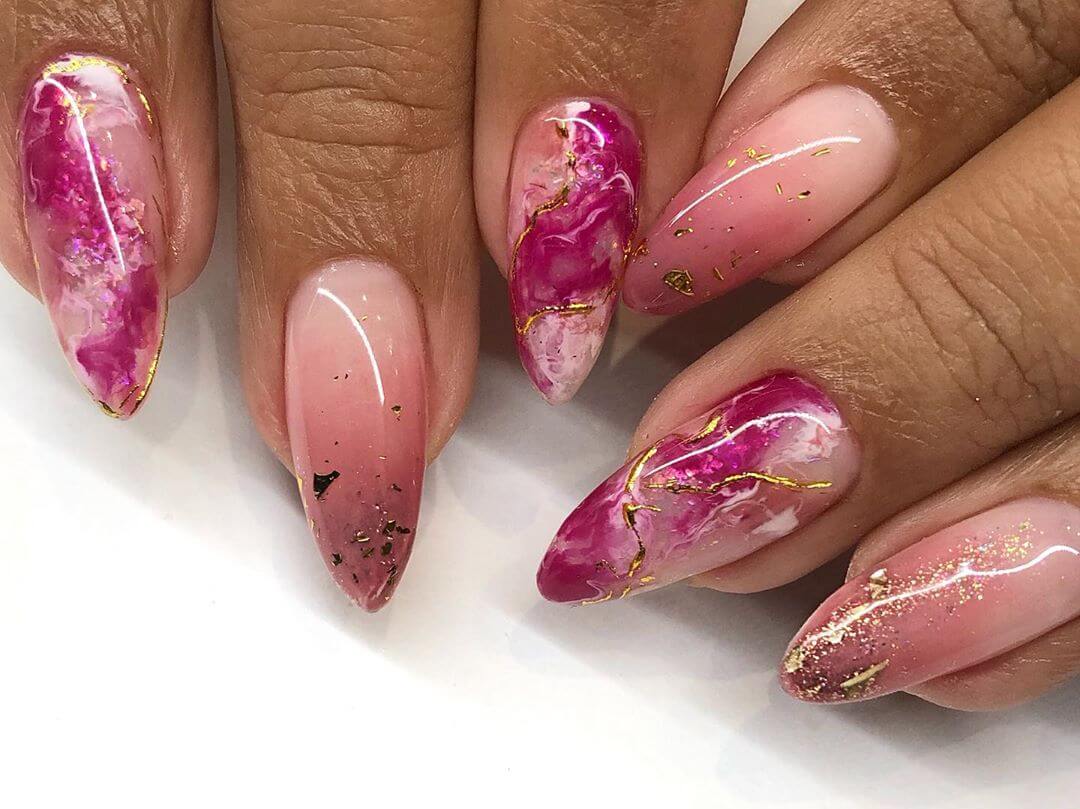
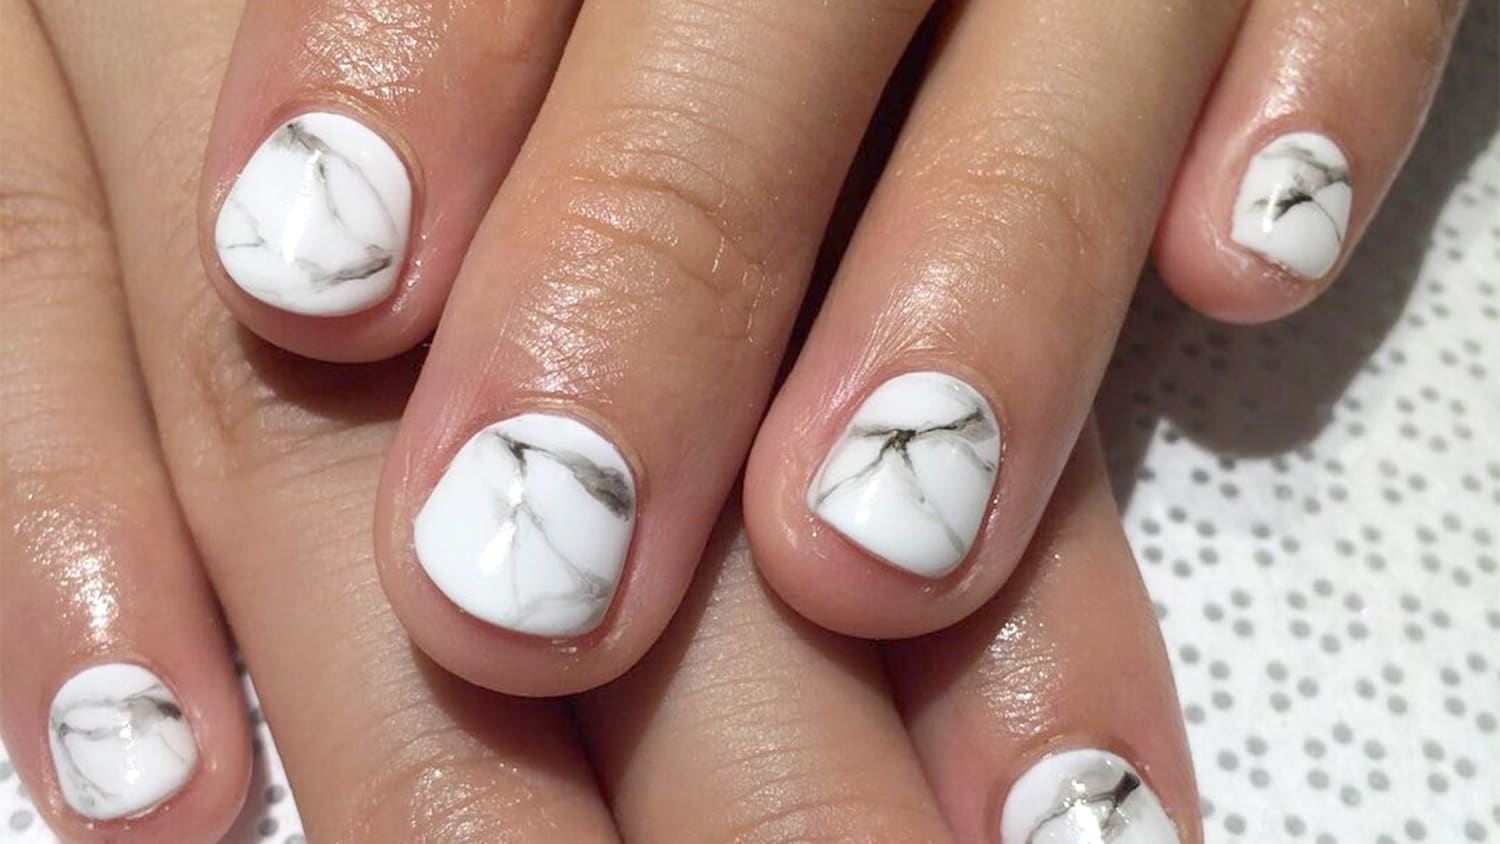
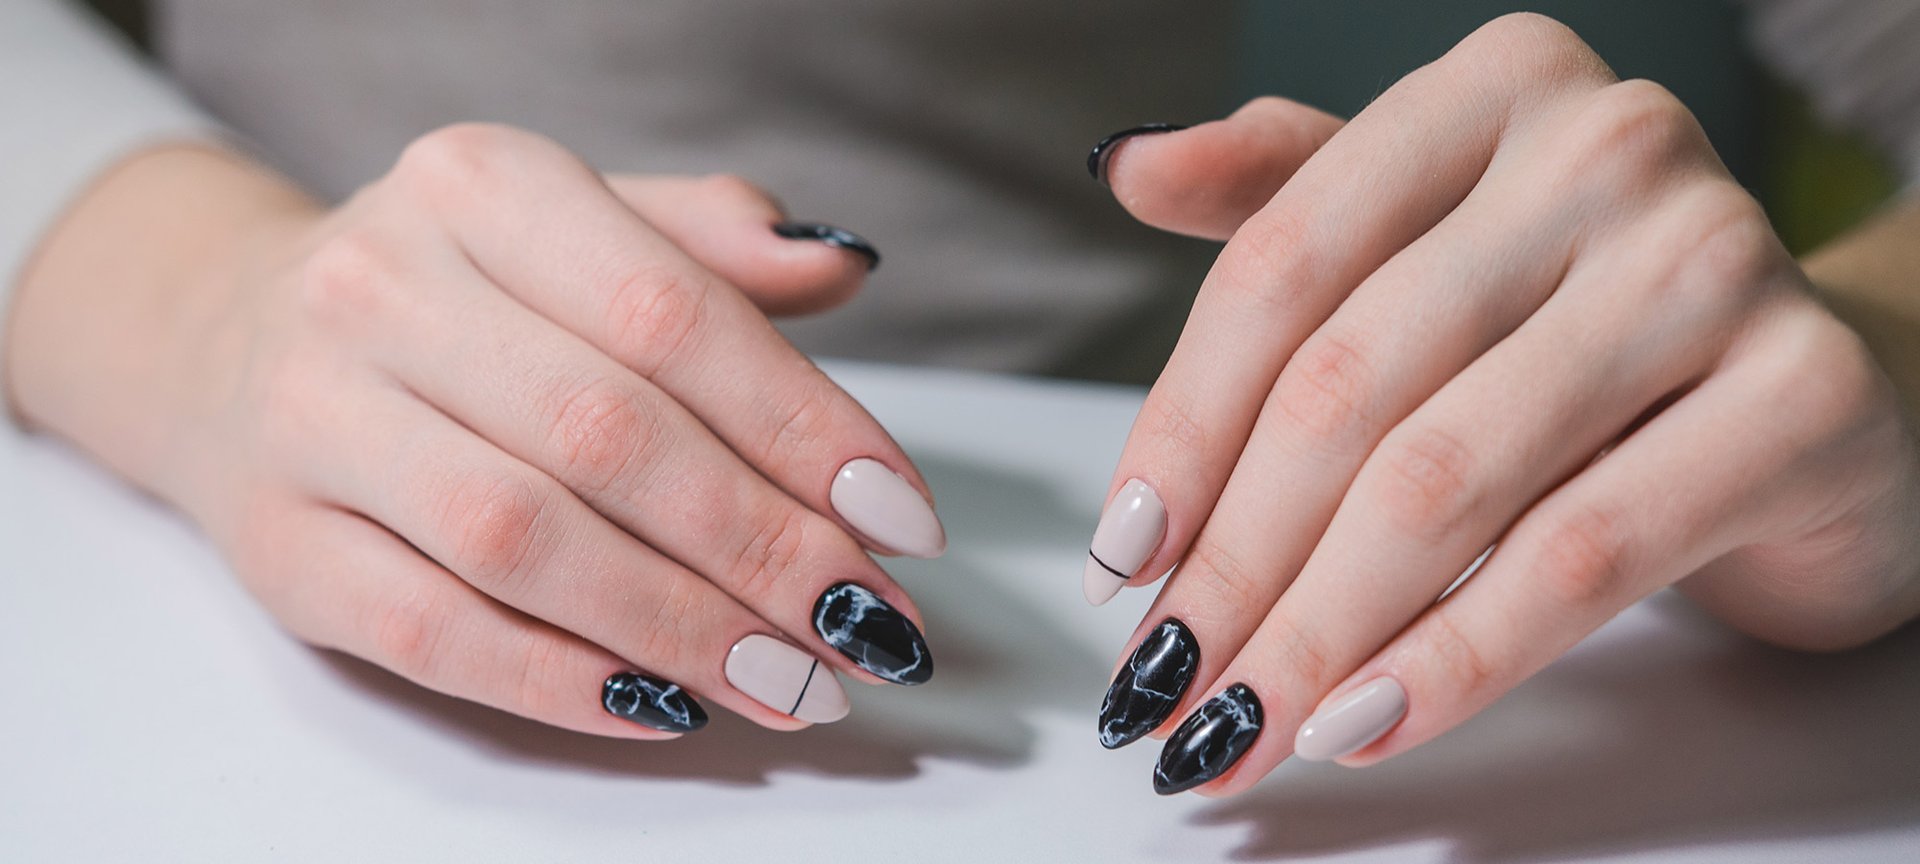
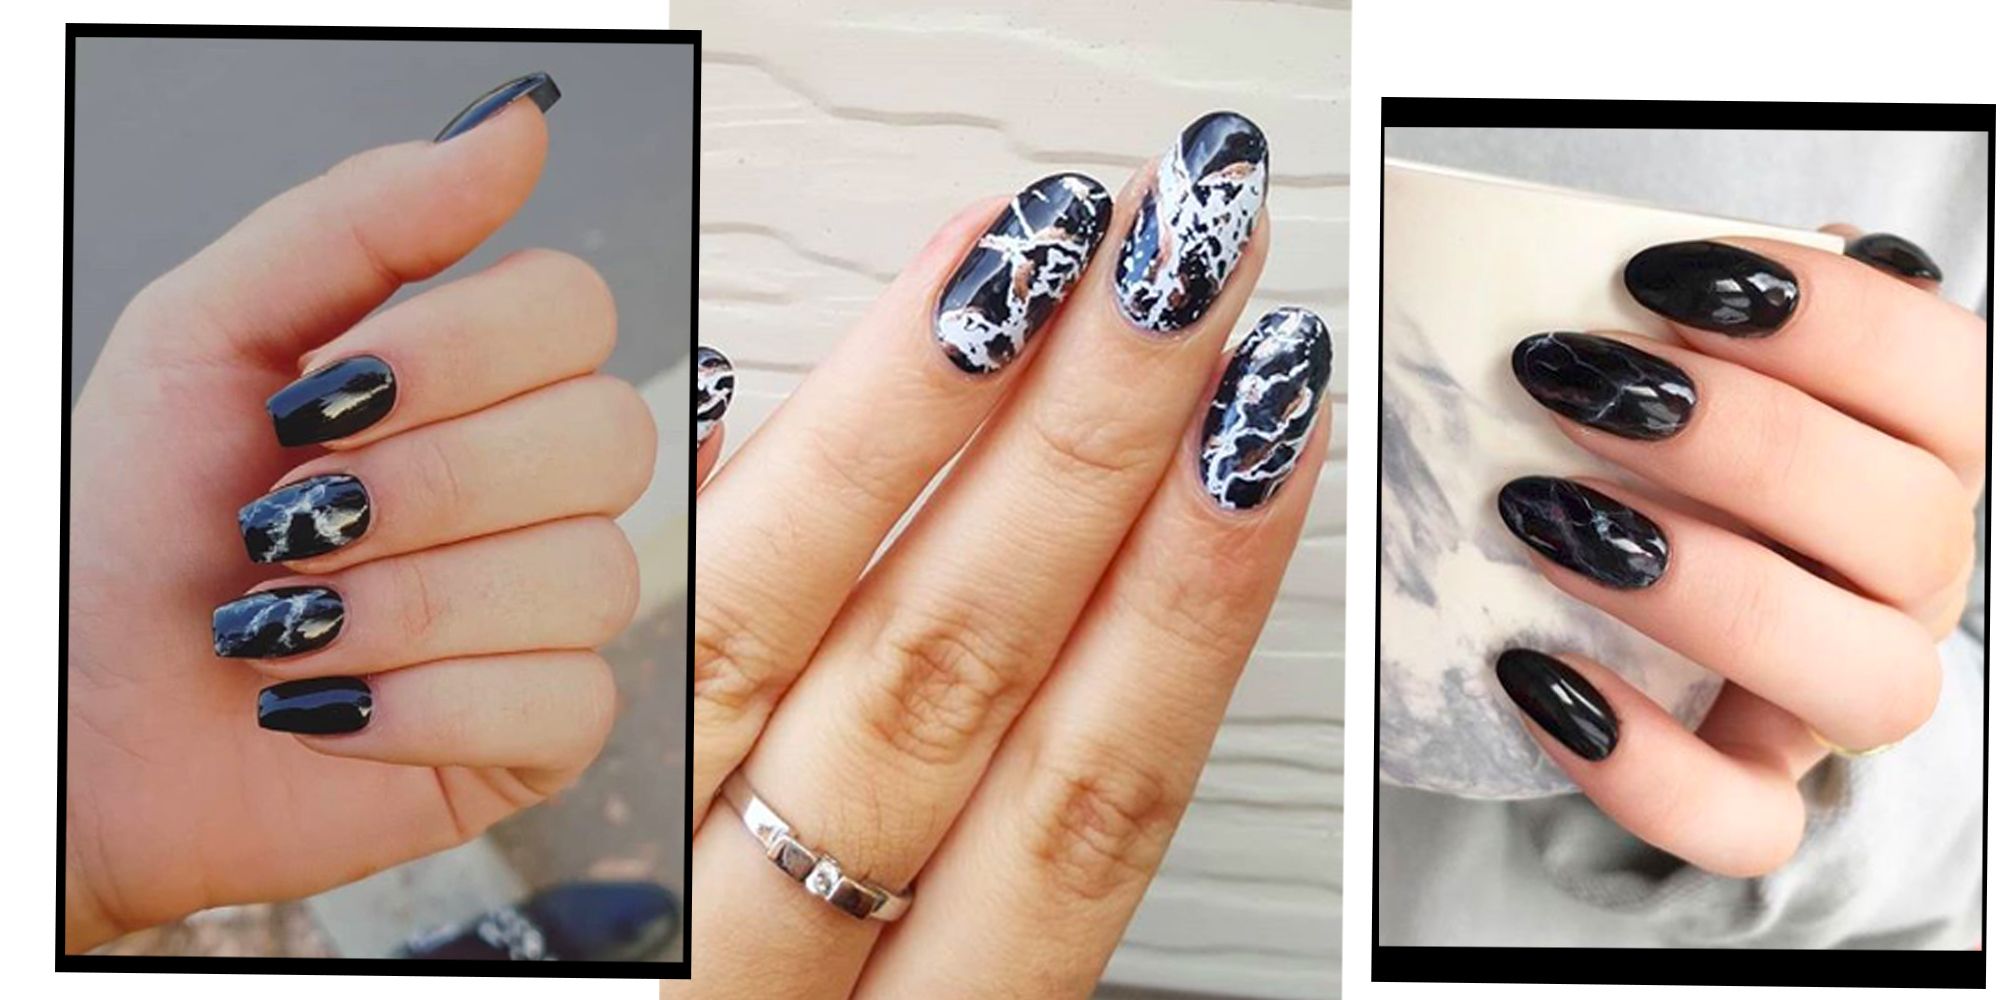
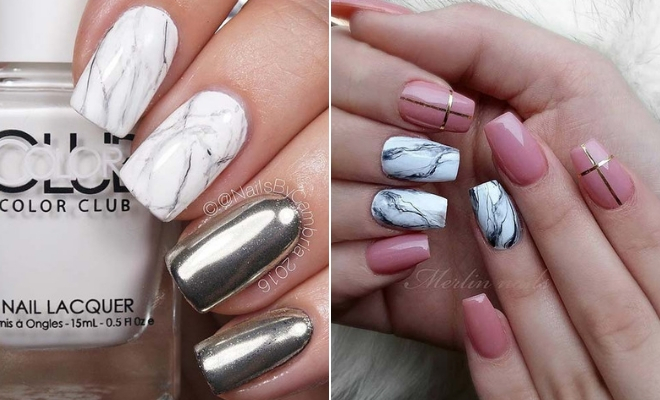
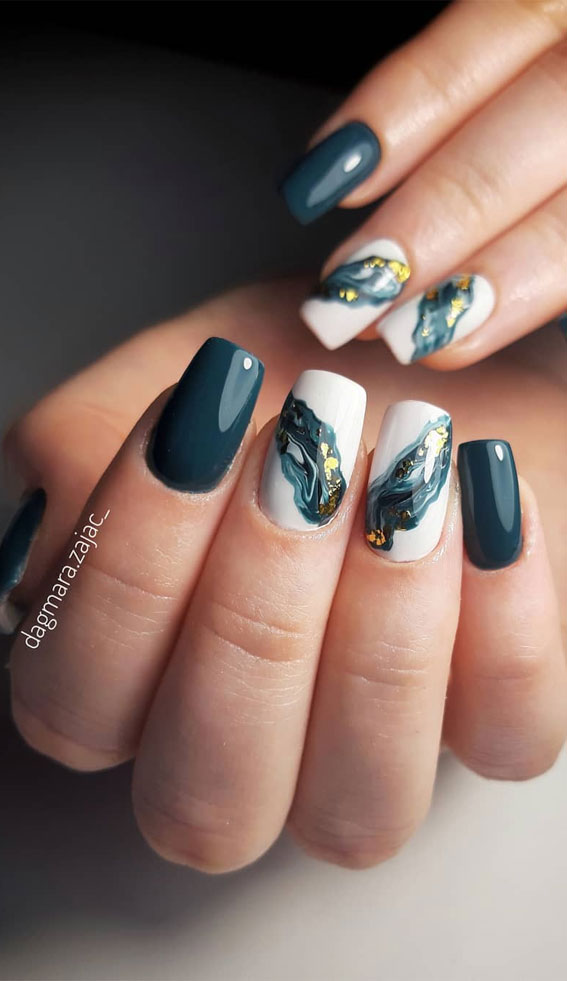
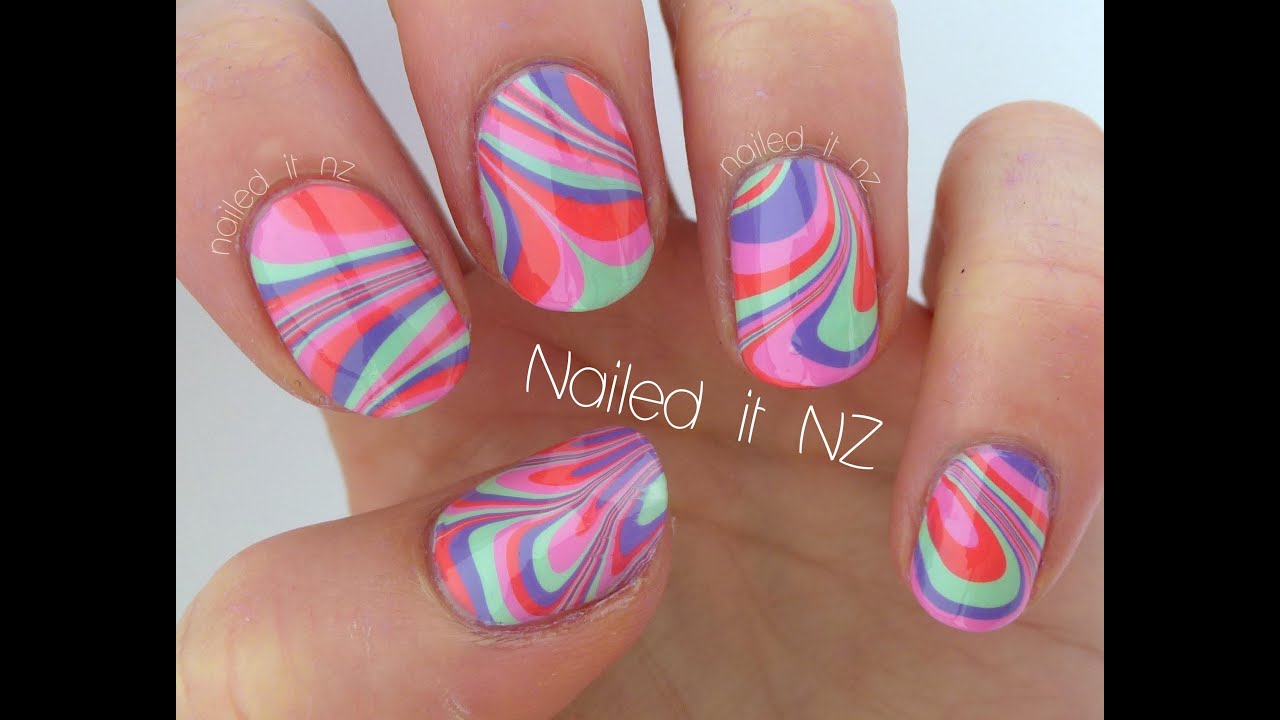
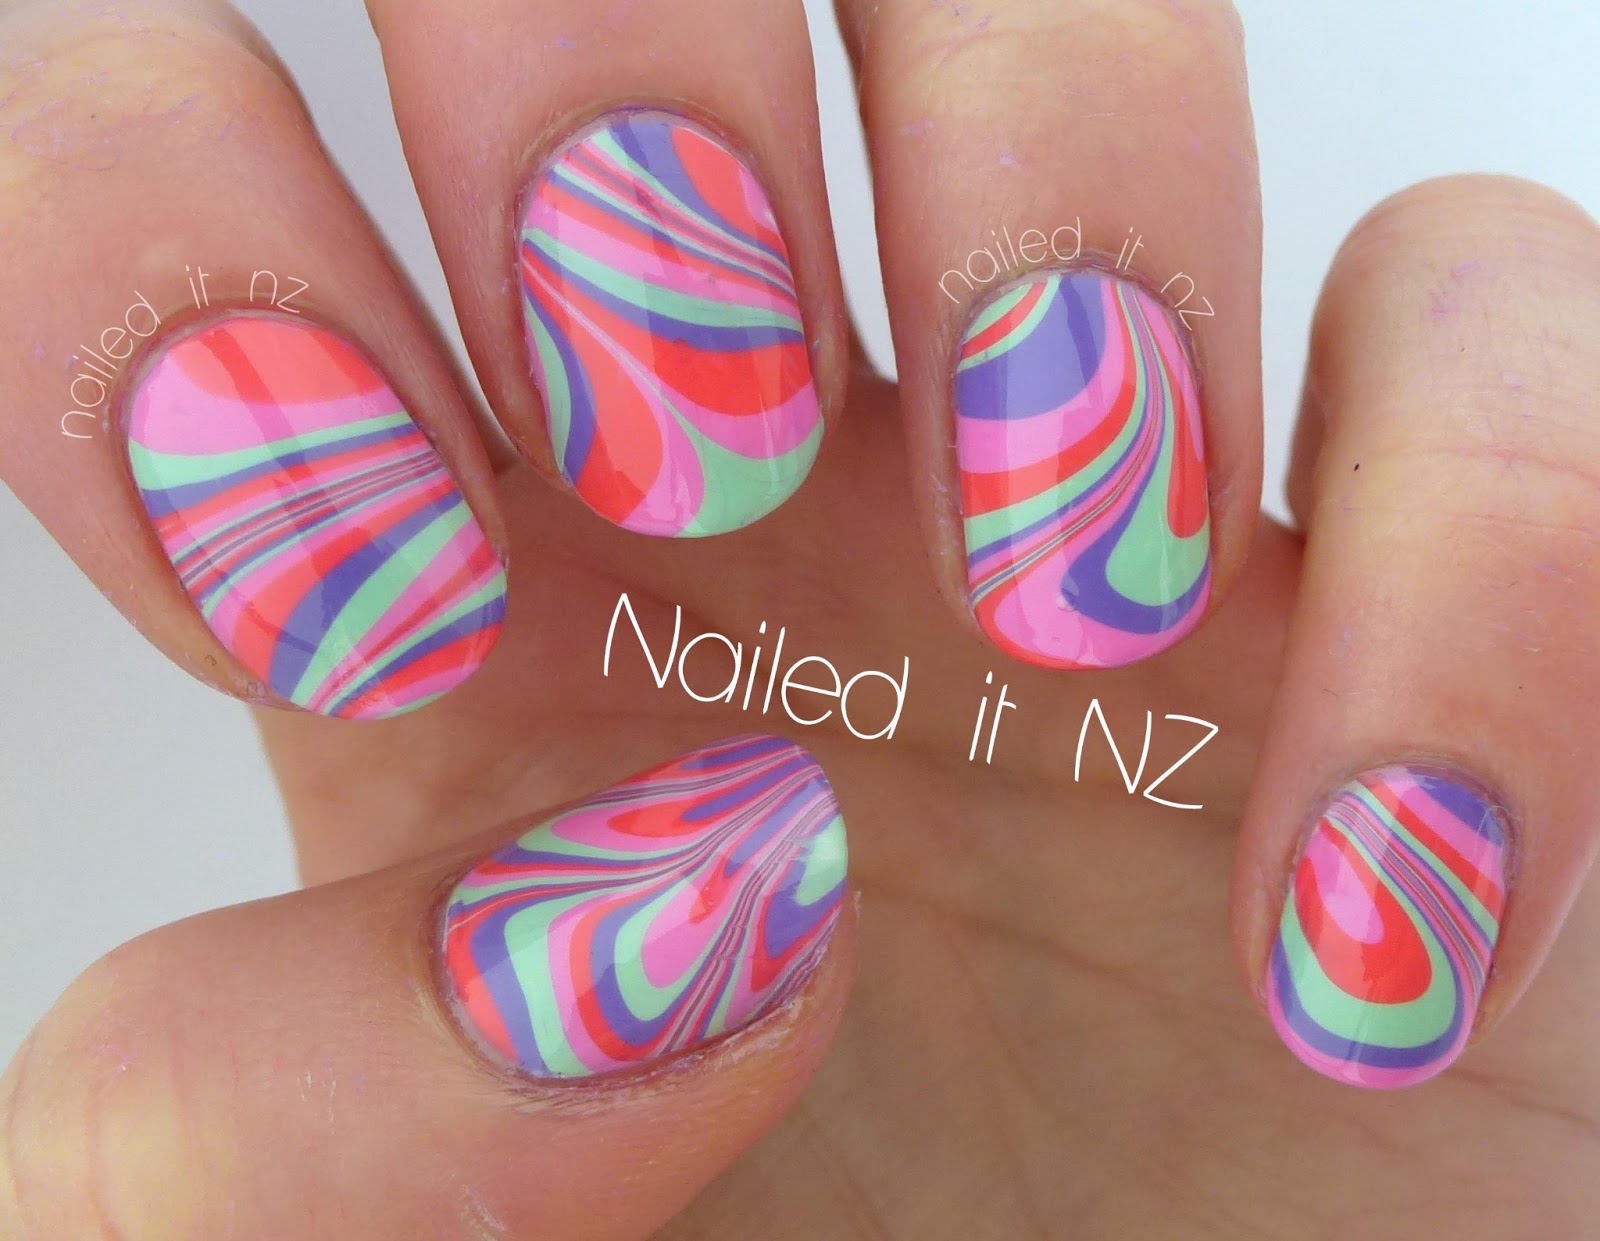
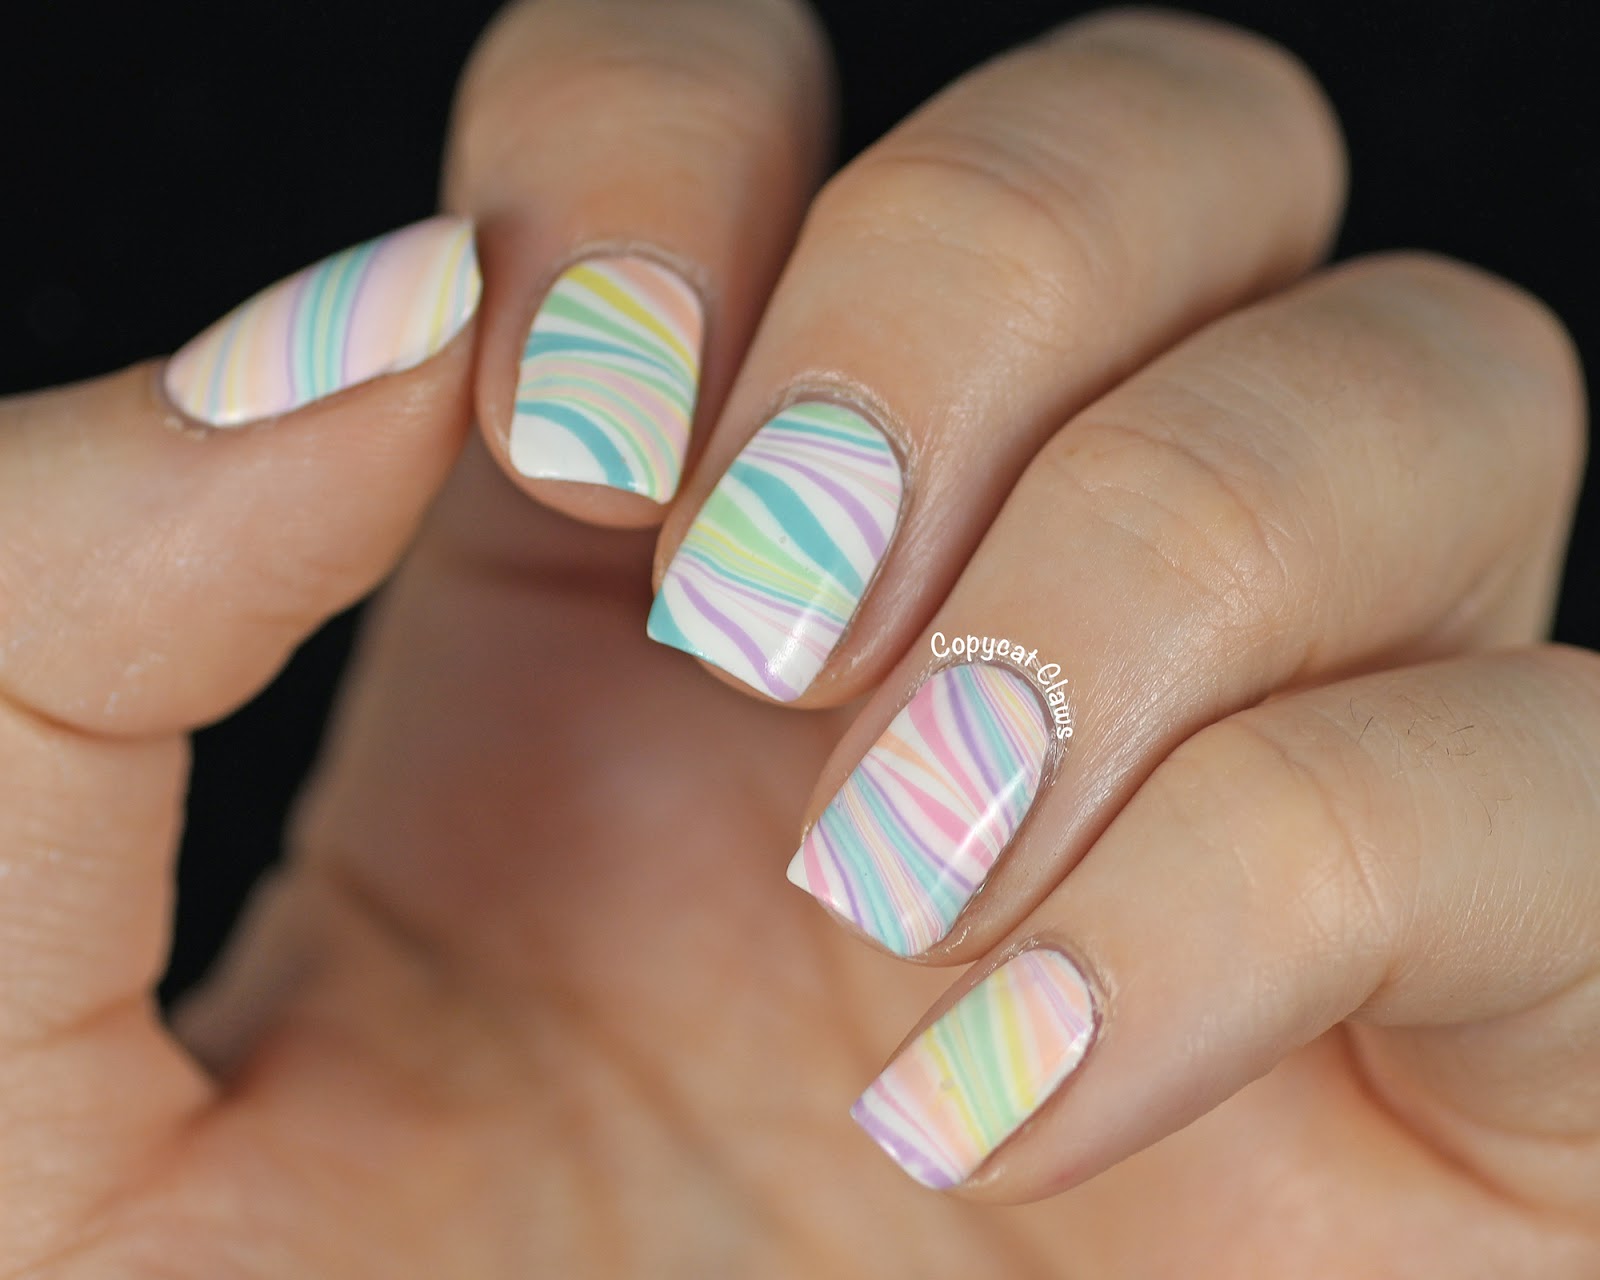
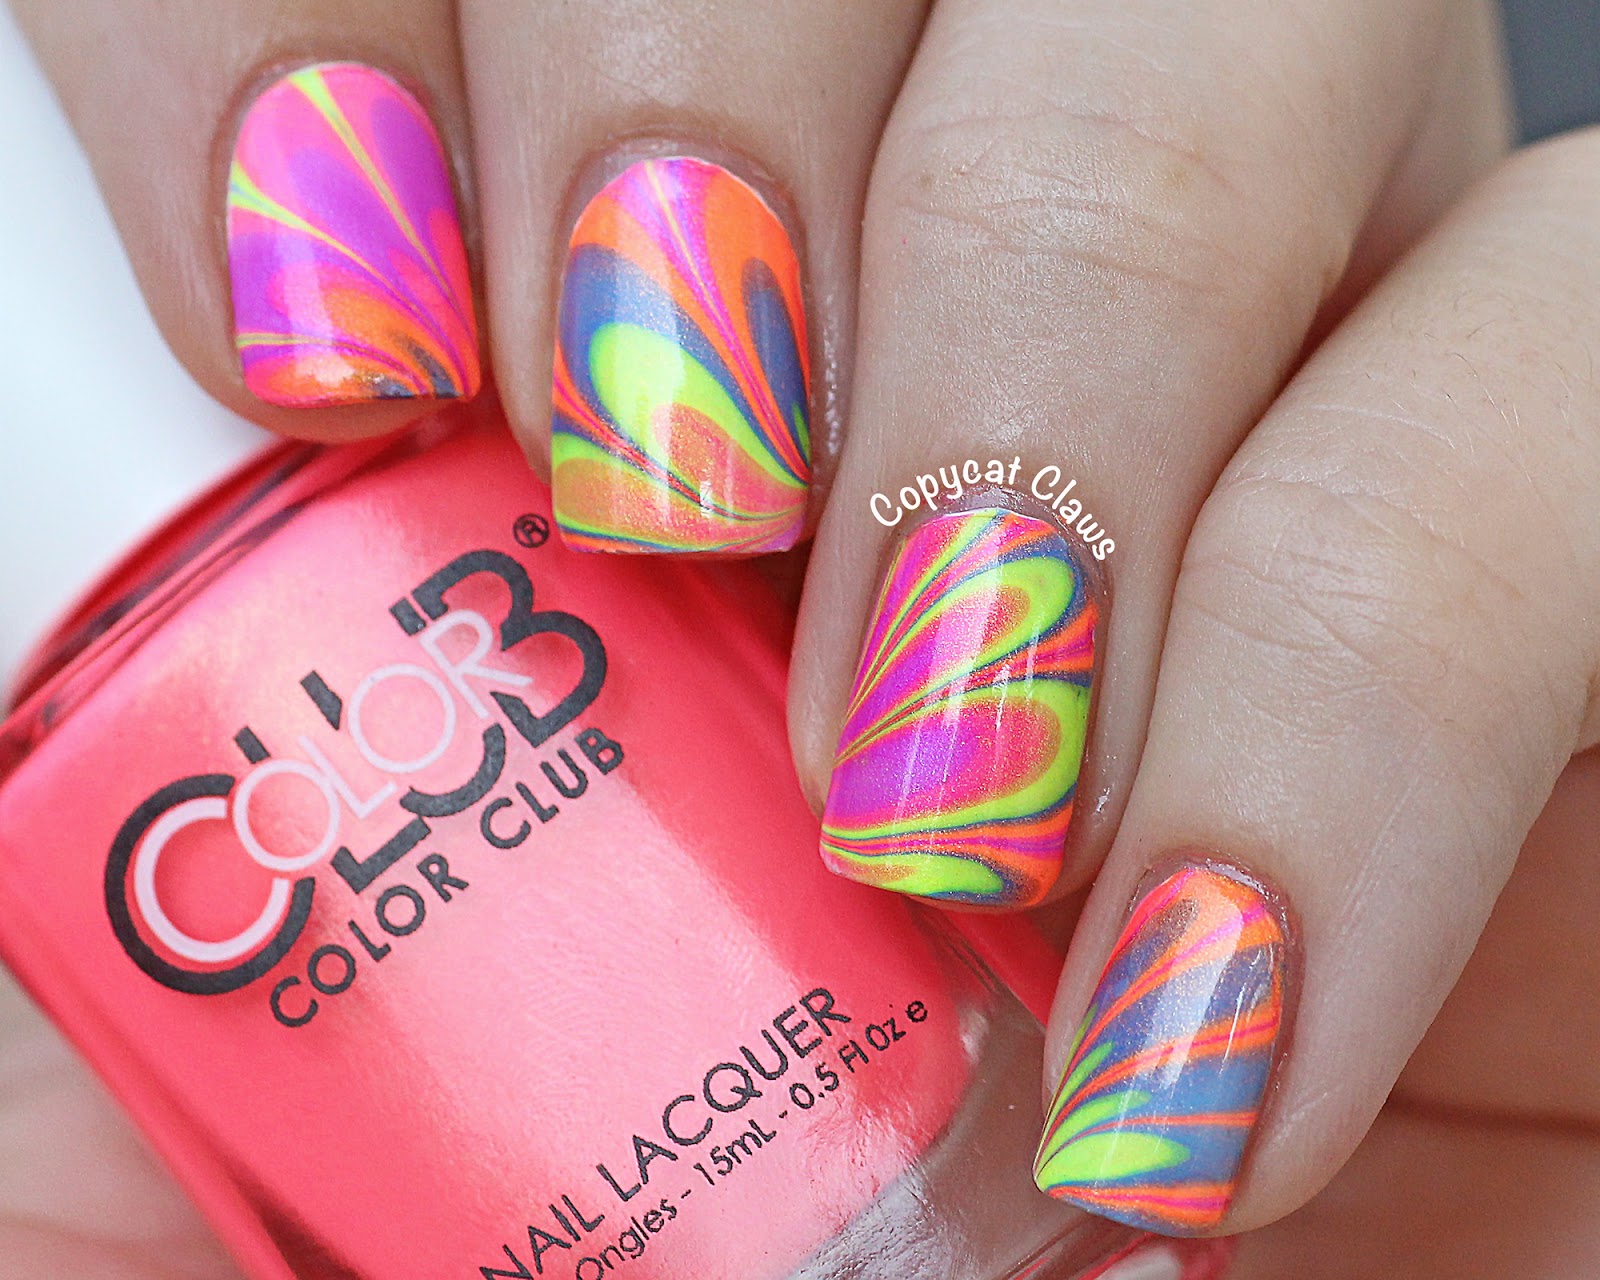
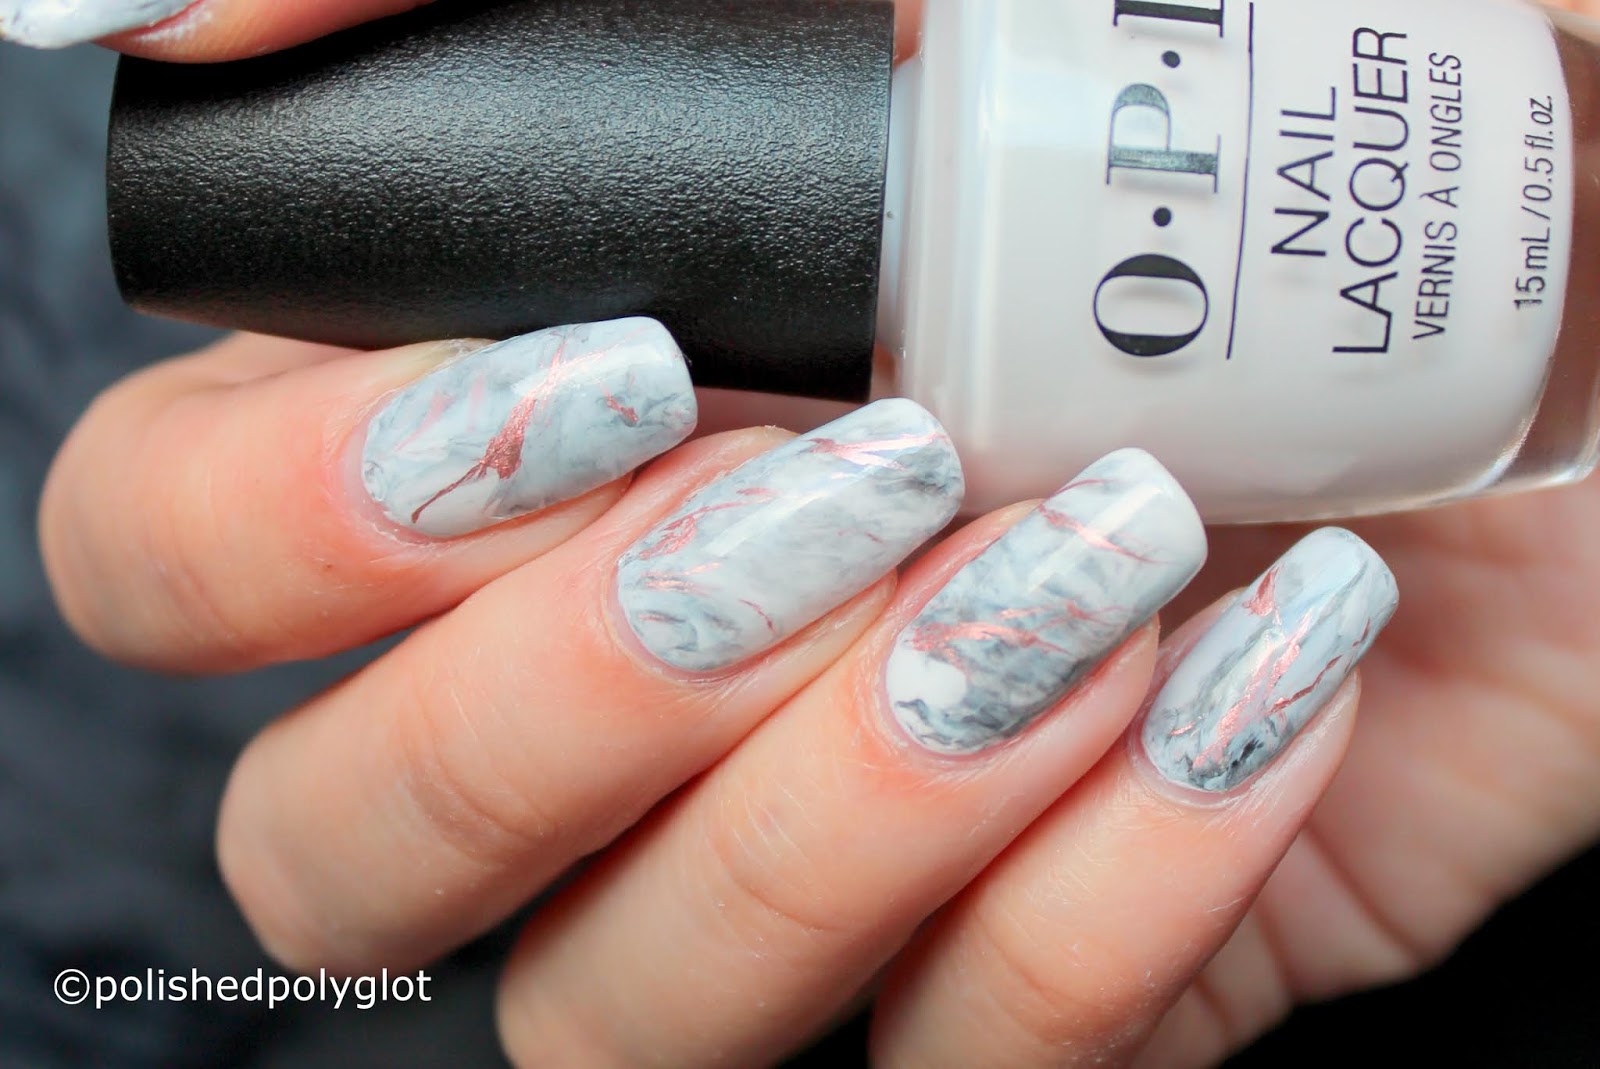
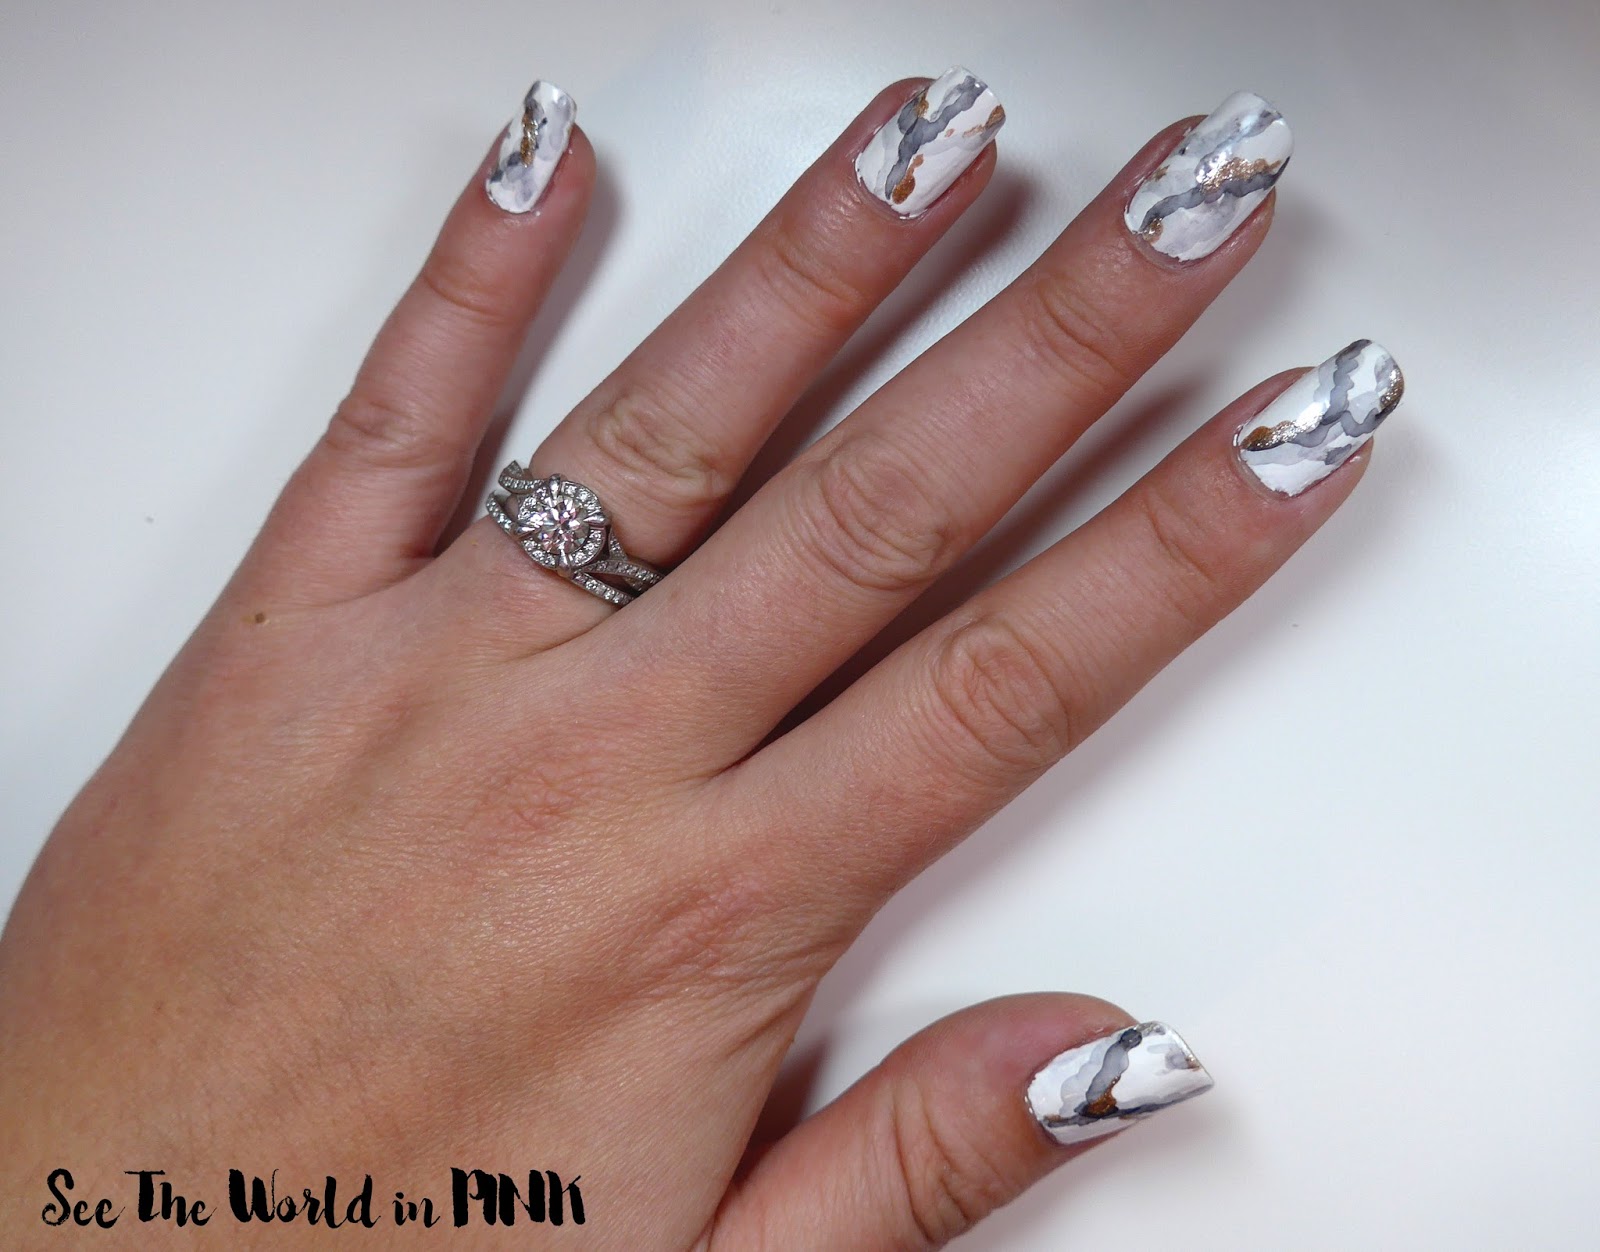
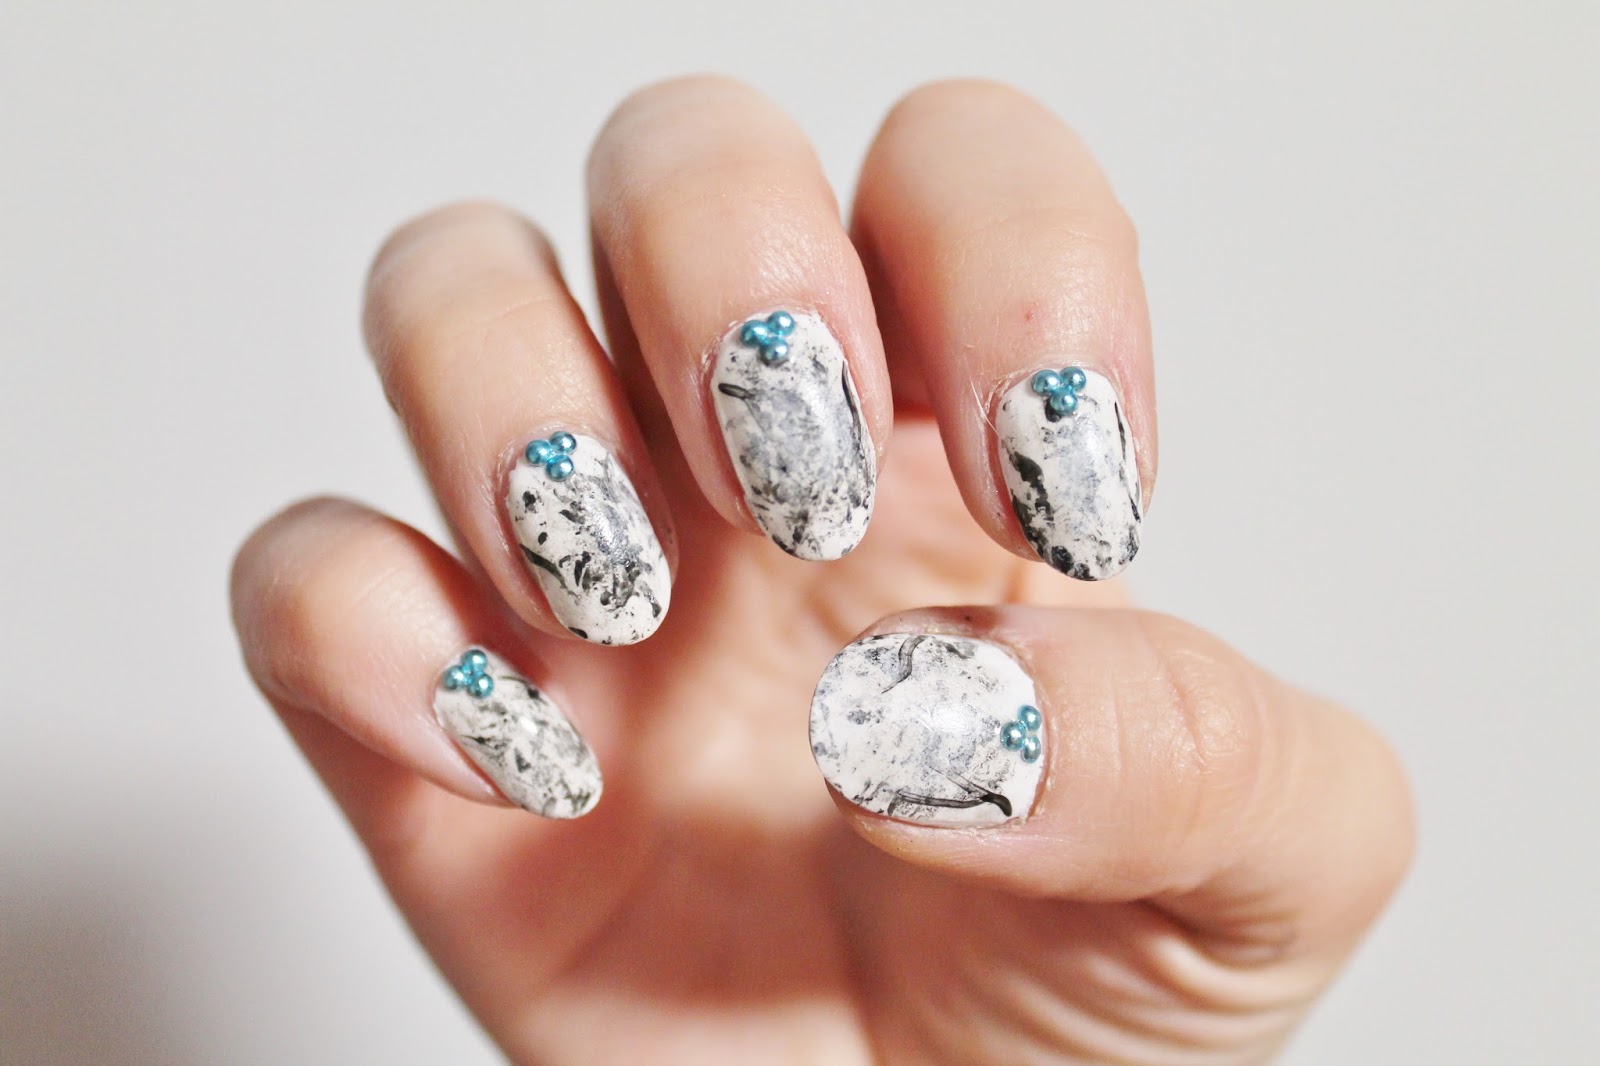
Now that you have the basics down, it's time to get inspired! Here are 10 gorgeous marble nail art designs to try at home: I. Pastel Marble: Use soft pastel colors for a delicate and dreamy look. II. Metallic Marble: Add some shimmer and shine with metallic nail polishes. III. Black and White Marble: Keep it simple and chic with a classic black and white marble design. IV. Ombre Marble: Blend different shades of the same color for an ombre effect. V. Neon Marble: Make a statement with bright and bold neon colors. VI. Glitter Marble: Add some sparkle and glam with glitter accents. VII. Floral Marble: Use a thin brush to create delicate floral designs on top of your marble base. VIII. Marble French Tips: Switch up the classic French manicure with a marble twist. IX. Rainbow Marble: Use a variety of colors to create a vibrant and colorful marble design. X. Negative Space Marble: Leave some parts of your nails unpainted to create a unique negative space effect.6. 10 Stunning Marble Nail Art Designs to Try


6. 10 Stunning Marble Nail Art Designs to Try


Here are a few extra tips and tricks to help you achieve a flawless marble nail art design: I. Use a white or light-colored base: This will help the colors of the marble design stand out more. II. Don't be afraid to mix colors: You can create unique and unexpected looks by mixing different colors together. III. Clean up any mistakes quickly: Use a Q-tip or small brush dipped in nail polish remover to fix any mistakes before the polish dries. IV. Experiment with different tools: As mentioned before, different tools can create different effects, so don't be afraid to try them out.7. Marble Nail Art: Tips and Tricks for a Flawless Look
7. Marble Nail Art: Tips and Tricks for a Flawless Look
:quality(85):upscale()/2023/09/05/968/n/1922153/deeab3bb64f7a856b38ef3.89488489_.jpg)
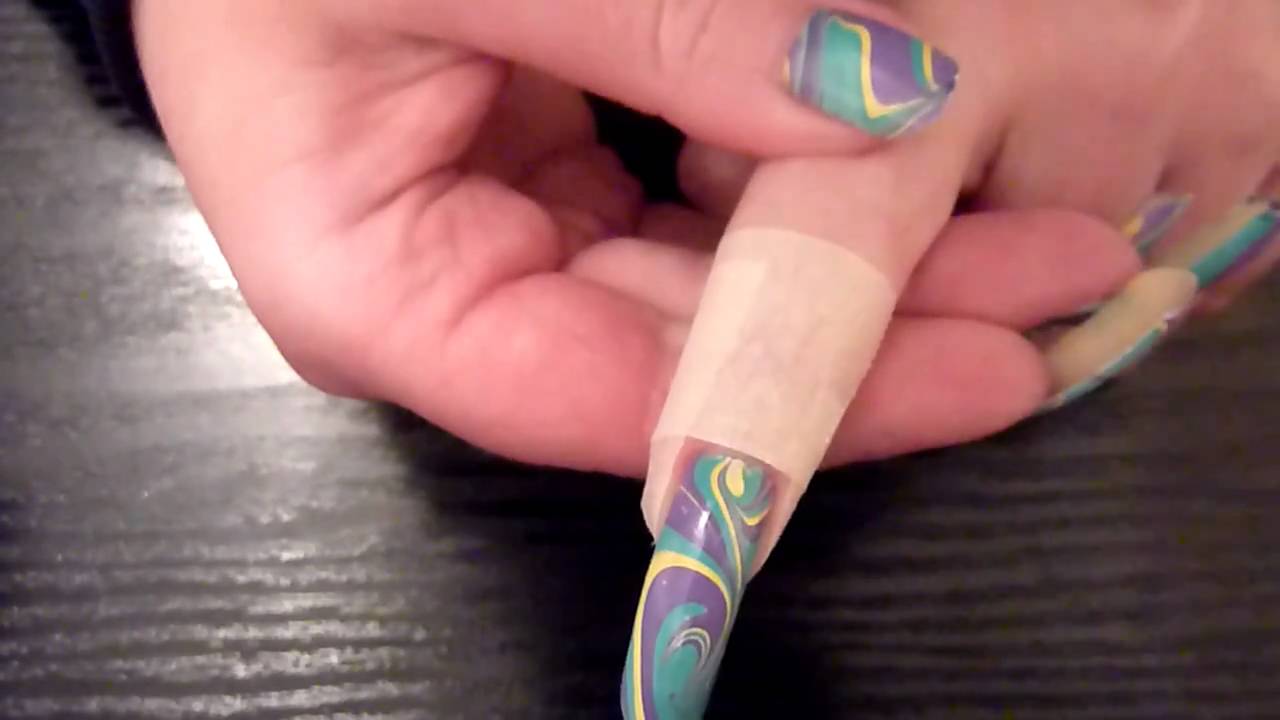
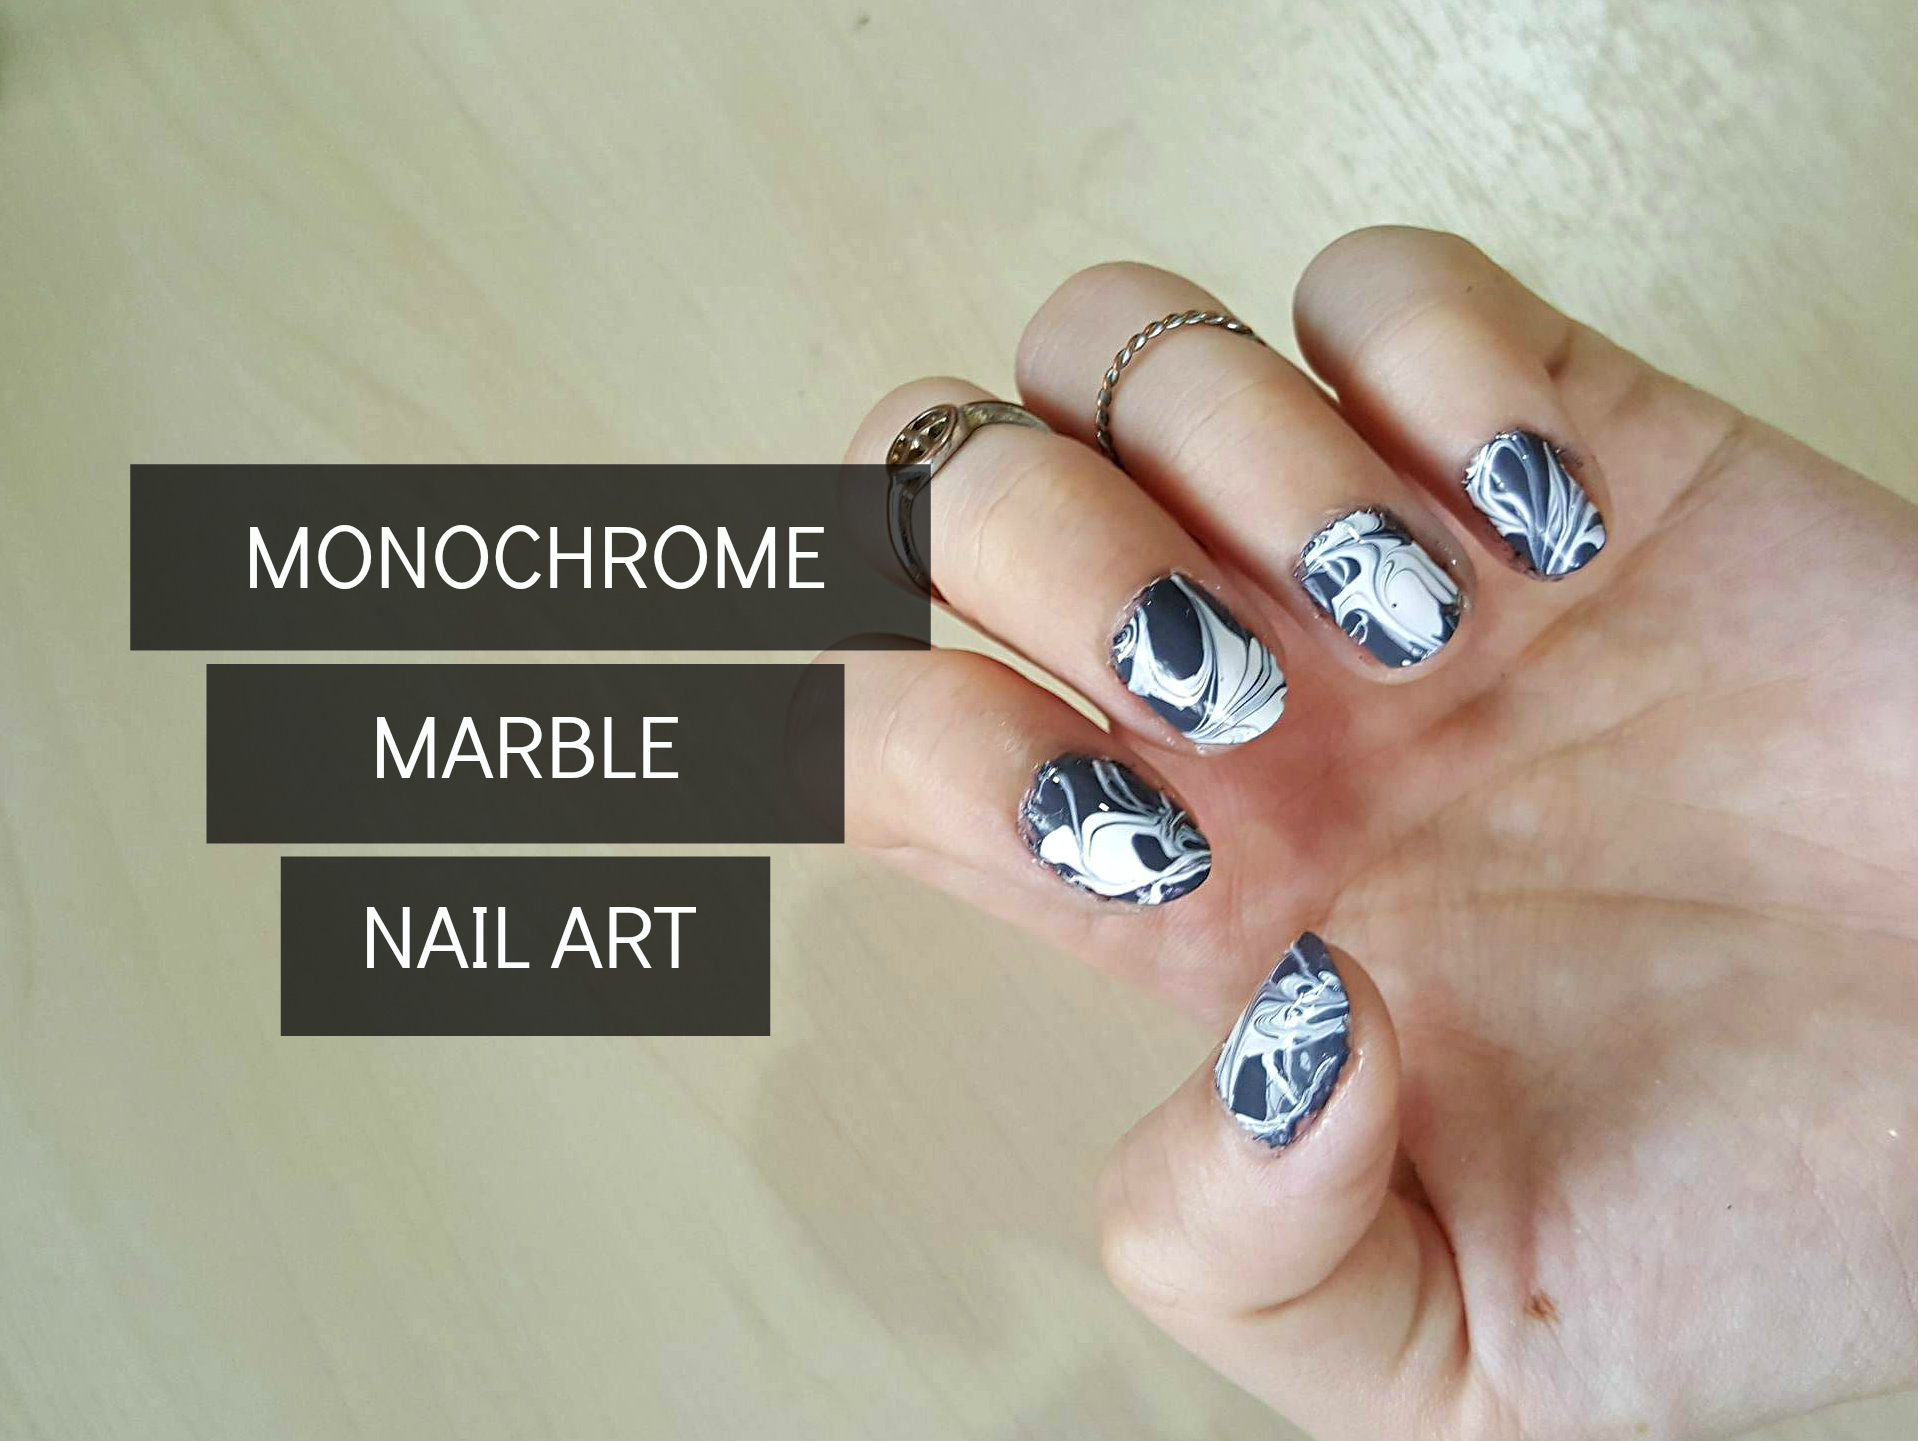
If you're still unsure about how to create marble nail art, here's a step by step tutorial for the water marble method: I. Gather your supplies: You will need a cup of water, some toothpicks, and a few different nail polishes. II. Prep your nails: Start by applying a base coat and let it dry. III. Drop the nail polish: Drip a few drops of different colored nail polish on the surface of the water. IV. Create the marble effect: Use a toothpick to create a swirl pattern in the nail polish on the water's surface. V. Dip your nail: Dip your nail into the water at an angle, making sure to fully submerge it. VI. Clean up: Use a Q-tip or small brush dipped in nail polish remover to clean up any excess polish on your skin. VII. Repeat: Repeat the process with different colors and nails until you achieve your desired look.8. Step by Step Tutorial for Marble Nail Art with Water

8. Step by Step Tutorial for Marble Nail Art with Water


Marble nail art is versatile and can be suited for any occasion. Here are a few ideas for different events: I. Wedding: Opt for a classic white and gold marble design for a sophisticated and elegant look. II. Date Night: Add a touch of romance with a pink and purple marble design. III. Music Festival: Go all out with a colorful and bold neon marble design. IV. Office: Keep it professional with a subtle and muted marble design. V. Girls' Night Out: Add some sparkle and glam with a glittery marble design.9. Marble Nail Art Design Ideas for Every Occasion

9. Marble Nail Art Design Ideas for Every Occasion


With these tips, tricks, and designs, you are now ready to master the art of marble nails. Remember to have fun and don't be afraid to get creative and try new things. With a little practice, you'll be creating stunning marble nail art designs in no time!10. Mastering the Art of Marble Nails: Step by Step Guide


10. Mastering the Art of Marble Nails: Step by Step Guide


The Beauty of Marble Nail Art Design

Adding a Touch of Elegance to Your Nails
Nail art has become a popular trend in recent years, with endless possibilities for unique and creative designs. One of the most striking and elegant designs is the marble nail art. This design mimics the look of natural marble stone and adds a touch of sophistication to your nails. In this article, we will take you through the step-by-step process of creating a stunning marble nail art design.
Step 1: Gather Your Supplies
Before you begin, make sure you have all the necessary supplies for this design. You will need a base coat, white nail polish, water-based nail polish in different colors, a small bowl of room temperature water , toothpicks , and a top coat. It is essential to use water-based nail polish as it is easier to create the marble effect compared to regular nail polish.
Step 2: Prepare Your Nails
Start by applying a base coat to your nails to protect them and help the polish last longer. Then, apply a layer of white nail polish and let it dry completely. The white base will make the colors of the marble stand out more.
Step 3: Create the Marble Effect
Now comes the fun part – creating the marble effect. Begin by dropping a few drops of water-based nail polish onto the surface of the water in the bowl. Use different colors for a more vibrant look. Then, use a toothpick to swirl the colors together, creating a marble effect. Make sure to work quickly before the polish starts to dry.
Step 4: Transfer the Design to Your Nails
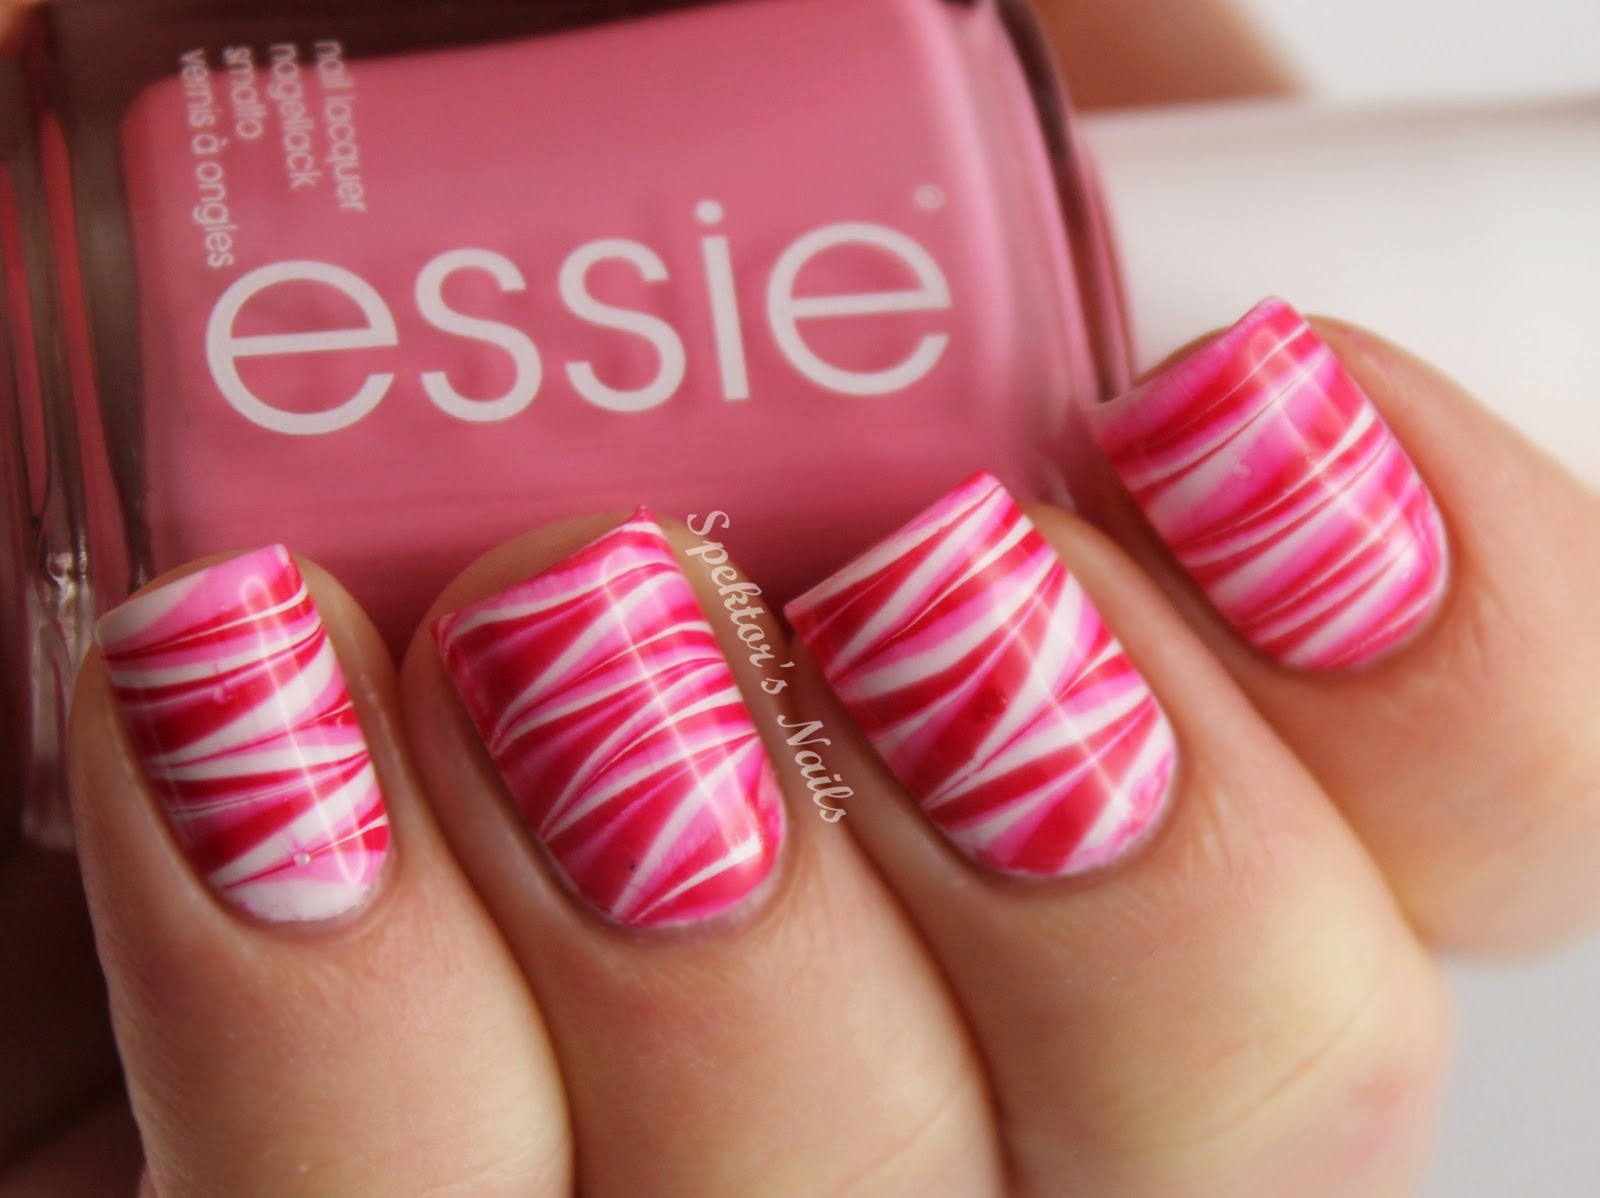
Once you have your desired marble effect, gently place your fingernail onto the surface of the water, allowing the polish to transfer onto your nail. You can also use the toothpick to pick up any excess polish on the surface of the water before pulling out your finger. Repeat this process for all your nails.
Step 5: Clean Up and Seal the Design
After the polish has dried, use a cotton swab dipped in nail polish remover to clean up any excess polish around your nails. Once your nails are clean, apply a top coat to seal the design and give it a glossy finish.
And that's it! You now have a stunning marble nail art design that is sure to turn heads. Experiment with different color combinations and techniques to create unique and personalized designs. With a little practice, you will be able to master this elegant and timeless nail art design.
In conclusion, marble nail art is a beautiful and versatile design that adds a touch of elegance to your nails. With these simple steps, you can create stunning designs at home and elevate your nail game. So go ahead and try it out, and let your nails make a bold fashion statement.


