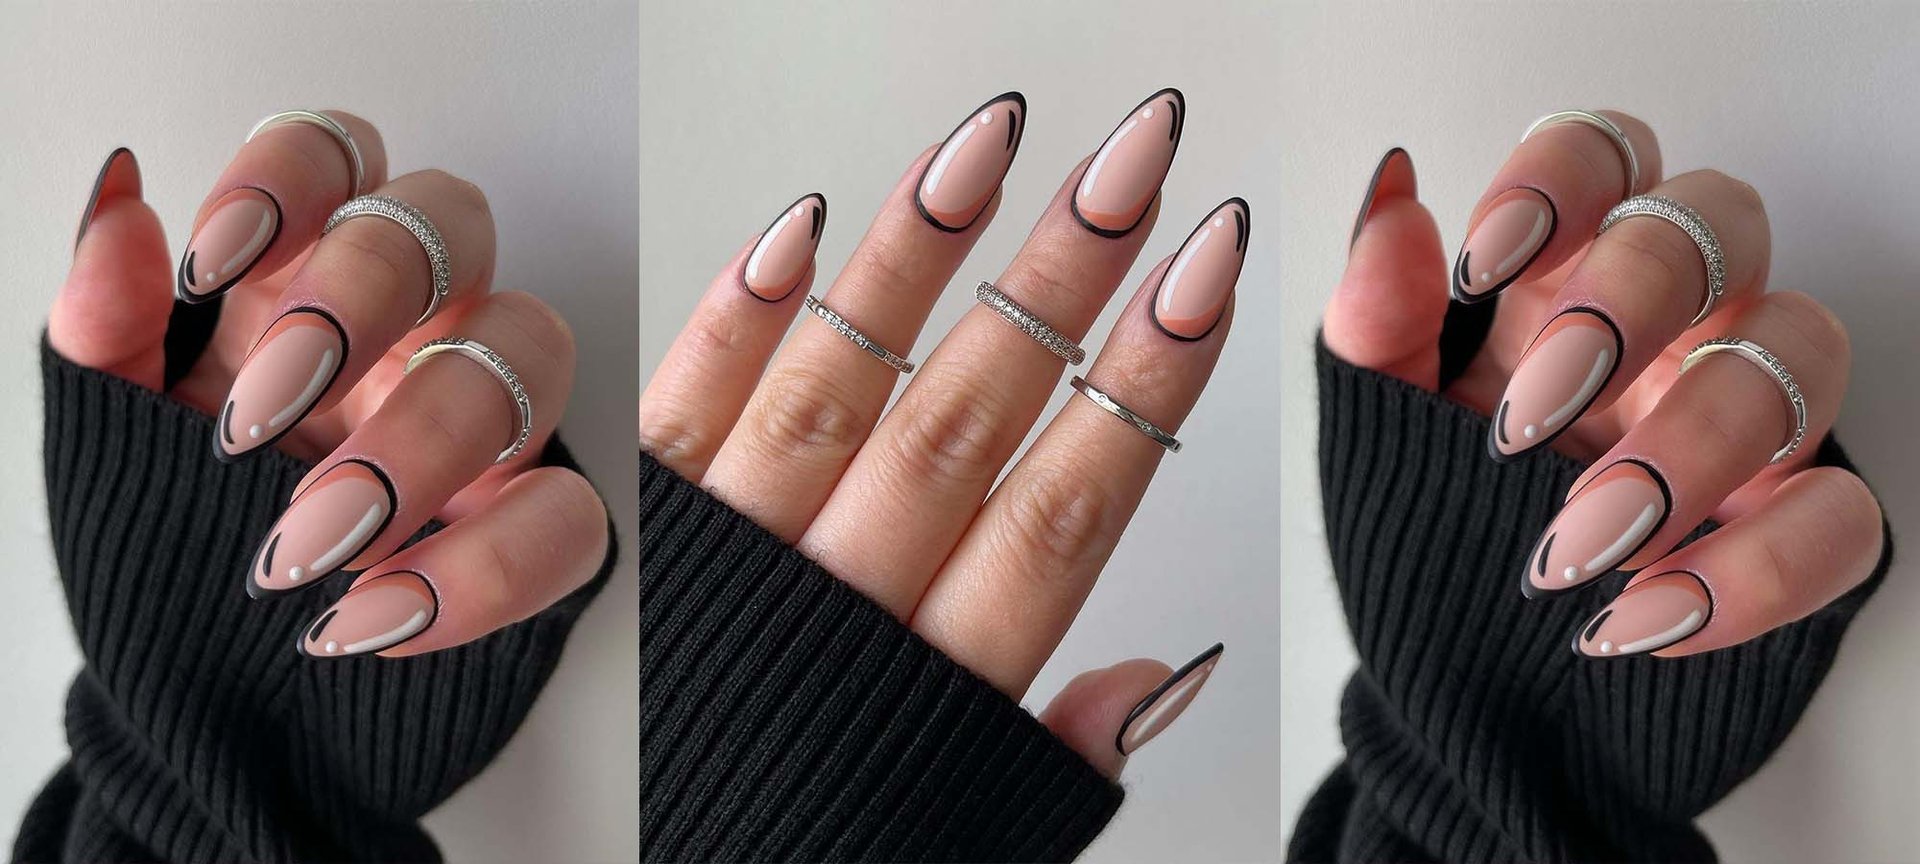
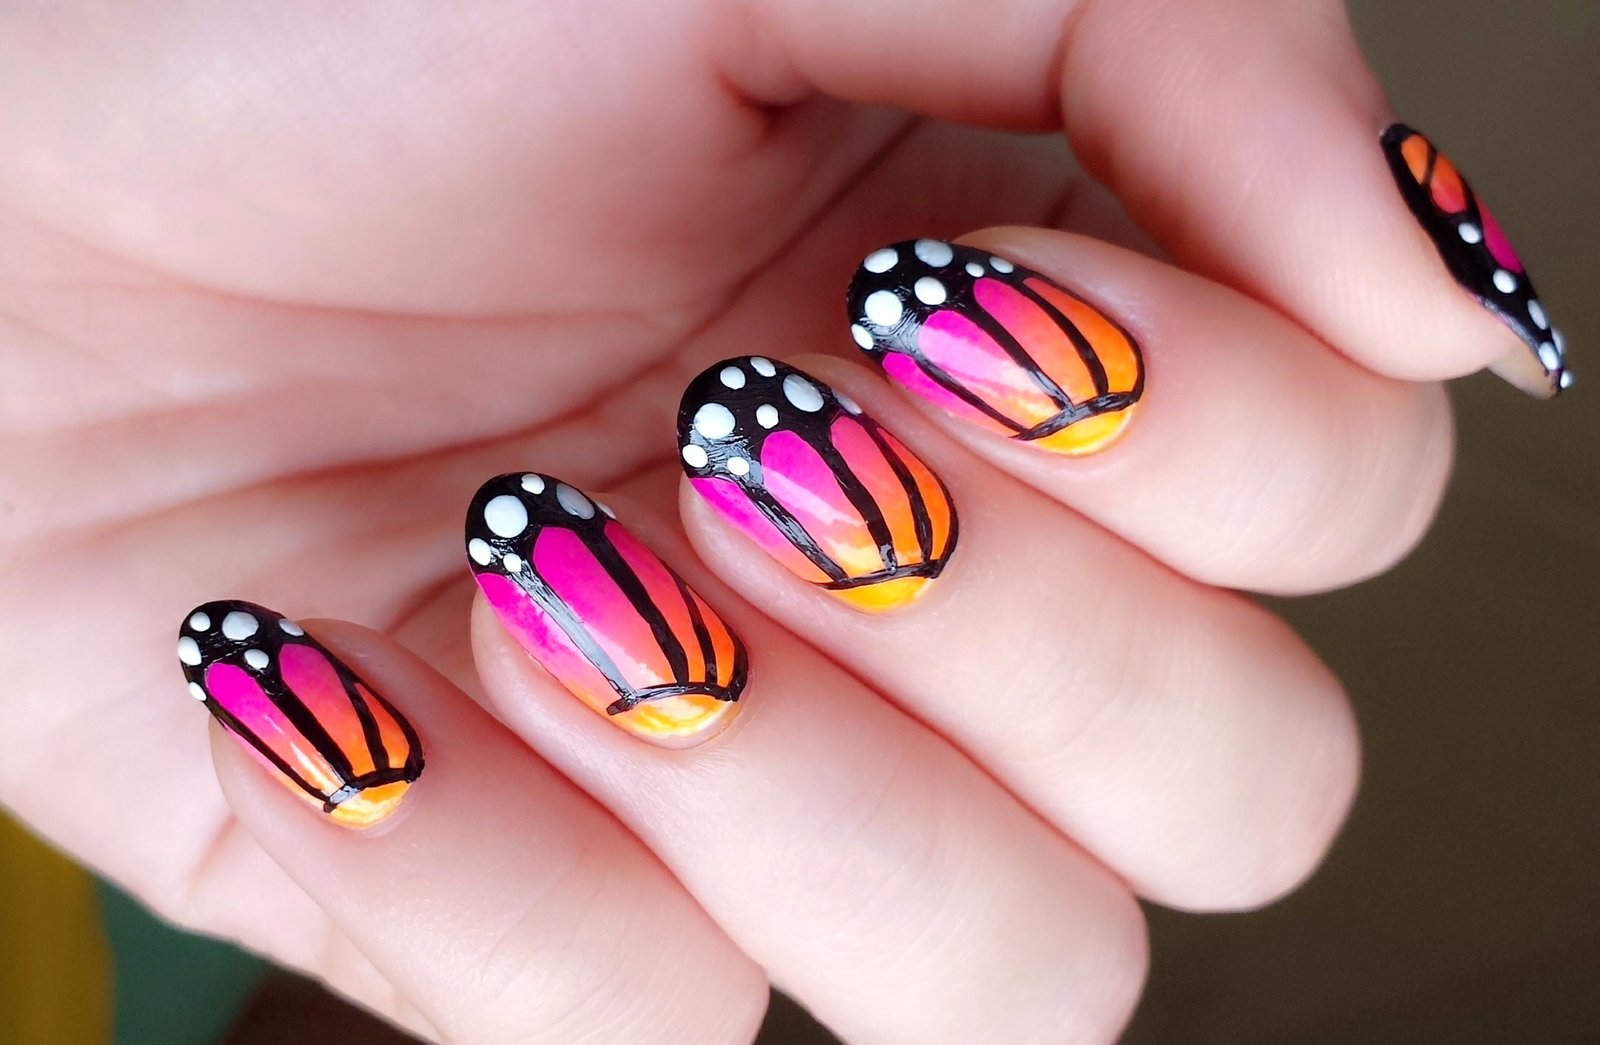
If you're looking for a chic and unique nail design, then marble nail art with gel polish is the way to go. This trend has been taking over the nail world by storm, and for good reason. With its intricate swirls and patterns, marble nails are the perfect way to make a statement with your manicure. And with the added durability of gel polish, your marble nails will last even longer. Gel polish is a type of nail polish that is cured under a UV or LED lamp. It provides a long-lasting and glossy finish, making it the perfect choice for creating marble nail designs. Plus, with the wide range of colors and brands available, you can create endless marble nail looks using gel polish.1. Marble Nail Art with Gel Polish


1. Marble Nail Art with Gel Polish

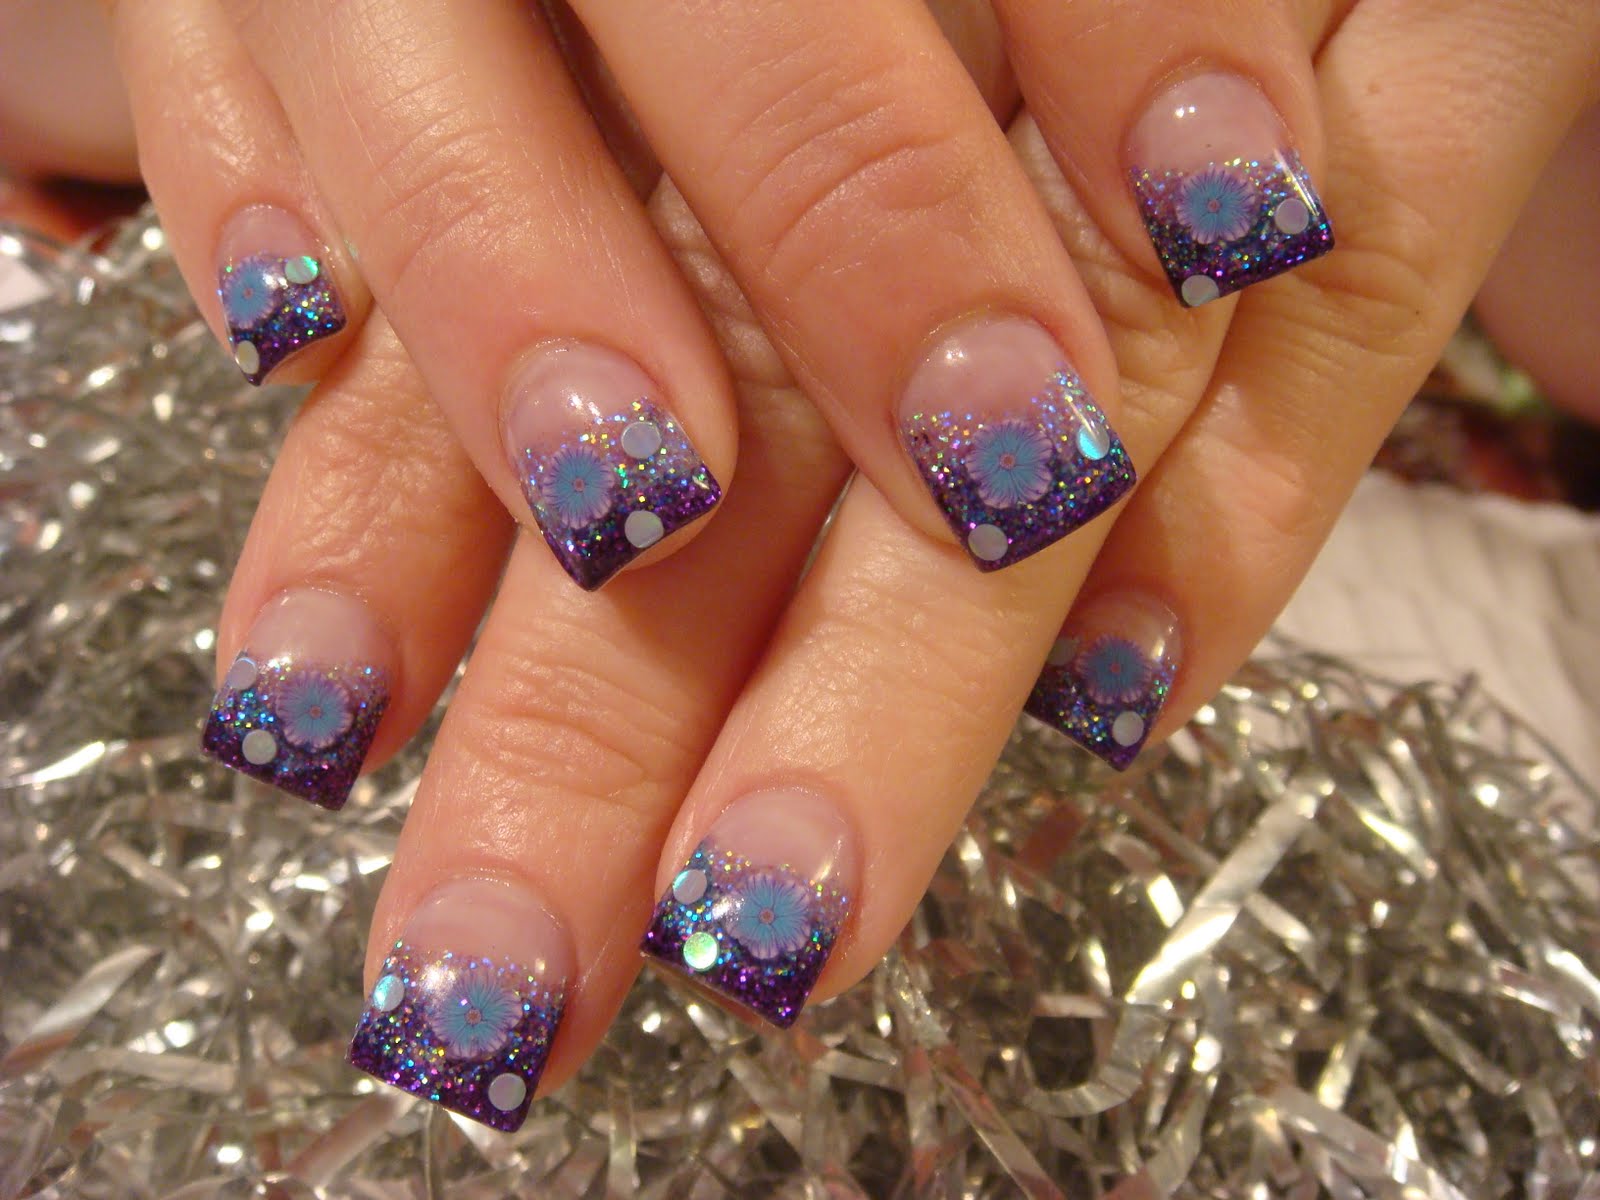

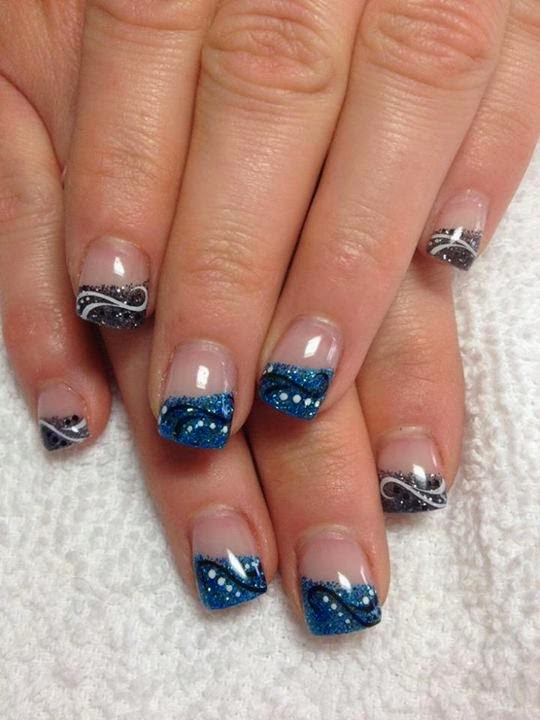
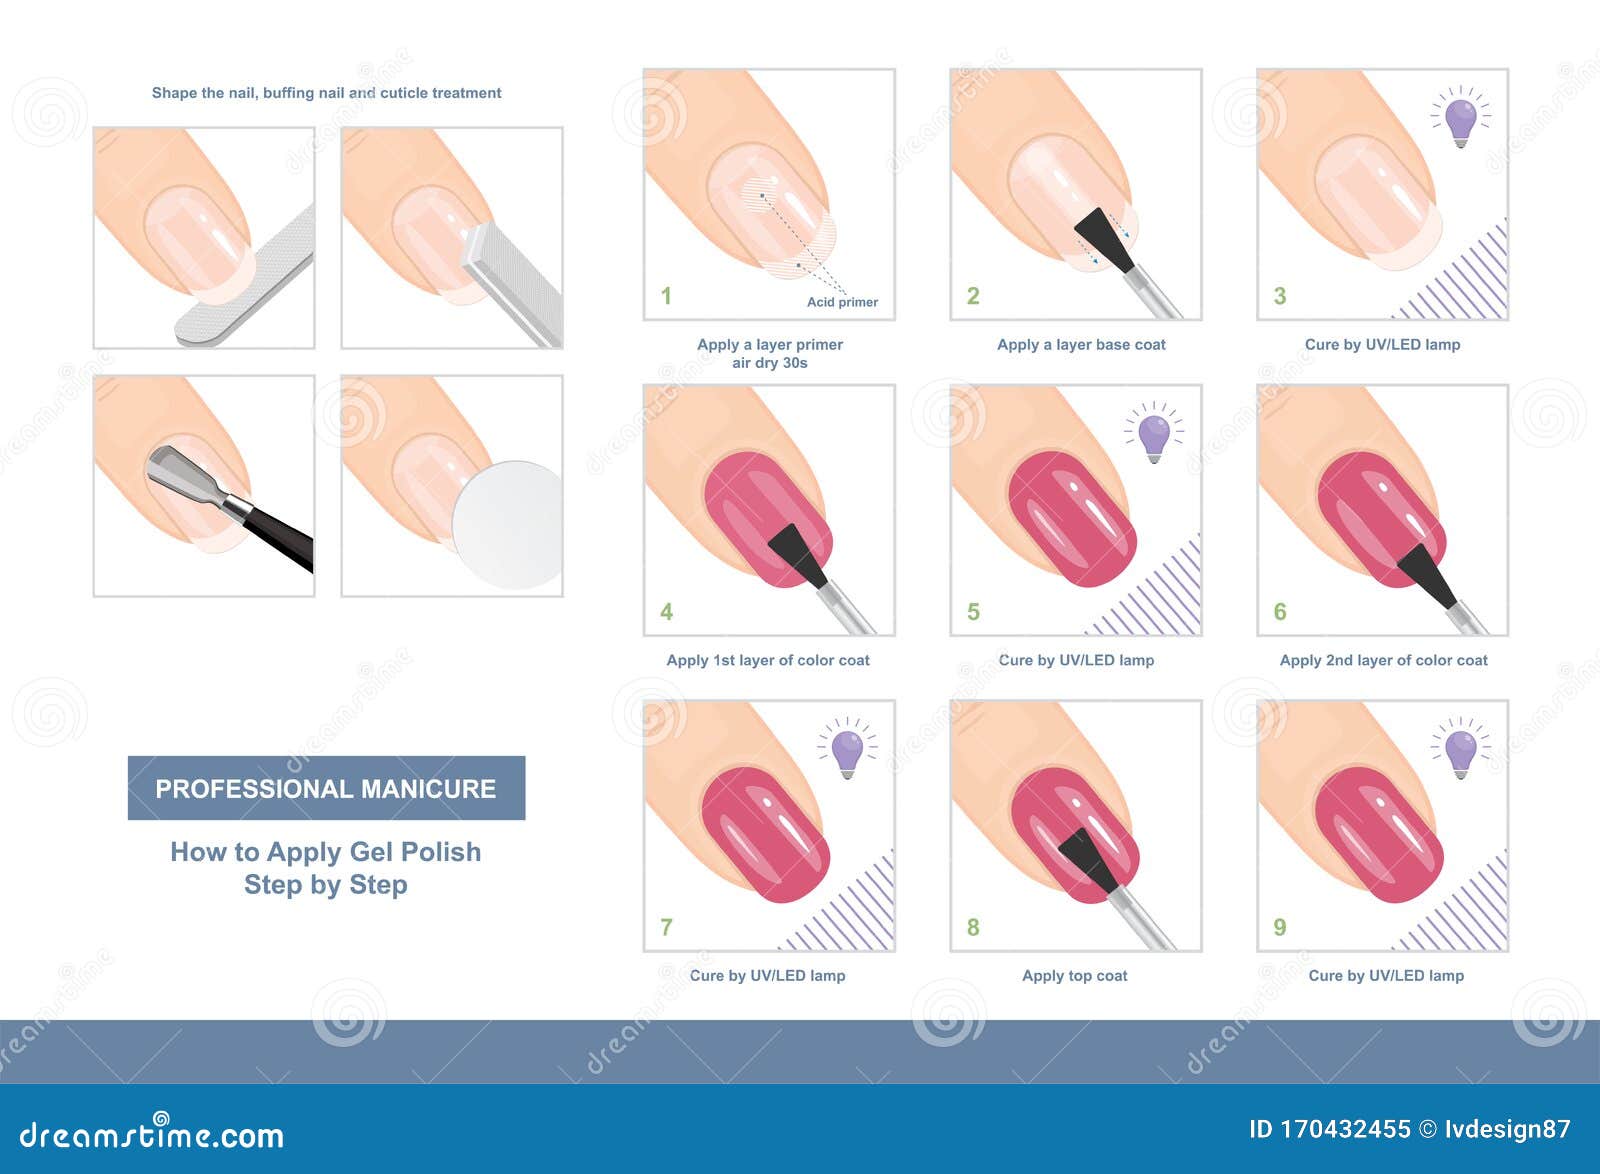
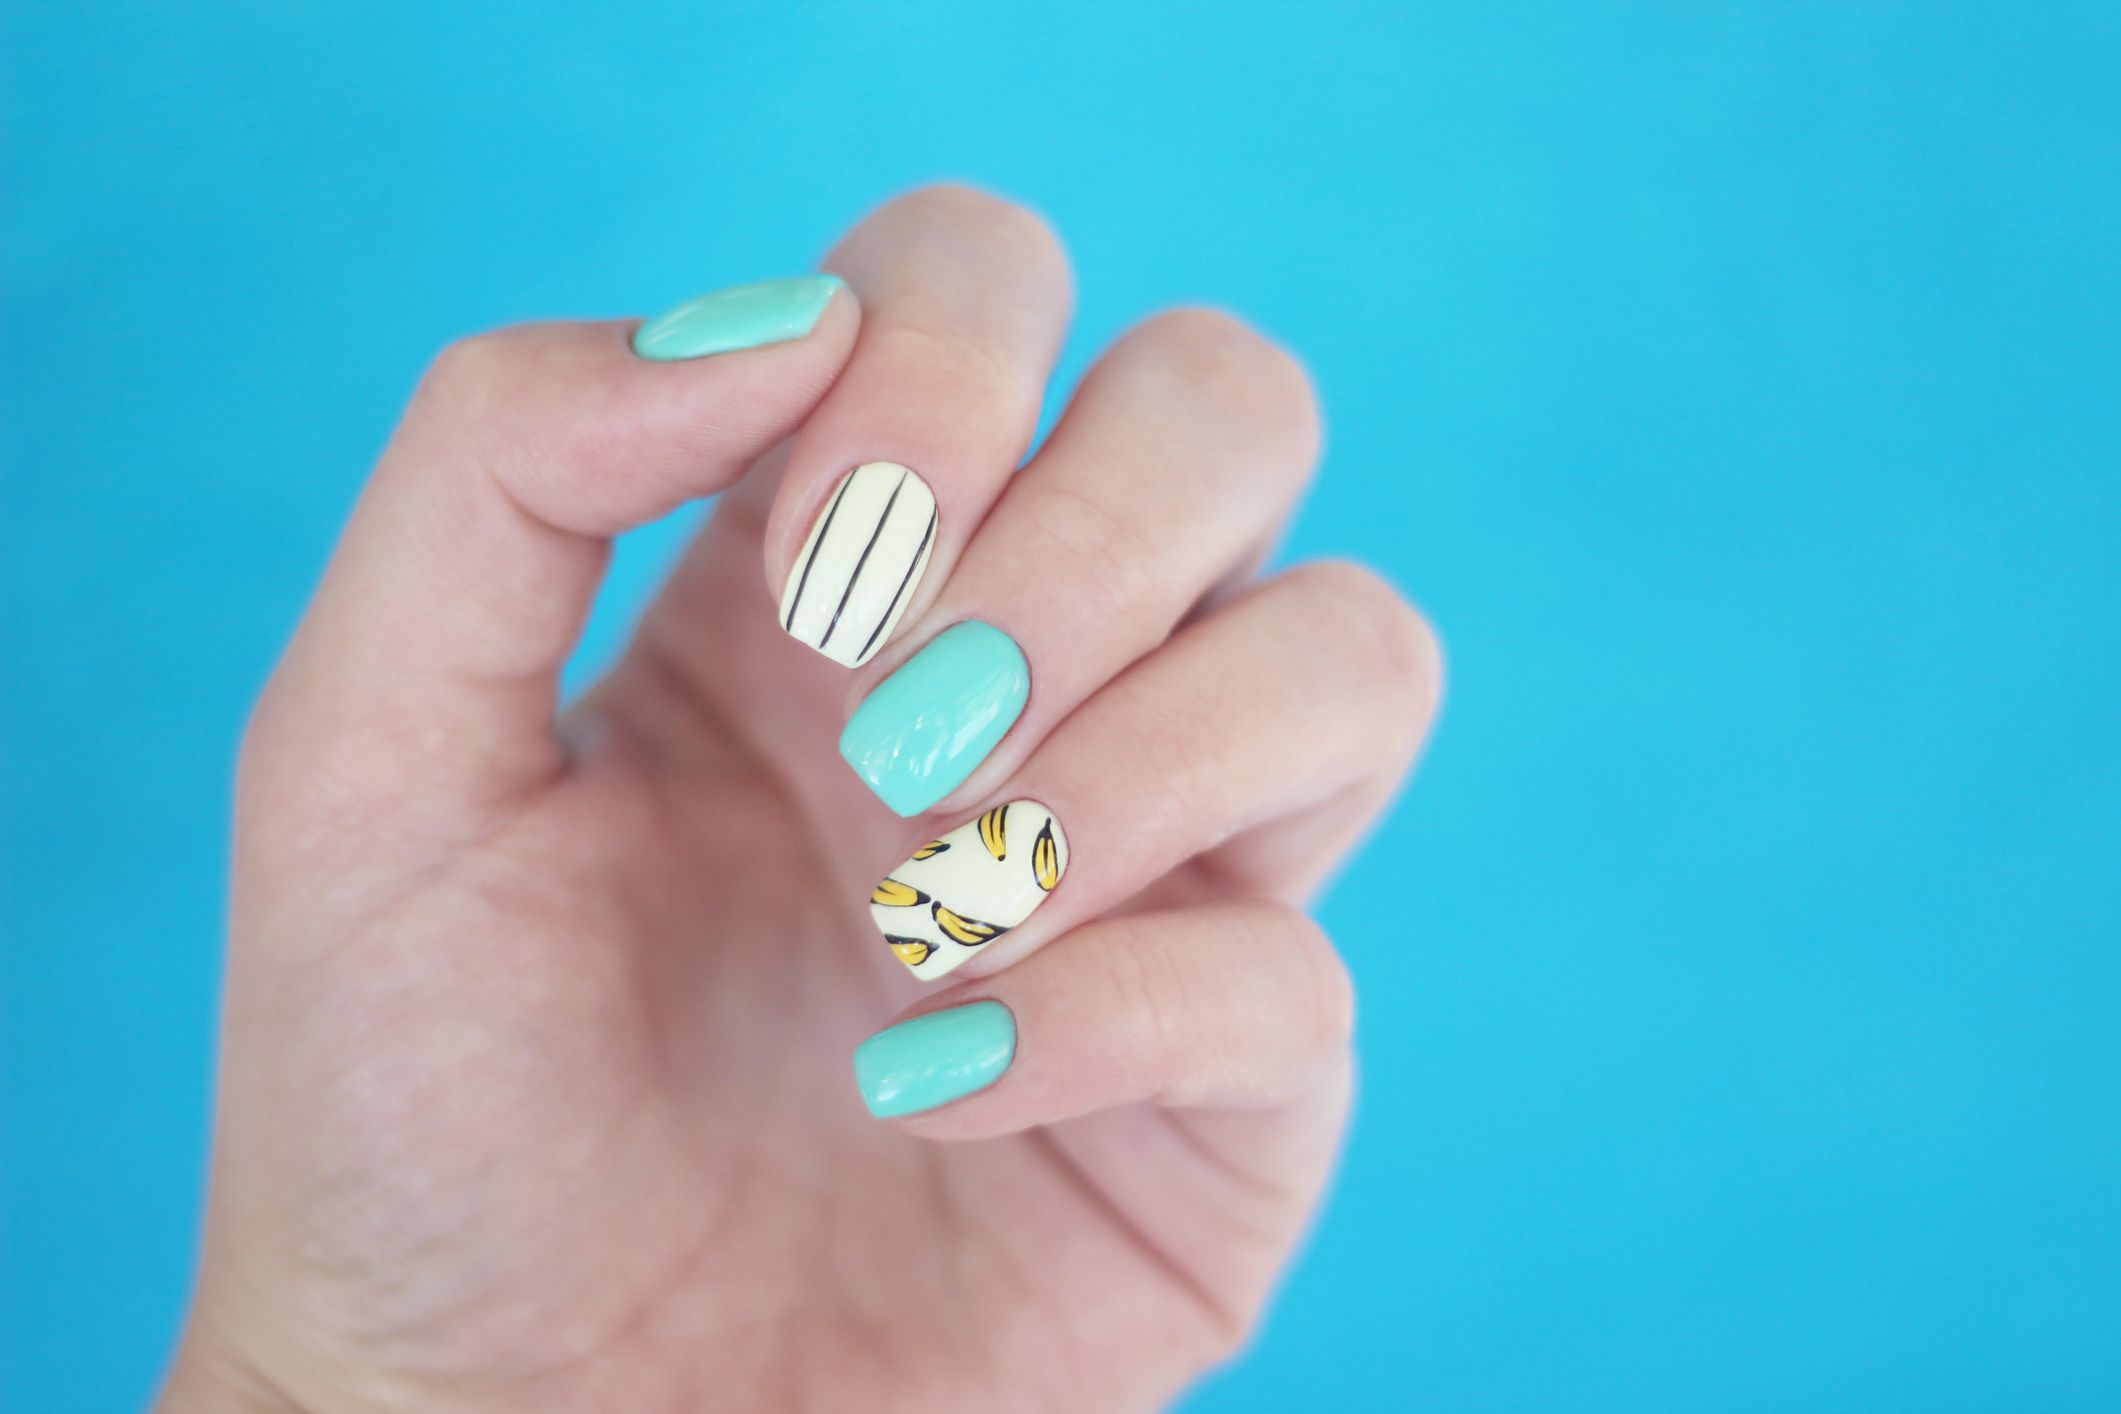
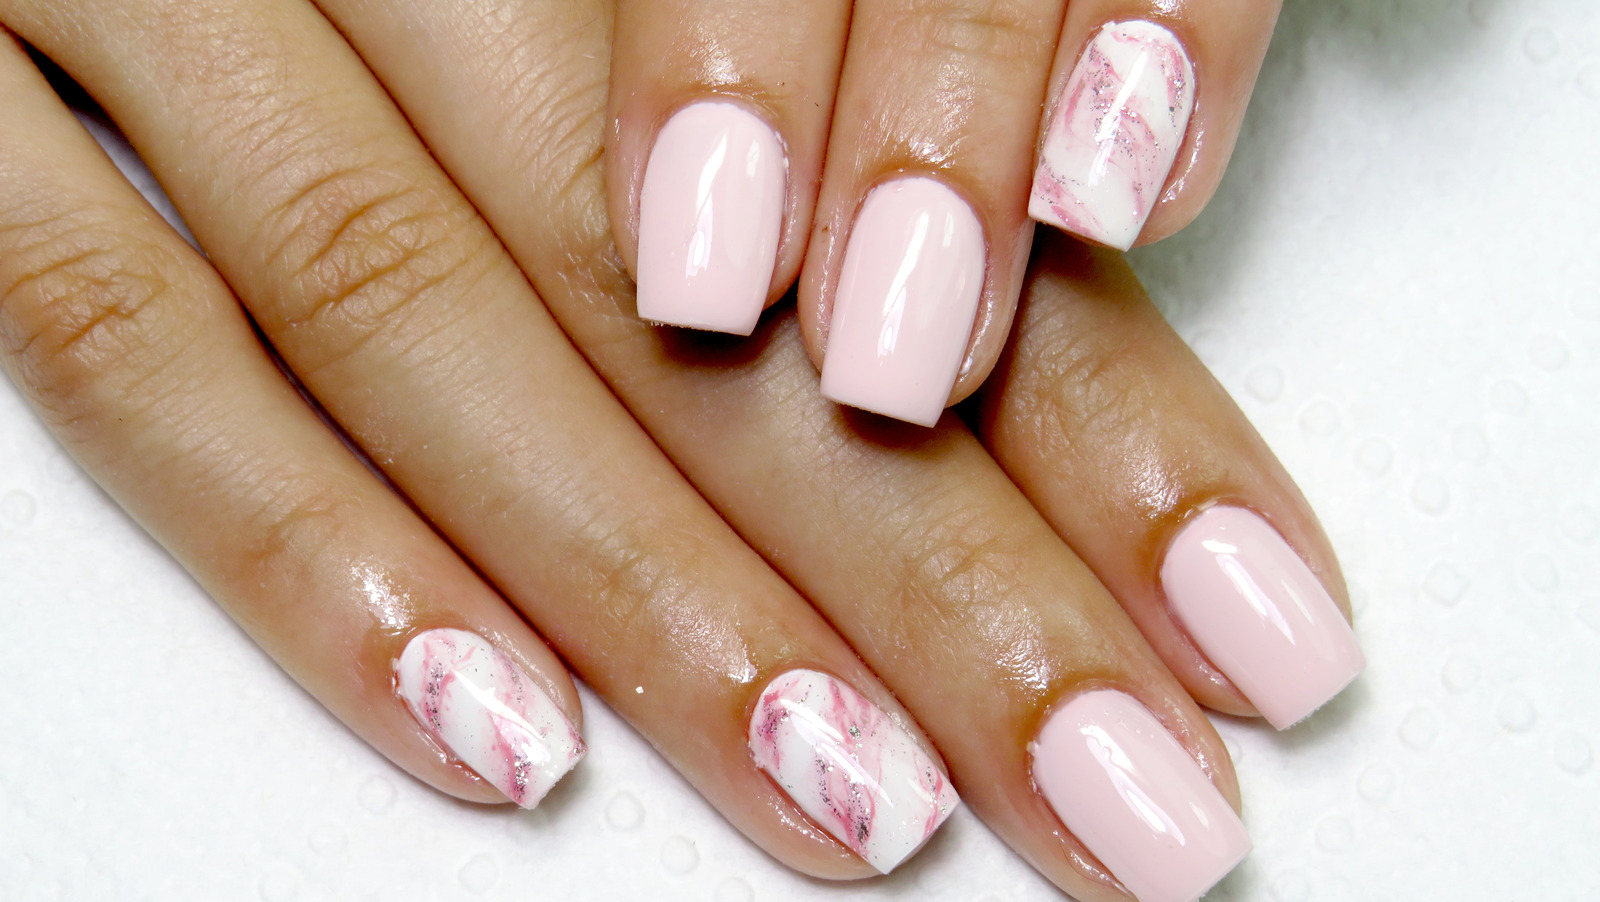
Creating a marble nail design with gel polish may seem intimidating, but with a few simple steps, anyone can achieve this trendy look. Start by applying a base coat to protect your natural nails. Then, apply a coat of your chosen base color and cure it under the lamp. Next, use a small brush or toothpick to create swirls and lines with a contrasting gel polish color. Cure this layer under the lamp as well. Repeat this process with as many colors as you like, blending and swirling them together to create a marble effect. Finally, seal in your design with a top coat and cure it under the lamp. Voila, you have a stunning marble nail design with gel polish that was easy to create!2. Easy Marble Nail Design with Gel Polish


2. Easy Marble Nail Design with Gel Polish

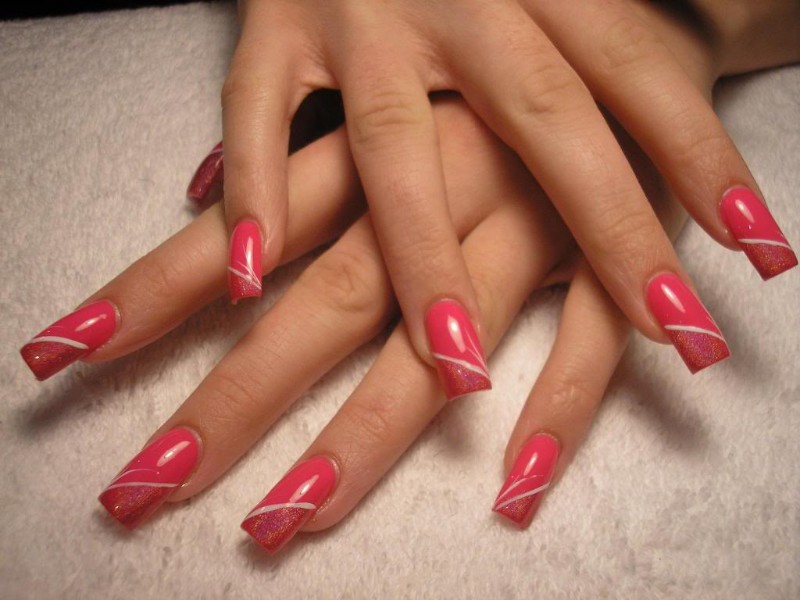
If you're a visual learner, then a step-by-step tutorial may be the best way for you to achieve a marble nail design with gel polish. There are plenty of tutorials available online, but here's a quick breakdown of the steps: - Apply a base coat and cure it under the lamp. - Apply a base color and cure it under the lamp. - Use a small brush or toothpick to create swirls and lines with a contrasting gel polish color. - Cure this layer under the lamp. - Repeat with additional colors, curing each layer under the lamp. - Seal in your design with a top coat and cure it under the lamp. - Clean up any excess polish around your nails with a brush or cotton swab dipped in acetone.3. Step-by-Step Marble Nail Tutorial with Gel Polish


3. Step-by-Step Marble Nail Tutorial with Gel Polish


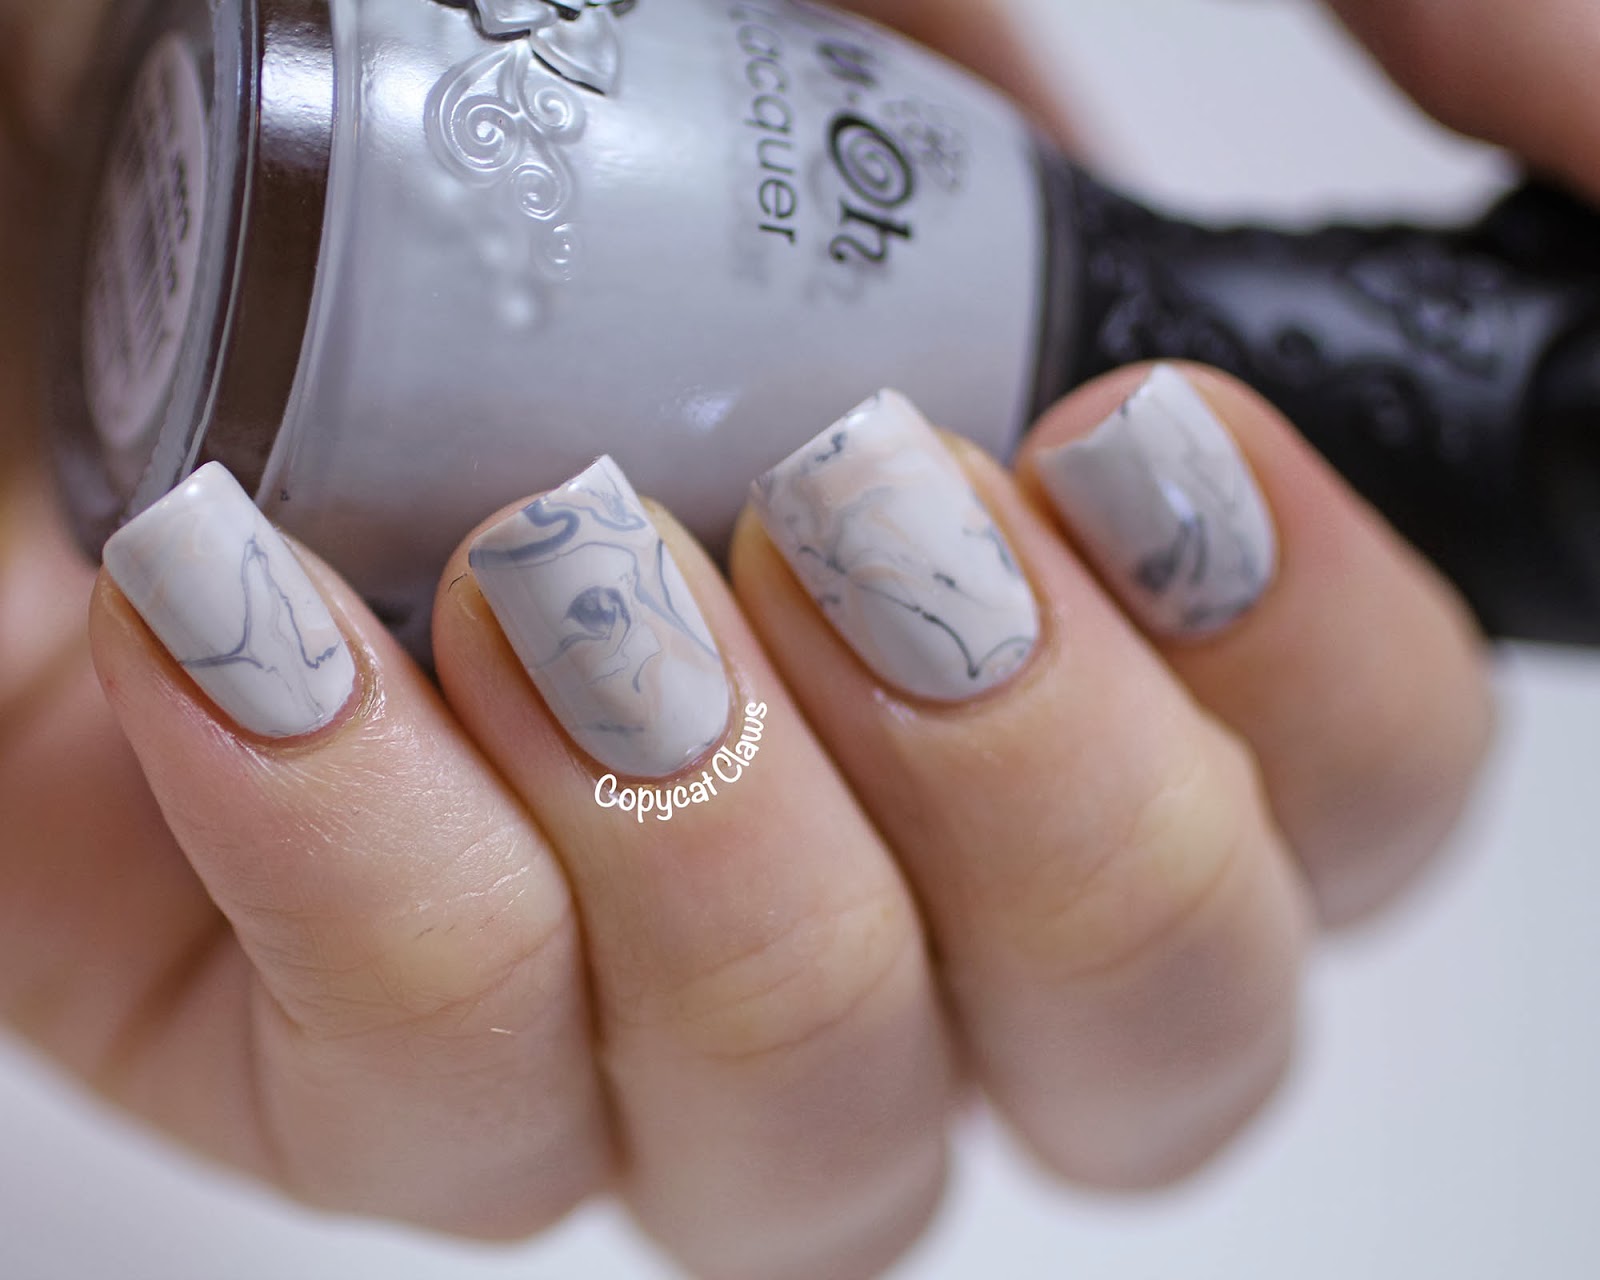


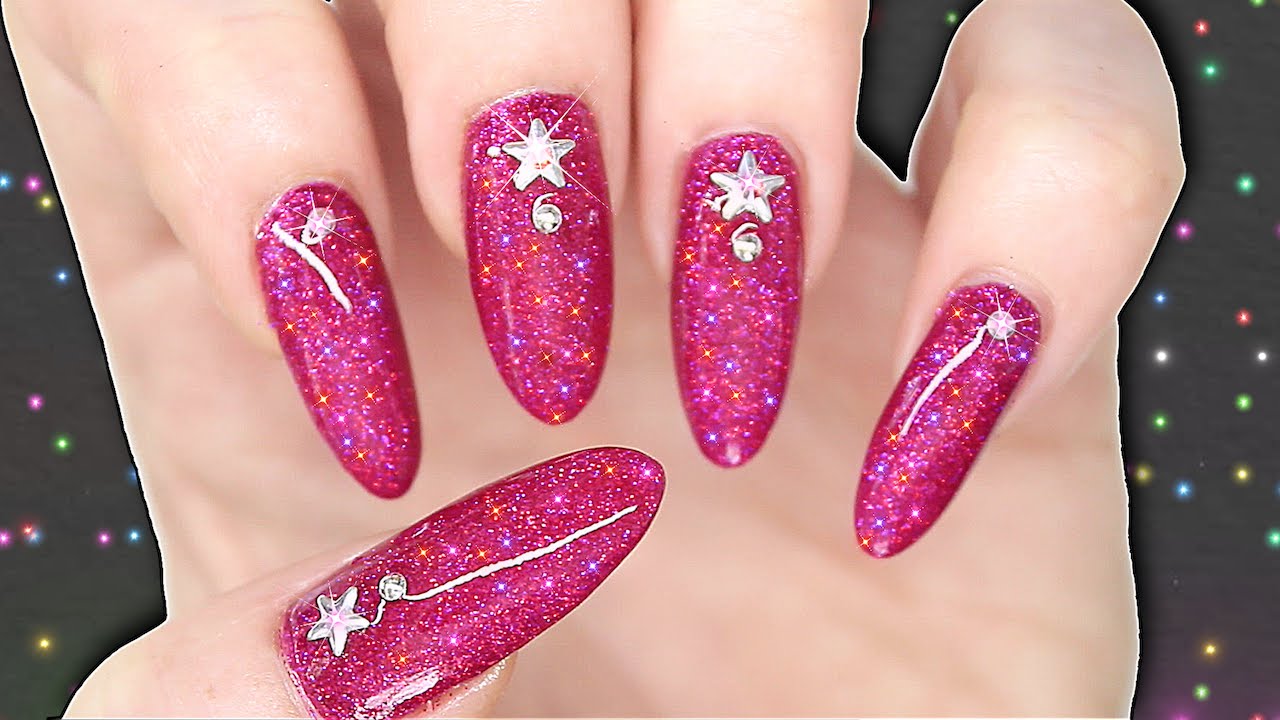
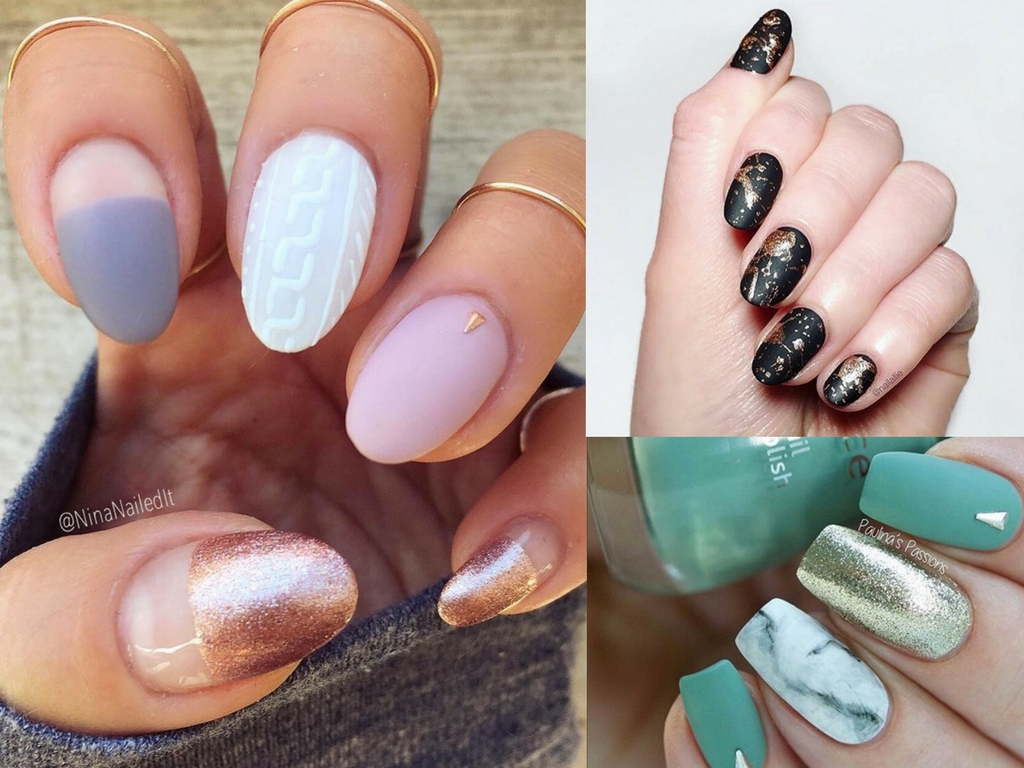
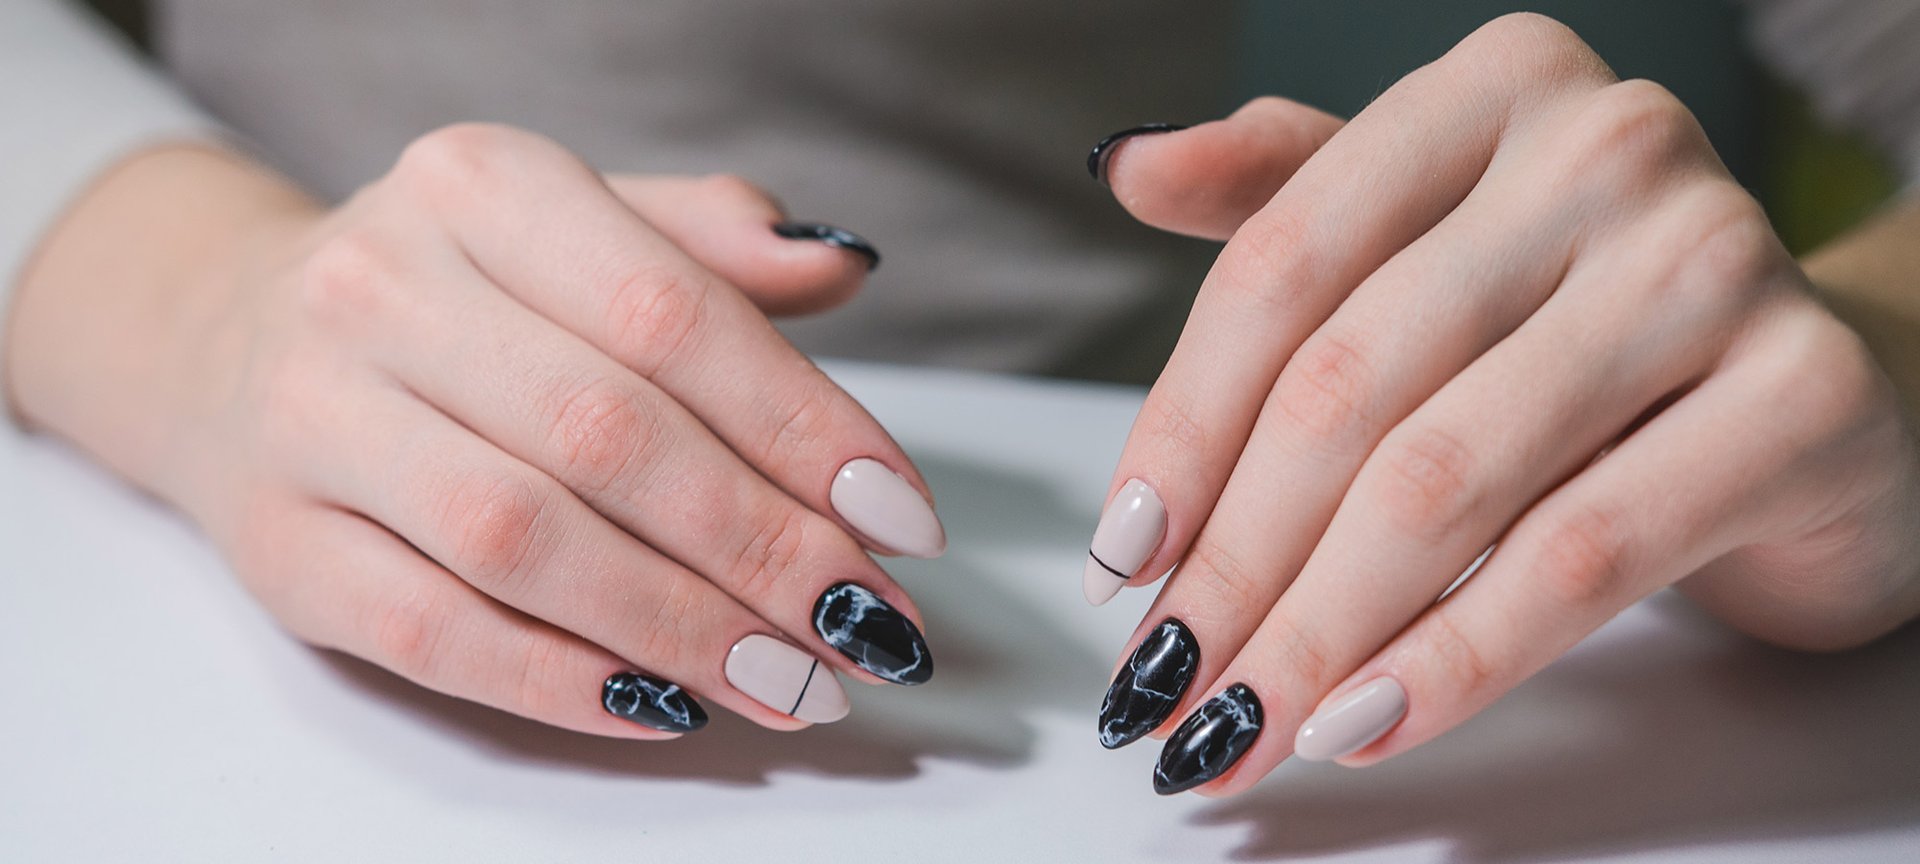
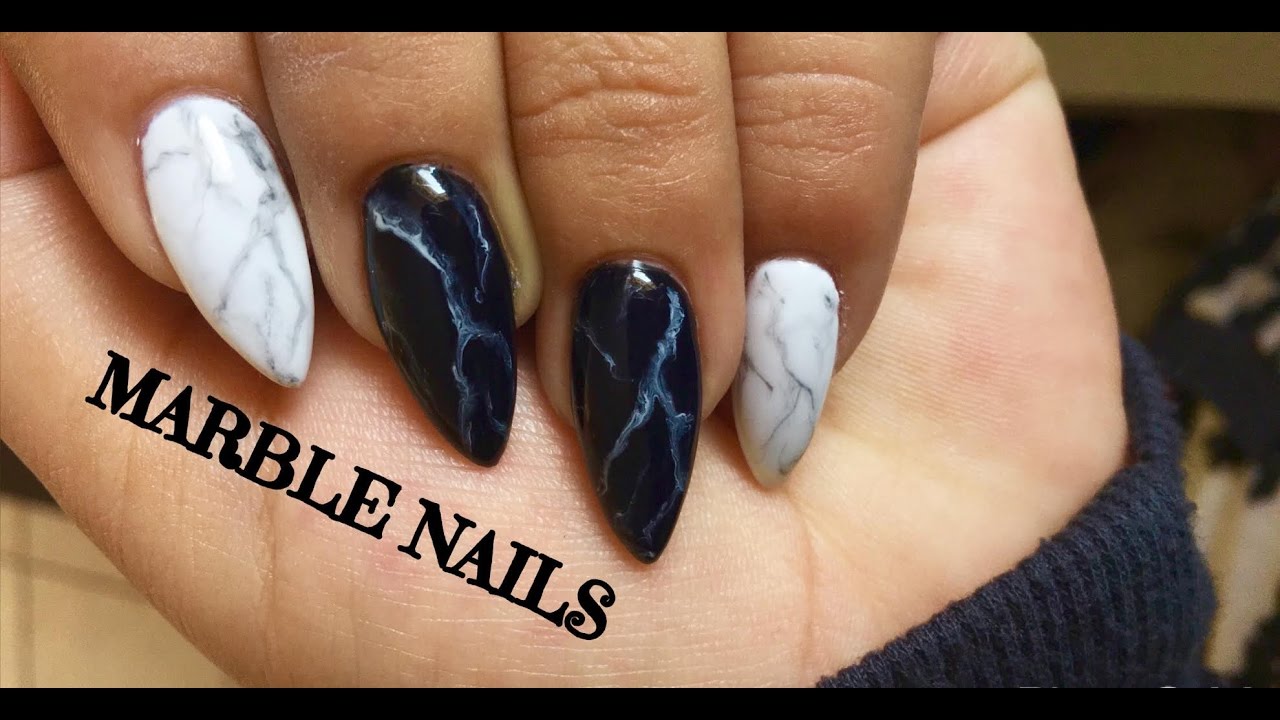
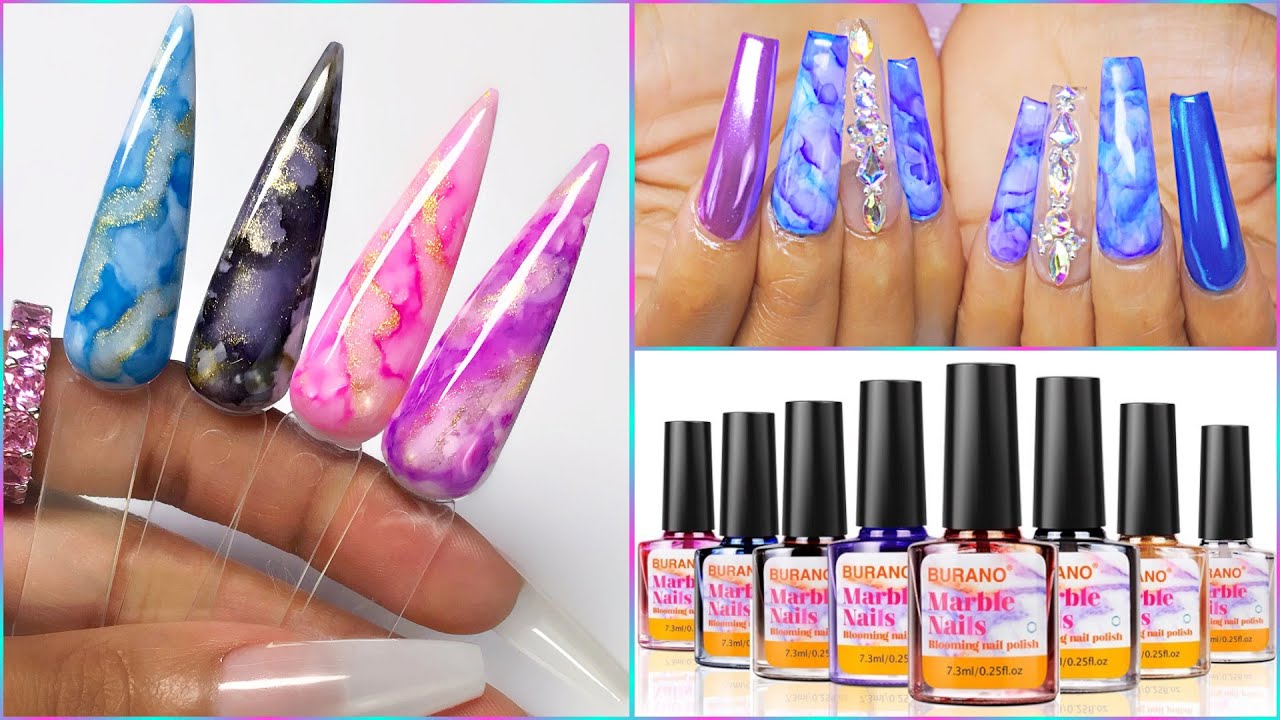
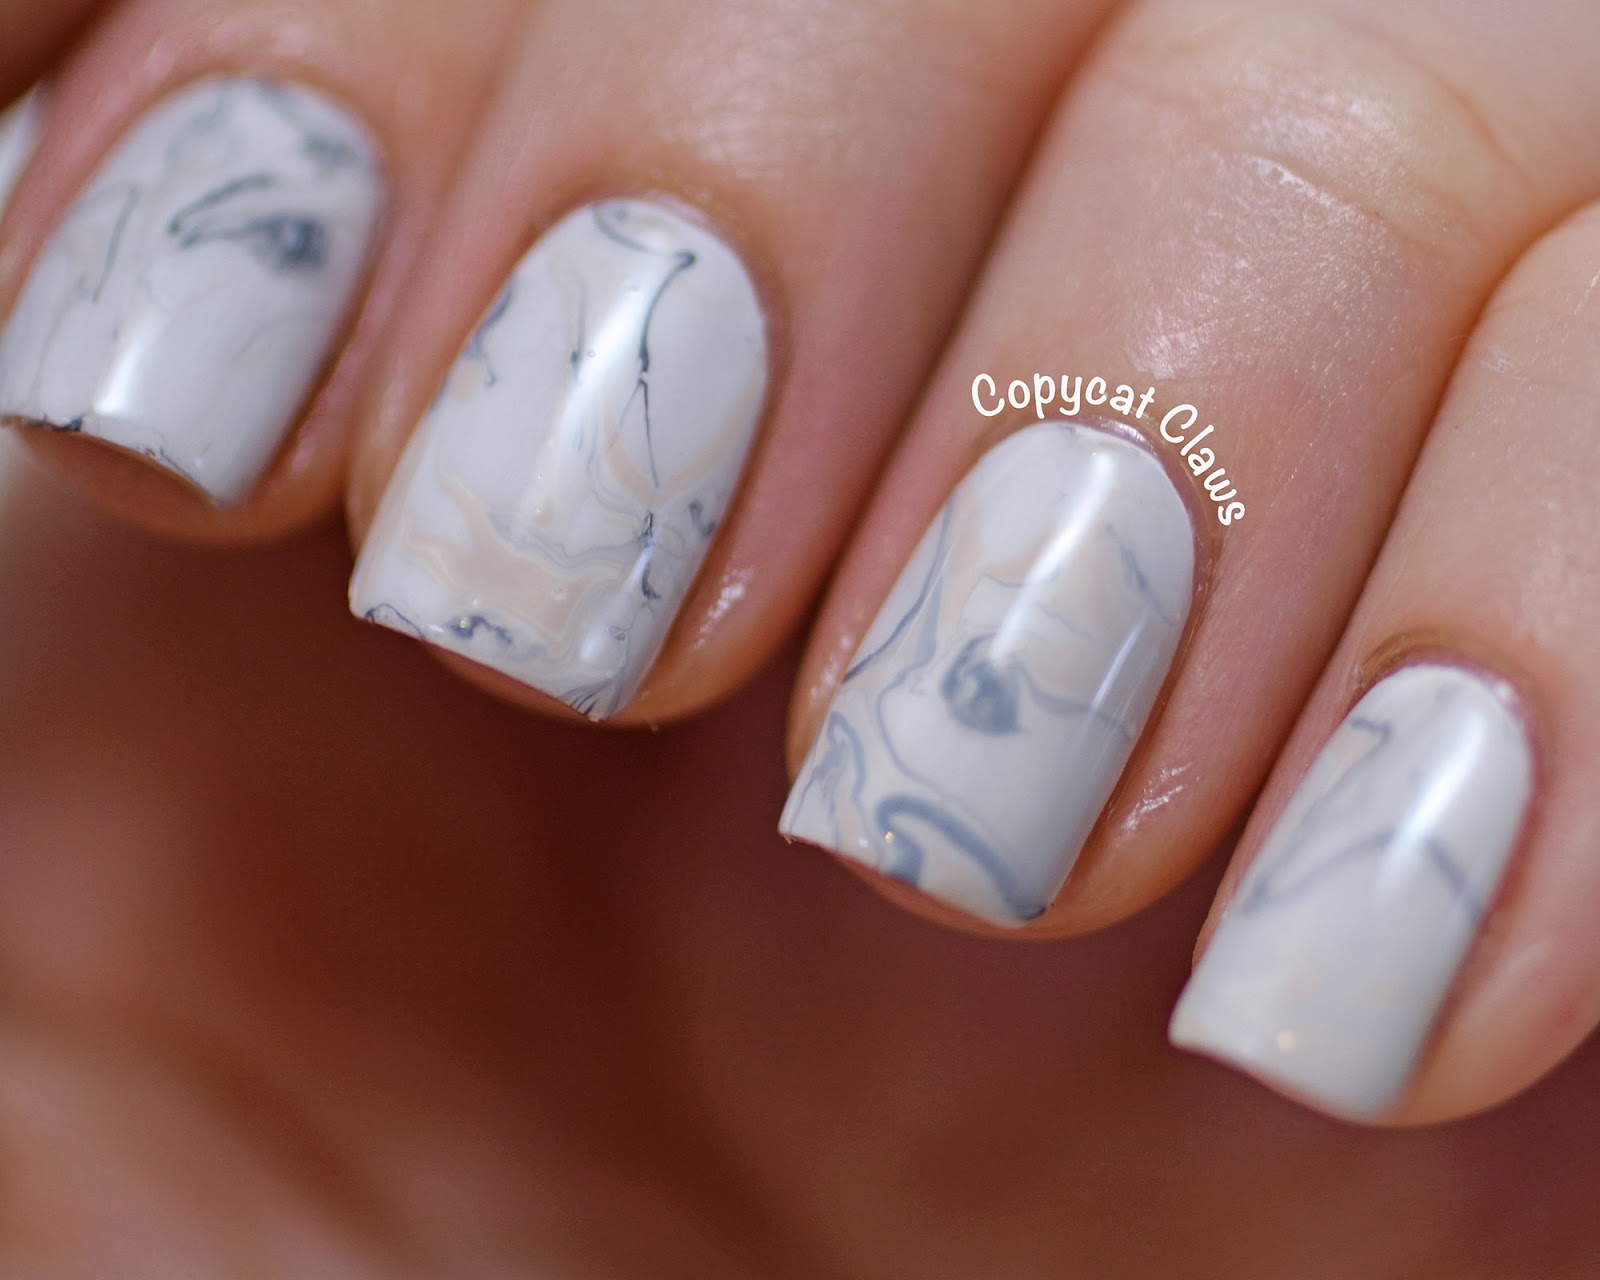
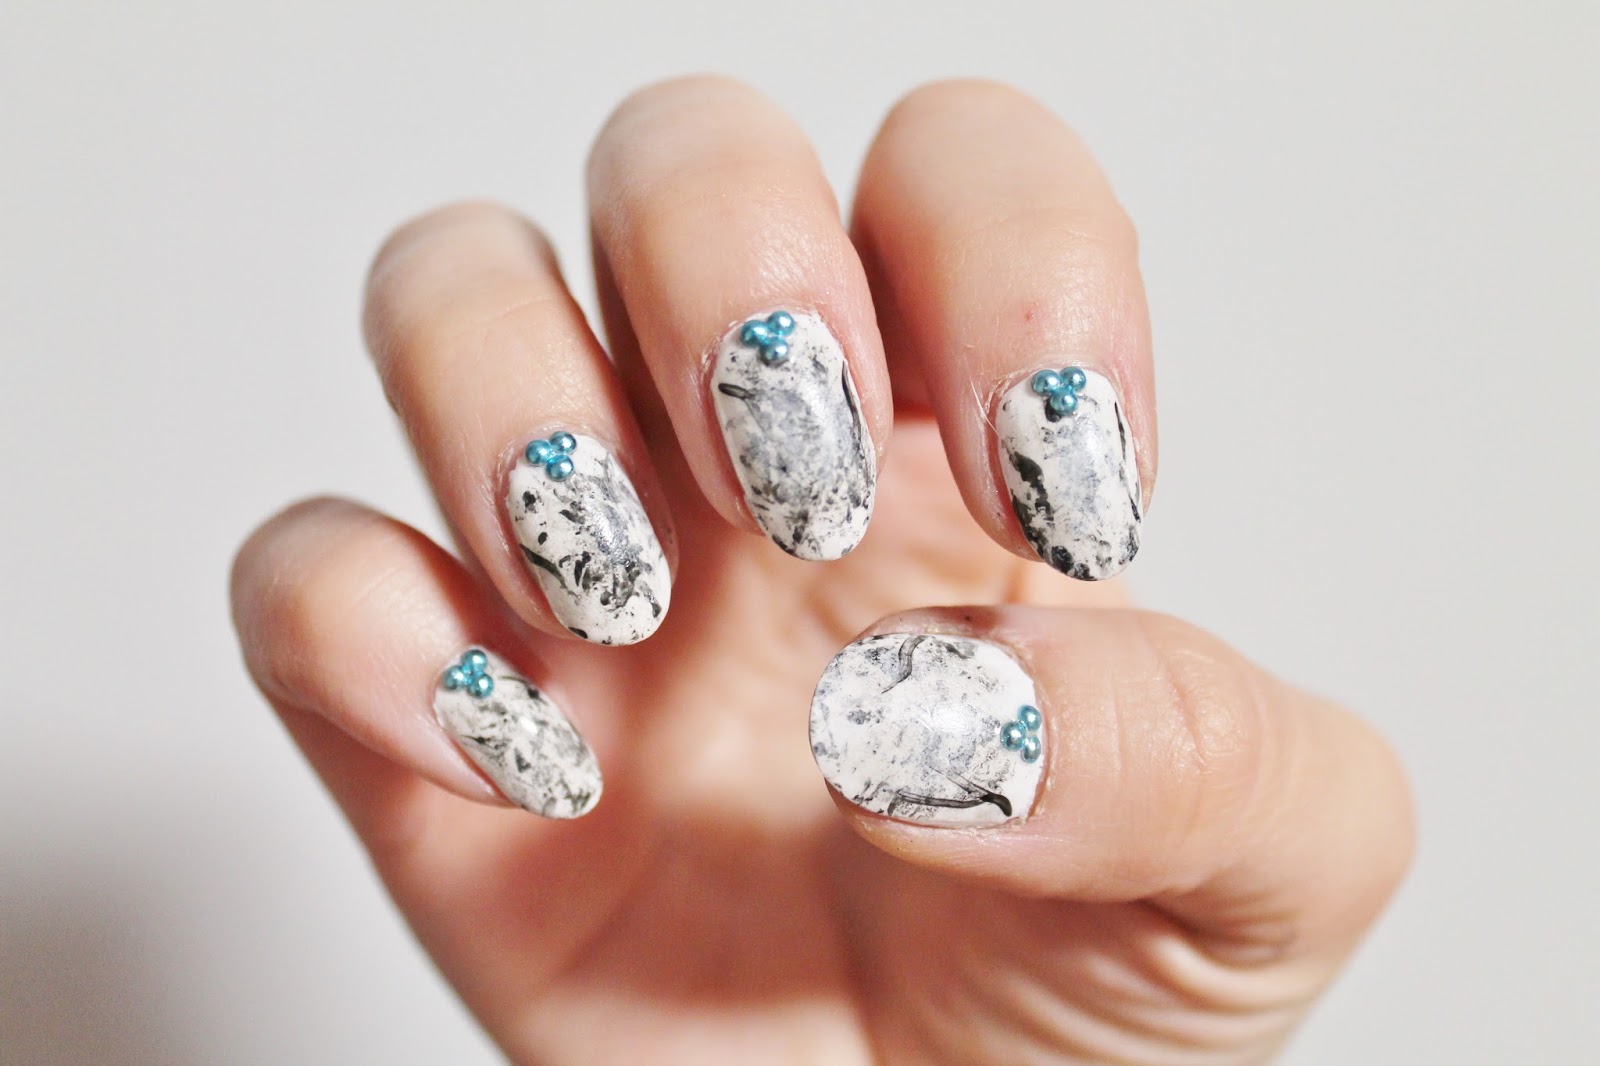
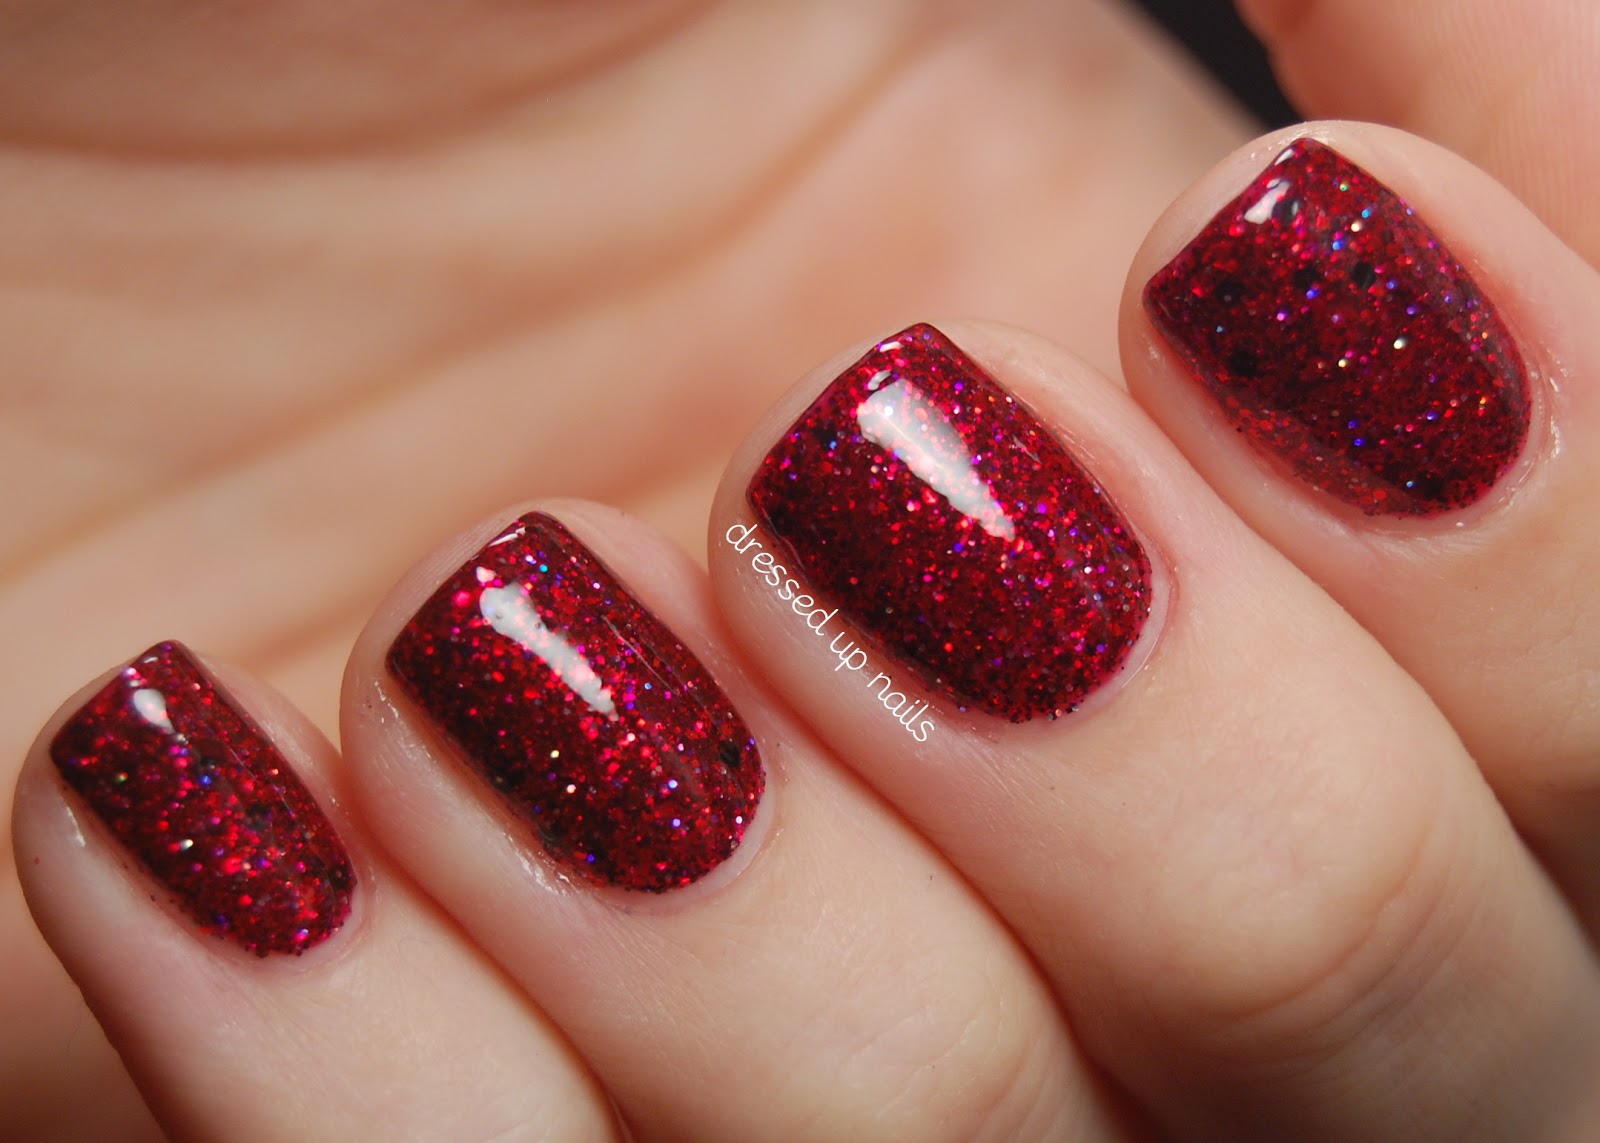
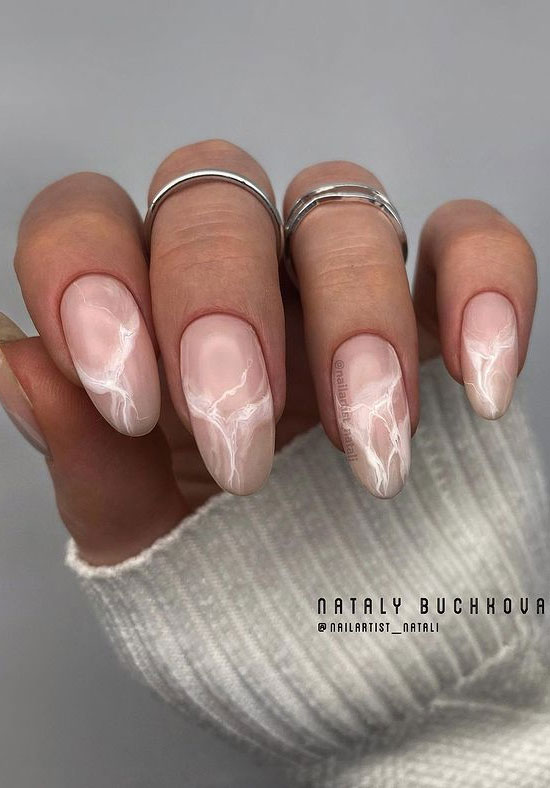
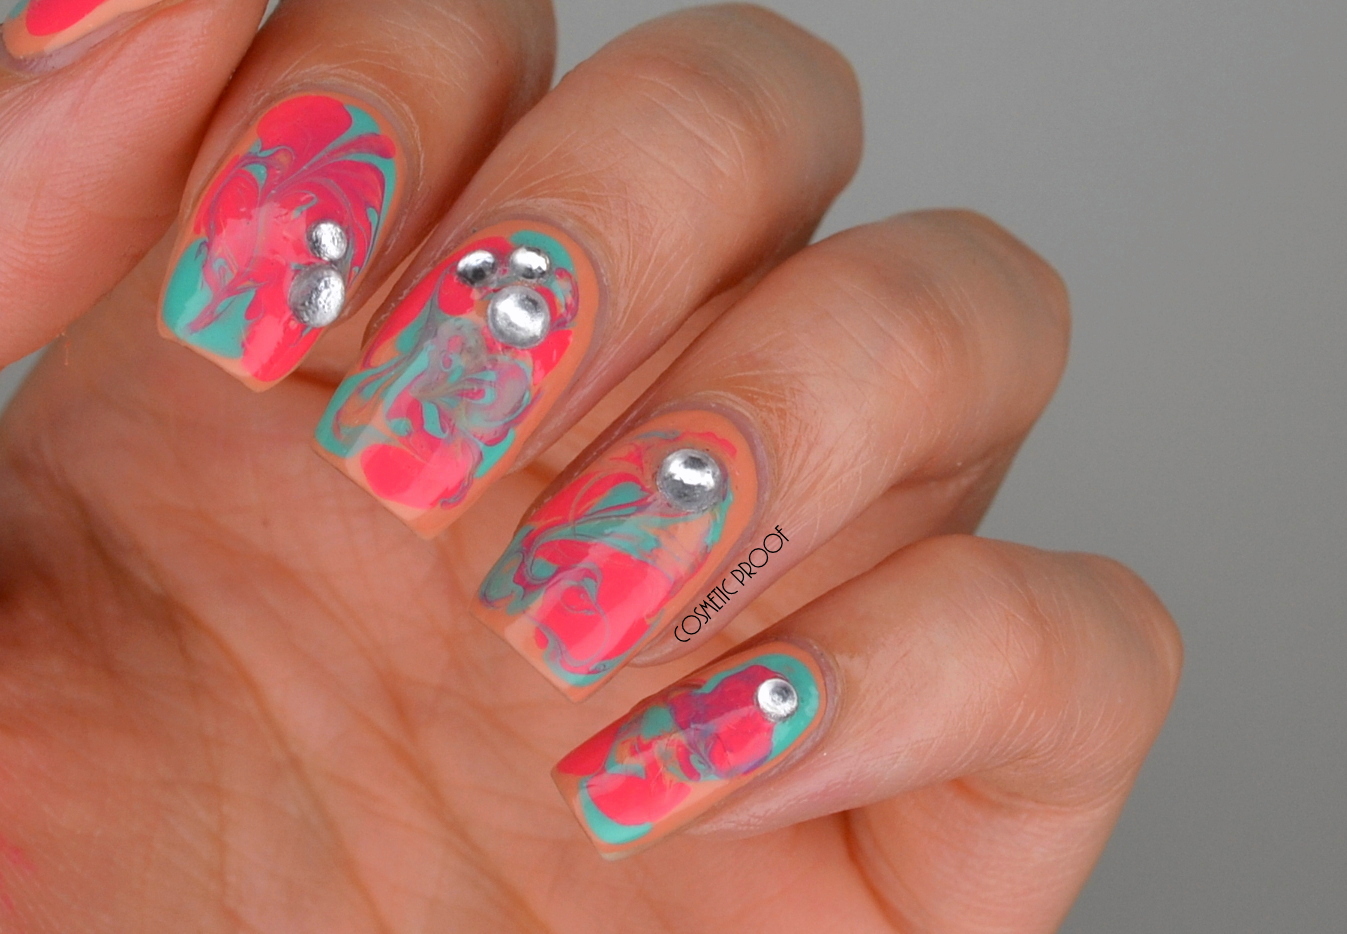
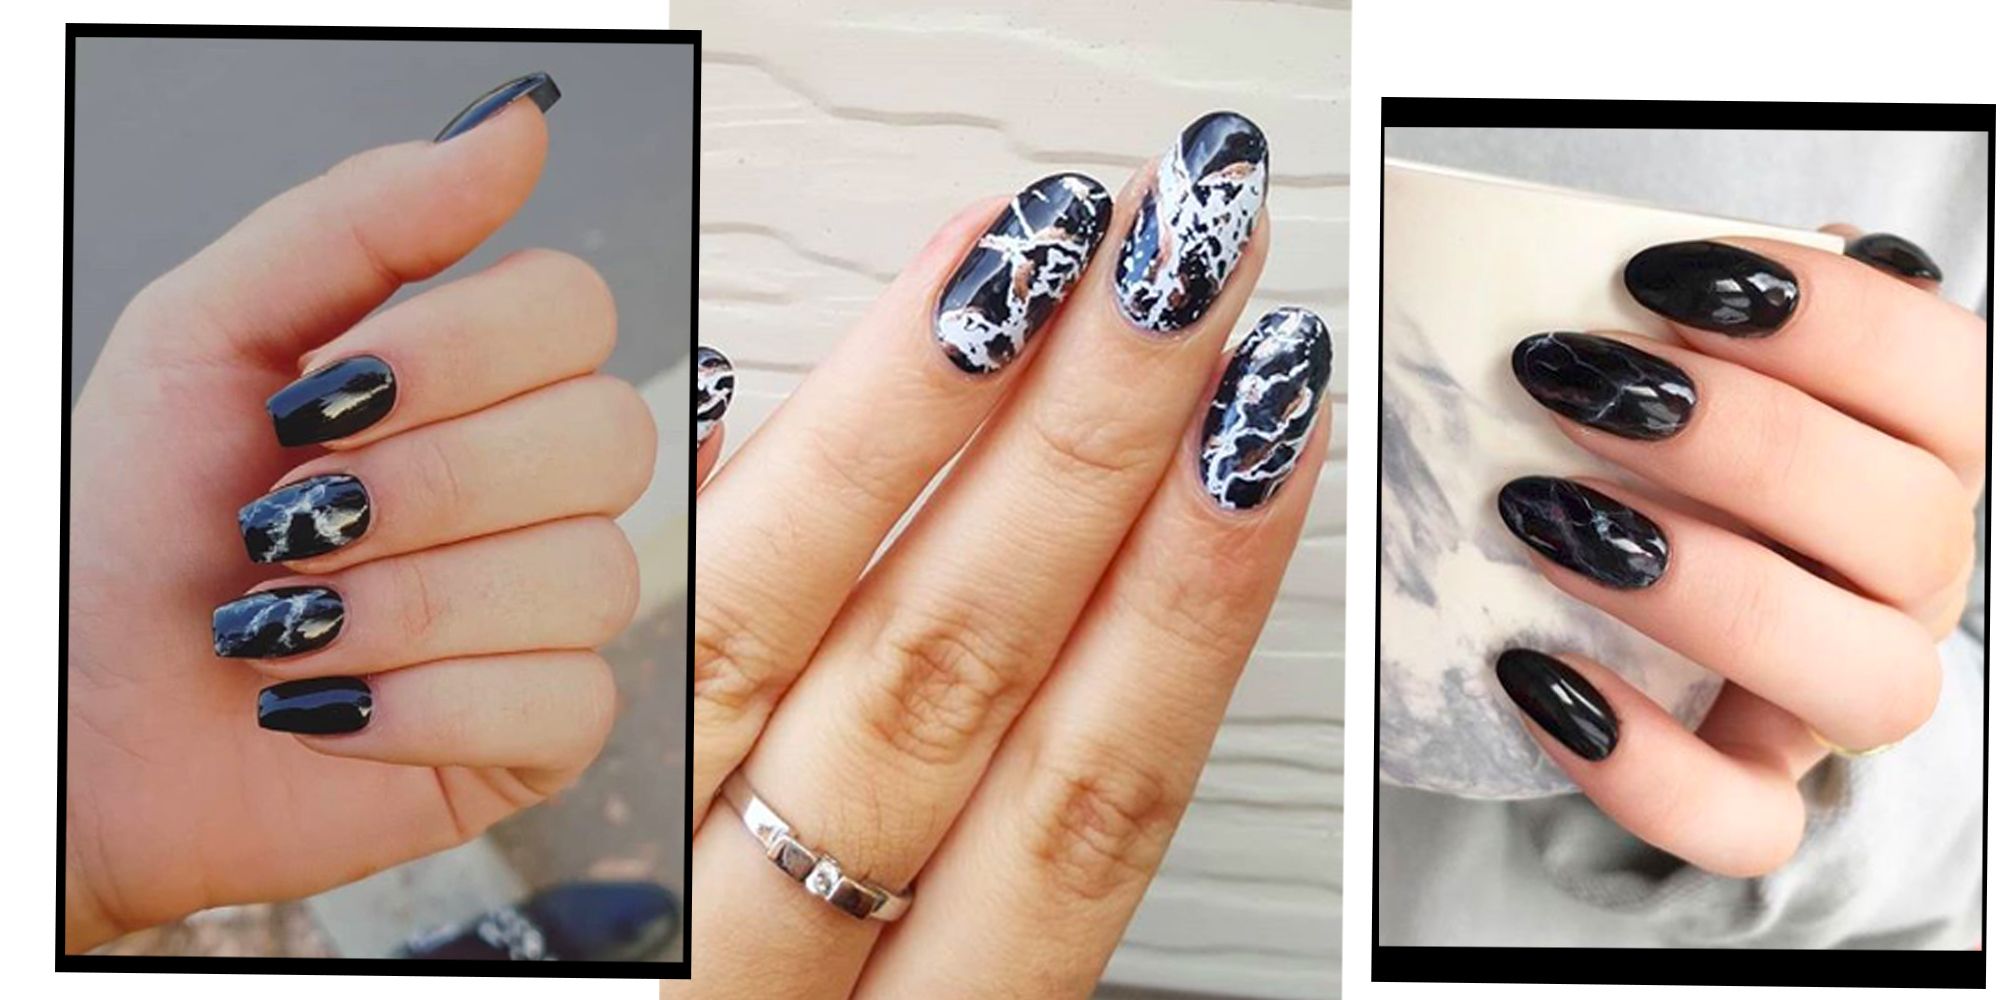
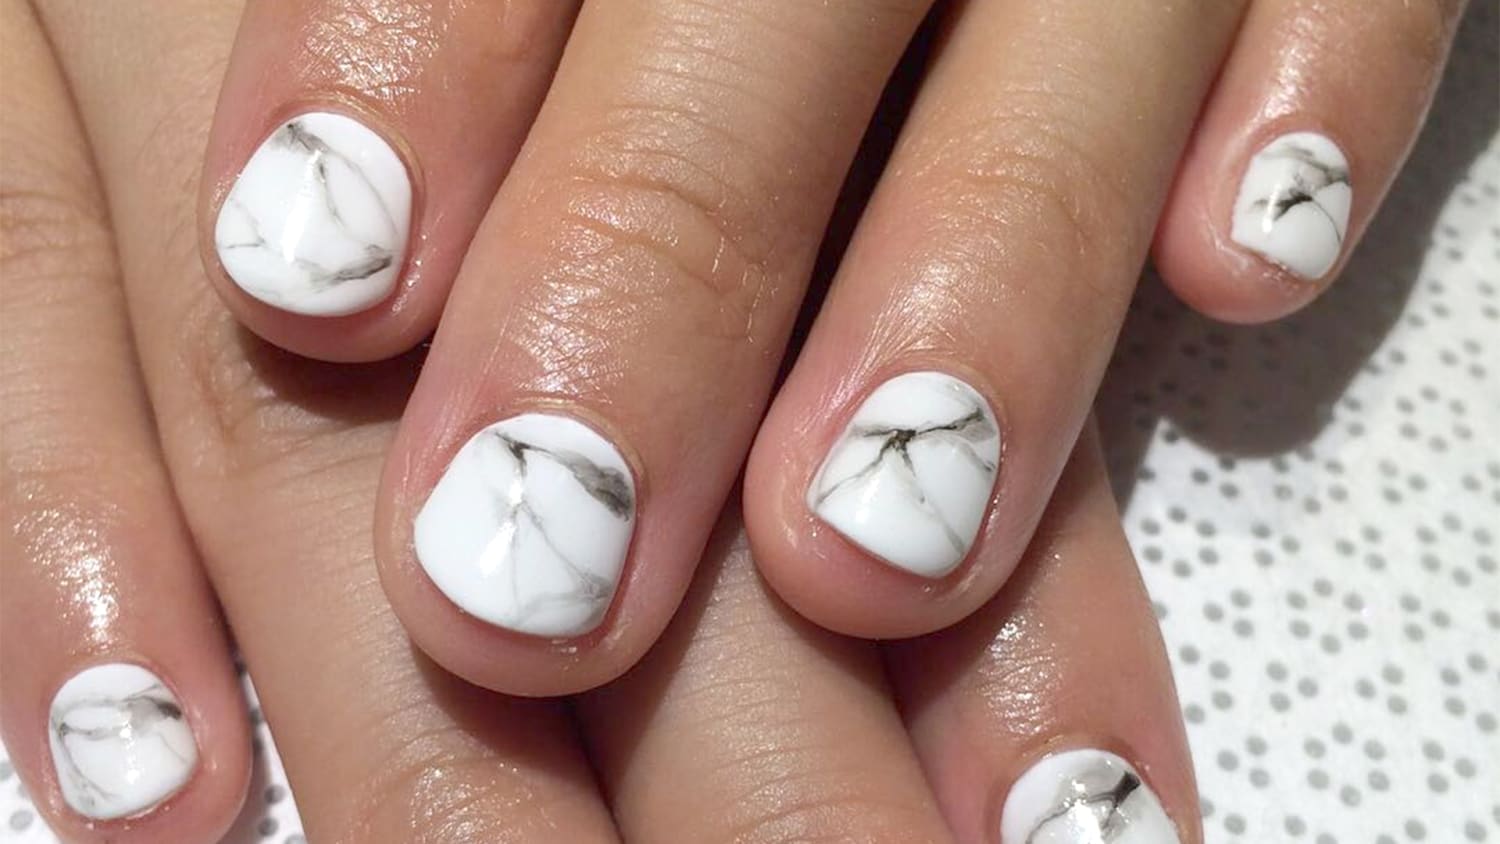
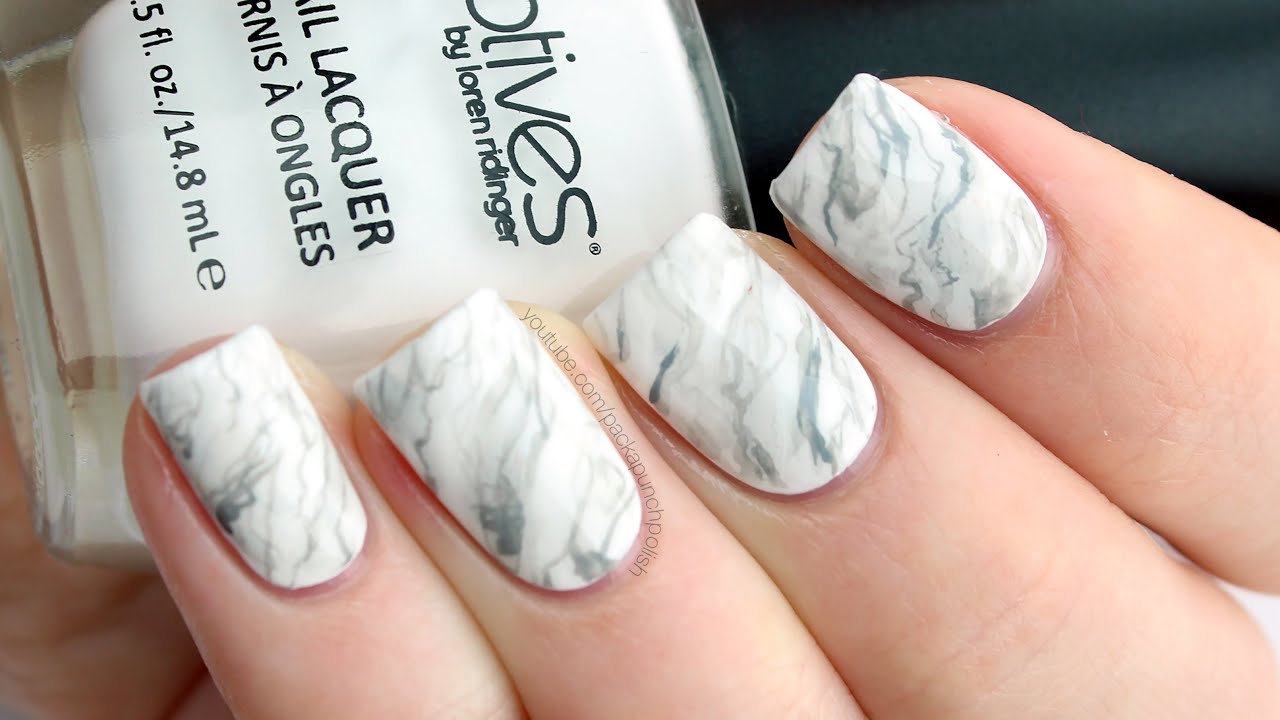
There are endless ways to create unique marble nail designs using gel polish. You can experiment with different color combinations, techniques, and even add in other elements like glitter or foil. Here are a few ideas to get you started: - Classic black and white marble nails using black and white gel polish. - Pastel marble nails using light pink, blue, and purple gel polish. - Geometric marble nails using straight lines and sharp angles with multiple gel polish colors. - Metallic marble nails using gold or silver gel polish. - Glitter marble nails using a glittery top coat over your marble design.4. Marble Nail Design Ideas using Gel Polish


4. Marble Nail Design Ideas using Gel Polish


:max_bytes(150000):strip_icc()/121020-red-art-nail-designs-lead-2000-d0787e7365f44dfeaa27972ae713d448.jpg)
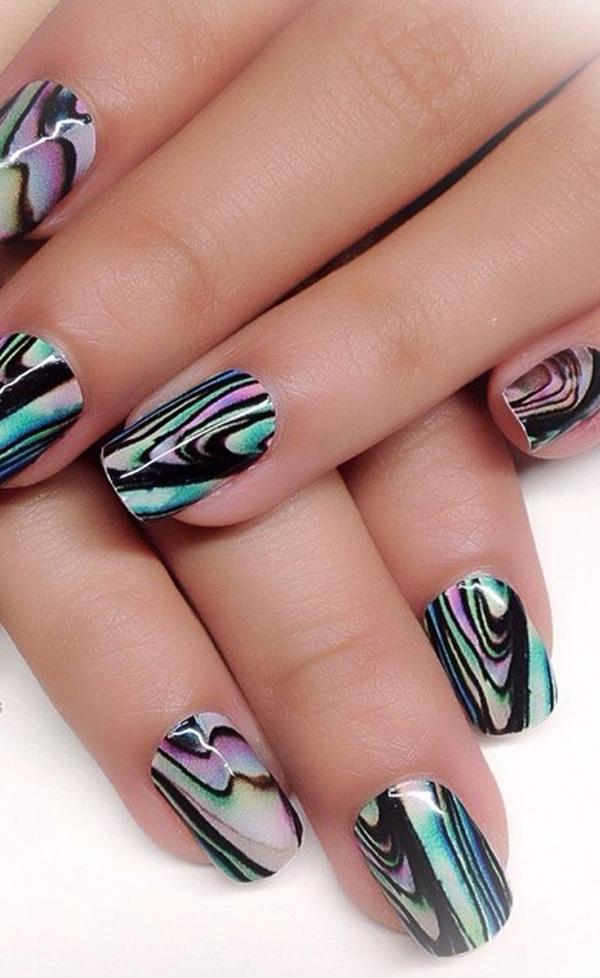
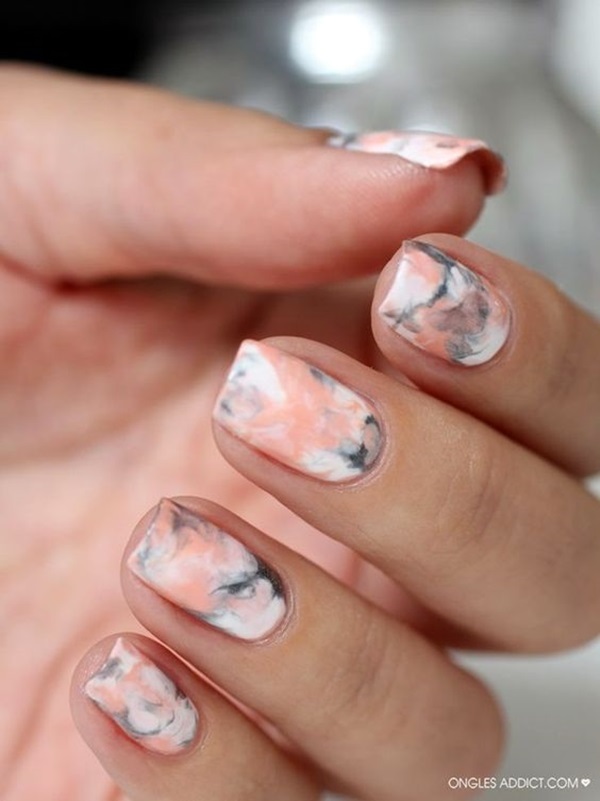
The key to creating a realistic marble nail effect with gel polish is to not overthink it. Marble is a natural stone, so there's no need for your lines and swirls to be perfect. Embrace the imperfections and have fun with it. You can also use a sponge or cling wrap to create a mottled effect by dabbing on different gel polish colors. Another tip is to work quickly, as gel polish can harden under the lamp, making it difficult to blend and swirl. And don't be afraid to use multiple colors to create depth and dimension in your design.5. How to Create a Marble Nail Effect with Gel Polish


5. How to Create a Marble Nail Effect with Gel Polish


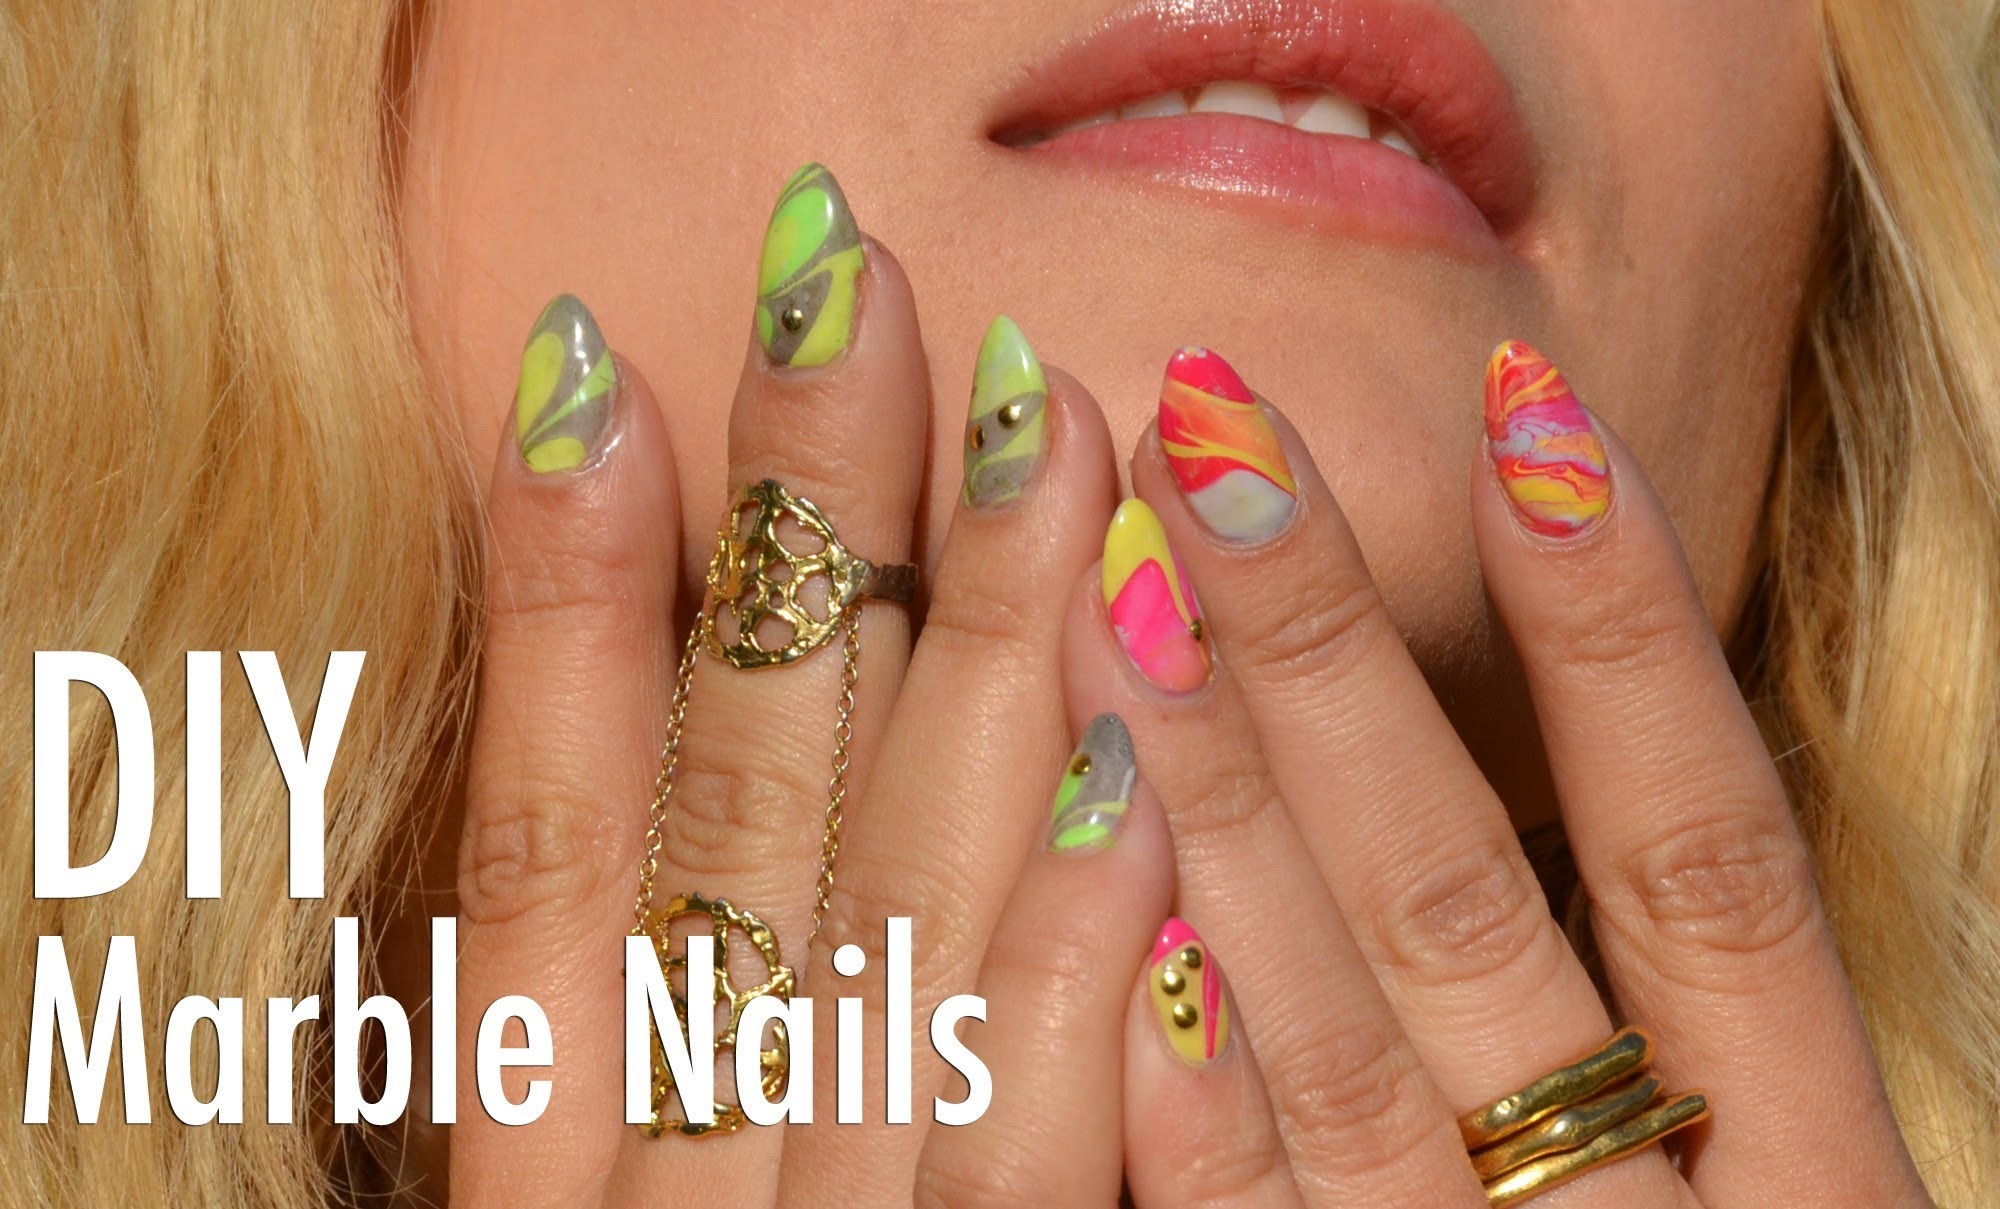
If you're new to the world of gel polish and nail art, don't worry – creating a marble nail design is still achievable for beginners. Start with a simple color combination and use a small brush or toothpick to create swirls and lines. You can also try using a water marble technique, where you drop a few drops of gel polish into a cup of water and swirl them before dipping your nail in. Don't get discouraged if your first attempt doesn't turn out perfectly. Practice makes perfect, and with a bit of patience and creativity, you'll be creating stunning marble nails in no time.6. Marble Nail Design with Gel Polish for Beginners


6. Marble Nail Design with Gel Polish for Beginners


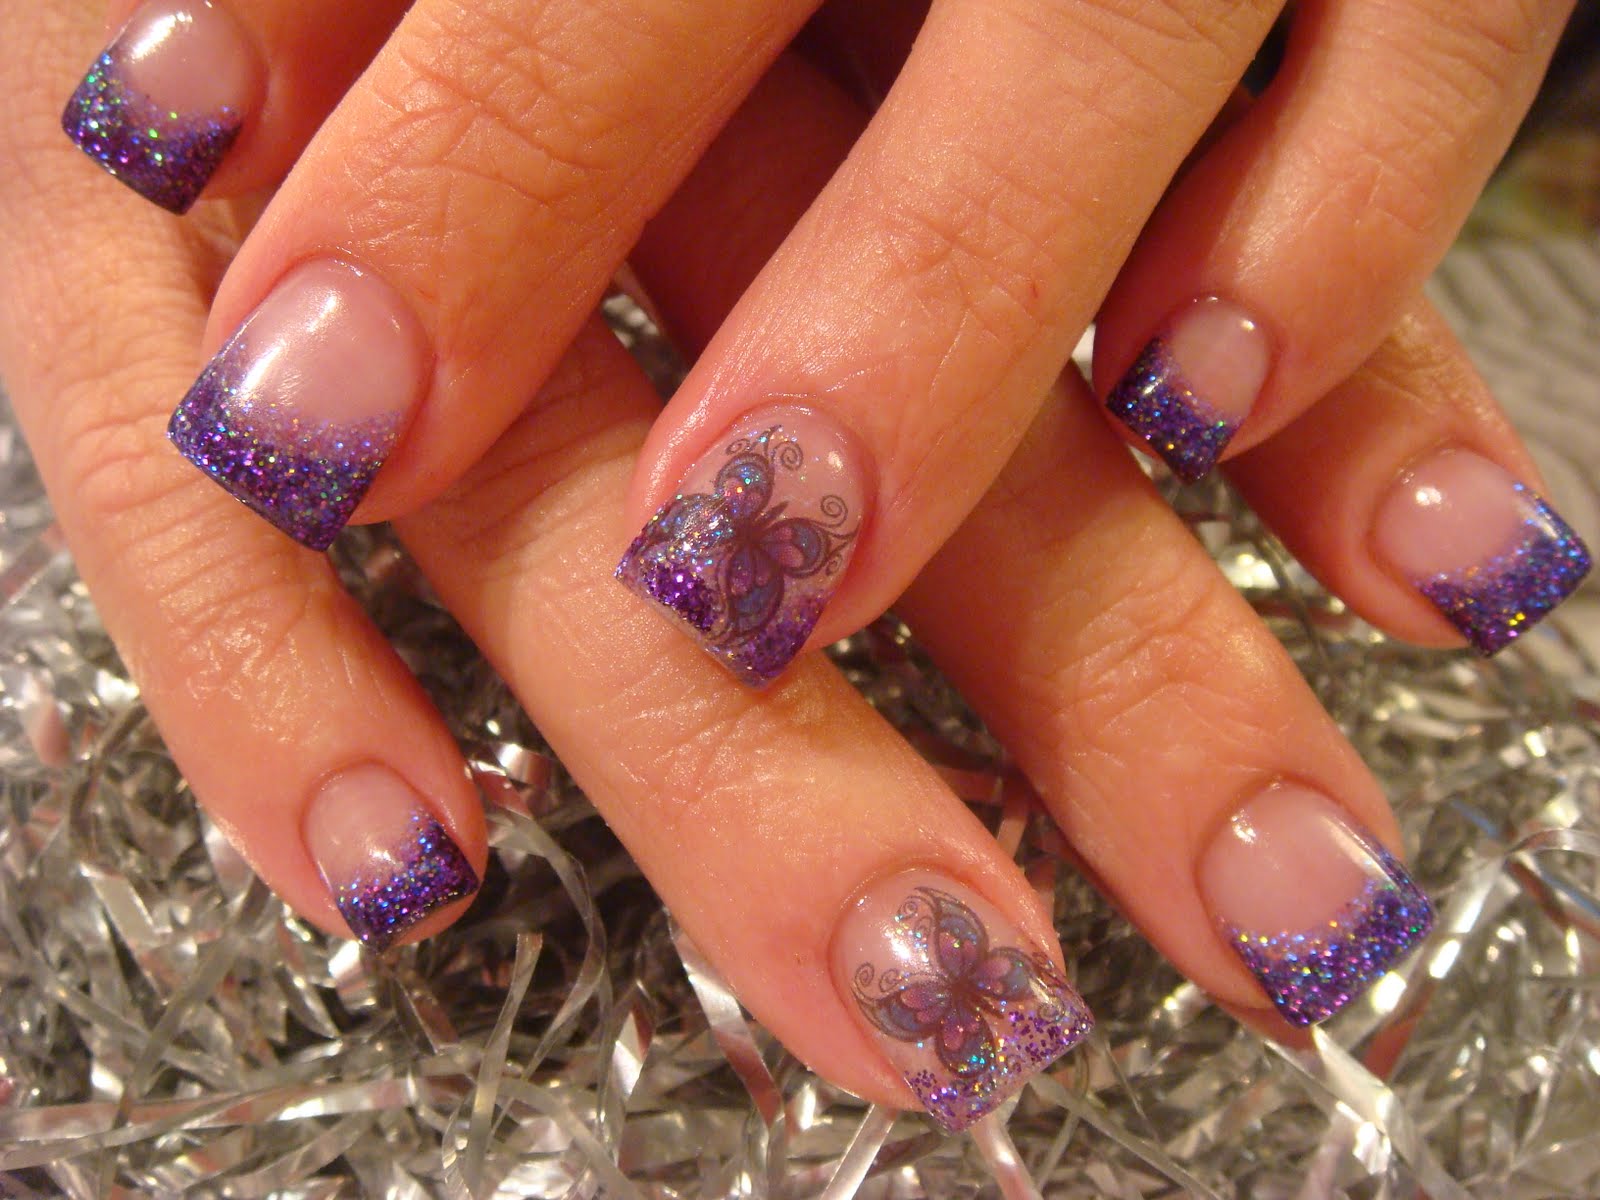
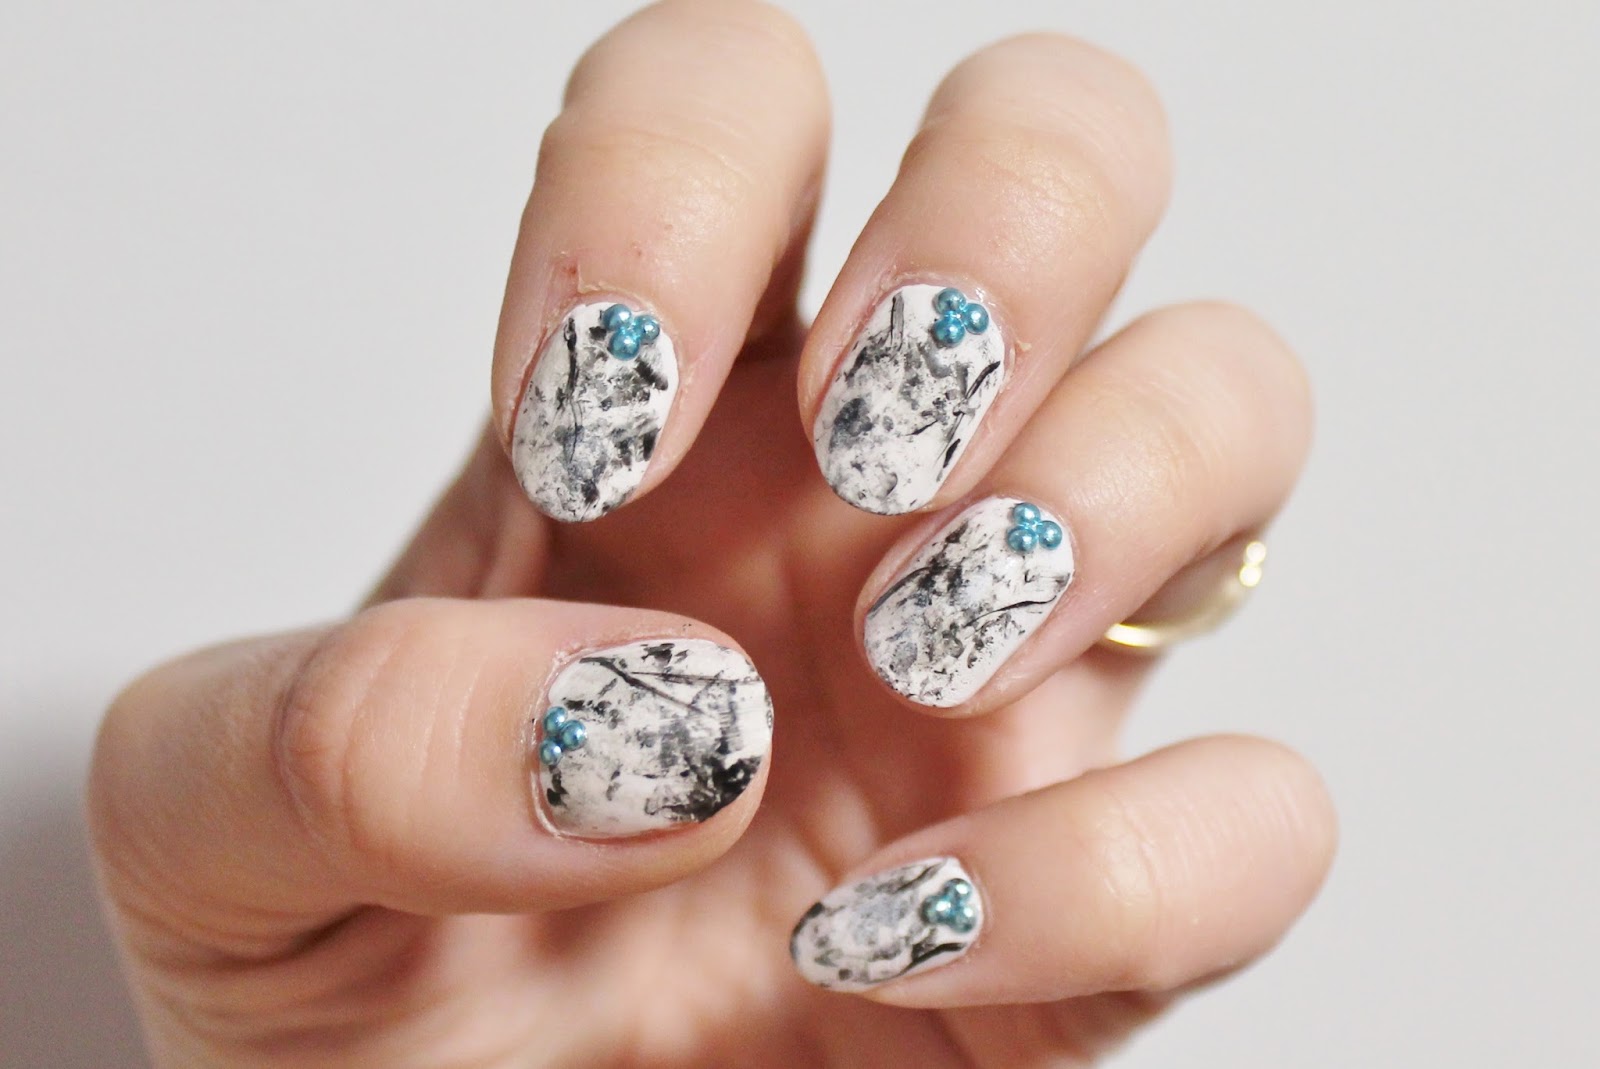
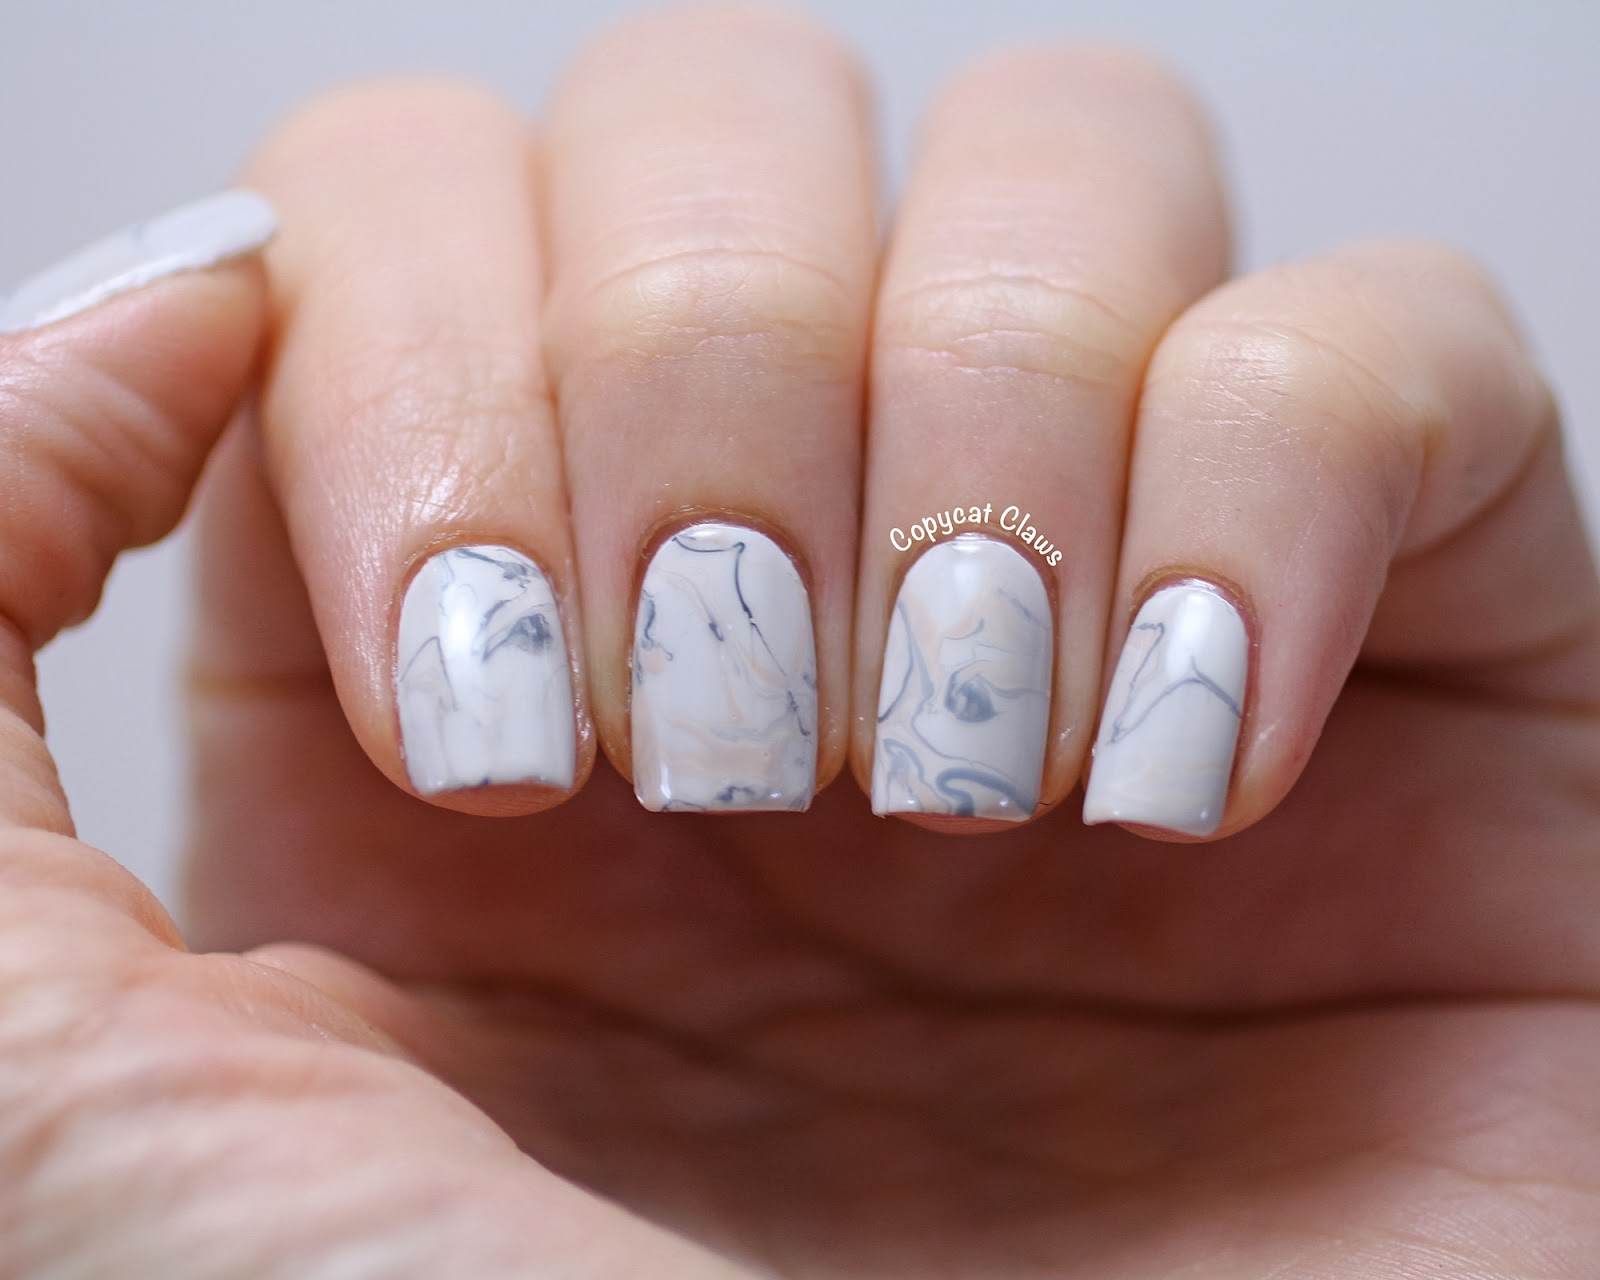
Short nails can still rock a marble nail design with the help of gel polish. In fact, the smaller canvas can make for a more delicate and intricate look. One tip is to use lighter colors, as these tend to make shorter nails look longer and more elongated. You can also try a French tip marble design by using a light base color and creating the marble effect on the tips of your nails. This adds a touch of elegance to your short nails and is a great option for those who prefer a more subtle look.7. Gel Polish Marble Nail Designs for Short Nails

7. Gel Polish Marble Nail Designs for Short Nails


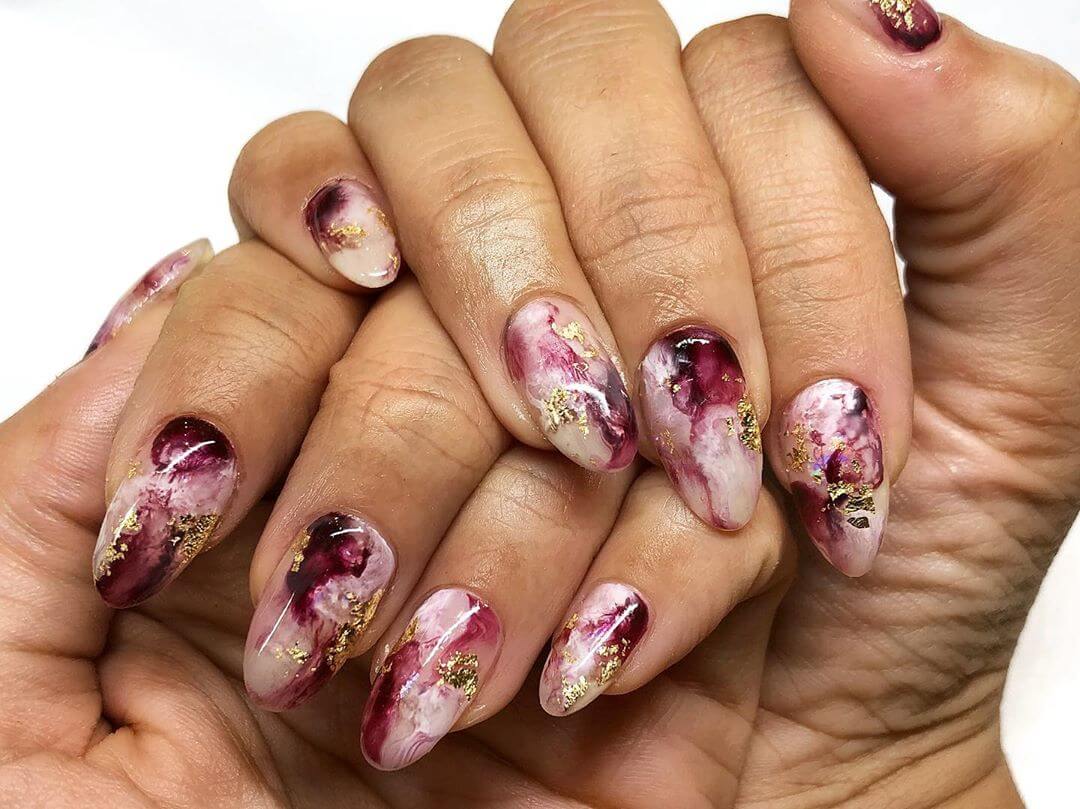
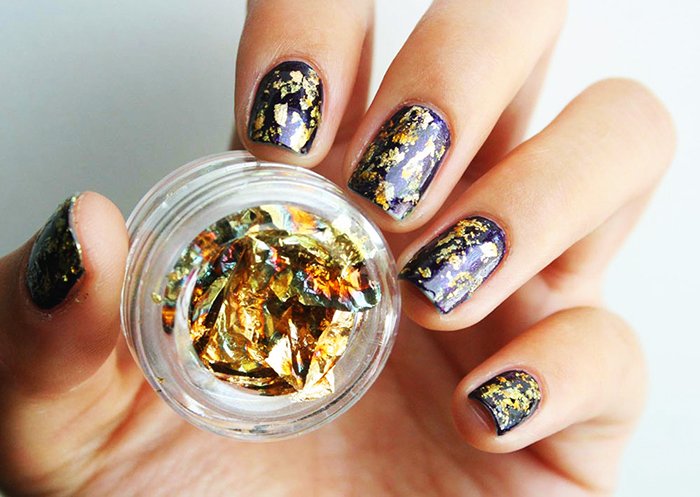
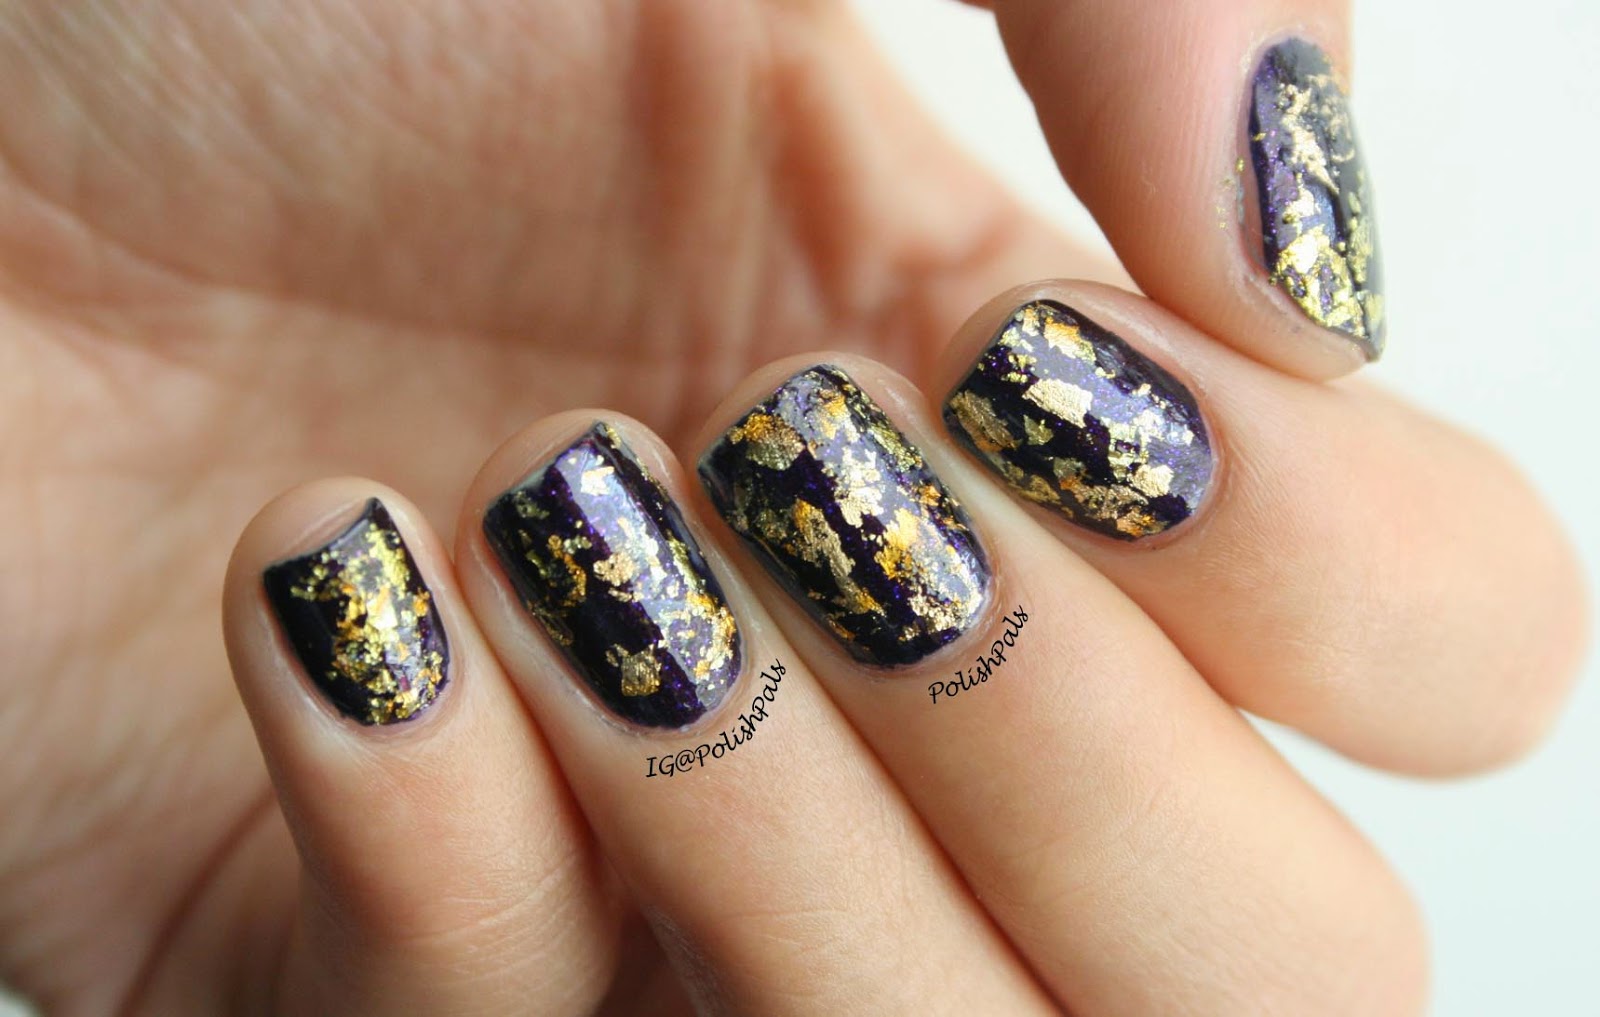
For a more glamorous and eye-catching marble nail design, try incorporating foil into your gel polish design. After applying your base color and curing it under the lamp, add a layer of foil glue to your nail. Once it's tacky, press a piece of foil onto your nail and carefully peel it off. This will create a metallic marble effect that is sure to turn heads.8. Marble Nail Design with Gel Polish and Foil


8. Marble Nail Design with Gel Polish and Foil


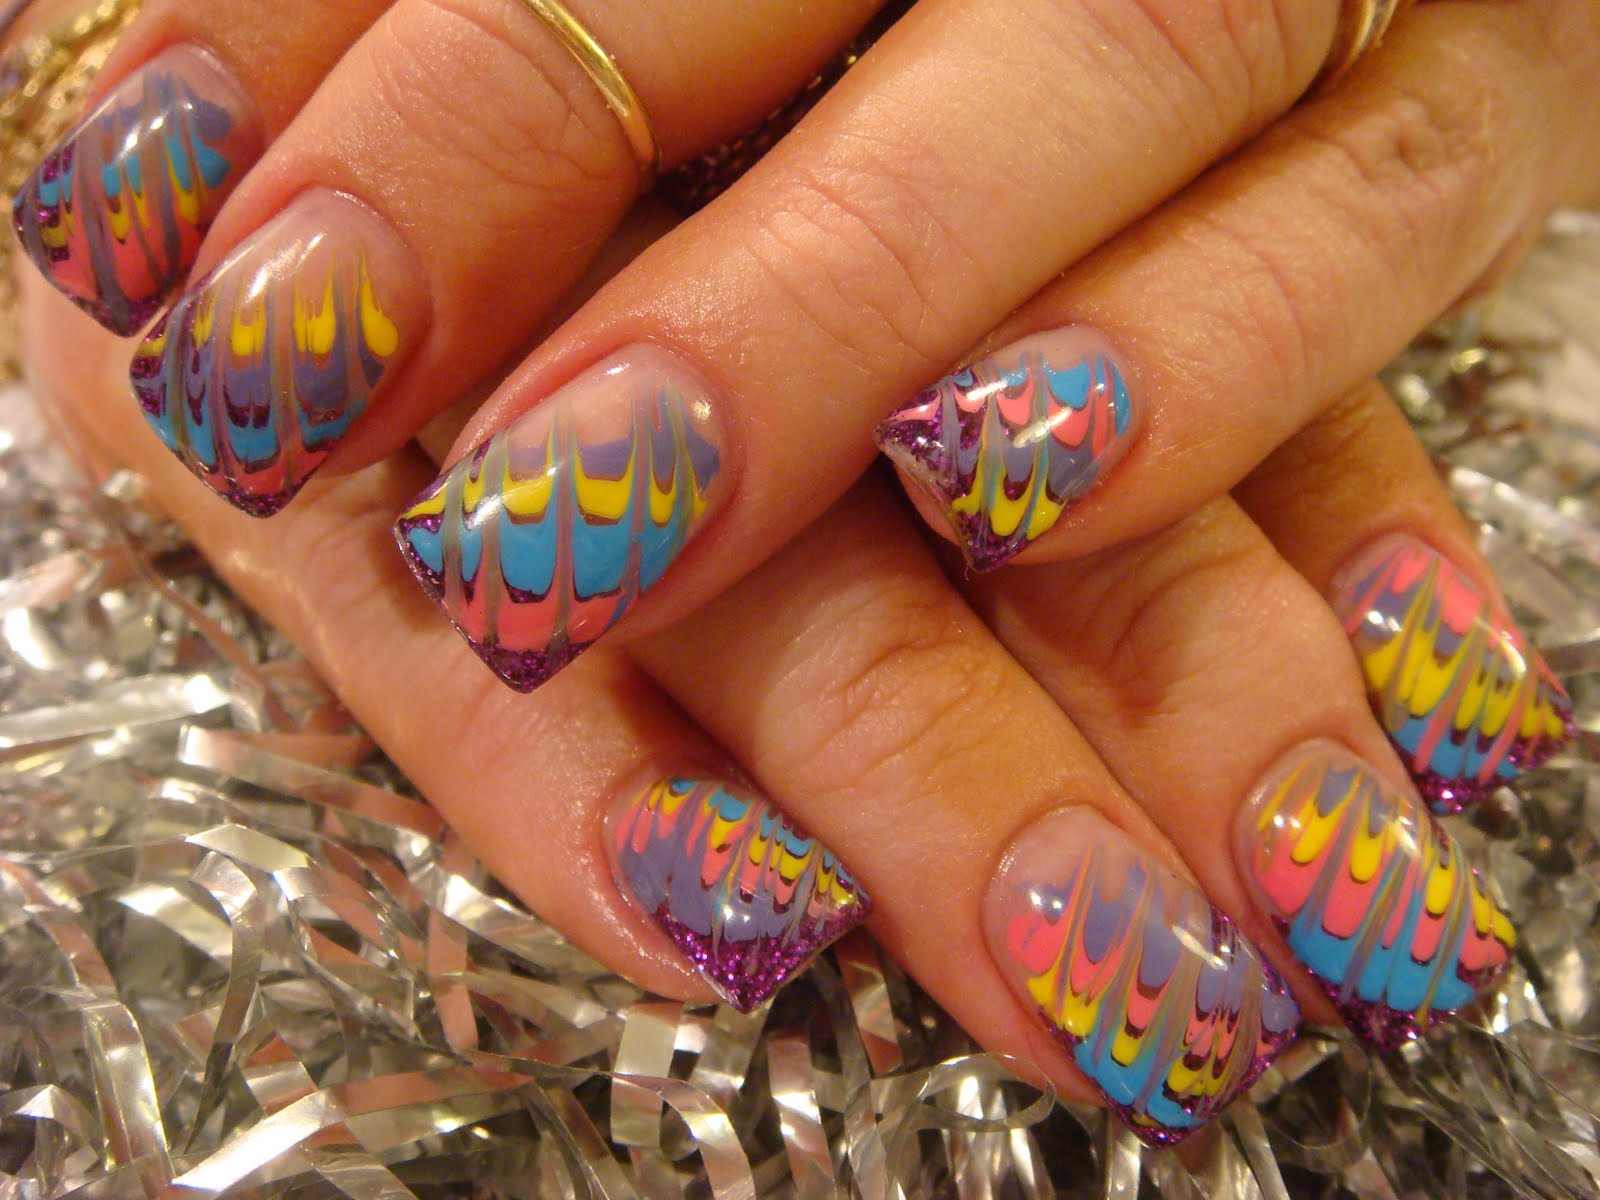
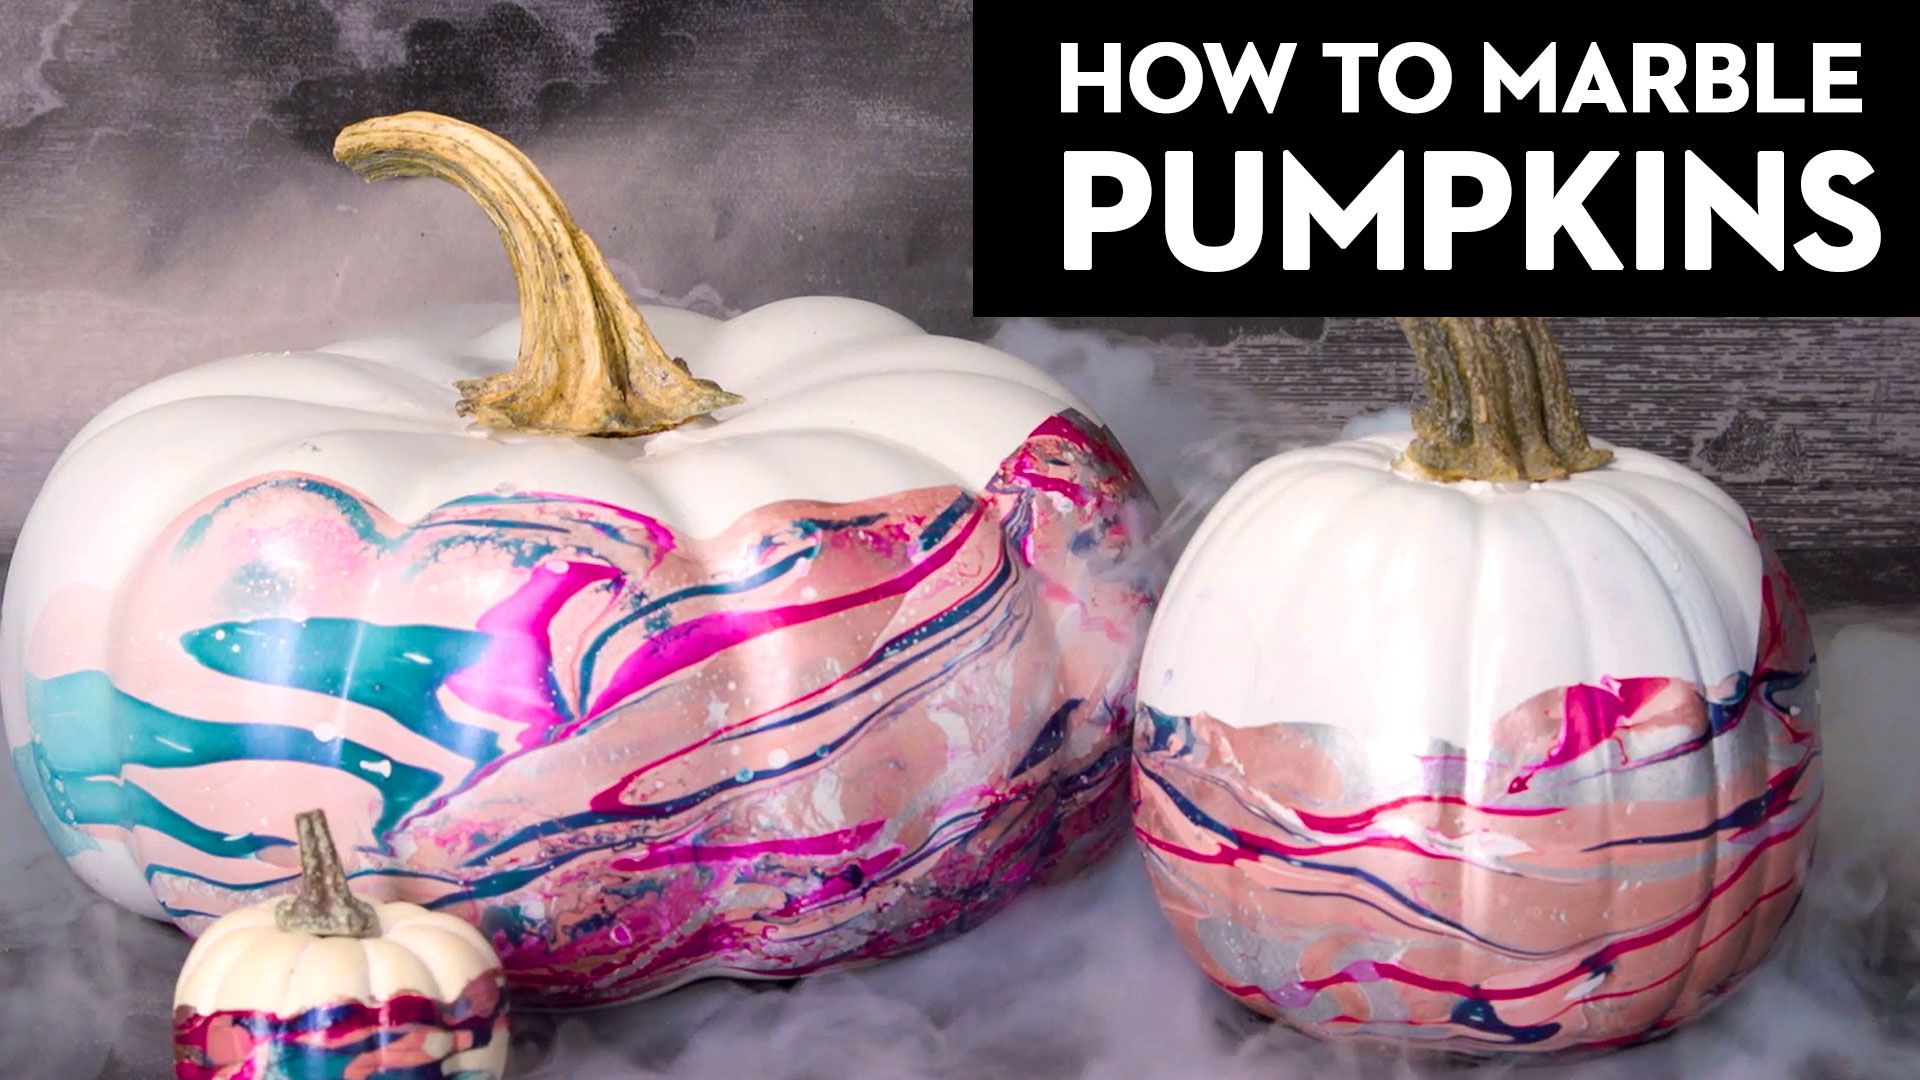
As mentioned earlier, using water to create a marble nail design is a fun and easy technique. Start by filling a small cup with room temperature water and drop a few drops of gel polish onto the surface. Use a toothpick to swirl the colors together, and then dip your nail into the water, making sure to cover the entire nail. Carefully remove your finger from the water, and you'll have a marbled nail design!9. Marble Nail Design with Gel Polish and Water


9. Marble Nail Design with Gel Polish and Water


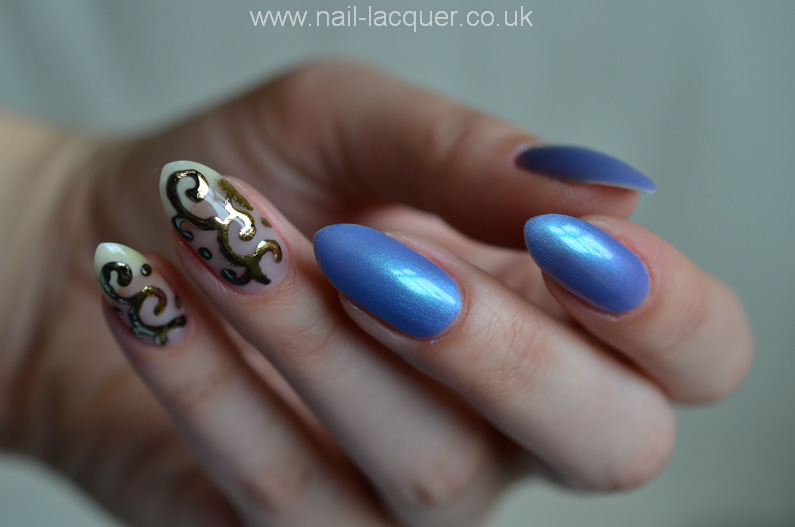
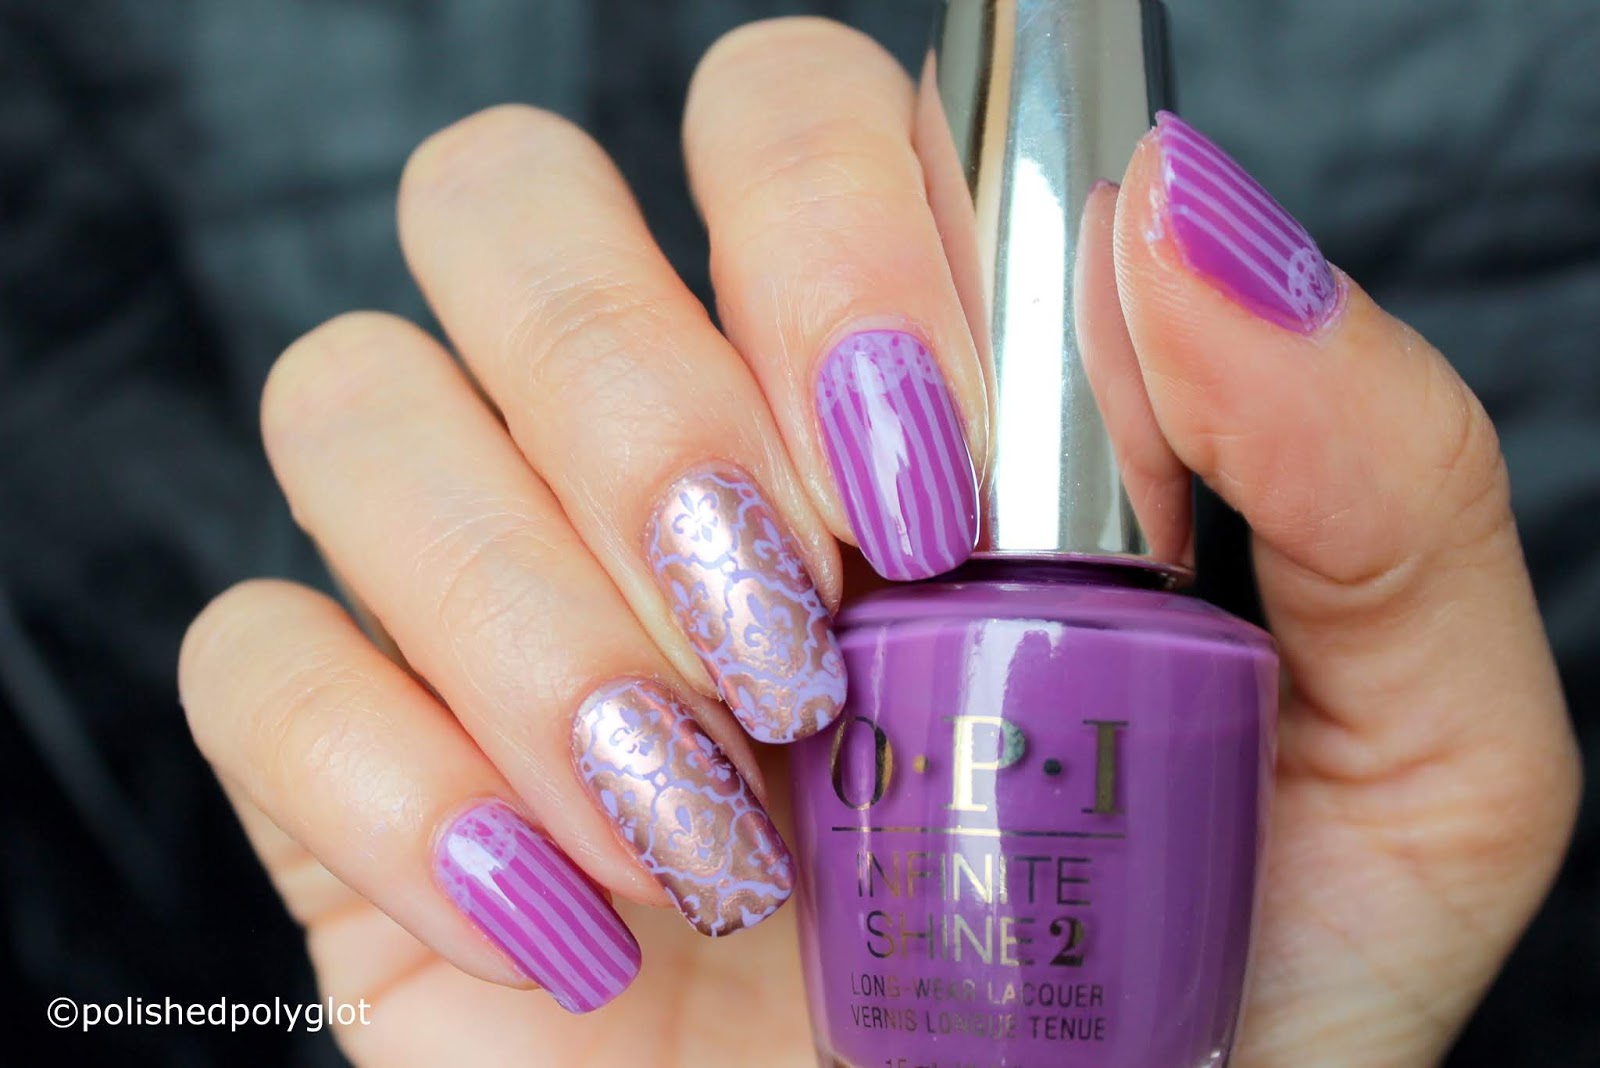
If you're feeling extra creative, try incorporating stamping into your marble nail design. After creating your marble design, use a stamping plate and a stamping tool to add on a fun pattern or design. This adds a unique and personalized touch to your manicure. In conclusion, marble nail designs with gel polish are a must-try for any nail lover. With its versatility and durability, gel polish is the perfect medium for creating stunning and long-lasting marble nail designs. So grab your favorite colors and get creative with this trendy and chic nail trend!10. Marble Nail Design with Gel Polish and Stamping
10. Marble Nail Design with Gel Polish and Stamping

Creating a Luxurious Look with Marble Nail Design and Gel Polish

The Perfect Combination
 If you're looking to elevate your nail game and add a touch of elegance to your overall look, then you need to try a marble nail design with gel polish. This trendy and chic style combines the timeless beauty of marble with the long-lasting and glossy finish of gel polish. Not only does it add a touch of luxury to your nails, but it also allows for endless creativity and customization.
Unleash Your Inner Artist
 One of the best things about marble nail design with gel polish is its versatility. You can create a wide range of looks, from subtle and classic to bold and eye-catching. The marbling technique involves swirling different shades of polish together to create a unique and mesmerizing pattern. This allows you to experiment with different colors and designs, making each set of nails truly one-of-a-kind.
Long-Lasting Results
 Gel polish is known for its durability and longevity, making it the perfect base for a marble nail design. Not only does it provide a high-shine finish, but it also keeps your design intact for up to two weeks. This means you can enjoy your stunning marble nails without having to worry about chipping or smudging them.
A Professional Touch
 While marble nail design with gel polish may seem intimidating to achieve, it is actually quite simple with the right tools and techniques. If you're not confident in doing it yourself, you can always visit a professional nail salon. They have the expertise and precision to create a flawless and professional-looking marble design that will leave you feeling pampered and polished.
In Conclusion
Marble nail design with gel polish is the perfect way to add a touch of luxury to your nails. With its versatility, long-lasting results, and professional finish, it's no wonder this trend has become a favorite among beauty enthusiasts. So why not unleash your inner artist and give your nails the marble treatment? Your hands will thank you.
While marble nail design with gel polish may seem intimidating to achieve, it is actually quite simple with the right tools and techniques. If you're not confident in doing it yourself, you can always visit a professional nail salon. They have the expertise and precision to create a flawless and professional-looking marble design that will leave you feeling pampered and polished.
In Conclusion
Marble nail design with gel polish is the perfect way to add a touch of luxury to your nails. With its versatility, long-lasting results, and professional finish, it's no wonder this trend has become a favorite among beauty enthusiasts. So why not unleash your inner artist and give your nails the marble treatment? Your hands will thank you.


