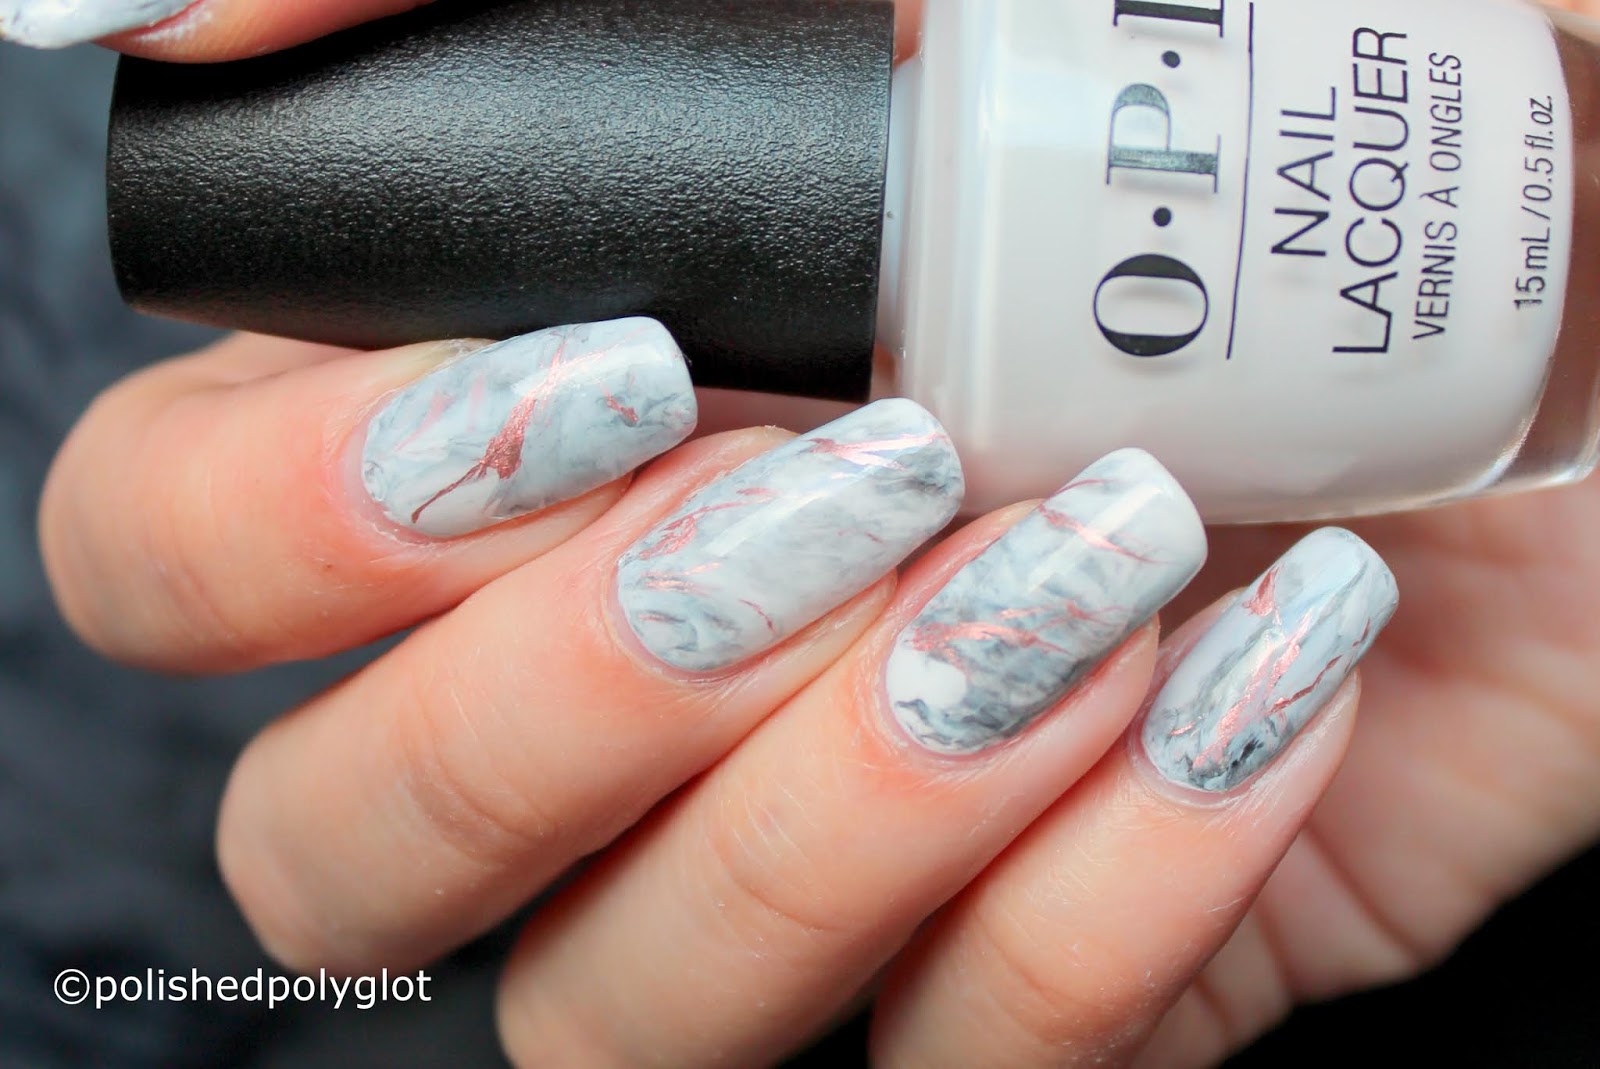
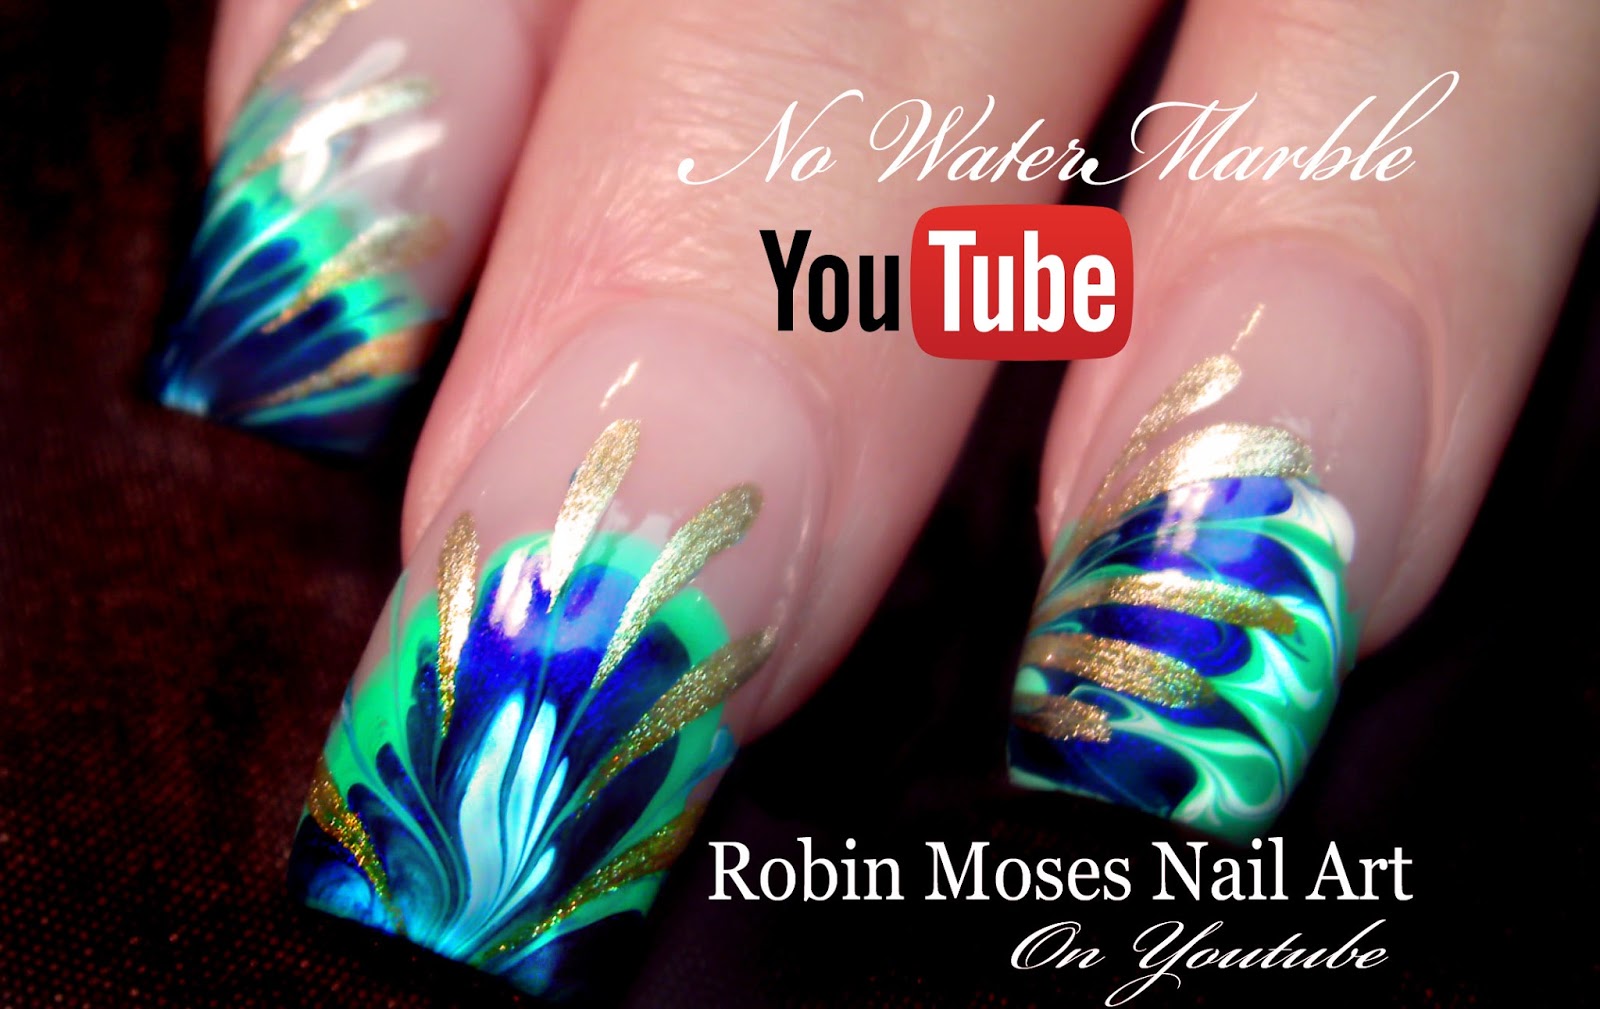
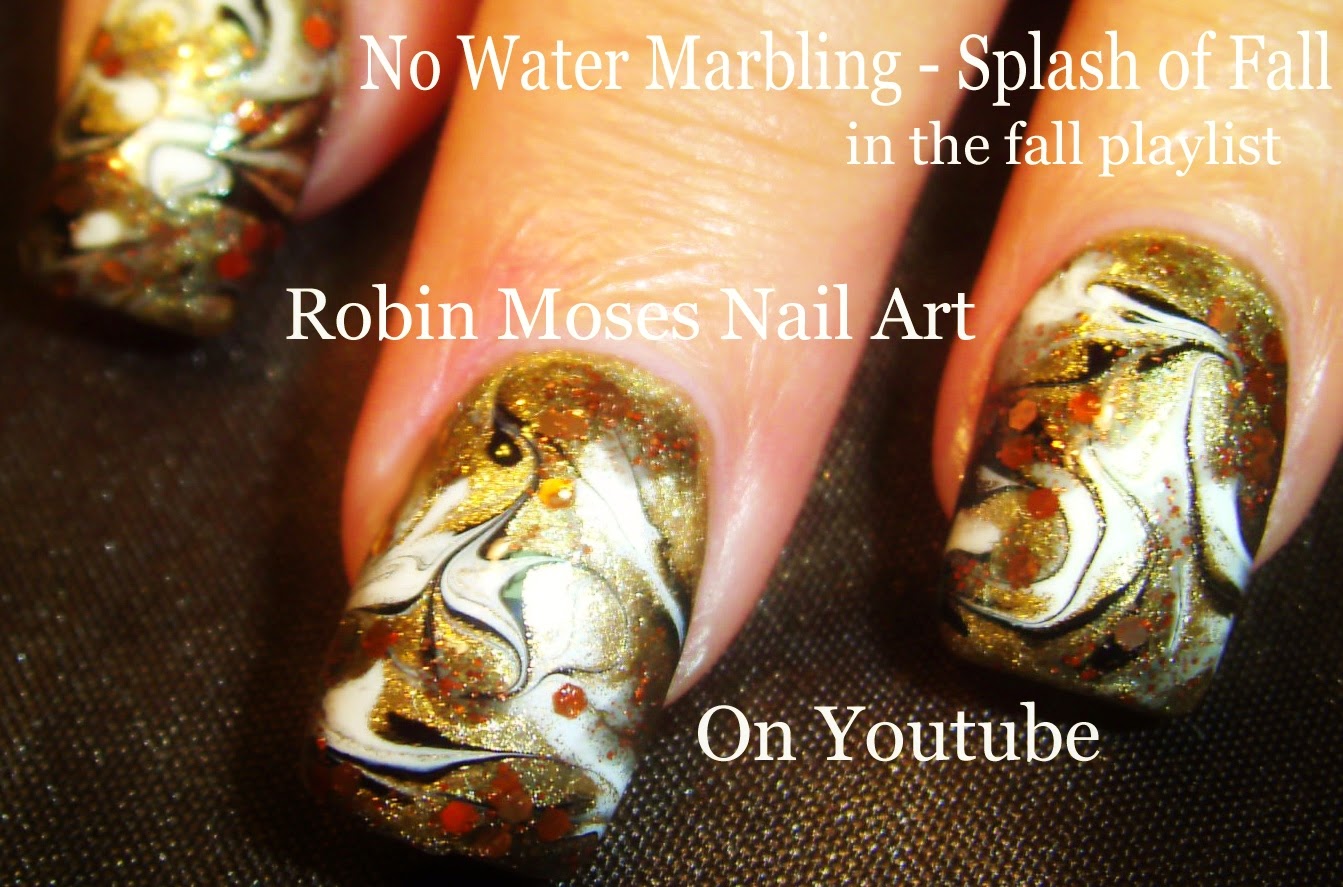
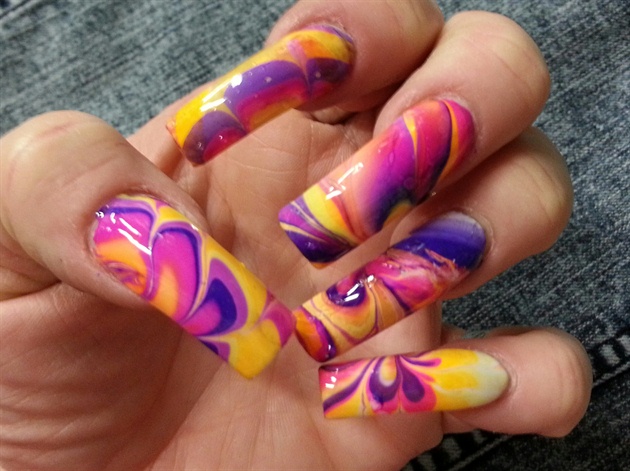
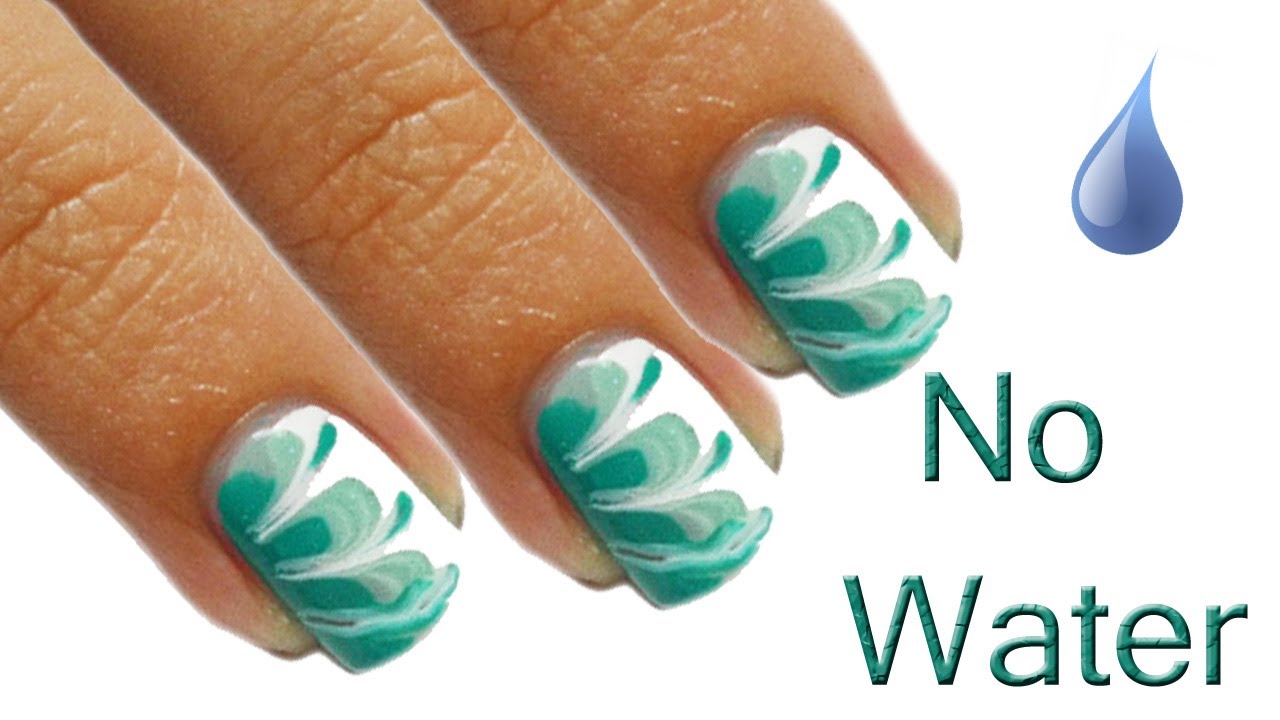
Creating a stunning marble nail design doesn't have to involve messy water marbling techniques. In fact, there are various ways to achieve a gorgeous marble look without using any water at all. Not only are these methods easier and less time-consuming, but they also produce unique and creative designs. Here are five easy no-water marble nail art ideas that will elevate your manicure game.Marble Nail Art Without Water: 5 Easy Designs


Marble Nail Art Without Water: 5 Easy Designs


If you're new to the world of no-water marble nail art, it may seem intimidating at first. But fear not, because with a little practice and patience, you can master this technique and create beautiful designs. The key is to use a variety of tools and techniques to achieve different effects. You can use plastic wrap, a toothpick, or even an eyeshadow brush to create unique patterns and swirls on your nails.How to Create a Marble Nail Design Without Water


How to Create a Marble Nail Design Without Water


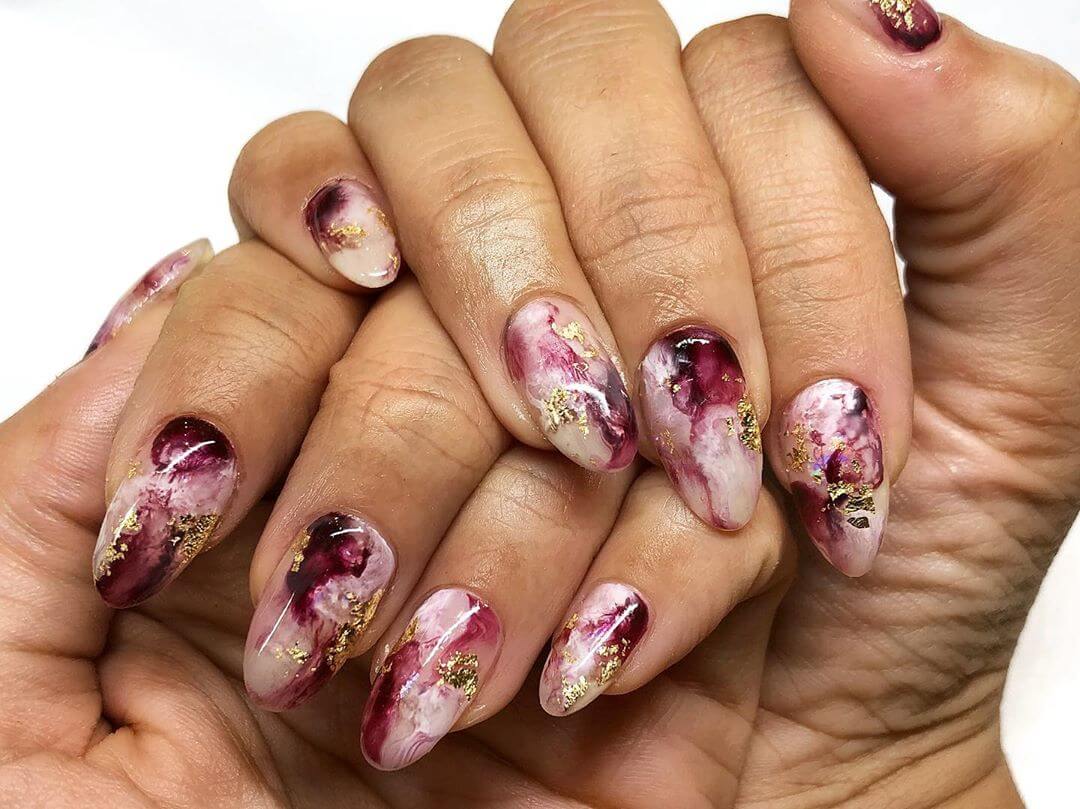
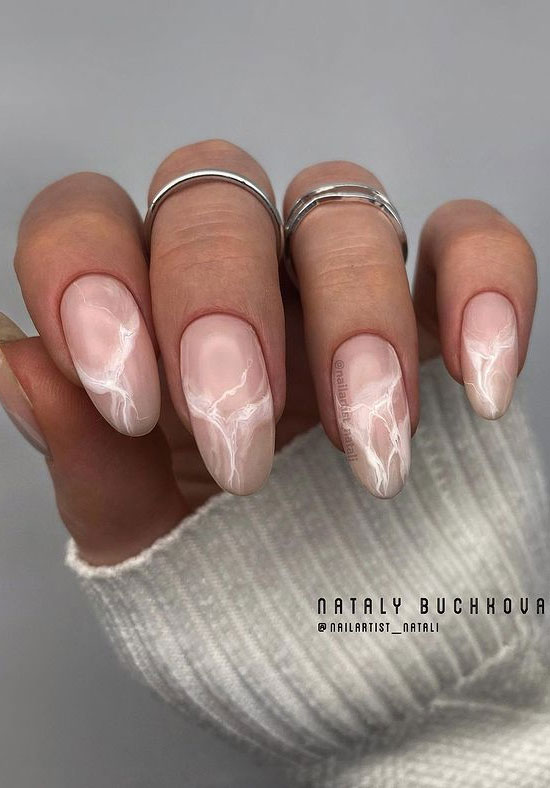
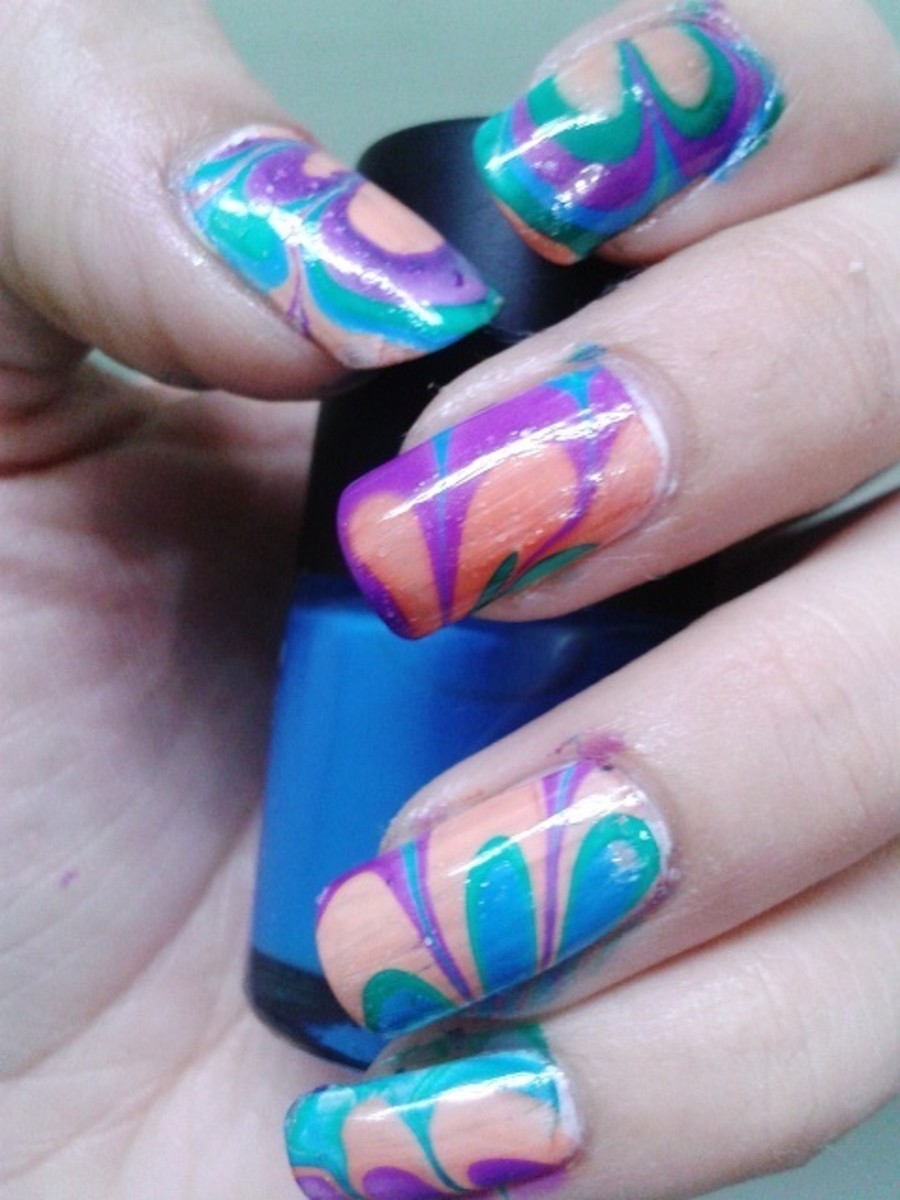
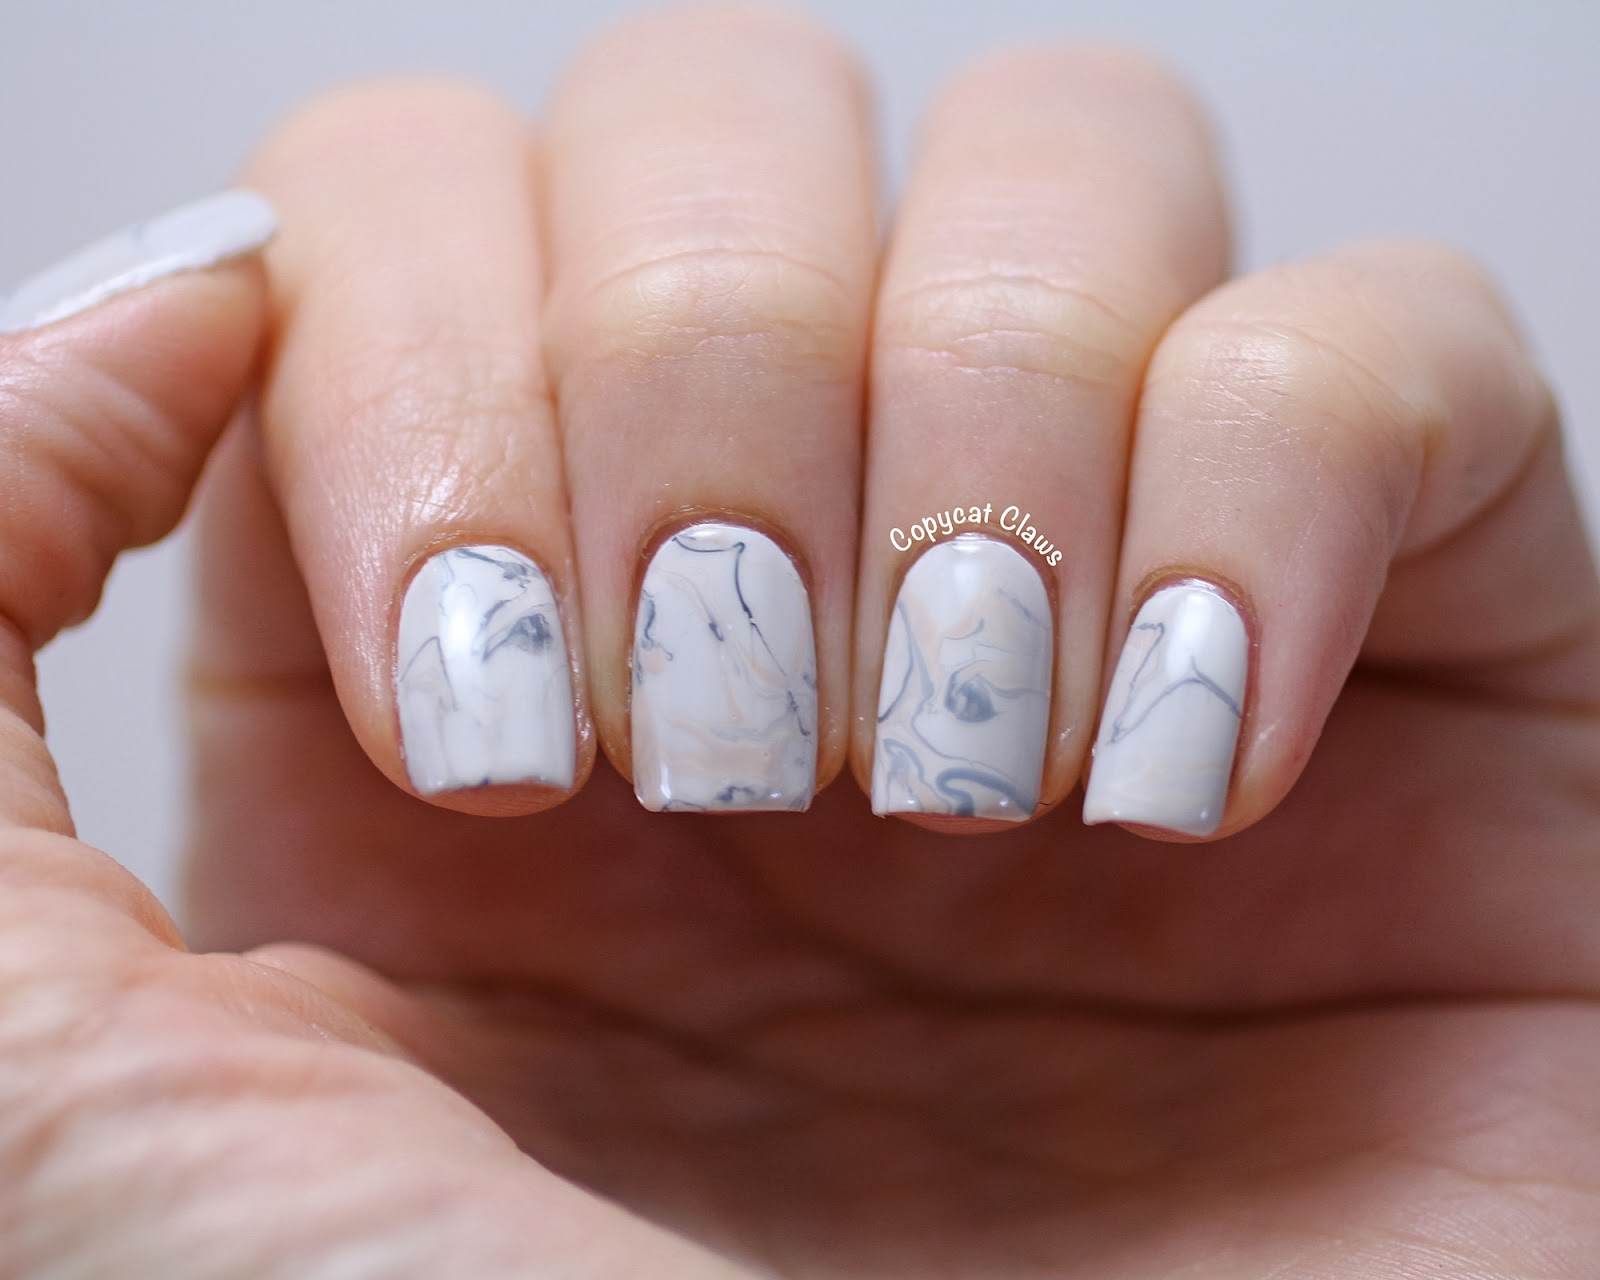
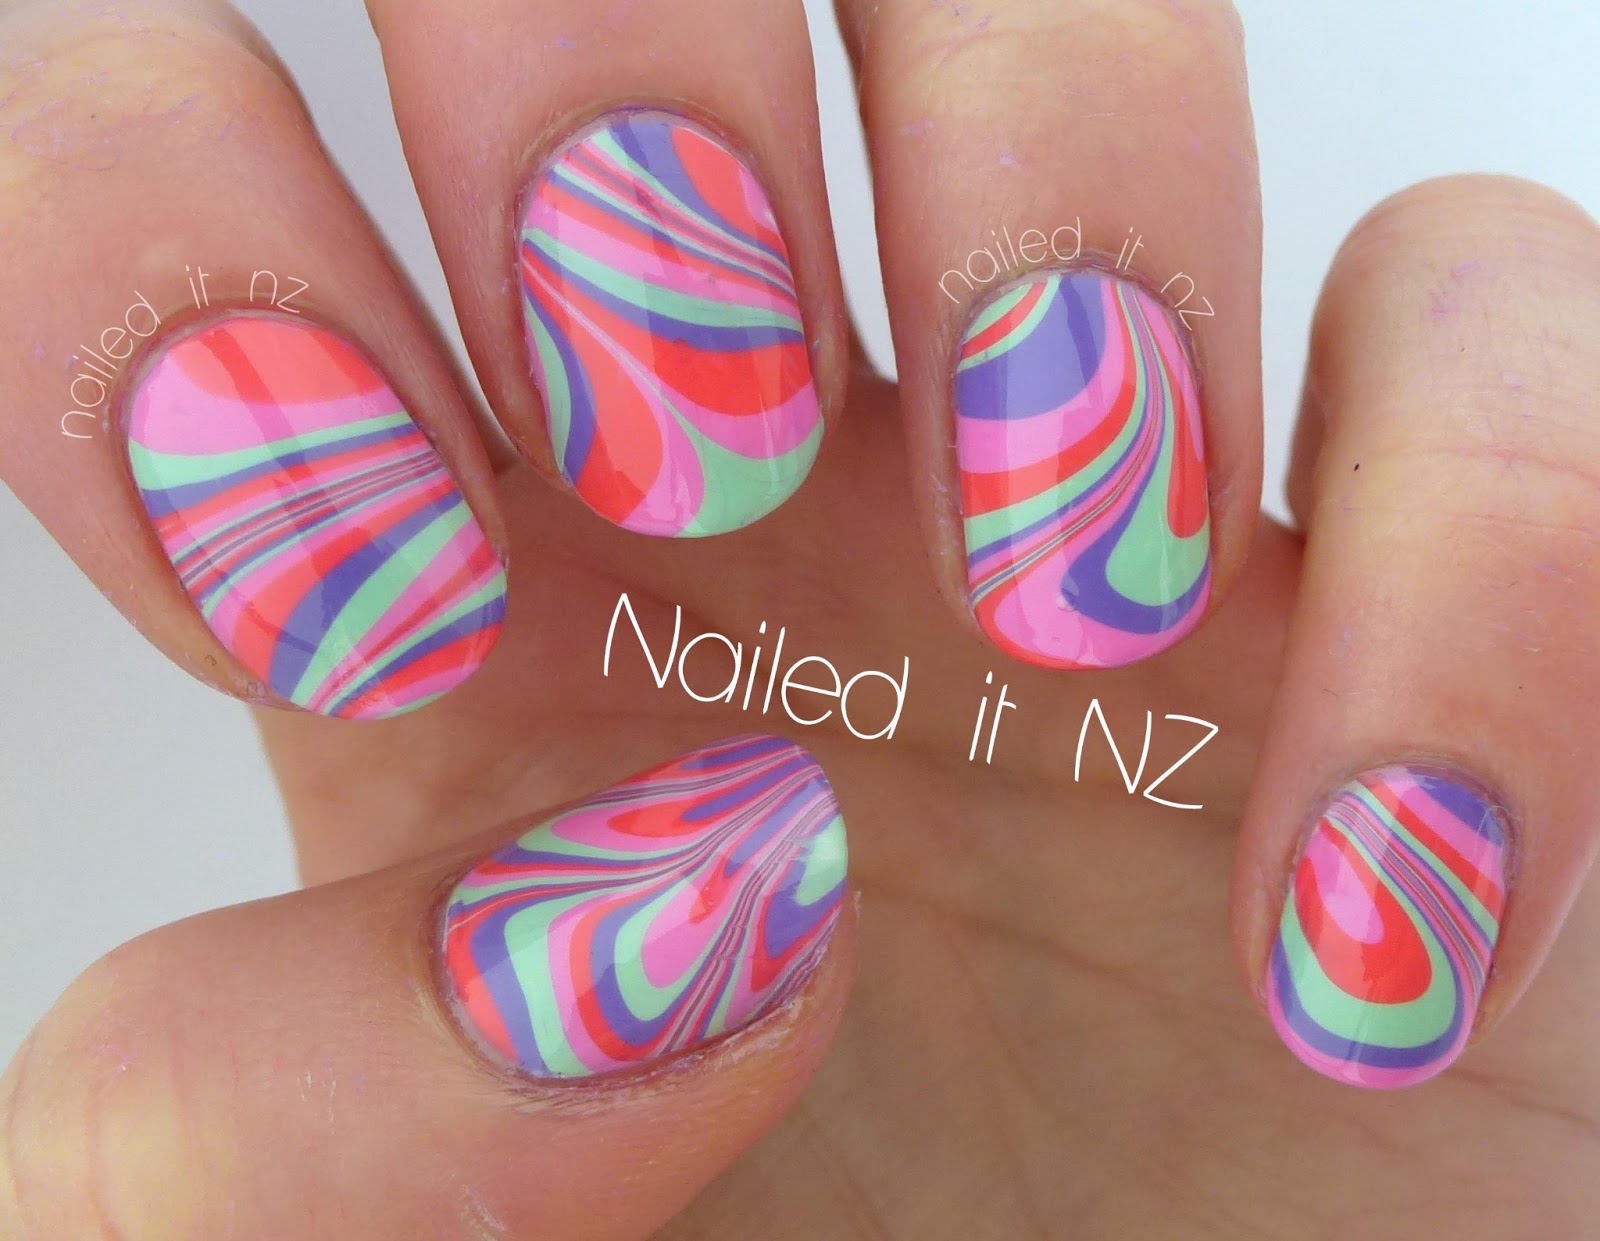
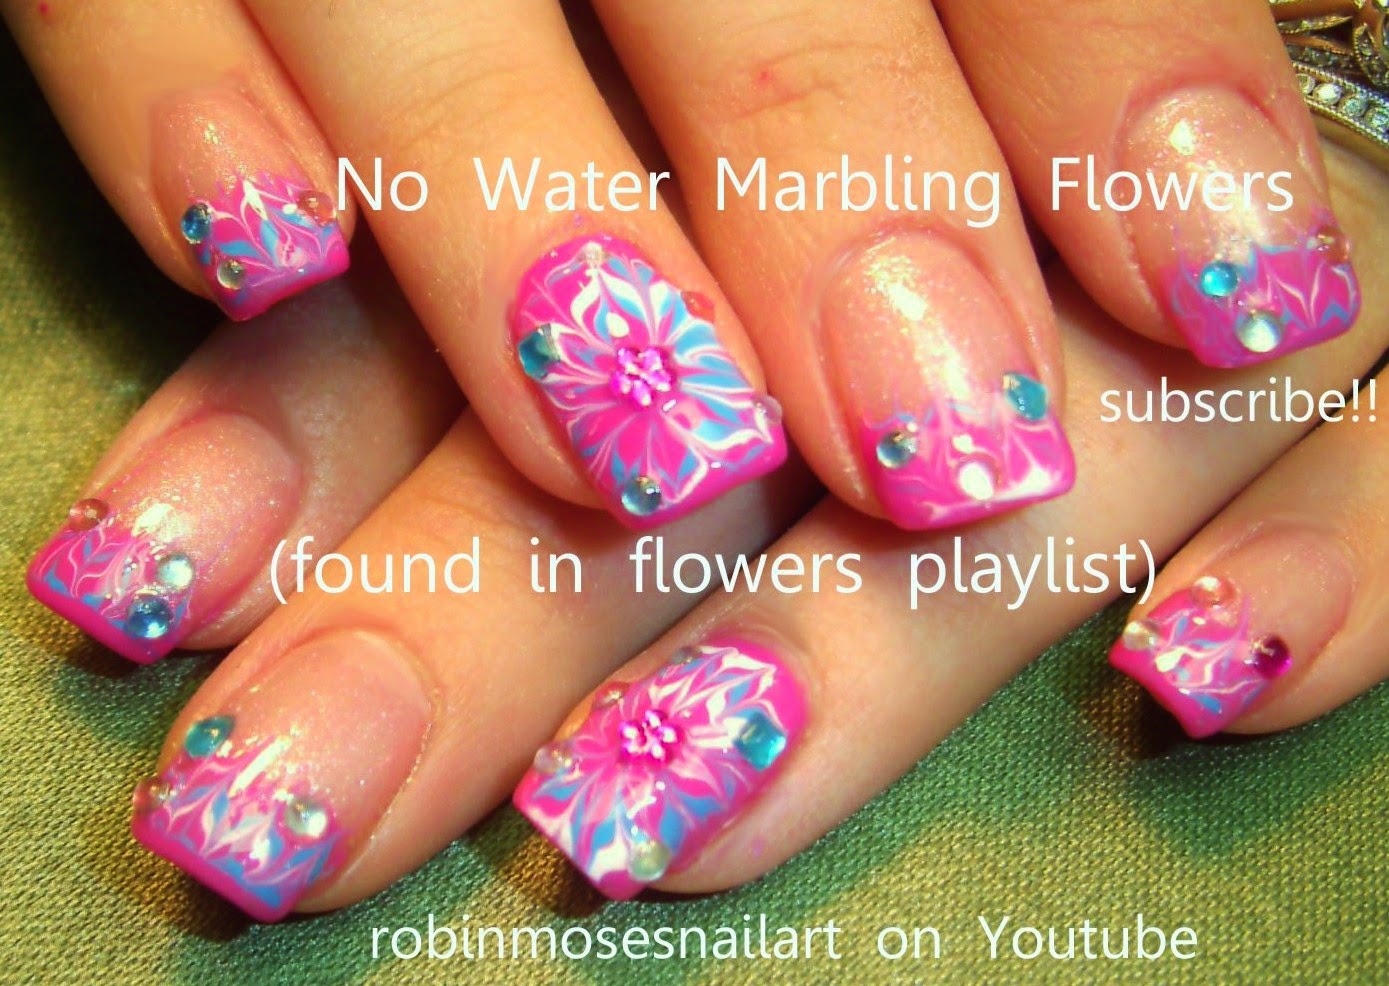
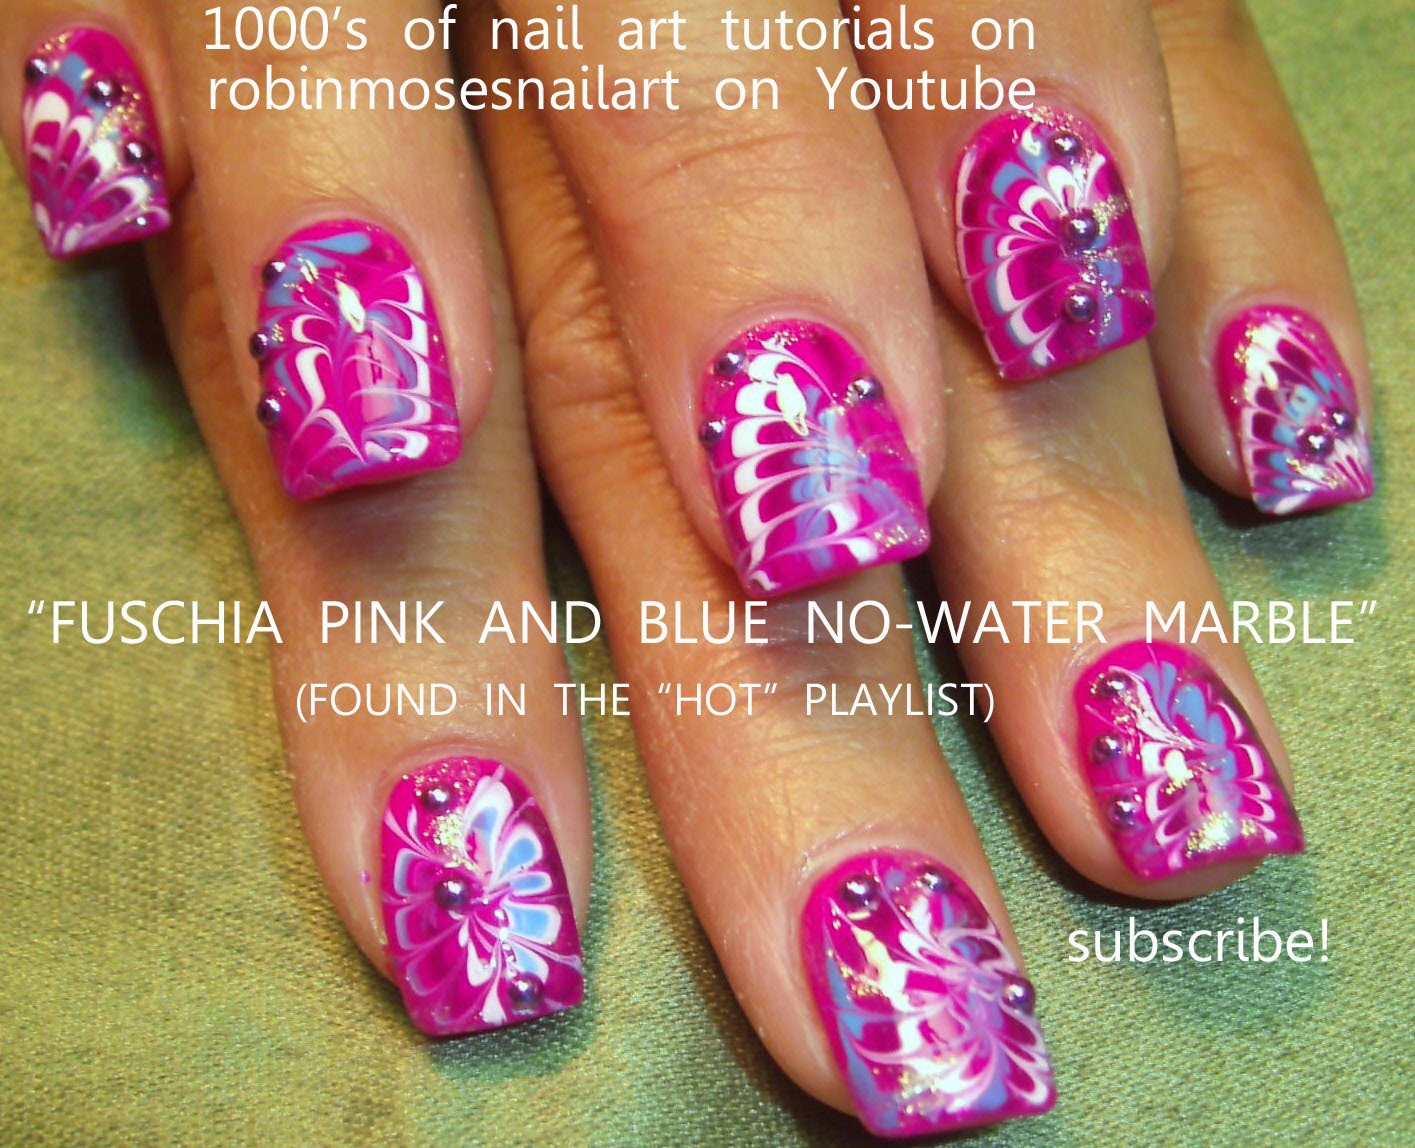
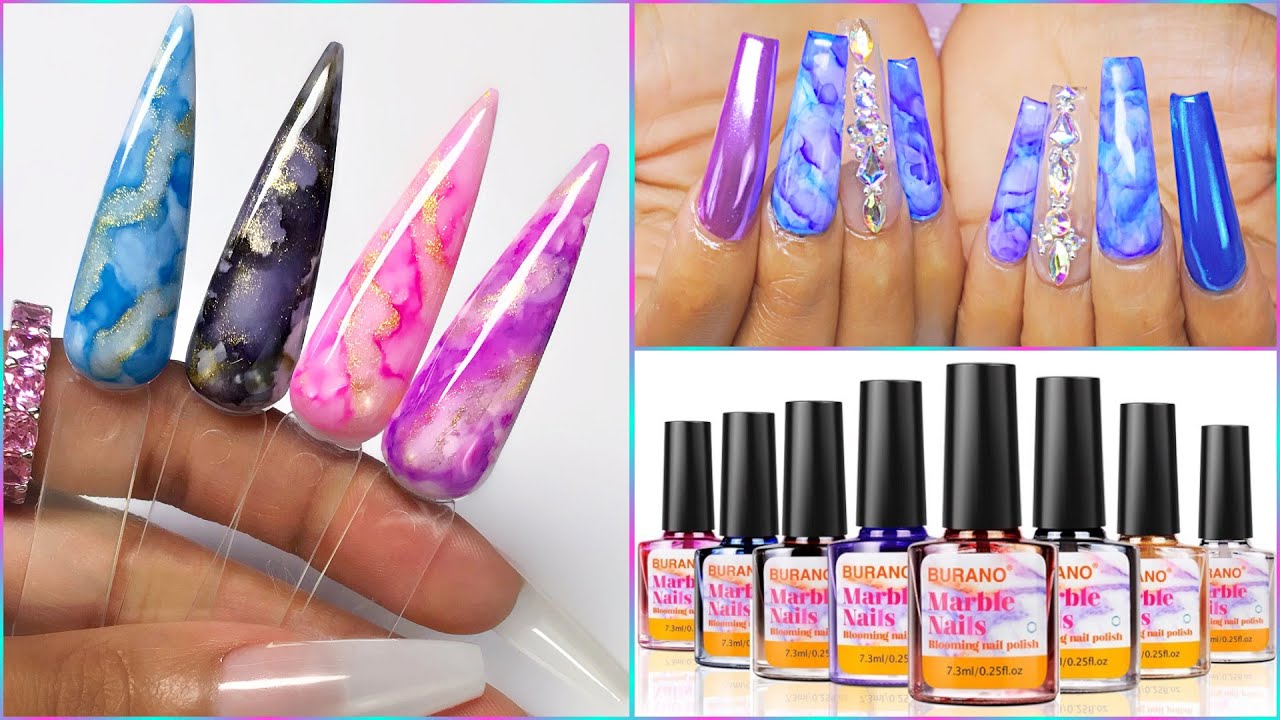
Now that you know the basics of creating a marble nail design without water, it's time to get inspired. Here are ten no-water marble nail art ideas that will make your nails stand out: 1. Abstract Marble: Use a toothpick to swirl different colors on your nails, creating an abstract marble design. 2. Pastel Marble: For a softer look, use light pastel shades and swirl them together with a toothpick. 3. Glitter Marble: Add some sparkle to your marble nails by incorporating glitter polish in your design. 4. Ombre Marble: Use two different shades of the same color to create an ombre effect on your nails. 5. French Tip Marble: Spice up your classic French manicure by adding a marble design to the tips of your nails. 6. Monochrome Marble: Stick to one color and use different shades to create a monochrome marble design. 7. Marble Accent Nail: If you're short on time, you can create a marble design on just one accent nail and leave the others a solid color. 8. Geometric Marble: Use tape to create geometric shapes and swirl your polish over them to create a unique marble design. 9. Negative Space Marble: Leave parts of your nails bare to create a negative space effect with your marble design. 10. Floral Marble: Use a toothpick or a thin brush to create delicate floral patterns on your nails with your marble design as the background.10 No-Water Marble Nail Art Ideas


10 No-Water Marble Nail Art Ideas


Now that you have some inspiration, let's dive into a step-by-step tutorial on how to create a marble nail design without water. Step 1: Prep Your Nails Start by prepping your nails as you would for any other manicure. Trim and shape your nails, push back your cuticles, and apply a base coat. Step 2: Choose Your Colors Decide on the colors you want to use for your marble design. You can choose two or more shades, depending on the look you're going for. Step 3: Apply the Base Color Apply your base color and let it dry completely. This will be the color that will show through the gaps in your marble design. Step 4: Create the Marble Effect Using a toothpick, swirl your chosen colors on your nails, creating a marble effect. You can also use an eyeshadow brush or a thin nail art brush for this step. Step 5: Clean Up Use a cotton swab dipped in nail polish remover to clean up any excess polish around your nails. Step 6: Seal the Design Once your marble design is dry, apply a top coat to seal and protect your nails.Marble Nail Art Tutorial Without Water


Marble Nail Art Tutorial Without Water

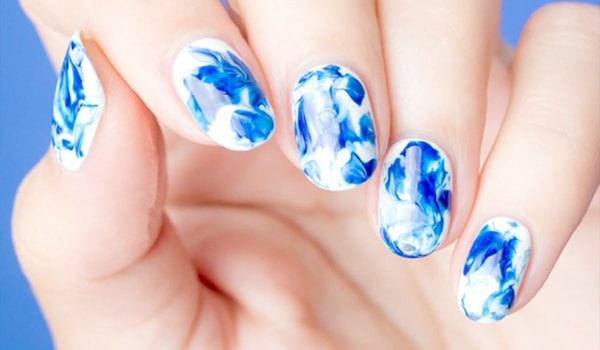
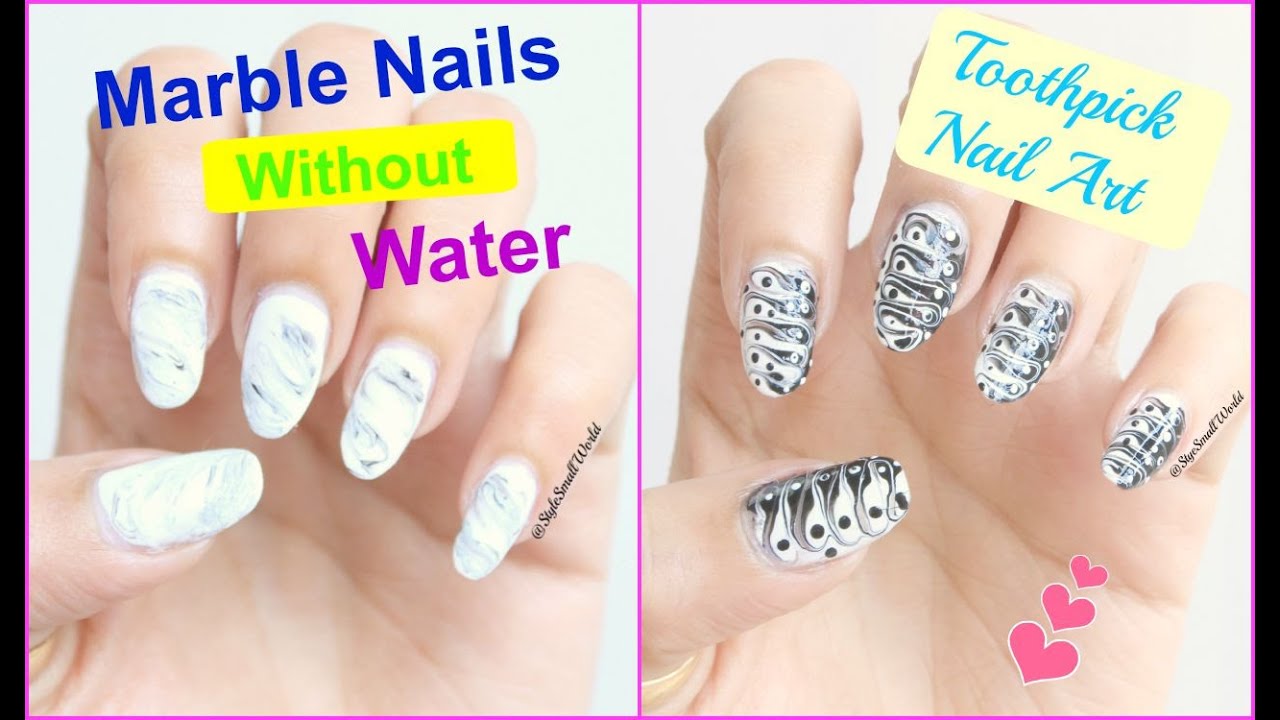
If you're not confident in your nail art skills, this method is perfect for you. All you need is some plastic wrap and your chosen nail polish colors. Step 1: Prep Your Nails As with the previous method, start by prepping your nails and applying a base coat. Step 2: Apply the Base Color Apply your base color and let it dry completely. Step 3: Create the Marble Effect Take a small piece of plastic wrap and scrunch it up. Dip it into your chosen polish and dab it onto your nails to create a marble effect. You can use different colors and layer them for a more intricate design. Step 4: Clean Up Again, use a cotton swab and nail polish remover to clean up any excess polish. Step 5: Seal the Design Apply a top coat to seal and protect your design.No-Water Marble Nail Design Using Plastic Wrap

No-Water Marble Nail Design Using Plastic Wrap


To ensure your no-water marble nail design turns out perfectly, here are some tips and tricks to keep in mind: 1. Use Quick-Dry Top Coat: This will help your design dry faster and prevent smudging. 2. Experiment with Different Tools: Don't be afraid to try different tools and techniques to achieve different effects. 3. Use Thin Layers: Thin layers of polish will dry faster and make it easier to create intricate designs. 4. Practice Makes Perfect: Don't get discouraged if your first attempt doesn't turn out as expected. Keep practicing and you'll get better at it.Marble Nail Art Without Water: Tips and Tricks

Marble Nail Art Without Water: Tips and Tricks

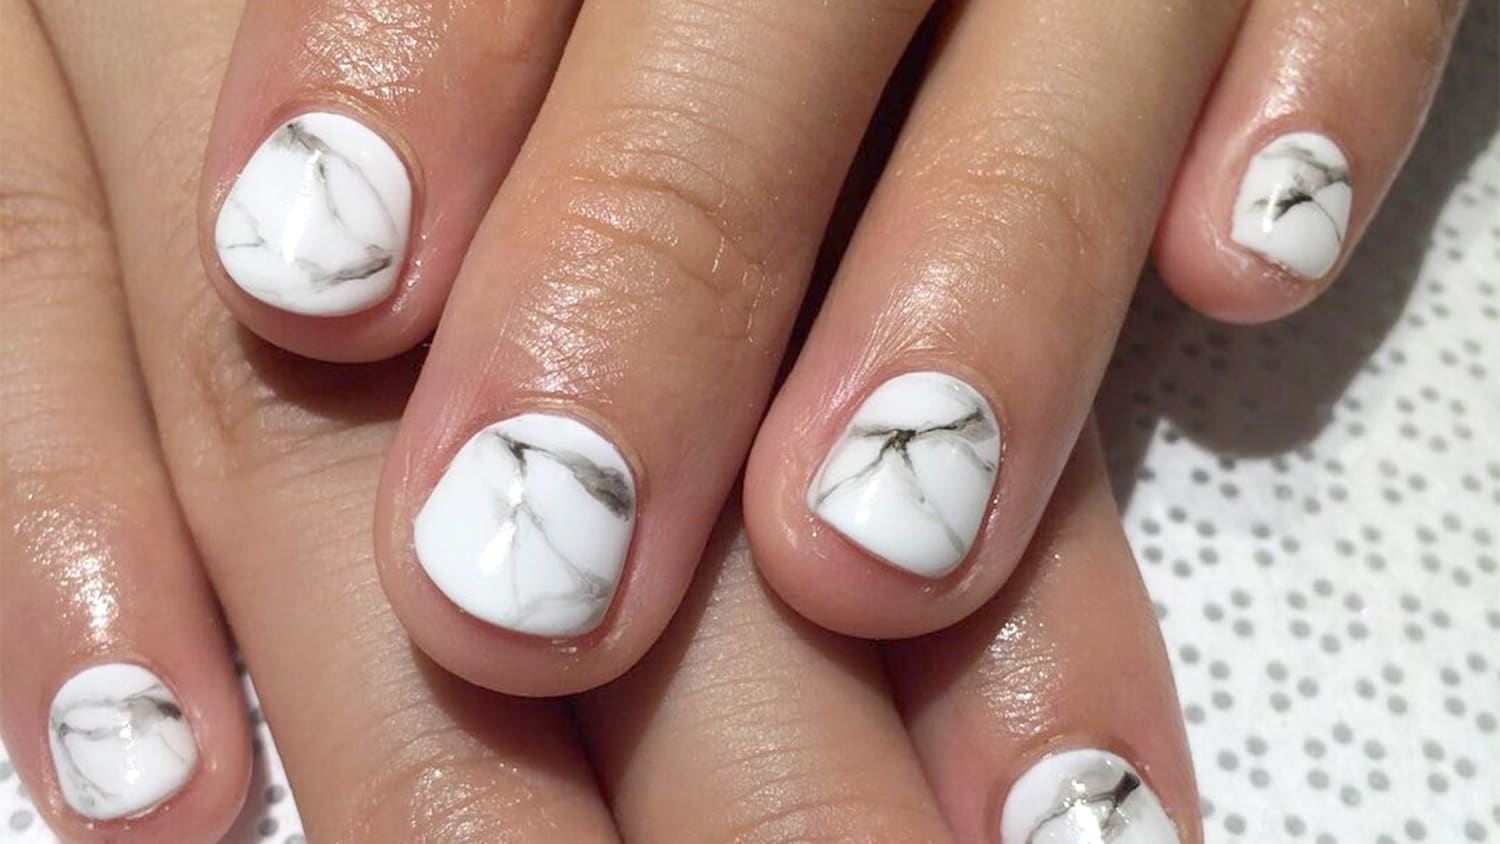
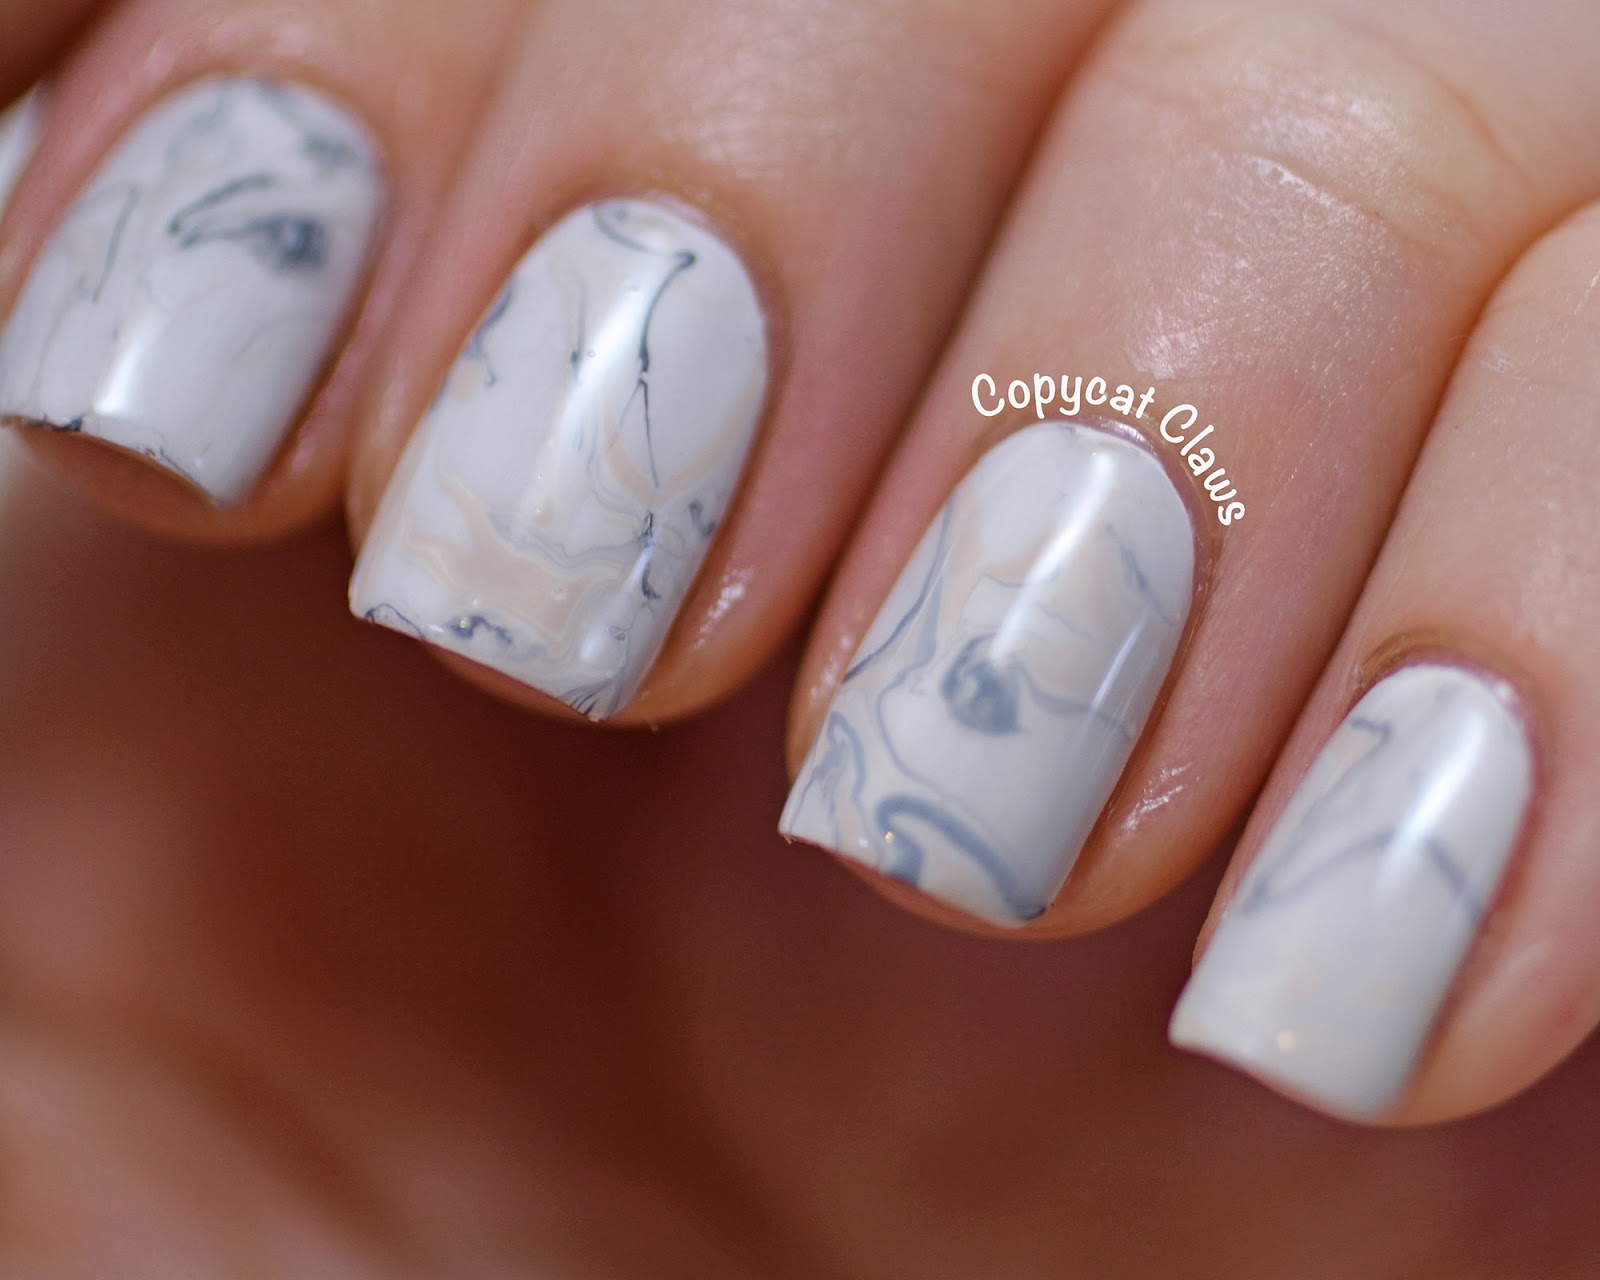
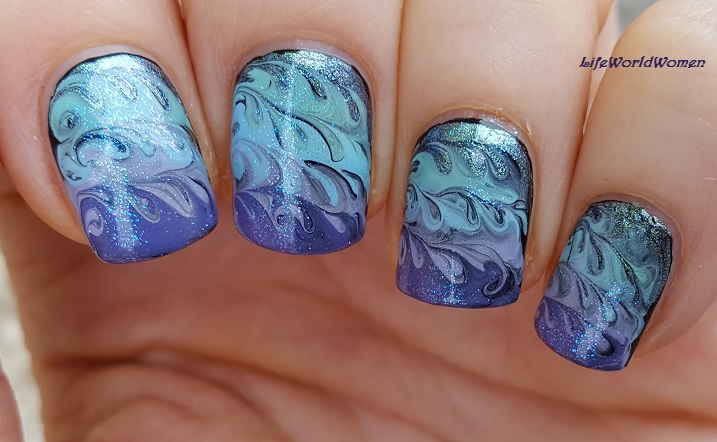
If you're new to the world of no-water marble nail art, it's best to start with a simple design. Here is an easy no-water marble nail design that even beginners can master: Step 1: Prep Your Nails Prep your nails, apply a base coat, and let it dry. Step 2: Apply the Base Color Apply a light-colored base coat and let it dry. Step 3: Create the Marble Effect Using a toothpick, swirl a dark-colored polish on your nails to create a marble effect. You can also use a marble nail art stamping plate for this step. Step 4: Seal the Design Apply a top coat to seal and protect your design.Easy No-Water Marble Nail Design for Beginners


Easy No-Water Marble Nail Design for Beginners


If you prefer a more detailed step-by-step guide, here is one to help you create a stunning marble nail art without water: Step 1: Prep Your Nails Start by prepping your nails and applying a base coat. Step 2: Choose Your Colors Decide on the colors you want to use for your marble design. Step 3: Apply the Base Color Apply your base color and let it dry completely before moving on to the next step. Step 4: Create the Marble Effect Using a toothpick, swirl your chosen colors on your nails to create a marble effect. You can also use other tools like an eyeshadow brush or a thin nail art brush for this step. Step 5: Clean Up Use a cotton swab and nail polish remover to clean up any excess polish around your nails. Step 6: Seal the Design Apply a top coat to seal and protect your design.Marble Nail Art Without Water: Step-by-Step Guide
Marble Nail Art Without Water: Step-by-Step Guide
If you don't have any fancy tools on hand, don't worry. You can create a beautiful no-water marble nail design using just a toothpick. Step 1: Prep Your Nails Prep your nails and apply a base coat. Step 2: Apply the Base Color Apply a light-colored base coat and let it dry. Step 3: Create the Marble Effect Using a toothpick, swirl a dark-colored polish on your nails to create a marble effect. You can also use multiple colors for a more vibrant design. Step 4: Clean Up Use a cotton swab and nail polish remover to clean up any excess polish. Step 5: Seal the Design Apply a top coat to seal and protect your design.No-Water Marble Nail Design Using a Toothpick

No-Water Marble Nail Design Using a Toothpick

To create a stunning marble nail design without water, you'll need the following products: 1. Base Coat: This will protect your nails and ensure your polish adheres better. 2. Nail Polish: Choose two or more colors to create your marble design. You can also use a white polish for your base color. 3. Quick-Dry Top Coat: This will speed up the drying process and prevent your design from smudging. 4. Toothpick: For creating intricate designs and swirls. 5. Plastic Wrap: For creating a unique marble effect. 6. Cotton Swabs and Nail Polish Remover: For cleaning up any excess polish. Creating a marble nail design without water may seem daunting at first, but with these tips and tricks, and a little practice, you can achieve stunning results. So ditch the water marbling and try out these no-water marble nail art ideas for unique and creative manicures.Marble Nail Art Without Water: Products You'll Need

Marble Nail Art Without Water: Products You'll Need

Creating Stunning Marble Nail Designs Without Water
Why Choose Marble Nail Designs?
 Marble nail designs have been taking the world of nail art by storm, and for good reason. Not only are they visually appealing and unique, but they are also versatile and can be customized to suit any occasion or personal style. Whether you're looking for a subtle and elegant look or a bold and eye-catching one, marble nails can deliver. And the best part? You don't need to use water to achieve this stunning effect. In this article, we'll show you how to create beautiful marble nail designs without the mess and hassle of water.
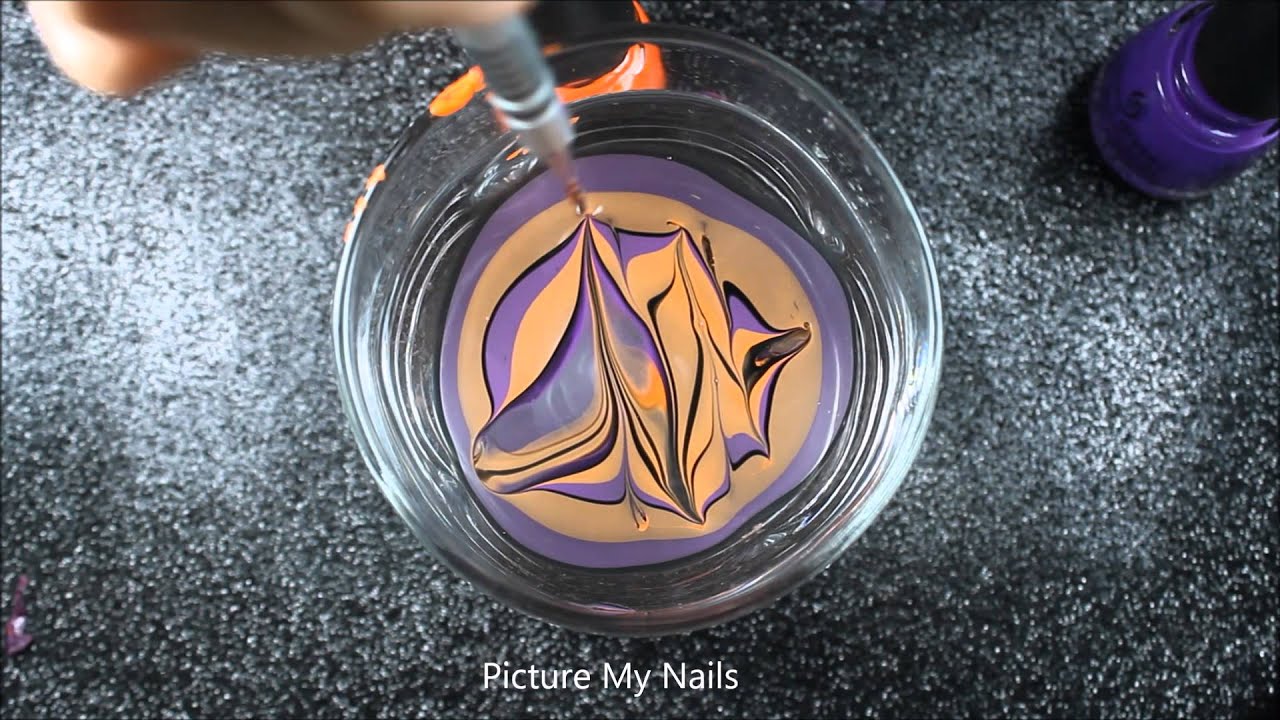
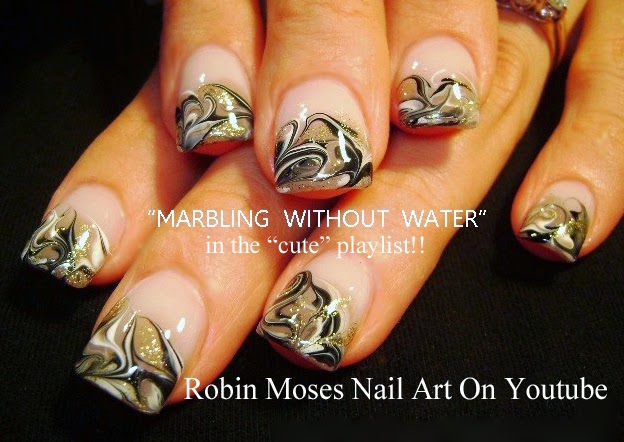
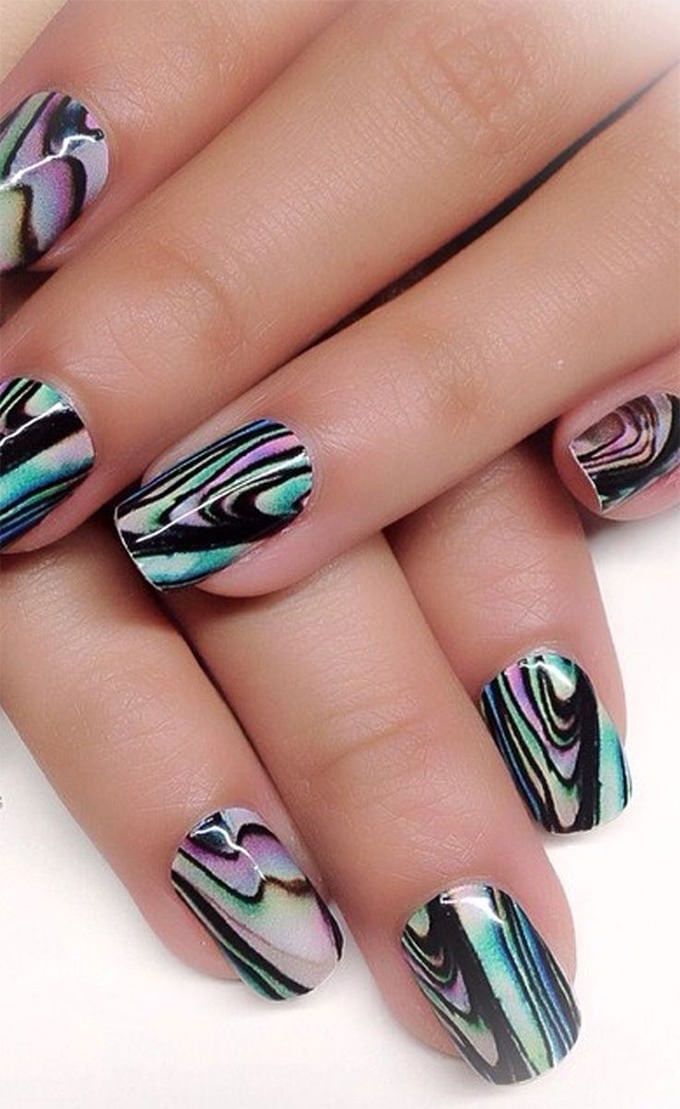
The No-Water Technique
 Traditionally, creating marble nail designs involved using water to create a marbled effect on the nails. However, this method can be messy and time-consuming, not to mention it requires a certain level of skill and practice. Fortunately, there is a no-water technique that produces equally stunning results. This method involves using a variety of techniques such as dry brushing, sponging, and using a plastic wrap to achieve the marbled effect. Not only is it easier and less messy, but it also allows for more control and precision in the design.
Choose Your Color Palette
 Before starting your marble nail design, it's important to choose a color palette that you want to work with. You can opt for a monochromatic look using different shades of one color, or go for a more vibrant and bold look by using contrasting colors. The possibilities are endless, so don't be afraid to experiment and get creative with your color choices.
Tools You'll Need
 To create a marble nail design without water, you'll need a few basic tools that you probably already have at home. These include a base coat, top coat, two or more nail polish colors, a small detail brush, a makeup sponge, and a plastic wrap. You can also use a toothpick or a dotting tool for some of the techniques.
Step-by-Step Guide
 Now, let's get into the step-by-step process of creating a marble nail design without water.
Step 1: Prep Your Nails
Start by prepping your nails with a base coat to protect them and ensure a smooth application of your nail polish.
Step 2: Apply the Base Color
Choose one of your nail polish colors to use as the base and apply it to all of your nails. Let it dry completely before moving on to the next step.
Step 3: Create the Marbled Effect
Using your second nail polish color, apply small drops of it onto your makeup sponge. Then, lightly dab the sponge onto your nails, creating a marbled effect. You can also use a toothpick or a dotting tool to swirl the colors together for a more defined marble effect.
Step 4: Use a Plastic Wrap
For a more intricate and unique design, you can use a crumpled plastic wrap to create a textured look. Gently press the plastic wrap onto your nails while the second color is still wet, and then peel it off to reveal the marbled effect.
Step 5: Add Details
Once you're satisfied with the marbled effect, you can use a small detail brush to add any additional details or patterns to your design. This step is completely optional and allows you to personalize your marble nail design even further.
Step 6: Apply Top Coat
Lastly, once your design is complete and has dried, apply a top coat to seal in your design and give your nails a glossy finish.
Now, let's get into the step-by-step process of creating a marble nail design without water.
Step 1: Prep Your Nails
Start by prepping your nails with a base coat to protect them and ensure a smooth application of your nail polish.
Step 2: Apply the Base Color
Choose one of your nail polish colors to use as the base and apply it to all of your nails. Let it dry completely before moving on to the next step.
Step 3: Create the Marbled Effect
Using your second nail polish color, apply small drops of it onto your makeup sponge. Then, lightly dab the sponge onto your nails, creating a marbled effect. You can also use a toothpick or a dotting tool to swirl the colors together for a more defined marble effect.
Step 4: Use a Plastic Wrap
For a more intricate and unique design, you can use a crumpled plastic wrap to create a textured look. Gently press the plastic wrap onto your nails while the second color is still wet, and then peel it off to reveal the marbled effect.
Step 5: Add Details
Once you're satisfied with the marbled effect, you can use a small detail brush to add any additional details or patterns to your design. This step is completely optional and allows you to personalize your marble nail design even further.
Step 6: Apply Top Coat
Lastly, once your design is complete and has dried, apply a top coat to seal in your design and give your nails a glossy finish.
In Conclusion
 Creating a marble nail design without water is a fun and easy way to achieve a stunning and unique look. With the right tools, color choices, and techniques, you can create a variety of marble designs to suit any occasion or mood. So next time you want to add a touch of elegance and creativity to your nails, try out this no-water technique and see the amazing results for yourself.


