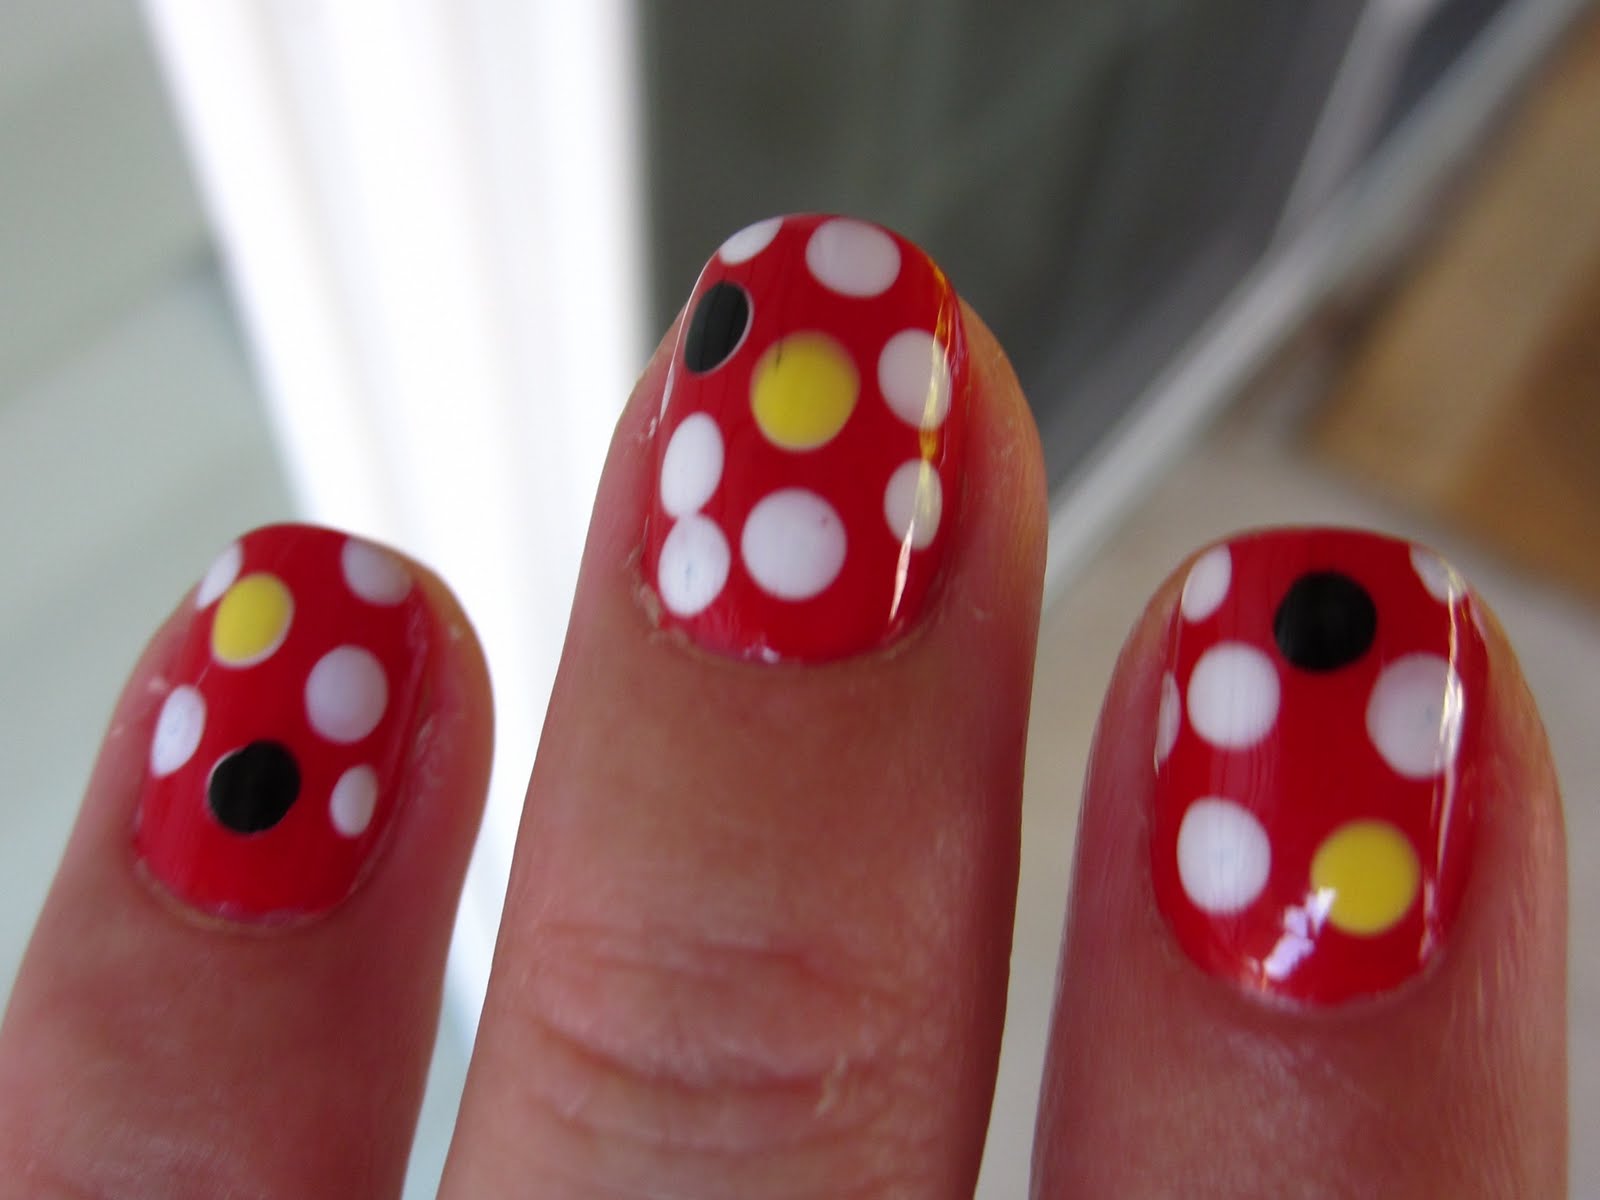
Are you a fan of Minnie Mouse and looking for a fun and cute nail design? Look no further because we have the perfect tutorial for you! With gel nail polish, you can easily create a long-lasting and flawless Minnie Mouse design on your nails. Follow these simple steps to achieve this adorable look. First, start with a base coat to protect your natural nails and create a smooth surface for the gel polish. Then, apply a light pink gel color as the base for your nails. You can also opt for a red base if you want to mimic Minnie's iconic dress color. Next, use a dotting tool or a toothpick to create two ears on the top corners of your nail with black gel polish. Make sure to leave enough space in the center for the bow. For the bow, use a bright red gel polish and create a heart shape in the center of your nail. Then, use a white gel polish to outline the heart and add polka dots on the bow. You can also add a small pearl or rhinestone in the center of the bow for some extra sparkle. Once your design is complete, cure your nails under a LED or UV lamp according to the instructions of your gel polish. Then, finish off with a top coat to seal in your design and give it a shiny finish. Voila, you now have Minnie Mouse nails!1. Minnie Mouse Gel Nail Design Tutorial


1. Minnie Mouse Gel Nail Design Tutorial


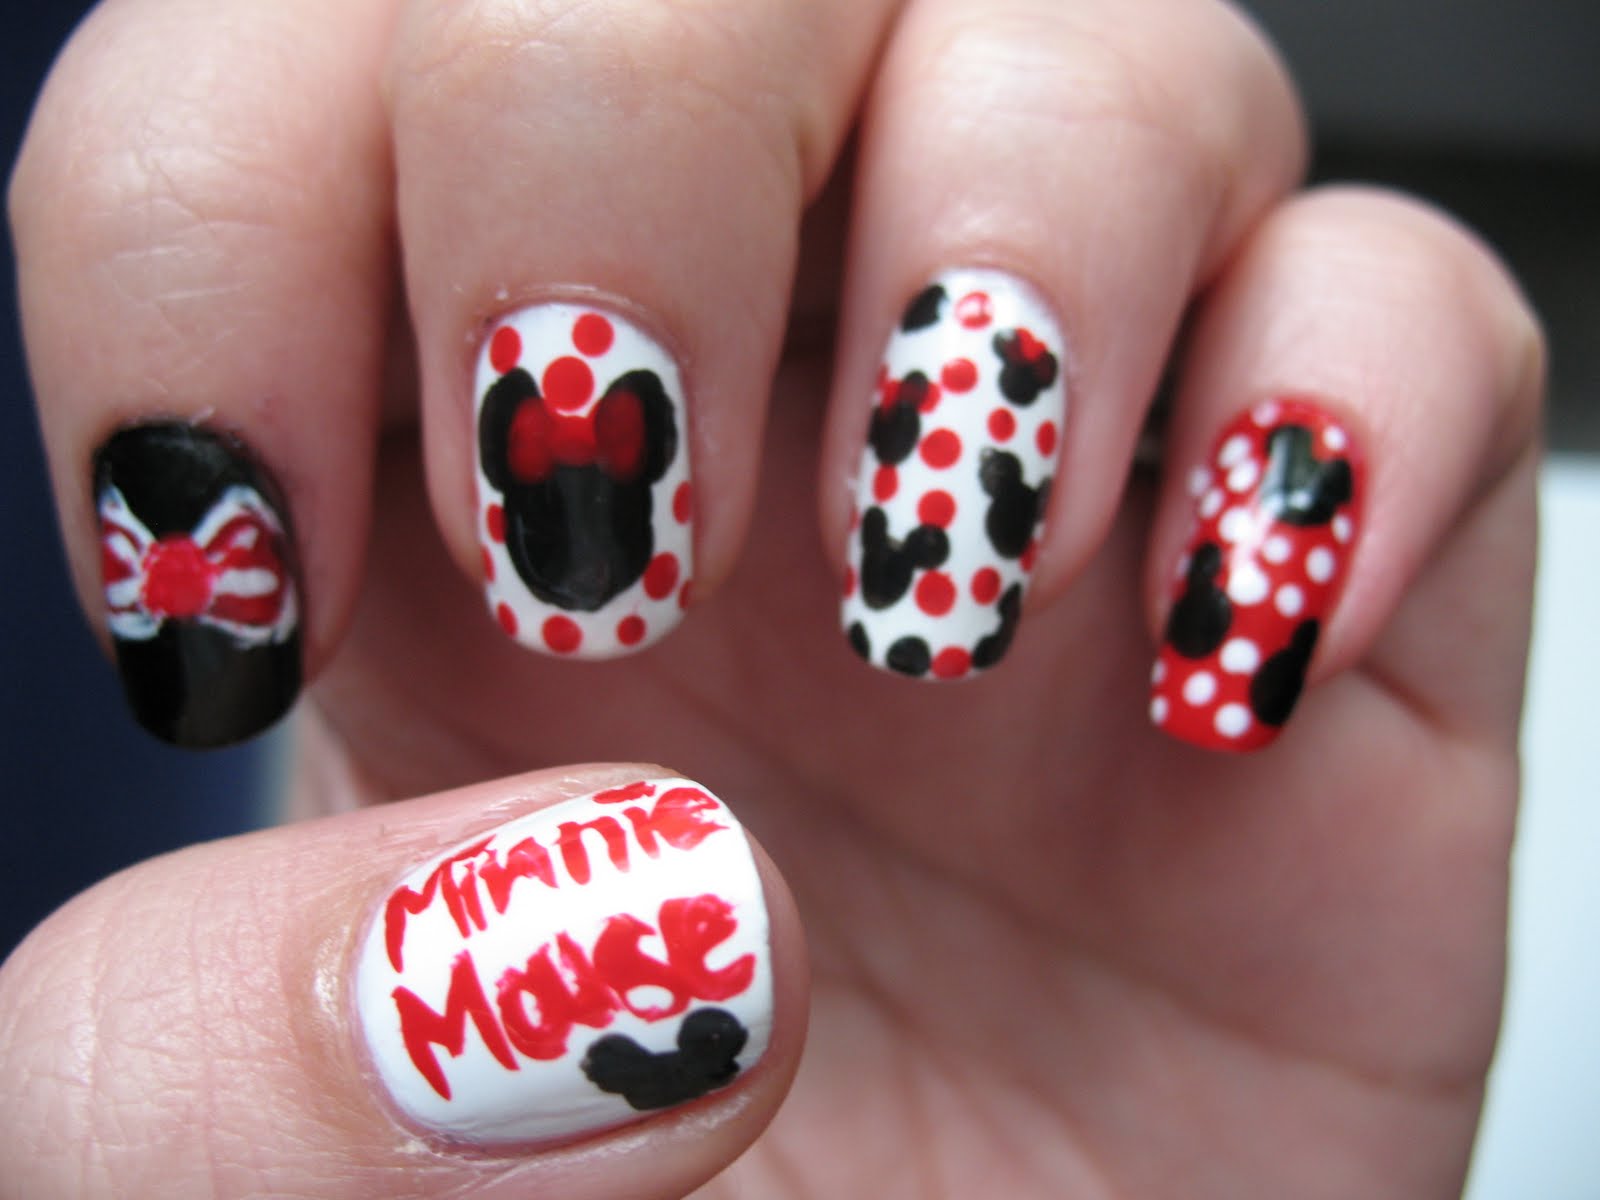
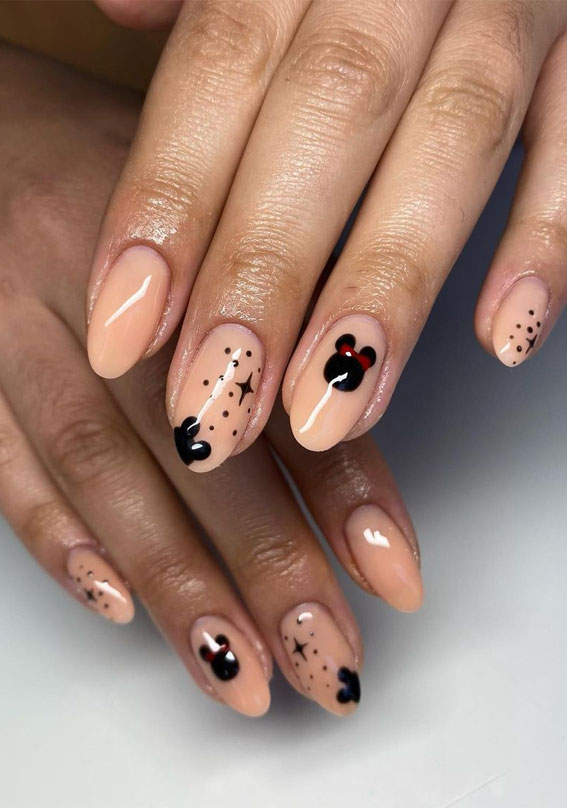
If you're feeling a little more creative, you can take your Minnie Mouse gel nail design to the next level with some nail art. Use white gel polish to create a full outline of Minnie's head on one of your nails. Then, use black gel polish to fill in the outline and add polka dots for the bow. On another nail, you can create a silhouette of Minnie's head using red gel polish. Then, use black gel polish to add details such as her ears, eyes, and nose. This will give a more minimalistic and modern look to your Minnie Mouse nails. Feel free to get creative and add your own personal touches to the design. You can also use different colors for the base and the bow, or even add glitter or rhinestones for some extra glam. Remember to always cure your nails after each step and finish off with a top coat for a long-lasting and professional-looking design.2. Minnie Mouse Gel Nail Art


2. Minnie Mouse Gel Nail Art

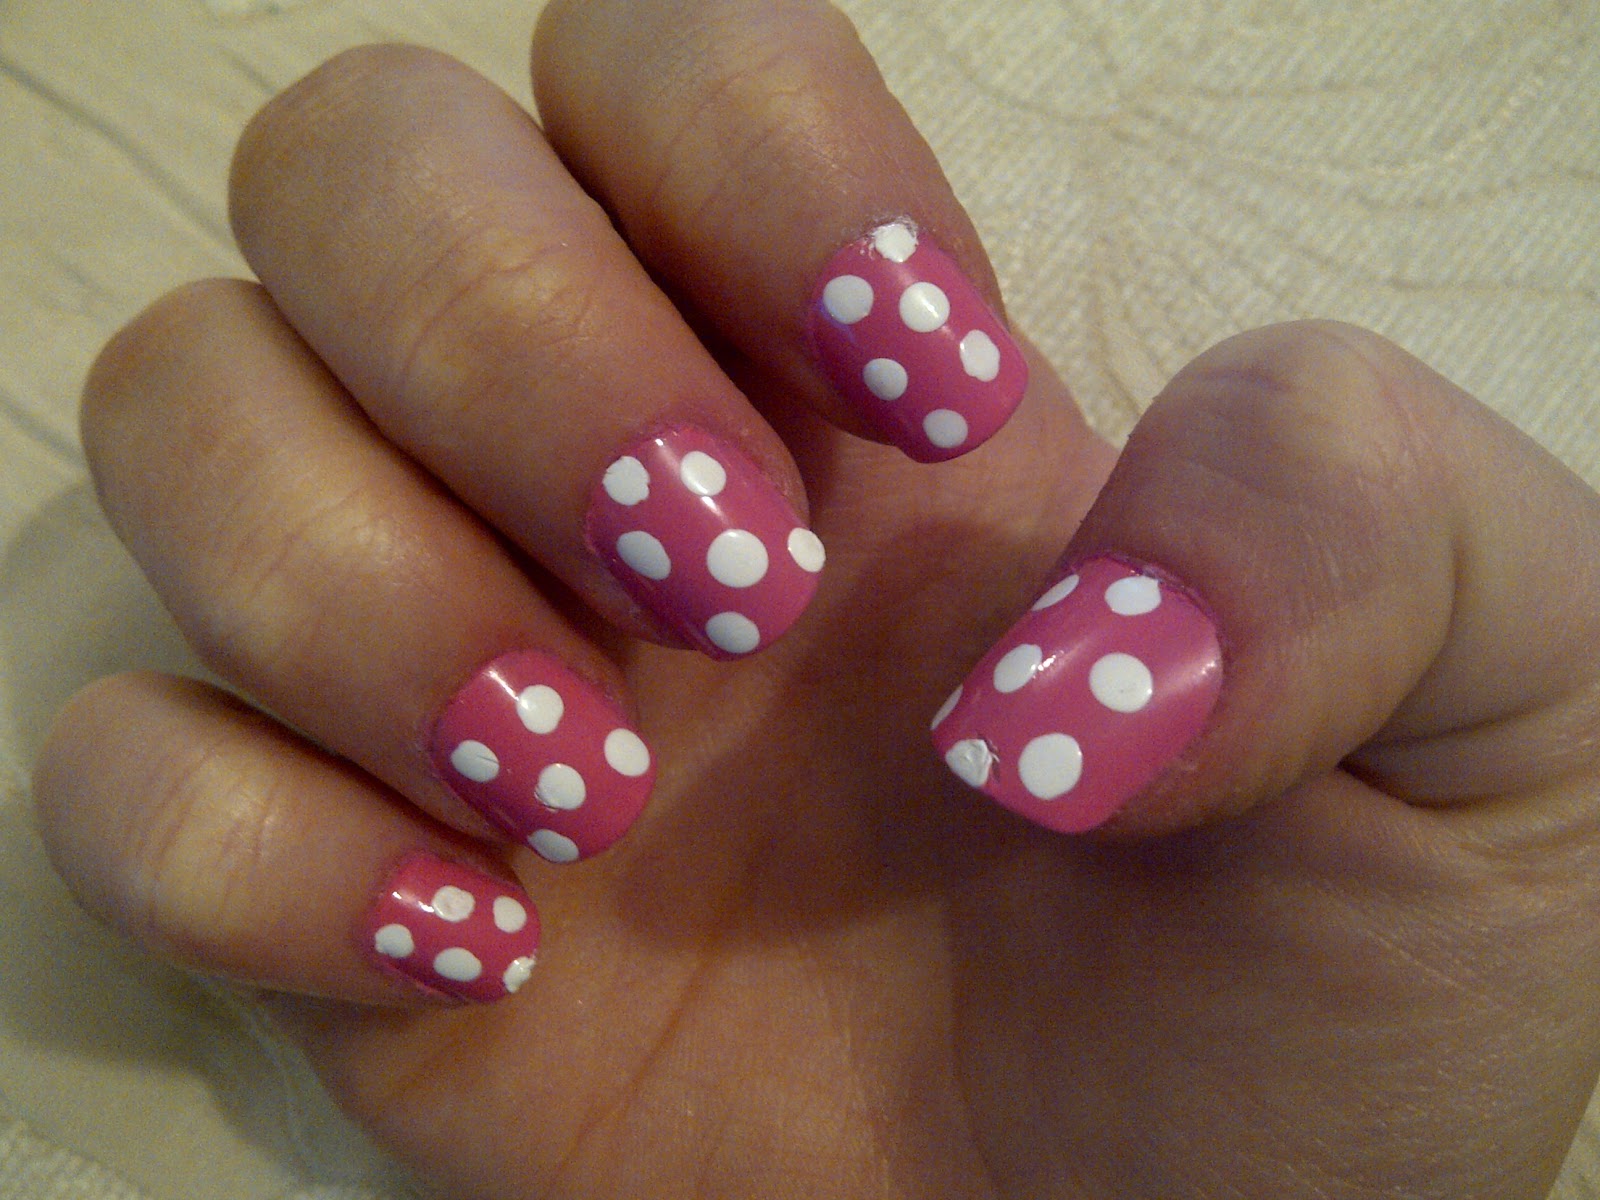
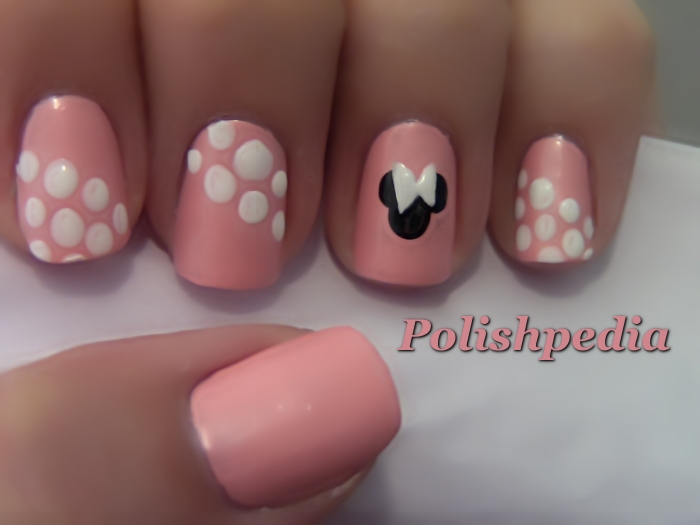
If you want to keep your Minnie Mouse gel nails simple yet cute, you can opt for a cartoon-style design. Start with a white base and use black gel polish to create Minnie's face on one of your nails. Then, use a thin brush to create her signature eyelashes. On another nail, you can create three small bows using red gel polish. This will add a playful and adorable touch to your Minnie Mouse nails. If you want to add a little more color, you can also use pink gel polish to create polka dots on one of your nails. This will tie in with Minnie's classic pink bow and add a girly and sweet element to your nail design. Remember to use a top coat to seal in your design and give it a glossy finish.3. Cute Minnie Mouse Gel Nails


3. Cute Minnie Mouse Gel Nails


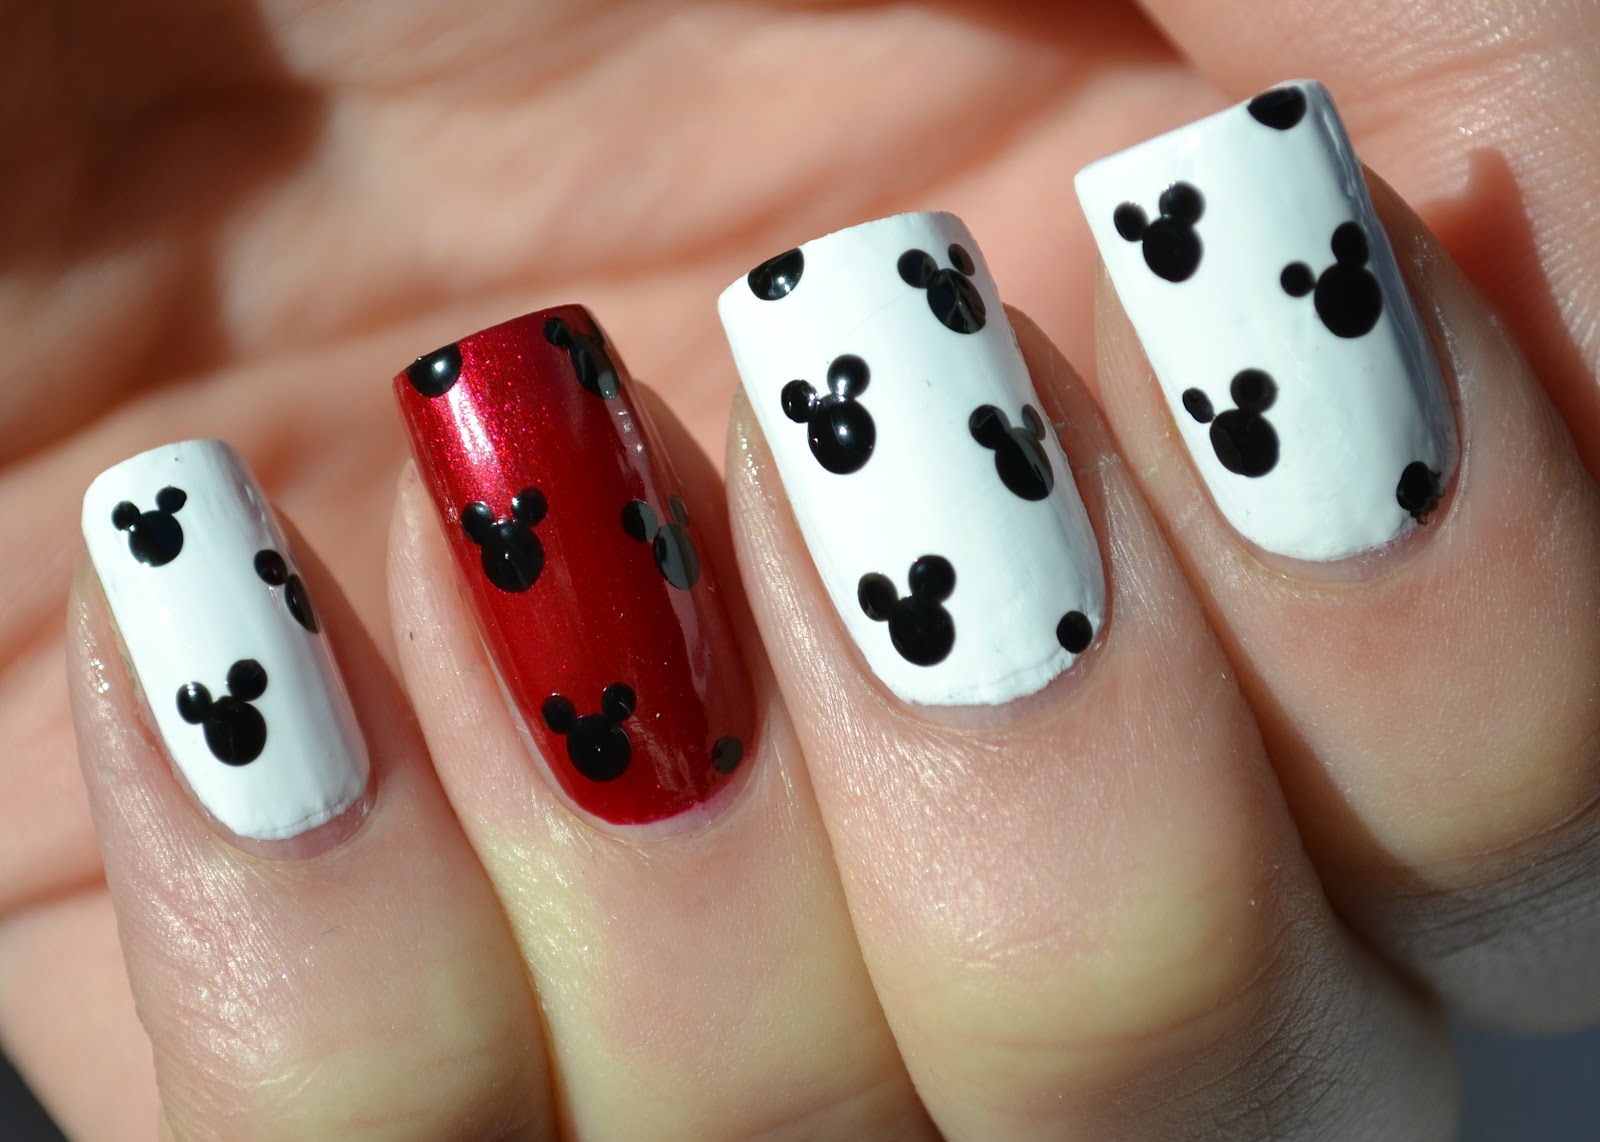
Short nails can also rock a Minnie Mouse gel nail design! For a minimalistic look, you can create black and white Minnie Mouse nails by painting black bows on a white base on one or two of your nails. If you want to add a pop of color, you can use red gel polish to create a heart-shaped Minnie Mouse head on one of your nails. You can also add polka dots or stripes to your other nails to tie in with the theme. Short nails are also perfect for accent nails. You can create a cartoon-style Minnie Mouse face on one of your nails and keep the rest of your nails simple with a single color or polka dots. Don't forget to cure your nails and finish off with a top coat for a long-lasting and flawless look.4. Minnie Mouse Gel Nail Designs for Short Nails


4. Minnie Mouse Gel Nail Designs for Short Nails
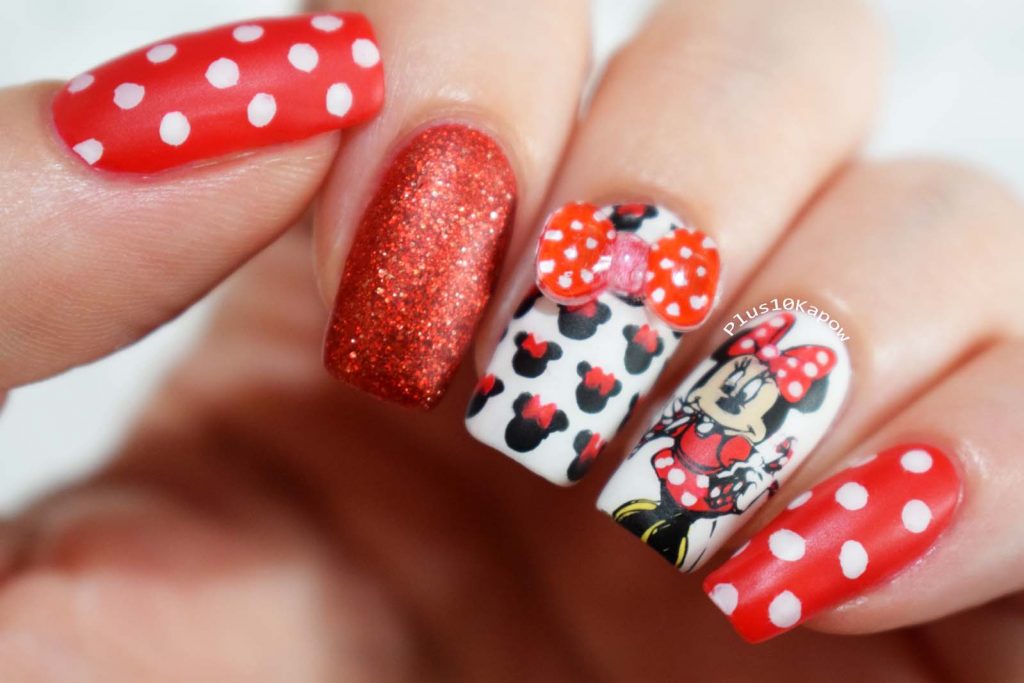
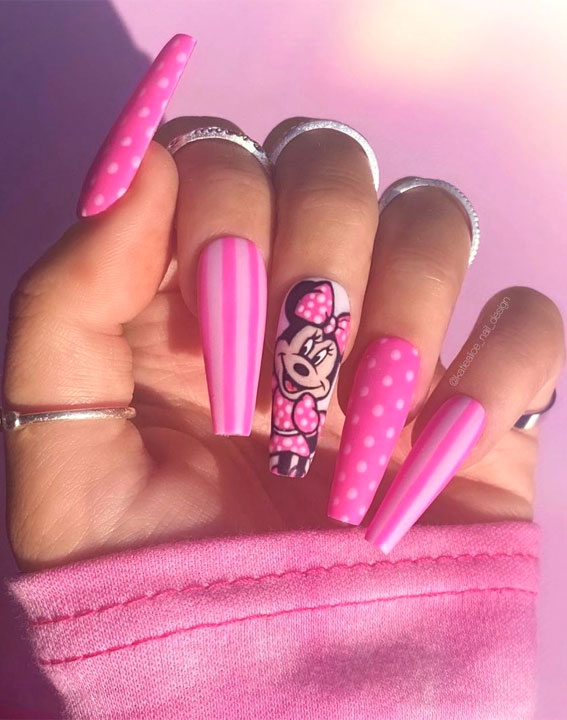
Long nails are perfect for creating intricate and detailed Minnie Mouse gel nail designs. You can use different colors to create a colorful and fun look. For example, you can paint black and white stripes on one of your nails and add a red bow on top to create Minnie's iconic dress. Then, on another nail, you can create a full outline of Minnie's head using black gel polish and fill it in with red gel polish. You can also add rhinestones or glitter to your design to make it stand out and add a touch of elegance. Remember to cure your nails after each step and finish off with a top coat to seal in your design and give it a professional and long-lasting finish.5. Minnie Mouse Gel Nail Designs for Long Nails


5. Minnie Mouse Gel Nail Designs for Long Nails
Adding rhinestones to your Minnie Mouse gel nail design is a great way to add some sparkle and glam. You can use clear or colored rhinestones to create a bow on one of your nails, or to outline Minnie's head on another nail. You can also use rhinestones to create polka dots on your nails, or even add a single rhinestone on Minnie's bow for a subtle yet elegant touch. Remember to use a top coat to secure the rhinestones and give your design a smooth and flawless finish.6. Minnie Mouse Gel Nail Designs with Rhinestones

6. Minnie Mouse Gel Nail Designs with Rhinestones

If you want to add some sparkle and shine to your Minnie Mouse gel nails, you can use glitter in different ways. For a subtle look, you can add a layer of glitter on top of a colored gel polish. For a more dramatic look, you can create a gradient effect using glitter and clear gel polish. You can also use glitter to create sparkly bows on one or two of your nails. This will add a fun and playful touch to your Minnie Mouse nails. Remember to use a top coat to seal in the glitter and give your nails a smooth and glossy finish.7. Minnie Mouse Gel Nail Designs with Glitter

7. Minnie Mouse Gel Nail Designs with Glitter
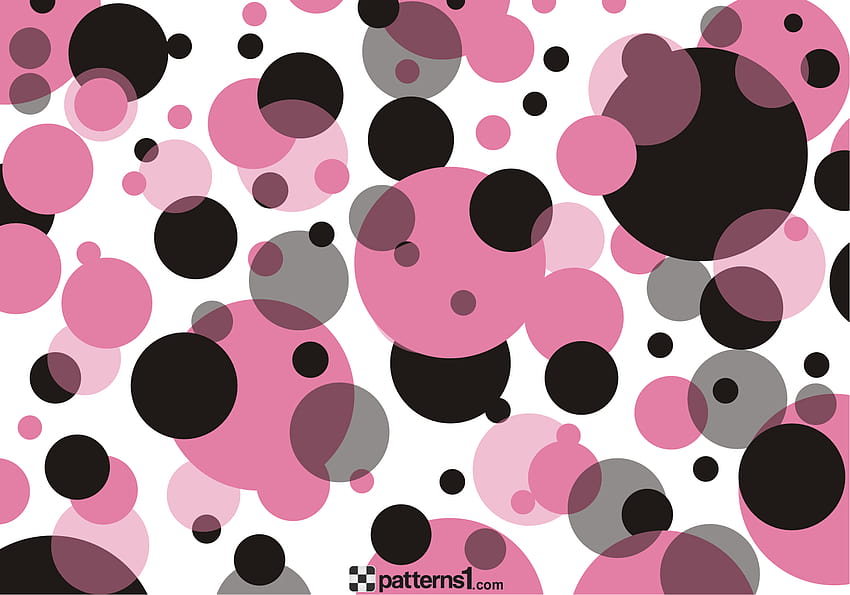
Polka dots are a classic and timeless element of Minnie Mouse's iconic look. You can use different colors to create polka dots on your nails, or even use different sizes for a more interesting and dynamic look. You can also create polka dots using rhinestones or glitter for a more luxurious and elegant touch. You can also use polka dots to create Minnie's bow or even her entire head on one of your nails for a fun and playful look. Remember to use a top coat to seal in your design and give your nails a smooth and flawless finish.8. Minnie Mouse Gel Nail Designs with Polka Dots

8. Minnie Mouse Gel Nail Designs with Polka Dots


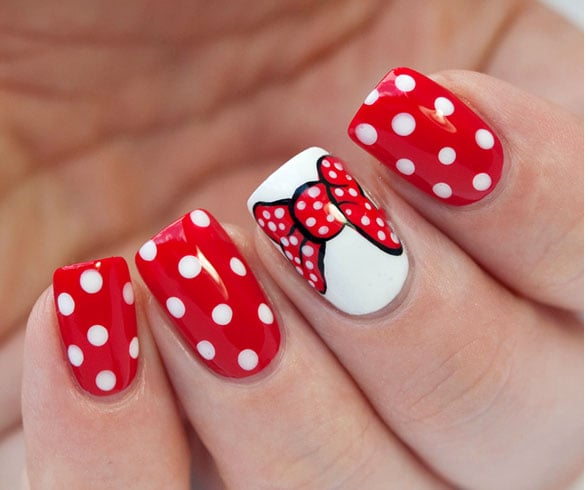
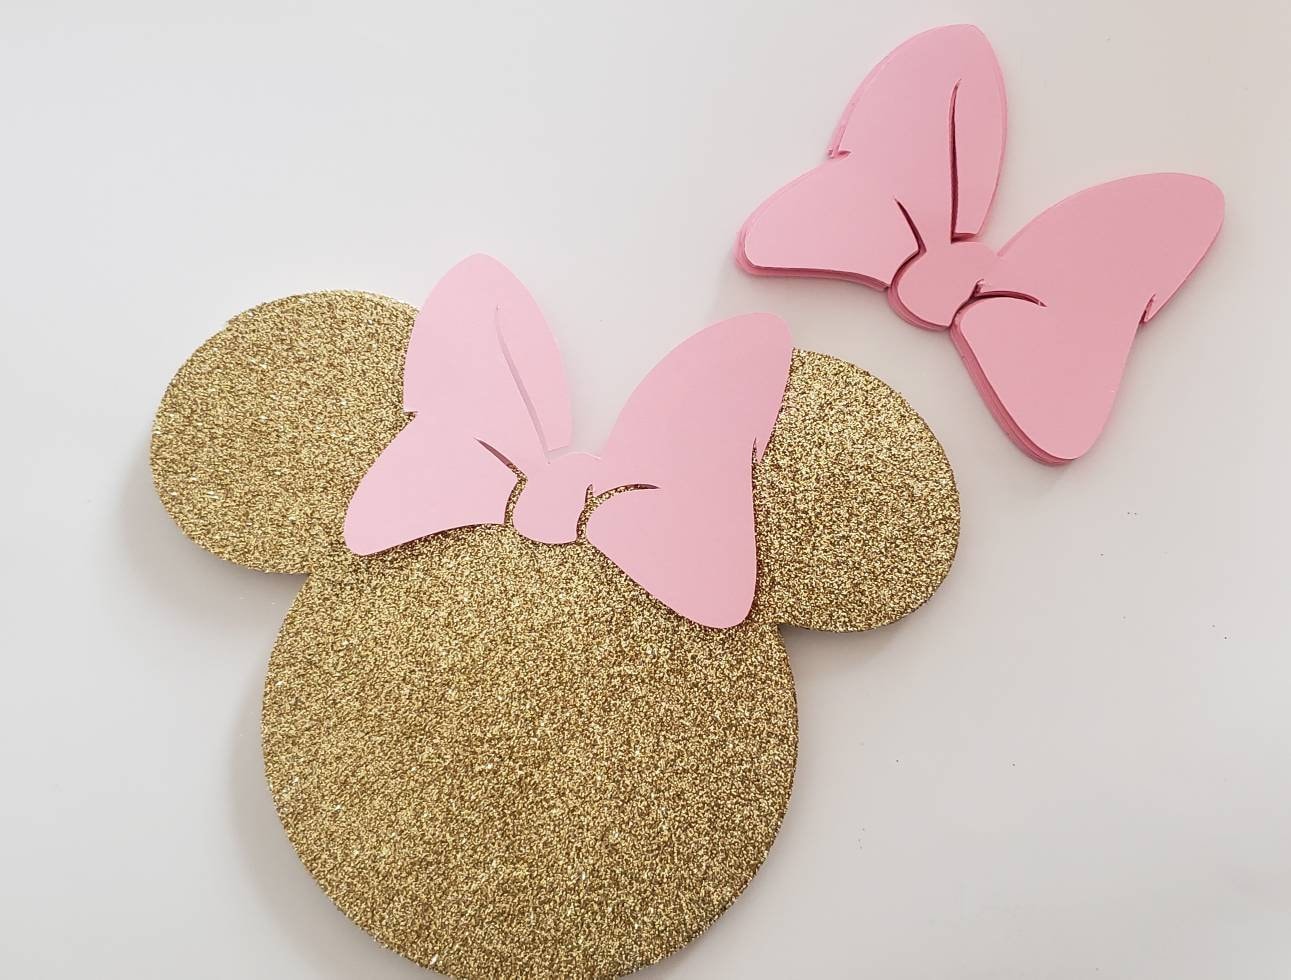
No Minnie Mouse nail design is complete without her signature bow. You can use different techniques to create the bow on your nails, such as painting it using gel polish, or using nail stickers or decals. For a simple and minimalistic look, you can create a black and white bow using gel polish. You can also create multiple bows on your nails for a unique and creative look. Don't forget to cure your nails and finish off with a top coat to seal in your design and give your nails a shiny and flawless finish.9. Minnie Mouse Gel Nail Designs with Bows
9. Minnie Mouse Gel Nail Designs with Bows
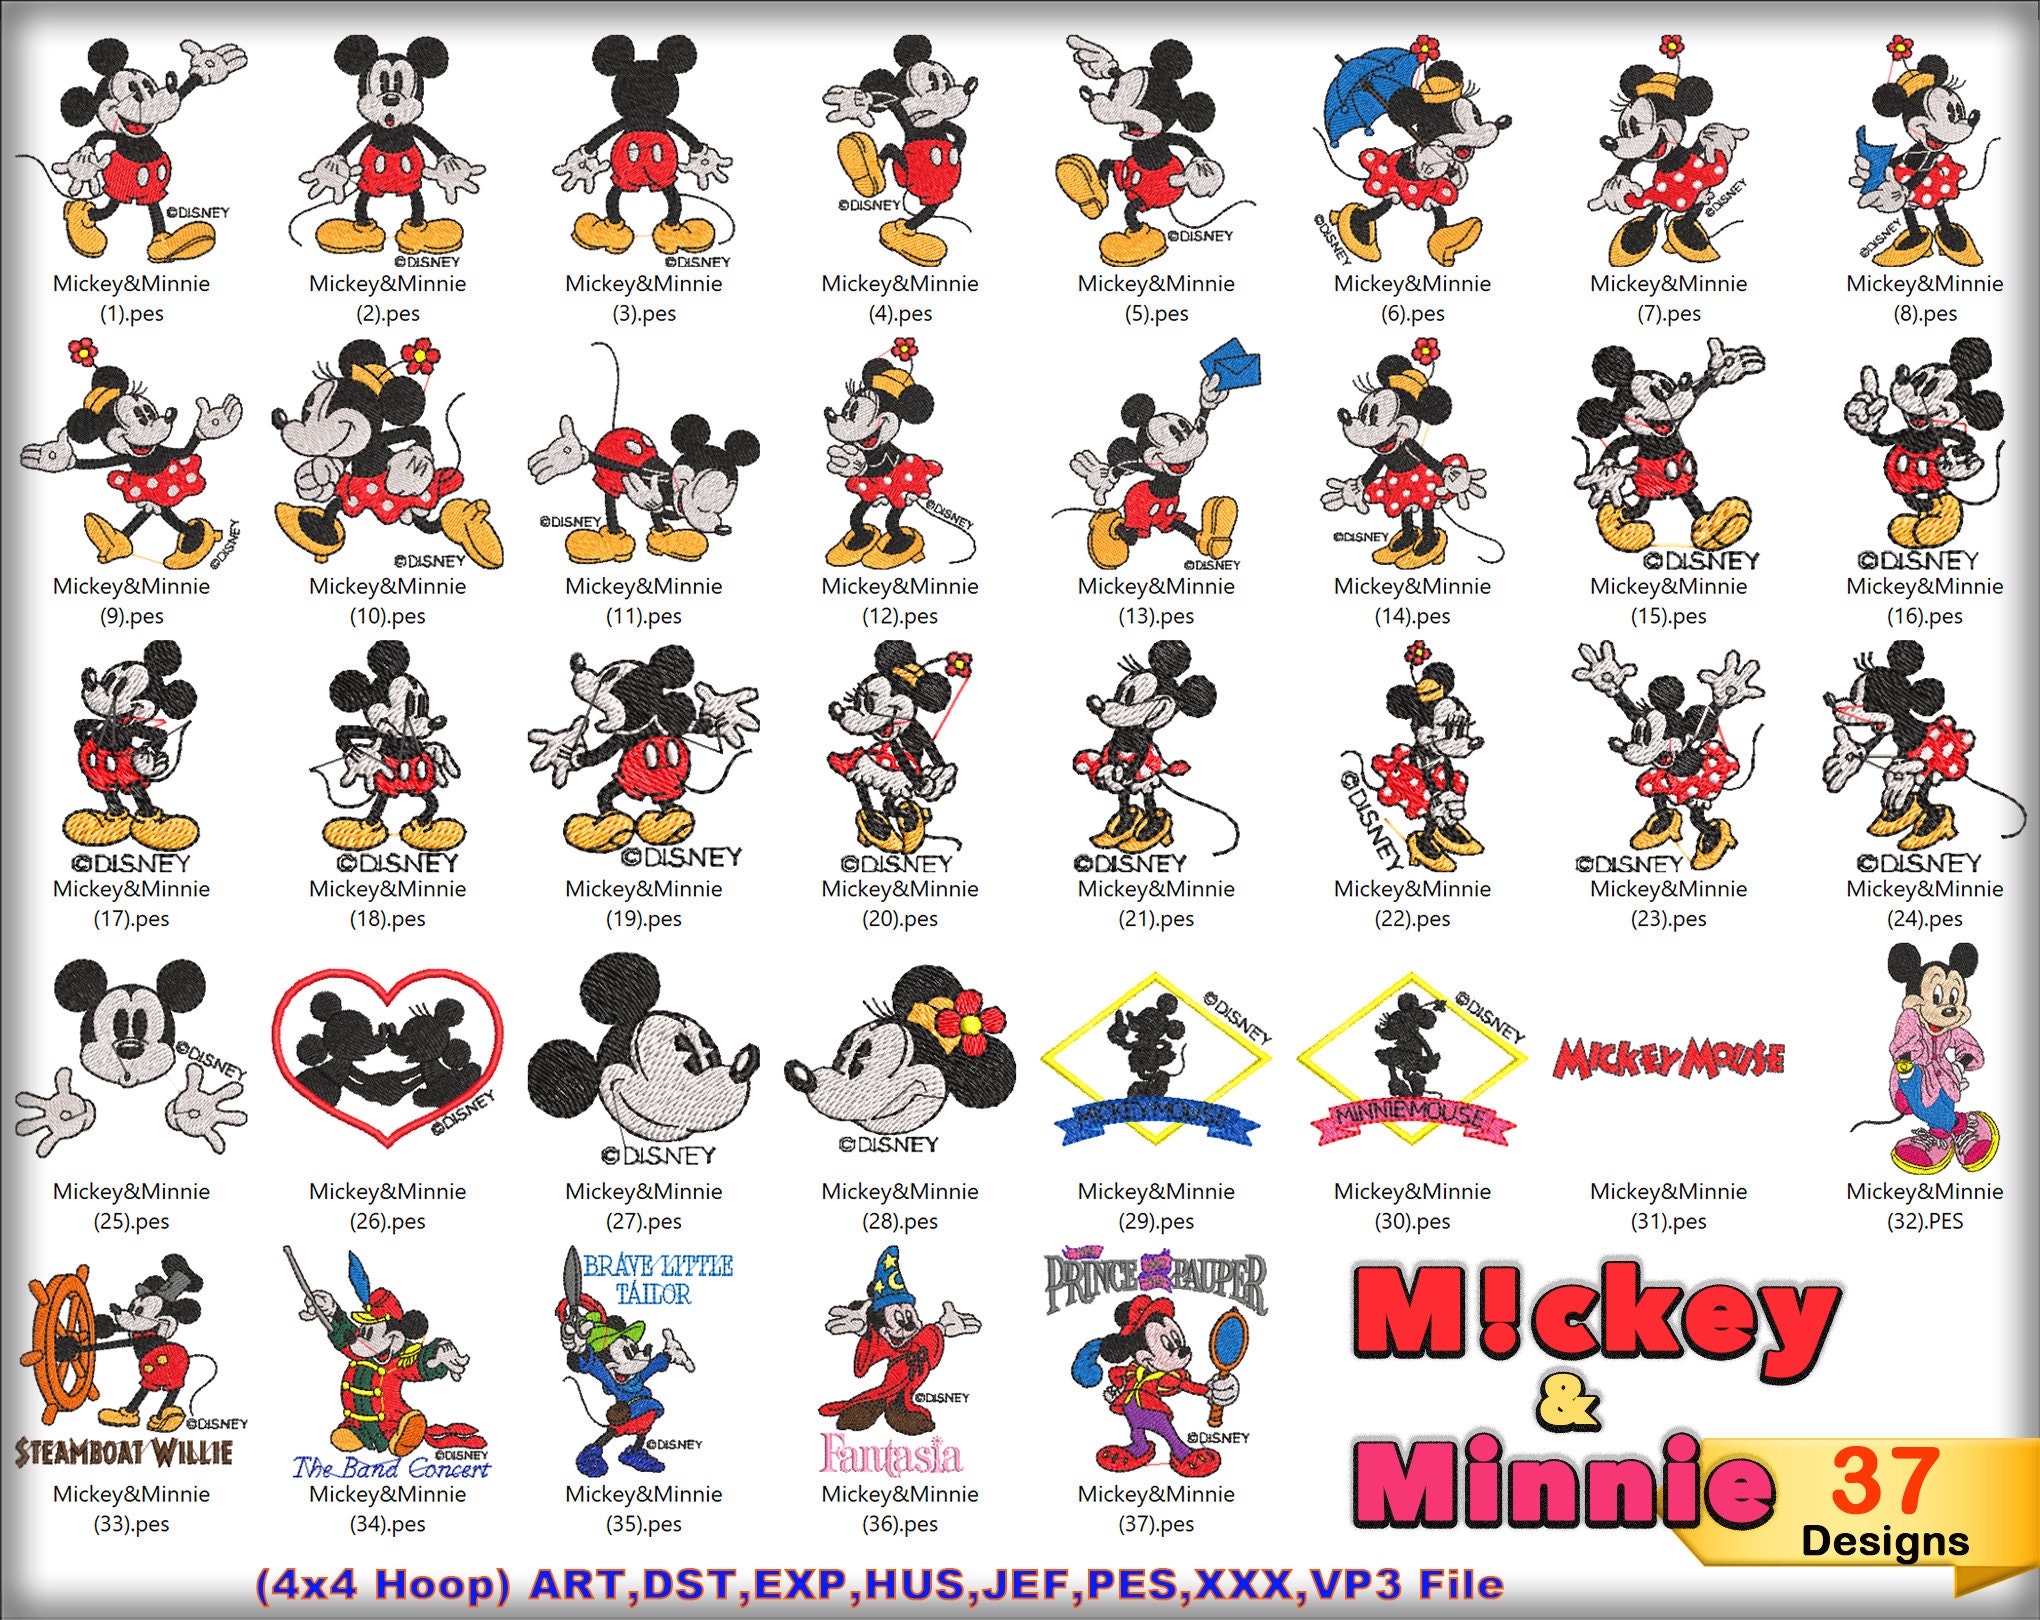
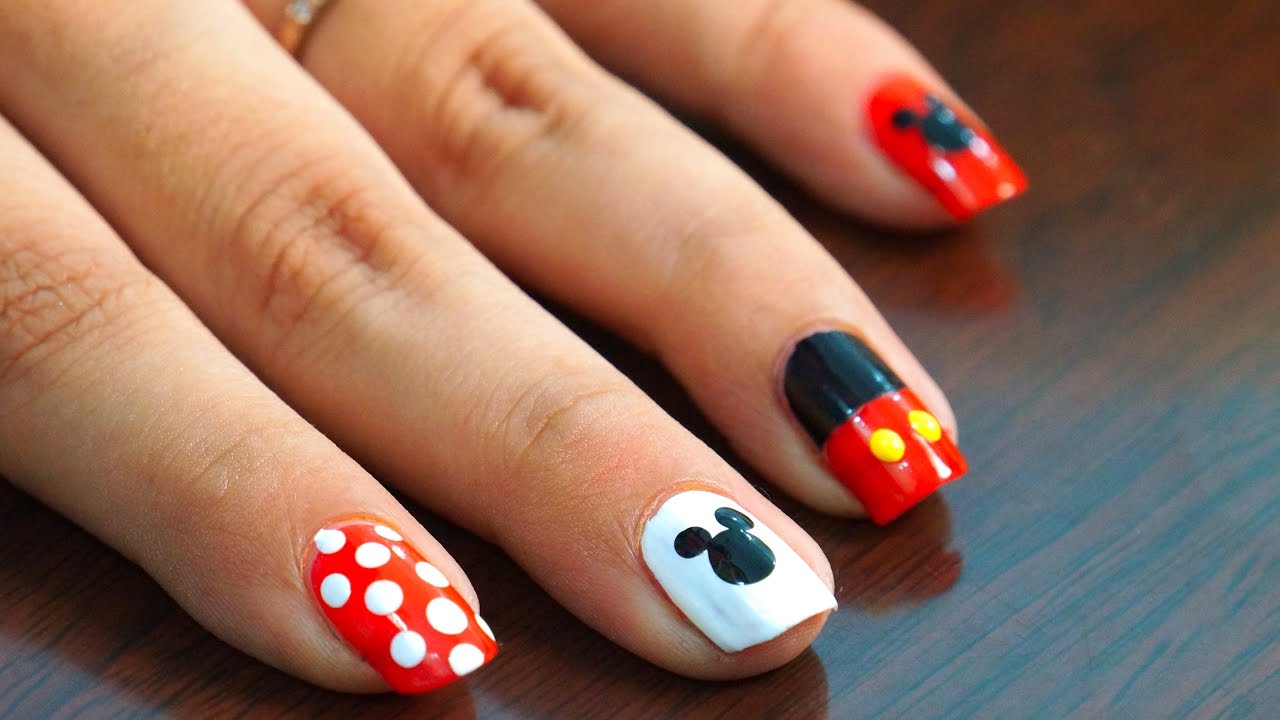
If you want to add a twist to your Minnie Mouse gel nail design, you can incorporate Mickey Mouse as well. You can create Mickey's head on one of your nails and outline it with black gel polish to differentiate it from Minnie's head. You can also use black and red gel polish to create polka dots on another nail to represent Mickey's iconic outfit. This will add a fun and playful element to your Minnie Mouse nails. Remember to use a top coat to seal in your design and give your nails a smooth and professional finish.10. Minnie Mouse Gel Nail Designs with Mickey Mouse Accent Nail


10. Minnie Mouse Gel Nail Designs with Mickey Mouse Accent Nail


Minnie Mouse Gel Nail Design: Fun and Playful House Design Inspiration

The Magic of Minnie Mouse
 Who doesn't love Minnie Mouse? The iconic cartoon character has been a source of joy and inspiration for many generations. Her signature red and white polka dot dress, big bow, and infectious energy have captured the hearts of both children and adults alike. So why not incorporate some of that magic into your house design?
A Twist on Traditional Gel Nails
 When it comes to house design, details matter. And what better way to add a playful touch than with Minnie Mouse inspired gel nails? Traditional gel nails are a popular choice for their durability and long-lasting shine, but with a Minnie Mouse twist, they become a unique and eye-catching feature in any room.
Minnie Mouse gel nails
typically feature a red base with white polka dots, mimicking her iconic dress. But don't be afraid to get creative and add some black accents to represent her ears. You can also incorporate her signature bow by using a glittery or metallic polish. The possibilities are endless, and the result is sure to bring a touch of Disney magic to your home.
When it comes to house design, details matter. And what better way to add a playful touch than with Minnie Mouse inspired gel nails? Traditional gel nails are a popular choice for their durability and long-lasting shine, but with a Minnie Mouse twist, they become a unique and eye-catching feature in any room.
Minnie Mouse gel nails
typically feature a red base with white polka dots, mimicking her iconic dress. But don't be afraid to get creative and add some black accents to represent her ears. You can also incorporate her signature bow by using a glittery or metallic polish. The possibilities are endless, and the result is sure to bring a touch of Disney magic to your home.
A Pop of Color
 One of the best things about Minnie Mouse gel nails is that they add a pop of color to any room. Whether you choose to incorporate them in your living room, bedroom, or even bathroom, the vibrant red and white polka dots will instantly liven up the space. They can also serve as a focal point and conversation starter, showcasing your love for the playful character.
But the fun doesn't have to stop there.
You can take the Minnie Mouse theme even further by incorporating it into other elements of your house design, such as throw pillows, wall art, or even furniture. This will tie the whole look together and create a cohesive and fun atmosphere.
One of the best things about Minnie Mouse gel nails is that they add a pop of color to any room. Whether you choose to incorporate them in your living room, bedroom, or even bathroom, the vibrant red and white polka dots will instantly liven up the space. They can also serve as a focal point and conversation starter, showcasing your love for the playful character.
But the fun doesn't have to stop there.
You can take the Minnie Mouse theme even further by incorporating it into other elements of your house design, such as throw pillows, wall art, or even furniture. This will tie the whole look together and create a cohesive and fun atmosphere.
Final Thoughts
 Incorporating Minnie Mouse gel nails into your house design is a fun and creative way to add a touch of Disney magic to your home. Not only are they a unique and eye-catching feature, but they also serve as a reminder to always embrace your playful and fun-loving side. So why not give it a try and let Minnie Mouse inspire your next house design project?
Start planning your Minnie Mouse gel nail design today and watch your house transform into a fun and playful space that will bring a smile to everyone's face.
Incorporating Minnie Mouse gel nails into your house design is a fun and creative way to add a touch of Disney magic to your home. Not only are they a unique and eye-catching feature, but they also serve as a reminder to always embrace your playful and fun-loving side. So why not give it a try and let Minnie Mouse inspire your next house design project?
Start planning your Minnie Mouse gel nail design today and watch your house transform into a fun and playful space that will bring a smile to everyone's face.


