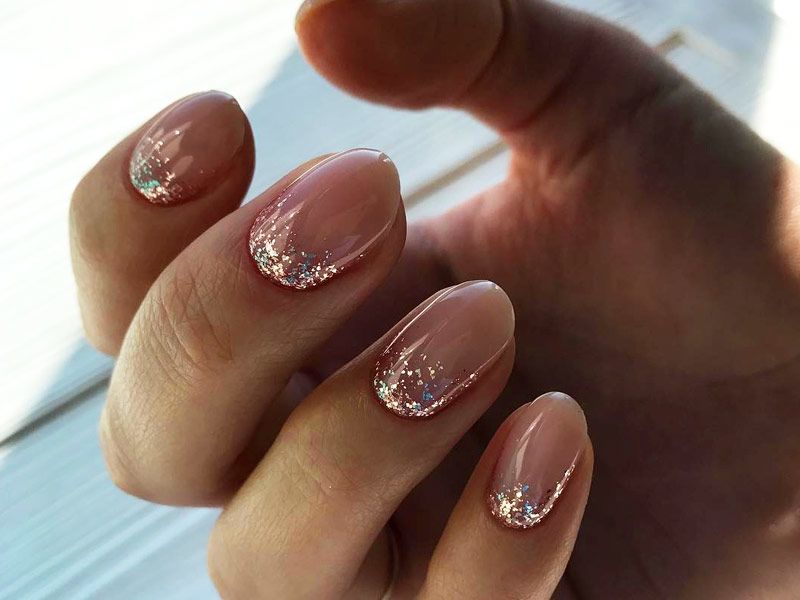
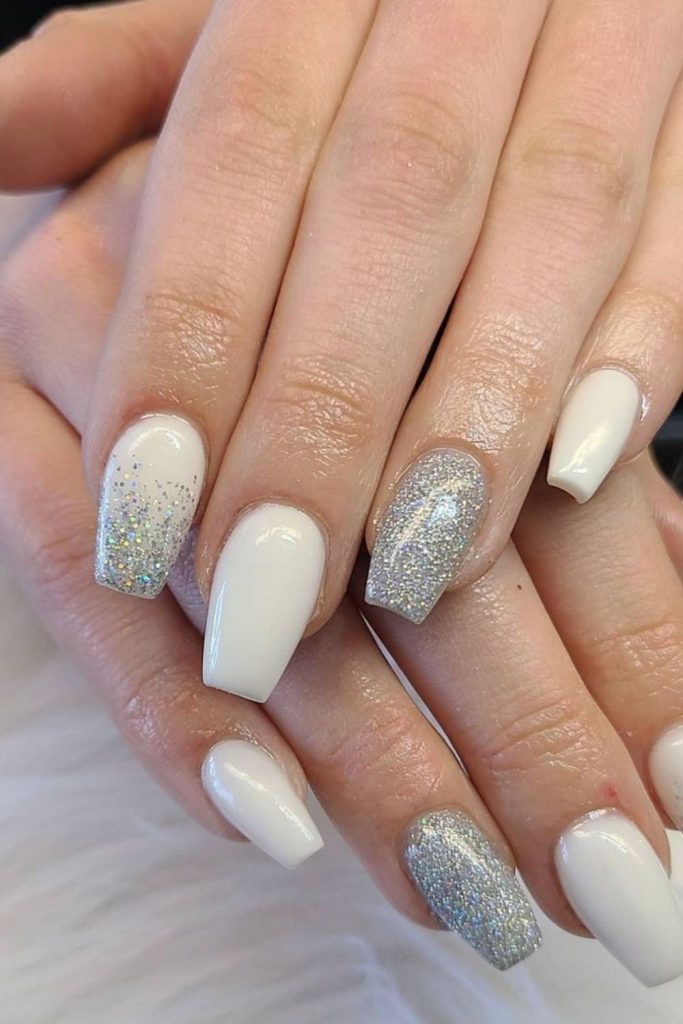
One of the most popular and eye-catching nail art designs for silver nails is the silver glitter ombre. This design starts with a base color of silver polish, which is then gradually blended with glitter in a darker or lighter shade. The end result is a stunning gradient effect that catches the light and adds a touch of glamour to any outfit. To achieve this look, start by painting your nails with two coats of silver nail polish. Then, using a makeup sponge, gently dab on silver glitter polish from the tips of your nails towards the middle. Continue to layer the glitter until you achieve your desired ombre effect.1. Silver Glitter Ombre Nail Art Design


1. Silver Glitter Ombre Nail Art Design


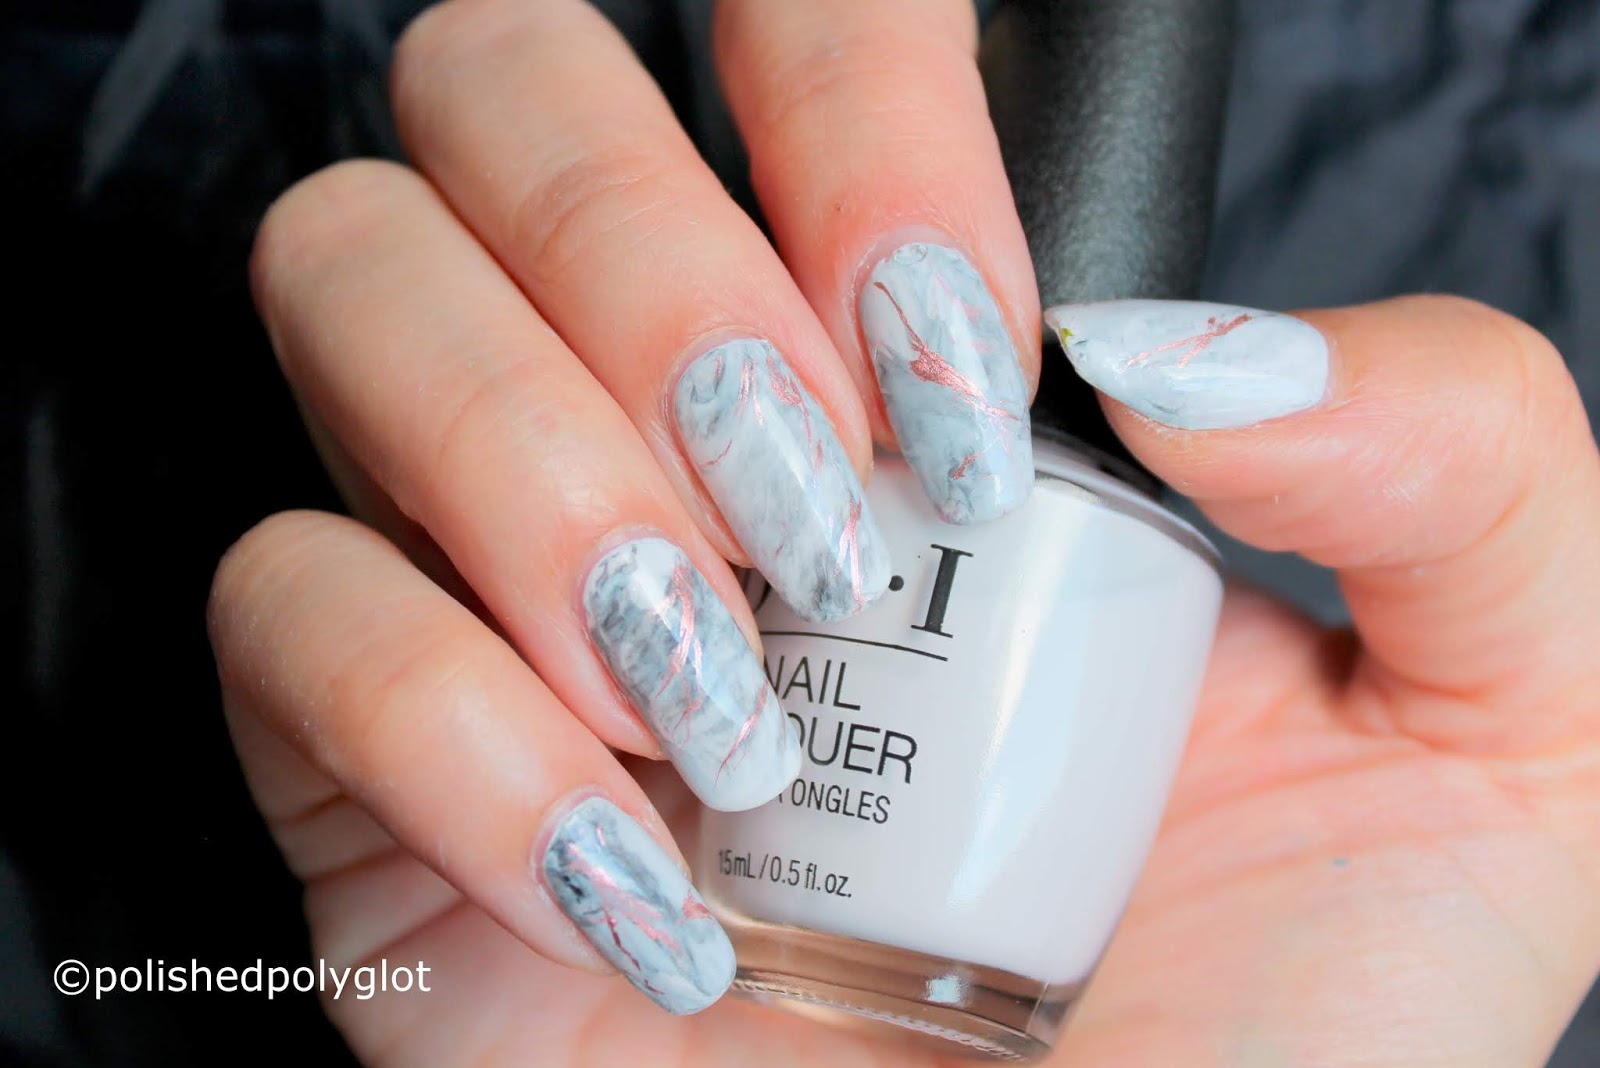
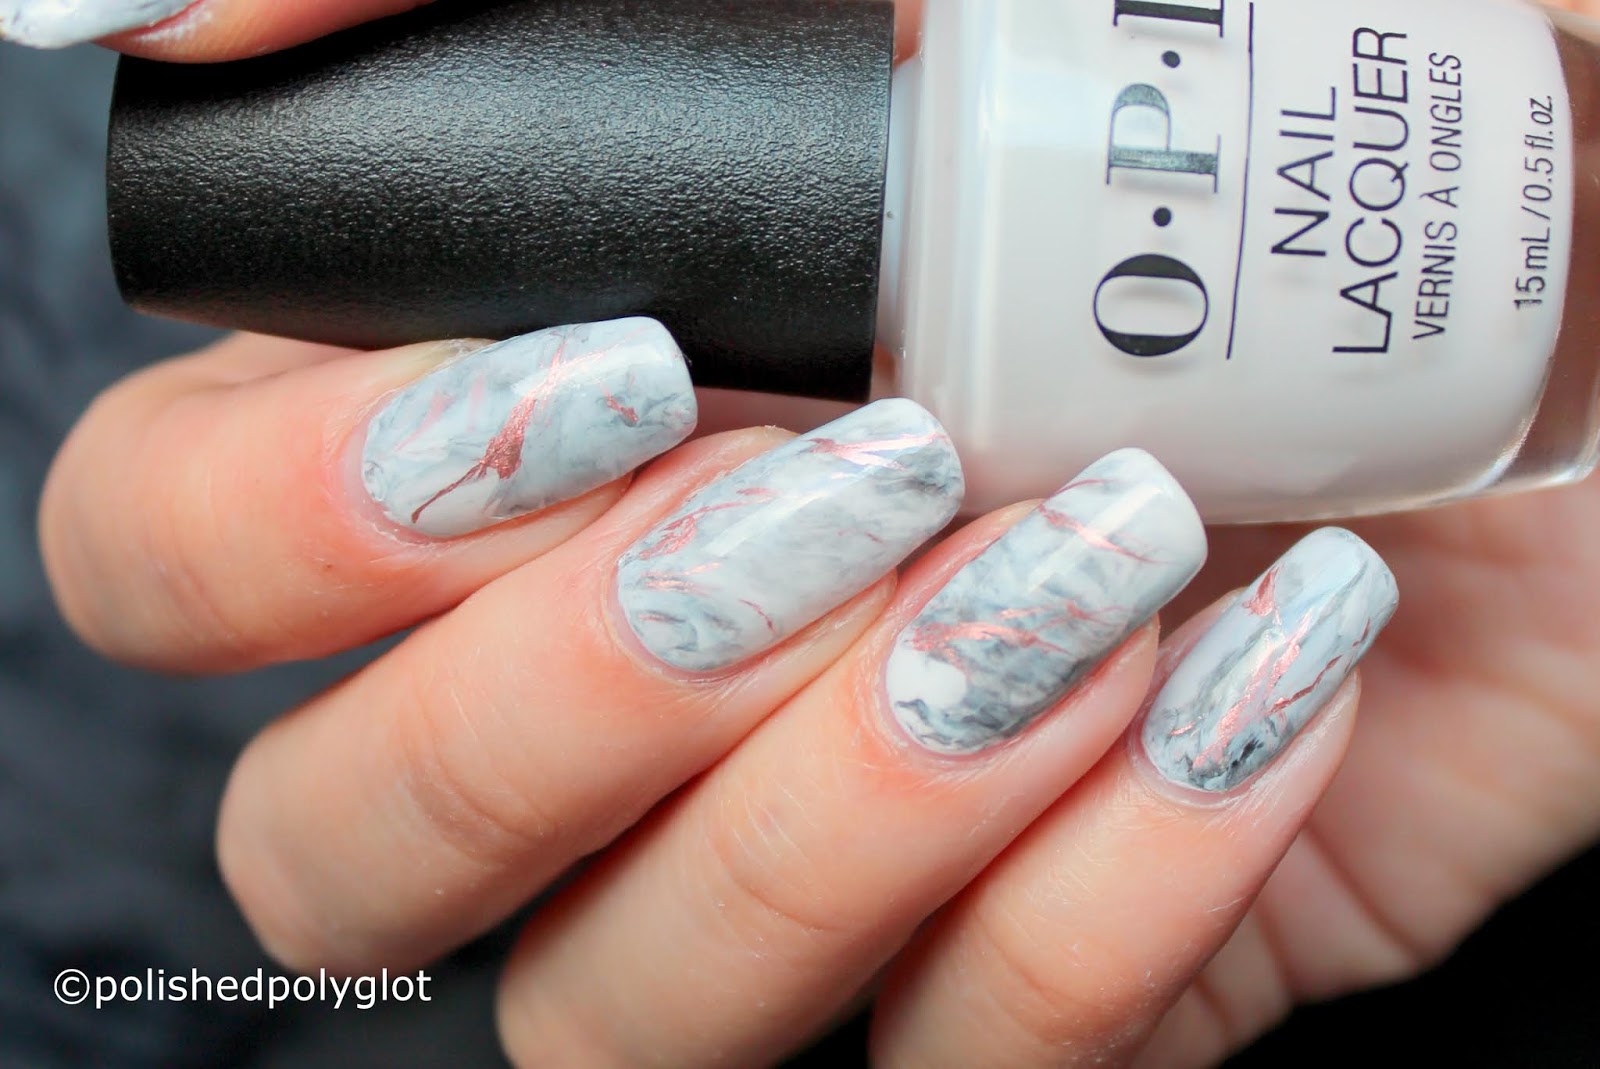
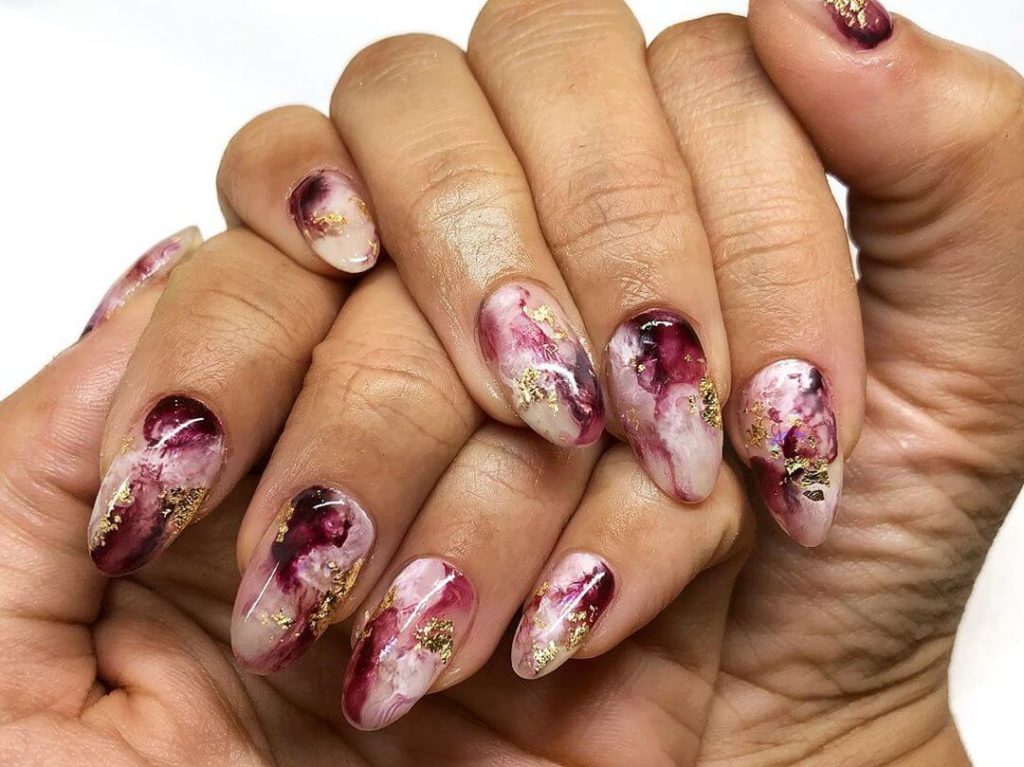
If you want to add a touch of sophistication to your silver nails, try out the silver and white marble nail art. This design mimics the natural swirls and patterns of marble, giving your nails a unique and elegant look. To achieve this design, start by painting your nails with a base coat of white polish. Once dry, use a thin nail brush to create random swirls and lines using silver nail polish. You can also use a toothpick or a small dotting tool to create smaller details. Finish off with a top coat to seal in the design.2. Silver and White Marble Nail Art


2. Silver and White Marble Nail Art


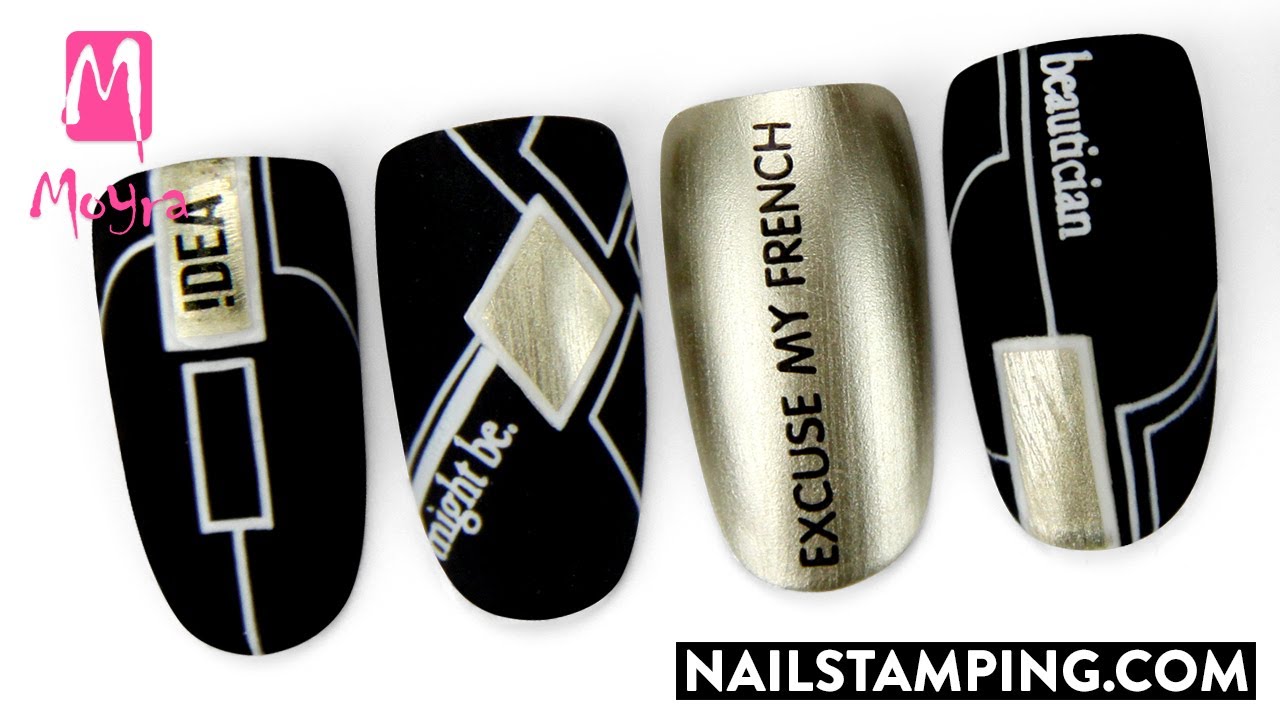
A simple yet stunning nail art design for silver nails is the silver foil design. This design adds a metallic and shiny touch to your nails, perfect for a night out or a special occasion. To achieve this look, start by painting your nails with a base coat of silver nail polish. Then, using a foil adhesive or clear top coat, apply small pieces of silver foil onto your nails. You can also use a toothpick to gently press down the foil and create a marbled effect. Finish with a top coat to seal in the design.3. Silver Foil Nail Art Design


3. Silver Foil Nail Art Design


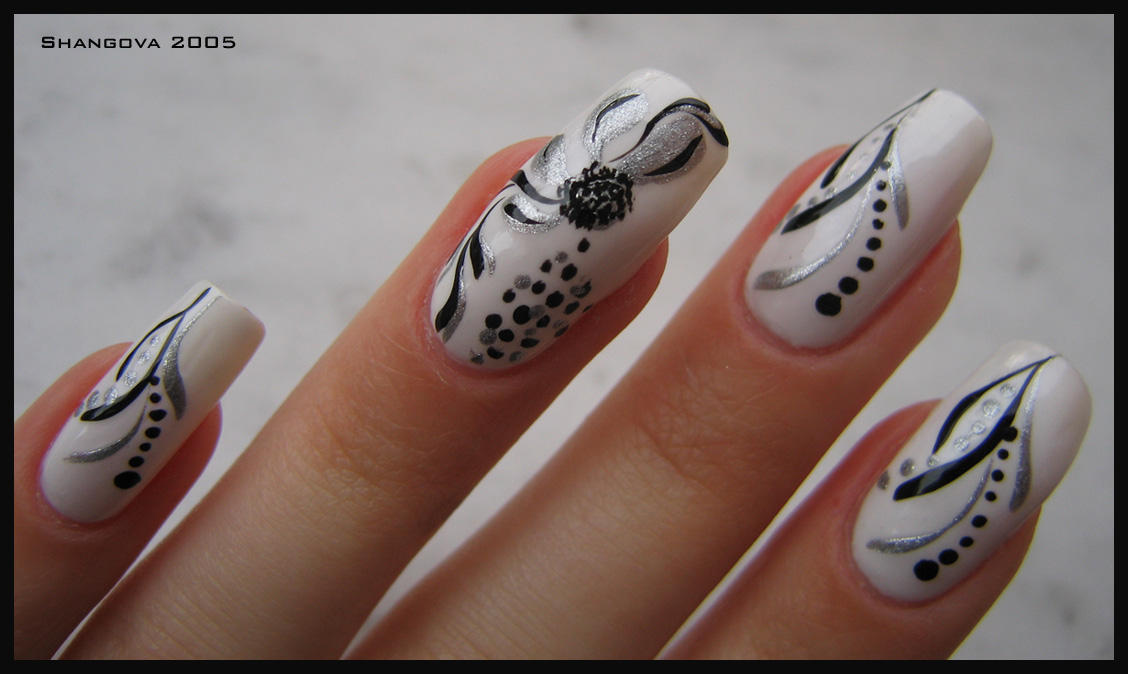


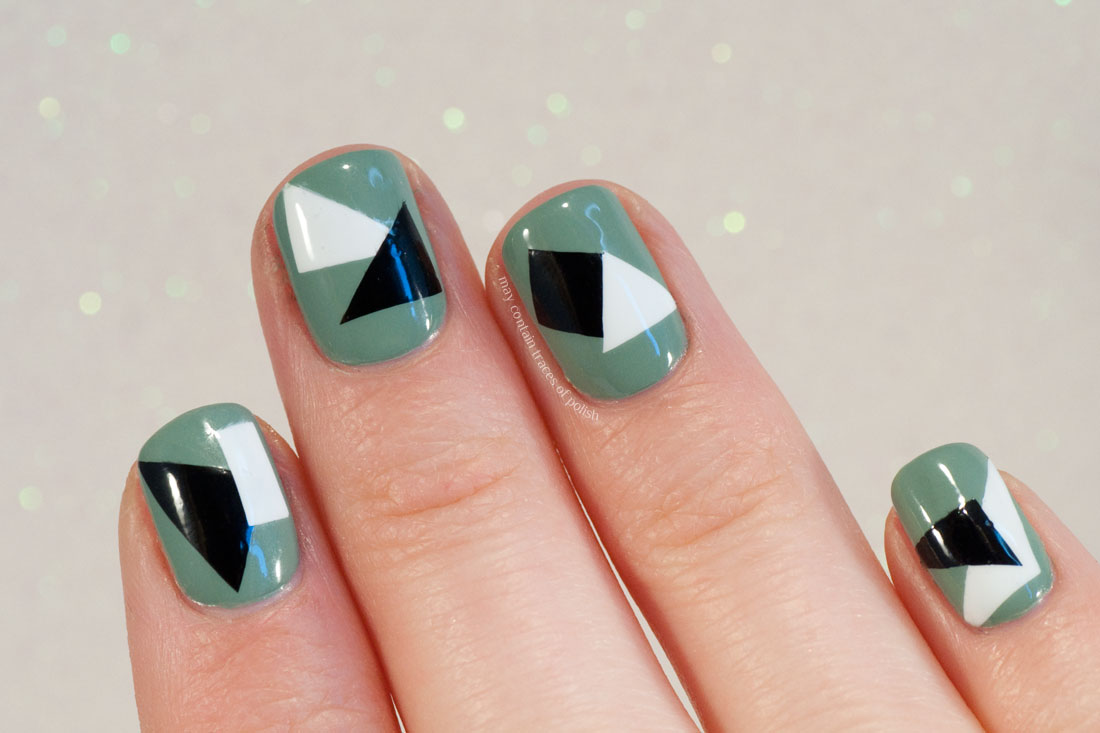
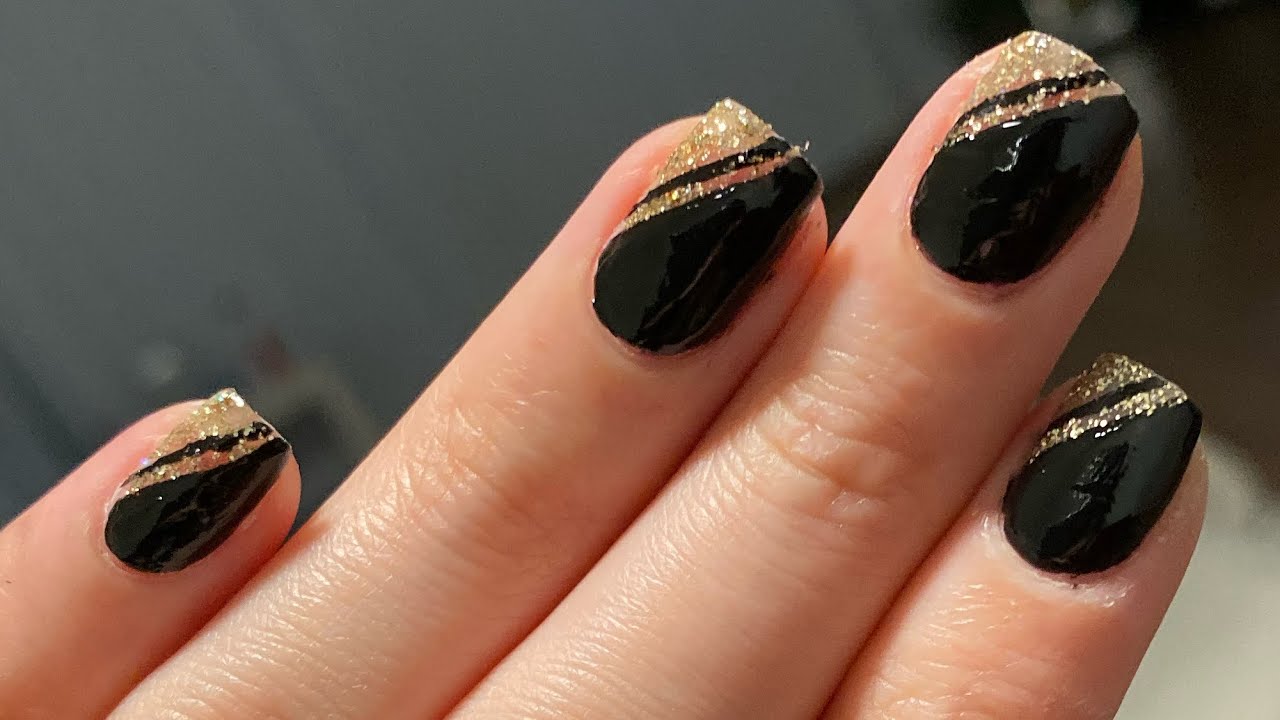
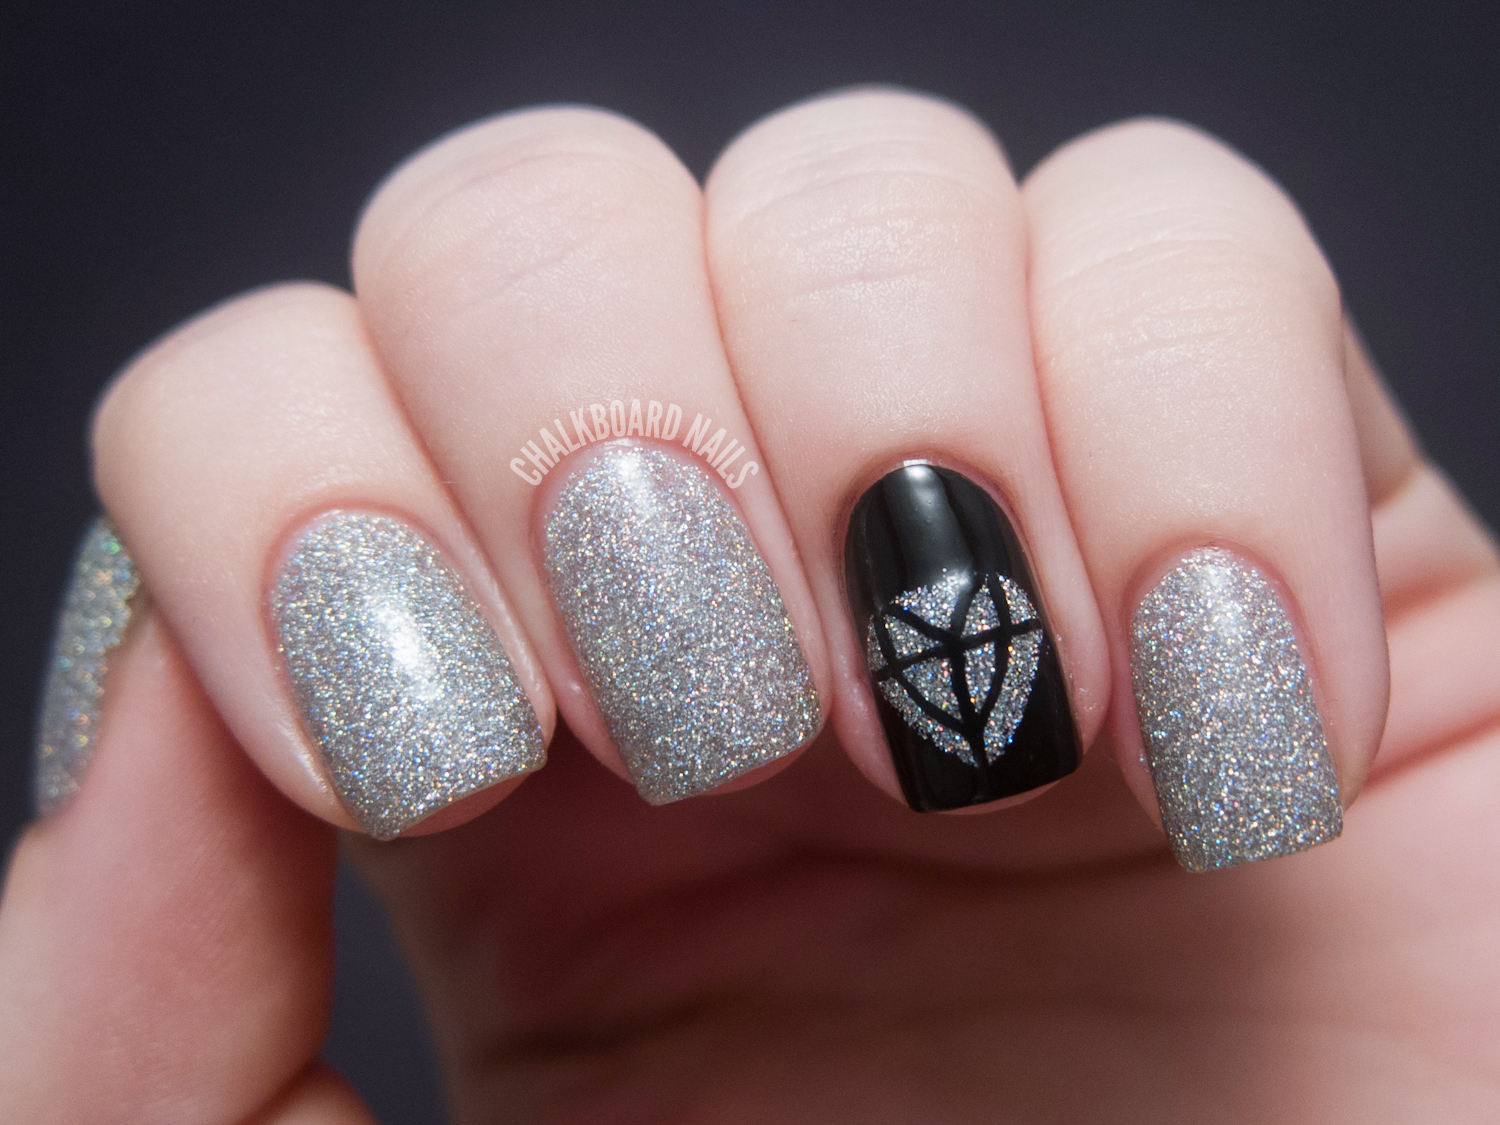
Add a modern and edgy touch to your silver nails with a geometric design. This design incorporates silver and black nail polish to create bold and sharp lines, perfect for those who love a statement nail. To achieve this look, start by painting your nails with a base coat of silver polish. Then, using a thin nail brush, create geometric shapes and lines using black nail polish. You can also use tape or stickers to create clean lines. Finish with a top coat to seal in the design.4. Silver and Black Geometric Nail Art


4. Silver and Black Geometric Nail Art


Add a touch of femininity to your silver nails with a floral design. This design combines silver and pink nail polish to create delicate and pretty flowers on your nails. To achieve this look, start by painting your nails with a base coat of silver polish. Then, using a thin nail brush, create small flower petals using pink nail polish. You can also use a dotting tool to create the center of the flowers. Finish with a top coat to seal in the design.5. Silver and Pink Floral Nail Art


5. Silver and Pink Floral Nail Art


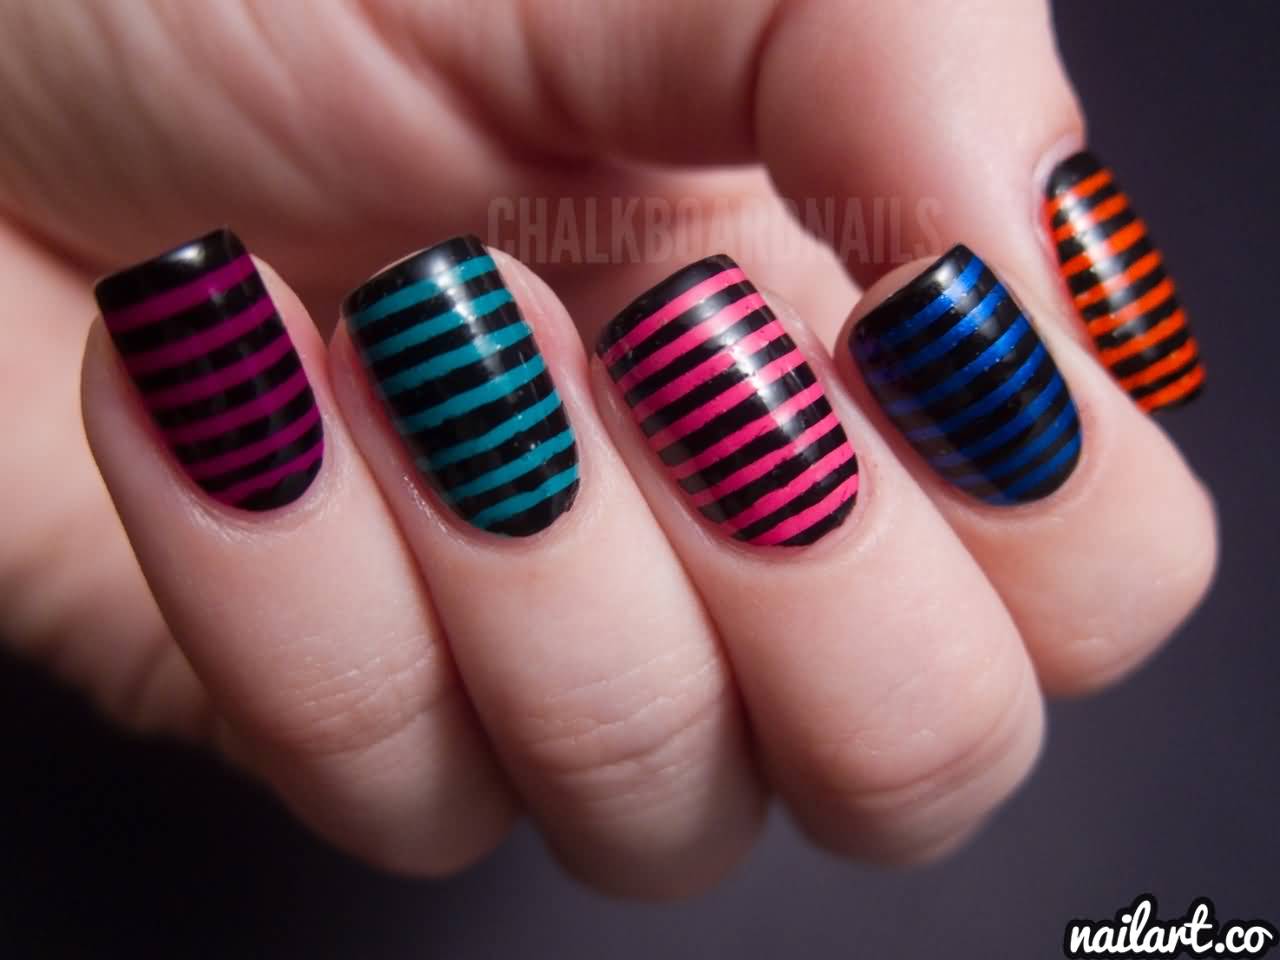
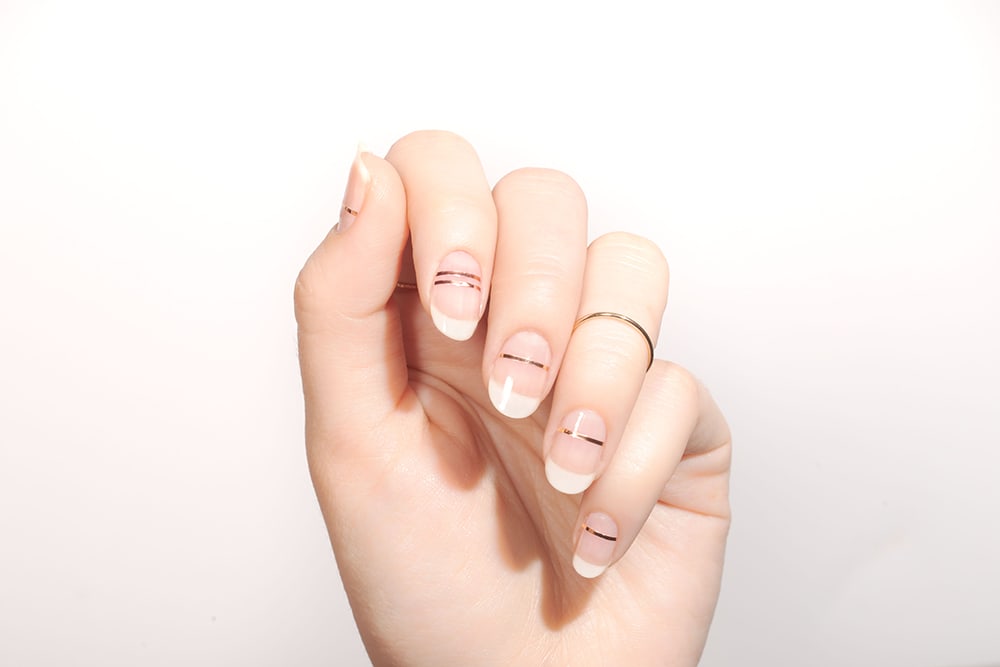
For a luxurious and eye-catching design, try out the silver and gold striped nail art. This design incorporates silver and gold nail polish to create bold and glamorous stripes on your nails. To achieve this look, start by painting your nails with a base coat of silver polish. Then, using a thin nail brush or striping tape, create horizontal or vertical stripes using gold nail polish. Finish with a top coat to seal in the design.6. Silver and Gold Striped Nail Art

6. Silver and Gold Striped Nail Art


For those who love a cosmic and dreamy look, the silver and blue galaxy nail art is the perfect design. This design incorporates silver and blue nail polish to create a swirling and starry effect on your nails. To achieve this look, start by painting your nails with a base coat of silver polish. Then, using a makeup sponge, gently dab on blue nail polish in different areas on your nails. You can also add small dots of silver glitter polish to mimic stars. Finish with a top coat to seal in the design.7. Silver and Blue Galaxy Nail Art

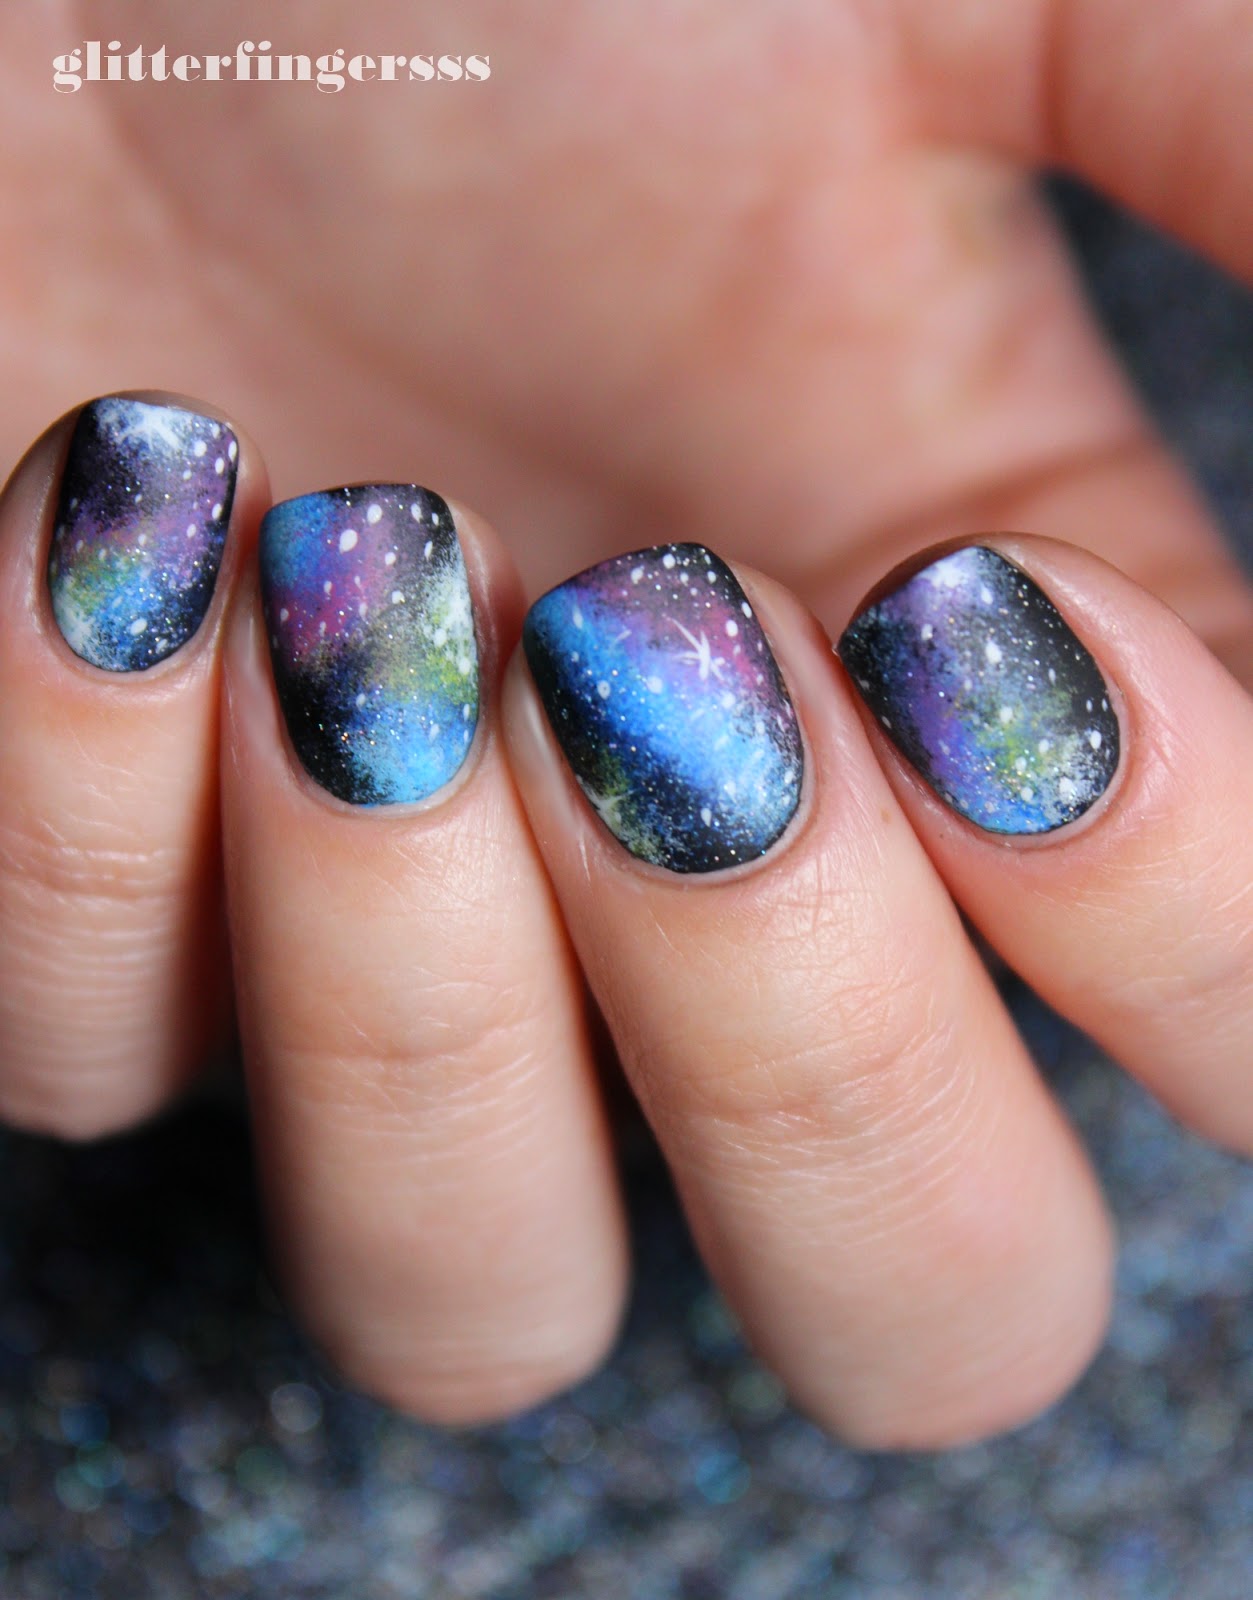

7. Silver and Blue Galaxy Nail Art


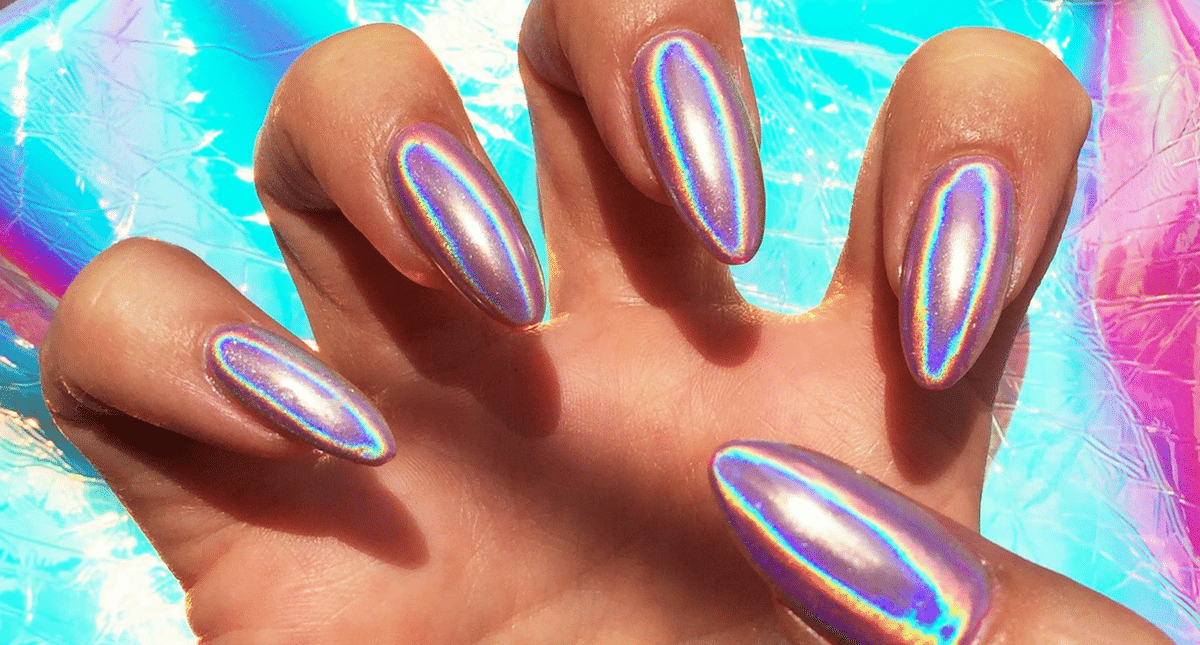
Add a futuristic and holographic touch to your silver nails with the silver and purple holographic nail art. This design combines silver and purple nail polish to create a mesmerizing and multidimensional effect on your nails. To achieve this look, start by painting your nails with a base coat of silver polish. Then, using a holographic nail polish or top coat, create a gradient effect by applying more polish towards the tips of your nails. Finish with a top coat to seal in the design.8. Silver and Purple Holographic Nail Art


8. Silver and Purple Holographic Nail Art


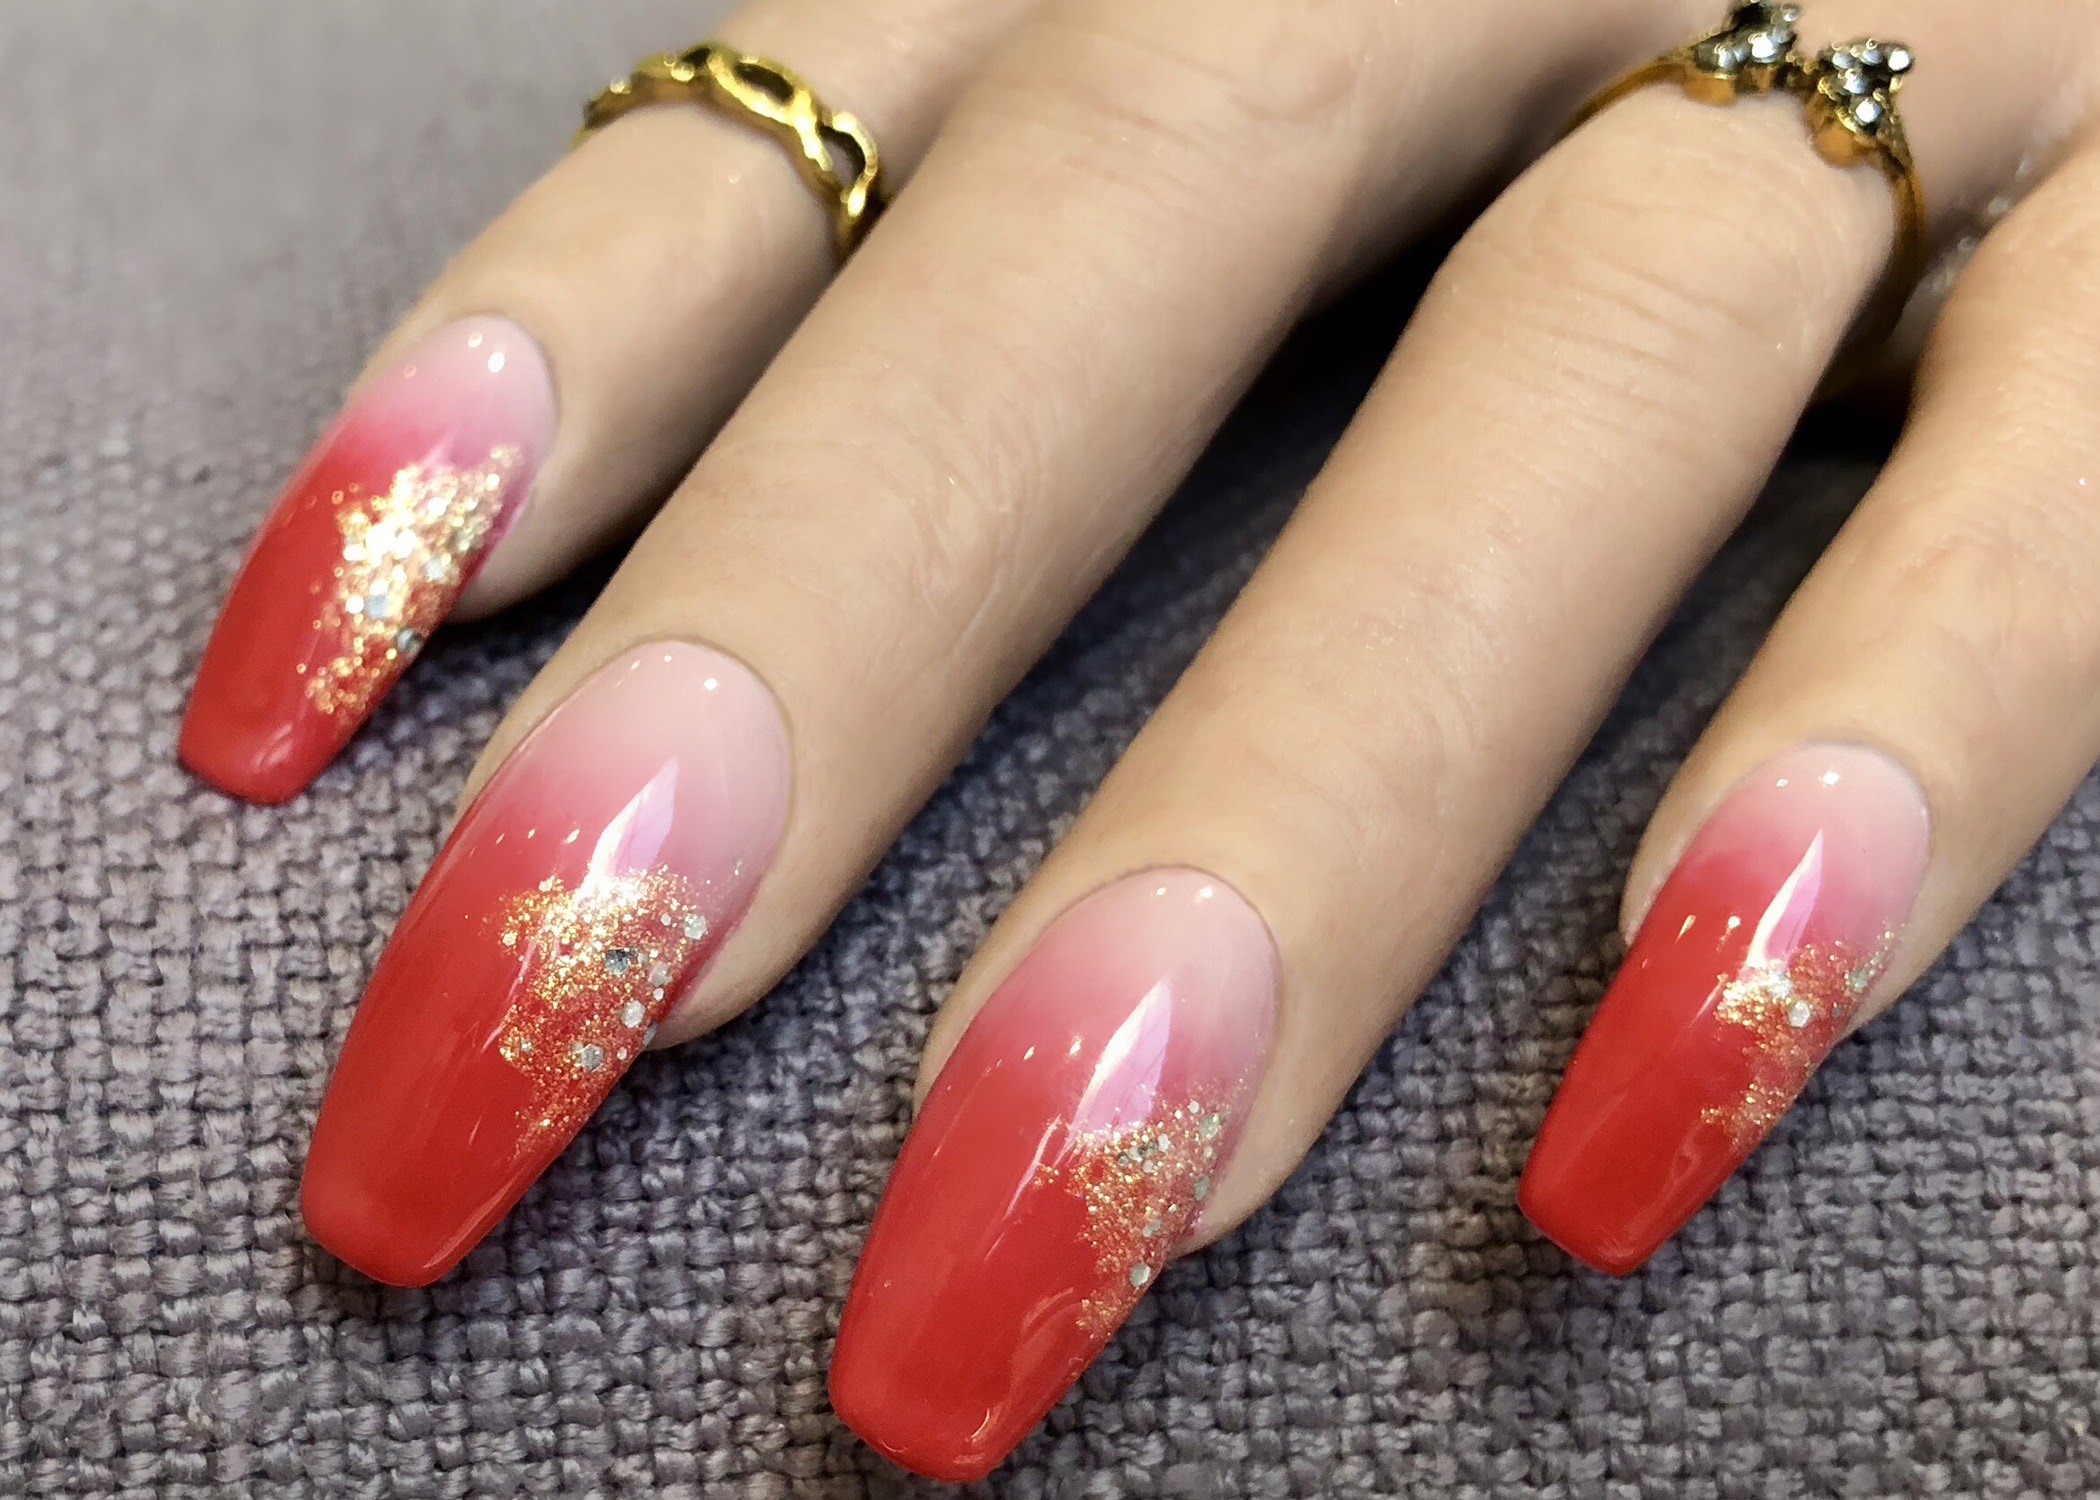
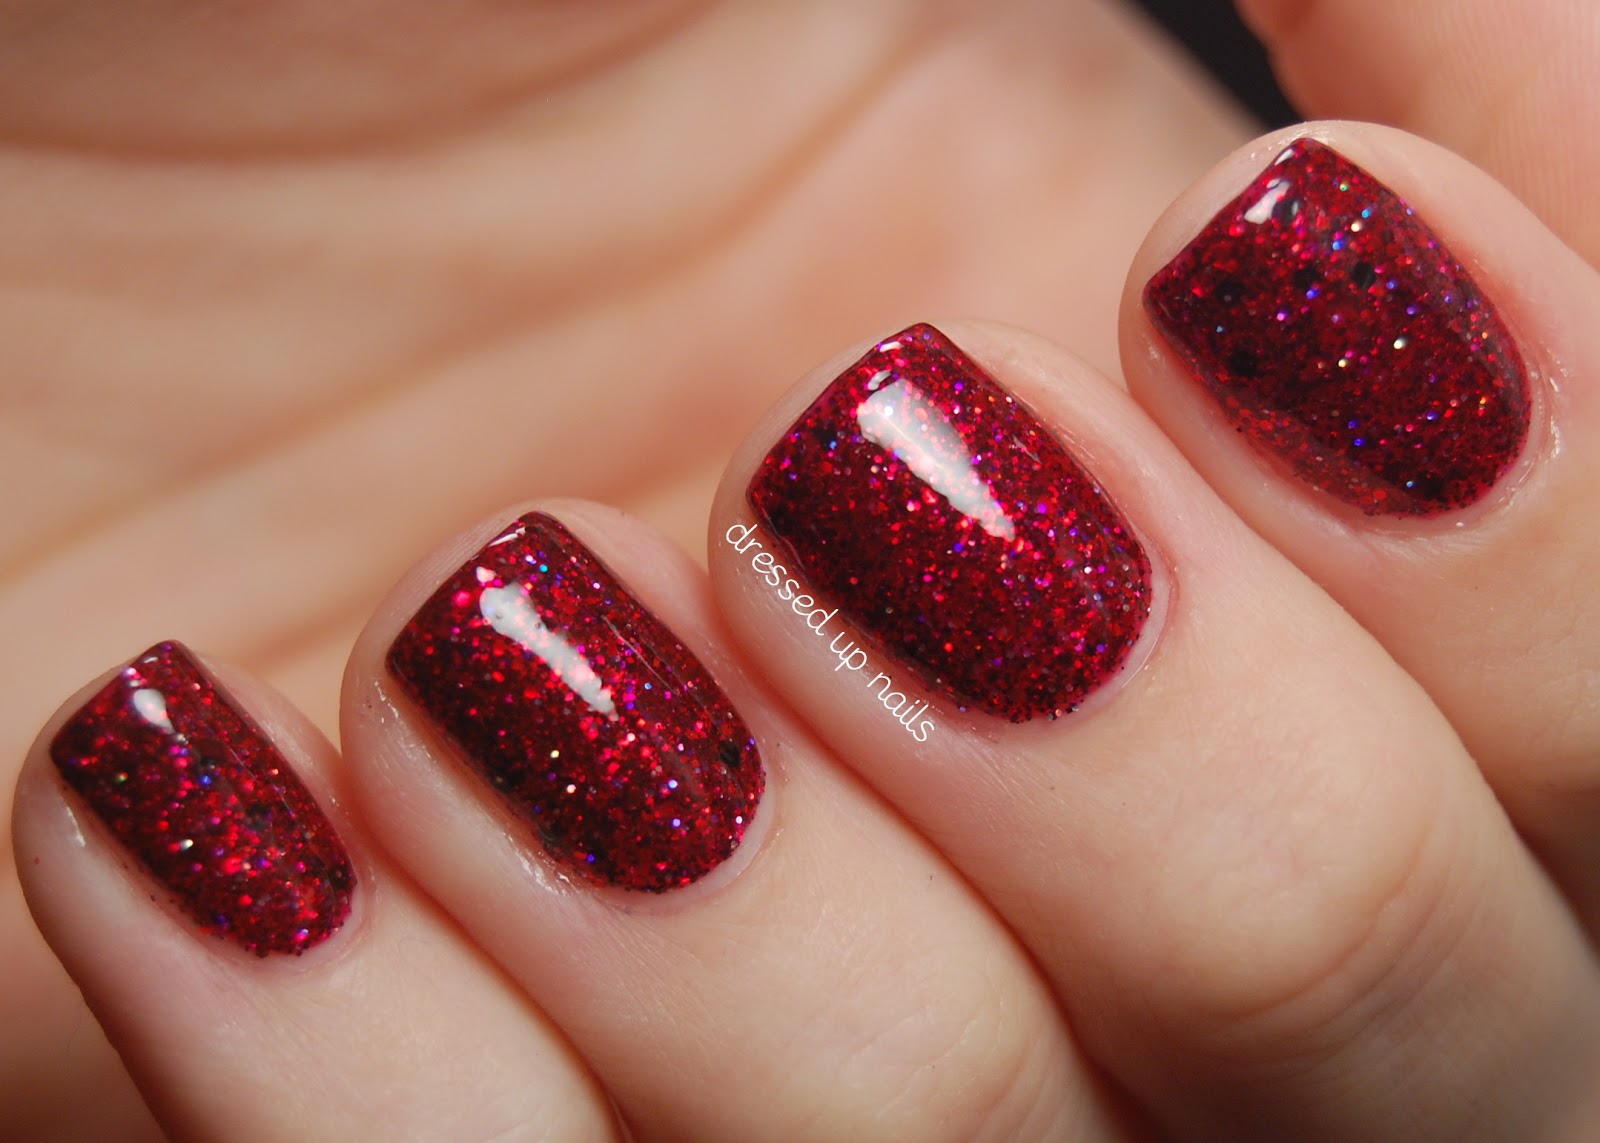
For a glamorous and bold look, try out the silver and red glitter fade nail art. This design combines silver and red nail polish to create a sparkly and eye-catching gradient effect on your nails. To achieve this look, start by painting your nails with a base coat of silver polish. Then, using a makeup sponge, gently dab on red glitter polish from the tips of your nails towards the middle. Continue to layer the glitter until you achieve your desired fade. Finish with a top coat to seal in the design.9. Silver and Red Glitter Fade Nail Art

9. Silver and Red Glitter Fade Nail Art


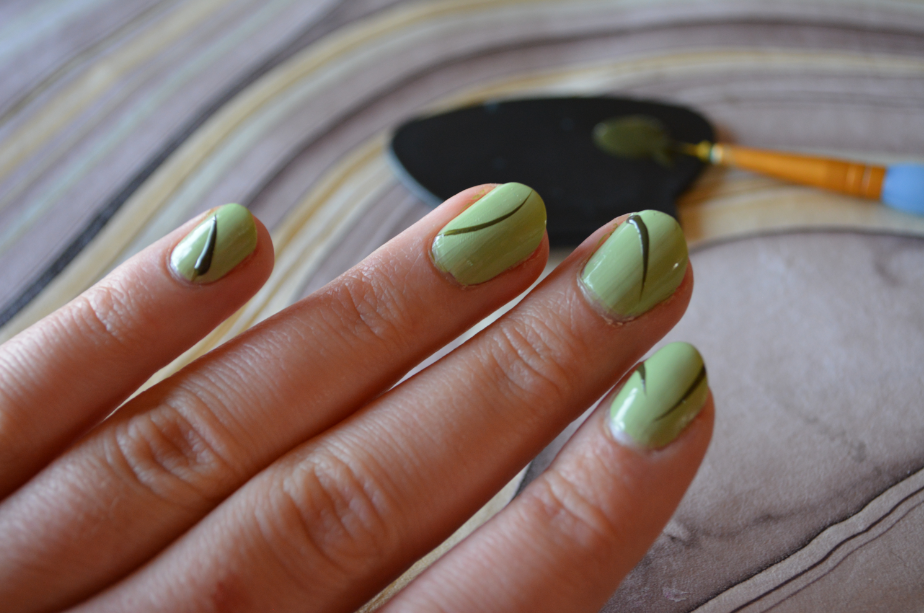
Add a touch of nature and elegance to your silver nails with the silver and green leaf nail art. This design incorporates silver and green nail polish to create delicate and intricate leaf designs on your nails. To achieve this look, start by painting your nails with a base coat of silver polish. Then, using a thin nail brush, create small leaf shapes using green nail polish. You can also use a dotting tool to create the veins of the leaves. Finish with a top coat to seal in the design.10. Silver and Green Leaf Nail Art
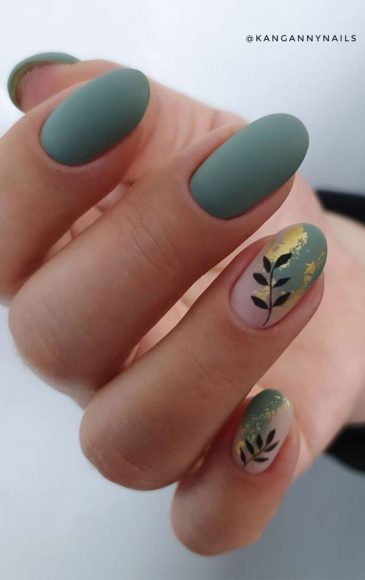


10. Silver and Green Leaf Nail Art


The Latest Trend in Nail Art: Silver Nails
Unleashing Your Creativity with Silver Nail Art Designs
 When it comes to nail art, there are endless possibilities and designs to choose from. From intricate patterns to bold colors, nail art is a fun and creative way to express yourself through your nails. However, a trend that has taken the nail world by storm is silver nail art designs. This metallic hue adds a touch of elegance and sophistication to any nail look. Let's dive into the world of silver nails and explore some stunning nail art designs that will surely make a statement.
Silver nails have become increasingly popular due to their versatility and ability to complement any outfit or occasion. Whether you're attending a formal event or just looking to jazz up your everyday look, silver nails are the perfect choice. The reflective nature of silver adds a touch of glamour to your nails, making them stand out in the best way possible.
One of the most popular silver nail art designs is the silver glitter ombre. This design starts with a base of silver polish and gradually fades into a glittery finish towards the tips of the nails. This creates a dazzling effect that catches the light and is sure to turn heads. Another popular design is the silver foil nails. This involves applying a thin sheet of silver foil onto the nails, creating a sleek and metallic look. For those looking for a more subtle silver nail design, a simple silver accent nail paired with a neutral base color is a great option.
What makes silver nails even more appealing is that they can be easily paired with other nail art techniques, such as marble or floral designs. The contrast between the silver and other colors creates a stunning and eye-catching look. Silver can also be used as a base color to create intricate designs, such as geometric patterns or negative space designs. The possibilities are endless when it comes to silver nail art.
In conclusion, silver nail art designs are the latest trend in the nail world, and for good reason. They add a touch of elegance and glamour to any look and can be easily incorporated into various designs. So why not unleash your creativity and give silver nails a try? You'll be sure to make a statement with this stunning trend.
When it comes to nail art, there are endless possibilities and designs to choose from. From intricate patterns to bold colors, nail art is a fun and creative way to express yourself through your nails. However, a trend that has taken the nail world by storm is silver nail art designs. This metallic hue adds a touch of elegance and sophistication to any nail look. Let's dive into the world of silver nails and explore some stunning nail art designs that will surely make a statement.
Silver nails have become increasingly popular due to their versatility and ability to complement any outfit or occasion. Whether you're attending a formal event or just looking to jazz up your everyday look, silver nails are the perfect choice. The reflective nature of silver adds a touch of glamour to your nails, making them stand out in the best way possible.
One of the most popular silver nail art designs is the silver glitter ombre. This design starts with a base of silver polish and gradually fades into a glittery finish towards the tips of the nails. This creates a dazzling effect that catches the light and is sure to turn heads. Another popular design is the silver foil nails. This involves applying a thin sheet of silver foil onto the nails, creating a sleek and metallic look. For those looking for a more subtle silver nail design, a simple silver accent nail paired with a neutral base color is a great option.
What makes silver nails even more appealing is that they can be easily paired with other nail art techniques, such as marble or floral designs. The contrast between the silver and other colors creates a stunning and eye-catching look. Silver can also be used as a base color to create intricate designs, such as geometric patterns or negative space designs. The possibilities are endless when it comes to silver nail art.
In conclusion, silver nail art designs are the latest trend in the nail world, and for good reason. They add a touch of elegance and glamour to any look and can be easily incorporated into various designs. So why not unleash your creativity and give silver nails a try? You'll be sure to make a statement with this stunning trend.


