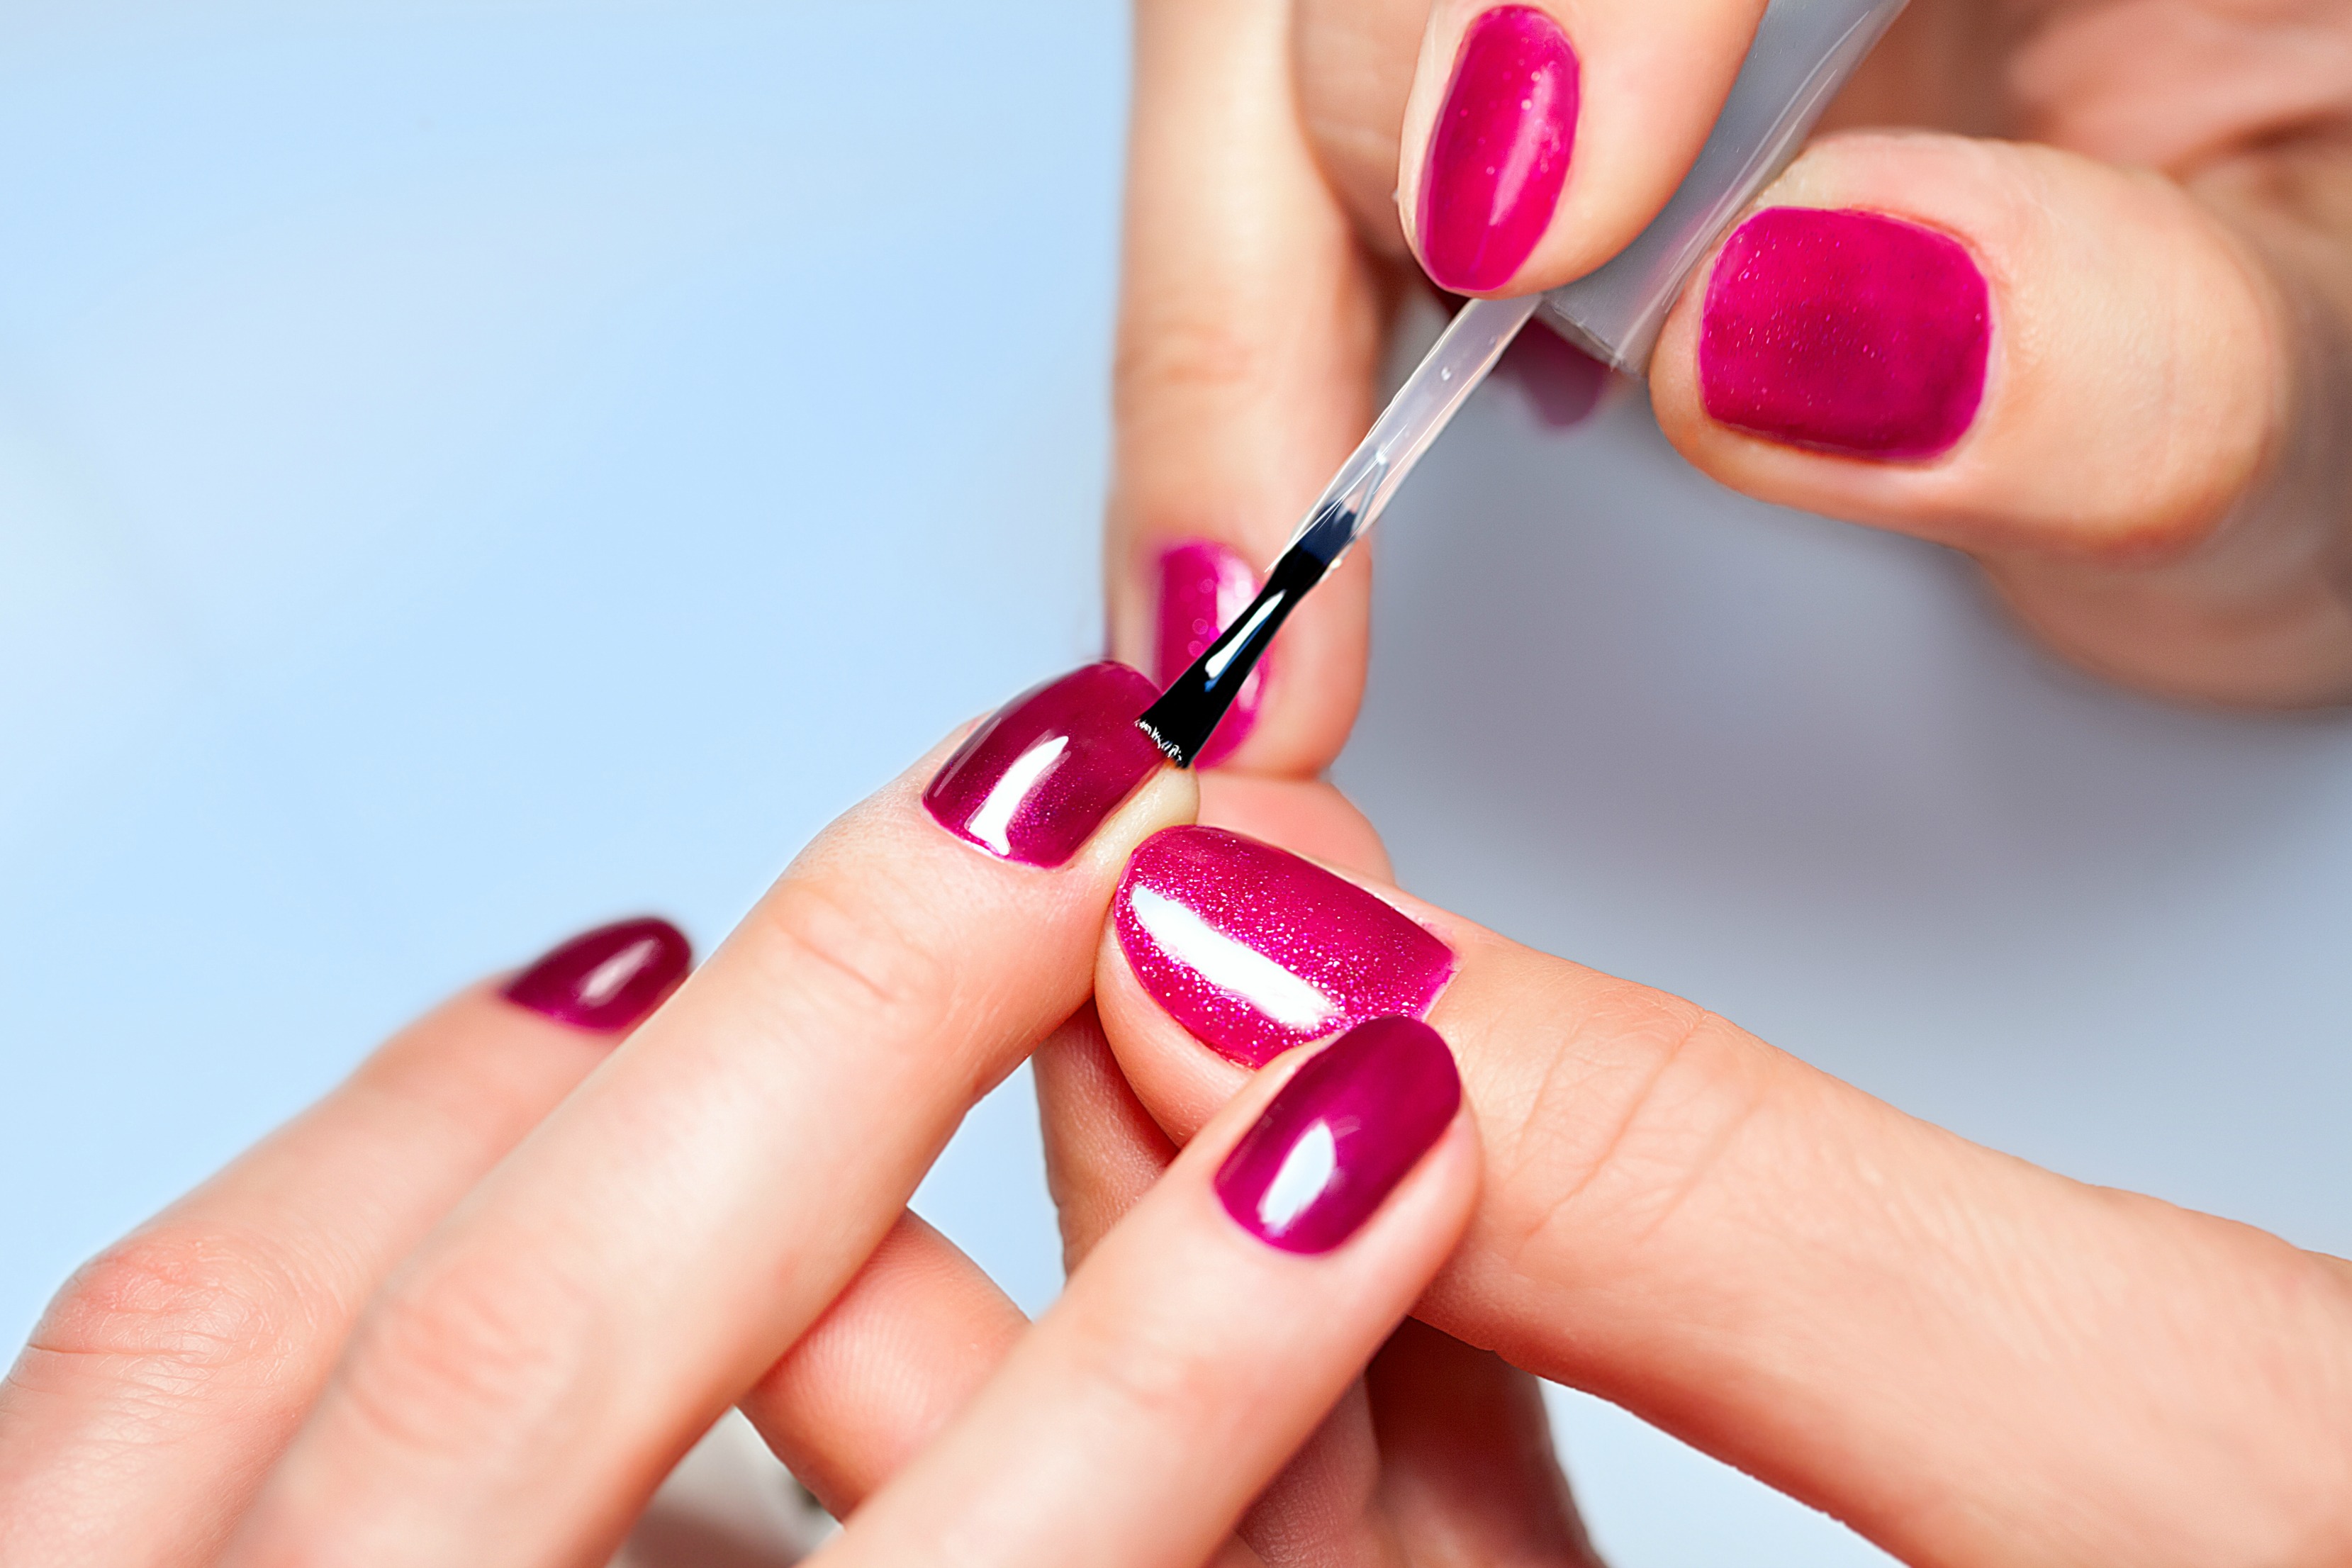
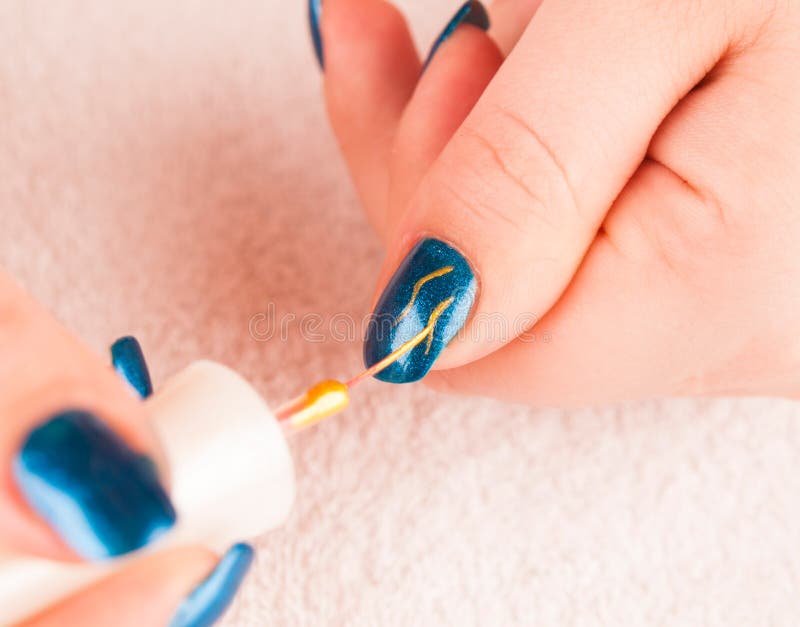
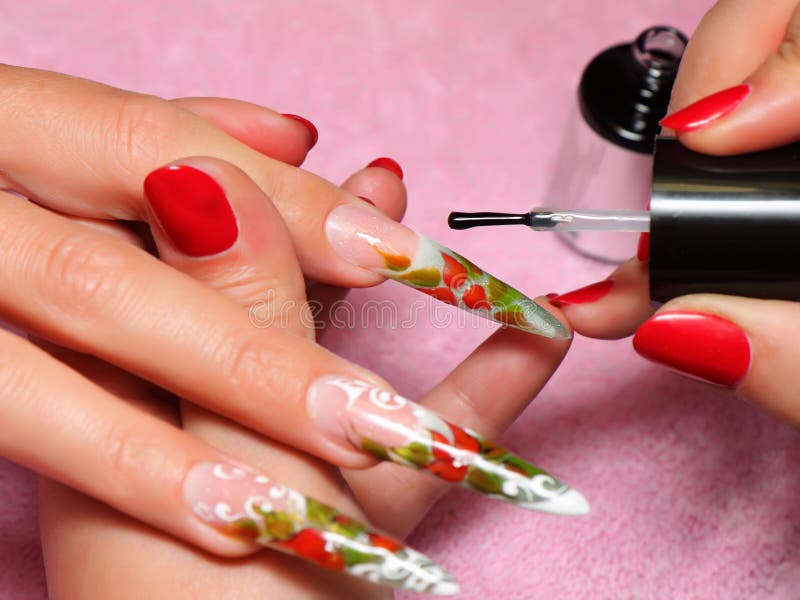
Doing your own nail art at home can be a fun and creative way to express yourself. However, the process of creating nail art designs can seem daunting, especially for beginners. But fear not, we have put together a step by step guide to help you through the process and achieve stunning nail art designs. First and foremost, it is important to have a clean and organized workspace with all the necessary tools and products before you begin. This will make the process smoother and more enjoyable. Now let's get started with the steps: Step 1: Prep your nails The key to a long-lasting nail art design is proper nail prep. Start by removing any old nail polish and shaping your nails with a file. Then, gently push back your cuticles using a cuticle pusher or a wooden stick. This will create a clean canvas for your design and prevent any chipping or peeling. Step 2: Apply a base coat Before you begin painting, it is important to apply a base coat to protect your nails from any staining. This will also help your nail polish adhere better and last longer. Step 3: Choose your design Now comes the fun part – choosing your nail art design. You can get inspiration from social media, magazines, or even create your own unique design. Don't be afraid to experiment with different colors, patterns, and techniques. Step 4: Gather your tools Having the right tools is crucial for creating a flawless nail art design. Some must-have tools include a dotting tool, nail art brush, striping tape, and a clean-up brush. These tools will help you achieve precise lines and intricate details. Step 5: Start painting Now it's time to bring your design to life. Using a steady hand, carefully paint your chosen design onto your nails. You may need to use multiple coats to achieve the desired opacity. Step 6: Add details To add dimension and interest to your design, you can use different techniques such as layering, gradient, or stamping. This is where your creativity can shine, so don't be afraid to experiment. Step 7: Clean up After you have finished painting, it's time to clean up any mistakes or excess polish. Dip a clean-up brush in acetone and carefully remove any polish that may have gotten on your skin or cuticles. Step 8: Seal the design To protect your nail art and make it last longer, apply a top coat over your design. This will also give your nails a glossy finish. Step 9: Let it dry Patience is key when it comes to letting your nail art dry. Depending on the design and the number of coats used, it can take anywhere from 10-30 minutes. Avoid touching or smudging your nails during this time. Step 10: Finish with cuticle oil After your nails are completely dry, finish off with a cuticle oil to nourish and moisturize your cuticles and give your nails a healthy shine.Step by Step Guide to Creating Nail Art Designs


Step by Step Guide to Creating Nail Art Designs


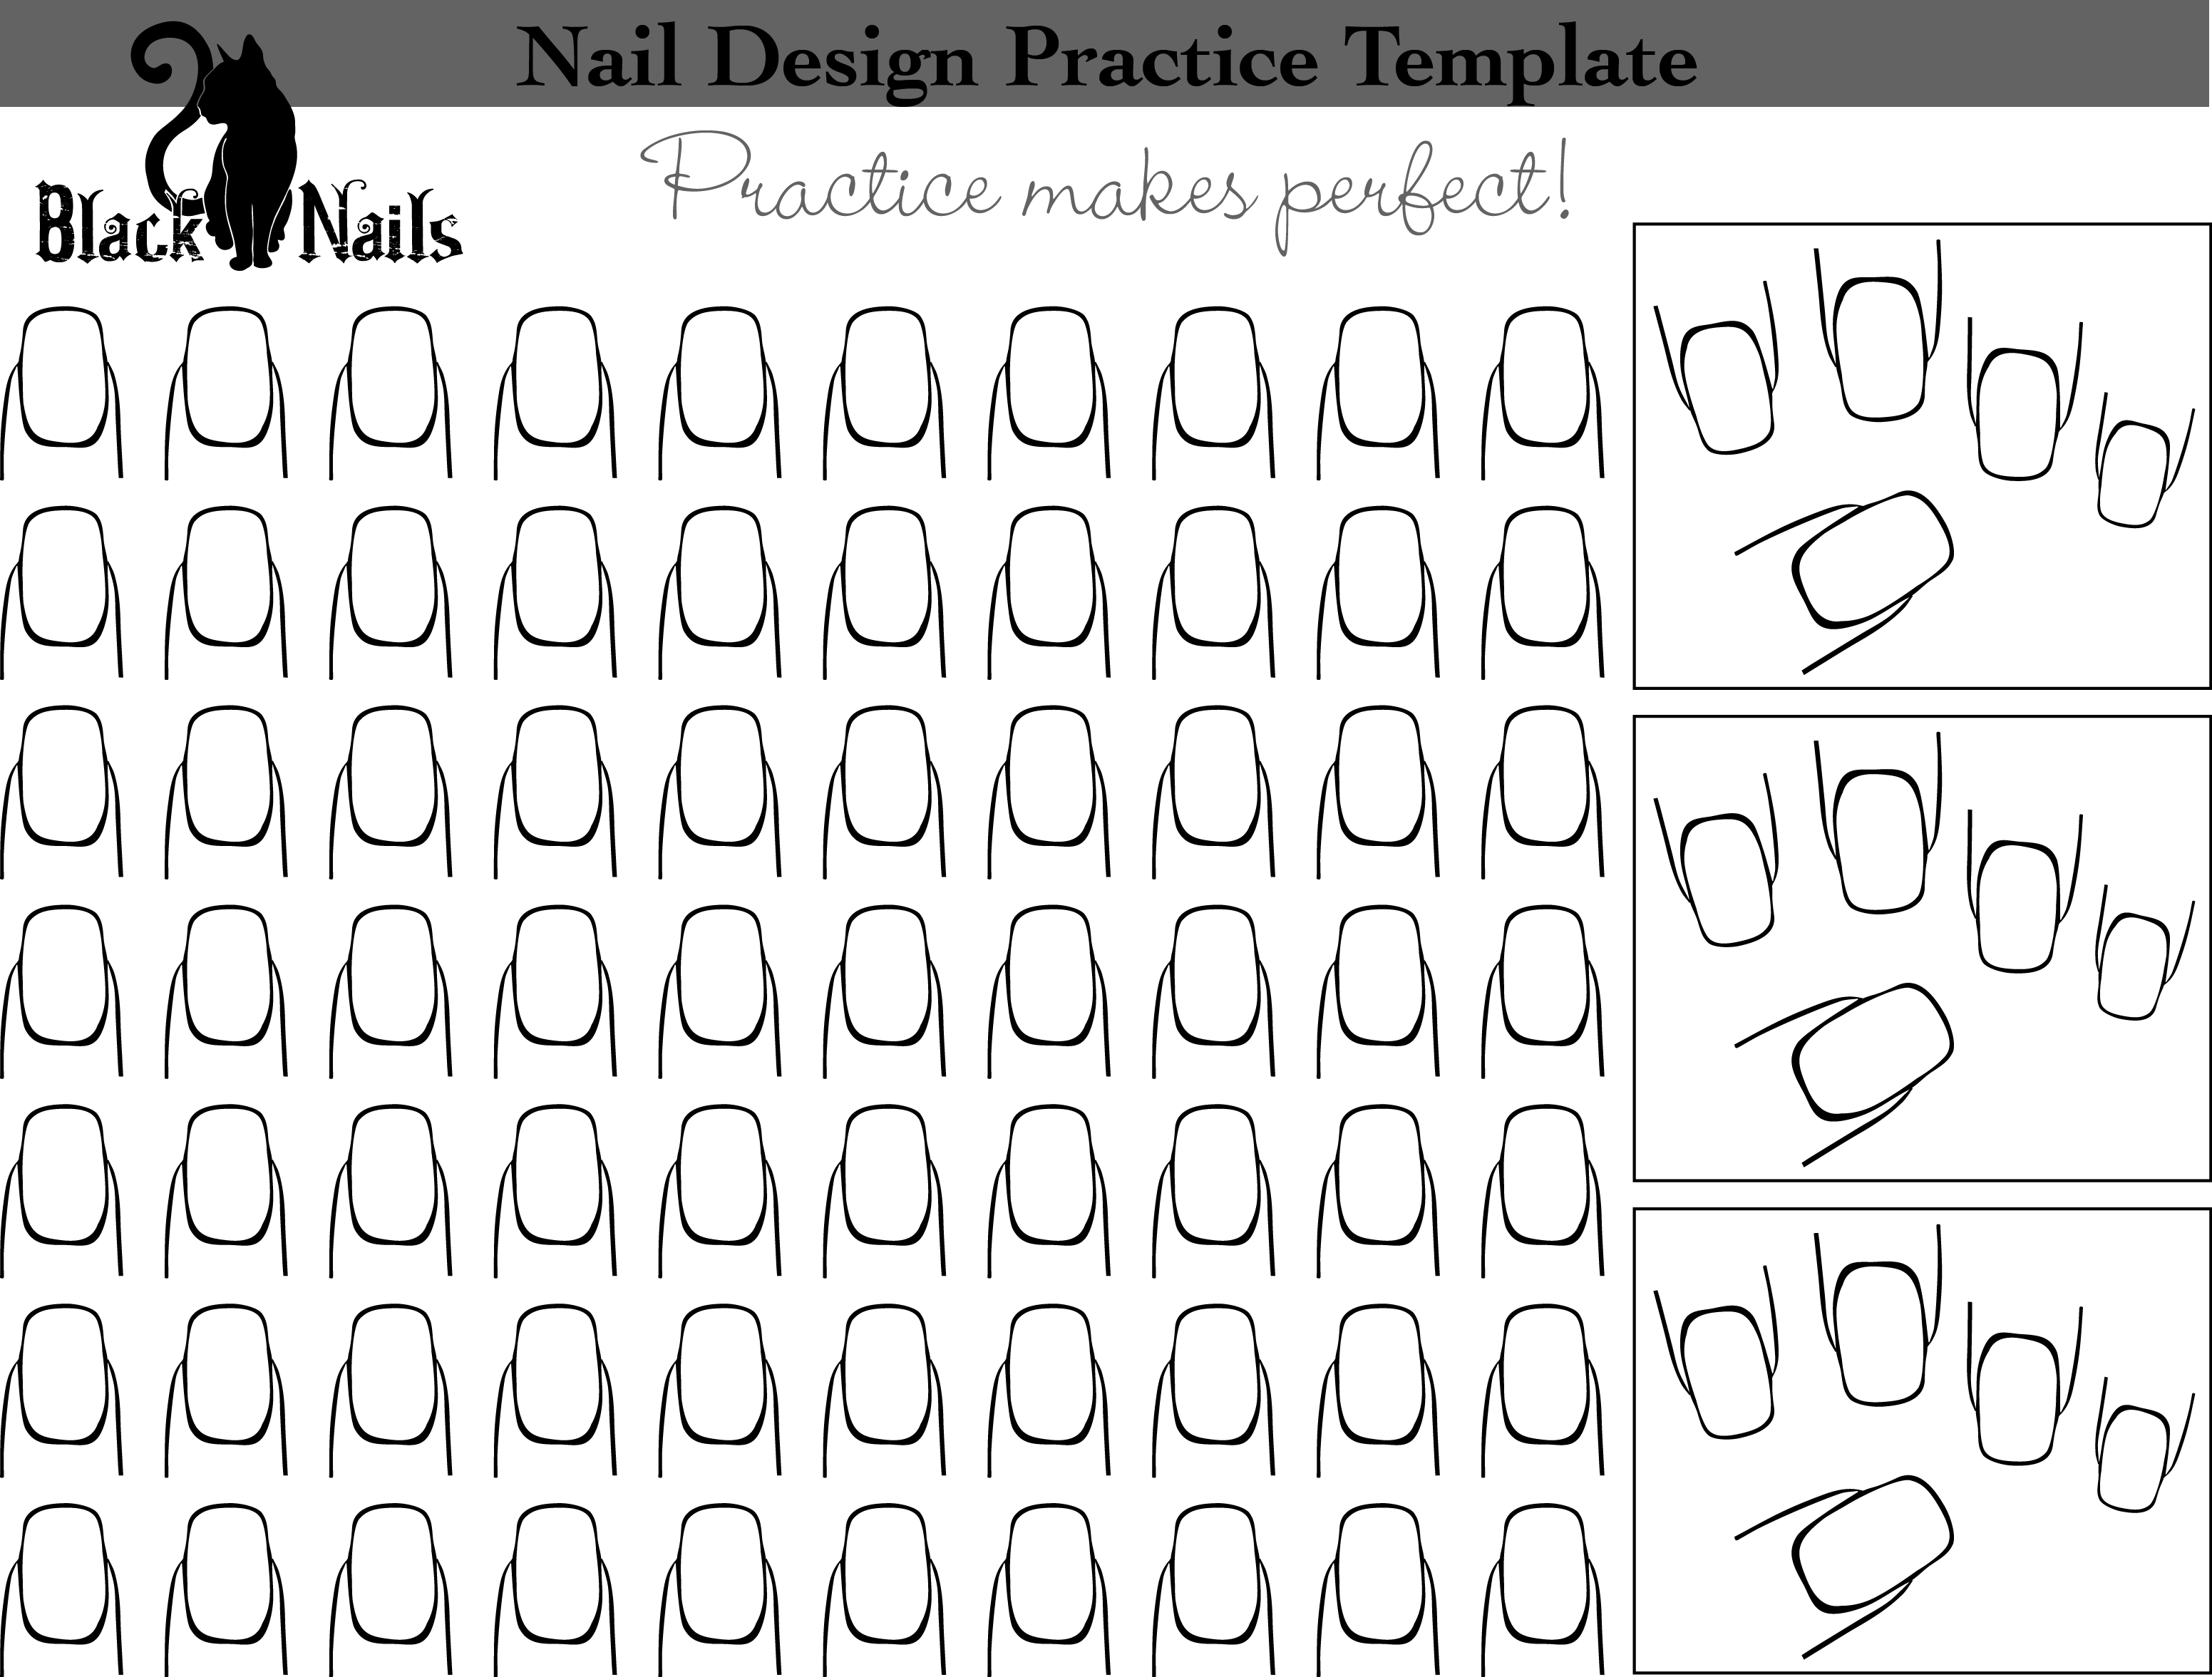
Now that you know the step by step guide to creating nail art designs, here are some tips and tricks to take your designs to the next level: 1. Keep your tools clean Make sure to clean your tools before and after each use to avoid any unwanted smudging or mixing of colors. This will also prevent bacteria from building up on your tools. 2. Use a white base To make your nail polish colors pop, start with a white base coat before applying your design. This will help the colors appear more vibrant and true to their shade. 3. Practice makes perfect Don't get discouraged if your first few attempts don't turn out the way you want. Nail art takes practice, so keep trying and experimenting with different techniques and designs. 4. Seal your design Applying a top coat not only protects your design but also helps smooth out any imperfections. It can also help hide any small mistakes you may have made. 5. Use a toothpick If you don't have a dotting tool, a toothpick can work just as well. Use the end of the toothpick to create small dots or lines in your design. 6. Don't forget about your non-dominant hand It can be challenging to paint your non-dominant hand, but practice makes perfect. Take your time and use a small brush to help with precision. 7. Get creative with colors Don't be afraid to mix and match different colors to create unique and eye-catching designs. You can also use different shades of the same color for a gradient effect. 8. Take care of your nails Healthy nails make for a better canvas for your nail art designs. Make sure to moisturize your hands and nails regularly to keep them strong and healthy. 9. Use tape for clean lines If you struggle with creating straight lines, you can use tape as a guide. Place the tape on your nails before painting, and once dry, carefully remove it for clean and precise lines. 10. Have fun! The most important tip is to have fun and express yourself through your designs. Nail art is all about creativity, so don't be afraid to try new things and let your imagination run wild!Nail Art Design Process: Tips and Tricks


Nail Art Design Process: Tips and Tricks


We cannot stress enough the importance of proper nail prep in the nail art design process. It is the foundation of a successful and long-lasting design. Here's why: 1. Prevents chipping and peeling Proper nail prep ensures that your nails are clean and free of any oils or residue. This allows the nail polish to adhere better and prevents any chipping or peeling. 2. Creates a smooth canvas Pushing back your cuticles and filing your nails creates a smooth surface for the nail polish to be applied. This helps your design to look neat and professional. 3. Protects your natural nails Using a base coat can help protect your natural nails from staining and damage caused by nail polish. It also creates a barrier between your nails and the nail polish, preventing them from becoming weak and brittle. 4. Enhances the design Proper nail prep can enhance the overall look of your design. It can make the colors appear more vibrant and the lines and details more precise. 5. Promotes healthy nails Taking care of your nails during the prep process can promote healthy nail growth. Pushing back your cuticles can also help prevent any infections or ingrown nails.The Importance of Proper Nail Prep in the Design Process

The Importance of Proper Nail Prep in the Design Process


To create beautiful and intricate nail art designs, you need the right tools. Here are 10 must-have tools for nail art design: 1. Dotting tool A dotting tool is essential for creating dots and small details in your designs. 2. Nail art brush A set of nail art brushes can help you achieve precise lines and details in your designs. 3. Striping tape Striping tape is great for creating straight lines and geometric patterns on your nails. 4. Clean-up brush A clean-up brush dipped in acetone can help fix any mistakes and clean up the edges of your design. 5. Nail polish remover It's always handy to have nail polish remover on hand for quick touch-ups and mistakes. 6. Cuticle pusher Pushing back your cuticles is an important step in the nail prep process. A cuticle pusher can help you do this safely and efficiently. 7. Nail file A nail file is essential for shaping your nails and smoothing out any rough edges. 8. Top and base coat A good top and base coat can protect your design and make it last longer. It can also help with the application of your nail polish. 9. Toothpick A toothpick can come in handy for creating small details and designs, especially if you don't have a dotting tool. 10. Cuticle oil Applying cuticle oil after your design is complete will nourish and moisturize your cuticles and nails.10 Must-Have Tools for Nail Art Design


10 Must-Have Tools for Nail Art Design


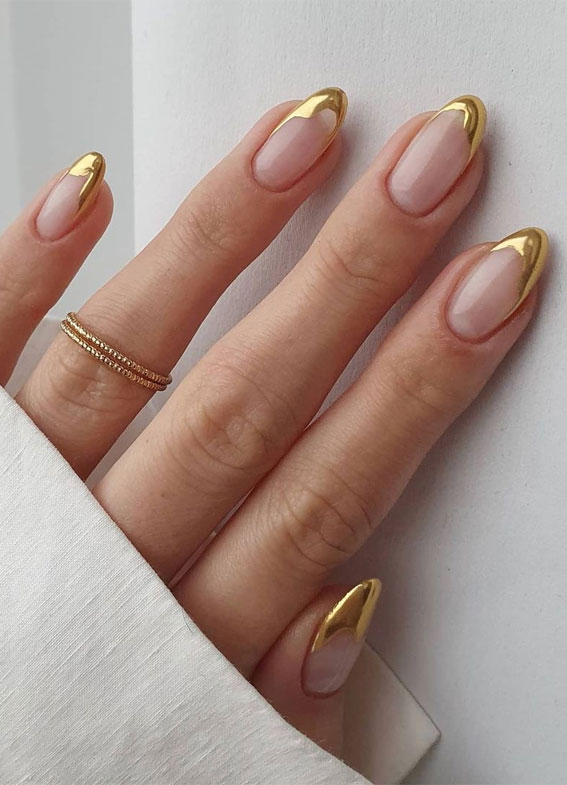
Nail art is a great way to add a touch of personality and style to any outfit or occasion. Here's how to choose the perfect nail art design for any occasion: 1. Consider the event The occasion you are attending will play a significant role in choosing your nail art design. Is it a formal event? A party? A casual day out? Consider the dress code and theme of the event before choosing your design. 2. Match your outfit You can choose to match your nail art to your outfit or use complementary colors to make your nails stand out. 3. Take inspiration from the season For holidays and special occasions, you can take inspiration from the season. For example, floral designs for spring or festive designs for Christmas. 4. Consider your personal style Your nail art should reflect your personal style and preferences. Choose a design that you feel comfortable and confident wearing. 5. Experiment with different techniques Don't be afraid to try new techniques and designs. You may be surprised at the results and find a new favorite design.How to Choose the Perfect Nail Art Design for Any Occasion


How to Choose the Perfect Nail Art Design for Any Occasion

Nail art has been around for centuries, and it has come a long way from its early days. Here's a brief history of the evolution of nail art: Ancient Times The earliest form of nail art can be traced back to ancient civilizations such as Egypt and China. Women would use natural dyes such as henna to decorate their nails. 1800s In the 1800s, women started using tinted oils and creams to give their nails a glossy look. They also used cuticle oils to promote healthy nail growth. 20th Century In the early 20th century, the first nail polish was created, and the trend of painting nails began. In the 1930s, the half-moon manicure became popular, and women would paint the bottom half of their nails with a different color. 1960s In the 1960s, the French manicure was invented, and it quickly became a popular trend that is still popular today. 1980s The 1980s saw the rise of bold and colorful nail designs, with nail art becoming more mainstream. 21st Century In the 21st century, nail art has become more creative and diverse, with the introduction of new techniques and tools. From ombre and marble designs to 3D nail art, the possibilities are endless. Modern Trends Today, nail art has become a form of self-expression and art. People of all ages and genders are experimenting with different colors, patterns, and techniques to create unique and eye-catching designs.The Evolution of Nail Art: From Ancient Times to Modern Trends

The Evolution of Nail Art: From Ancient Times to Modern Trends

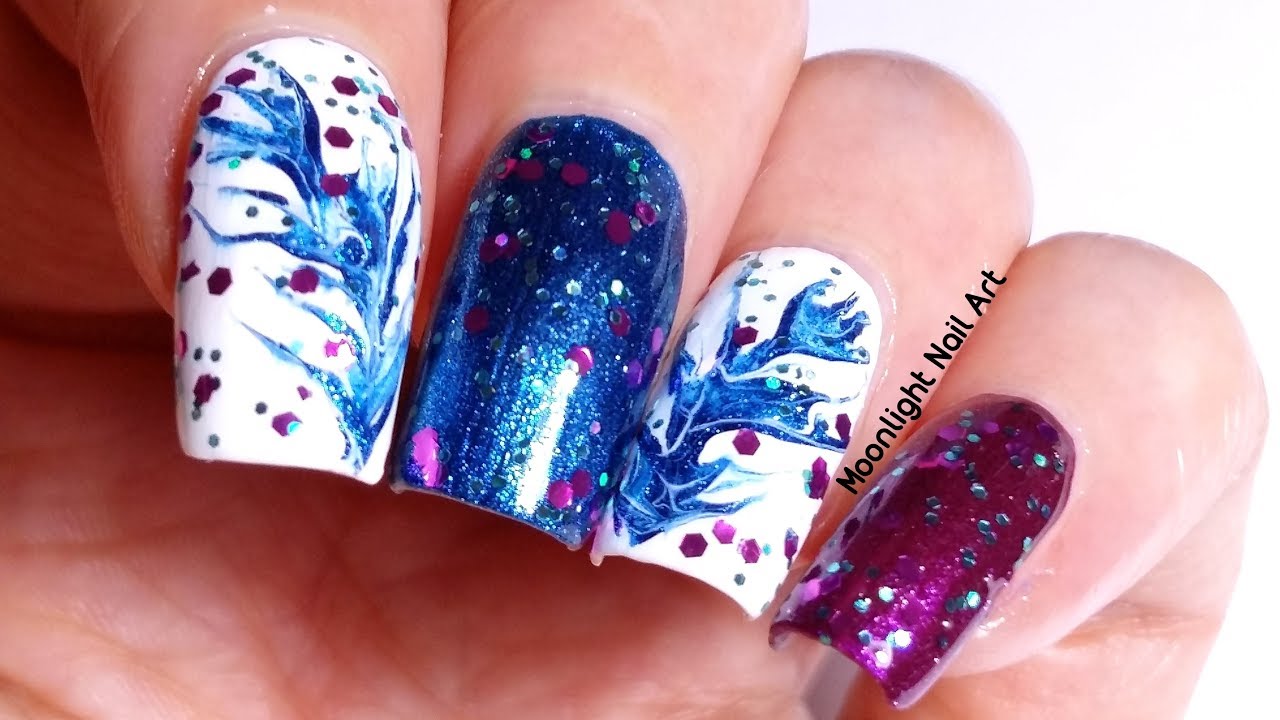
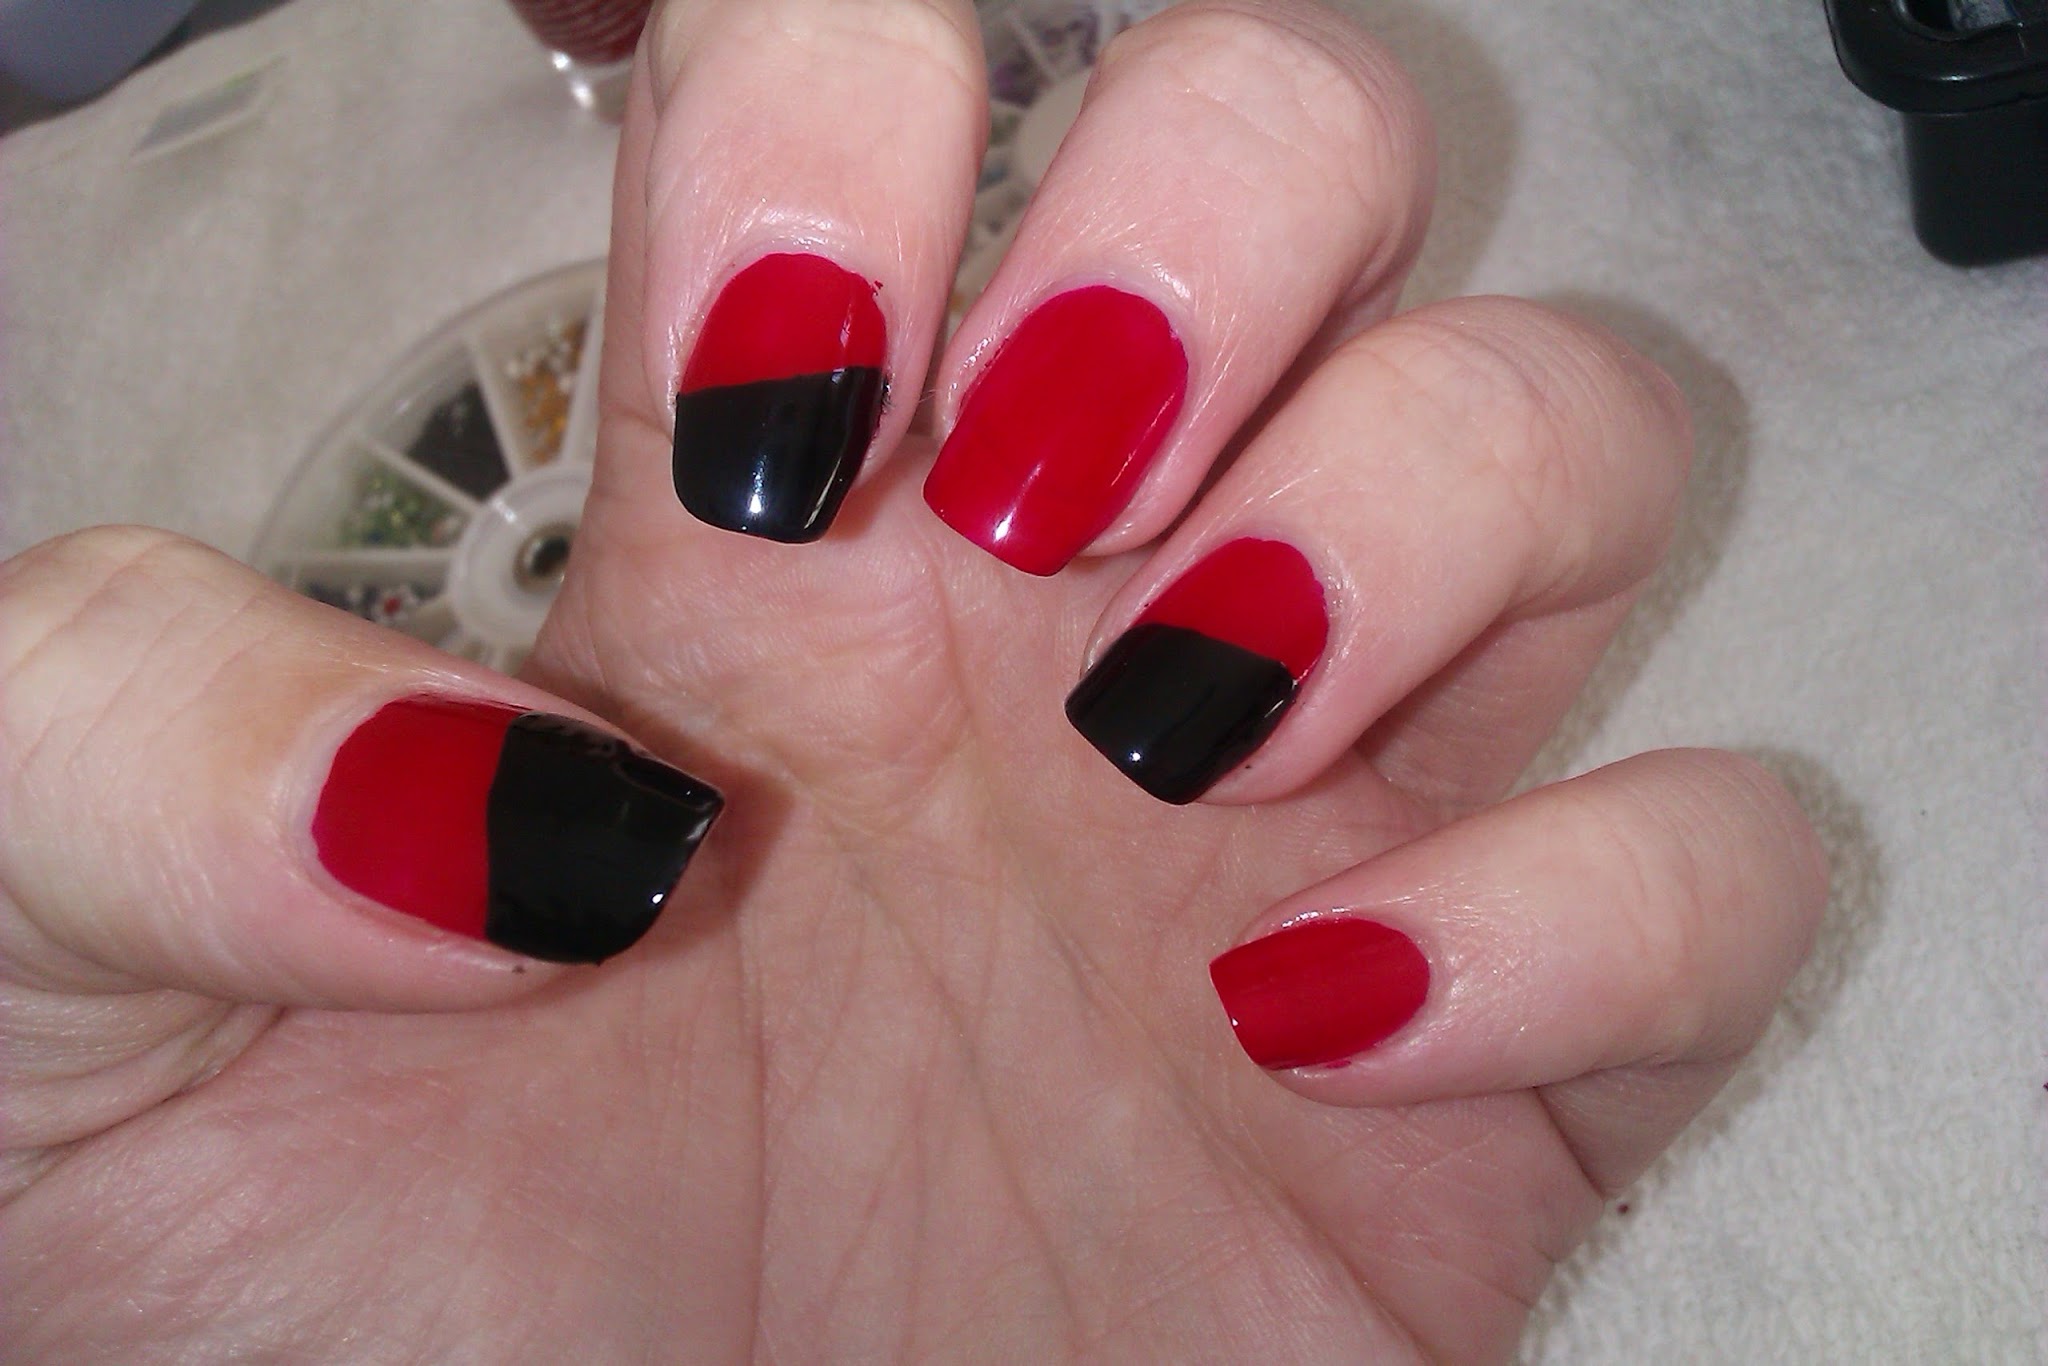
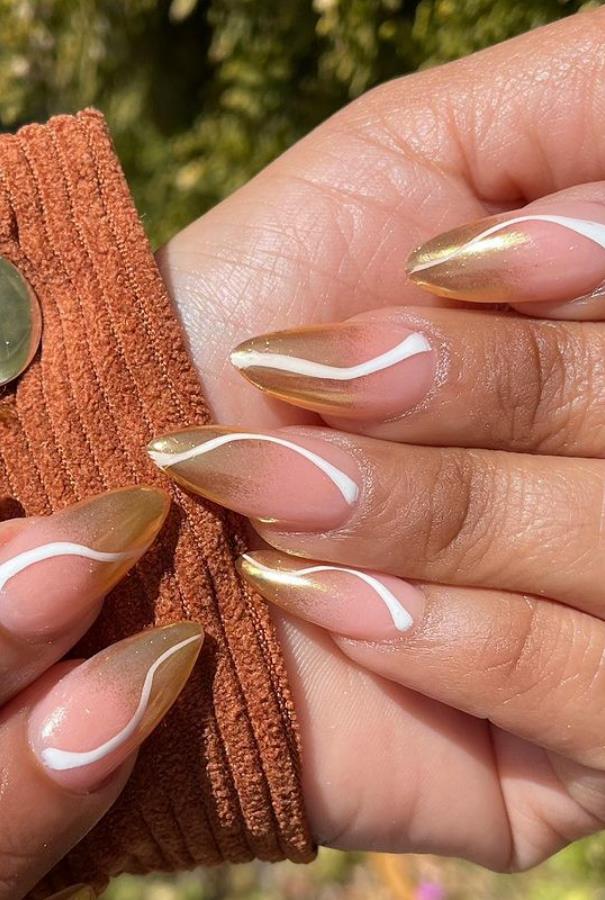
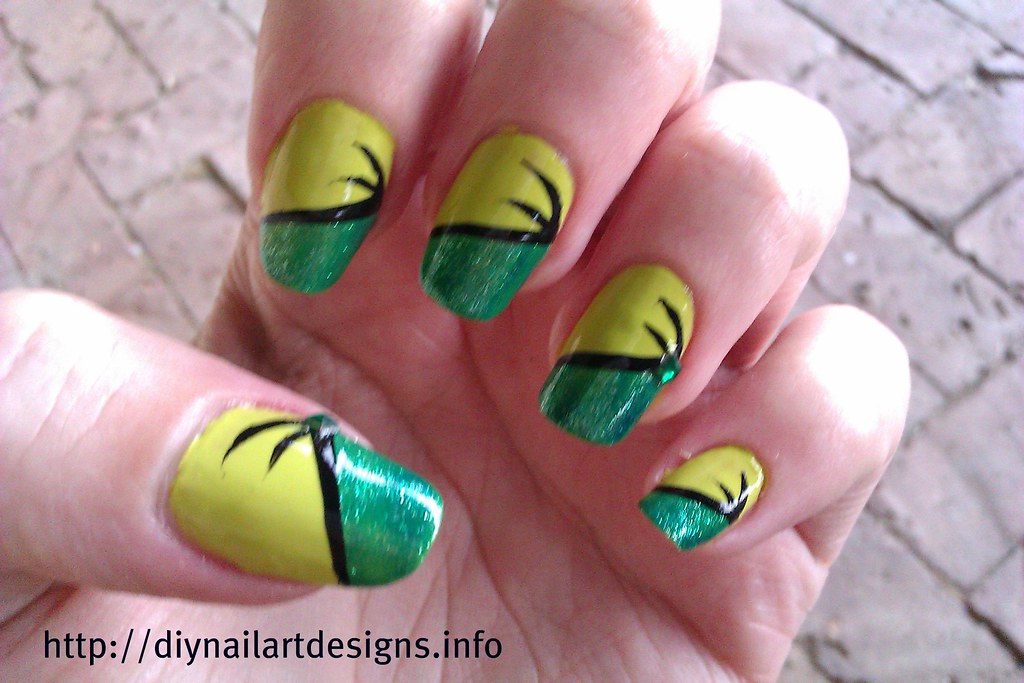
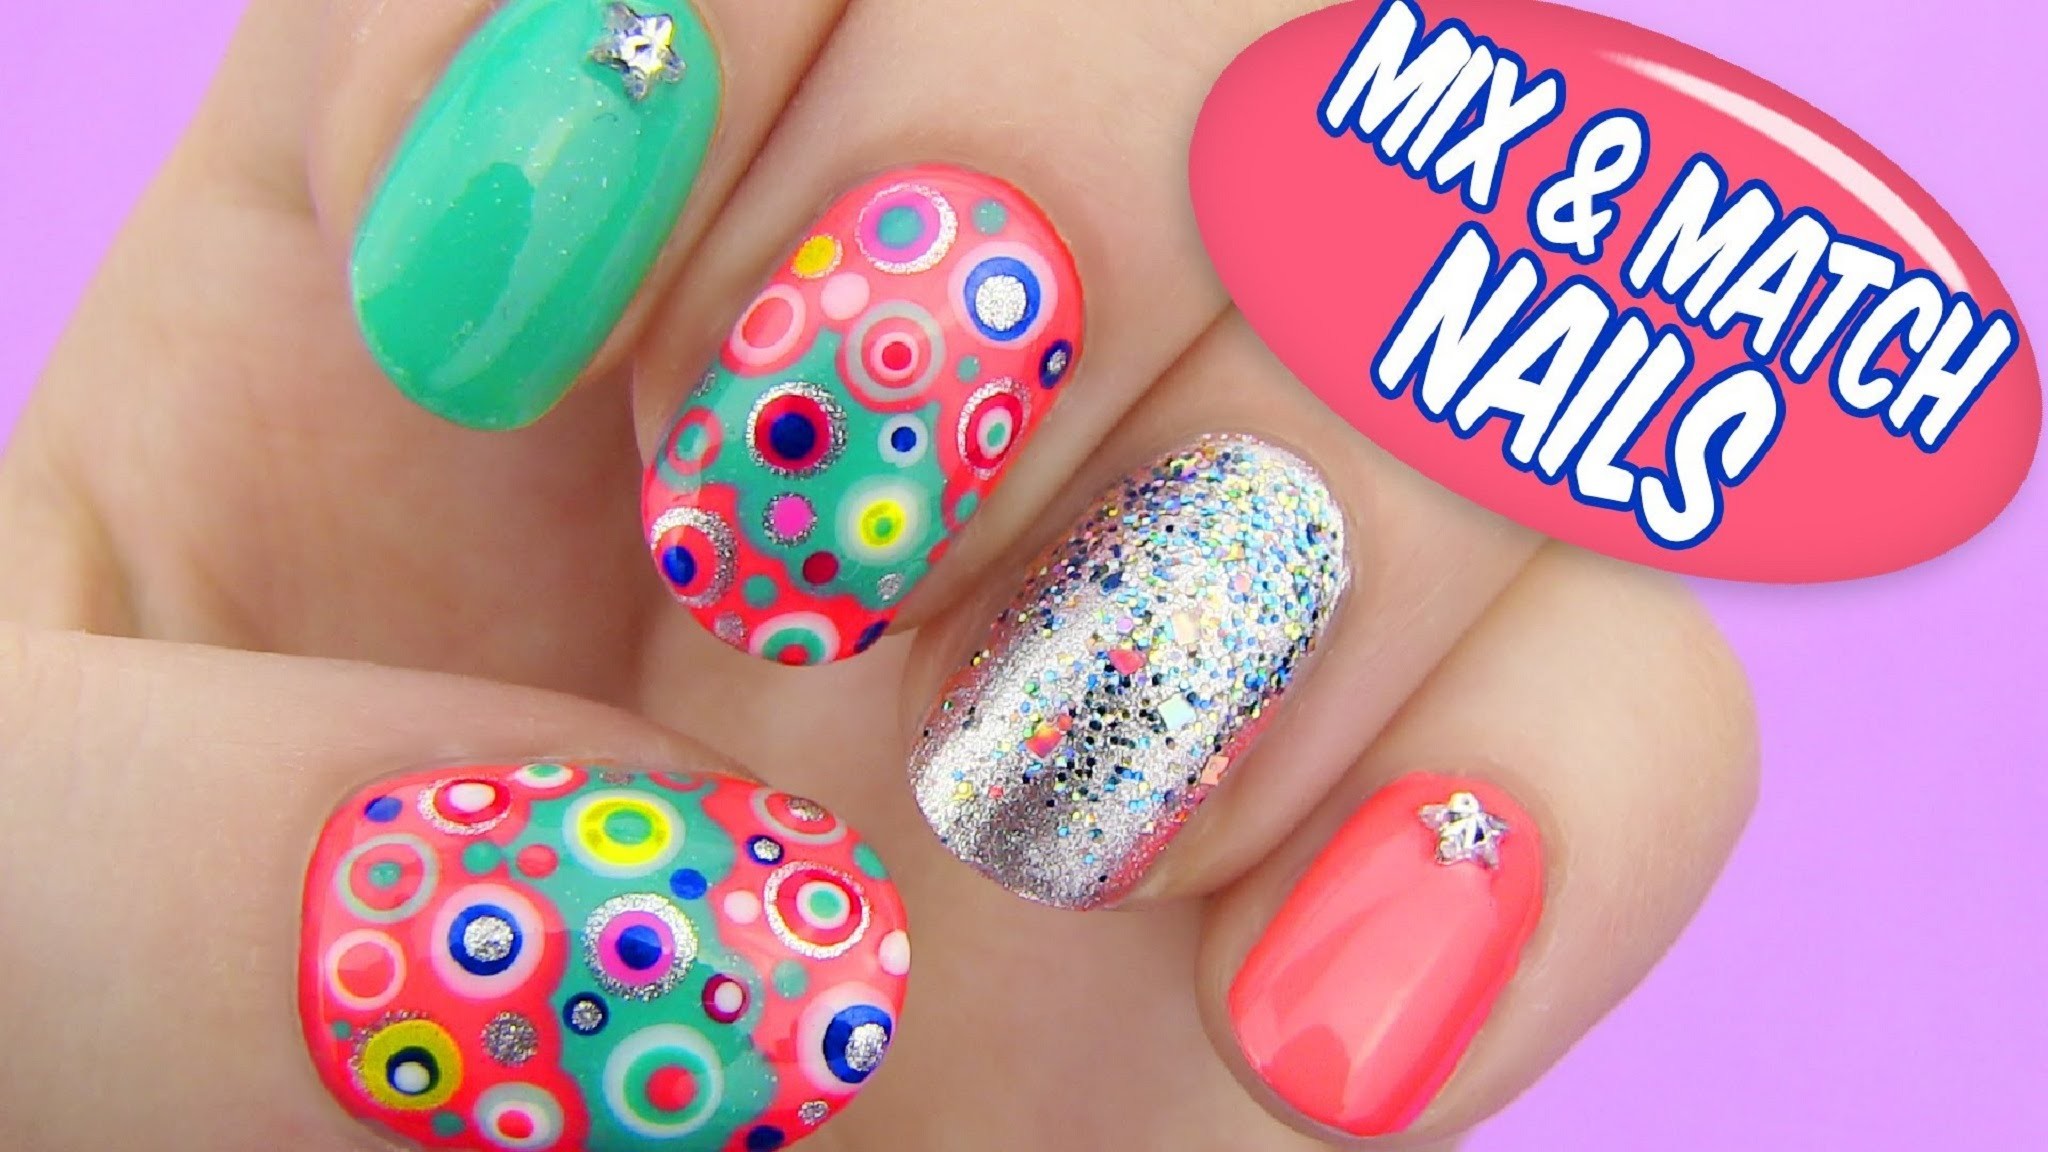
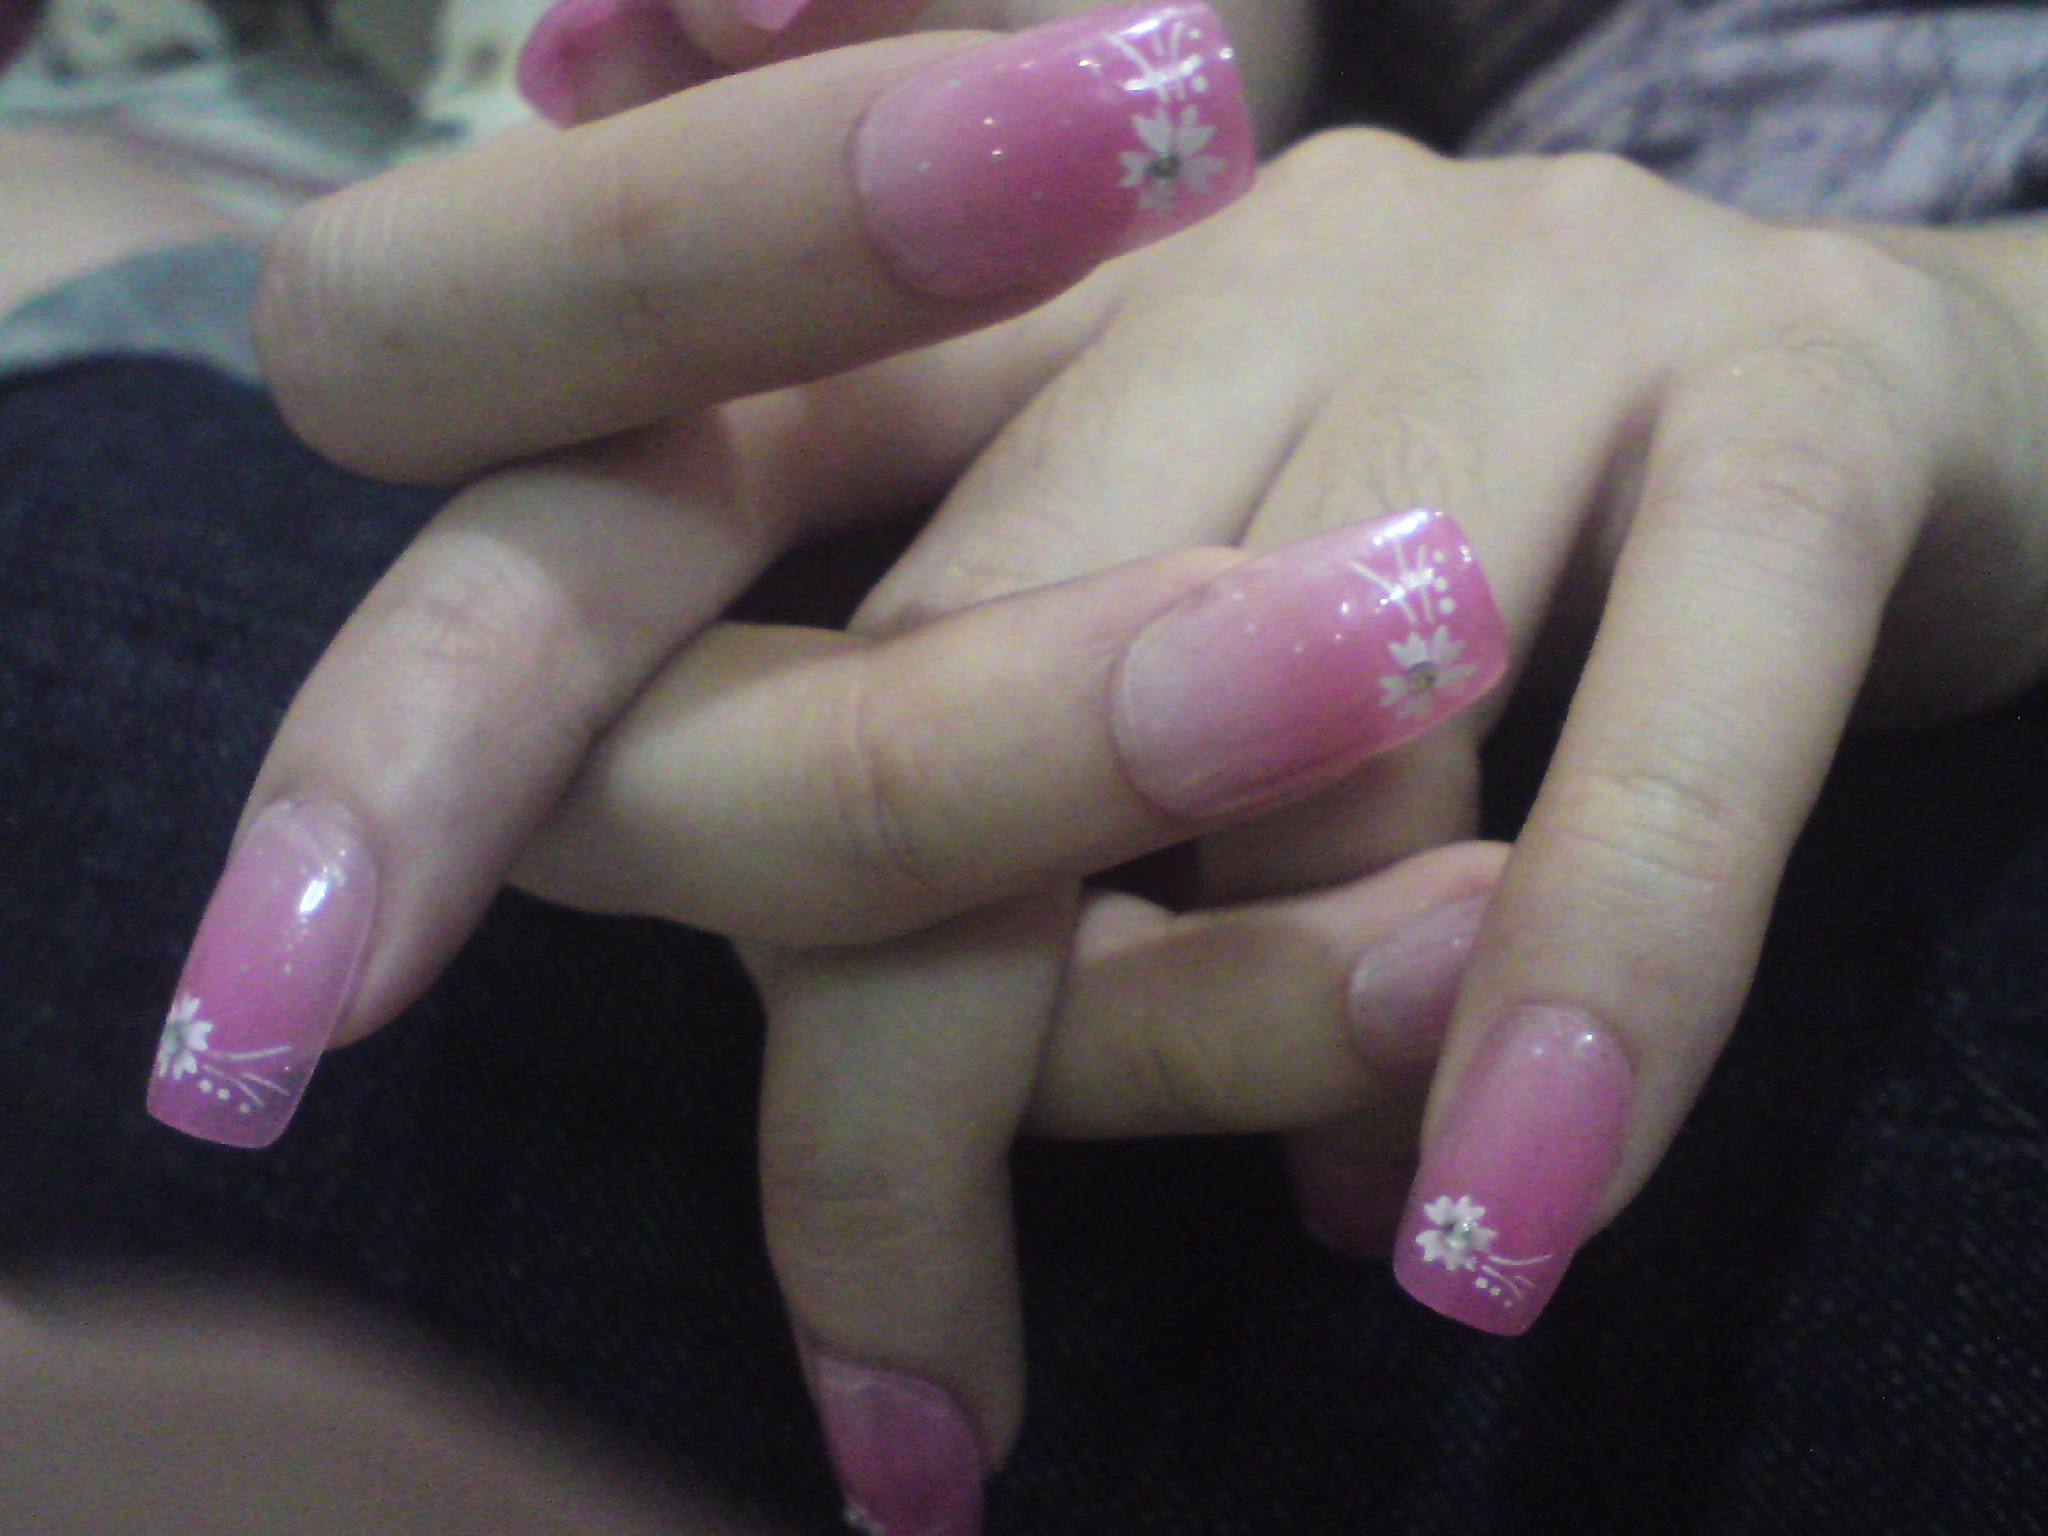
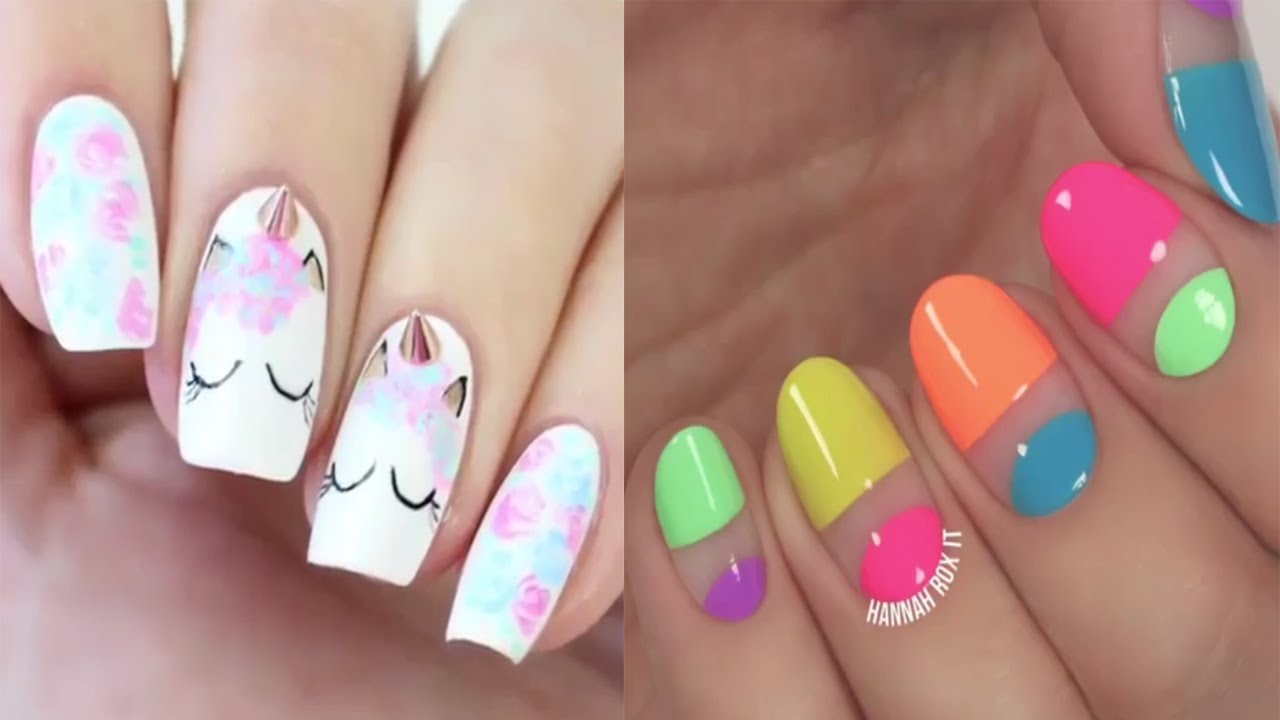
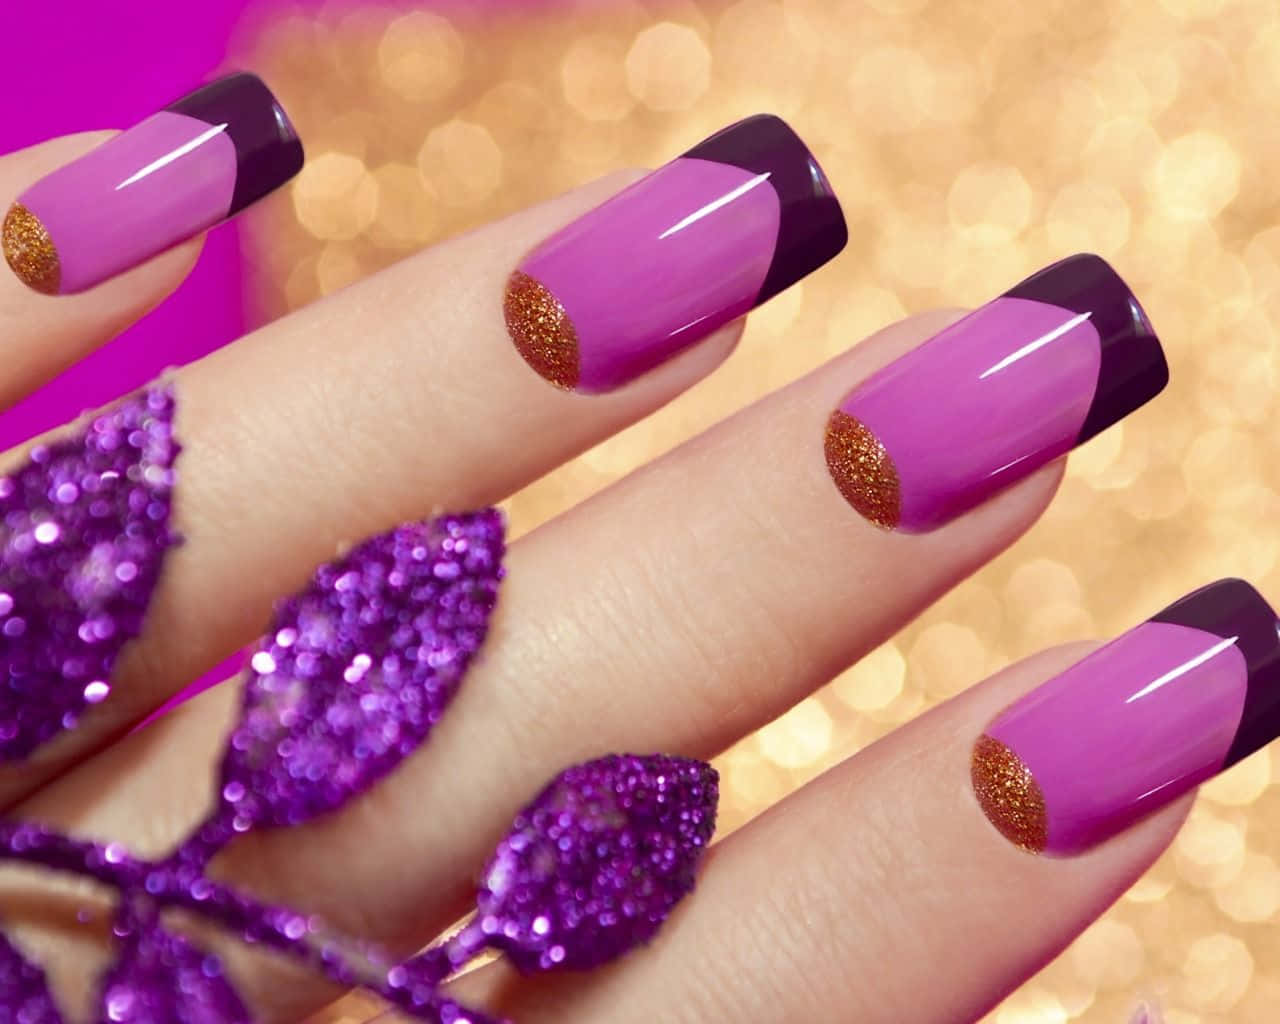
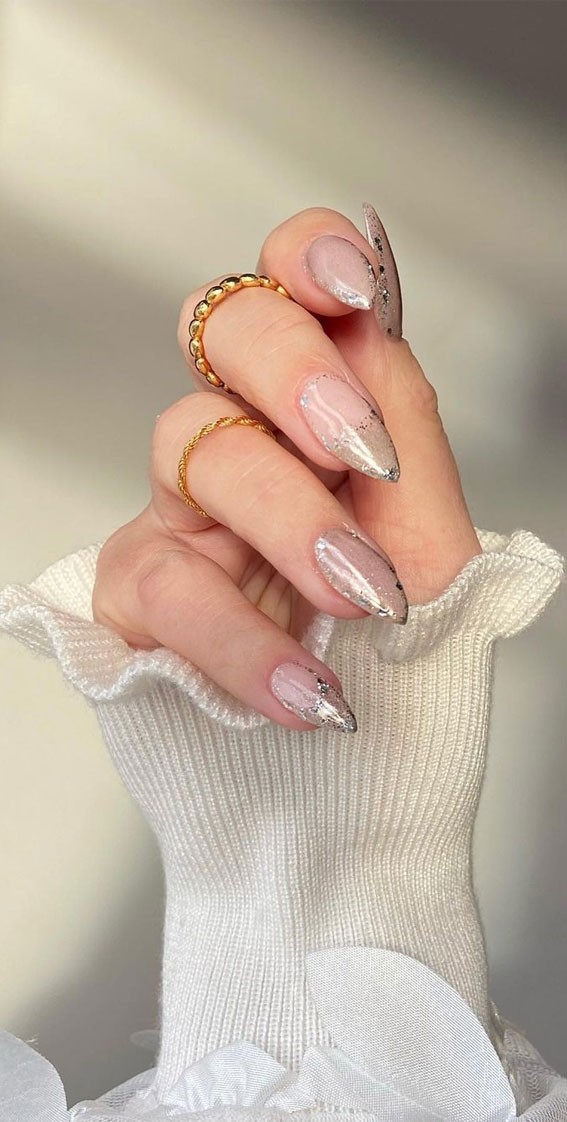
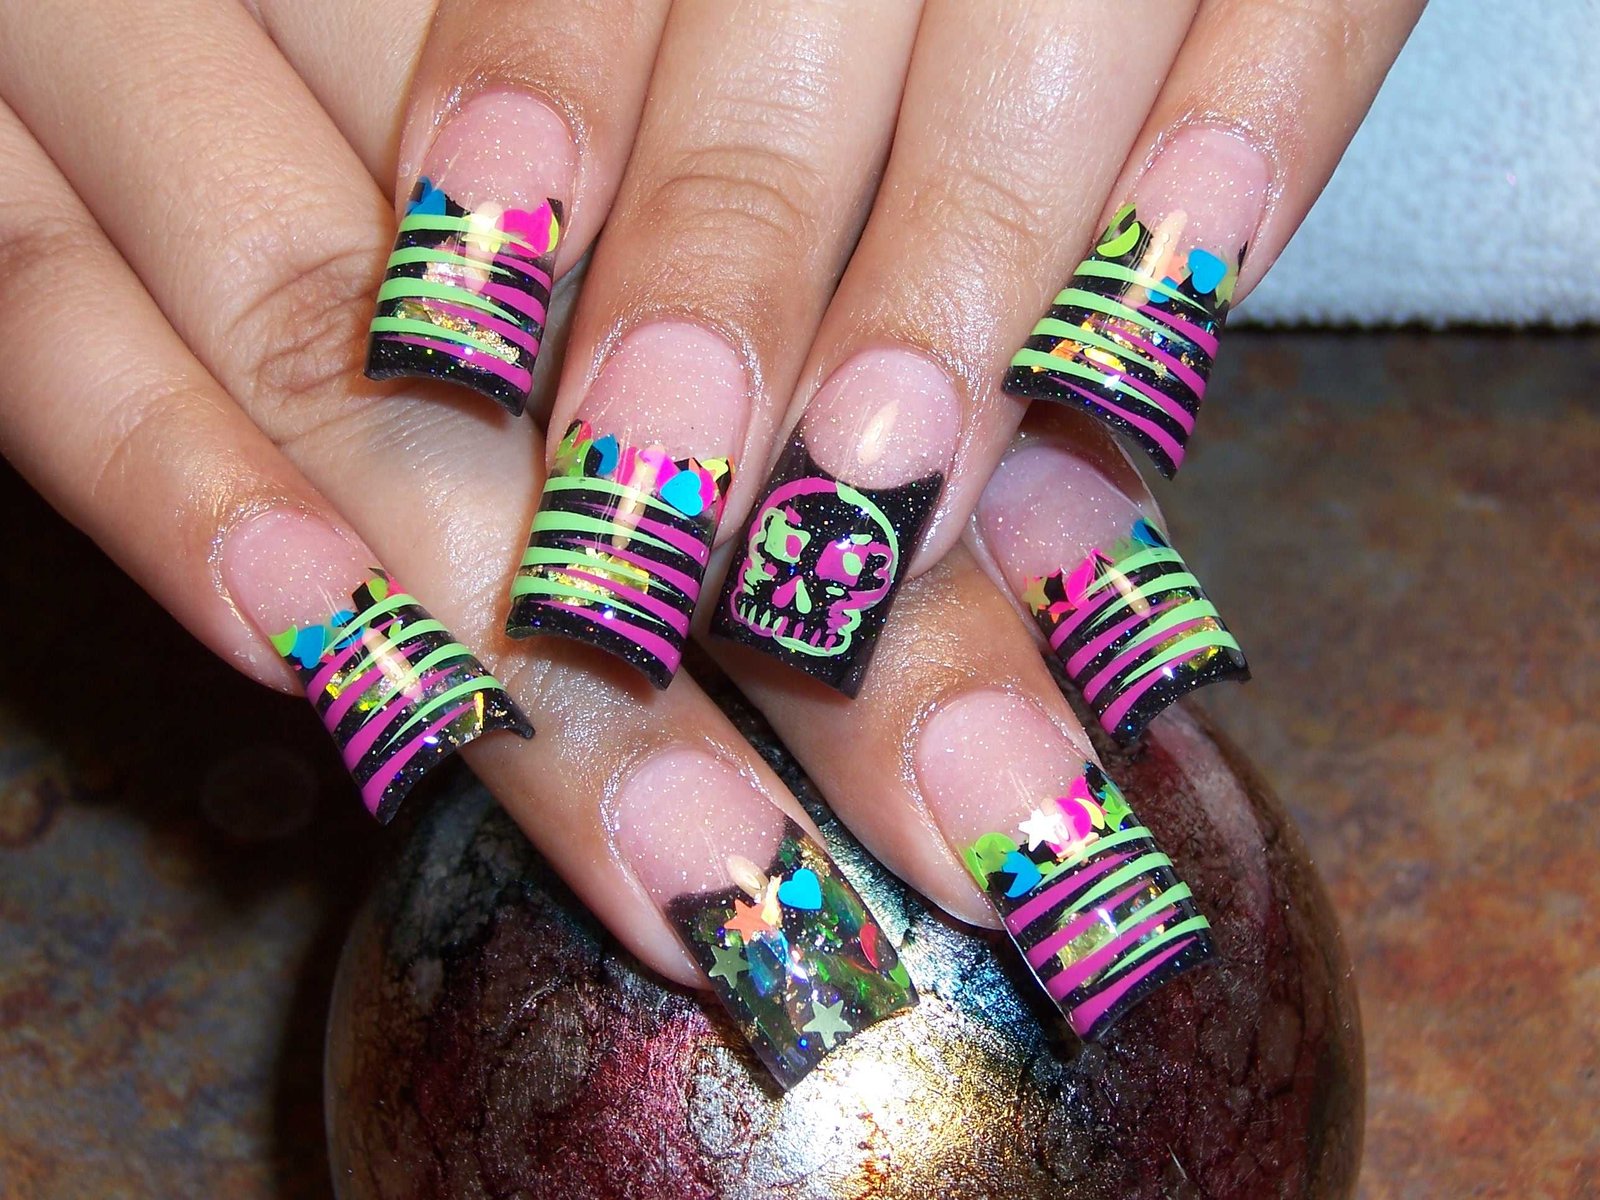
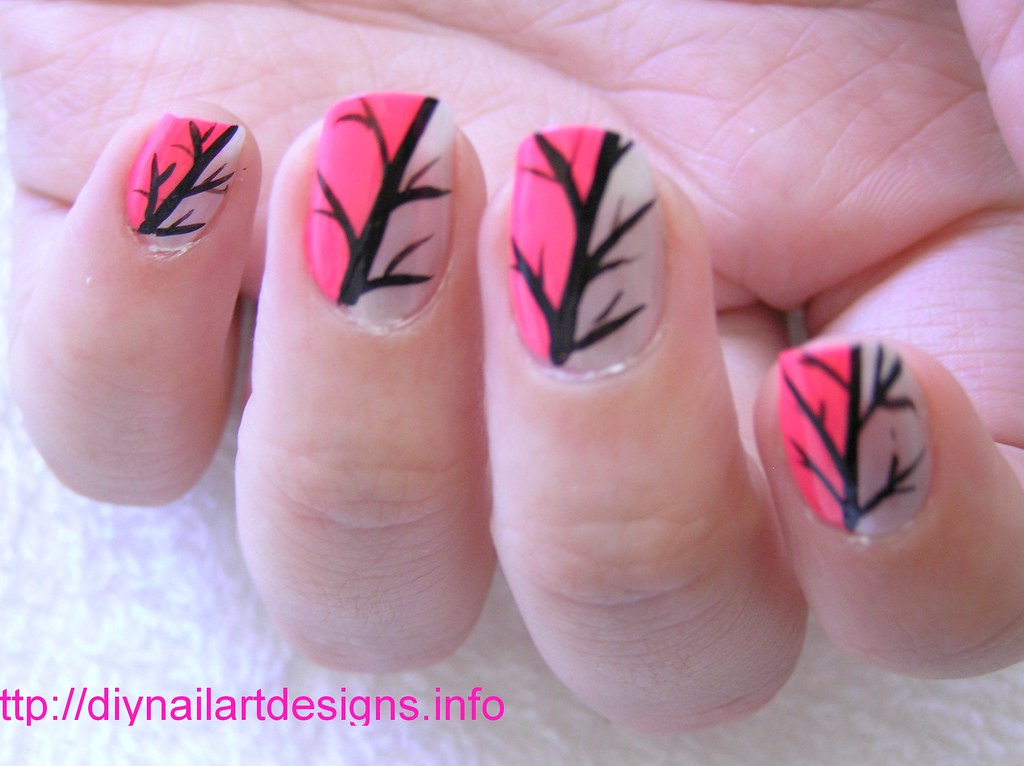
Looking for inspiration for your next nail art design? Here are some ideas to get you started: 1. Floral designs Floral designs are perfect for spring and summer and can add a feminine and delicate touch to your nails. 2. Geometric patterns Geometric patterns are trendy and can add a modern and edgy look to your nails. 3. Glitter and sparkles Who doesn't love a little sparkle? Glitter and sparkles can add a touch of glamour and fun to any nail art design. 4. Abstract art Let your creativity run wild with abstract art designs. Use different colors and techniques to create a unique and eye-catching design. 5. Cartoon characters For a fun and playful look, you can add cartoon characters or designs to your nails. This is especially popular for children's parties or events. 6. Negative space Negative space designs use the natural nail as part of the design. This technique can create a minimalist and chic look. 7. Animal prints Animal print designs are bold and eye-catching and can add a touch of fierceness to your nails. 8. Classic French manicure You can never go wrong with a classic French manicure. It is timeless and can add elegance and sophistication to any outfit. 9. Inspired by artNail Art Design Process: Inspiration and Ideas

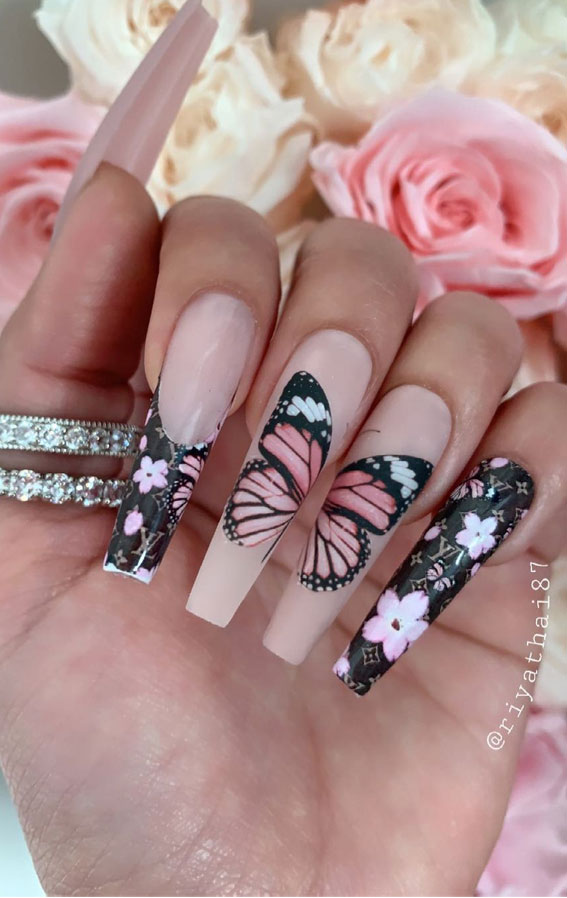
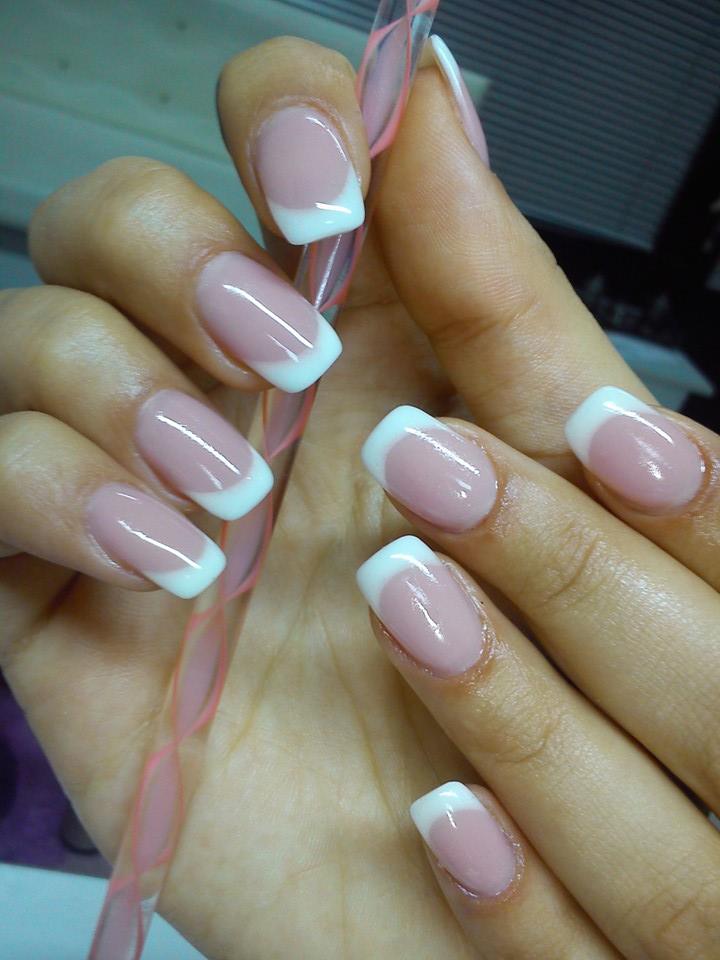
Nail Art Design Process: Inspiration and Ideas

The Importance of Nail Art in House Design

Adding a Unique Touch to Your Home
 When it comes to designing your home, every detail matters. From the color of the walls to the furniture and decor, each element contributes to the overall aesthetic and feel of your space. One often overlooked aspect of house design is the incorporation of nail art. While many may associate nail art with fashion and beauty, it can also be a creative and unique addition to your home.
Nail art
is the process of decorating nails with various designs and patterns using different materials such as polish, stickers, and gems. It has become a popular form of self-expression and creativity, with many people using it as a way to showcase their personality and style. But why limit this form of art to just your nails? Incorporating nail art into your house design can add a unique touch and make your home stand out.
When it comes to designing your home, every detail matters. From the color of the walls to the furniture and decor, each element contributes to the overall aesthetic and feel of your space. One often overlooked aspect of house design is the incorporation of nail art. While many may associate nail art with fashion and beauty, it can also be a creative and unique addition to your home.
Nail art
is the process of decorating nails with various designs and patterns using different materials such as polish, stickers, and gems. It has become a popular form of self-expression and creativity, with many people using it as a way to showcase their personality and style. But why limit this form of art to just your nails? Incorporating nail art into your house design can add a unique touch and make your home stand out.
Exploring Different Possibilities
 The beauty of
nail art
lies in its versatility. The possibilities are endless when it comes to designing your nails, and the same can be said for incorporating it into your house design. From using nail polish to create intricate patterns on walls, to incorporating nail stickers on furniture or home accessories, there are countless ways to add nail art to your home. It allows for creativity and personalization, making your home truly one-of-a-kind.
The beauty of
nail art
lies in its versatility. The possibilities are endless when it comes to designing your nails, and the same can be said for incorporating it into your house design. From using nail polish to create intricate patterns on walls, to incorporating nail stickers on furniture or home accessories, there are countless ways to add nail art to your home. It allows for creativity and personalization, making your home truly one-of-a-kind.
Bringing Color and Texture to Your Space
 Adding nail art to your house design also brings a pop of color and texture to your space. Whether you opt for bold and vibrant designs or more subtle and delicate ones, nail art can add dimension and interest to any room. It can also be a budget-friendly way to update your home decor, as you can easily change or remove the designs as desired.
In conclusion
, nail art is not just limited to your nails. It can be a fun and creative addition to your house design, bringing uniqueness, color, and texture to your space. So why not think outside the box and incorporate this form of art into your home? The possibilities are endless, and the end result is sure to make your home truly stand out.
Adding nail art to your house design also brings a pop of color and texture to your space. Whether you opt for bold and vibrant designs or more subtle and delicate ones, nail art can add dimension and interest to any room. It can also be a budget-friendly way to update your home decor, as you can easily change or remove the designs as desired.
In conclusion
, nail art is not just limited to your nails. It can be a fun and creative addition to your house design, bringing uniqueness, color, and texture to your space. So why not think outside the box and incorporate this form of art into your home? The possibilities are endless, and the end result is sure to make your home truly stand out.


