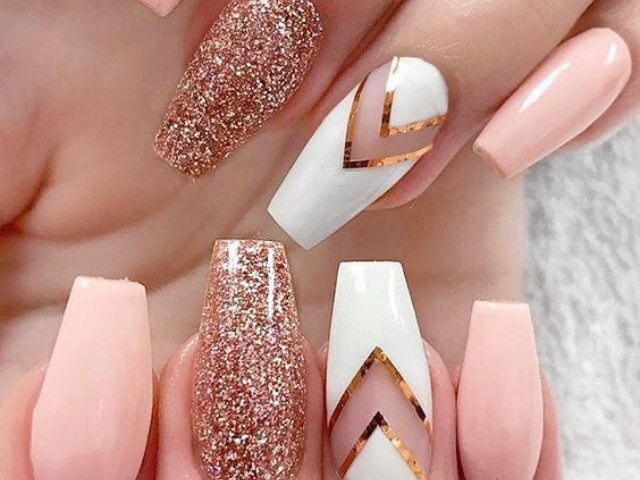
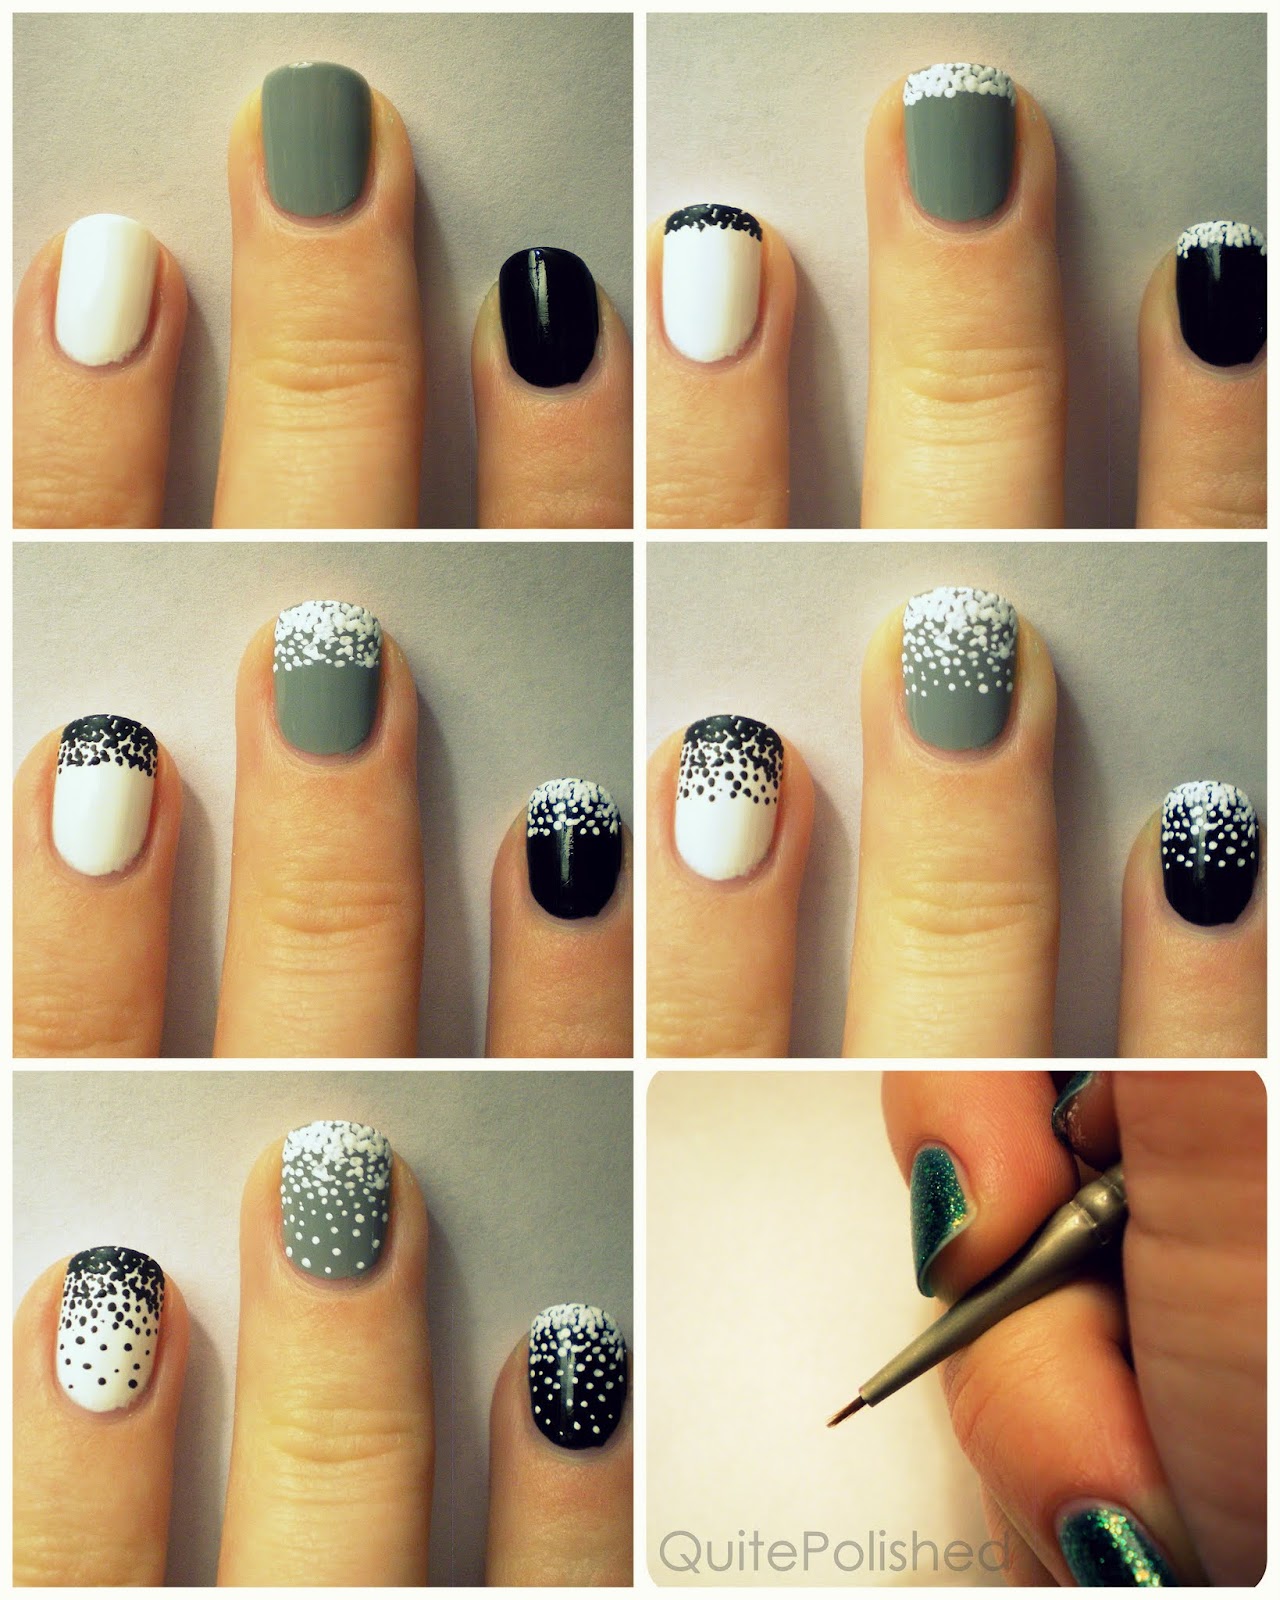
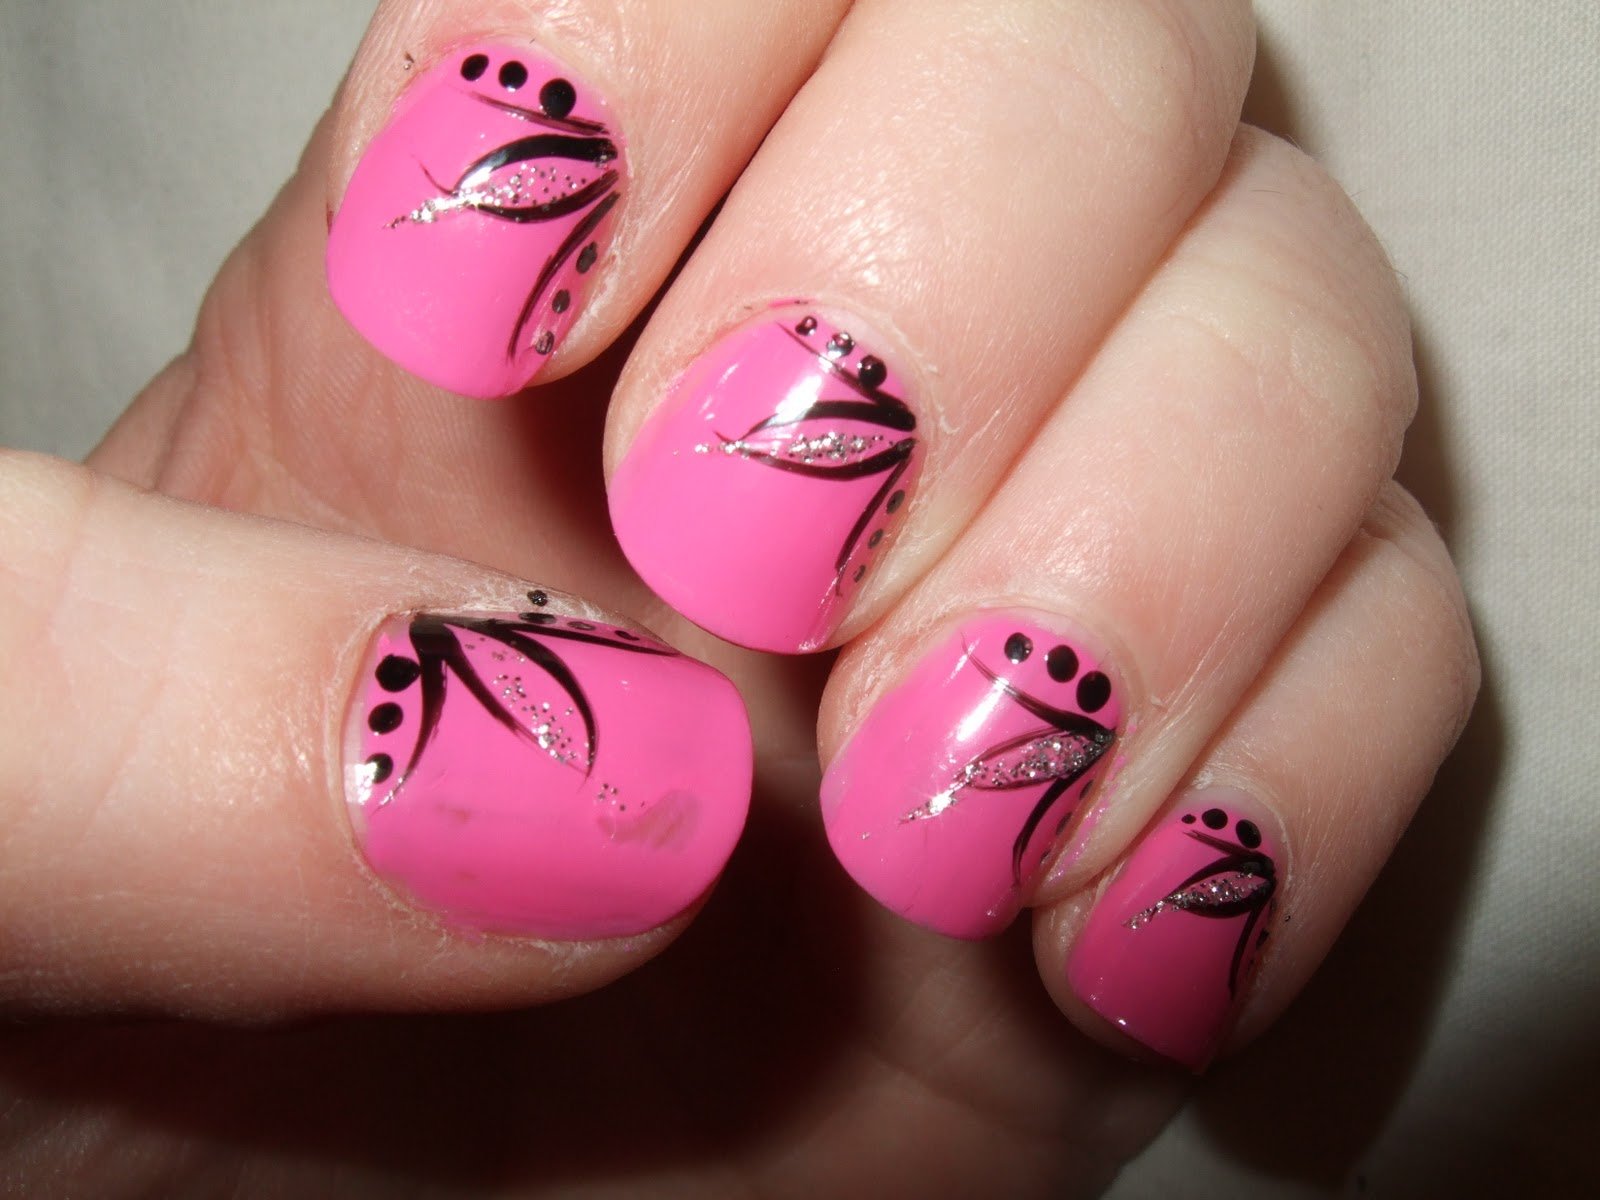
If you're new to the world of nail art, it can be overwhelming to try and recreate the intricate designs you see on social media. But fear not, with a little practice and these step by step tutorials, you'll be creating beautiful nail art designs in no time. First up, for a simple yet stunning design, try a marble effect. Start by painting your nails with a white base coat. Then, using a toothpick or thin brush, swirl together different shades of polish on a plastic bag. Once the colors are mixed, press the plastic bag onto your nail and carefully peel it away to reveal a unique marble pattern. Next, for a fun and playful design, try a rainbow gradient or ombre. Start by painting your nails with a white base coat. Then, using a makeup sponge, dab on different colors of polish in a gradient from cuticle to tip. Finish with a top coat for a smooth and shiny finish. If you're feeling bold, try a striping tape or geometric design. Start with a white base coat, then using nail tape, create a design of your choice. You can go for simple diagonal lines or get creative with different shapes and angles. Once the tape is in place, paint over it with a contrasting color and remove the tape to reveal your design. For a floral look, try a watercolor or stamping design. Start with a light base coat and then use a makeup sponge to dab on different colors in a watercolor effect. You can also use a stamping plate to create intricate floral designs. Simply paint the design onto the plate, stamp it onto your nail, and seal with a top coat.Easy Nail Art Designs for Beginners: Step by Step Tutorials


Easy Nail Art Designs for Beginners: Step by Step Tutorials


If you're a visual learner, following step by step videos can be a great way to learn new nail art techniques. There are countless videos online that can guide you through creating beautiful designs, but here are a few of our favorites. For a minimalist or negative space design, check out this tutorial by Cutepolish. Using a striper brush, she creates a simple line design that looks chic and modern. If you're looking for a glamorous or jeweled design, Nail Career Education has a tutorial for you. She uses rhinestones and metallic polish to create a stunning and elegant design. For a seasonal or holiday design, try this tutorial by Simply Nailogical. She creates a fun and festive design with Christmas tree or Halloween colors and glitter. Remember, these are just a few examples, but there are endless inspirational or creative videos out there for you to explore and find your perfect design.Simple Nail Art Designs for Beginners: Step by Step Videos


Simple Nail Art Designs for Beginners: Step by Step Videos

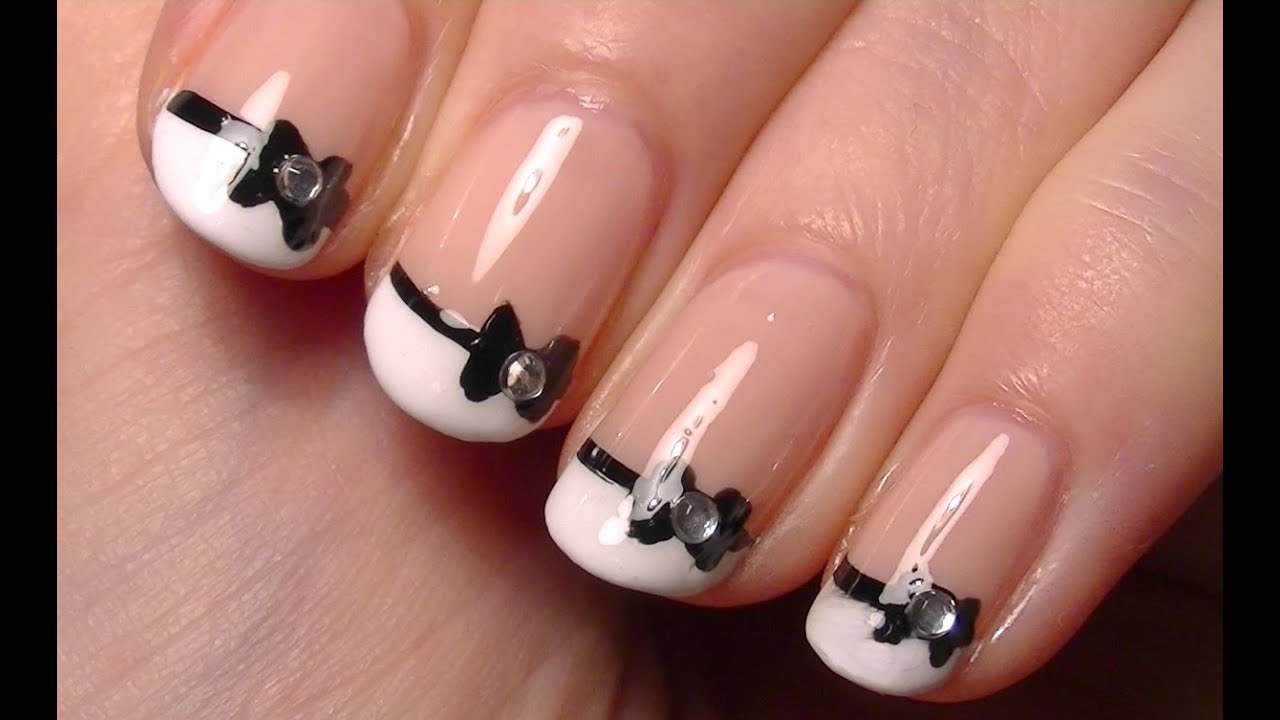
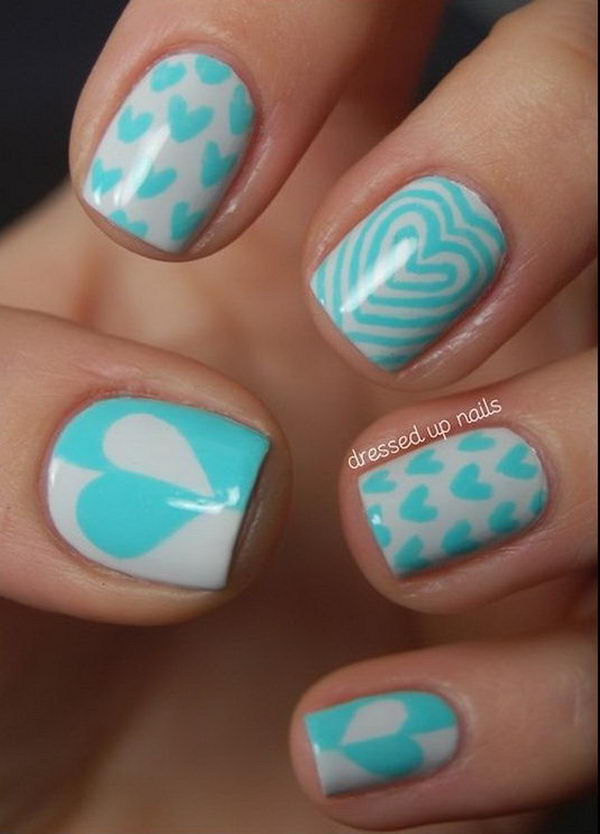
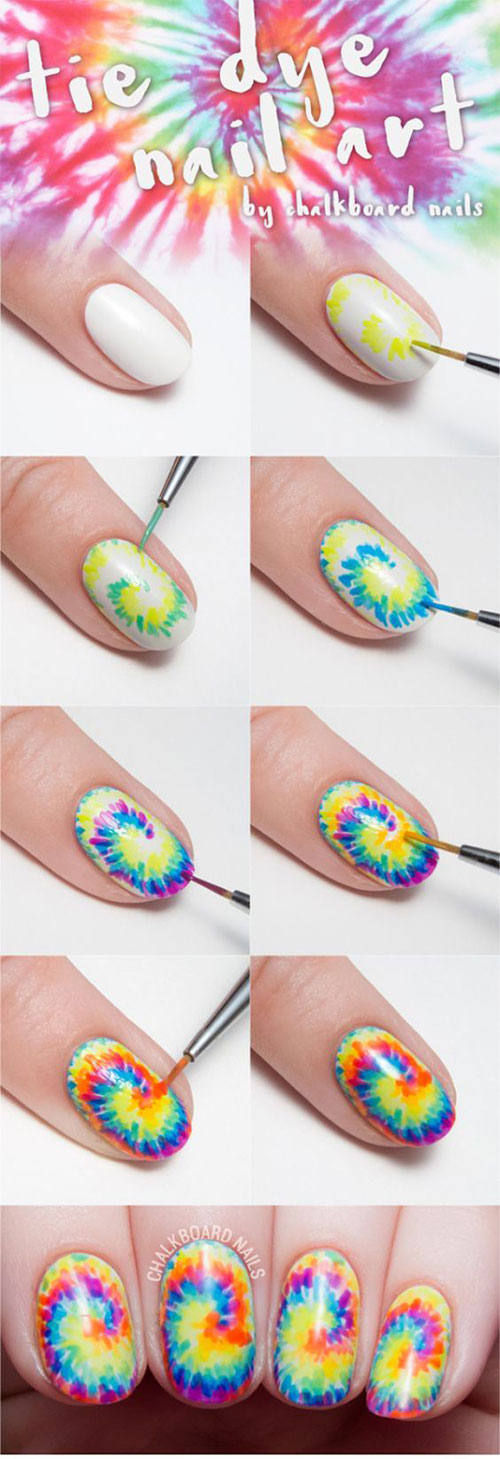
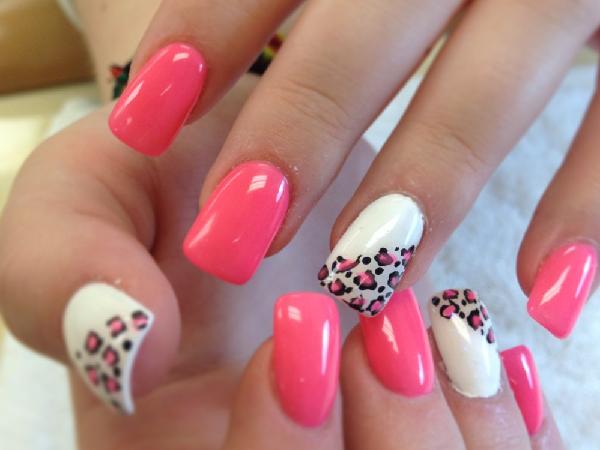
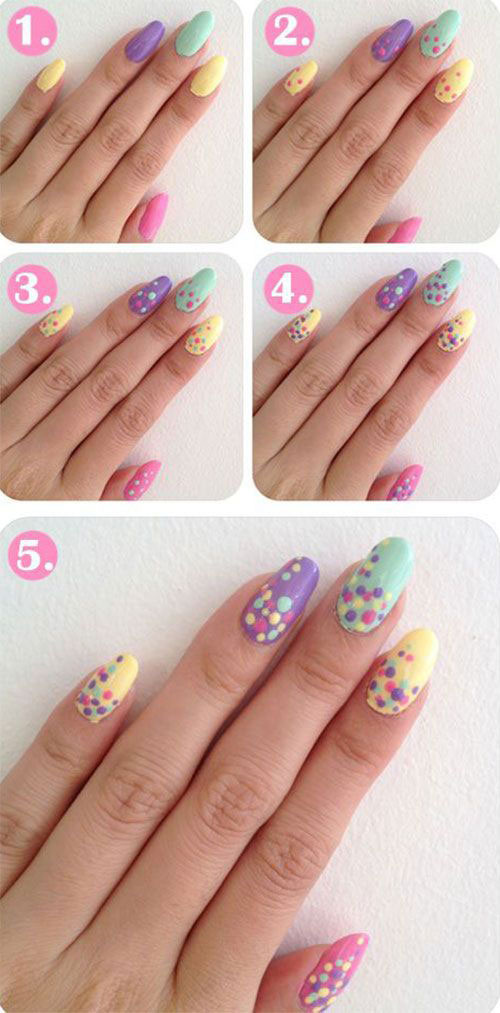
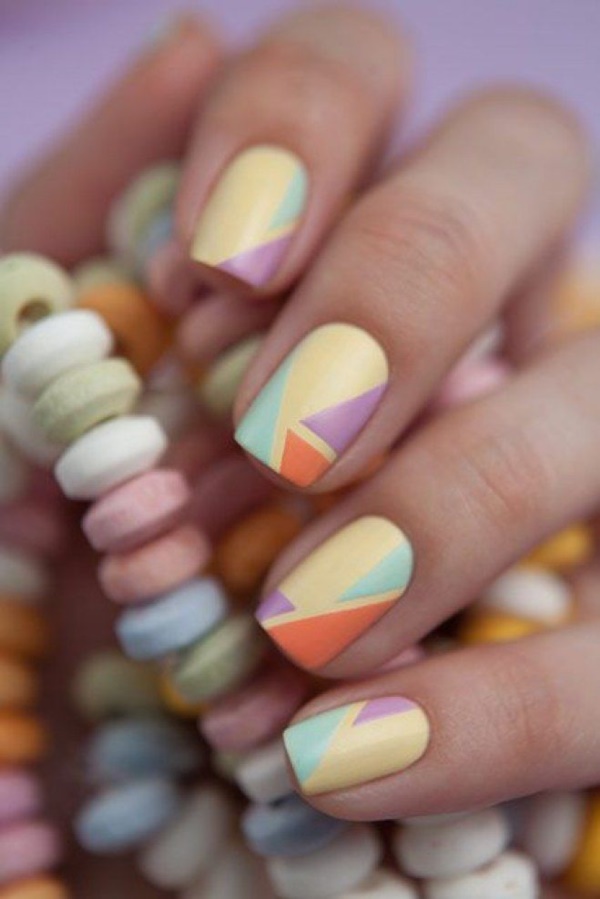
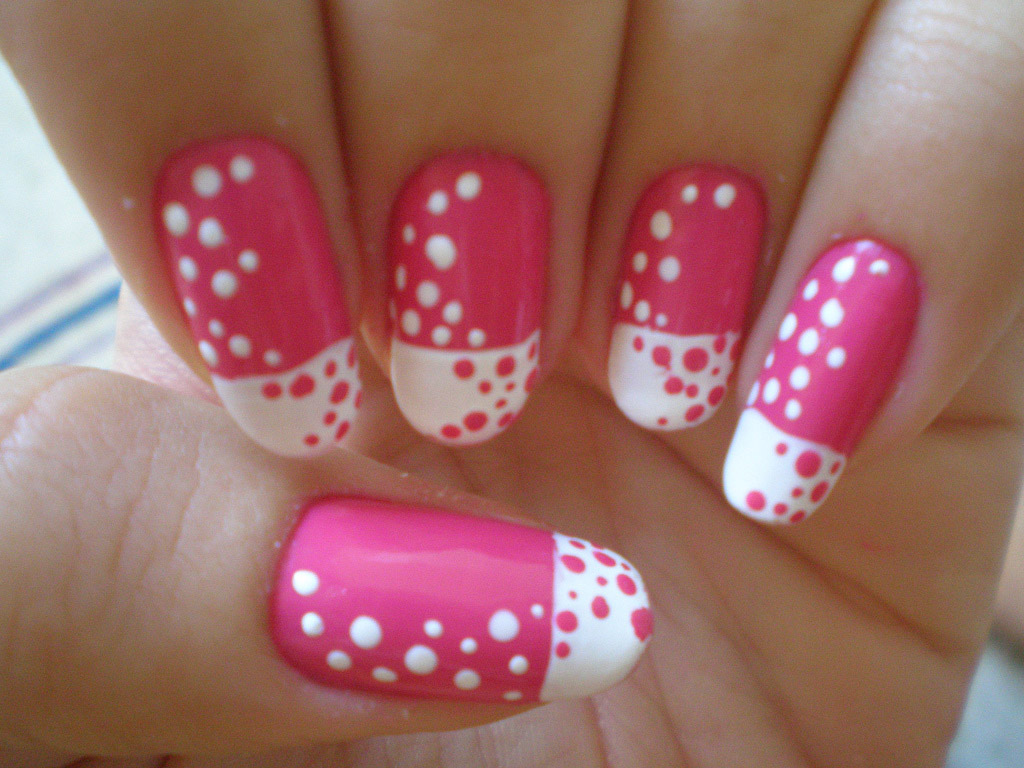
If you're a beginner, it's best to start with simple designs and gradually work your way up to more complex ones. Here are 10 easy nail art designs for beginners that you can try at home. 1. Polka Dots: Use a dotting tool or the end of a bobby pin to create cute and colorful polka dots on a plain base coat. 2. French Tips: Get the classic French manicure look by using scotch tape to create clean and straight lines for the white tip. 3. Glitter Accent Nail: For a touch of sparkle, paint all your nails a solid color and add a glitter accent nail on one finger. 4. Half-Moon: Use a hole puncher to create perfect half-moon shapes on a solid base coat. 5. Stripes: Paint your nails a solid color and use a striper brush to create thin stripes in a different color. 6. Heart Accent Nail: Paint your nails a solid color and add a cute heart accent nail using a stencil or freehand design. 7. Tie-Dye: Use a sponge to dab on different colors in a random pattern for a fun and colorful tie-dye effect. 8. Animal Print: Use a stamping plate or freehand to create fun animal print designs like leopard or zebra. 9. Color Block: Use strips of tape to create clean and straight lines for a color block design. 10. Floral Accent Nail: Paint your nails a solid color and add a floral accent nail using stamping plates or freehand.10 Easy Nail Art Designs for Beginners: Step by Step Guide
10 Easy Nail Art Designs for Beginners: Step by Step Guide

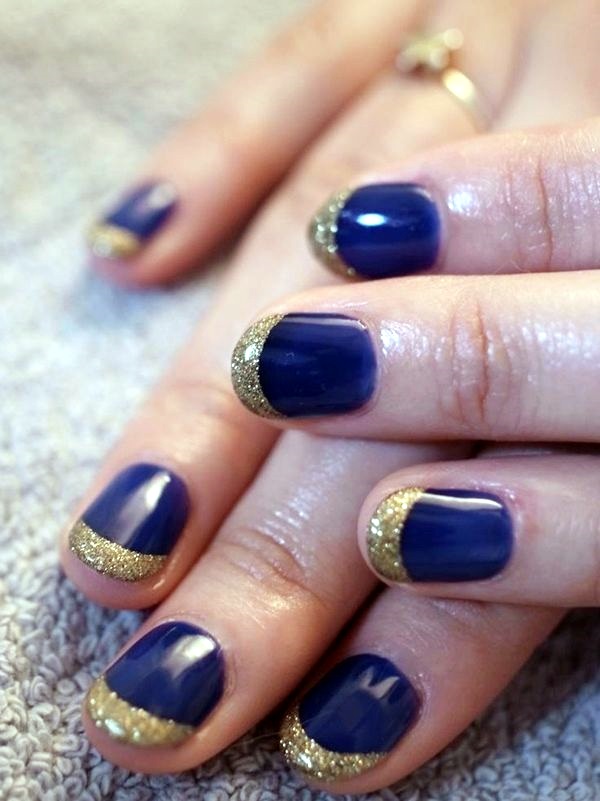
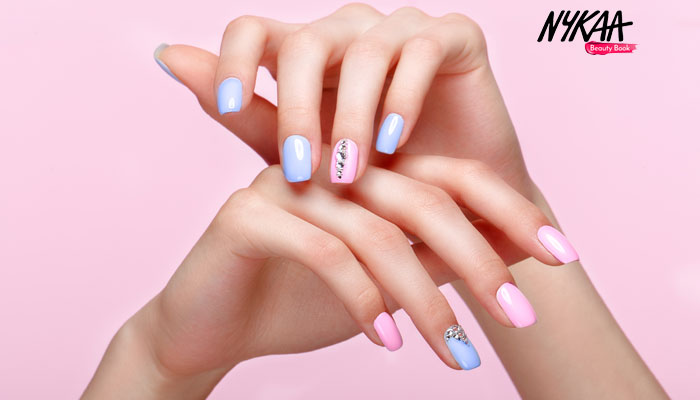
If you have shorter nails, you may think that intricate nail art designs are out of reach. But fear not, there are plenty of designs that look great on shorter nails. A great design for short nails is a negative space or cuticle design. Start with a clear base coat and use a striper brush to create a simple line design near the cuticle. This design will elongate your nails and make them appear longer. You can also try a half-moon or moon design. Use a hole puncher to create perfect half-moon shapes near the cuticle on a solid base coat. Another cute design for shorter nails is a heart or star accent nail. Paint your nails a solid color and add a cute heart or star design using a stencil or freehand technique. Remember, shorter nails are just as versatile when it comes to nail art, so don't be afraid to experiment and find what works best for you.Nail Art Designs for Short Nails: Simple Step by Step Video

Nail Art Designs for Short Nails: Simple Step by Step Video


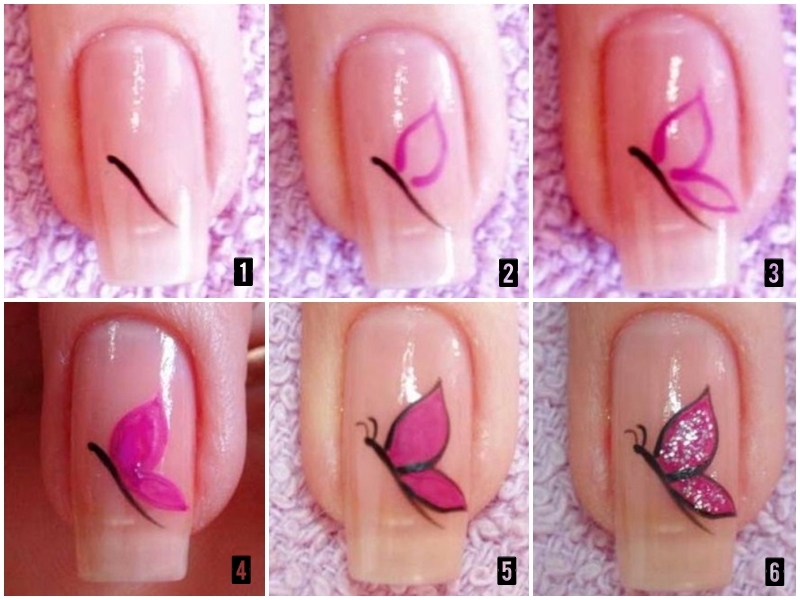
Creating your own nail art designs can be a fun and budget-friendly way to express your creativity. Here are some simple DIY nail art designs that you can try at home. 1. Colorful Splatter: Paint your nails a solid color and then use a straw to blow different colors of polish onto your nails for a fun and unique splatter effect. 2. Sharpie Design: Use a permanent marker to draw fun and intricate designs on your nails. Finish with a top coat to seal in the design. 3. Floral or Cartoon Nails: Use a nail art pen to create detailed designs like flowers or cartoons on your nails. 4. DIY Decals: Use clear nail polish and nail art stickers to create your own custom decals. Simply paint the design onto the sticker, let it dry, and then place it on your nail. 5. Glitter Gradient: For a simple yet stunning design, use a sponge to dab on glitter polish in a gradient from cuticle to tip. With a little creativity and some simple tools, you can create beautiful and unique nail art designs right at home.DIY Nail Art Designs: Simple Step by Step Tutorial


DIY Nail Art Designs: Simple Step by Step Tutorial


If you're just starting out with nail art, it's best to start with simple designs that are easy to recreate. Here are 5 simple nail art designs with step by step instructions. 1. Polka Dot Nails: - Start with a base coat and let it dry. - Use a dotting tool or the end of a bobby pin to create polka dots in a contrasting color. - Finish with a top coat to seal in the design. 2. French Manicure: - Use scotch tape to create a straight line at the tip of your nail. - Paint the tips with a white polish and let it dry. - Remove the tape and finish with a top coat. 3. Glitter Accent Nail: - Paint all your nails a solid color and let them dry. - Add a glitter accent nail on one finger using a glitter polish. - Finish with a top coat to seal in the design. 4. Striped Nails: - Start with a base coat and let it dry. - Use a striper brush to create thin stripes in a contrasting color. - Finish with a top coat to seal in the design. 5. Heart Accent Nail: - Paint all your nails a solid color and let them dry. - Use a stencil or freehand technique to create a cute heart accent nail. - Finish with a top coat to seal in the design.5 Simple Nail Art Designs for Beginners: Step by Step Instructions


5 Simple Nail Art Designs for Beginners: Step by Step Instructions

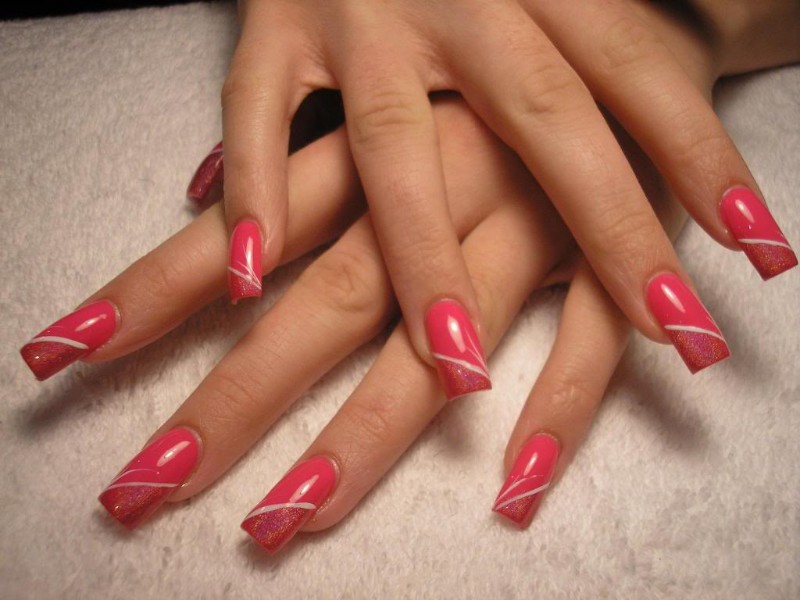
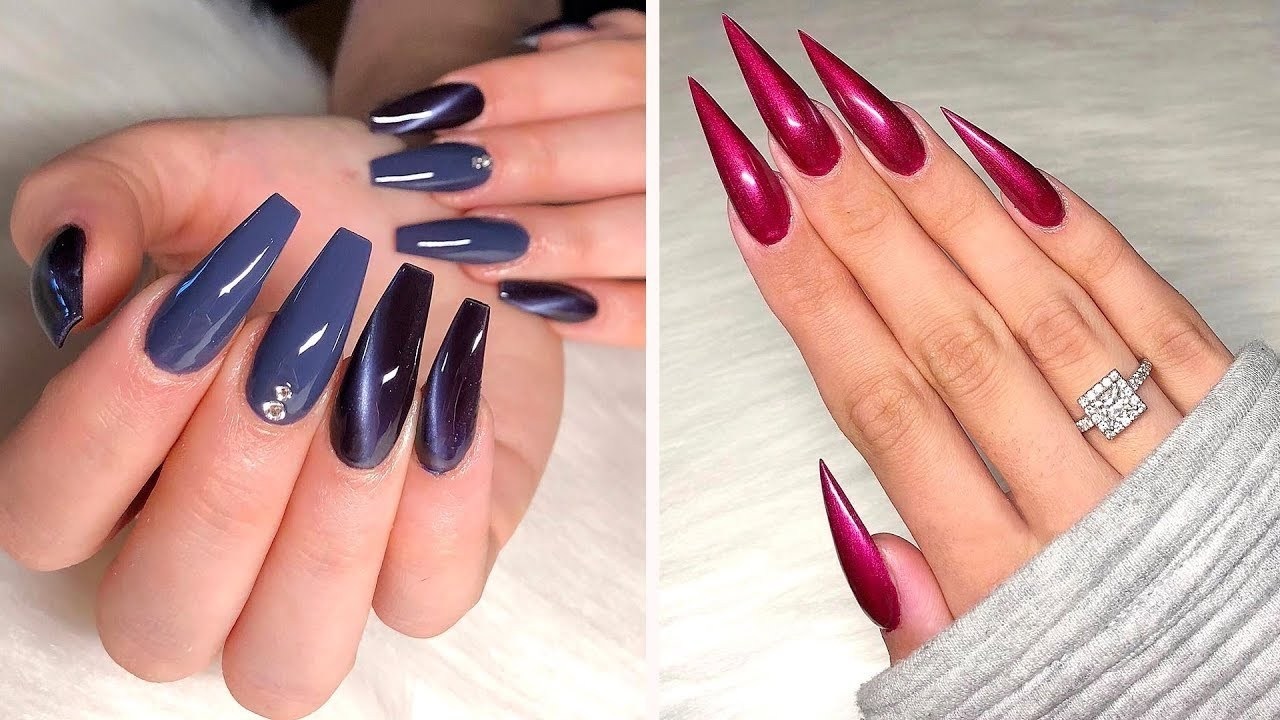
If you have longer nails, you have more space to play with when it comes to nail art designs. Here are some easy step by step videos for long nails. For a stunning ombre or gradient design, check out this tutorial by MissJenFabulous. She uses a makeup sponge to blend different colors for a beautiful and seamless gradient. If you're feeling edgy or unique, try this tutorial by Sarah R. She creates a geometric or negative space design using striping tape and a variety of bright colors. For a classy or chic look, check out this tutorial by Love4Nails. She uses rhinestones and a nude base coat to create a jeweled or glamorous design. Remember, with longer nails, the possibilities are endless, so don't be afraid to experiment and find the perfect design for you.Nail Art Designs for Long Nails: Easy Step by Step Video


Nail Art Designs for Long Nails: Easy Step by Step Video

Short on time but still want to rock some fun nail art? These quick and easy designs are perfect for when you're in a hurry. 1. Dotted Nails: - Start with a base coat and let it dry. - Use a dotting tool or the end of a bobby pin to create polka dots in a contrasting color. - Finish with a top coat to seal in the design. 2. Striped Nails: - Start with a base coat and let it dry. - Use a striper brush to create thin stripes in a contrasting color. - Finish with a top coat to seal in the design. 3. Glitter Gradient: - Start with a base coat and let it dry. - Use a sponge to dab on glitter polish in a gradient from cuticle to tip. - Finish with a top coat to seal in the design. 4. Heart Accent Nail: - Paint all your nails a solid color and let them dry. - Use a stencil or freehand technique to create a cute heart accent nail. - Finish with a top coat to seal in the design. Remember, these designs are quick and easy, but still look great. Perfect for those busy days when you still want to have a little fun with your nails.Quick and Easy Nail Art Designs: Step by Step Tutorial
Quick and Easy Nail Art Designs: Step by Step Tutorial

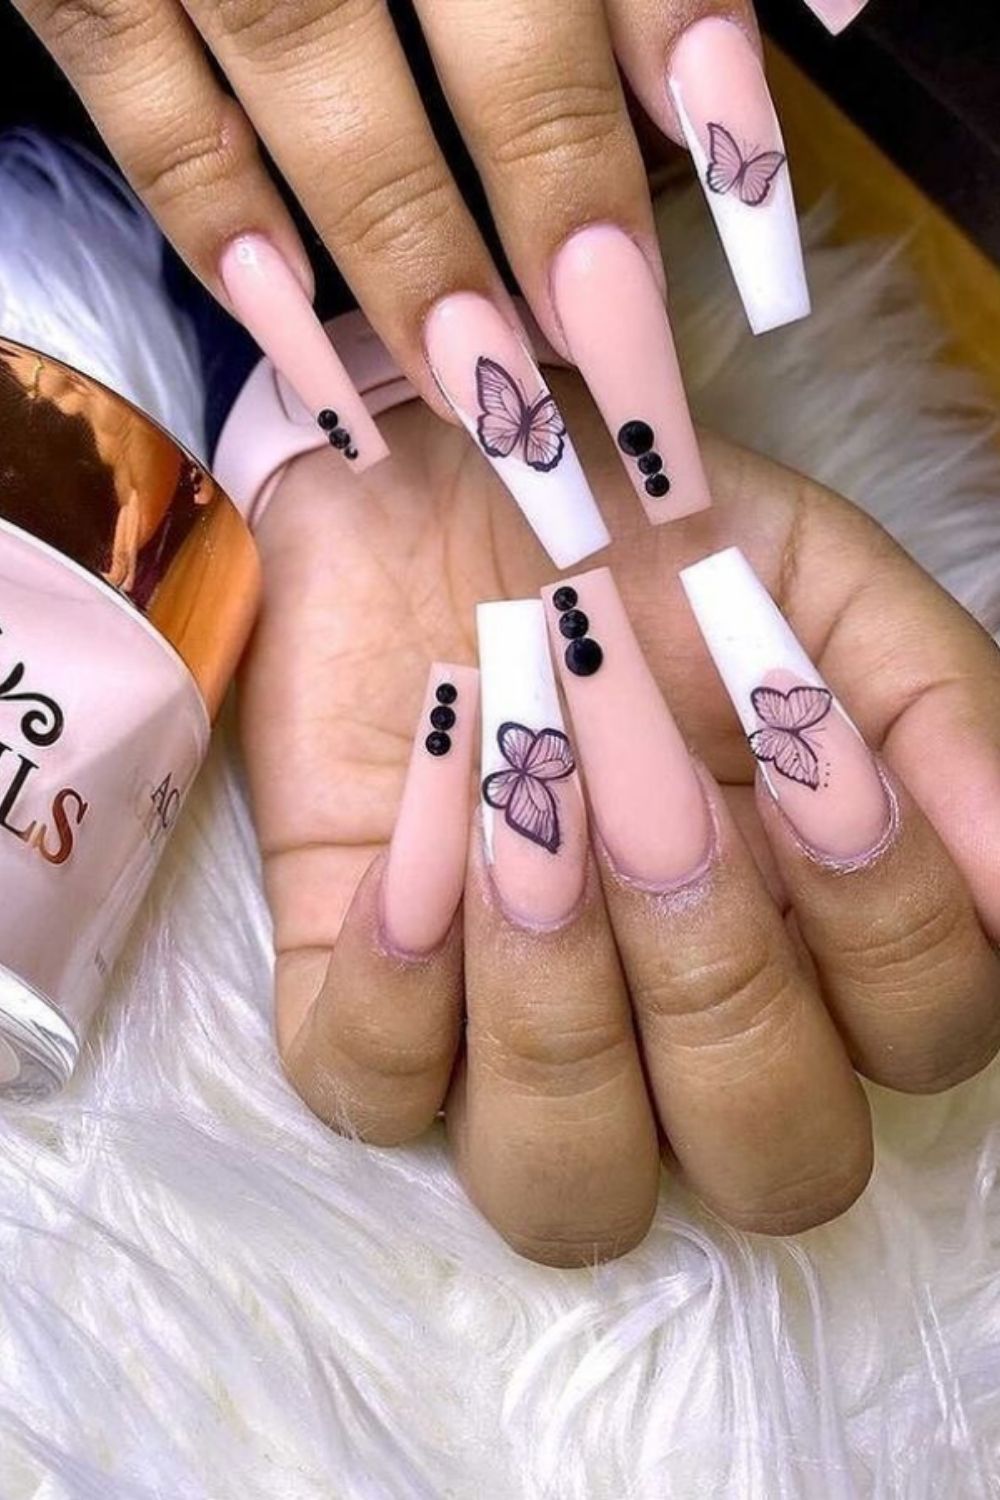
Who says nail art has to be complicated? These cute and simple designs are perfect for anyone looking for a fun and easy way to spice up their nails.Cute and Simple Nail Art Designs: Step by Step Video


Cute and Simple Nail Art Designs: Step by Step Video

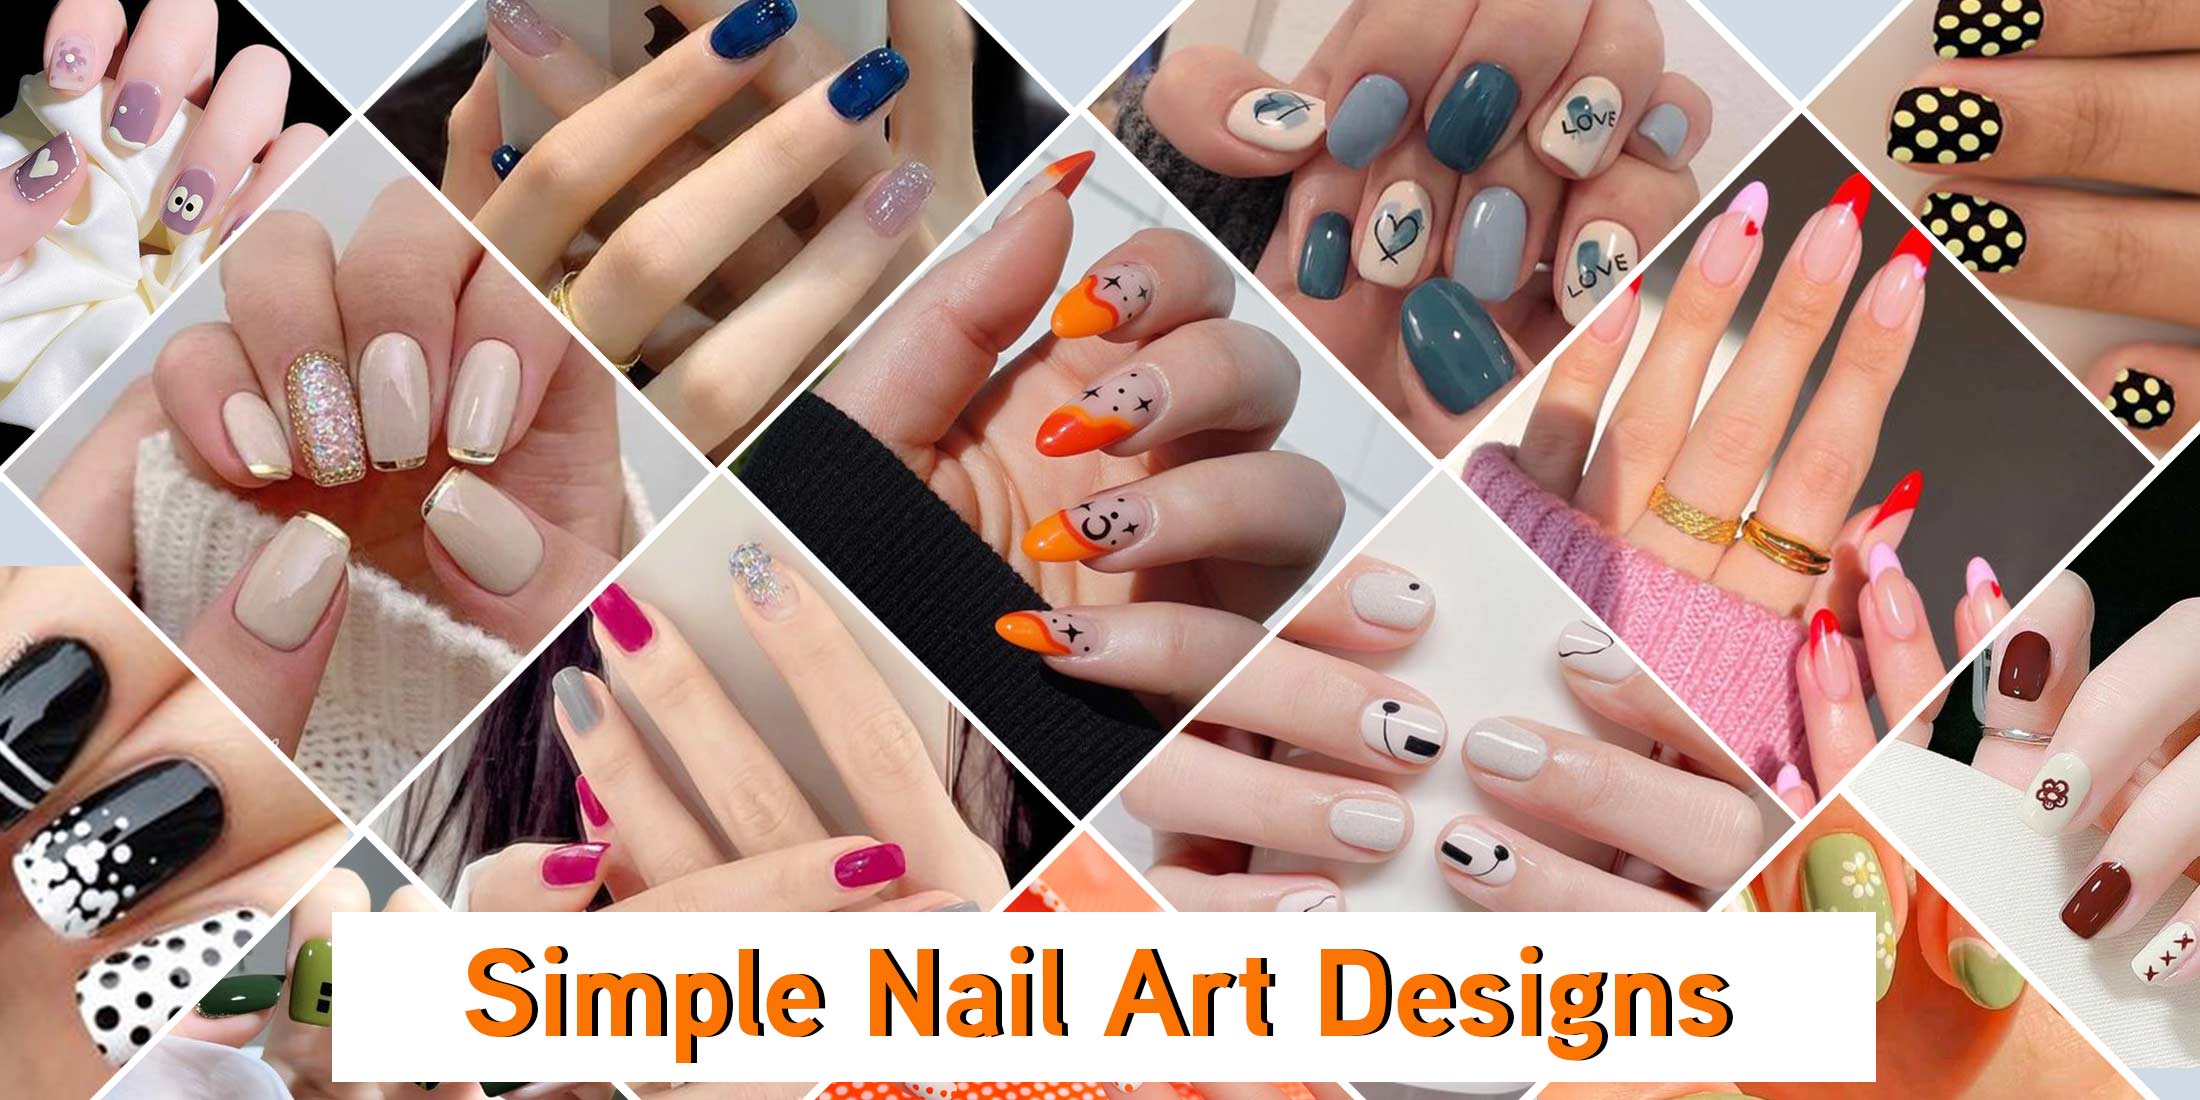
Easy Steps to Master Nail Art Design: A How-To Guide
Unleash Your Creativity with Simple and Stunning Nail Art
 Nail art design has become increasingly popular in recent years, and it's no surprise why. Not only does it allow you to express your individual style and personality, but it also adds a unique touch to your overall look. However, the thought of creating intricate designs on your nails may seem daunting at first. But fear not, with these simple and easy steps, you'll be able to master nail art design in no time!
Gather Your Supplies
 Before you begin, make sure you have all the necessary supplies. This will save you time and frustration during the process. You will need
nail polish
in your desired colors,
nail art brushes
,
dotting tools
,
stripping tape
,
nail studs
, and
top coat
. You can find these items at your local drugstore or beauty supply store.
Before you begin, make sure you have all the necessary supplies. This will save you time and frustration during the process. You will need
nail polish
in your desired colors,
nail art brushes
,
dotting tools
,
stripping tape
,
nail studs
, and
top coat
. You can find these items at your local drugstore or beauty supply store.
Prep Your Nails
/ScreenShot2020-01-13at1.02.35PM-f3cc8a0d04b748e9ab7aaa185aab409b.png) Start by cleaning your nails and removing any old nail polish. Then, trim and shape your nails to your desired length and shape. Next, apply a base coat to protect your nails and help the polish adhere better. This step is crucial in creating a long-lasting design.
Start by cleaning your nails and removing any old nail polish. Then, trim and shape your nails to your desired length and shape. Next, apply a base coat to protect your nails and help the polish adhere better. This step is crucial in creating a long-lasting design.
Choose Your Design
 Now comes the fun part - choosing your design! You can find inspiration from
nail art design videos
or
online tutorials
. If you're a beginner, start with simple designs such as polka dots, stripes, or basic shapes. As you gain more experience, you can try more complex designs.
Now comes the fun part - choosing your design! You can find inspiration from
nail art design videos
or
online tutorials
. If you're a beginner, start with simple designs such as polka dots, stripes, or basic shapes. As you gain more experience, you can try more complex designs.
Time to Paint
 Once you have your design in mind, it's time to paint! Start with a light base color and allow it to dry completely. Then, using your nail art brushes or dotting tools, add your desired design. Don't be afraid to experiment with different colors and techniques to create a unique look.
Add Finishing Touches
 After your design is complete, add a top coat to seal and protect your design. You can also add
nail studs
or
stripping tape
for an extra touch of flair. Allow your nails to dry completely before going about your day.
After your design is complete, add a top coat to seal and protect your design. You can also add
nail studs
or
stripping tape
for an extra touch of flair. Allow your nails to dry completely before going about your day.
Practice Makes Perfect
 As with any skill, practice makes perfect. Don't be discouraged if your first attempt doesn't turn out as expected. Keep practicing and trying new designs, and soon enough, you'll be a nail art pro!
Now that you have the basic steps down, you can explore different
nail art designs
and techniques to show off your creative side. Remember to have fun and let your imagination run wild. With these simple steps, you'll be able to create stunning nail art designs in no time. So gather your supplies and start creating!
As with any skill, practice makes perfect. Don't be discouraged if your first attempt doesn't turn out as expected. Keep practicing and trying new designs, and soon enough, you'll be a nail art pro!
Now that you have the basic steps down, you can explore different
nail art designs
and techniques to show off your creative side. Remember to have fun and let your imagination run wild. With these simple steps, you'll be able to create stunning nail art designs in no time. So gather your supplies and start creating!


