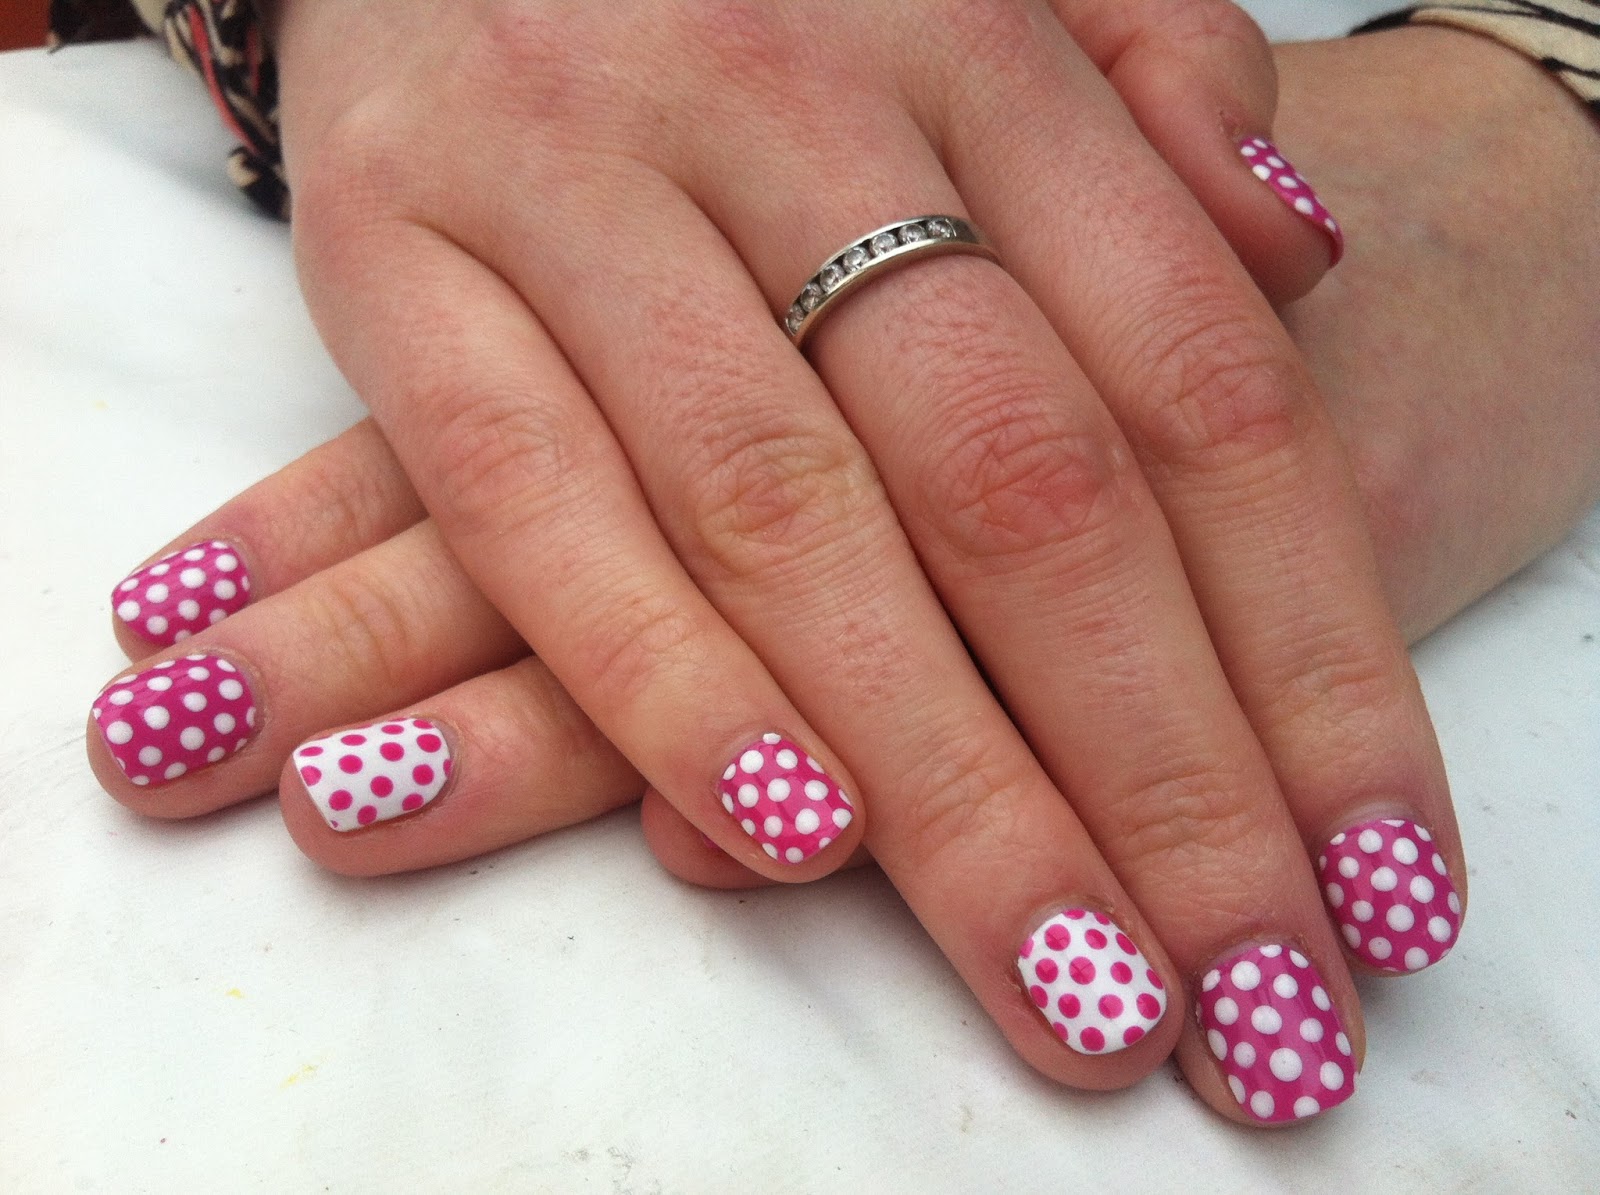
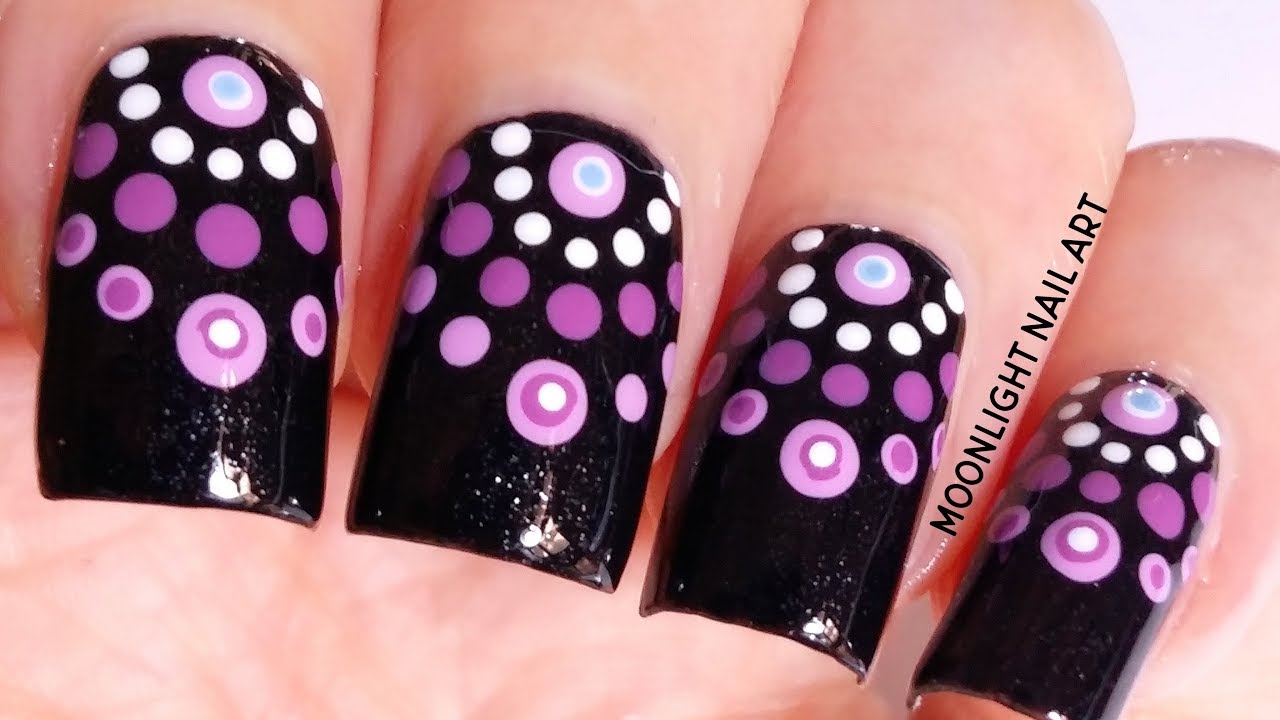
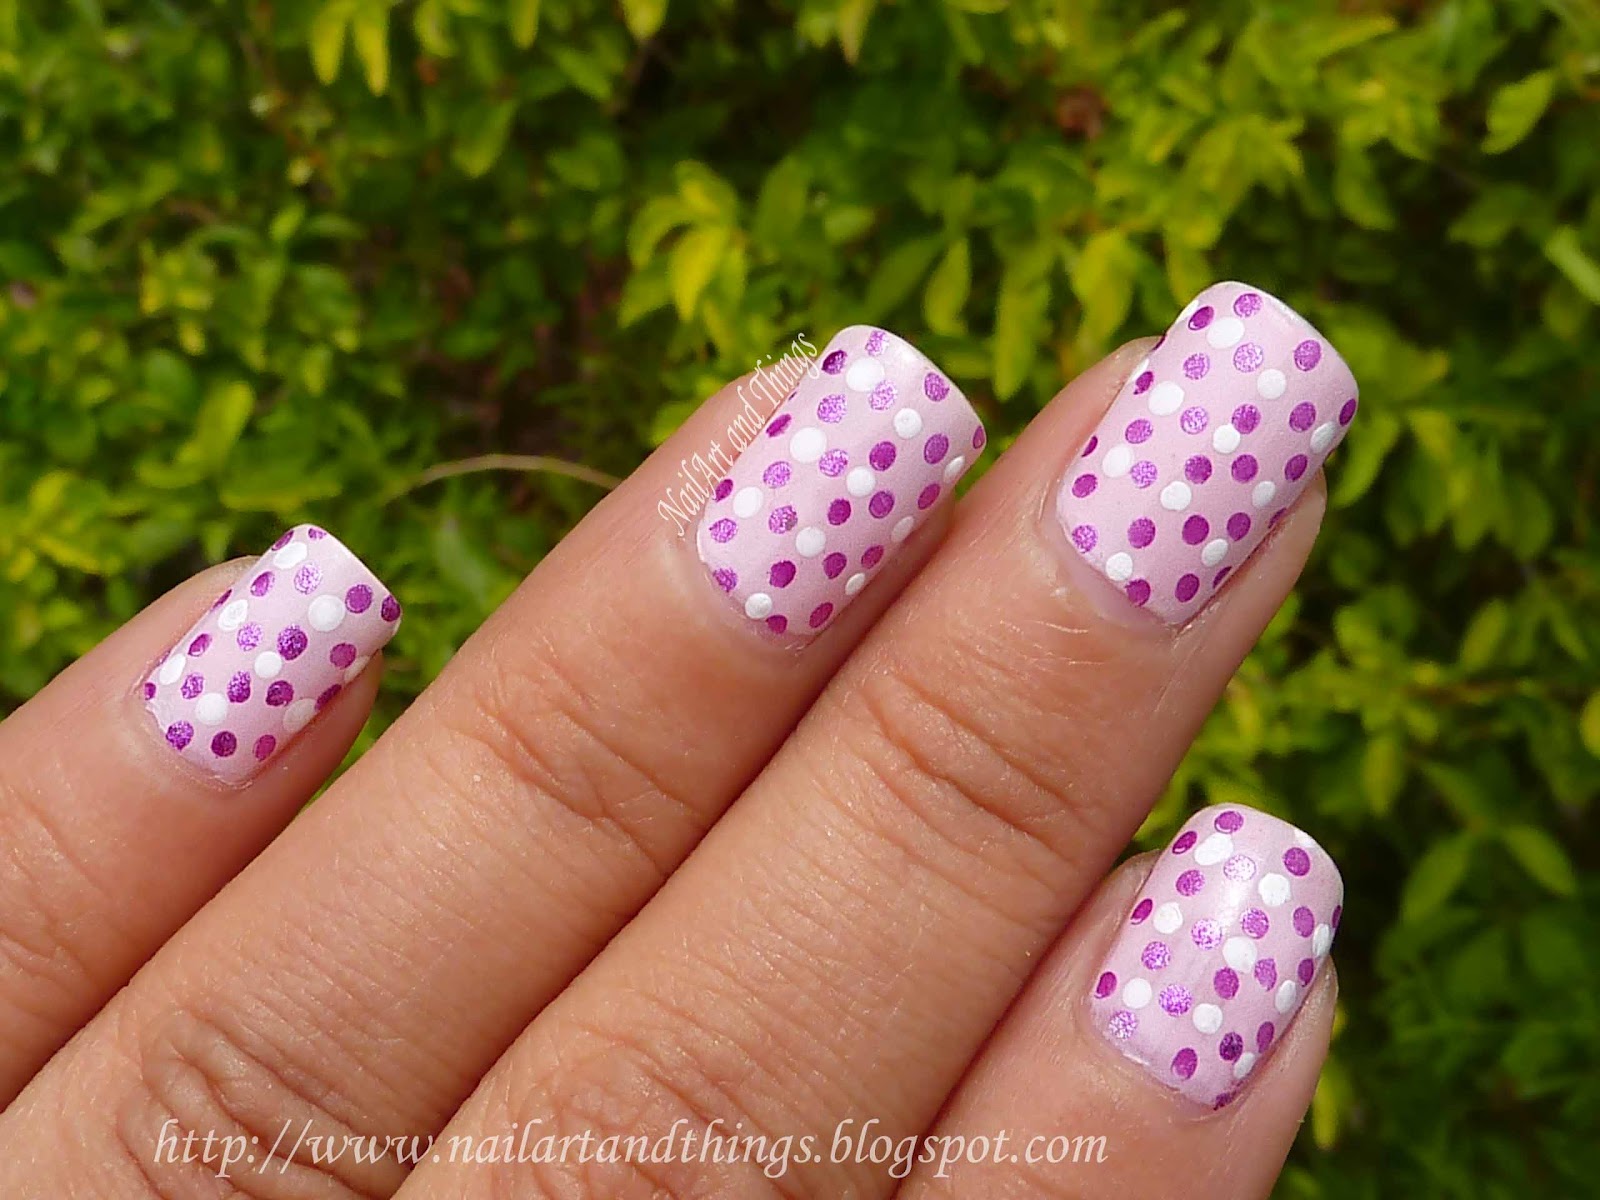
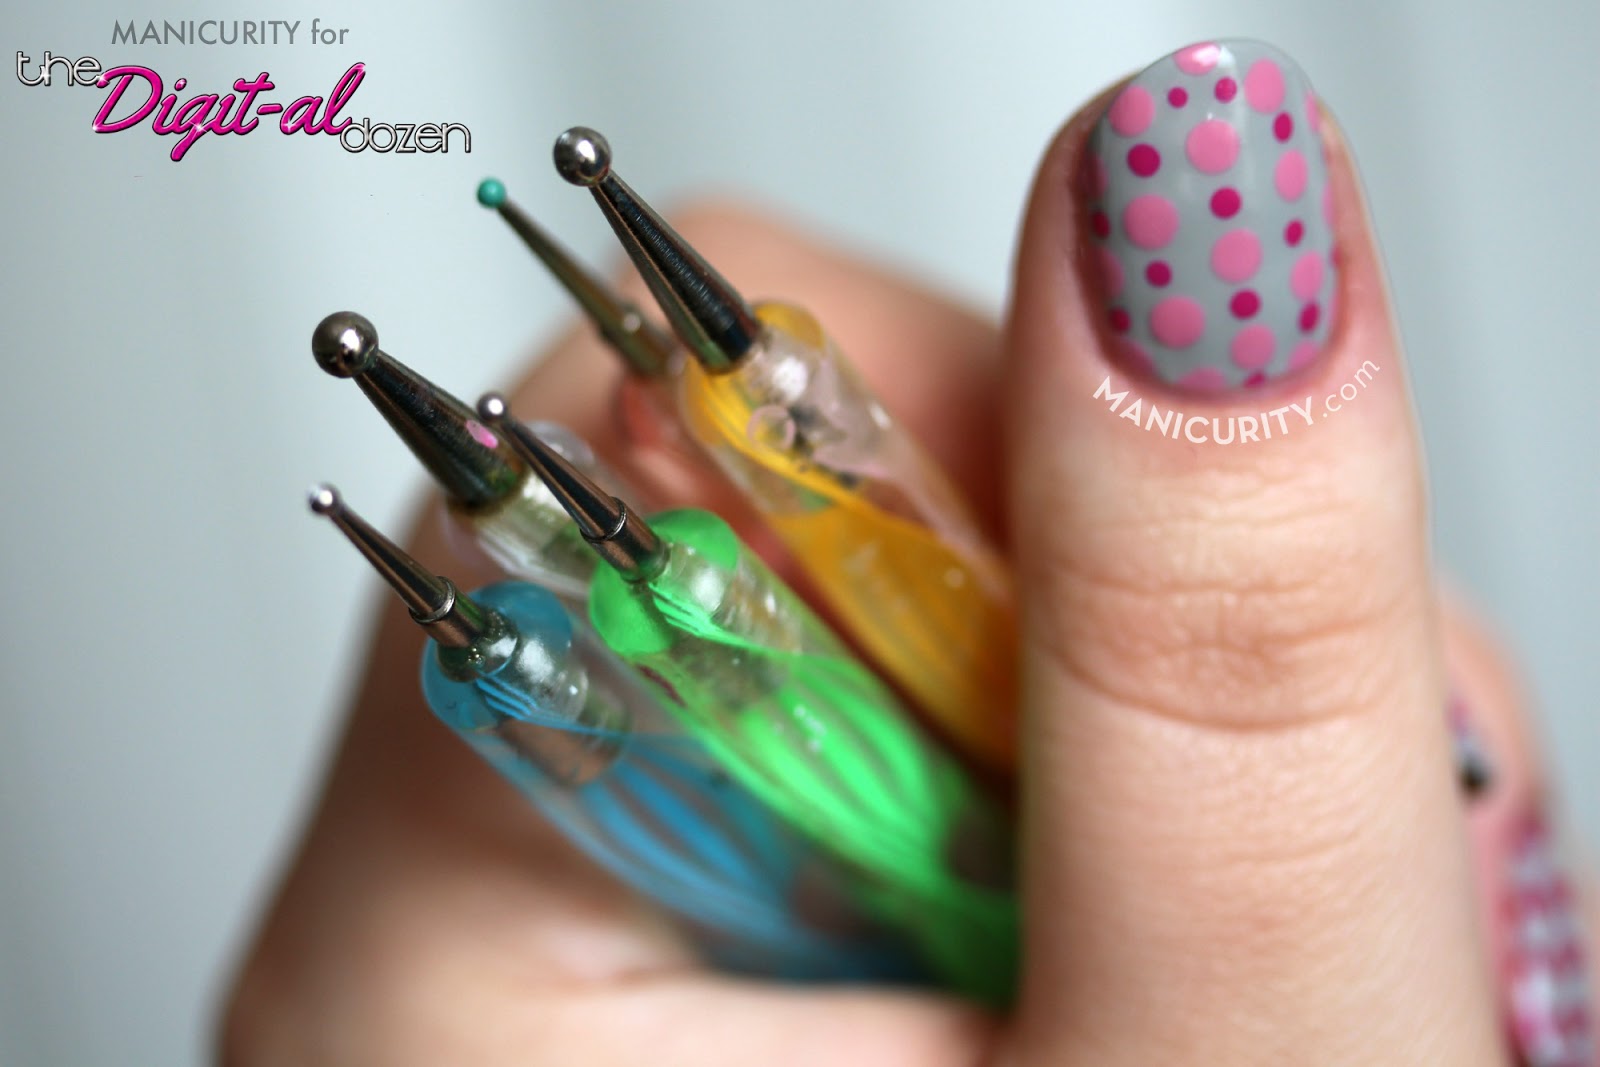
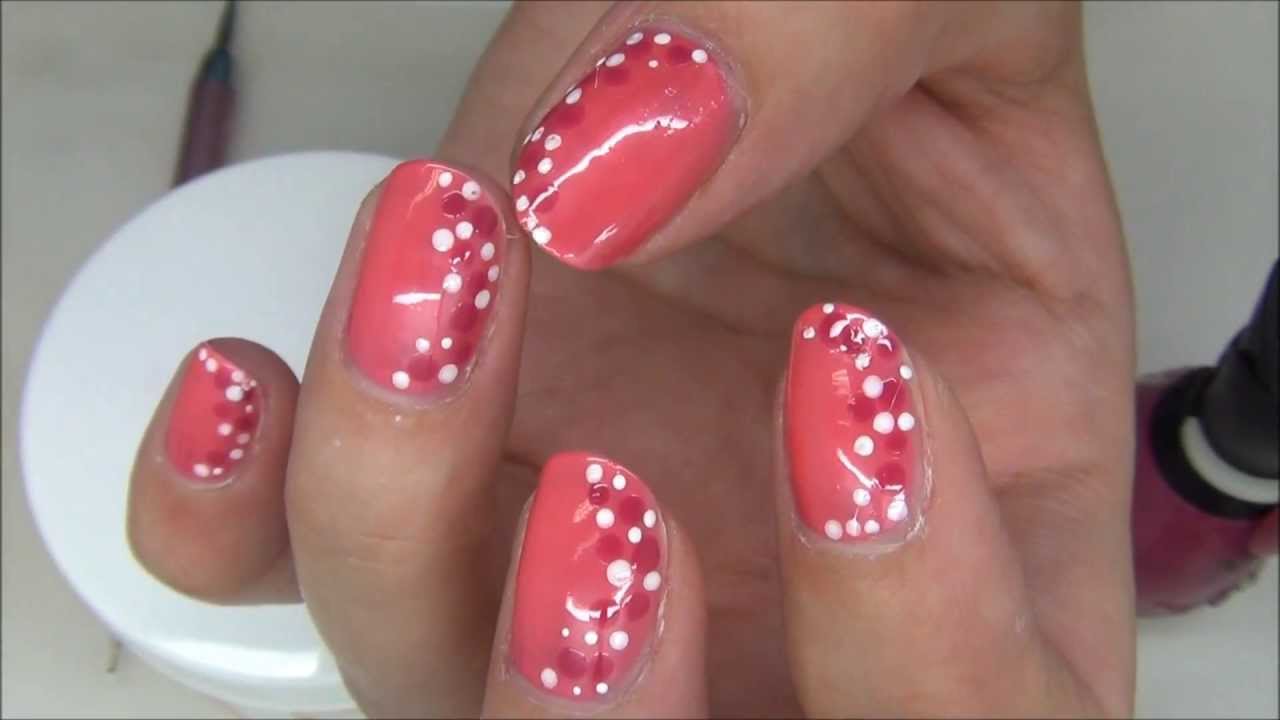
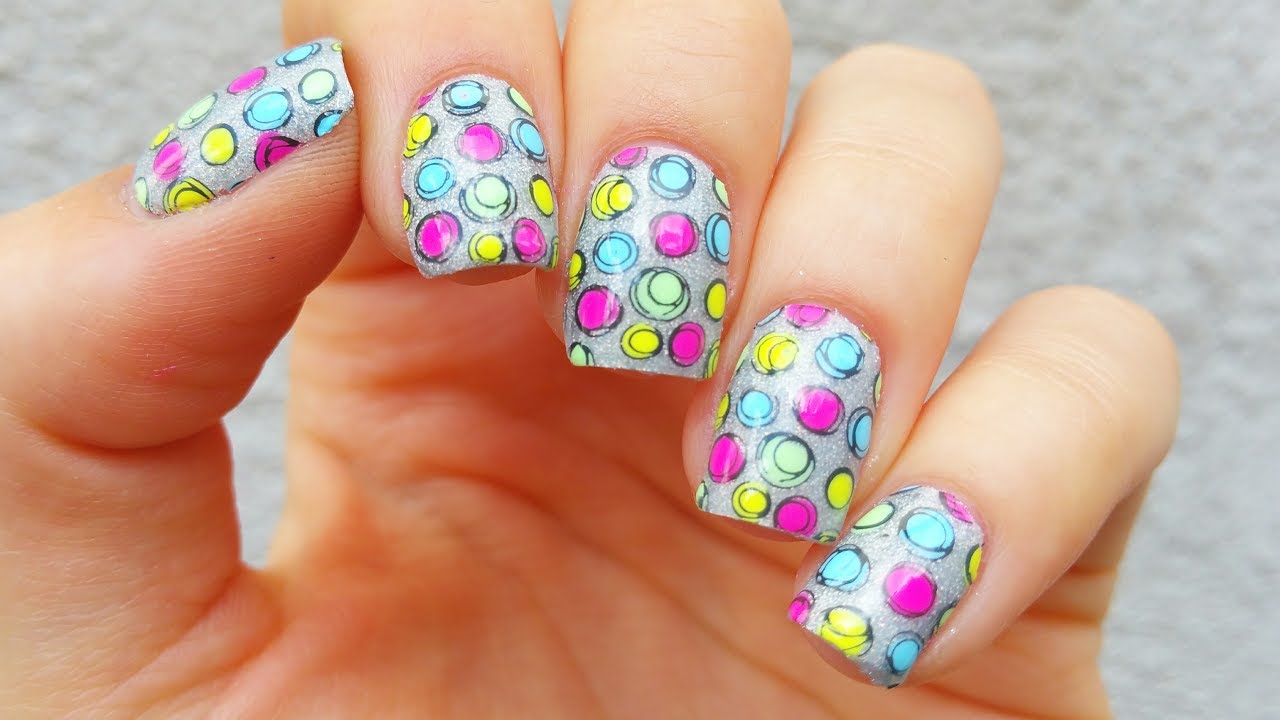
Polka dots are a classic and versatile nail art design that never goes out of style. With dotting tools, you can easily create perfect and uniform polka dot patterns on your nails. Start by choosing your desired base color and allow it to dry completely. Then, using a dotting tool, dip it into your chosen nail polish and gently dot it onto your nails in a random or organized pattern. You can also use multiple colors to create a fun and playful look. Finish off with a top coat for a long-lasting and professional finish.1. Polka Dot Nail Art Designs Using Dotting Tools


1. Polka Dot Nail Art Designs Using Dotting Tools


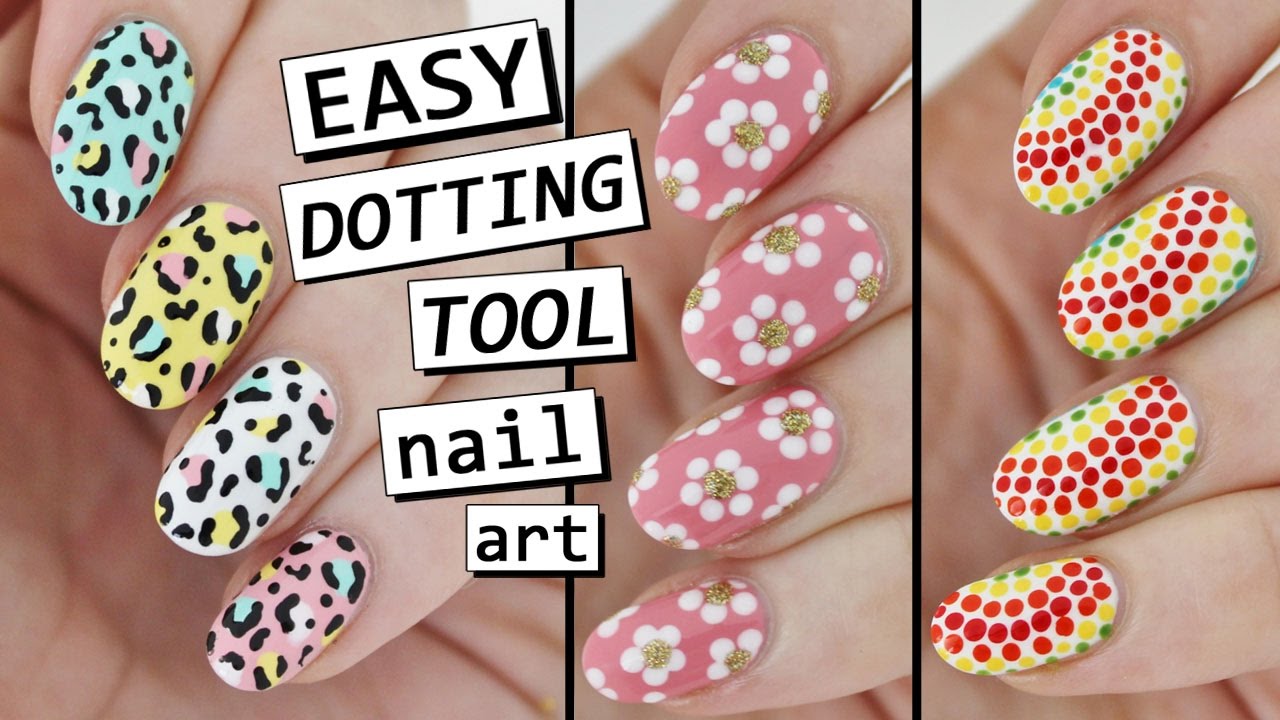
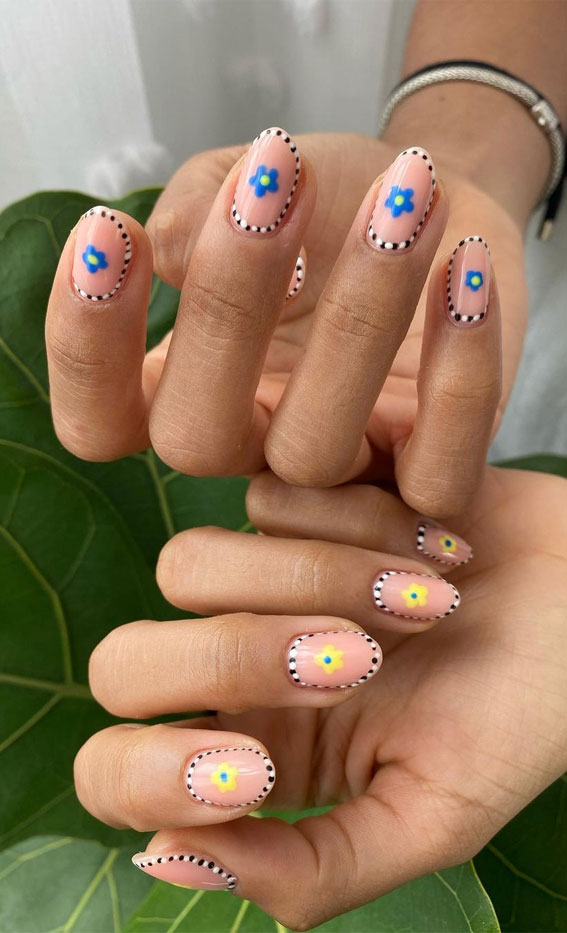
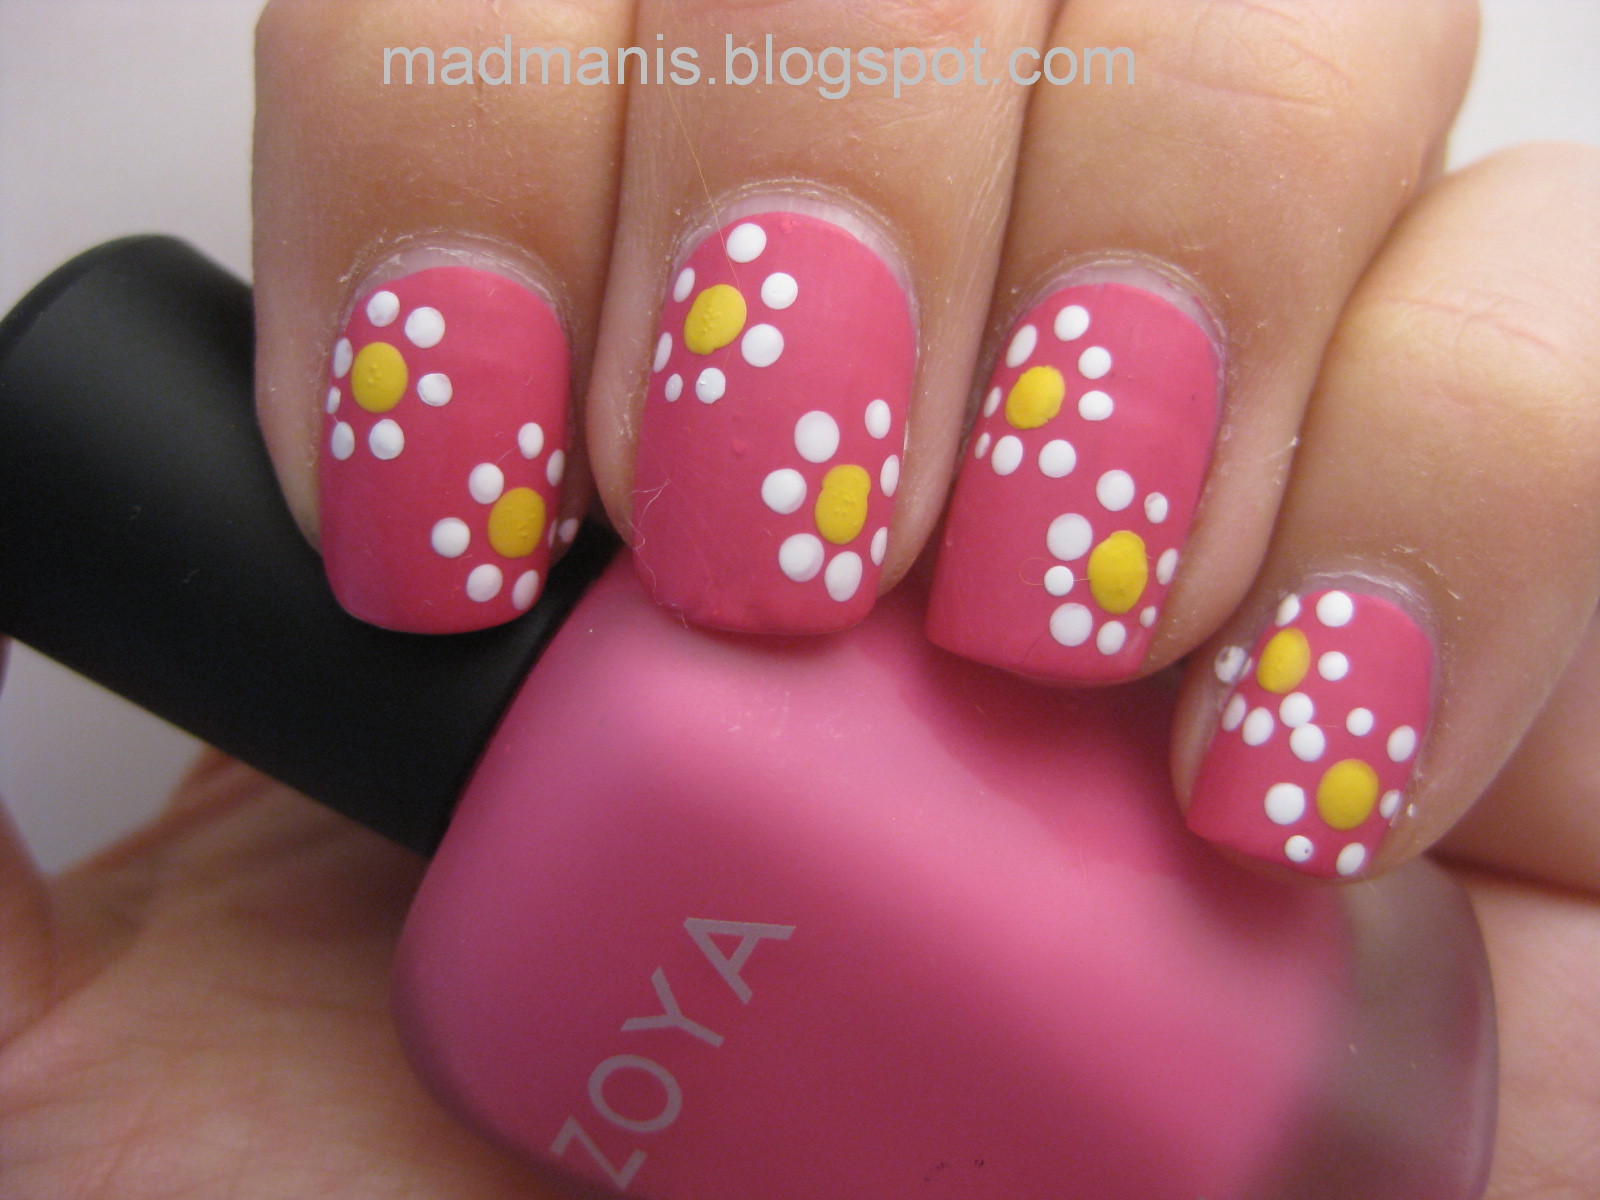
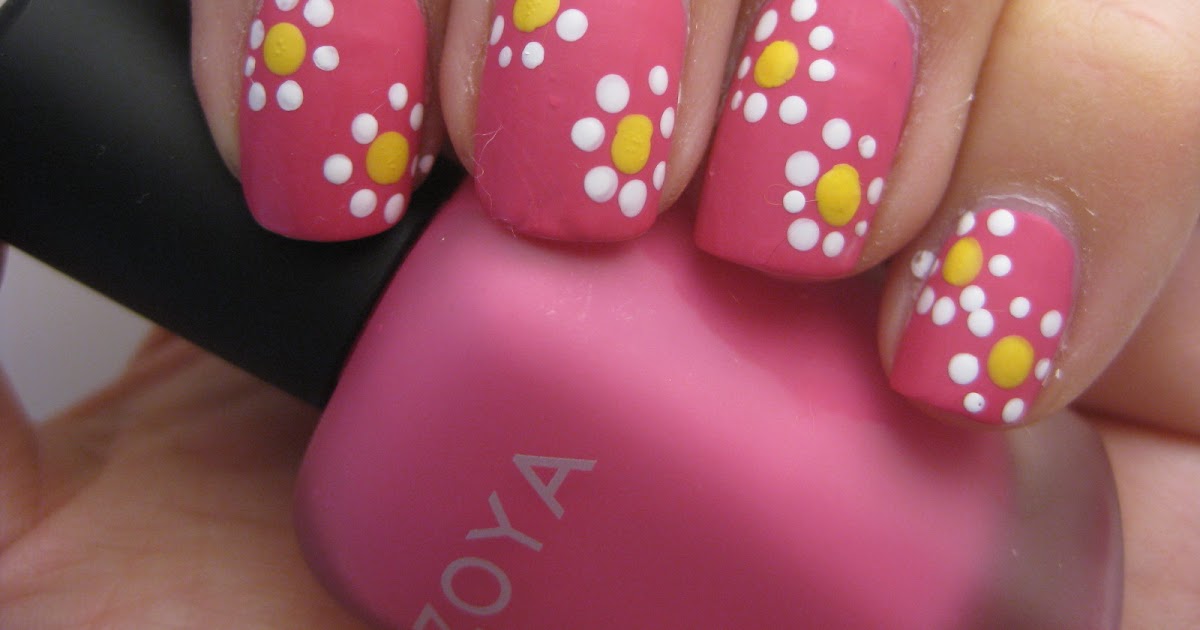
If you're new to nail art or are looking for a quick and simple design, dotting tools are your best friend. With these tools, you can create intricate designs with minimal effort. A popular and easy design is a simple flower. Start by painting your nails with a pastel base color. Then, using a dotting tool, create five dots in a circle shape and add a smaller dot in the center. This will give the illusion of a flower. You can also use different colors to create a bouquet of flowers on your nails.2. Easy Dotting Tool Nail Art Designs


2. Easy Dotting Tool Nail Art Designs


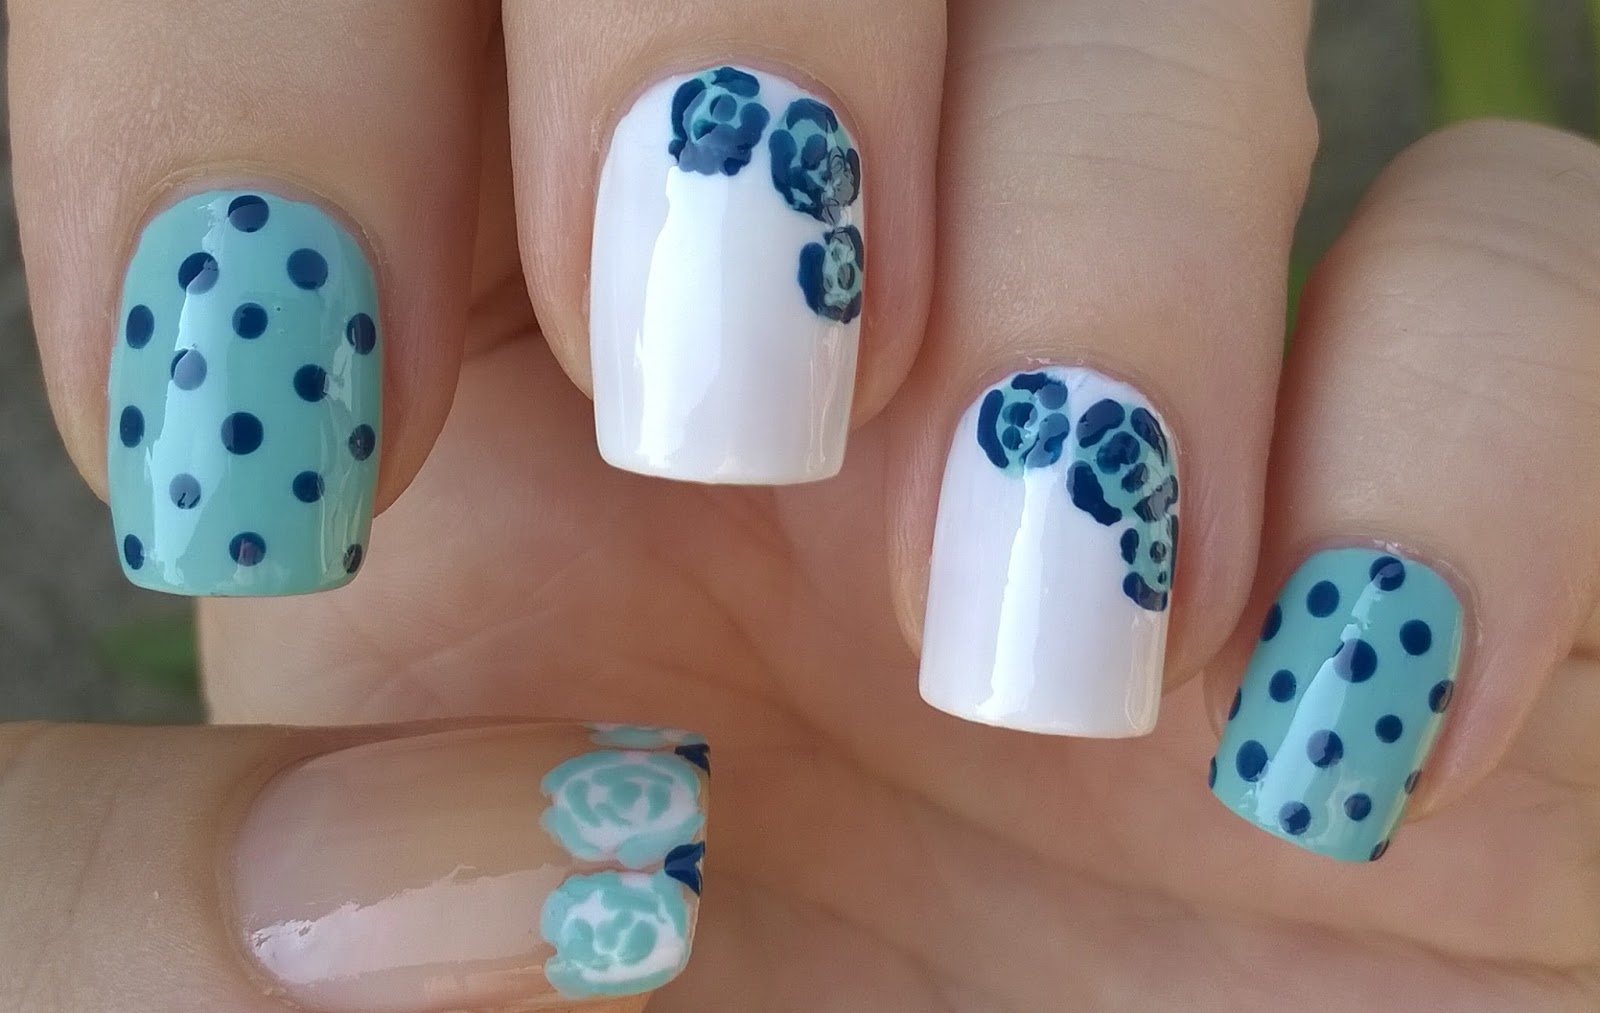
Dotting tools are perfect for creating intricate and delicate floral designs on your nails. Start by painting your nails with a light nude base color. Then, using a dotting tool, create small dots in a circular pattern to create the center of a flower. Next, use a different color to create petals around the center dots. Repeat this process to create a bouquet of flowers on your nails. You can also add green dots for leaves and stems to complete the look.3. Floral Nail Art Design Using Dotting Tools
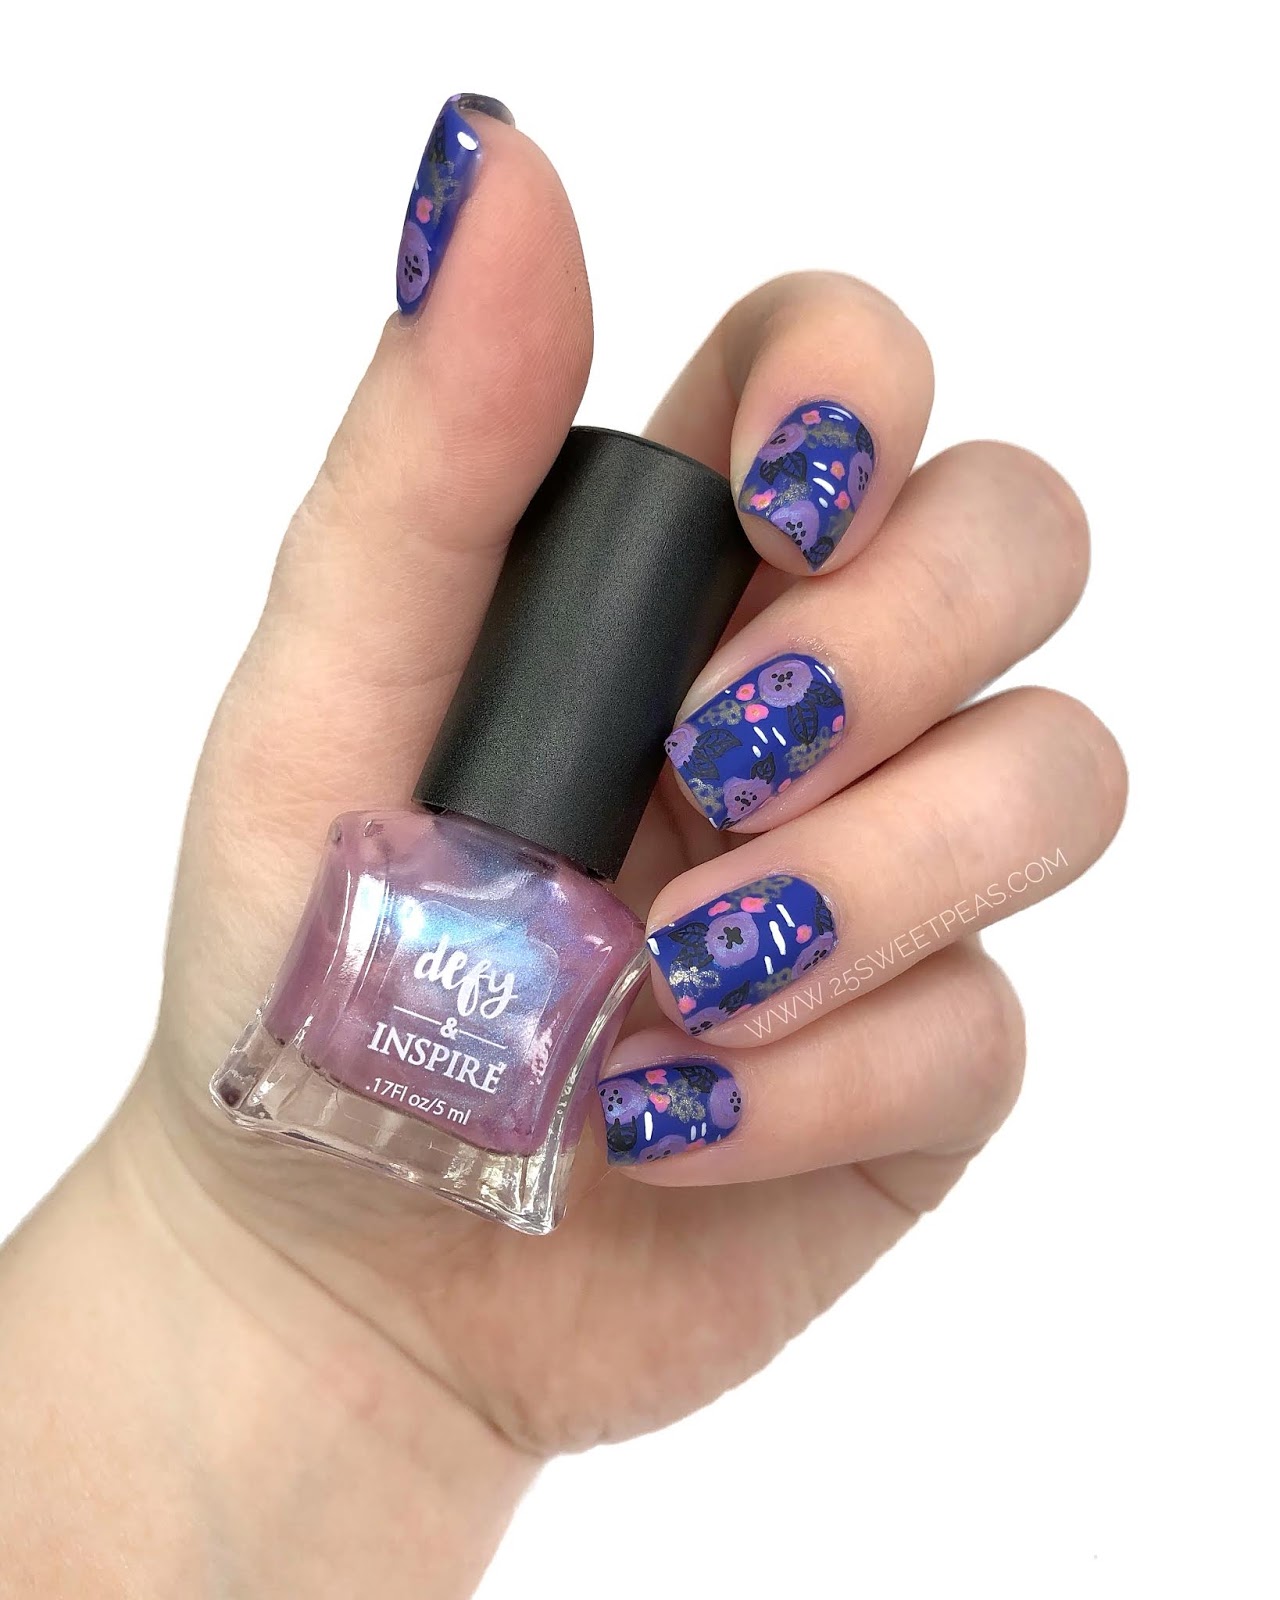


3. Floral Nail Art Design Using Dotting Tools

Using dotting tools, you can create a gradient effect on your nails without the hassle of using a sponge. Start by painting your nails with a light base color and allow it to dry completely. Then, using a dotting tool, create small dots with a darker shade of the same color on the bottom half of your nails. Continue to add more dots with a slightly darker shade until you reach the tip of your nails. Finish off with a top coat for a seamless and gradient effect.4. Gradient Dotting Tool Nail Art Designs

4. Gradient Dotting Tool Nail Art Designs
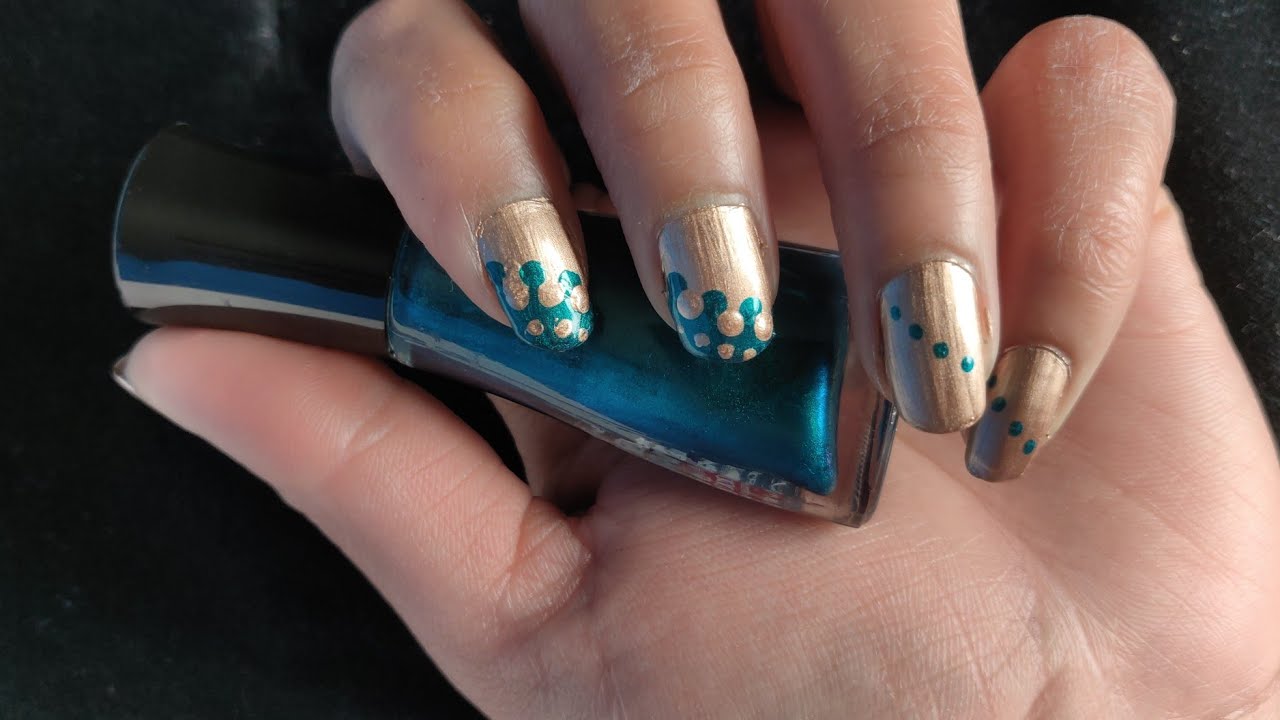
Give your classic French tip manicure a unique twist with dotting tools. Start by painting your nails with a white base color and allow it to dry completely. Then, using a dotting tool, create small dots with a different color along the tip of your nails. You can use a single color or create a gradient effect by using different shades of the same color. This simple design adds a fun and colorful touch to a classic look.5. French Tip Nail Art Design Using Dotting Tools
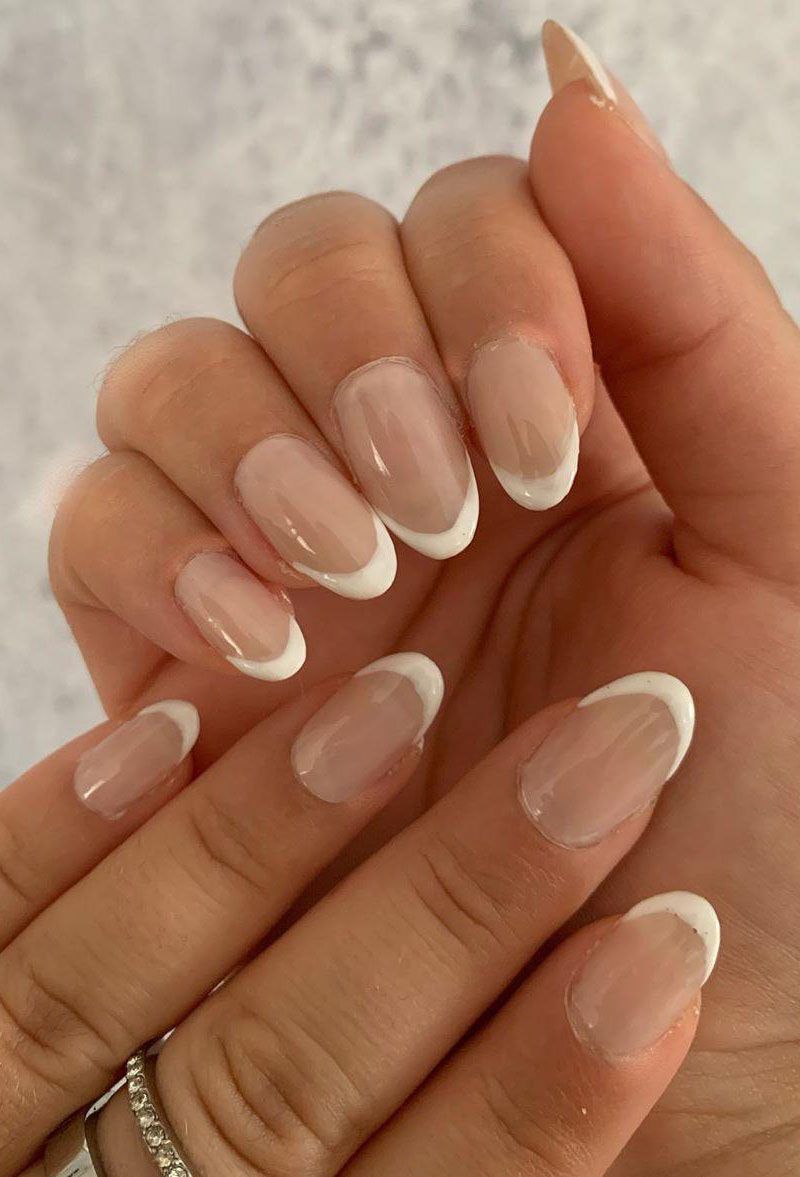
5. French Tip Nail Art Design Using Dotting Tools


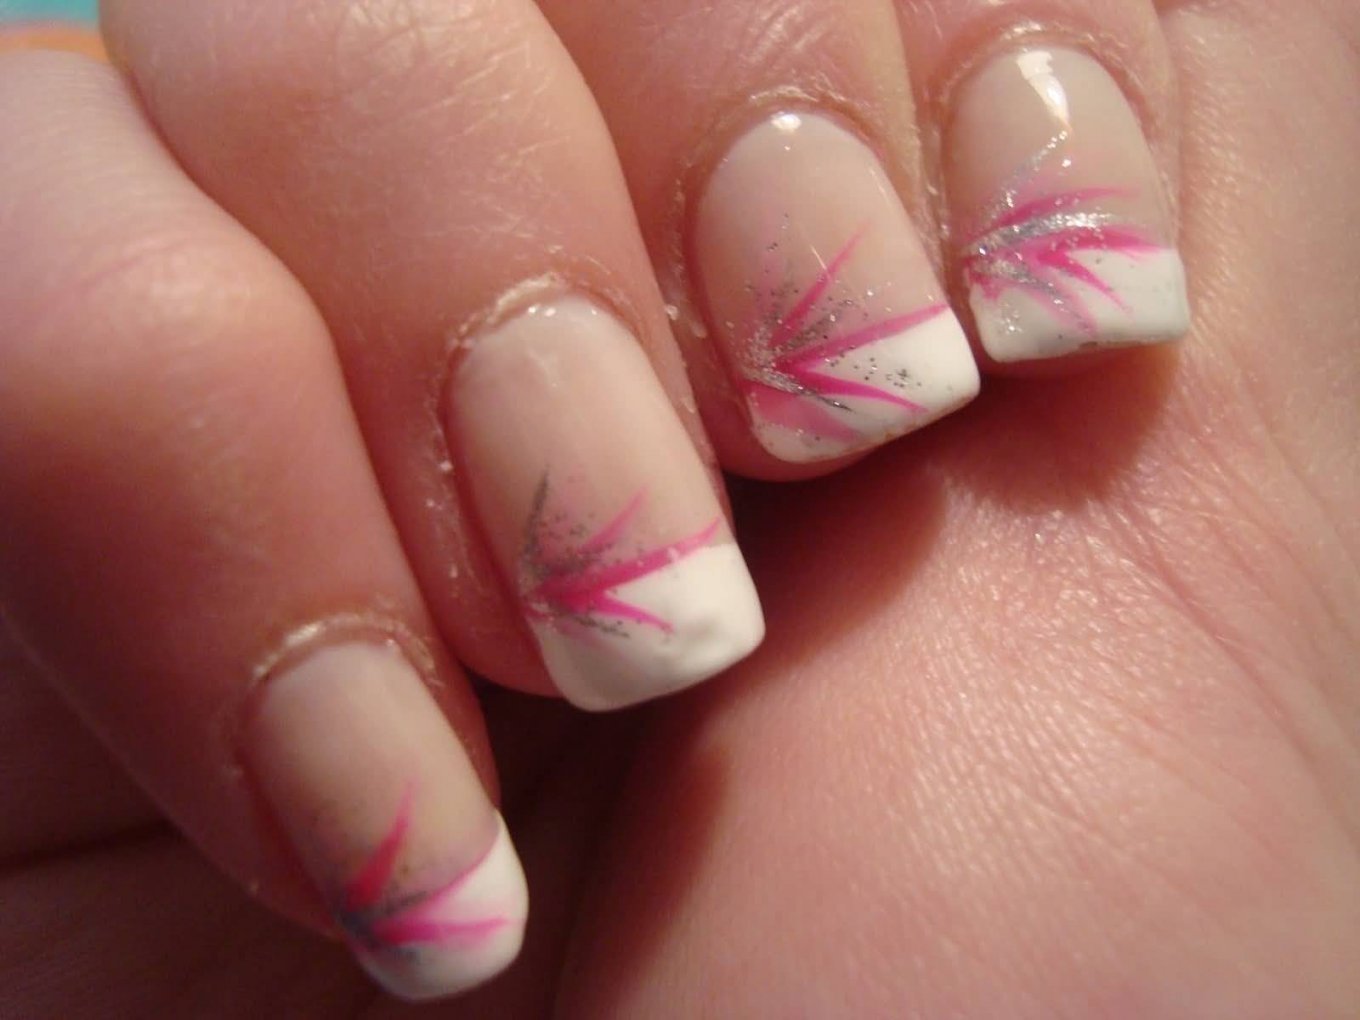
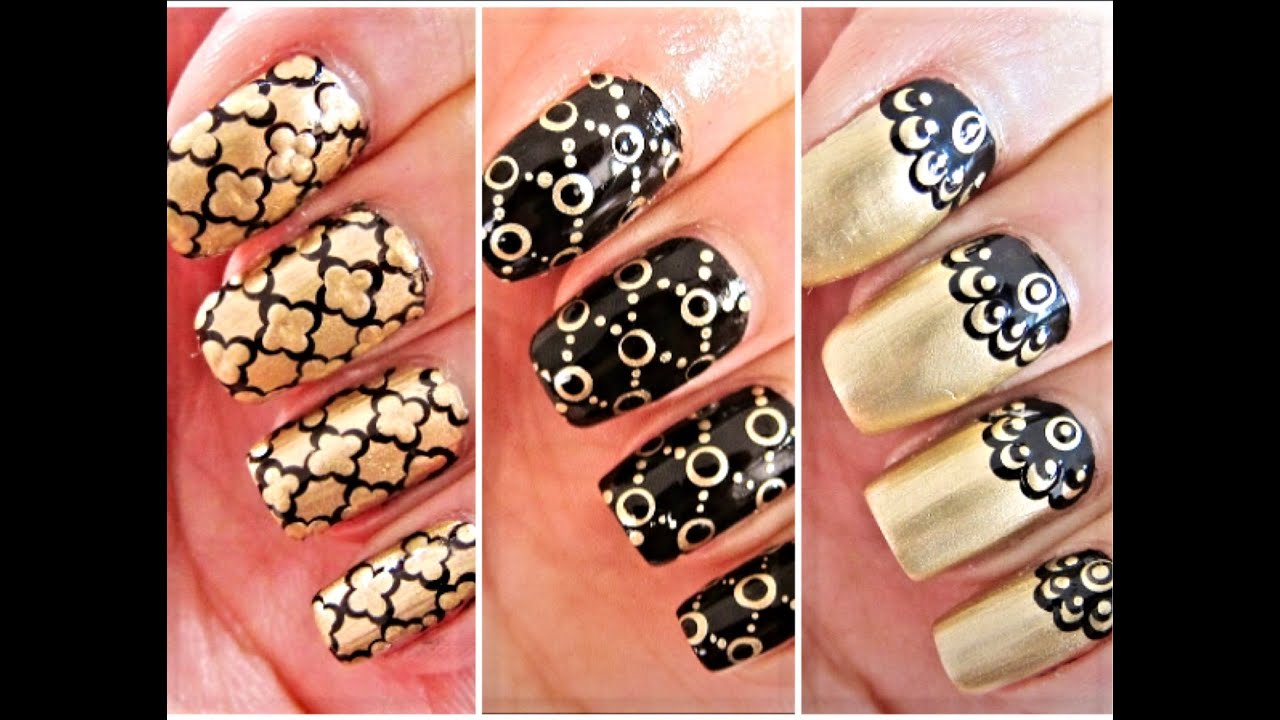
Dotting tools are perfect for creating precise and geometric nail art designs. Start by painting your nails with a black base color and allow it to dry completely. Then, using a dotting tool, create small dots in a triangular pattern on one side of your nail. Connect the dots with lines to create a triangle. Repeat this process to create different shapes and patterns on your nails. You can also use different colors to create a bold and eye-catching look.6. Geometric Dotting Tool Nail Art Designs


6. Geometric Dotting Tool Nail Art Designs

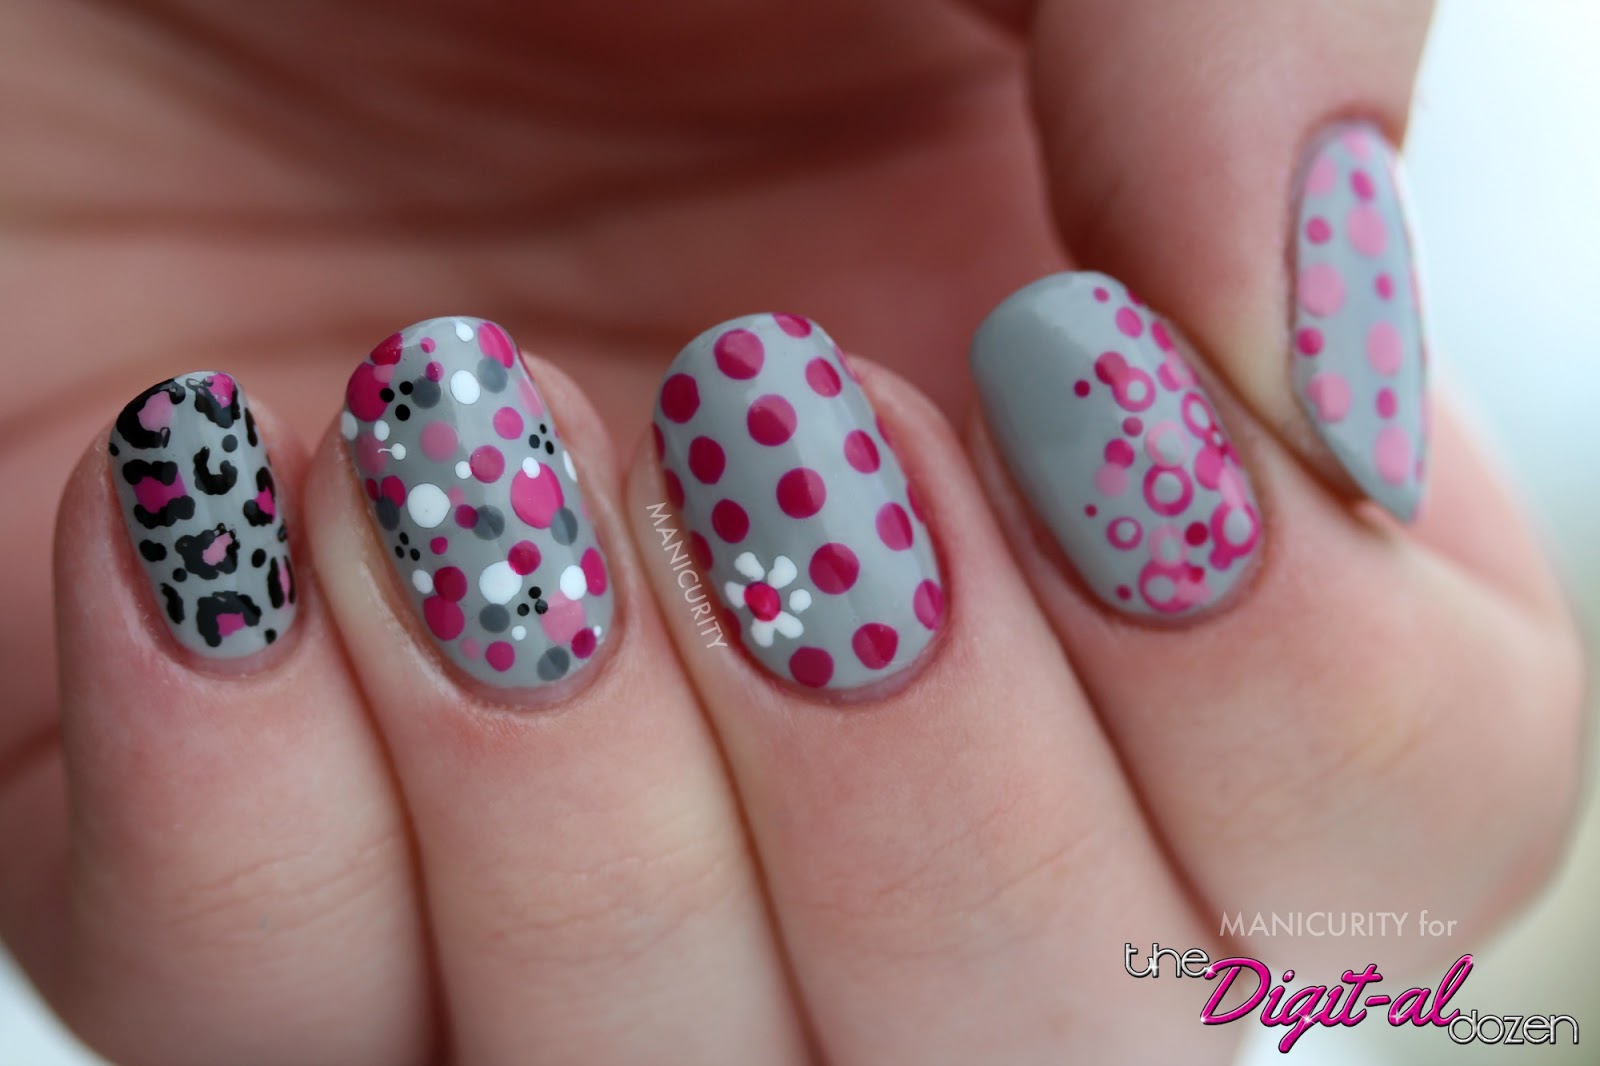
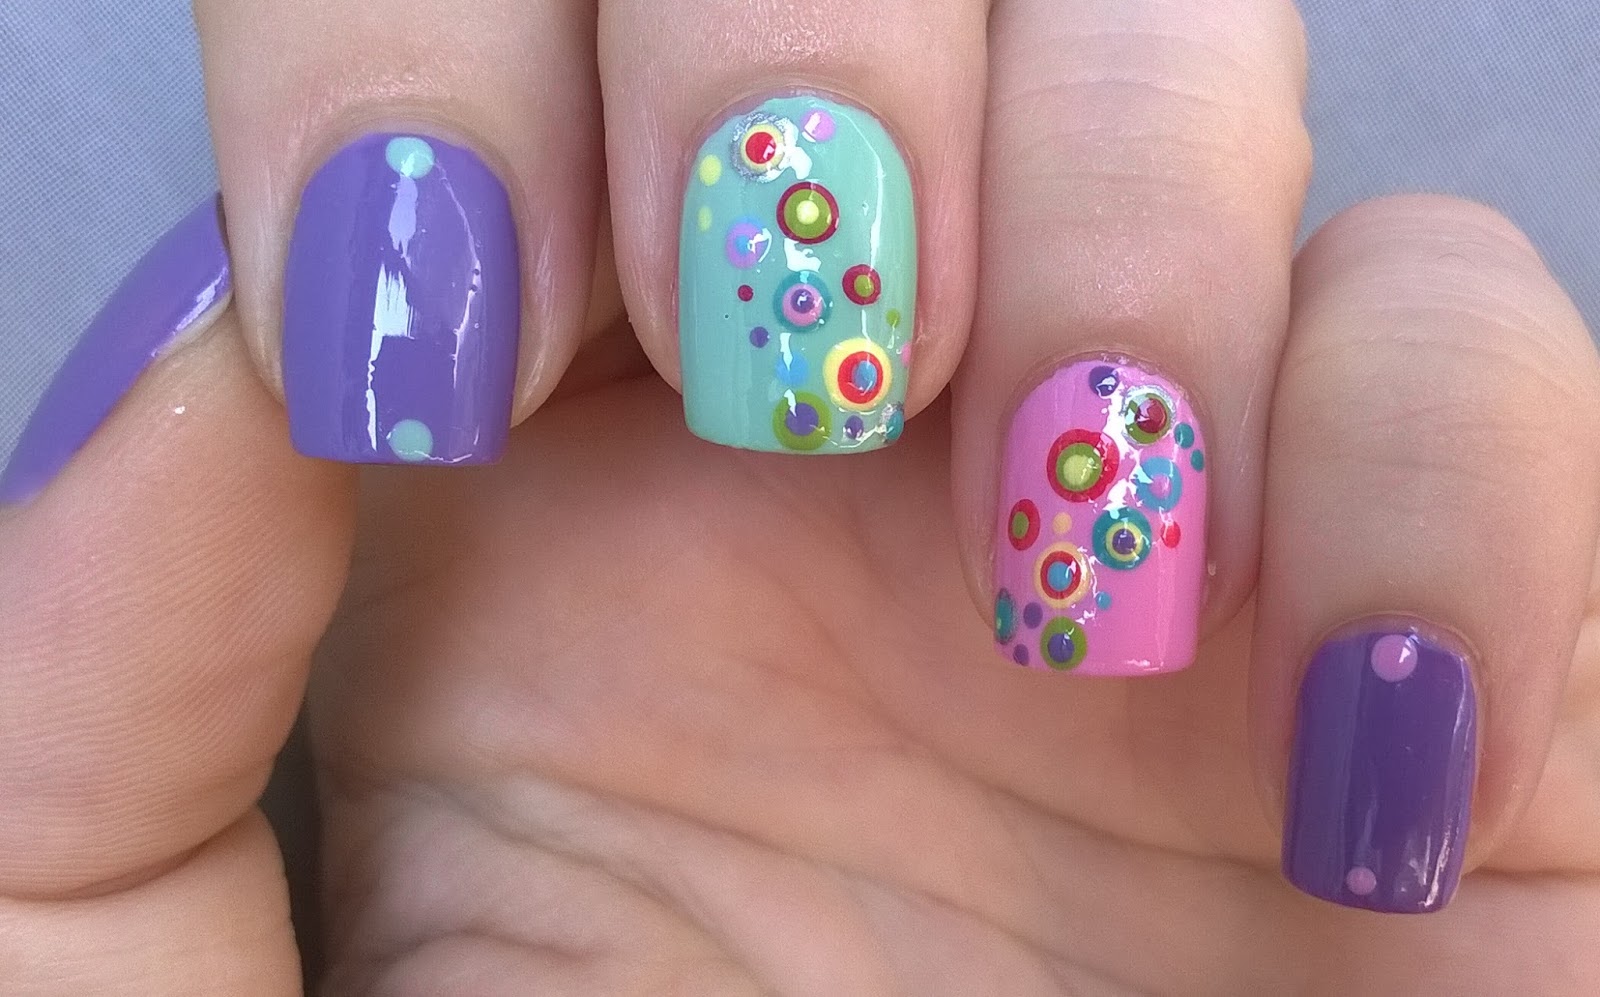
With dotting tools, you can let your creativity run wild and create abstract and unique nail art designs. Start by painting your nails with a metallic base color and allow it to dry completely. Then, using a dotting tool, create small dots in different sizes and colors all over your nails. You can also use the dotting tool to swirl the dots together to create a marbled effect. This design is perfect for those who love a bold and artistic look.7. Abstract Dotting Tool Nail Art Designs


7. Abstract Dotting Tool Nail Art Designs
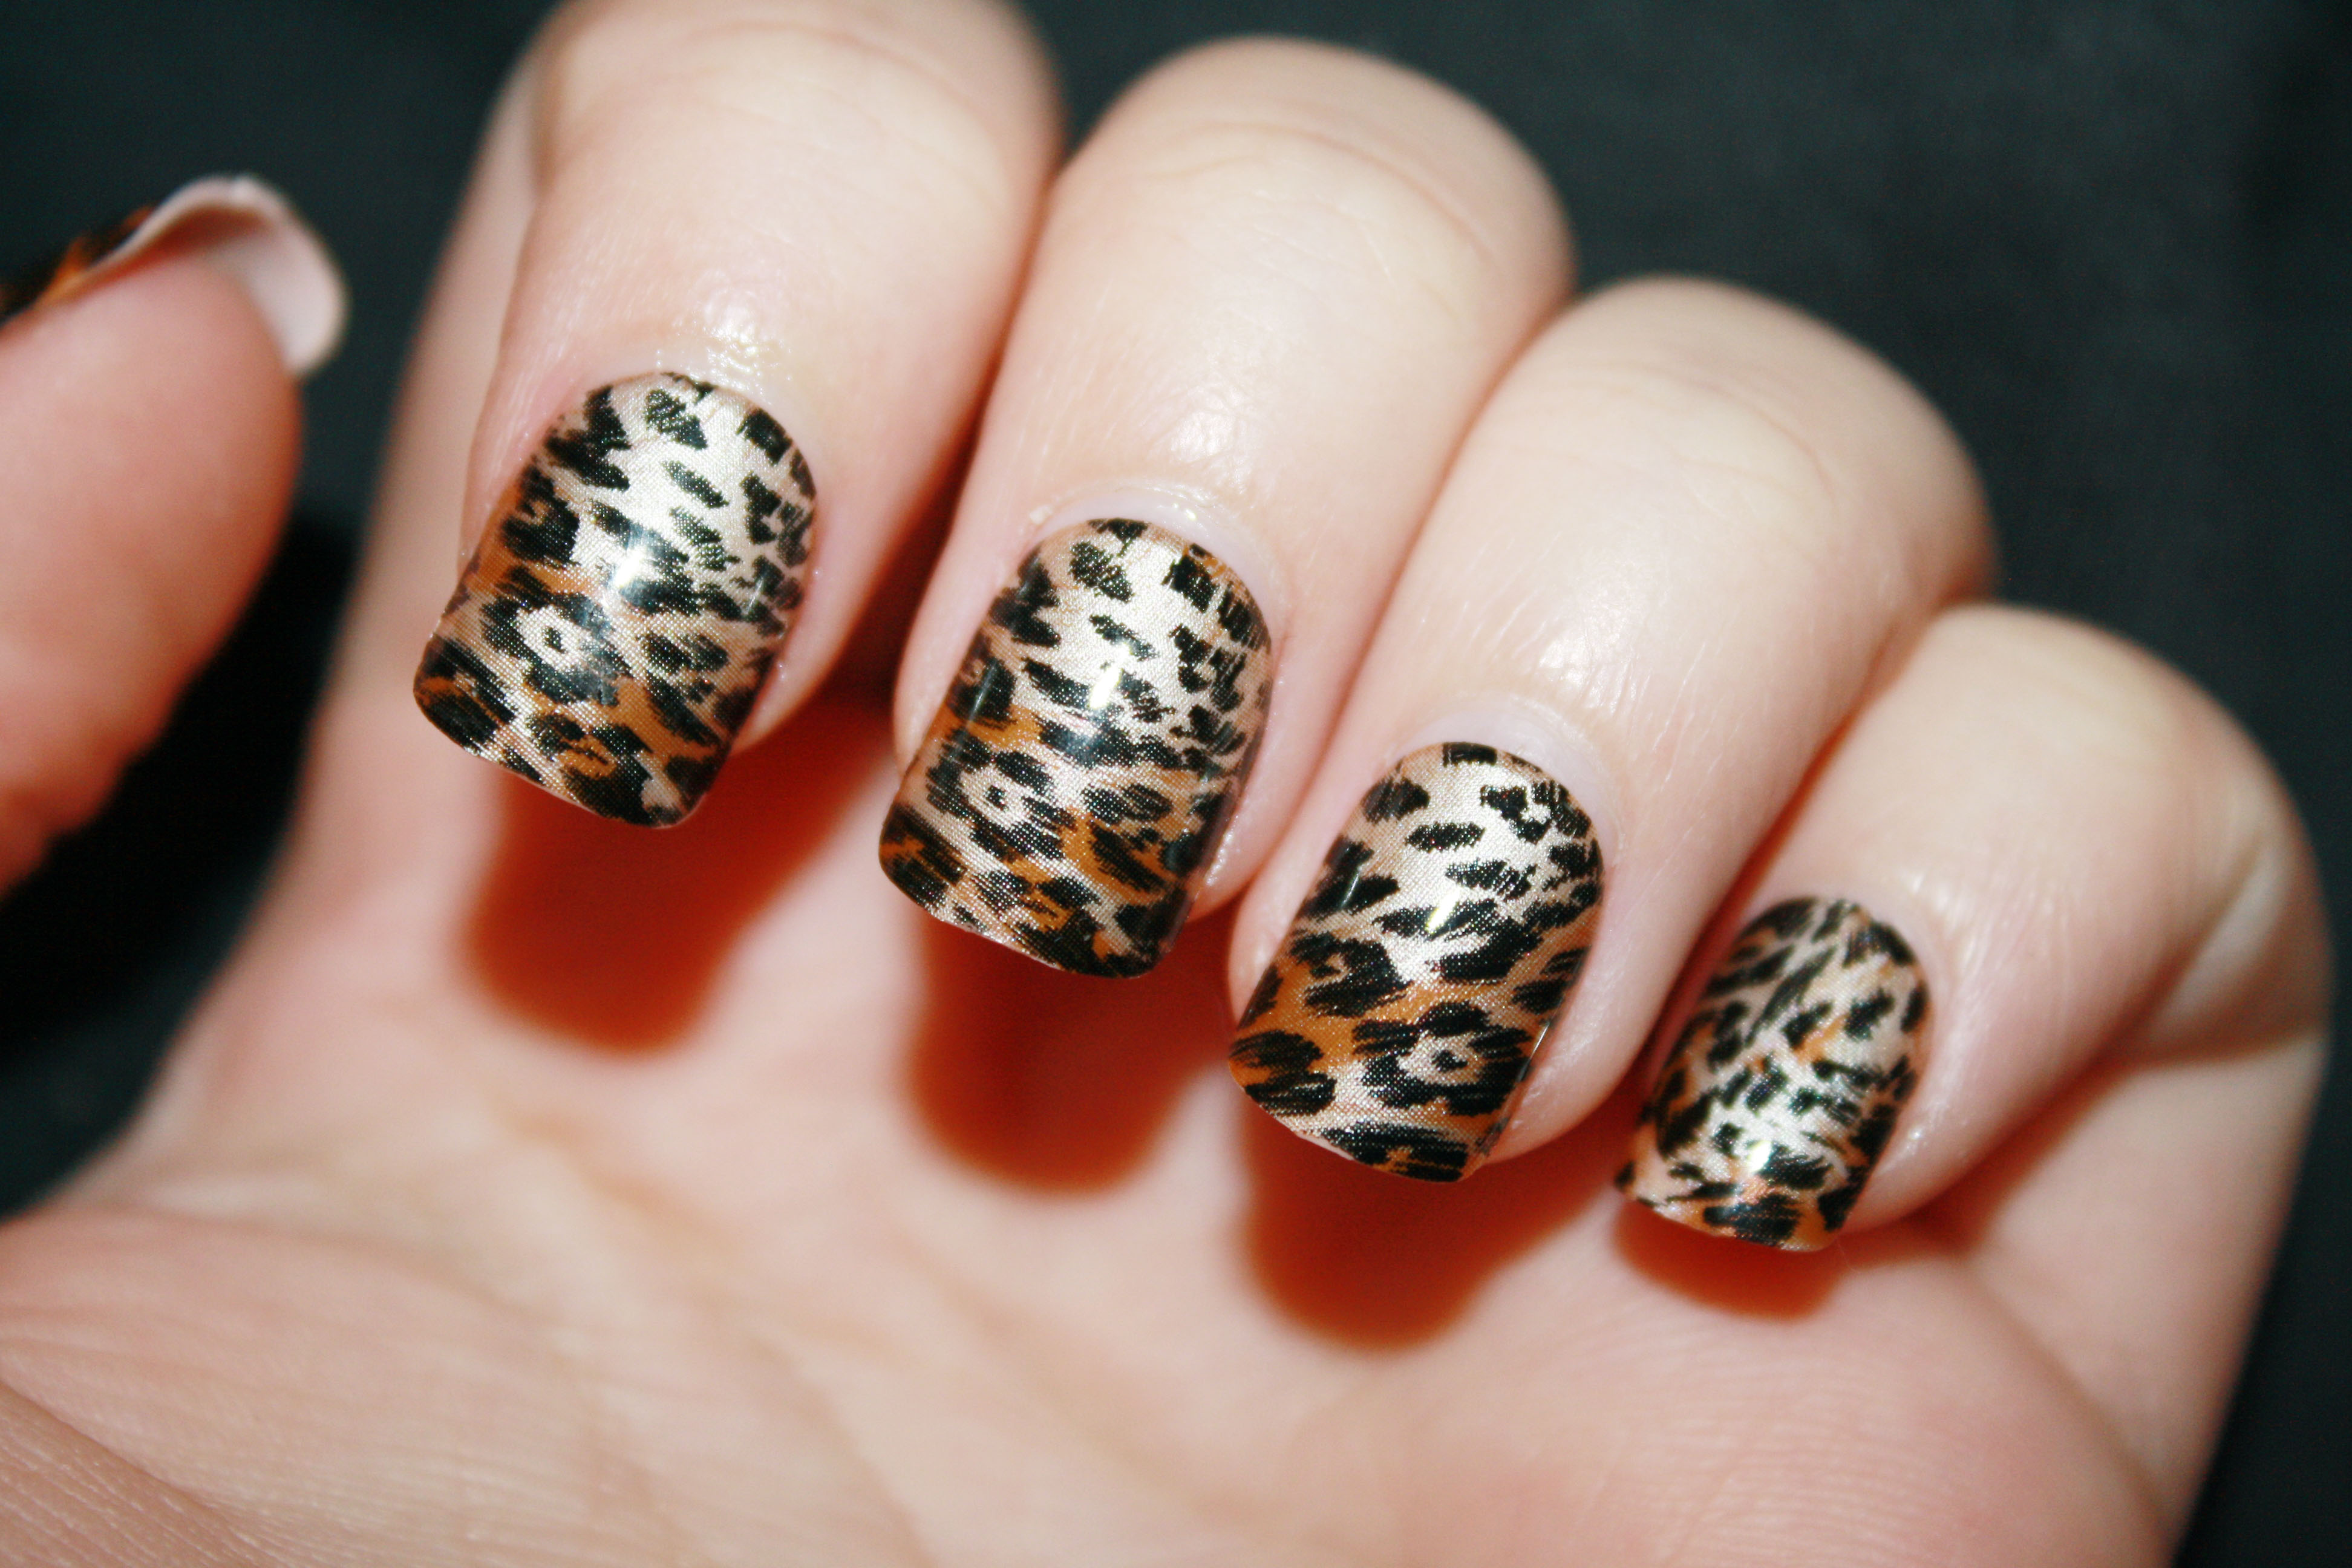
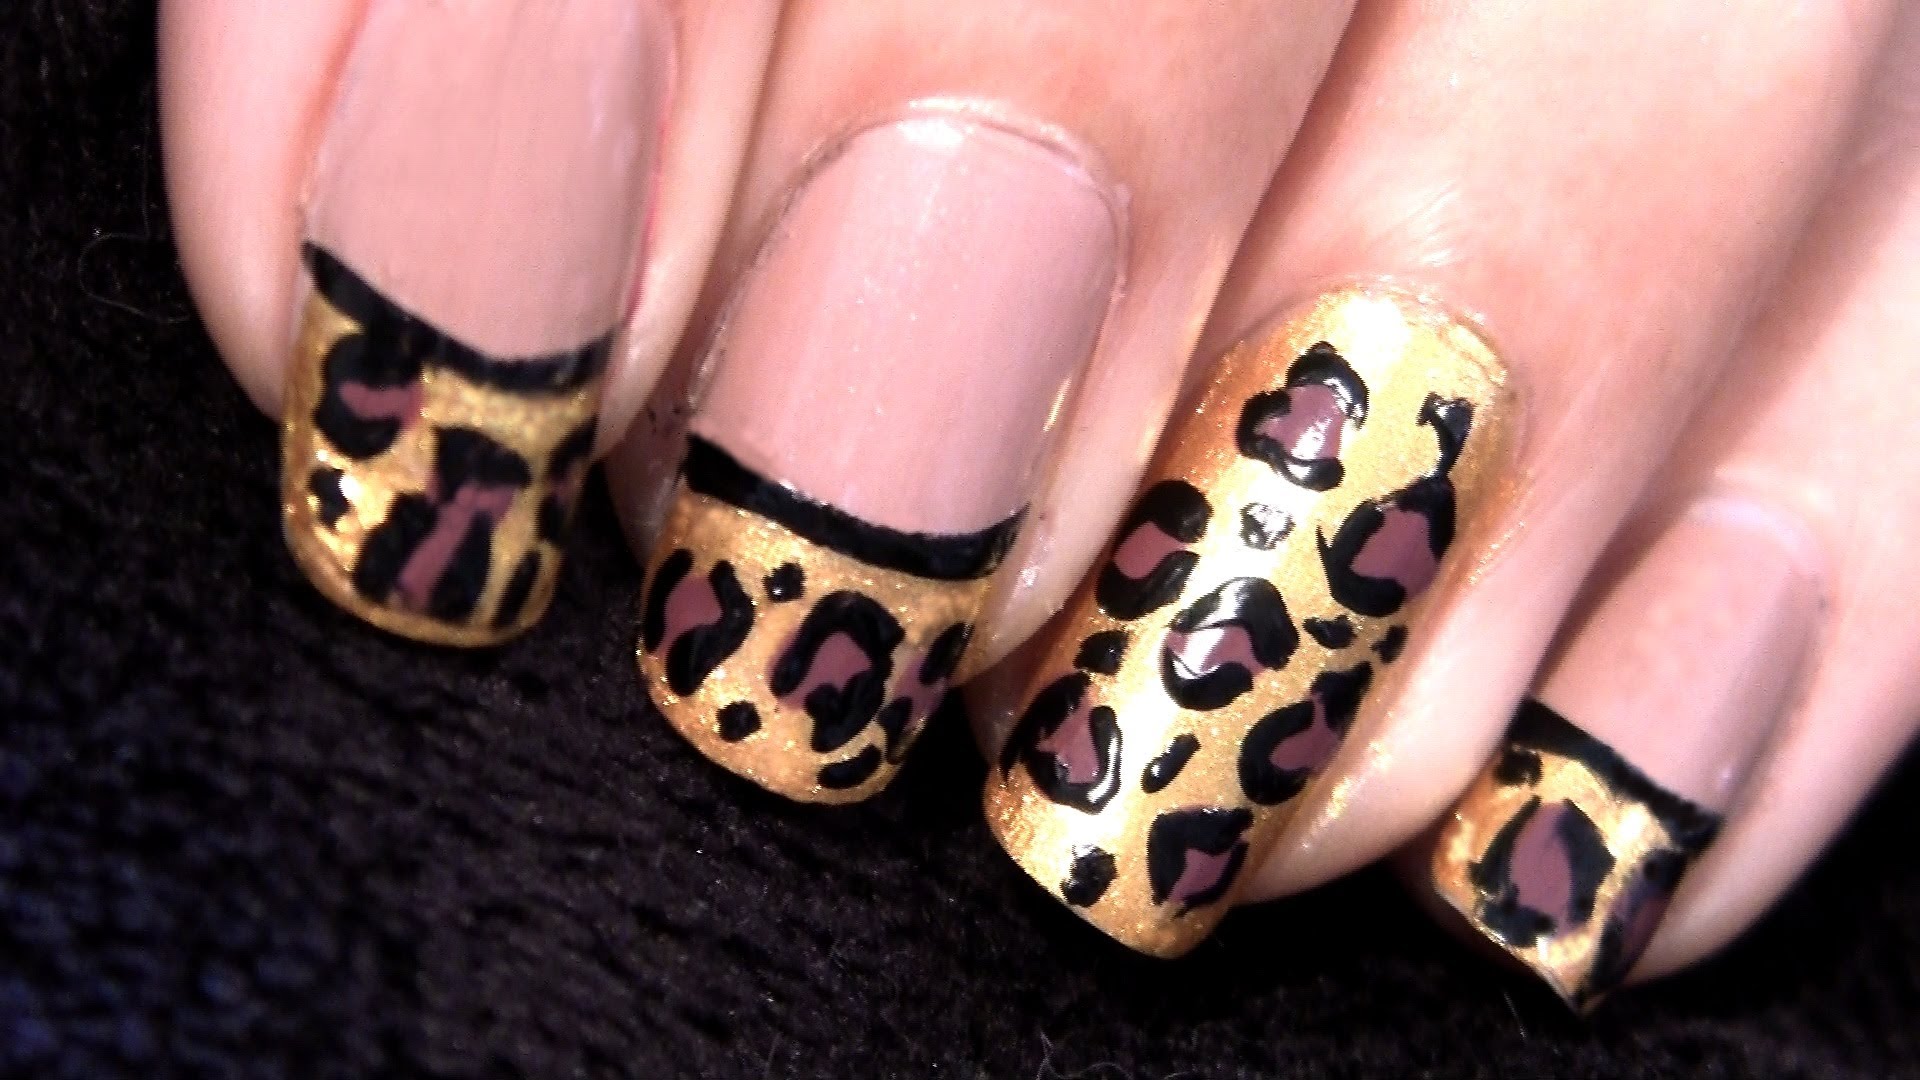
Animal prints are a popular and trendy nail art design, and with dotting tools, you can easily recreate them at home. Start by painting your nails with a natural base color and allow it to dry completely. Then, using a dotting tool, create small dots in a random pattern to resemble the spots of an animal print. You can use different colors for a fun and colorful look, or stick to a single color for a more subtle design.8. Animal Print Nail Art Design Using Dotting Tools


8. Animal Print Nail Art Design Using Dotting Tools


Ombre nail art is a popular trend, and with dotting tools, you can achieve this look with ease. Start by painting your nails with a light base color and allow it to dry completely. Then, using a dotting tool, create small dots with a darker shade of the same color on the bottom half of your nails. Continue to add more dots with a slightly darker shade until you reach the tip of your nails. Use a clean dotting tool to gently blend the dots together for a seamless ombre effect.9. Ombre Dotting Tool Nail Art Designs
9. Ombre Dotting Tool Nail Art Designs
Get into the spirit of Halloween with fun and spooky nail art designs created using dotting tools. Start by painting your nails with a black base color and allow it to dry completely. Then, using a dotting tool, create small dots in a circular pattern to resemble the eyes of a ghost. Add a small triangle below the eyes for a nose and use a dotting tool to create a mouth. You can also create other Halloween designs such as pumpkins, bats, and spiders using dotting tools.10. Halloween Nail Art Design Using Dotting Tools

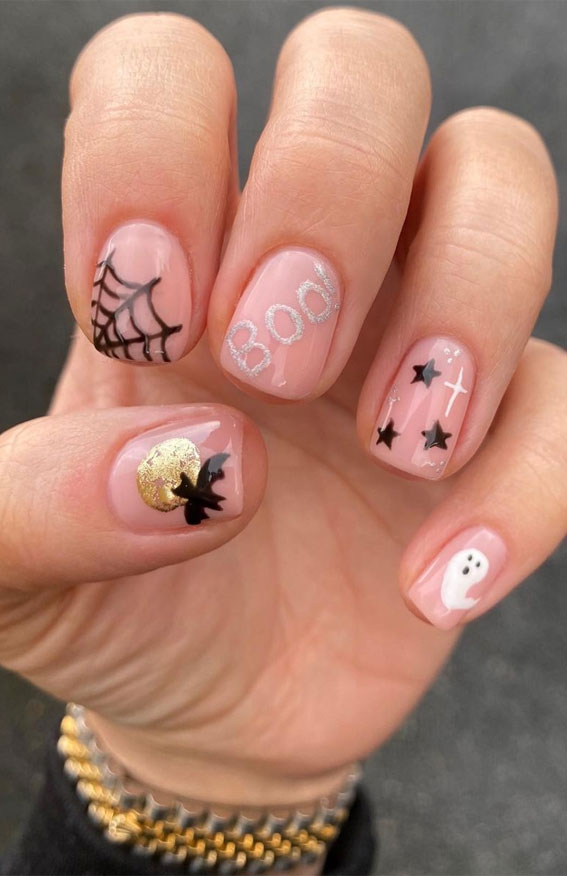
10. Halloween Nail Art Design Using Dotting Tools
The Power of Dotting Tools in Nail Art Design

Creating Intricate Designs with Dotting Tools
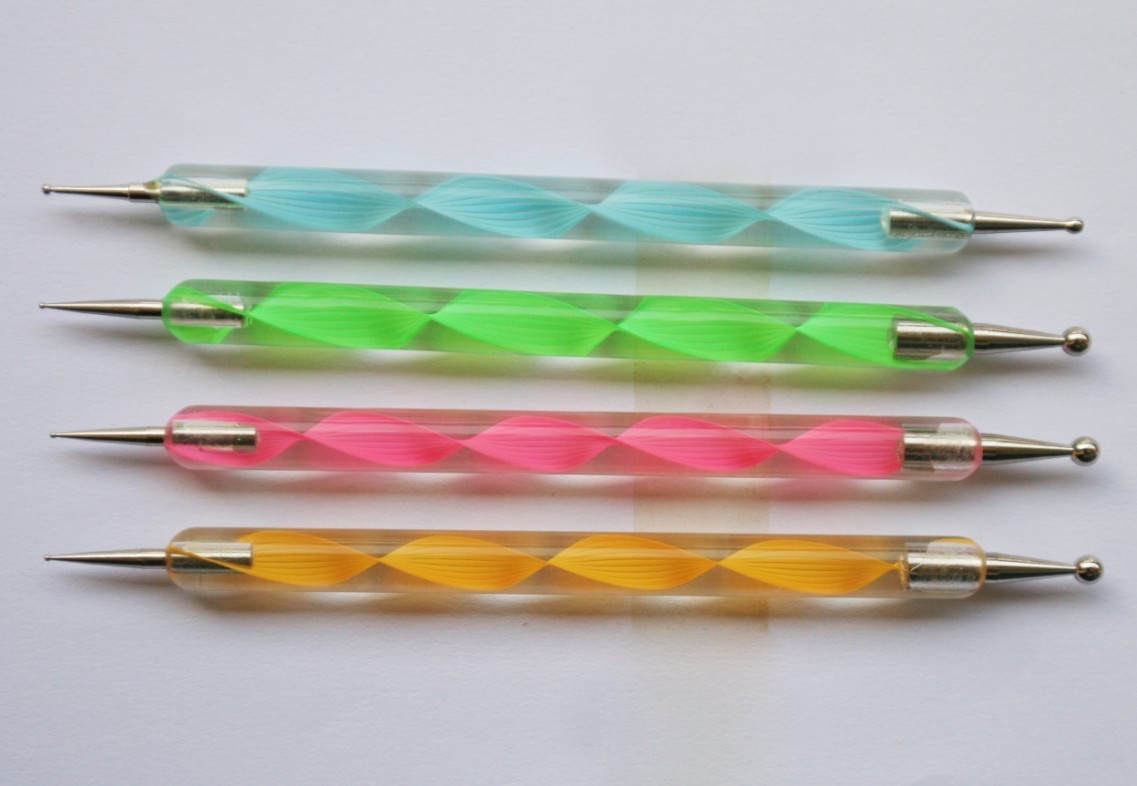
 When it comes to creating stunning nail art designs, one of the most essential tools to have in your kit is a dotting tool. This small, handheld tool may seem simple, but it has the power to elevate your nail art game to the next level. Whether you're a beginner or an experienced nail artist, incorporating dotting tools into your designs can add a whole new level of intricacy and detail.
Unleashing Your Creativity
 With dotting tools, the possibilities for nail art designs are endless. You can create intricate polka dot patterns, delicate floral designs, or even replicate the look of marble nails. The key is to experiment and let your creativity run wild. With practice, you'll be amazed at the intricate and professional-looking designs you can achieve with just a dotting tool.
Mastering the Technique
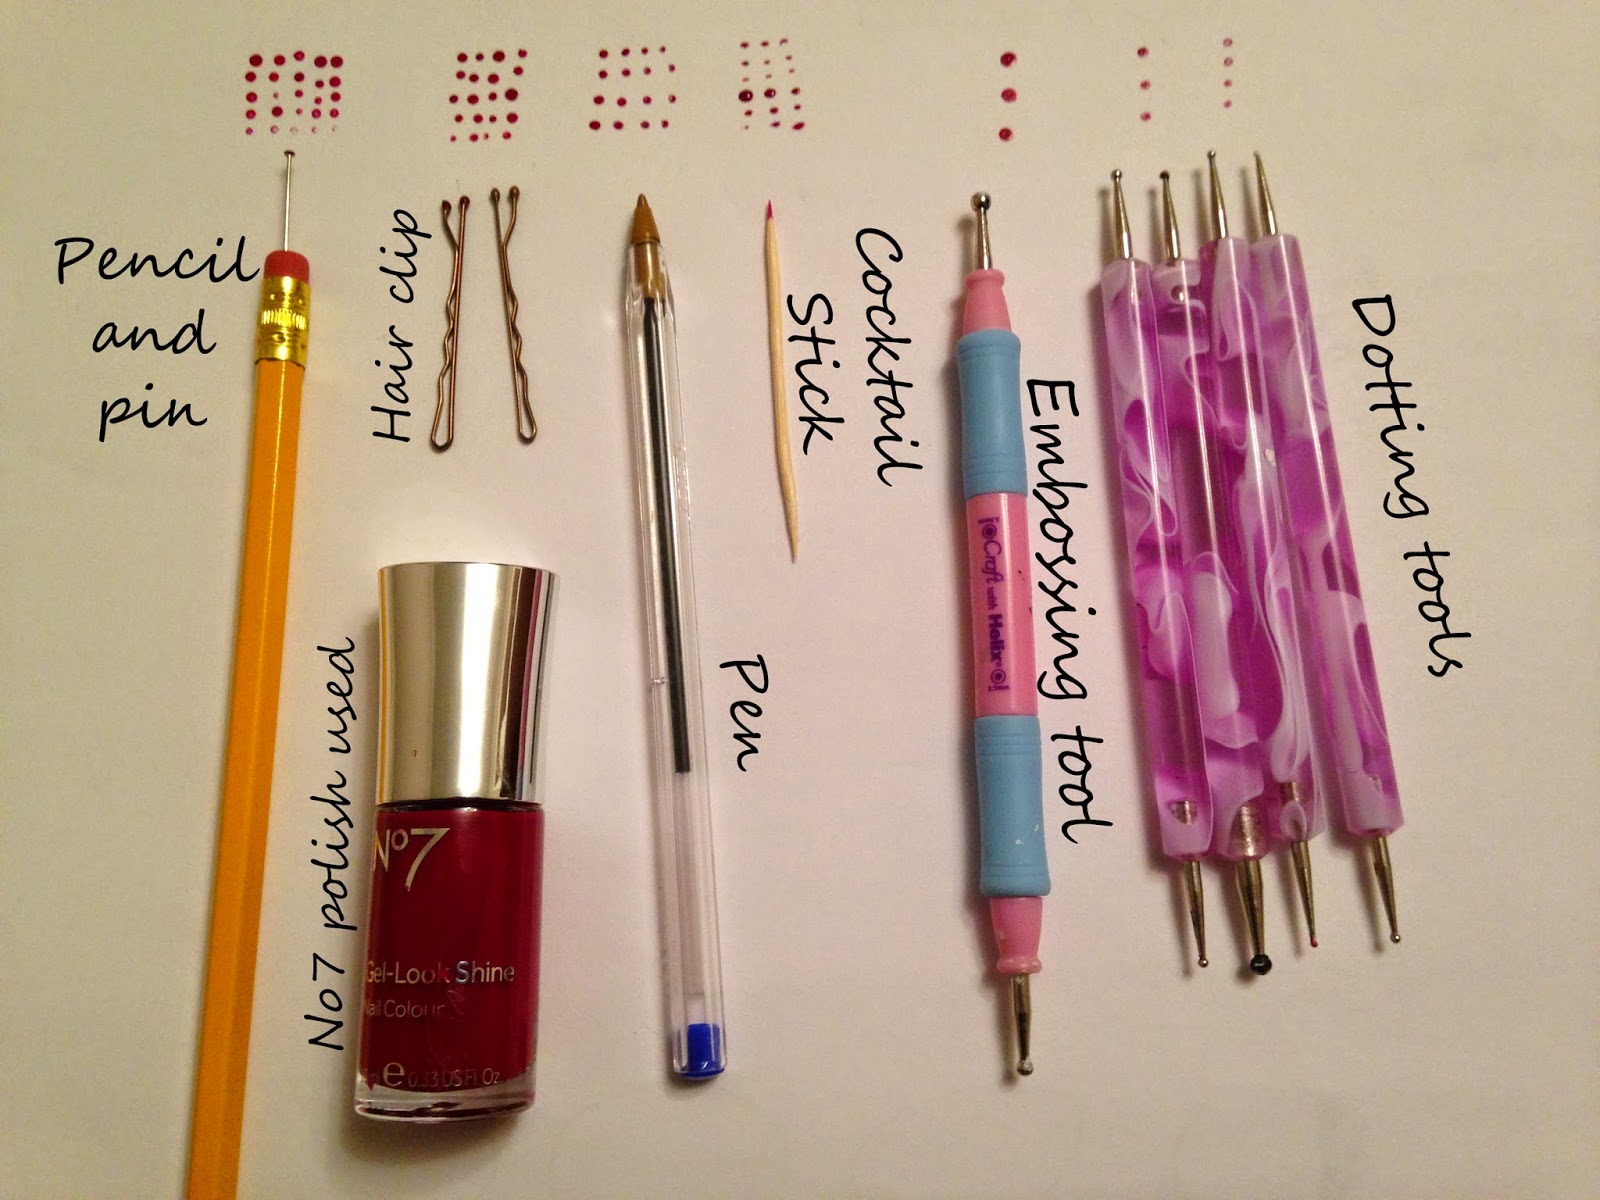
 Using dotting tools may seem intimidating at first, but with a little bit of practice, you'll soon become a pro. Start by choosing a base color and allowing it to dry completely. Then, dip the tip of your dotting tool into your desired nail polish color and carefully create dots on your nails. You can vary the size of the dots by applying different amounts of pressure or using different sized tools. You can also use multiple dotting tools to create more complex designs.
Adding Depth and Detail
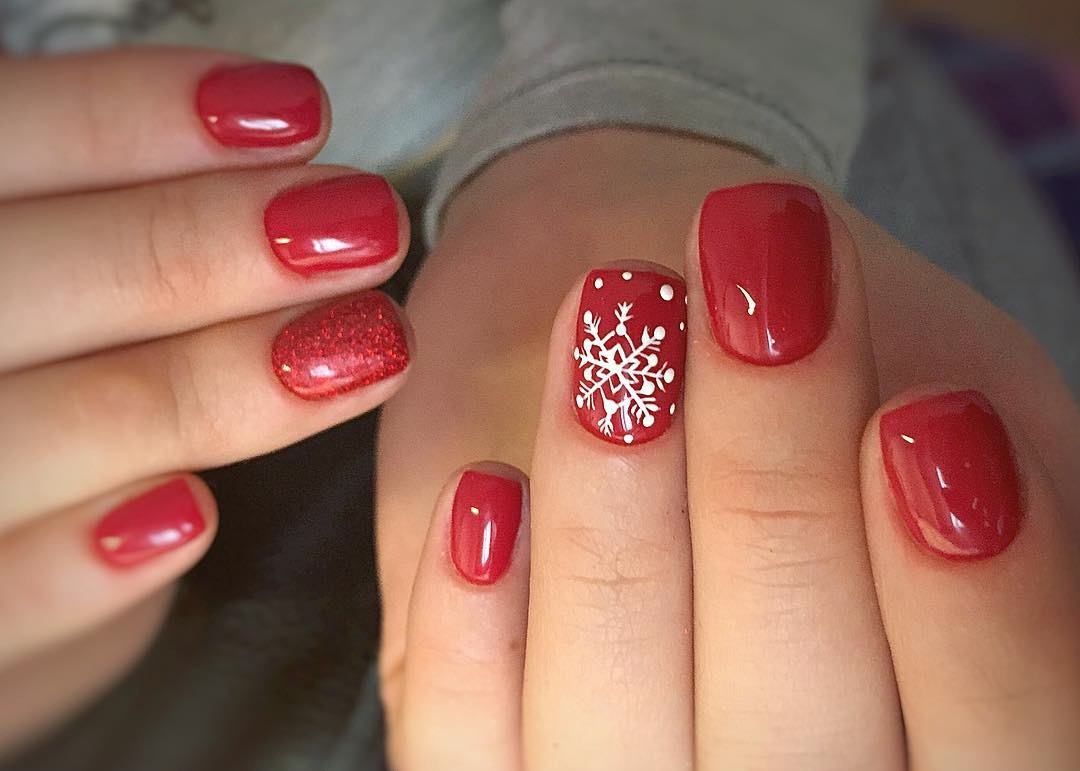
 One of the most significant advantages of using dotting tools in nail art is the ability to add depth and detail to your designs. You can use them to create outlines, add accents, or even create intricate geometric patterns. Dotting tools can also be used to add texture to your nails by creating raised dots or using them to blend different colors together.
Conclusion
 Incorporating dotting tools into your nail art designs can take your creations to the next level. The versatility and precision of these tools allow for endless possibilities and can elevate any nail art design, no matter your skill level. So next time you're looking to create a stunning and intricate nail look, don't forget to reach for your trusty dotting tool.


