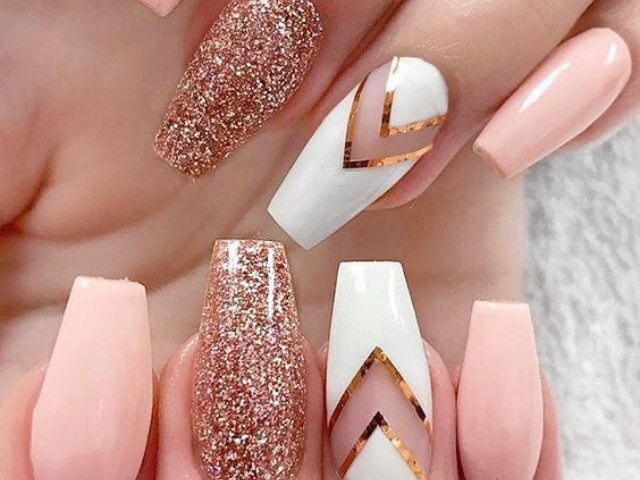
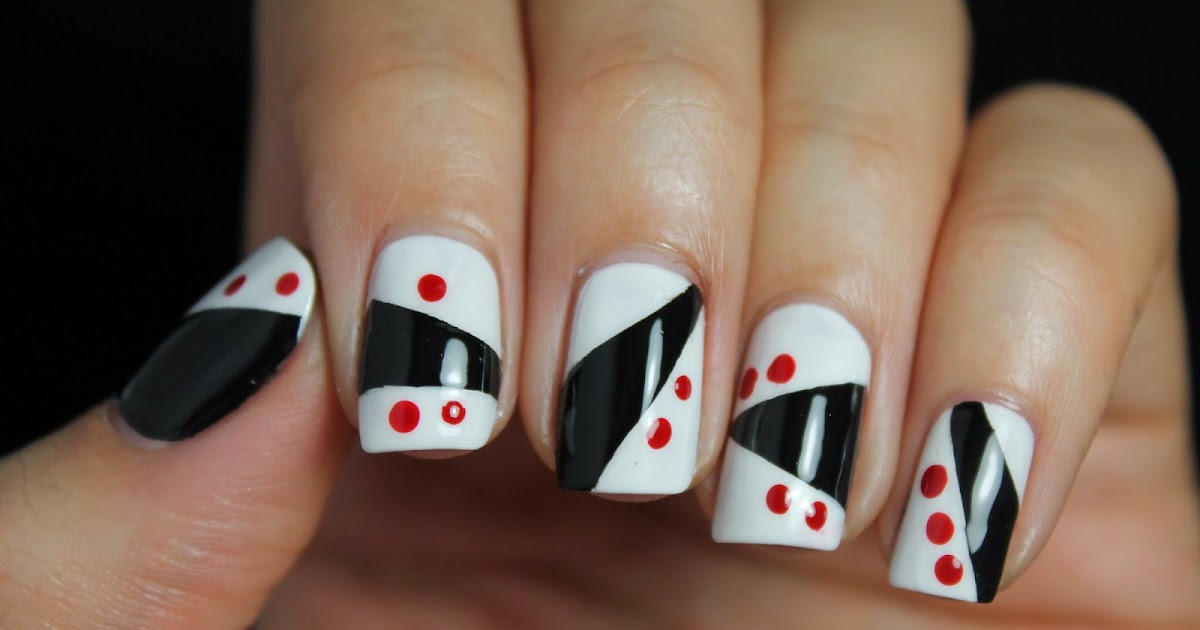
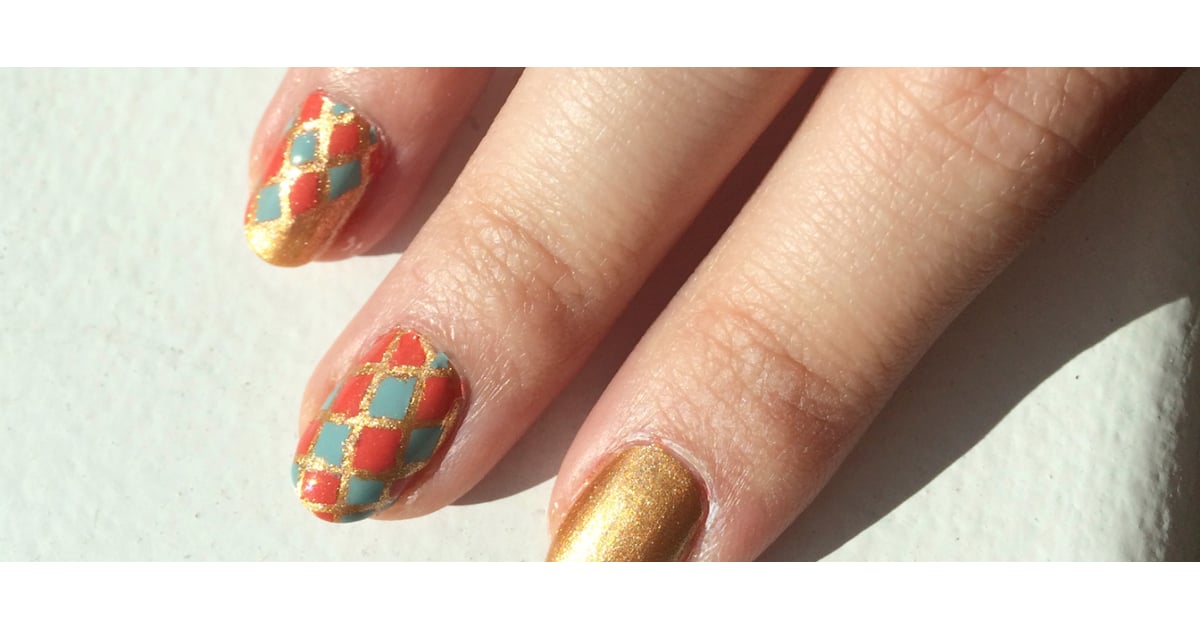
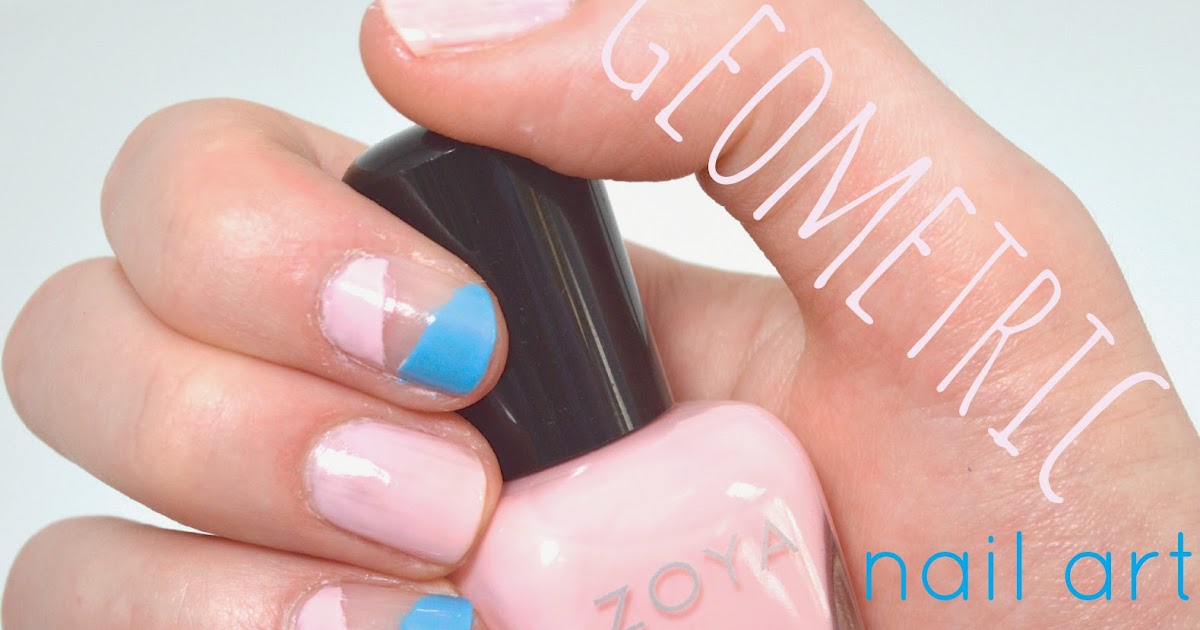
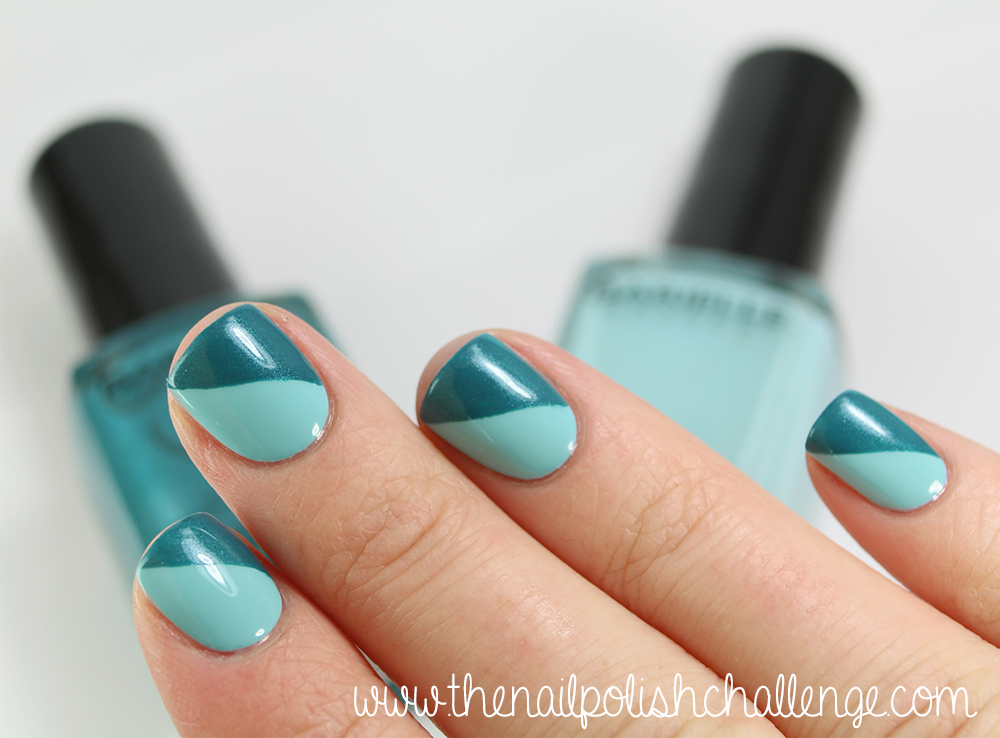
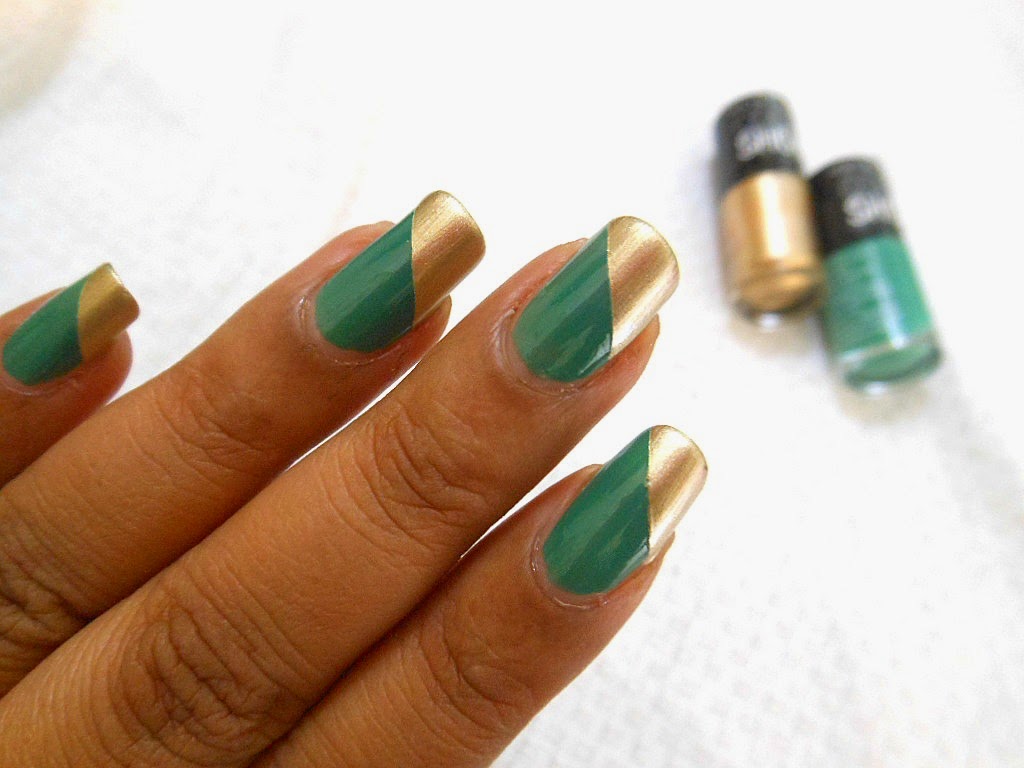
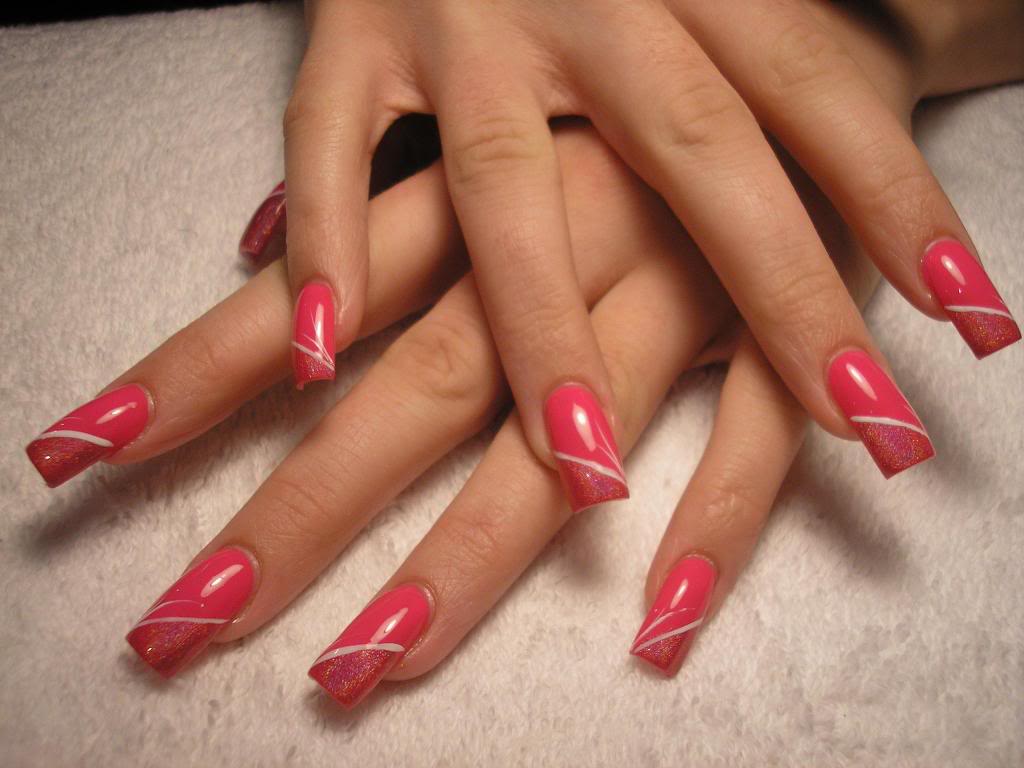
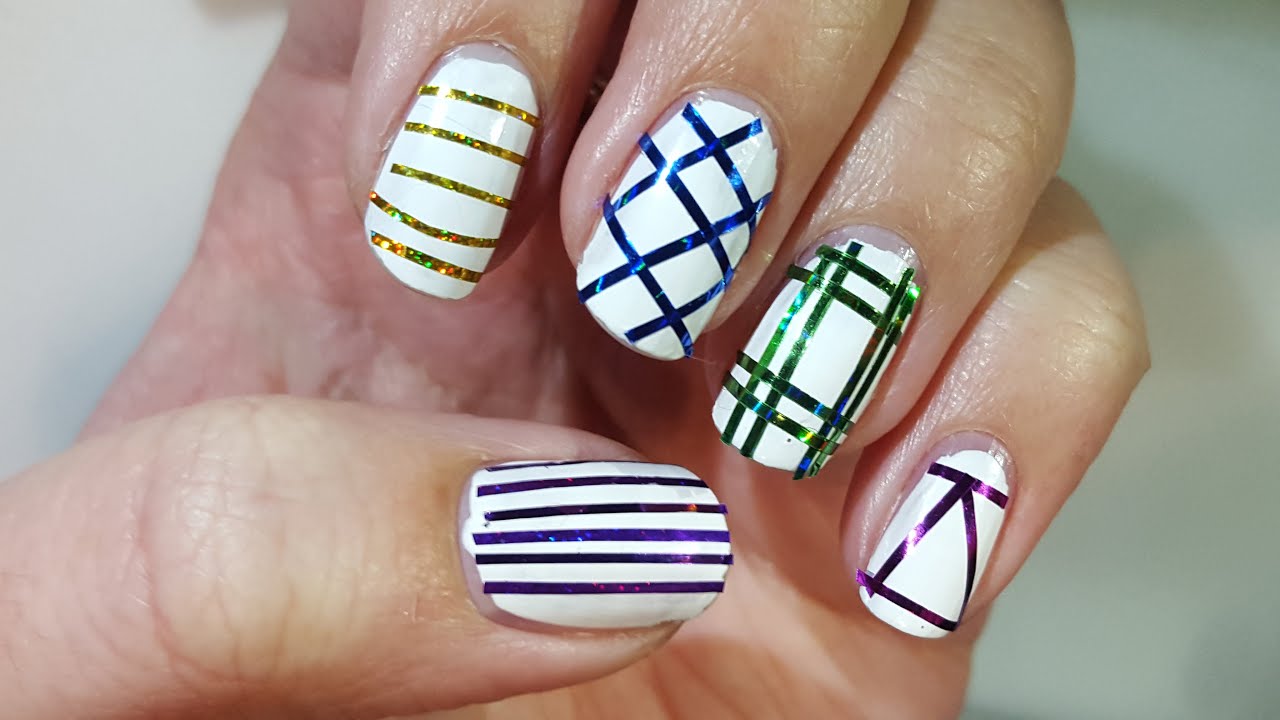
If you're new to the world of nail art, nail tape is your new best friend. This thin strip of adhesive tape is perfect for creating intricate and eye-catching designs on your nails. Not only is it easy to use, but it also allows for endless creativity. Here are some easy nail art designs you can create using nail tape. First, start with a base color of your choice. Let it dry completely before moving on to the next step. Then, cut small pieces of nail tape and place them on your nails in a criss-cross pattern. This will create a geometric design that looks chic and modern. You can also create a simple yet elegant nail art by using nail tape to create a V shape on your nails. This design looks especially stunning with a metallic or glittery base color.1. Easy Nail Art Designs Using Nail Tape


1. Easy Nail Art Designs Using Nail Tape


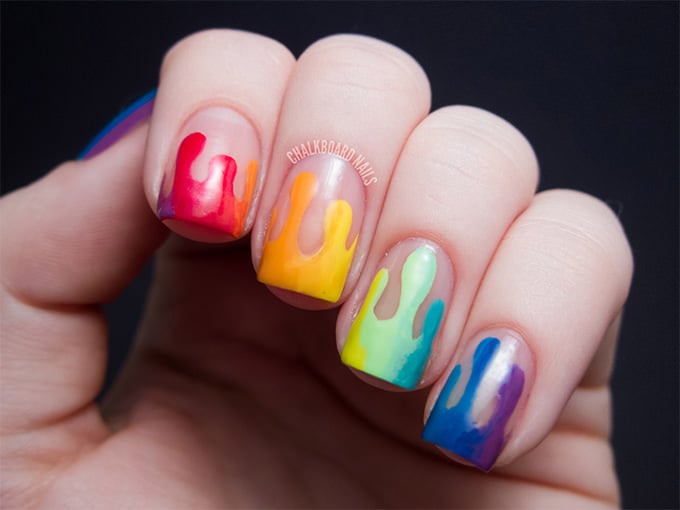
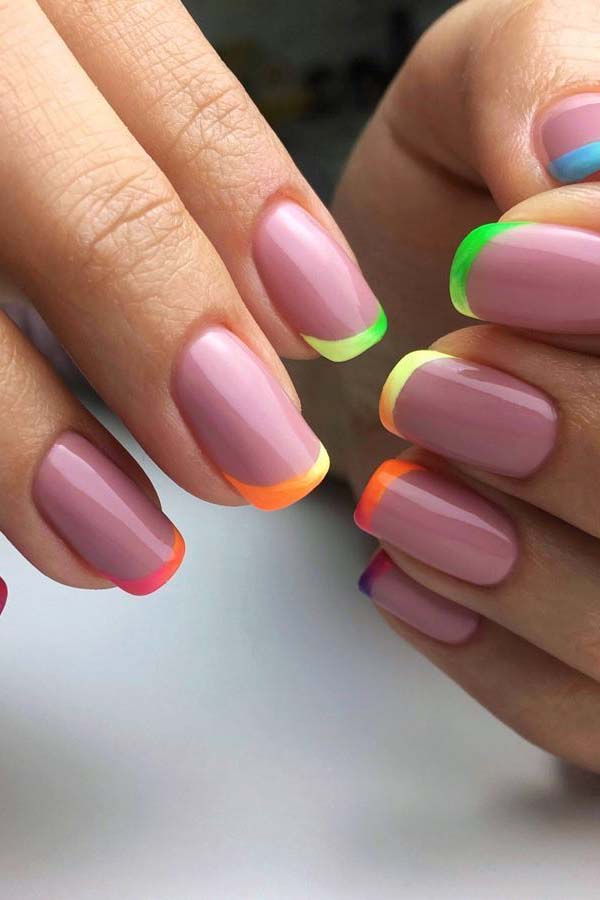
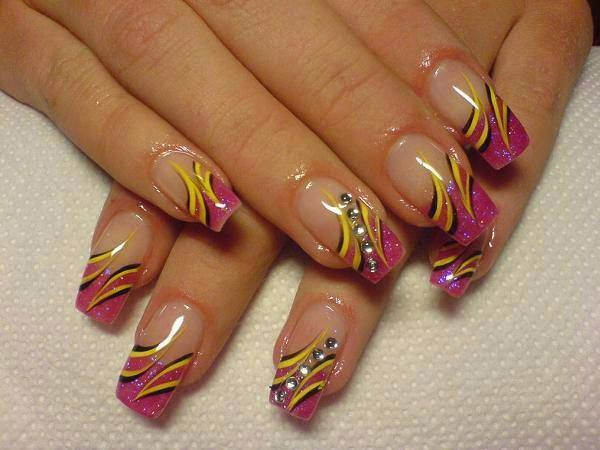
If you're feeling more adventurous, there are endless creative nail art ideas you can create with nail tape. For a fun and colorful look, use different colors of nail tape to create a rainbow design on your nails. You can also use nail tape to create stripes, dots, or zig-zags for a playful and unique look. For a more elegant design, try creating a lace pattern using nail tape. Simply cut the tape into thin strips and place them on your nails in a criss-cross pattern. This design looks stunning with a nude or pastel base color.2. Creative Nail Art Ideas with Nail Tape


2. Creative Nail Art Ideas with Nail Tape


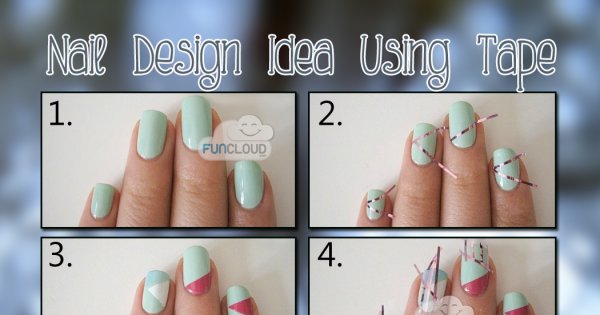
One of the best things about nail tape is that you can easily create DIY nail art designs at home. All you need is some nail tape, a base color, and a clear top coat. You can use nail tape to create stripes, geometric patterns, or even chevron designs. If you're feeling extra creative, you can also use nail tape to create negative space designs. Simply place the tape on your nails in a pattern, paint over it with a different color, and peel off the tape to reveal the design. This is a great way to add a pop of color to your nails without having to cover the entire nail.3. DIY Nail Art Designs Using Nail Tape


3. DIY Nail Art Designs Using Nail Tape


If you're new to nail art, nail tape is a great place to start. It's easy to use and allows for a lot of creativity without being too overwhelming. One nail tape design that is perfect for beginners is the half moon design. Simply place a piece of nail tape at the base of your nail, leaving the half-moon shape exposed. Then, paint over it with a different color and peel off the tape to reveal the design. Another nail tape design for beginners is the accent nail. Simply paint all of your nails one color and use nail tape to create a design on one nail. This is a simple and subtle way to incorporate nail tape into your nail art.4. Nail Tape Designs for Beginners


4. Nail Tape Designs for Beginners
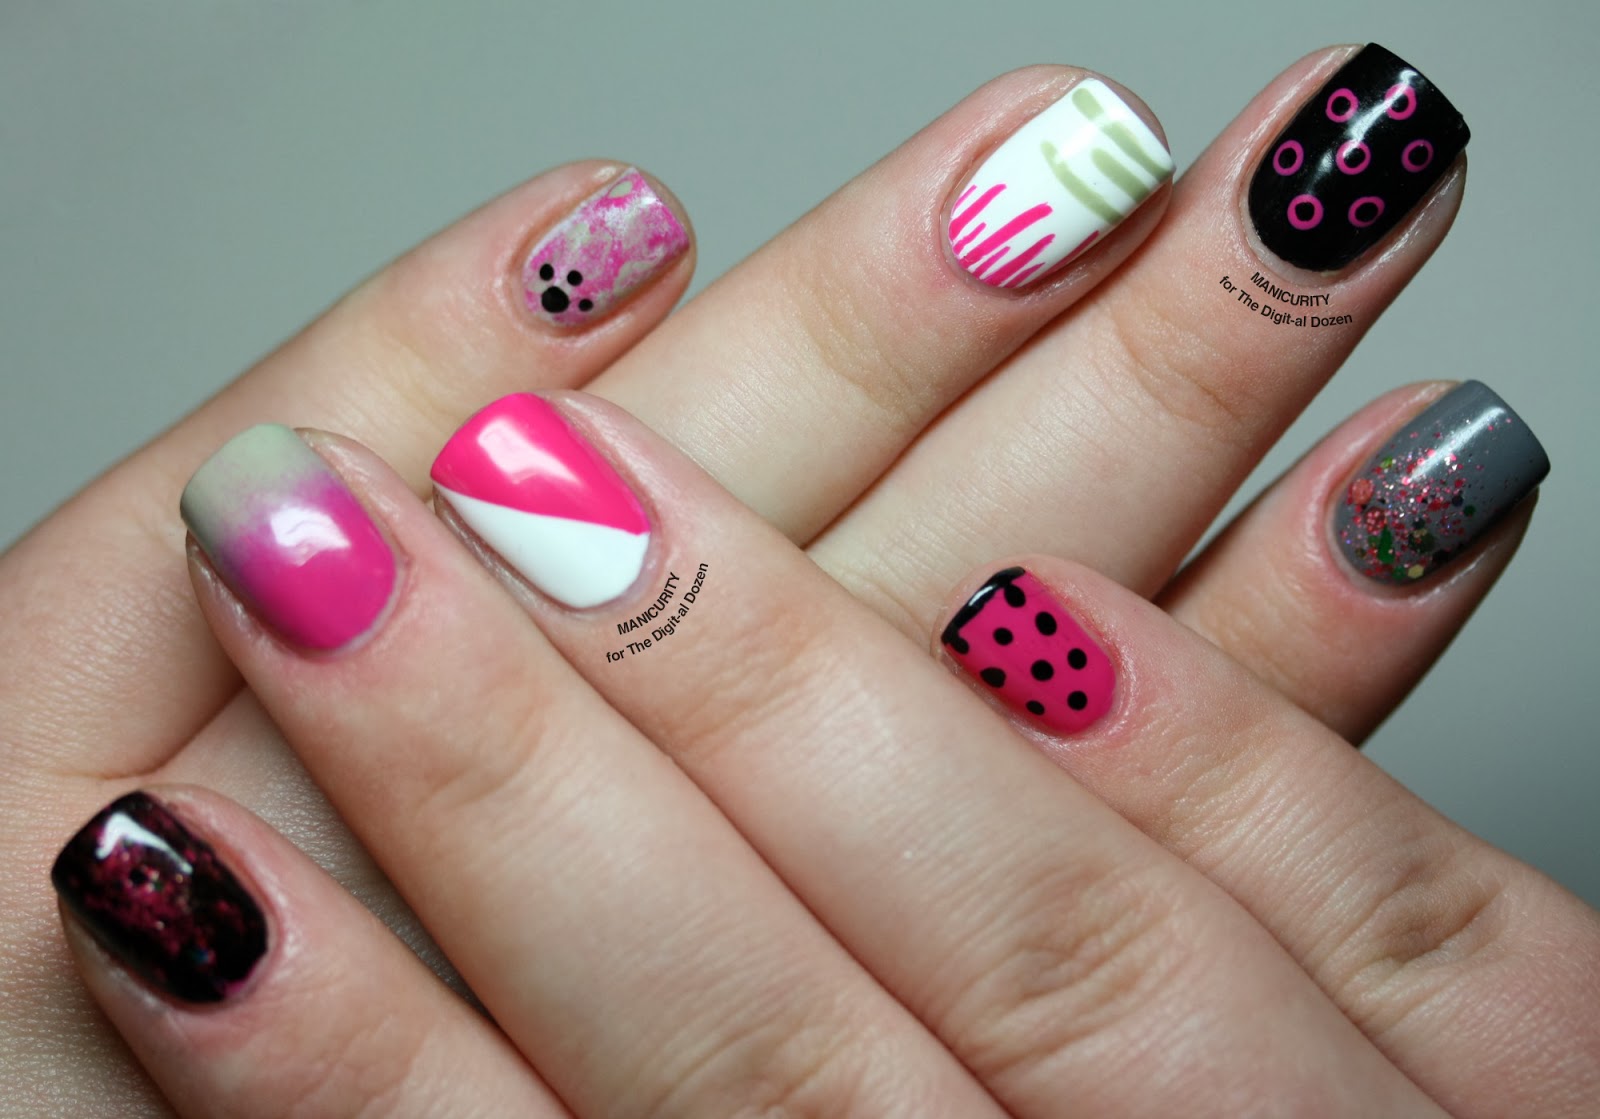
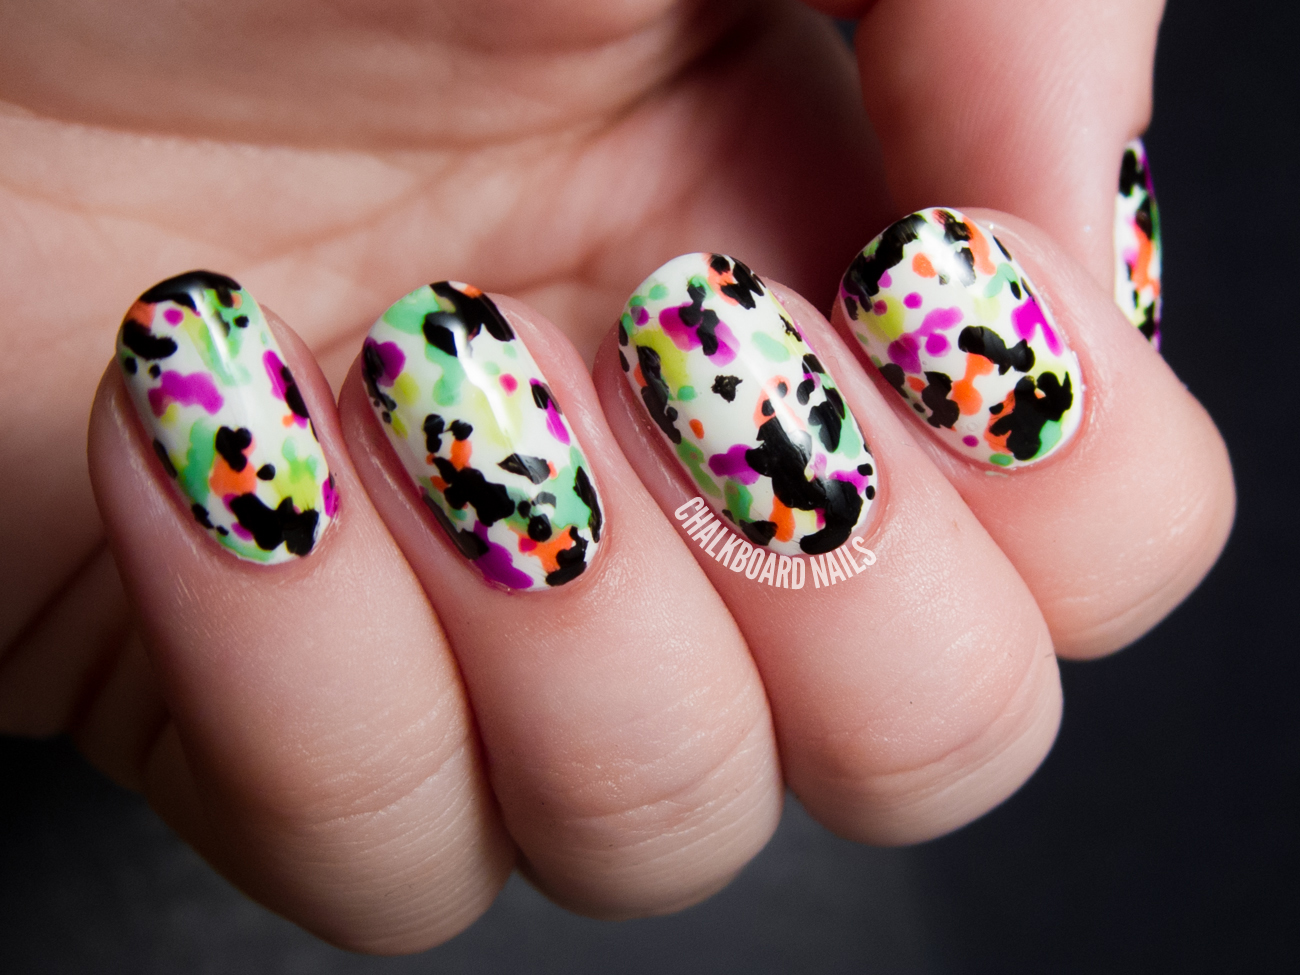
When it comes to nail art, sometimes the more colorful, the better. Nail tape is perfect for creating fun and colorful designs on your nails. You can use it to create stripes, dots, or even checkered patterns in different colors. This is a great way to add a pop of color to your look and show off your fun and playful side. For a more unique look, try using nail tape to create a gradient design on your nails. Simply cut thin strips of tape and place them on your nails in a criss-cross pattern, going from light to dark or vice versa. This will create a stunning ombre effect on your nails.5. Fun and Colorful Nail Art with Nail Tape


5. Fun and Colorful Nail Art with Nail Tape


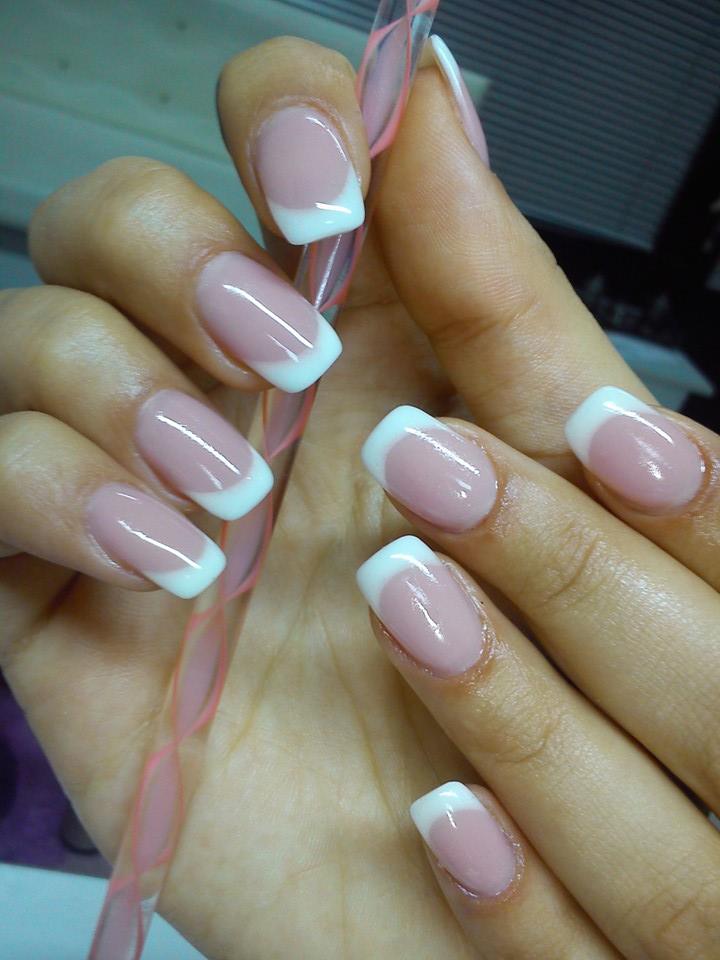
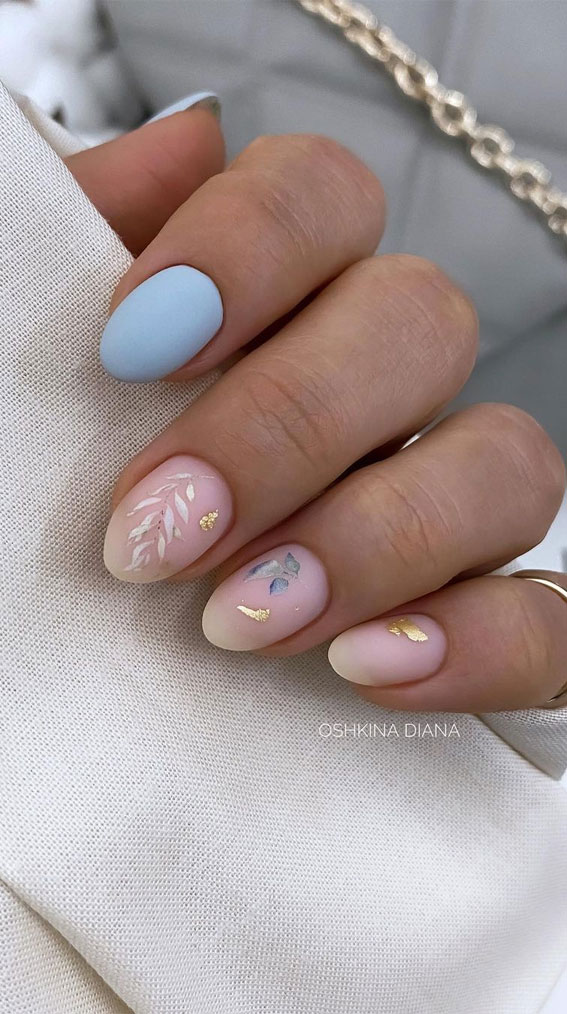
If you're looking for a more elegant nail art design, nail tape can still be your go-to tool. For a classic and sophisticated look, try creating a french tip using nail tape. Simply cut the tape into thin strips and place them at the tip of your nails, leaving the rest of the nail bare. Then, paint over it with a different color and peel off the tape to reveal the design. You can also use nail tape to create a marble design on your nails. Simply place small pieces of tape in a random pattern on your nails, paint over it with a different color, and peel off the tape to reveal the design. This is a great way to add a touch of elegance to your nails.6. Elegant Nail Art Designs Using Nail Tape


6. Elegant Nail Art Designs Using Nail Tape


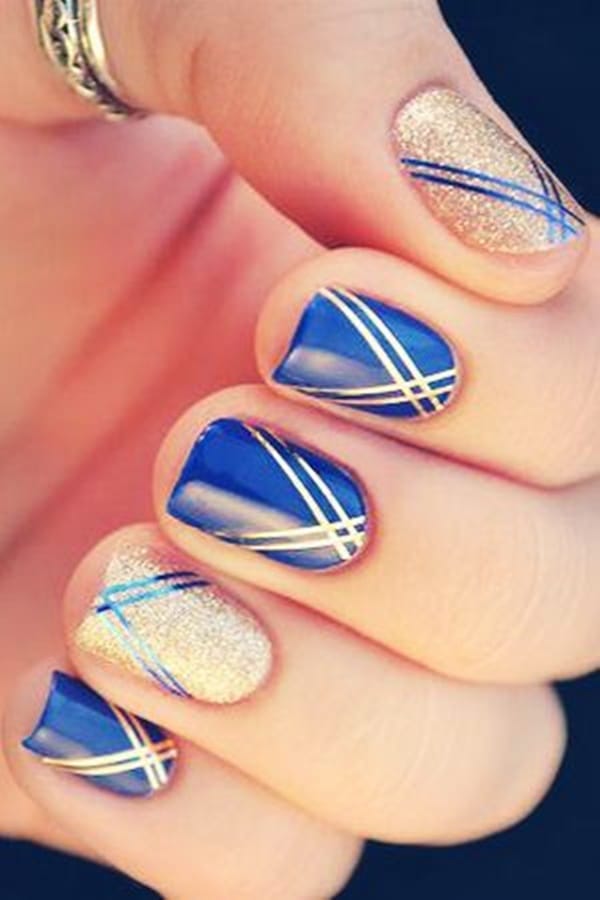
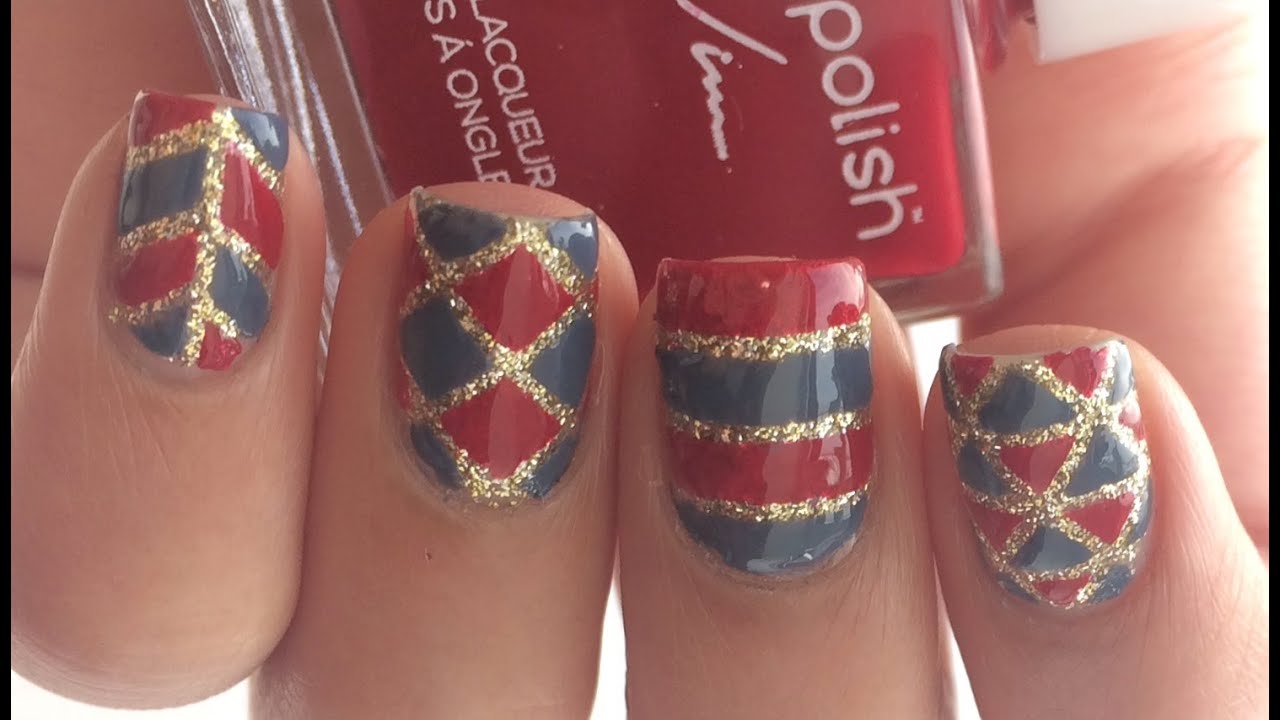
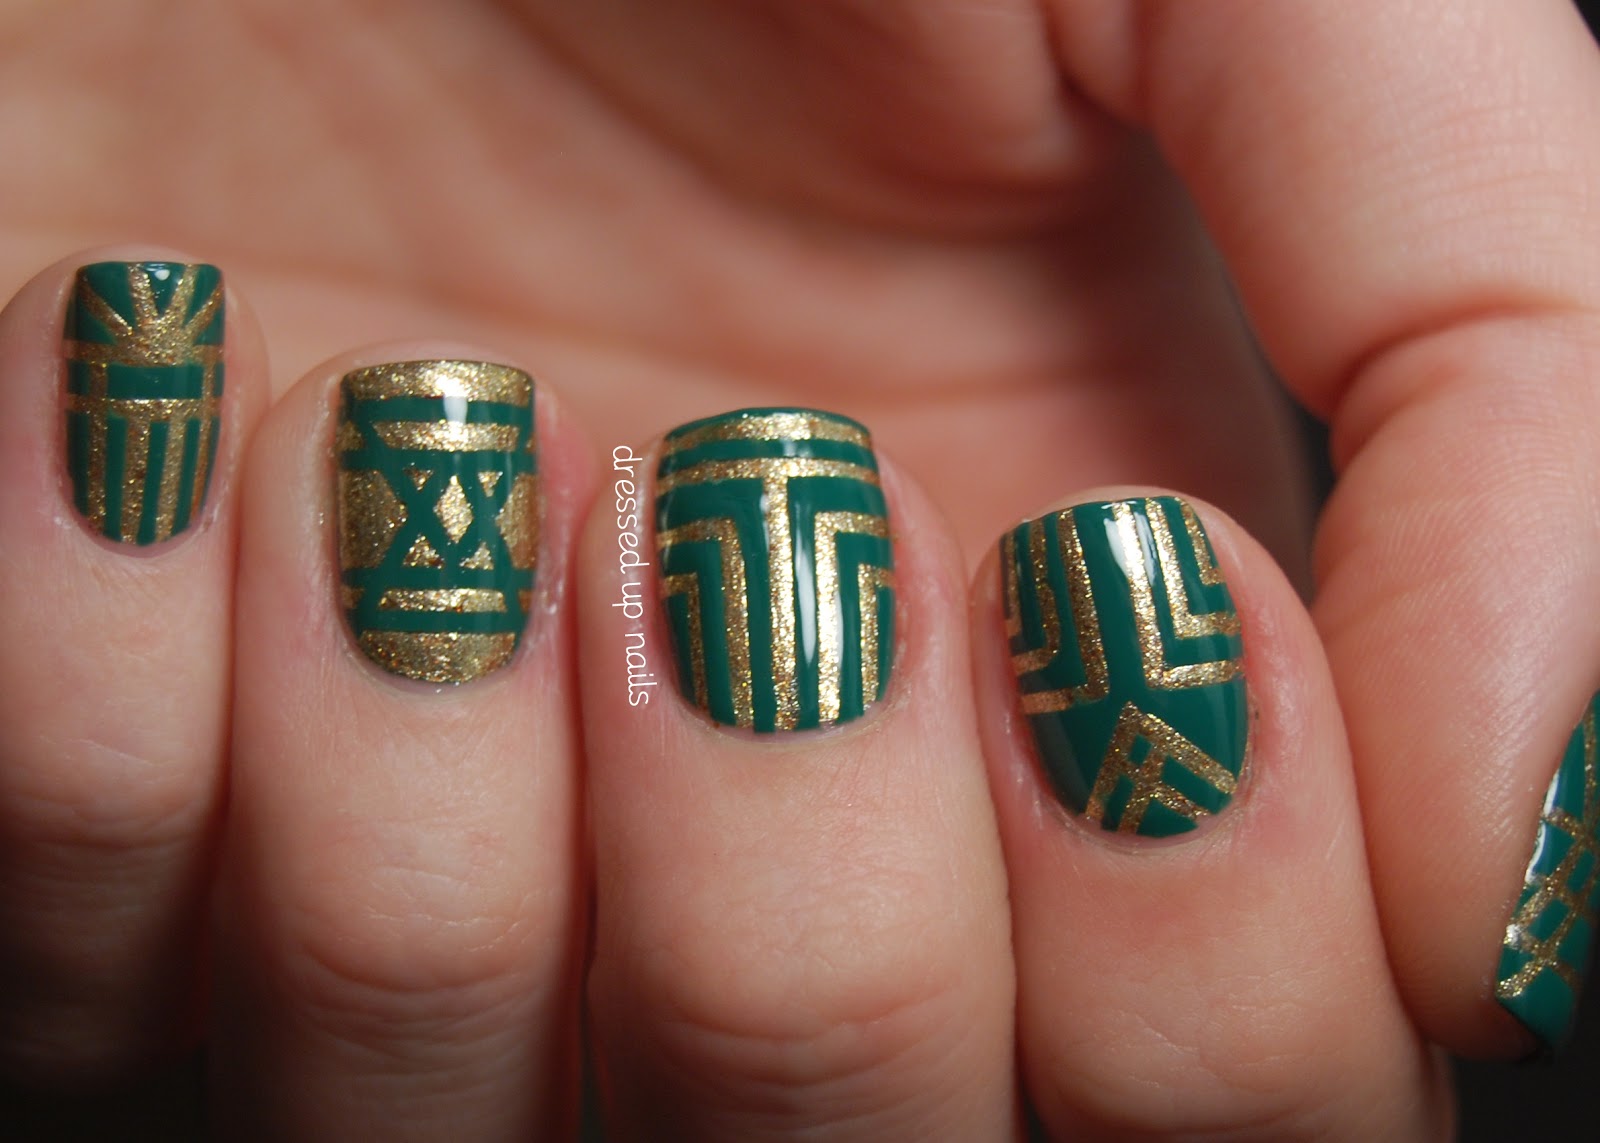
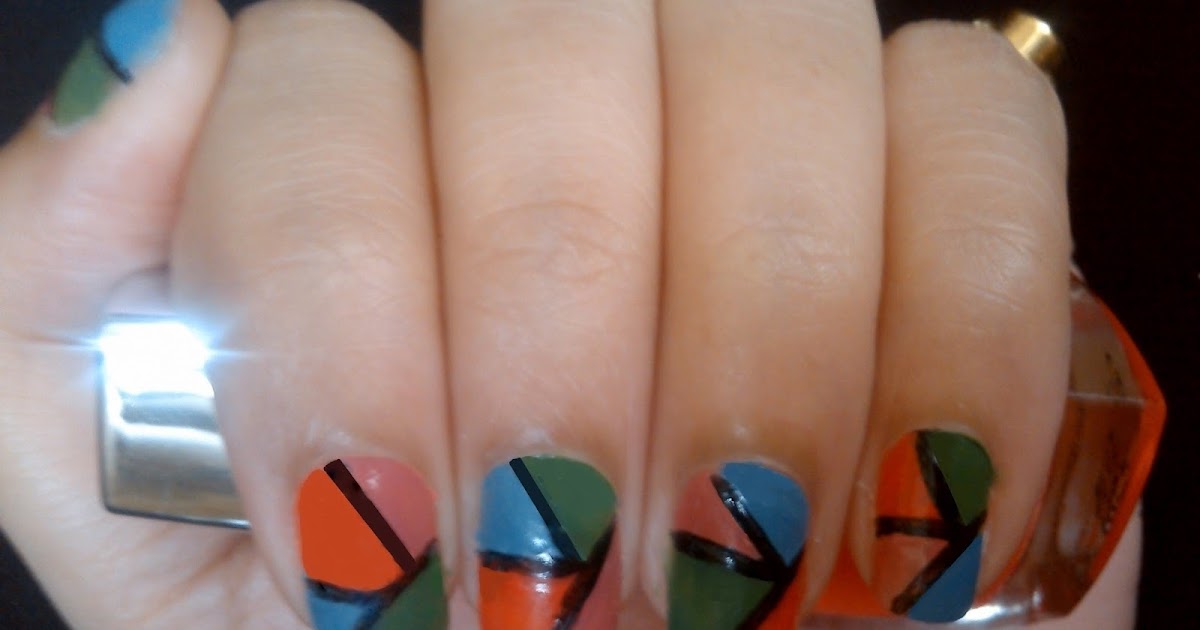
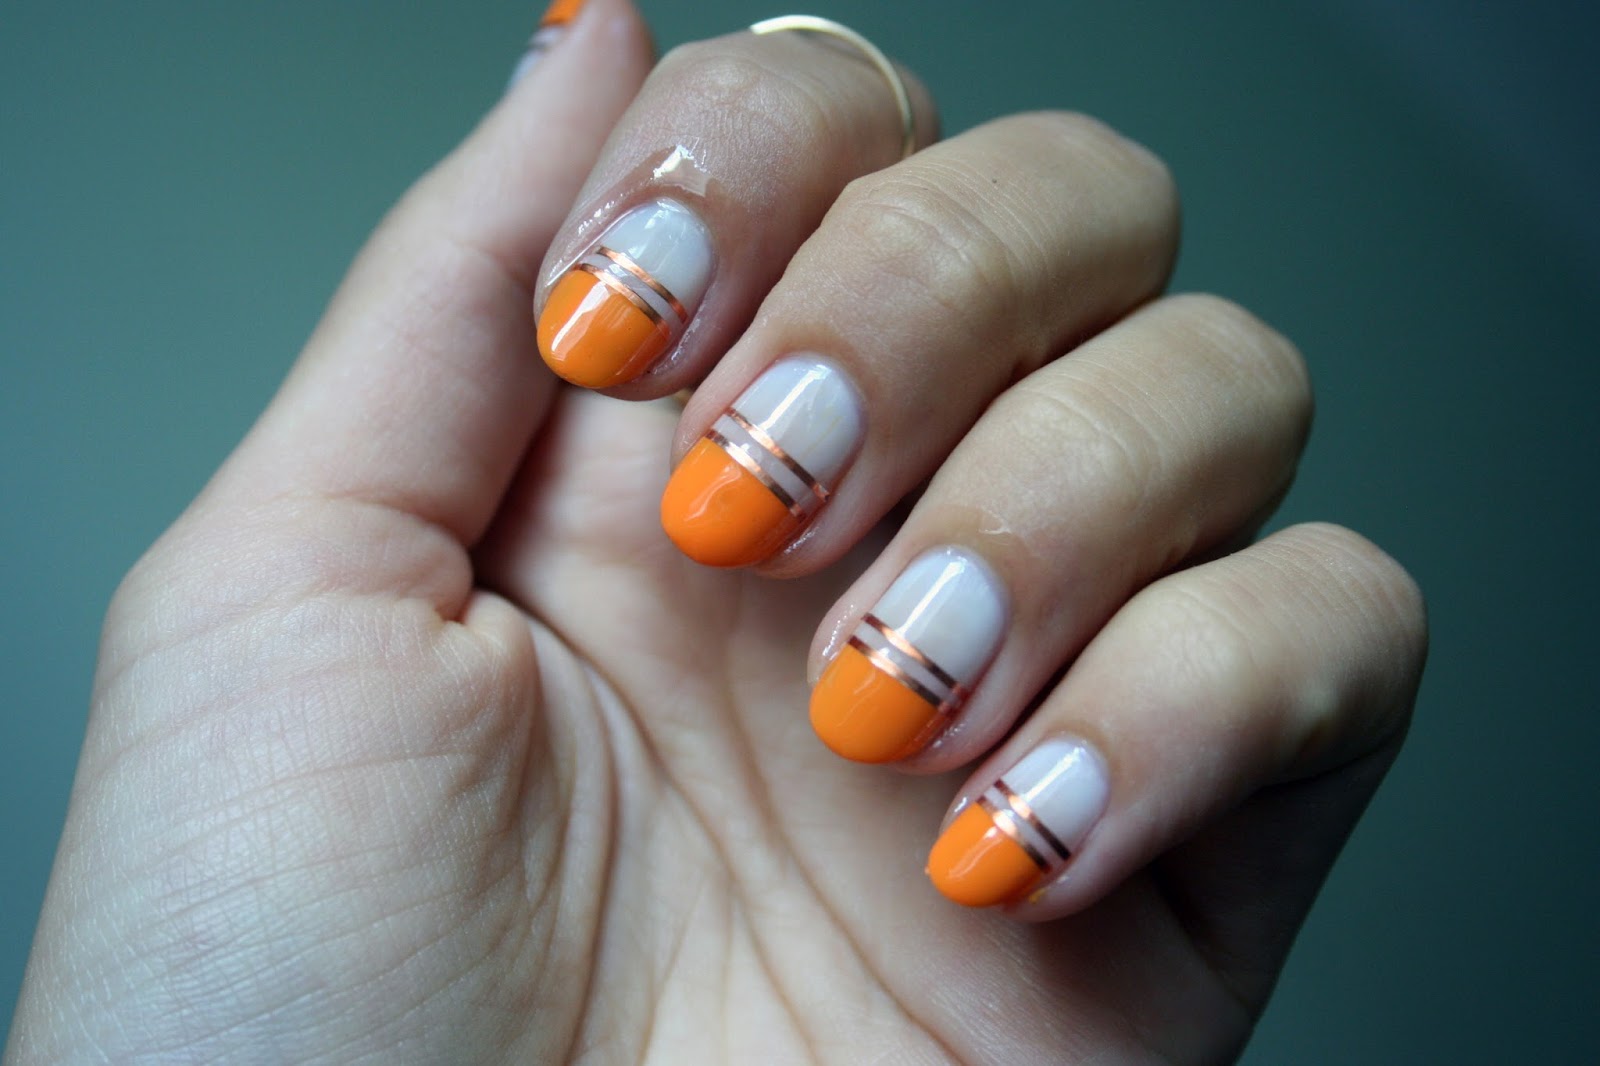
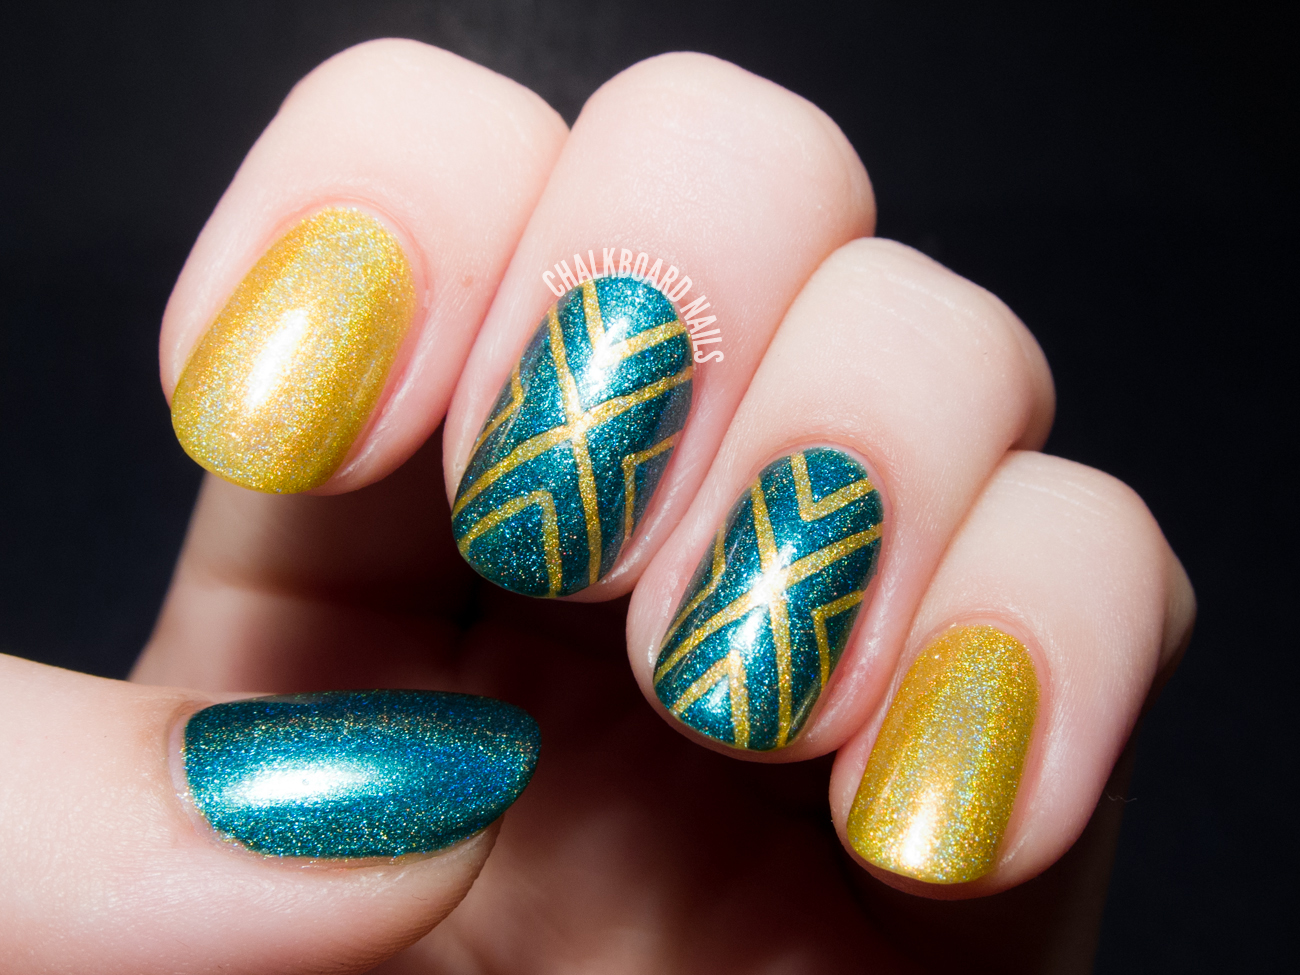
For those who love geometric designs, nail tape is a must-have tool. You can create endless geometric nail art designs using nail tape. From triangles to diamonds to chevrons, there are so many options to choose from. You can also mix and match different colors of nail tape to create a unique and eye-catching look. For a more subtle geometric design, try creating a grid pattern using nail tape. Simply place thin strips of tape in a grid-like pattern on your nails and paint over it with a different color. This is a great way to add some dimension and detail to your nails.7. Geometric Nail Art with Nail Tape


7. Geometric Nail Art with Nail Tape


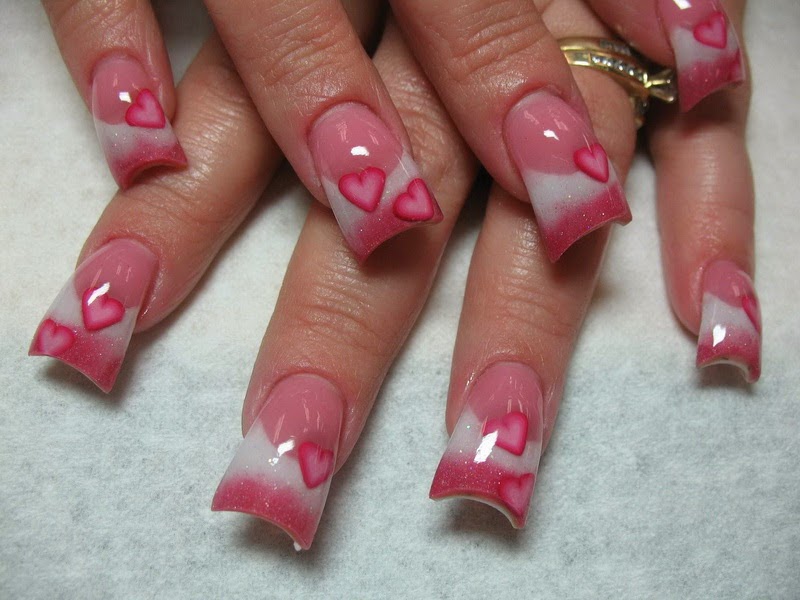
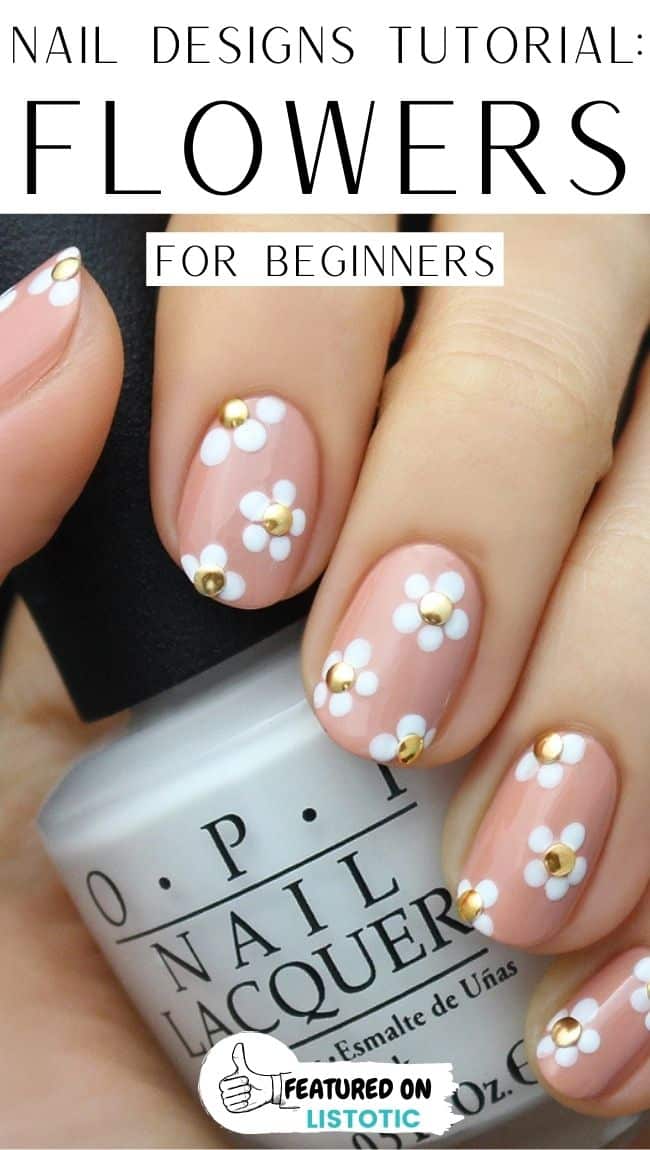
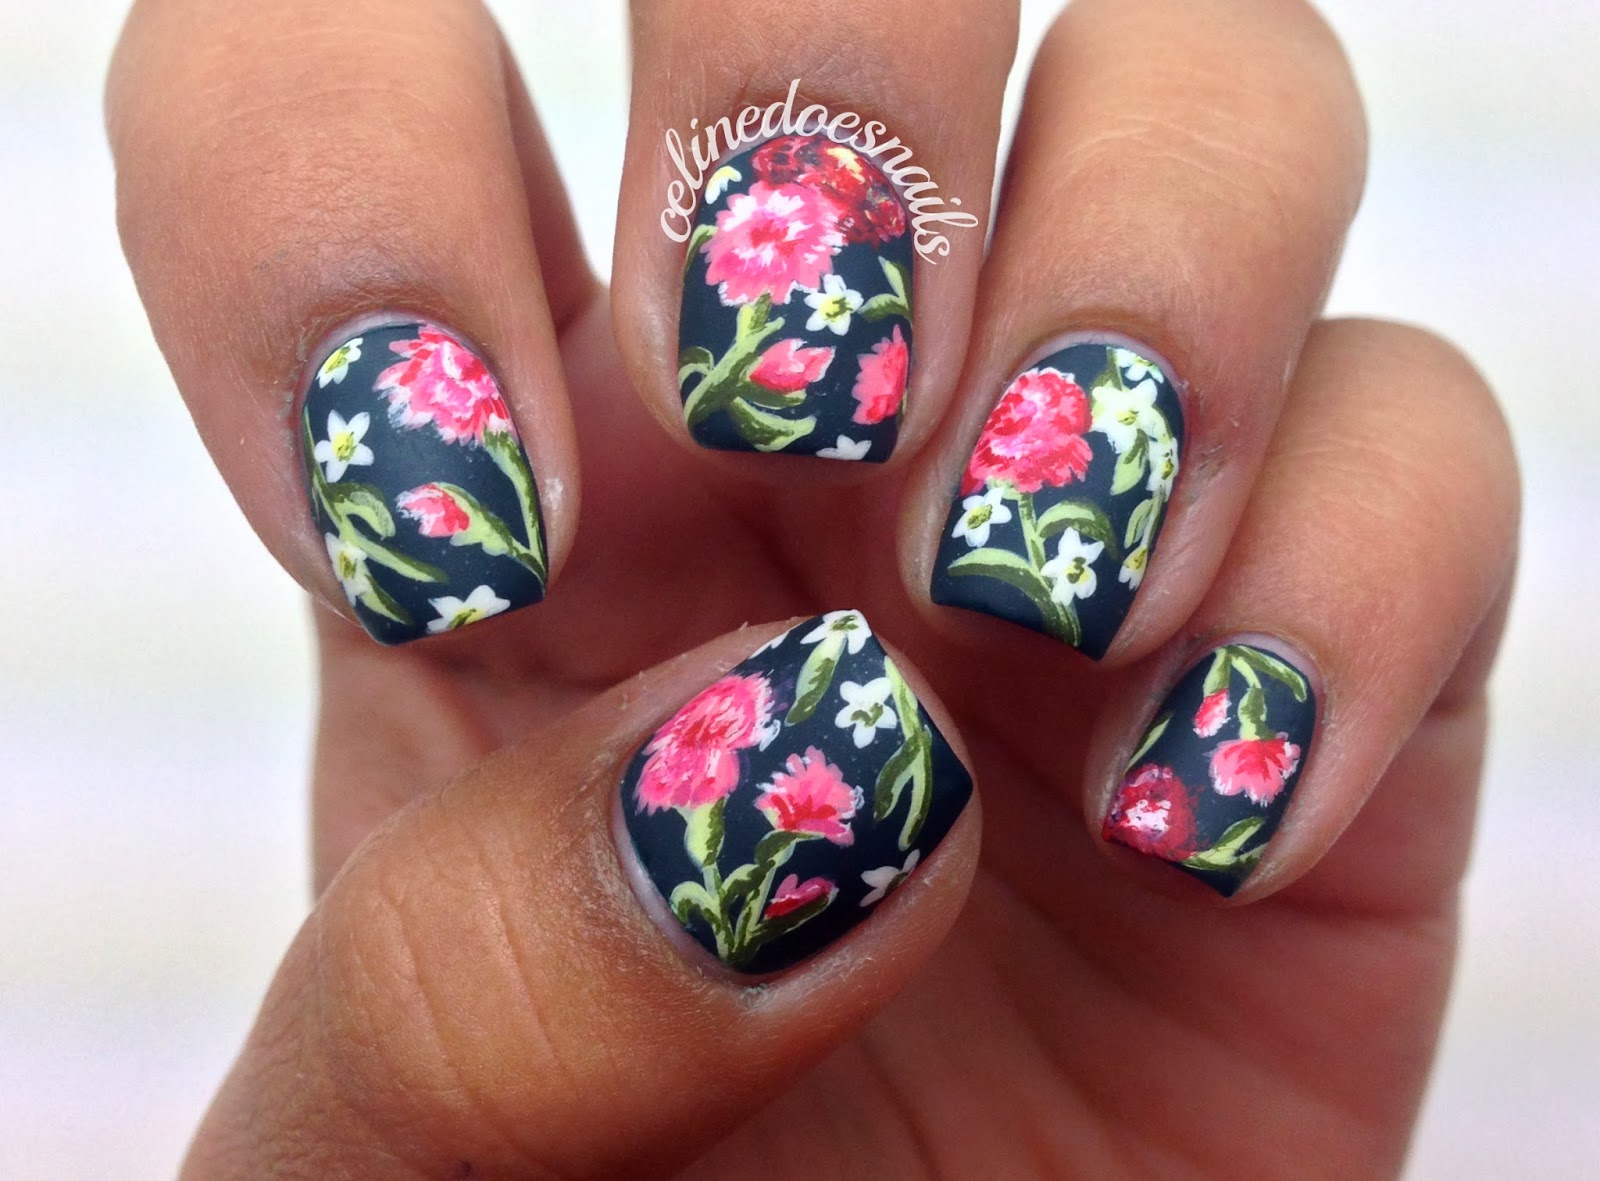
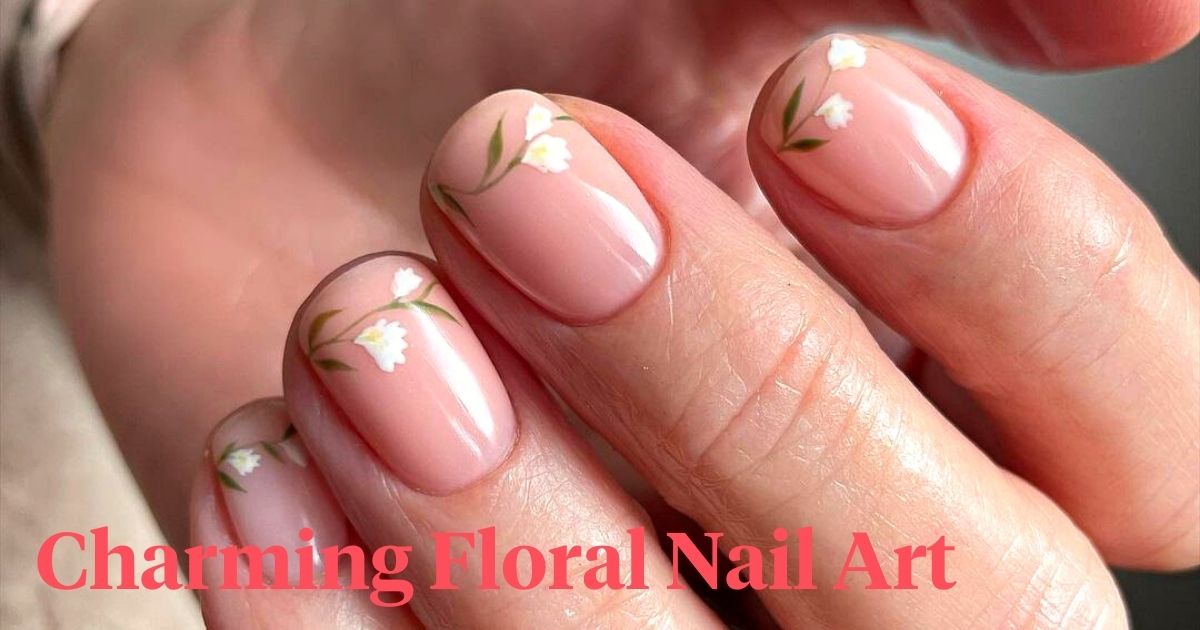
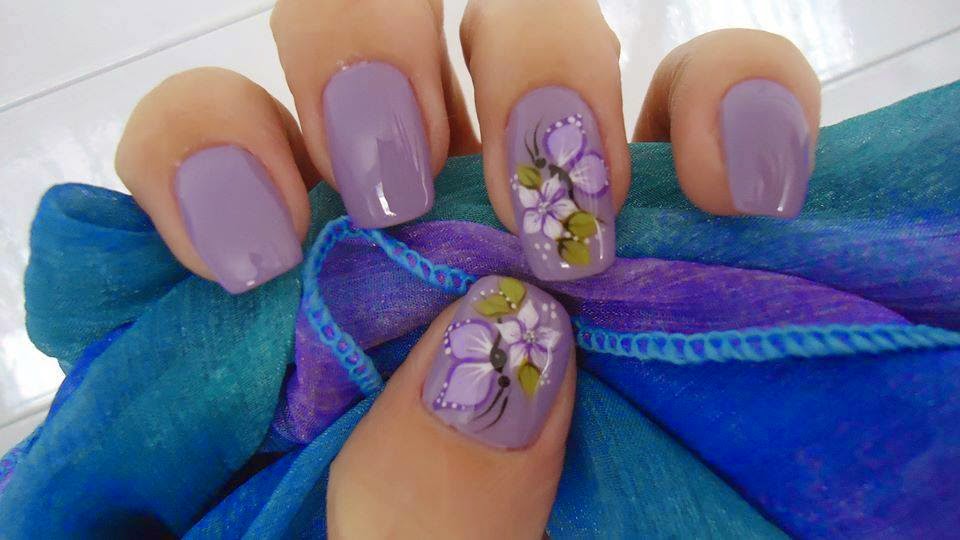
If you're a fan of floral designs, you can easily incorporate them into your nail art using nail tape. One nail tape design that is perfect for creating a floral look is the outline design. Simply cut small pieces of tape and place them on your nails in the shape of a flower. Then, paint over it with a different color and peel off the tape to reveal the design. You can also use nail tape to create a stencil design on your nails. Simply cut out a flower shape from a piece of tape and place it on your nail. Then, paint over it with a different color and peel off the tape to reveal the design. This is a great way to create a floral design that looks like it was hand-painted.8. Floral Nail Art Designs Using Nail Tape


8. Floral Nail Art Designs Using Nail Tape

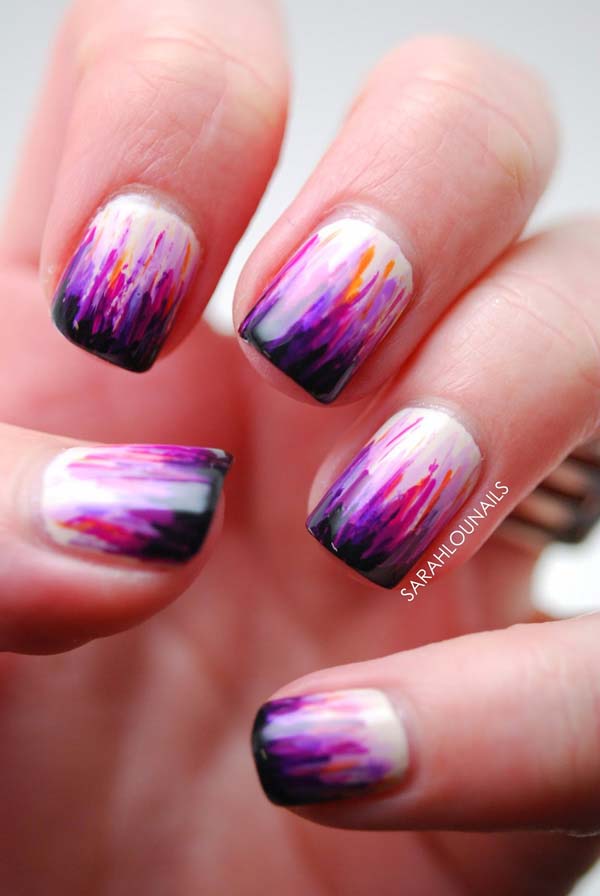
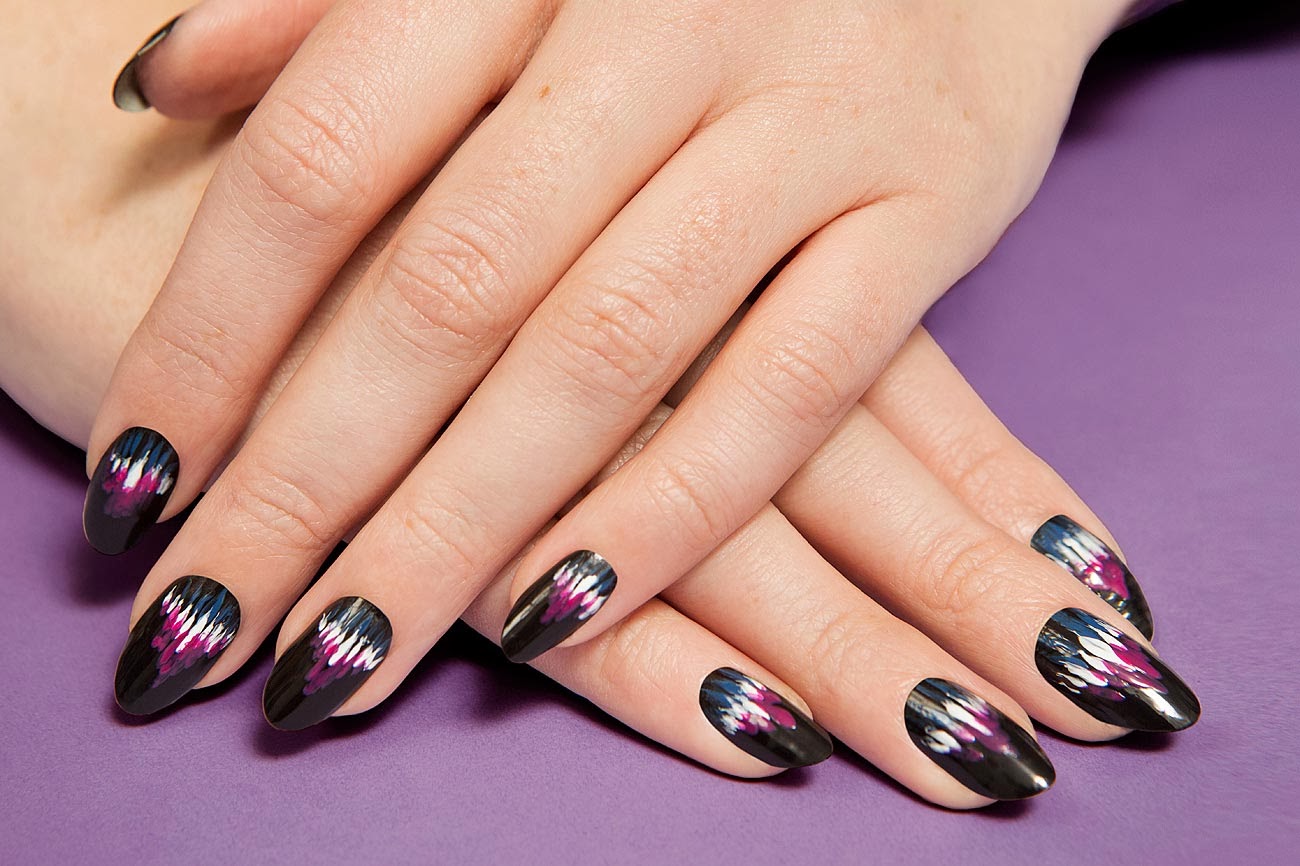
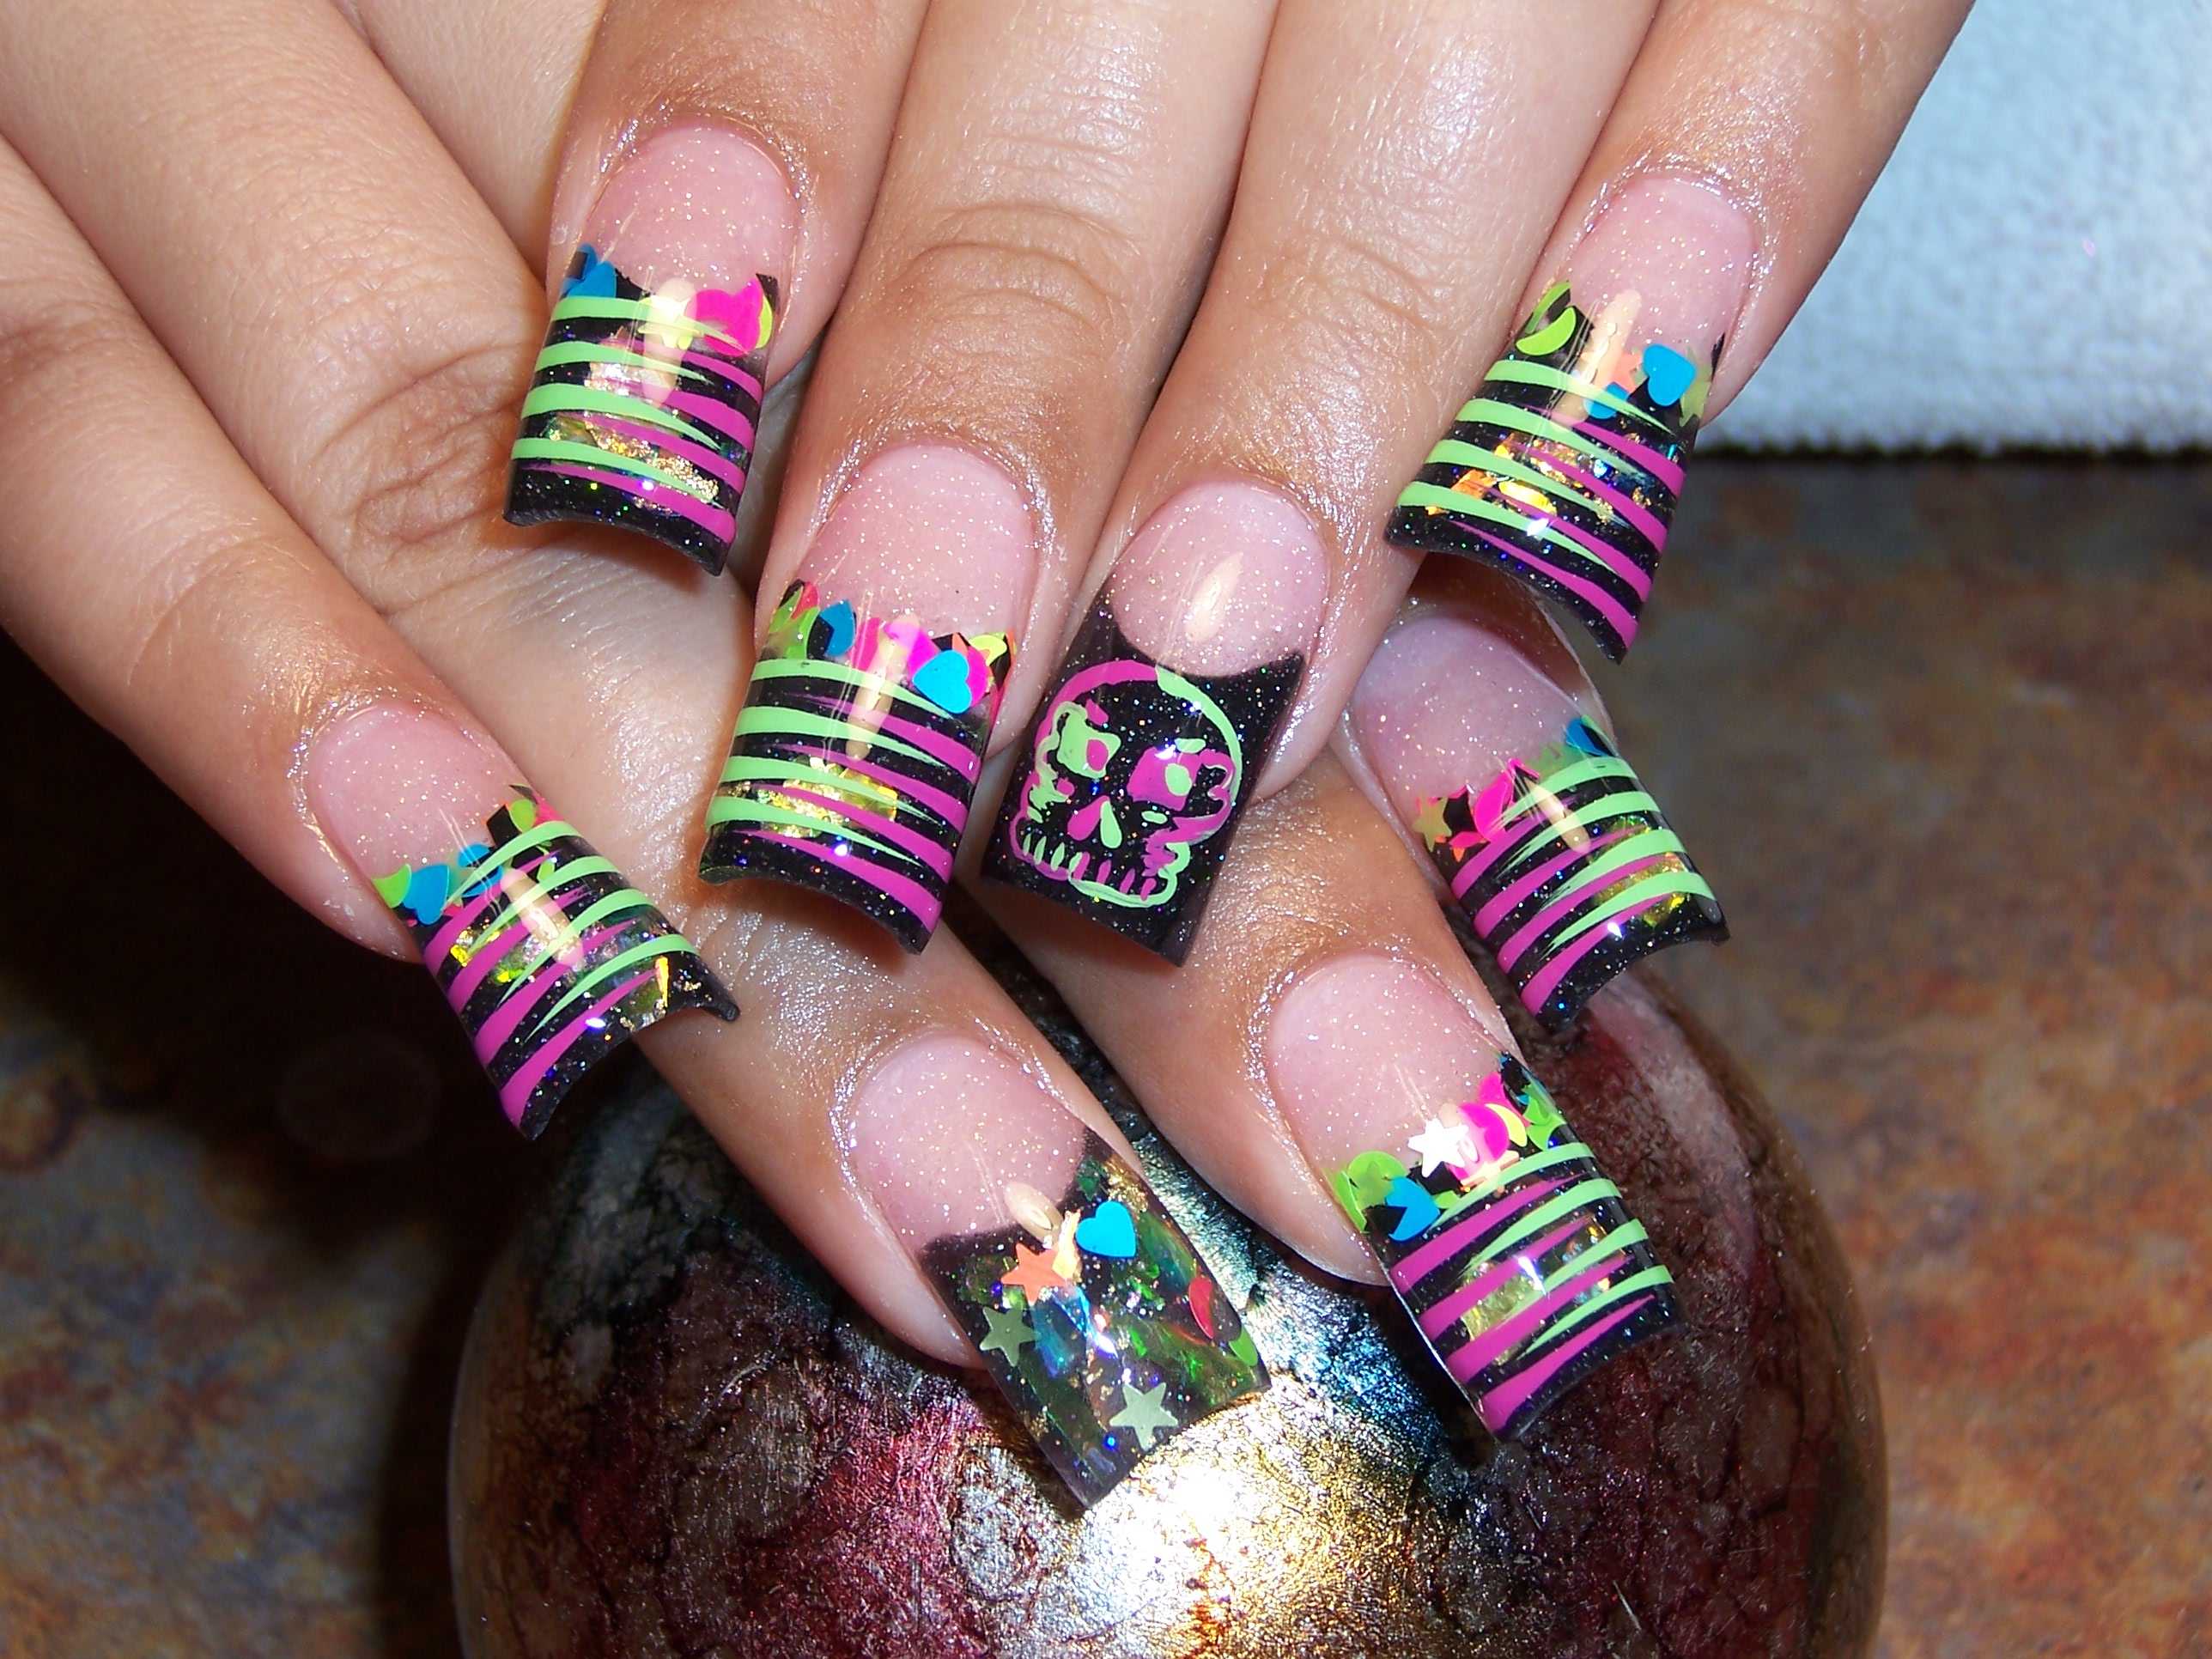
For those who love bold and edgy designs, nail tape is the perfect tool. You can use it to create stripes, chevrons, or even leopard spots on your nails. You can also use nail tape to create negative space designs with a grunge feel. For a more unique and edgy look, try creating a cut-out design using nail tape. Simply cut out different shapes from the tape and place them on your nails, leaving some areas exposed. Then, paint over it with a different color and peel off the tape to reveal the design.9. Bold and Edgy Nail Art with Nail Tape

9. Bold and Edgy Nail Art with Nail Tape

Finally, here are some nail tape hacks that will make your nail art endeavors even easier. To create straight lines, use a pair of tweezers to place the tape on your nails. You can also use nail tape to fix any mistakes or smudges in your nail polish. Simply place a small piece of tape over the smudge and gently press down to smooth it out. Another nail tape hack is to use it as a guide for creating intricate designs. Place a piece of tape on your nail and use it as a guide to paint on a heart, star, or other shape. This will help you create a perfect design every time. In conclusion, nail tape is a versatile and essential tool for creating beautiful and unique nail art designs. Whether you're a beginner or a seasoned pro, these 10 nail art designs using nail tape will inspire you to experiment and have fun with your nails. So grab some nail tape and get creative!10. Nail Tape Hacks for Perfect Nail Art


10. Nail Tape Hacks for Perfect Nail Art


Creating Unique and Intricate Nail Art Design with Nail Tape

What is Nail Tape?
 Nail tape is a thin strip of adhesive material that comes in various colors and designs. It is a popular tool used in nail art to create unique and intricate designs on the nails. Unlike regular polish, nail tape allows for more precise and detailed designs to be created on the nails, making it a must-have for any nail art enthusiast.
How to Use Nail Tape for Nail Art Design
 Using nail tape is fairly simple and can be done by anyone, whether you are a professional or a beginner. Start by choosing the base color for your nails and applying it evenly on all your nails. Once it is dry, take a strip of nail tape and carefully place it on your nail, following the shape of your cuticle. You can use a pair of tweezers to help with placement and precision. Once the tape is in place, you can paint over it with a different color to create unique designs. You can also use multiple strips of nail tape to create more intricate patterns.
Benefits of Using Nail Tape for Nail Art Design
 Using nail tape for nail art design has several benefits. Firstly, it allows for more precise and detailed designs to be created, making it perfect for intricate and complex patterns. It also comes in a variety of colors and designs, making it easy to match with any outfit or occasion. Additionally, nail tape is easy to use and remove, making it a convenient tool for both professionals and beginners in nail art.
Final Thoughts
 Nail tape is a versatile and essential tool for creating unique and intricate nail art designs. Its ease of use and variety of options make it a popular choice for nail art enthusiasts. With nail tape, you can unleash your creativity and create beautiful and eye-catching designs on your nails. So next time you want to try something new and exciting with your nails, don't forget to add some nail tape to your nail art toolkit.


