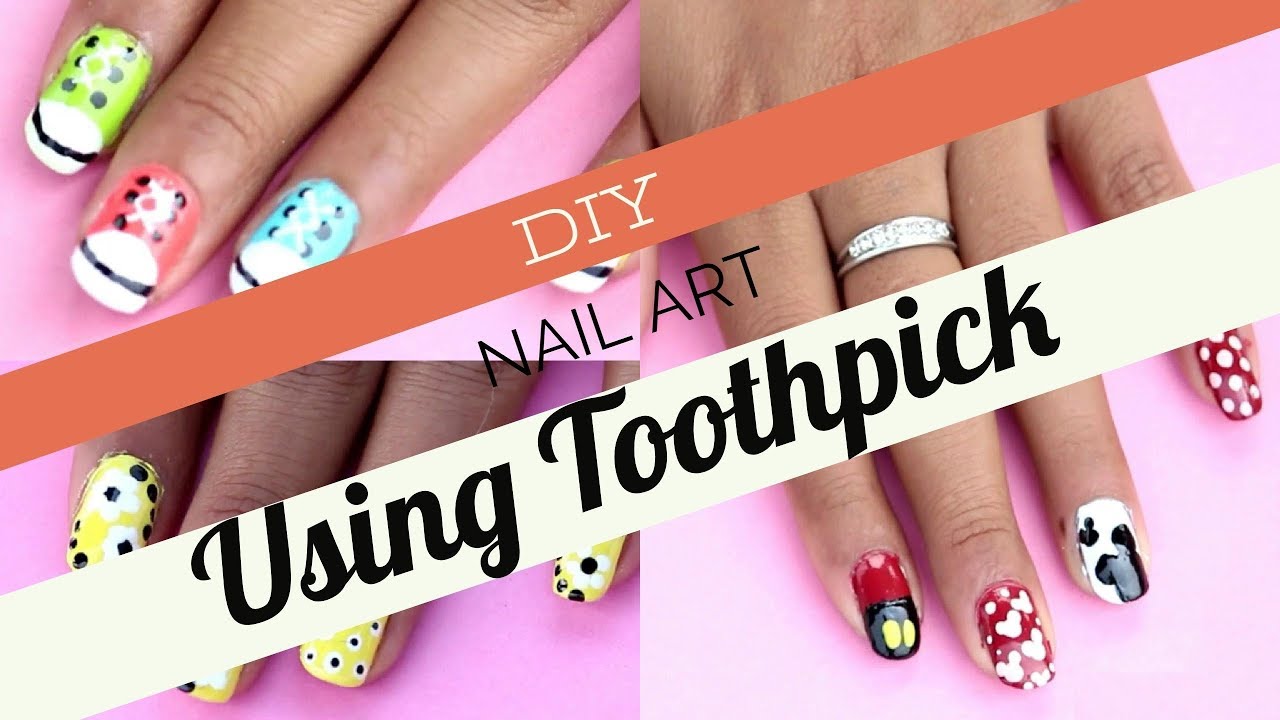
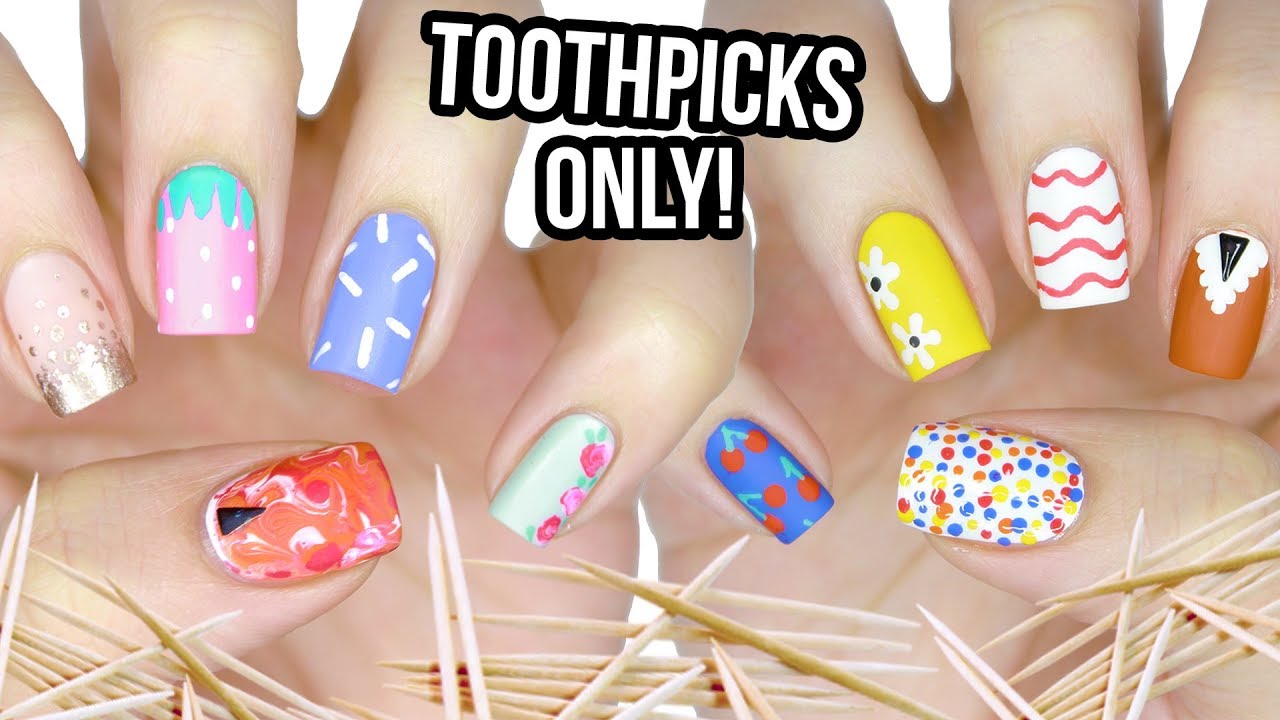
If you're looking for a simple and affordable way to create beautiful nail art, look no further than your kitchen. Yes, you read that right – toothpicks can be your secret weapon for creating stunning nail designs. Not only are they easily accessible, but they also offer great precision for intricate designs. So, let's dive into the top 10 easy nail art designs using toothpicks.1. Easy Nail Art Designs Using Toothpicks


1. Easy Nail Art Designs Using Toothpicks


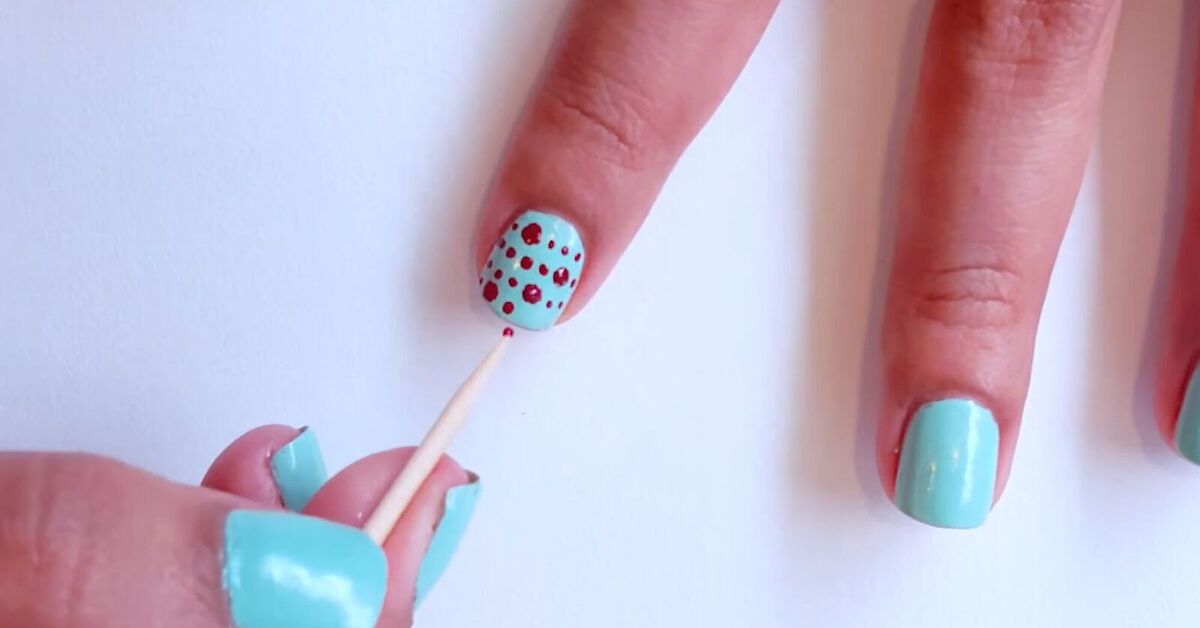
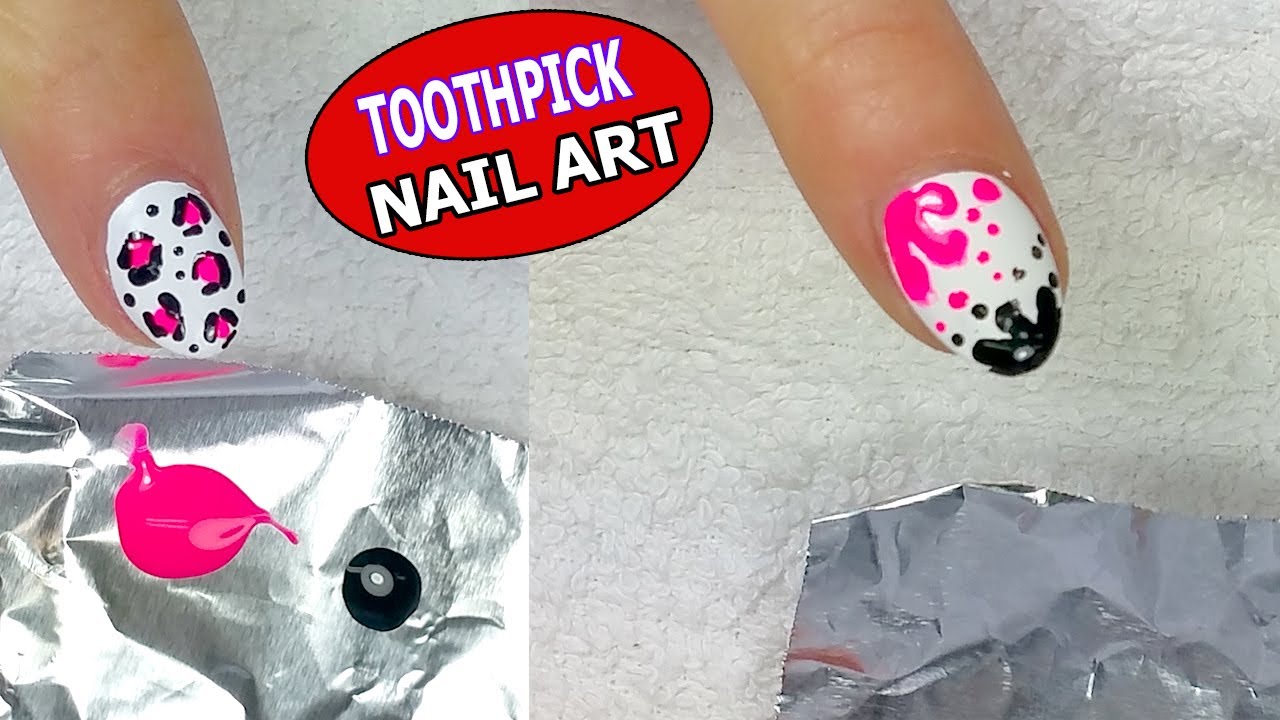
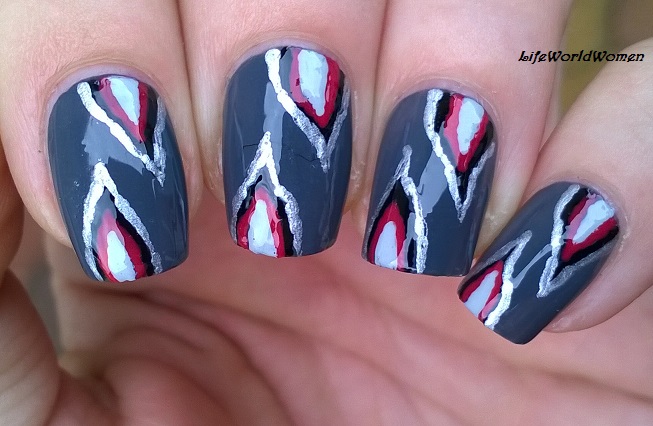
One of the simplest ways to use a toothpick for nail art is by creating polka dots. Dip the tip of a toothpick into your favorite nail polish and place it gently on your nails to create perfect dots. You can also use a toothpick to create stripes, swirls, and other patterns by dragging the tip of the toothpick through the wet nail polish. This technique is perfect for beginners and can give your nails a fun and playful look.2. Simple Toothpick Nail Art Ideas


2. Simple Toothpick Nail Art Ideas


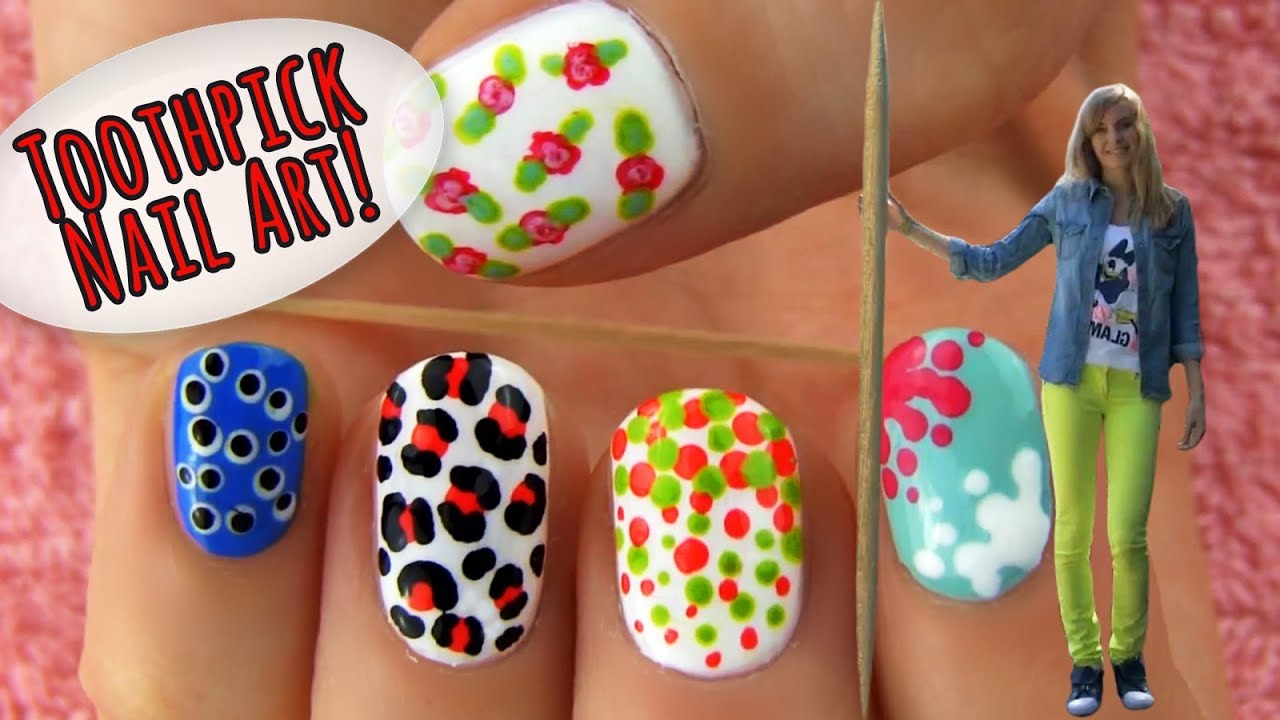

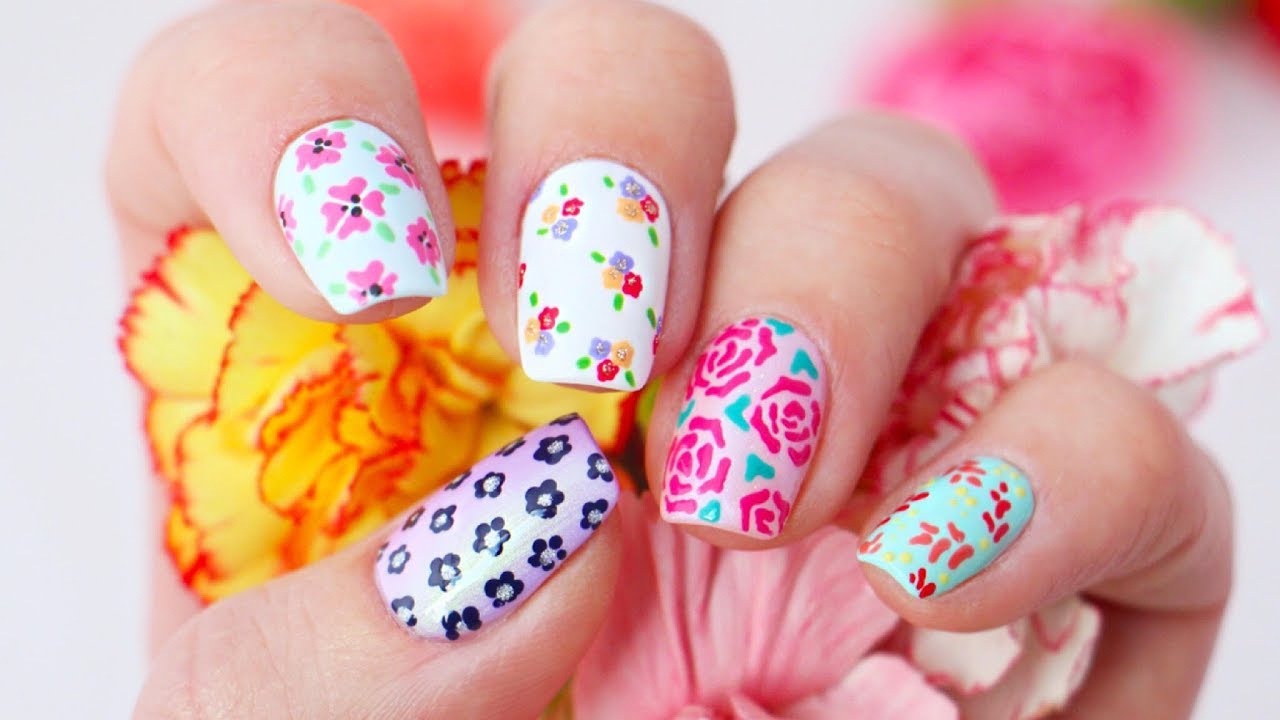
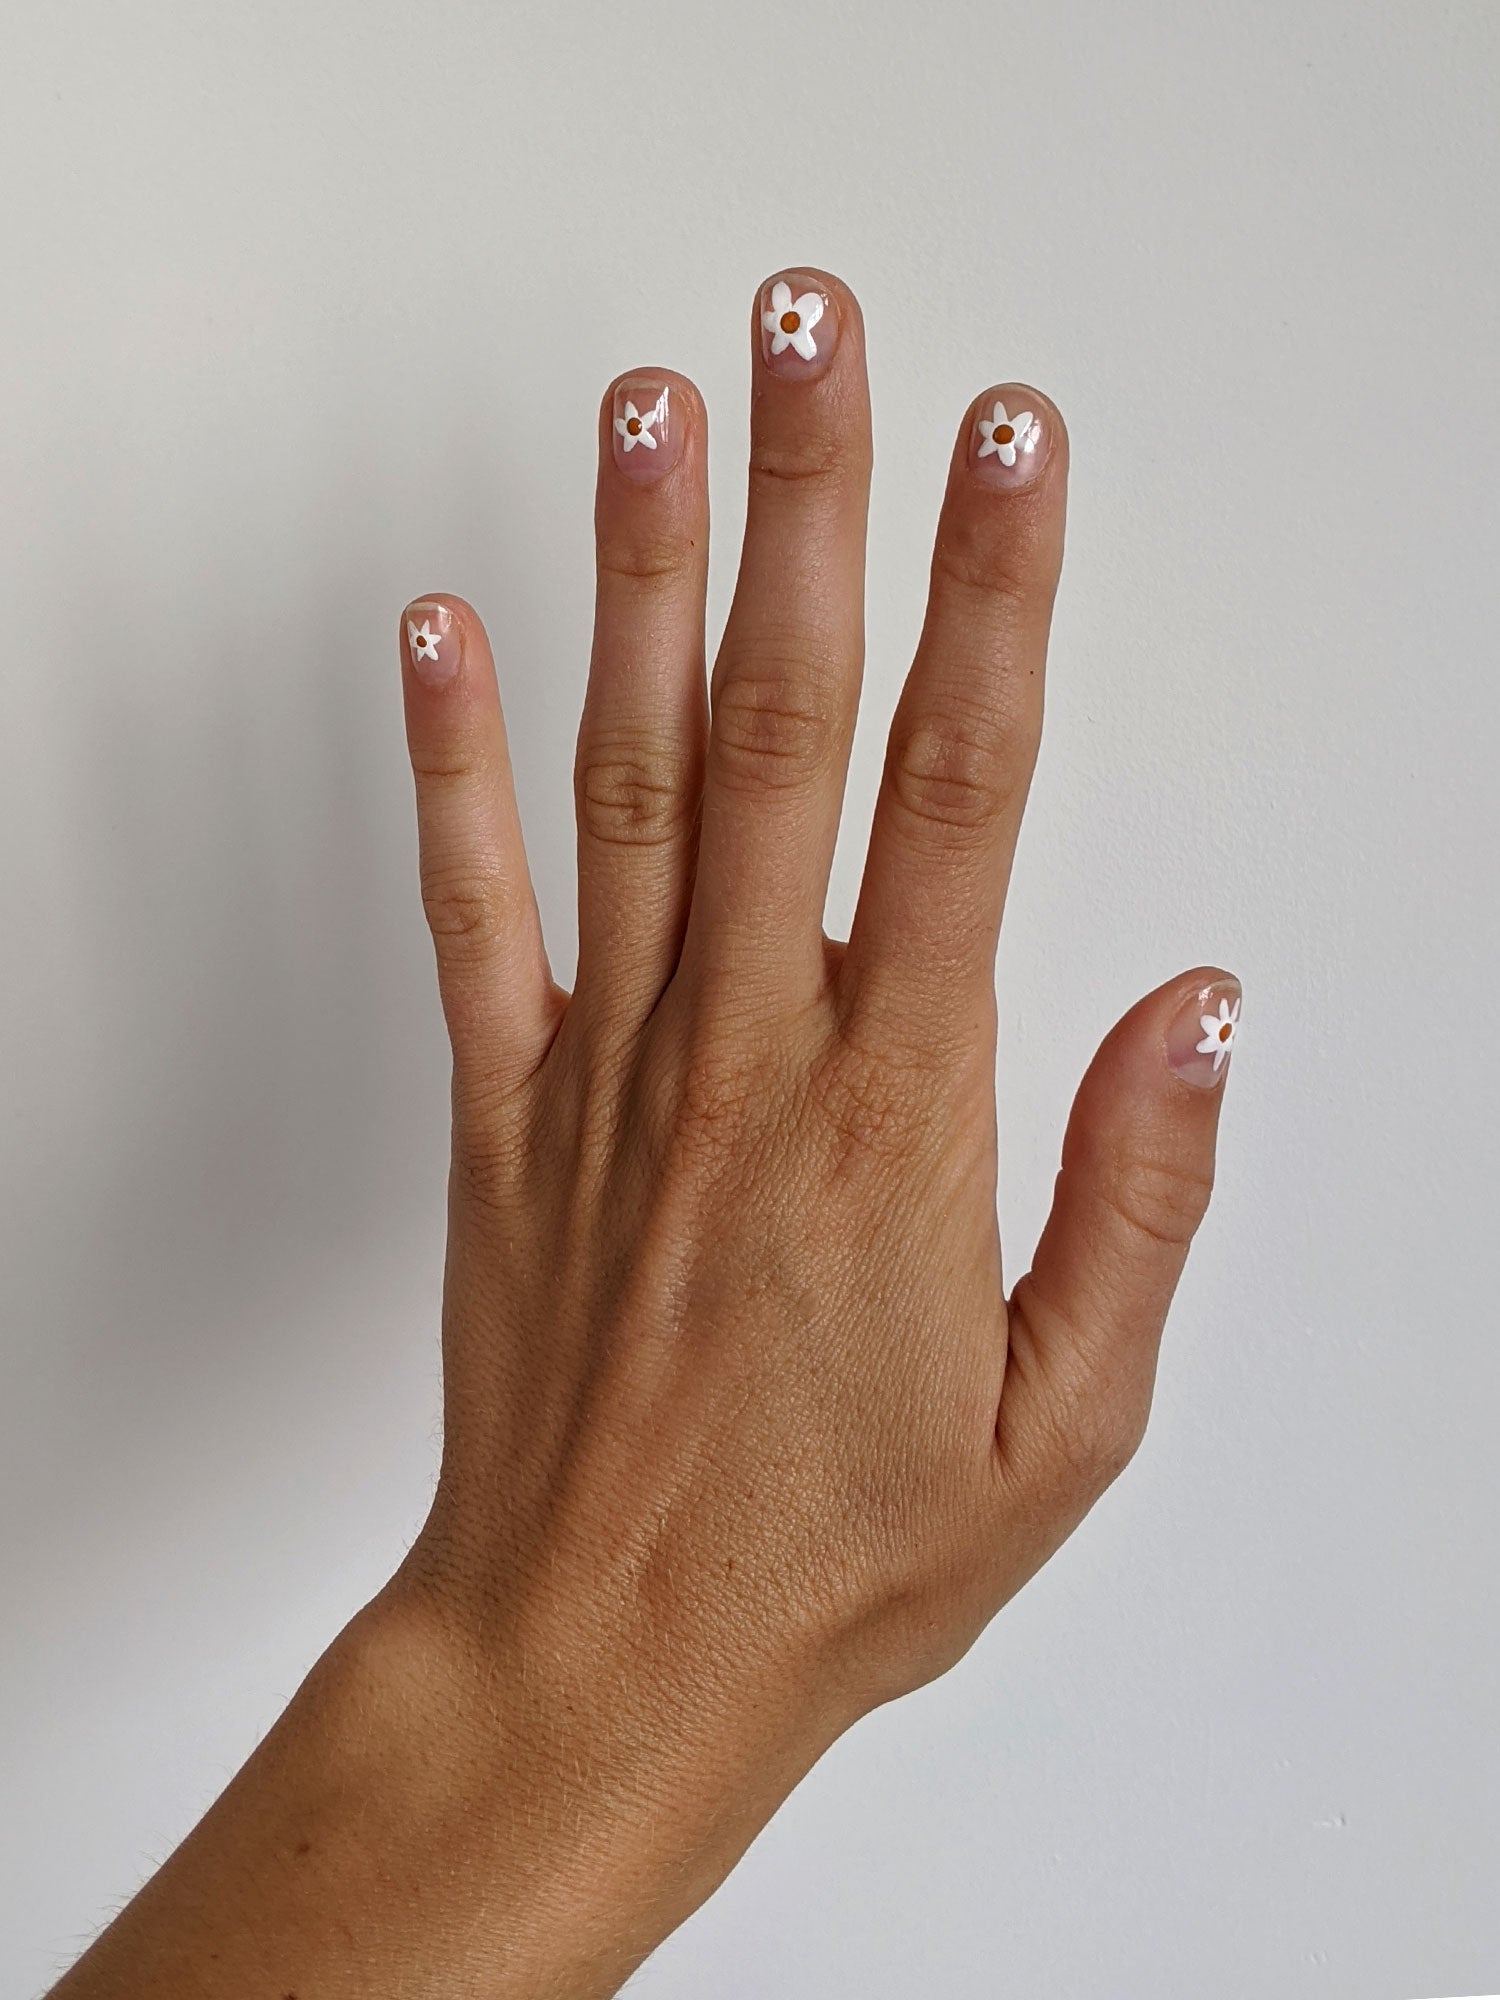
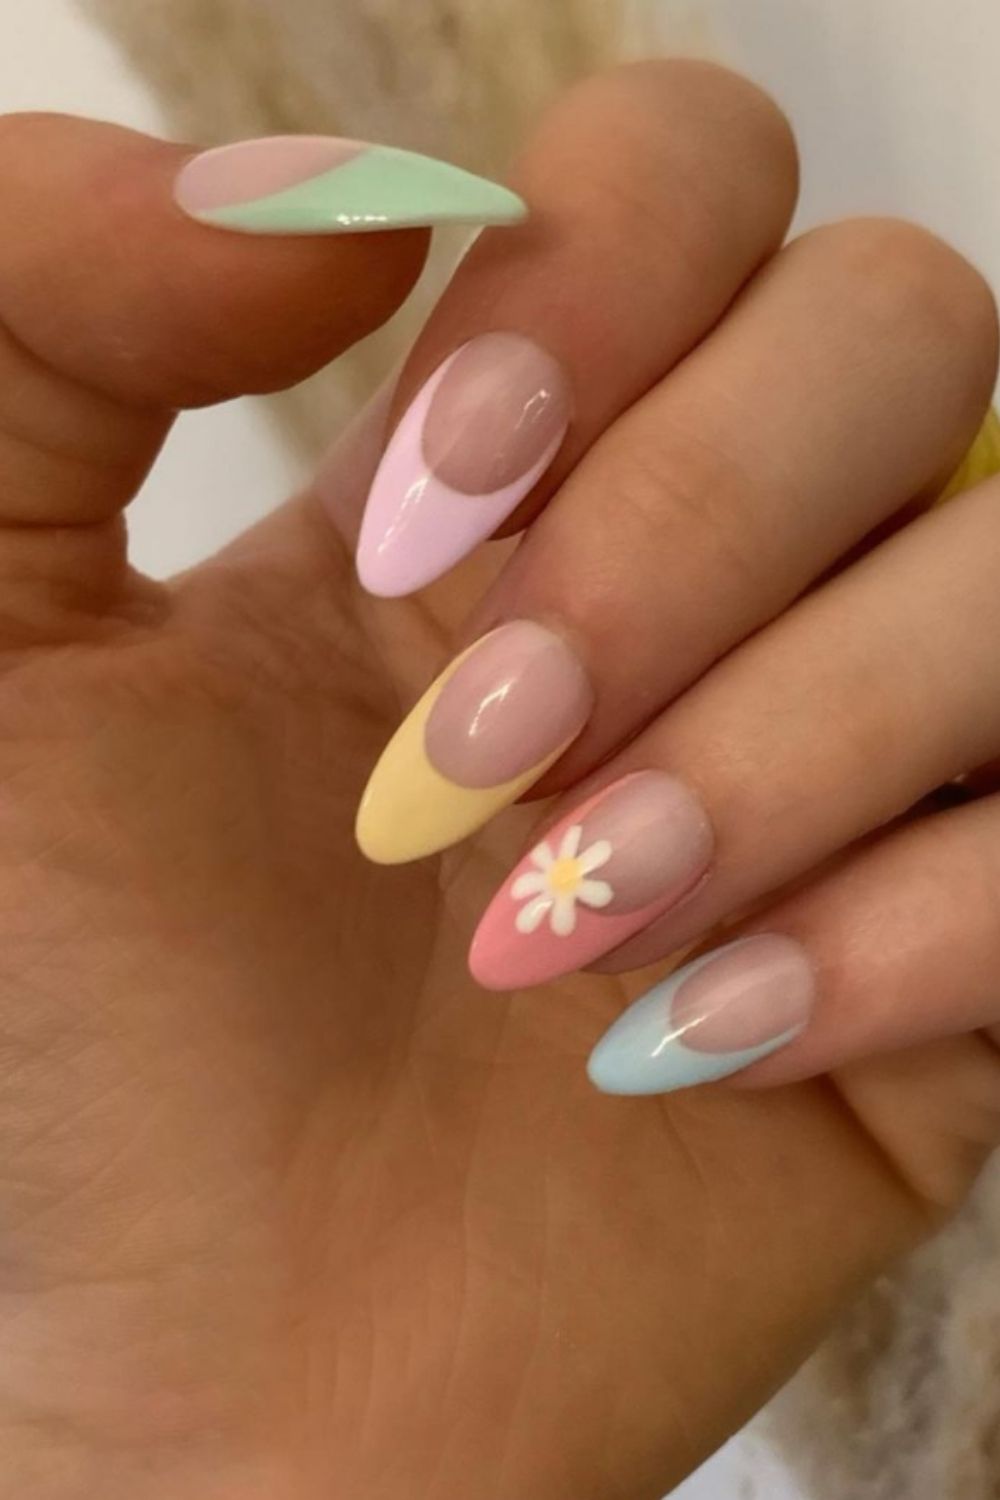
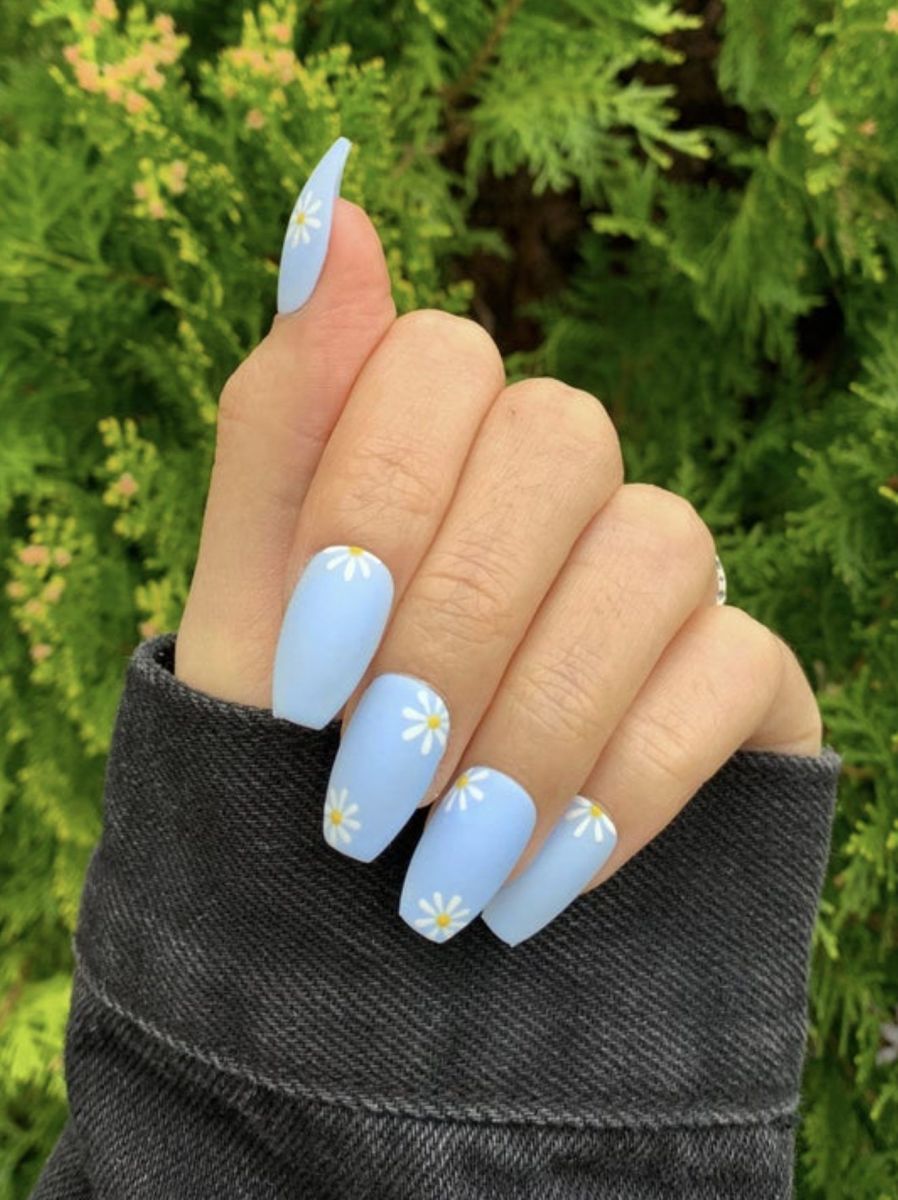
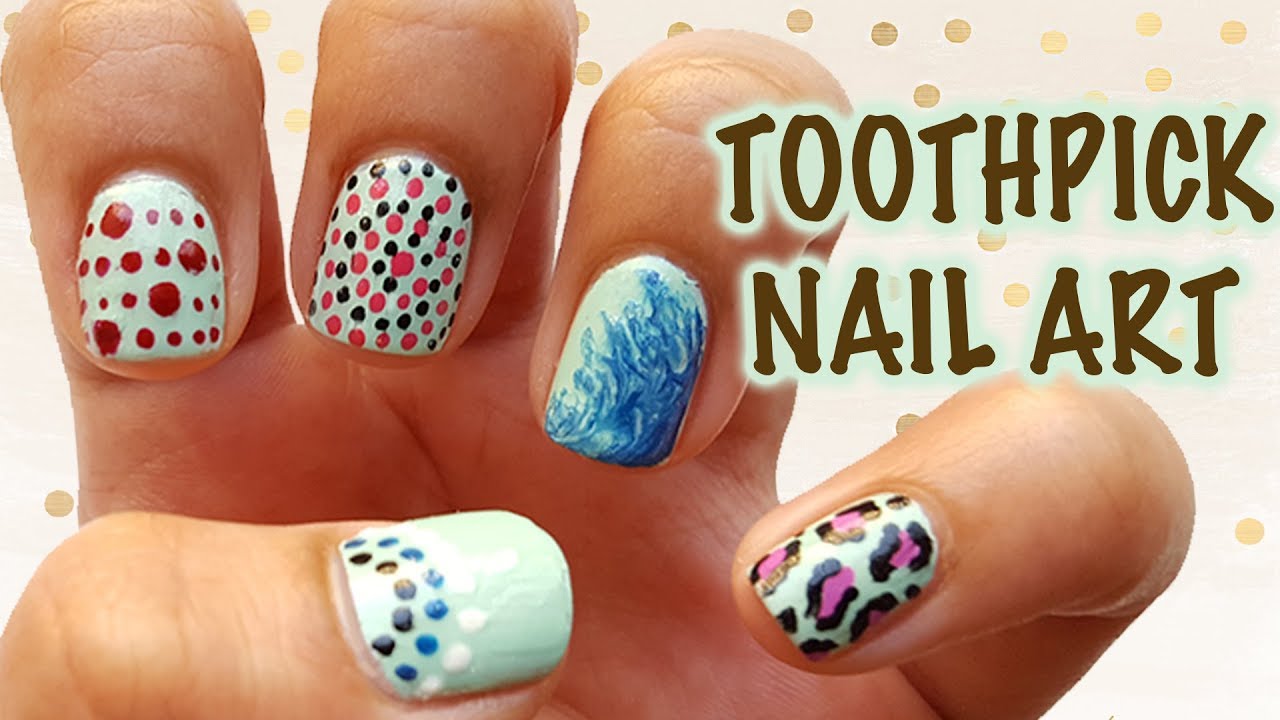
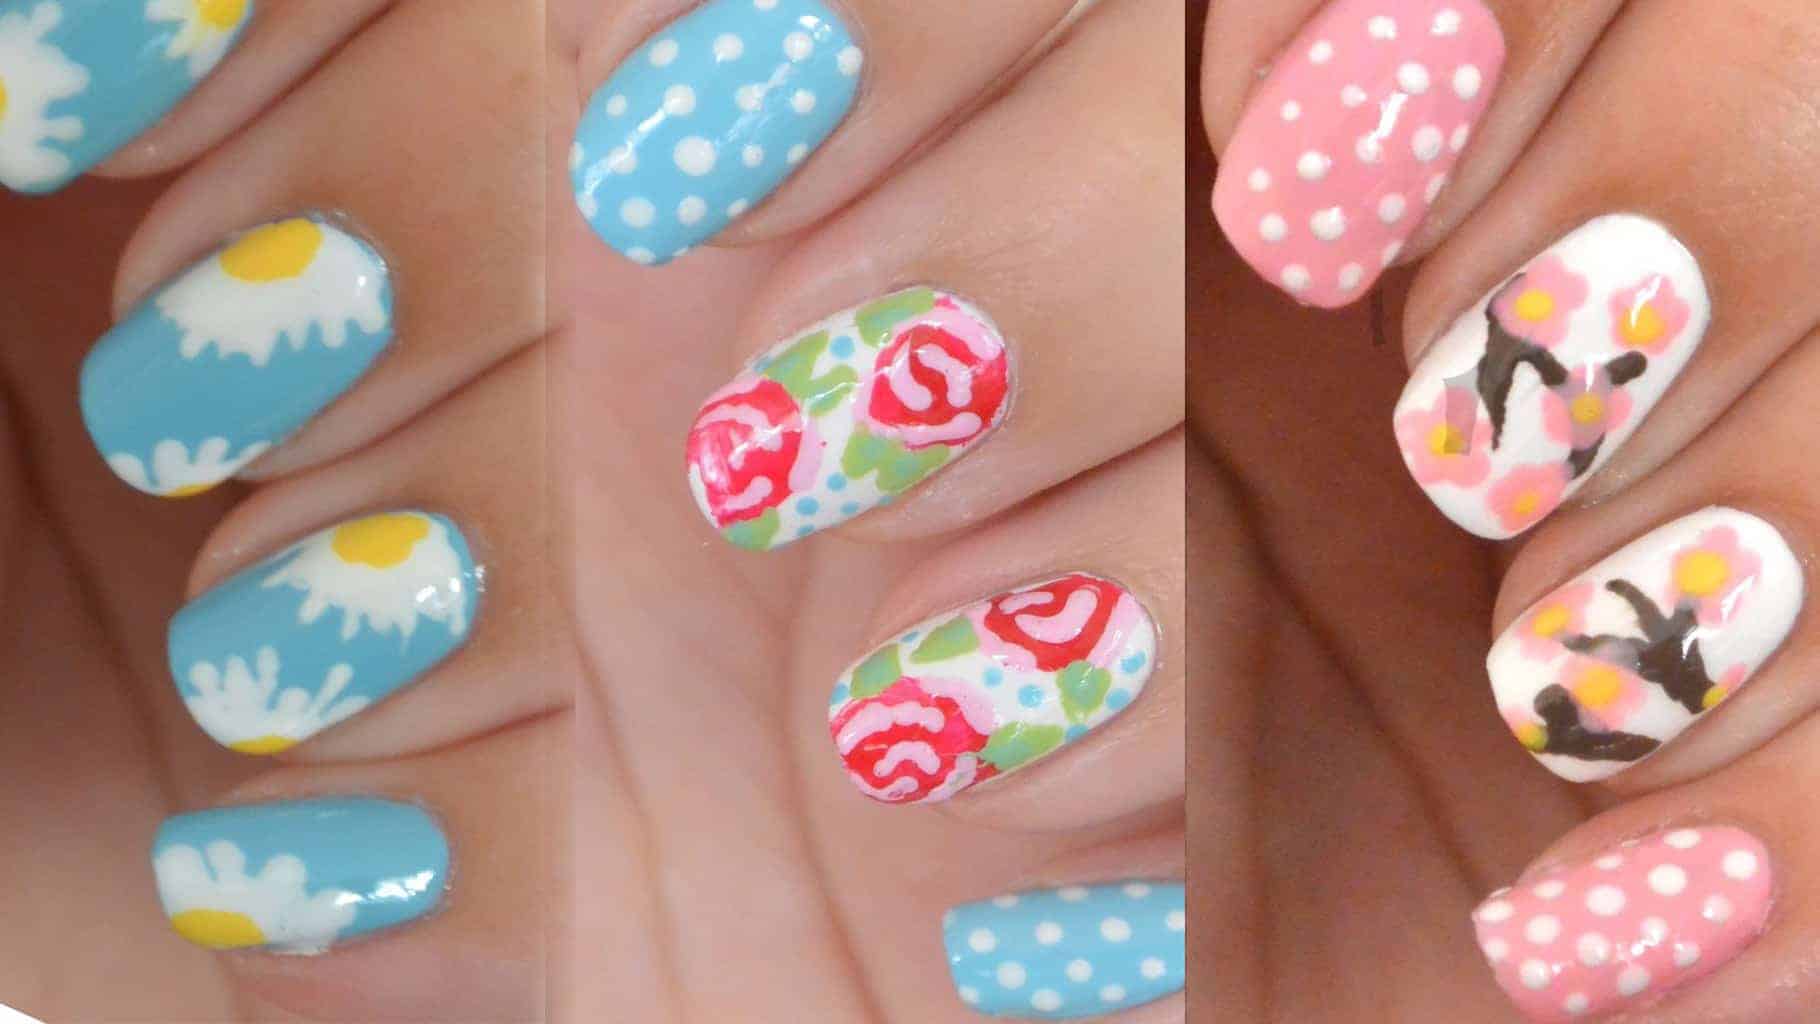
With a little bit of creativity, you can create your own DIY nail art using toothpicks. Use a toothpick as a stamp to create cute and unique designs on your nails. Dip the tip of the toothpick into a small amount of nail polish, and then press it onto your nail in a circular motion to create a flower design. You can also use multiple colors to create a colorful bouquet on your nails.3. DIY Nail Art with Toothpicks


3. DIY Nail Art with Toothpicks


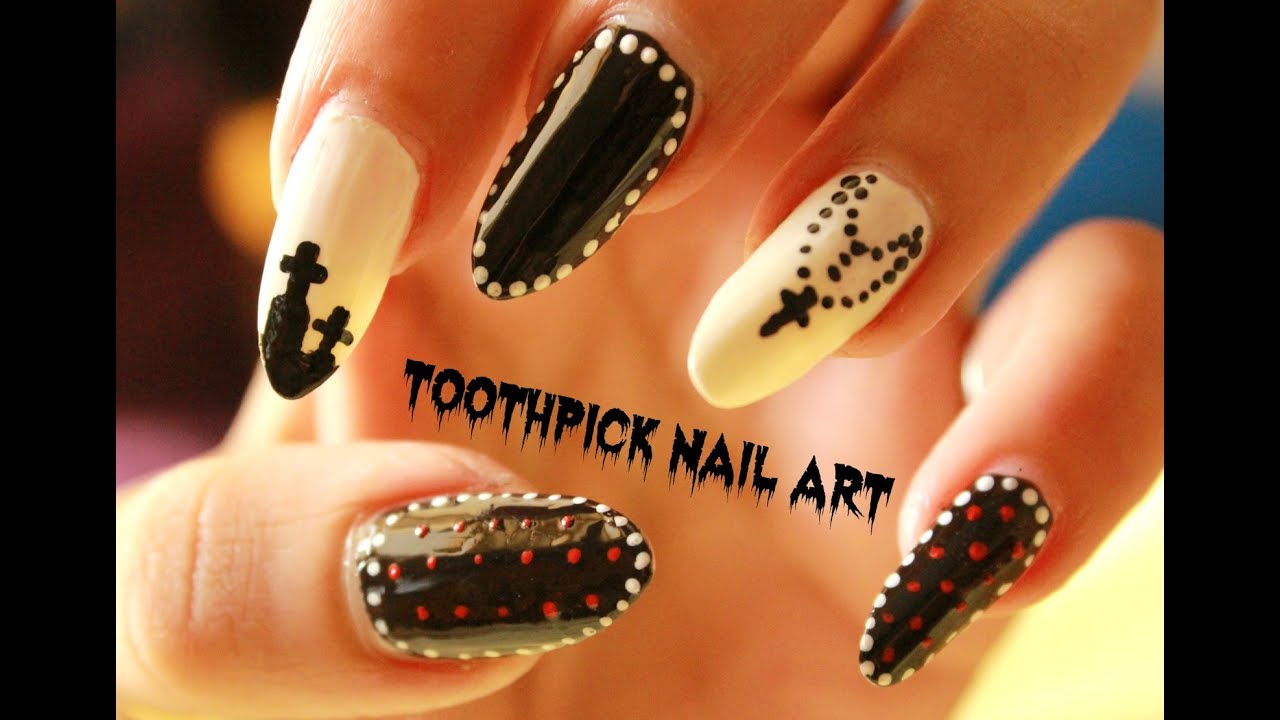
Toothpicks can also be used to create more intricate and creative designs on your nails. For example, you can use them to create tiny hearts, stars, or even letters on your nails. Simply dip the tip of the toothpick into the nail polish and carefully draw the shape on your nails. This technique may take a bit more practice, but the end result is worth it.4. Creative Toothpick Nail Designs


4. Creative Toothpick Nail Designs
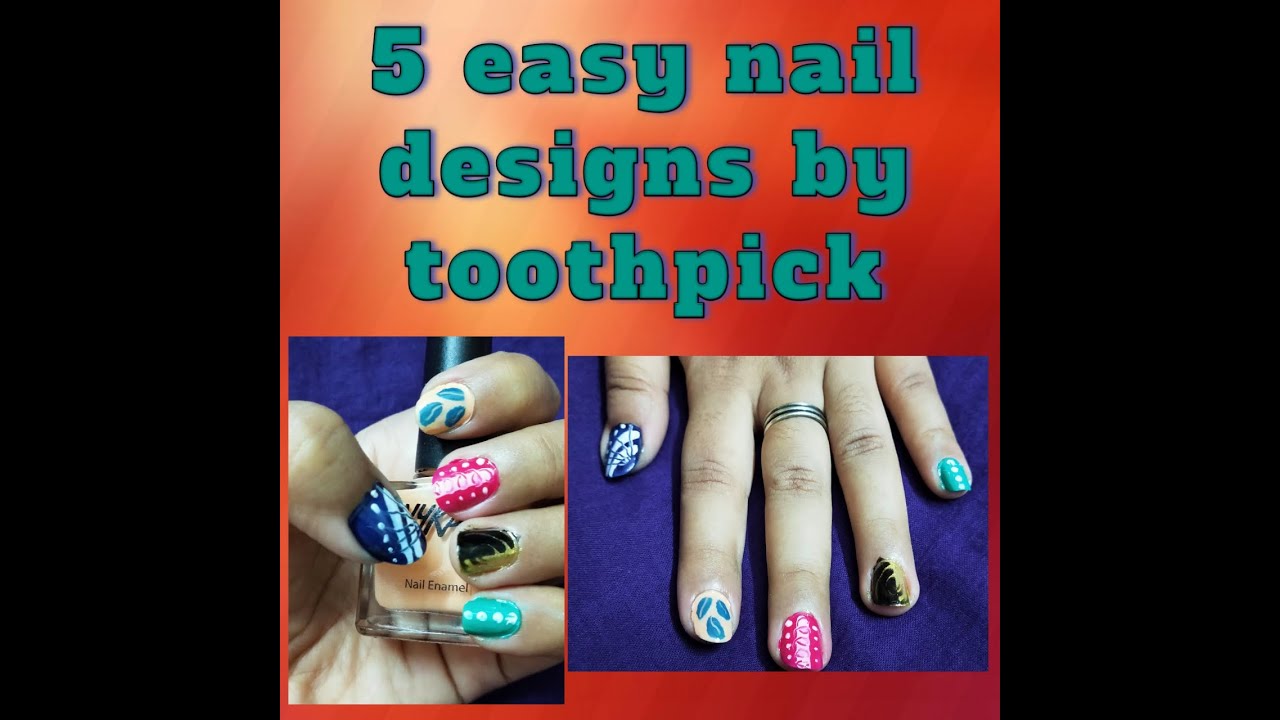


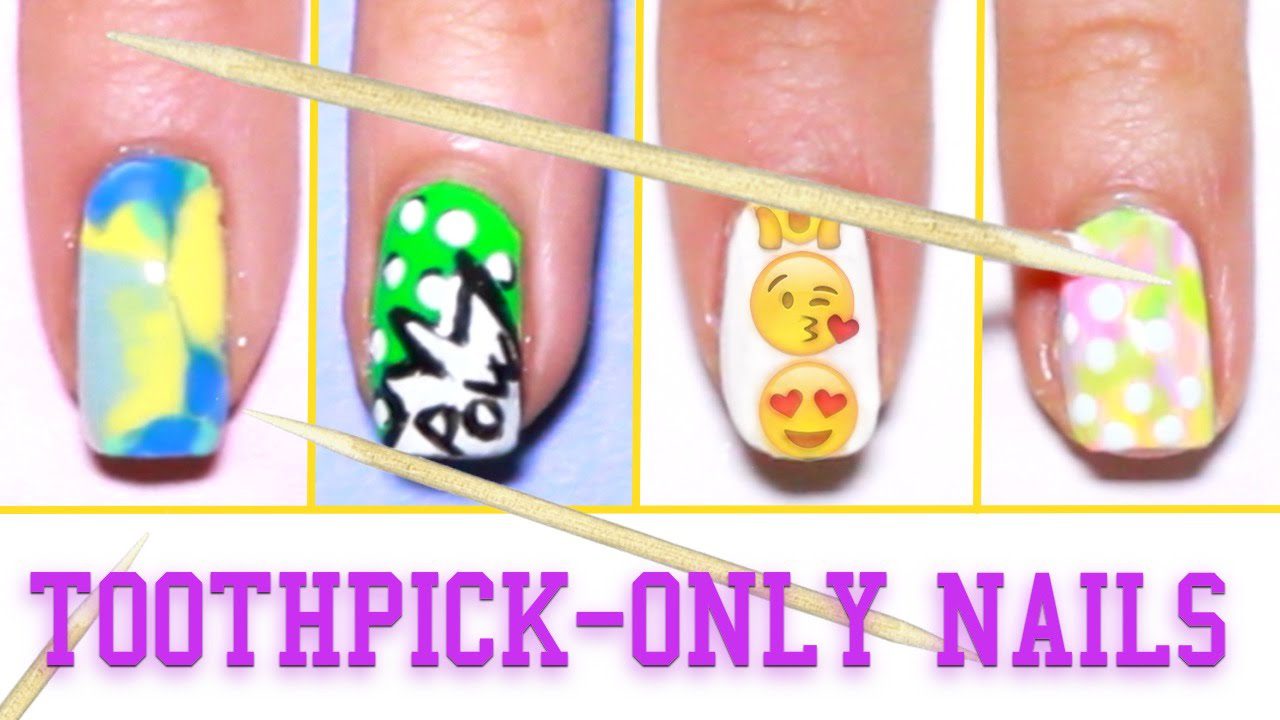
If you're new to using toothpicks for nail art, there are plenty of tutorials available online to help you get started. You can find step-by-step instructions and video tutorials that will guide you through different toothpick nail art techniques. These tutorials will give you inspiration and help you perfect your skills for creating beautiful nail art using toothpicks.5. Toothpick Nail Art Tutorial


5. Toothpick Nail Art Tutorial

Toothpicks can add a touch of fun and playfulness to your nail designs. You can use them to create cute animal designs, such as pandas, cats, or bumblebees. Simply dip the tip of a toothpick into black nail polish and draw on the details, such as eyes, nose, and whiskers. This is a fun and easy way to add some personality to your nails.6. Fun and Easy Toothpick Nail Art


6. Fun and Easy Toothpick Nail Art
If you're a beginner, it's always a good idea to start with simple designs using toothpicks. Once you get comfortable with the technique, you can move on to more complex designs. Start with simple patterns, such as stripes or dots, and gradually work your way up to more intricate designs. With a bit of practice, you'll be creating beautiful toothpick nail art in no time.7. Toothpick Nail Art for Beginners


7. Toothpick Nail Art for Beginners


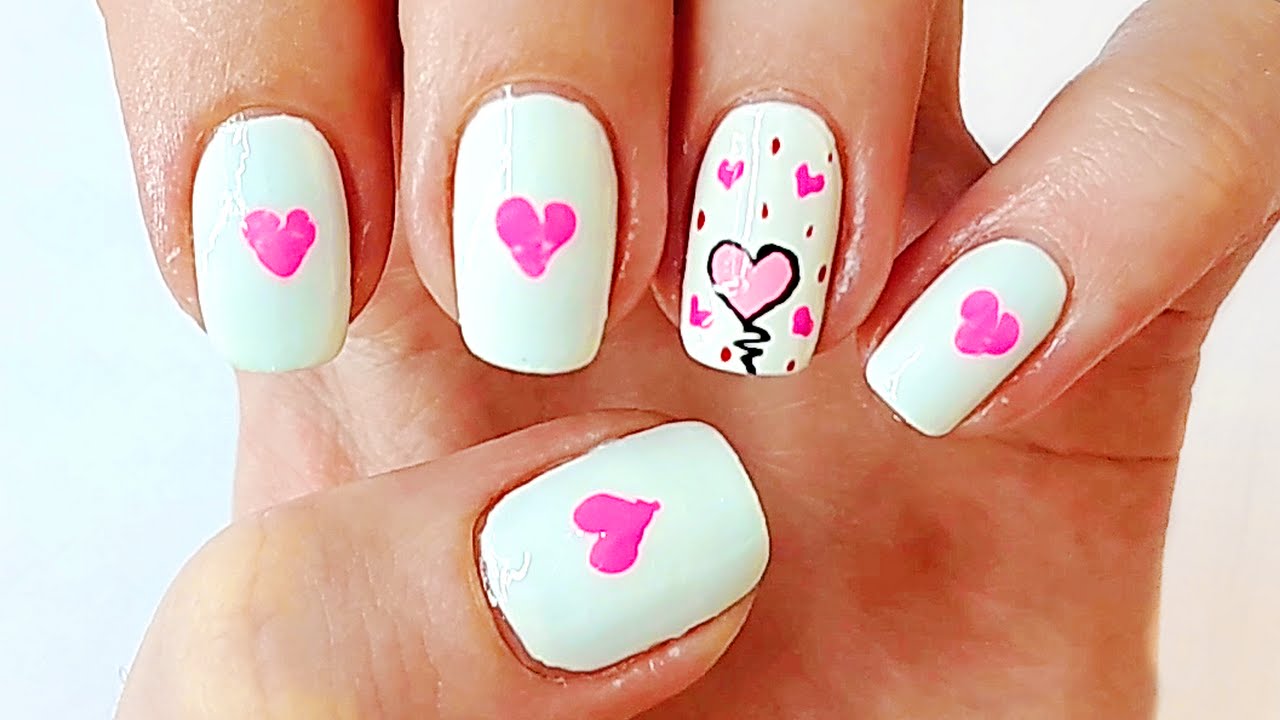
Toothpicks can be used to create some of the cutest nail designs. You can use them to create tiny bows, flowers, or even cute little faces on your nails. The possibilities are endless when it comes to creating cute designs using toothpicks. So, unleash your creativity and let your nails be the canvas for your cute little creations.8. Cute Toothpick Nail Designs
8. Cute Toothpick Nail Designs

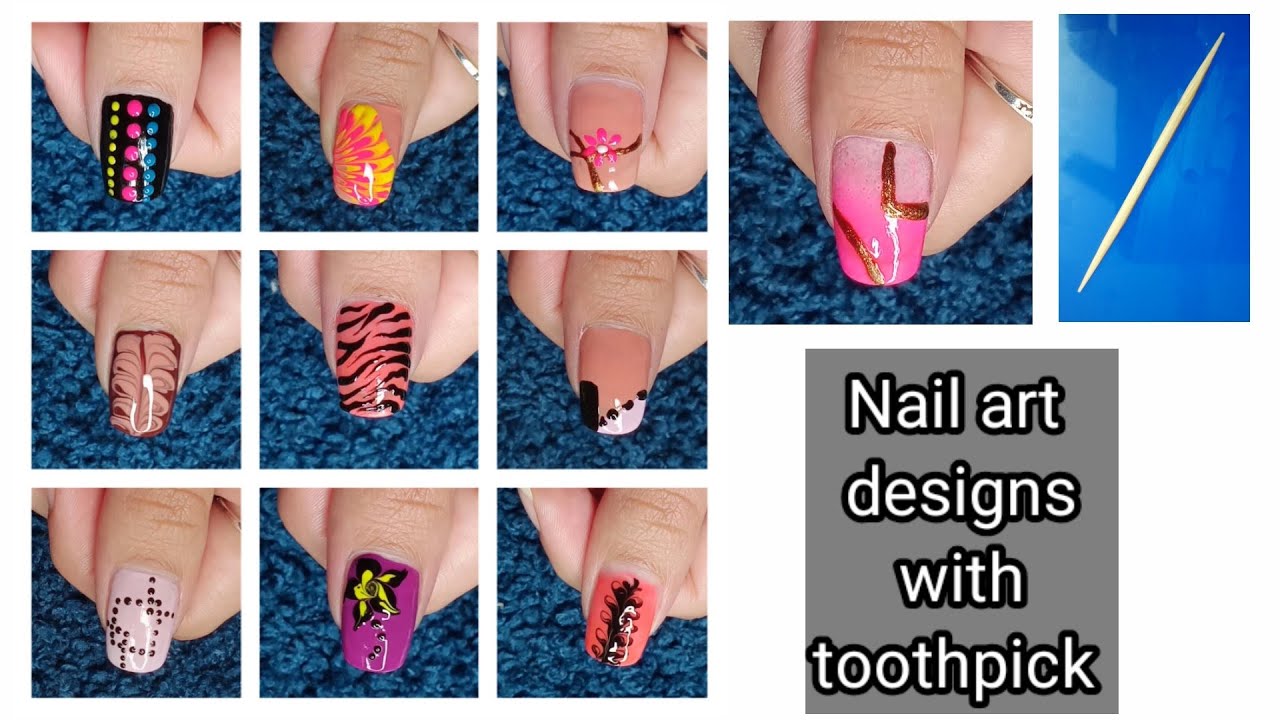
One of the best things about toothpick nail art is that it allows you to create unique and one-of-a-kind designs. You can experiment with different color combinations, patterns, and shapes to create a design that is truly unique to you. Take inspiration from nature, art, or your favorite things to create a nail design that reflects your personality.9. Unique Toothpick Nail Art Ideas


9. Unique Toothpick Nail Art Ideas
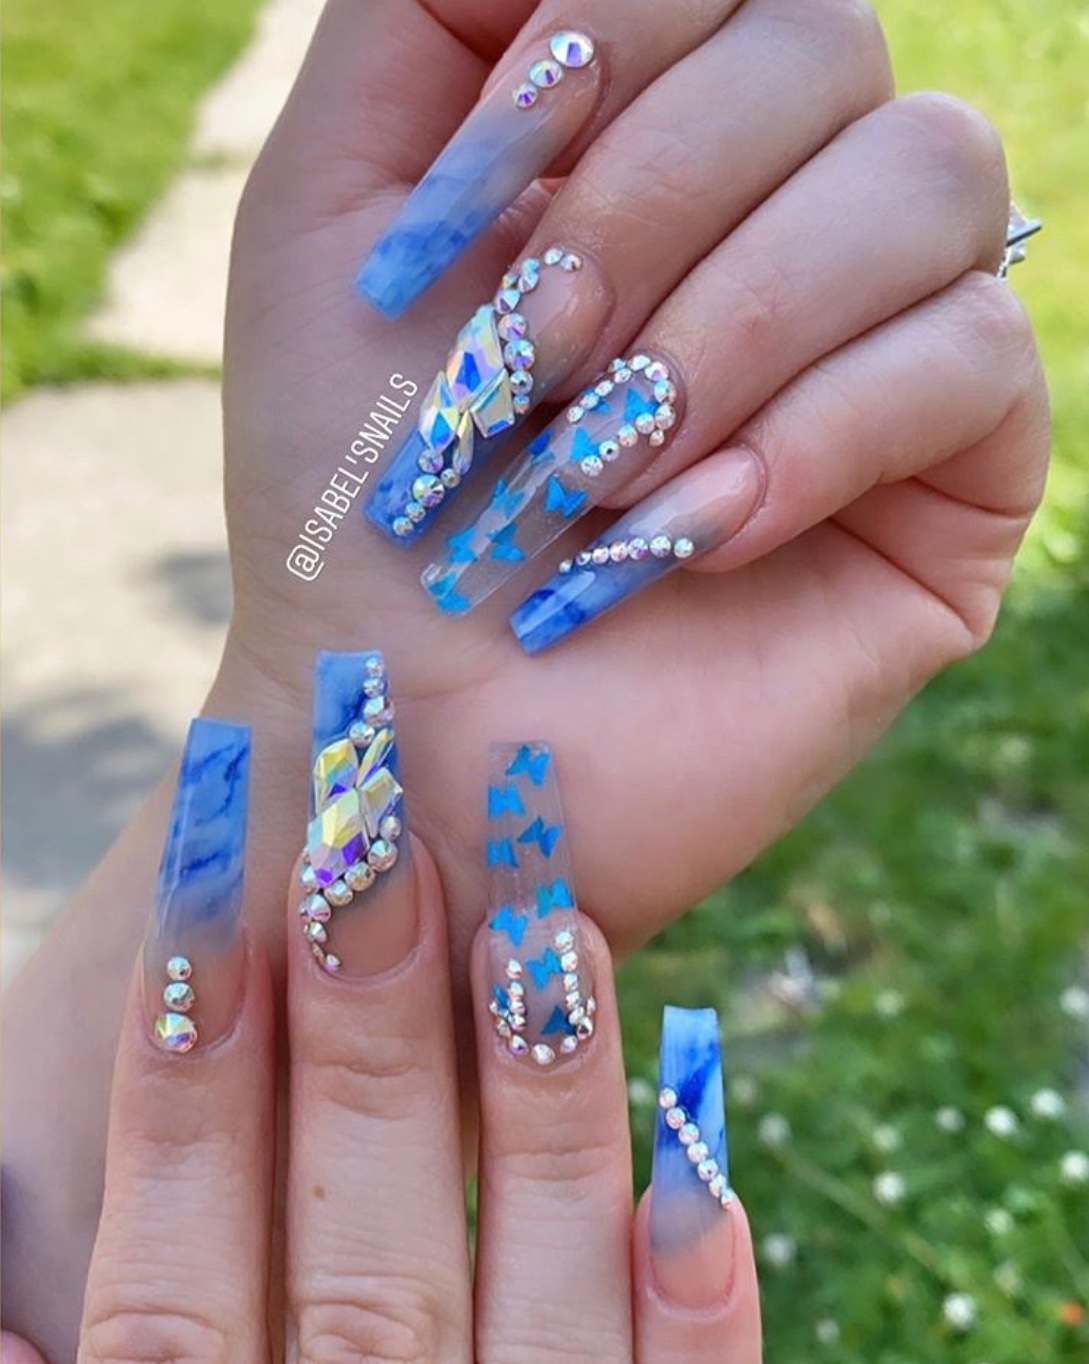
Lastly, here are a few toothpick nail art hacks that can make your life easier. If you're having trouble picking up small rhinestones or gems to place on your nails, use the tip of a toothpick to pick them up and place them on your nails. You can also use a toothpick to clean up any mistakes or smudges around your nails, and to create a clean and crisp line between two different nail polish colors. In conclusion, toothpicks are not just for picking food out of your teeth – they can also be a fantastic tool for creating beautiful nail art. So, the next time you're in the mood for some DIY nail art, grab a toothpick and let your creativity run wild. And don't forget to share your creations with us!10. Toothpick Nail Art Hacks


10. Toothpick Nail Art Hacks

Take Your Nail Art Game to the Next Level with Toothpick Designs

Are you tired of the same old basic nail designs? Want to add a touch of creativity and individuality to your nails? Look no further, because we have the perfect solution for you – nail art design using toothpicks! This simple yet innovative technique allows you to create intricate and unique designs on your nails with just a toothpick. Say goodbye to expensive nail art tools and hello to endless design possibilities with just a household item.
Why Toothpicks?
You may be wondering, why toothpicks? Well, toothpicks are the perfect tool for creating nail art designs because of their fine tip. This allows for precise and detailed designs that are difficult to achieve with regular nail polish brushes. Additionally, toothpicks are easily accessible and affordable, making them a convenient option for anyone looking to experiment with nail art.
Getting Started
The first step to creating toothpick nail art is to gather all the necessary materials. You will need a base coat, nail polish in various colors, a top coat, and of course, toothpicks. It's important to have a clear base coat to protect your nails and a top coat to seal in your design and make it last longer.
Once you have your materials ready, it's time to start creating your designs. You can start with simple designs like polka dots, stripes, or hearts, and then move on to more intricate designs like flowers, animals, or abstract patterns. The possibilities are endless, and the best part is that you can let your creativity run wild.
Step-by-Step Guide

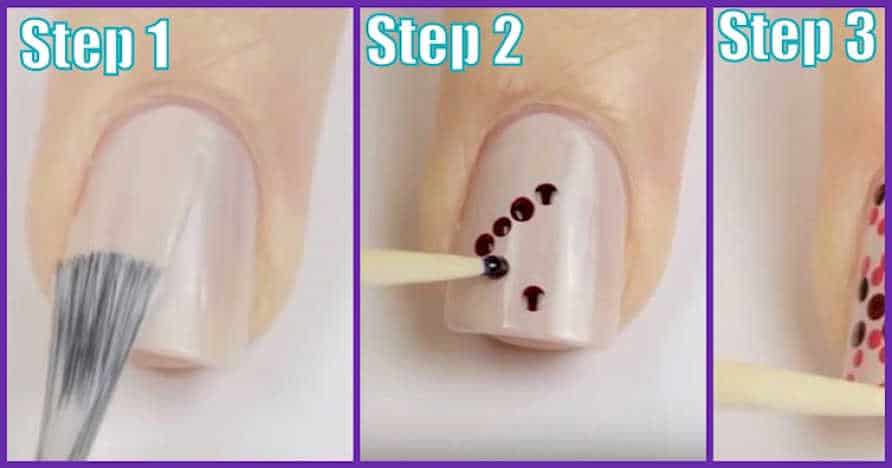
Here's a simple step-by-step guide on how to create a toothpick nail art design:
Step 1: Start by applying a base coat to protect your nails and allow it to dry completely.
Step 2: Choose a nail polish color of your choice and apply two coats for a more opaque finish. Let each coat dry completely before moving on to the next step.
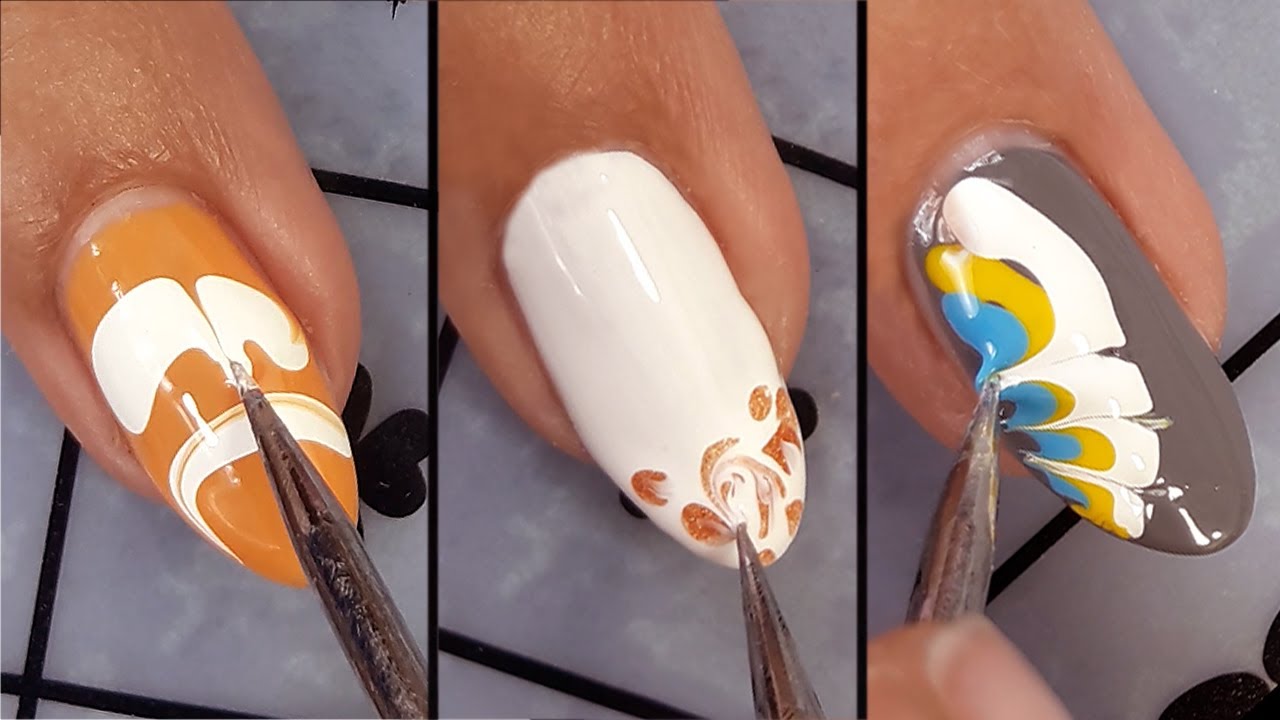
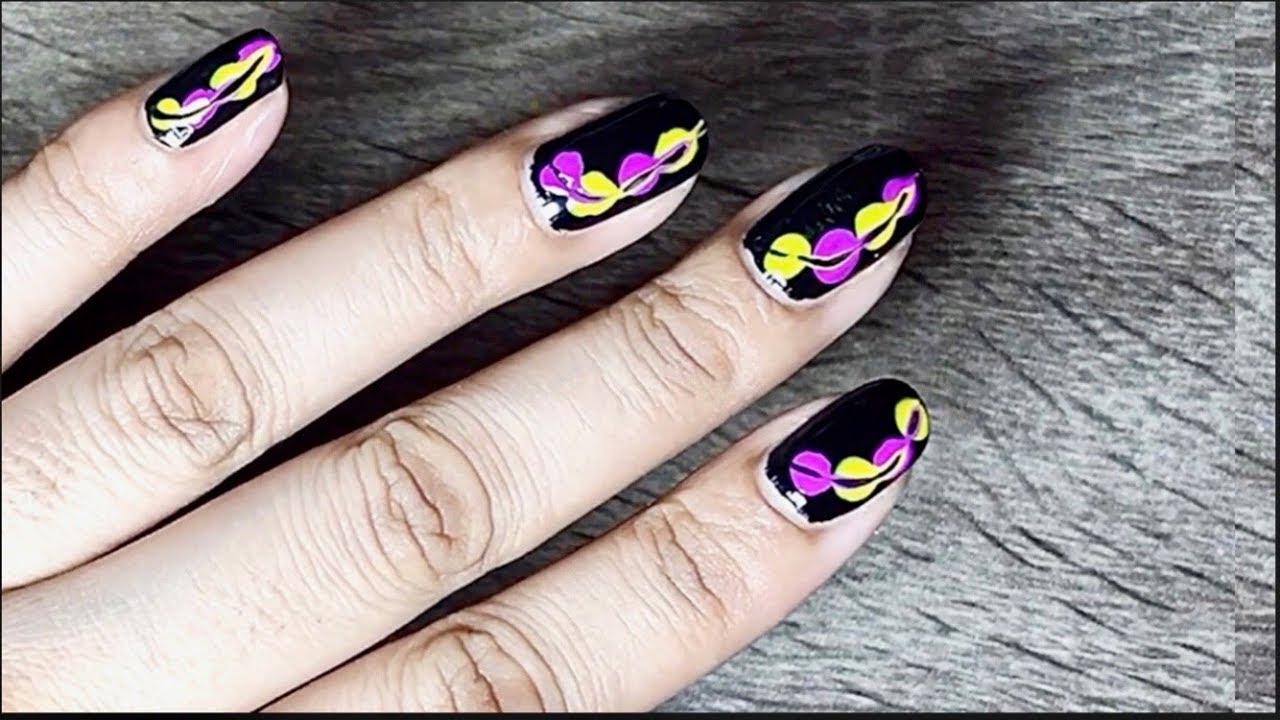
Step 3: Dip the tip of a toothpick into a different color nail polish and gently draw your desired design on your nails. You can also use the toothpick to mix and swirl different colors together for a marbled effect.
Step 4: Once you're happy with your design, let it dry completely before applying a top coat to seal in your design and make it last longer.
Tips and Tricks

To make the most out of your toothpick nail art designs, here are some helpful tips and tricks:
- Practice makes perfect: Don't be discouraged if your first attempt doesn't turn out as expected. Keep practicing, and you'll see significant improvement with each try.
- Experiment with different designs: Don't be afraid to try out different designs and see what works best for you. You might surprise yourself with your creativity!
- Use a toothpick with a blunt end: If you find that the tip of your toothpick is too sharp, you can gently rub it against a piece of paper to make it slightly blunter. This will make it easier to create more precise lines.
So, there you have it – a beginner's guide to nail art design using toothpicks. With a little bit of practice and patience, you'll be creating stunning and unique designs on your nails in no time. So, go ahead and give it a try, and show off your beautiful toothpick nail art to the world!


