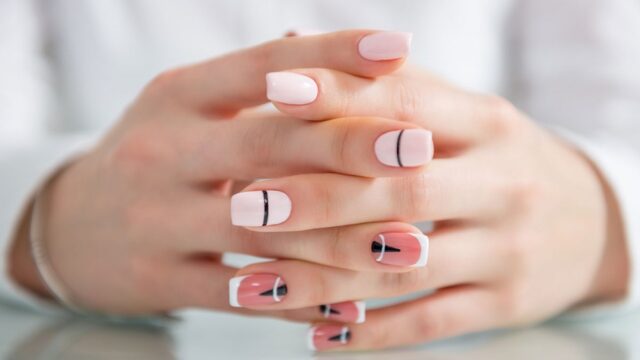
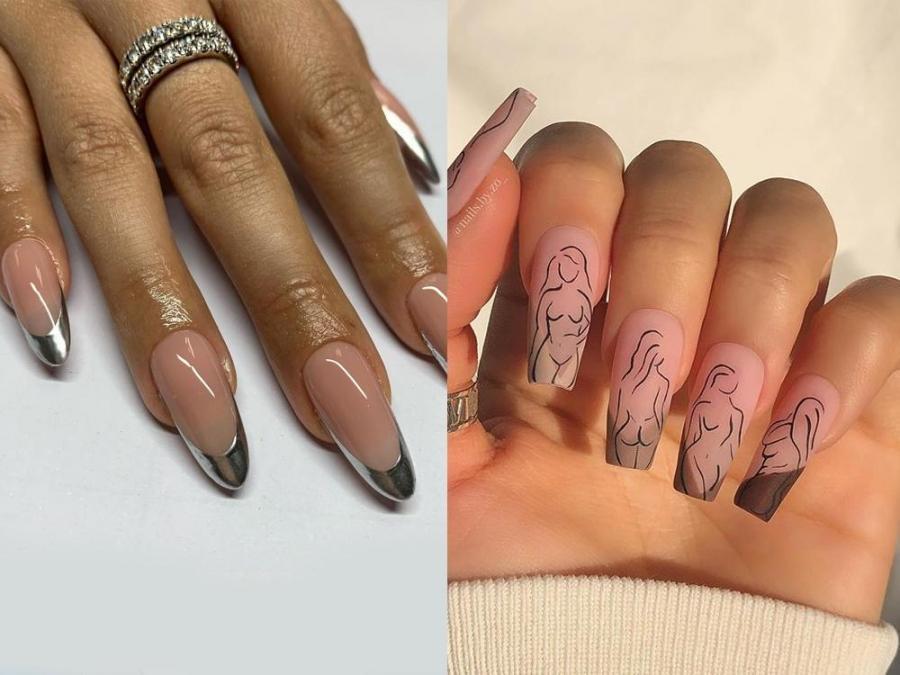
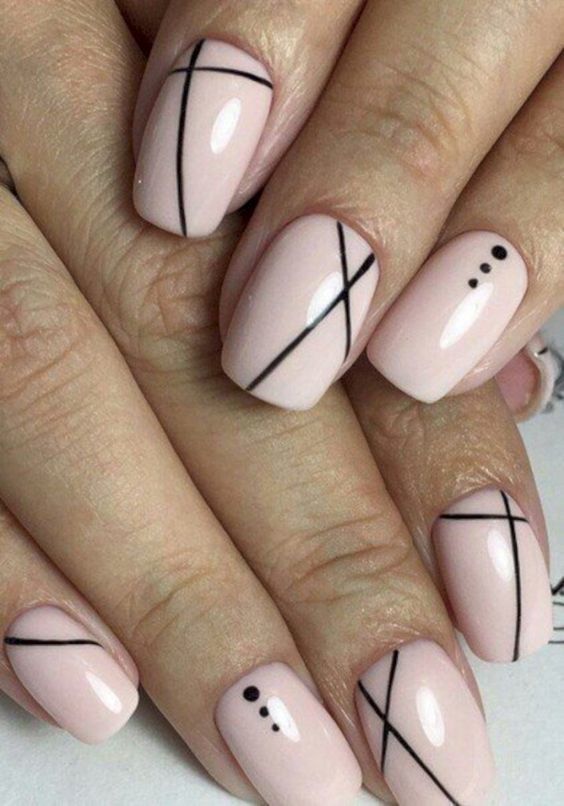
For those who prefer a more minimalist and understated nail design, the simple line and dot nail art is the perfect choice. This design features clean and precise lines combined with small dots to create a chic and stylish look. To achieve this design, start by applying a base coat to protect your nails. Then, using a thin nail art brush, create straight lines of your desired thickness on each nail using a bold color like black or white. Next, use a dotting tool or toothpick to add small dots in a complementary color on top of the lines. Finish off with a top coat to seal the design in place.1. Simple Line and Dot Nail Art Design


1. Simple Line and Dot Nail Art Design


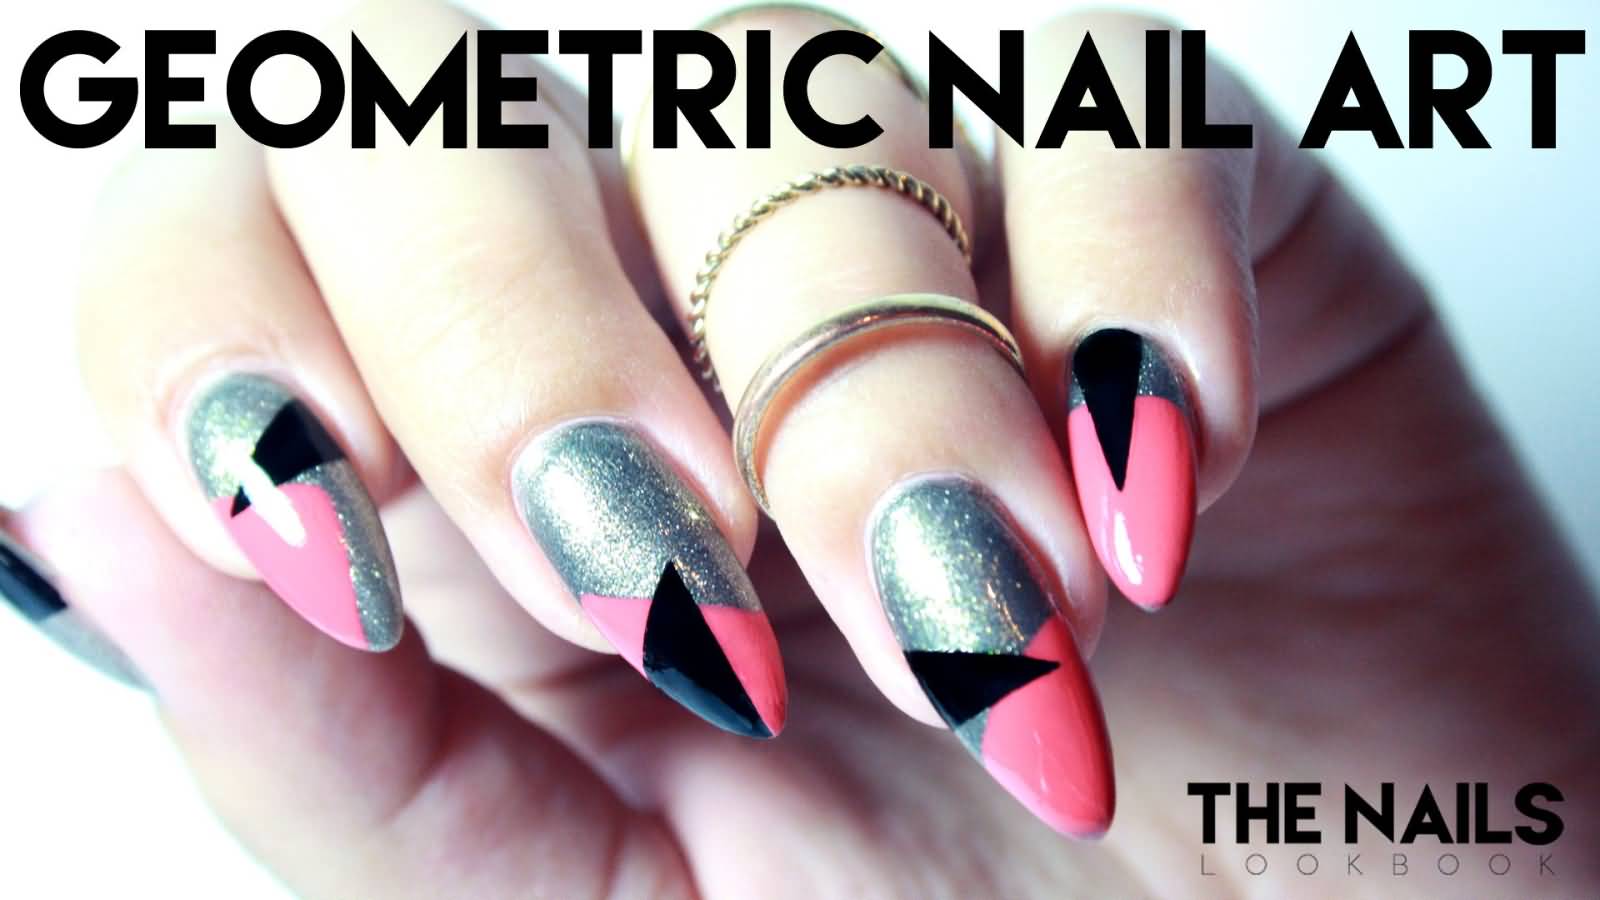
Make a statement with the bold and eye-catching geometric nail art design featuring lines and dots. This design allows for endless possibilities and creativity, making it a favorite among nail art enthusiasts. Start by applying a base coat and then use striping tape to create different geometric shapes on each nail. Fill in the shapes with your choice of bold colors, leaving some negative space in between. Then, using a dotting tool or toothpick, add small dots in a contrasting color to complete the design. Finish off with a top coat to seal the design and give it a glossy finish.2. Geometric Nail Art with Lines and Dots


2. Geometric Nail Art with Lines and Dots


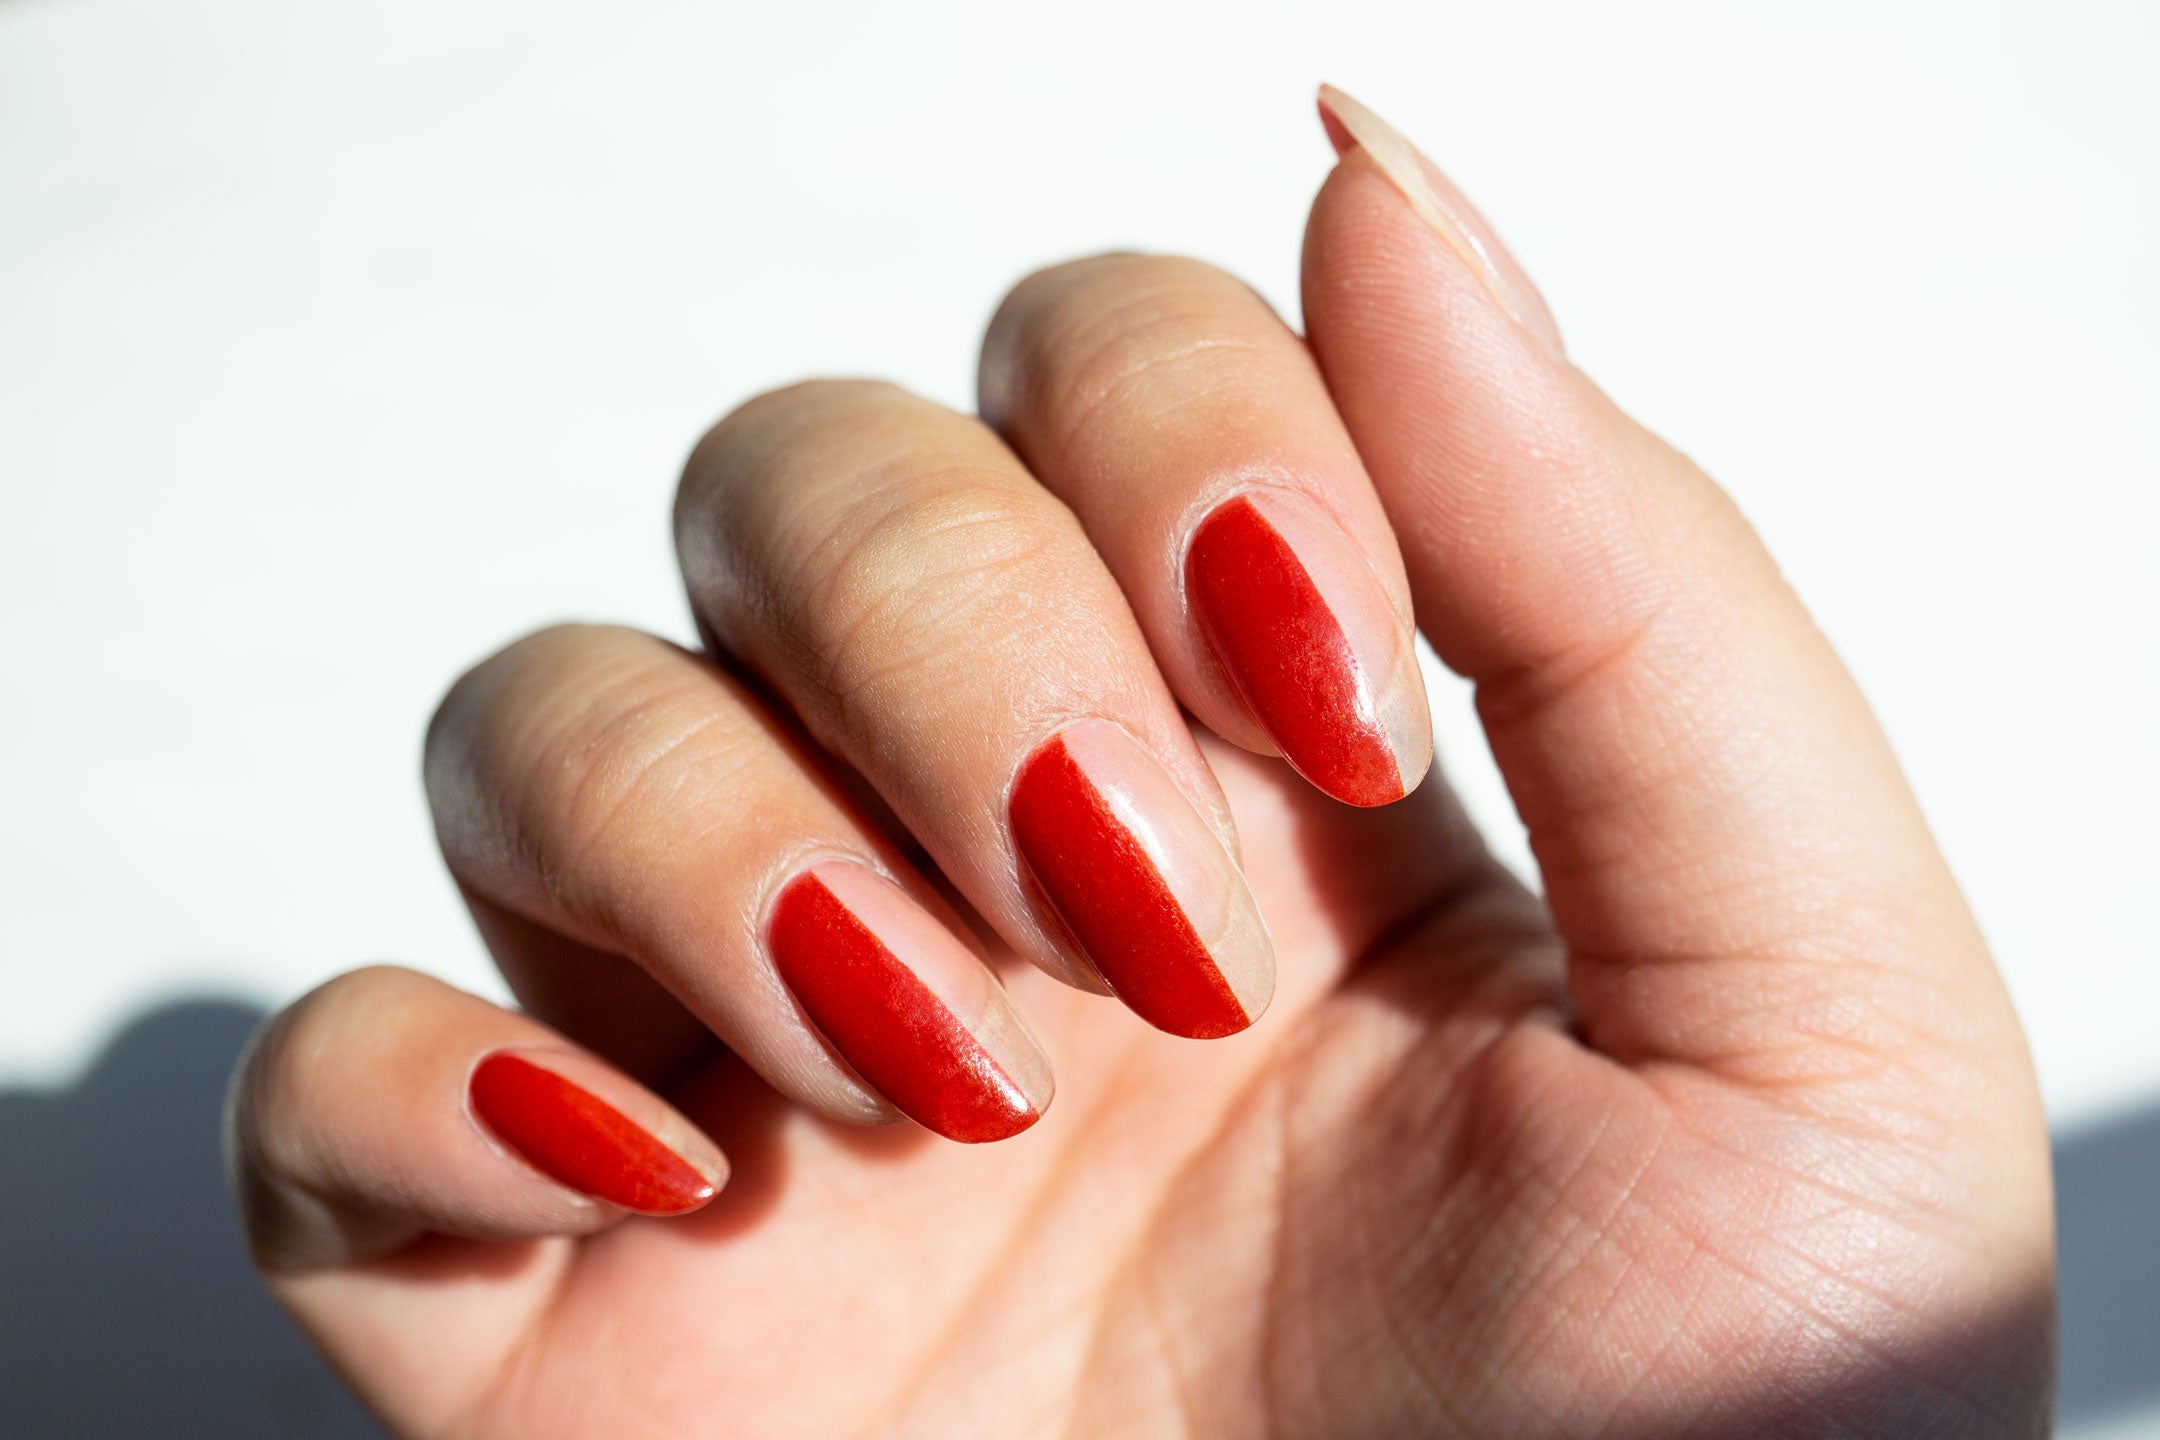
If you want a unique and modern nail art design, the negative space nail design with lines and dots is the way to go. This design plays with the natural color of your nails, creating a peek-a-boo effect that is both subtle and striking. To achieve this design, start by applying a base coat and then use striping tape to create lines or shapes on your nails. Leave some parts of your nails unpainted to create negative space. Then, using a dotting tool, add small dots in different sizes and colors on top of the lines. Finish off with a top coat to seal the design and protect it.3. Negative Space Nail Design with Lines and Dots


3. Negative Space Nail Design with Lines and Dots


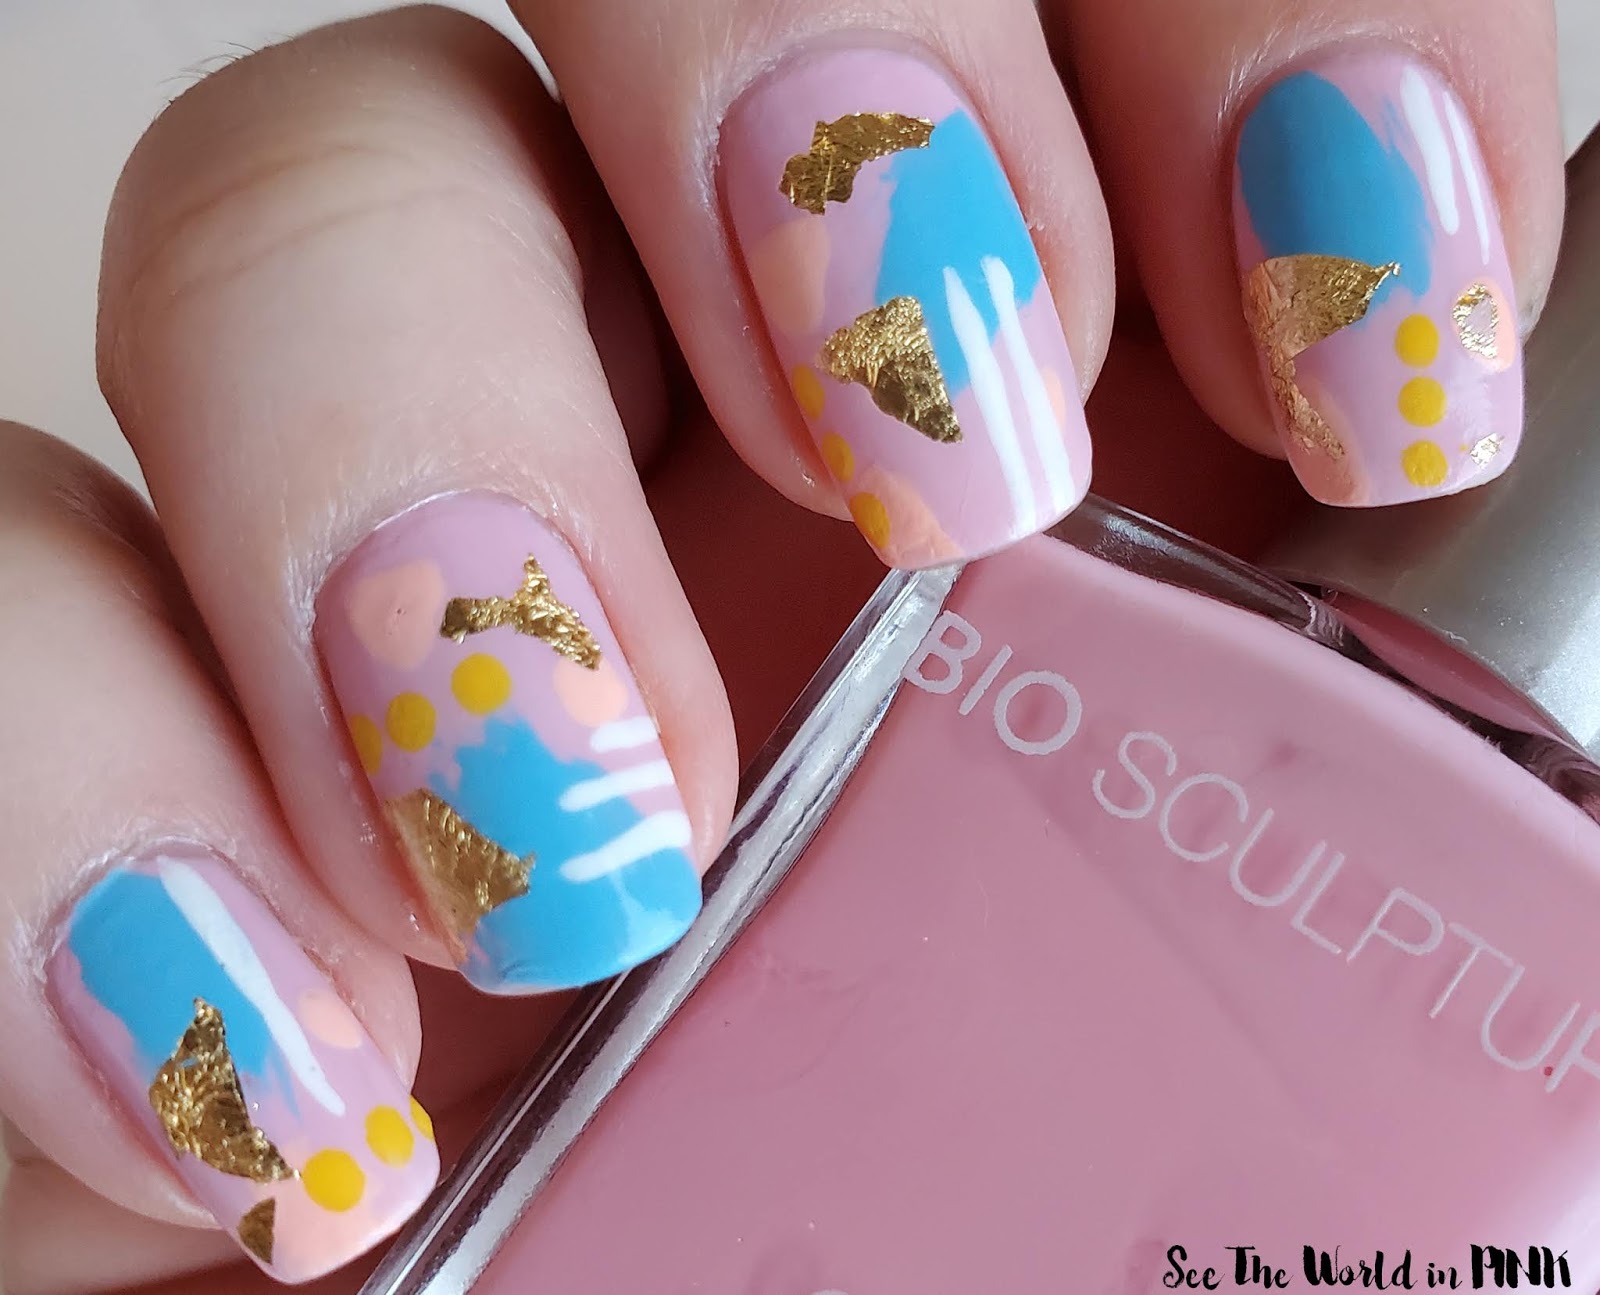
For a fun and creative nail art design, look no further than the abstract design with lines and dots. This design allows you to let your imagination run wild and create a unique and one-of-a-kind look on your nails. Start by applying a base coat and then use a bold color to paint different abstract shapes on each nail. Then, using a nail art brush or toothpick, add thin lines and small dots in complementary colors to add dimension and interest to the design. Finish off with a top coat to seal the design and give it a glossy finish.4. Abstract Nail Art with Lines and Dots


4. Abstract Nail Art with Lines and Dots


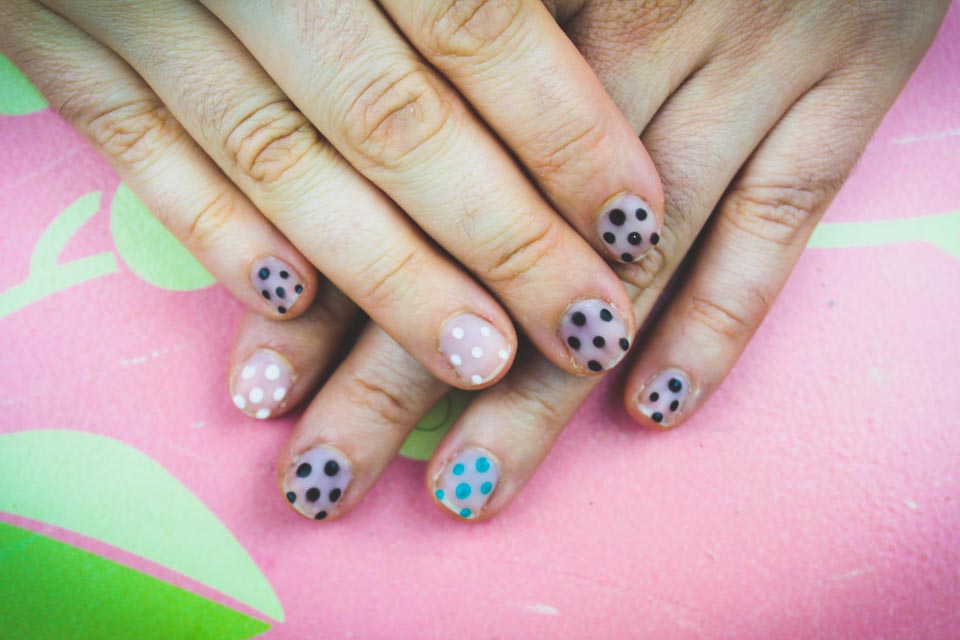
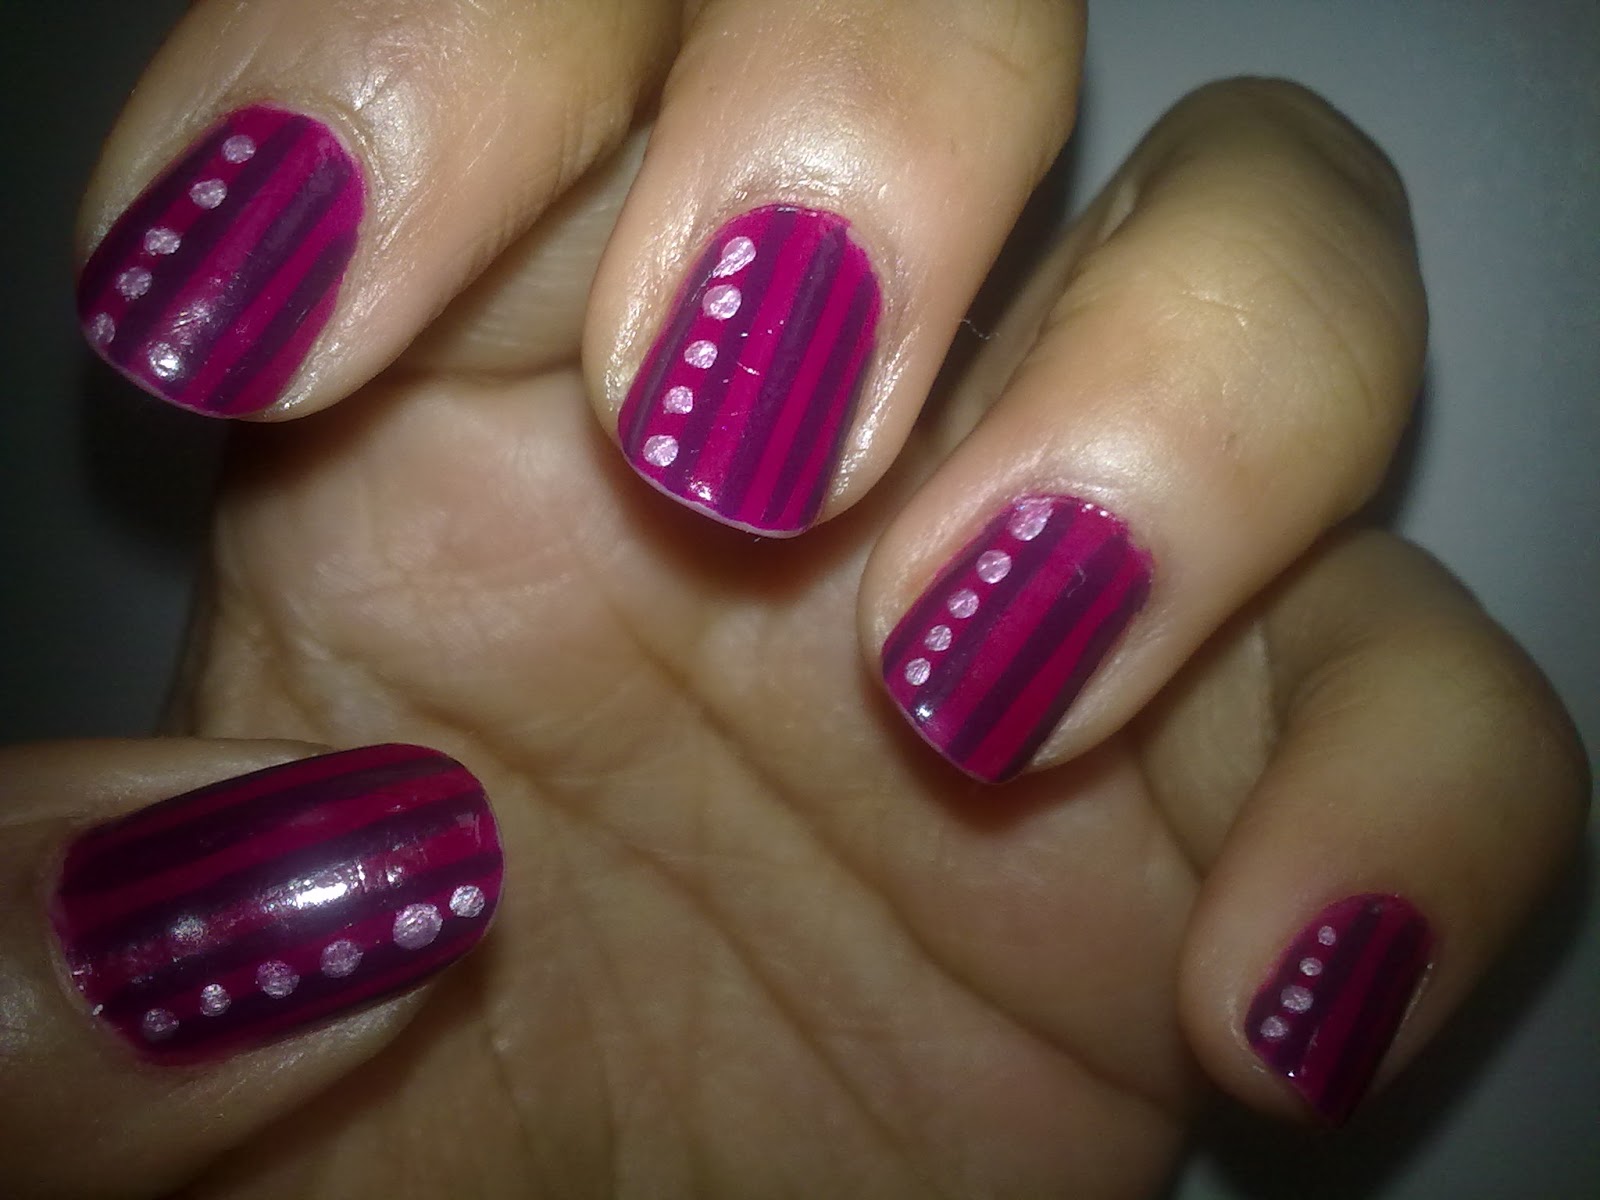
The classic polka dot and striped nail design is a timeless and versatile look that can be dressed up or down for any occasion. This design combines two popular nail art elements to create a fun and playful look. To achieve this design, start by applying a base coat and then use striping tape to create thin stripes on each nail. Then, using a dotting tool, add small polka dots in a contrasting color on top of the stripes. Finish off with a top coat to seal the design and protect it.5. Polka Dot and Striped Nail Design


5. Polka Dot and Striped Nail Design


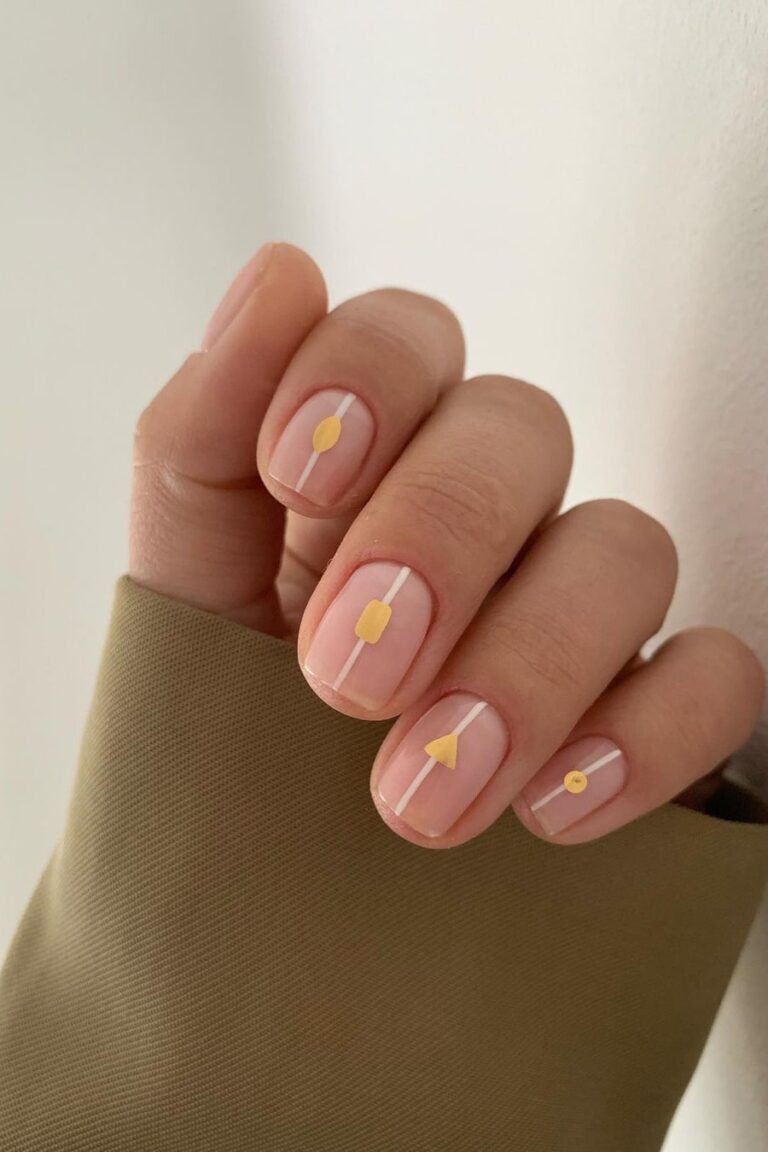
For those who prefer a more subtle and minimalist nail design, the minimalist nail art with lines and dots is a perfect choice. This design features clean lines and small dots in neutral or pastel colors for a chic and understated look. Start by applying a base coat and then use a bold color to create straight lines on each nail using a thin nail art brush. Then, using a dotting tool, add small dots in a complementary color on top of the lines. Finish off with a top coat to seal the design and give it a glossy finish.6. Minimalist Nail Art with Lines and Dots


6. Minimalist Nail Art with Lines and Dots


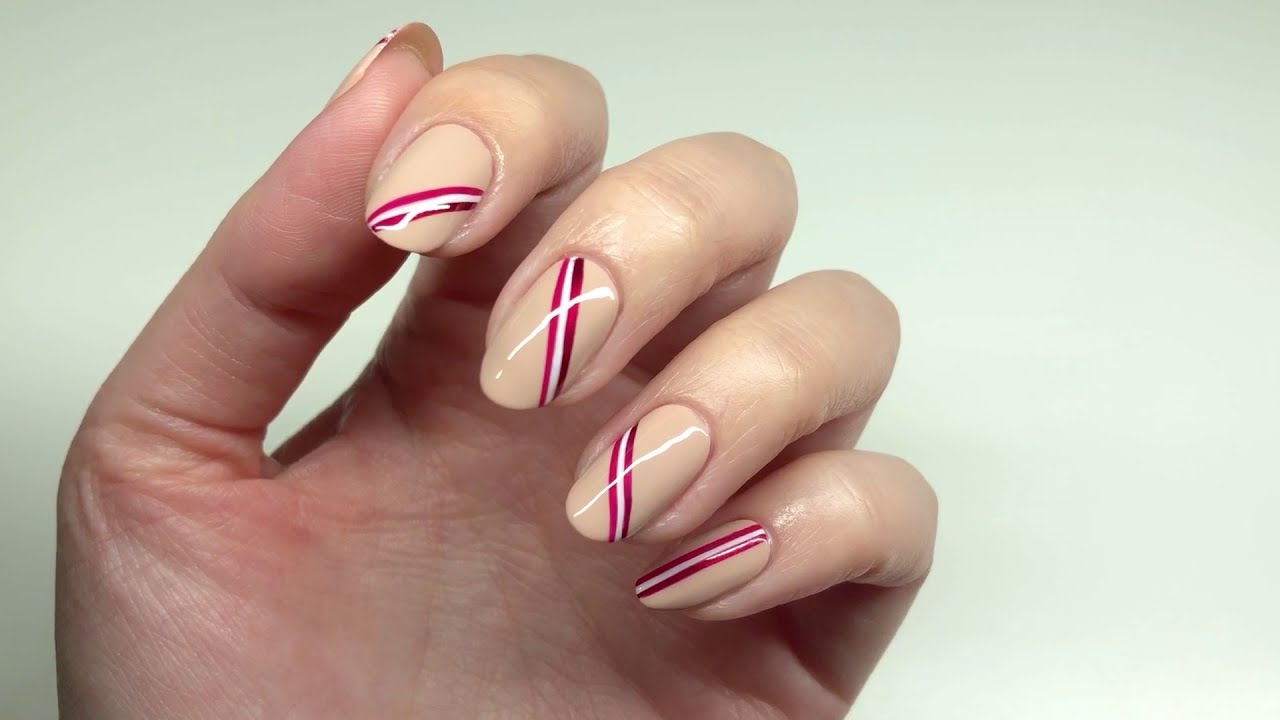
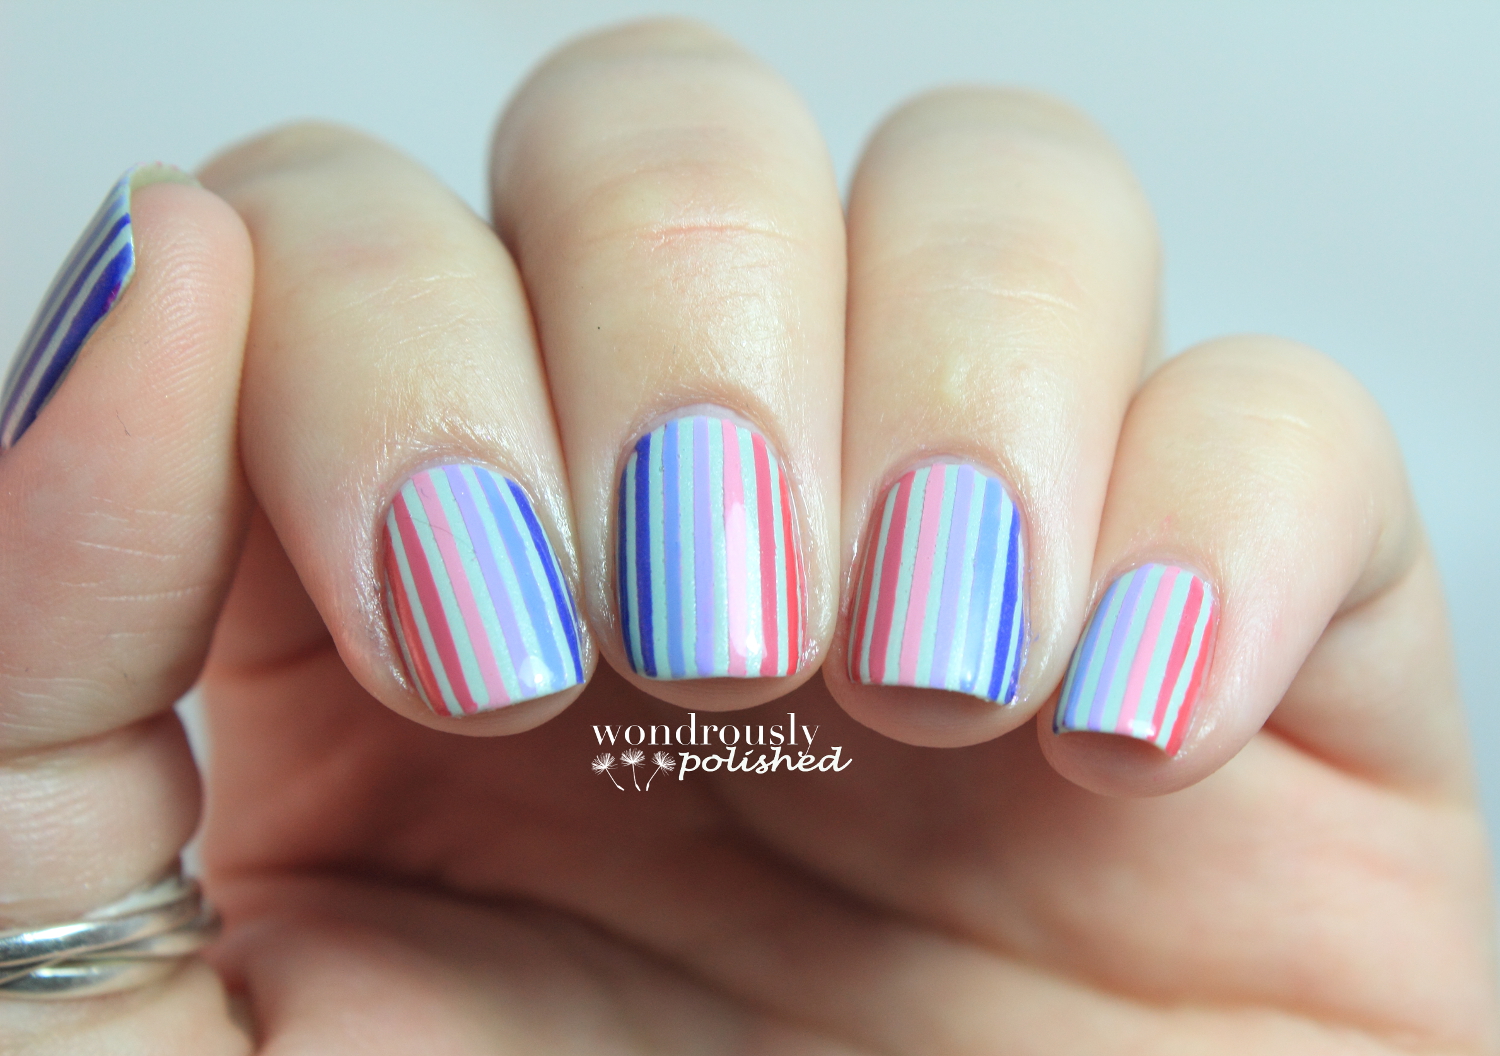
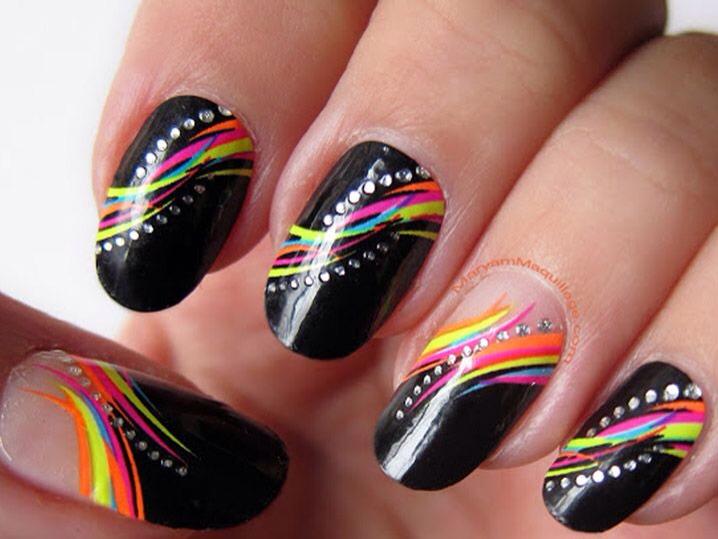
Add a pop of color to your nails with the colorful line and dot nail design. This cheerful and vibrant design is perfect for summer or any time you want to add some fun to your nails. To achieve this design, start by applying a base coat and then use a bold color to create different sized lines on each nail using a nail art brush. Then, using a dotting tool, add small dots in a variety of colors on top of the lines. Finish off with a top coat to seal the design and protect it.7. Colorful Line and Dot Nail Design

7. Colorful Line and Dot Nail Design

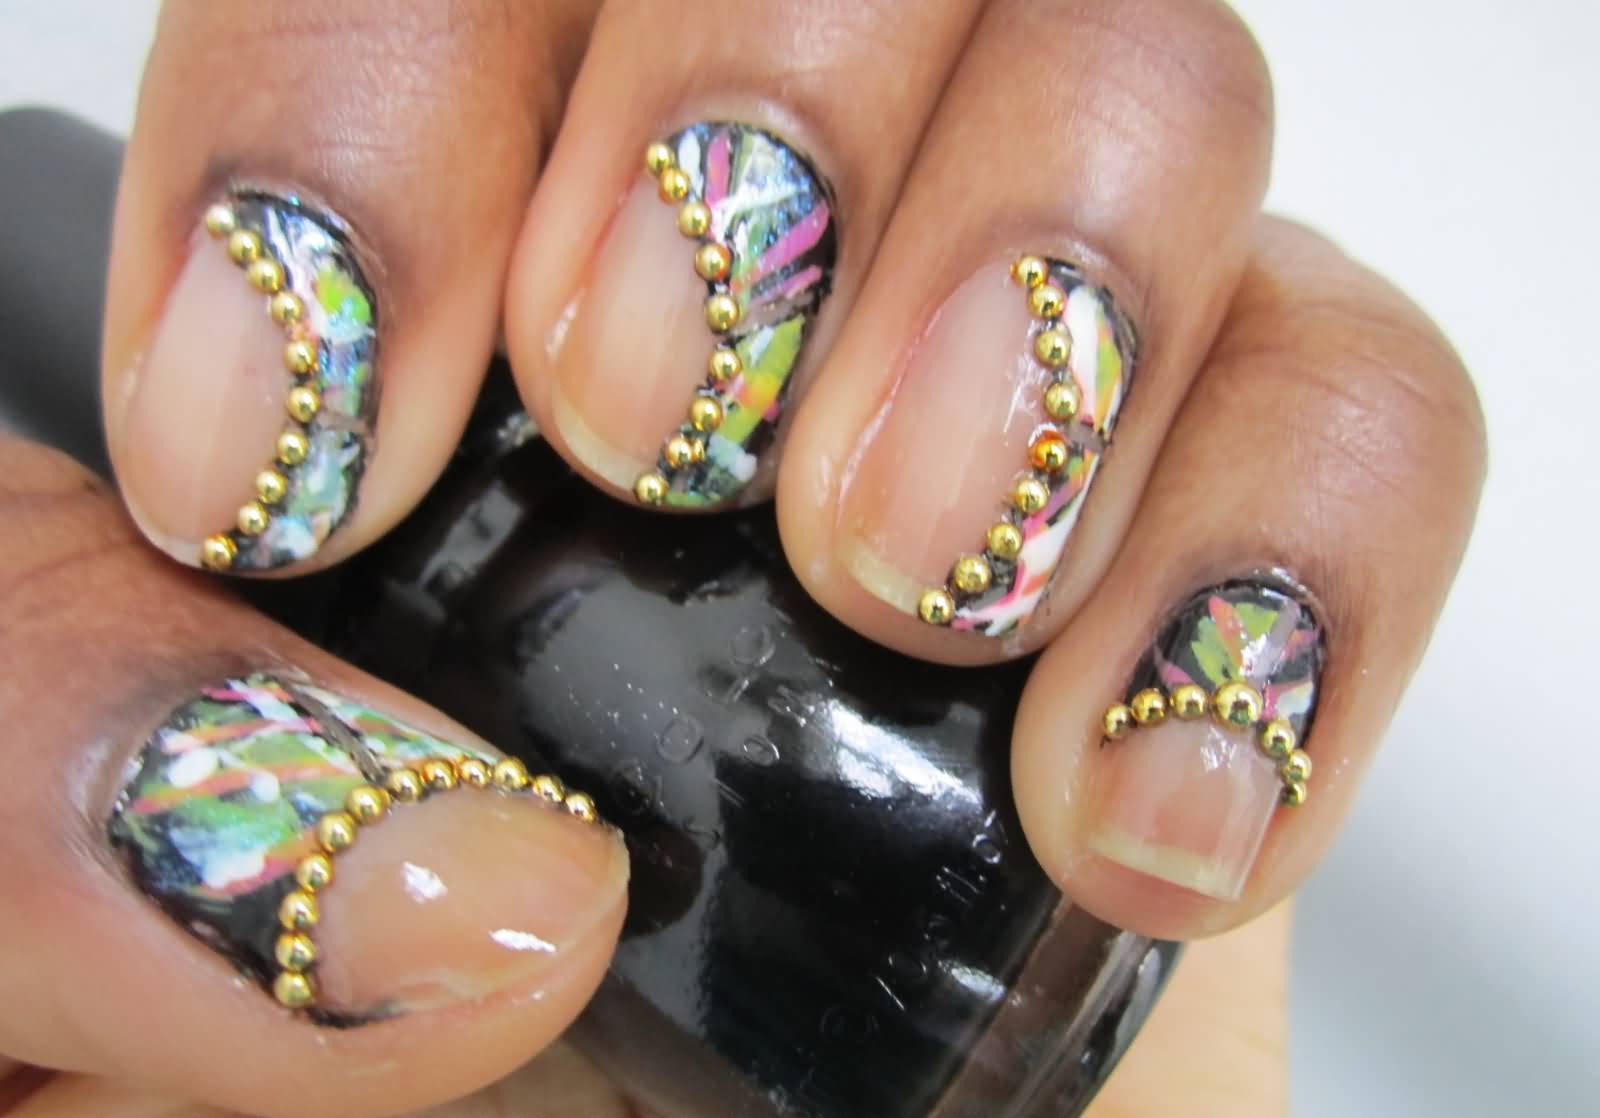
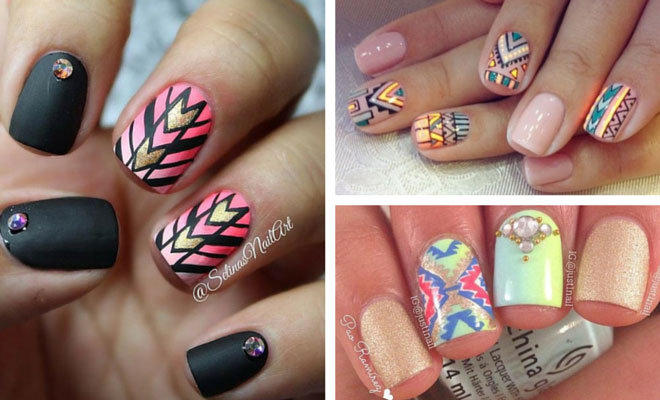
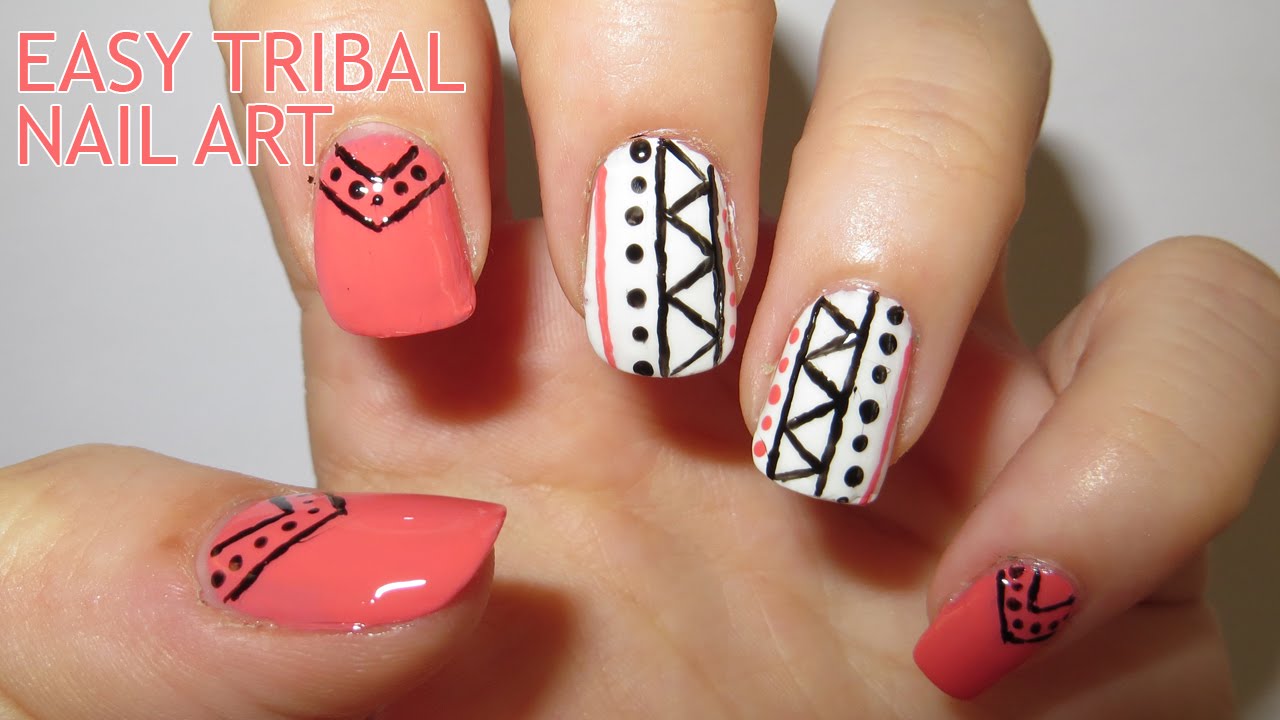
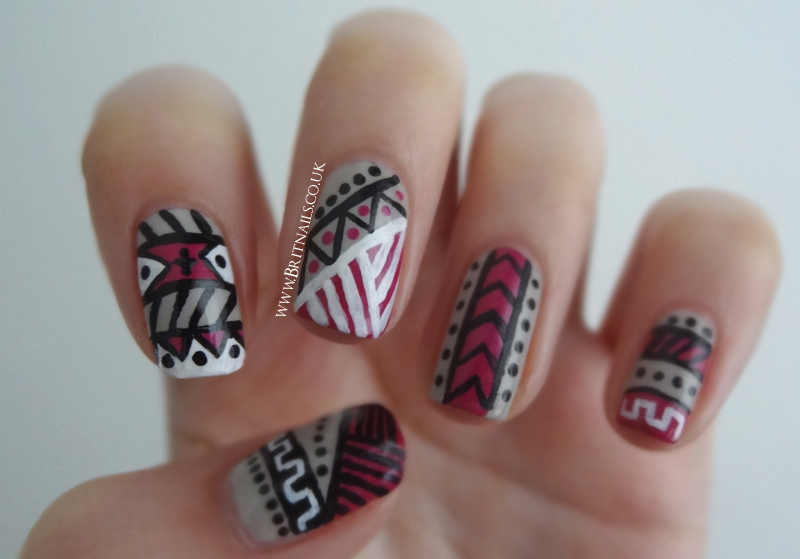
Embrace your inner wild side with the tribal nail art design featuring lines and dots. This bold and intricate design is perfect for those who want to make a statement with their nails. Start by applying a base coat and then use a bold color to create tribal-inspired patterns on each nail using a thin nail art brush. Then, using a dotting tool, add small dots in a complementary color on top of the lines. Finish off with a top coat to seal the design and give it a glossy finish.8. Tribal Nail Art with Lines and Dots
8. Tribal Nail Art with Lines and Dots


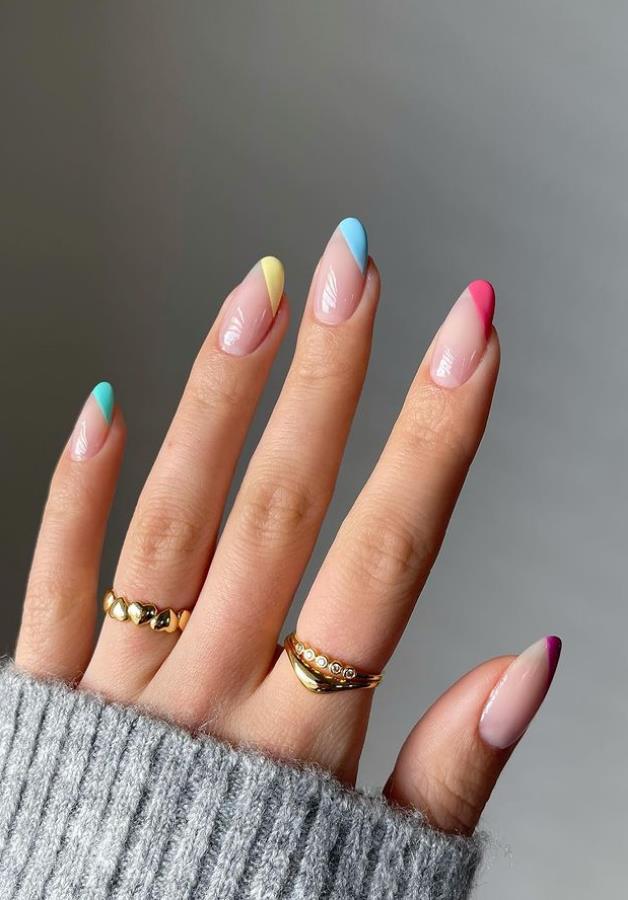
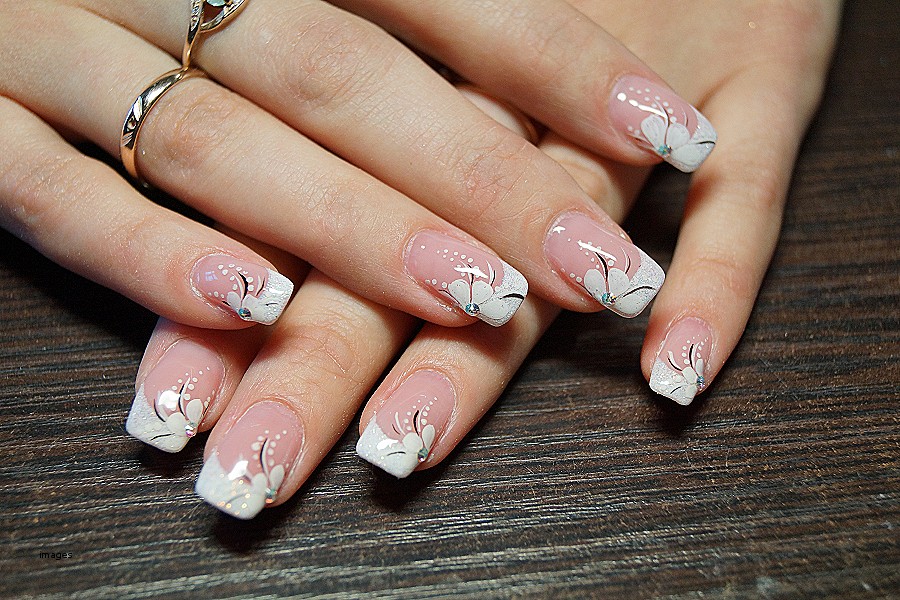
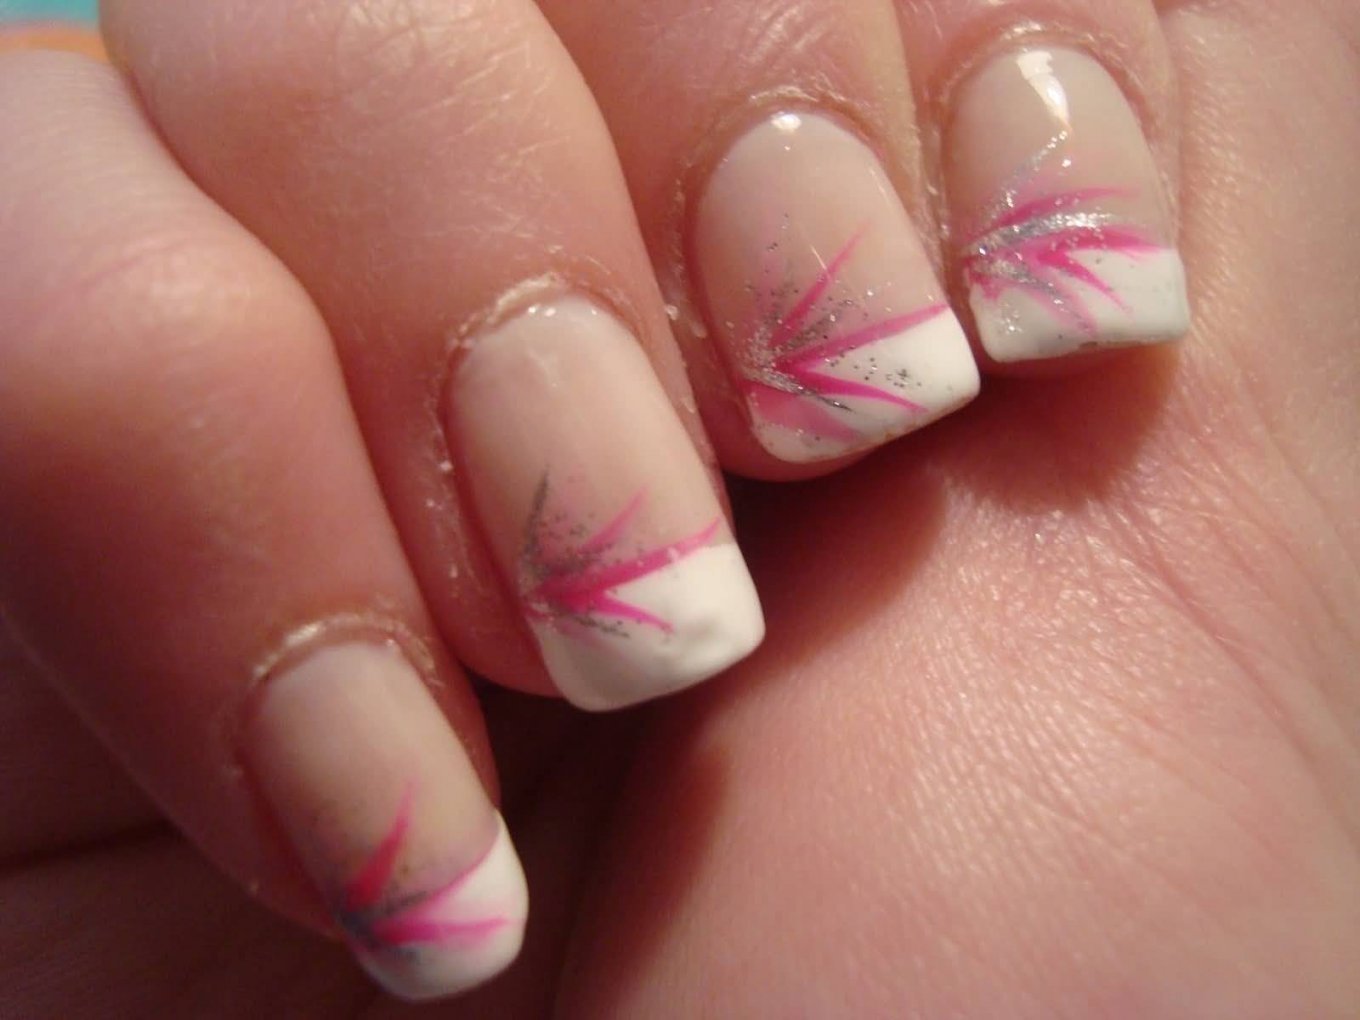
Put a twist on the classic French tip with the French tip nail design featuring lines and dots. This design adds a touch of glamour and playfulness to the traditional French tip manicure. To achieve this design, start by applying a base coat and then use a bold color to create a thin line at the tip of each nail using a nail art brush. Then, using a dotting tool, add small dots in a complementary color on top of the line. Finish off with a top coat to seal the design and give it a glossy finish.9. French Tip Nail Design with Lines and Dots


9. French Tip Nail Design with Lines and Dots

.JPG)


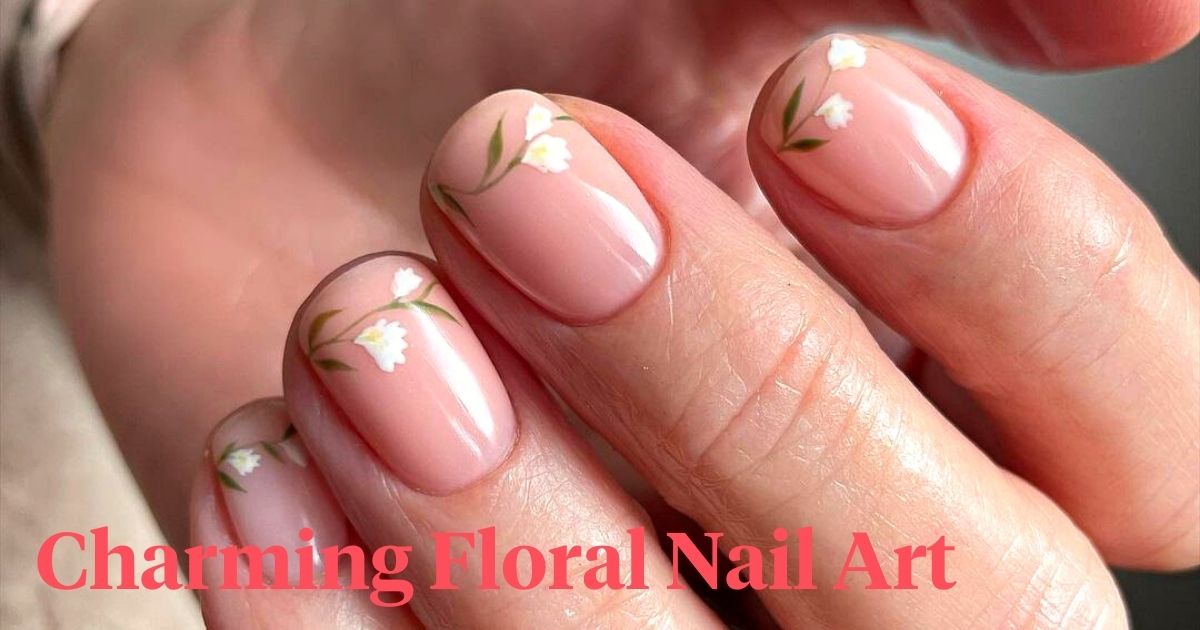
For a feminine and romantic nail art design, the floral nail art with lines and dots is a perfect choice. This design combines delicate flowers with clean lines and small dots for a beautiful and intricate look. Start by applying a base coat and then use a bold color to create thin lines on each nail using a nail art brush. Then, using a dotting tool, add small dots in a complementary color on top of the lines. Next, use a toothpick or nail art brush to create small flowers on each nail, using different colors for each flower. Finish off with a top coat to seal the design and give it a glossy finish.10. Floral Nail Art with Lines and Dots

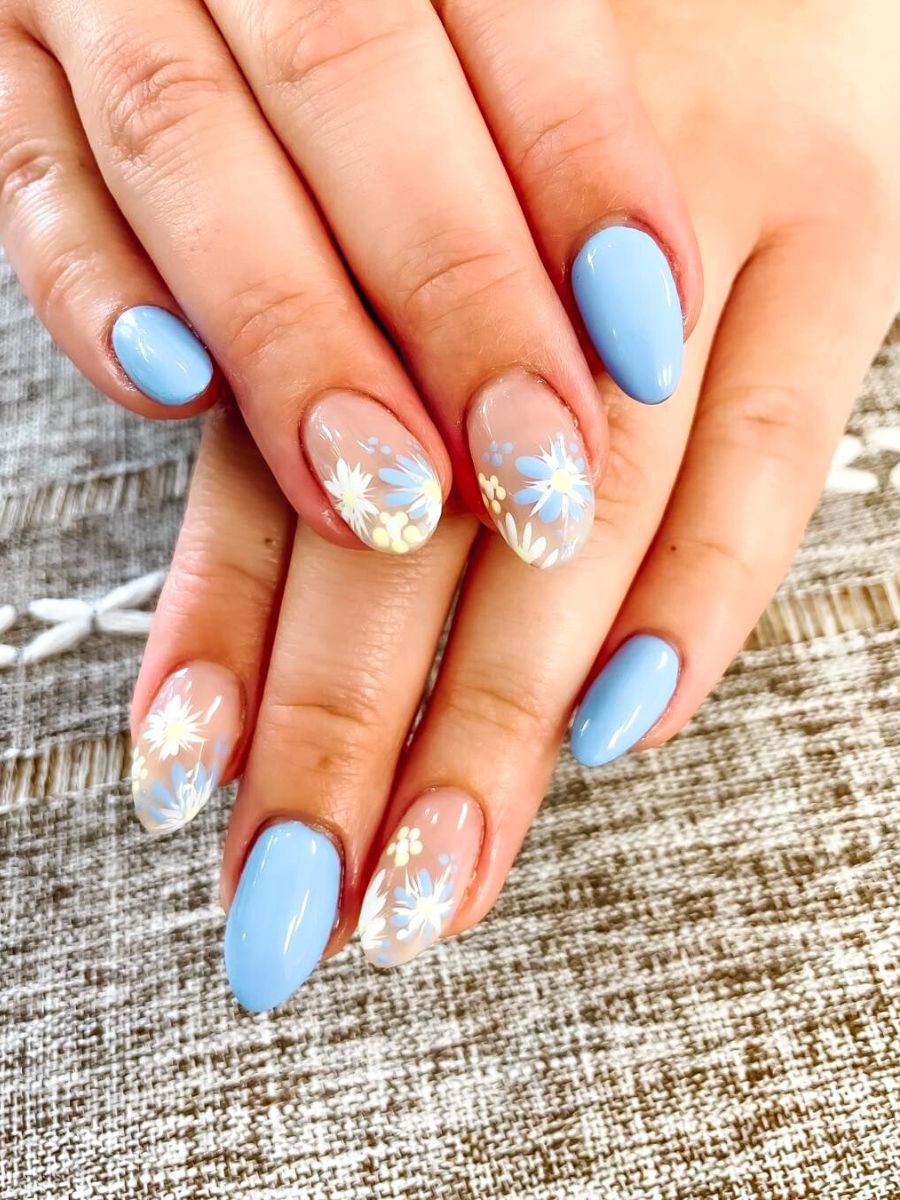
10. Floral Nail Art with Lines and Dots


The Power of Lines and Dots in Nail Art Design
 Nail art has become a popular form of self-expression, allowing individuals to showcase their creativity and style through their manicures. From intricate floral designs to bold geometric patterns, there are endless possibilities when it comes to nail art. However, one trend that has been gaining traction in the nail art world is the use of lines and dots.
These two simple elements can elevate any nail design and add a touch of sophistication and elegance.
Nail art has become a popular form of self-expression, allowing individuals to showcase their creativity and style through their manicures. From intricate floral designs to bold geometric patterns, there are endless possibilities when it comes to nail art. However, one trend that has been gaining traction in the nail art world is the use of lines and dots.
These two simple elements can elevate any nail design and add a touch of sophistication and elegance.
Adding Dimension and Movement with Lines
 Lines are a fundamental element in nail art that can completely transform a design.
They can add dimension, movement, and structure to a manicure, making it stand out.
A popular trend in nail art is the use of negative space, where the natural nail is left bare or painted with a sheer polish, and lines are used to create a geometric or abstract design. This creates a minimalist yet visually striking effect, perfect for those who prefer a more subtle look. Lines can also be used to create intricate patterns or shapes, such as chevrons or swirls, adding a touch of playfulness and whimsy to a manicure.
Lines are a fundamental element in nail art that can completely transform a design.
They can add dimension, movement, and structure to a manicure, making it stand out.
A popular trend in nail art is the use of negative space, where the natural nail is left bare or painted with a sheer polish, and lines are used to create a geometric or abstract design. This creates a minimalist yet visually striking effect, perfect for those who prefer a more subtle look. Lines can also be used to create intricate patterns or shapes, such as chevrons or swirls, adding a touch of playfulness and whimsy to a manicure.
Unleashing Creativity with Dots
 Dots may seem like a simple element, but they have a significant impact on nail art designs.
They can add texture, create contrast, and bring a design to life.
Dots can be used in various ways, such as creating a gradient effect by using different sizes of dots in the same color or mixing and matching different colored dots to create a playful and fun design. They can also be used to add details and accents to a design, such as creating the center of a flower or the eyes of an animal. The possibilities are endless when it comes to incorporating dots into nail art, allowing for endless creativity and experimentation.
Dots may seem like a simple element, but they have a significant impact on nail art designs.
They can add texture, create contrast, and bring a design to life.
Dots can be used in various ways, such as creating a gradient effect by using different sizes of dots in the same color or mixing and matching different colored dots to create a playful and fun design. They can also be used to add details and accents to a design, such as creating the center of a flower or the eyes of an animal. The possibilities are endless when it comes to incorporating dots into nail art, allowing for endless creativity and experimentation.
Combining Lines and Dots for a Statement Look
 While lines and dots are powerful on their own,
when combined, they can create a statement look that is sure to turn heads.
The key to achieving a cohesive design is to ensure that the lines and dots work together harmoniously. This can be achieved by using the same color palette or incorporating elements from one into the other, creating a sense of continuity. Whether it's a simple dot and line design or a more intricate and complex one, the combination of these two elements will undoubtedly make a lasting impression.
In conclusion,
lines and dots are two elements that should not be underestimated in nail art design.
They have the power to transform a simple manicure into a work of art, adding depth, movement, and creativity. Whether you prefer a minimalistic look or a bold and statement-making design, incorporating lines and dots into your nail art will take it to the next level. So next time you're looking to switch up your manicure, consider adding some lines and dots for a chic and sophisticated touch.
While lines and dots are powerful on their own,
when combined, they can create a statement look that is sure to turn heads.
The key to achieving a cohesive design is to ensure that the lines and dots work together harmoniously. This can be achieved by using the same color palette or incorporating elements from one into the other, creating a sense of continuity. Whether it's a simple dot and line design or a more intricate and complex one, the combination of these two elements will undoubtedly make a lasting impression.
In conclusion,
lines and dots are two elements that should not be underestimated in nail art design.
They have the power to transform a simple manicure into a work of art, adding depth, movement, and creativity. Whether you prefer a minimalistic look or a bold and statement-making design, incorporating lines and dots into your nail art will take it to the next level. So next time you're looking to switch up your manicure, consider adding some lines and dots for a chic and sophisticated touch.


