Creating your own nail art designs can be a fun and easy way to express your creativity and style. With just a few simple steps, you can achieve a stunning nail art design that will make your nails stand out. Follow this step-by-step guide to learn how to create a simple nail art design with procedure. To start, you will need:1. How to Create a Simple Nail Art Design with Procedure


1. How to Create a Simple Nail Art Design with Procedure


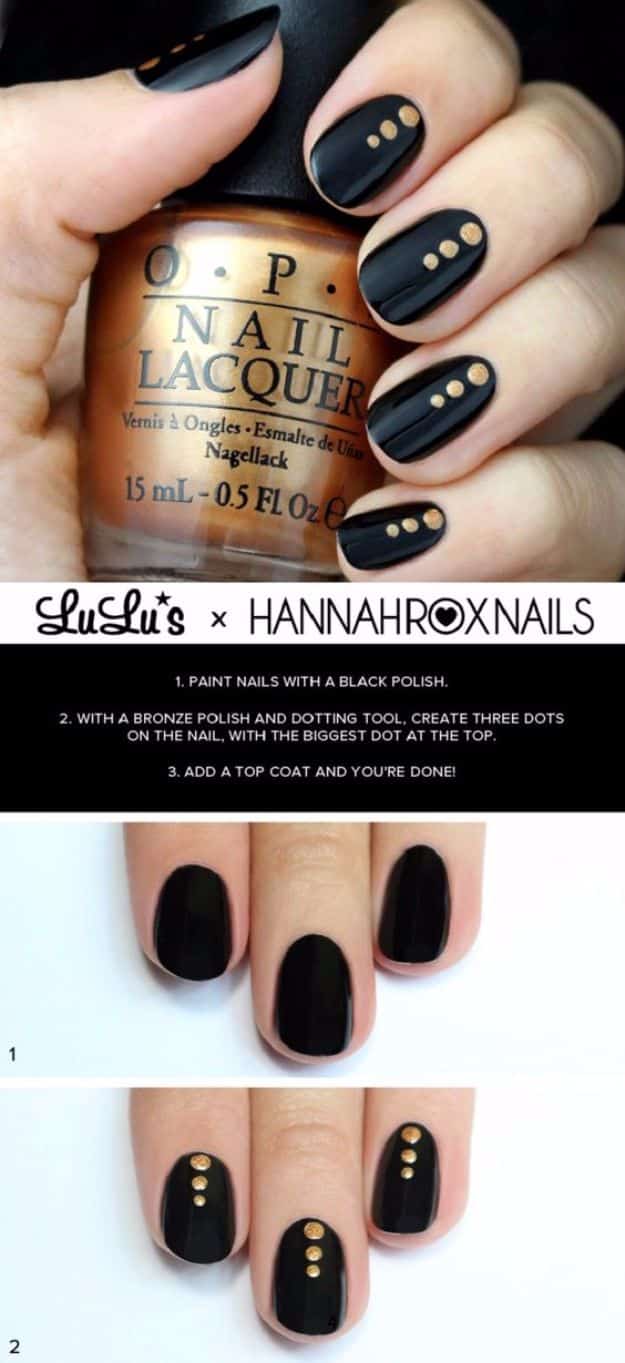
Nail art is a fun and creative way to express yourself through your nails. With so many designs and techniques to choose from, it can be overwhelming to know where to start. That's why we have created a step-by-step guide to nail art design with procedure, so you can easily create stunning designs at home. Step 1: Gather all the necessary materials for your nail art design. This includes nail polish, base and top coat, nail art tools, and any other items you may need. Step 2: Prep your nails by shaping them and pushing back your cuticles. Apply a base coat to protect your nails and help the polish to last longer. Step 3: Choose your desired nail polish colors and start by applying a base color to all your nails. Let it dry completely before moving on to the next step. Step 4: Using a different color, create your desired design on your nails. You can use striping tape, dotting tools, or any other nail art tools to create different designs. Step 5: Let the polish dry completely before adding a top coat. This will seal in your design and give your nails a glossy finish. Step 6: Clean up any mistakes using a cotton swab dipped in nail polish remover. Step 7: Let your nails dry completely before using your hands. With this step-by-step guide, you can easily create beautiful nail art designs at home. Don't be afraid to experiment with different colors and techniques to create unique looks.2. Step-by-Step Guide to Nail Art Design with Procedure


2. Step-by-Step Guide to Nail Art Design with Procedure


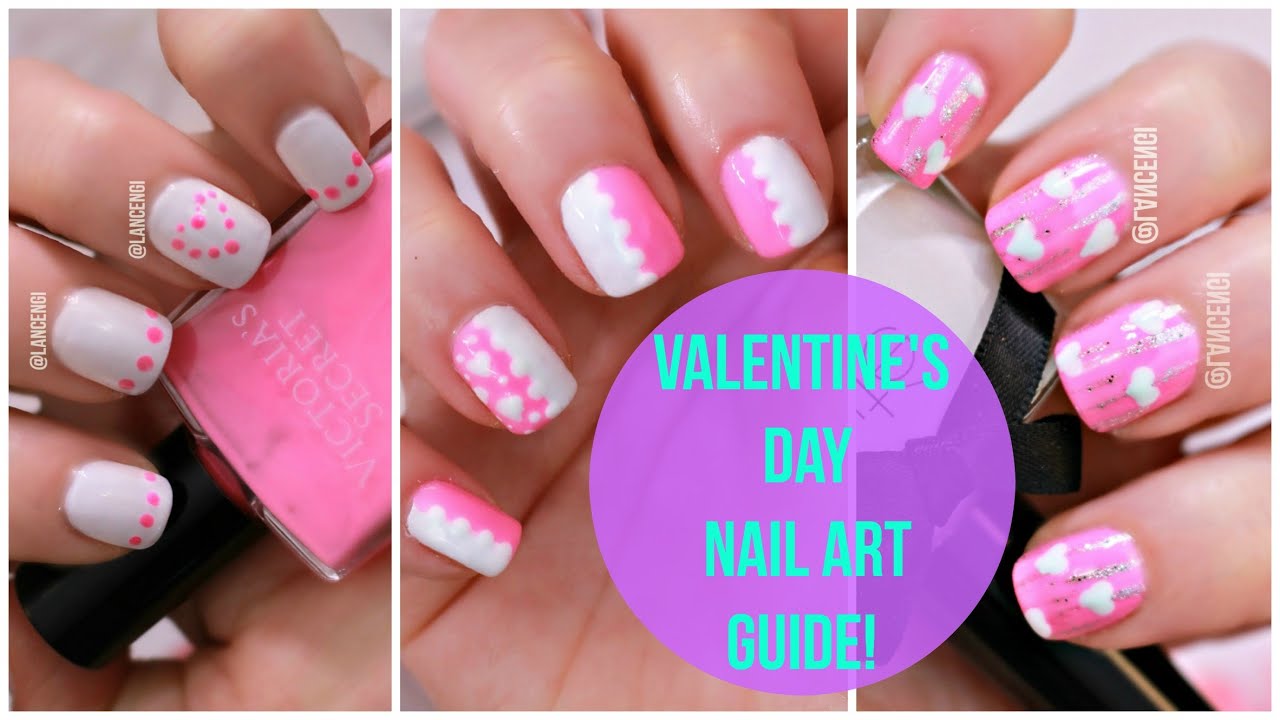
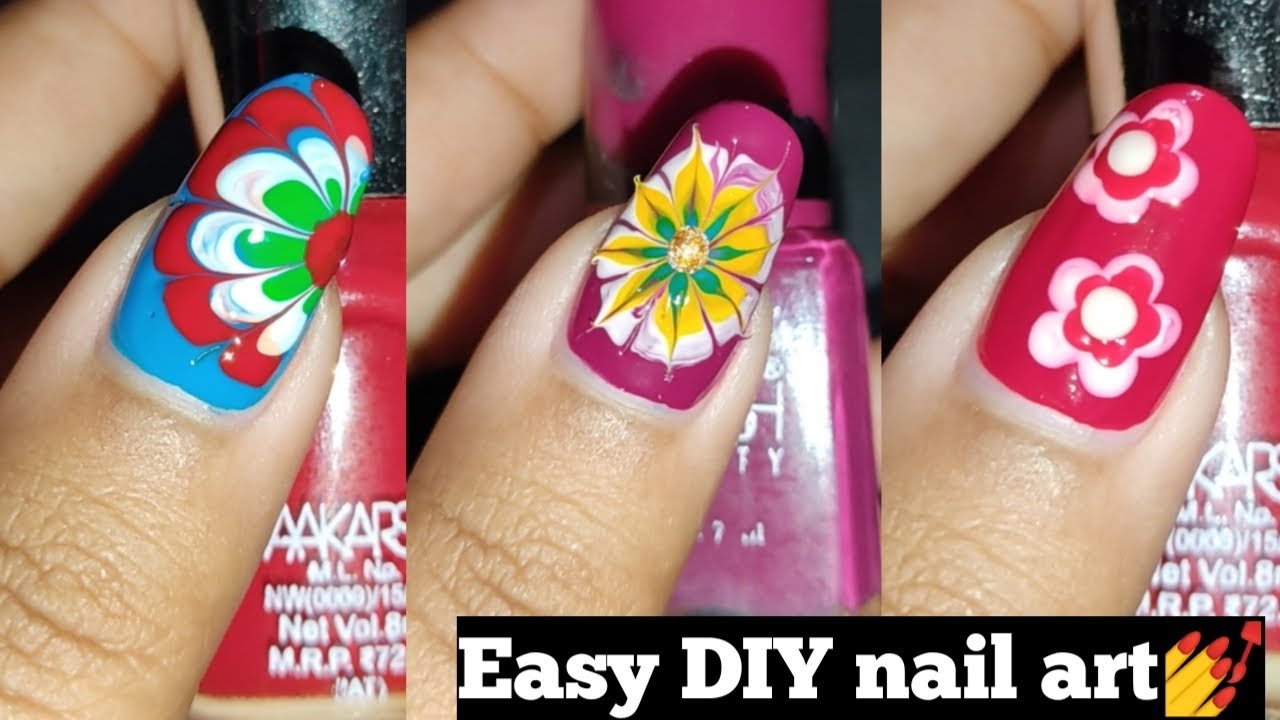
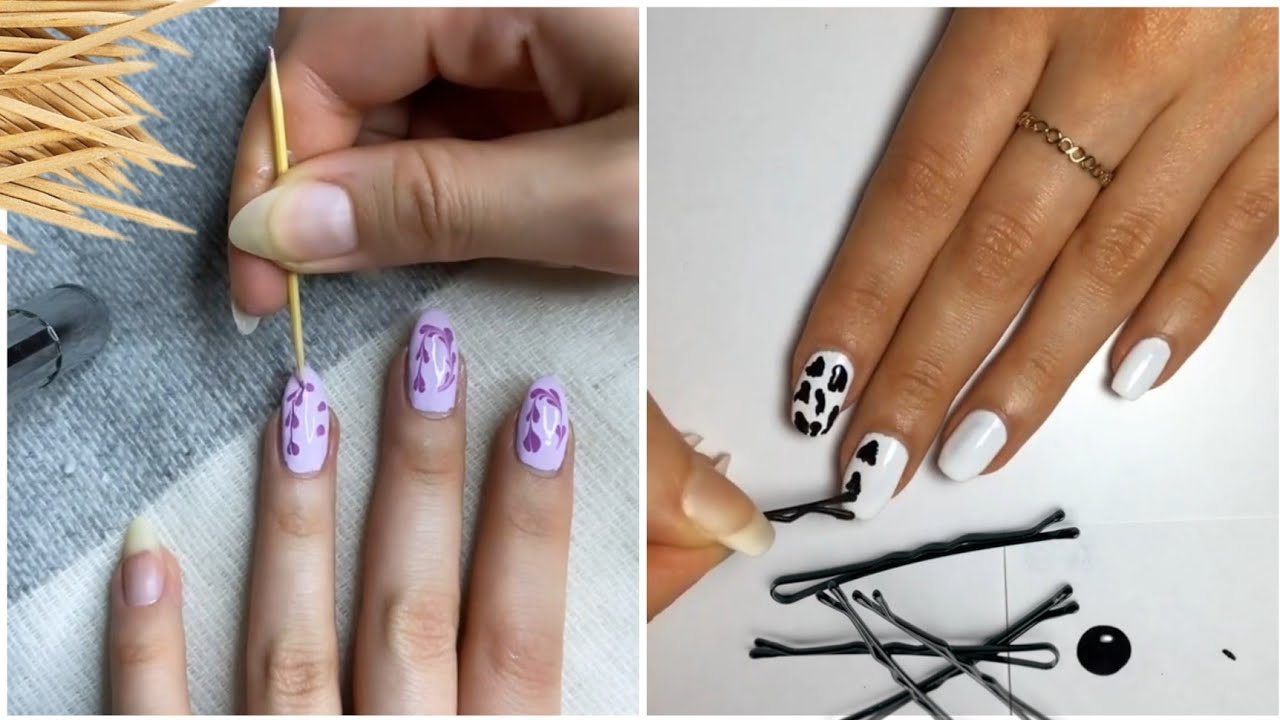
Thinking of trying out some new nail art designs but don't want to spend a fortune at the salon? We've got you covered with this easy DIY nail art design with procedure. With just a few simple steps, you can achieve a professional-looking design at home. Step 1: Prep your nails by shaping them and pushing back your cuticles. Apply a base coat to protect your nails and help the polish to last longer. Step 2: Choose your desired nail polish colors and start by applying a base color to all your nails. Let it dry completely before moving on to the next step. Step 3: Use a toothpick or bobby pin to create small dots on your nails. You can use different colors to create a fun and colorful design. Step 4: Let the dots dry completely before adding a top coat to seal in your design. Step 5: If you want to add more detail to your design, use a small brush to create lines or shapes with a different color polish. Step 6: Let your nails dry completely before using your hands. There you have it, a simple and easy DIY nail art design that you can do at home. Get creative and try out different color combinations and designs to find your perfect look.3. Easy DIY Nail Art Design with Procedure


3. Easy DIY Nail Art Design with Procedure


If you're new to the world of nail art, don't worry, we've got you covered. This nail art design tutorial with procedure for beginners will guide you through the steps to creating your first nail art design. With a little practice, you'll be creating intricate designs in no time. Step 1: Gather all the necessary materials for your nail art design. This includes nail polish, base and top coat, nail art tools, and any other items you may need. Step 2: Prep your nails by shaping them and pushing back your cuticles. Apply a base coat to protect your nails and help the polish to last longer. Step 3: Choose your desired nail polish colors and start by applying a base color to all your nails. Let it dry completely before moving on to the next step. Step 4: Use a toothpick or bobby pin to create small dots on your nails. You can use different colors to create a fun and colorful design. Step 5: Let the dots dry completely before adding a top coat to seal in your design. Step 6: If you want to add more detail to your design, use a small brush to create lines or shapes with a different color polish. Step 7: Let your nails dry completely before using your hands. With a little practice, you'll be able to create more complex designs and experiment with different techniques. Don't be afraid to try new things and have fun with your nail art.4. Nail Art Design Tutorial with Procedure for Beginners


4. Nail Art Design Tutorial with Procedure for Beginners


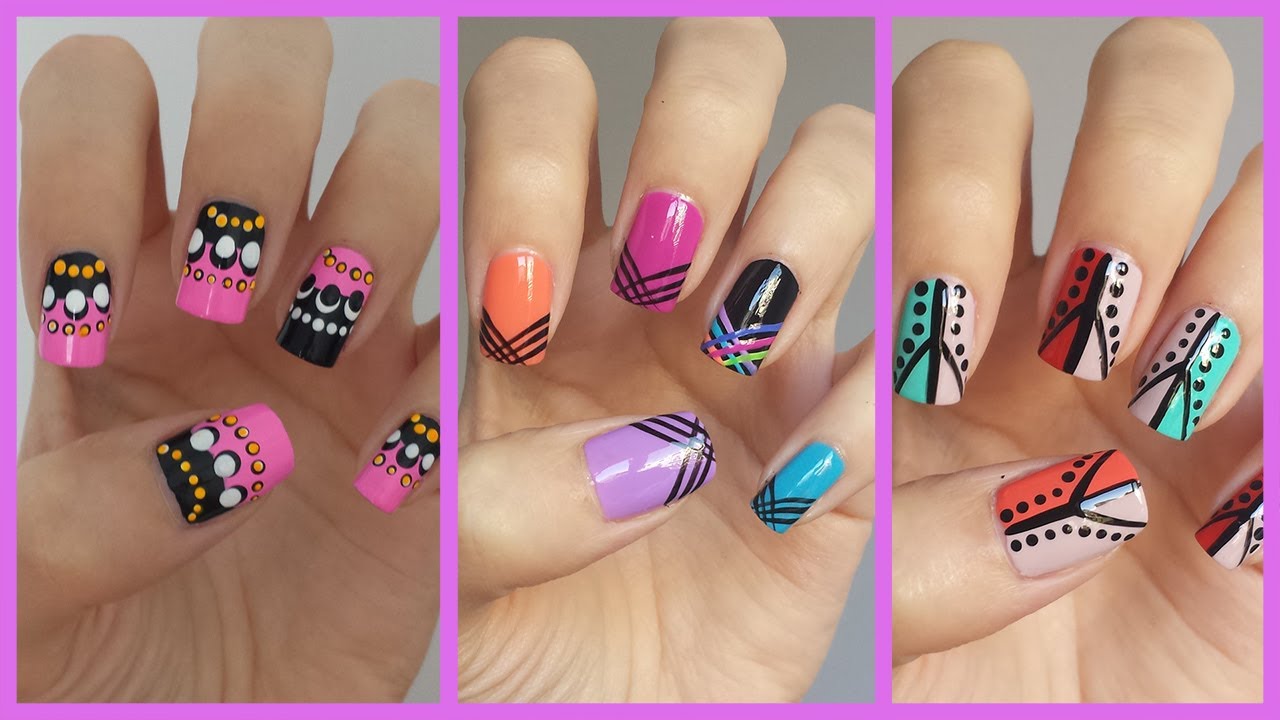


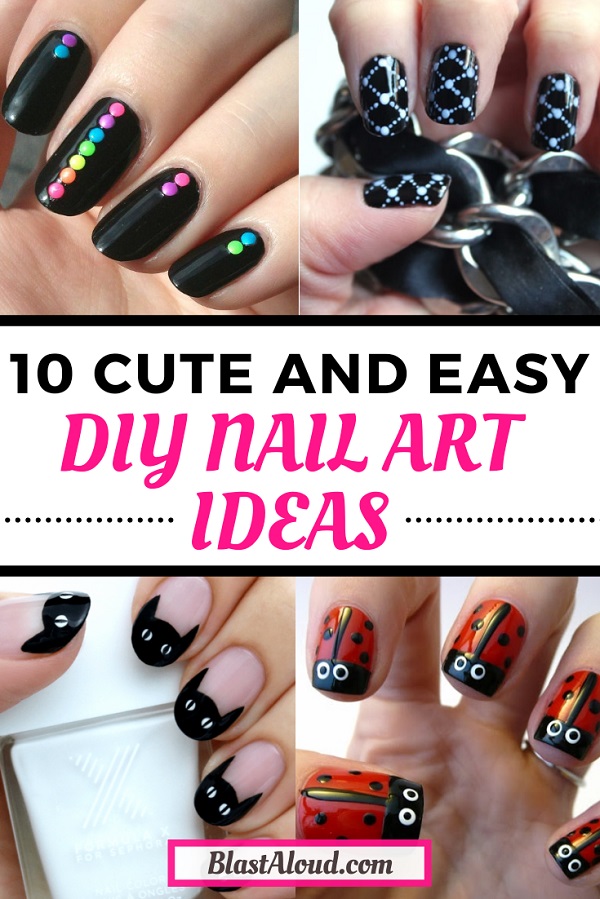
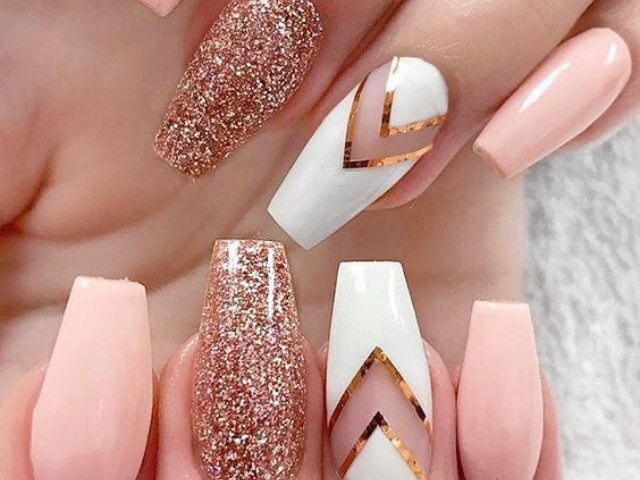
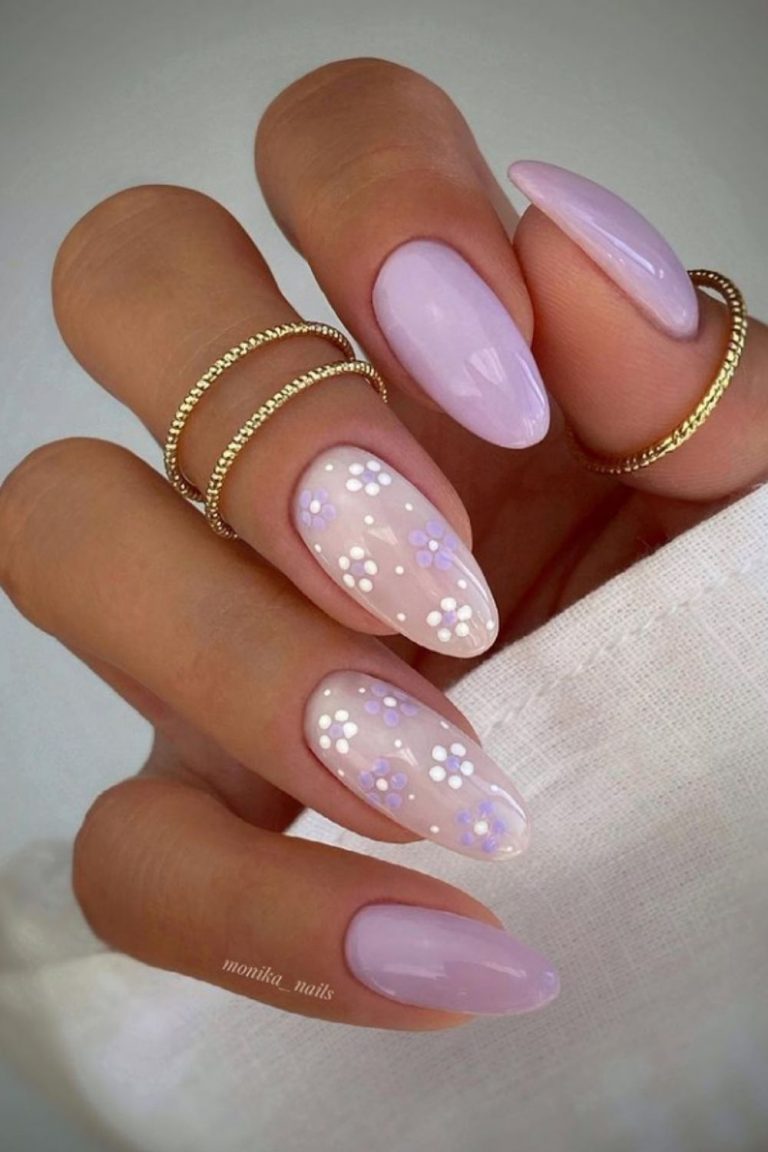
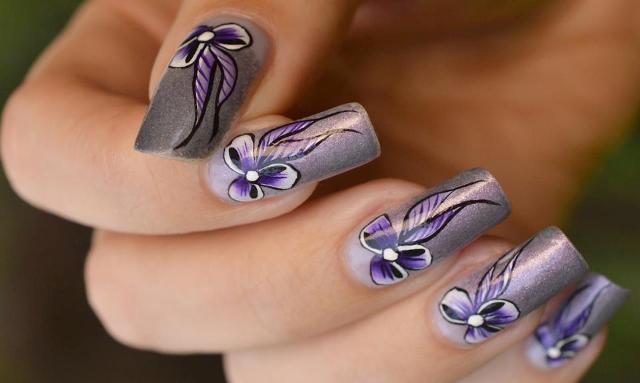
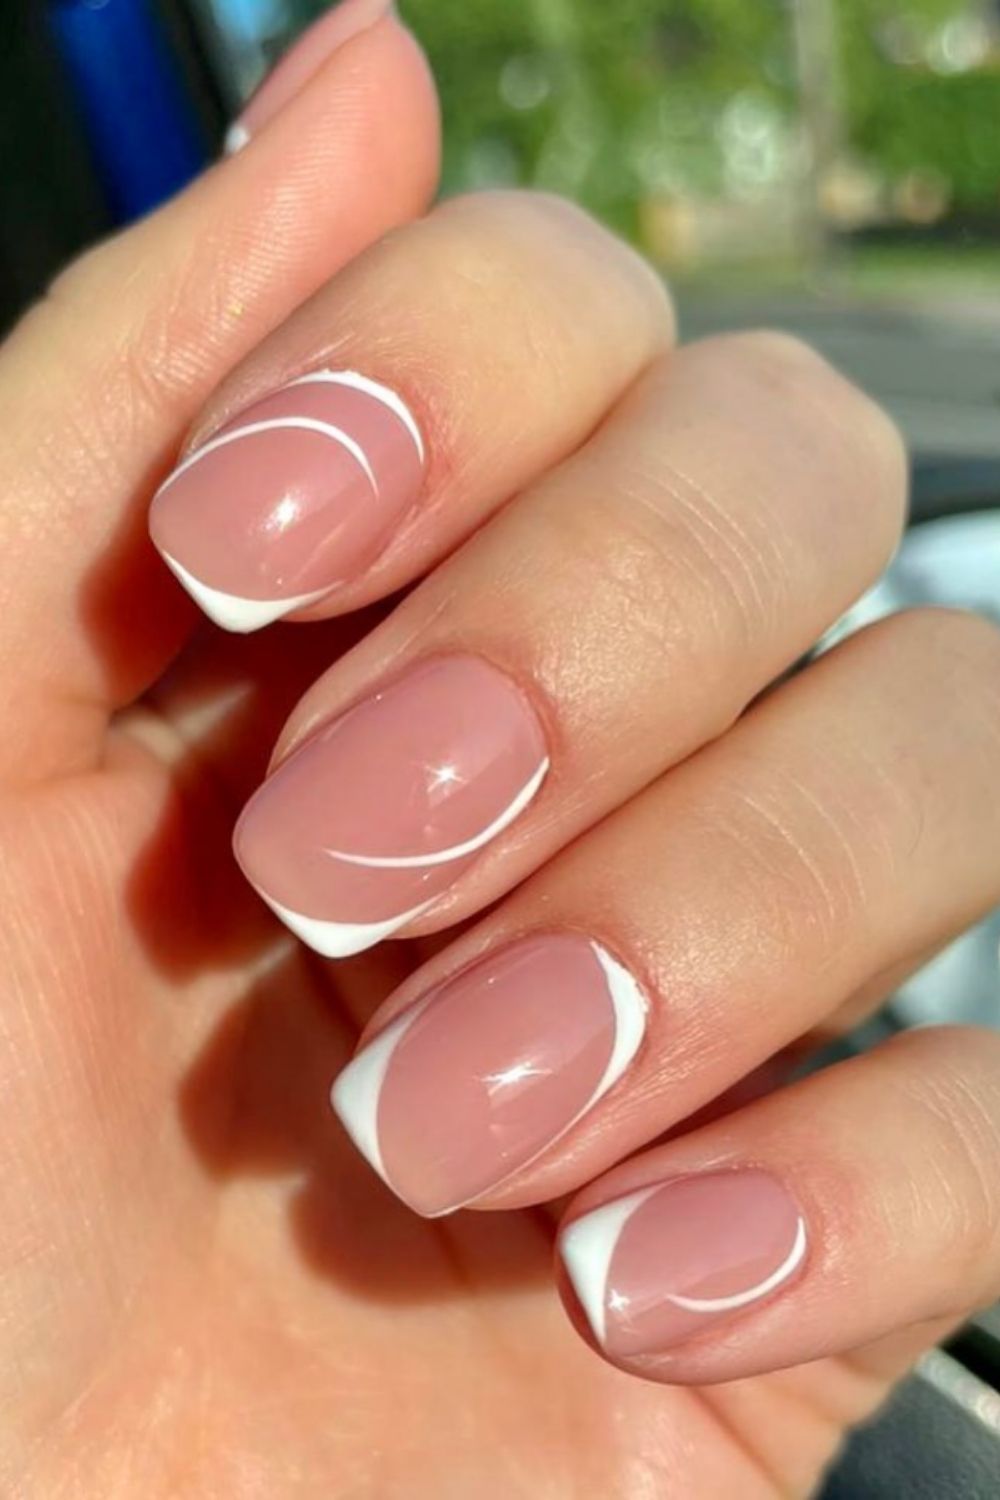
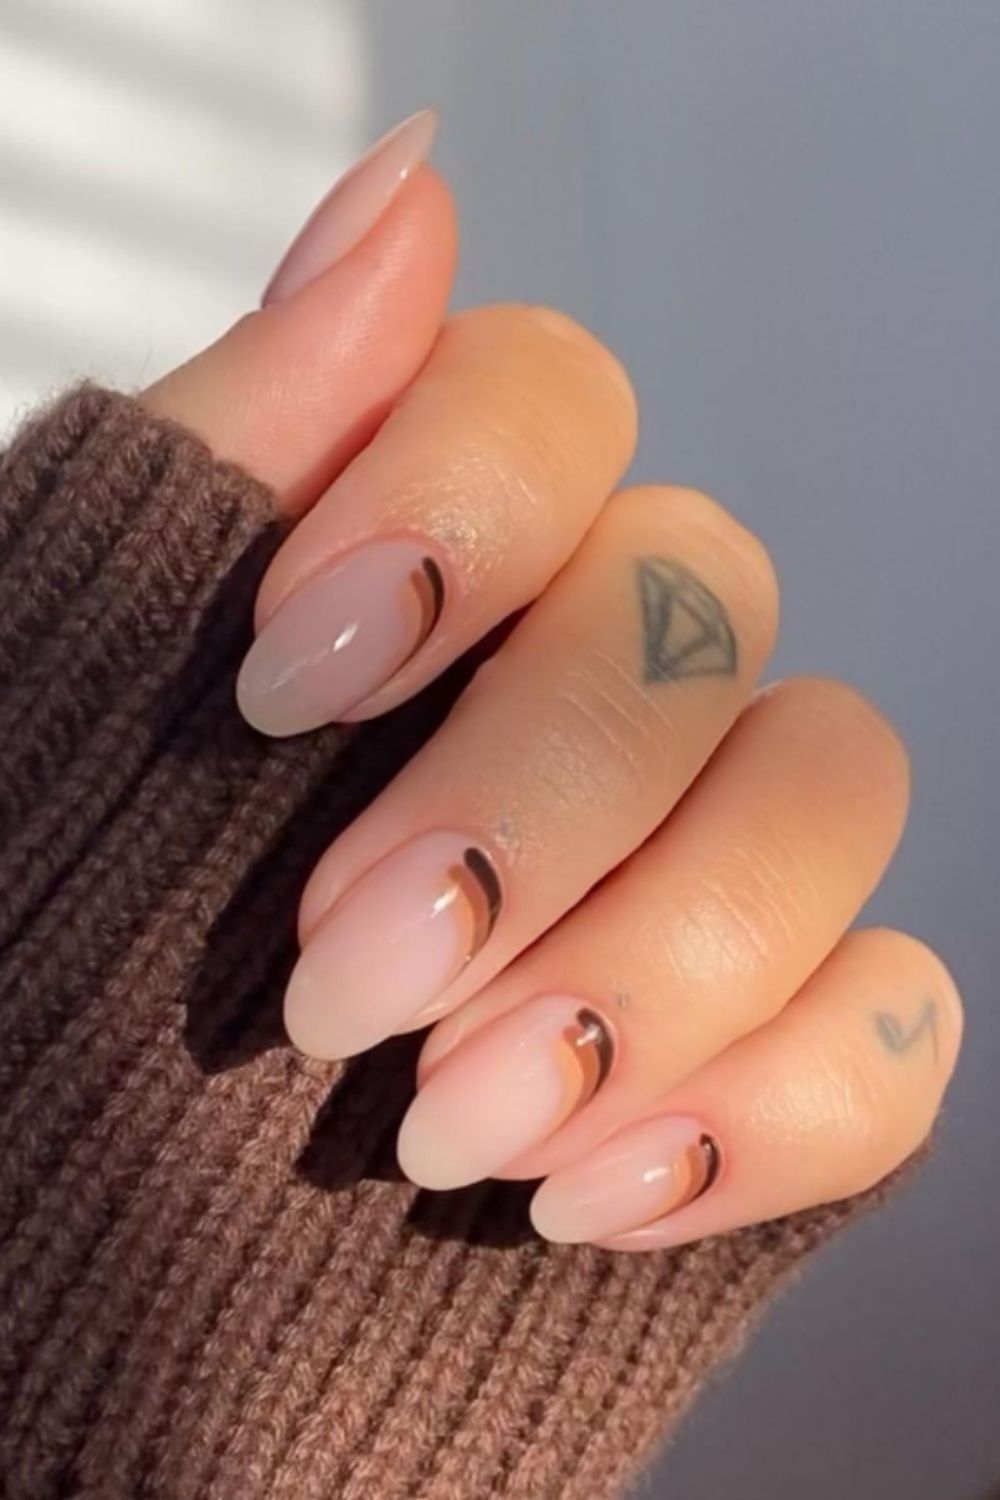
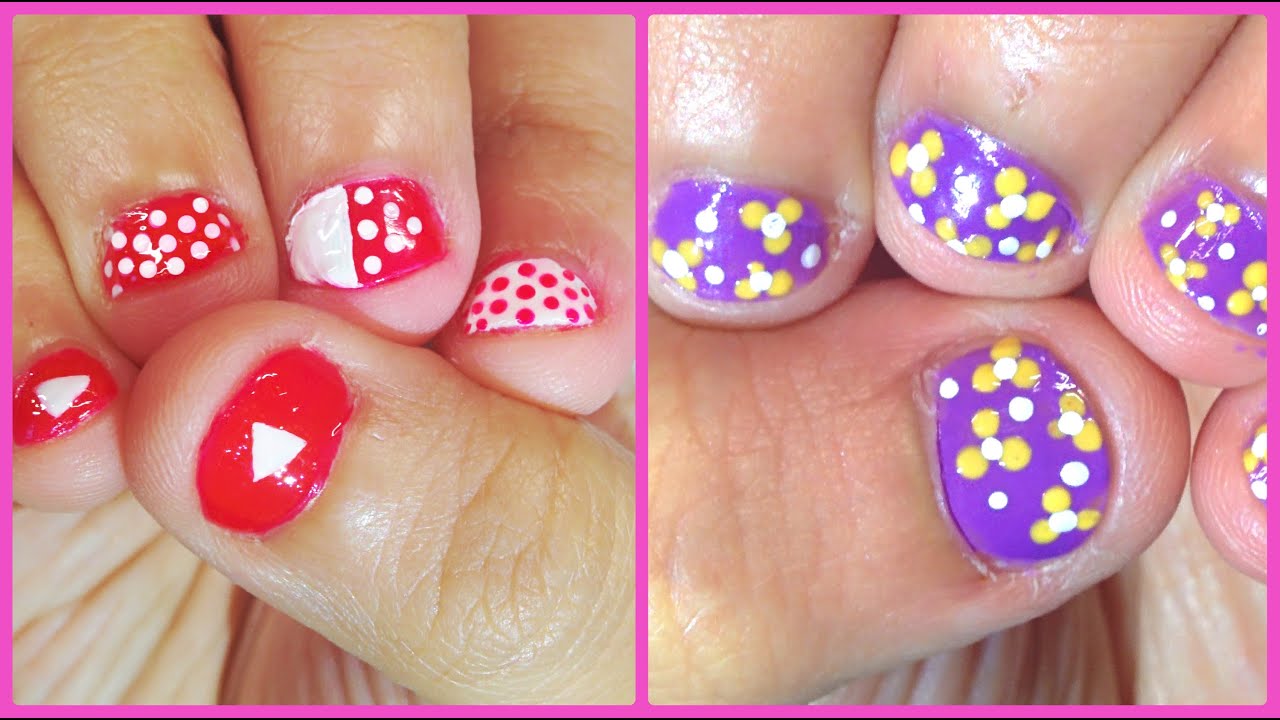
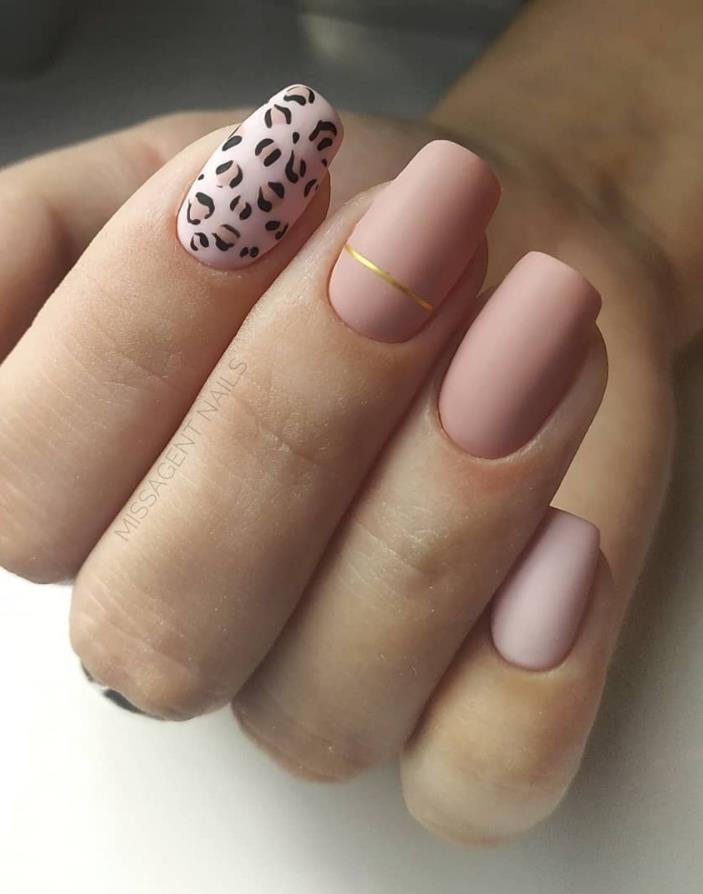
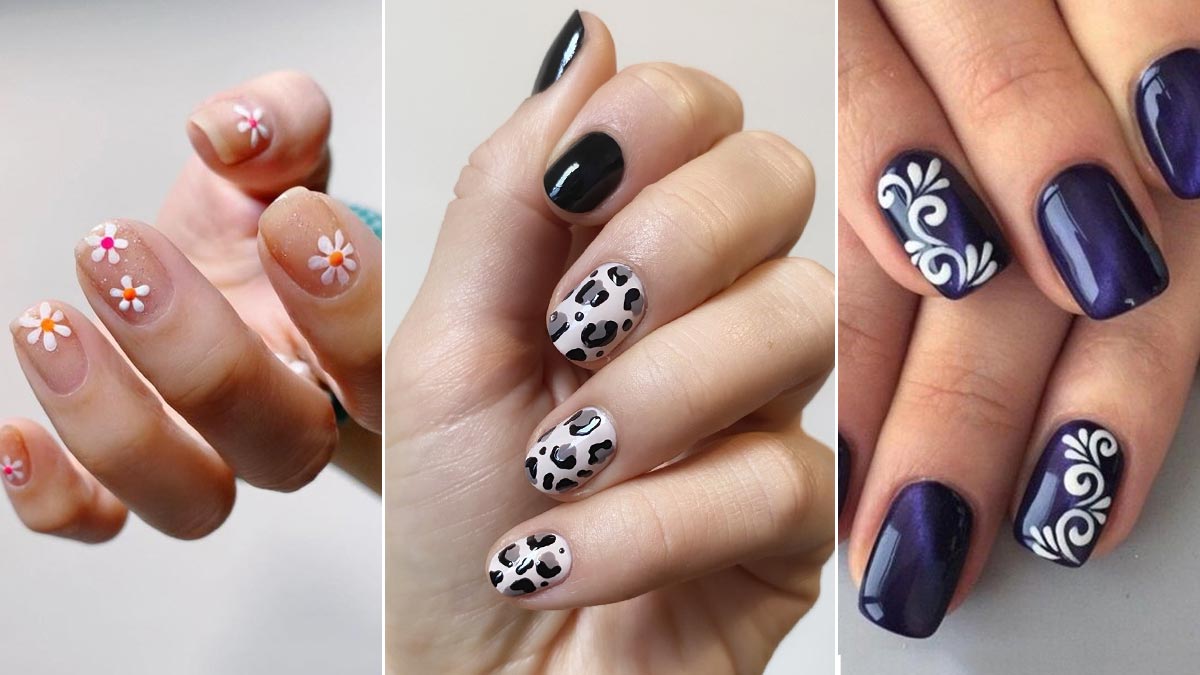
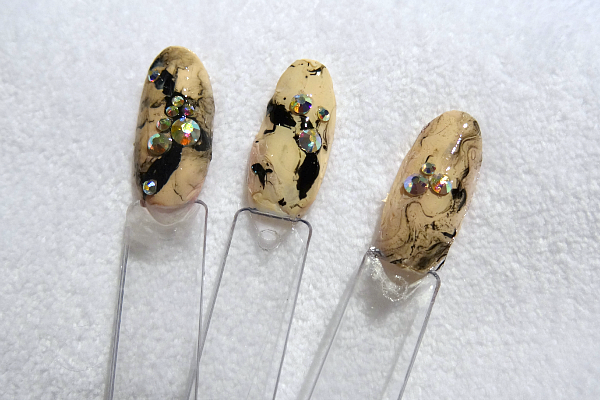
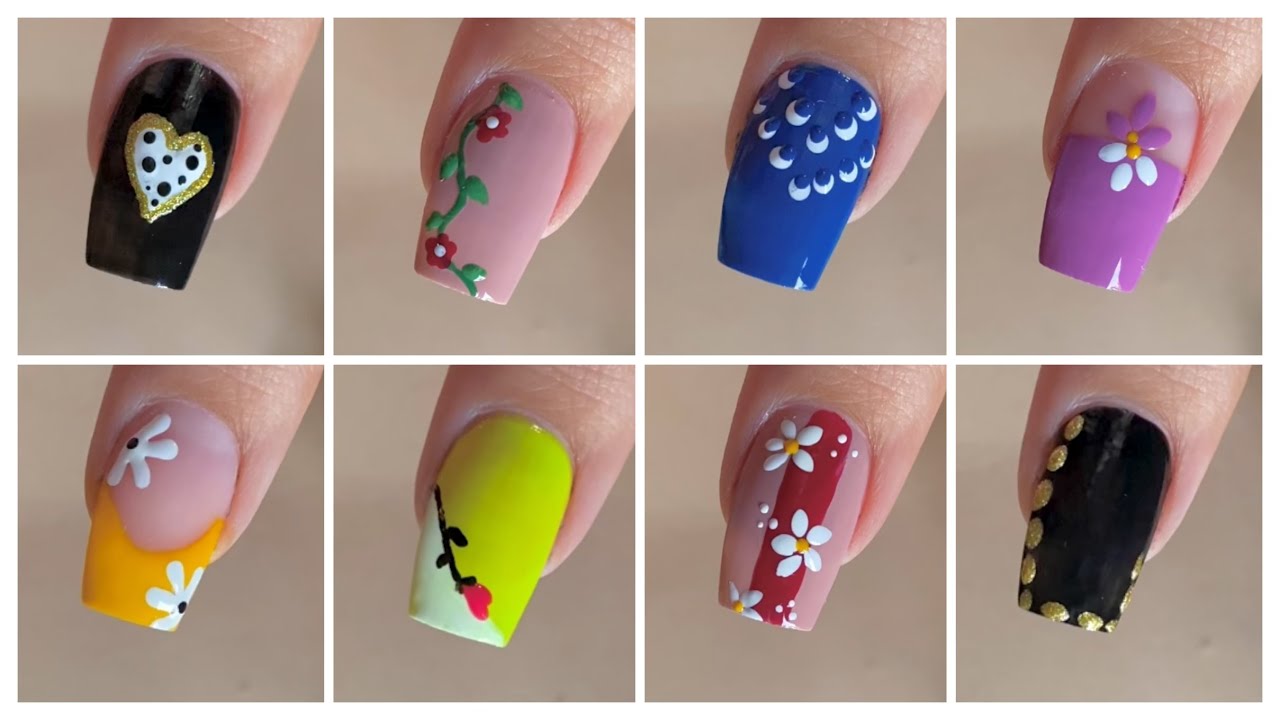
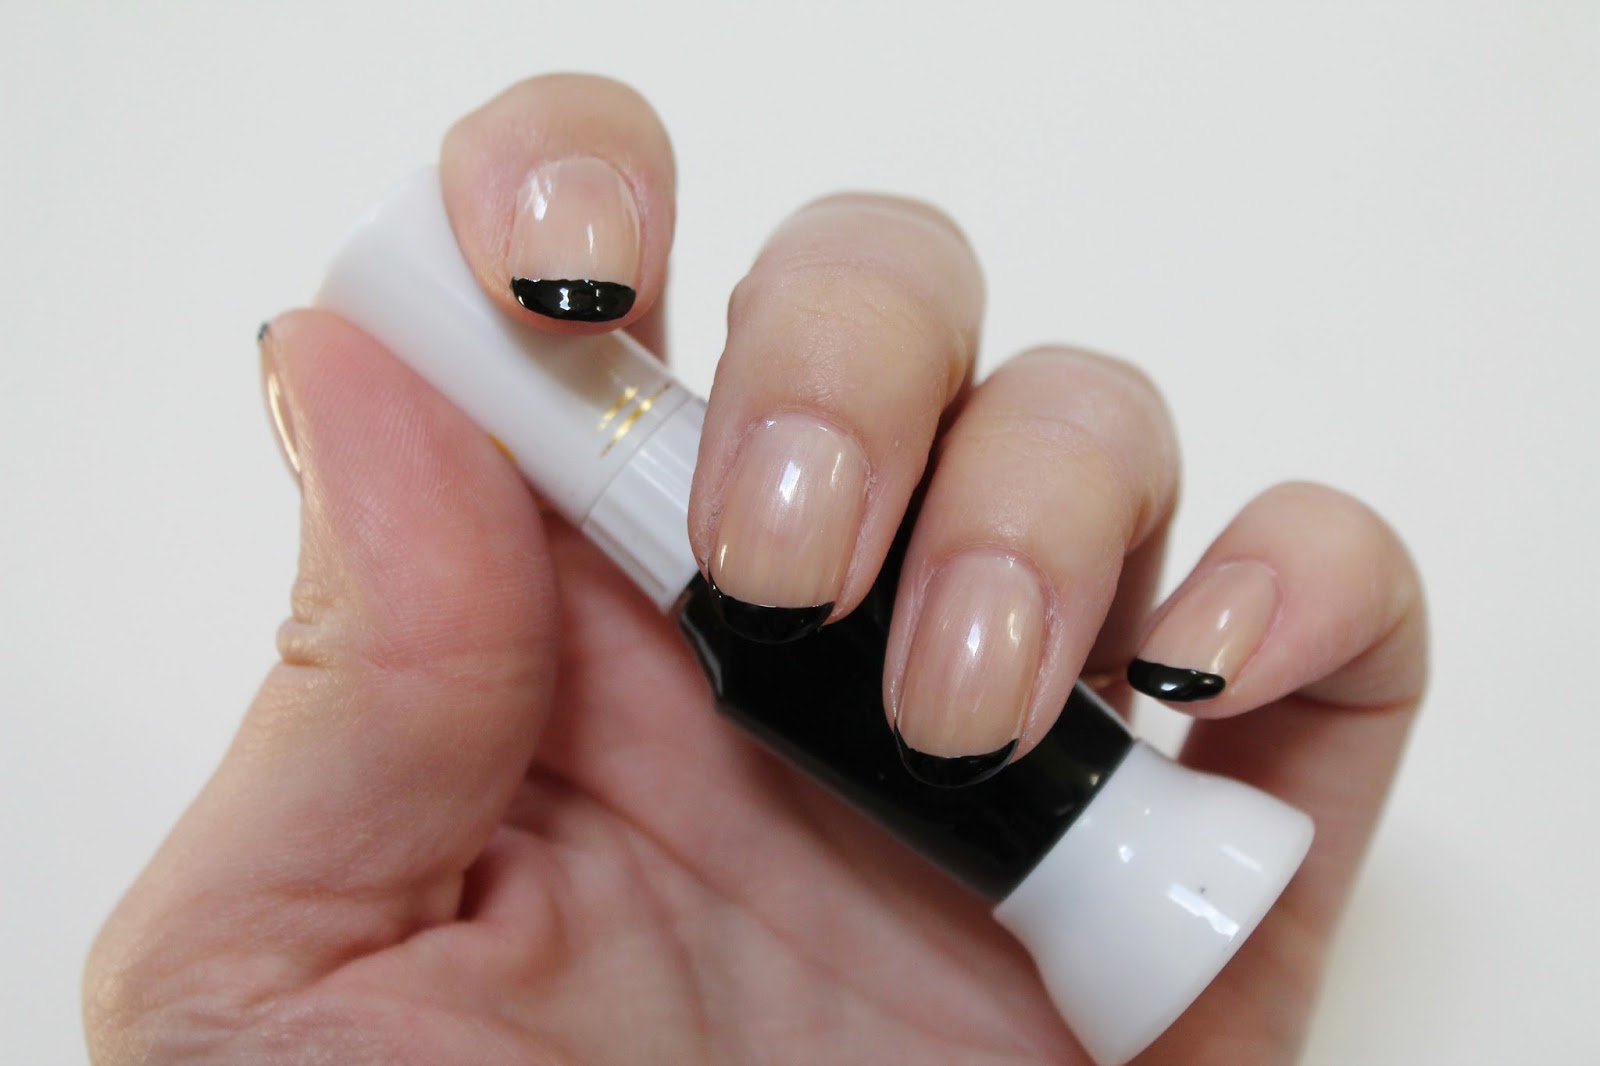
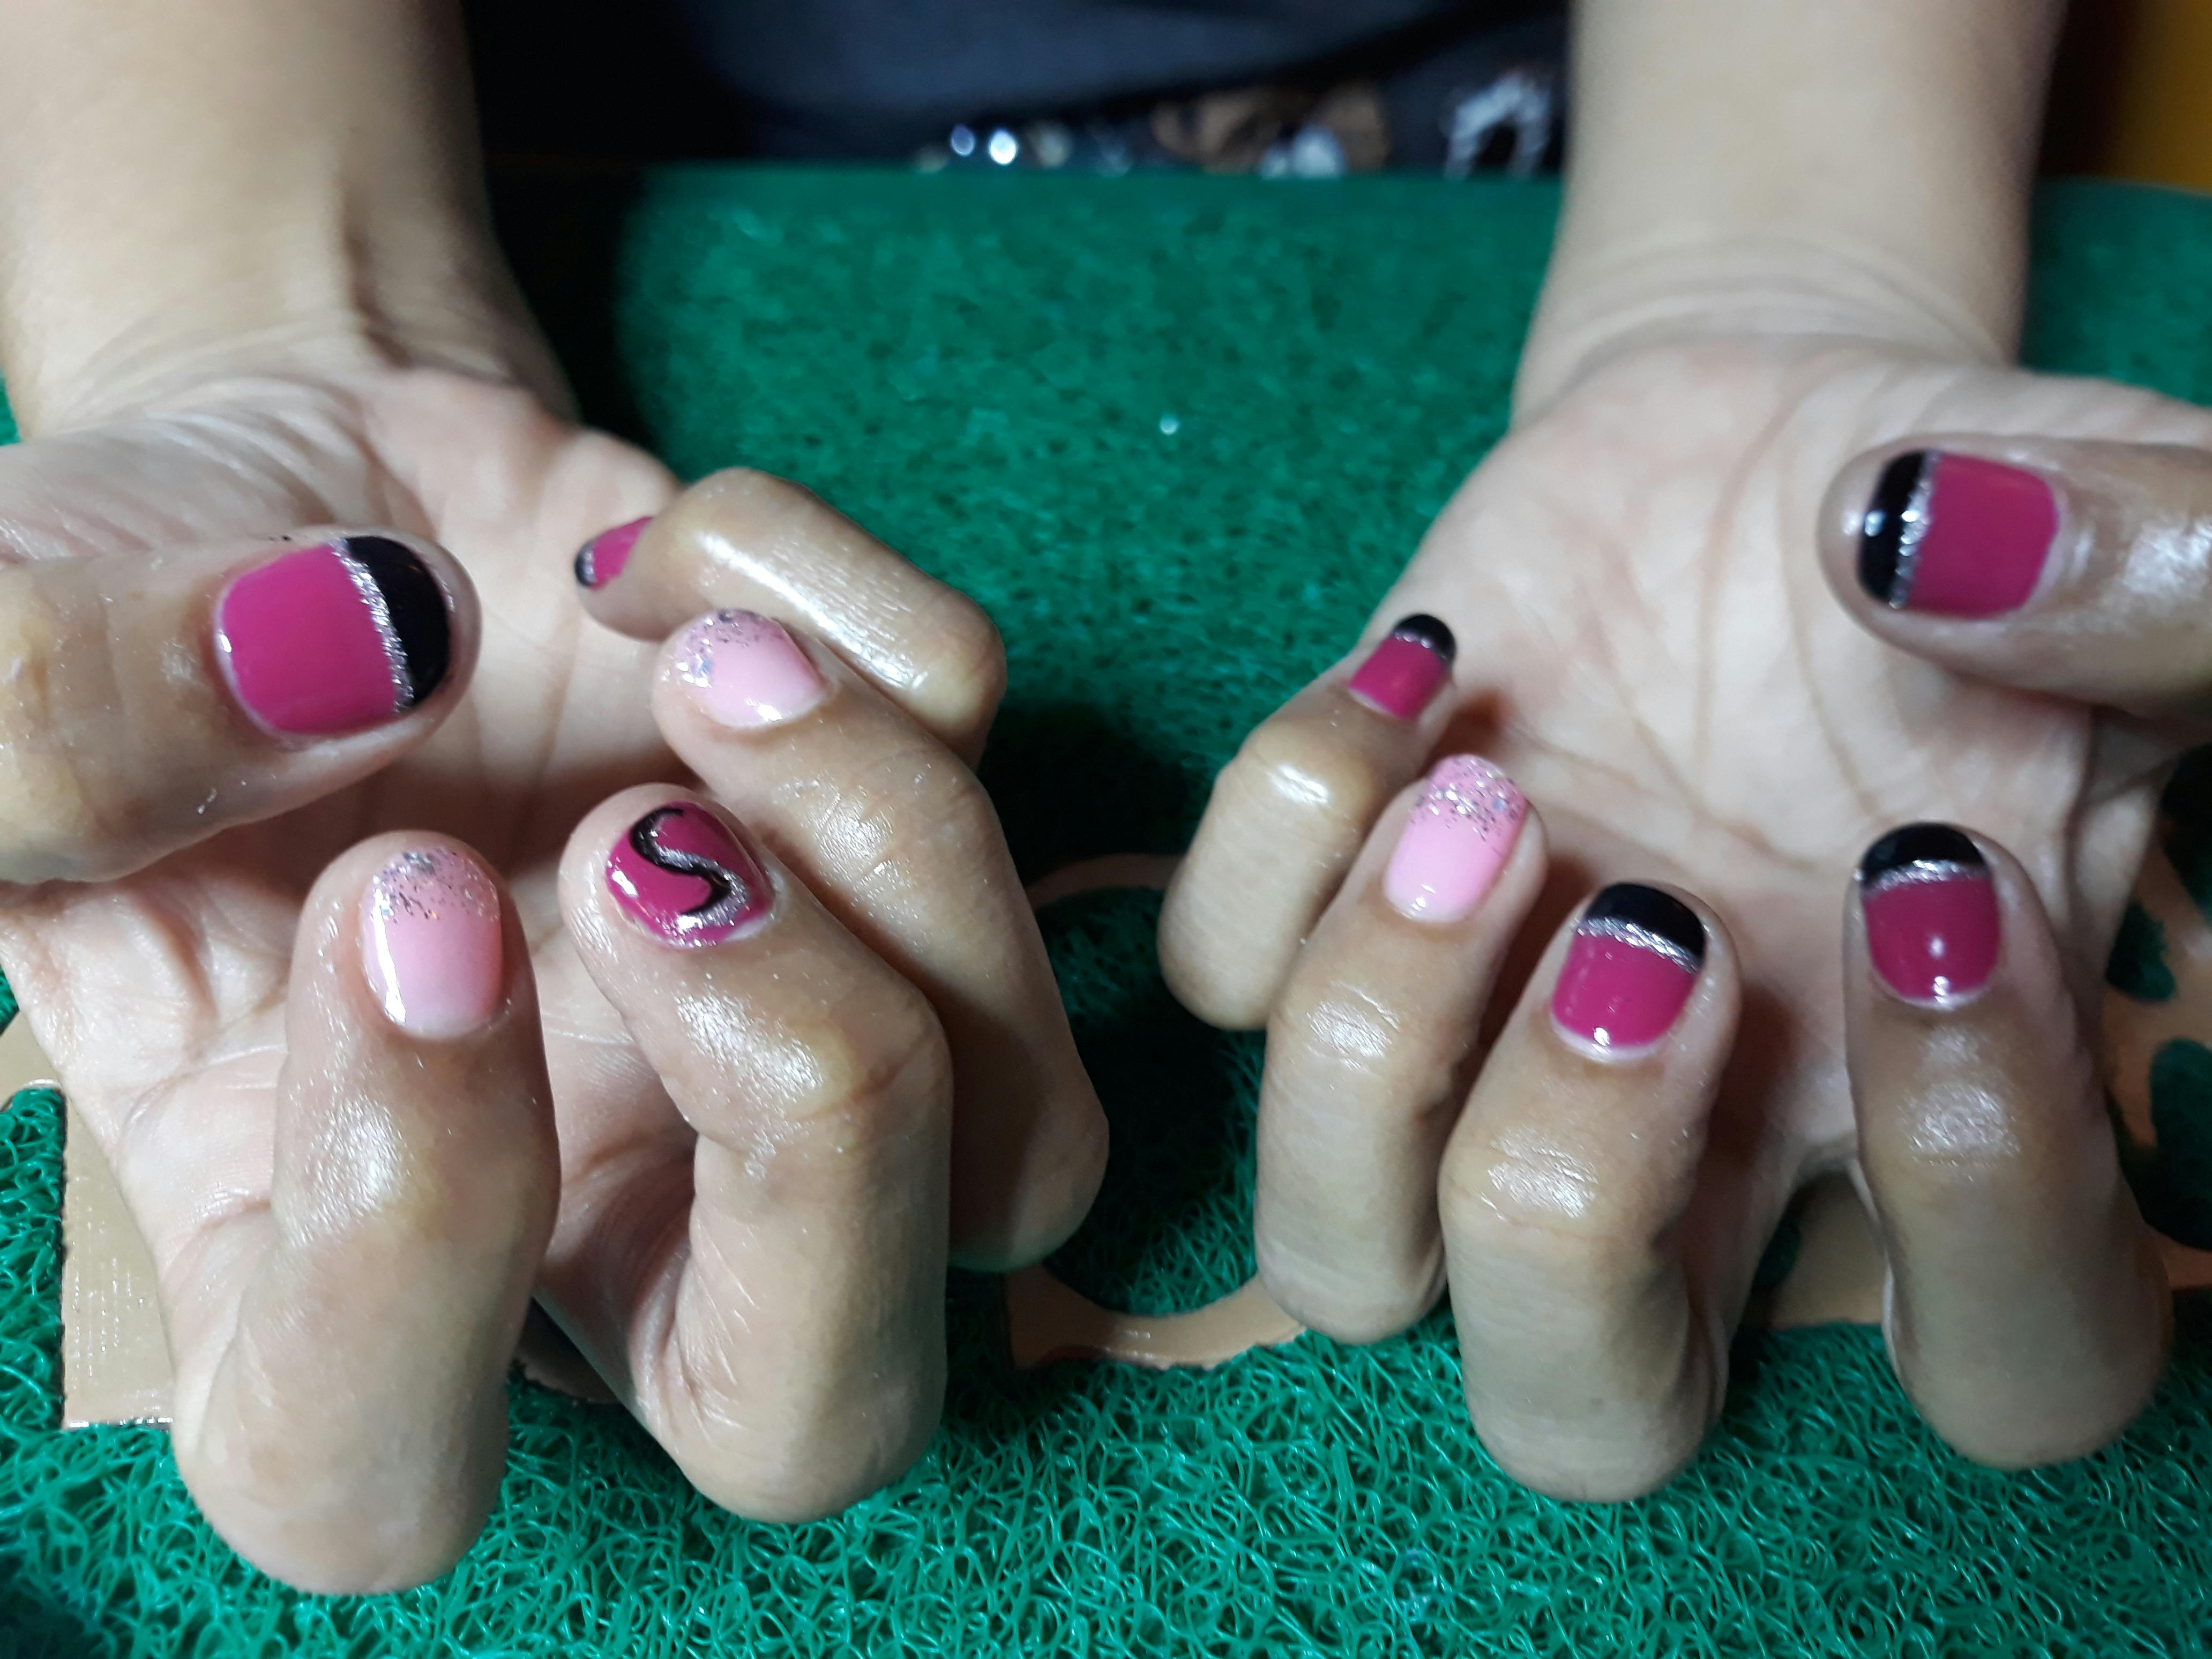
If you're looking for some inspiration for your next nail art design, look no further. We have compiled a list of 10 stunning nail art designs with procedure for you to try at home. From simple designs to more intricate ones, there's something for everyone in this list. 1. Geometric Design: Use striping tape and different colored polishes to create a modern and chic geometric design. 2. Floral Design: Paint delicate flowers on your nails using a small brush and pastel colors for a feminine and elegant look. 3. Ombre Design: Create an ombre effect by blending two different nail polish colors together for a trendy and eye-catching design. 4. Striped Design: Use thin striping tape to create clean and straight lines in various colors for a fun and playful nail art design. 5. French Tip Design: Put a twist on the classic French manicure by using different colors and patterns for the tips of your nails. 6. Marble Design: Create a marbled effect by swirling different colored polishes together on a plastic bag and then transferring it onto your nails. 7. Polka Dot Design: Use a dotting tool or the end of a bobby pin to create cute polka dots in different sizes and colors for a playful design. 8. Galaxy Design: Create a starry night effect by using dark blue and purple polishes and adding white dots for stars. 9. Animal Print Design: Use a small brush to create leopard or zebra print on your nails for a bold and edgy look. 10. Glitter Design: Add some sparkle to your nails by using glitter polish or loose glitter to create a dazzling design. With these stunning nail art designs, you'll be sure to turn heads and show off your creativity and style.5. 10 Stunning Nail Art Designs with Procedure to Try at Home


5. 10 Stunning Nail Art Designs with Procedure to Try at Home


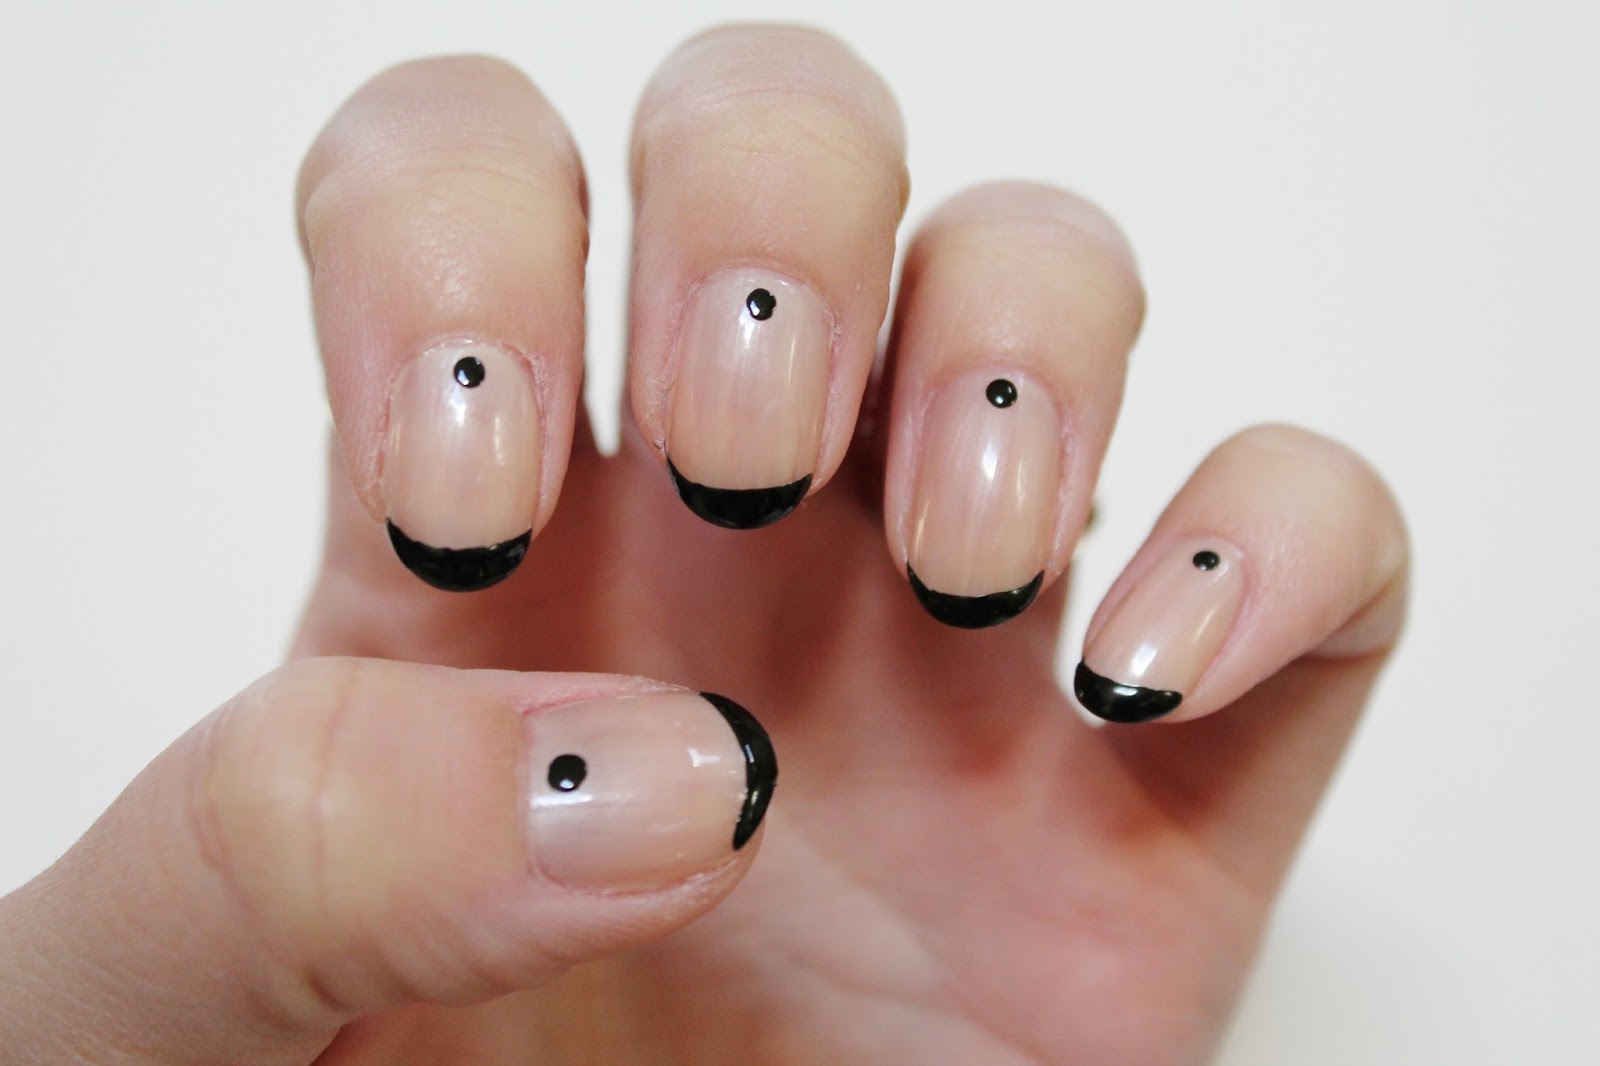
Just because you have short nails doesn't mean you can't rock a fun and stylish nail art design. With a little creativity, you can create beautiful designs that will make your short nails stand out. Follow this nail art design with procedure for short nails to achieve gorgeous and trendy designs. Step 1: Prep your nails by shaping them and pushing back your cuticles. Apply a base coat to protect your nails and help the polish to last longer. Step 2: Choose your desired nail polish colors and start by applying a base color to all your nails. Let it dry completely before moving on to the next step. Step 3: Use a toothpick or bobby pin to create small dots on your nails. You can use different colors to create a fun and colorful design. Step 4: Let the dots dry completely before adding a top coat to seal in your design. Step 5: If you want to add more detail to your design, use a small brush to create lines or shapes with a different color polish. Step 6: Let your nails dry completely before using your hands. Remember to keep your designs simple and not overcrowd your short nails. You can also experiment with negative space designs to make your nails appear longer.6. Nail Art Design with Procedure for Short Nails

6. Nail Art Design with Procedure for Short Nails


Don't have a lot of time to spend on your nails but still want to rock a stylish design? This 5-minute nail art design with procedure is perfect for busy people who want to add a little something extra to their nails without spending hours on it. Step 1: Prep your nails by shaping them and pushing back your cuticles. Apply a base coat to protect your nails and help the polish to last longer. Step 2: Choose your desired nail polish colors and start by applying a base color to all your nails. Let it dry completely before moving on to the next step. Step 3: Use a toothpick or bobby pin to create small dots on your nails. You can use different colors to create a fun and colorful design. Step 4: Let the dots dry completely before adding a top coat to seal in your design. Step 5: If you want to add more detail to your design, use a small brush to create lines or shapes with a different color polish. Step 6: Let your nails dry completely before using your hands. There you have it, a quick and easy nail art design that you can do in just 5 minutes. This is perfect for those busy days when you still want to have stylish nails.7. 5-Minute Nail Art Design with Procedure for Busy People

7. 5-Minute Nail Art Design with Procedure for Busy People


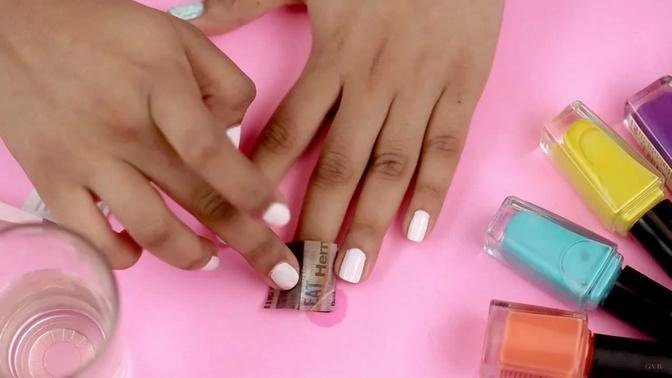
Who says you need expensive nail art tools to create stunning designs? You can use items you already have at home to achieve unique and creative nail art designs. Follow this nail art design with procedure using household items to create beautiful designs without breaking the bank. Step 1: Prep your nails by shaping them and pushing back your cuticles. Apply a base coat to protect your nails and help the polish to last longer. Step 2: Choose your desired nail polish colors and start by applying a base color to all your nails. Let it dry completely before moving on to the next step. Step 3: Cut a small piece of sponge and dip it in a different color nail polish. Dab the sponge onto your nails to create an ombre effect. Step 4: Use a toothpick or the end of a bobby pin to create small dots on your nails using a different color polish. Step 5: Let the polish dry completely before adding a top coat to seal in your design. Step 6: If you want to add more detail to your design, use a small brush or the tip of a toothpick to create lines or shapes with a different color polish. Step 7: Let your nails dry completely before using your hands.8. Nail Art Design with Procedure Using Household Items

8. Nail Art Design with Procedure Using Household Items


The Importance of Nail Art Design in House Decoration

Introduction
 When it comes to house design, every detail matters - from the colors on the walls to the furniture pieces chosen. One often overlooked aspect of house decoration is
nail art design
. Yes, you read that right -
nail art design
. Many people think of nail art only in the context of fashion and beauty, but it can actually be a great addition to your house design. In this article, we will discuss the
importance of nail art design in house decoration
and provide a step-by-step
procedure
for incorporating it into your home.
When it comes to house design, every detail matters - from the colors on the walls to the furniture pieces chosen. One often overlooked aspect of house decoration is
nail art design
. Yes, you read that right -
nail art design
. Many people think of nail art only in the context of fashion and beauty, but it can actually be a great addition to your house design. In this article, we will discuss the
importance of nail art design in house decoration
and provide a step-by-step
procedure
for incorporating it into your home.
Nail Art Design: More Than Just Pretty Nails
 Nail art design has been gaining popularity in recent years, with various techniques and designs being introduced. From simple polka dots to intricate designs, there's no limit to what can be achieved with nail art. Apart from being a form of self-expression and a way to add a pop of color to your outfit,
nail art design can also be a unique and creative addition to your house decoration
.
Nail art design has been gaining popularity in recent years, with various techniques and designs being introduced. From simple polka dots to intricate designs, there's no limit to what can be achieved with nail art. Apart from being a form of self-expression and a way to add a pop of color to your outfit,
nail art design can also be a unique and creative addition to your house decoration
.
How Nail Art Design Can Elevate Your House Design
 Now you might be wondering, how can something as small as nail art have an impact on house design? Well, the answer lies in the details. Nail art can be incorporated into various elements of house decoration, such as:
1. Wall Art
Instead of traditional paintings or photographs, why not use nail art designs as wall art ? This is a great way to add a touch of creativity and uniqueness to your home. You can display a collection of different nail art designs in frames or create a large mural using nail polish on a blank wall.2. Furniture Accents
Another way to incorporate nail art design into your house decoration is by using it on furniture accents. You can paint intricate designs on the legs of a table or chair, or even use nail polish to create a unique pattern on a plain dresser or cabinet. This adds a fun and personalized touch to your furniture pieces.3. Home Accessories
From vases to coasters, there are endless home accessories that can be decorated with nail art. You can use nail polish to create patterns or designs on these items, making them one-of-a-kind pieces that will add a pop of color and style to your home.The Procedure for Incorporating Nail Art Design into Your House Decoration
 Now that you're convinced of the importance of nail art design in house decoration, here's a
simple procedure
for incorporating it into your home:
Now that you're convinced of the importance of nail art design in house decoration, here's a
simple procedure
for incorporating it into your home:


