If you love experimenting with your nails and creating unique and intricate designs, then using a thin brush is a must-have tool in your nail art kit. With a thin brush, you can create endless possibilities and designs that are sure to make your nails stand out. In this article, we'll share with you 20 easy and creative nail art designs using a thin brush. Whether you're a beginner or a seasoned nail art enthusiast, these designs are perfect for anyone looking to add a touch of creativity to their nails. So, grab your thin brush and get ready to elevate your nail game!1. Nail Art Designs with Thin Brush: 20 Easy and Creative Ideas


1. Nail Art Designs with Thin Brush: 20 Easy and Creative Ideas


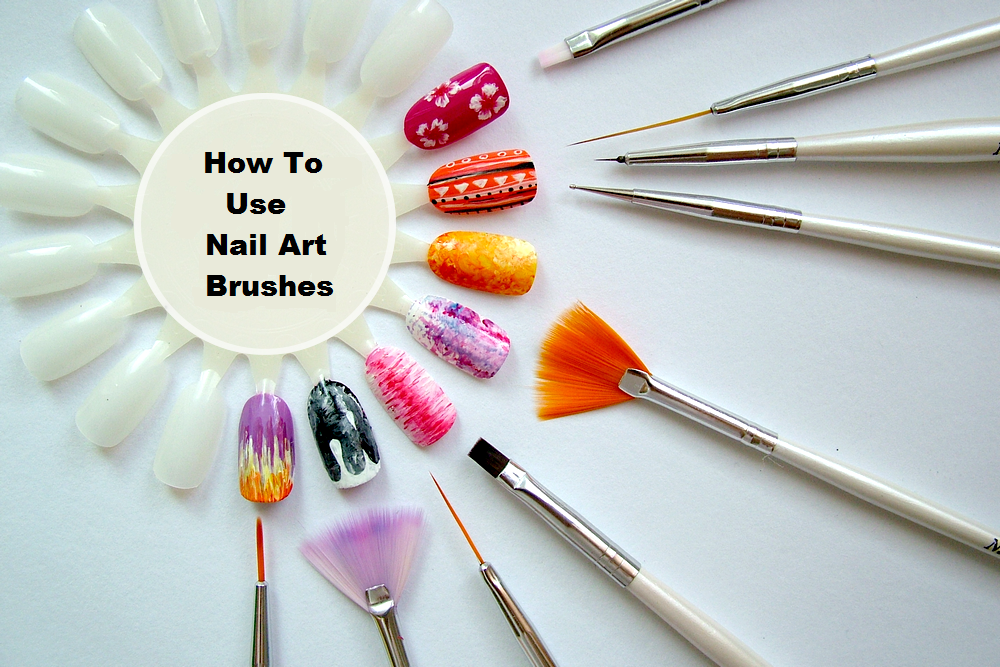
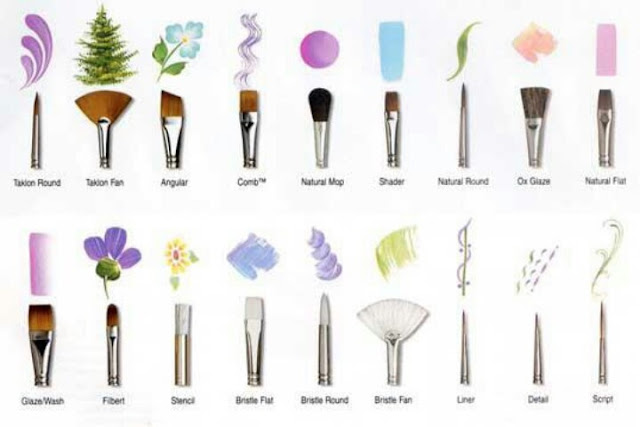
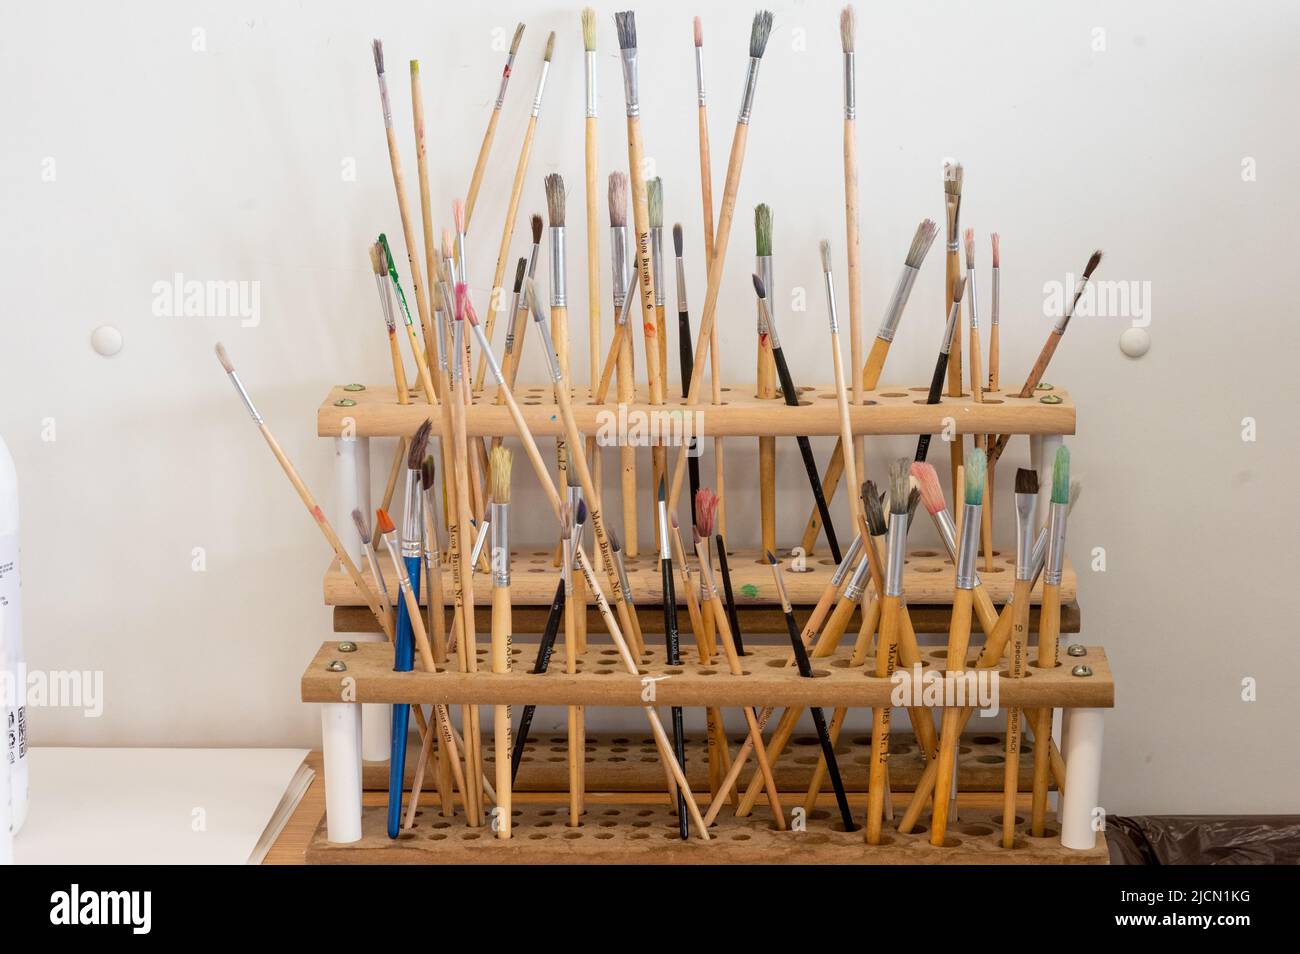
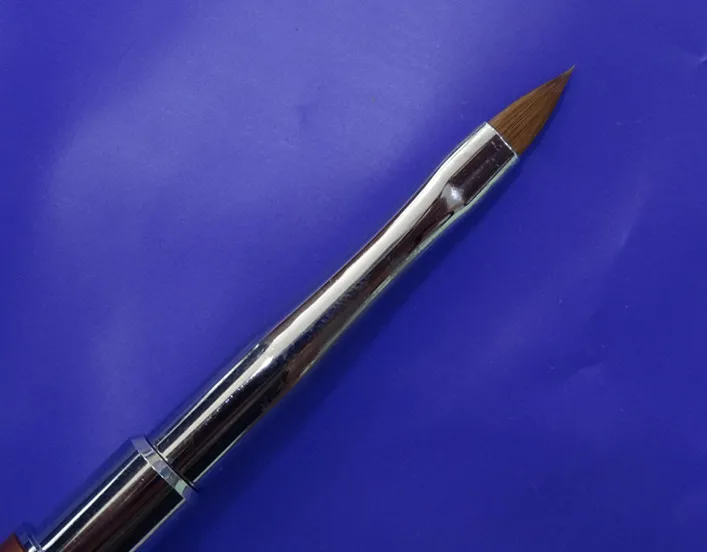
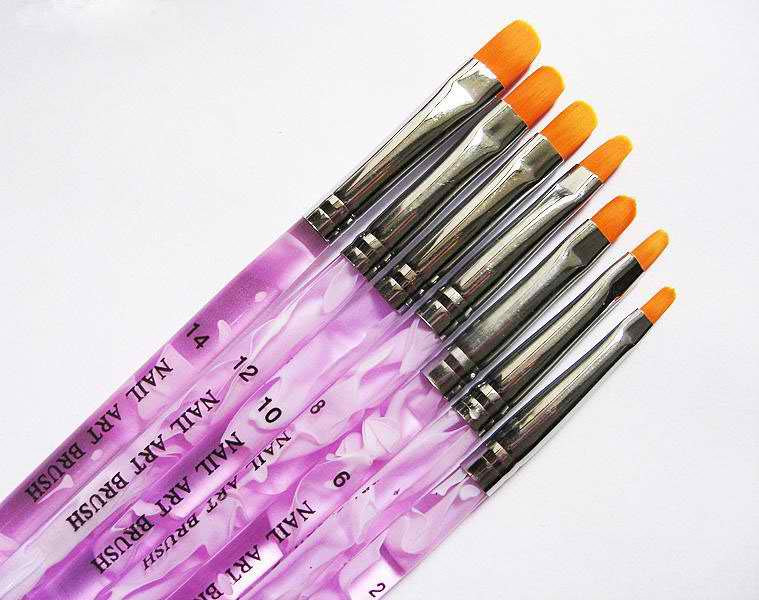
Before we dive into the nail art designs, let's talk about the must-have tools for creating intricate and detailed designs. While there are various nail art brushes available in the market, not all of them are suitable for creating intricate designs. Here are our top picks for the 10 best nail art brushes that are perfect for creating designs with a thin brush: 1. Detail Brush: This brush is perfect for creating small and intricate details on your nails. 2. Liner Brush: A liner brush is ideal for creating precise lines and stripes on your nails. 3. Fan Brush: This brush is perfect for creating gradient and ombre designs on your nails. 4. Striping Brush: As the name suggests, this brush is perfect for creating stripes and geometric designs on your nails. 5. Angular Brush: An angular brush is great for creating sharp and angular designs on your nails. 6. Detailing Brush: Similar to a detail brush, this brush is perfect for creating intricate and small details on your nails. 7. Dotting Tool: While not technically a brush, a dotting tool is a must-have for creating dotting and gradient designs on your nails. 8. Flat Brush: A flat brush is perfect for creating flat and wide strokes on your nails. 9. Shader Brush: This brush is great for creating gradient and ombre designs on your nails. 10. Angular Detail Brush: This brush is a combination of an angular brush and a detail brush, making it perfect for creating intricate angular designs on your nails.2. 10 Best Nail Art Brushes for Creating Intricate Designs

2. 10 Best Nail Art Brushes for Creating Intricate Designs


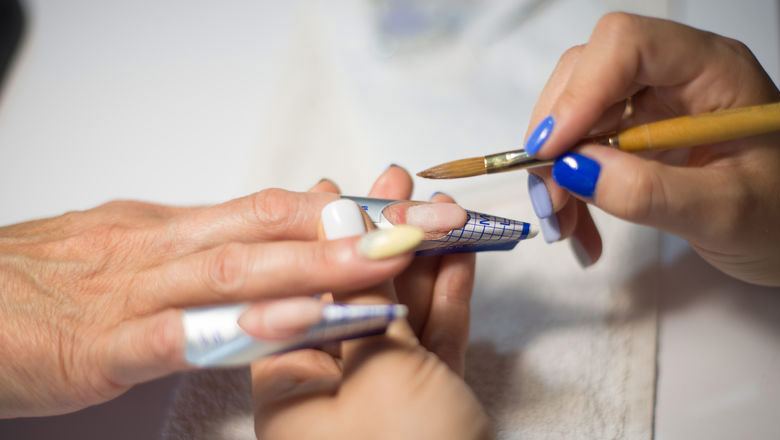


Using a thin brush for nail art may seem intimidating at first, but with a little practice and patience, you can easily master it. Here's a step-by-step guide on how to use a thin brush for creating nail art designs: Step 1: Start by prepping your nails - file, shape, and clean them to create a smooth surface for the nail art. Step 2: Apply a base coat to protect your nails and allow it to dry completely. Step 3: Choose your desired design and select the appropriate thin brush from your nail art kit. Step 4: Dip the thin brush into your desired nail polish and wipe off any excess on the rim of the bottle. Step 5: Start by creating the outline of your design using the thin brush. This will act as a guide for filling in the design later. Step 6: Once the outline is done, fill in the design using the thin brush. Take your time and work in small sections to avoid mistakes. Step 7: Allow the design to dry completely before applying a top coat to seal in the design and add shine to your nails. With these simple steps, you can easily use a thin brush to create beautiful nail art designs on your own.3. How to Use a Thin Brush for Nail Art: Step-by-Step Guide


3. How to Use a Thin Brush for Nail Art: Step-by-Step Guide


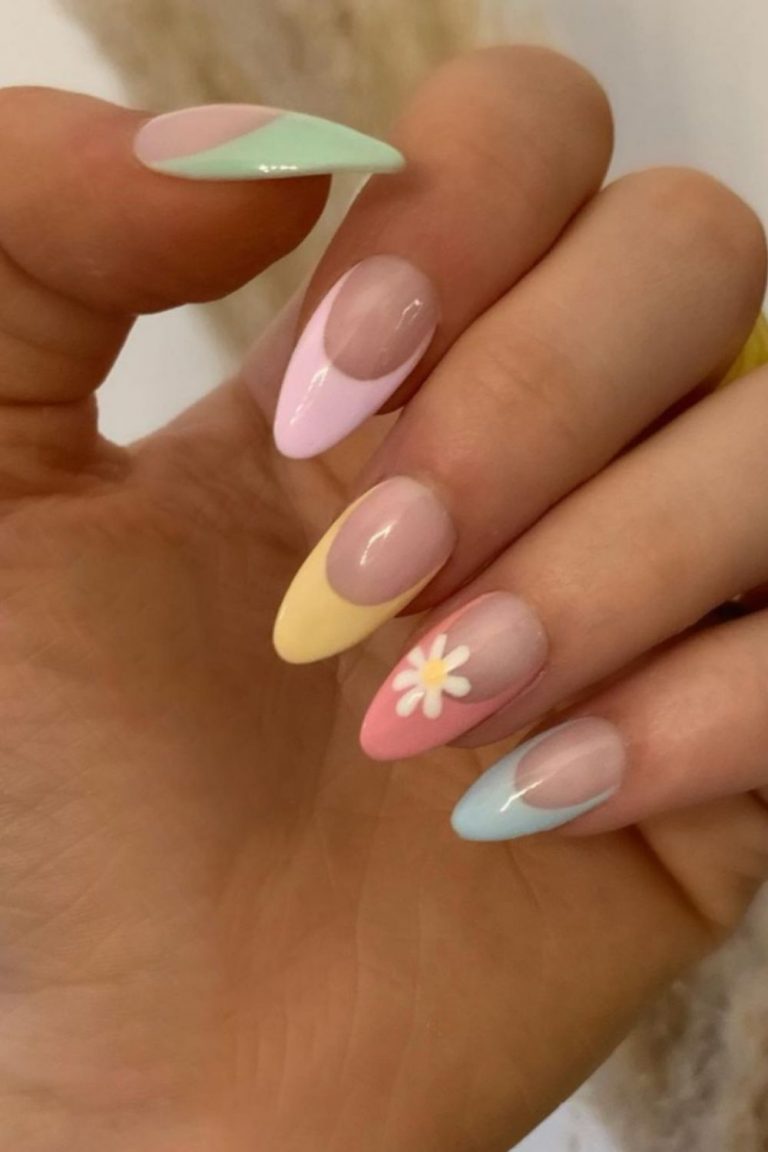
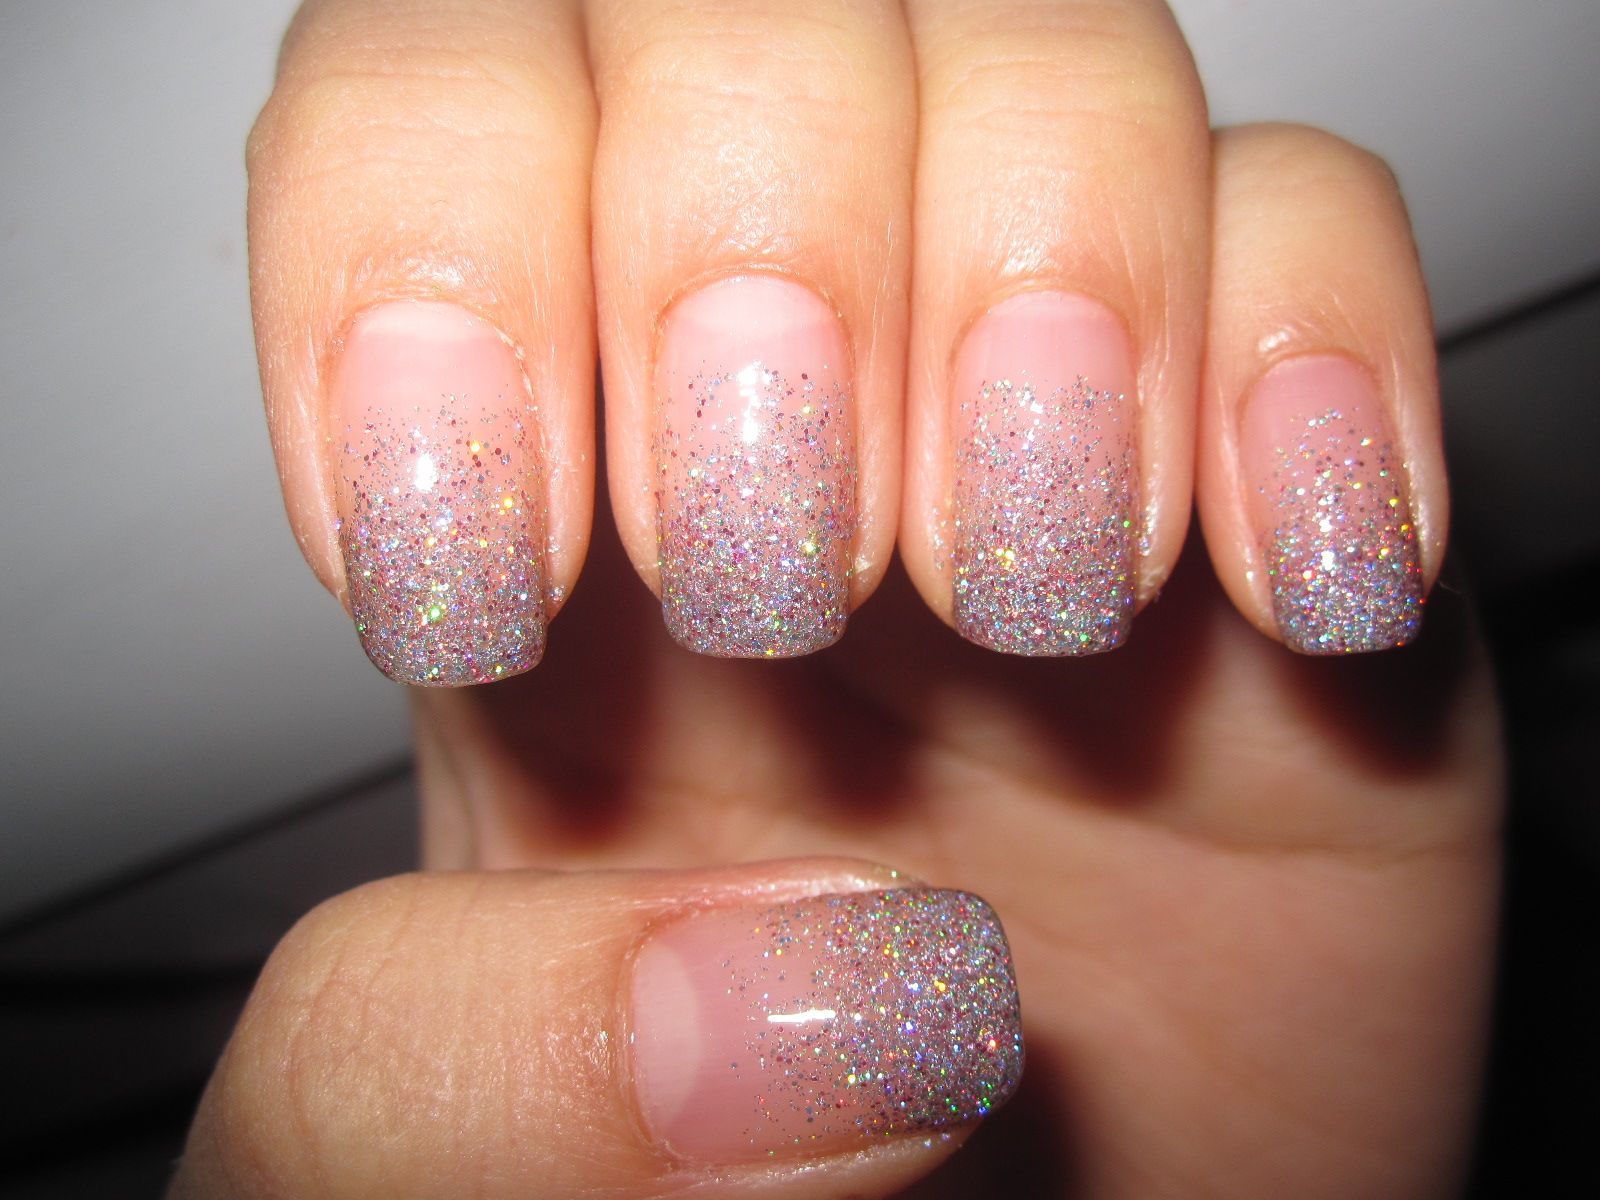
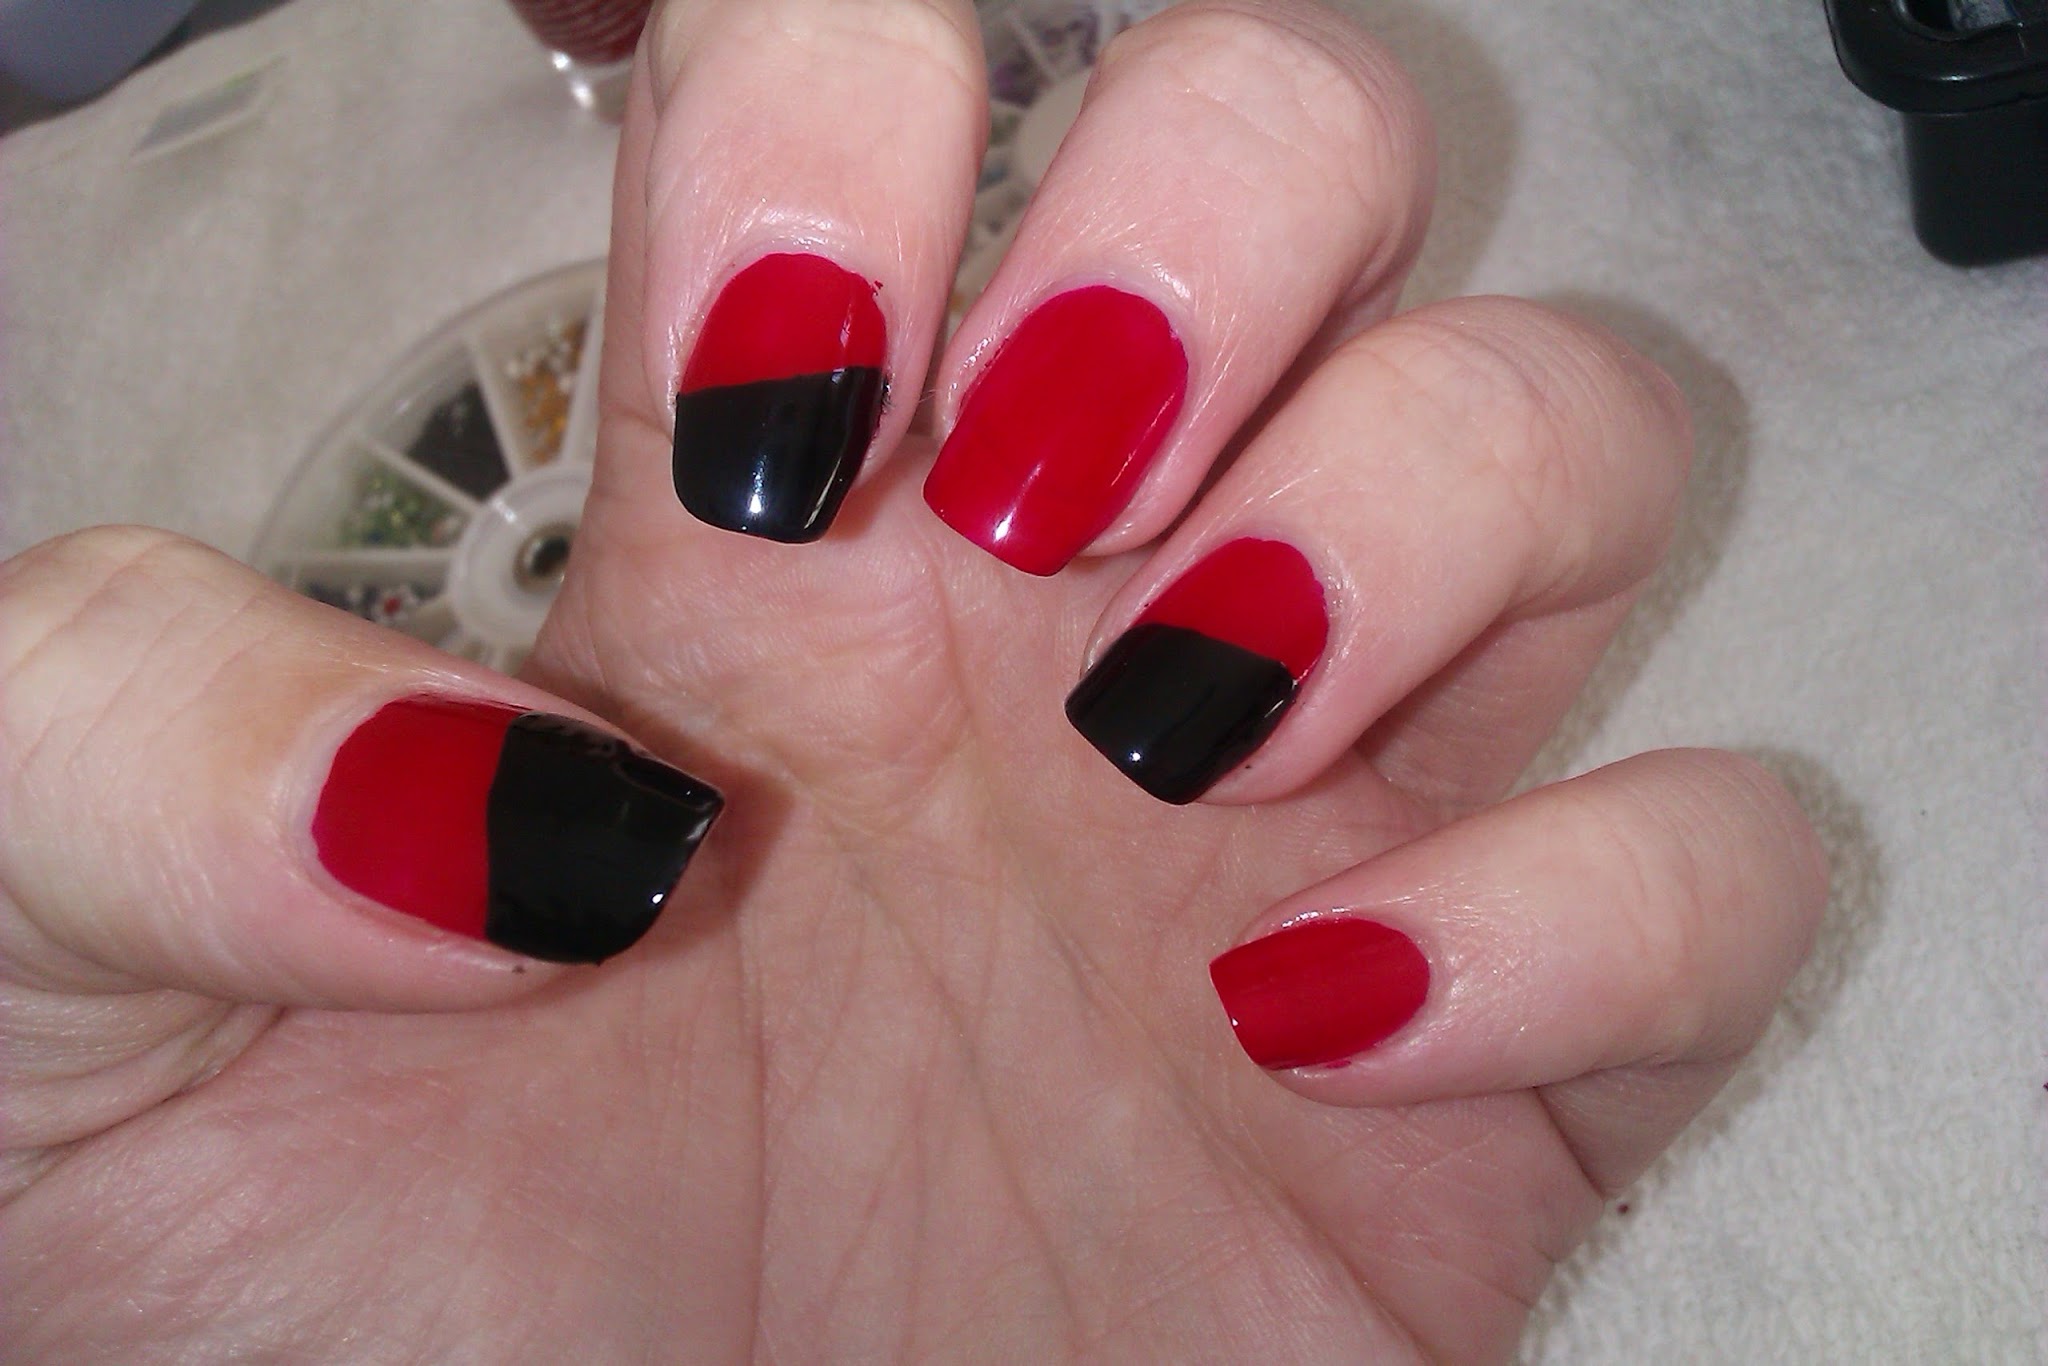
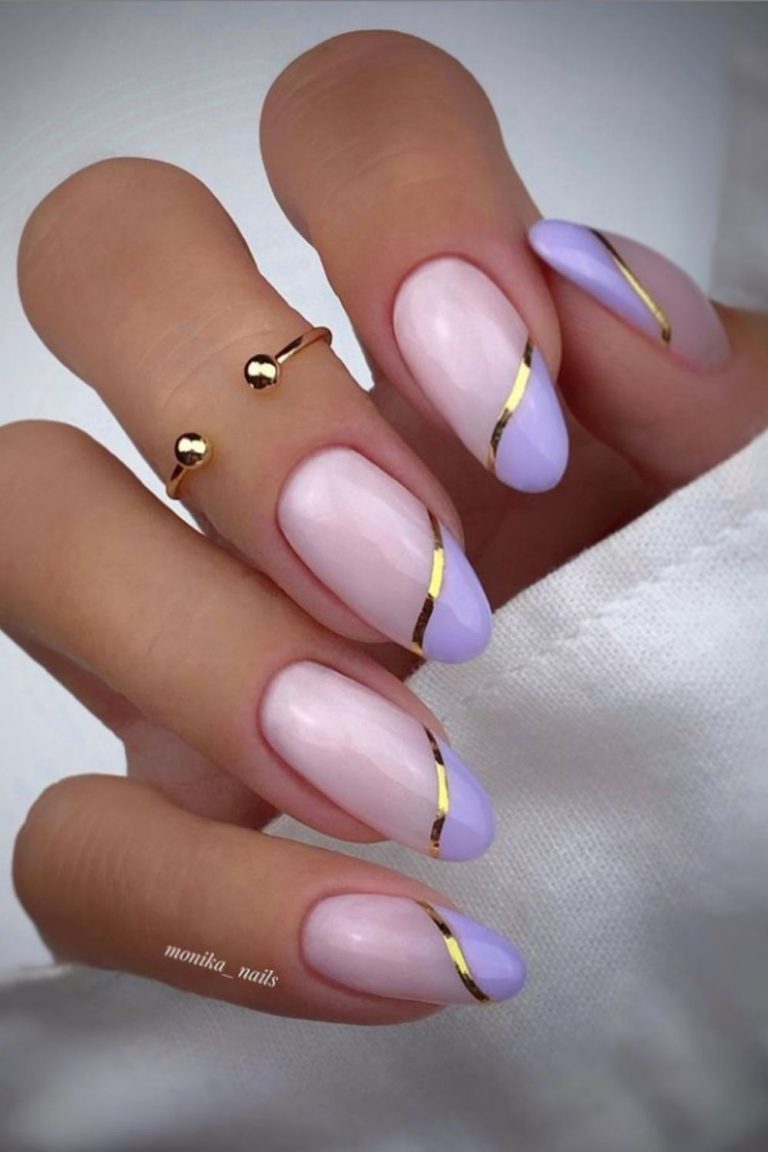
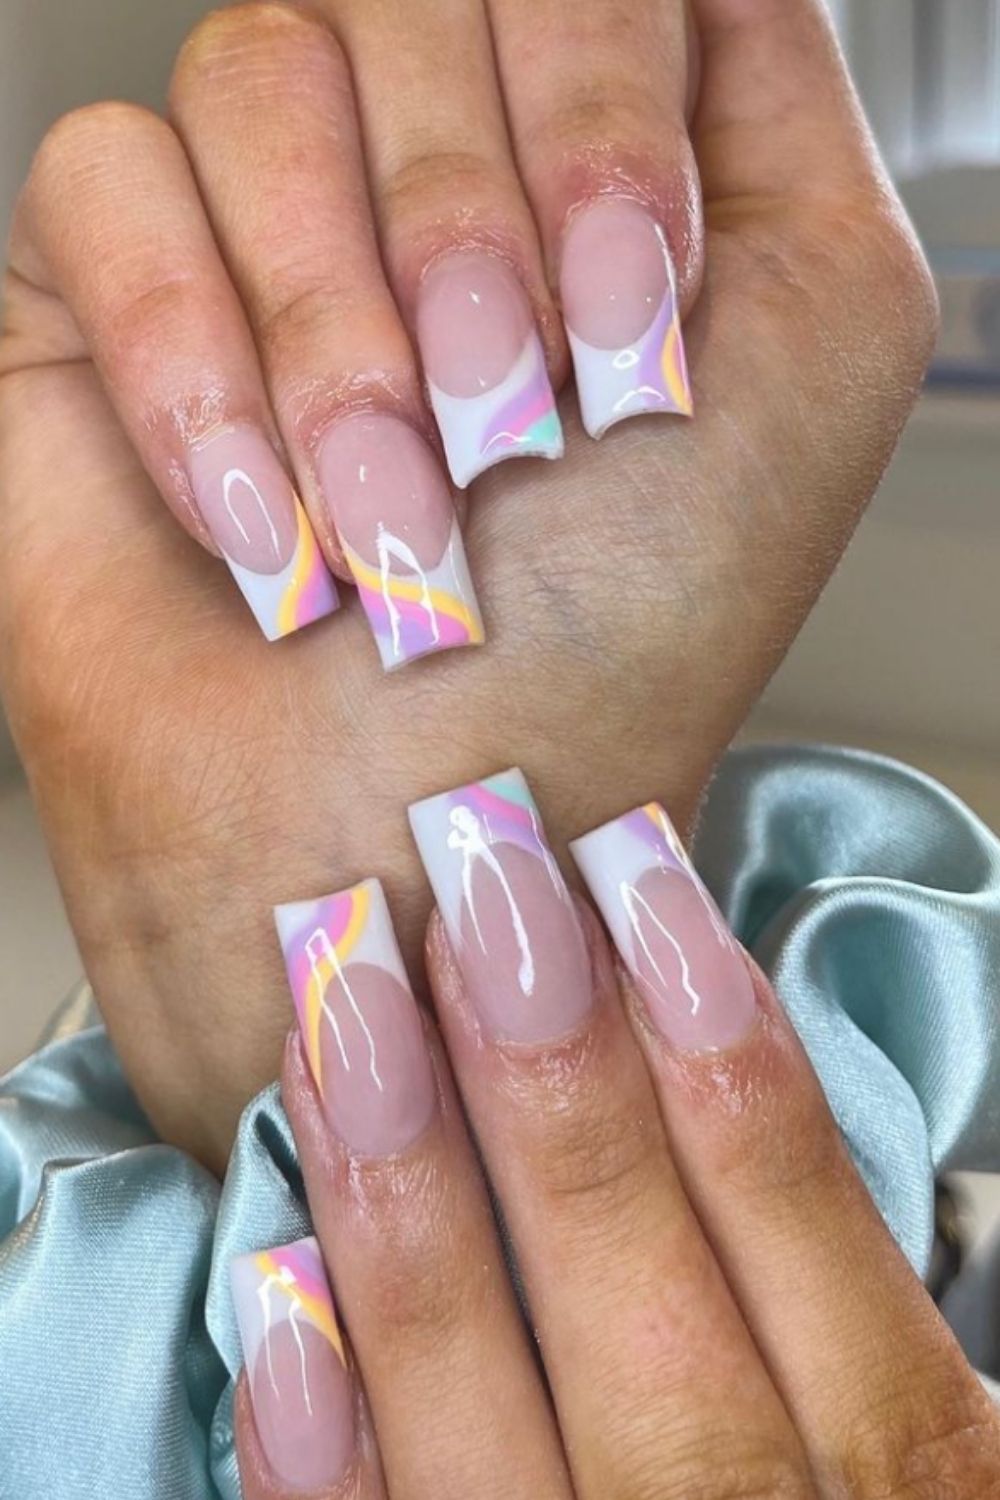
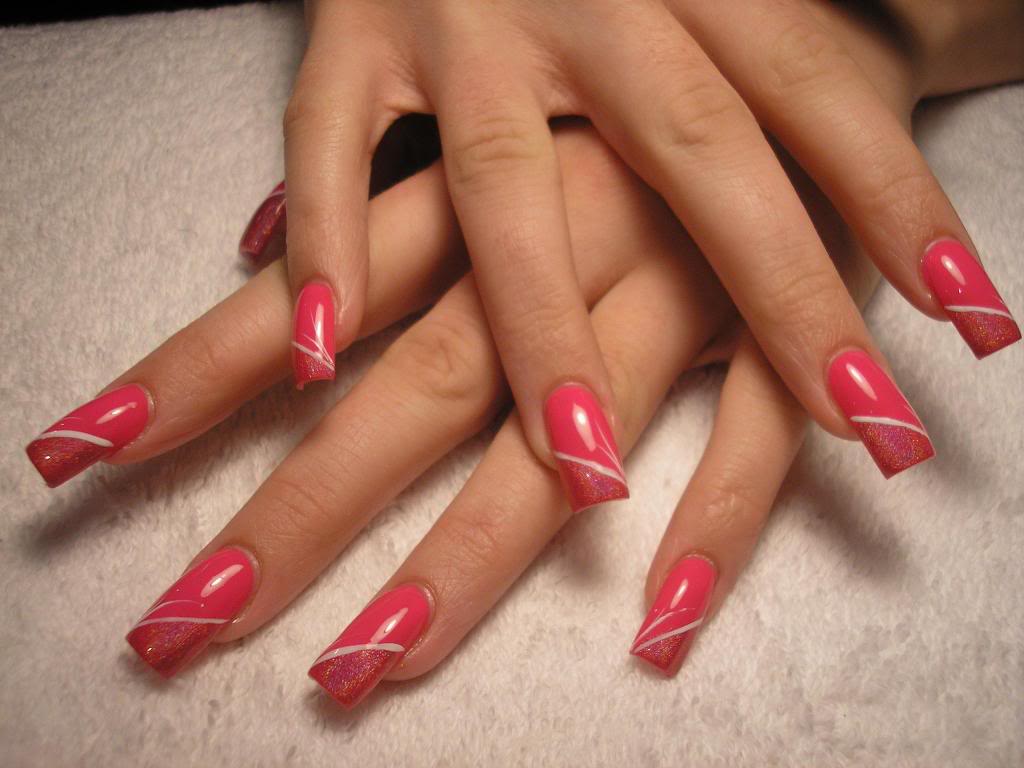
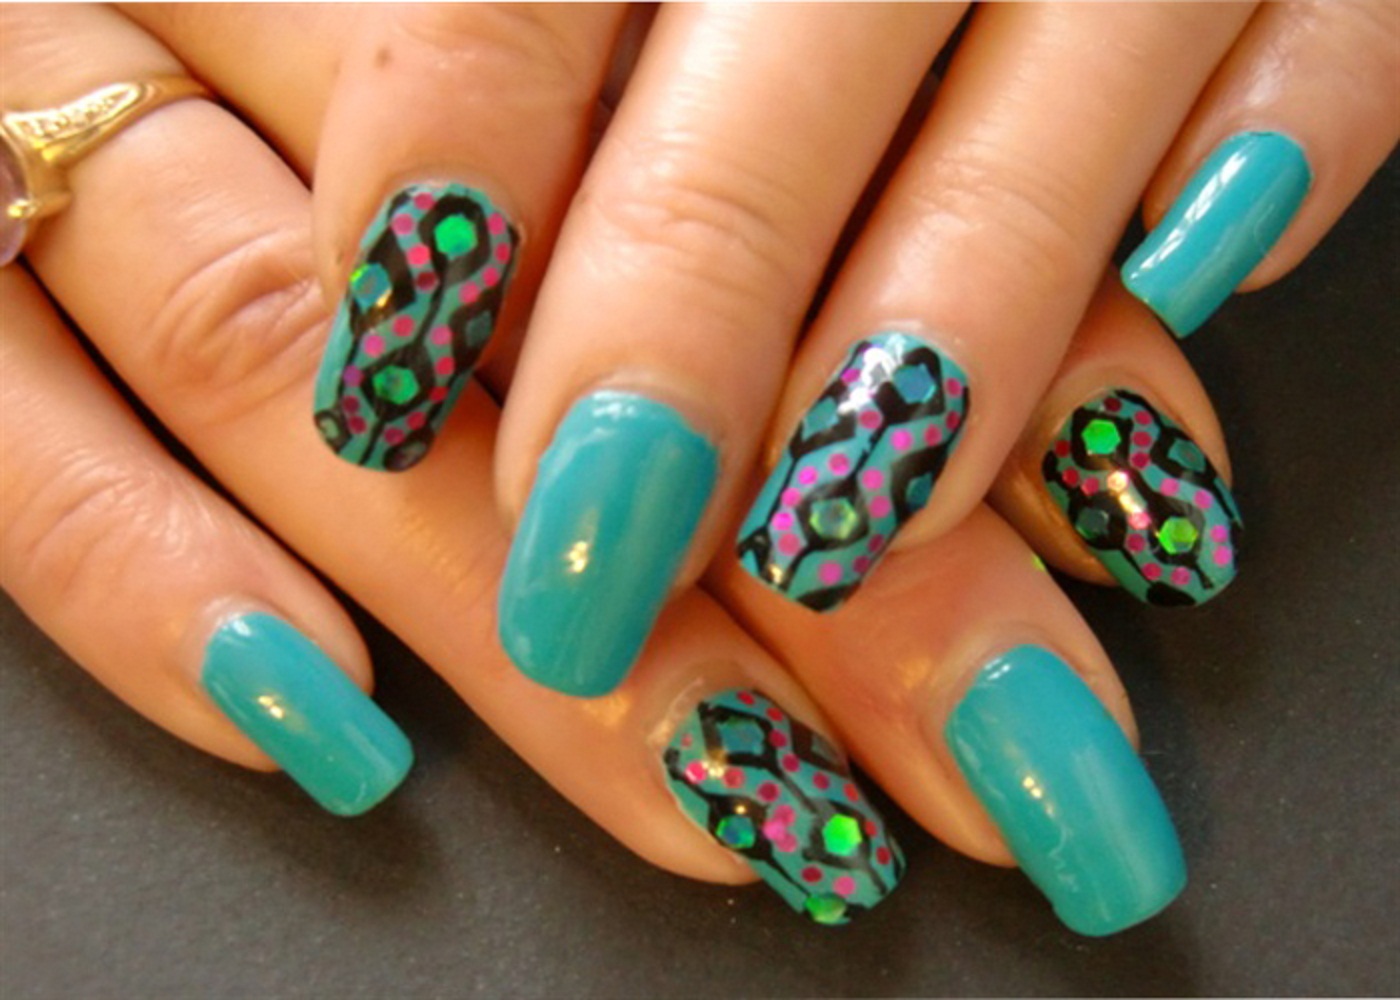
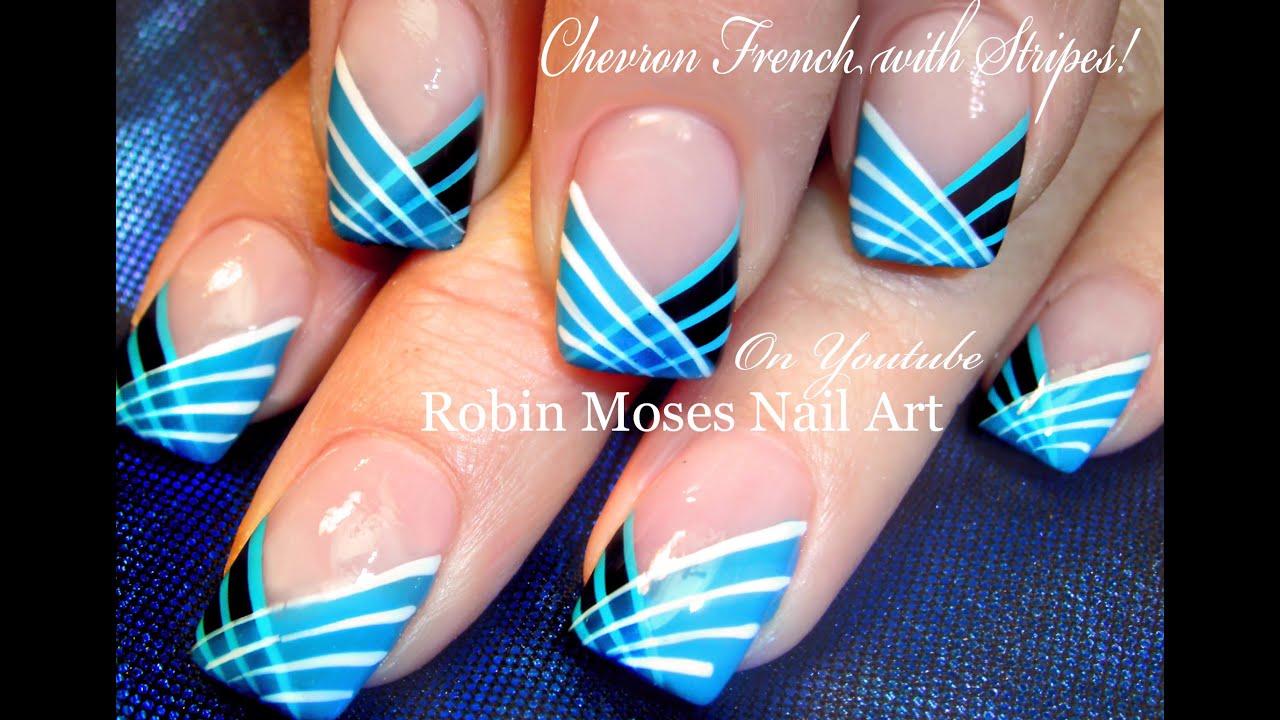
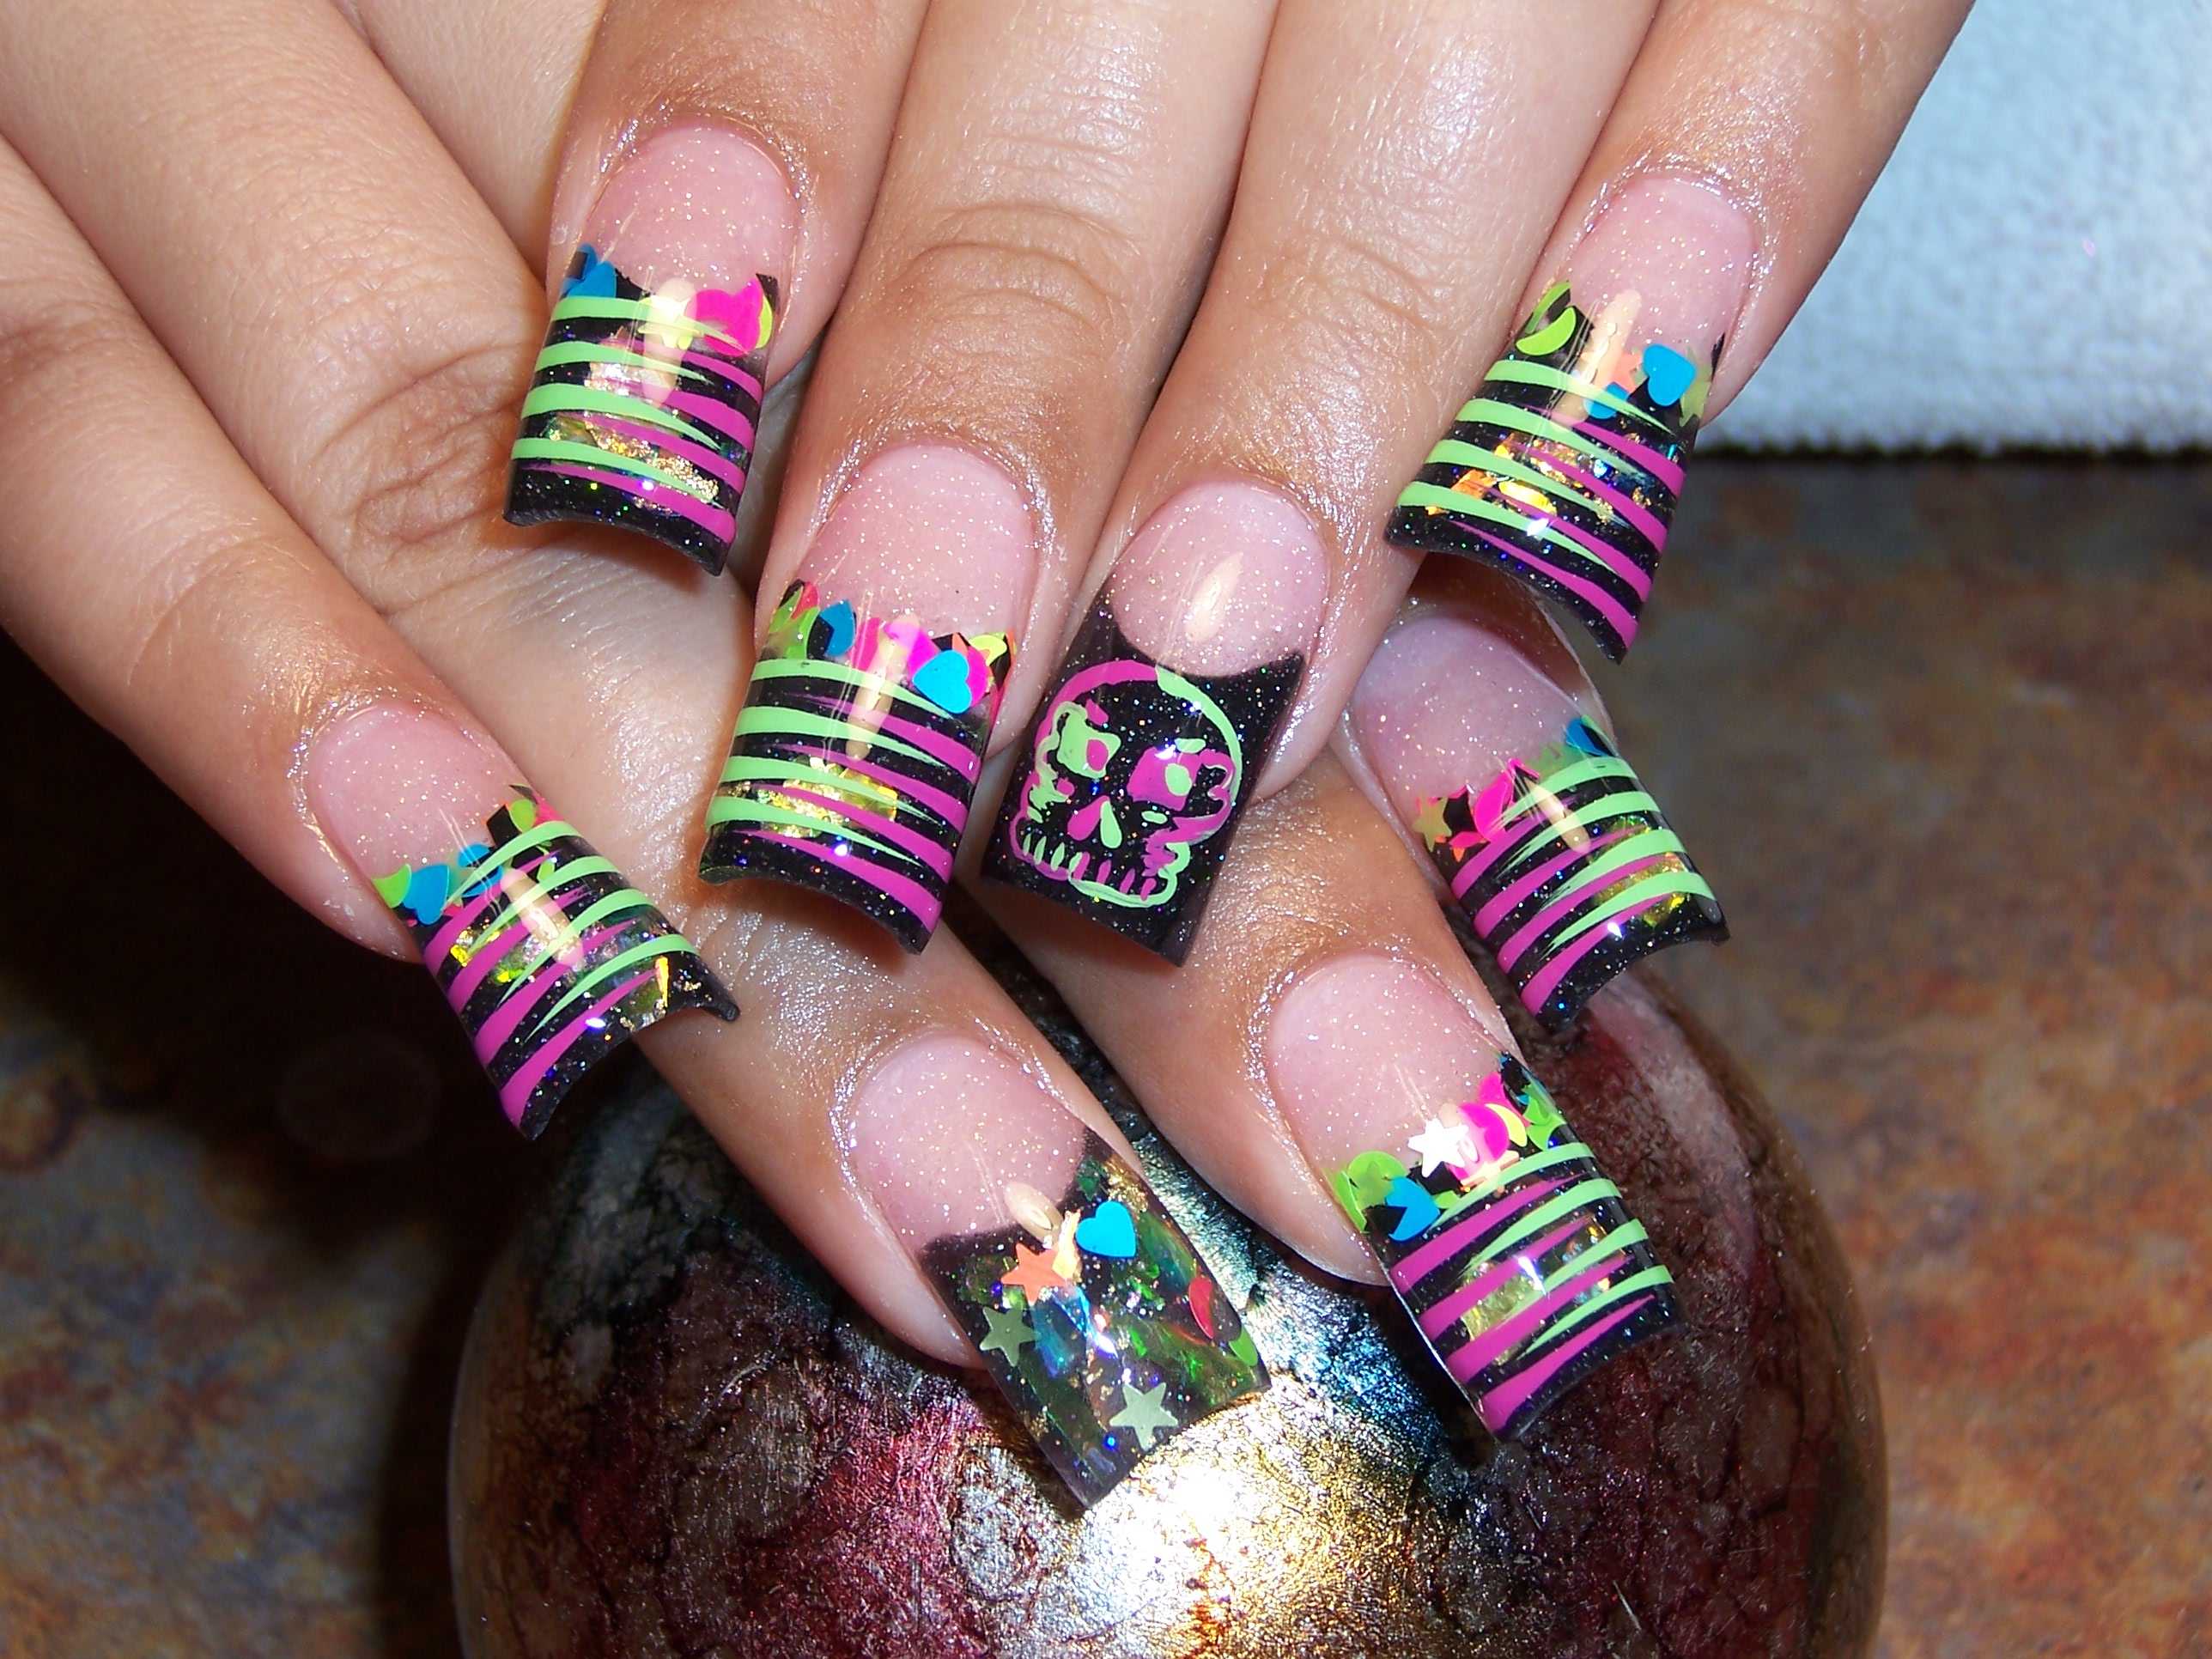
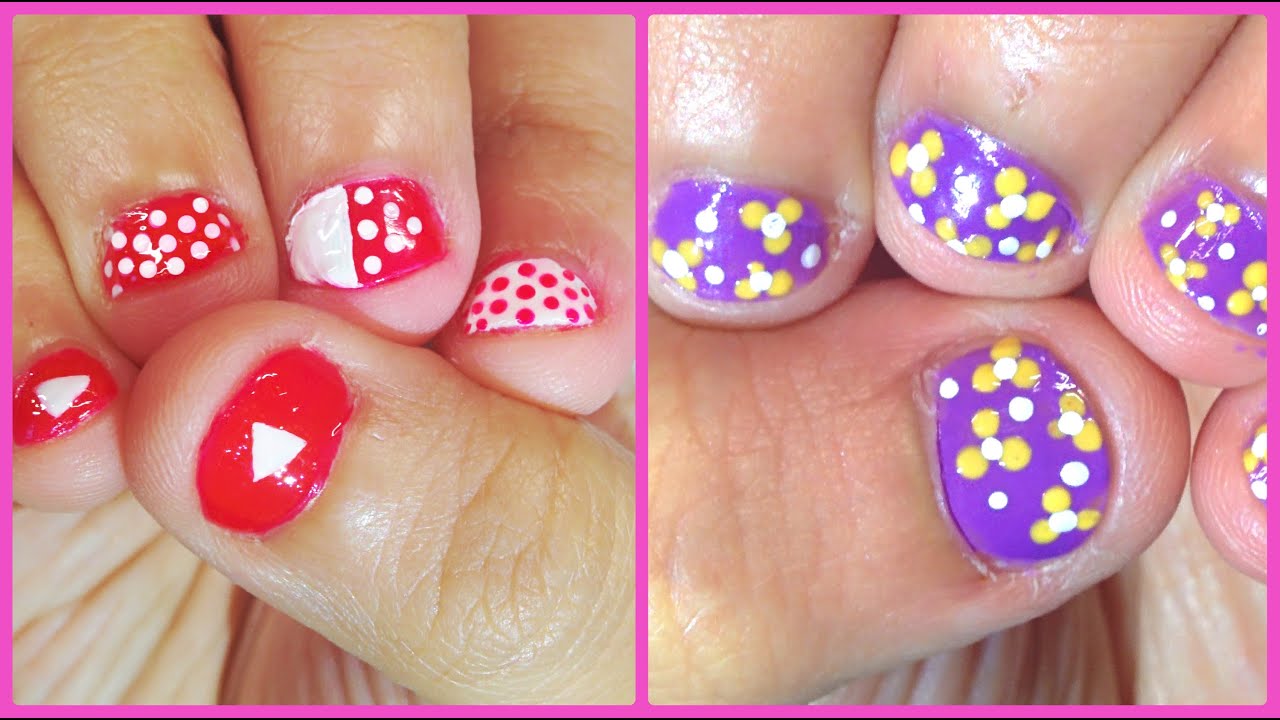
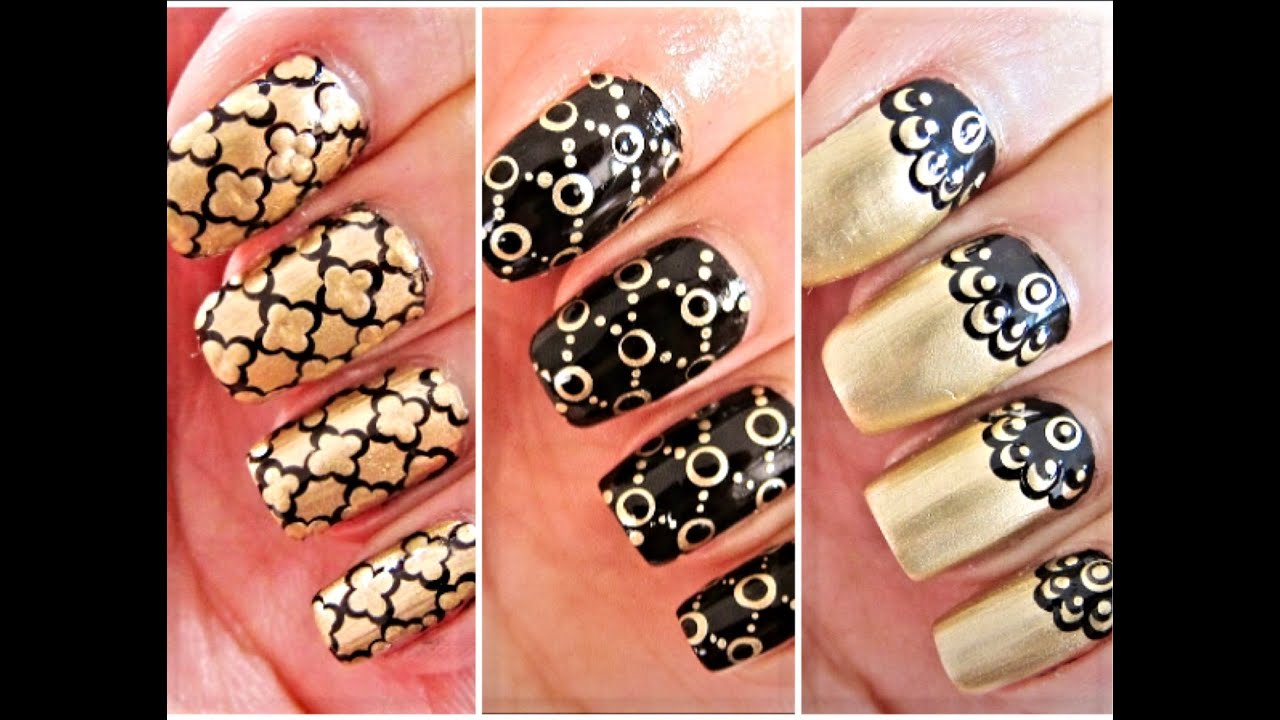
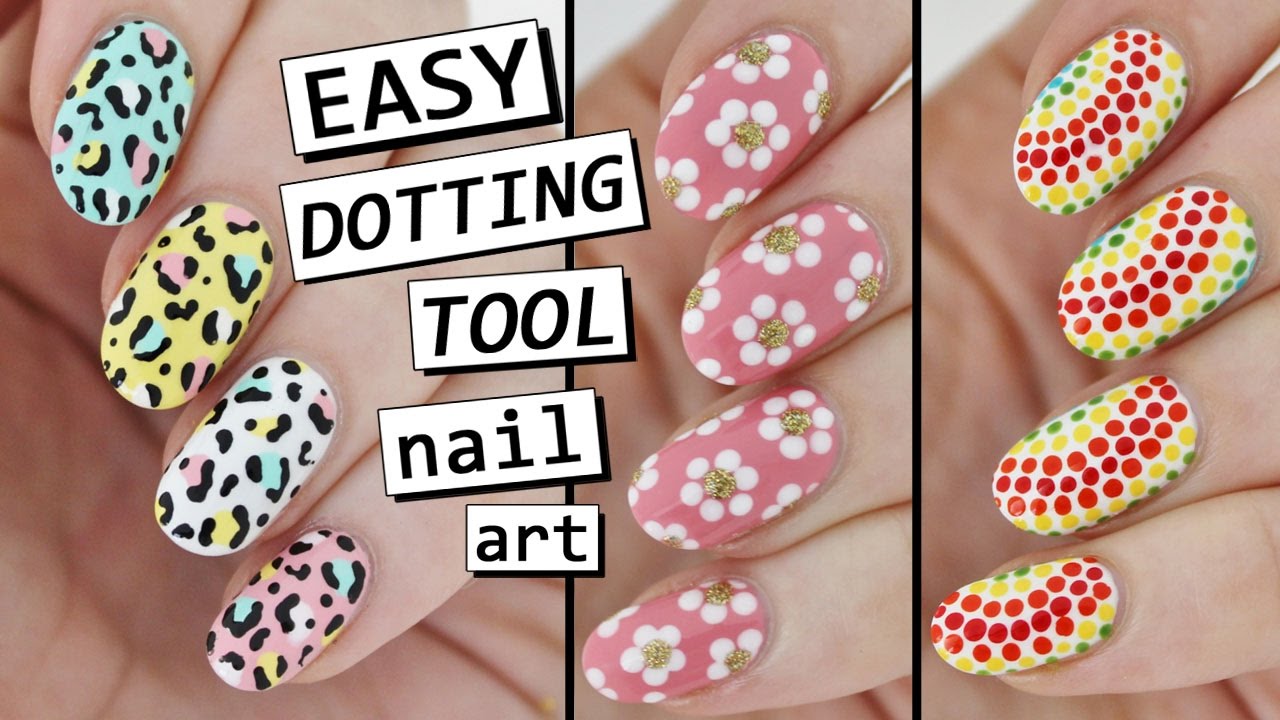
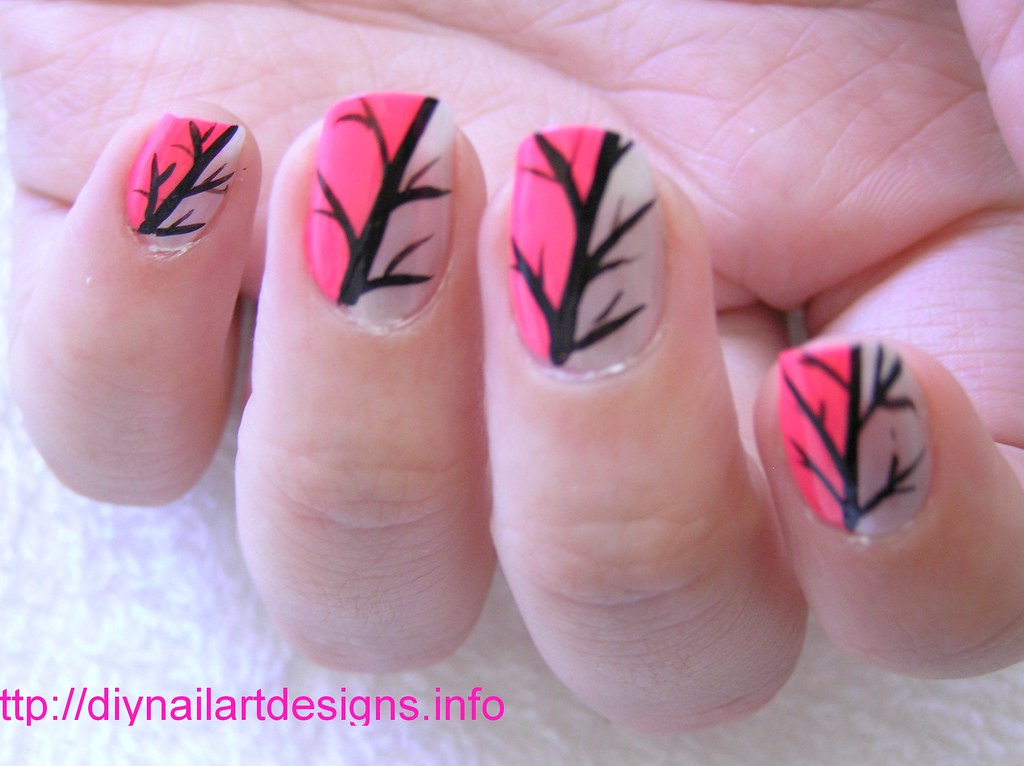
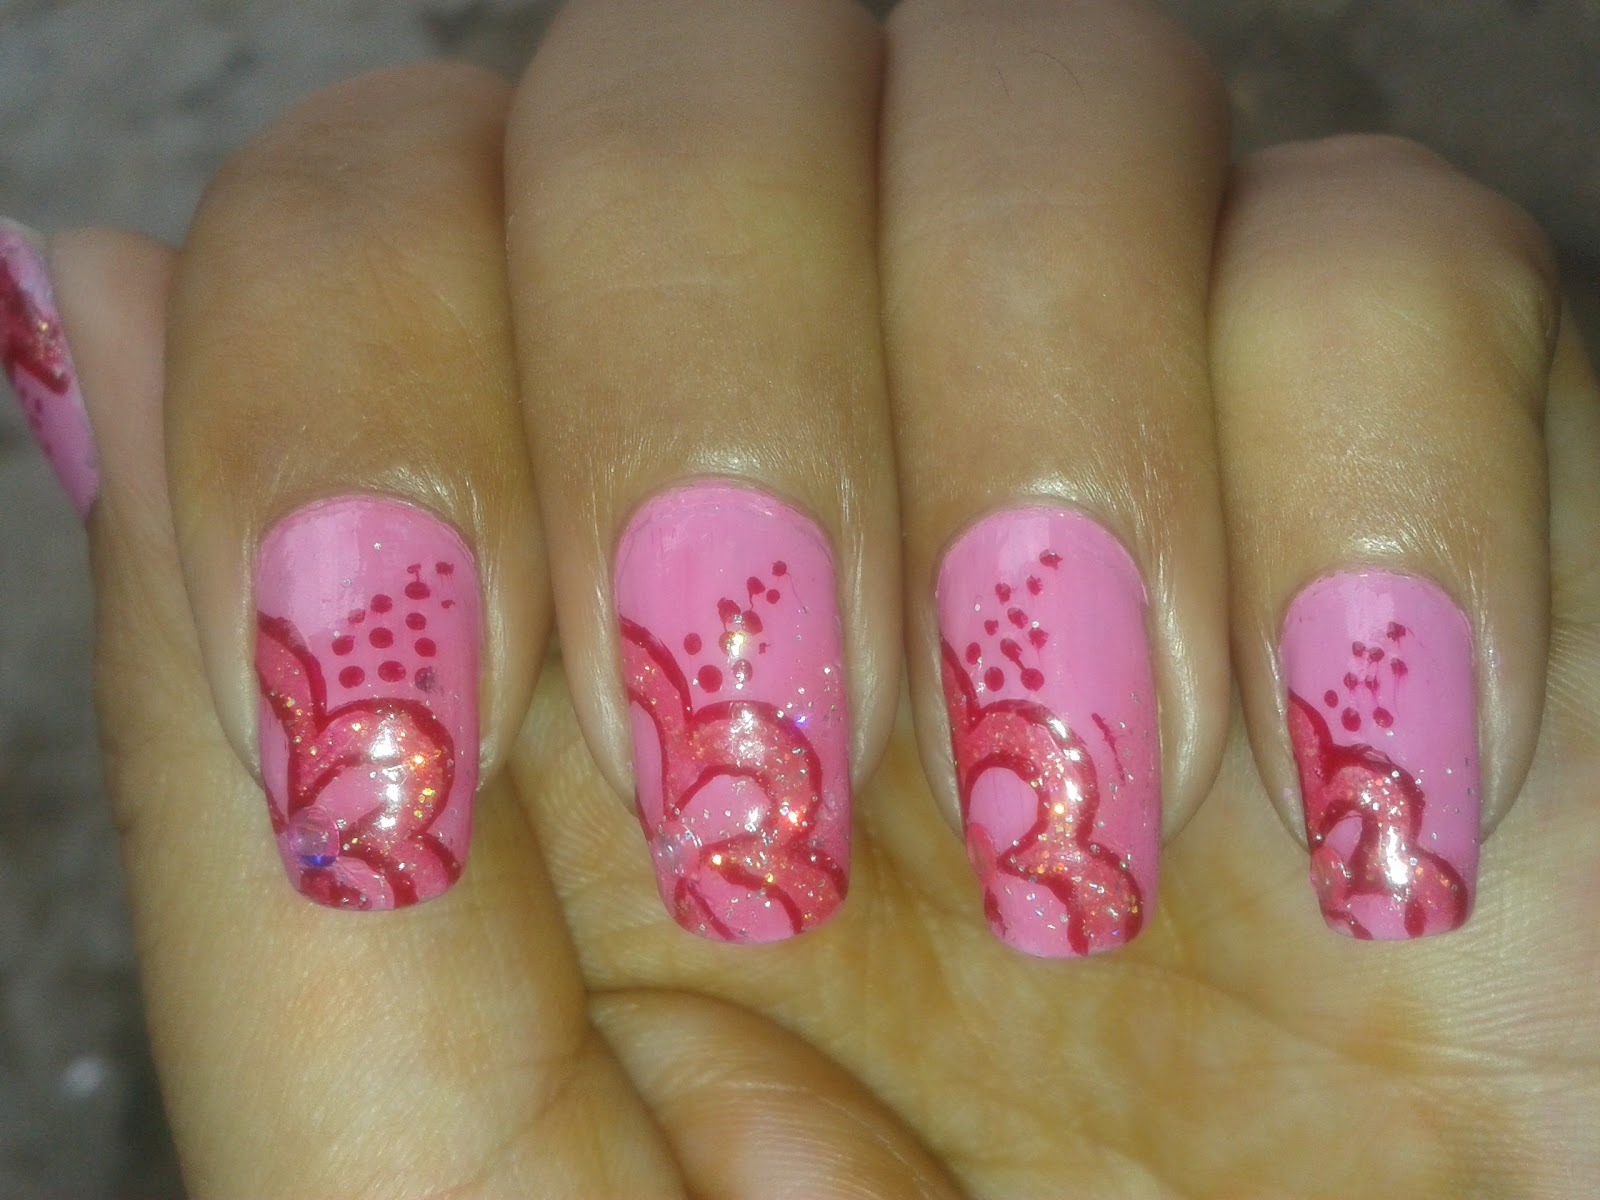
Now that you know how to use a thin brush for nail art, let's dive into some design ideas that you can create using only a thin brush: 1. Floral Designs: Create beautiful floral designs using a thin brush and different shades of nail polish. 2. Geometric Designs: Use a thin brush to create intricate geometric designs on your nails. 3. Polka Dots: Create cute and fun polka dot designs using a thin brush and your favorite nail polish colors. 4. French Tip: Give the classic French tip a twist by using a thin brush to create a unique and modern design. 5. Animal Prints: Create fun and trendy animal print designs on your nails using a thin brush. 6. Abstract Designs: Let your creativity run wild and create abstract designs using a thin brush and different shades of nail polish. 7. Stripes: Use a thin brush to create precise and thin stripes on your nails. 8. Glitter Designs: Add some sparkle to your nails by creating glitter designs using a thin brush. 9. Half-Moon Designs: Create a half-moon design on your nails using a thin brush and your favorite nail polish colors. 10. Hearts: Create cute and simple heart designs using a thin brush and two different shades of nail polish. 11. Tribal Designs: Use a thin brush to create intricate tribal designs on your nails. 12. Watercolor Designs: Create a dreamy and artistic watercolor design on your nails using a thin brush. 13. Paisley Designs: Use a thin brush to create beautiful paisley designs on your nails. 14. Butterfly Designs: Create delicate and stunning butterfly designs on your nails using a thin brush. 15. Galaxy Designs: Use a thin brush to create a mesmerizing galaxy design on your nails using different shades of nail polish.4. 15 Nail Art Designs Using Only a Thin Brush


4. 15 Nail Art Designs Using Only a Thin Brush


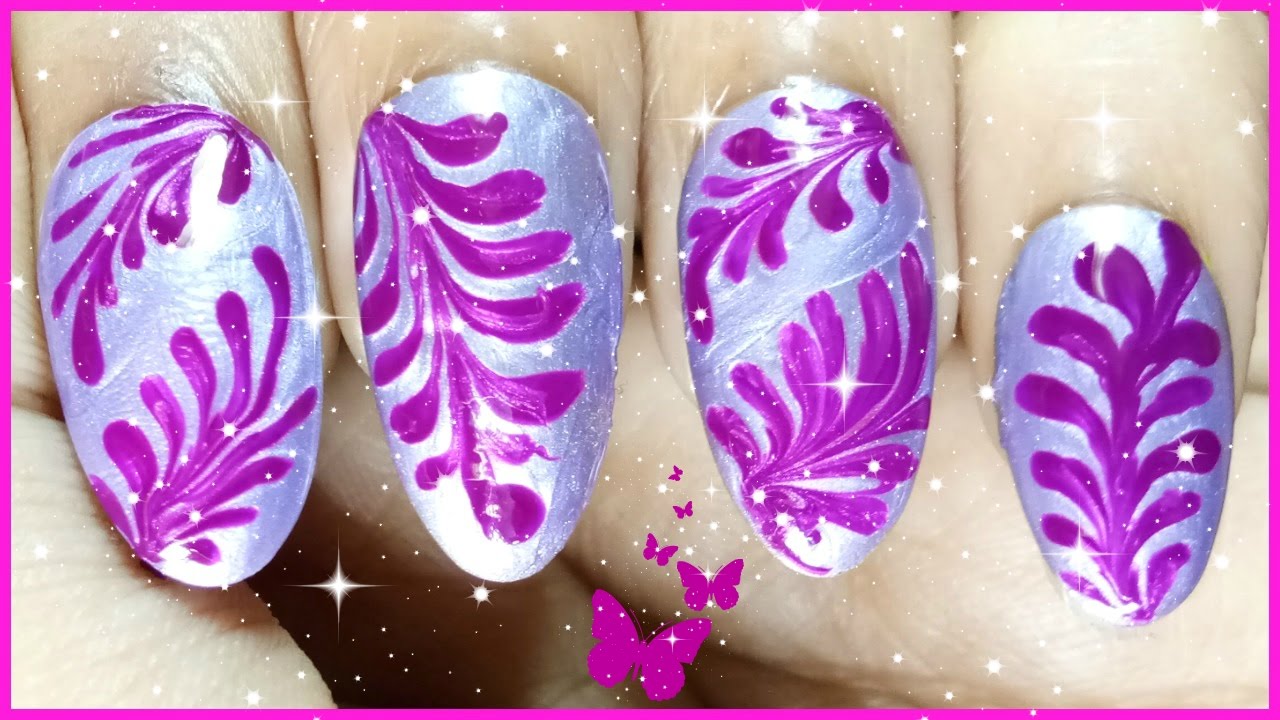

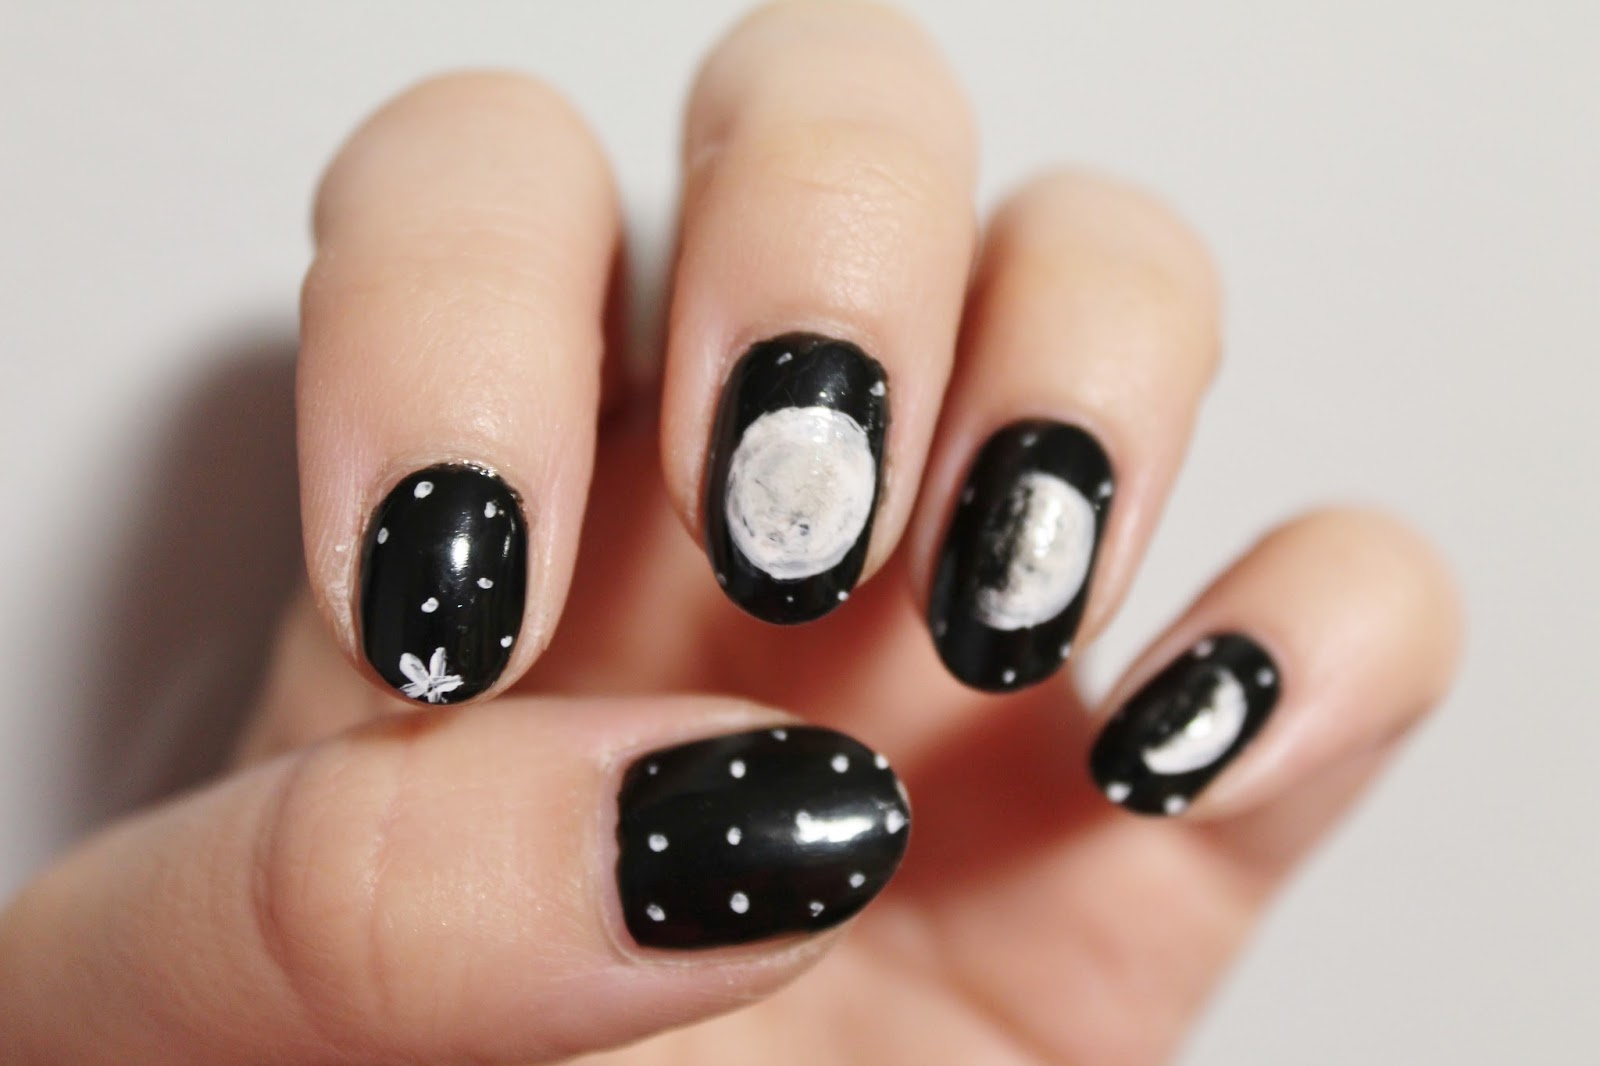
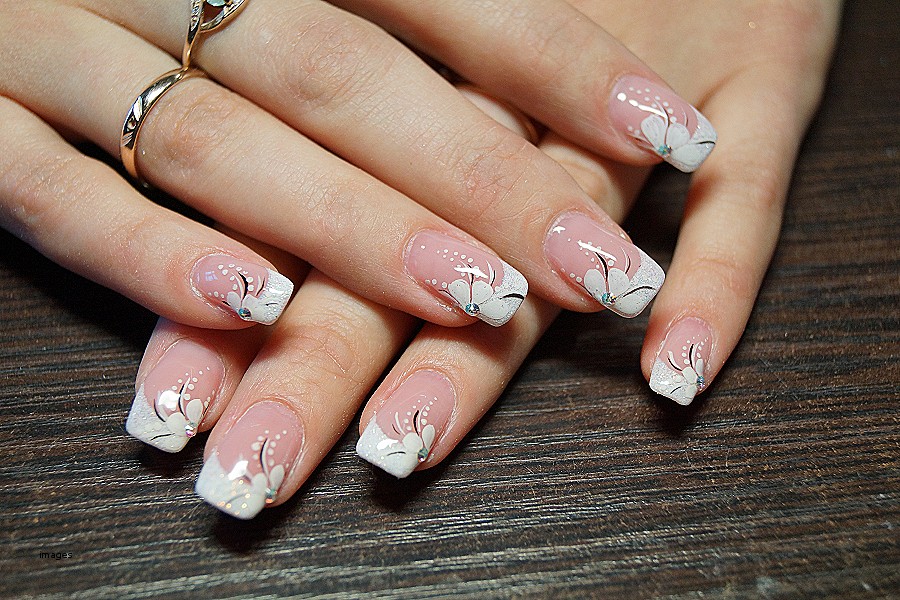
One of the most popular designs to create using a thin brush is a floral design. Here's a step-by-step tutorial on how to create a beautiful floral design on your nails: Step 1: Prep your nails by filing, shaping, and cleaning them. Apply a base coat and allow it to dry completely. Step 2: Using a thin brush, create a half-moon shape at the base of your nails using a nude or pastel-colored nail polish. Step 3: Using a thin brush, create small flower petals on the half-moon shape using a different color of nail polish. Step 4: Create smaller petals around the larger petals using a different color of nail polish. Step 5: Use a dotting tool or a toothpick to create the center of the flowers using a contrasting color of nail polish. Step 6: Add small leaves and details to the design using a thin brush and a green nail polish. Step 7: Allow the design to dry completely before applying a top coat to seal in the design and add shine to your nails. And there you have it - a beautiful floral design created using only a thin brush.5. Thin Brush Nail Art Tutorial: Floral Design

5. Thin Brush Nail Art Tutorial: Floral Design


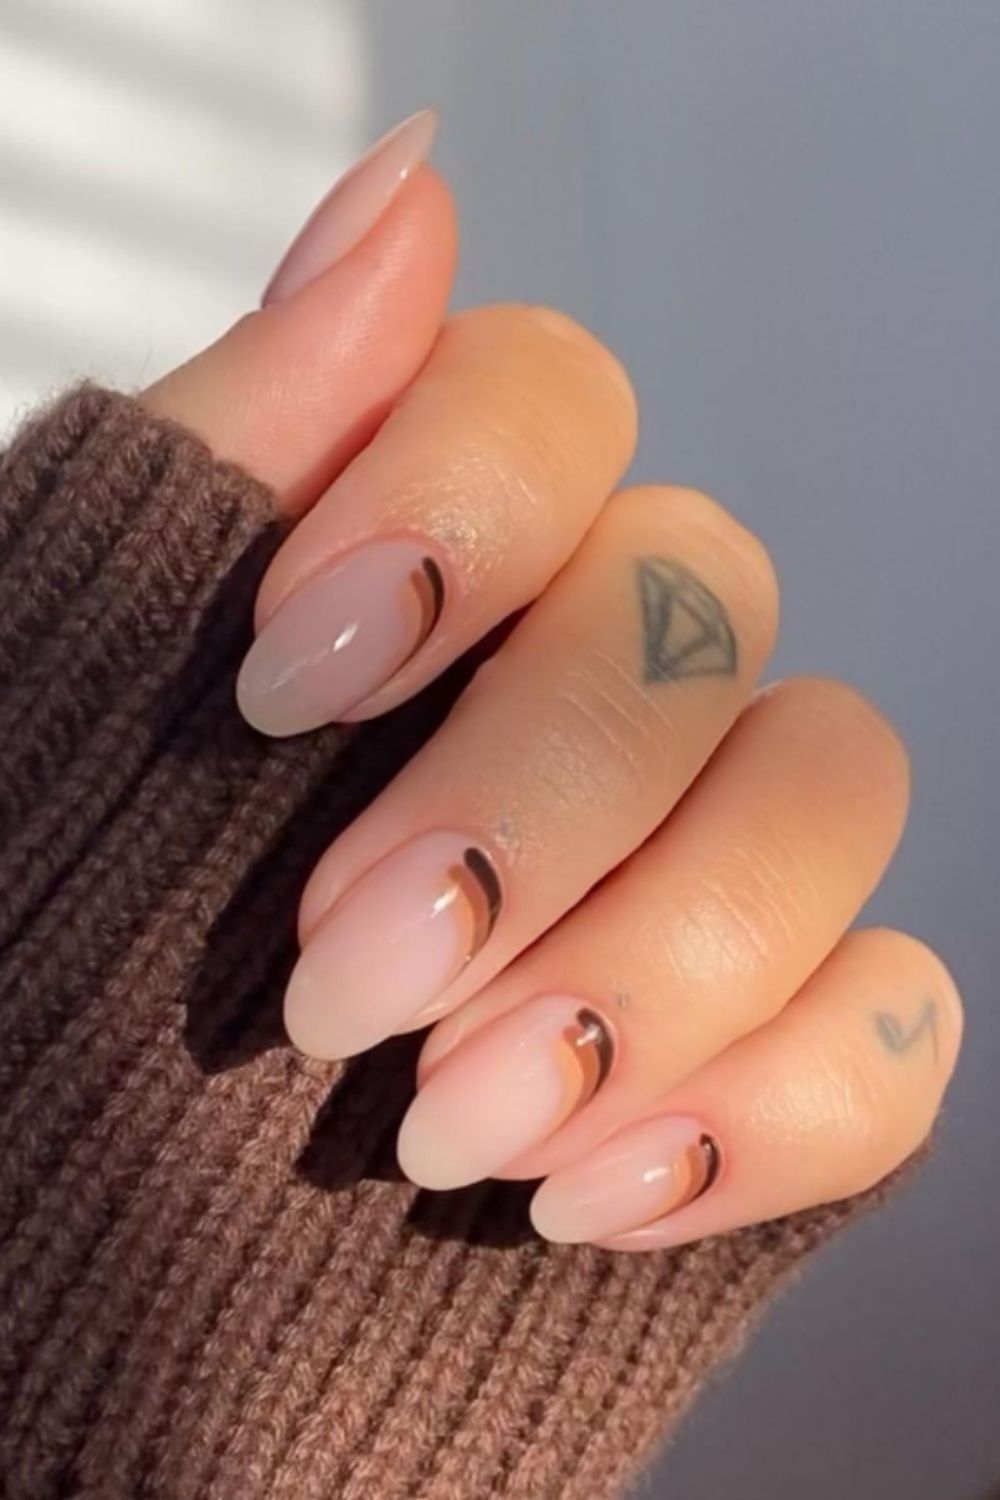
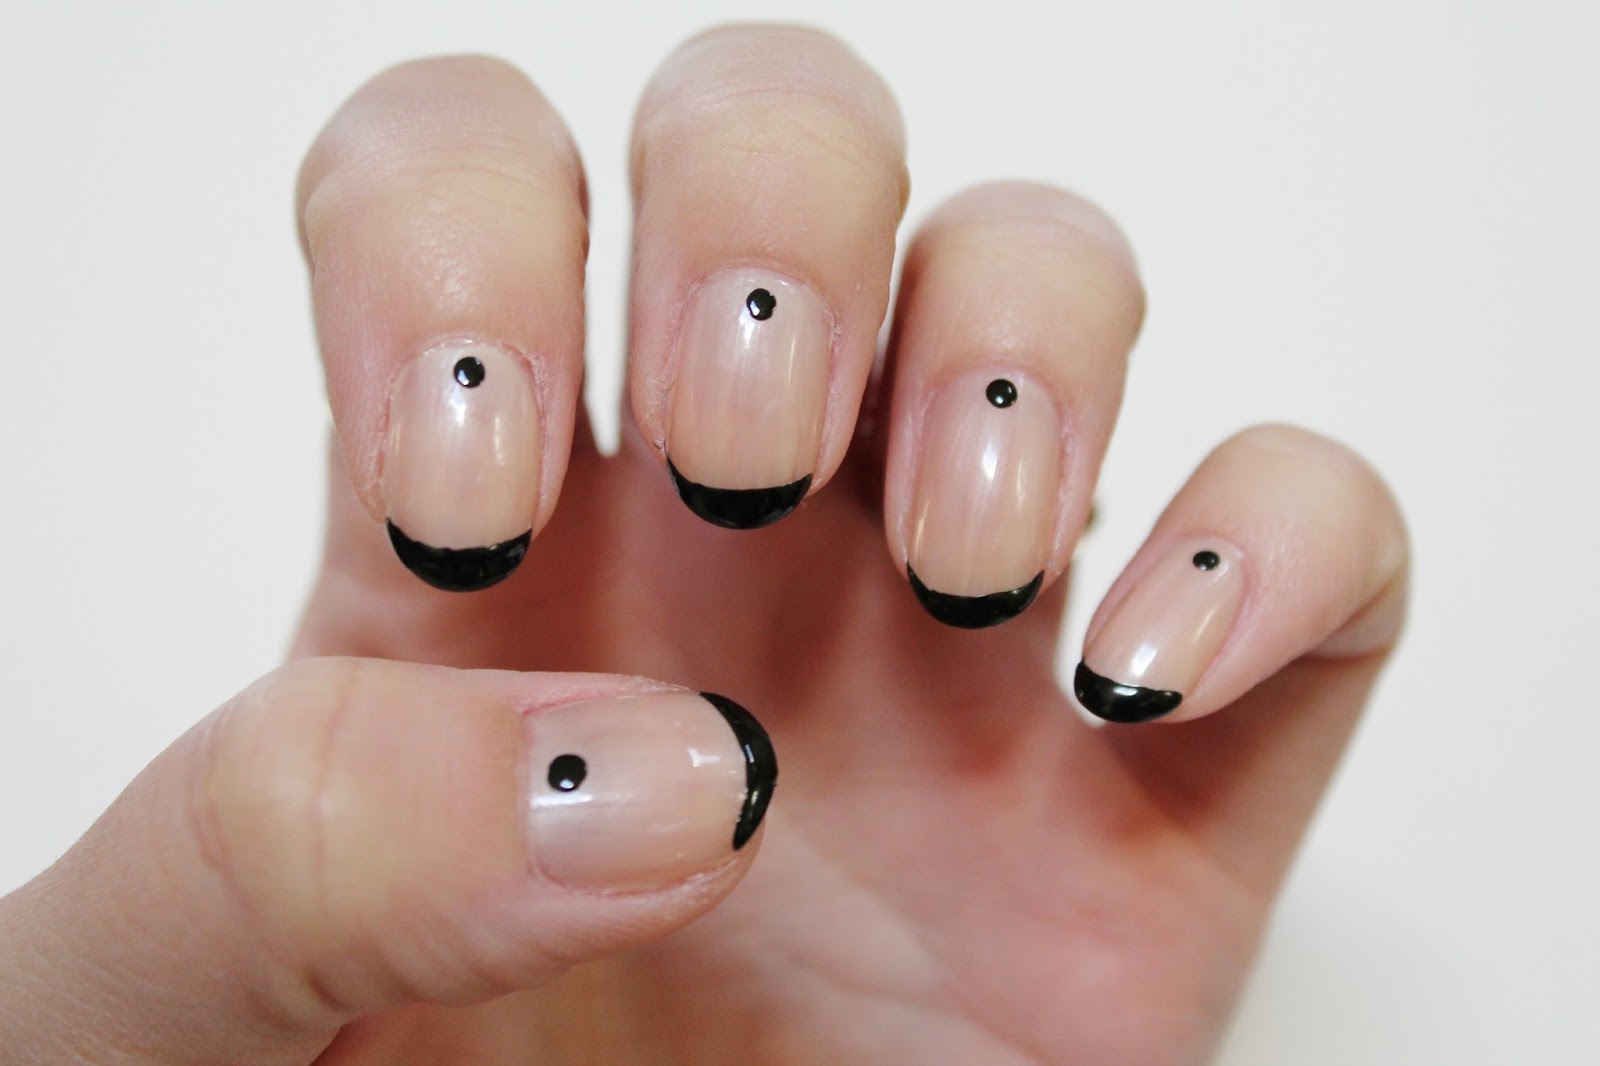
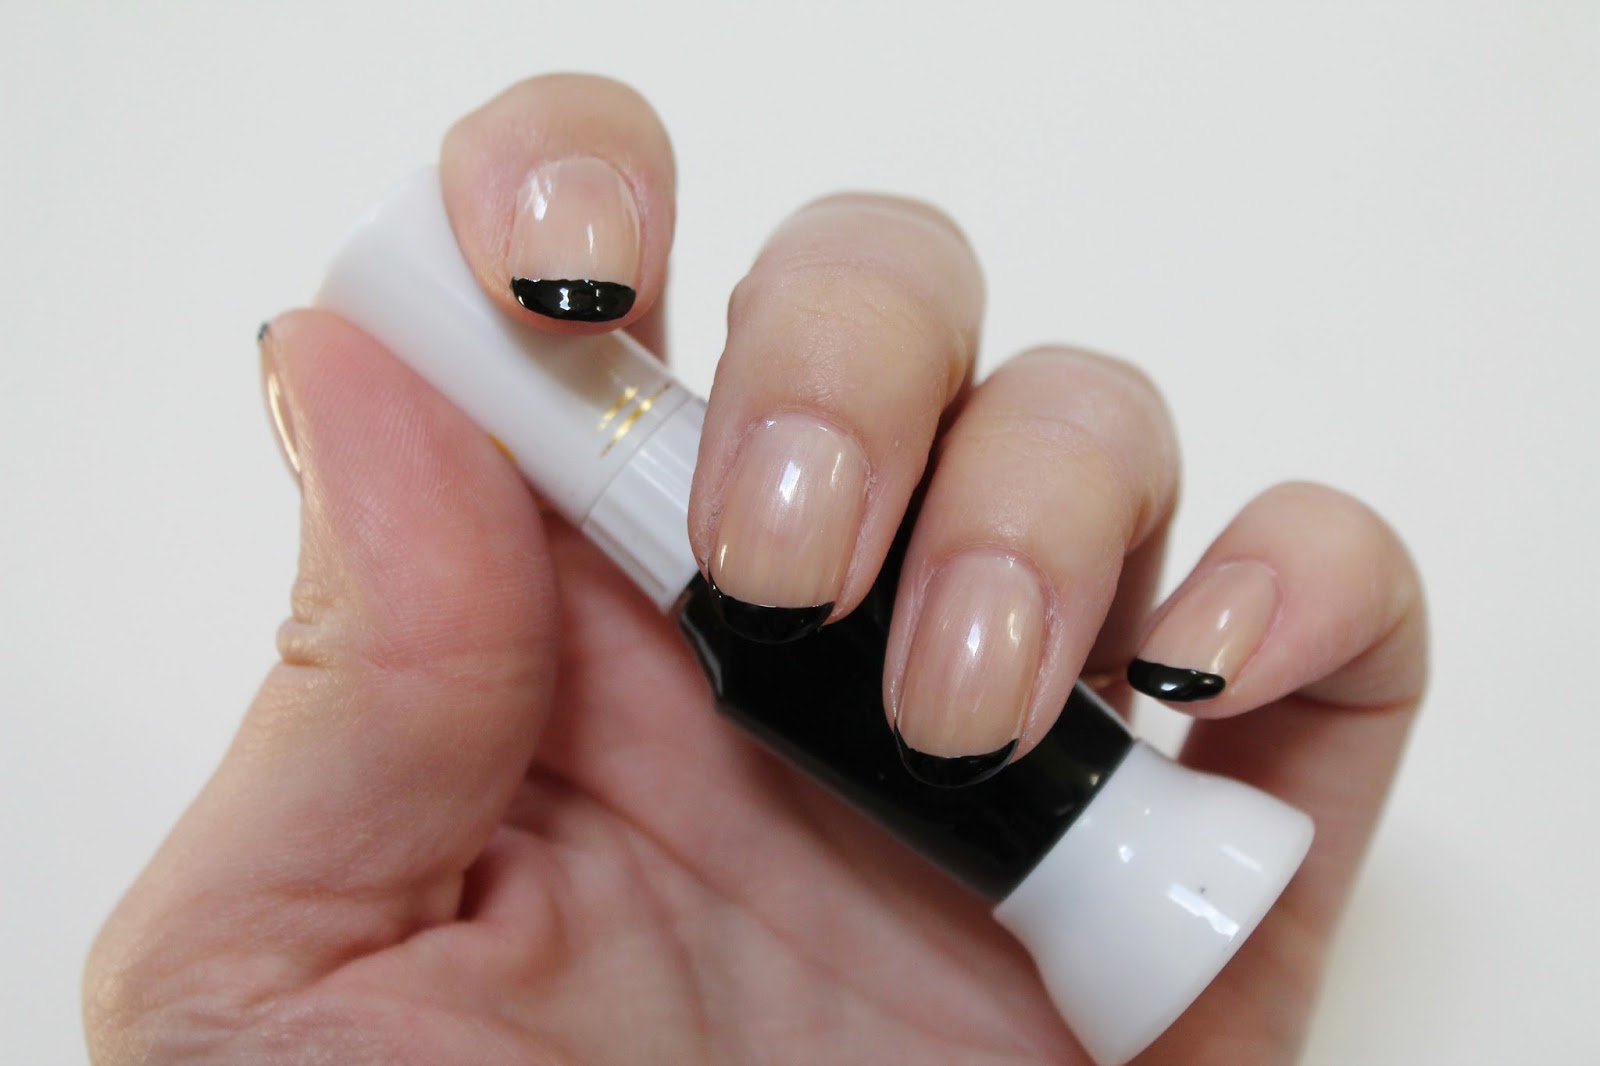
If you prefer a more subtle and elegant look for your nails, then these simple nail art designs using a thin brush are perfect for you: 1. Negative Space Designs: Create modern and chic designs by leaving some of your nails bare and adding small details using a thin brush. 2. French Tip with a Twist: Create a unique and elegant French tip design using a thin brush and your favorite nail polish colors. 3. Lattice Design: Use a thin brush to create a delicate and intricate lattice design on your nails. 4. Half-Moon with Glitter: Add some sparkle to your nails by creating a half-moon design using a thin brush and adding glitter to the tips. 5. Gold Foil Accents: Use a thin brush to create small and delicate gold foil accents on your nails. 6. Color Block Designs: Create a modern and minimalist look by using a thin brush to create color block designs on your nails. 7. Metallic Accents: Add a touch of glamour to your nails by using a thin brush to create metallic accents on your nails. 8. Textured Design: Create a textured look on your nails by using a thin brush to create small strokes using a different shade of nail polish. 9. Ombre Design: Create a soft and elegant ombre design on your nails using a thin brush and two different shades of nail polish. 10. Delicate Lace Design: Use a thin brush to create a delicate and intricate lace design on your nails.6. 10 Simple and Elegant Nail Art Designs with Thin Brush


6. 10 Simple and Elegant Nail Art Designs with Thin Brush


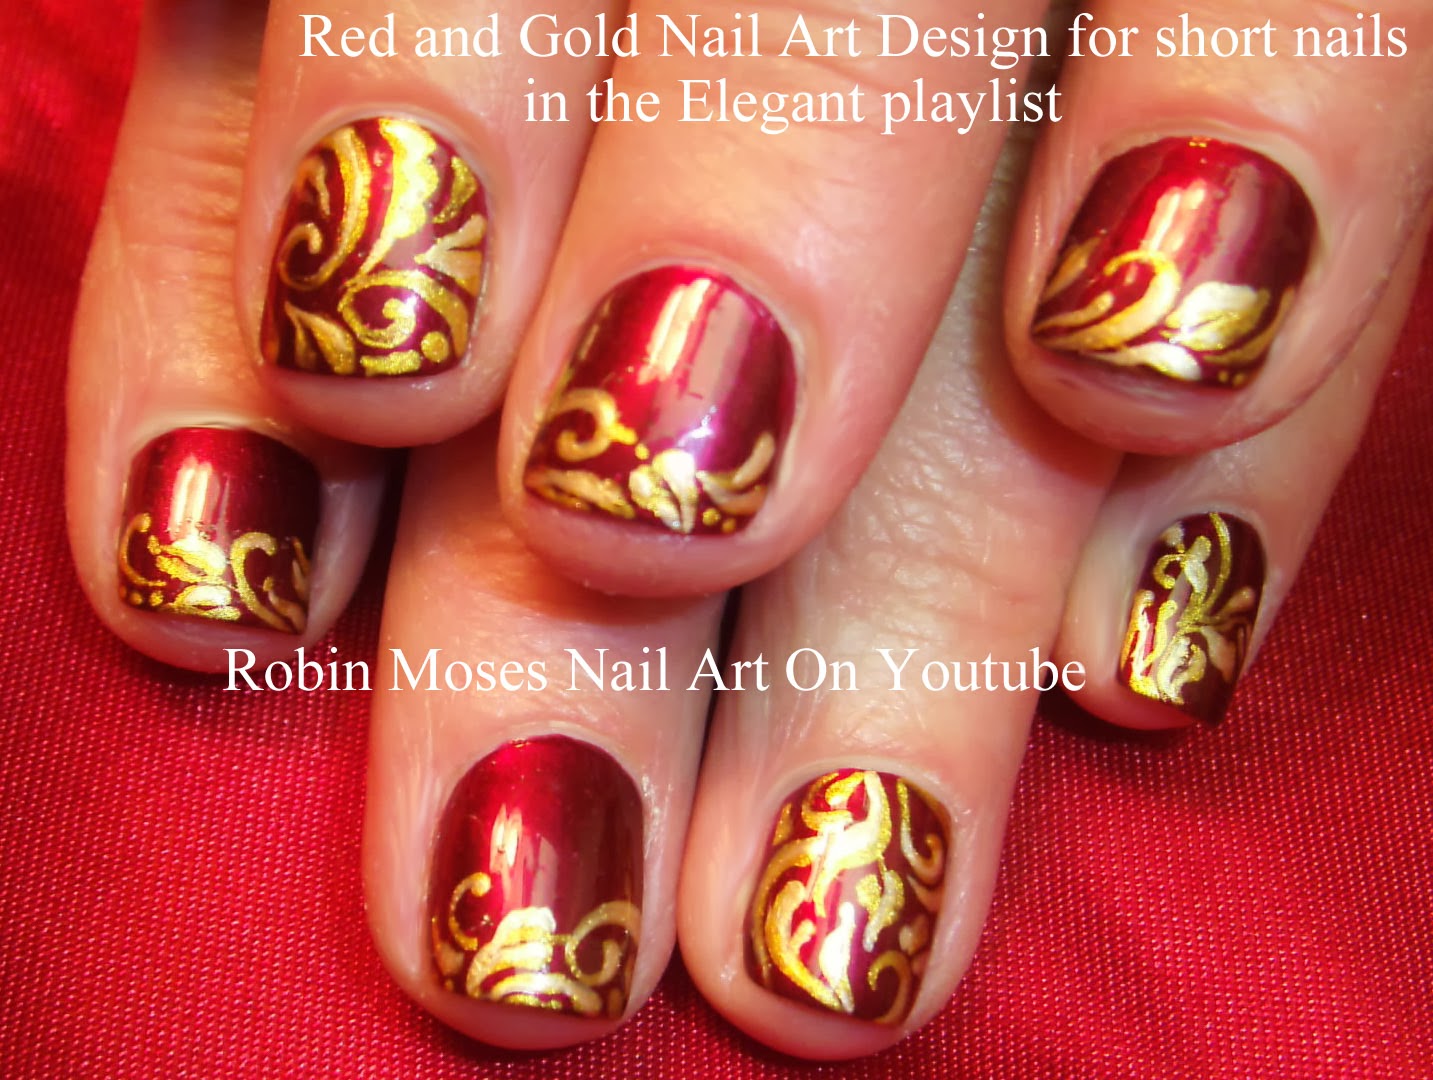
Who says you need long nails to create beautiful nail art designs? These designs using a thin brush are perfect for those with short nails: 1. Tiny Flowers: Create small and dainty flowers on your short nails using a thin brush and different shades of nail polish. 2. Stripes: Use a thin brush to create thin and precise stripes on your short nails. 3. Polka Dots: Create playful and fun polka dot designs using a thin brush and your favorite nail polish colors. 4. Abstract Design: Let your creativity shine by creating abstract designs on your short nails using a thin brush and different shades of nail polish. 5. Stars: Use a thin brush to create delicate and tiny stars on your short nails. 6. Colorful French Tip: Give the classic French tip a twist by creating a colorful design on the tips of your short nails using a thin brush. 7. Glitter Tips: Add some sparkle to your short nails by creating glitter tips using a thin brush. 8. Heartbeat Design: Create a cute and unique design on your short nails using a thin brush to create a heartbeat line. 9. Marble Design: Create a marble effect on your short nails using a thin brush and different shades of nail polish. 10. Tiny Hearts: Use a thin brush to create small and delicate hearts on your short nails.7. Nail Art Designs with Thin Brush for Short Nails


7. Nail Art Designs with Thin Brush for Short Nails


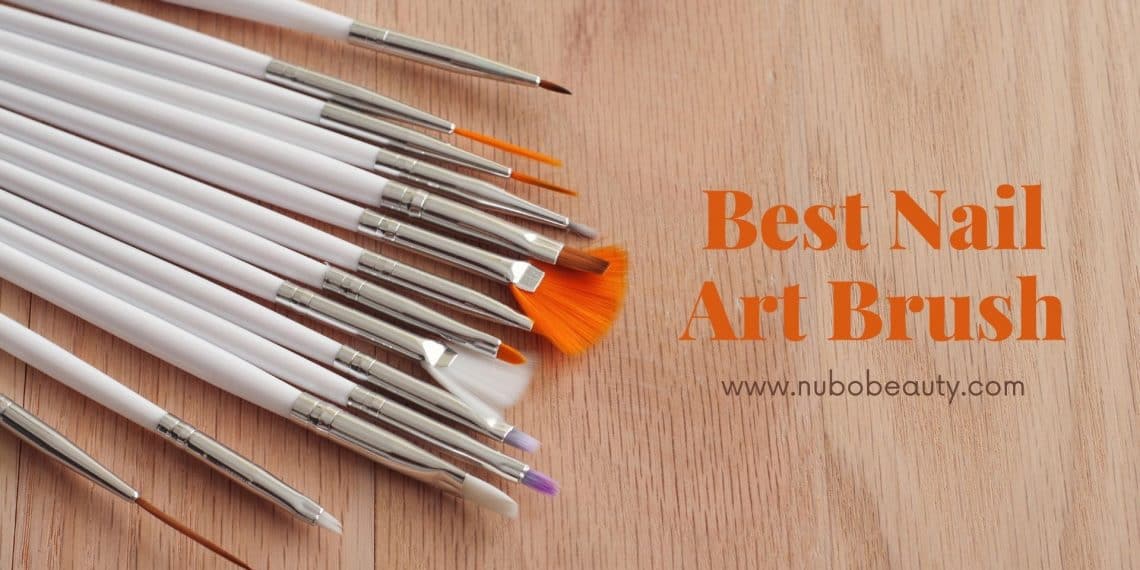
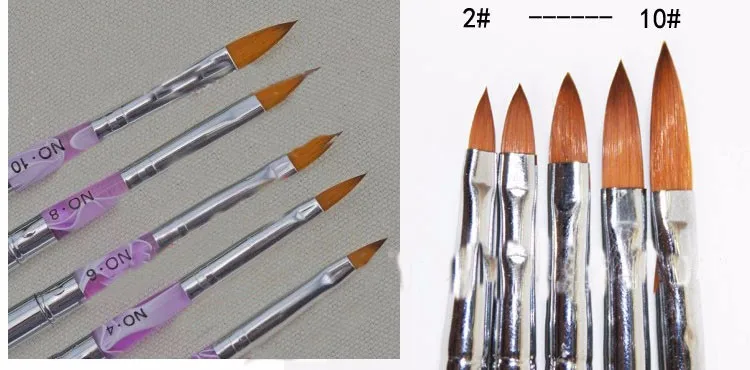
If you're serious about nail art, then investing in a good set of thin brushes is a must. Here are our top picks for the 5 must-have thin brushes for nail art enthusiasts: 1. Kolinsky Sable Brush: This brush is made from high-quality sable hair and is perfect for creating detailed designs with precision. 2. Detailing Brush Set: This set includes multiple thin brushes of different sizes, perfect for creating intricate designs on your nails. 3. Liner Brush: A liner brush is perfect for creating precise lines and stripes on your nails. 4. Fan Brush: This brush is perfect for creating gradient and ombre designs on your nails. 5. Striping Brush: This brush is ideal for creating stripes and geometric designs on your nails.8. 5 Must-Have Thin Brushes for Nail Art Enthusiasts


8. 5 Must-Have Thin Brushes for Nail Art Enthusiasts


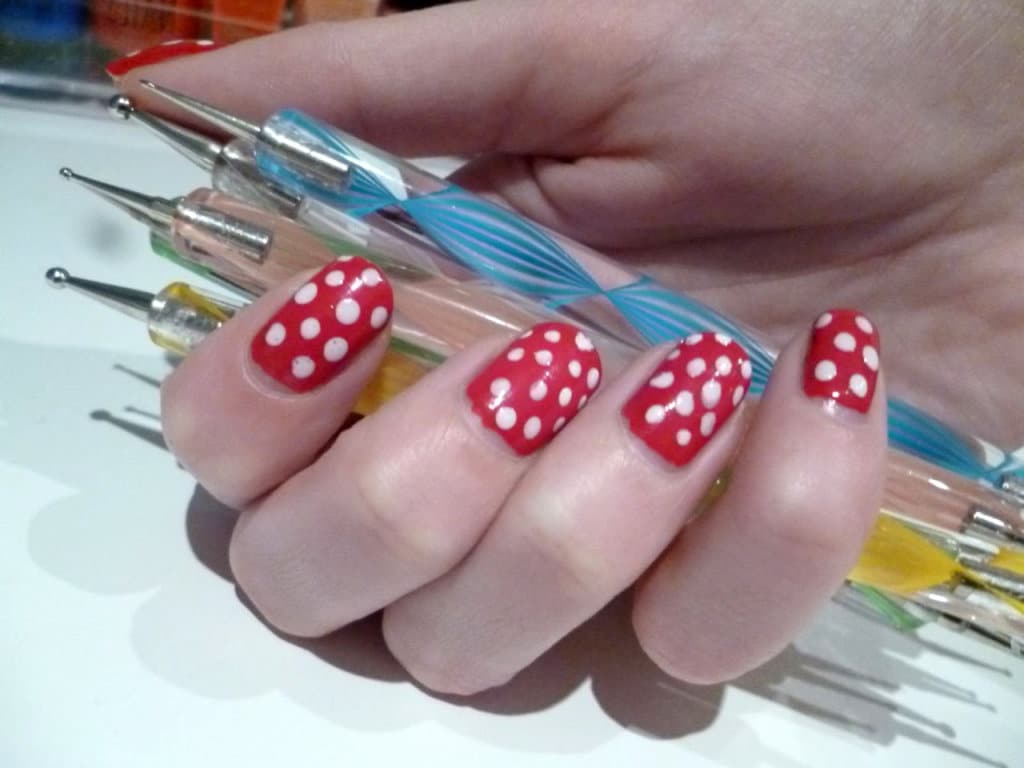
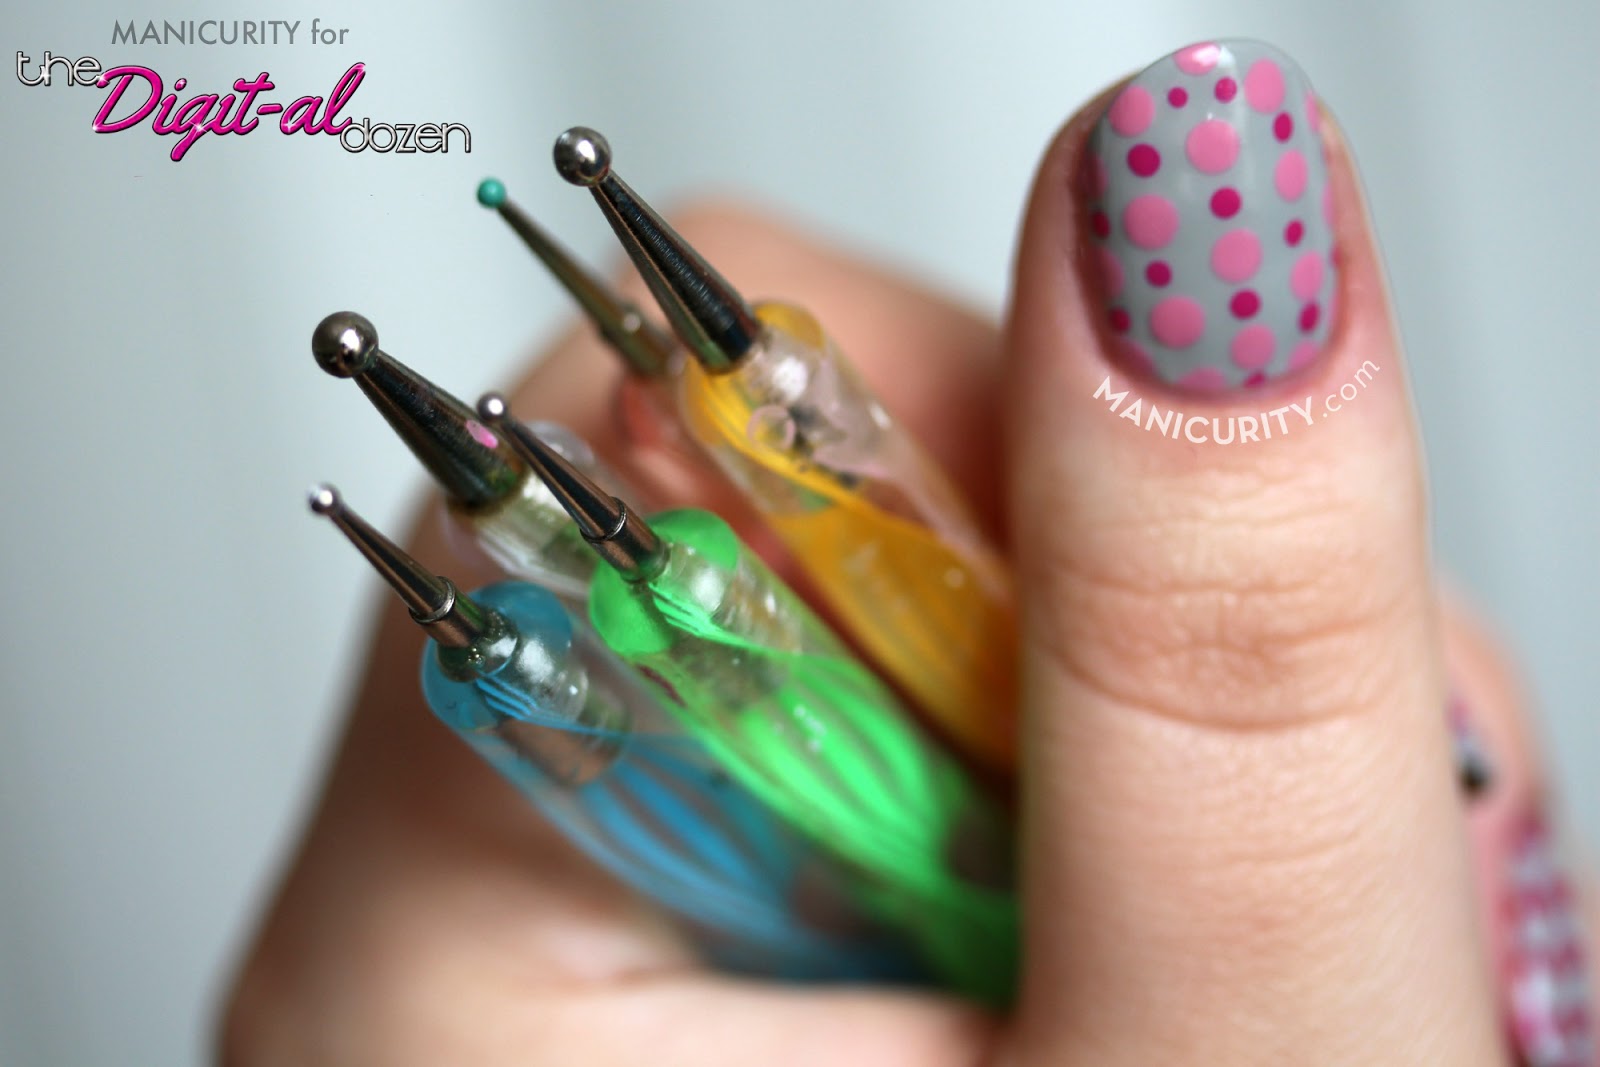
For those who love using different tools to create nail art, combining a thin brush and a dotting tool can create stunning designs. Here are 20 ideas to get you started: 1. Floral Design: Use a dotting tool to create the centers of the flowers and a thin brush to create the petals and leaves. 2. Colorful Dots: Create a fun and colorful design using different sizes of dots created with a dotting tool. 3. Striped Tips: Use a thin brush to create precise stripes and a dotting tool to add small dots at the base of your nails. 4. Space Nails: Create a galaxy-inspired design using a thin brush and a dotting tool to create stars and planets. 5. Penguin Design: Use a dotting tool to create the eyes and a thin brush to create the rest of the penguin's body. 6. Half-Moon Design: Use a dotting tool to create a half-moon shape on your nails and a thin brush to create intricate designs within the half-moon. 7. Striped Hearts: Use a dotting tool to create hearts and a thin brush to add small stripes inside the hearts. 8. Leopard Print: Use a dotting tool to create the spots and a thin brush to create the outlines and details of a leopard print design. 9. Abstract Design: Use a dotting tool to create small dots and a thin brush to create abstract designs within the dots. 10. Starry Night: Create a beautiful starry night design using a dotting tool to create stars and a thin brush to create the moon and other details. 11. Rainbow Design: Use a dotting tool to create small dots in a rainbow pattern and a thin brush to create clouds and other details.9. 20 Stunning Nail Art Designs Using a Thin Brush and Dotting Tool


9. 20 Stunning Nail Art Designs Using a Thin Brush and Dotting Tool


The Art of Nail Design: How to Create Stunning Looks with a Thin Brush
Unleash Your Creativity with Thin Brush Nail Art
 When it comes to nail art, there are endless possibilities for creating unique and eye-catching designs. One tool that can take your nail game to the next level is a thin brush. With its fine tip and precision, you can create intricate and delicate designs that will make your nails stand out. In this article, we will explore the art of nail design with a thin brush and how it can elevate your at-home manicures.
Why Choose a Thin Brush?
 There are many different types of nail art brushes, but the thin brush is a favorite among nail artists for its versatility and precision. Its fine tip allows for intricate designs and its length gives you the control to create precise lines and details. Whether you're a beginner or an experienced nail artist, a thin brush is a valuable tool to have in your nail art arsenal.
Step-by-Step Guide to Creating Nail Art with a Thin Brush
 Now that you know the benefits of a thin brush, let's dive into how to create stunning nail designs with it. Follow these steps to achieve professional-looking nail art at home:
Step 1:
Start with a clean and dry base. Apply a base coat to protect your nails and create a smooth surface for your design.
Step 2:
Choose your design and
featured keywords
main colors. Whether you want to create a simple striped design or a more intricate floral pattern, choose your colors and have them ready to use.
Step 3:
Dip your thin brush into the desired color and carefully draw your design on your nail. Start with the main design elements and then add in the smaller details.
Step 4:
Use a steady hand and light pressure to create thin and precise lines. You can also use the tip of the brush to create dots or other small details.
Step 5:
If you make a mistake, don't worry! You can use a clean brush or a cotton swab dipped in nail polish remover to fix any smudges or mistakes.
Step 6:
Once your design is complete, let it dry for a few minutes before applying a top coat to seal and protect your design.
Now that you know the benefits of a thin brush, let's dive into how to create stunning nail designs with it. Follow these steps to achieve professional-looking nail art at home:
Step 1:
Start with a clean and dry base. Apply a base coat to protect your nails and create a smooth surface for your design.
Step 2:
Choose your design and
featured keywords
main colors. Whether you want to create a simple striped design or a more intricate floral pattern, choose your colors and have them ready to use.
Step 3:
Dip your thin brush into the desired color and carefully draw your design on your nail. Start with the main design elements and then add in the smaller details.
Step 4:
Use a steady hand and light pressure to create thin and precise lines. You can also use the tip of the brush to create dots or other small details.
Step 5:
If you make a mistake, don't worry! You can use a clean brush or a cotton swab dipped in nail polish remover to fix any smudges or mistakes.
Step 6:
Once your design is complete, let it dry for a few minutes before applying a top coat to seal and protect your design.
Get Creative with Thin Brush Nail Art
 There are endless possibilities when it comes to creating nail art with a thin brush. You can experiment with different designs, colors, and techniques to create unique and personalized looks. Don't be afraid to get creative and try new things!
In Conclusion
 Incorporating a thin brush into your nail art routine can open up a whole new world of possibilities. With its precision and versatility, you can create stunning designs that will make your nails stand out. Follow our step-by-step guide and let your creativity run wild with thin brush nail art.


