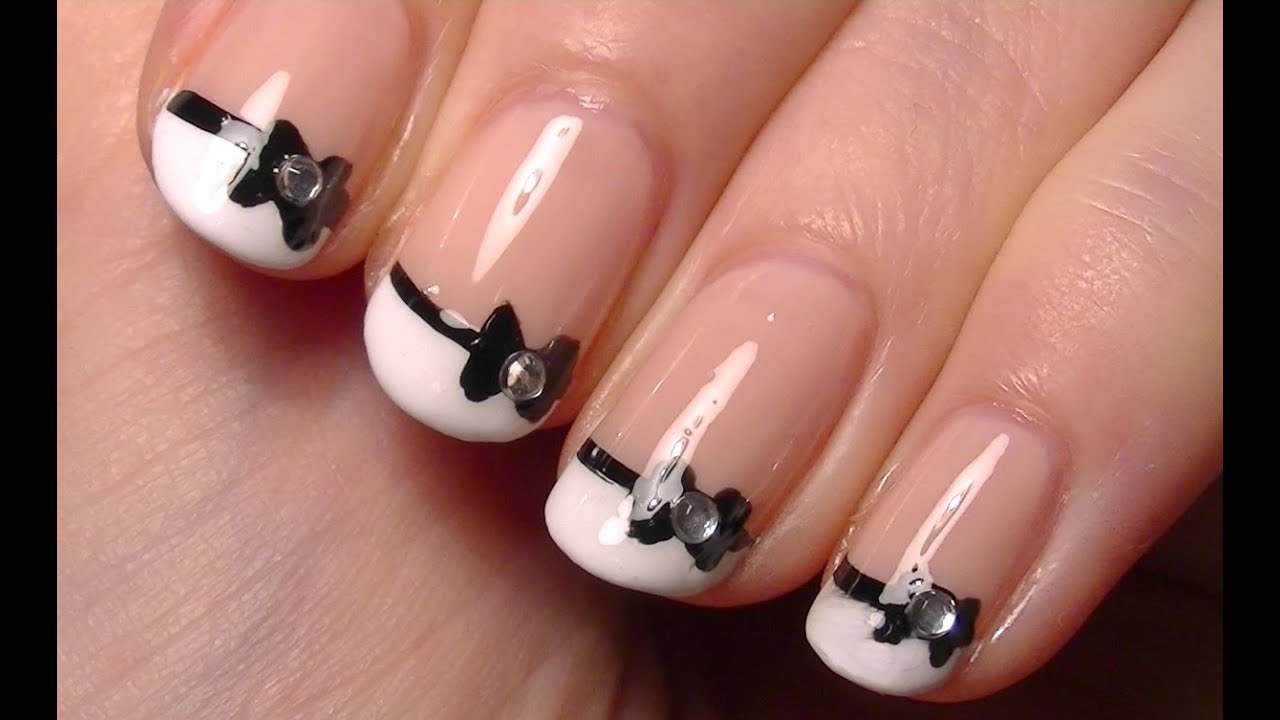
If you're new to the world of nail art, it can be overwhelming to try and recreate those intricate designs seen on social media. But fear not, because we've rounded up the top 10 easy nail art designs for beginners step by step. These designs are simple, fun, and perfect for anyone looking to up their nail game. Featured keyword: easy nail art designs First up, we have a classic polka dot design. For this, all you need is a toothpick and two different colored nail polishes. Start by painting your nails with a base color, let it dry, and then use the toothpick to create small dots on top. You can mix it up by using different colors on each nail or sticking to a monochromatic look. Featured keyword: polka dot design Next, we have a simple yet elegant striped nail art design. For this, you'll need some tape, scissors, and two different colored nail polishes. Begin by cutting thin strips of tape and placing them on your nails in a diagonal or vertical pattern. Paint over the tape with your desired color, let it dry, and then peel off the tape to reveal clean, crisp lines. Featured keyword: striped nail artEasy Nail Art Designs for Beginners Step by Step


Easy Nail Art Designs for Beginners Step by Step


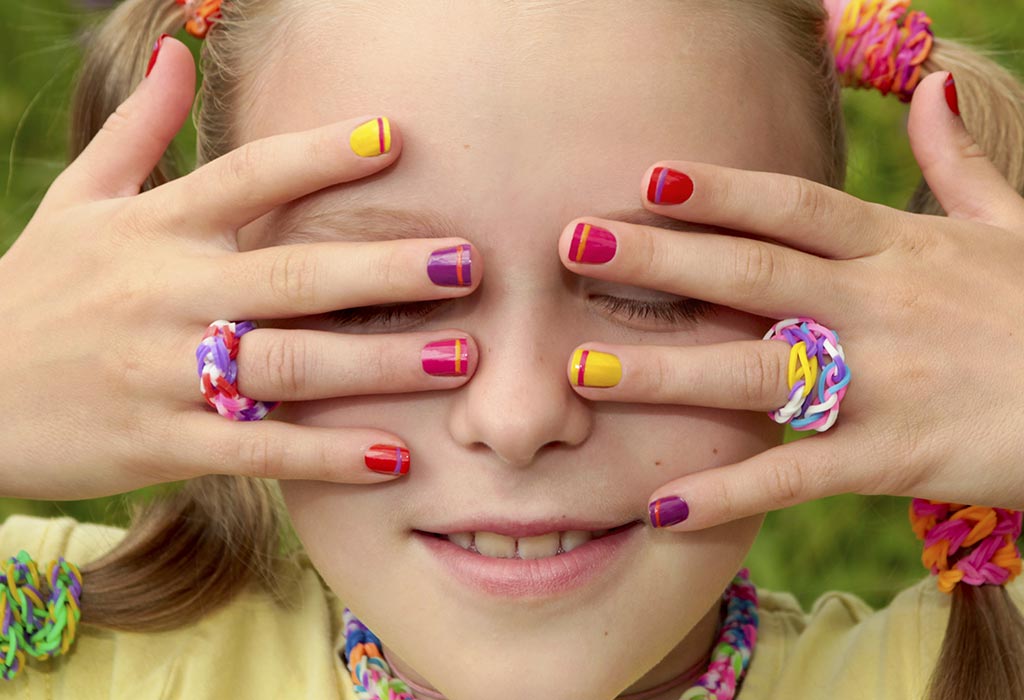
For those with shorter nails, don't worry, we have you covered. This easy nail art design for short nails involves creating a gradient effect using a makeup sponge. Start by painting your nails with a light base color, let it dry, then apply a darker color on the tip of the sponge and dab it onto your nail. Repeat this process until you achieve the desired gradient effect. Featured keyword: easy nail art design for short nails If you want to get your kids involved in nail art, this next design is perfect. This easy nail art design for kids involves creating cute little flowers using a dotting tool. Paint your nails with a base color, let it dry, and then use the dotting tool to create small dots in a circular pattern. Add a different colored dot in the center to create the flower. This design is fun, colorful, and perfect for little ones. Featured keyword: easy nail art design for kidsSimple Nail Art Designs for Beginners Step by Step


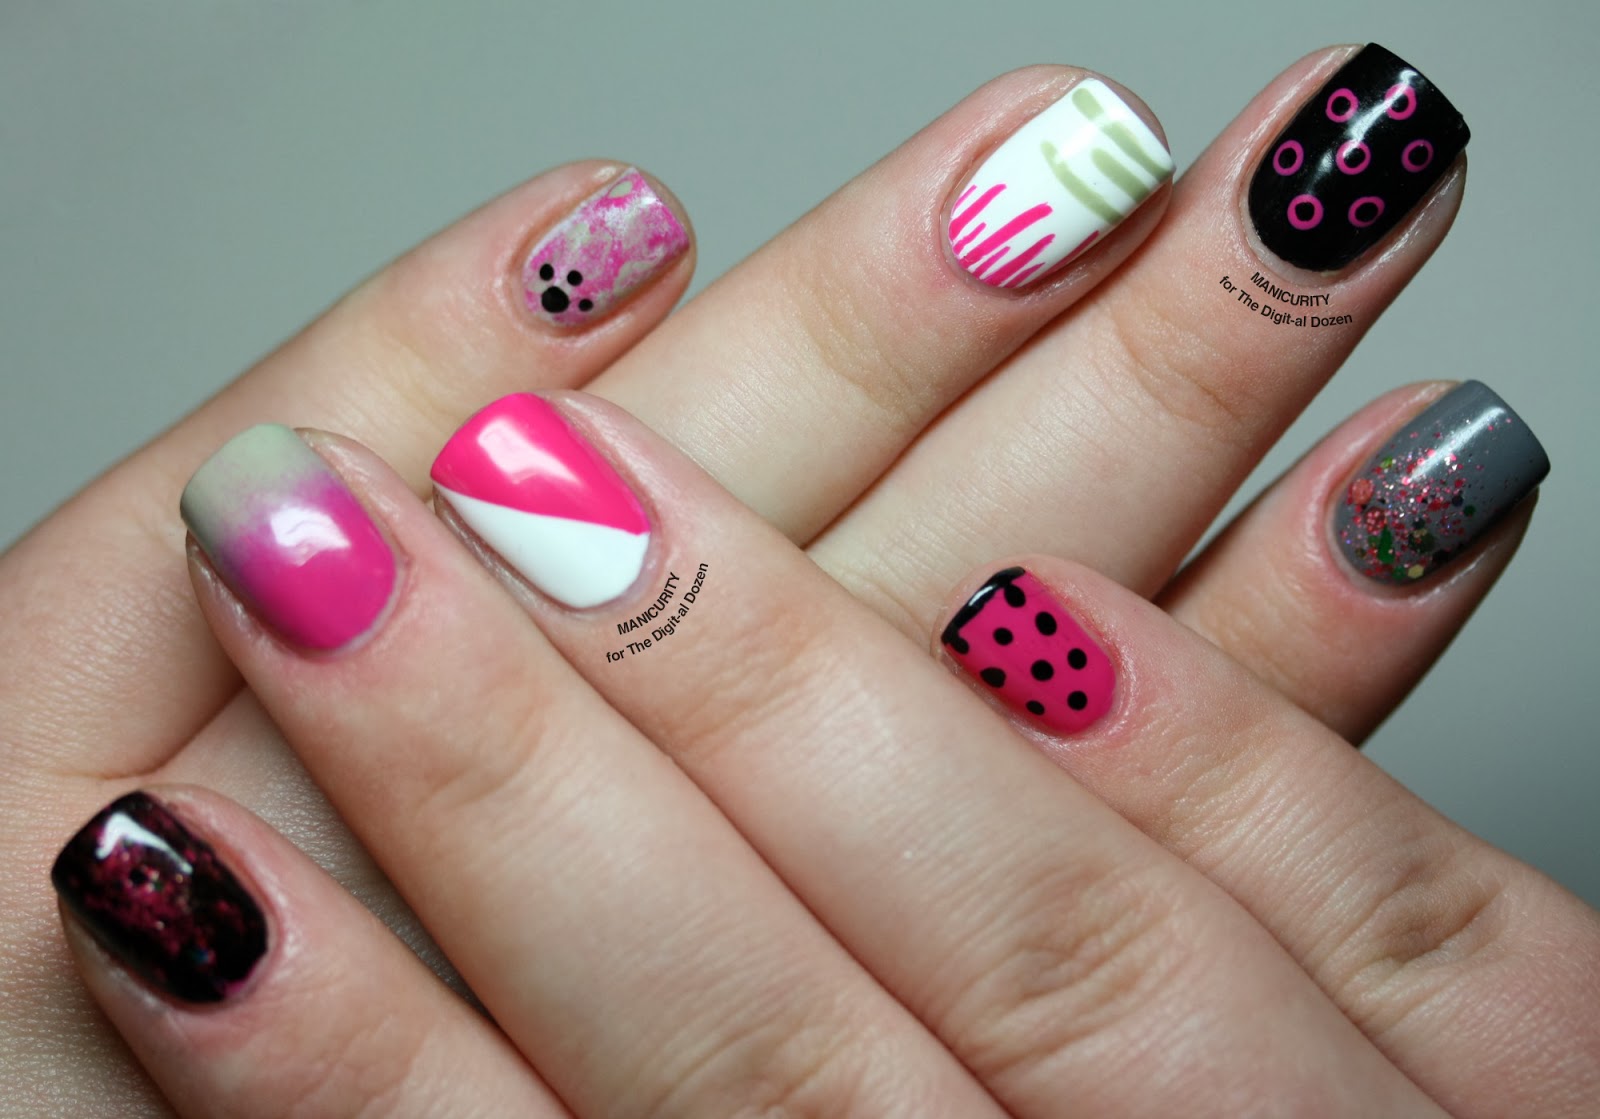
Simple Nail Art Designs for Beginners Step by Step


Not everyone has access to fancy nail art tools, but that doesn't mean you can't create stunning nail art at home. This easy nail art design at home involves using a bobby pin to create a cute heart design. Start by painting your nails with a base color, let it dry, then use the rounded end of a bobby pin to create two dots next to each other. Use the pointed end of the bobby pin to drag the dots together to create a heart shape. Featured keyword: easy nail art design at home Another fun design that can be done at home is a watercolor nail art design. For this, you'll need some acetone, a plastic bag, and two different colored nail polishes. Start by painting your nails with a base color and let it dry. Then, add a few drops of the second color onto the plastic bag and use a toothpick to create a marbled effect. Dip your nail onto the design, let it dry, and seal it with a top coat. Featured keyword: watercolor nail artEasy Nail Art Designs at Home Step by Step


Easy Nail Art Designs at Home Step by Step

Nail art is not just limited to your fingers, you can also create cute designs on your toes. This easy nail art design for toes involves creating a simple flower design using a toothpick. Paint your nails with a base color, let it dry, and then use the toothpick to create small dots in a circular pattern. Add a different colored dot in the center to create the flower. This design is perfect for the summer and will have your toes looking pretty and polished. Featured keyword: easy nail art design for toes If you don't have any nail art tools, don't worry, you can still create a stunning design using everyday household items. This easy nail art design without tools involves creating a cute polka dot design using a bobby pin. Paint your nails with a base color, let it dry, then use the rounded end of a bobby pin to create dots on your nails. You can mix up the colors and sizes of the dots to create a fun and unique design. Featured keyword: easy nail art design without toolsEasy Nail Art Designs for Toes Step by Step

Easy Nail Art Designs for Short Nails Step by Step

As mentioned earlier, a toothpick can be a handy tool when it comes to nail art. This easy nail art design for beginners with a toothpick involves creating a cute and colorful rainbow design. Paint your nails with a white base color, let it dry, then use a toothpick to create small dots in a rainbow pattern. You can use as many or as few colors as you like, making this design perfect for experimenting. Featured keyword: easy nail art design for beginners with toothpickEasy Nail Art Designs for Beginners with Toothpick Step by Step


Easy Nail Art Designs for Kids Step by Step

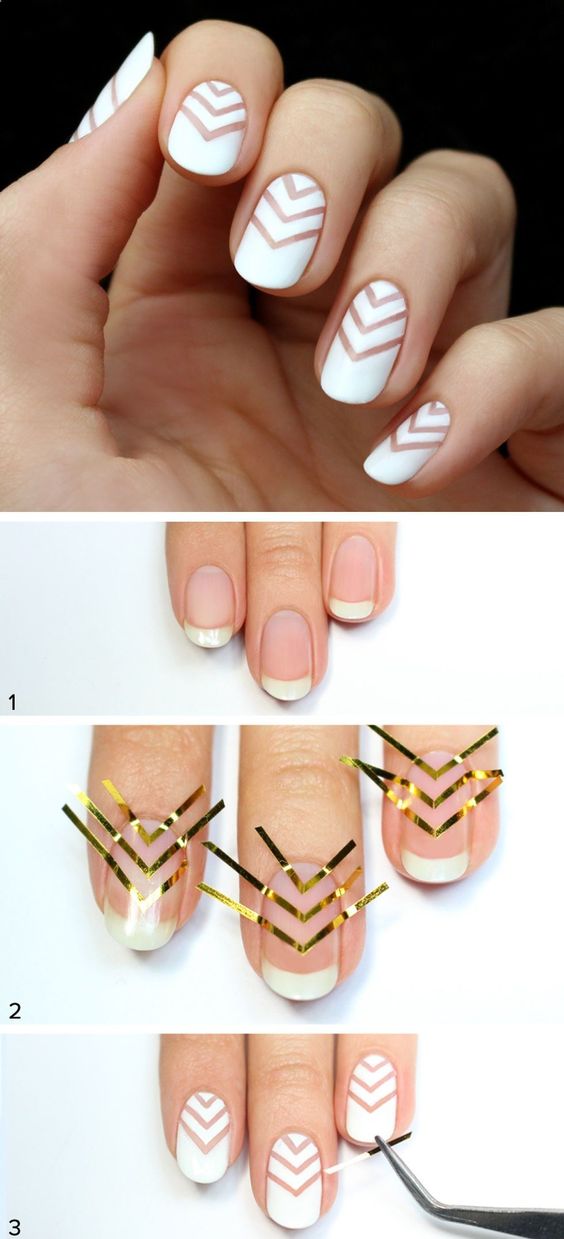
Another design that involves using tape is a geometric nail art design. Start by painting your nails with a base color, let it dry, then use strips of tape to create different geometric shapes on your nails. Paint over the tape with a different color, let it dry, and then peel off the tape to reveal clean and precise lines. This design is perfect for anyone who loves a modern and edgy look. Featured keyword: geometric nail art Lastly, we have a glitter gradient nail art design that is perfect for any special occasion. Start by painting your nails with a base color, let it dry, then use a makeup sponge to dab on some glitter nail polish onto the tips of your nails. You can add more layers for a more intense glitter effect, and don't forget to seal it with a top coat. Featured keyword: glitter gradient nail art With these top 10 easy nail art designs for beginners step by step, you'll be able to create stunning designs from the comfort of your own home. So grab your nail polishes and get creative!Easy Nail Art Designs for Beginners with Tape Step by Step

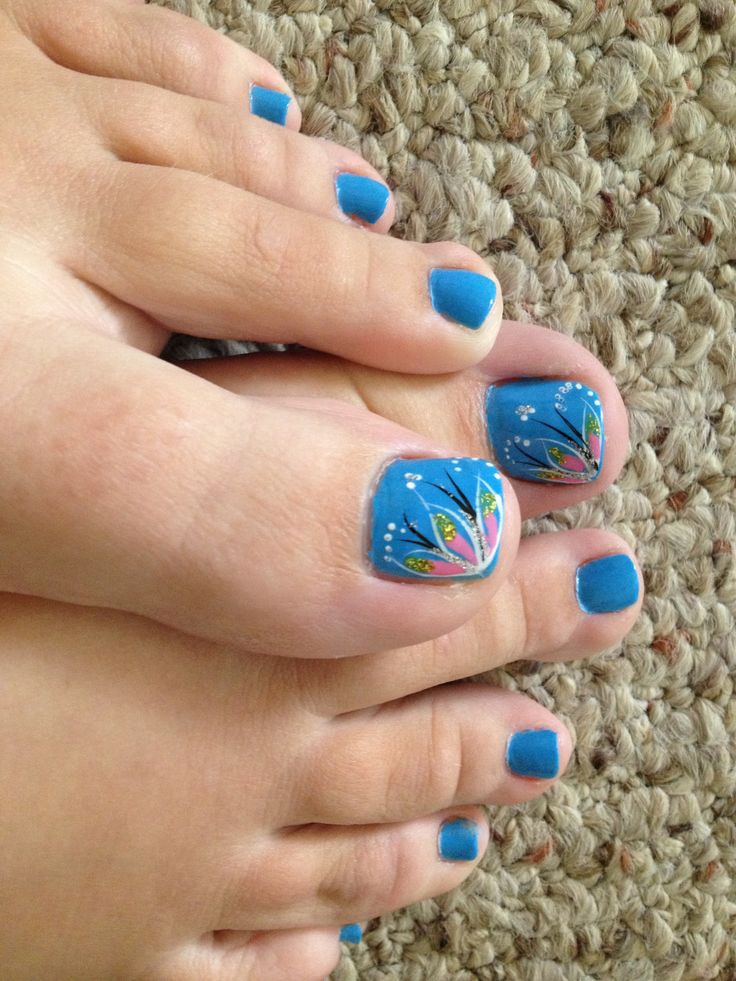
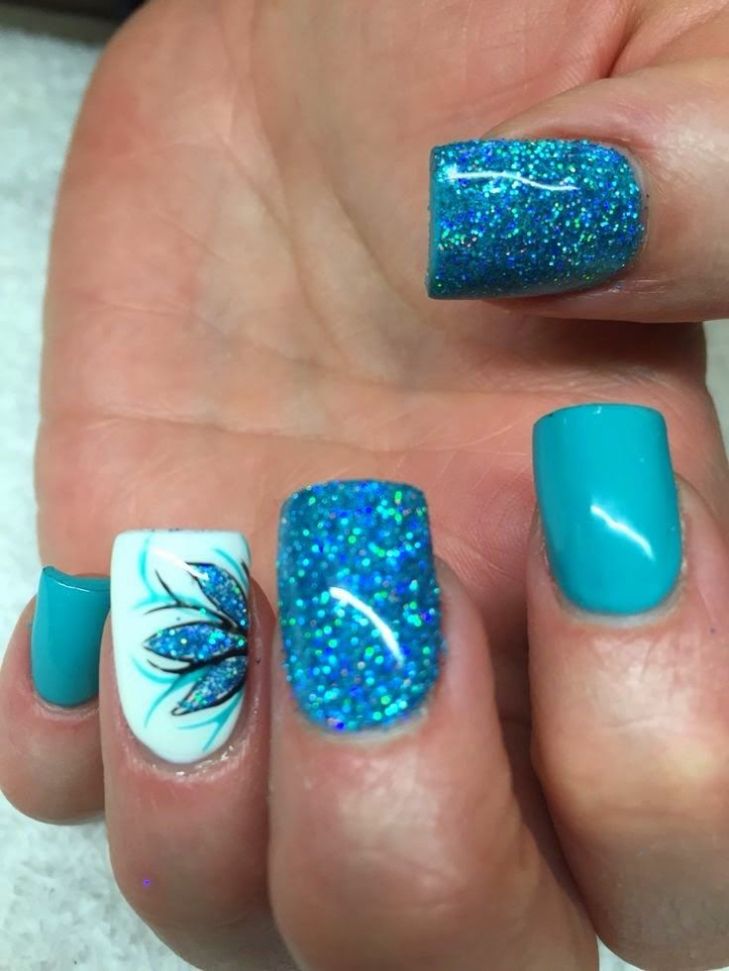
Easy Nail Art Designs for Toes Step by Step
Why Nail Art is the Perfect Way to Express Your Personal Style

Unleash Your Creativity with Nail Art
 Are you looking for a unique and fun way to express your personal style? Look no further than nail art! Not only is it a great form of self-expression, but it also allows you to experiment with different designs and colors to create the perfect look for any occasion. Whether you're going for a simple and elegant look or a bold and colorful statement, nail art has something for everyone.
Step-by-Step Guide to Creating Stunning Nail Designs
The best part about nail art is that you don't need to be a professional artist to create beautiful designs. With a few simple steps, you can achieve stunning results that will have everyone asking where you got your nails done. First, gather all the necessary tools such as nail polish, brushes, and nail stickers. Then, start by applying a base coat to protect your nails and allow for better adhesion of the design. Next, use your chosen colors and design tools to create your desired design, whether it's stripes, polka dots, or intricate patterns. Finally, finish off with a top coat to seal in your design and add shine.
Are you looking for a unique and fun way to express your personal style? Look no further than nail art! Not only is it a great form of self-expression, but it also allows you to experiment with different designs and colors to create the perfect look for any occasion. Whether you're going for a simple and elegant look or a bold and colorful statement, nail art has something for everyone.
Step-by-Step Guide to Creating Stunning Nail Designs
The best part about nail art is that you don't need to be a professional artist to create beautiful designs. With a few simple steps, you can achieve stunning results that will have everyone asking where you got your nails done. First, gather all the necessary tools such as nail polish, brushes, and nail stickers. Then, start by applying a base coat to protect your nails and allow for better adhesion of the design. Next, use your chosen colors and design tools to create your desired design, whether it's stripes, polka dots, or intricate patterns. Finally, finish off with a top coat to seal in your design and add shine.
Express Yourself with Endless Design Possibilities
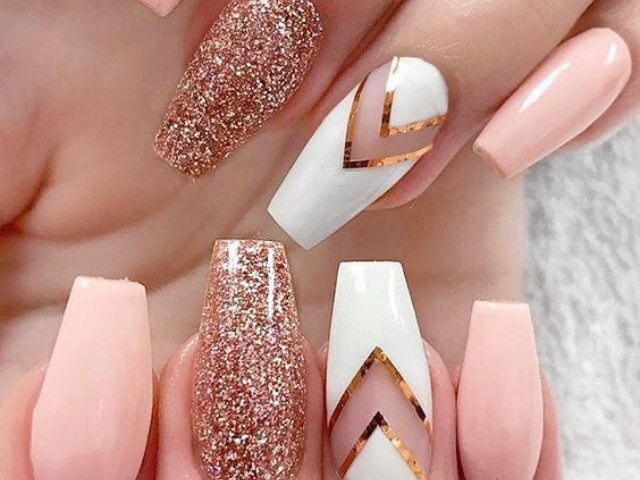
 One of the best things about nail art is that the possibilities are endless. You can choose from a variety of designs, including floral, geometric, and even 3D designs. You can also play with different color combinations and textures to create a unique and personalized look. With nail art, you can let your imagination run wild and create a design that truly reflects your personal style.
Easy, Affordable, and Fun
Nail art is not only a great way to express yourself, but it's also an affordable and fun option for anyone looking to spice up their nail game. You don't need to spend a fortune at a salon to achieve stunning results. With a little bit of practice and creativity, you can create salon-worthy designs in the comfort of your own home. Plus, it's a great activity to do with friends or family, making it a fun and social experience.
In conclusion, nail art is the perfect way to express your personal style and unleash your creativity. With a step-by-step guide, endless design possibilities, and an easy and affordable approach, there's no reason not to give nail art a try. So grab your tools, get creative, and show off your unique and beautiful nail designs.
One of the best things about nail art is that the possibilities are endless. You can choose from a variety of designs, including floral, geometric, and even 3D designs. You can also play with different color combinations and textures to create a unique and personalized look. With nail art, you can let your imagination run wild and create a design that truly reflects your personal style.
Easy, Affordable, and Fun
Nail art is not only a great way to express yourself, but it's also an affordable and fun option for anyone looking to spice up their nail game. You don't need to spend a fortune at a salon to achieve stunning results. With a little bit of practice and creativity, you can create salon-worthy designs in the comfort of your own home. Plus, it's a great activity to do with friends or family, making it a fun and social experience.
In conclusion, nail art is the perfect way to express your personal style and unleash your creativity. With a step-by-step guide, endless design possibilities, and an easy and affordable approach, there's no reason not to give nail art a try. So grab your tools, get creative, and show off your unique and beautiful nail designs.


