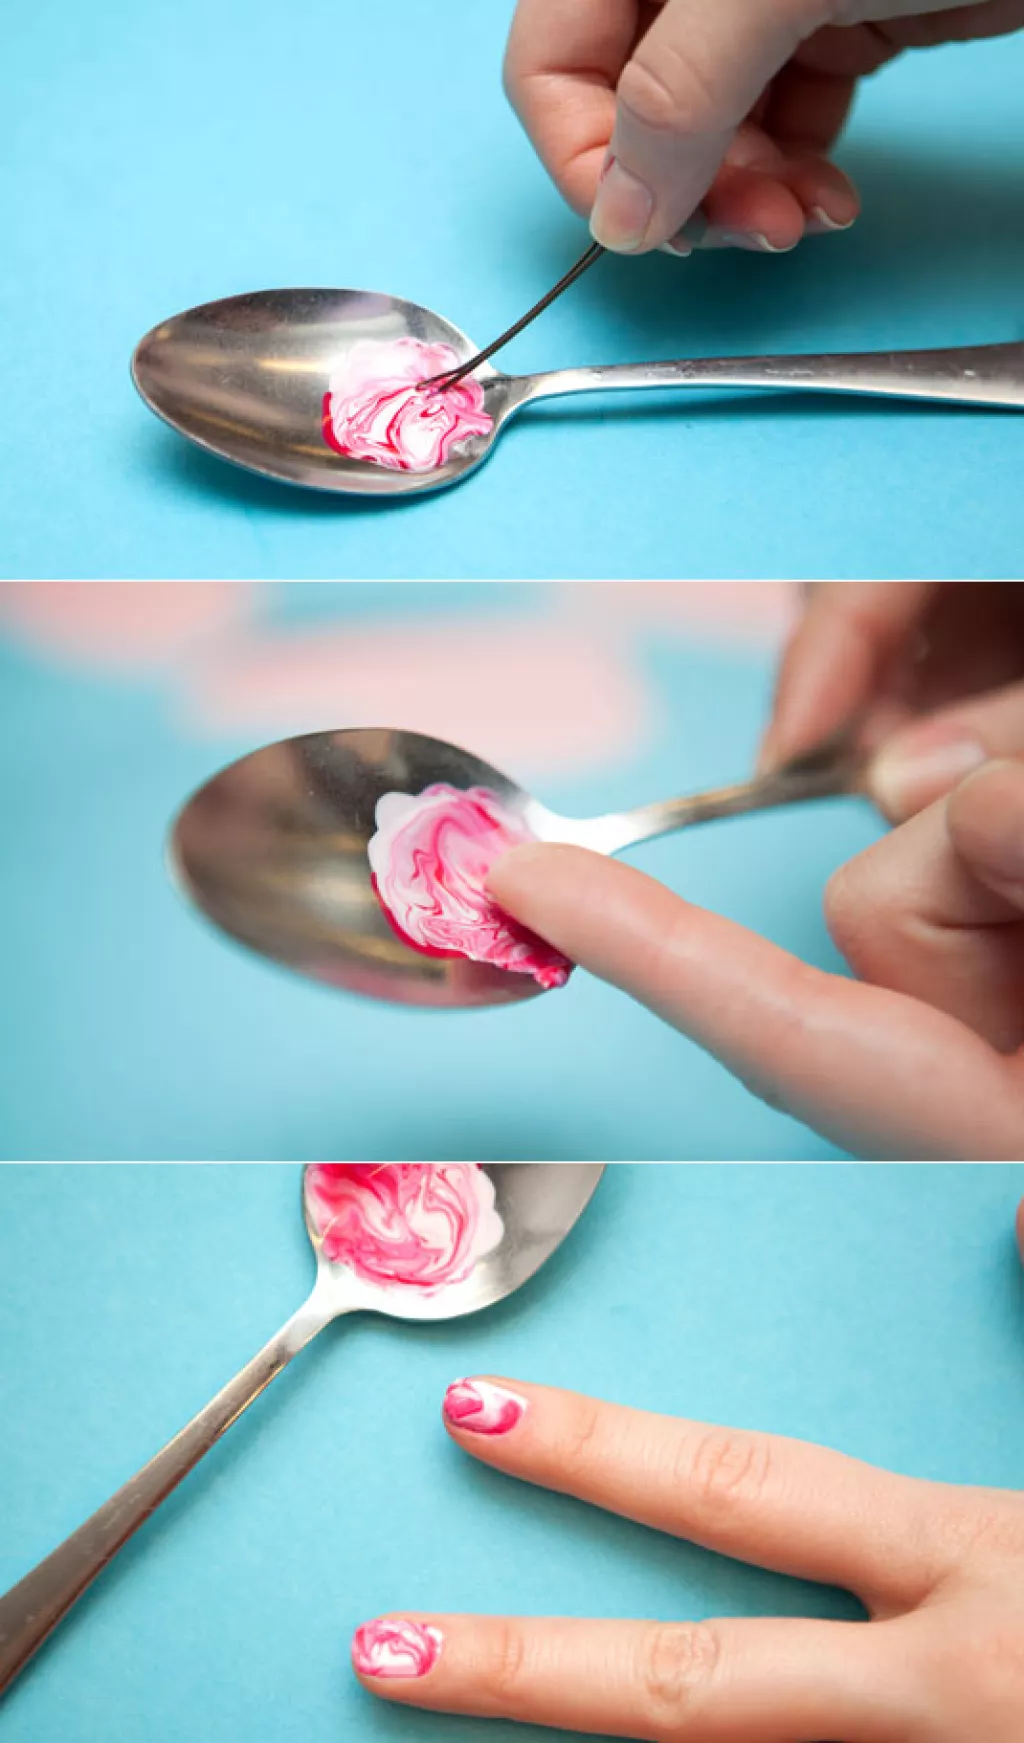
If you're looking to add some sophistication to your at-home manicure, marble nails are the perfect choice. With just a few supplies and some simple techniques, you can achieve a beautiful and unique marbled effect on your nails that will have everyone asking where you got them done. To create this look, you will need a base coat, a white polish, a few bold nail polish colors of your choice, a small bowl of room temperature water, and a toothpick or small brush. Start by applying your base coat and letting it dry. Then, paint a layer of white polish on your nails. While the polish is still wet, add drops of your chosen colors onto the surface of the water in the bowl. Use the toothpick or brush to swirl the colors together, creating a marble pattern. Next, gently dip your nails into the water, making sure to cover the entire nail. Carefully remove your fingers and clean up any excess polish with a cotton swab. Finish with a top coat for a glossy finish.1. Marble Nails: A Chic and Easy DIY Nail Design
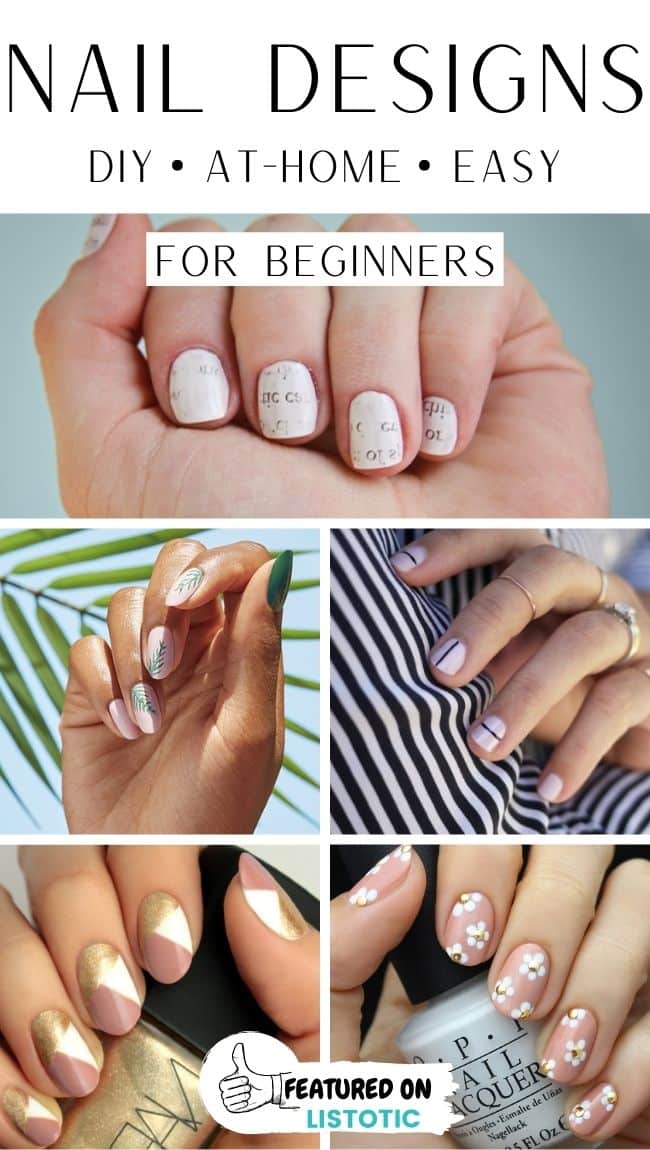
Easy DIY Nail Art Ideas for Beginners - theFashionSpot


If you love a little sparkle, this DIY nail design is perfect for you. Ombre nails have been a popular trend for a while now, and adding some glitter takes them to the next level. To achieve this look, you will need a base coat, two complementary nail polish colors, and a glitter polish. Start by applying your base coat and letting it dry. Then, paint your nails with the lighter of the two colors and let it dry completely. Next, apply the darker color to a makeup sponge and lightly dab it onto the tips of your nails, creating a gradient effect. Once dry, add a layer of glitter polish over the entire nail, focusing on the tips. Finish with a top coat for a dazzling finish.2. Glitter Ombre Nails: A Sparkly DIY Nail Design


DIY Nail Art Ideas: 10 Looks to Make Your Nails Pop


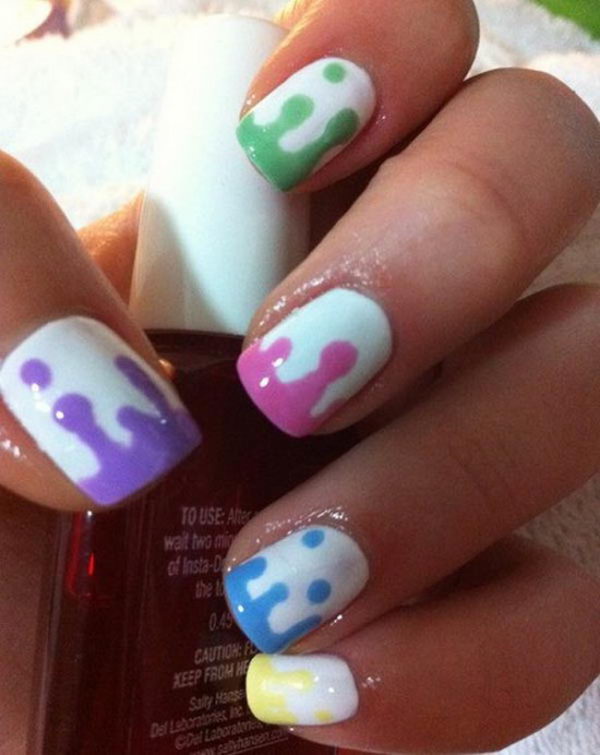
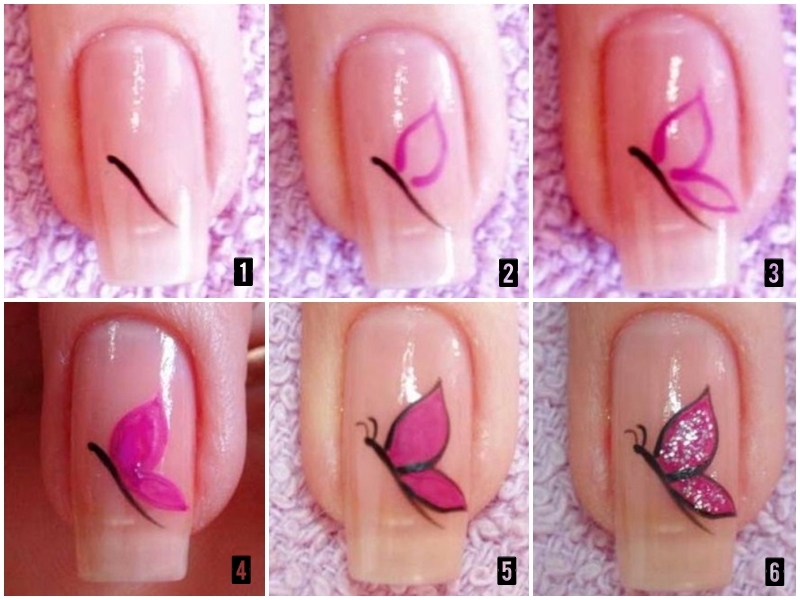
If you're feeling creative and want to try something a little more intricate, floral nails are a beautiful choice. You can choose to freehand paint your flowers or use nail art stickers for a more precise design. To create this look, you will need a base coat, a light pink polish, a small nail art brush, and a few different shades of green and white polish. Start by applying your base coat and letting it dry. Then, paint your nails with the light pink polish and let it dry completely. Using the nail art brush, create small flower petals in white along the sides of your nails. Use the different shades of green to create leaves and stems. You can add as many or as few flowers as you like. Finish with a top coat for a delicate and feminine look.3. Floral Nails: A Delicate and Feminine DIY Nail Design


Real Simple


.JPG)
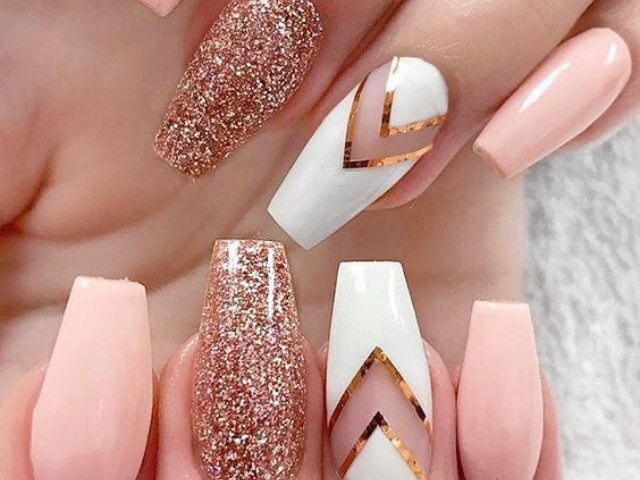
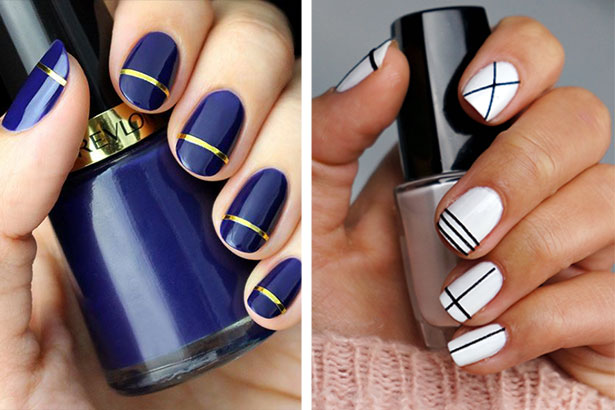
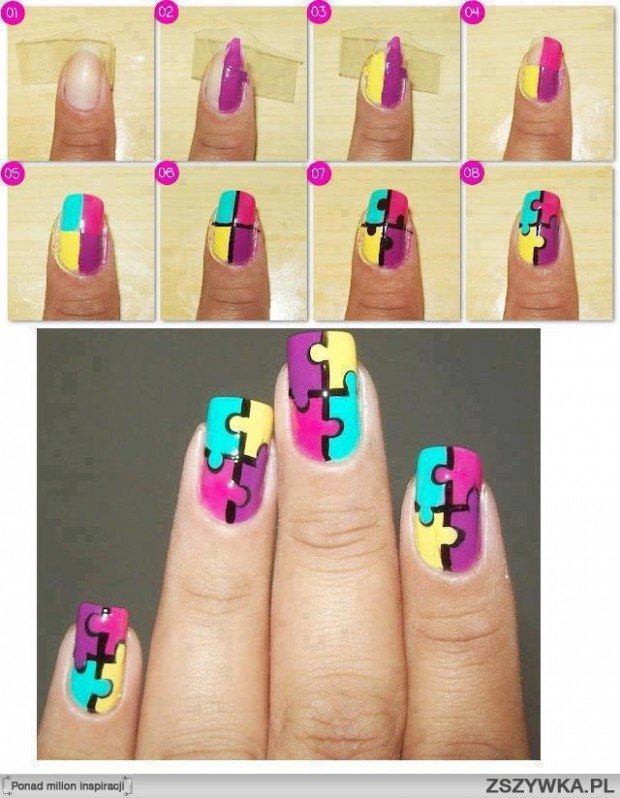
If you're looking for a bold and edgy nail design, geometric nails are the way to go. This minimalist design is perfect for those who love a modern and stylish look. To achieve this look, you will need a base coat, a white polish, a black polish, and some striping tape. Start by applying your base coat and letting it dry. Then, paint your nails with the white polish and let it dry completely. Next, use the striping tape to create geometric shapes on your nails. You can create lines, triangles, squares, or any other shape you like. Paint over the tape with the black polish and carefully remove the tape while the polish is still wet. Finish with a top coat for a sleek and trendy look.4. Geometric Nails: A Trendy and Modern DIY Nail Design


DIY Nail Art: Easy, Step-by-Step Instructions for 75 Creative Nail Looks

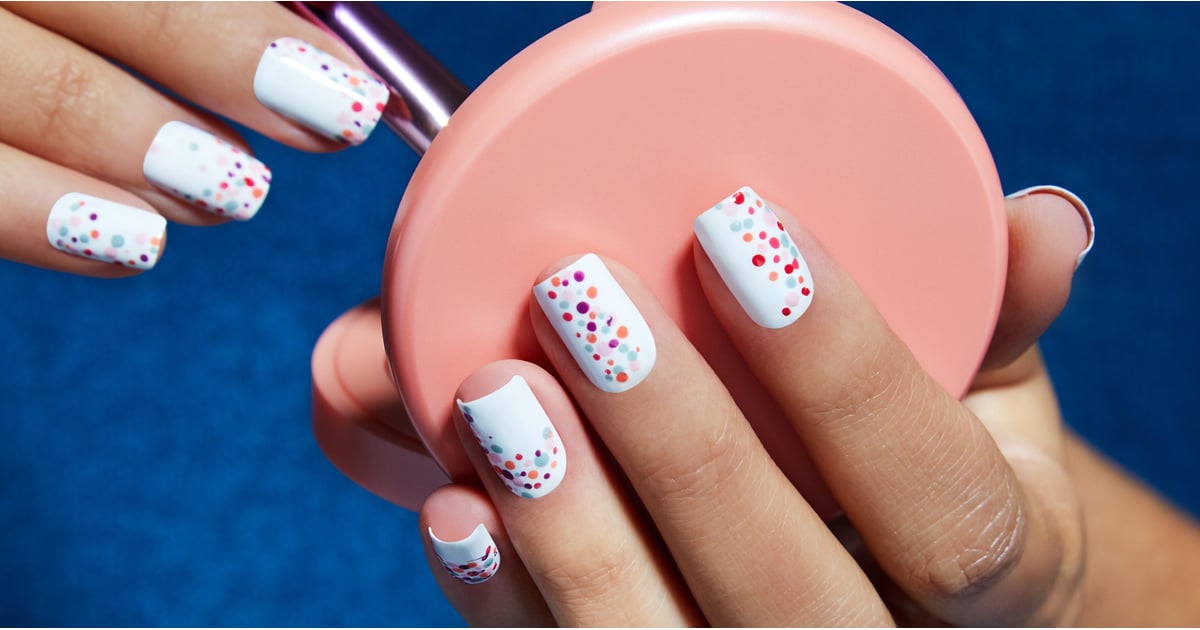
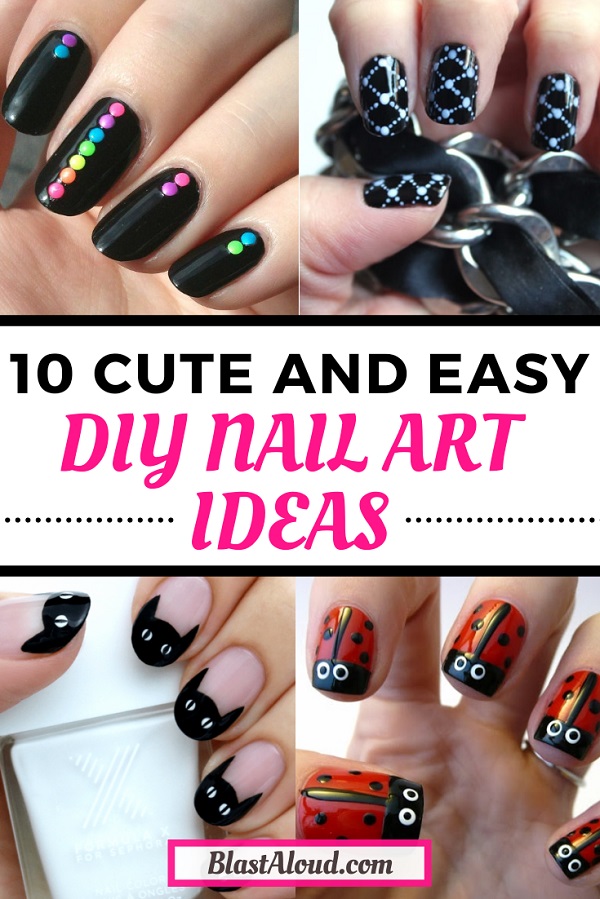
For a fun and playful nail design, polka dots are always a great choice. This design is perfect for those who want to add a little whimsy to their manicure. To create this look, you will need a base coat, a light pink polish, a white polish, and a dotting tool or toothpick. Start by applying your base coat and letting it dry. Then, paint your nails with the light pink polish and let it dry completely. Next, use the dotting tool or toothpick to create polka dots on your nails using the white polish. You can make them small and scattered or larger and more uniform. Finish with a top coat for a fun and playful look.5. Polka Dot Nails: A Fun and Playful DIY Nail Design

DIY Nail Art: Easy, Step-by-Step Instructions for 75 Creative Nail Looks

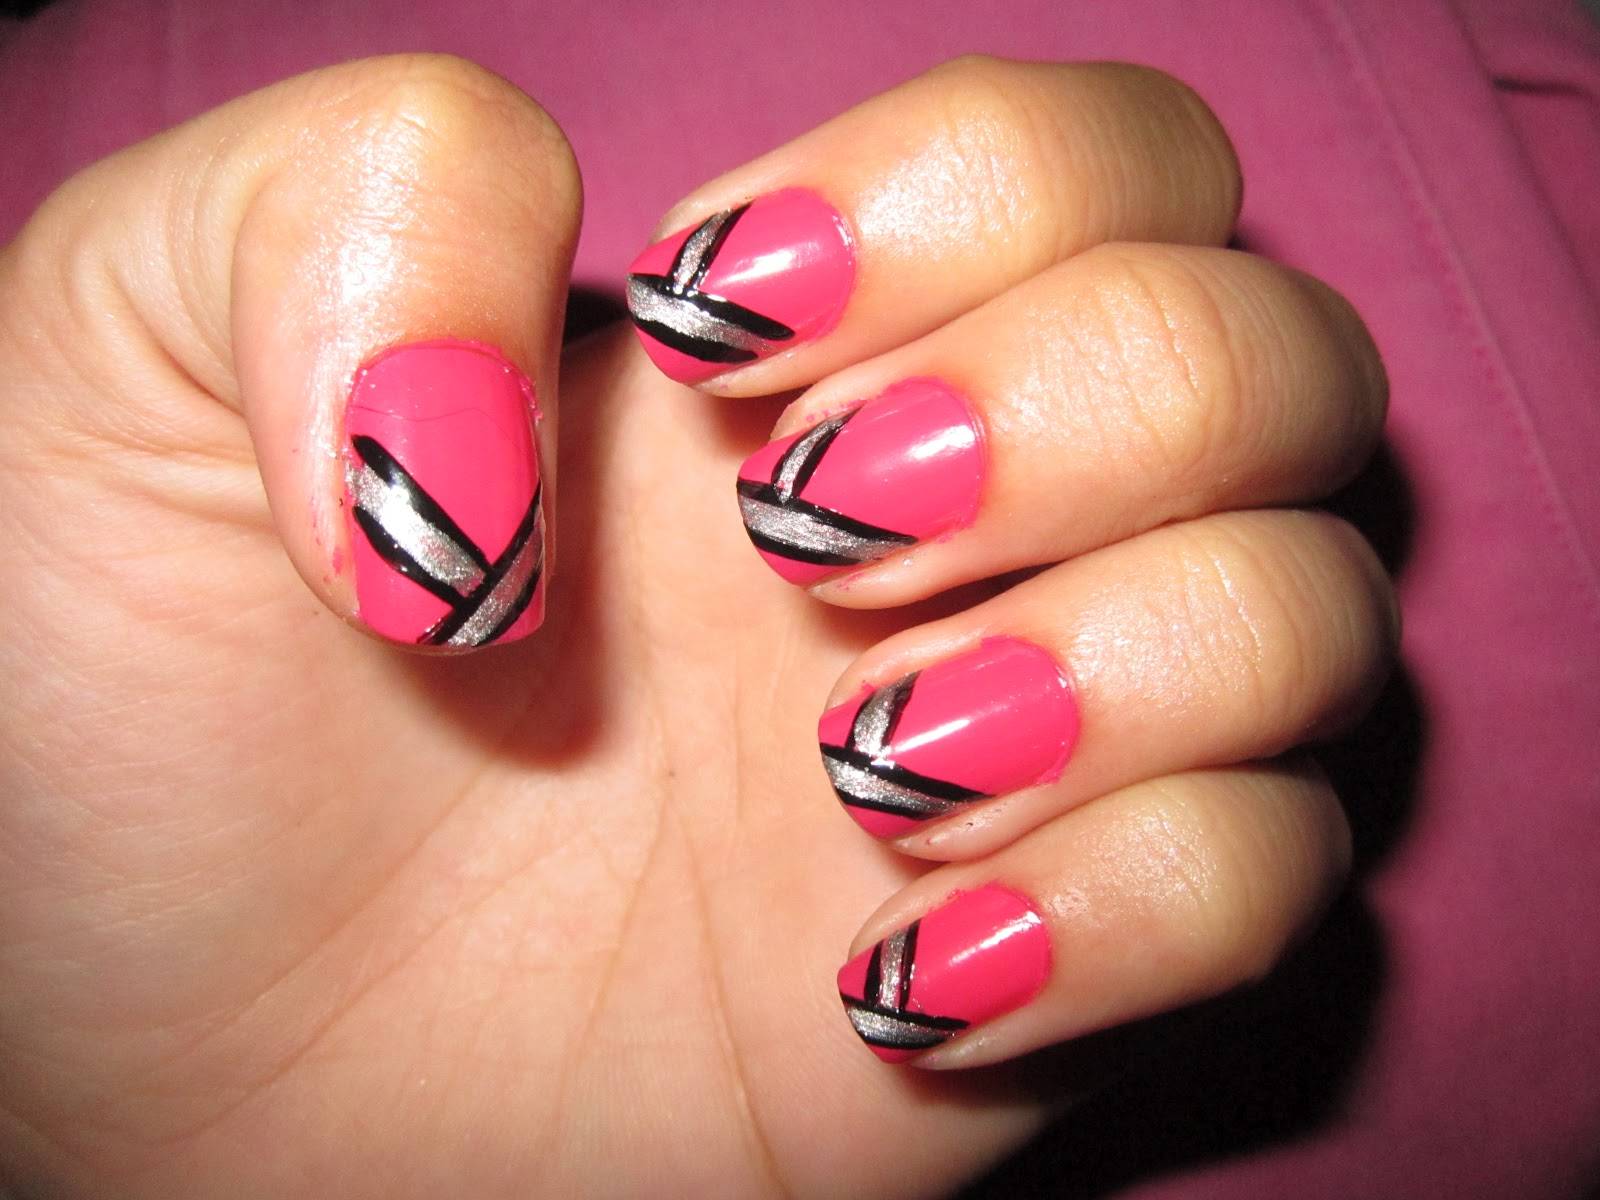
If you love a minimalist look, negative space nails are a great option. This design incorporates bare nail into the overall design for a cool and modern look. To achieve this look, you will need a base coat, a light pink polish, a black polish, and some striping tape. Start by applying your base coat and letting it dry. Then, paint your nails with the light pink polish and let it dry completely. Next, use the striping tape to create a diagonal line across your nails. Paint over the tape with the black polish and carefully remove the tape while the polish is still wet. Finish with a top coat for a chic and minimalist design.6. Negative Space Nails: A Chic and Minimalist DIY Nail Design
DIY Nail Art: Easy, Step-by-Step Instructions for 75 Creative Nail Looks
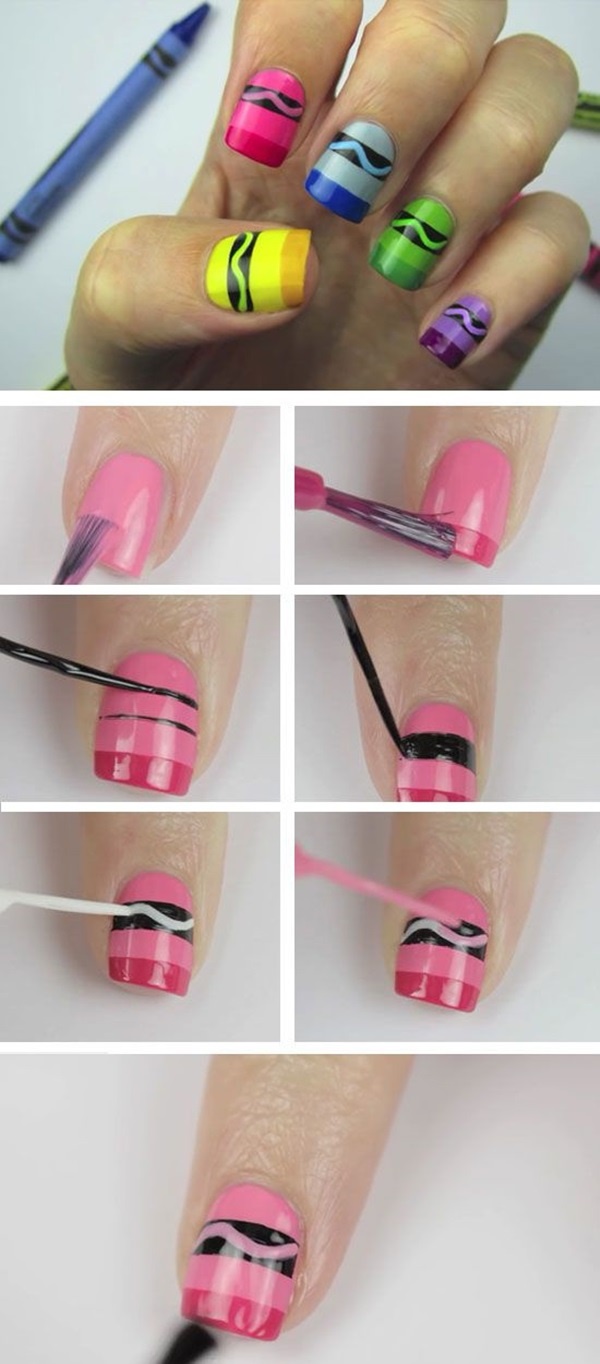
For those who love a bohemian and eclectic style, tribal nails are the perfect choice. This design is all about bold and colorful patterns, making it a great choice for summer or a tropical getaway. To create this look, you will need a base coat, a white polish, and a few bright and bold nail polish colors. Start by applying your base coat and letting it dry. Then, paint your nails with the white polish and let it dry completely. Using the other colors, create tribal-inspired patterns and designs on your nails. You can use a small nail art brush or even a toothpick to create the intricate patterns. Finish with a top coat for a fun and boho-chic look.7. Tribal Nails: A Boho and Eclectic DIY Nail Design
DIY Nail Art: Easy, Step-by-Step Instructions for 75 Creative Nail Looks
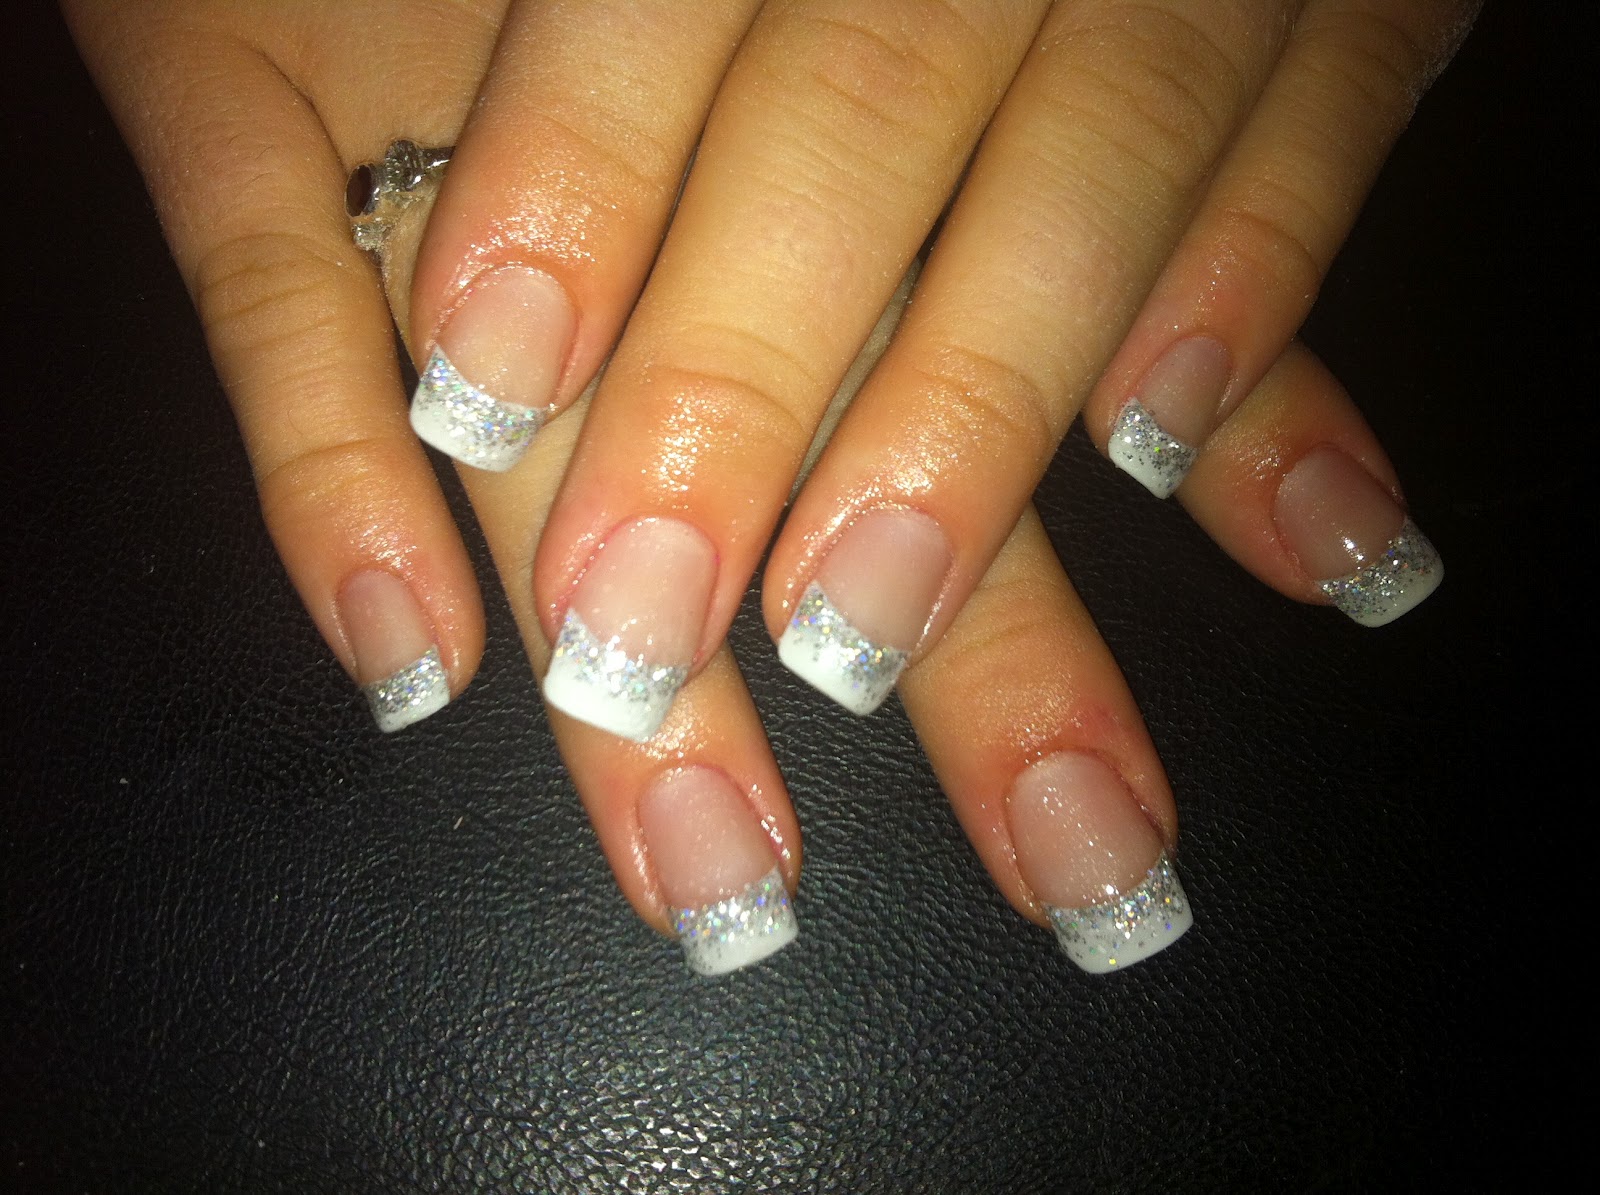
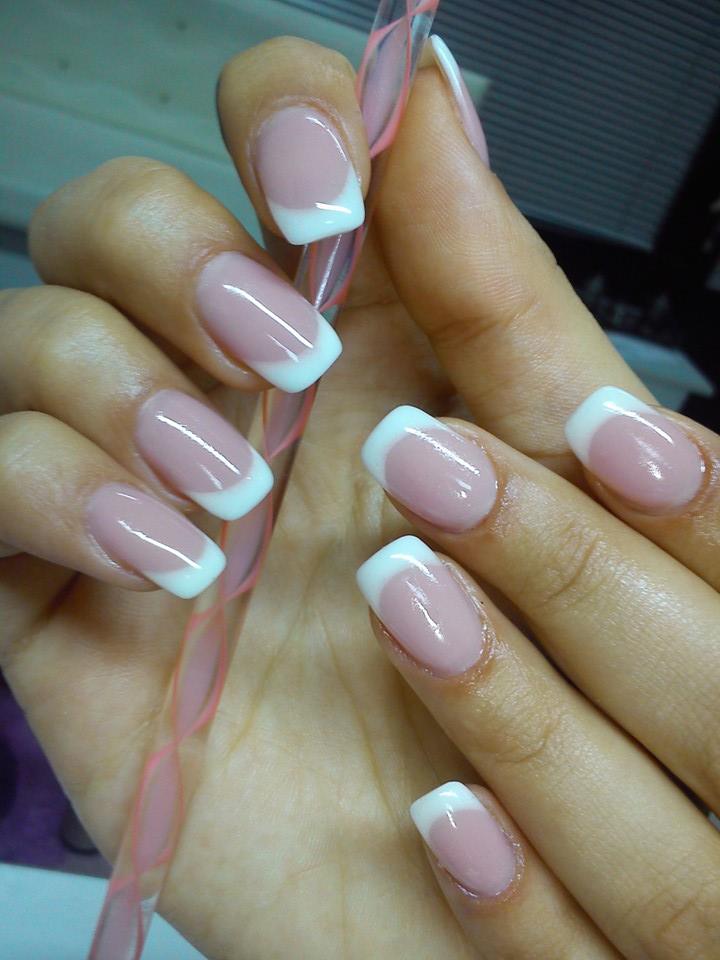
You can never go wrong with a classic French tip manicure. This timeless look is perfect for any occasion and can be easily achieved at home. To achieve this look, you will need a base coat, a nude or light pink polish, and a white polish. Start by applying your base coat and letting it dry. Then, paint your nails with the nude or light pink polish and let it dry completely. Using the white polish, create a thin line along the tips of your nails. You can use a small nail art brush or even a toothpick for precision. Finish with a top coat for a classic and elegant look.8. French Tip Nails: A Classic and Timeless DIY Nail Design

DIY Nail Art: Easy, Step-by-Step Instructions for 75 Creative Nail Looks
If you want to take your at-home manicure to the next level, galaxy nails are the way to go. This design is perfect for those who love a cosmic and out of this world look. To create this look, you will need a base coat, a black polish, a few shimmery nail polish colors, and a sponge. Start by applying your base coat and letting it dry. Then, paint your nails with the black polish and let it dry completely. Next, apply a few drops of the shimmery colors onto the sponge and lightly dab it onto your nails, creating a galaxy-like effect. You can also add some small white dots for stars. Finish with a top coat for a cosmic and magical look.9. Galaxy Nails: A Cosmic and Out of This World DIY Nail Design
DIY Nail Art: Easy, Step-by-Step Instructions for 75 Creative Nail Looks
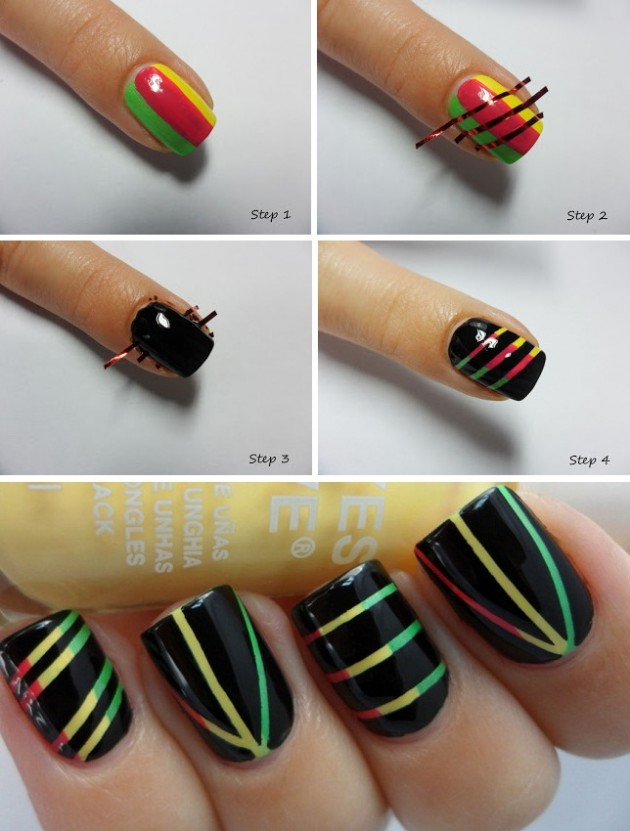
For a simple and versatile design, striped nails are always a great choice. This design can be dressed up or down, making it perfect for any occasion. To achieve this look, you will need a base coat, a nude or light pink polish, and a black polish. Start by applying your base coat and letting it dry. Then, paint your nails with the nude or light pink polish and let it dry completely. Using the black polish, create thin stripes on your nails. You can use a striping brush or even a toothpick for precision. You can create horizontal, vertical, or diagonal stripes, depending on your preference. Finish with a top coat for a classic and stylish look. In conclusion, with these easy and creative DIY nail designs, you can achieve salon-worthy nails right at home. Have fun and experiment with different colors, patterns, and techniques to find your perfect at-home manicure style. Remember to always use a base and top coat for long-lasting results and to take your time to ensure a flawless finish. Happy painting!10. Striped Nails: A Classic and Versatile DIY Nail Design
DIY Nail Art: Easy, Step-by-Step Instructions for 75 Creative Nail Looks

Create Stunning Nail Designs at Home with These Simple Tips

Transform Your Nails into a Work of Art
 Creating beautiful nail designs doesn't have to be expensive or time-consuming. With the right tools and tips, you can easily achieve salon-worthy nails at home. Not only will this save you money, but it also gives you the freedom to experiment and express your personal style. So, gather your favorite nail polishes and get ready to unleash your creativity with these do-it-yourself nail design ideas.
Gather Your Supplies
 The key to a successful at-home nail design is having the right tools and supplies. Make sure you have a good quality base coat and top coat, as well as a variety of colors and finishes to work with. You may also want to invest in some nail art tools such as dotting tools, nail art brushes, and striping tape. These will come in handy for creating more intricate designs.
Prepare Your Nails
 Before you begin, it's important to properly prepare your nails. Start by removing any old polish and shaping your nails with a file. Then, push back your cuticles and gently buff the surface of your nails to create a smooth base. This will help your polish adhere better and last longer.
Get Creative with Colors and Designs
 Now comes the fun part – choosing your colors and designs! You can keep it simple with a classic French manicure or get more adventurous with geometric patterns, ombre effects, or even floral designs. Don't be afraid to mix and match colors and experiment with different techniques.
Nail design do it yourself at home
opens up endless possibilities for creating unique and personalized nail art. You can also take inspiration from online tutorials and
nail design
Instagram accounts for new ideas.
Now comes the fun part – choosing your colors and designs! You can keep it simple with a classic French manicure or get more adventurous with geometric patterns, ombre effects, or even floral designs. Don't be afraid to mix and match colors and experiment with different techniques.
Nail design do it yourself at home
opens up endless possibilities for creating unique and personalized nail art. You can also take inspiration from online tutorials and
nail design
Instagram accounts for new ideas.
Finishing Touches
 Once your design is complete, it's important to seal it in with a top coat to prevent chipping and give it a glossy finish. You can also add some extra sparkle with glitter or rhinestones for a more glamorous look.
Practice Makes Perfect
 As with any skill,
do it yourself nail design at home
takes practice. Don't get discouraged if your first attempt doesn't turn out exactly how you envisioned it. Keep practicing and experimenting with different techniques until you find what works best for you.
In conclusion, achieving stunning nail designs at home is easier than you think. With the right supplies, preparation, and creativity, you can create beautiful nails that are sure to turn heads. So why not give it a try and see the amazing results for yourself?
As with any skill,
do it yourself nail design at home
takes practice. Don't get discouraged if your first attempt doesn't turn out exactly how you envisioned it. Keep practicing and experimenting with different techniques until you find what works best for you.
In conclusion, achieving stunning nail designs at home is easier than you think. With the right supplies, preparation, and creativity, you can create beautiful nails that are sure to turn heads. So why not give it a try and see the amazing results for yourself?


