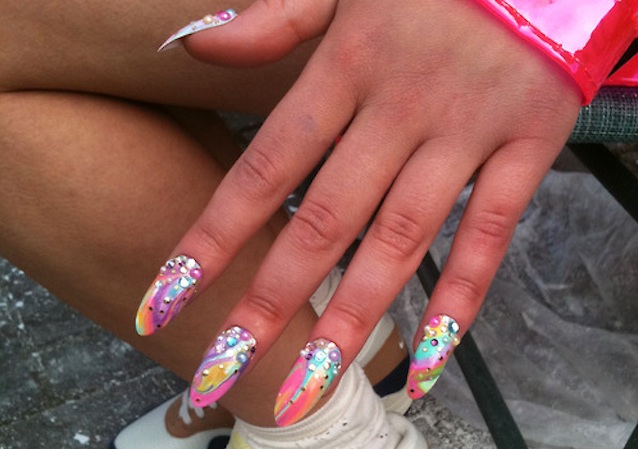
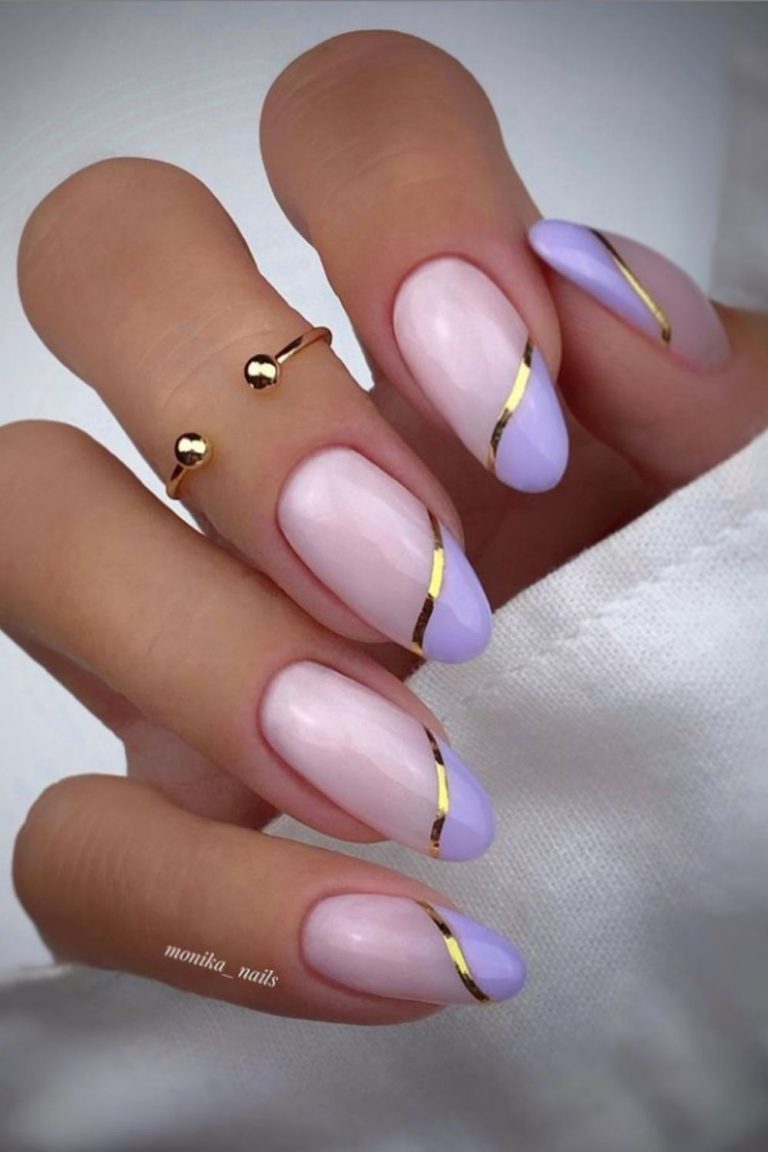
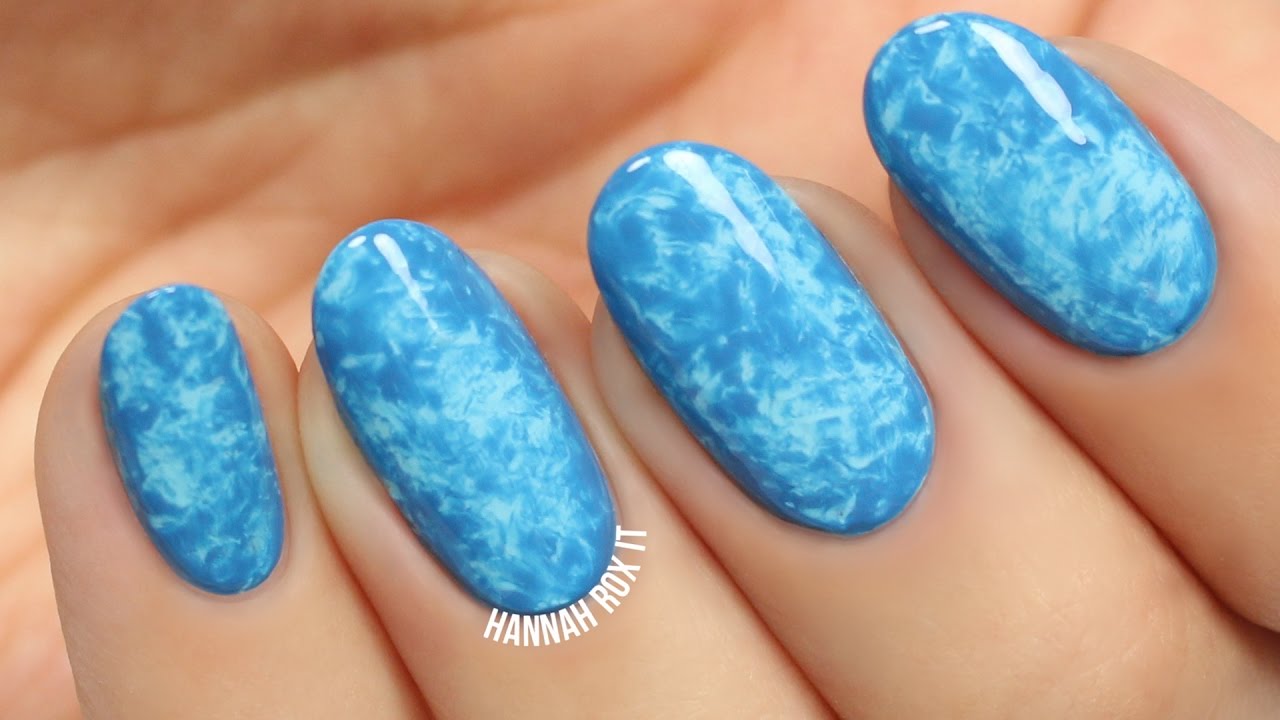
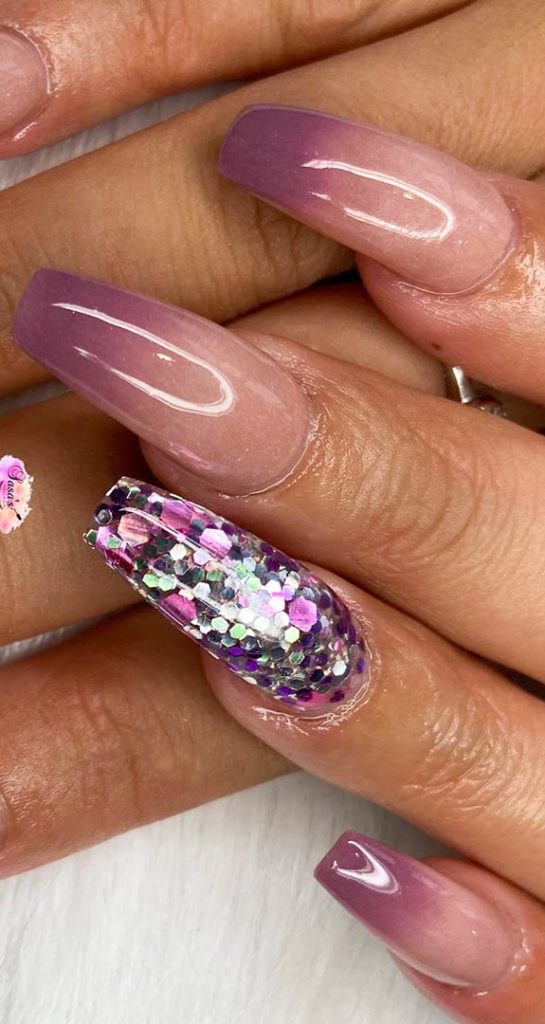
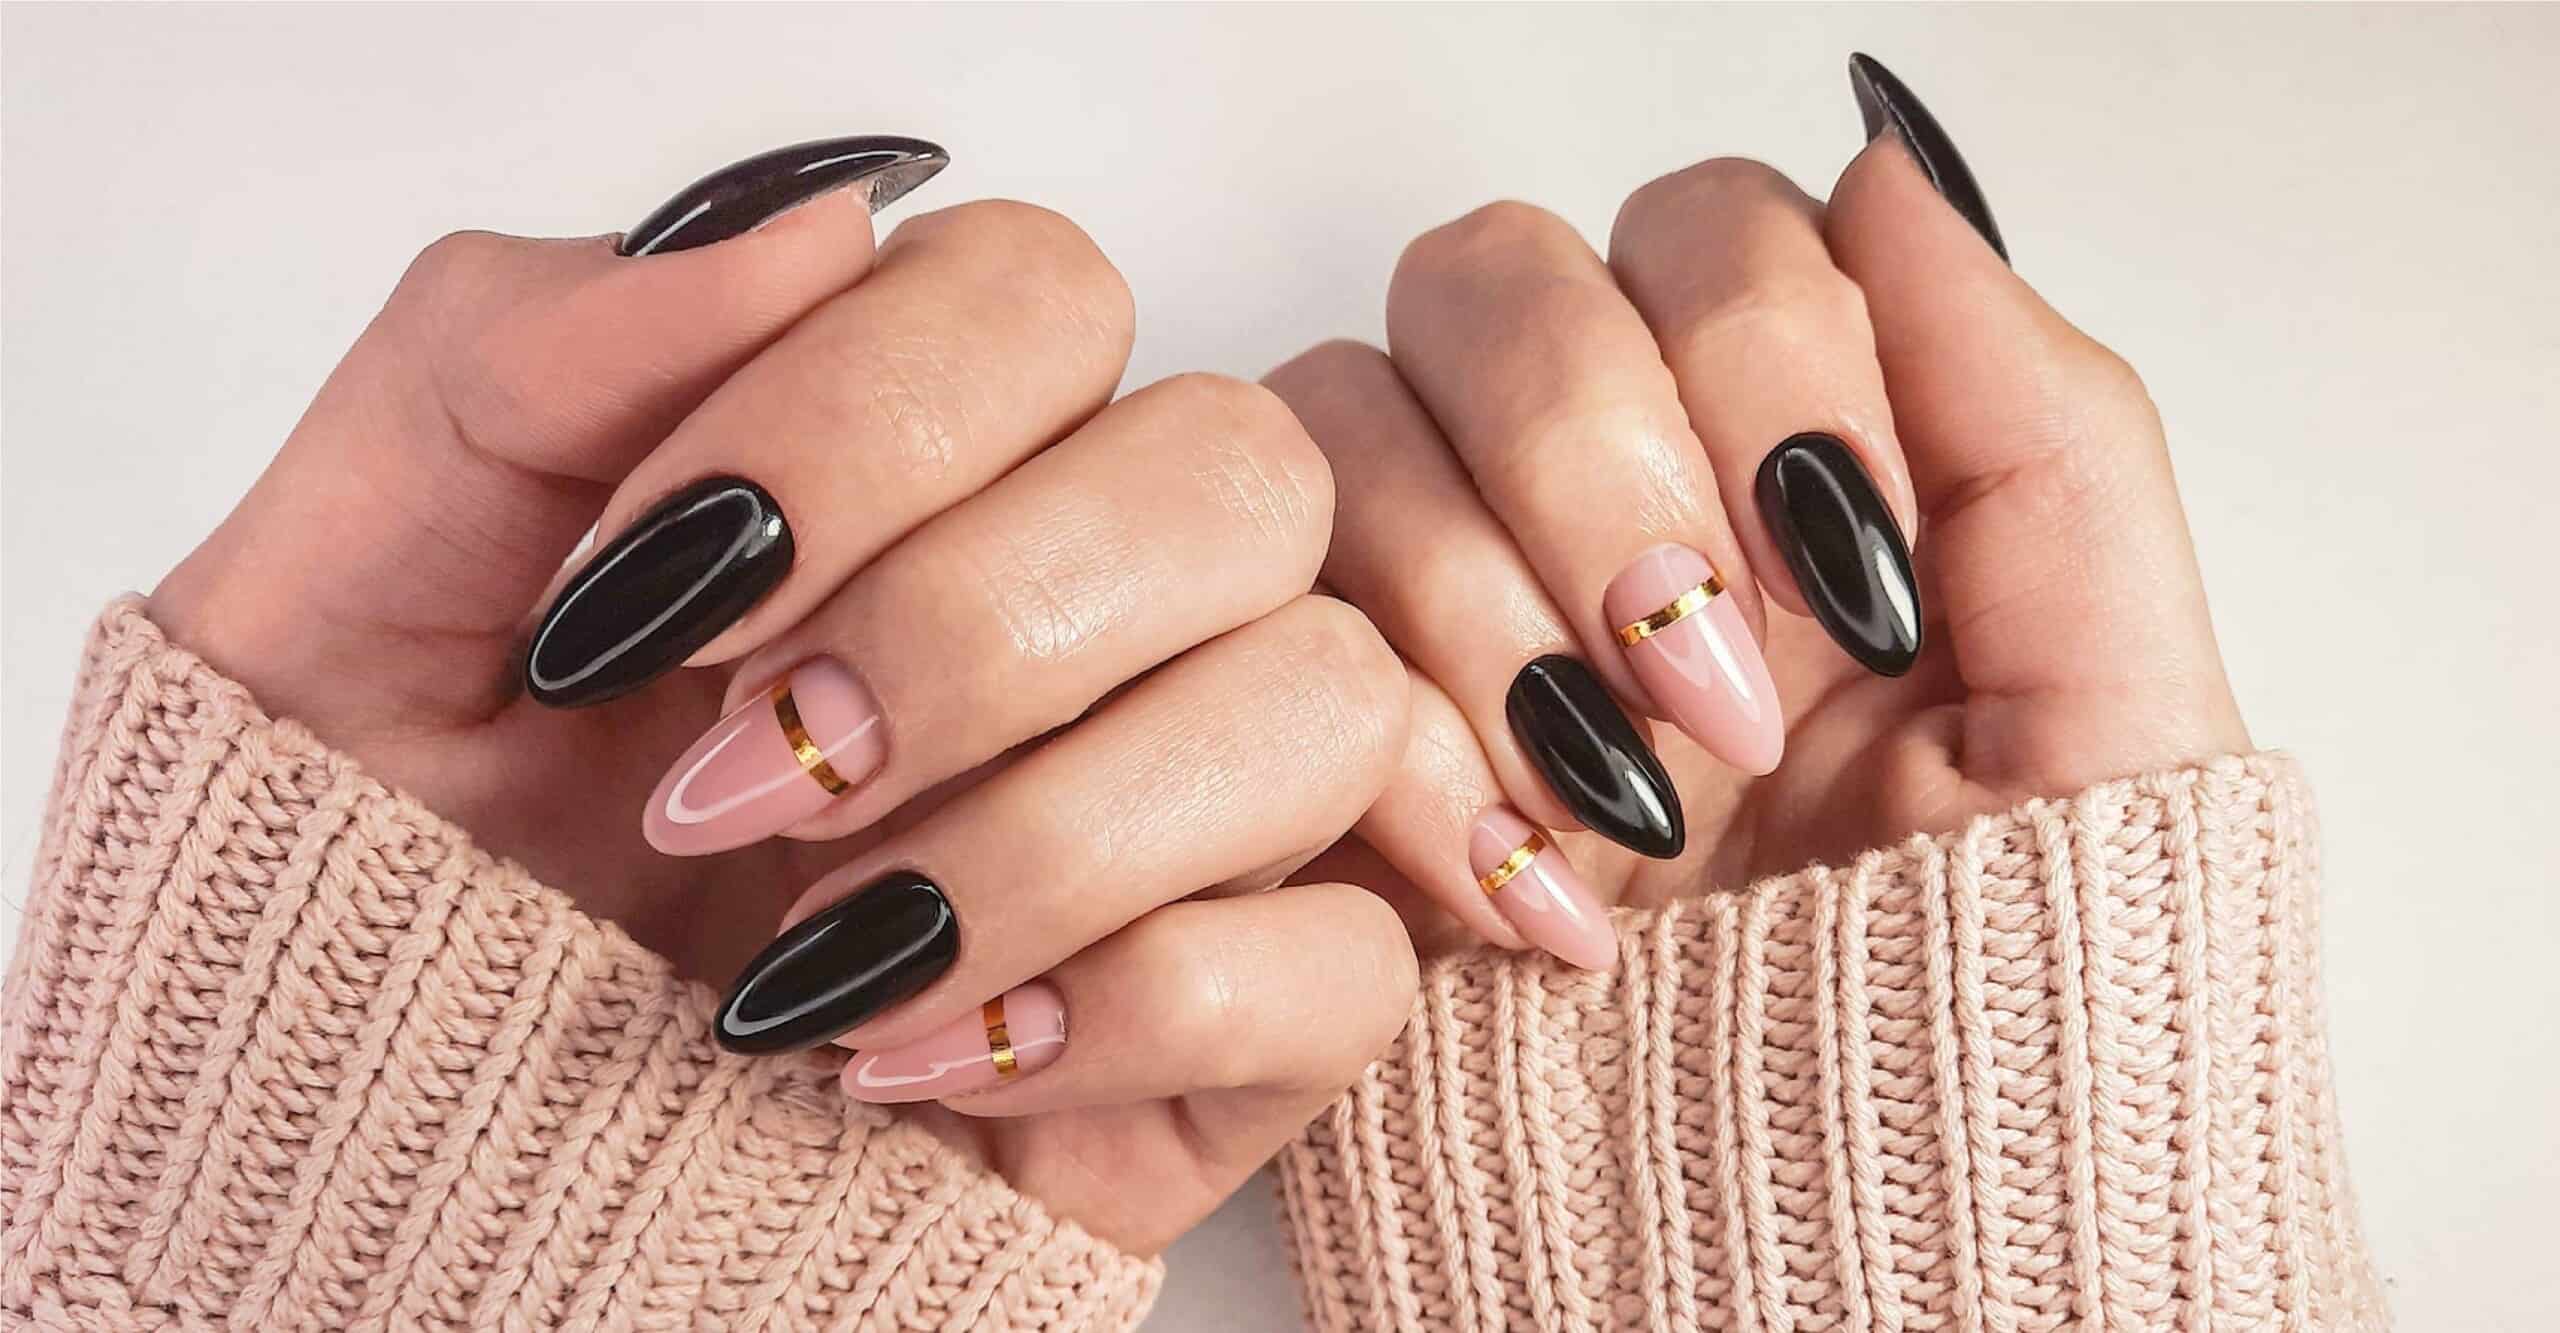
Nail art has become a popular way to express creativity and style on your fingernails. From simple designs to intricate patterns, there are endless possibilities when it comes to nail art. One of the most unique and eye-catching techniques is water marble nail art. This technique involves using water to create a marble-like pattern on your nails, resulting in a beautiful and one-of-a-kind design. Water marble nail art may seem daunting at first, but with a little practice and the right tools, you can achieve stunning results. Here's how to create your own water marble nail art at home.Water Marble Nail Art


Water Marble Nail Art


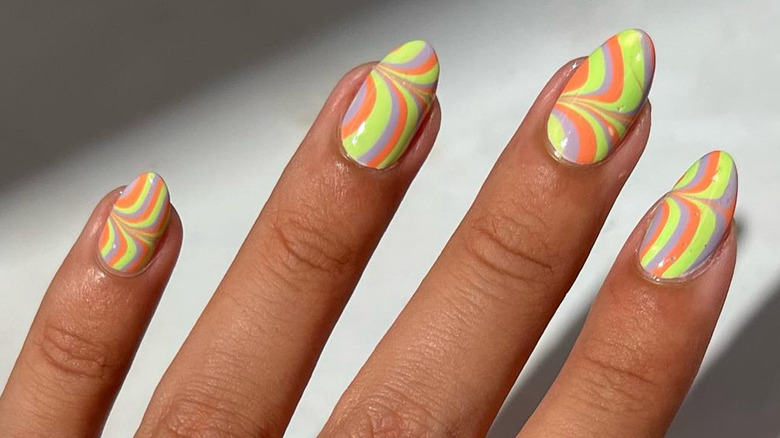

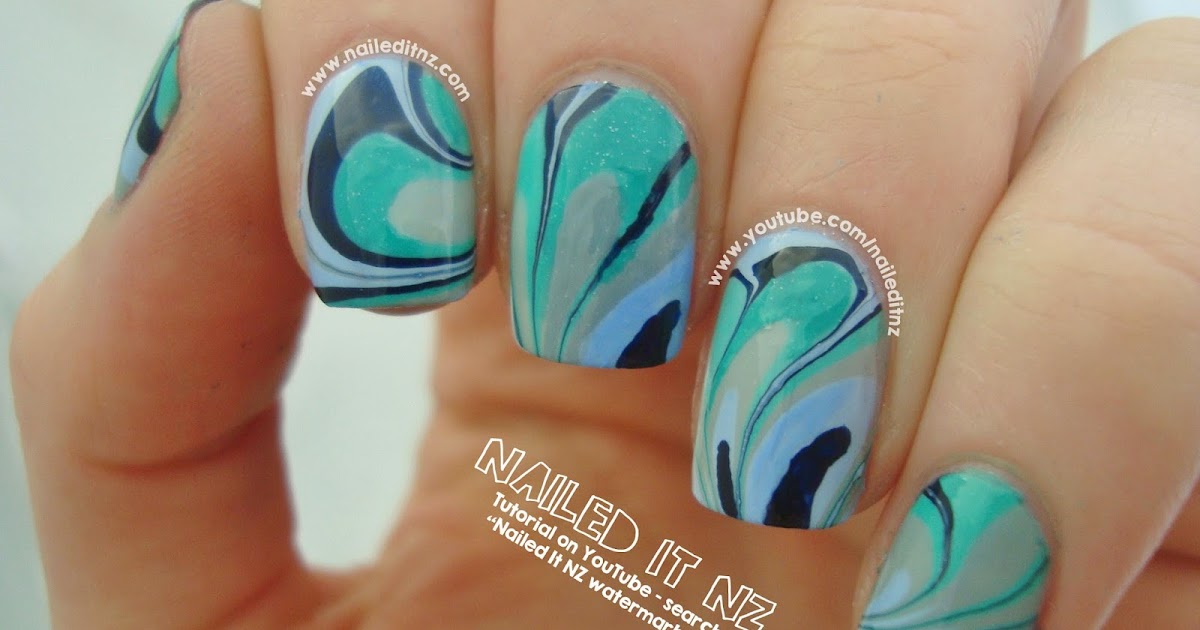


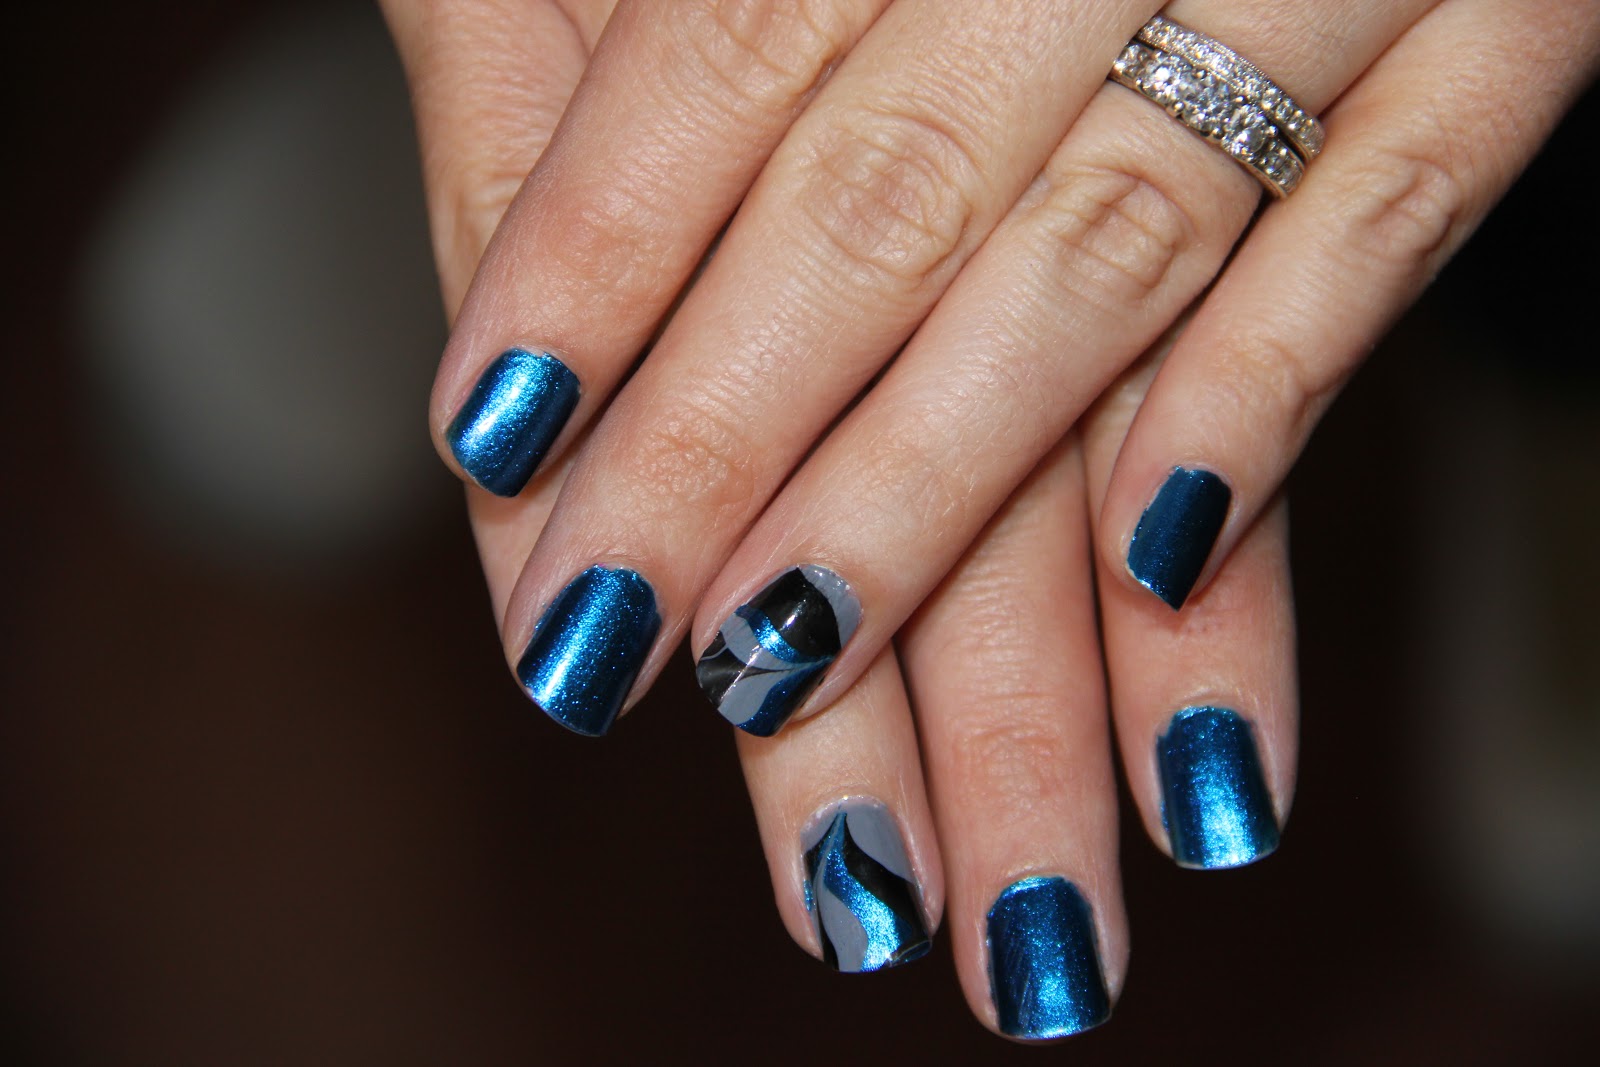
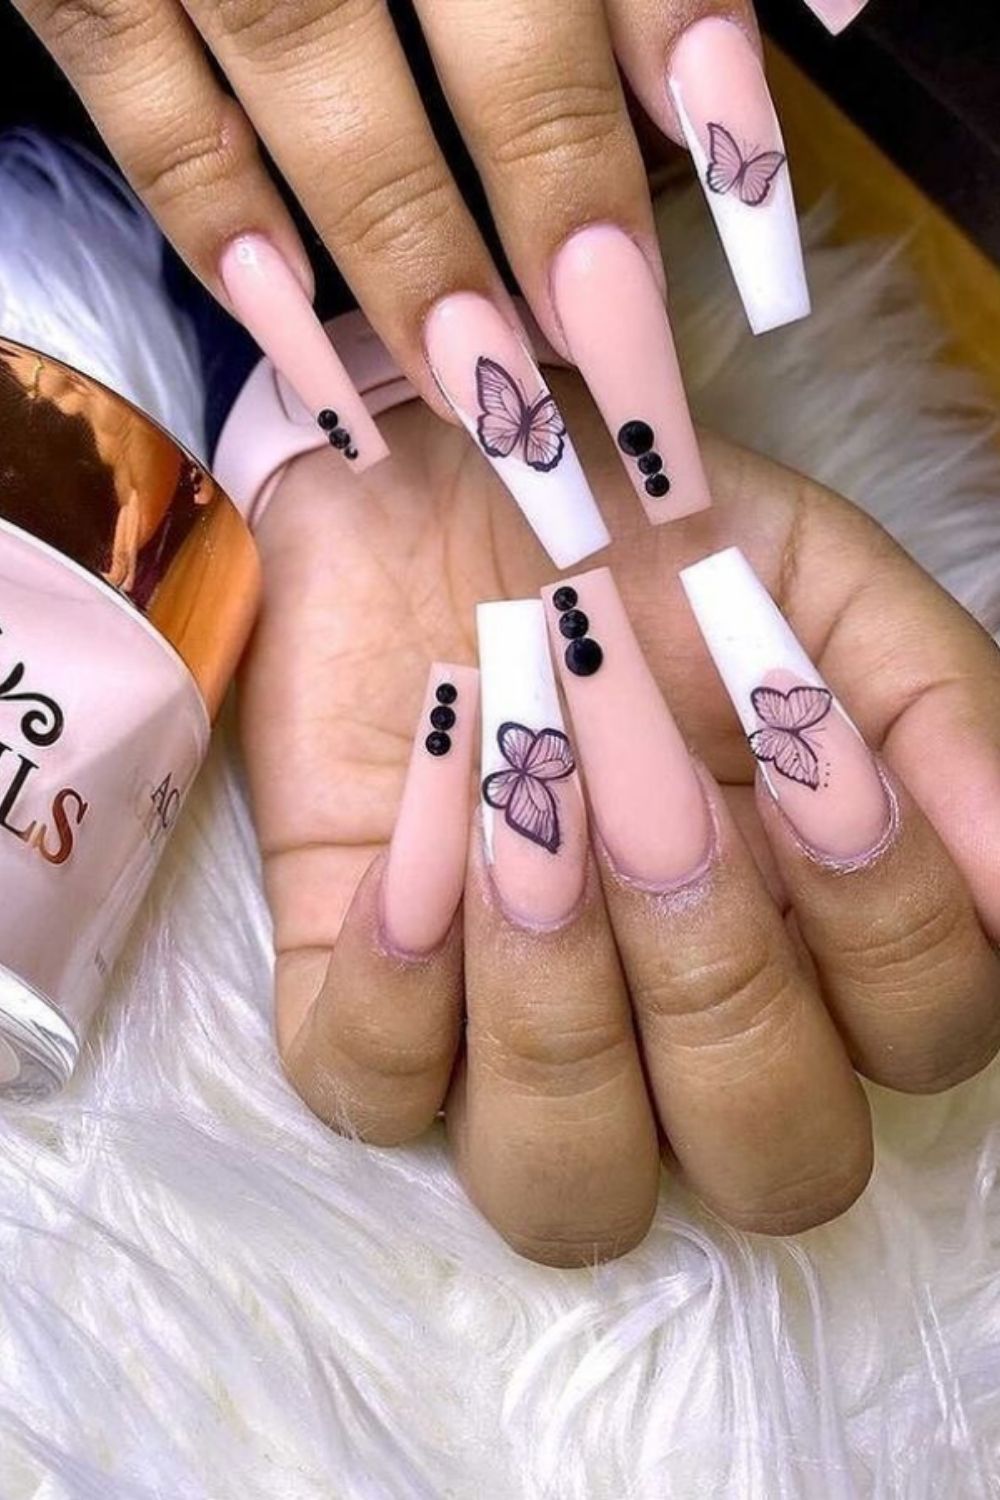
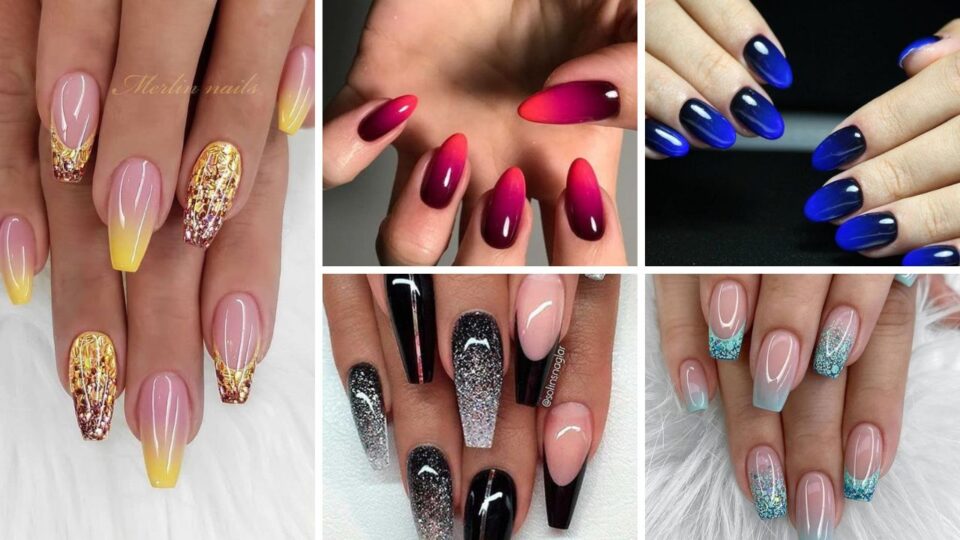
Before you begin, gather all the necessary supplies. You will need a small bowl of room temperature water, nail polish in your desired colors, a toothpick or small brush, tape, and a base coat and top coat. Start by applying the base coat to protect your nails and help the polish adhere better. Then, apply a layer of light-colored nail polish to all your nails and let it dry completely. Next, take your chosen nail polish colors and start dropping a few drops of each into the water. Use the toothpick or brush to create a design by swirling the colors around in the water. You can create different patterns and effects depending on how you move the colors around. Once you are happy with your design, carefully dip one finger into the water and hold it in for a few seconds. Then, use a toothpick to remove any excess polish from the surface of the water before pulling your finger out. Use tape to protect the skin around your nail and then slowly remove your finger from the water. You'll see the design has transferred onto your nail. Repeat this process for each nail and let them dry completely before applying a top coat to seal in the design.How to do Water Marble Nails


How to do Water Marble Nails


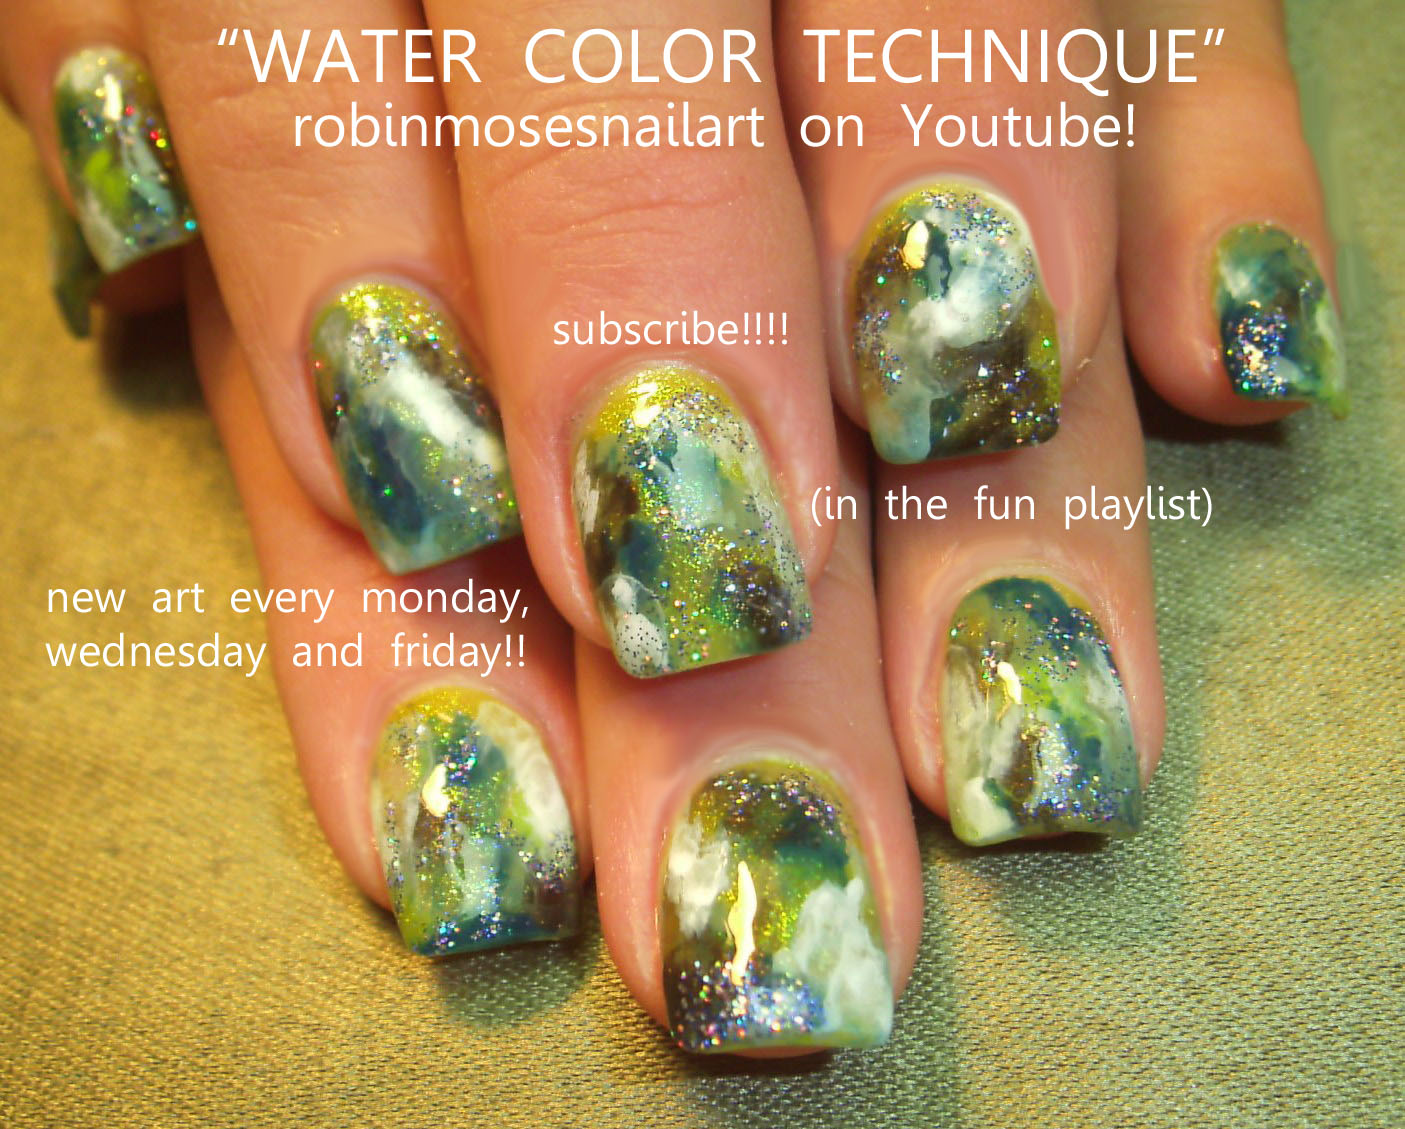
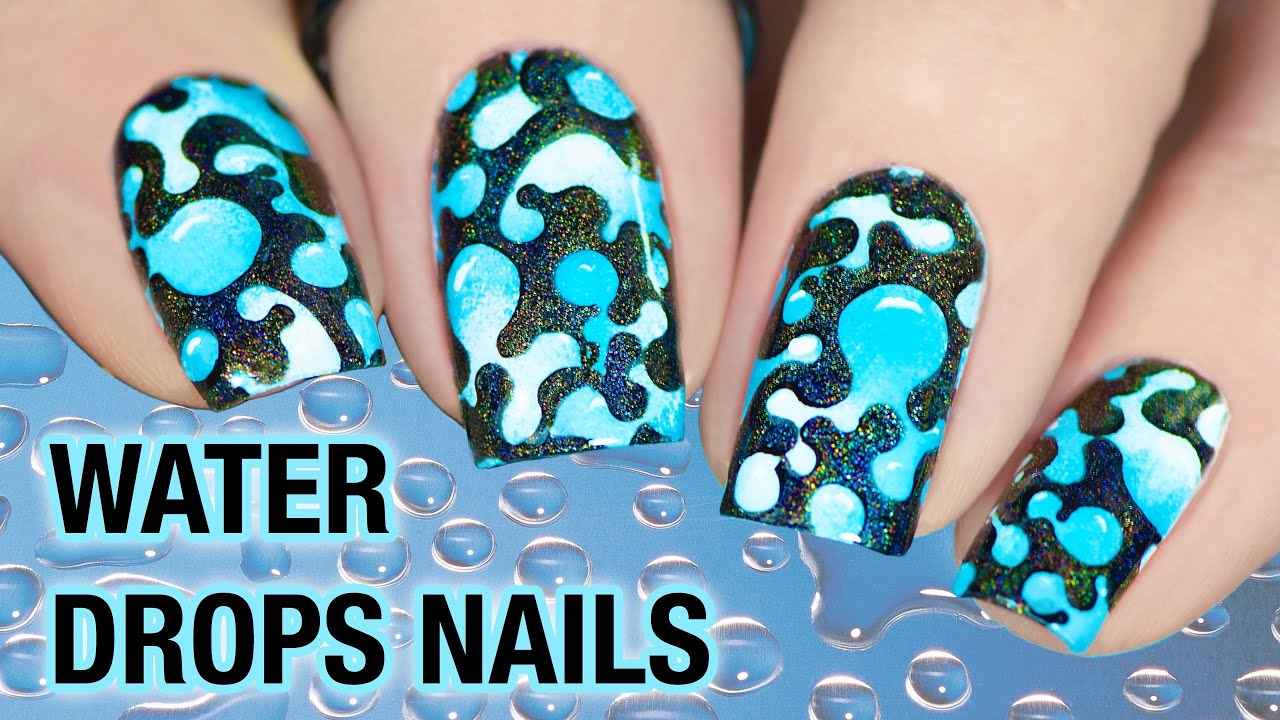
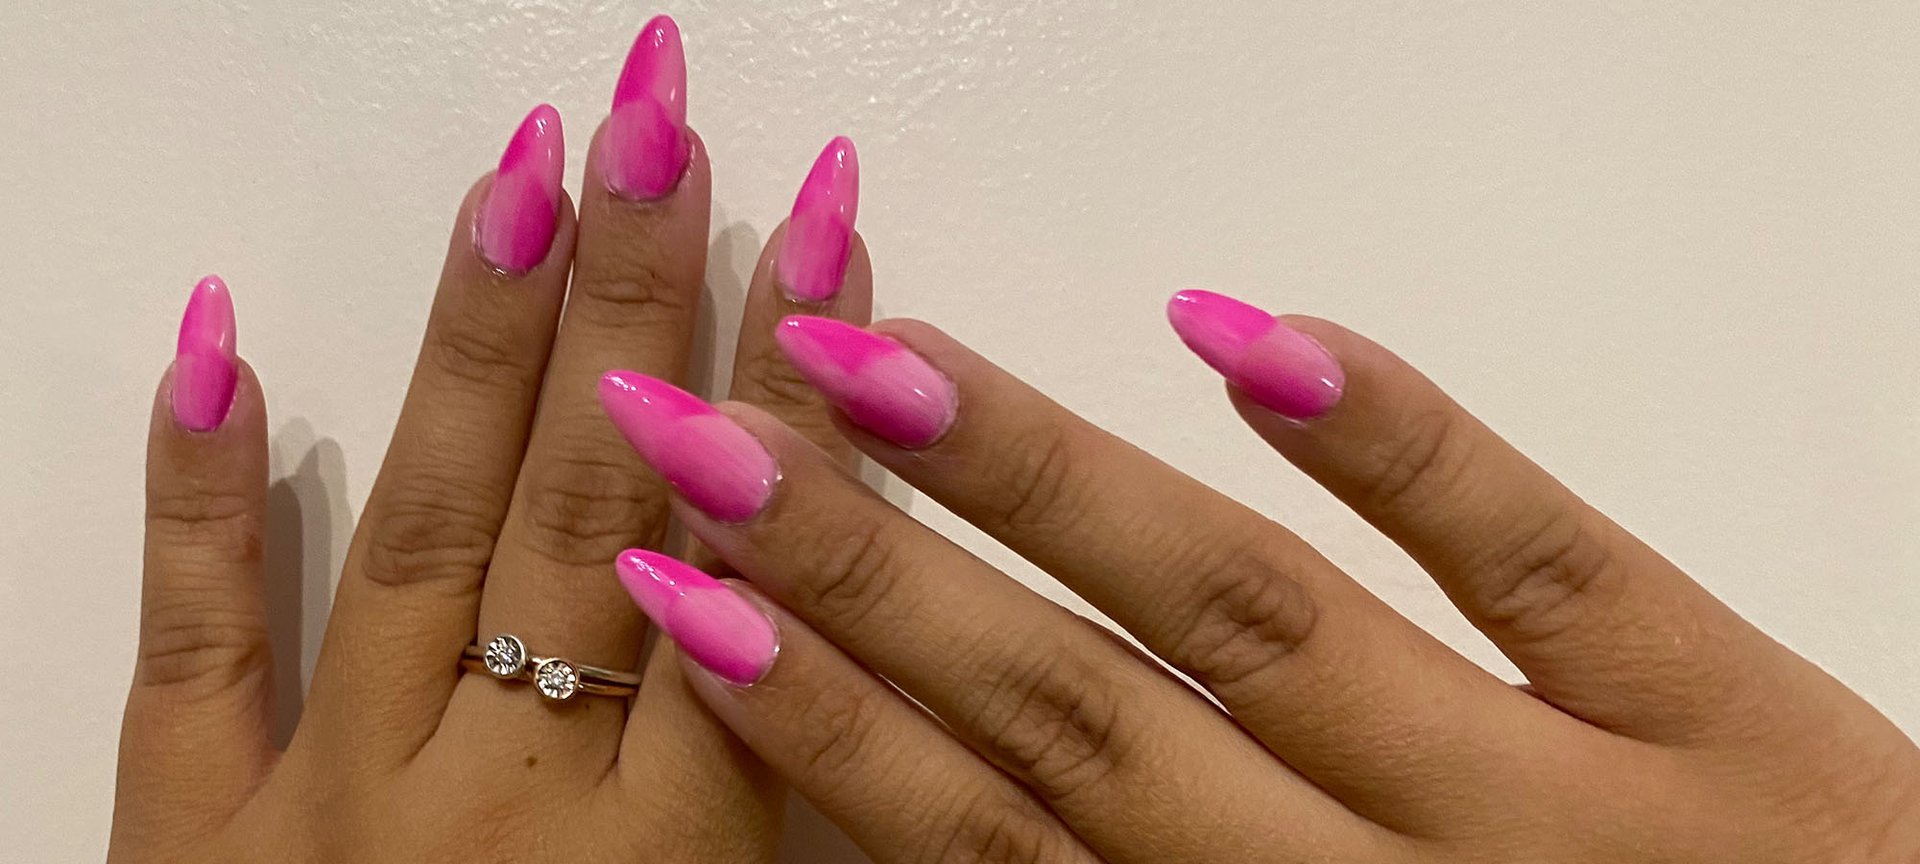
Aside from water marble nail art, there are other fun and unique ways to incorporate water into your nail designs. One of these is using watercolor techniques to create a soft and dreamy effect on your nails. This can be achieved by blending different colors of nail polish directly on the nail using a brush or sponge. You can also create a water droplet effect by using a straw to blow small droplets of nail polish onto your nails. This creates a splattered and abstract design that is perfect for a bold statement.Nail Art with Water


Nail Art with Water


Watercolor nail design is a popular choice among nail artists for its soft and ethereal look. To achieve this, start by applying a white or light-colored base coat. Then, using a thin brush, apply different shades of nail polish in a watercolor-like pattern. Finally, add a top coat to seal in the design and give it a glossy finish.Watercolor Nail Design

Watercolor Nail Design


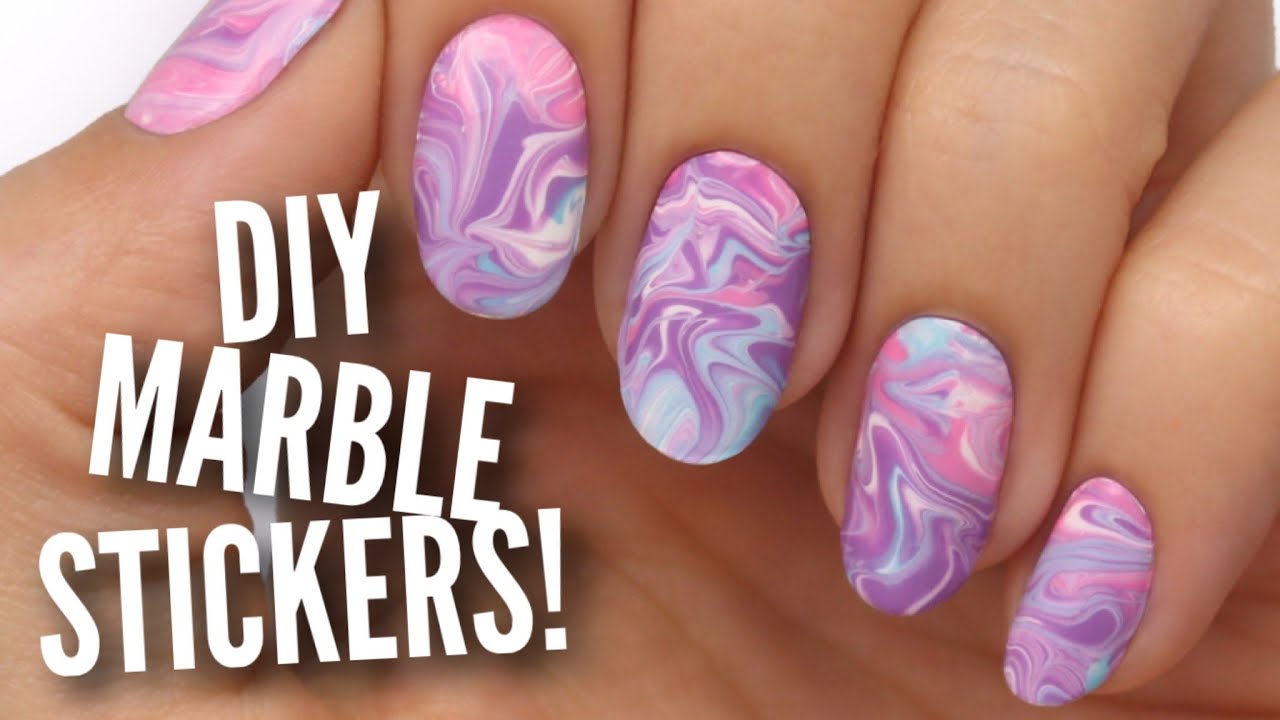
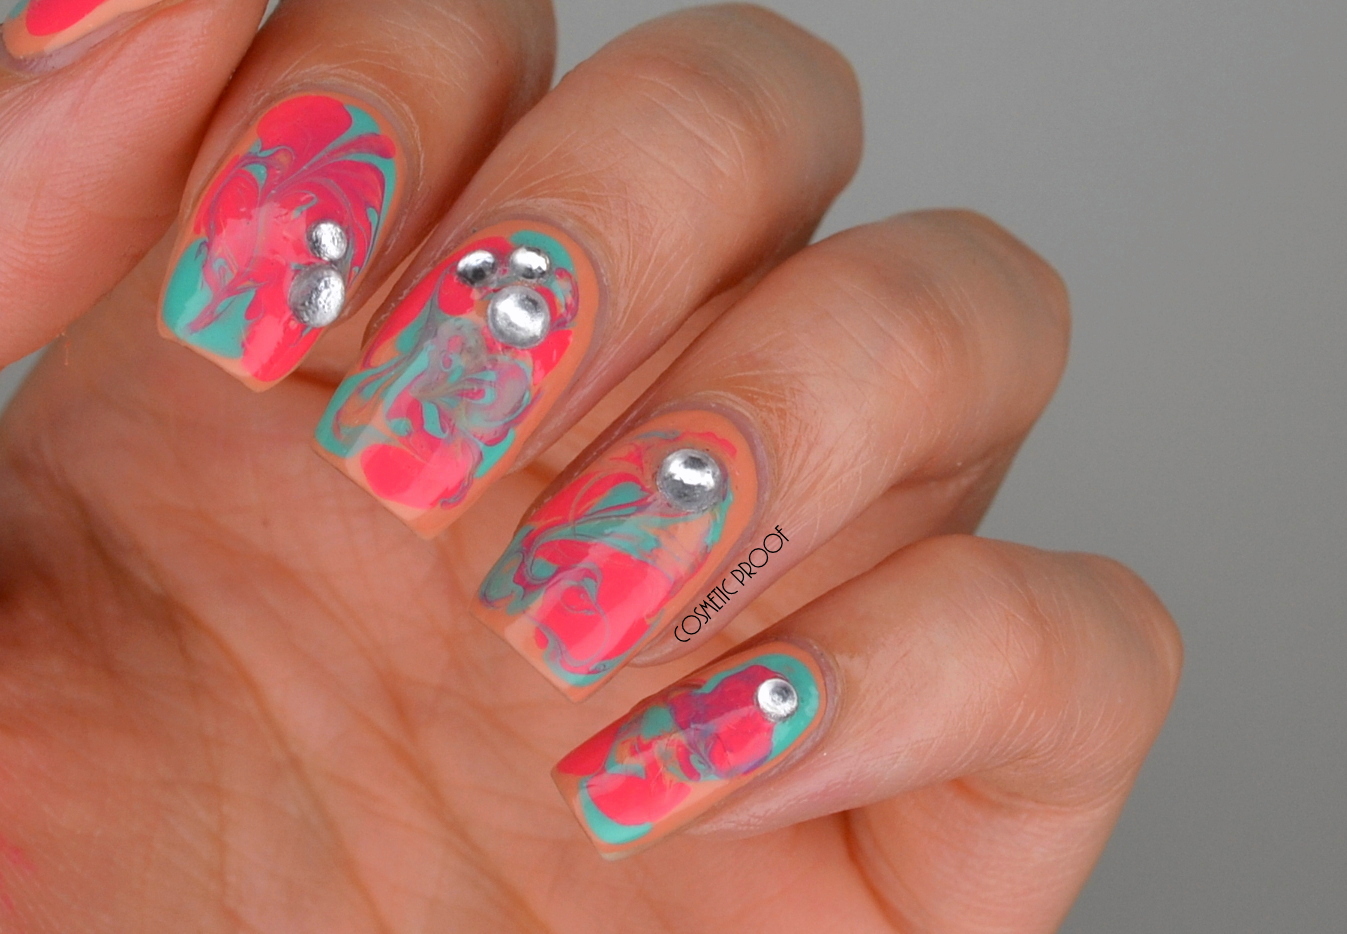
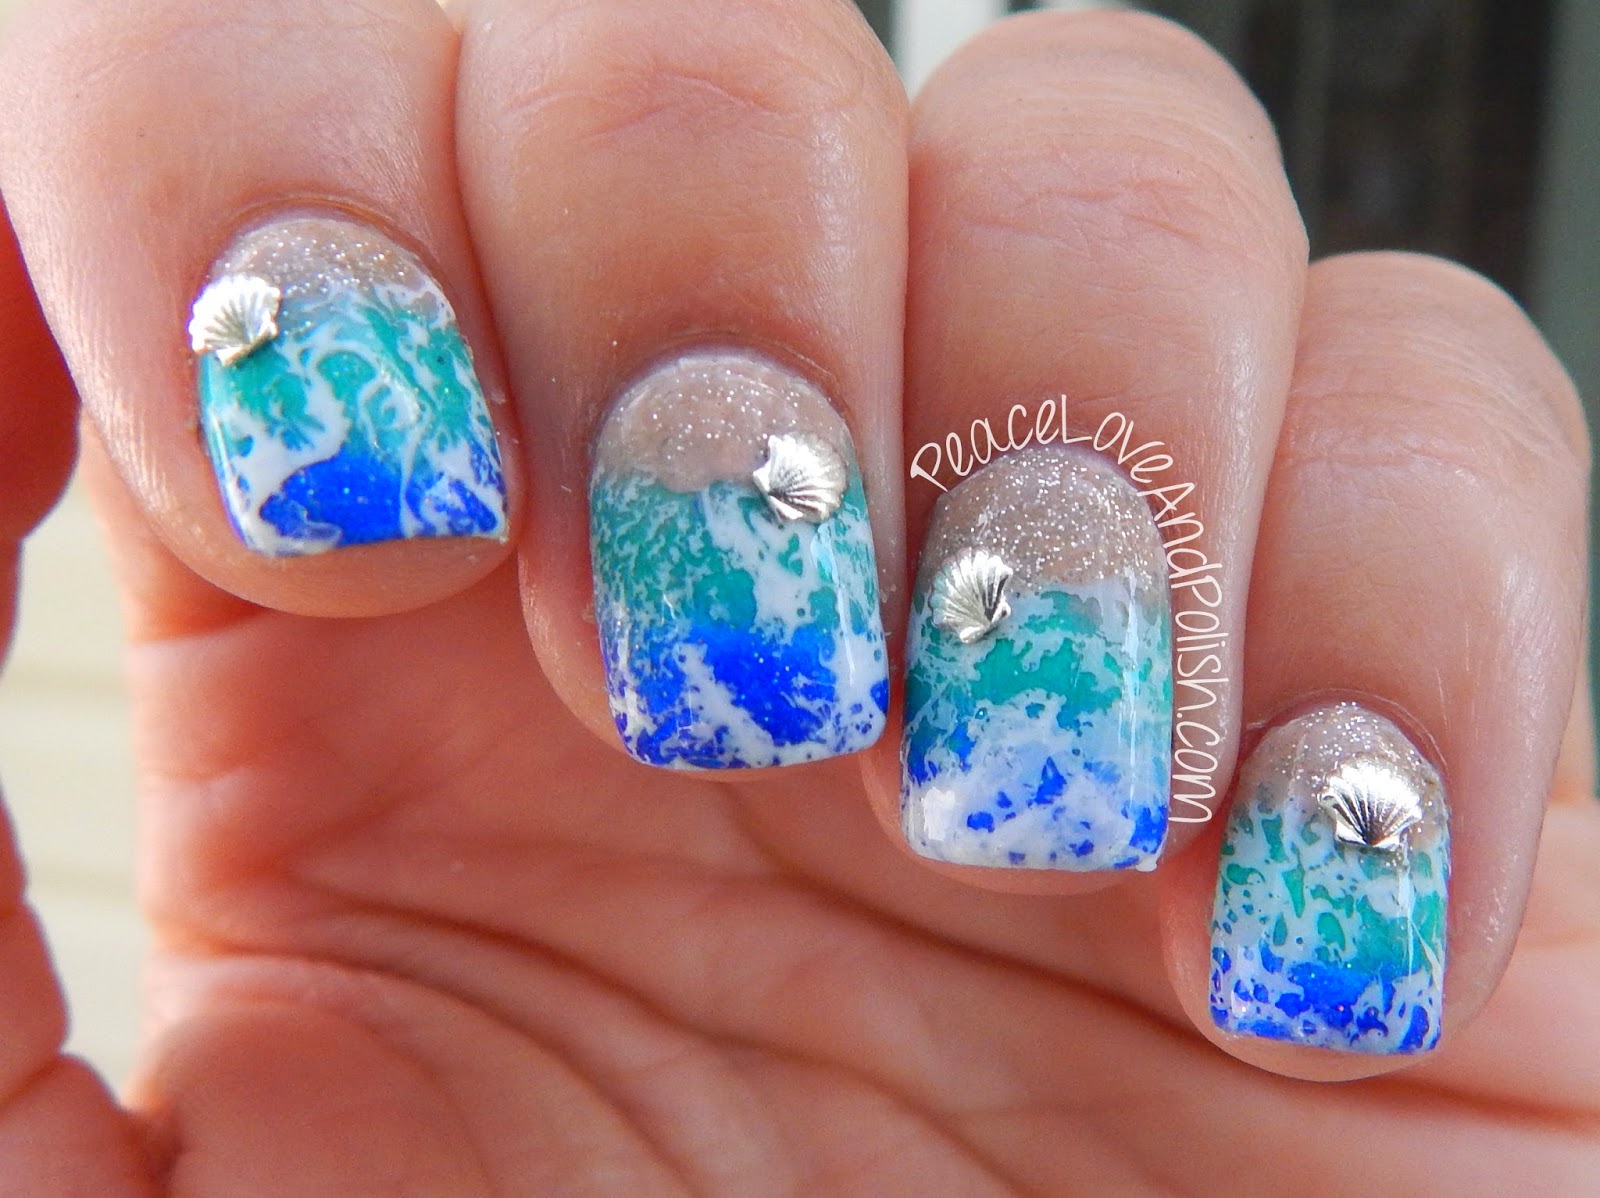
Similar to water marble nail art, you can also create a marbled effect by using a plastic bag instead of water. Start by painting your nails with a base color and let it dry completely. Then, apply a few drops of different colored nail polish onto the plastic bag and use a toothpick to swirl them around and create a marbled pattern. Press your nail onto the design and carefully peel it off to transfer the pattern onto your nail. This method may take some practice, but the end result is worth it.Marble Nail Design with Water


Marble Nail Design with Water

.jpg)


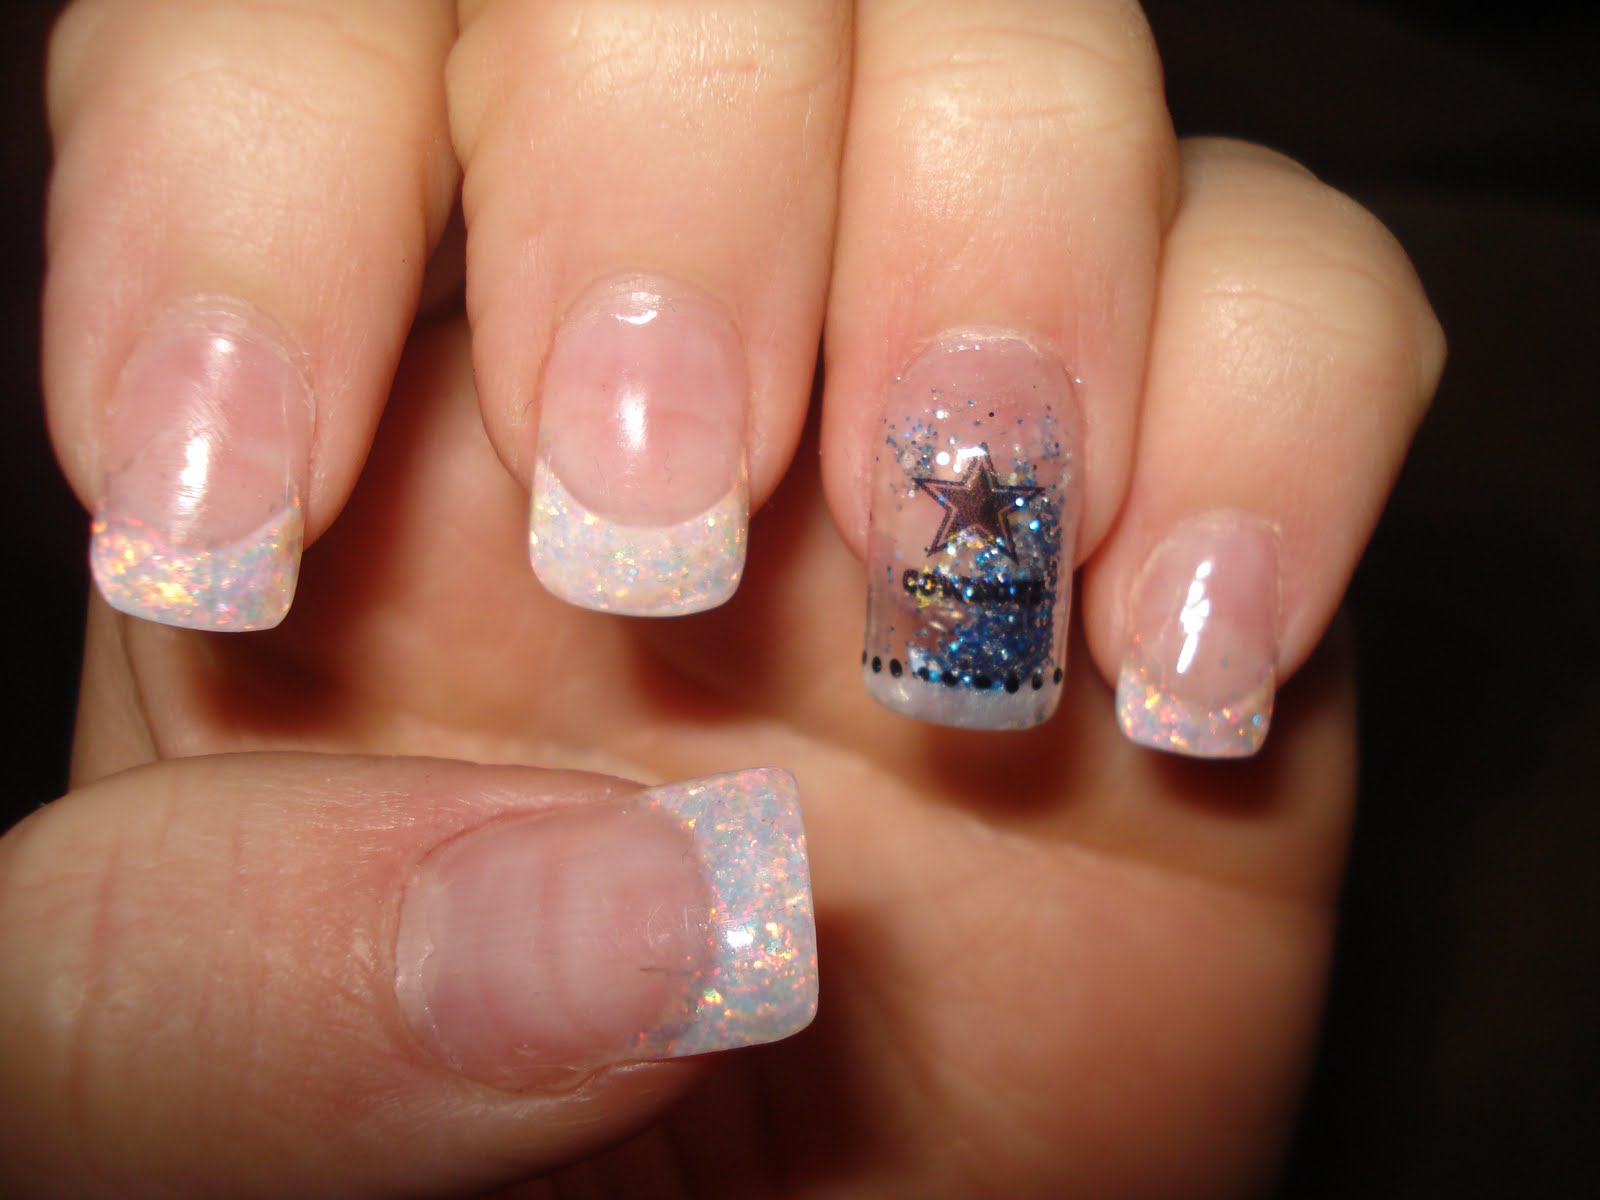
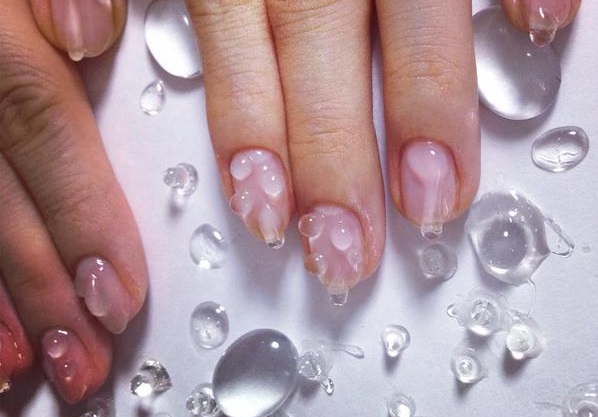
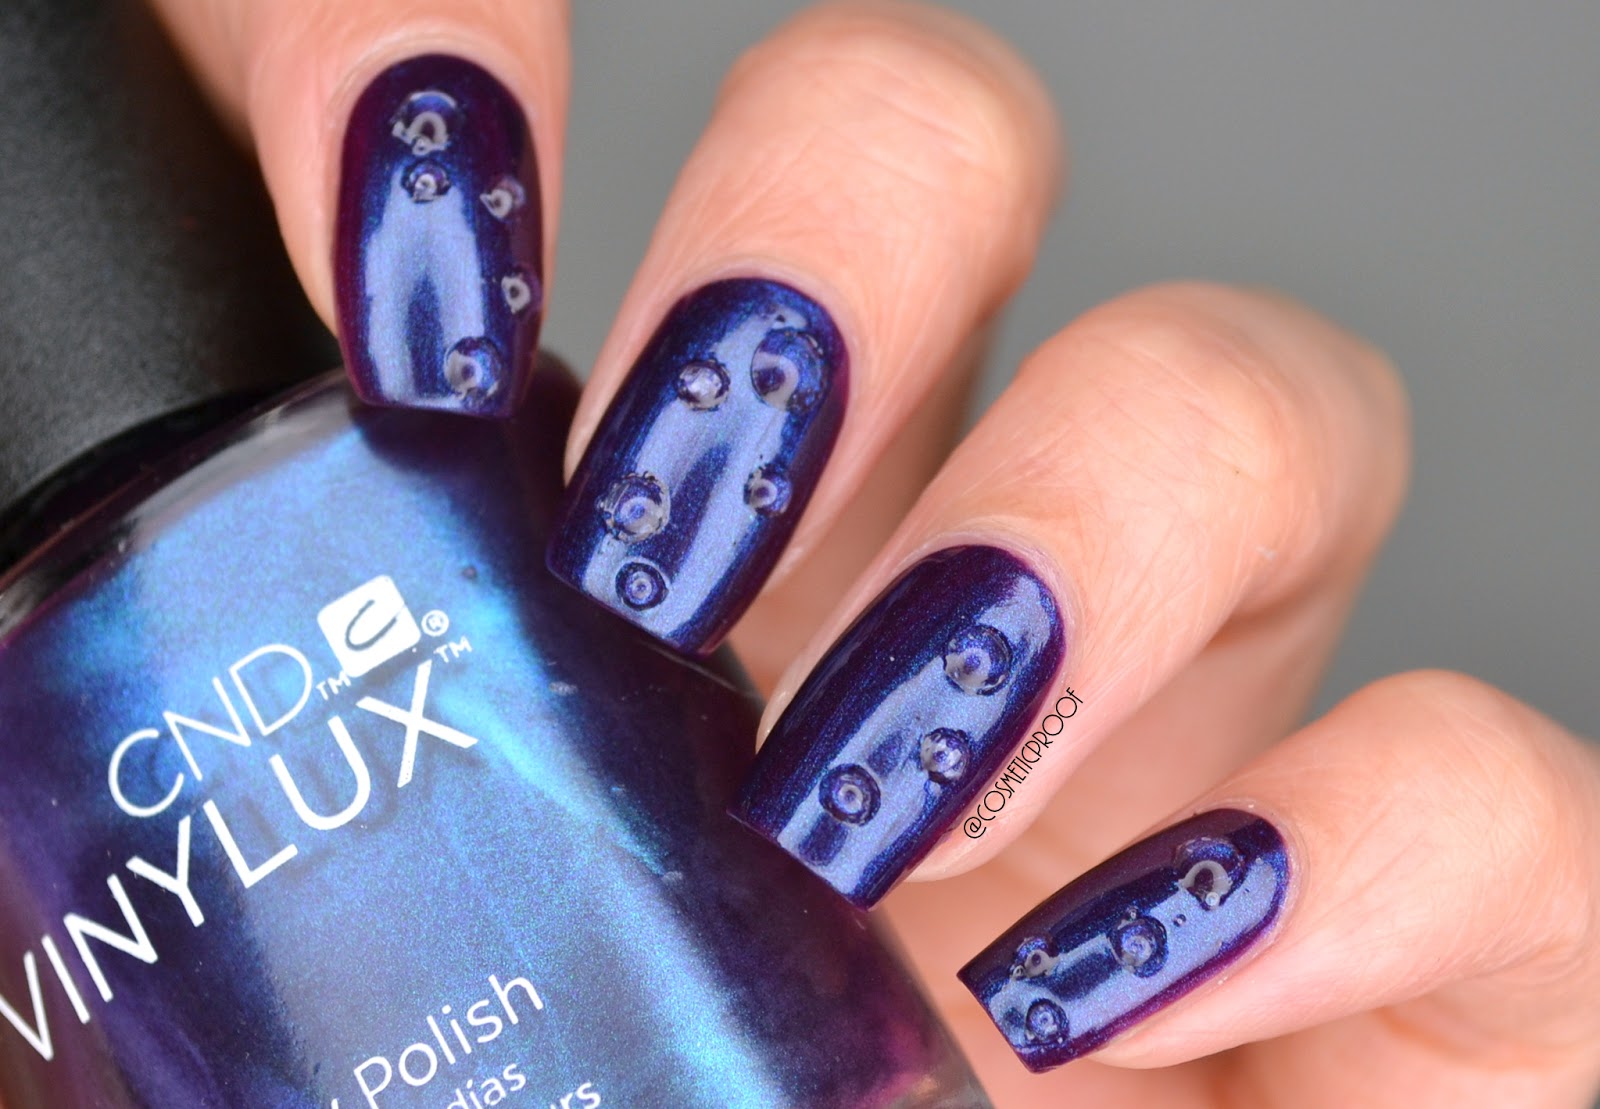
For a simple yet eye-catching design, try the water droplet nail design. Start by painting your nails with a light-colored base coat and let it dry completely. Then, using a toothpick or small brush, create small droplets of nail polish in different colors. Let them dry and finish with a top coat for a glossy finish.Water Droplet Nail Design


Water Droplet Nail Design


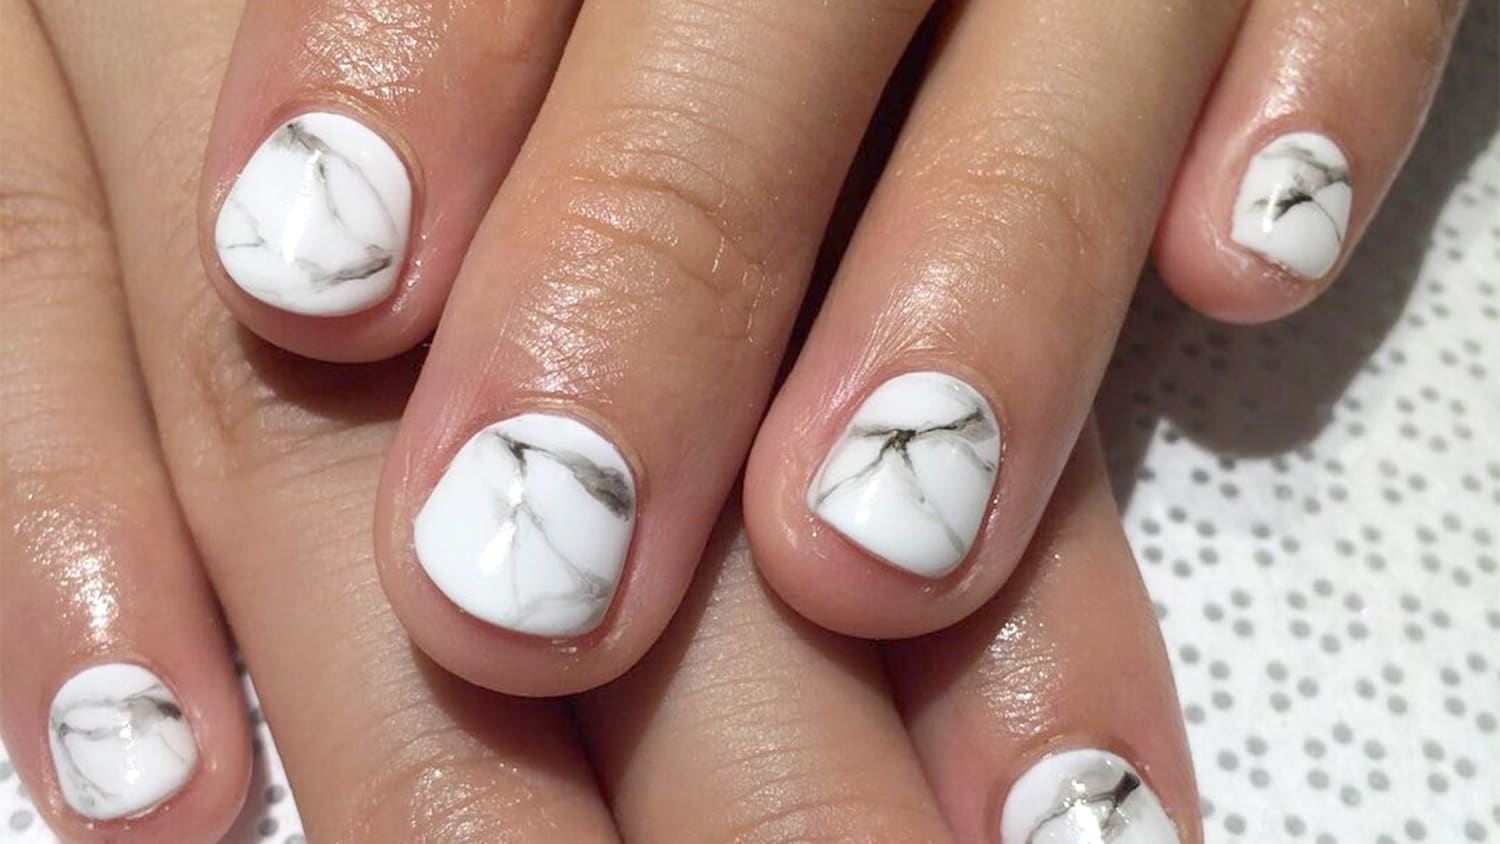
Floral designs are a classic choice for nail art, and you can create a watercolor version by using a thin brush and different shades of nail polish. Start by painting your nails with a light-colored base coat and let it dry completely. Then, using a thin brush, create small flower shapes with different colors of nail polish. You can also add small details like leaves and stems for a more realistic look. Finish with a top coat to seal in the design.Watercolor Flower Nail Design

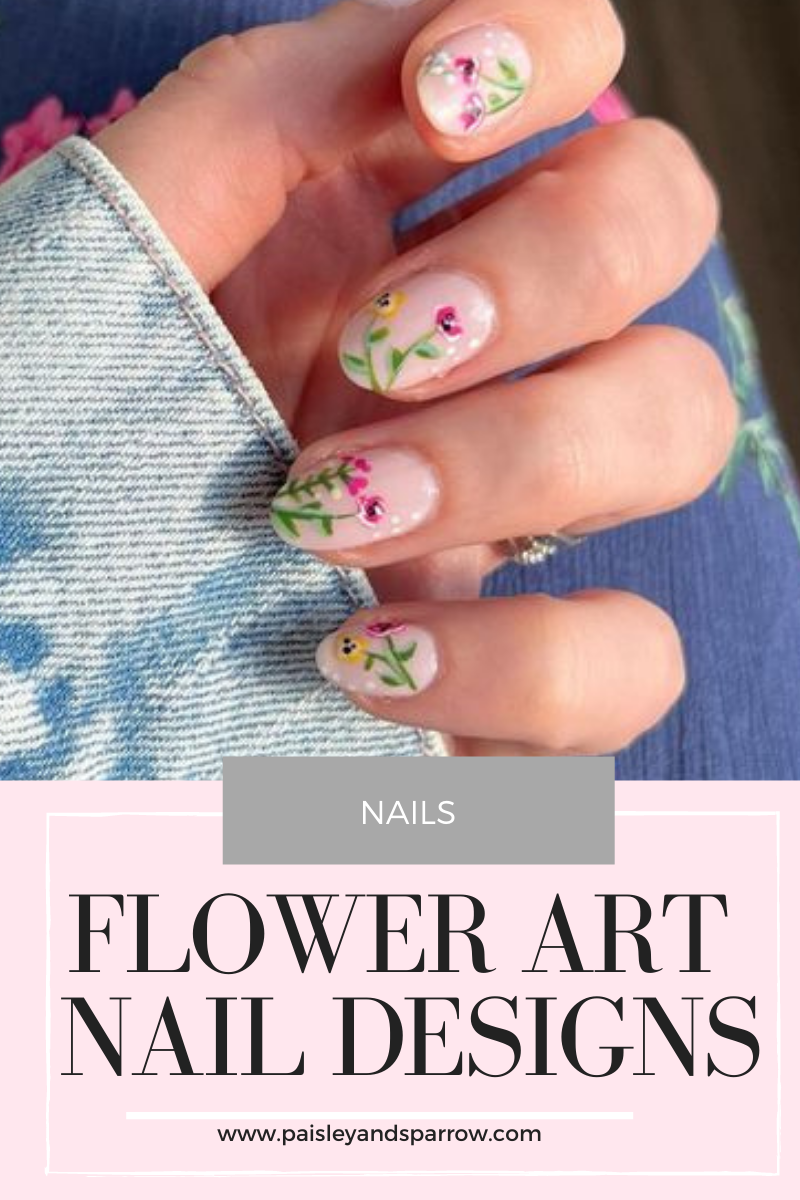
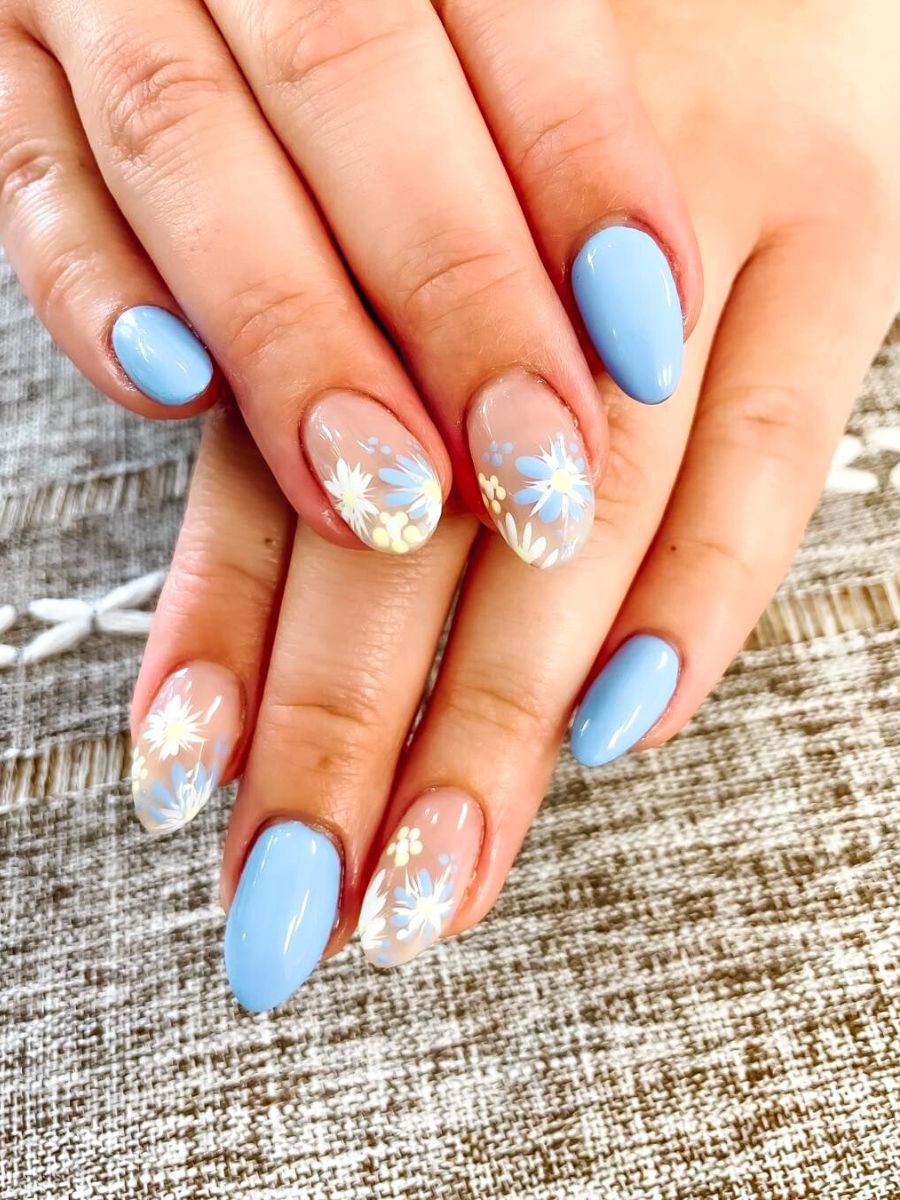
Watercolor Flower Nail Design


:max_bytes(150000):strip_icc()/284224607_818102752504475_277547827964259801_n-3ef75484d6c149c986288e35e05275b0.jpg)


If you're not confident in your freehand nail art skills, you can still achieve intricate designs with the help of water transfers. These are small stickers or decals that you can place on your nails and then transfer the design by pressing a damp cloth onto them. There are many designs available, from simple patterns to intricate images.Water Transfer Nail Art


Water Transfer Nail Art


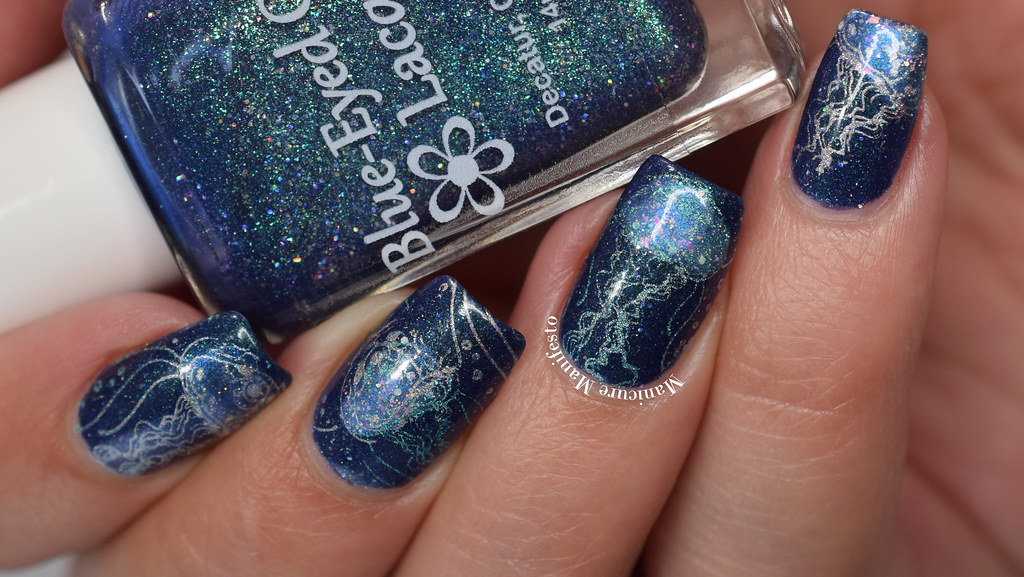
Stamping is another technique that allows you to create intricate designs on your nails with ease. For water stamping, start by painting your nails with a light-colored base coat and let it dry completely. Then, use a stamping plate with your desired design and apply a layer of nail polish on top. Use a scraper to remove any excess polish and then use a clear stamper to transfer the design onto your nail.Water Stamping Nail Art


Water Stamping Nail Art


Ombre is a popular nail trend, and you can achieve this look with a watercolor twist. Start by painting your nails with a light-colored base coat and let it dry completely. Then, using a sponge, apply different shades of nail polish in a gradient effect onto your nails. You can also use a brush to blend the colors together for a smoother transition. Finish with a top coat for a polished look. Water is a versatile and fun tool when it comes to nail art. With these 10 nail designs done with water, you can create unique and stunning nail looks that will impress everyone. So grab your supplies and get creative with water! Watercolor Ombre Nail Design


Watercolor Ombre Nail Design


The Art of Nail Design: Using Water for Stunning Nail Art
Introduction
 Nail art is a creative and fun way to express oneself through fashion. It has been gaining popularity over the years, with various techniques and designs constantly emerging. One of the latest trends in the world of nail art is using water to create stunning and unique designs. This technique involves using water as a canvas and creating intricate patterns and designs on the surface using different colors of nail polish. It may seem complicated, but with a few tools and some practice, you can easily achieve gorgeous nail designs that are sure to turn heads.
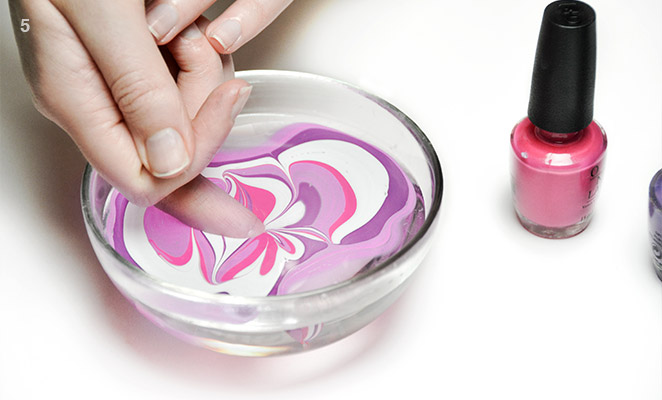
The Process
 The process of creating nail designs with water is quite simple. It involves using a cup or bowl filled with room temperature water and dropping different colors of nail polish into it. Once the colors have spread out on the surface of the water, you can use a toothpick or a small brush to create patterns and designs. The next step is to dip your nails into the water, allowing the design to transfer onto them. After a few seconds, you can remove your finger from the water and wipe off any excess polish around your nails. Finally, seal the design with a top coat for a long-lasting finish.
The Advantages
 Using water for nail art has several advantages. Firstly, it allows for endless creativity as you can create unique and intricate designs with ease. It also gives a marbled effect, making each nail design one-of-a-kind. Another advantage is that it is a budget-friendly option as you can use any nail polish you already have in your collection. Additionally, the process is relatively quick, making it a perfect choice for those who are constantly on-the-go.
Tips and Tricks
 To achieve the best results with water nail art, there are a few tips and tricks to keep in mind. First, always use room temperature water as cold water can cause the nail polish to harden before you can transfer the design. It is also crucial to work quickly to avoid the polish from drying on the surface of the water. You can also experiment with different types of nail polish, such as glitter or metallic, to add more dimension to your designs. Lastly, practice makes perfect, so don't be discouraged if your first attempts don't turn out as expected. Keep practicing, and you'll soon become a pro at creating stunning water nail designs.
Conclusion
 In conclusion, using water for nail design is an innovative and fun way to create unique and eye-catching nail art. With a few tools and some practice, you can achieve beautiful designs that are sure to make a statement. So why not give this technique a try and elevate your nail game to the next level?


