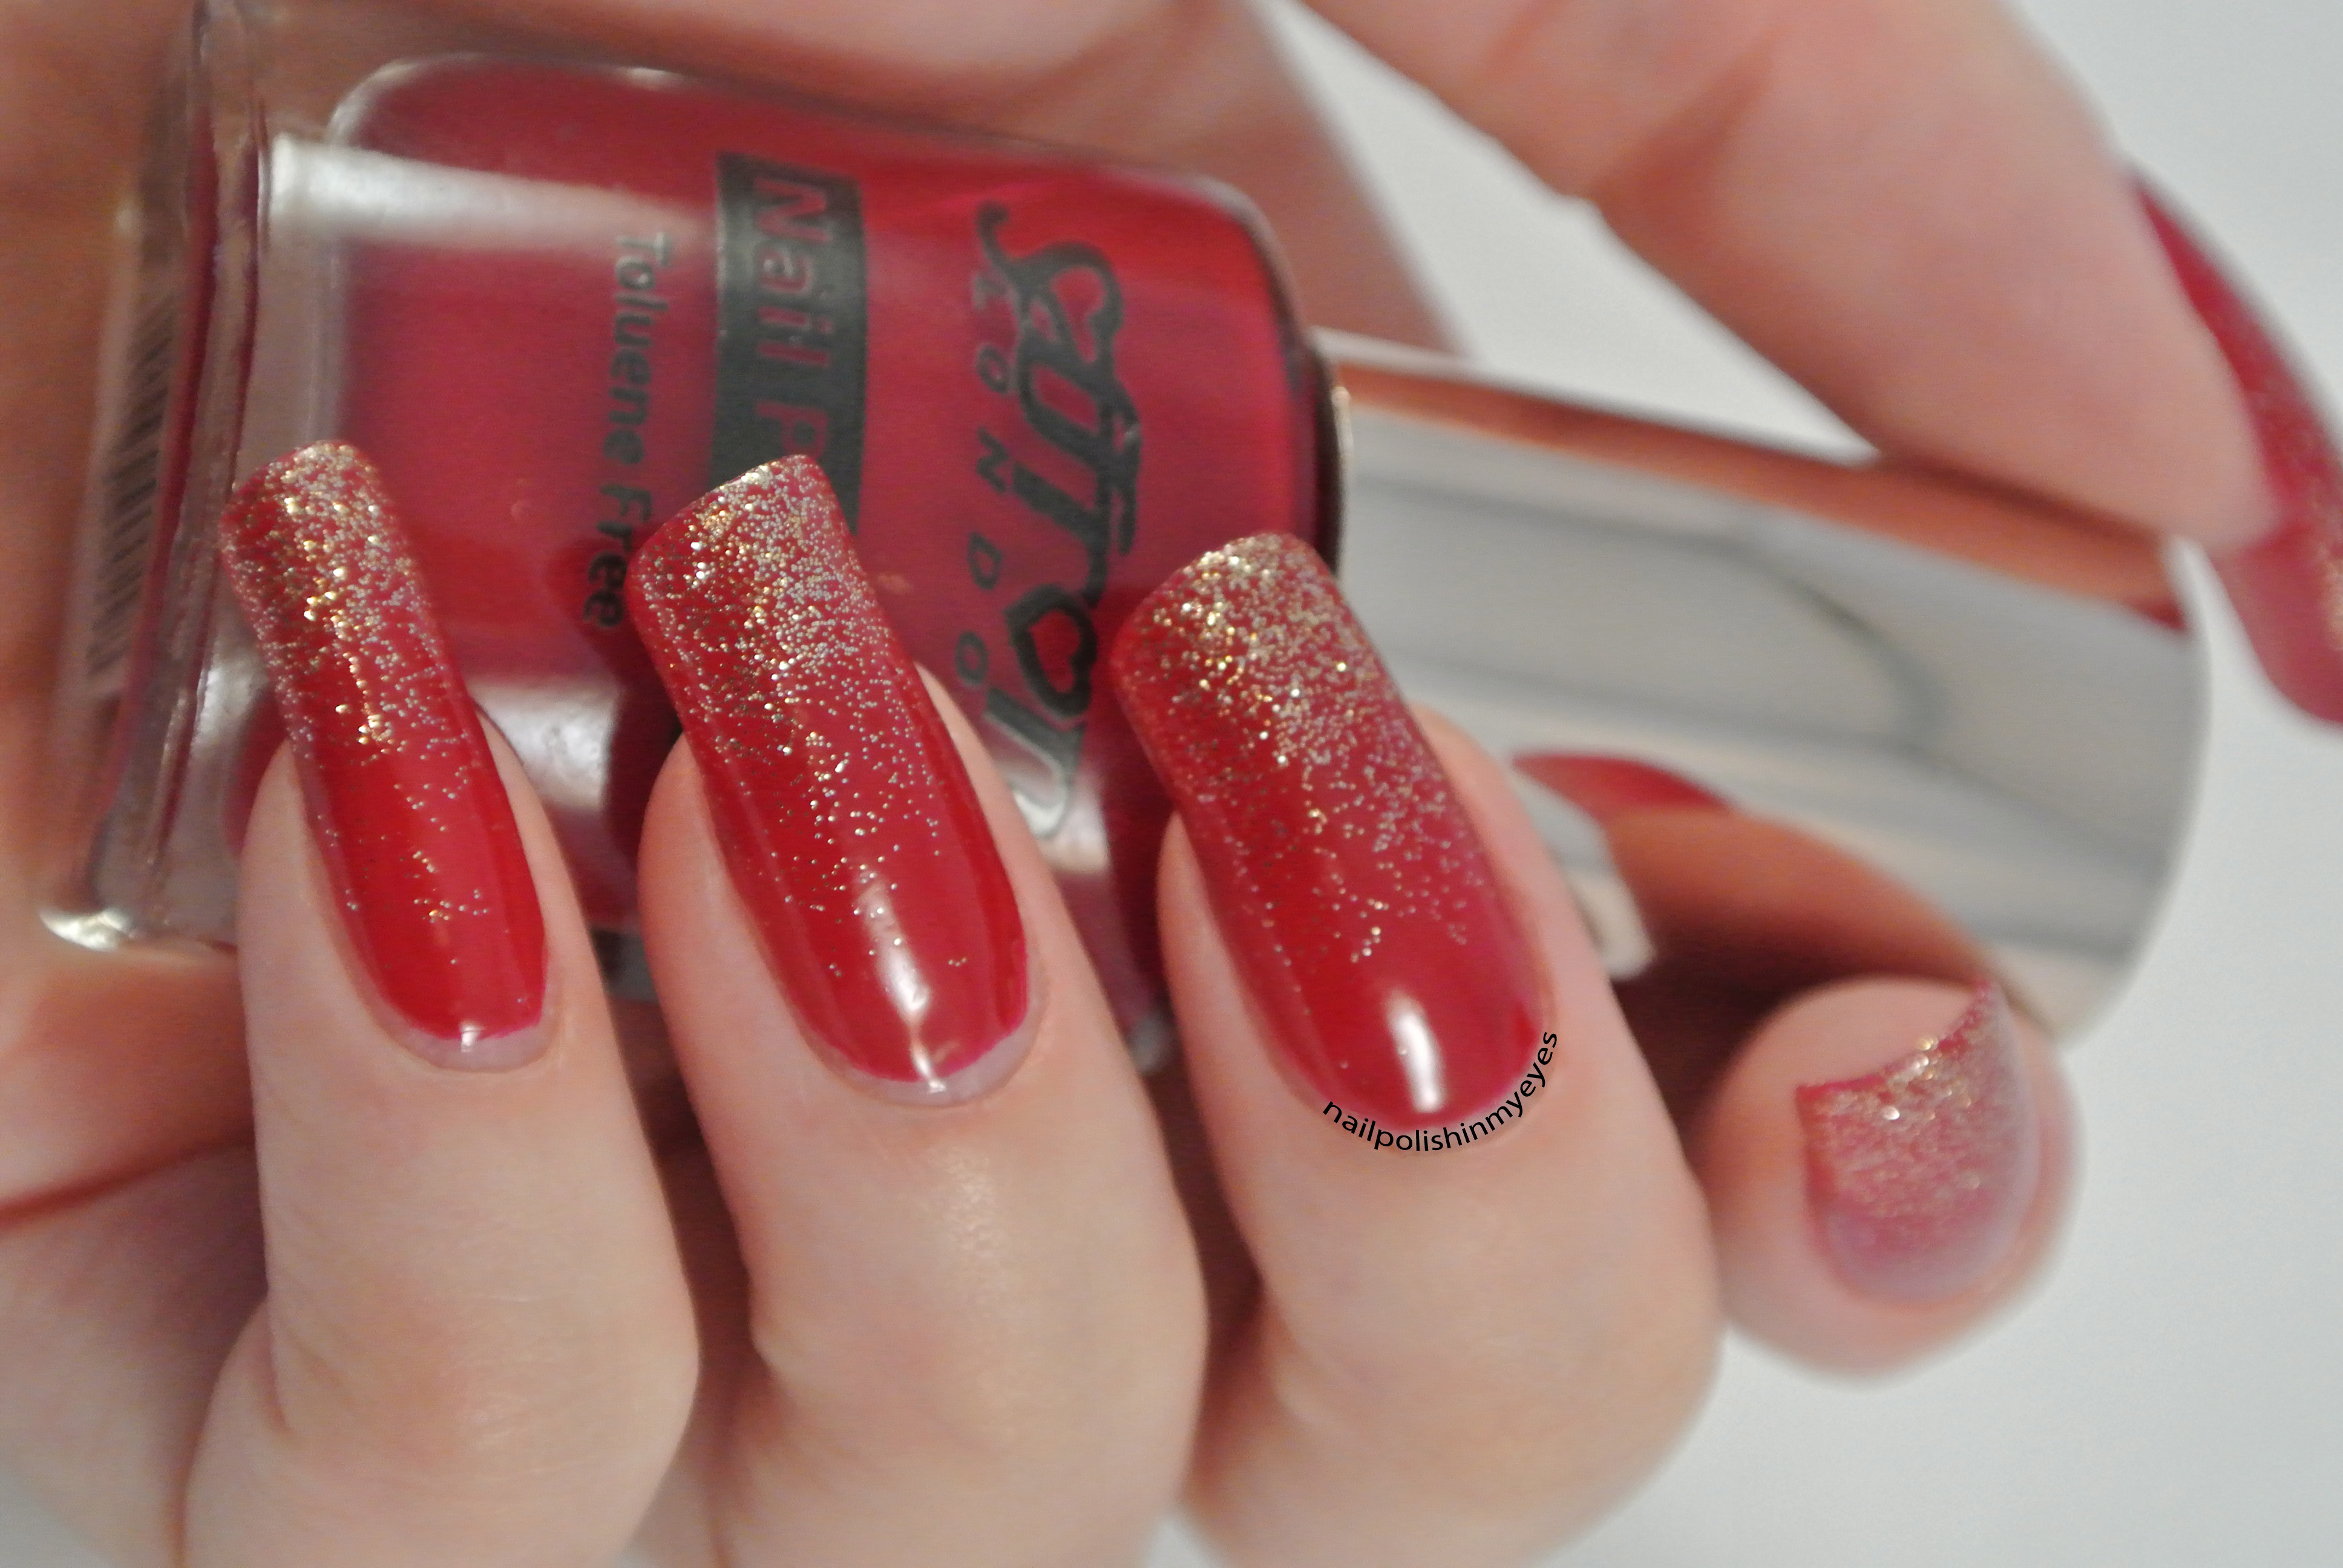
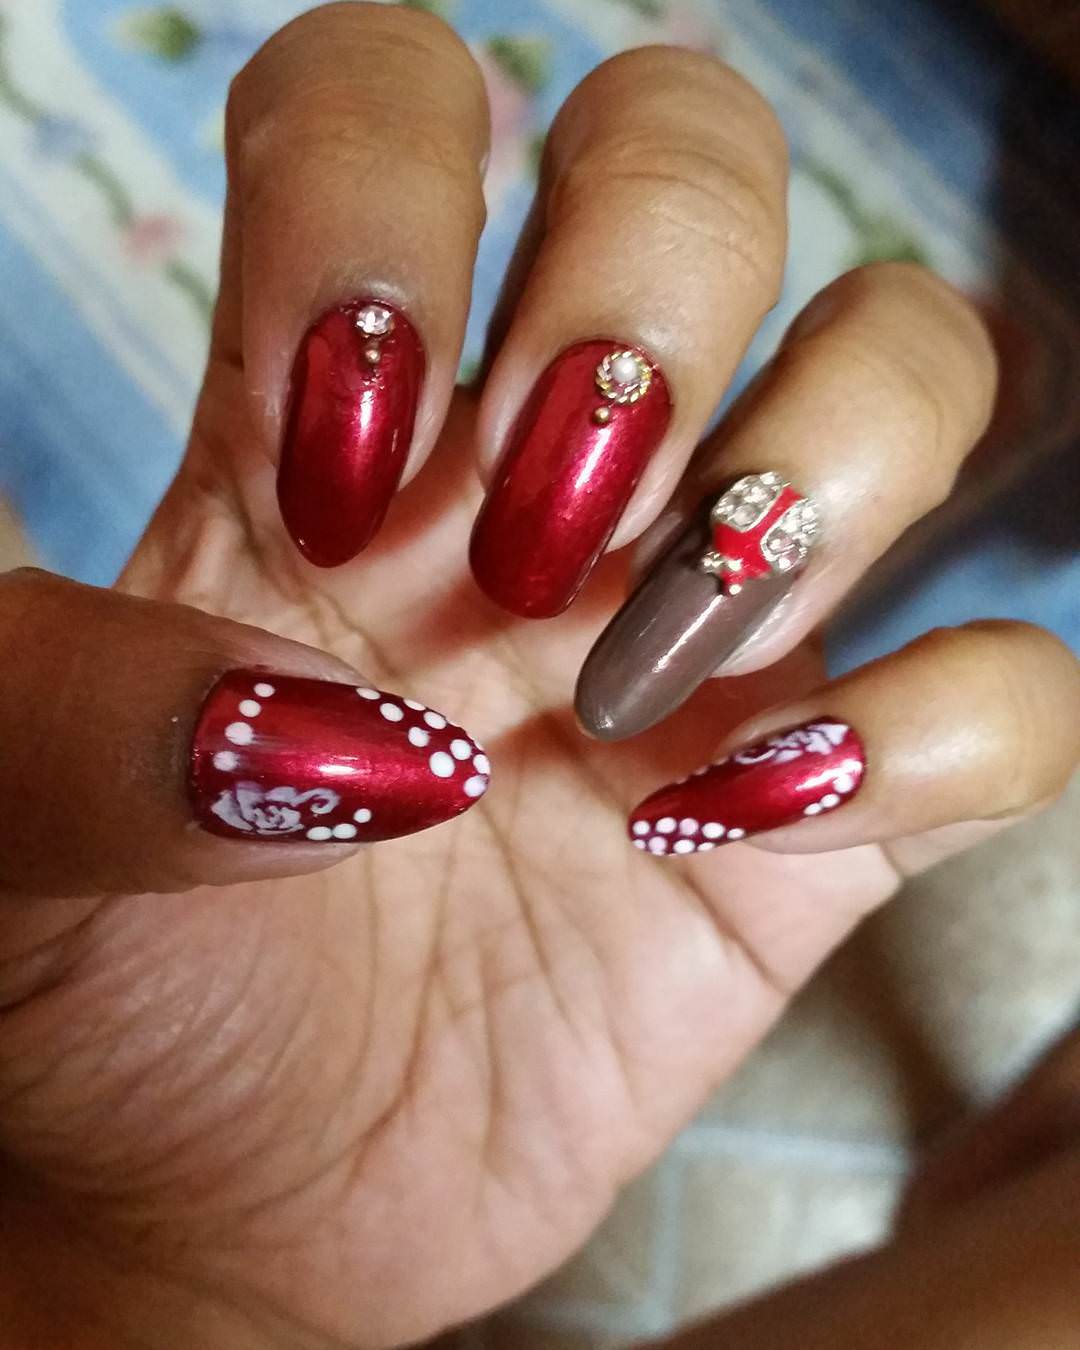
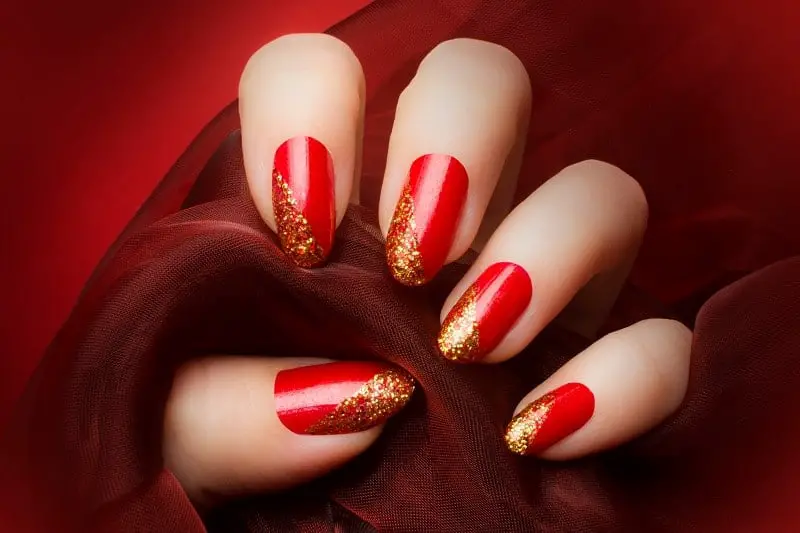
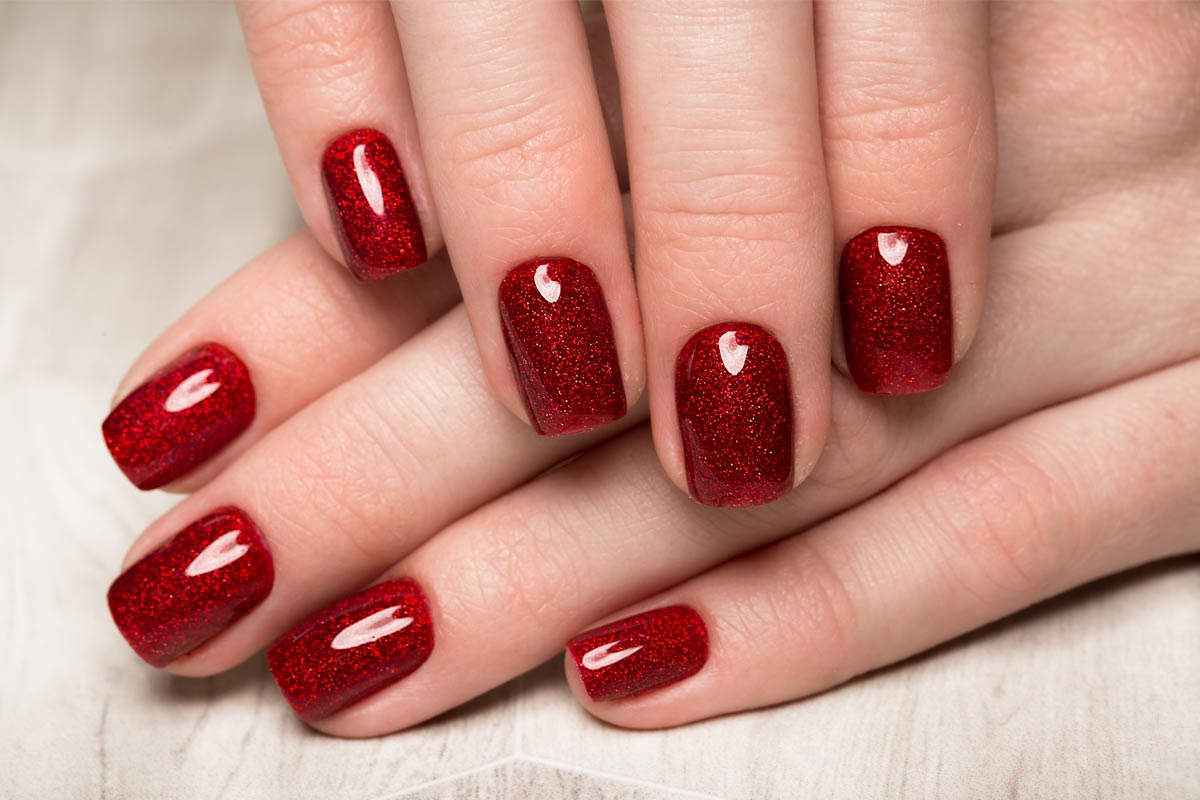
For a glamorous and eye-catching look, try out a red and gold glitter nail design. This is perfect for special occasions or a night out on the town. Start by painting your nails with a vibrant red polish and allowing it to dry completely. Next, take a gold glitter polish and carefully apply it to the tips of your nails, creating a gradient effect. You can also add some small gold glitter pieces to the base of your nails for an added touch of sparkle. Finish off the look with a clear top coat to seal in the glitter and give your nails a glossy finish. This design is sure to make a statement and add some glamour to your overall look.1. Red and Gold Glitter Nail Design


1. Red and Gold Glitter Nail Design


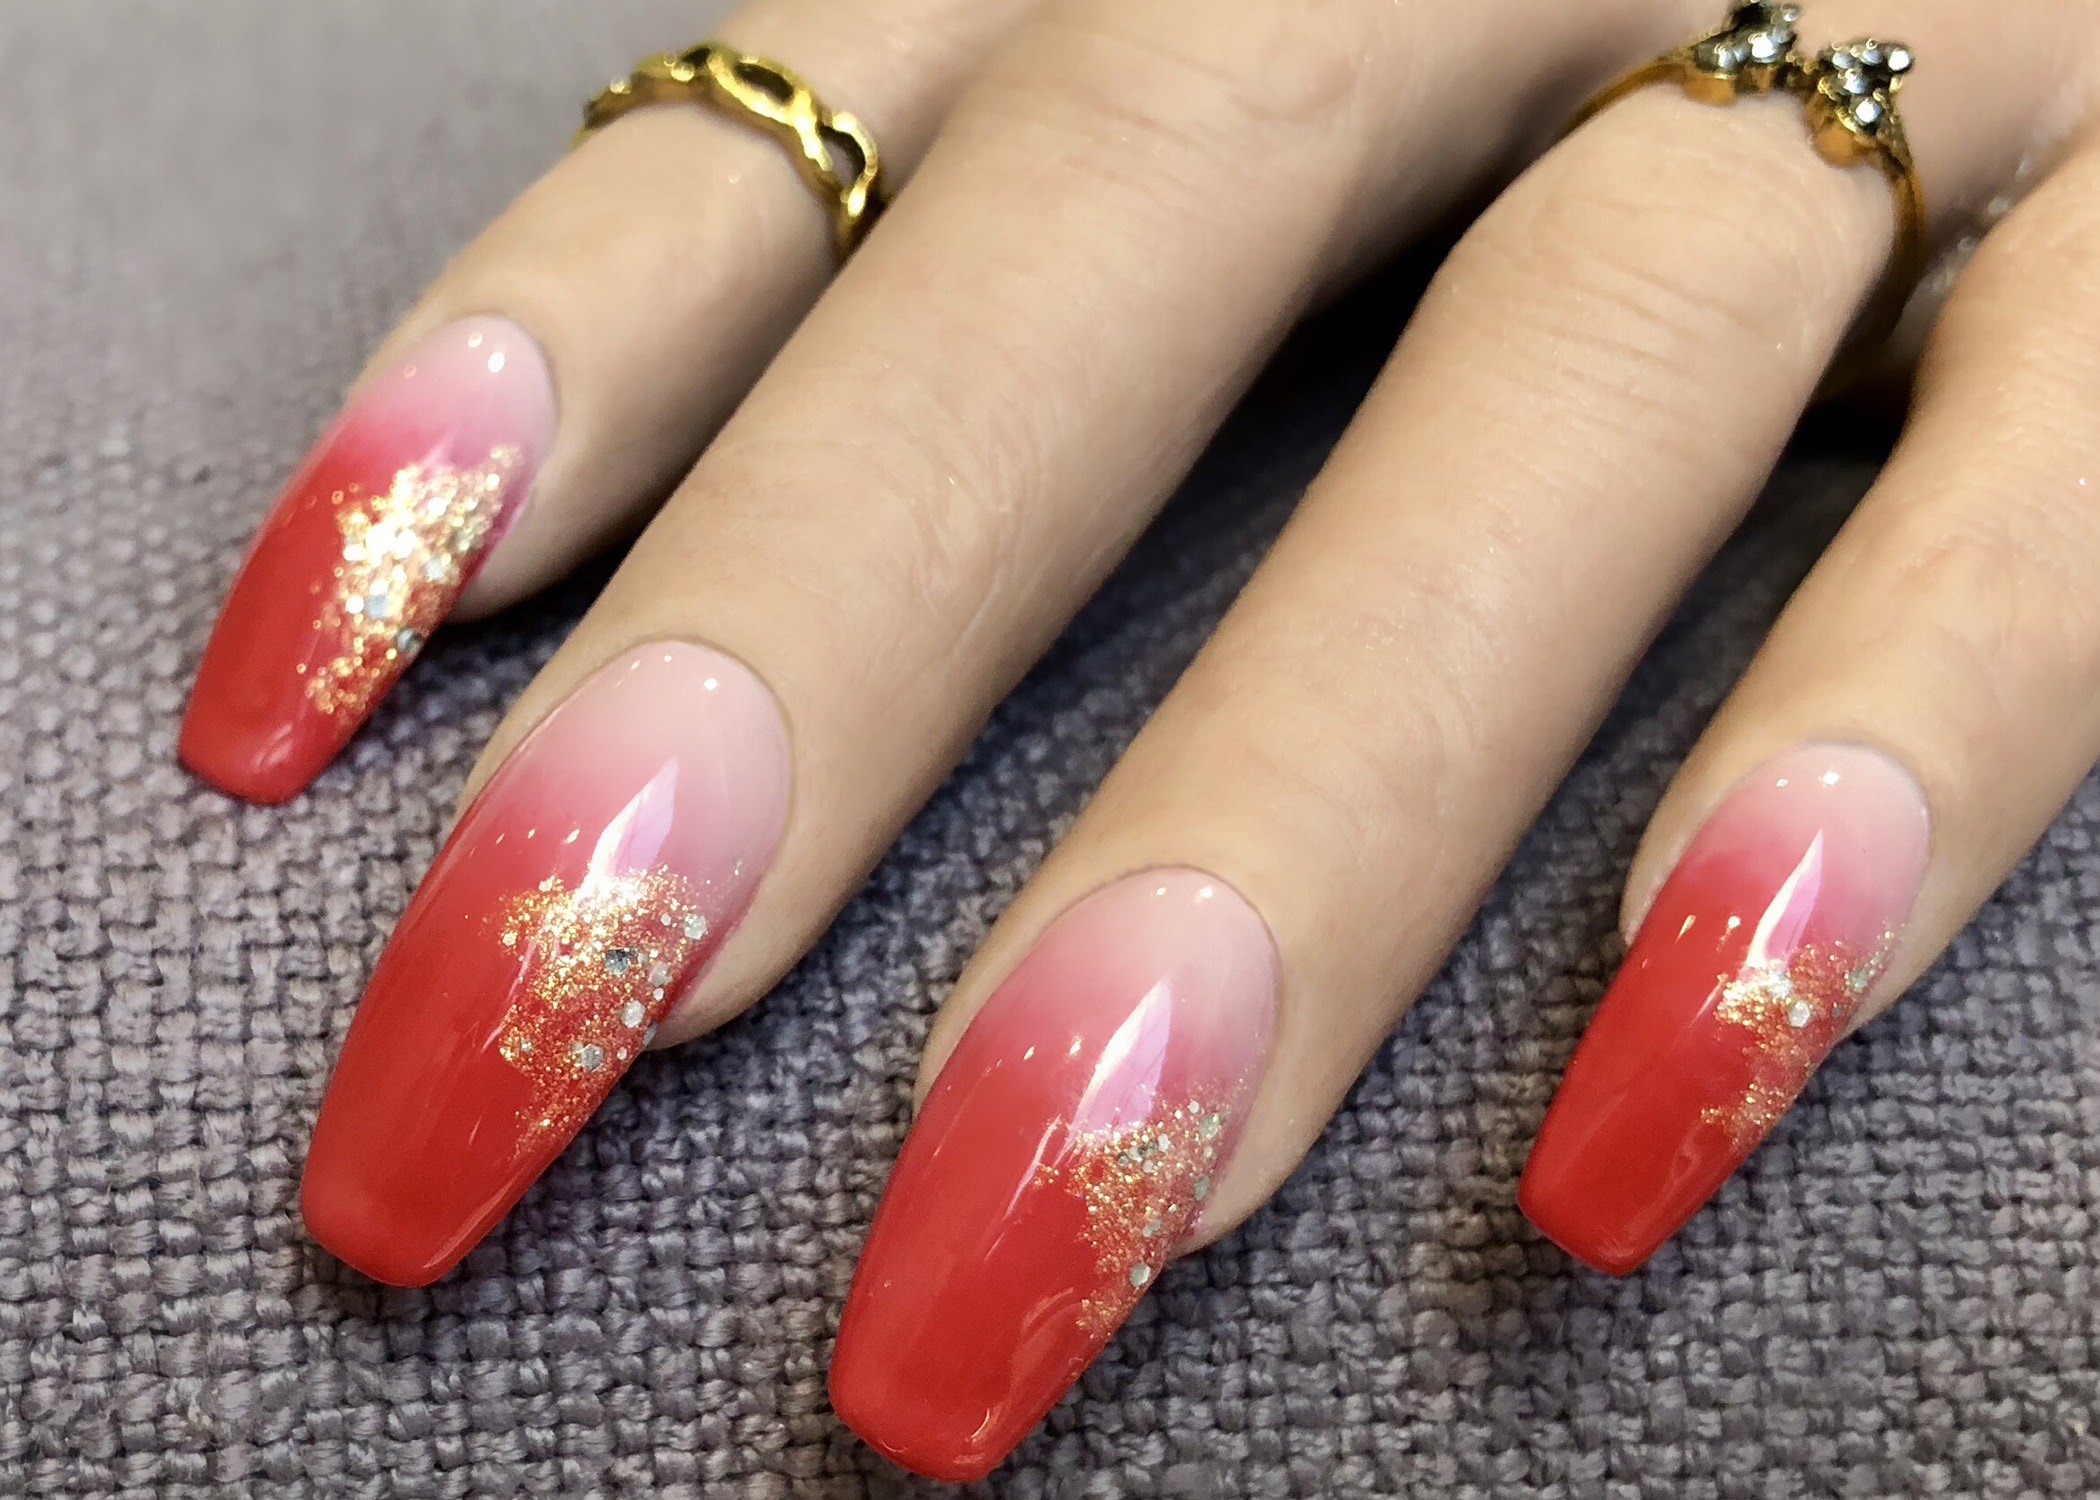
The ombre trend has made its way into the world of nail art and red nails are no exception. To achieve this look, you will need a light and dark shade of red nail polish, as well as a makeup sponge. Start by painting your nails with the lighter shade of red and allowing it to dry completely. Then, take the darker shade and paint it onto the makeup sponge. Gently dab the sponge onto your nails, starting at the tips and working your way down towards the base. Continue adding layers until you achieve the desired ombre effect. Finish off with a clear top coat to seal in the colors and give your nails a smooth finish.2. Ombre Red Nail Design

2. Ombre Red Nail Design

:max_bytes(150000):strip_icc()/121020-red-art-nail-designs-lead-2000-d0787e7365f44dfeaa27972ae713d448.jpg)


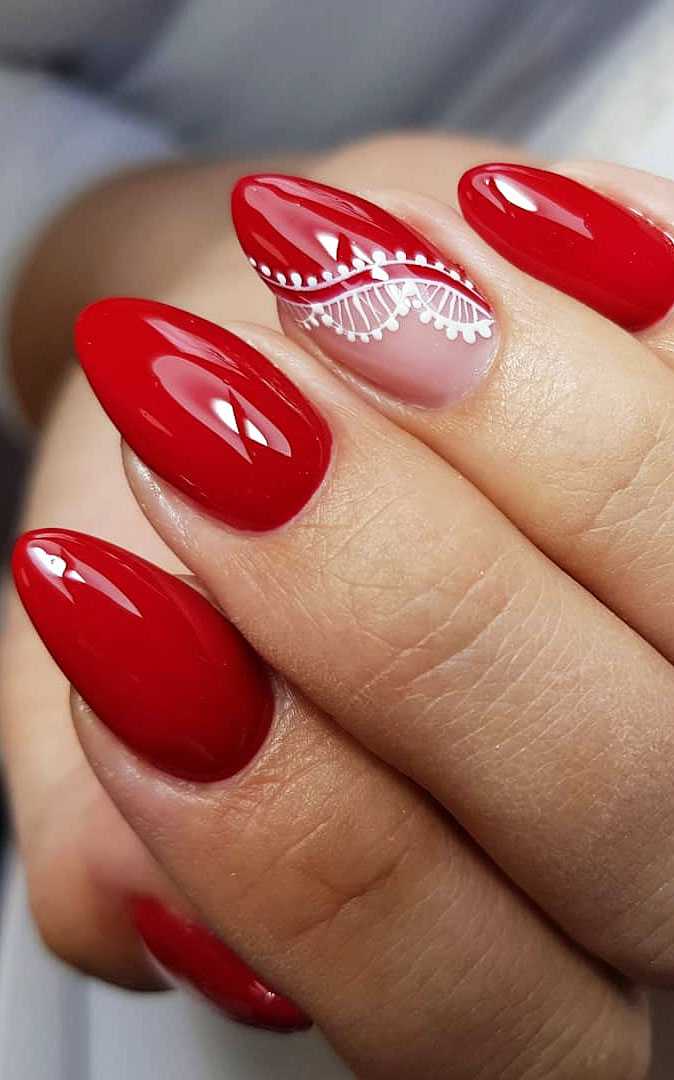
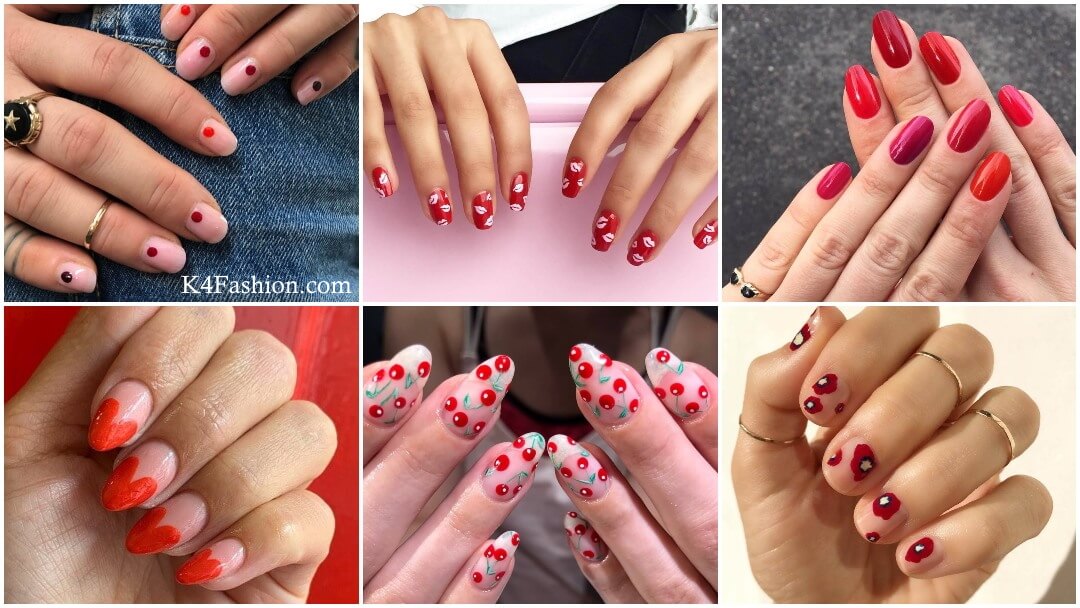
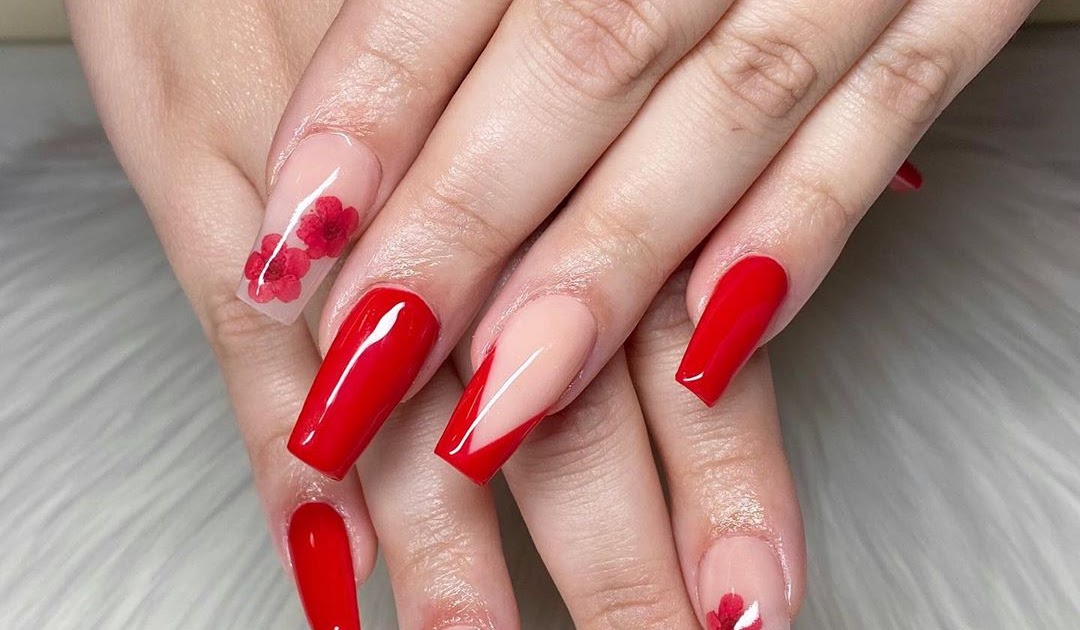
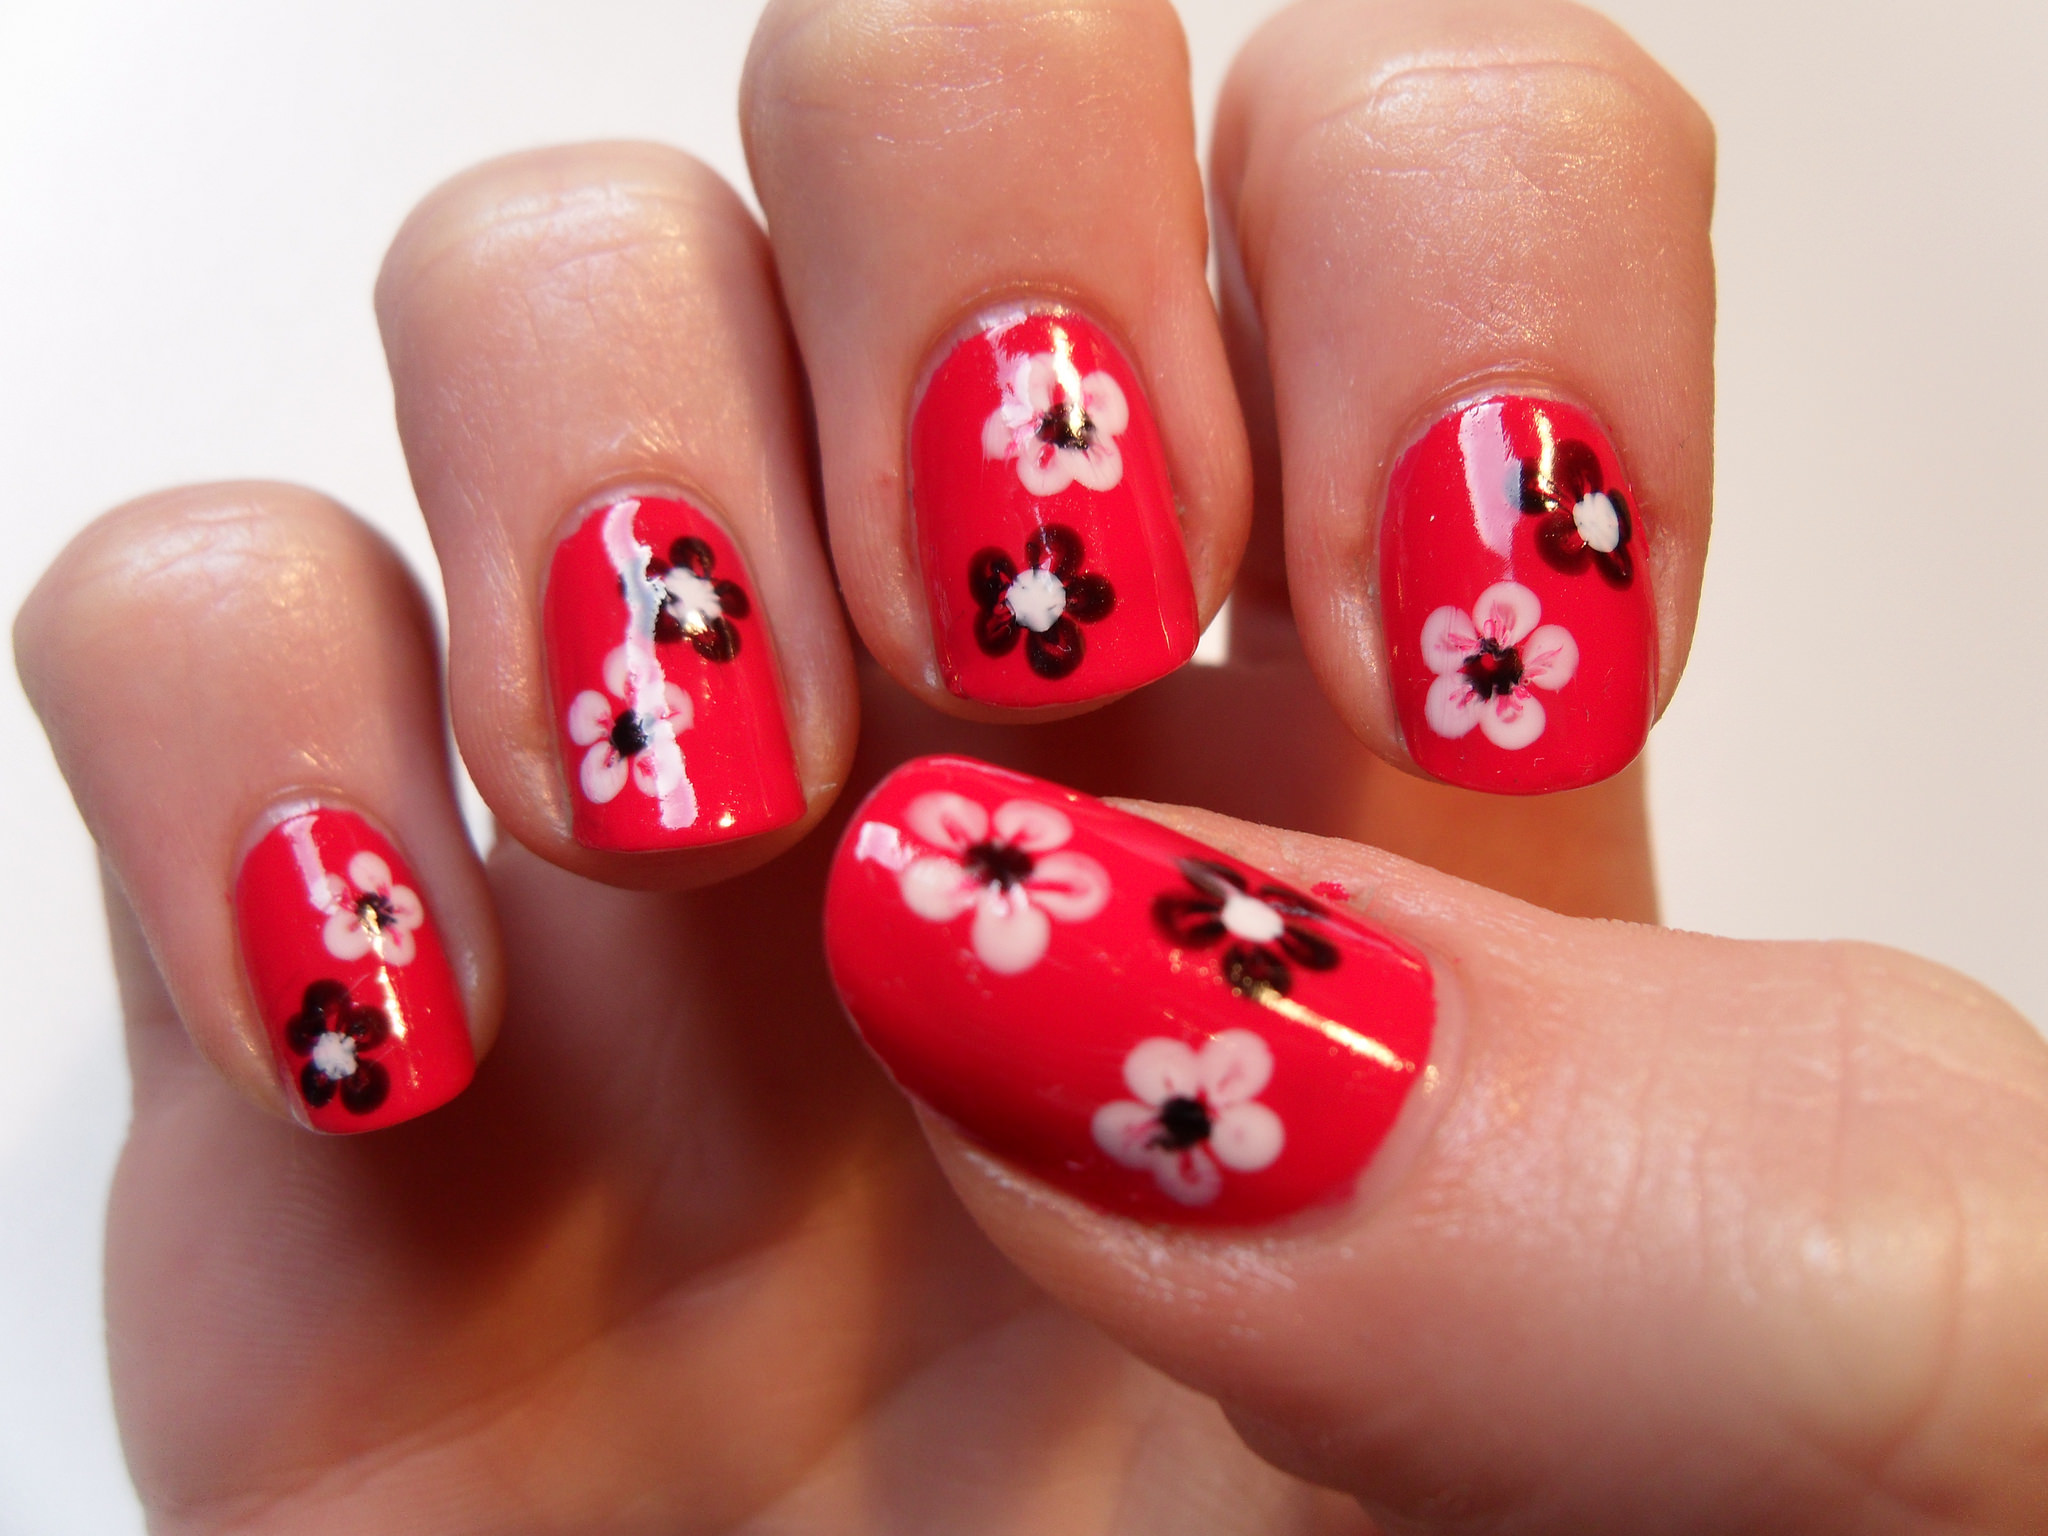
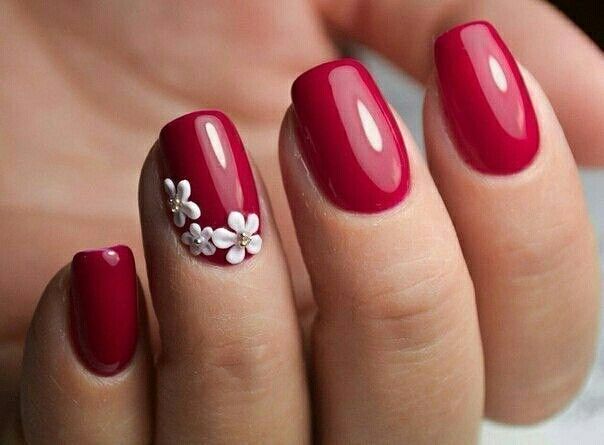
For a feminine and delicate look, try out a floral red nail design. Start by painting your nails with a light pink or nude polish as the base color. Once it is completely dry, use a small brush or toothpick to create small flowers on your nails using a darker red polish. You can also add some green leaves for an added touch of detail. This design is perfect for spring or summer and is sure to make your nails stand out in a crowd.3. Floral Red Nail Design


3. Floral Red Nail Design
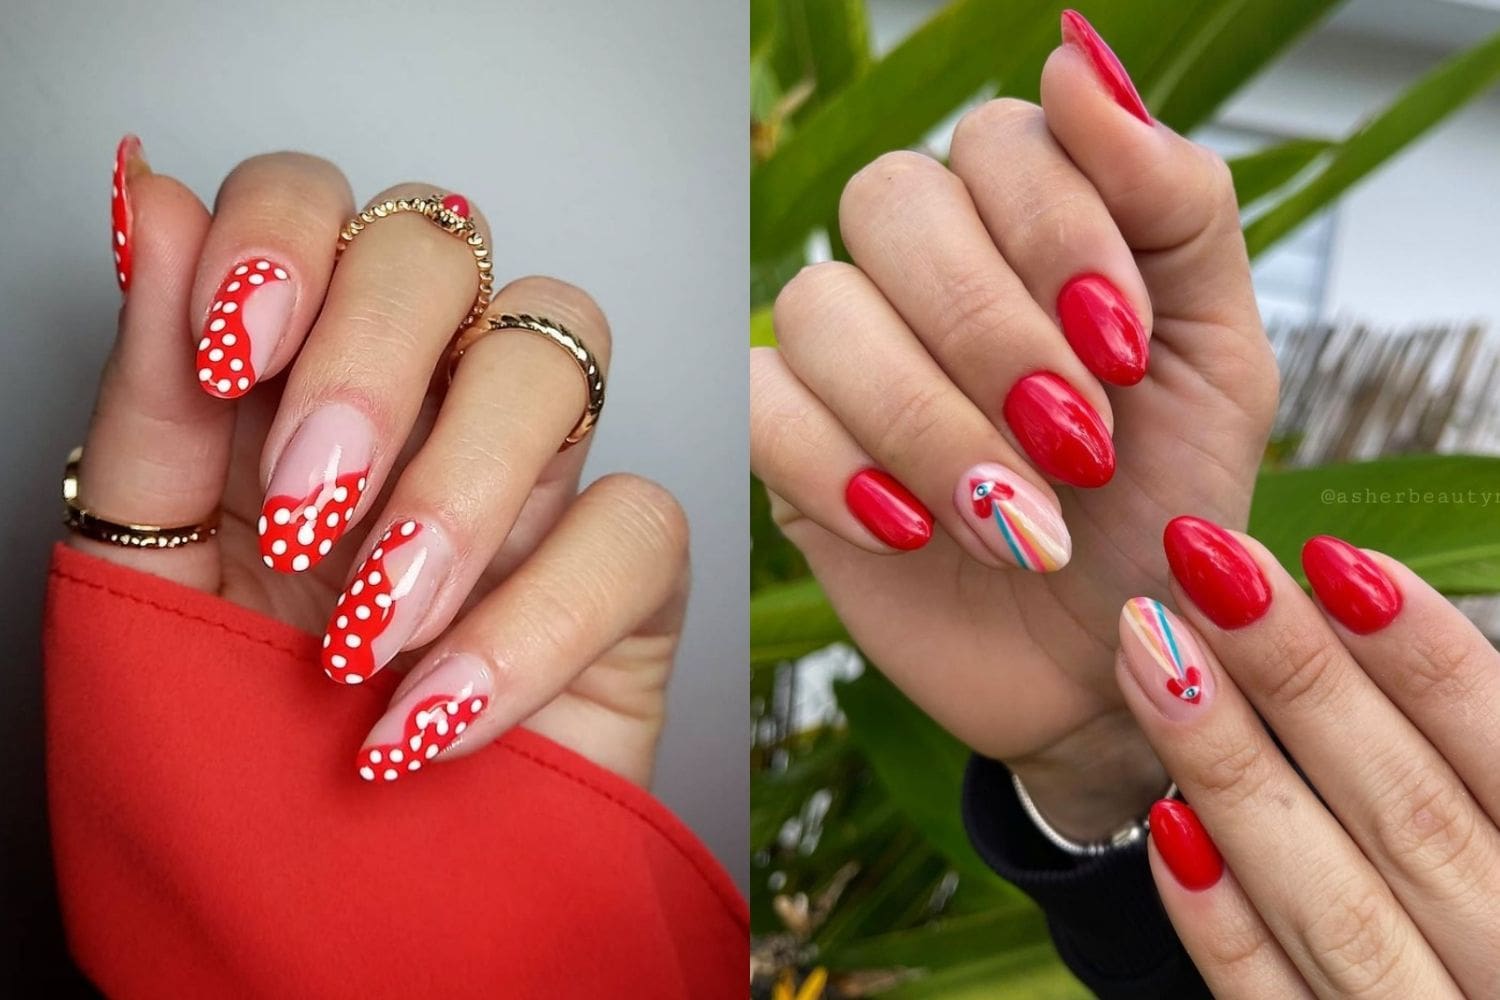
A classic and fun design, polka dot red nails are perfect for any occasion. Start by painting your nails with a bright red polish and allowing it to dry completely. Then, using a dotting tool or toothpick, create small dots on your nails using a white or black polish. You can also switch it up and use a gold or silver polish for some added sparkle. Finish off with a clear top coat to seal in the dots and give your nails a smooth finish.4. Polka Dot Red Nail Design


4. Polka Dot Red Nail Design

Sport a patriotic look with a red and white striped nail design. Start by painting your nails with a white polish and allowing it to dry completely. Then, using a thin striping brush or tape, create straight lines on your nails using a red polish. You can create vertical or horizontal stripes, or mix it up and do both. Finish off with a clear top coat to seal in the stripes and give your nails a polished finish.5. Red and White Striped Nail Design

5. Red and White Striped Nail Design


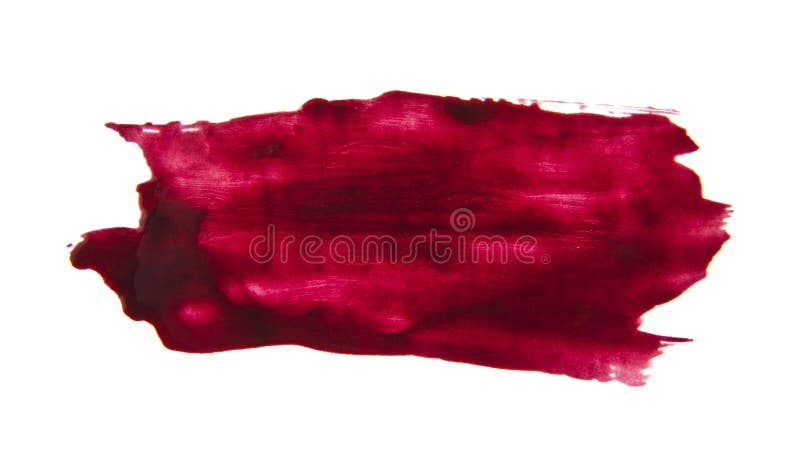
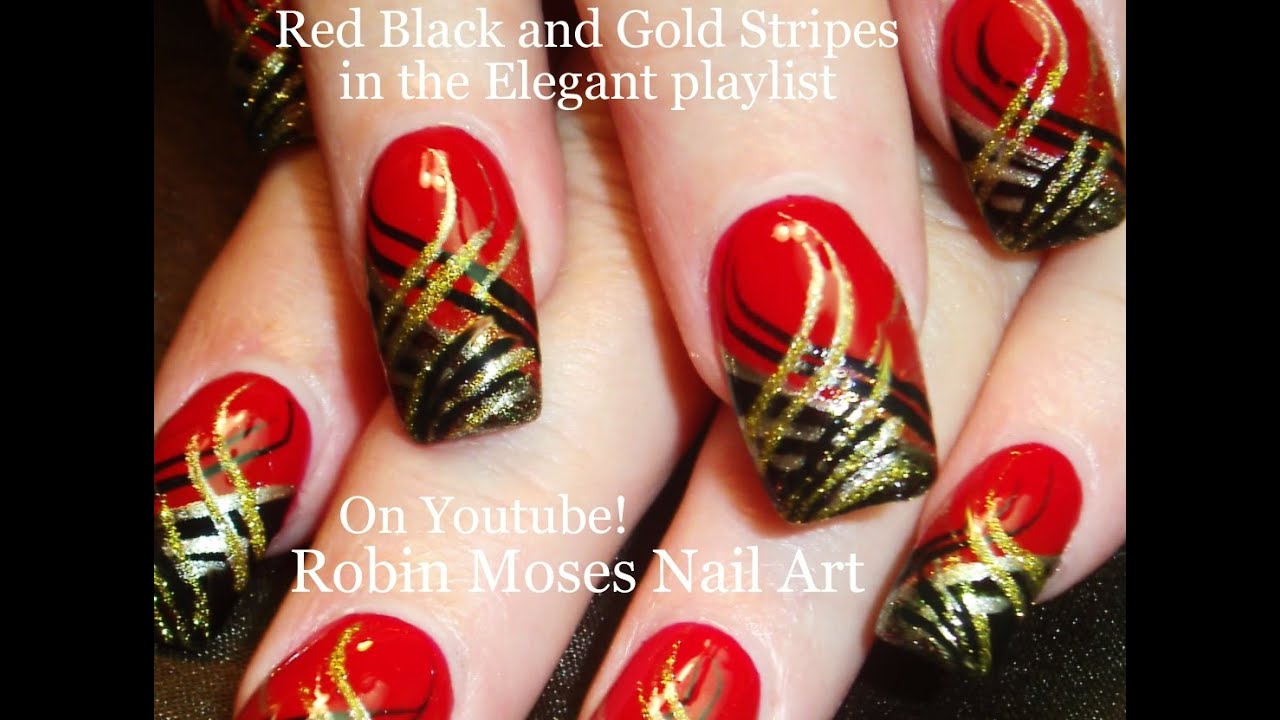
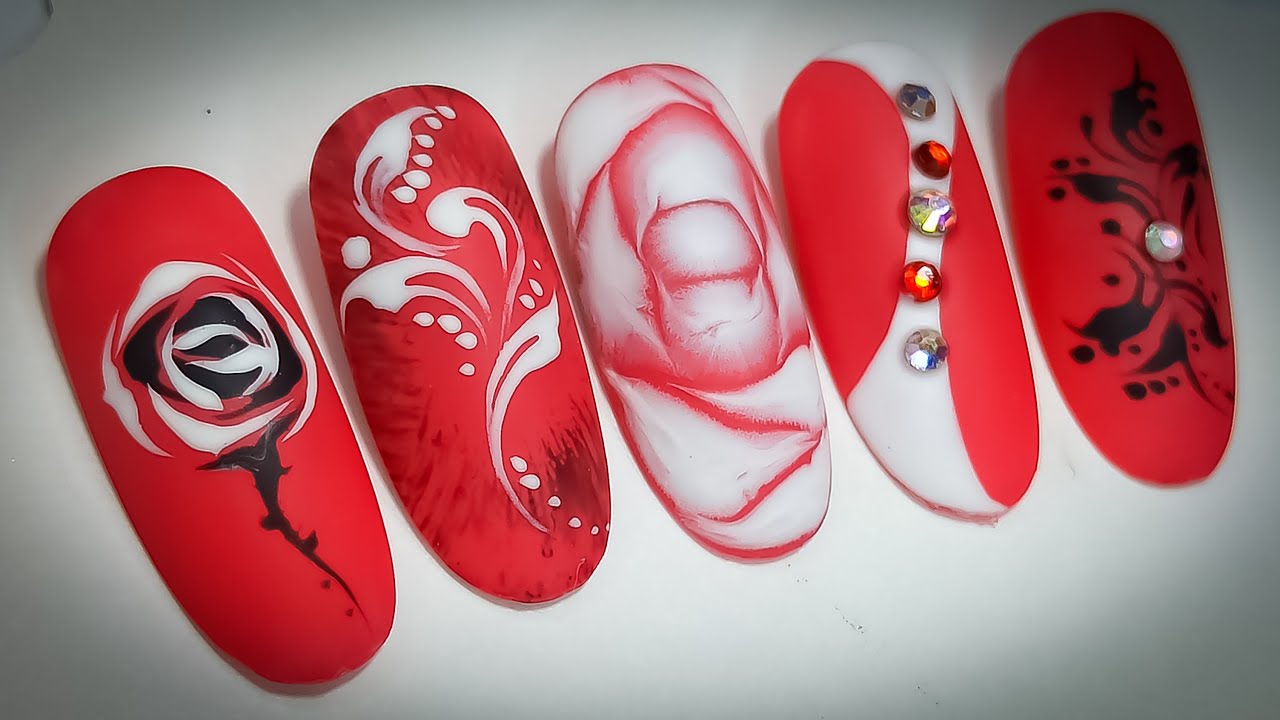
For a unique and edgy look, try out a red and black marble nail design. Start by painting your nails with a black polish and allowing it to dry completely. Next, take a red polish and drop a few small drops onto your nails. Using a toothpick or needle, swirl the colors together to create a marbled effect. You can also use a white polish for a lighter marble design. Finish off with a clear top coat to seal in the design and give your nails a glossy finish.6. Red and Black Marble Nail Design
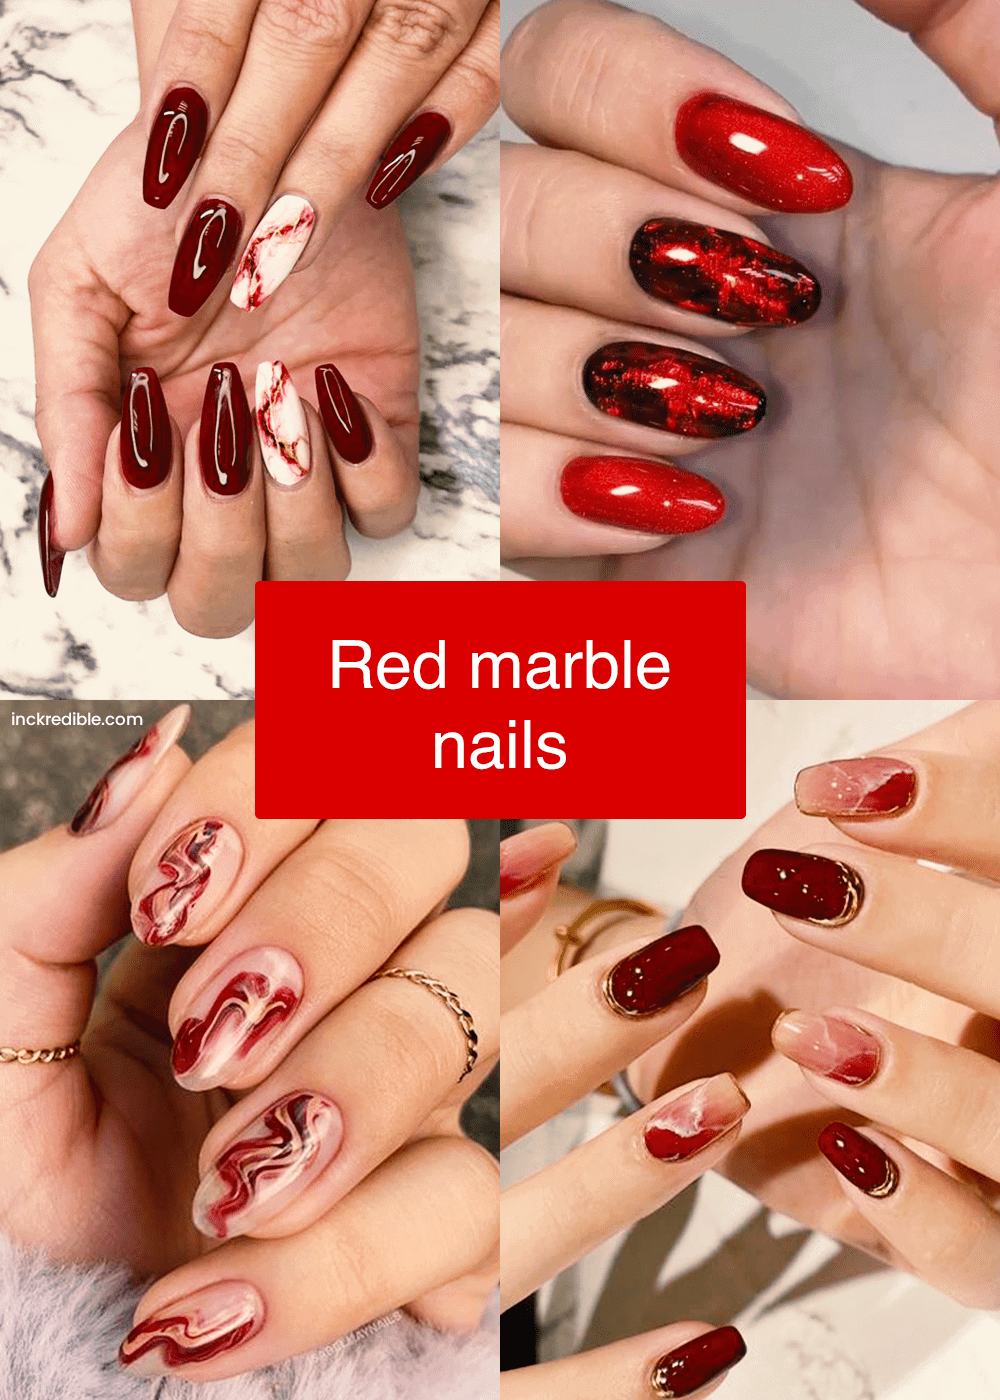


6. Red and Black Marble Nail Design
:max_bytes(150000):strip_icc()/121020-red-art-nail-designs-social-f3ef5ae18b64456298682e869df53f80.jpg)


For a chic and festive design, try out a red and silver glitter nail design. Start by painting your nails with a metallic silver polish as the base color. Once it is completely dry, use a red glitter polish to create a diagonal line across your nails. You can also add some smaller silver glitter pieces around the red line for added sparkle. Finish off with a clear top coat to seal in the glitter and give your nails a glossy finish.7. Red and Silver Glitter Nail Design

7. Red and Silver Glitter Nail Design


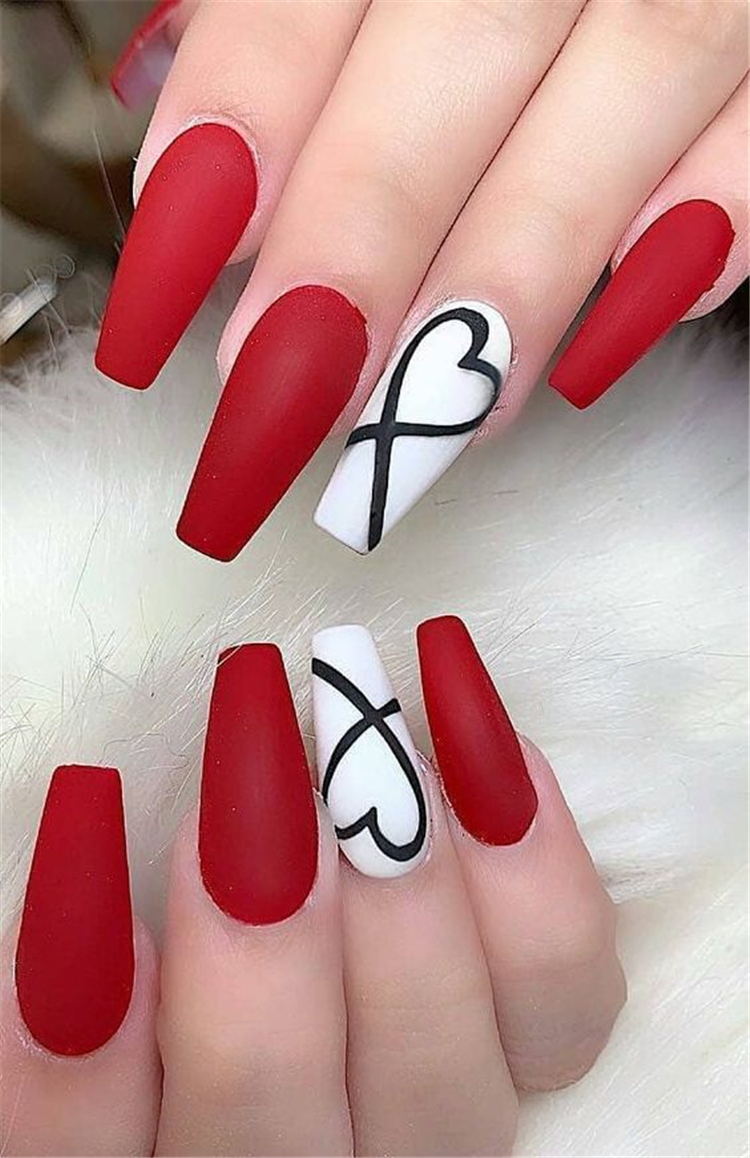
Show some love with a red and pink heart nail design. Start by painting your nails with a light pink polish as the base color. Using a thin striping brush or toothpick, create small hearts on your nails using a red polish. You can also switch it up and use a white or gold polish for the hearts. Finish off with a clear top coat to seal in the hearts and give your nails a polished finish.8. Red and Pink Heart Nail Design

8. Red and Pink Heart Nail Design


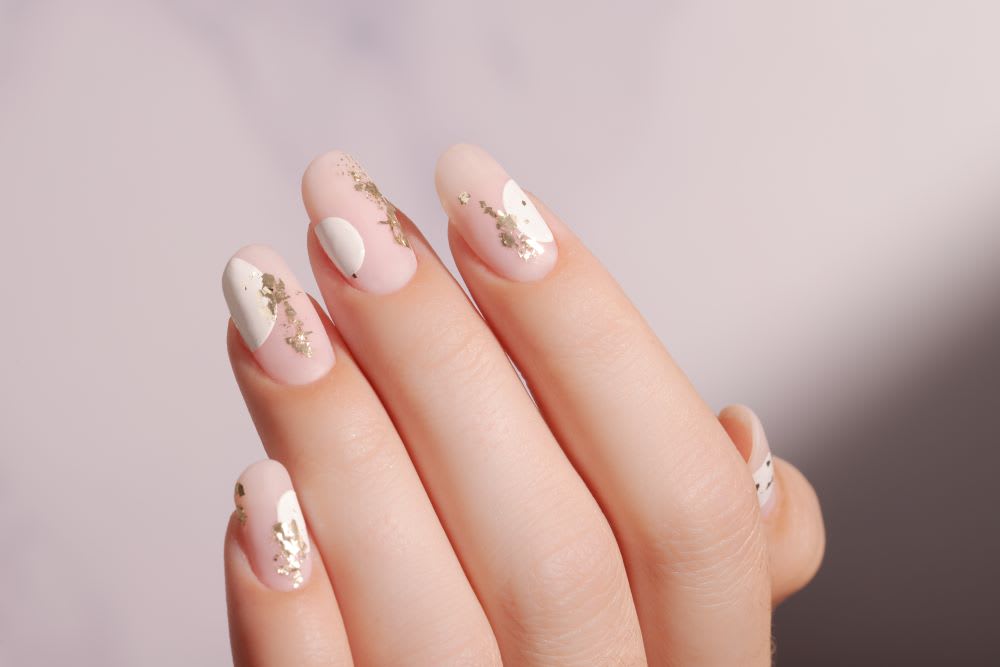
For a luxurious and bold look, try out a red and gold foil nail design. Start by painting your nails with a deep red polish and allowing it to dry completely. Then, take small pieces of gold foil and gently press them onto your nails. You can create a scattered effect or cover the entire nail with the foil. Finish off with a clear top coat to seal in the foil and give your nails a glossy finish.9. Red and Gold Foil Nail Design


9. Red and Gold Foil Nail Design


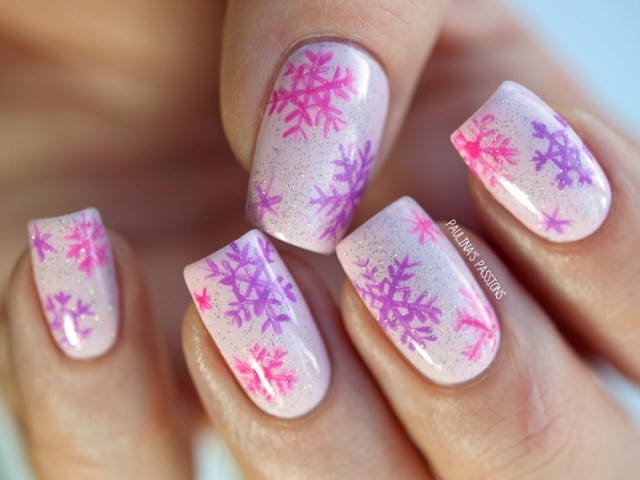
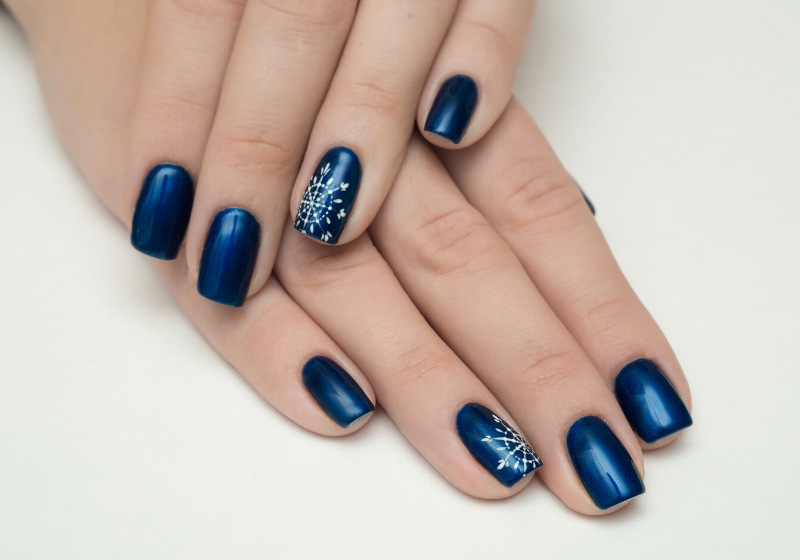
Embrace the winter season with a red and white snowflake nail design. Start by painting your nails with a white polish as the base color. Then, using a thin striping brush or toothpick, create snowflake designs in red on your nails. You can also add some silver or gold glitter for an added touch of sparkle. Finish off with a clear top coat to seal in the design and give your nails a polished finish.10. Red and White Snowflake Nail Design

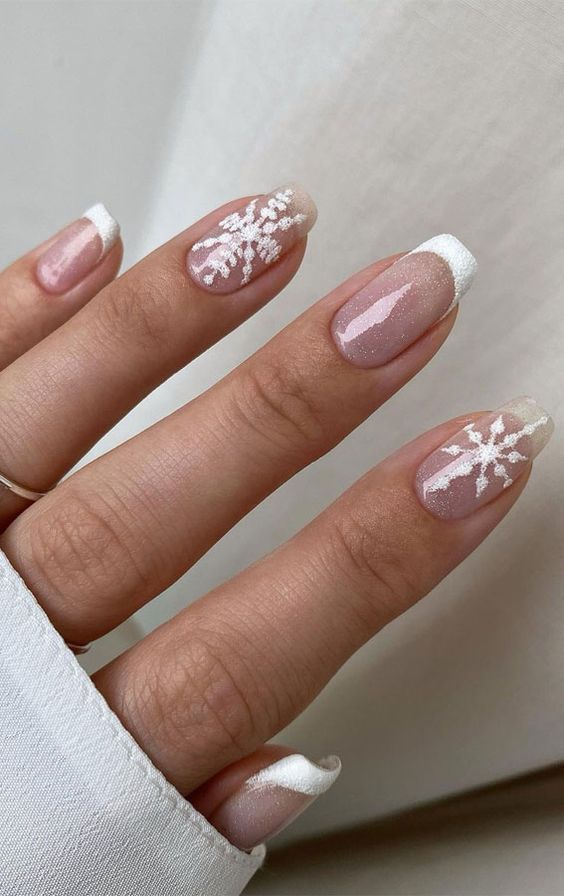

10. Red and White Snowflake Nail Design


Add a Pop of Sparkle to Your Red Nails with These Nail Design Ideas

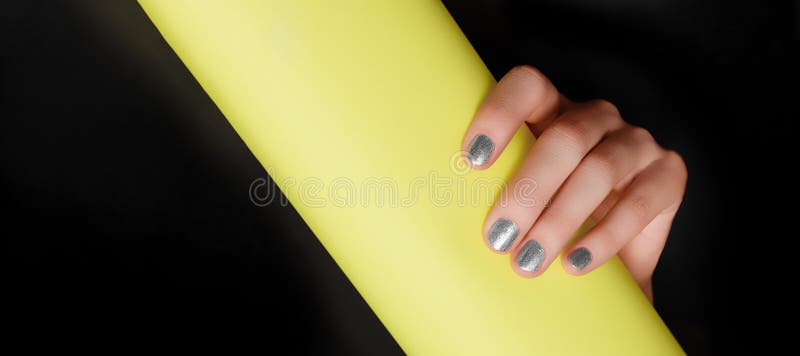
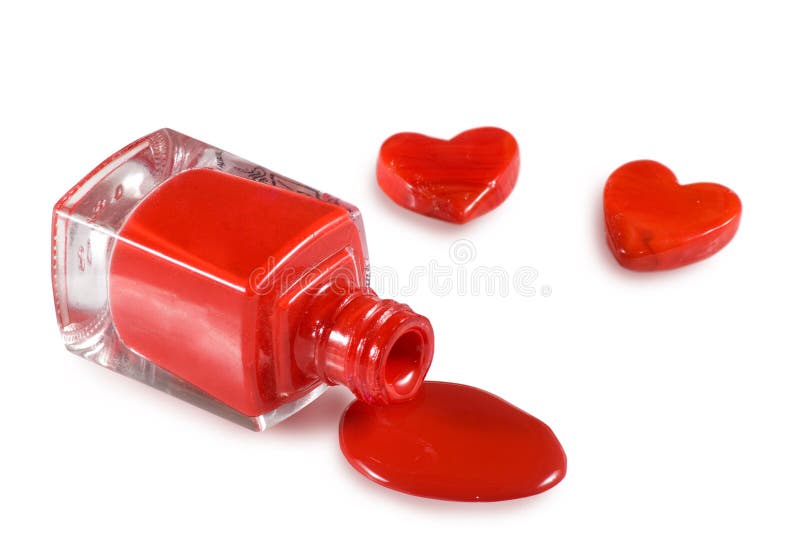
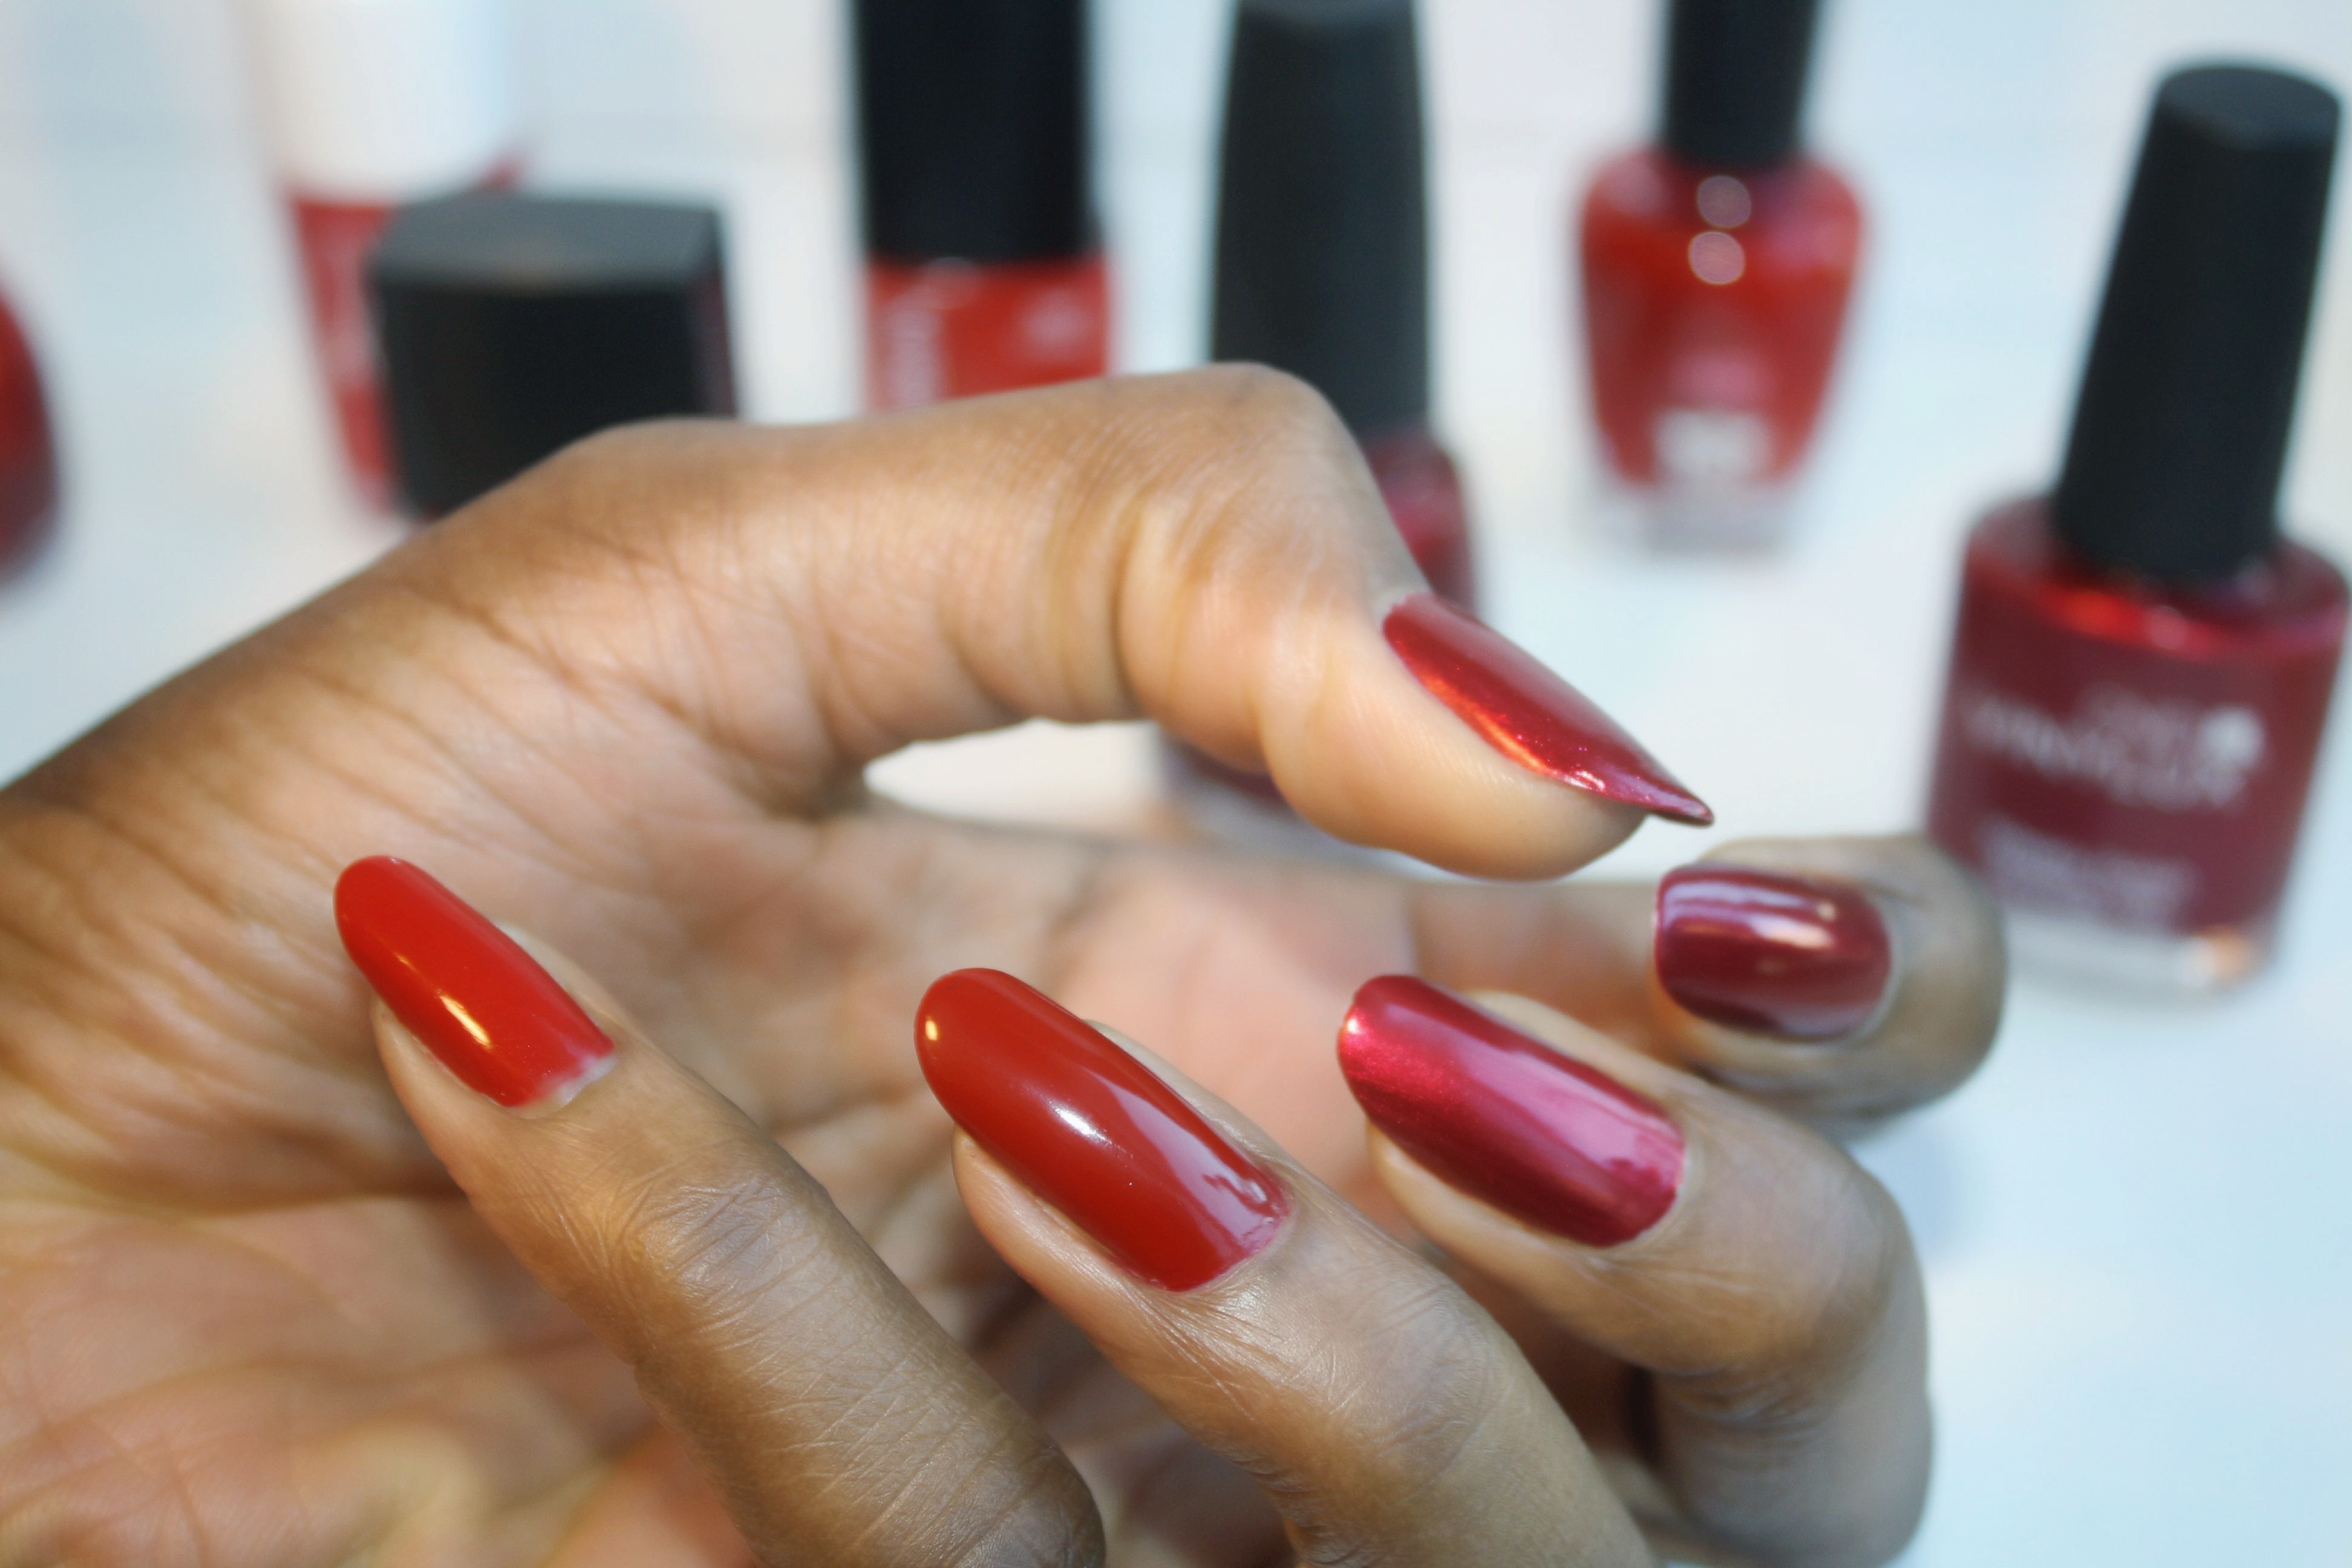
Get Creative with Glitter
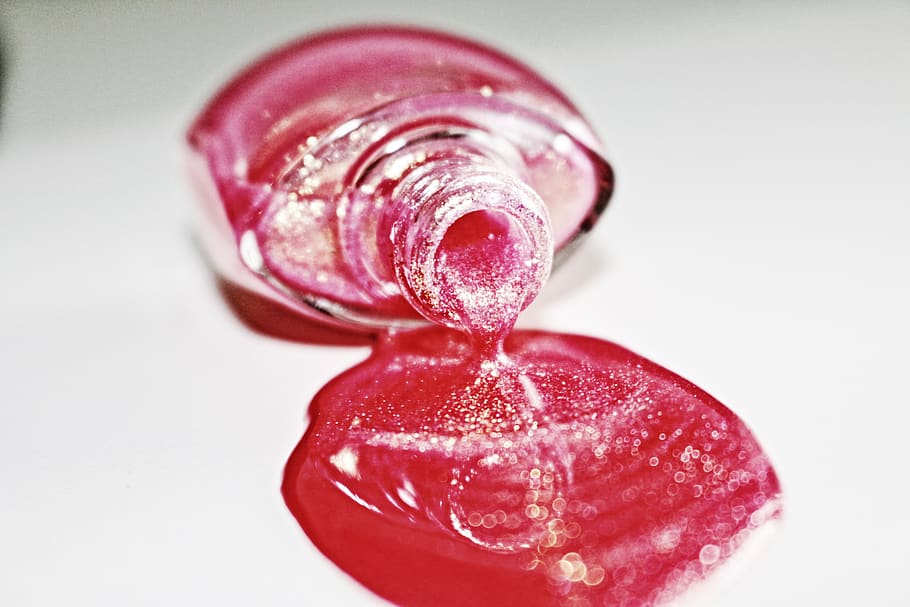
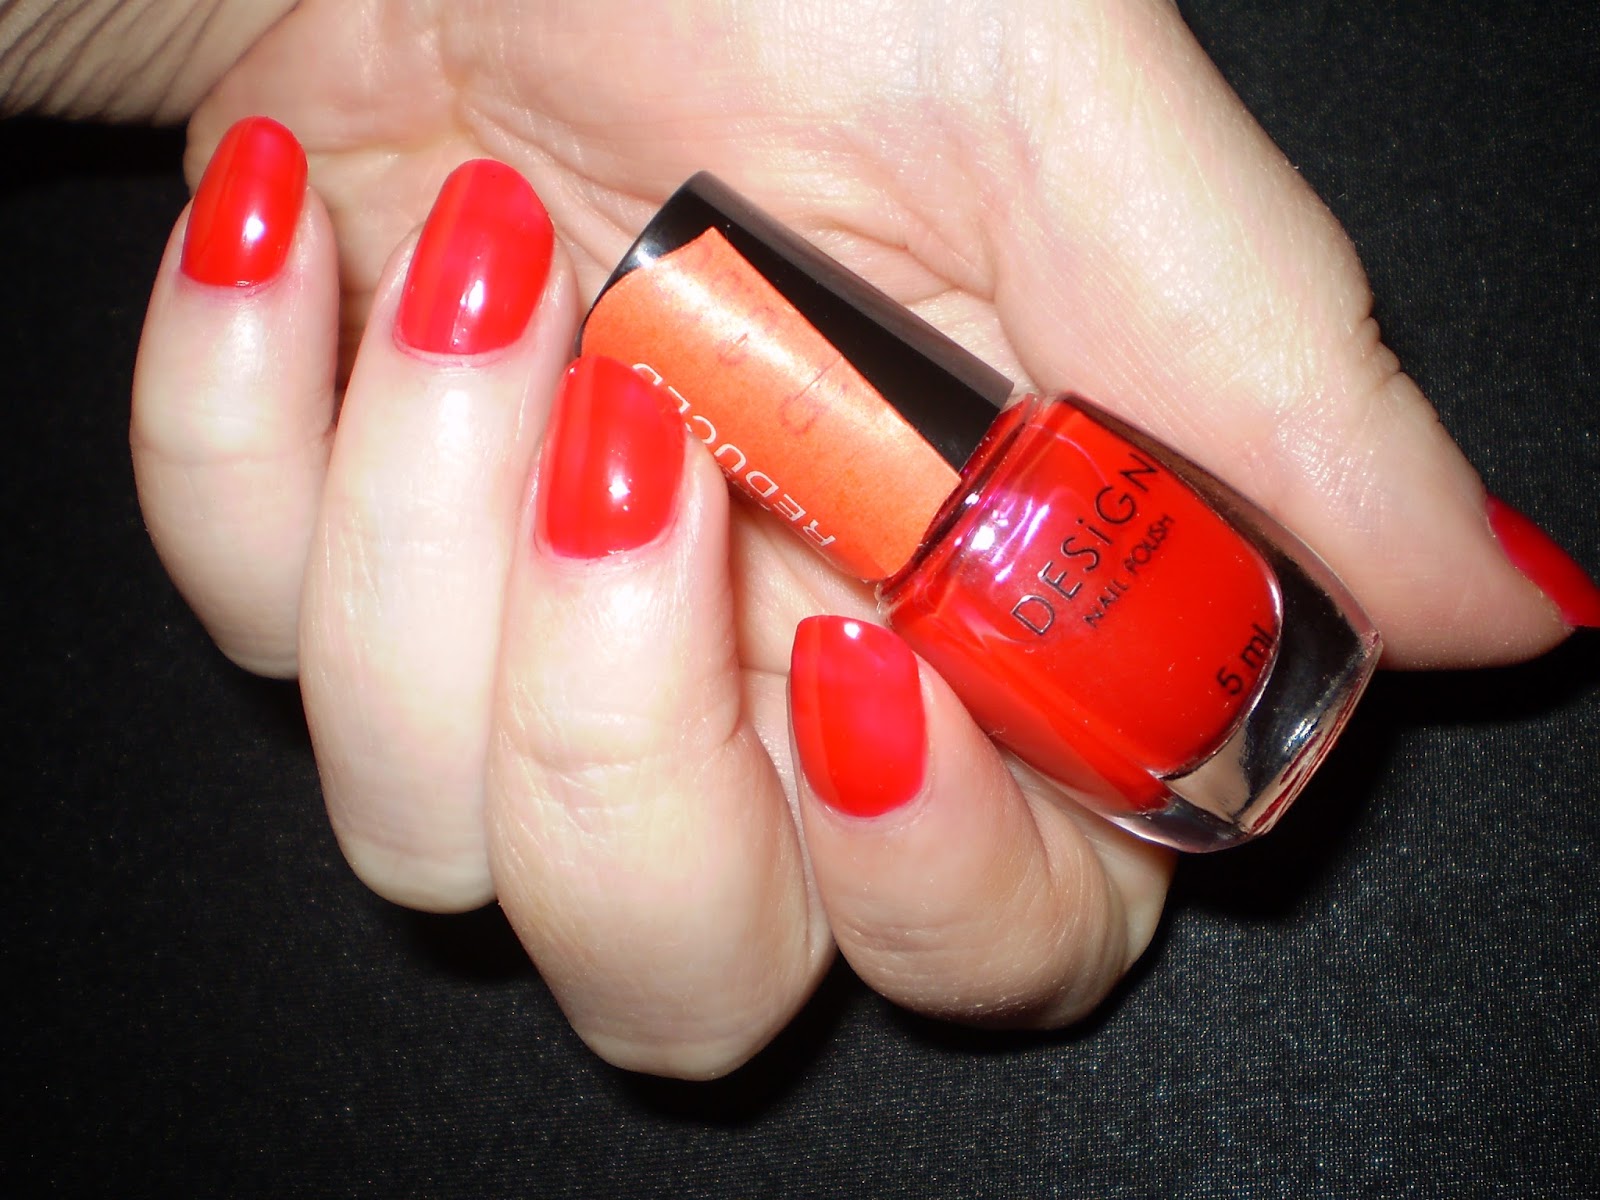
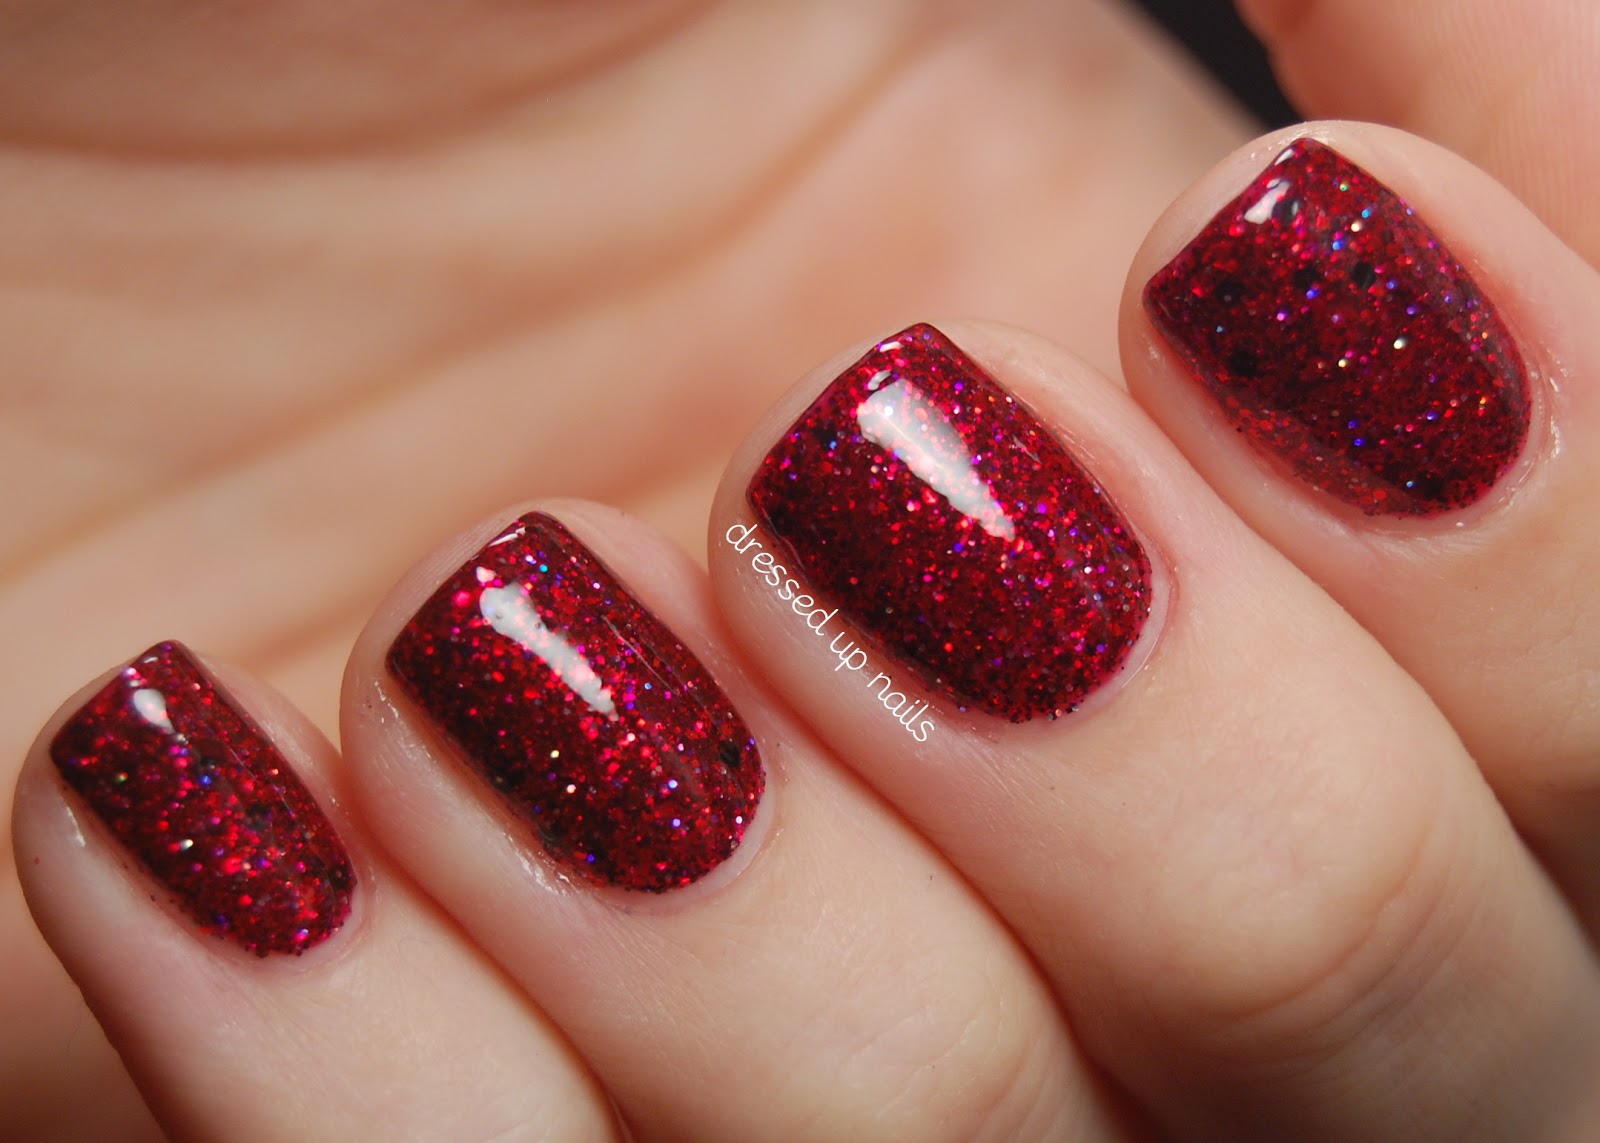
 Looking to add some extra glamour to your red nail polish? Look no further than glitter! One of the easiest ways to achieve a stunning nail design with red polish is to add some glitter accents. Whether you opt for a full glitter nail or just a touch of sparkle on the tips or cuticles, this is a fun and playful way to amp up your red nails. Plus, with so many different types of glitter available, you can achieve a unique and personalized look every time.
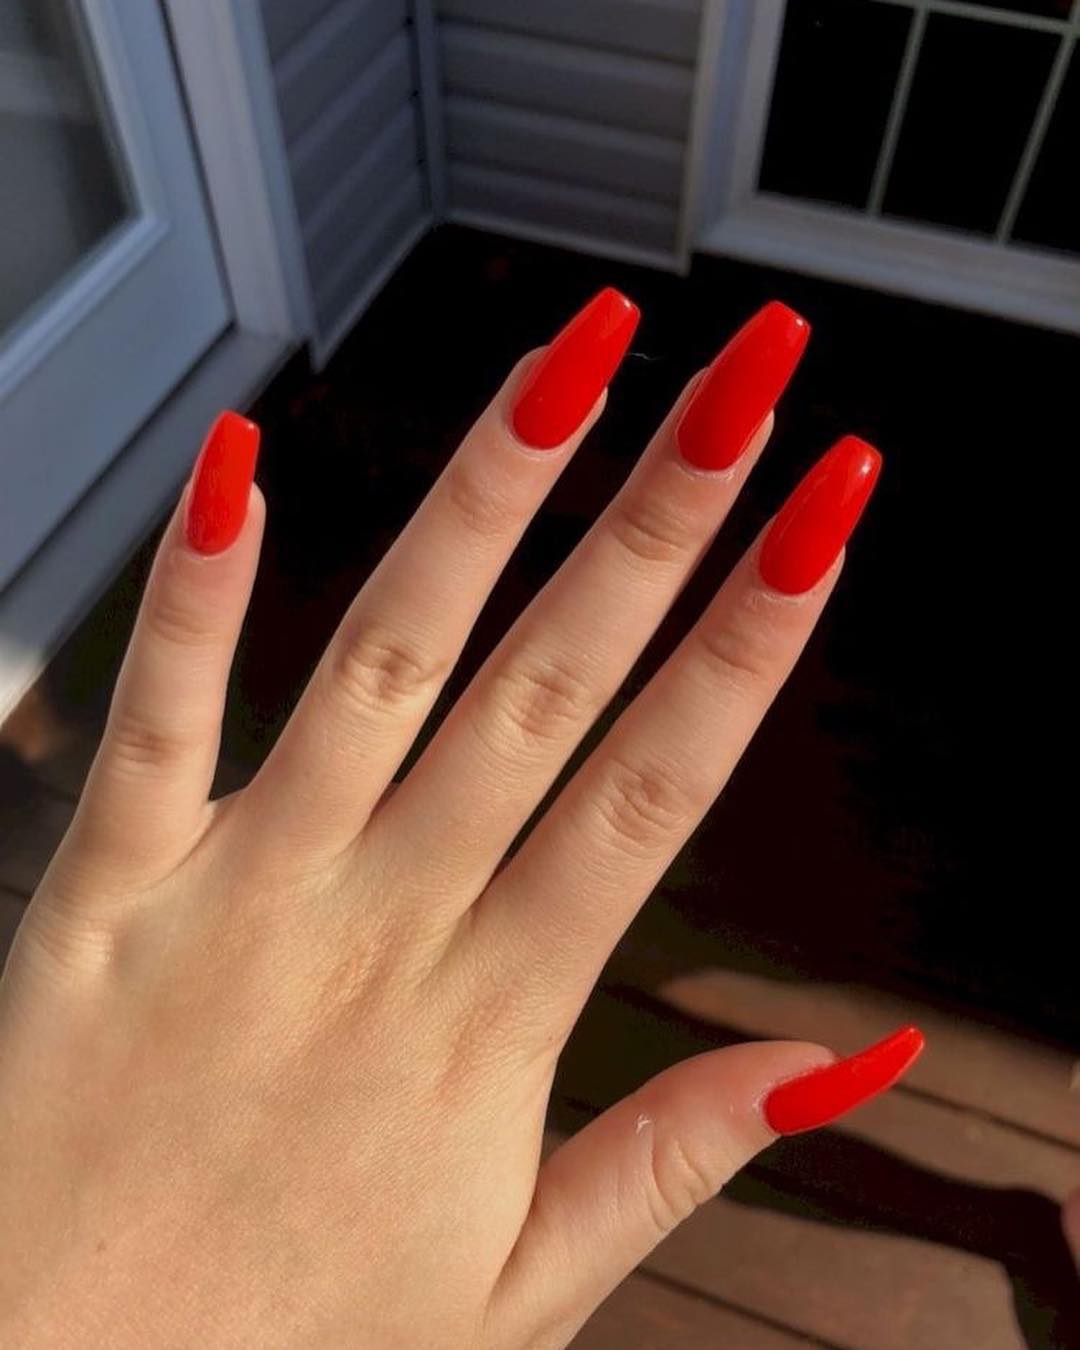
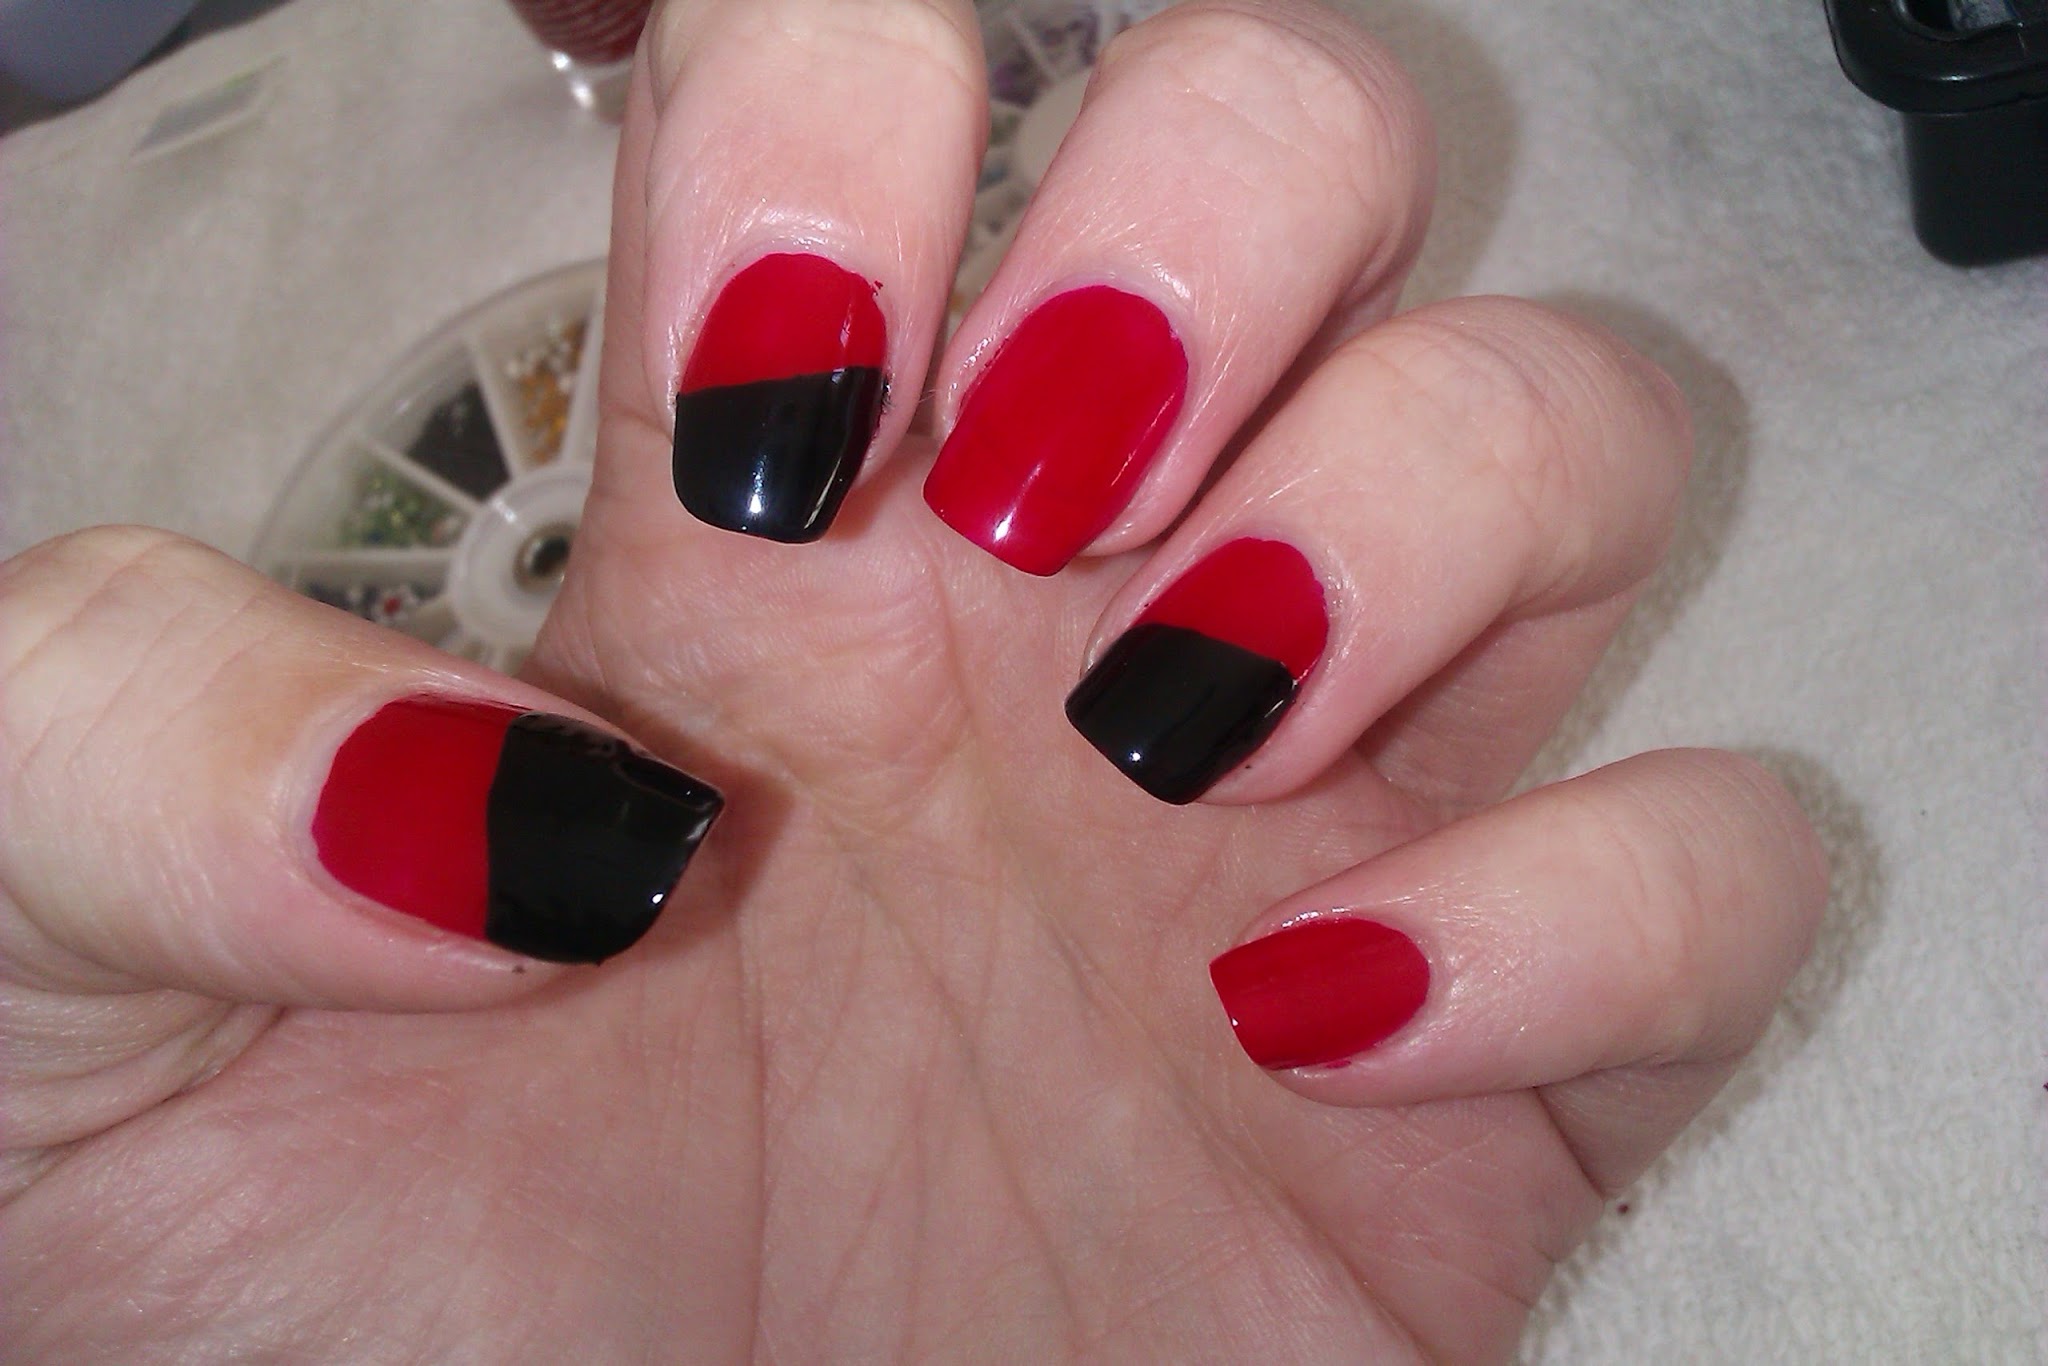
Try a French Manicure with a Twist
 The classic French manicure has been a go-to nail design for decades, but why not give it a modern twist with red nail polish? Instead of the traditional white tips, opt for a bold red for a more eye-catching look. You can also switch things up by using red as the base color and adding a white tip for a reverse French manicure. Either way, this subtle yet chic design is perfect for any occasion.
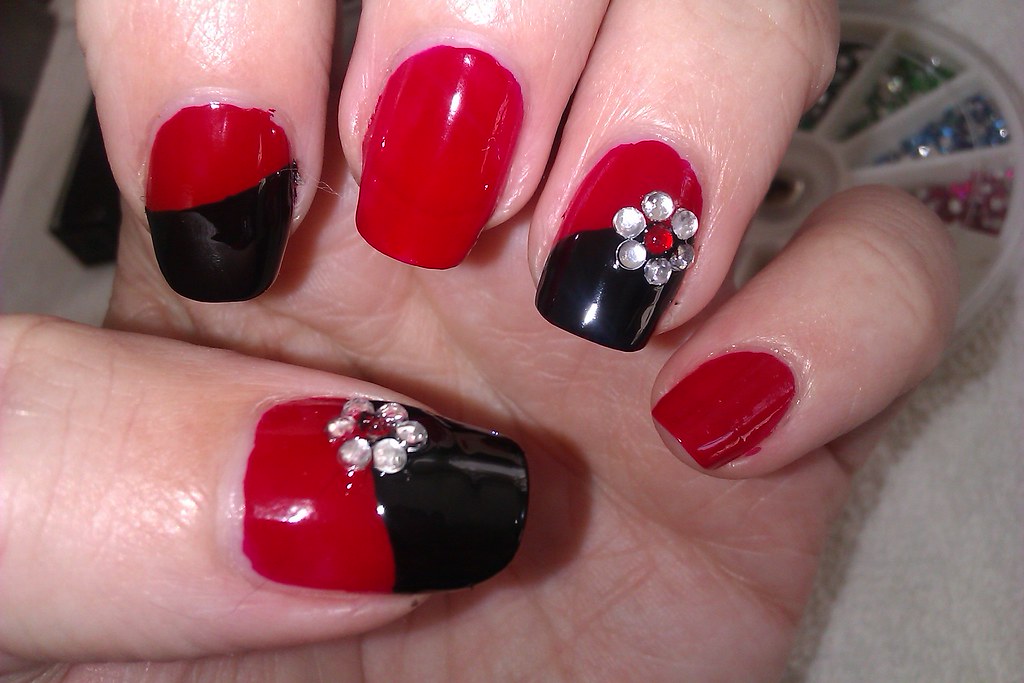
Experiment with Nail Art
 If you're feeling extra creative, try incorporating some nail art into your red nail design. From geometric patterns to floral designs, the options are endless. And with red as your base color, you can create a bold and striking look that is sure to turn heads. You can also use different shades of red or add in other colors to really make your nail art stand out.
Go for a Matte Finish
 For a more sophisticated and elegant look, consider using a matte top coat over your red nail polish. This will give your nails a velvety, non-shiny finish that is perfect for any occasion. You can also add some extra flair by using a glossy top coat to create a half-matte, half-glossy design. This is a great way to add some dimension to your red nails without being too over-the-top.
In conclusion, red nail polish is a versatile and timeless color that can be easily transformed into a stunning nail design. Whether you add some sparkle, try a French manicure with a twist, experiment with nail art, or go for a matte finish, there are endless possibilities to elevate your red nails. So go ahead and get creative with these ideas and make your red nails the envy of everyone around you!
For a more sophisticated and elegant look, consider using a matte top coat over your red nail polish. This will give your nails a velvety, non-shiny finish that is perfect for any occasion. You can also add some extra flair by using a glossy top coat to create a half-matte, half-glossy design. This is a great way to add some dimension to your red nails without being too over-the-top.
In conclusion, red nail polish is a versatile and timeless color that can be easily transformed into a stunning nail design. Whether you add some sparkle, try a French manicure with a twist, experiment with nail art, or go for a matte finish, there are endless possibilities to elevate your red nails. So go ahead and get creative with these ideas and make your red nails the envy of everyone around you!


