Are you tired of the same old boring nail designs? Want to spice up your manicure game but don't know where to start? Look no further than Pinterest! This popular social media platform is filled with endless inspiration for all things nail related. From simple and chic to bold and creative, there's something for everyone. In this article, we'll be sharing the top 10 nail design tutorials on Pinterest that are perfect for beginners.Easy Nail Art Designs for Beginners on Pinterest


Easy Nail Art Designs for Beginners


Marble nails are all the rage right now and the best part? They're super easy to recreate! All you need is a few nail polishes, a cup of water, and a toothpick. Simply drop a few drops of different colored nail polish onto the surface of the water, use the toothpick to create a marbled effect, and dip your nails in. It's that simple! You can also use this technique on accent nails for a more subtle look.1. Marble Nails


If you're a fan of clean lines and geometric shapes, then this nail design is for you. All you need is some nail tape and your choice of nail polish. Start by painting your nails with a base color and let it dry completely. Then, use the nail tape to create different geometric shapes and paint over it with a contrasting color. Peel off the tape and voila! You have a chic and modern nail design.2. Geometric Nails


Easy Nail Art Designs for Beginners
Ombre isn't just for hair, it can also make a stunning nail design. You can achieve the ombre effect by using a makeup sponge and two or more nail polishes. Paint the different colors onto the sponge and dab it onto your nails, creating a gradient effect. You can also use different shades of the same color for a more subtle ombre look.3. Ombre Nails


Floral nails are perfect for spring and summer and they're surprisingly easy to create. All you need is a nail art brush and your choice of nail polish. Start by painting your nails with a base color and let it dry completely. Then, using the nail art brush, create small flower designs on your nails. You can keep it simple with just a few flowers or go all out with a floral pattern on each nail.4. Floral Nails
Easy Nail Art Designs for Beginners
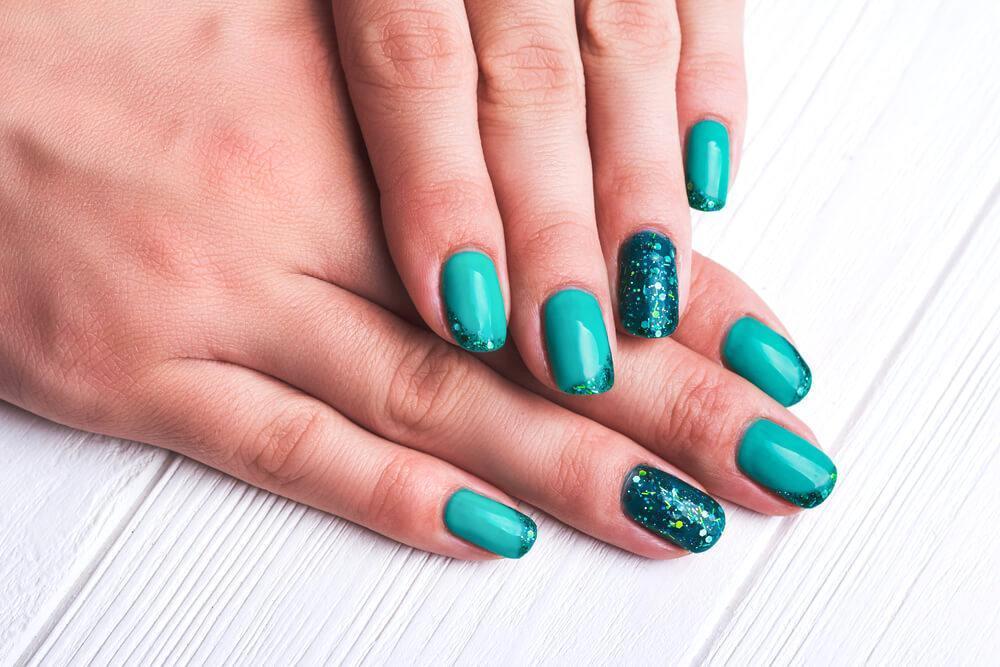
Who doesn't love a little sparkle on their nails? Glitter nails are perfect for a special occasion or just to add some glam to your everyday look. You can use glitter nail polish or loose glitter and apply it to your nails using a makeup brush. You can also create a glitter gradient effect by starting with a glittery base and painting over it with a sheer color.5. Glitter Nails
Stripes are a classic pattern that never goes out of style. They're also super easy to create on your nails. All you need is some nail tape and your choice of nail polish. Paint your nails with a base color and let it dry completely. Then, use the nail tape to create stripes and paint over it with a contrasting color. Peel off the tape and you have a fun and trendy nail design.6. Striped Nails

Easy Nail Art Designs for Beginners
Polka dots are a fun and playful nail design that is perfect for any occasion. You can use a dotting tool or even a bobby pin to create the dots on your nails. You can keep it simple with just a few dots or go all out with a polka dot pattern on each nail. You can also mix and match different colors for a more colorful look.7. Polka Dot Nails
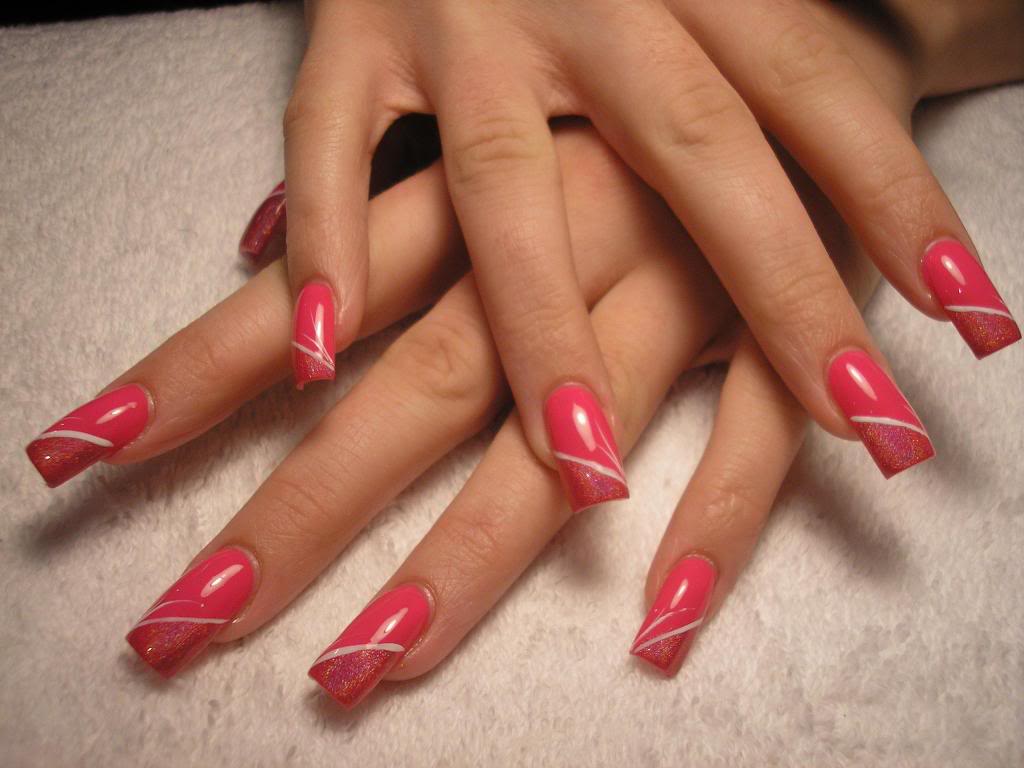
The French tip is a classic nail design that never goes out of style. It's also super easy to recreate at home. All you need is a French tip sticker or a piece of tape and your choice of nail polish. Place the sticker or tape on your nails, leaving the tip exposed, and paint over it with a contrasting color. Peel off the sticker/tape and you have a perfect French tip.8. French Tip Nails

Easy Nail Art Designs for Beginners


If you want to add some bling to your nails, gemstone nails are the way to go. You can use gemstone embellishments or even small beads to create a stunning nail design. Simply apply a clear top coat and while it's still wet, place the gems/beads onto your nails. Let it dry completely and seal it with another layer of top coat. You'll have a gorgeous and unique nail design in no time.9. Gemstone Nails
Bring a touch of the tropics to your nails with this fun and colorful nail design. You can use nail stickers or a nail stamping kit to create tropical designs on your nails. From palm trees to fruity patterns, the possibilities are endless. You can also mix and match different tropical designs for a fun and vibrant look.10. Tropical Nails
Easy Nail Art Designs for Beginners
With the help of these top 10 nail design tutorials on Pinterest, you'll be able to create stunning and unique nail designs at home. So why settle for a plain manicure when you can have fun and creative nails? The best part is, you can mix and match different designs and techniques to create your own custom nail art. So go ahead and unleash your inner nail artist with these easy and beginner-friendly designs.In Conclusion
The Latest Trends in Nail Design: A Tutorial on Pinterest

Discover New Ways to Enhance Your Nails with Pinterest

Are you tired of the same old manicure? Do you want to spice up your nails with something unique and trendy? Look no further than Pinterest for all your nail design inspiration! With millions of users and an endless array of creative ideas, Pinterest has become the ultimate go-to platform for all things nail design.
From bold and intricate designs to simple and elegant styles, Pinterest has it all. Whether you're a nail art novice or a seasoned pro, there's something for everyone on this popular social media site. So, let's dive into the latest trends in nail design and learn how to recreate them with this easy-to-follow tutorial.
Exploring the World of Nail Design on Pinterest

With the rise of social media, the world of nail design has expanded and evolved in ways we could have never imagined. Pinterest, in particular, has become a hub for all things related to nail art and design. Users can create their own boards, save and organize different designs, and even follow their favorite nail artists for constant inspiration.
One of the most popular trends on Pinterest is the use of negative space in nail designs. This involves leaving parts of the nail bare or unpainted, creating a unique and eye-catching look. Users can experiment with different shapes, patterns, and colors to create their own negative space designs.
Another trend gaining popularity on Pinterest is the use of different textures and materials in nail design. From glitter and rhinestones to lace and feathers, the possibilities are endless. These textures can be added to the nail in various ways, from hand-placing them to using special stickers and decals.
A Step-by-Step Tutorial: Creating a Negative Space Design with Feathers

Now that we've explored some of the latest trends in nail design on Pinterest, let's put our skills to the test and create a beautiful and unique negative space design with feathers.
Step 1: Prep Your Nails
Start by removing any old polish and filing your nails to your desired shape. Then, apply a base coat to protect your nails and ensure your design lasts longer.
Step 2: Choose Your Colors
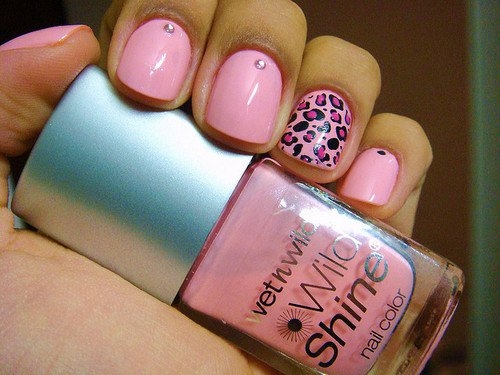
Select two complementary nail polish colors for your design. One will be used as the base, and the other will be the color of the feathers. For this tutorial, we'll use a light pink base and a dark purple for the feathers.
Step 3: Paint Your Nails
Paint your nails with the light pink base color and let it dry completely. Then, using a small brush or a toothpick, create a half-moon shape at the base of your nail with the dark purple polish. This will be the base for your feathers.
Step 4: Add the Feathers
Using a pair of tweezers, place small feathers on top of the half-moon shape, making sure they stick to the polish. You can also use a toothpick to gently push them into place. Let the feathers dry for a few minutes.
Step 5: Finish with a Top Coat
Finally, apply a clear top coat to seal the design and add shine. This will also help keep the feathers in place and prevent them from lifting.
Congratulations, you now have a beautiful and unique negative space design with feathers, all thanks to Pinterest! Feel free to experiment with different colors, textures, and patterns to create your own personalized nail designs.
In Conclusion
Pinterest has revolutionized the world of nail design, making it accessible and easy for anyone to create their own unique and trendy designs. So, next time you're in need of some nail inspiration, head over to Pinterest and discover the endless possibilities for yourself!


