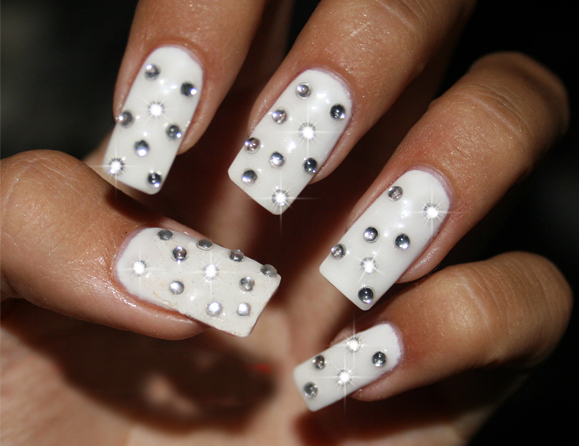
If you're looking for a way to add some sparkle to your nails, a glittery gemstone design is the perfect solution. This design features a base coat of your choice with various gems and jewels sprinkled on top for a dazzling effect. You can use glitter polish or loose glitter powder to create this look, as well as gemstones in different shapes and sizes. To achieve this design, start by painting your nails with your desired base color. Once it's dry, apply a clear top coat and carefully place the gems onto your nails while the polish is still wet. You can create a gradient effect by placing larger gems near the base of your nails and gradually using smaller gems towards the tips. This design is perfect for a night out or a special occasion when you want your nails to stand out and make a statement. It's also a great way to use up any leftover gems or glitter from previous nail designs.1. Glittery Gemstone Nail Design


1. Glittery Gemstone Nail Design

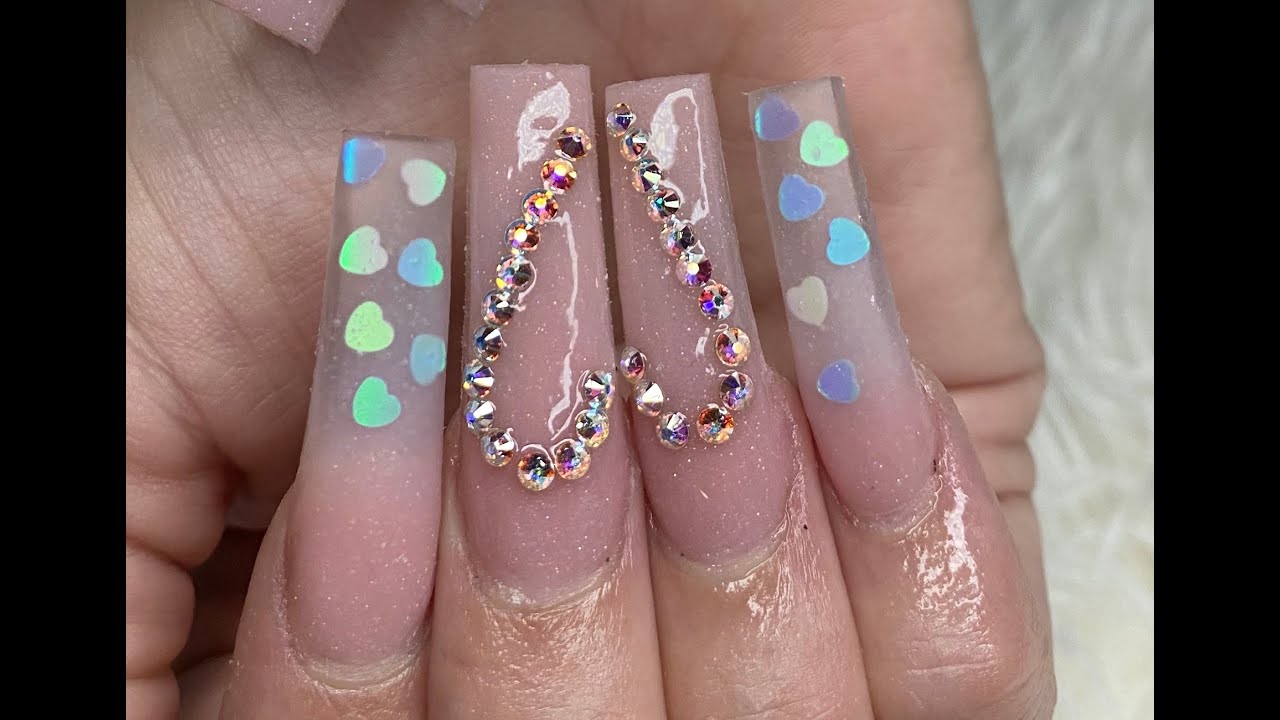


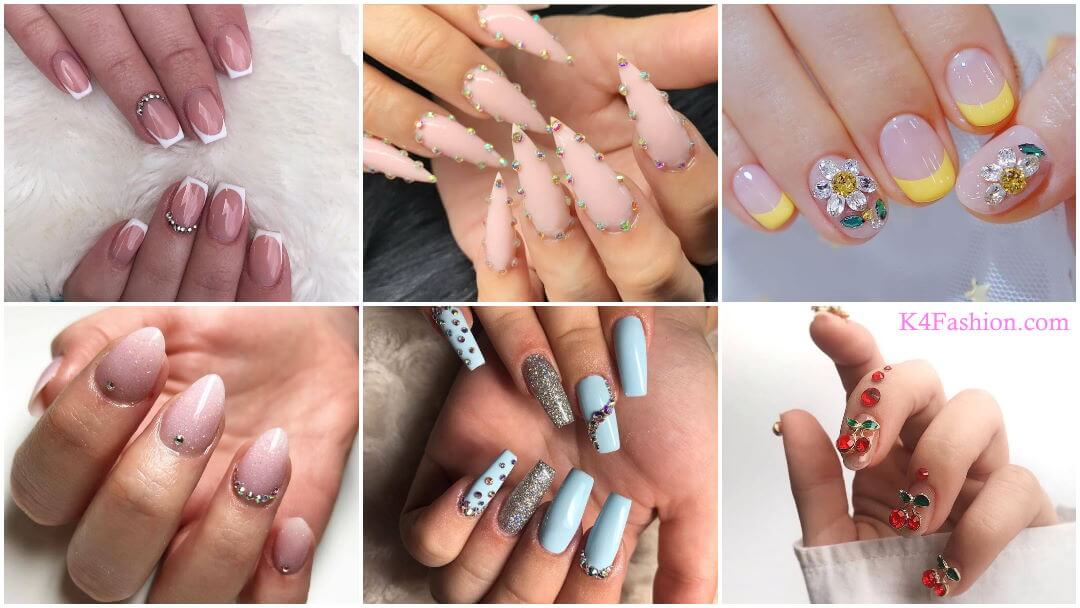
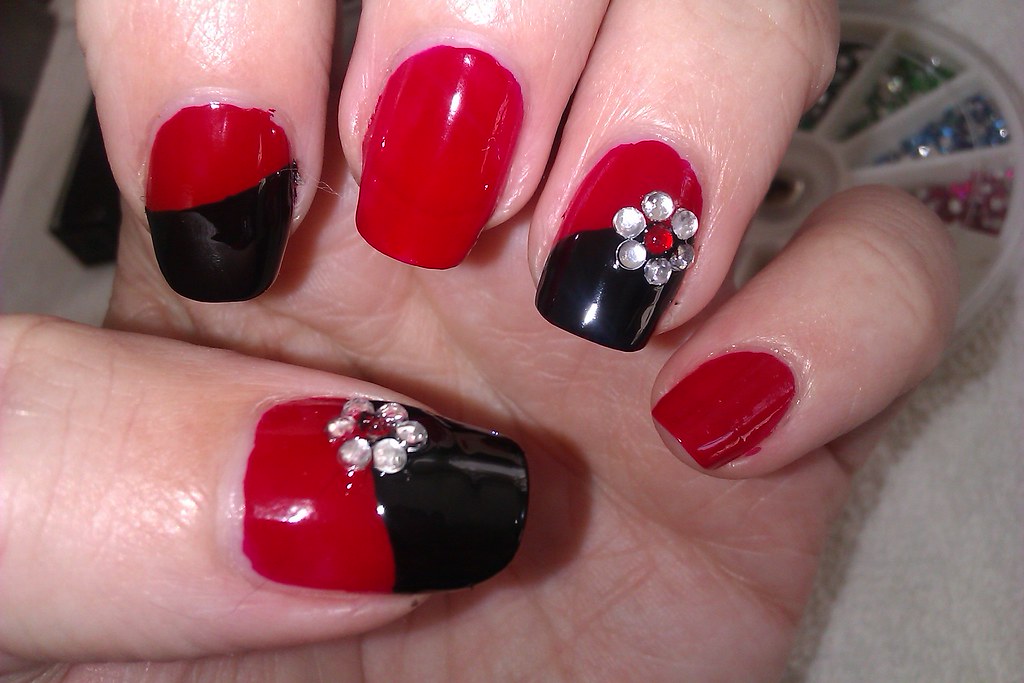
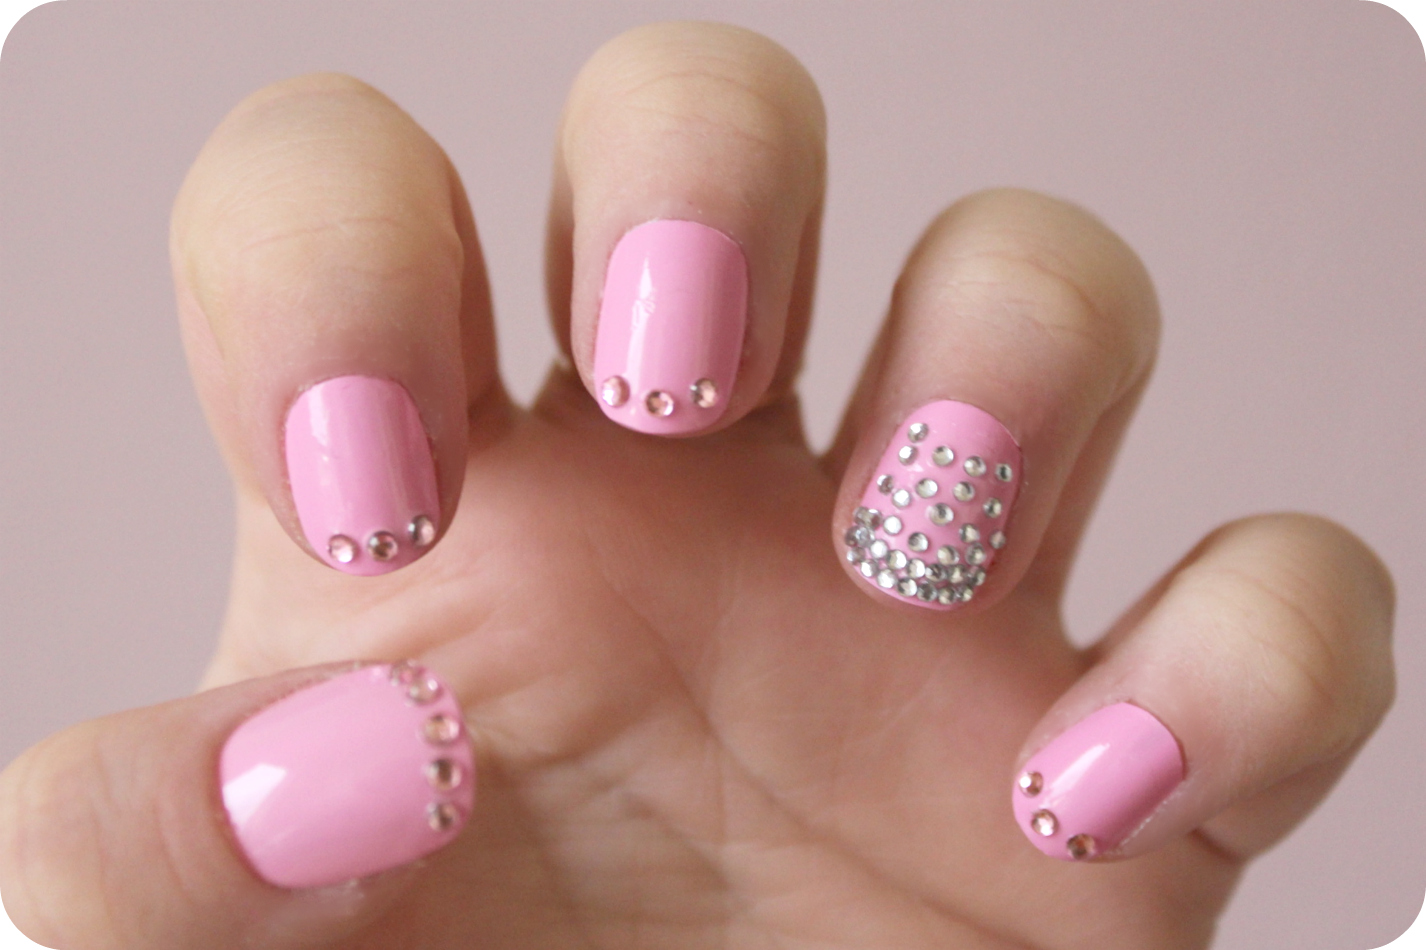
Rhinestones are a classic choice for adding some bling to your nails. They come in various colors and sizes, making them perfect for creating intricate designs on your nails. You can use them to create patterns, shapes, or even letters for a personalized touch. To create a rhinestone nail art design, you'll need a set of rhinestones and a nail art brush or a pair of tweezers to carefully apply them onto your nails. You can also use a clear top coat to help secure the rhinestones in place and make them last longer. This design is perfect for adding some glamour to any outfit and is a great way to express your creativity. You can also mix and match different colored rhinestones for a unique and eye-catching look.2. Rhinestone Nail Art


2. Rhinestone Nail Art


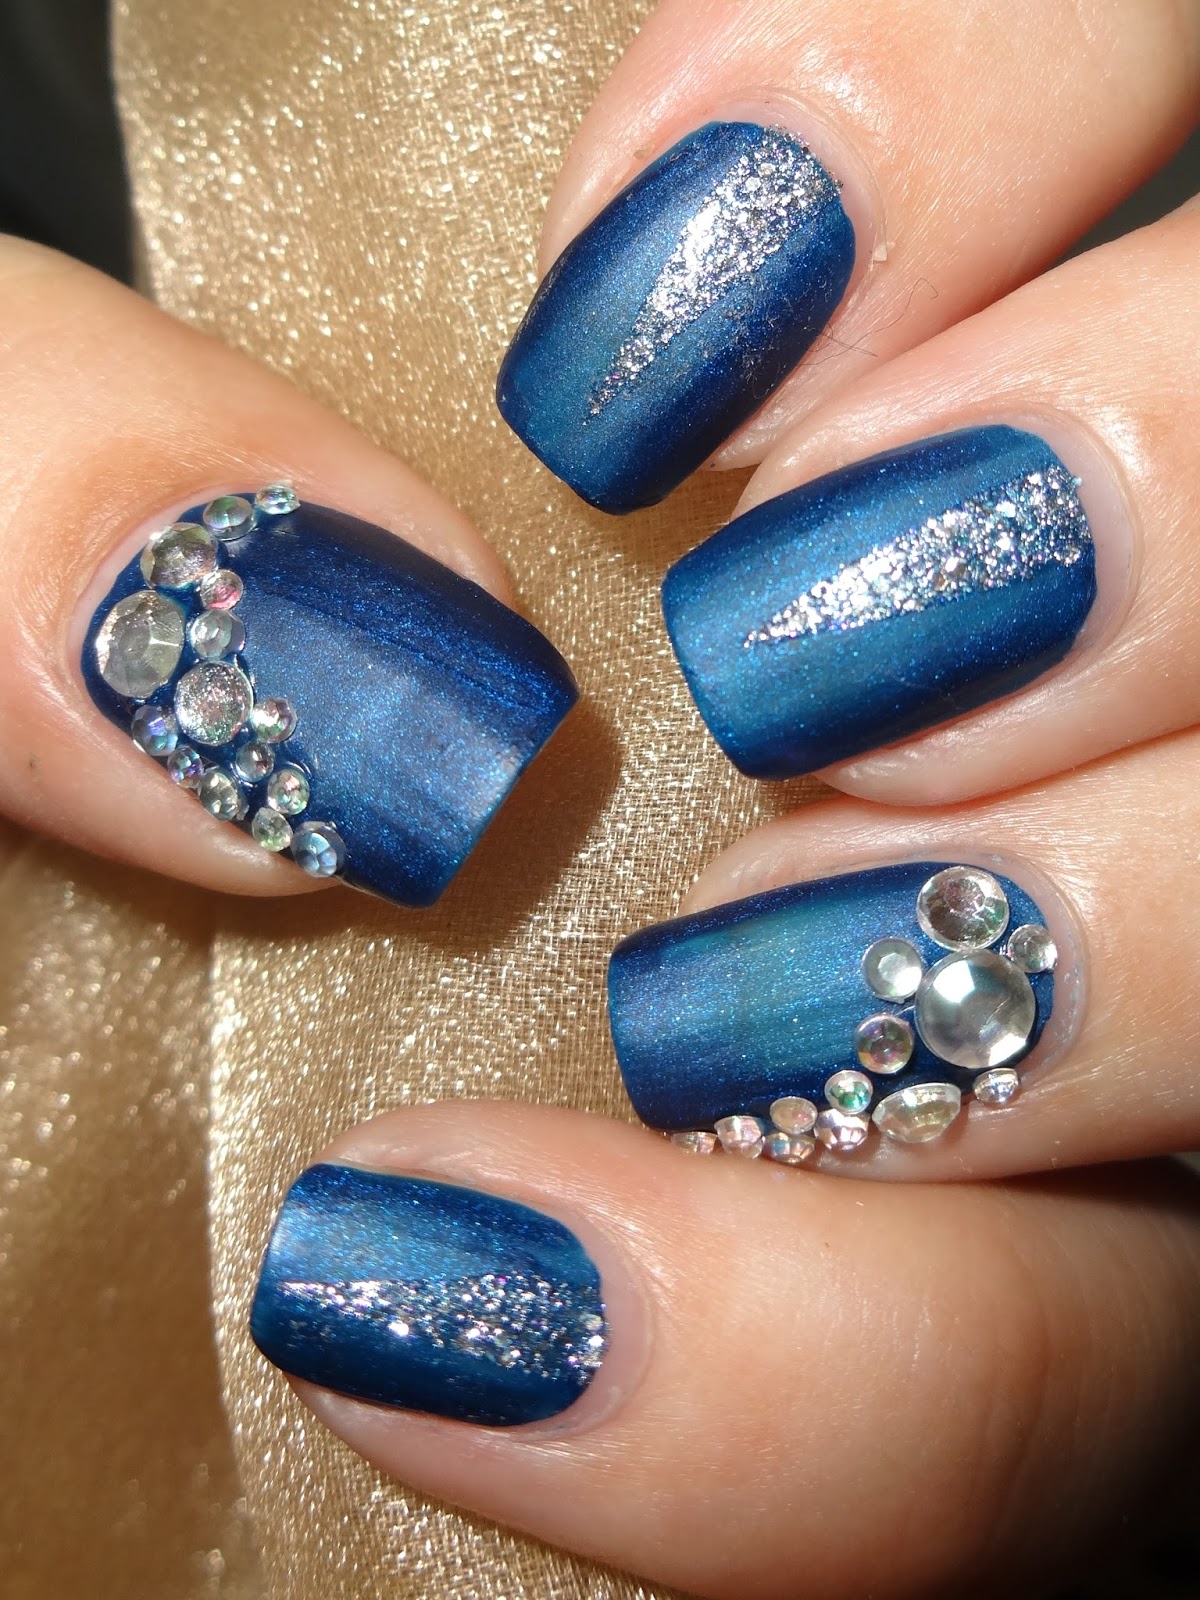
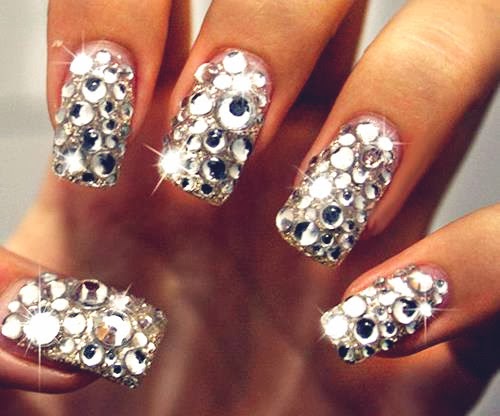
If you want to take your gemstone nail design to the next level, try creating a jewel-encrusted look. This design features an array of gems and jewels covering the entire nail for a luxurious and opulent look. To create this design, start by painting your nails with a base coat of your choice. Next, use a clear top coat to apply the gems onto your nails while the polish is still wet. You can use a variety of gems in different shapes, sizes, and colors to create a unique and extravagant look. This design is perfect for special occasions when you want to make a bold and glamorous statement. It's also a great way to showcase your love for all things sparkly and shiny.3. Jewel-Encrusted Nails


3. Jewel-Encrusted Nails

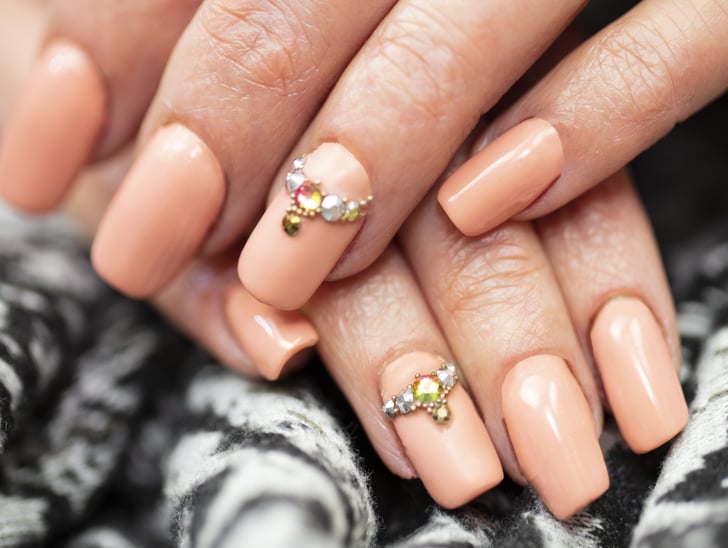


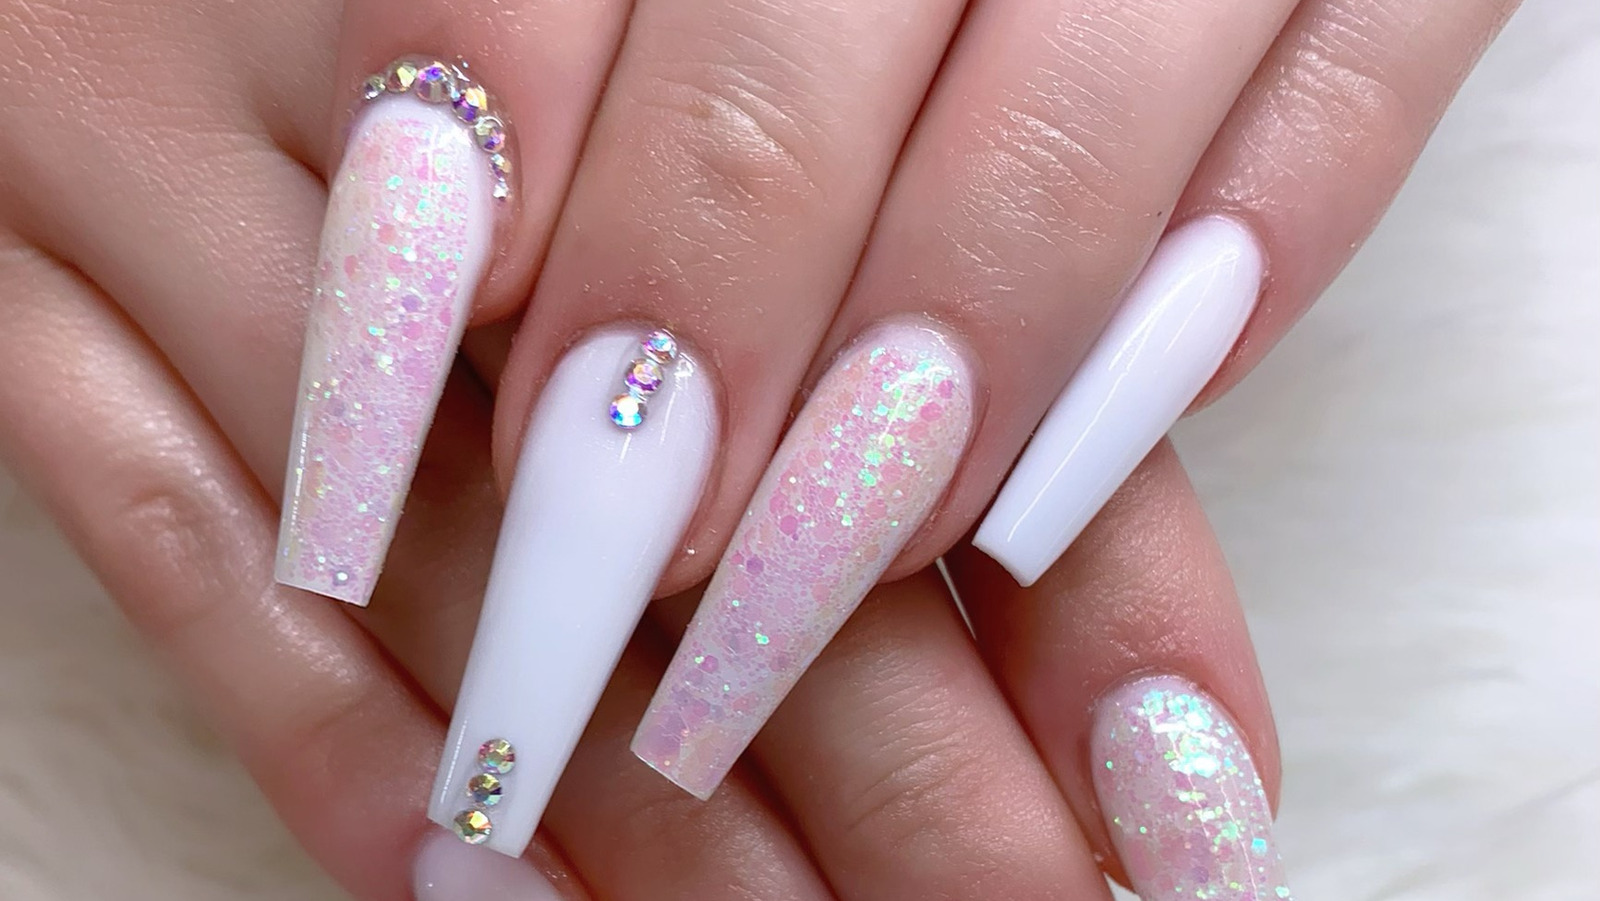
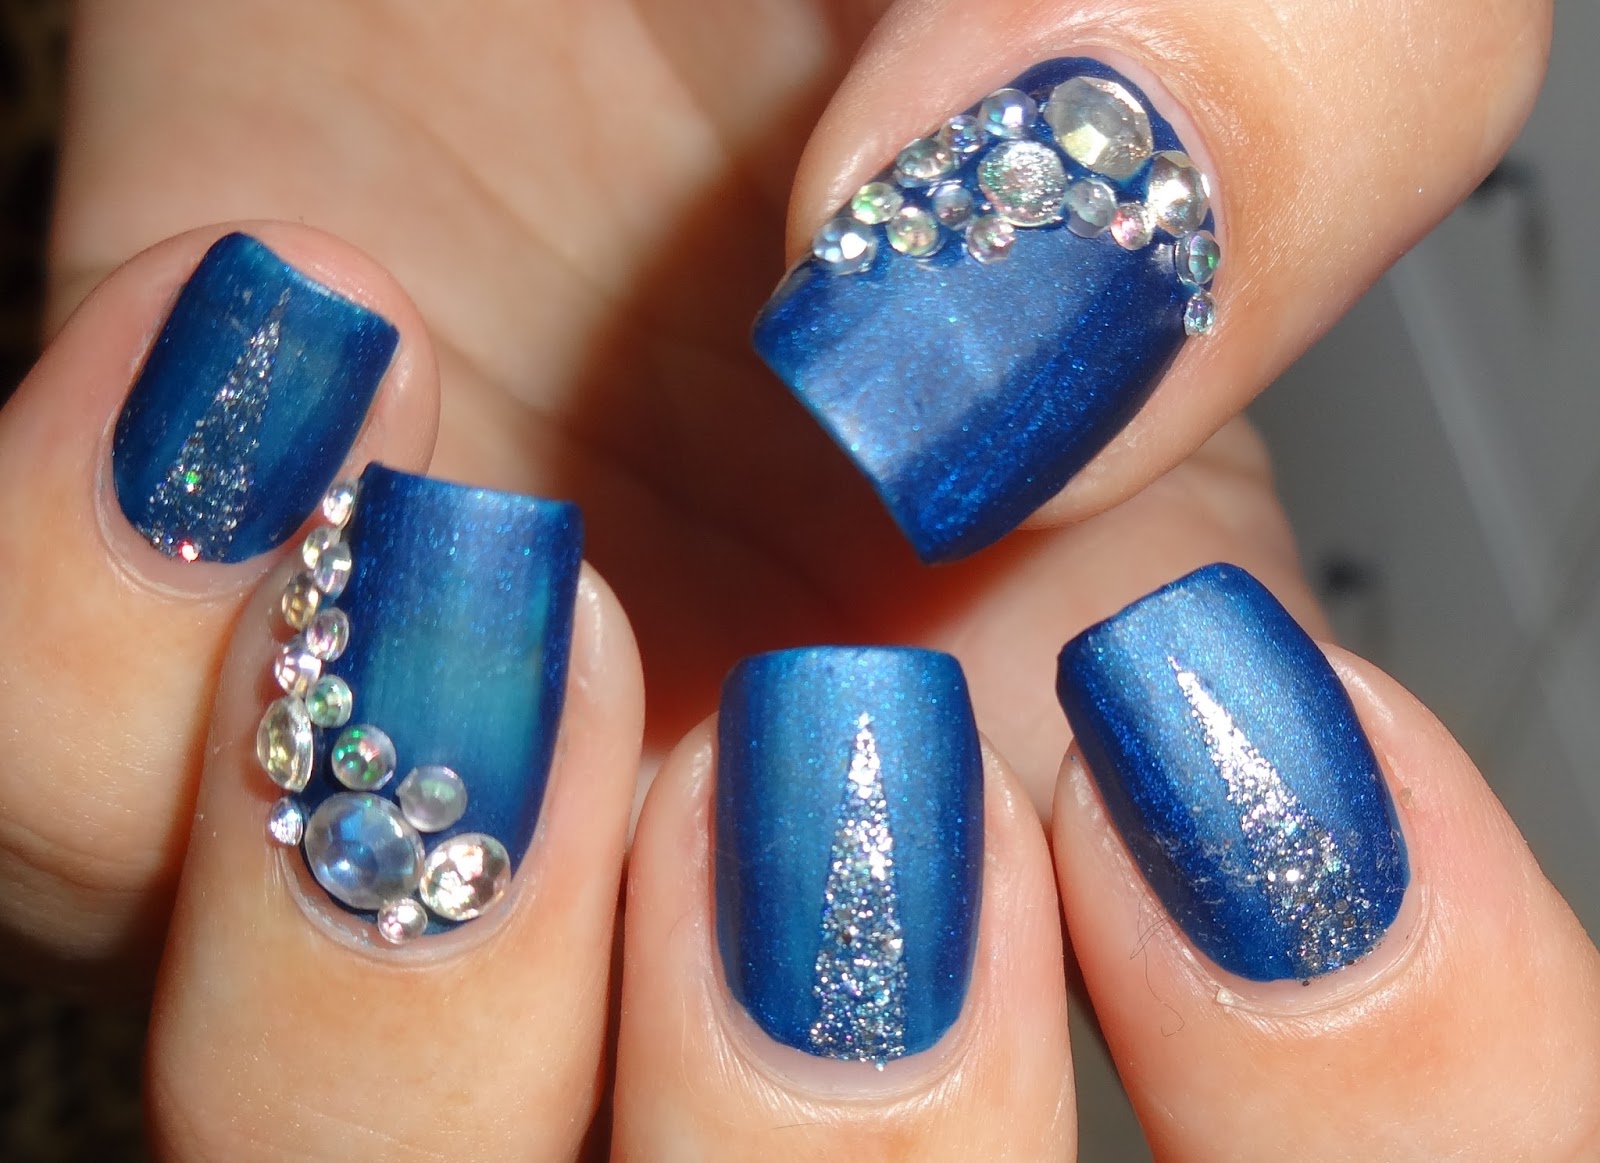
If you want to add some gemstones to your nails without going overboard, try creating gemstone accent nails. This design features a base coat with one or a few gemstones strategically placed on one or two nails for a subtle yet stylish look. You can choose to place the gemstones on your ring finger for a classic accent nail, or get creative and place them on your thumb or pinky finger. You can also use different colored gems to match or contrast with your base coat. This design is perfect for those who want to add a touch of glamour to their nails without committing to a full gemstone design. It's also a great way to experiment with different nail art techniques.4. Gemstone Accent Nails


4. Gemstone Accent Nails


For a sophisticated and elegant nail design, try incorporating crystals into your nail art. Crystals come in various shapes and sizes and can be used to create intricate and delicate designs on your nails. To create this design, you can either use loose crystals or crystal nail decals. Start by painting your nails with a base coat and then carefully place the crystals onto your nails to create your desired design. You can also use a clear top coat to help secure the crystals and make them last longer. This design is perfect for formal events or when you want to add a touch of luxury to your look. It's also a great way to add some dimension to your nails and make them stand out.5. Crystal Nail Design

5. Crystal Nail Design


Diamonds are a girl's best friend, and now you can have them on your nails too. This nail design features faux diamonds or crystals that mimic the look of real diamonds for a glamorous and sophisticated look. To achieve this design, you can use nail glue to carefully attach the diamonds onto your nails. You can place them in a pattern or cover the entire nail for a fully blinged-out look. You can also use different sizes and shapes of diamonds for a unique and eye-catching design. This design is perfect for a special occasion or when you want to add some sparkle to your everyday look. It's also a great way to add some texture to your nails and make them stand out.6. Diamond Nail Art

6. Diamond Nail Art


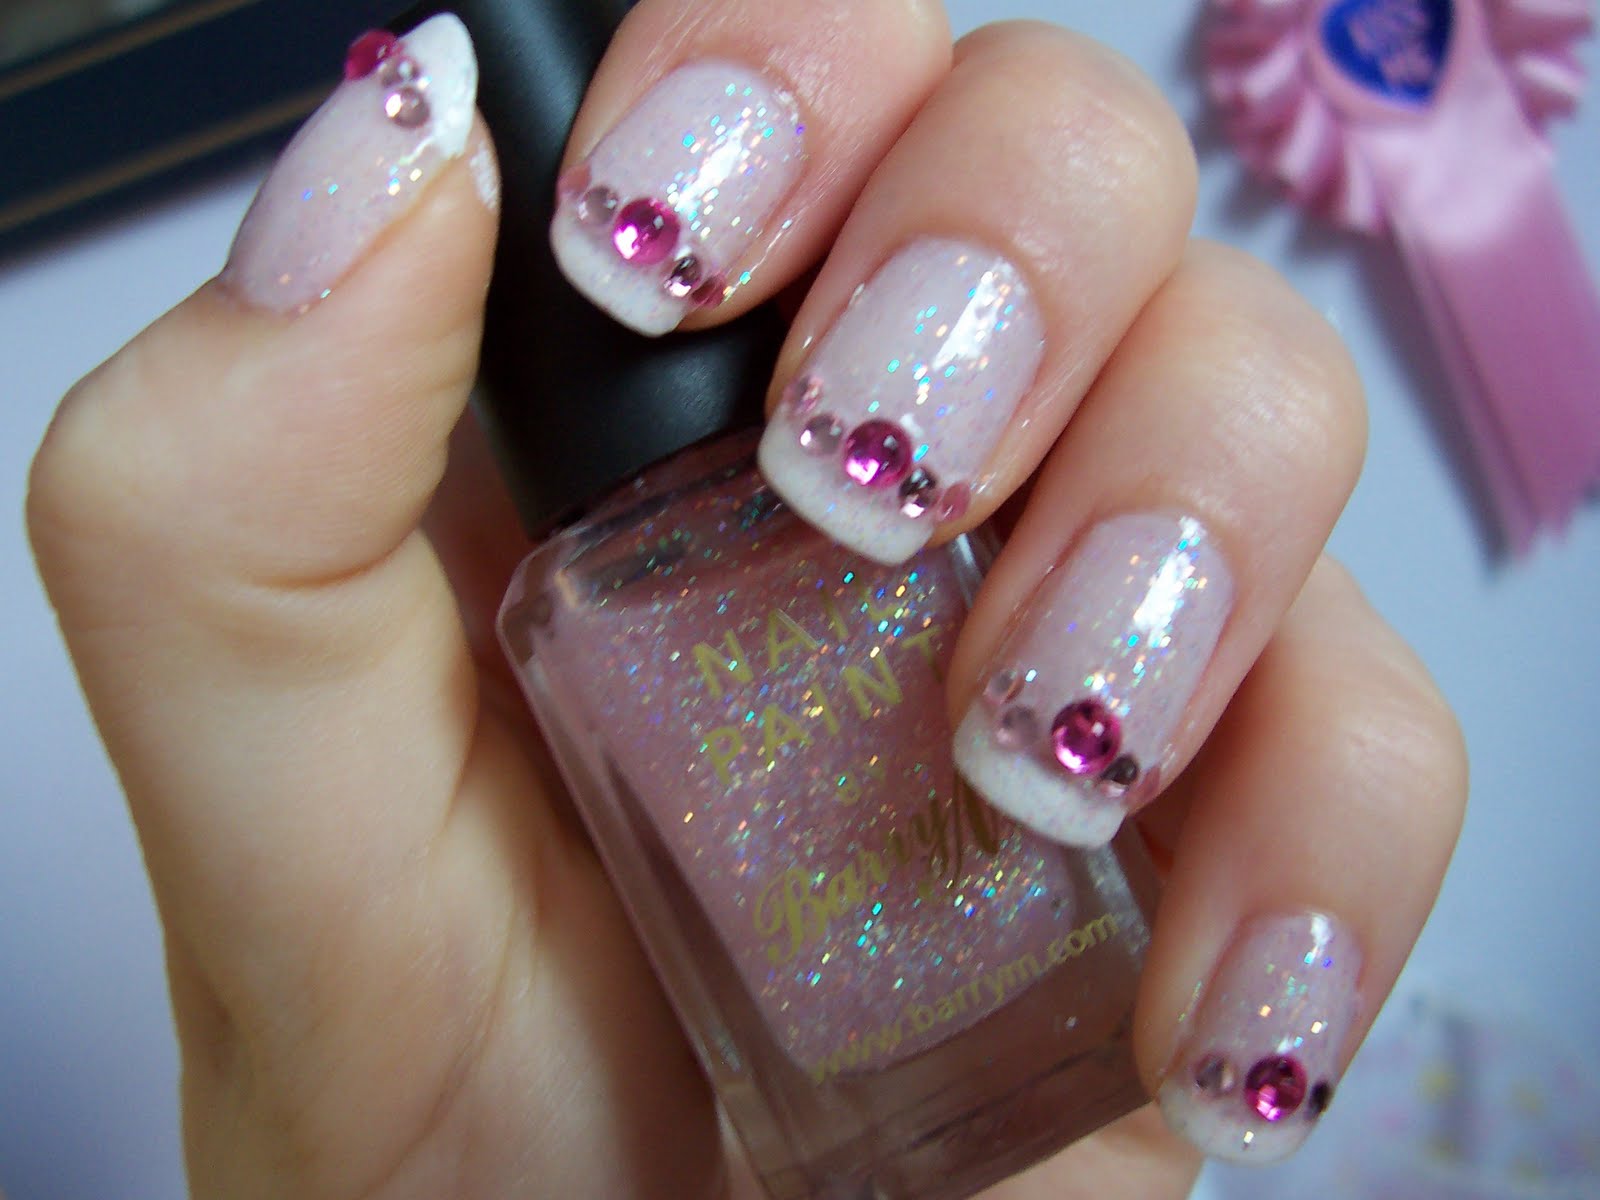
If you're a fan of the classic French manicure, why not add a twist to it with some gemstones? This design features the traditional French tip with a row of gemstones along the edge for a chic and modern look. To create this design, start by painting your nails with a base coat and then use a white or nude polish to create the French tip. Once it's dry, use a clear top coat to carefully place the gemstones along the edge of your nails. You can use a single row of gems or multiple rows for a more dramatic look. This design is perfect for those who want to add a touch of glam to their traditional French manicure. It's also a great way to incorporate gemstones into your everyday look without going overboard.7. Gemstone French Tips


7. Gemstone French Tips

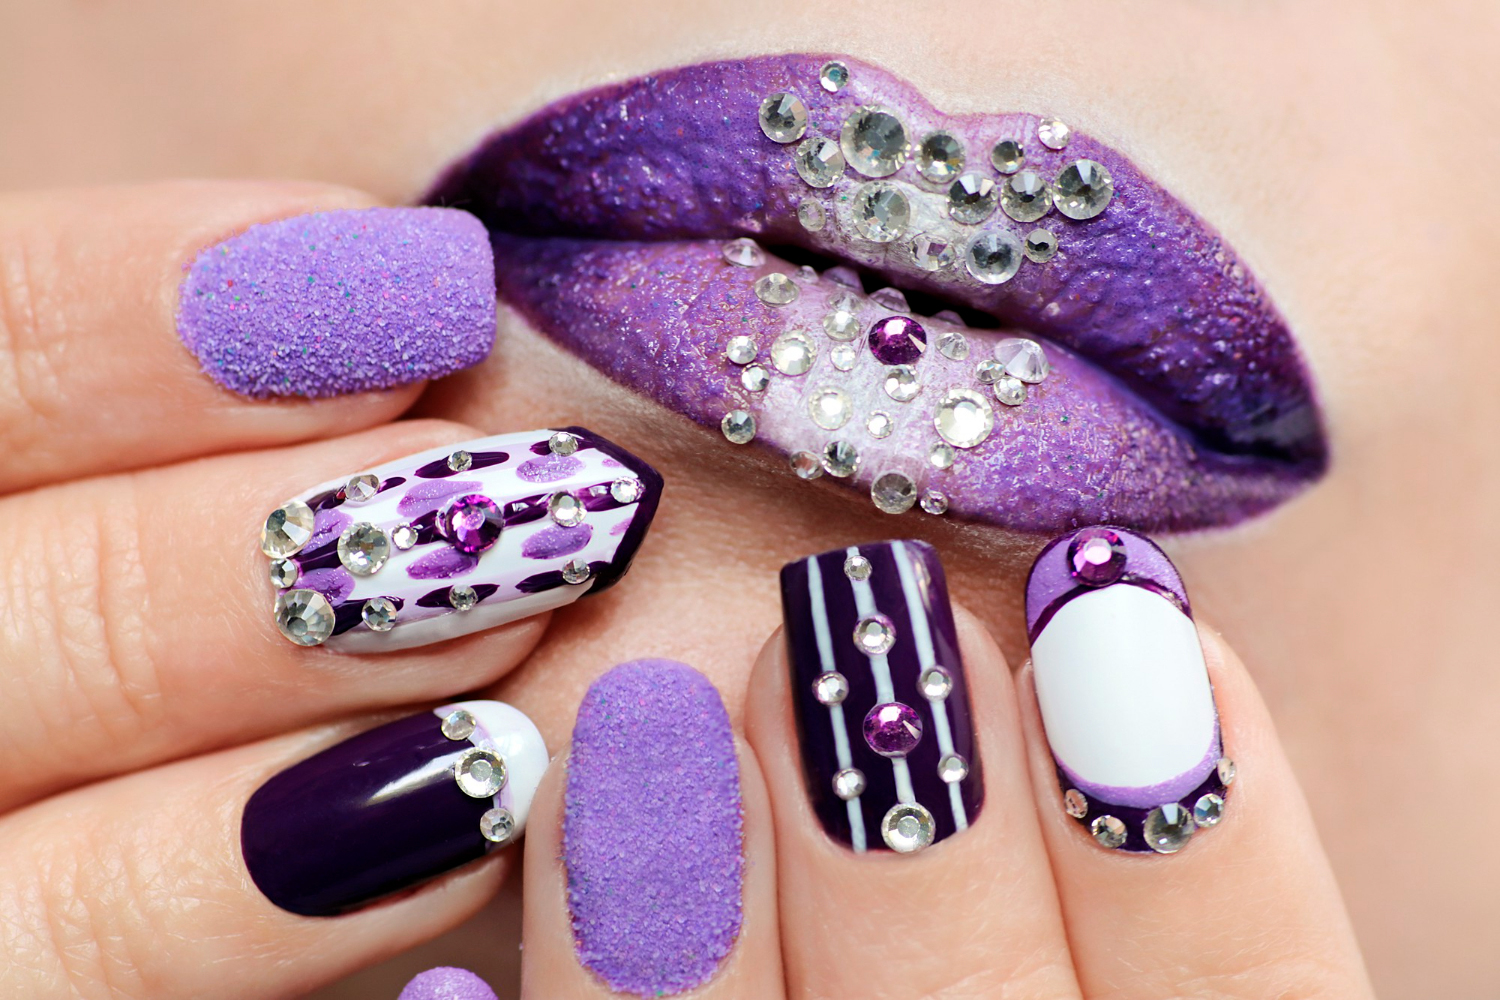
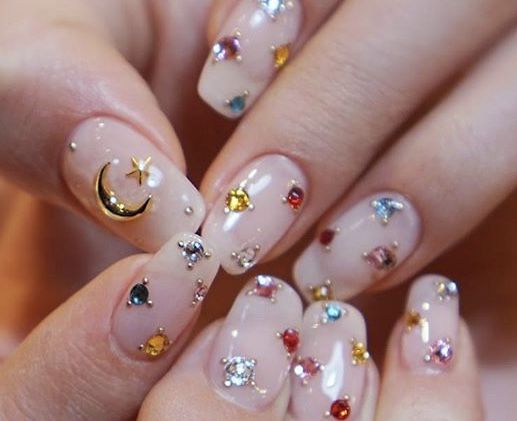
If you can't get enough of gemstones, why not create a bejeweled nail design? This design features a base coat with an array of gems and jewels covering the entire nail for a dazzling and extravagant look. To create this design, start by painting your nails with a base coat and then use a clear top coat to carefully place the gems onto your nails while the polish is still wet. You can use a variety of gemstones in different shapes, sizes, and colors to create a unique and eye-catching look. This design is perfect for those who love all things sparkly and want to make a statement with their nails. It's also a great choice for special occasions when you want to add some glamour to your look.8. Bejeweled Nail Design
8. Bejeweled Nail Design

Ombre nails have been a popular trend for a while, and now you can add some gemstones to create a unique and eye-catching design. This design features a gradient effect using different colored gemstones for a stunning and colorful look. To achieve this design, start by painting your nails with a base coat and then use a makeup sponge to dab on different colored polishes onto your nails, creating a gradient effect. Once it's dry, use a clear top coat to carefully place the gemstones onto your nails in a ombre pattern. You can also use different colored gemstones to create a rainbow effect. This design is perfect for those who want to add some color and sparkle to their nails. It's also a great way to show off your creativity and make a statement with your nails.9. Gemstone Ombre Nails

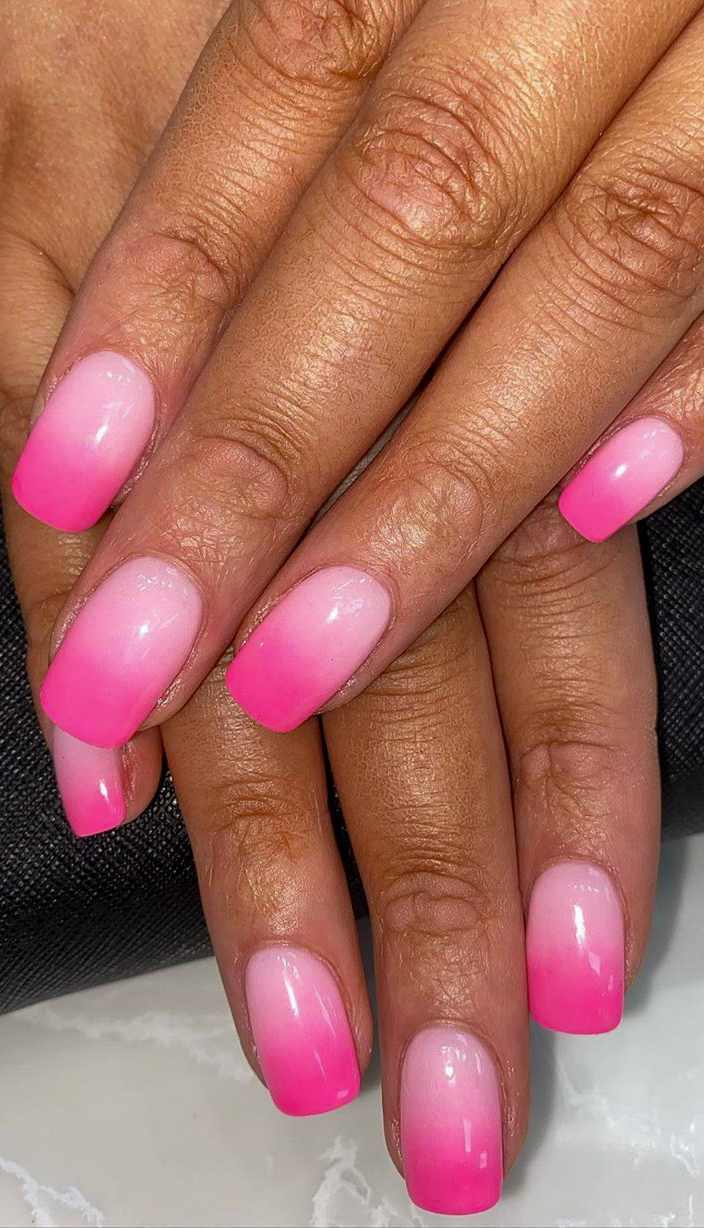
9. Gemstone Ombre Nails


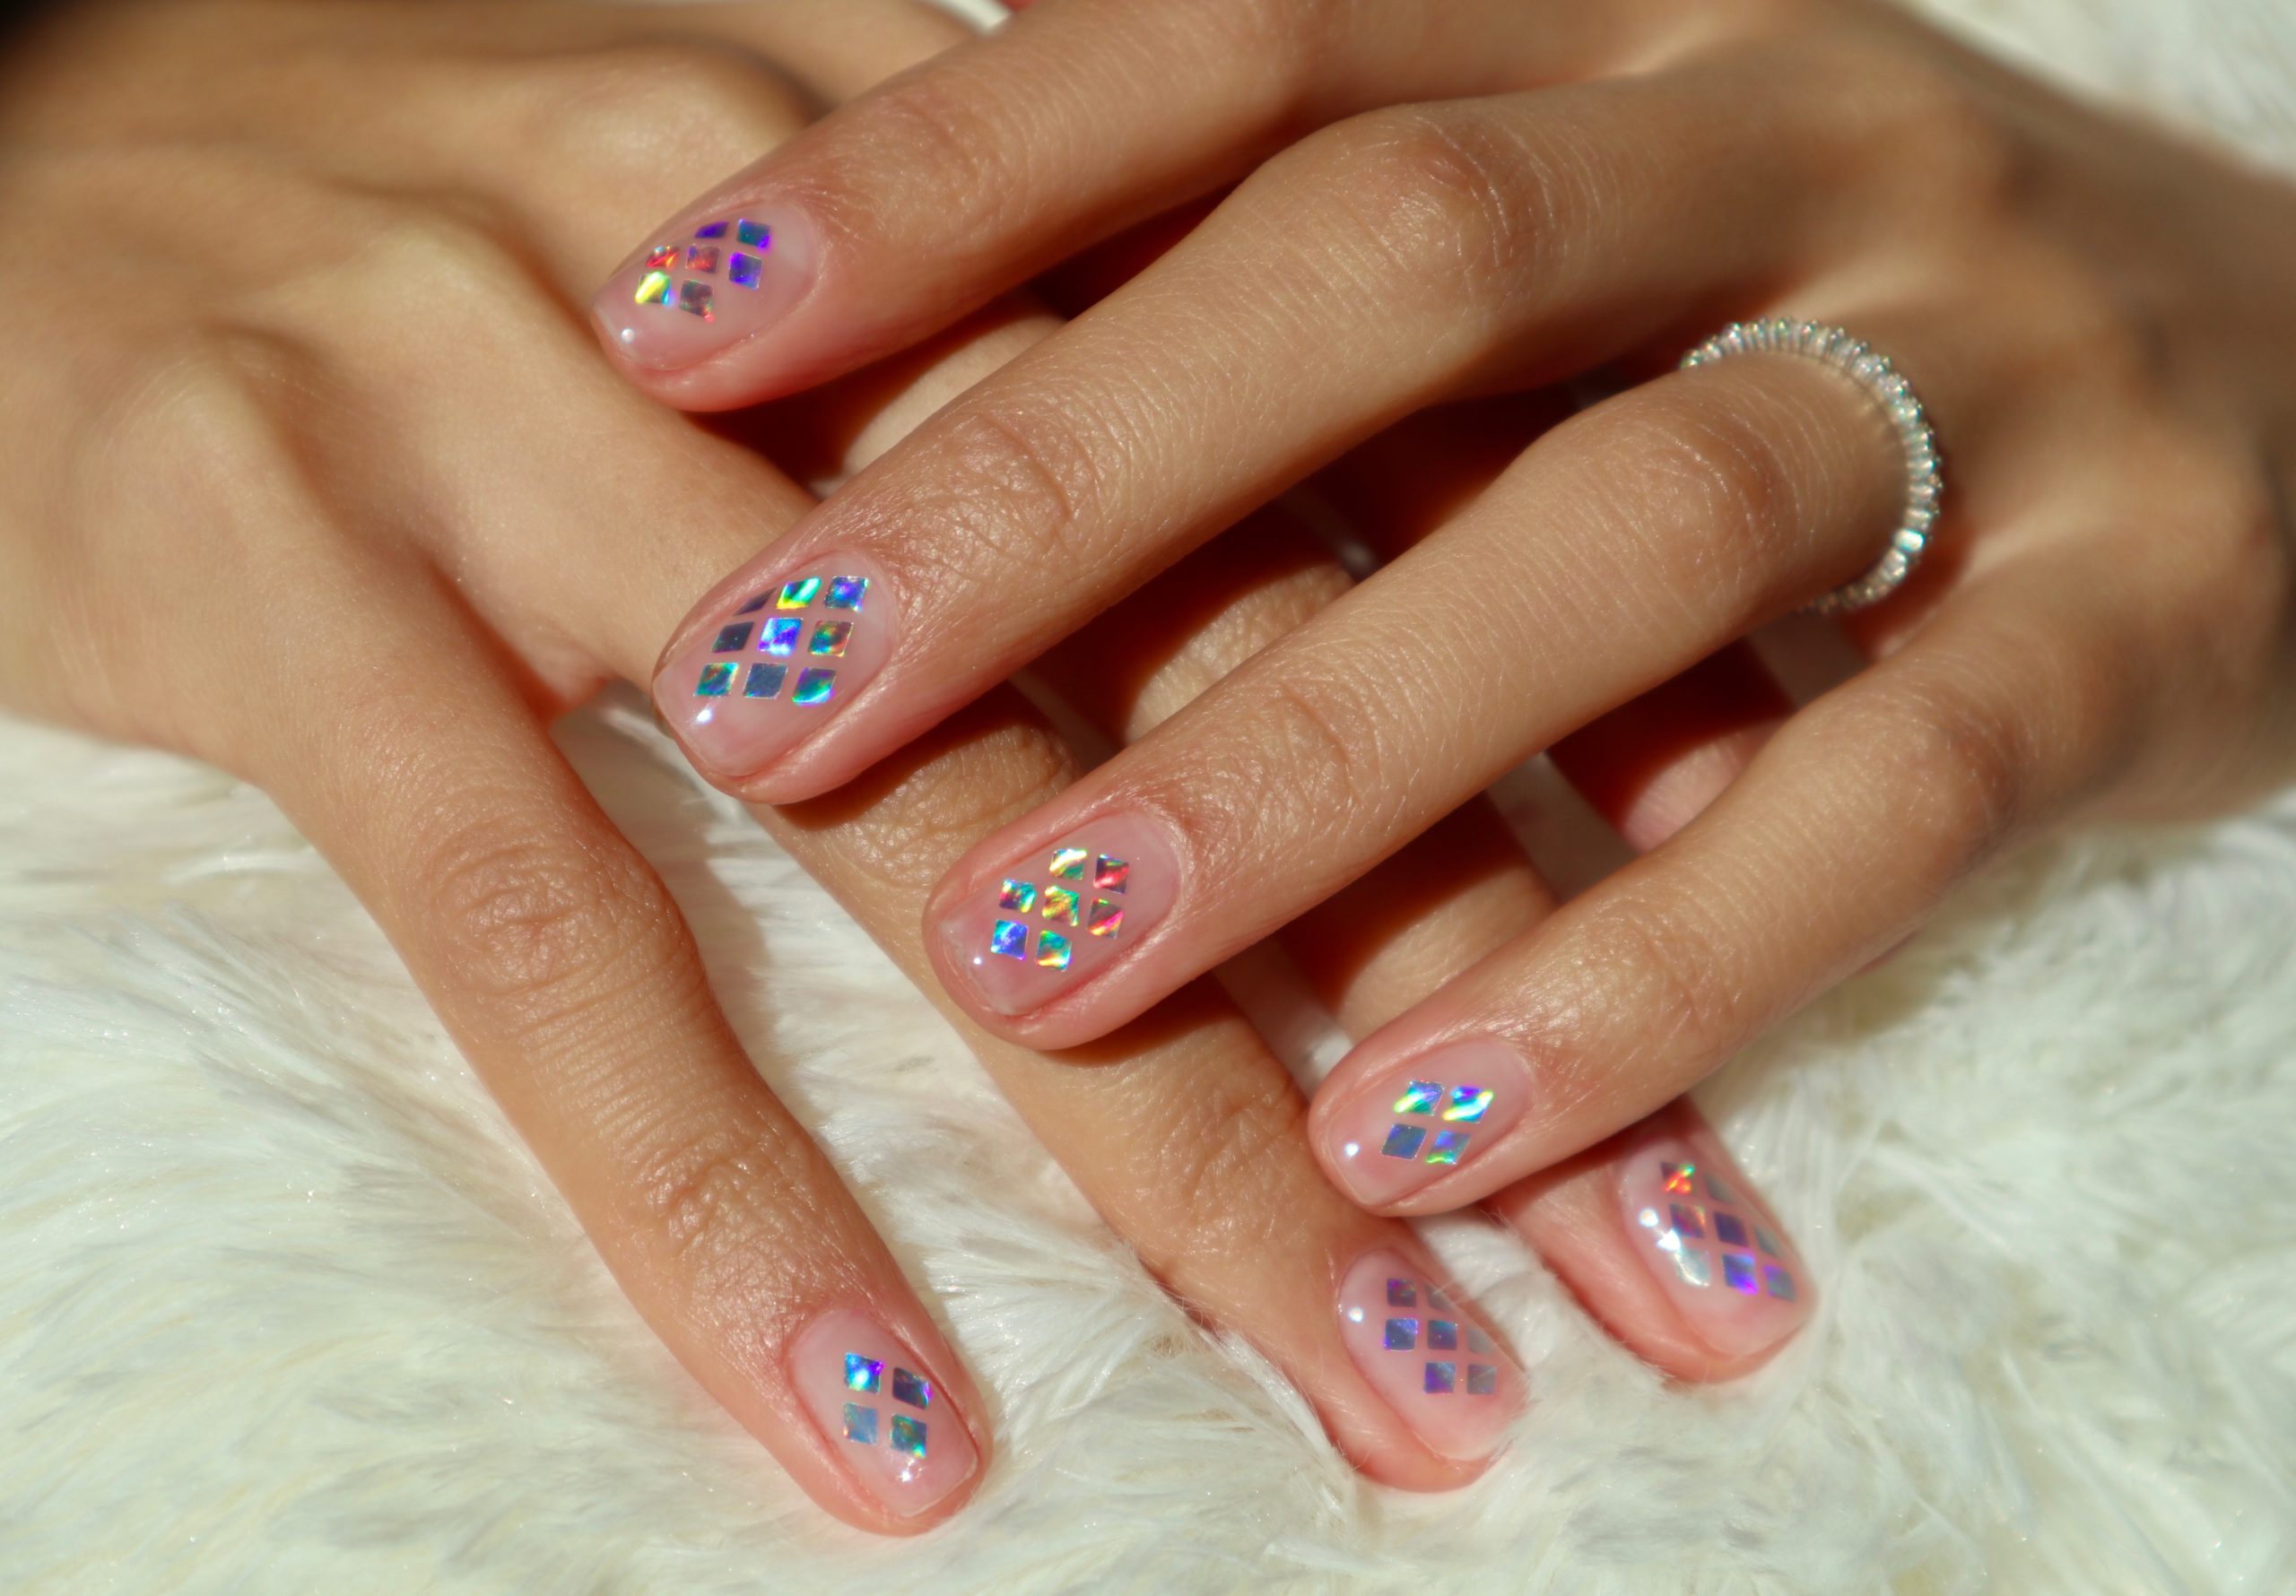
If you're not confident in your nail art skills, you can still achieve a gemstone nail design with the help of nail stickers. These stickers come in various designs, including gemstones, and are easy to apply. To use nail stickers, start by painting your nails with a base coat and then use a clear top coat to carefully apply the stickers onto your nails. You can use them to create a full gemstone design or as accents on one or two nails. This design is perfect for beginners or those who want to add some gemstones to their nails in a quick and easy way. It's also a great option for those who don't have the time or patience to create a more intricate design.10. Gemstone Nail Stickers


10. Gemstone Nail Stickers


How to Elevate Your Nail Design with Gems
Adding a Touch of Sparkle to Your Manicure
 When it comes to nail design, there are endless possibilities for creating unique and eye-catching looks. One way to take your nail game to the next level is by incorporating gems into your designs. These small, shiny embellishments can add a touch of glamour and sophistication to any manicure. In this article, we'll discuss how you can use gems to elevate your nail design and make a statement.
Choosing the Right Gems
 The first step to creating a stunning gem-accented manicure is choosing the right gems for the job. There are a variety of options available, from small rhinestones to larger gemstones and everything in between. When selecting gems, consider the overall look you want to achieve. Do you want a subtle and elegant look, or something bold and dramatic? Also, keep in mind the size and shape of your nails, as well as your personal style, to determine which gems will work best.
Pro Tip:
For a cohesive look, choose gems in colors that complement your nail polish or outfit.
The first step to creating a stunning gem-accented manicure is choosing the right gems for the job. There are a variety of options available, from small rhinestones to larger gemstones and everything in between. When selecting gems, consider the overall look you want to achieve. Do you want a subtle and elegant look, or something bold and dramatic? Also, keep in mind the size and shape of your nails, as well as your personal style, to determine which gems will work best.
Pro Tip:
For a cohesive look, choose gems in colors that complement your nail polish or outfit.
Placement is Key
 The placement of gems on your nails can make or break the overall design. For a more subtle look, place gems sparingly on a few nails, such as the ring finger, or along the cuticle line. For a bolder look, consider covering the entire nail with gems, or creating a unique pattern using different sizes and shapes. You can also experiment with different placement techniques, such as creating a gradient effect or layering gems to add depth and dimension.
Pro Tip:
Use a small dotting tool or tweezers to carefully place gems onto your nails for more precision.
The placement of gems on your nails can make or break the overall design. For a more subtle look, place gems sparingly on a few nails, such as the ring finger, or along the cuticle line. For a bolder look, consider covering the entire nail with gems, or creating a unique pattern using different sizes and shapes. You can also experiment with different placement techniques, such as creating a gradient effect or layering gems to add depth and dimension.
Pro Tip:
Use a small dotting tool or tweezers to carefully place gems onto your nails for more precision.
Seal the Deal
 To ensure your gem-accented nails last as long as possible, it's important to seal them in with a top coat. This will not only help keep the gems in place, but also give your nails a glossy finish. You can also opt for a matte top coat for a more unique look. Additionally, be sure to gently press down on the gems after applying the top coat to ensure they are securely adhered to your nails.
Pro Tip:
Apply a second layer of top coat after a few days to keep your gems looking fresh and secure.
To ensure your gem-accented nails last as long as possible, it's important to seal them in with a top coat. This will not only help keep the gems in place, but also give your nails a glossy finish. You can also opt for a matte top coat for a more unique look. Additionally, be sure to gently press down on the gems after applying the top coat to ensure they are securely adhered to your nails.
Pro Tip:
Apply a second layer of top coat after a few days to keep your gems looking fresh and secure.
Final Thoughts
 Using gems in your nail designs is a fun and creative way to add some sparkle and personality to your look. With the right gems and placement, you can create a unique and beautiful manicure that will turn heads. So go ahead and give it a try – your nails deserve a little extra bling!
Overall, incorporating gems into your nail design is a simple yet effective way to elevate your manicure and make a statement. With some creativity and the right techniques, you can create a dazzling look that is sure to impress. So why not add a touch of sparkle to your next manicure and see the difference it makes? Your nails will thank you.


