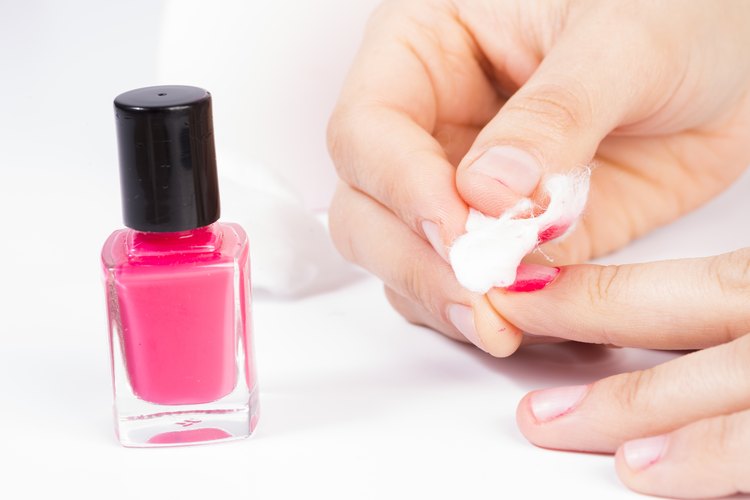
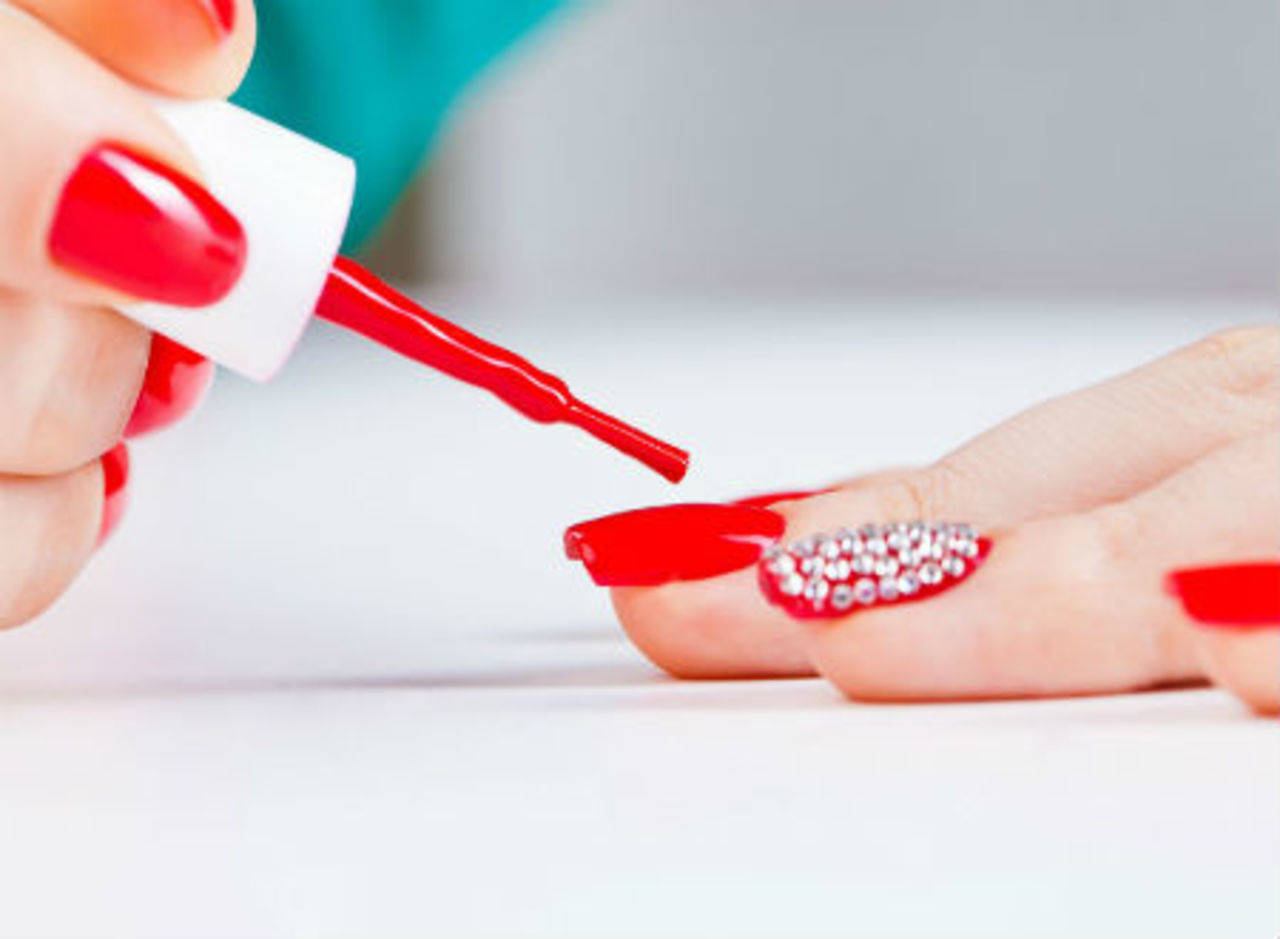
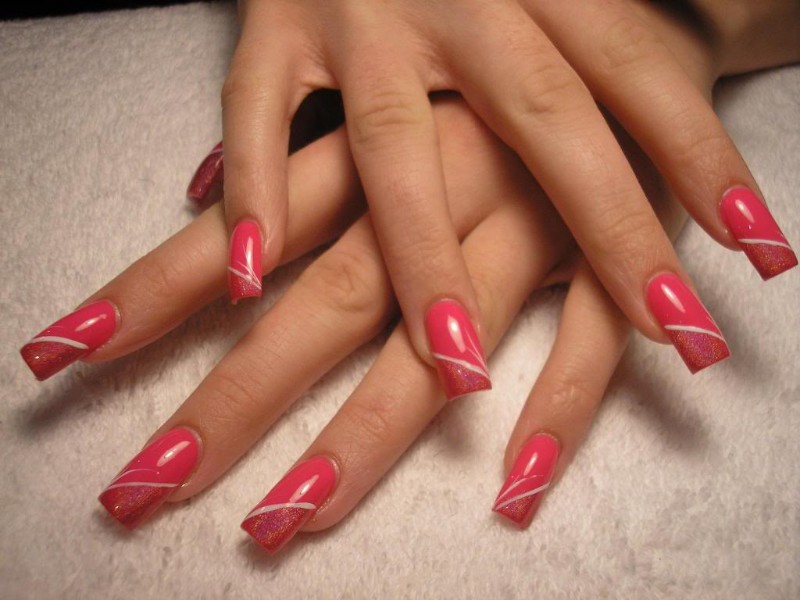
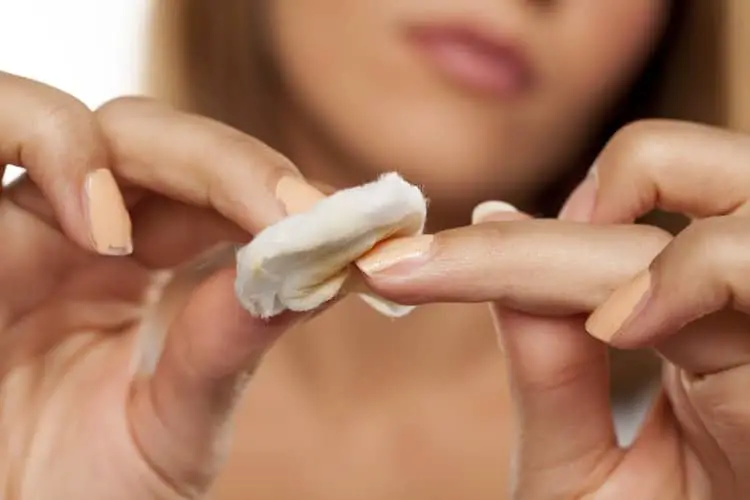
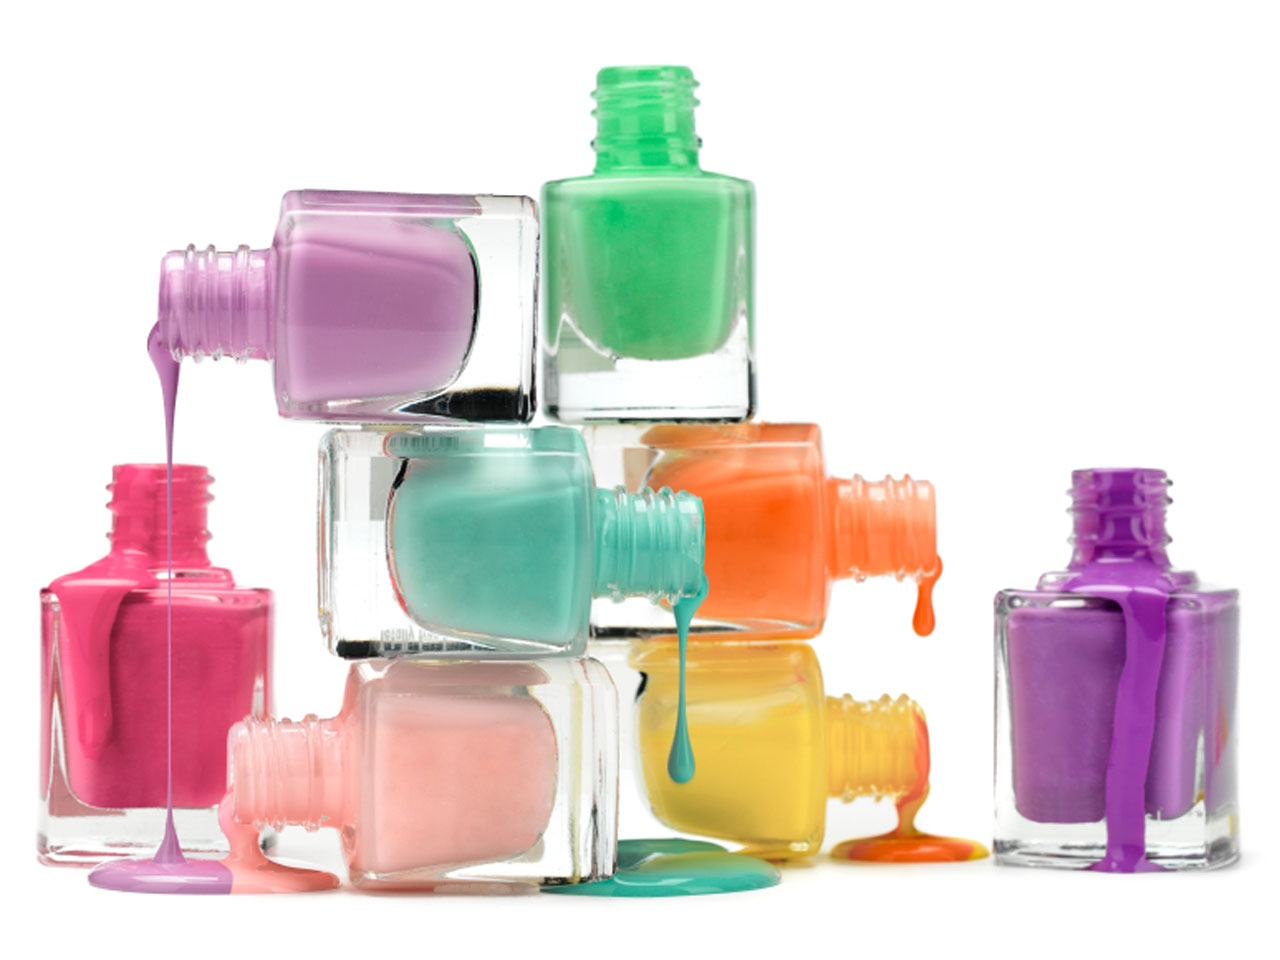
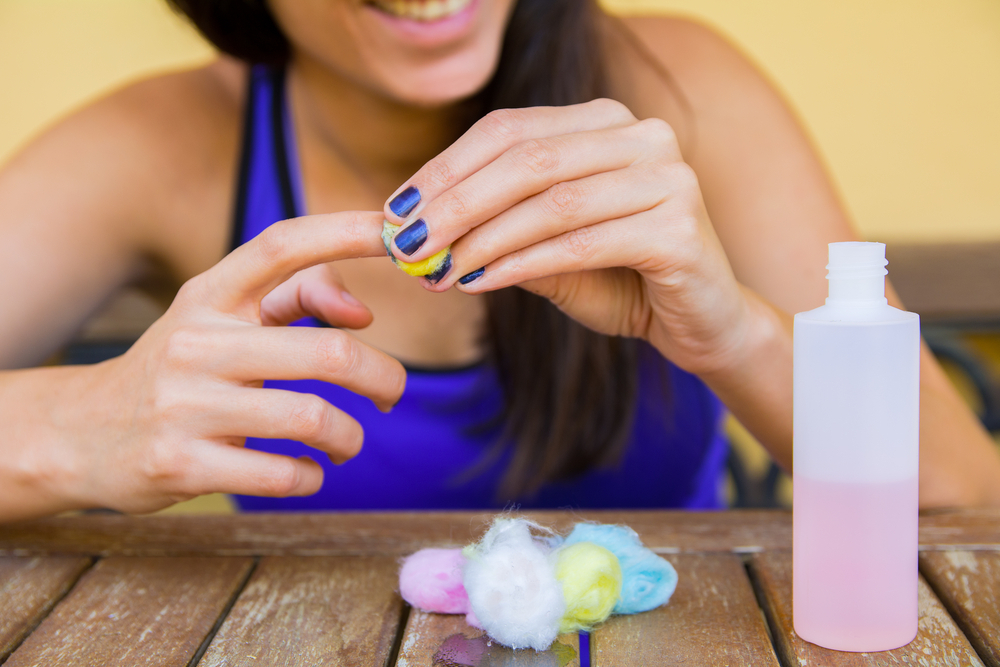
Looking for a unique and eye-catching nail design? Why not try a marble nail design using nail polish remover? This technique creates a beautiful and intricate pattern on your nails, similar to the natural patterns found in marble stone. It's a simple yet stunning design that is sure to turn heads. To achieve this look, you will need two or more nail polish colors, a small container filled with room temperature water, and a small amount of nail polish remover. Start by painting your nails with a base color and let it dry completely. Then, add a few drops of your chosen colors into the water, swirl them together with a toothpick, and dip your nails into the mixture. Use a cotton swab dipped in nail polish remover to clean up any excess polish on your skin. Repeat the process on all nails and seal with a top coat for a glossy finish.1. Marble Nail Design with Nail Polish Remover
1. Marble Nail Design with Nail Polish Remover


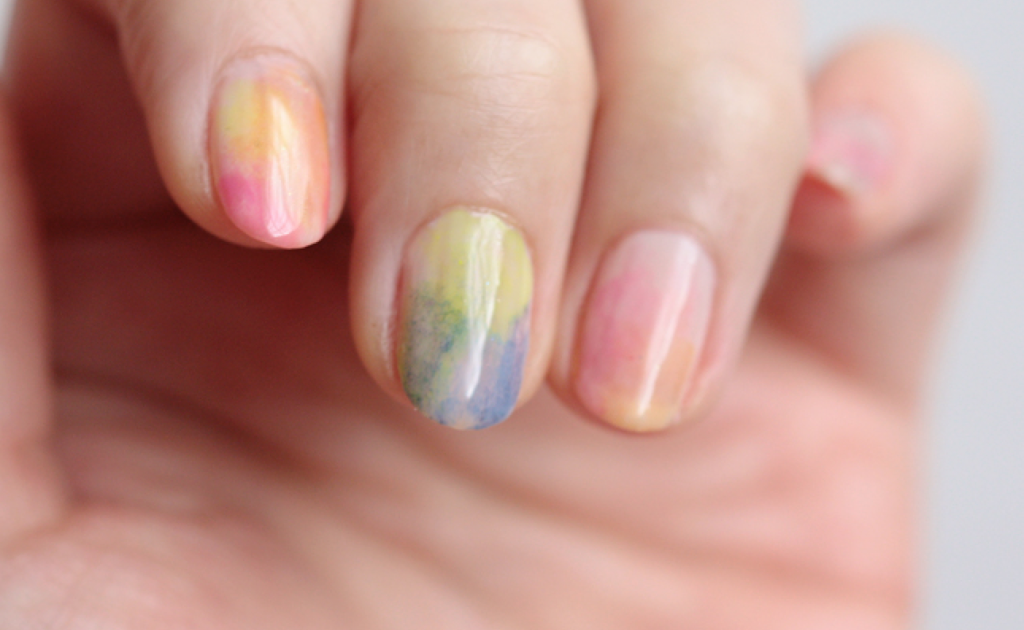
Get a dreamy and artistic look with a watercolor nail design using nail polish remover. This technique creates a beautiful and abstract design on your nails, resembling the soft and blended colors of a watercolor painting. It's a fun and creative way to add some color to your nails. To achieve this look, you will need nail polish in various colors, a small container filled with room temperature water, and a small amount of nail polish remover. Start by painting your nails with a light-colored base and let it dry completely. Then, add a few drops of your chosen colors into the water, swirl them together with a toothpick, and dip your nails into the mixture. Use a cotton swab dipped in nail polish remover to clean up any excess polish on your skin. Repeat the process on all nails and seal with a top coat for a watercolor effect.2. Watercolor Nail Design with Nail Polish Remover

2. Watercolor Nail Design with Nail Polish Remover


Ombre is a popular and trendy nail design that blends two or more colors seamlessly. You can achieve this gradient effect using nail polish remover and create a stunning and effortless look on your nails. To achieve this look, you will need two or more nail polish colors, a makeup sponge, and a small amount of nail polish remover. Start by painting your nails with a light-colored base and let it dry completely. Then, paint the two colors you want to blend onto the sponge, overlapping them slightly. Dab the sponge onto your nails, moving it up and down to blend the colors. Use a cotton swab dipped in nail polish remover to clean up any excess polish on your skin. Repeat the process on all nails and seal with a top coat for a flawless ombre effect.3. Ombre Nail Design with Nail Polish Remover


3. Ombre Nail Design with Nail Polish Remover


A splatter nail design is a fun and playful way to add some color and texture to your nails. This technique uses nail polish remover to create a unique and abstract design that is sure to make your nails stand out. To achieve this look, you will need two or more nail polish colors, a straw, and a small amount of nail polish remover. Start by painting your nails with a base color and let it dry completely. Then, dip the straw into your chosen colors and blow onto your nails, creating a splatter effect. Use a cotton swab dipped in nail polish remover to clean up any excess polish on your skin. Repeat the process on all nails and seal with a top coat for a funky splatter design.4. Splatter Nail Design with Nail Polish Remover


4. Splatter Nail Design with Nail Polish Remover


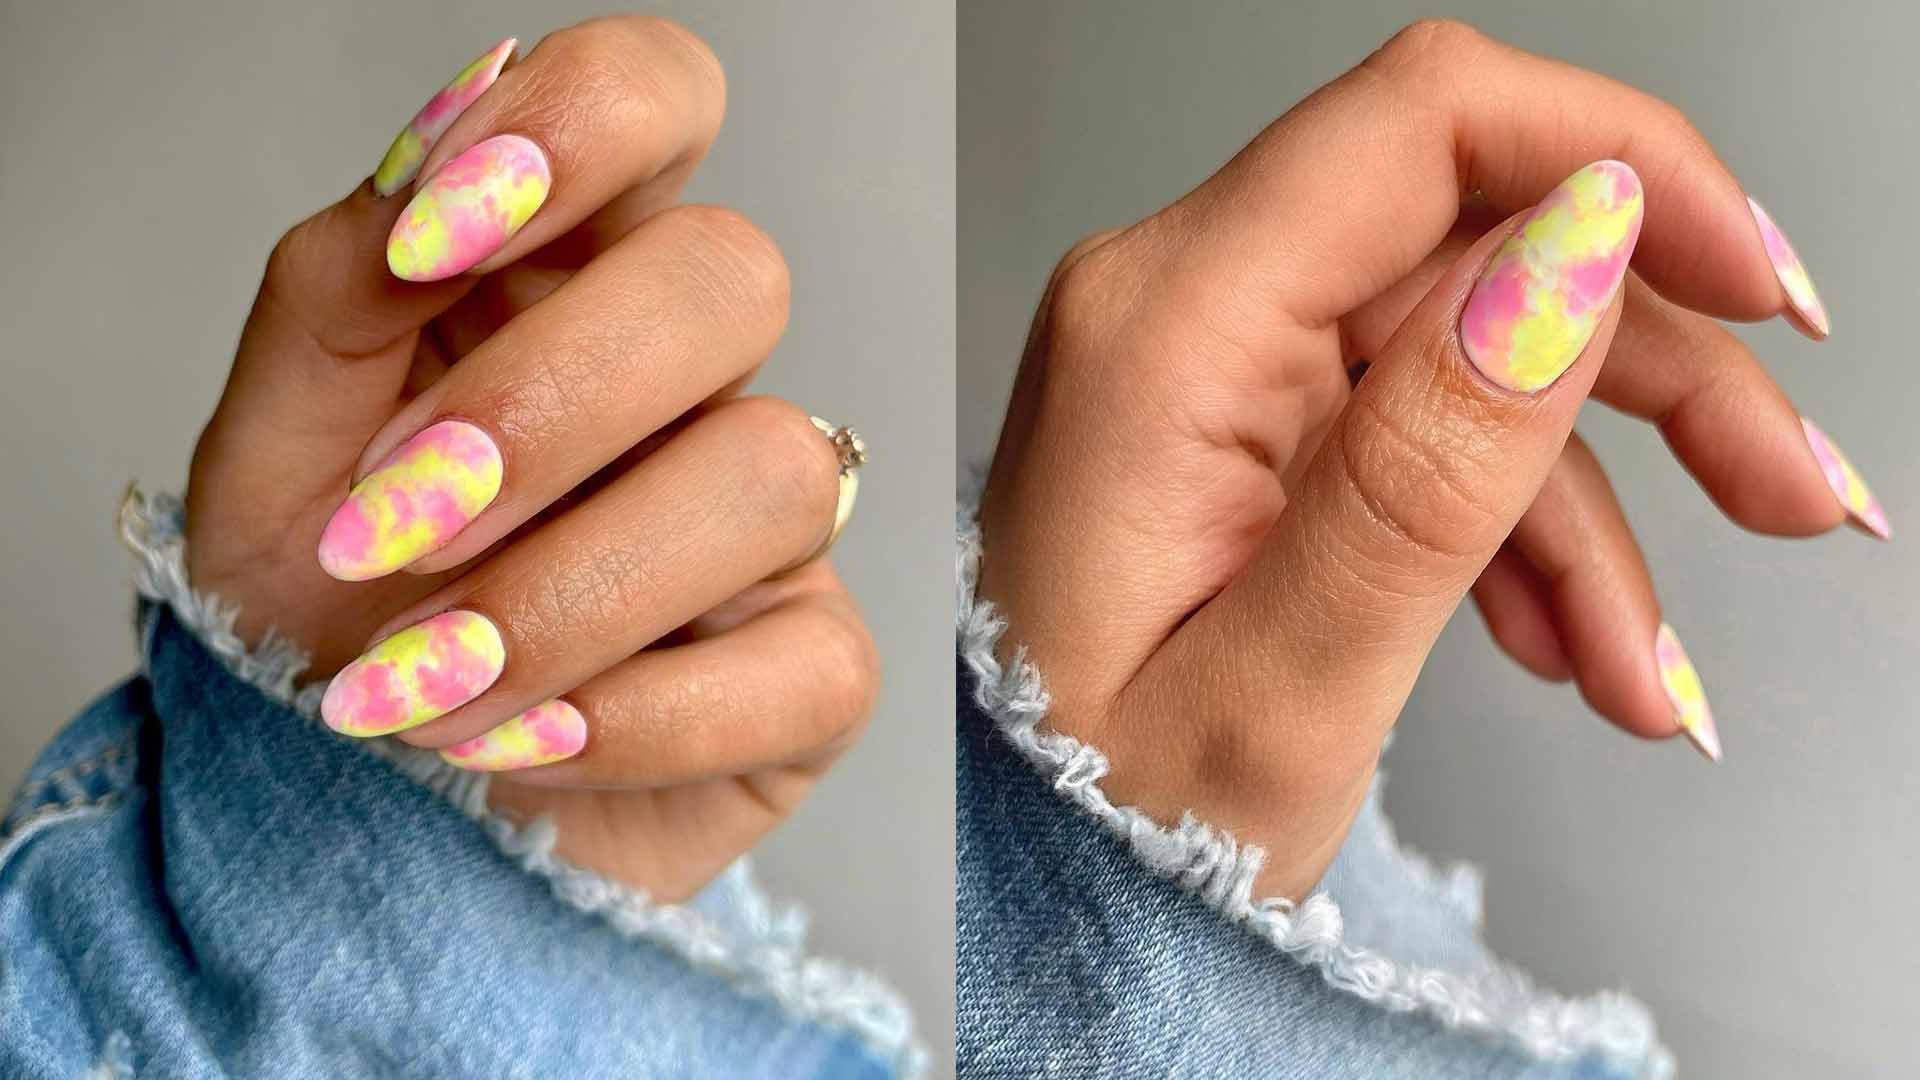
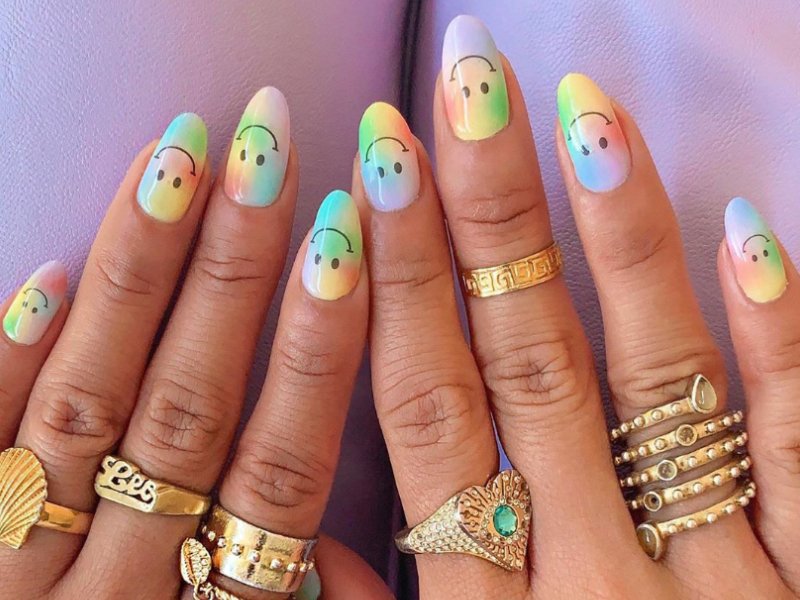
Tie-dye is a popular print that has made its way into the world of nail art. You can achieve this funky and colorful look using nail polish remover and create a unique and groovy design on your nails. To achieve this look, you will need two or more nail polish colors, a makeup sponge, and a small amount of nail polish remover. Start by painting your nails with a light-colored base and let it dry completely. Then, paint the two colors you want to blend onto the sponge, overlapping them slightly. Dab the sponge onto your nails, moving it in a circular motion to create a tie-dye effect. Use a cotton swab dipped in nail polish remover to clean up any excess polish on your skin. Repeat the process on all nails and seal with a top coat for a groovy tie-dye design.5. Tie-Dye Nail Design with Nail Polish Remover


5. Tie-Dye Nail Design with Nail Polish Remover


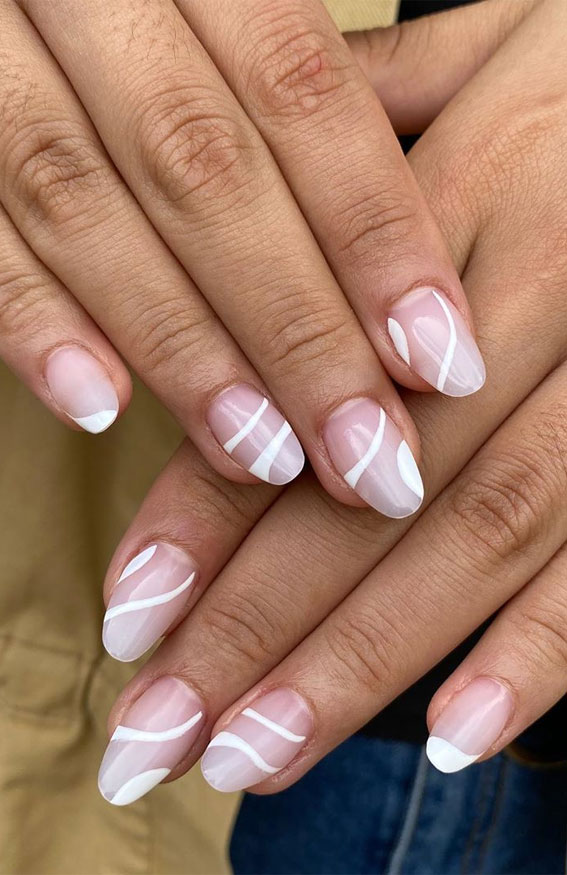
Negative space nails are a modern and chic nail design that leaves some parts of your natural nail exposed. This design uses nail polish remover to create a clean and minimalistic look that is perfect for any occasion. To achieve this look, you will need a light-colored nail polish, a small amount of nail polish remover, and a thin striping brush. Start by painting your nails with the light-colored polish and let it dry completely. Then, use the striping brush to create various lines and shapes on your nails, leaving some parts of your natural nail exposed. Use a cotton swab dipped in nail polish remover to clean up any mistakes. Seal with a top coat for a sleek and modern negative space design.6. Negative Space Nail Design with Nail Polish Remover
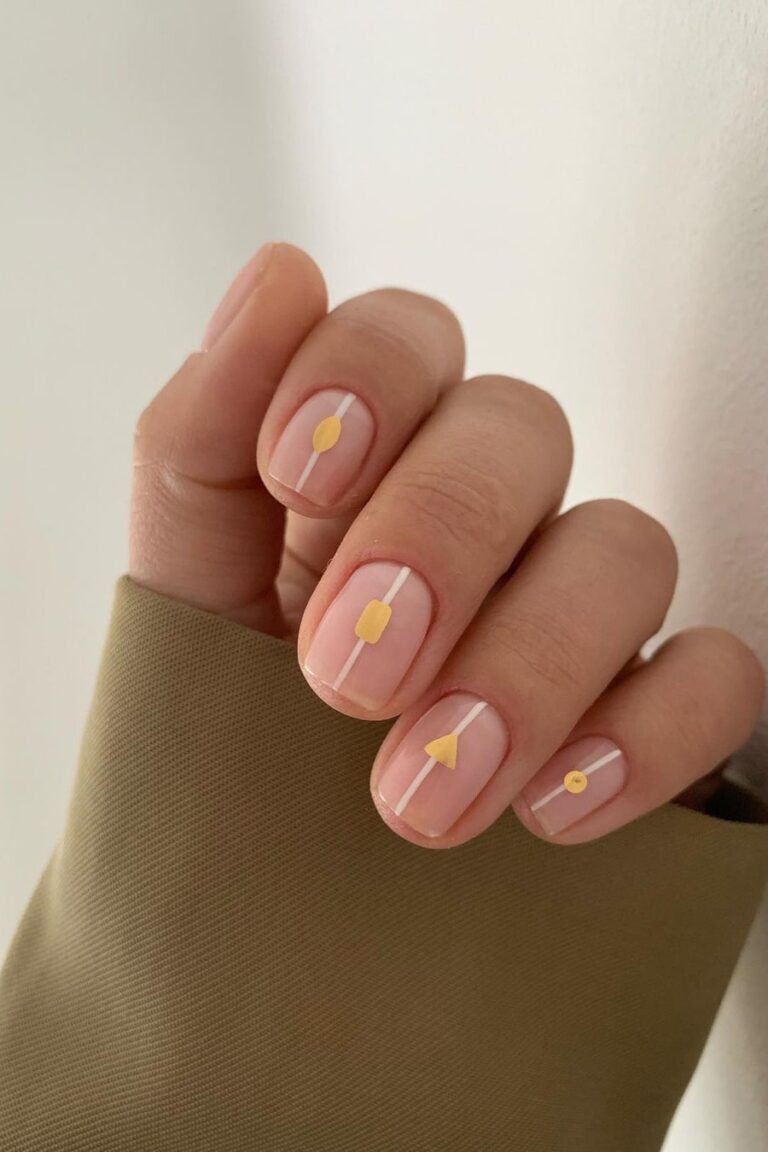

6. Negative Space Nail Design with Nail Polish Remover

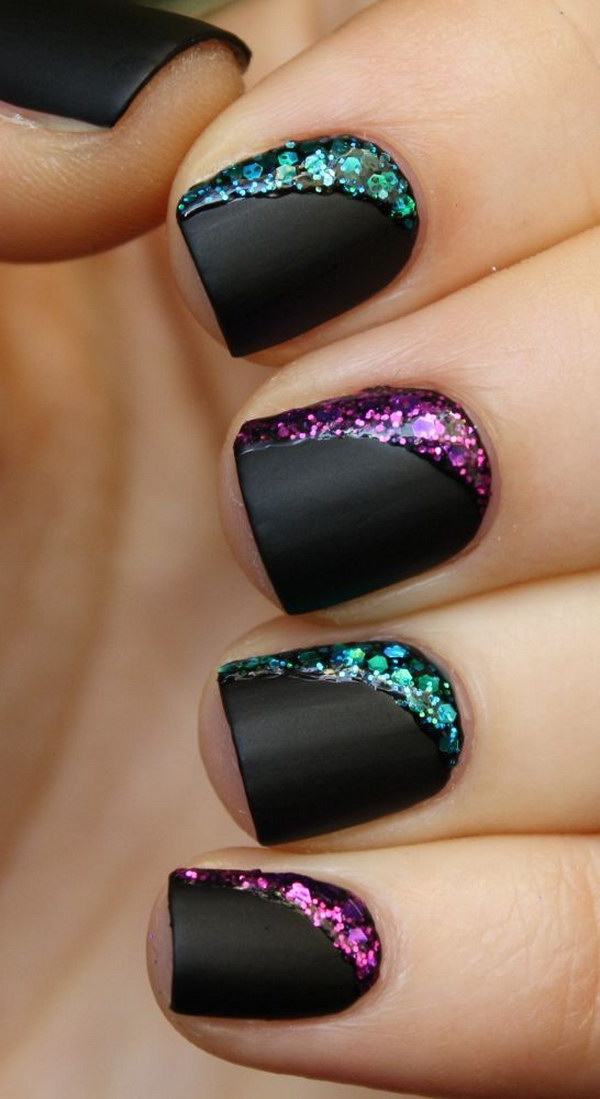
Get ready to sparkle with a glitter gradient nail design using nail polish remover. This technique creates a beautiful and shimmery effect on your nails, perfect for a night out or special occasion. To achieve this look, you will need a light-colored nail polish, a glitter polish, a makeup sponge, and a small amount of nail polish remover. Start by painting your nails with the light-colored polish and let it dry completely. Then, paint the glitter polish onto the sponge and dab it onto your nails, concentrating on the tips. Use a cotton swab dipped in nail polish remover to clean up any excess glitter on your skin. Repeat the process on all nails and seal with a top coat for a sparkly gradient design.7. Glitter Gradient Nail Design with Nail Polish Remover

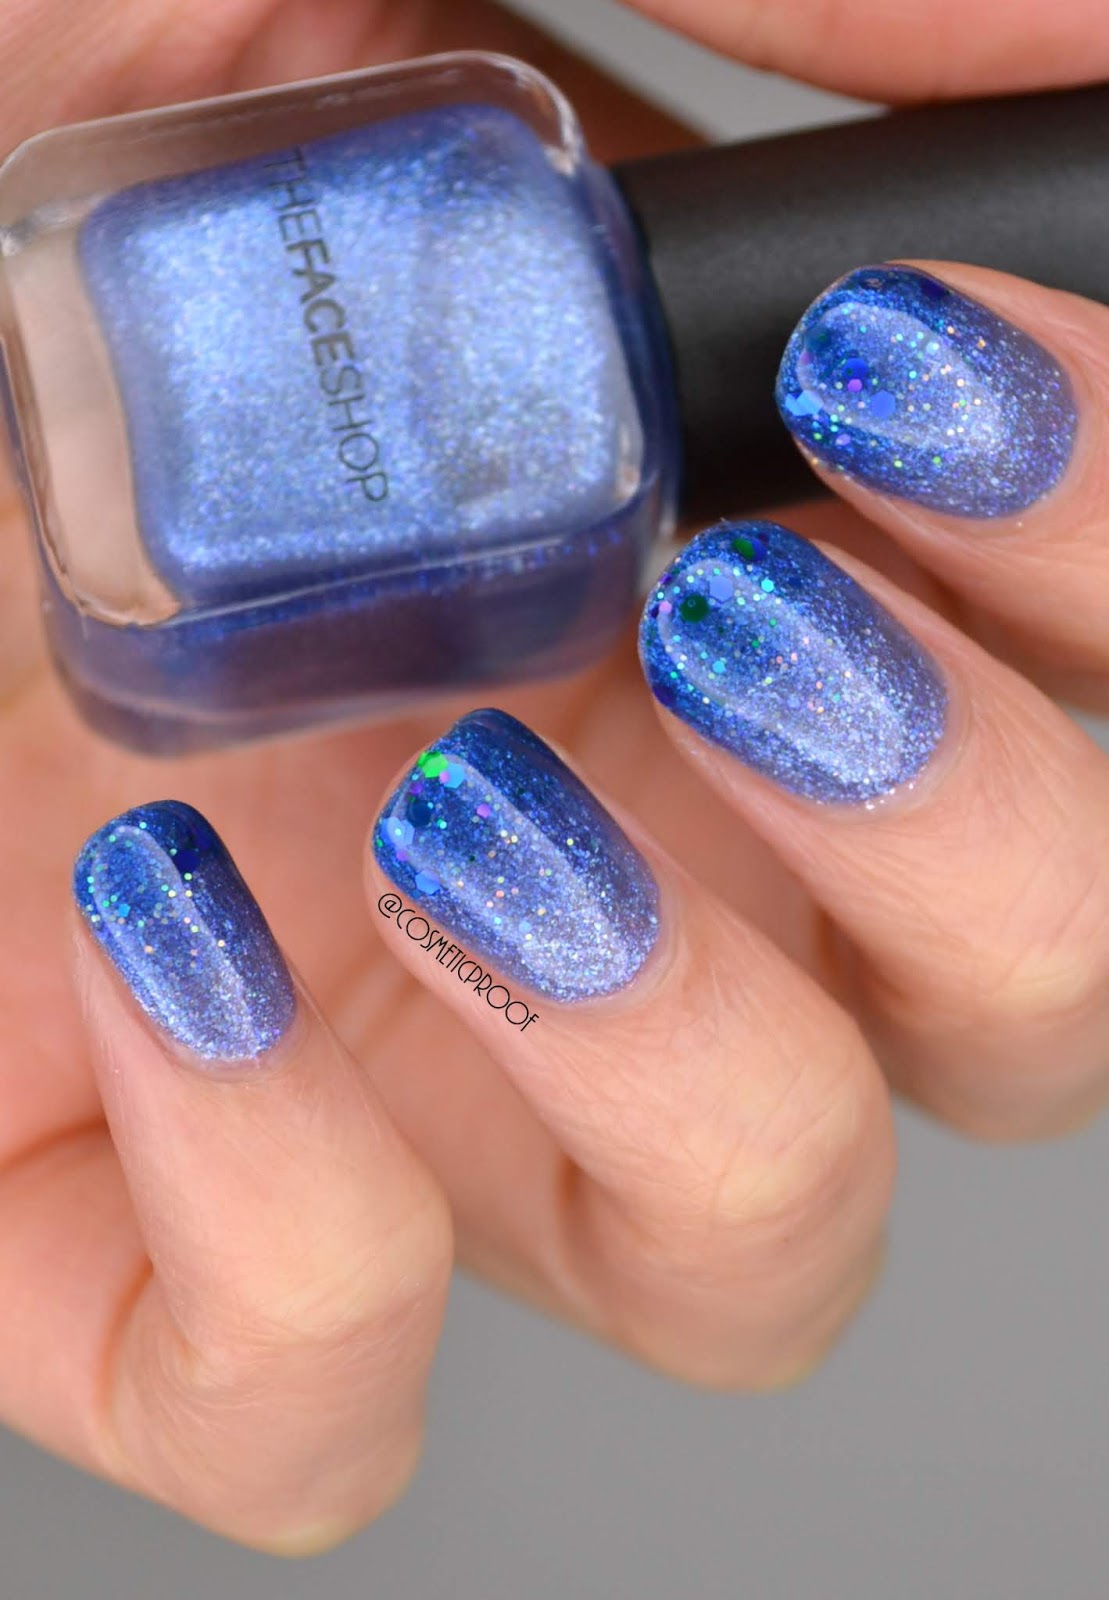

7. Glitter Gradient Nail Design with Nail Polish Remover

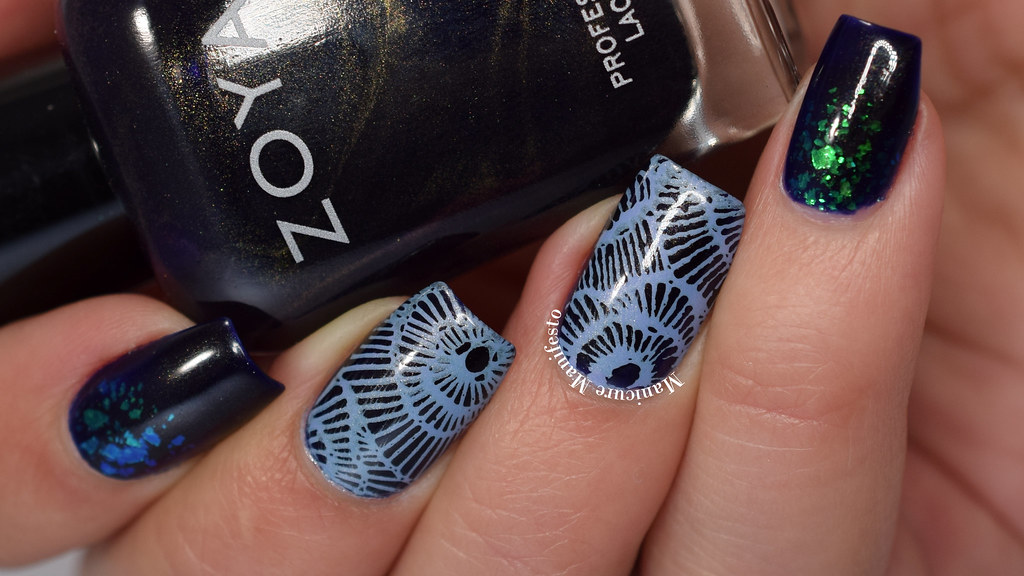
Stamping nail designs are a quick and easy way to add intricate and detailed patterns to your nails. This technique uses nail polish remover to clean up any mistakes and create a flawless stamped design. To achieve this look, you will need a stamping plate, a stamping polish, a scraper, and a small amount of nail polish remover. Start by painting your nails with a base color and let it dry completely. Then, apply the stamping polish onto the desired design on the plate, scrape off the excess polish, and stamp it onto your nails. Use a cotton swab dipped in nail polish remover to clean up any mistakes. Seal with a top coat for a professional-looking stamped design.8. Stamping Nail Design with Nail Polish Remover
8. Stamping Nail Design with Nail Polish Remover


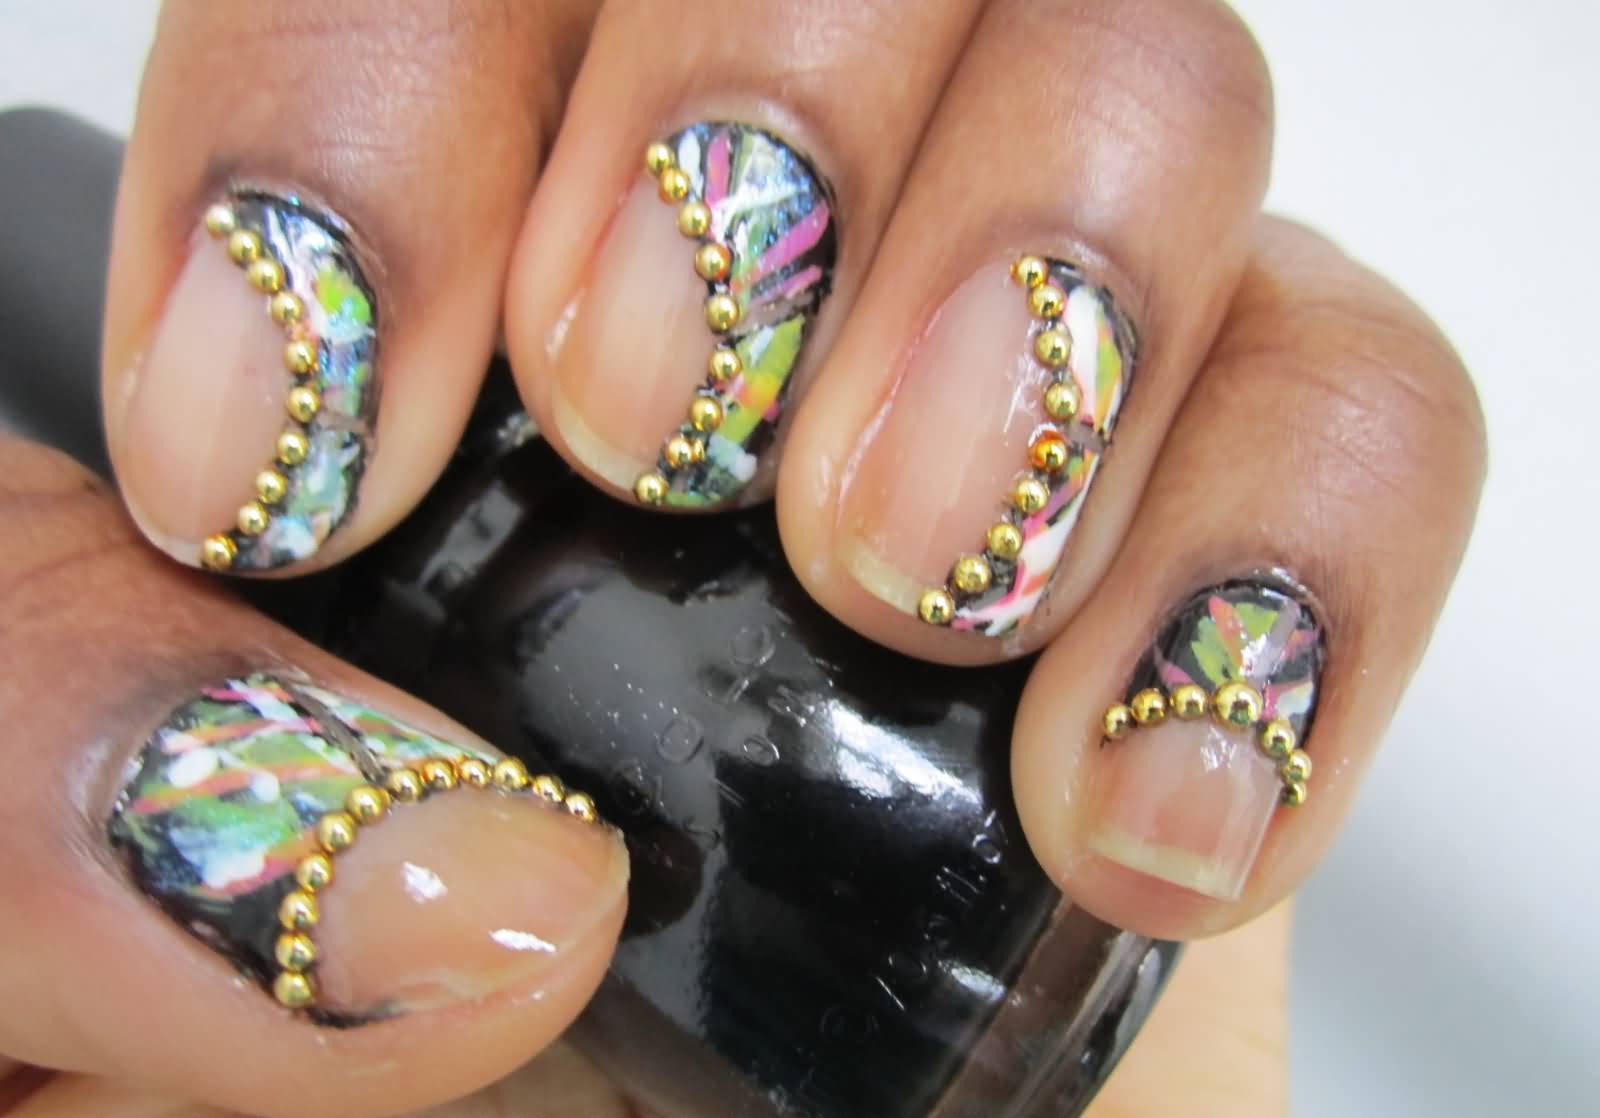
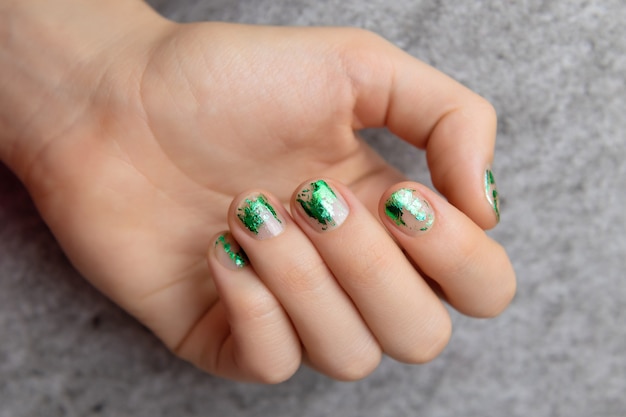
Add some shine and metallic accents to your nails with a foil nail design using nail polish remover. This technique creates a unique and eye-catching design that is sure to make a statement. To achieve this look, you will need a foil glue, foil sheets, and a small amount of nail polish remover. Start by painting your nails with a light-colored base and let it dry completely. Then, apply the foil glue onto your nails and let it dry until it becomes tacky. Press the foil sheets onto your nails, shiny side up, and gently rub to transfer the foil onto your nails. Use a cotton swab dipped in nail polish remover to clean up any excess foil on your skin. Seal with a top coat for a shiny and metallic foil design.9. Foil Nail Design with Nail Polish Remover


9. Foil Nail Design with Nail Polish Remover
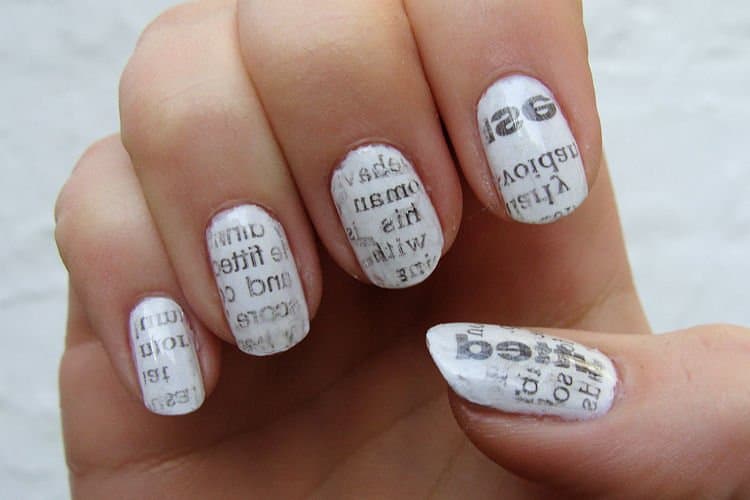
Create a unique and vintage newspaper nail design using nail polish remover. This technique allows you to transfer newspaper print onto your nails, giving them a one-of-a-kind look. To achieve this look, you will need a light-colored nail polish, a small amount of nail polish remover, and some newspaper. Start by painting your nails with the light-colored polish and let it dry completely. Then, cut small pieces of newspaper that are slightly larger than your nails. Dip a piece of newspaper into the nail polish remover and press it onto your nails, holding it for a few seconds before removing. Repeat the process on all nails and seal with a top coat for a vintage newspaper design.10. Newspaper Nail Design with Nail Polish Remover
10. Newspaper Nail Design with Nail Polish Remover

Nail Design with Nail Polish Remover: A Professional Guide

The Importance of Nail Design
 Nail design has become an essential part of the beauty industry, with more and more people embracing it as a form of self-expression. Whether it's a simple coat of nail polish or intricate nail art, having well-designed nails can make a significant impact on one's overall appearance. And with the wide array of nail polish colors and designs available, the possibilities for nail design are endless.
The Role of Nail Polish Remover in Nail Design
 When it comes to nail design,
nail polish remover
is a crucial tool in achieving the perfect look. This product is used to remove old nail polish, clean up any mistakes, and create a blank canvas for the new design. But did you know that nail polish remover can also be used to create unique and beautiful nail designs?
Nail polish remover
is not just a one-trick pony. With a little creativity and some basic tools, you can use it to create stunning nail designs that will surely turn heads. Here are some tips on how to use nail polish remover to level up your nail game.
When it comes to nail design,
nail polish remover
is a crucial tool in achieving the perfect look. This product is used to remove old nail polish, clean up any mistakes, and create a blank canvas for the new design. But did you know that nail polish remover can also be used to create unique and beautiful nail designs?
Nail polish remover
is not just a one-trick pony. With a little creativity and some basic tools, you can use it to create stunning nail designs that will surely turn heads. Here are some tips on how to use nail polish remover to level up your nail game.
Create a Marble Effect
 One of the trendiest nail designs that you can achieve with
nail polish remover
is the marble effect. This design mimics the look of natural marble, giving your nails a chic and elegant appearance. To achieve this look, start by painting your nails with a base color. Once it's dry, add drops of different colored nail polish on top of the base color. Then, using a small brush dipped in
nail polish remover
, gently swirl the colors together to create the marble effect.
One of the trendiest nail designs that you can achieve with
nail polish remover
is the marble effect. This design mimics the look of natural marble, giving your nails a chic and elegant appearance. To achieve this look, start by painting your nails with a base color. Once it's dry, add drops of different colored nail polish on top of the base color. Then, using a small brush dipped in
nail polish remover
, gently swirl the colors together to create the marble effect.
Make a Gradient Effect
 Another fun and easy design to create with
nail polish remover
is the gradient effect. This design gives your nails a soft and blended look, perfect for a subtle and feminine style. To achieve this, paint your nails with a light base color. Then, take a makeup sponge and paint different colors on it. Dab the sponge lightly on your nails, blending the colors together. Lastly, use a cotton swab dipped in
nail polish remover
to clean up any excess polish around your nails.
Another fun and easy design to create with
nail polish remover
is the gradient effect. This design gives your nails a soft and blended look, perfect for a subtle and feminine style. To achieve this, paint your nails with a light base color. Then, take a makeup sponge and paint different colors on it. Dab the sponge lightly on your nails, blending the colors together. Lastly, use a cotton swab dipped in
nail polish remover
to clean up any excess polish around your nails.
Use as a Stencil
 You can also use
nail polish remover
as a stencil to create unique patterns and designs on your nails. Cut out shapes or patterns from tape and place them on your nails. Then, paint over them with a different colored polish. Once it's dry, carefully remove the tape to reveal the design. You can also use a cotton swab dipped in
nail polish remover
to clean up any messy edges.
You can also use
nail polish remover
as a stencil to create unique patterns and designs on your nails. Cut out shapes or patterns from tape and place them on your nails. Then, paint over them with a different colored polish. Once it's dry, carefully remove the tape to reveal the design. You can also use a cotton swab dipped in
nail polish remover
to clean up any messy edges.
Conclusion
 Nail design with
nail polish remover
is a fun and creative way to elevate your nail game. With these tips, you can create a variety of unique and stunning designs that will surely make your nails stand out. So the next time you reach for your
nail polish remover
, remember that it's not just for removing old polish, but it's also a handy tool for creating beautiful and intricate nail designs.
Nail design with
nail polish remover
is a fun and creative way to elevate your nail game. With these tips, you can create a variety of unique and stunning designs that will surely make your nails stand out. So the next time you reach for your
nail polish remover
, remember that it's not just for removing old polish, but it's also a handy tool for creating beautiful and intricate nail designs.


