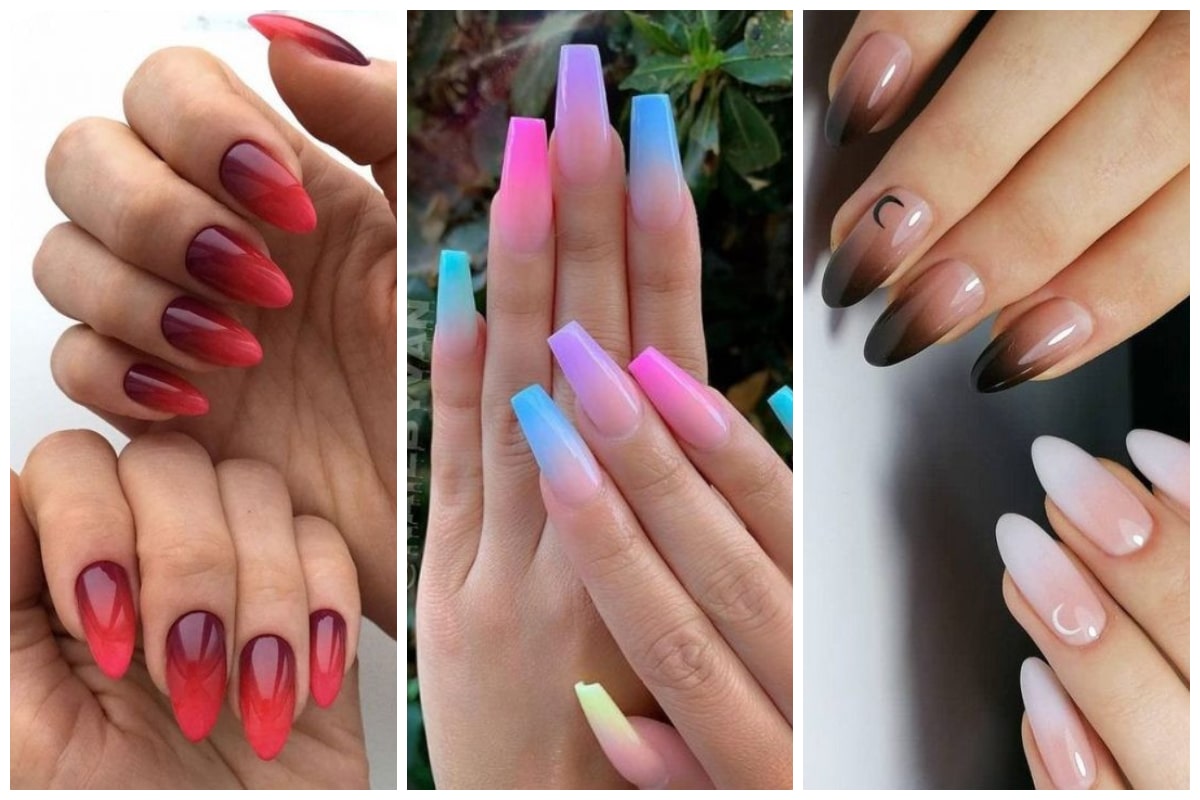
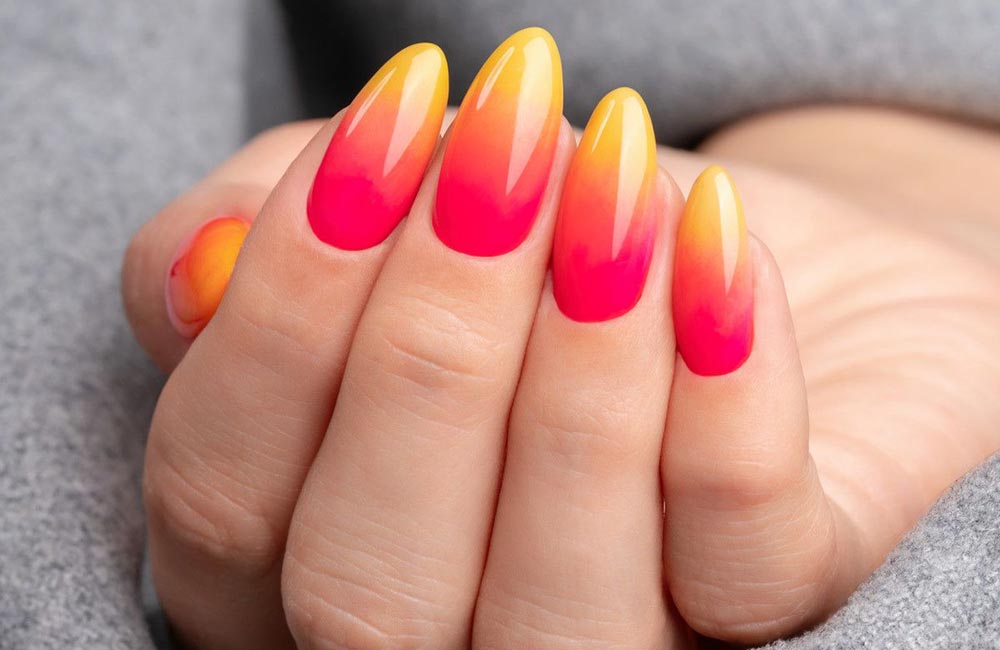
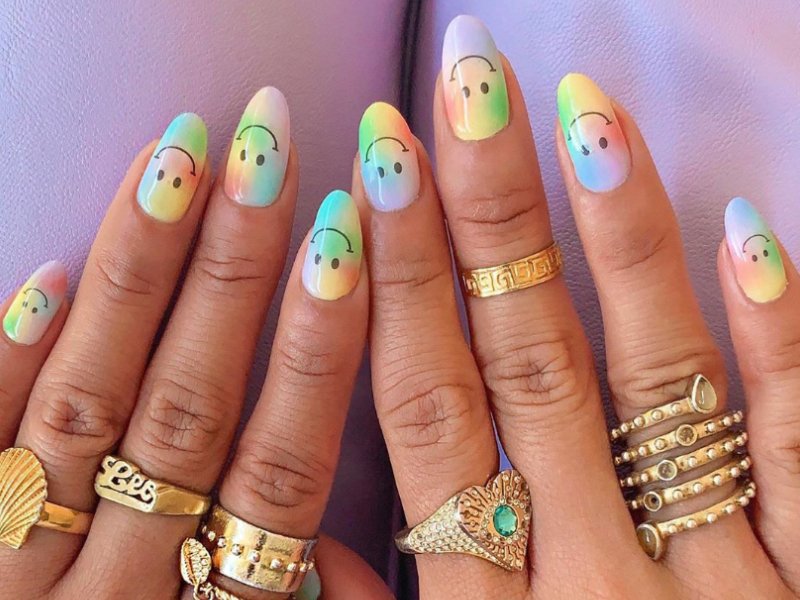
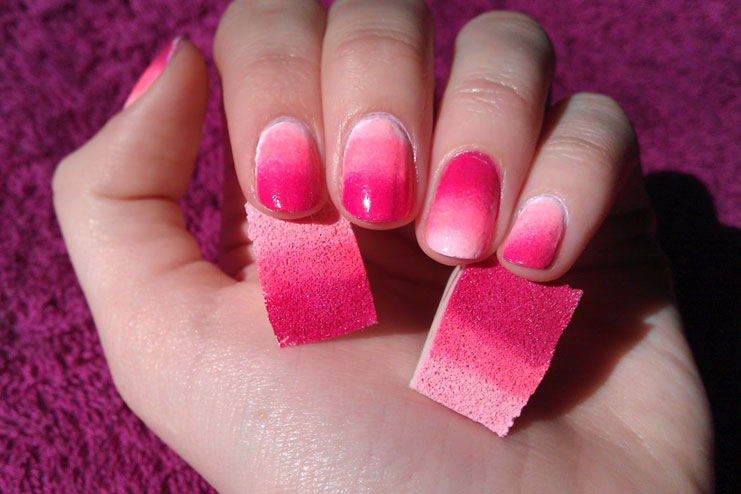
Create a stunning gradient effect on your nails with a simple sponge! This technique allows you to blend two or more colors seamlessly, creating a beautiful ombre effect. Simply dip the sponge in your desired nail polish colors and lightly dab it onto your nails. The result is a gradient nail design that looks professional and unique.1. Gradient Nail Design with Sponge
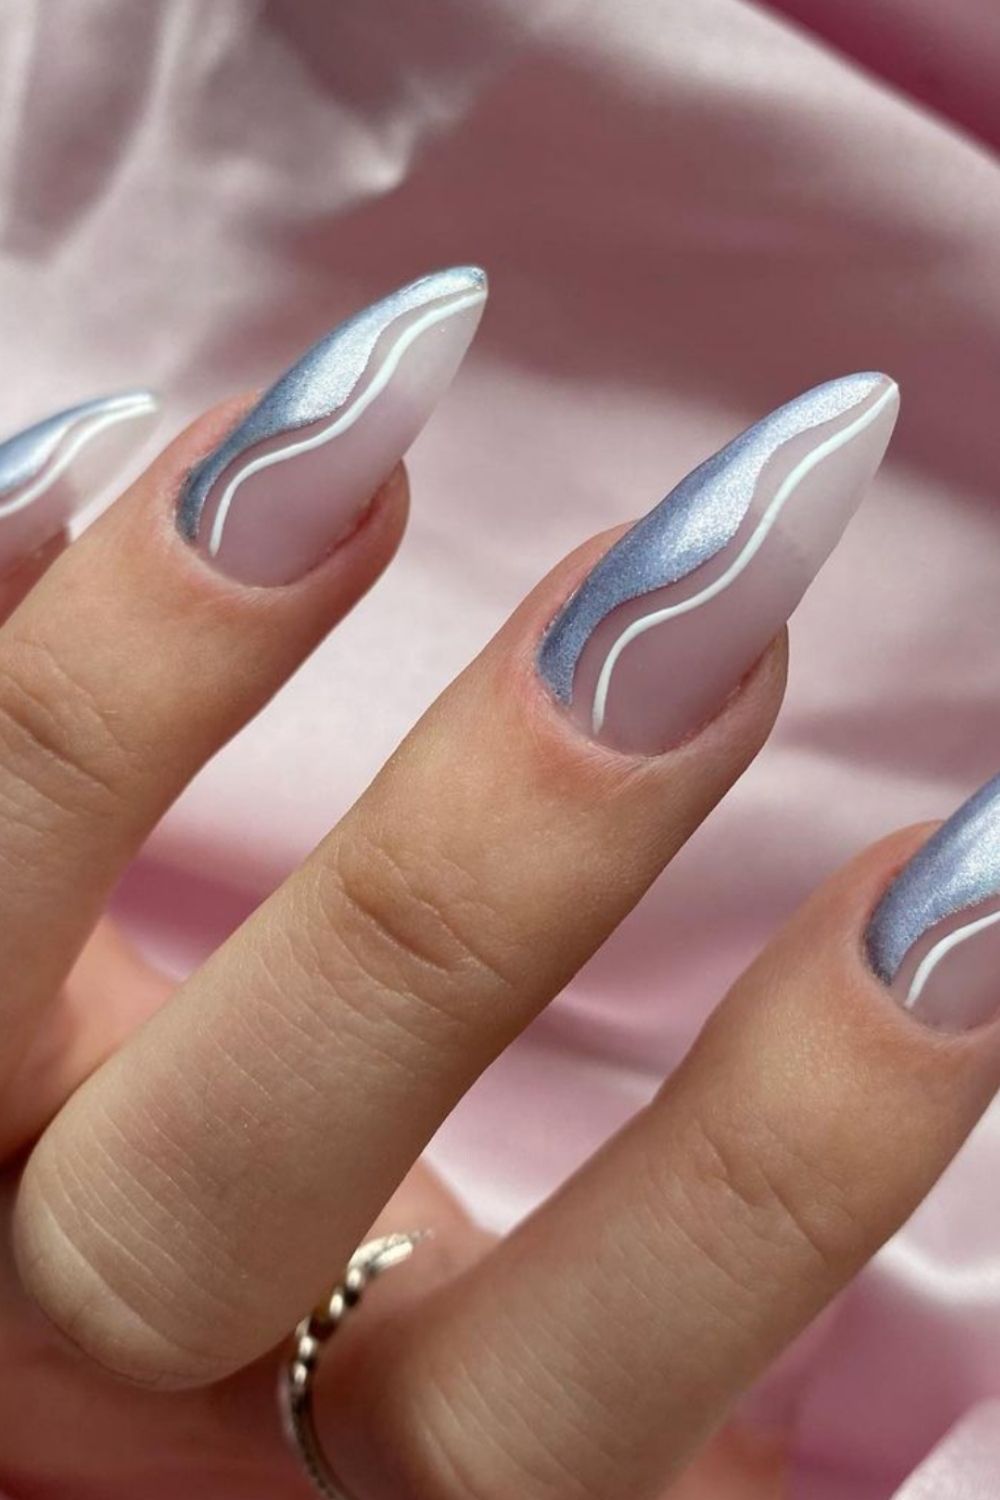


1. Gradient Nail Design with Sponge




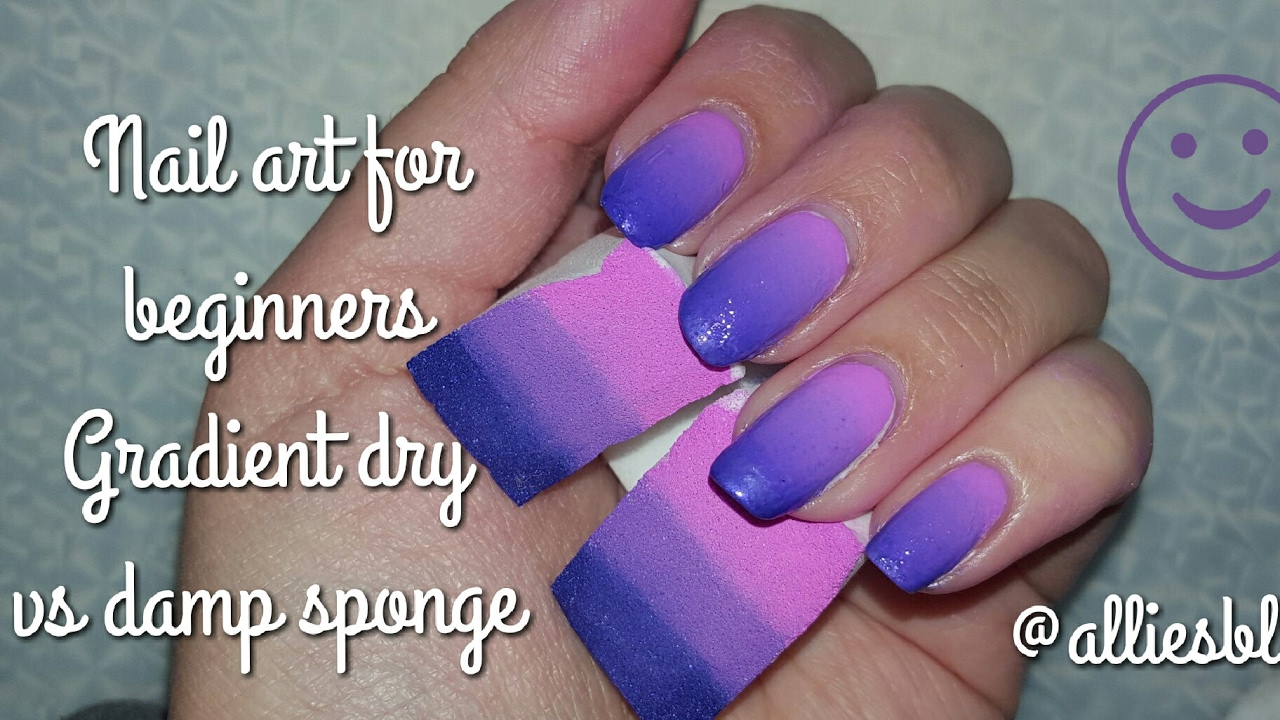
The ombre trend isn't just for hair, it can also be achieved on your nails with a sponge! This technique involves blending two or more colors together to create a gradient effect. Use a makeup sponge or a small piece of sponge to achieve this look. Start by painting your nails with the lighter color, then dab on the darker color with the sponge until you achieve your desired ombre effect.2. Ombre Nail Design with Sponge


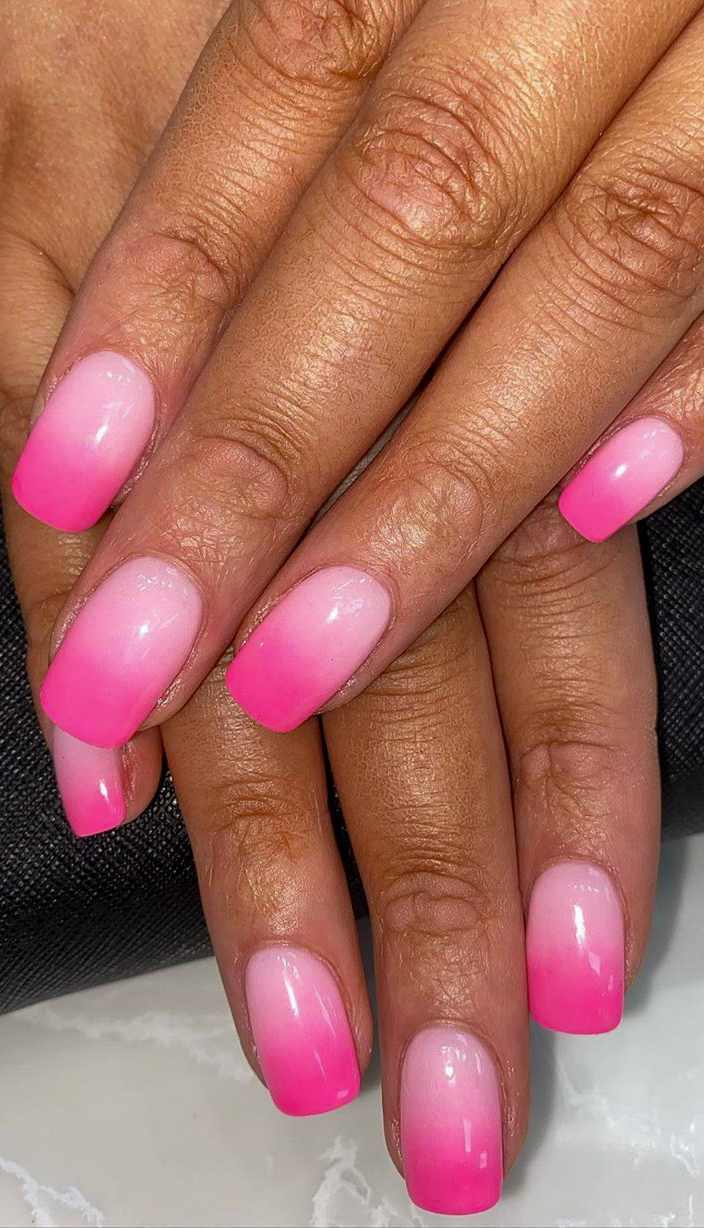
2. Ombre Nail Design with Sponge


If you want a unique and eye-catching nail design, try the marble technique with a sponge. Start by painting your nails with a base color, then dab on a few drops of another color with the sponge. While the polish is still wet, use a toothpick to swirl the colors together. This creates a marble effect that is different on each nail, making it a truly one-of-a-kind design.3. Marble Nail Design with Sponge


3. Marble Nail Design with Sponge


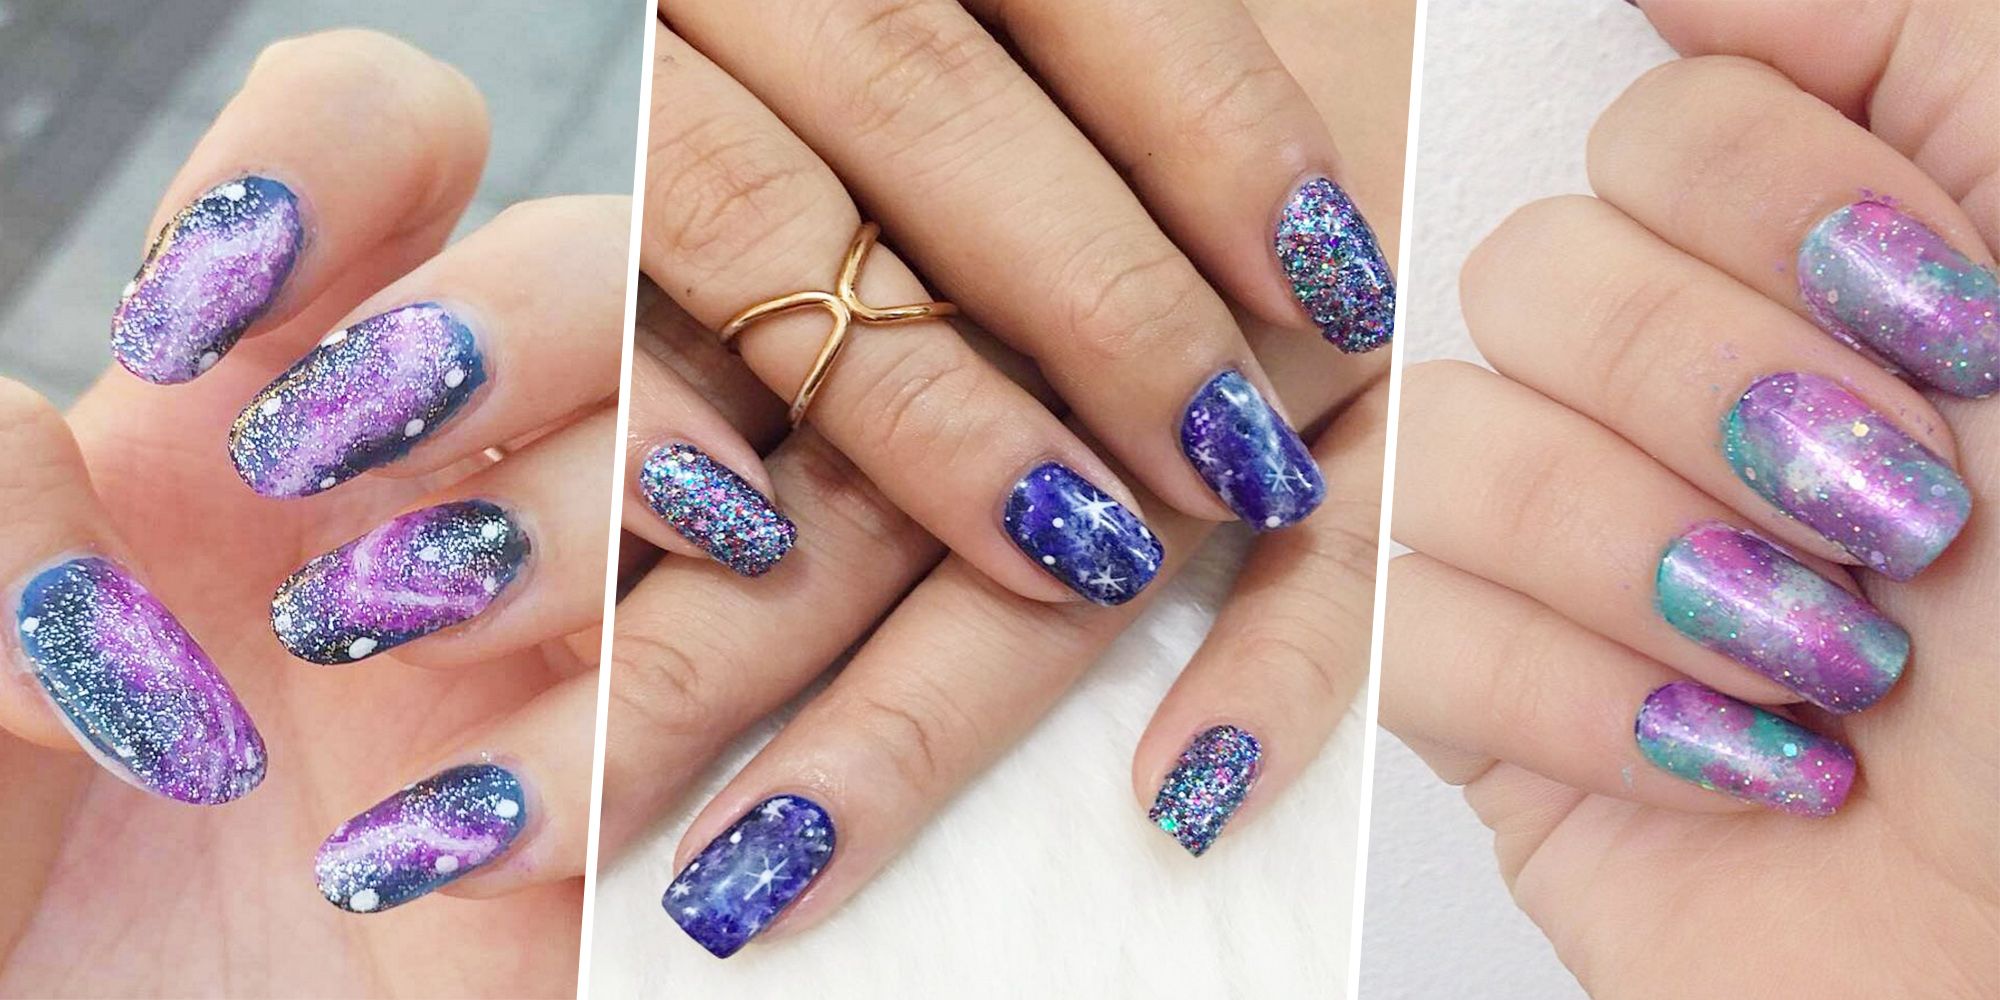
The galaxy trend is still going strong and now you can create a galaxy design on your nails with a sponge. Start by painting your nails with a dark base color, then dab on different shades of blue, purple, and pink with a sponge. Finally, add some white polish with the sponge for a starry effect. This design is perfect for a night out or a fun festival look.4. Galaxy Nail Design with Sponge


4. Galaxy Nail Design with Sponge
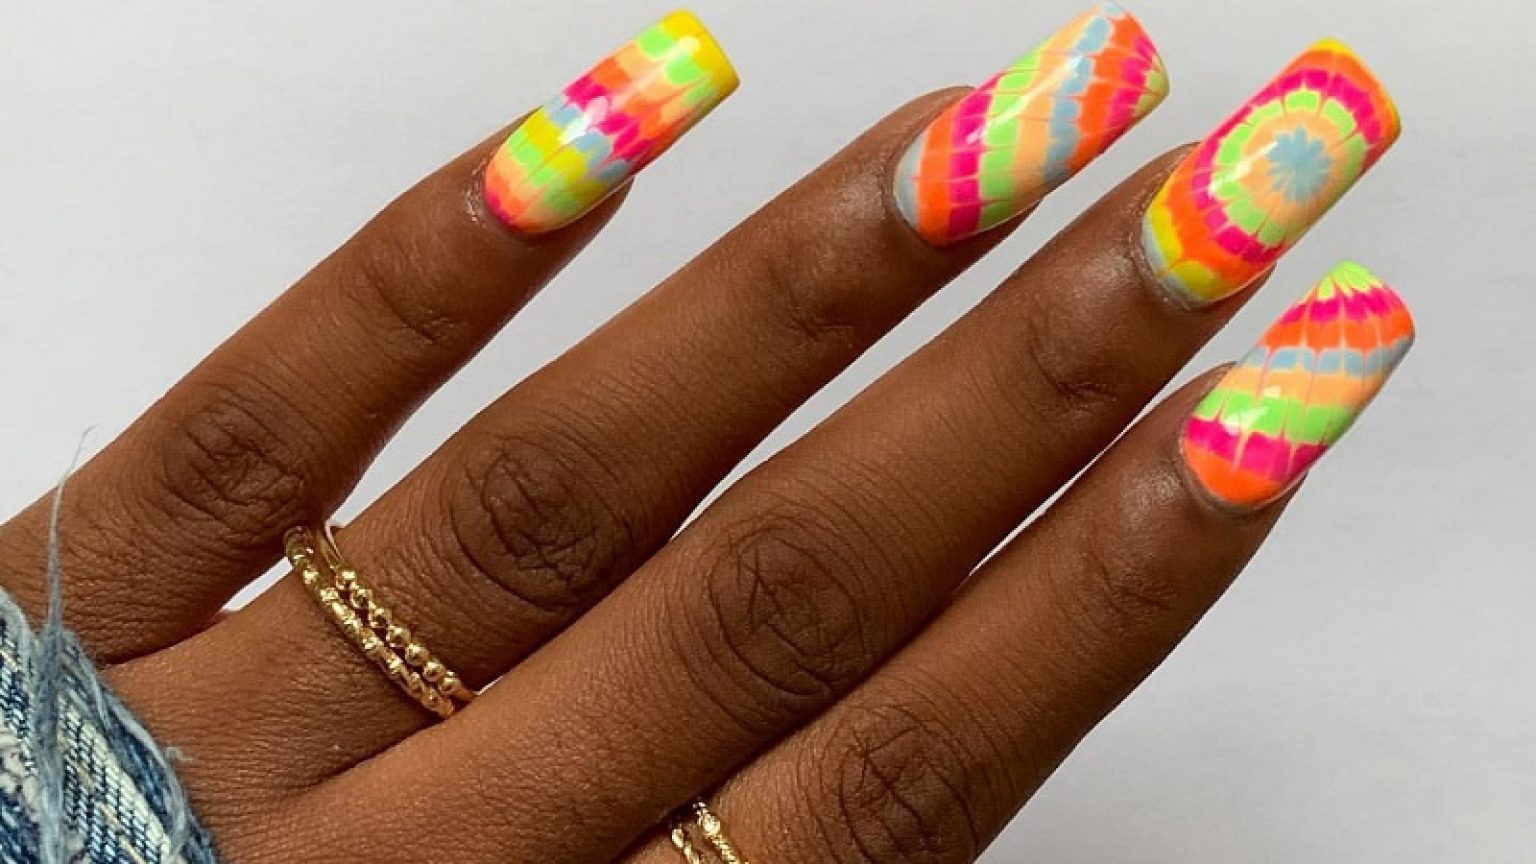
Bring back the 70s with a tie-dye nail design using a sponge! Start by painting your nails with a light base color, then dab on different shades of polish with the sponge. Use a toothpick to swirl the colors together and create a tie-dye effect. This design is perfect for a summer day or a music festival.5. Tie-Dye Nail Design with Sponge


5. Tie-Dye Nail Design with Sponge


For a softer and more subtle look, try a watercolor nail design with a sponge. Start by painting your nails with a light base color, then dab on a few drops of another color with the sponge. Use a brush dipped in acetone to blend the colors together. This creates a watercolor effect that is perfect for a romantic date night or a wedding.6. Watercolor Nail Design with Sponge


6. Watercolor Nail Design with Sponge

If you want a fun and edgy nail design, try the splatter technique using a sponge. Start by painting your nails with a base color, then dab on different shades of polish with the sponge. Flick the sponge onto your nails to create a splatter effect. This design is perfect for a girls' night out or a concert.7. Splatter Nail Design with Sponge

7. Splatter Nail Design with Sponge

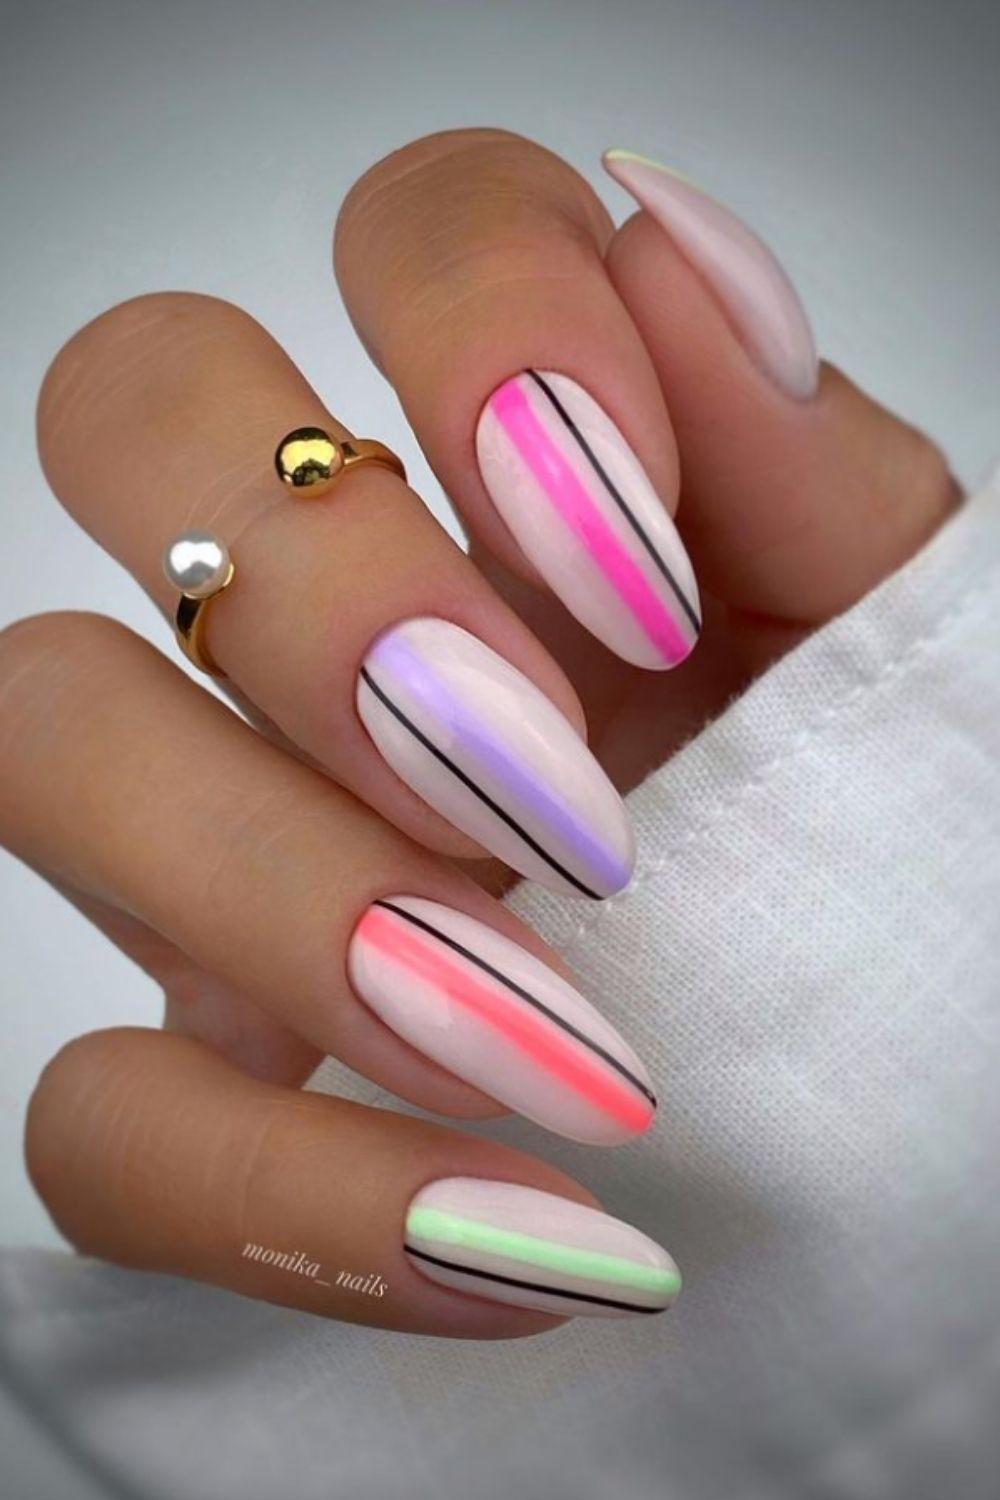
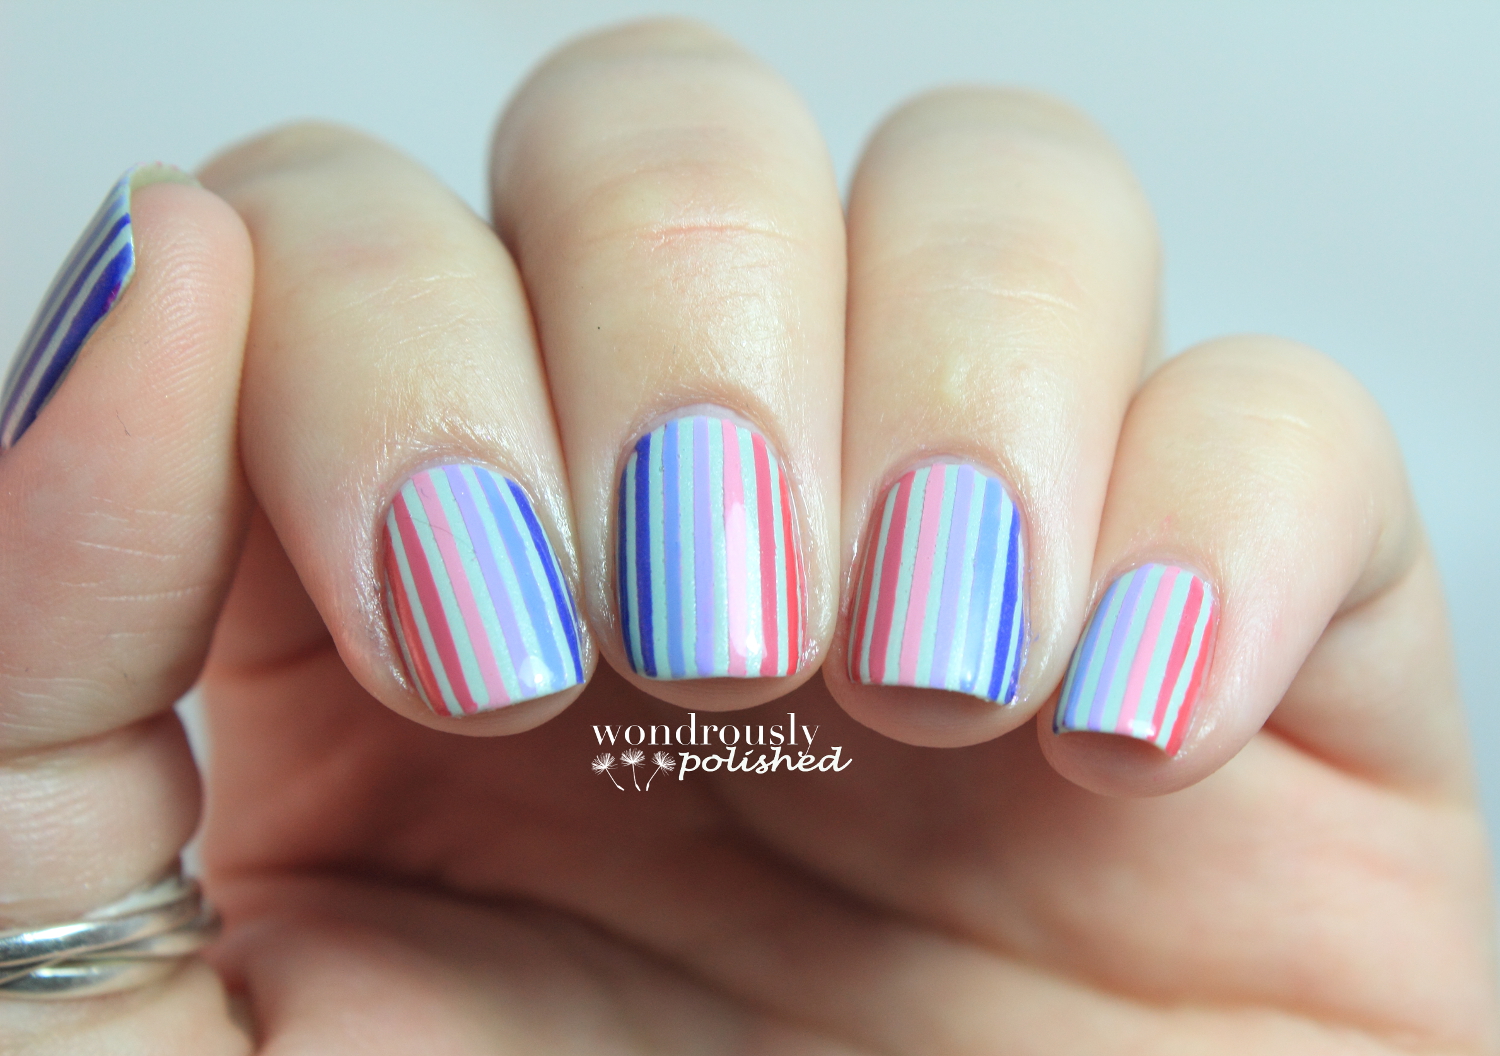
For a unique twist on the classic striped nail design, try using a sponge to achieve the look. Start by painting your nails with a base color, then dab on a different color with the sponge. Use a toothpick or a brush to create stripes by dragging the color across your nails. This design is perfect for a casual day out or a beach vacation.8. Striped Nail Design with Sponge
8. Striped Nail Design with Sponge

Get playful with a polka dot nail design using a sponge. Start by painting your nails with a base color, then dab on a different color with the sponge. Use a toothpick or a dotting tool to create polka dots all over your nails. This design is perfect for a fun and flirty look.9. Polka Dot Nail Design with Sponge


9. Polka Dot Nail Design with Sponge


For a feminine and romantic nail design, try creating a floral design with a sponge. Start by painting your nails with a light base color, then dab on different shades of polish with the sponge. Use a toothpick or a brush to create flowers by making small dots and lines. This design is perfect for a wedding or a springtime look.10. Floral Nail Design with Sponge


10. Floral Nail Design with Sponge


Nail Design with Sponge: A Unique and Easy Way to Elevate Your Nail Game

Introduction
 When it comes to nail design, there are endless possibilities and techniques to achieve the perfect manicure. From intricate hand-painted designs to simple, classic colors, the options are endless. One method that has been gaining popularity in recent years is
nail design with sponge
. This unique and easy technique allows for a gradient effect on the nails, adding depth and dimension to any manicure. In this article, we will explore the process of creating a
nail design with sponge
and how you can use it to elevate your nail game.
When it comes to nail design, there are endless possibilities and techniques to achieve the perfect manicure. From intricate hand-painted designs to simple, classic colors, the options are endless. One method that has been gaining popularity in recent years is
nail design with sponge
. This unique and easy technique allows for a gradient effect on the nails, adding depth and dimension to any manicure. In this article, we will explore the process of creating a
nail design with sponge
and how you can use it to elevate your nail game.
Gathering Supplies
 Before we dive into the process, it is important to have all the necessary supplies on hand. For
nail design with sponge
, you will need a few basic items: a base coat, two or more nail polish colors, a makeup sponge, and a top coat. It is also helpful to have some nail polish remover and cotton swabs on hand in case of any mistakes.
Featured keywords
such as "nail polish", "makeup sponge", and "top coat" are essential for this technique.
Before we dive into the process, it is important to have all the necessary supplies on hand. For
nail design with sponge
, you will need a few basic items: a base coat, two or more nail polish colors, a makeup sponge, and a top coat. It is also helpful to have some nail polish remover and cotton swabs on hand in case of any mistakes.
Featured keywords
such as "nail polish", "makeup sponge", and "top coat" are essential for this technique.
The Process
 To begin, start by applying a base coat to protect your nails and help the polish adhere better. Next,
apply your base color
of choice and let it dry completely. Once the base color is dry, it's time to move on to the fun part - creating the gradient effect.
Featured keywords
like "base color" and "gradient effect" are important to use when describing this step.
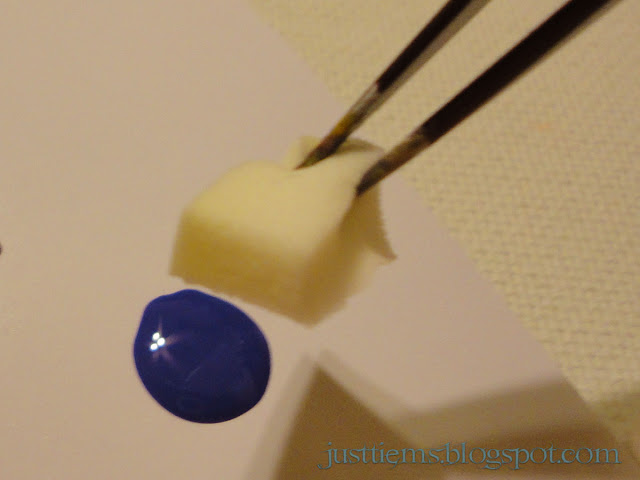
Take your makeup sponge and
apply a few drops of your second color
onto one corner. Gently dab the sponge onto your nail, starting from the tip and working your way down to the middle of the nail. You can
add more of the second color
to the sponge and dab it onto the nail again to intensify the gradient effect. Repeat this step on all nails and let it dry completely.
To begin, start by applying a base coat to protect your nails and help the polish adhere better. Next,
apply your base color
of choice and let it dry completely. Once the base color is dry, it's time to move on to the fun part - creating the gradient effect.
Featured keywords
like "base color" and "gradient effect" are important to use when describing this step.
Take your makeup sponge and
apply a few drops of your second color
onto one corner. Gently dab the sponge onto your nail, starting from the tip and working your way down to the middle of the nail. You can
add more of the second color
to the sponge and dab it onto the nail again to intensify the gradient effect. Repeat this step on all nails and let it dry completely.
Finishing Touches
 Once your nails are dry, it's time to seal in your design with a top coat. This will not only give your nails a shiny finish but also help the colors blend together seamlessly.
Using a top coat
is crucial to achieve a long-lasting manicure. You can also use a small brush dipped in nail polish remover to clean up any excess polish around the nails.
Once your nails are dry, it's time to seal in your design with a top coat. This will not only give your nails a shiny finish but also help the colors blend together seamlessly.
Using a top coat
is crucial to achieve a long-lasting manicure. You can also use a small brush dipped in nail polish remover to clean up any excess polish around the nails.
Conclusion
 In conclusion,
nail design with sponge
is a unique and easy technique to add dimension and depth to your manicure. With just a few basic supplies and a little bit of patience, you can create a professional-looking gradient effect on your nails. So next time you're looking to switch up your nail game, give this technique a try and see the difference it can make.
In conclusion,
nail design with sponge
is a unique and easy technique to add dimension and depth to your manicure. With just a few basic supplies and a little bit of patience, you can create a professional-looking gradient effect on your nails. So next time you're looking to switch up your nail game, give this technique a try and see the difference it can make.


