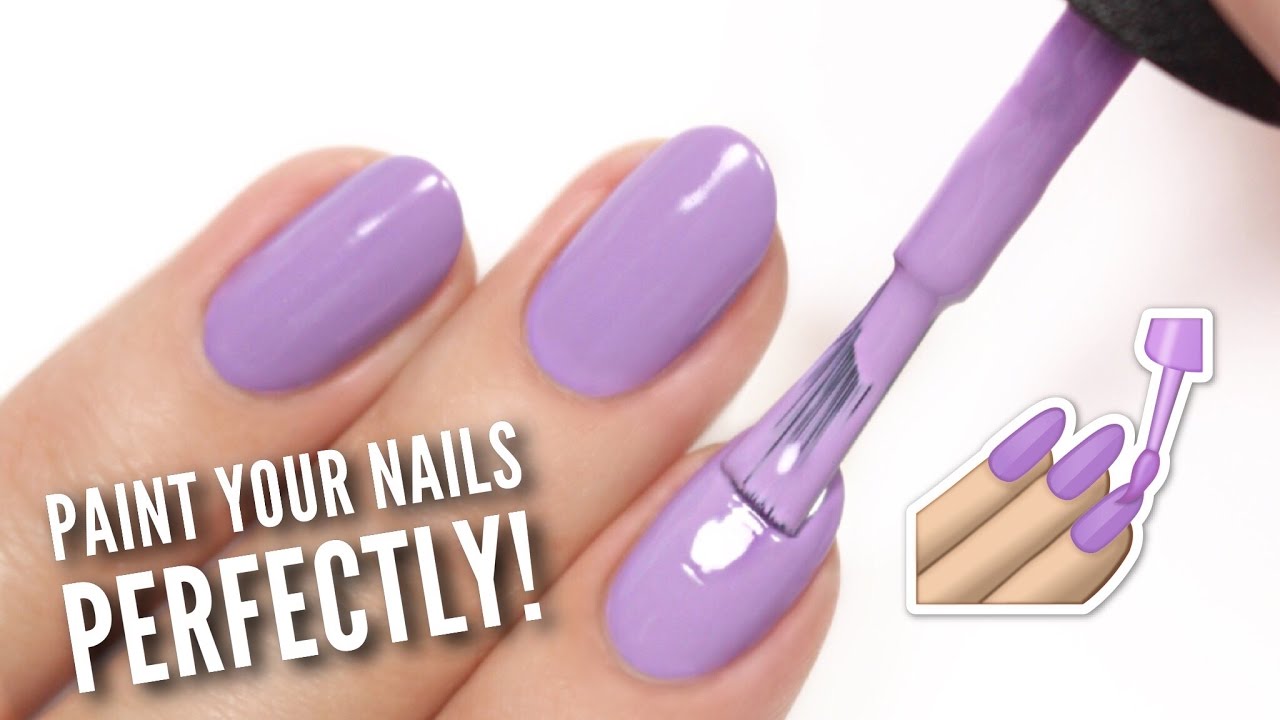
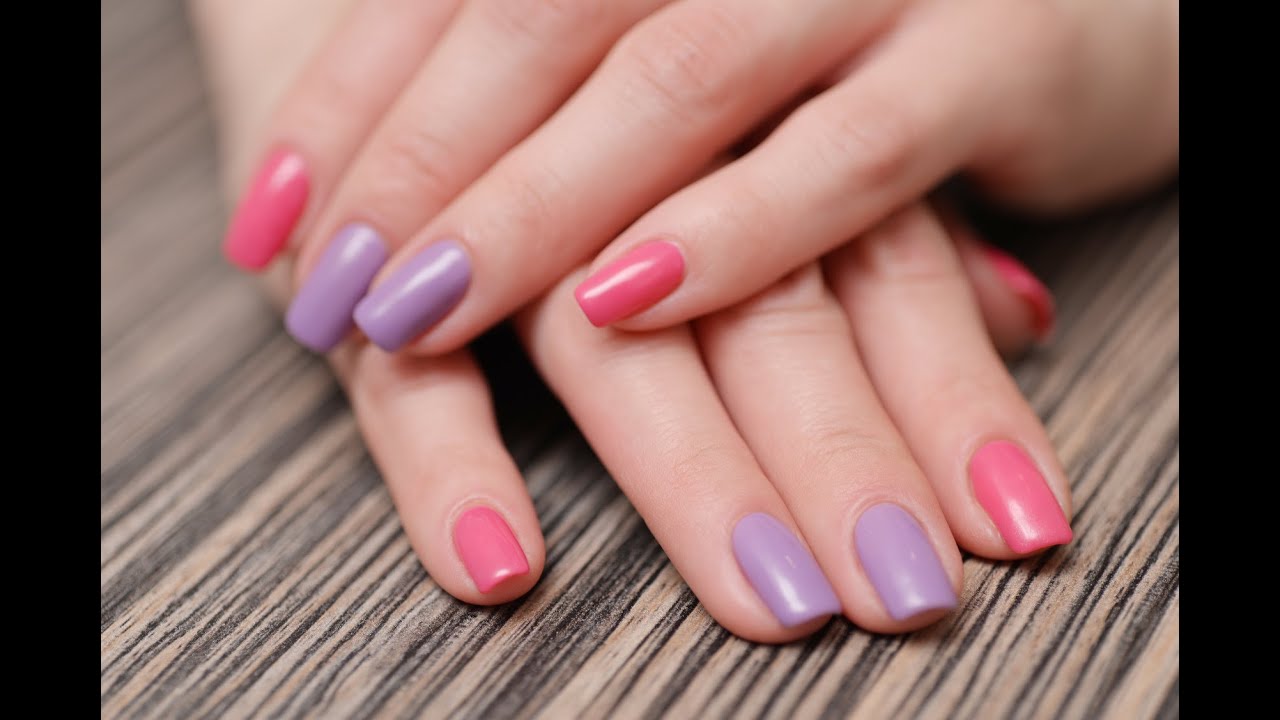
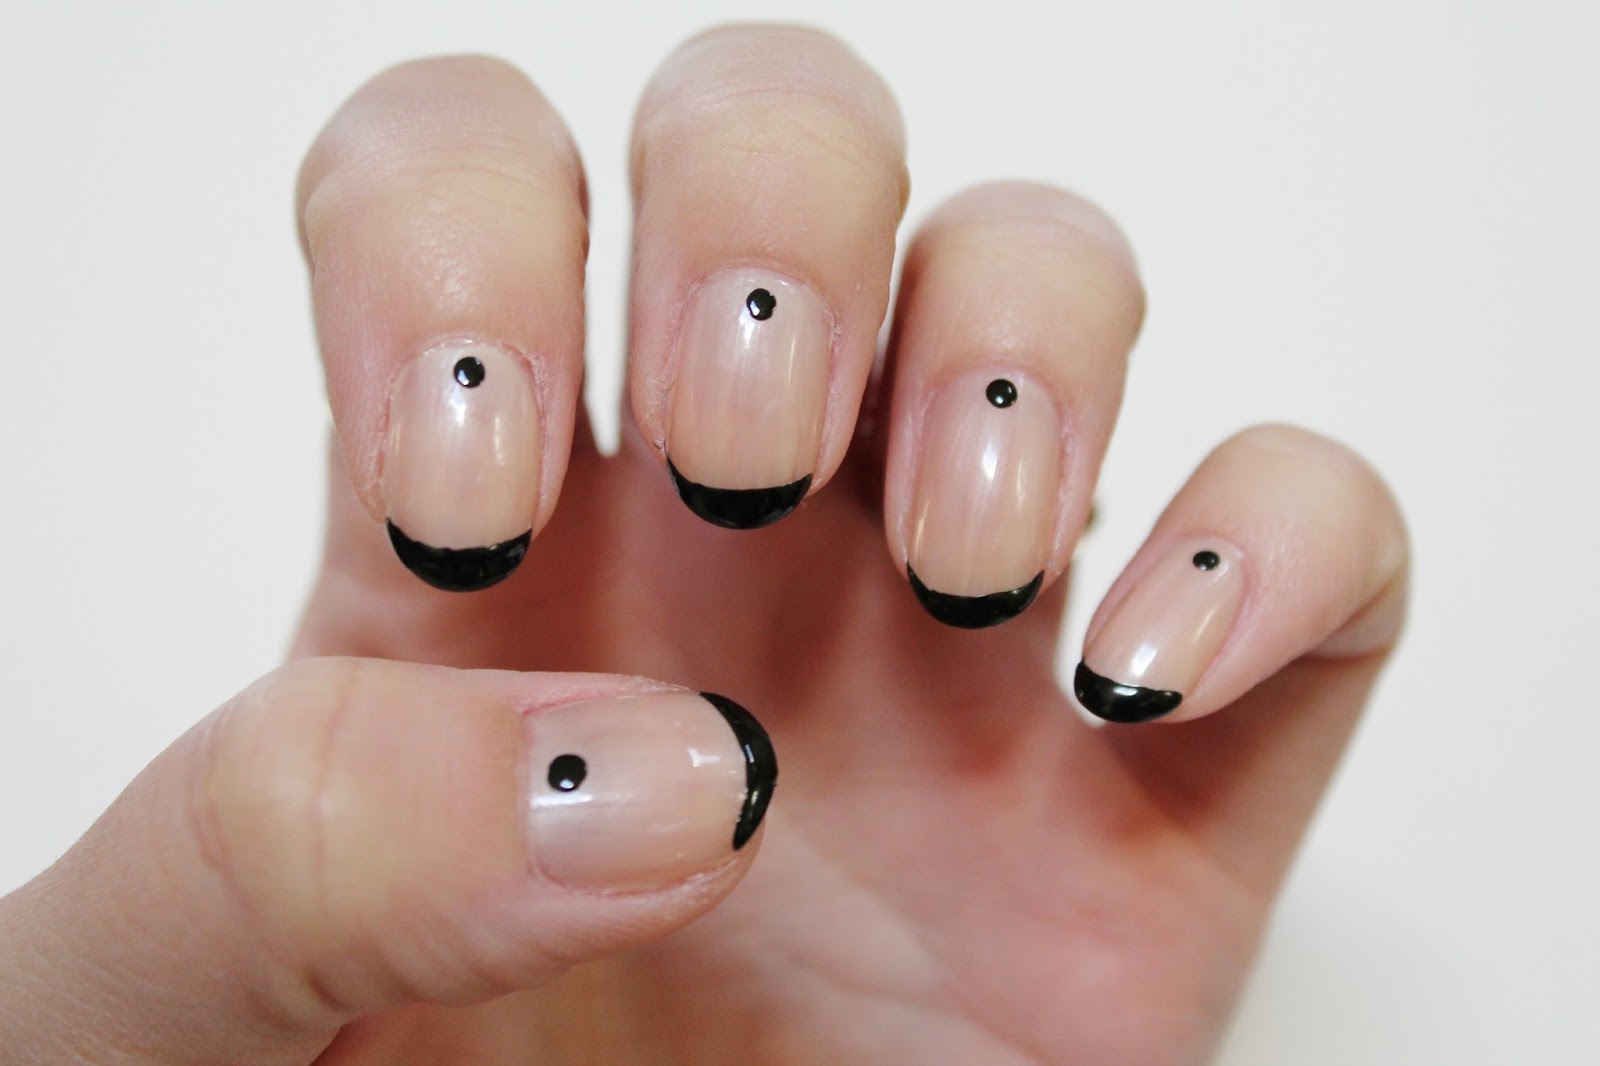
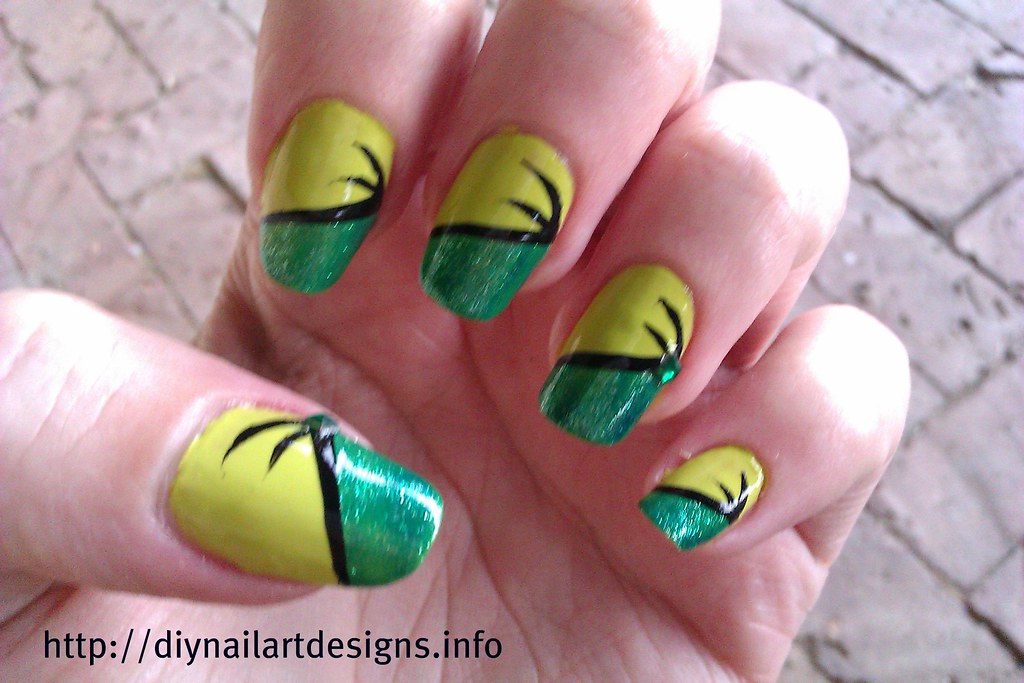
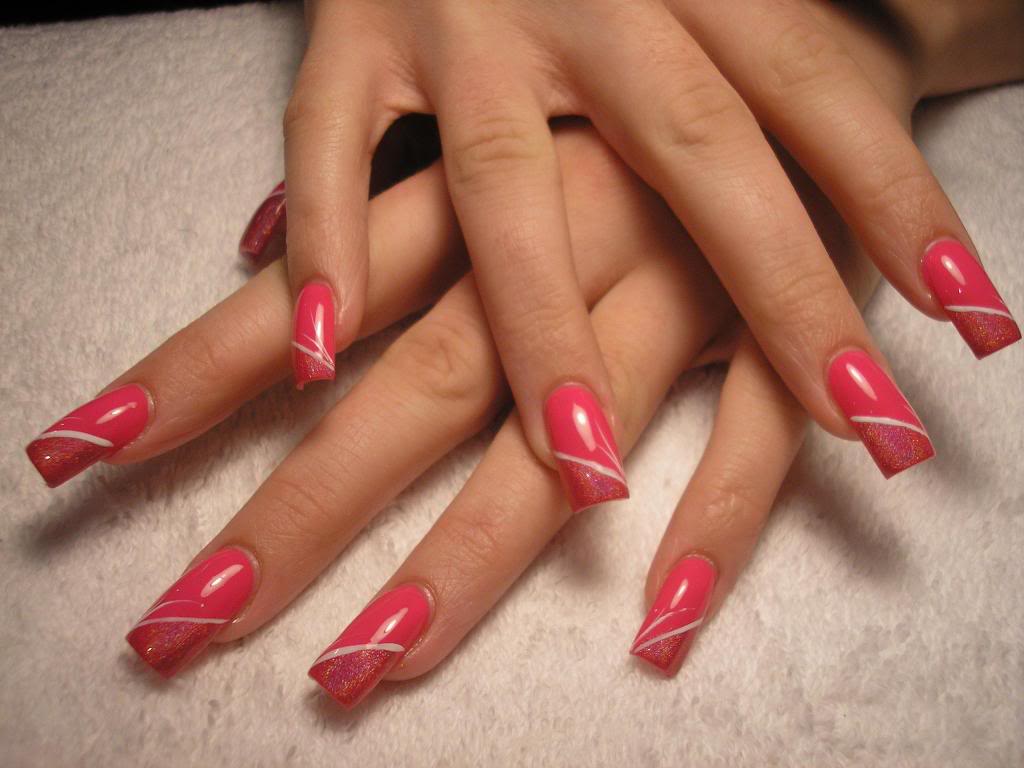
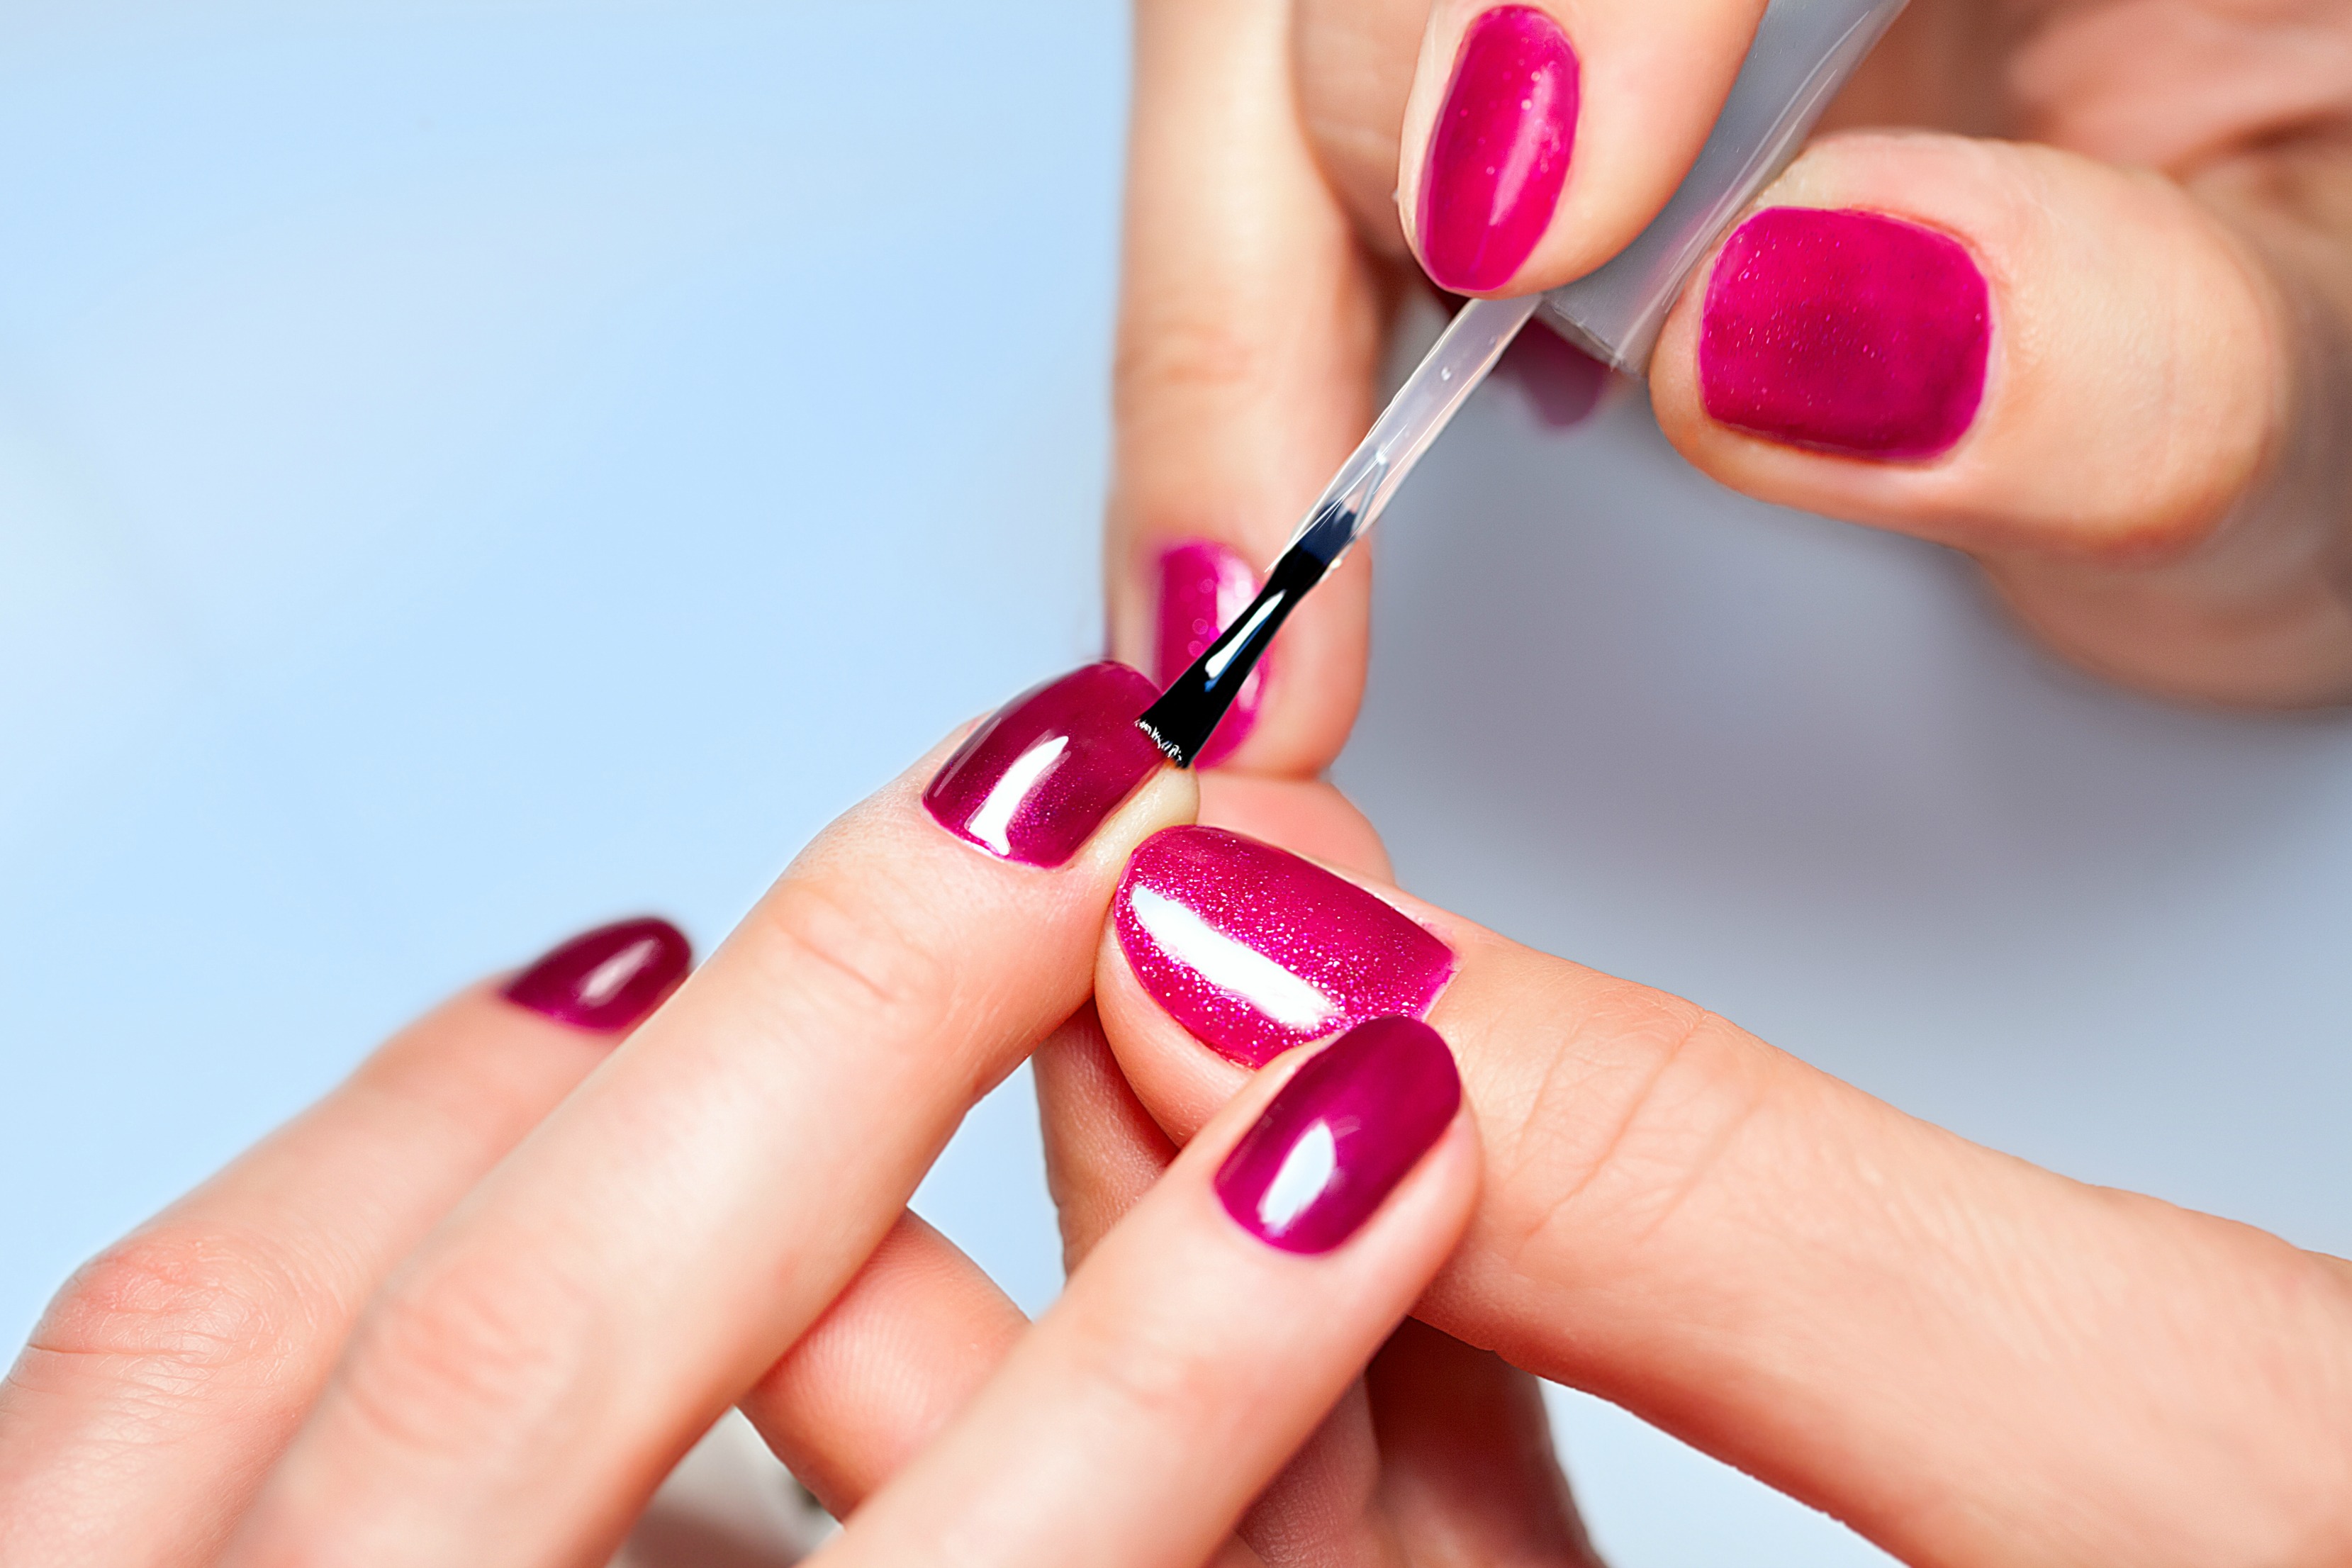
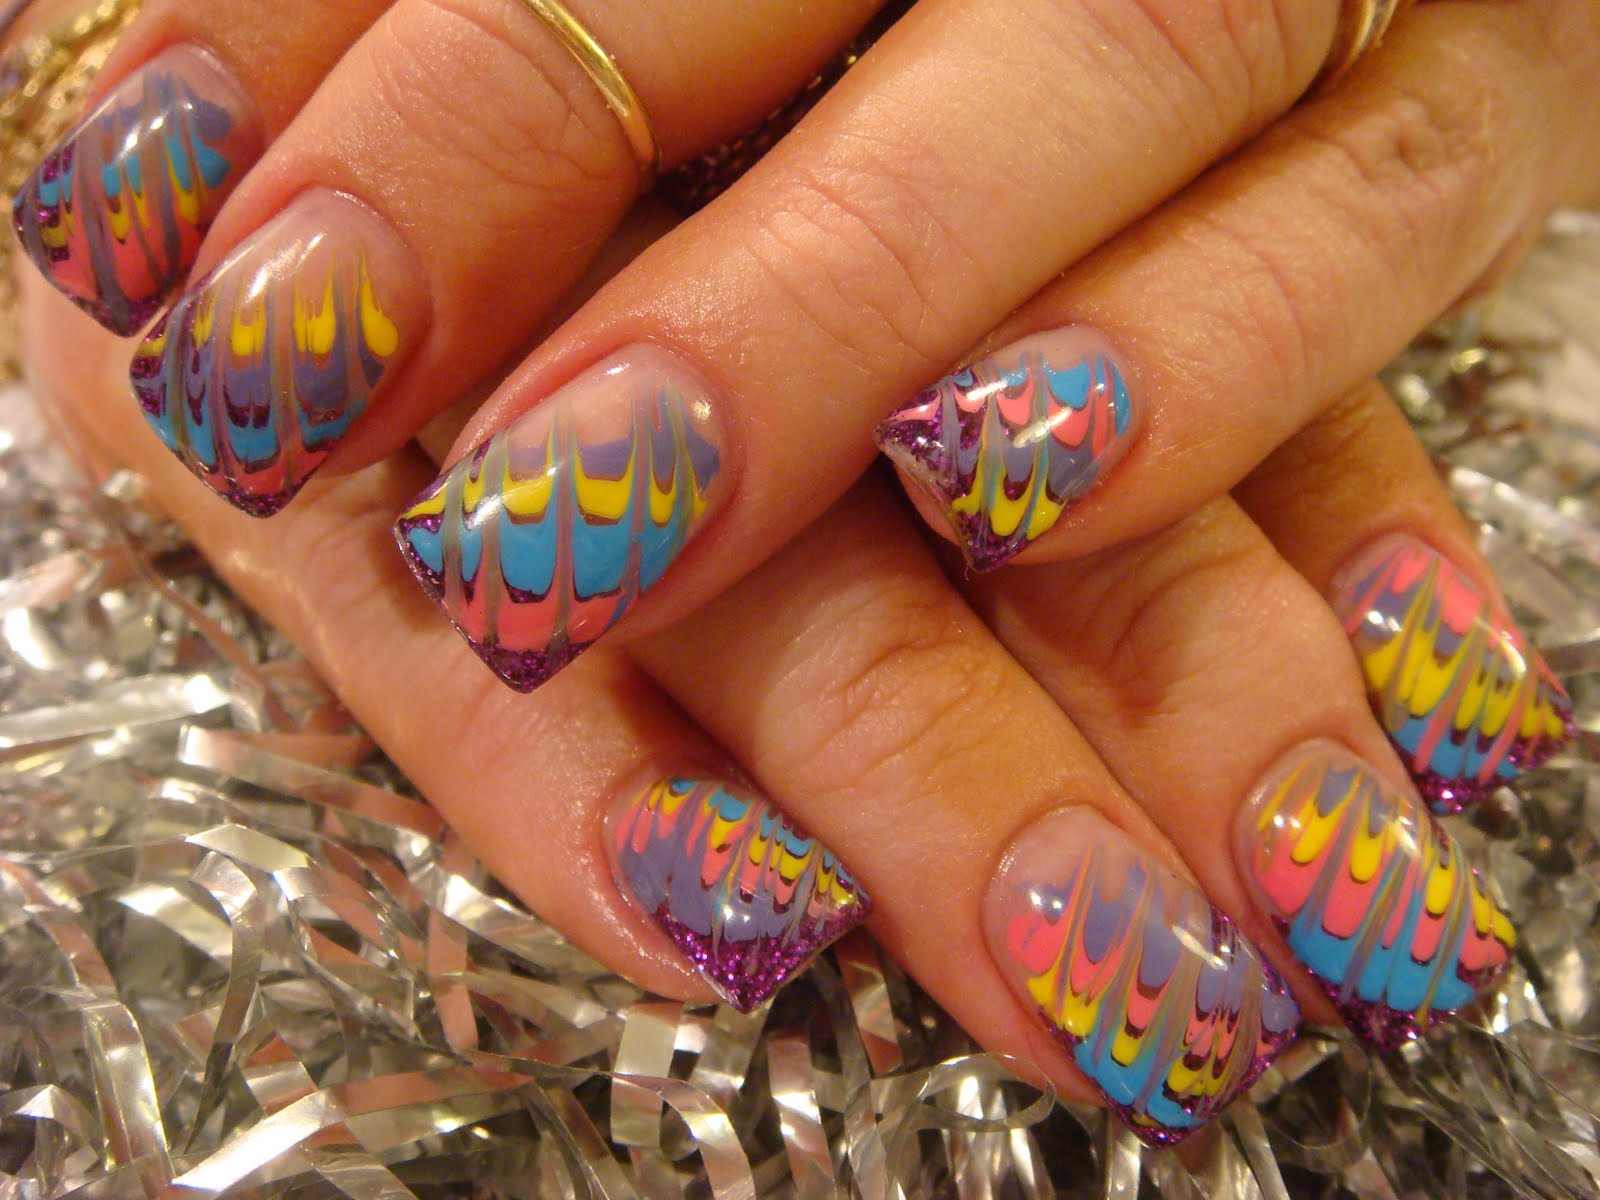
Are you tired of boring, plain nails and ready to take your nail game to the next level? Look no further! With these 10 tips for perfect nail painting designs, you'll have salon-worthy nails in no time. Featured keyword: perfect nail painting designs First and foremost, it's important to have the right tools for the job. Invest in a good quality base coat, top coat, and a variety of nail polish colors to create endless design possibilities. Main keywords: tools, base coat, top coat, nail polish colors, design possibilities Next, make sure to properly prep your nails before painting. This means filing, shaping, and pushing back your cuticles to create a smooth and even surface for your polish to adhere to. Main keywords: prep, filing, shaping, cuticles, smooth, even surface, polish When it comes to choosing a design, don't be afraid to get creative! You can use different colors, textures, and even add gems or stickers for a unique touch. Main keywords: design, creative, colors, textures, gems, stickers, unique For beginners, it's best to start with simple designs. This could mean a classic French tip, a basic stripe, or even just a single accent nail. As you gain more experience, you can try more intricate designs. Main keywords: beginners, simple designs, classic French tip, basic stripe, accent nail, experience, intricate designs Another tip for flawless nail designs is to take your time. Rushing through the process can lead to messy and uneven results. Take breaks in between coats to allow each layer to dry properly. Main keywords: flawless nail designs, time, rushing, messy, uneven, breaks, coats, dry When it comes to applying the polish, less is more. It's better to start with a thin layer and build it up as needed. This will prevent the polish from smudging or dripping. Main keywords: applying polish, less is more, thin layer, build up, smudging, dripping One popular technique for unique designs is using a sponge. Simply dab a small amount of polish onto a makeup sponge and gently press it onto your nails for a gradient effect. Main keywords: popular technique, unique designs, sponge, dab, polish, makeup sponge, gently press, gradient effect For those who struggle with shaky hands, using tape can be a game changer. Simply place strips of tape on your nails in the desired design, paint over it, and peel off for crisp and clean lines. Main keywords: shaky hands, tape, game changer, strips, desired design, paint, peel off, crisp, clean lines To make your nail designs last longer, always finish off with a top coat. This will not only add shine, but also protect your design from chipping or peeling. Main keywords: nail designs, last longer, top coat, shine, protect, chipping, peeling Lastly, don't be afraid to experiment and have fun with your nail designs! With these tips and tricks, the possibilities are endless. So go ahead and show off your unique and stunning nails. Main keywords: experiment, fun, nail designs, tips and tricks, endless possibilities, unique, stunning nails1. 10 Tips for Perfect Nail Painting Designs
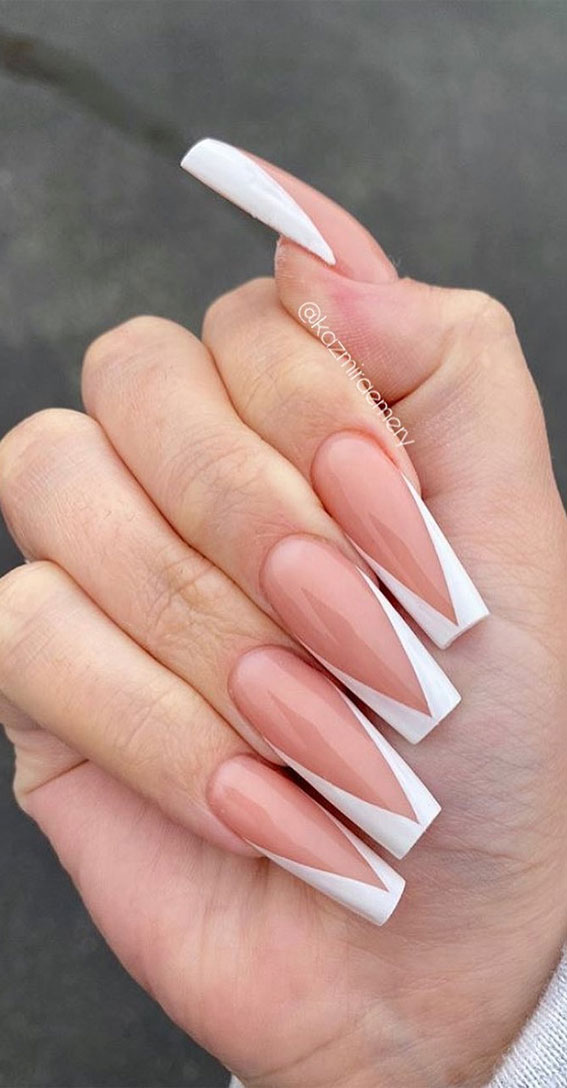

1. 10 Tips for Perfect Nail Painting Designs


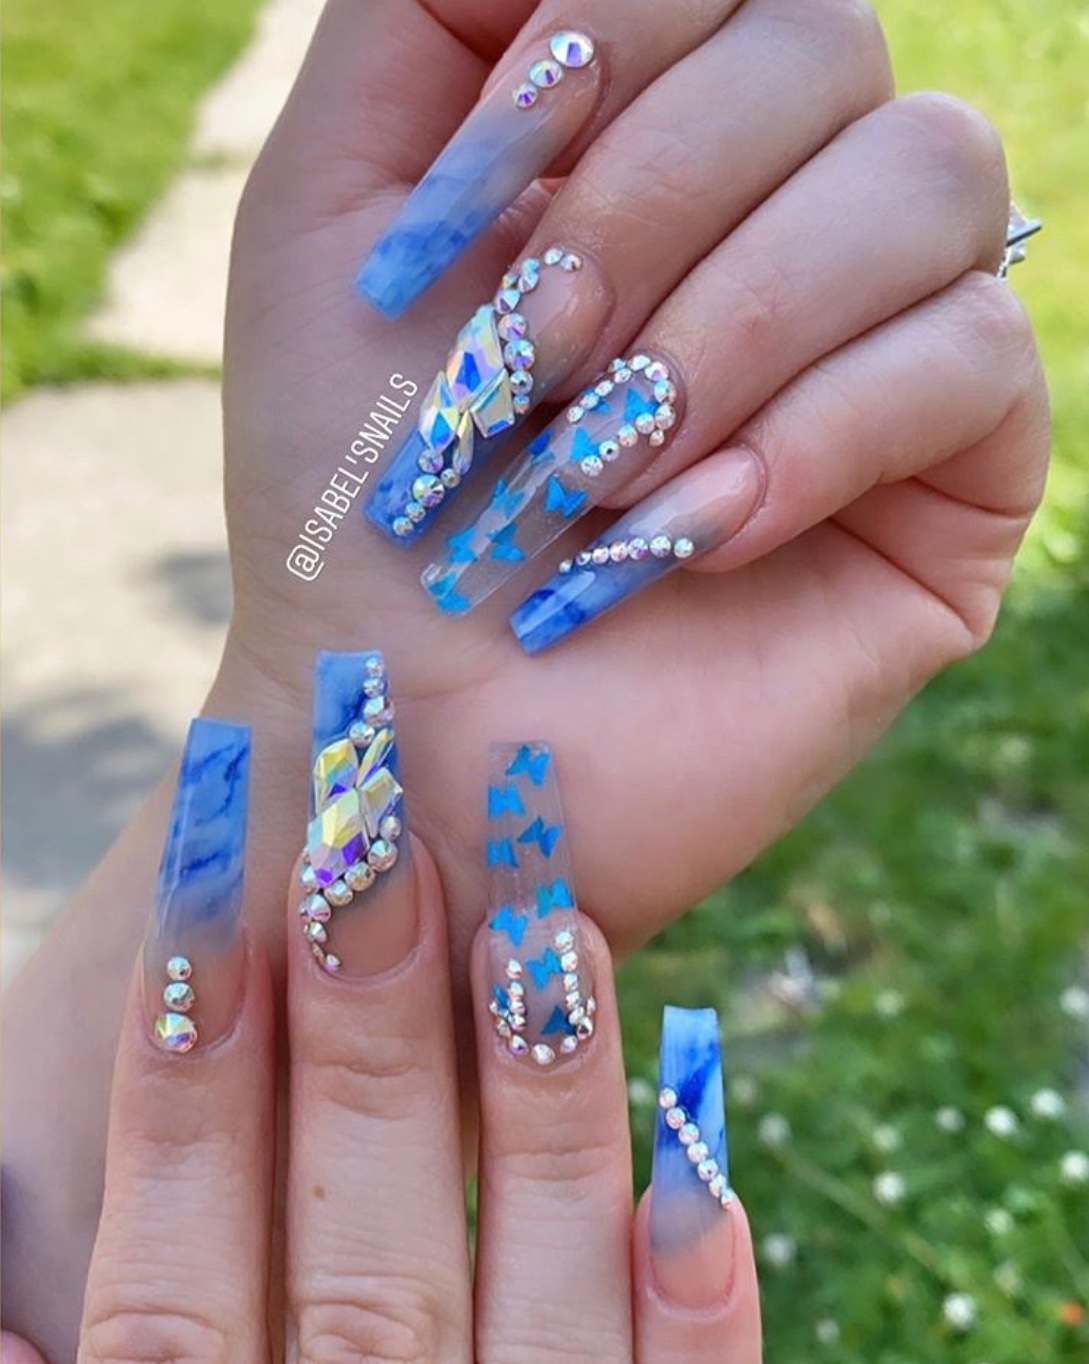
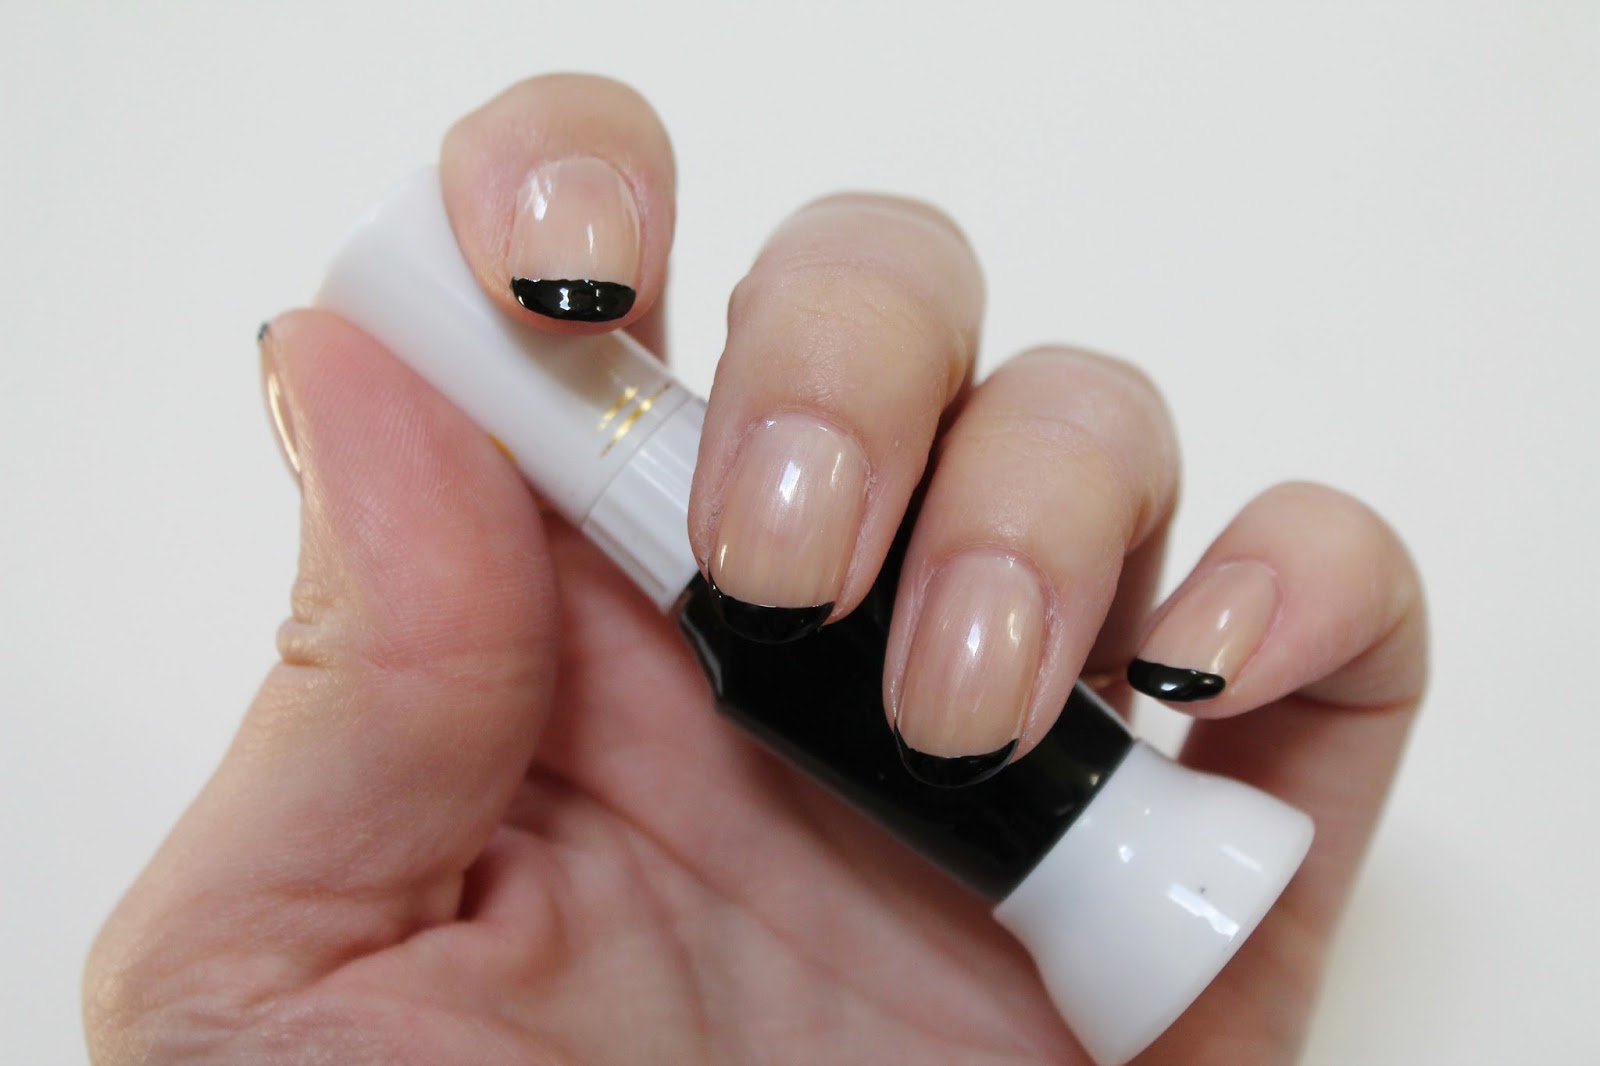
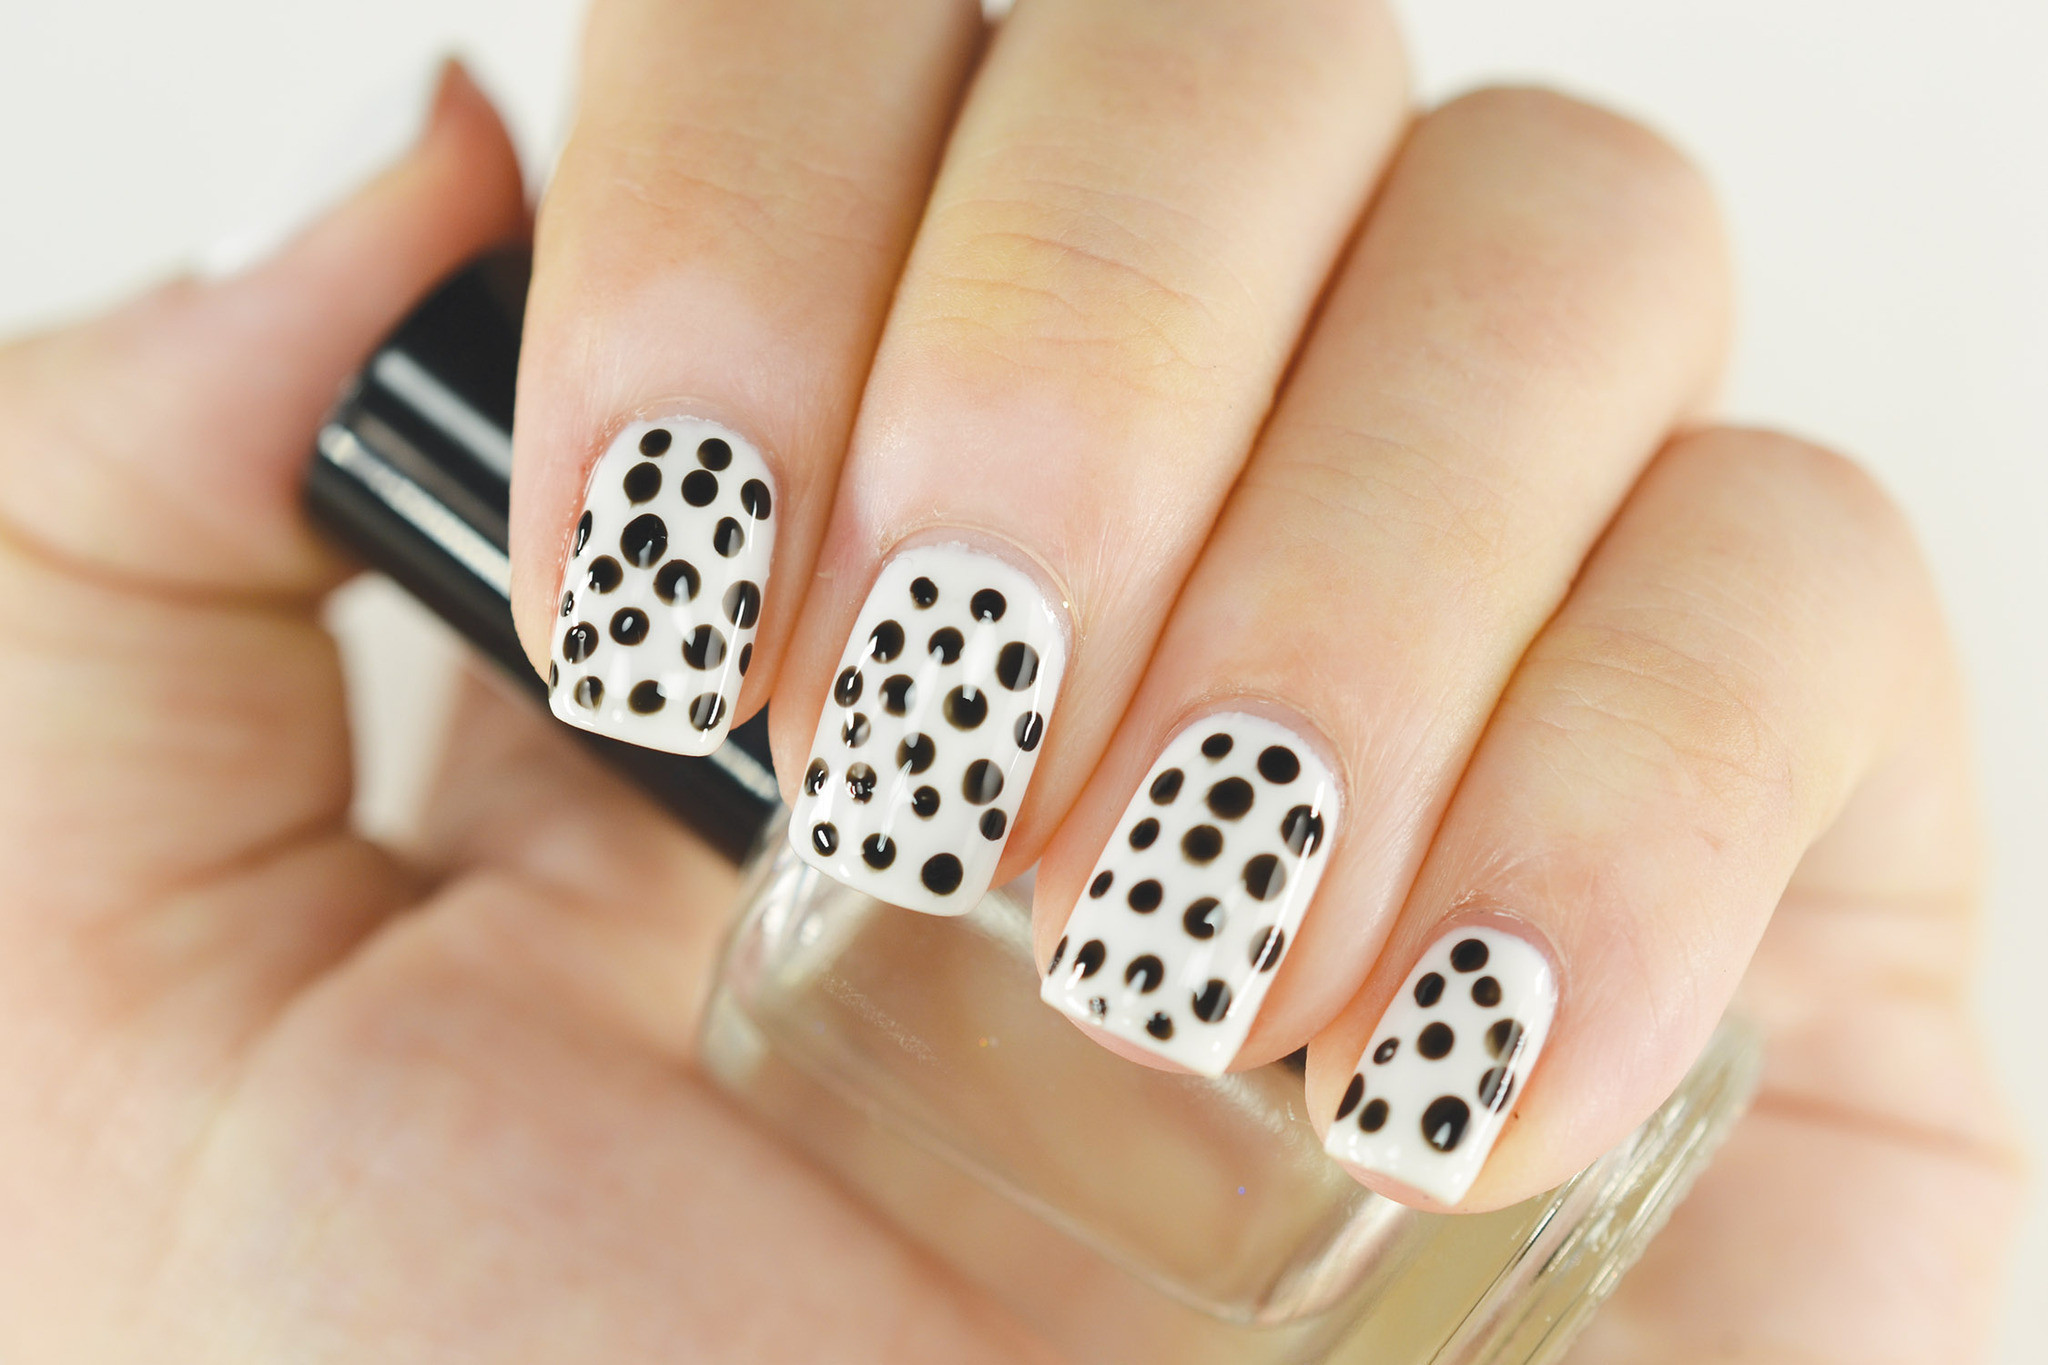
Featured keyword: nail art design tips If you're new to the world of nail art, it can be overwhelming trying to figure out where to start. But fear not, with these beginner-friendly nail art design tips, you'll be a pro in no time! Main keywords: nail art, overwhelming, beginner-friendly, pro First and foremost, it's important to gather all the necessary tools before starting your design. This includes nail polish, a base coat, top coat, dotting tools, and brushes for creating different designs. Main keywords: necessary tools, nail polish, base coat, top coat, dotting tools, brushes, creating designs Before painting your nails, make sure to properly prep them by filing, shaping, and pushing back your cuticles. This will create a smooth and even surface for your design to adhere to. Main keywords: prep, filing, shaping, cuticles, smooth, even surface, design, adhere When it comes to choosing a design, start simple and build your way up. This could mean a basic stripe, polka dots, or even a simple flower. As you gain more experience, you can try more intricate designs. Main keywords: choosing a design, start simple, basic stripe, polka dots, simple flower, experience, intricate designs If you're struggling with shaky hands, try using tape to create clean and crisp lines. Simply place strips of tape on your nails in the desired design, paint over it, and peel off for a flawless look. Main keywords: shaky hands, tape, clean, crisp lines, strips, desired design, paint, peel off, flawless look Another tip for beginners is to practice on fake nails first. This way, you can perfect your design and technique before attempting it on your own nails. Main keywords: beginners, practice, fake nails, perfect, design, technique For those who are still struggling, there are plenty of tutorials and step-by-step guides available online. Don't be afraid to use them as a reference and ask for help from more experienced nail artists. Main keywords: struggling, tutorials, step-by-step guides, online, reference, help, experienced nail artists When it comes to adding embellishments, such as gems or stickers, make sure to seal them in with a top coat. This will ensure that they don't fall off and your design stays intact. Main keywords: embellishments, gems, stickers, seal, top coat, fall off, design, intact Lastly, have fun and don't be afraid to experiment with different colors and designs. Nail art is all about self-expression, so let your creativity shine! Main keywords: have fun, experiment, different colors, designs, self-expression, creativity2. Nail Art Design Tips for Beginners


2. Nail Art Design Tips for Beginners


Maximizing Space: Incorporating Nail Painting Designs into Small Rooms
The Challenge of Designing Small Spaces
 When it comes to designing small rooms, every inch counts. The limited space can be quite challenging when trying to create a functional and visually appealing room. However, with the right nail painting design tips, you can transform even the smallest of rooms into a stunning and inviting space.
Creating the Illusion of Space
 The key to making a small room feel bigger is to create the illusion of space. One way to do this is by using
light and bright colors
for your nail painting designs. Light colors reflect more light and make a room appear larger. You can also incorporate
mirrors
into your nail painting design to reflect light and give the illusion of a larger room.
The key to making a small room feel bigger is to create the illusion of space. One way to do this is by using
light and bright colors
for your nail painting designs. Light colors reflect more light and make a room appear larger. You can also incorporate
mirrors
into your nail painting design to reflect light and give the illusion of a larger room.
Choosing the Right Nail Painting Design
 When it comes to small rooms,
less is more
. Choose a simple and minimalistic nail painting design to avoid overwhelming the space. Opt for
geometric patterns
or
stripes
to create the illusion of length and height. Avoid using large and busy patterns, as they can make the room feel cluttered and cramped.
When it comes to small rooms,
less is more
. Choose a simple and minimalistic nail painting design to avoid overwhelming the space. Opt for
geometric patterns
or
stripes
to create the illusion of length and height. Avoid using large and busy patterns, as they can make the room feel cluttered and cramped.
Utilizing Vertical Space
 Incorporating nail painting designs on
vertical surfaces
can also help maximize space in a small room. Consider using a vertical stripe design on an accent wall, or painting a
vertical gradient
on a wall to draw the eye upward and create the illusion of a taller room.
Incorporating nail painting designs on
vertical surfaces
can also help maximize space in a small room. Consider using a vertical stripe design on an accent wall, or painting a
vertical gradient
on a wall to draw the eye upward and create the illusion of a taller room.
Final Thoughts
 Incorporating nail painting designs into a small room may seem daunting, but with the right techniques, you can create a beautiful and spacious-looking space. Remember to use light and bright colors, keep the design simple and minimalistic, and utilize vertical space to make the most out of your small room. With these tips, you can transform any small room into a stylish and functional space.


