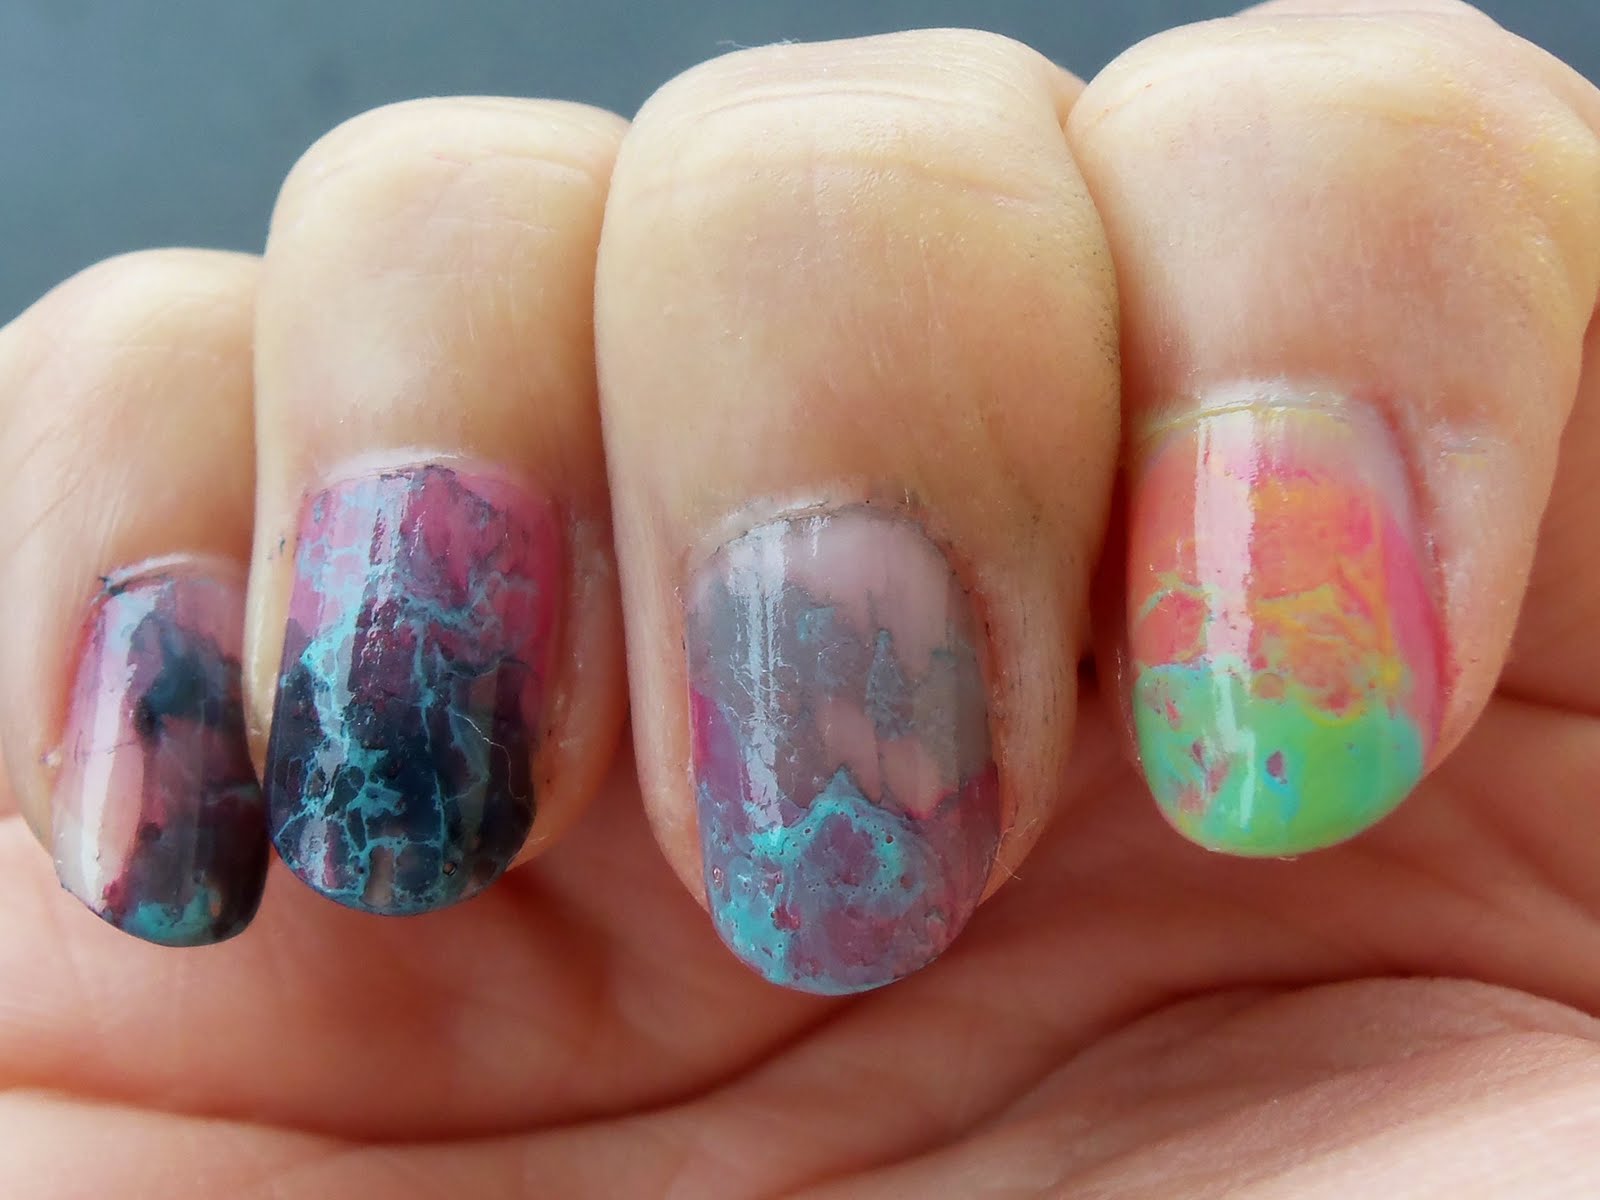
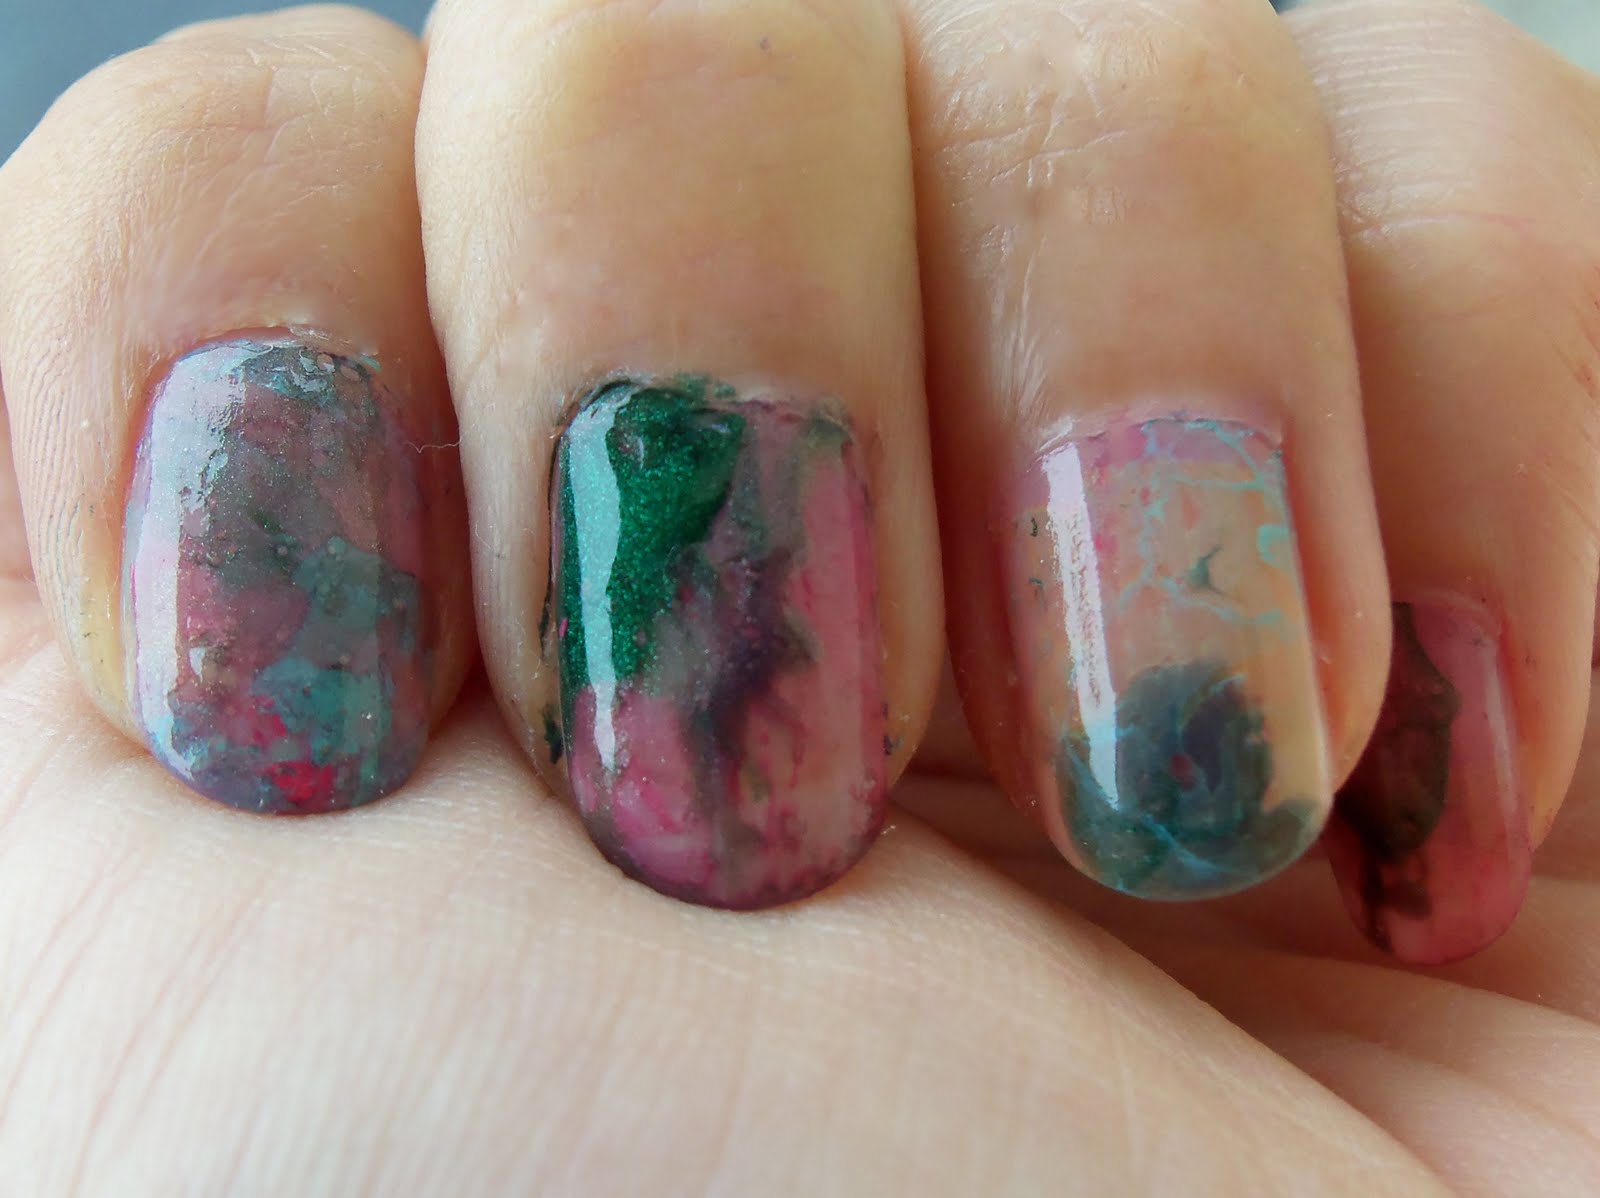
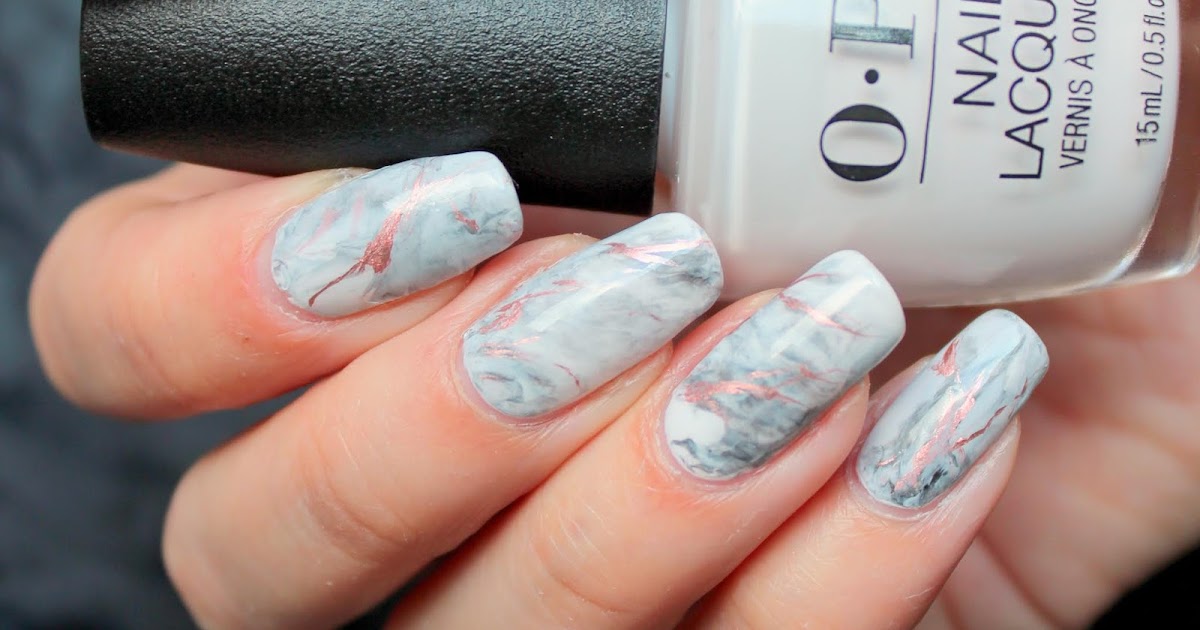
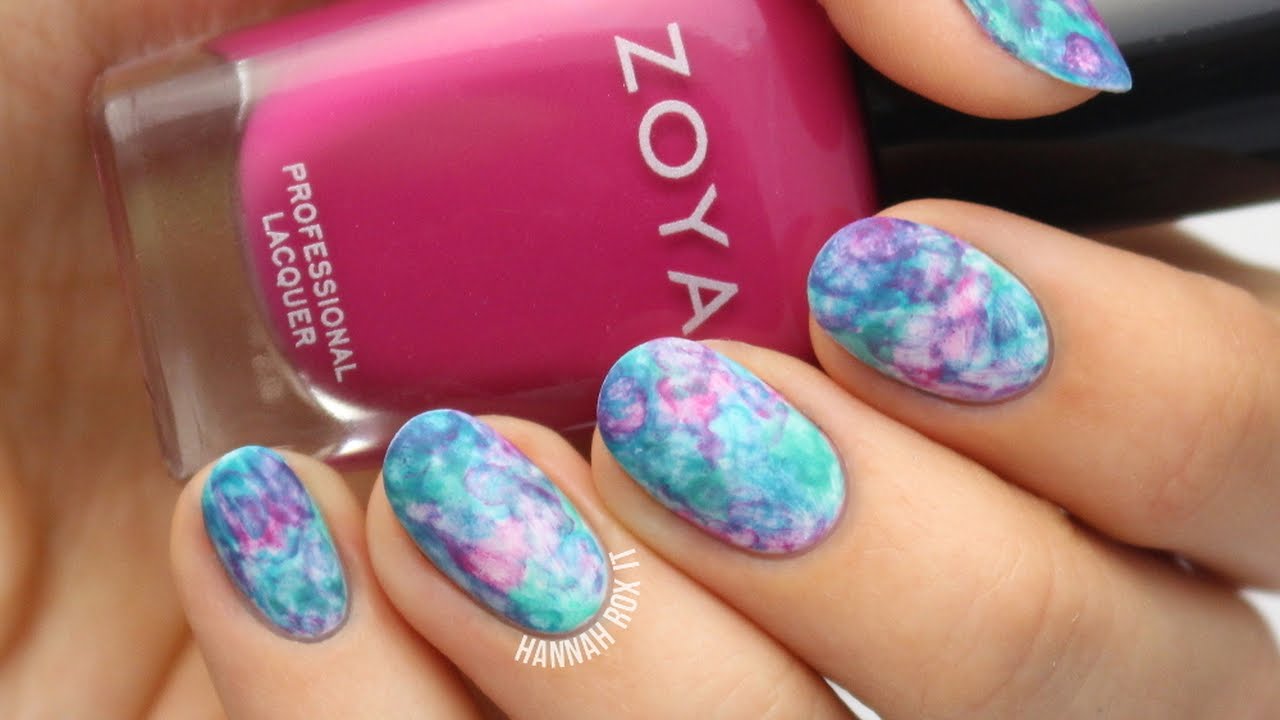
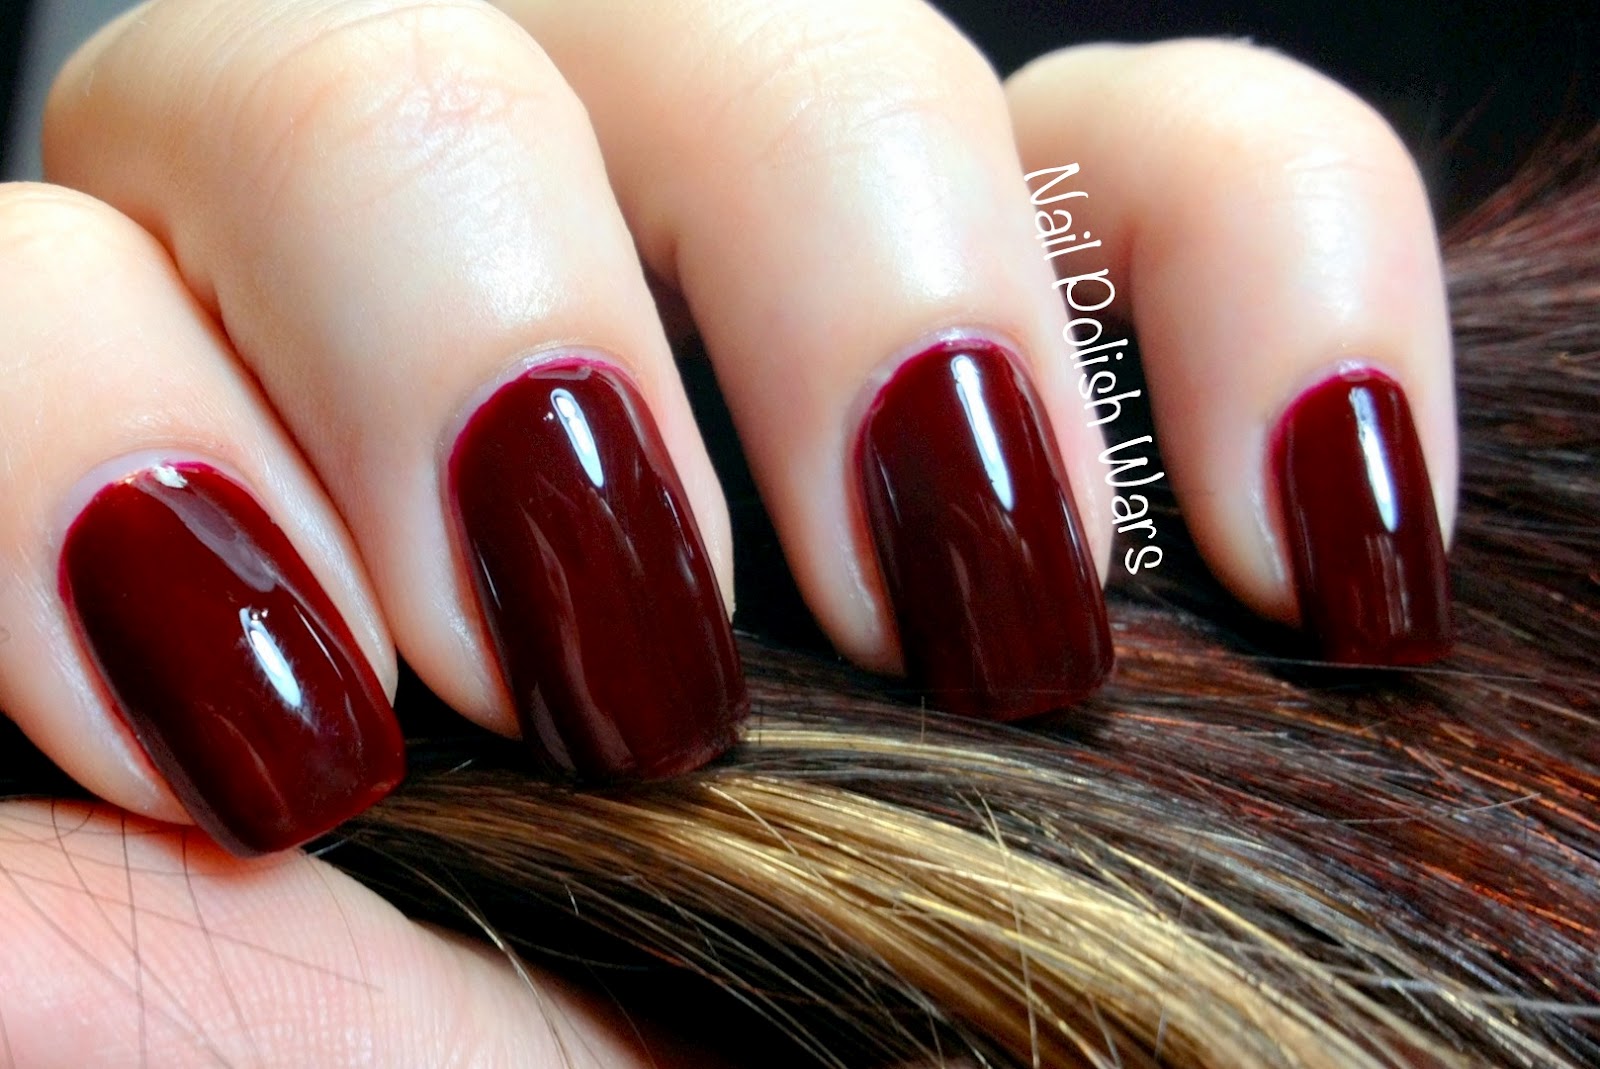
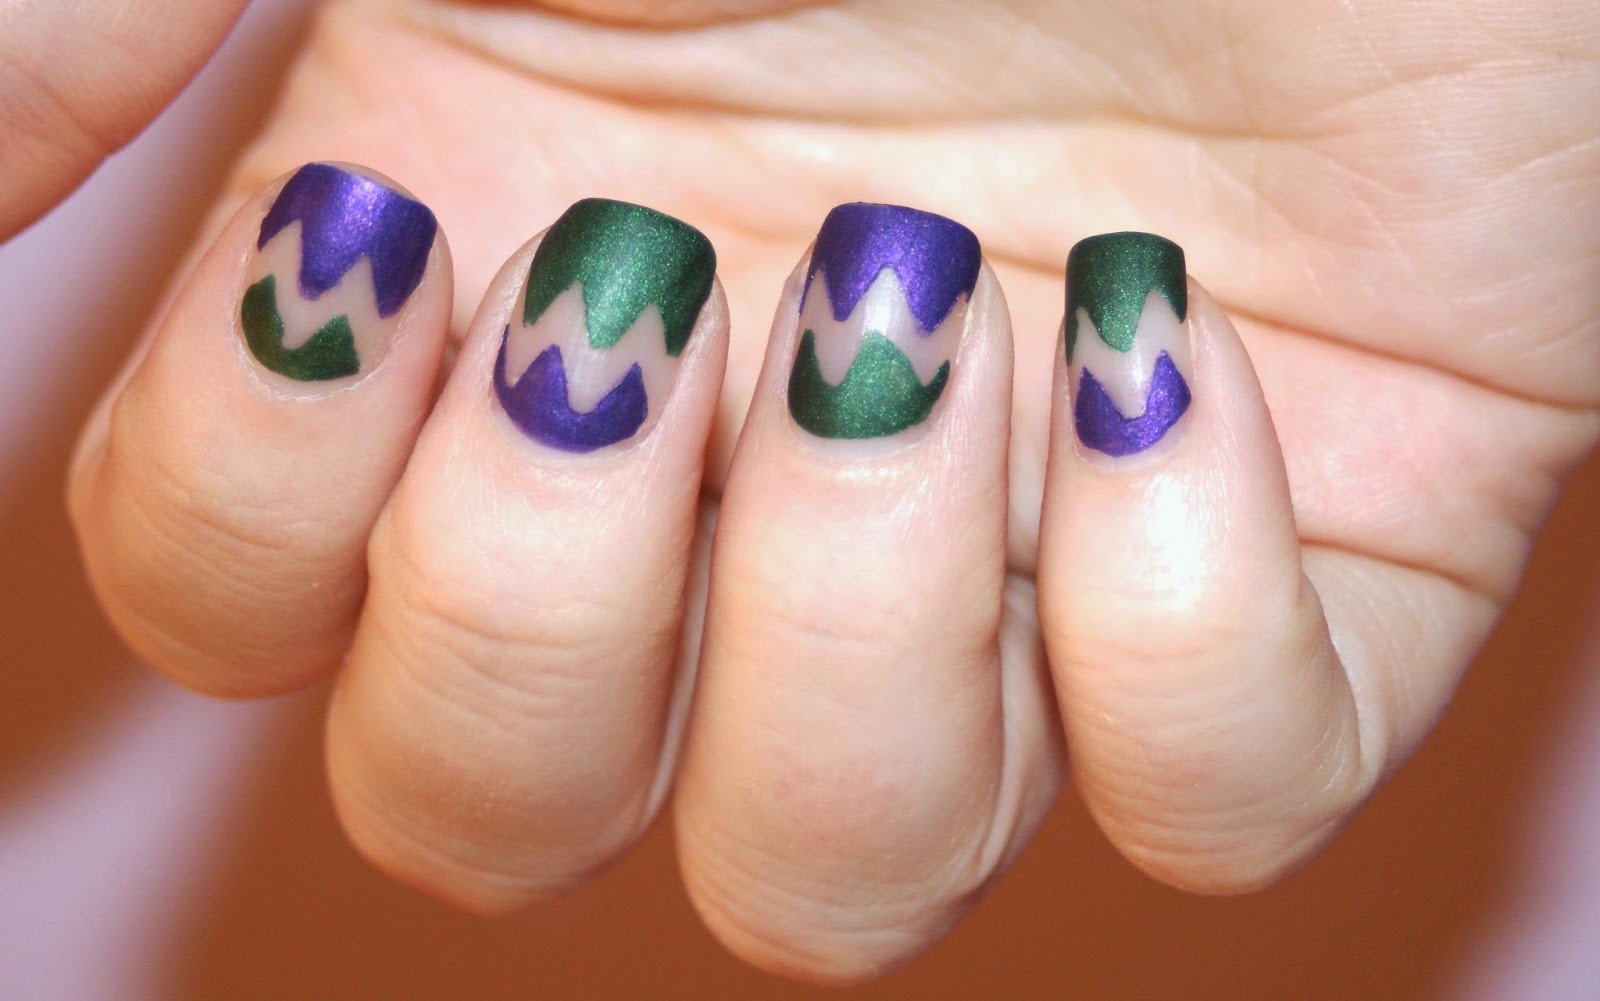
Marbling nail polish design is a popular technique that creates a beautiful swirling pattern on the nails. It involves mixing different nail polish colors together to create a marble effect. This technique is perfect for those who love bold and unique nail designs. To achieve this look, start by applying a base coat and letting it dry completely. Then, take a small plastic cup or bowl and fill it with room temperature water. Drop a few drops of your chosen nail polish colors onto the surface of the water, using a toothpick or a thin brush to swirl the colors together. Once the colors are swirled to your liking, dip your nail into the water, making sure to cover the entire nail. Use a toothpick to remove any excess nail polish from the surface of the water, then gently pull your finger out. Clean up any excess nail polish on your skin with a cotton swab dipped in nail polish remover, and finish with a top coat for a glossy finish.Marbling Nail Polish Design Technique
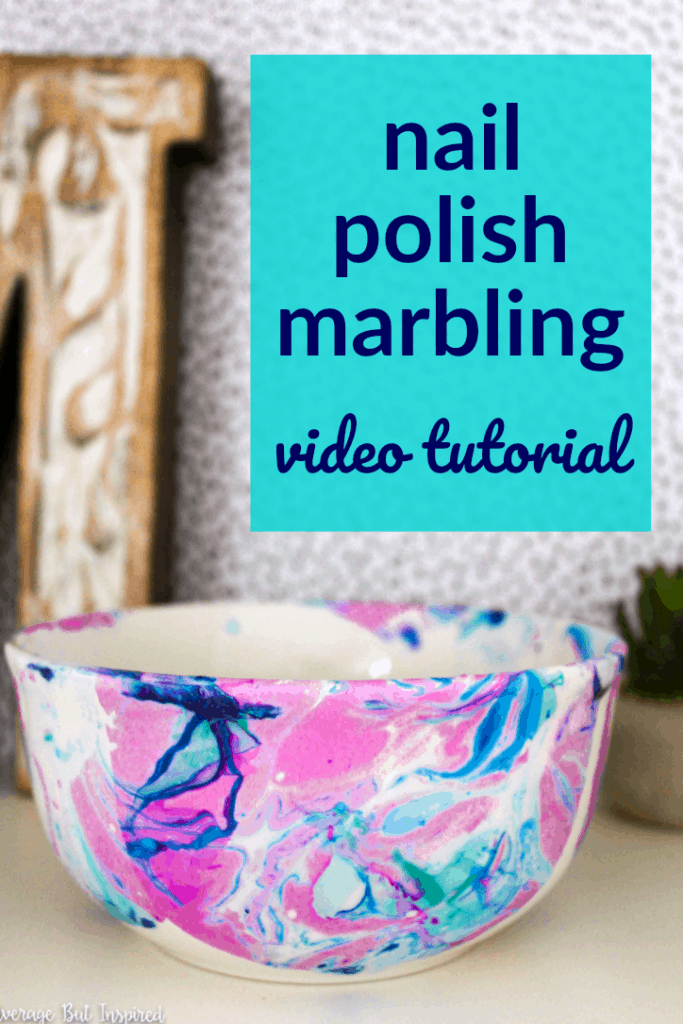
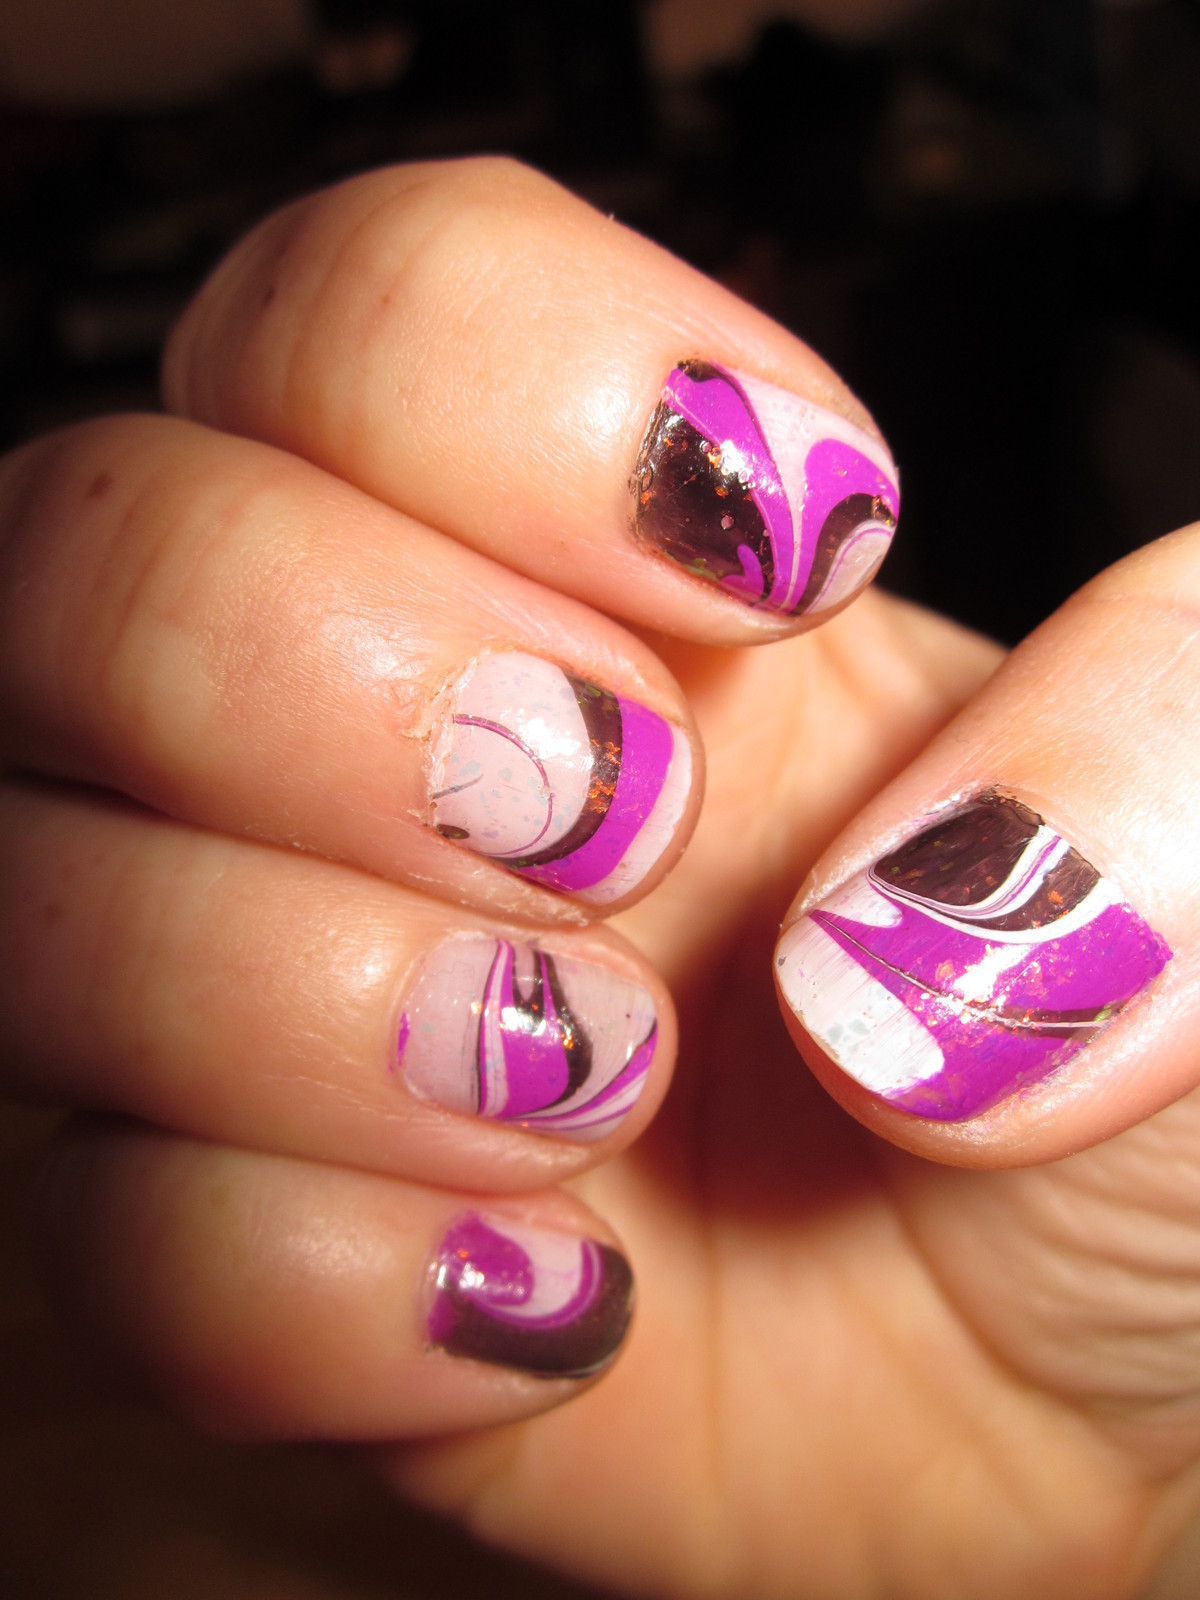
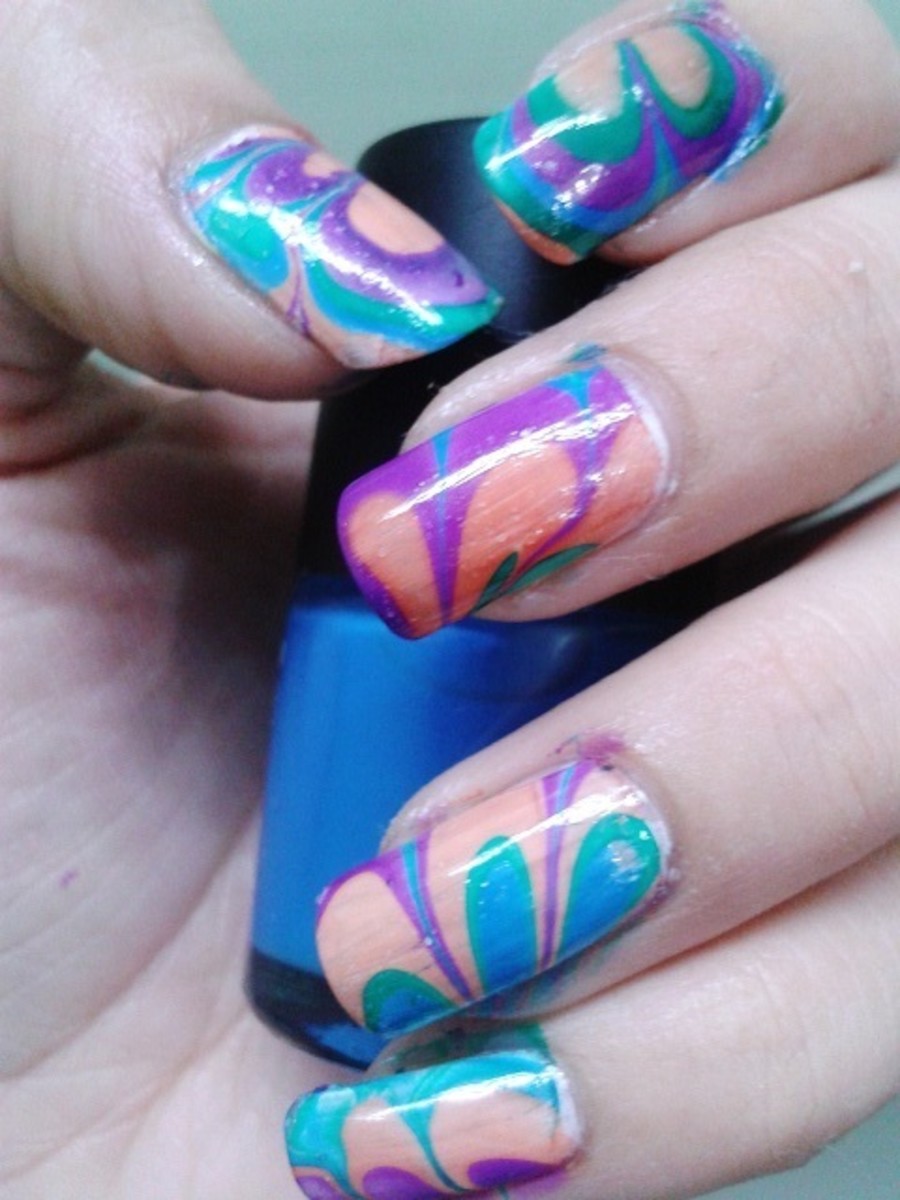
Marbling Nail Polish Design Technique


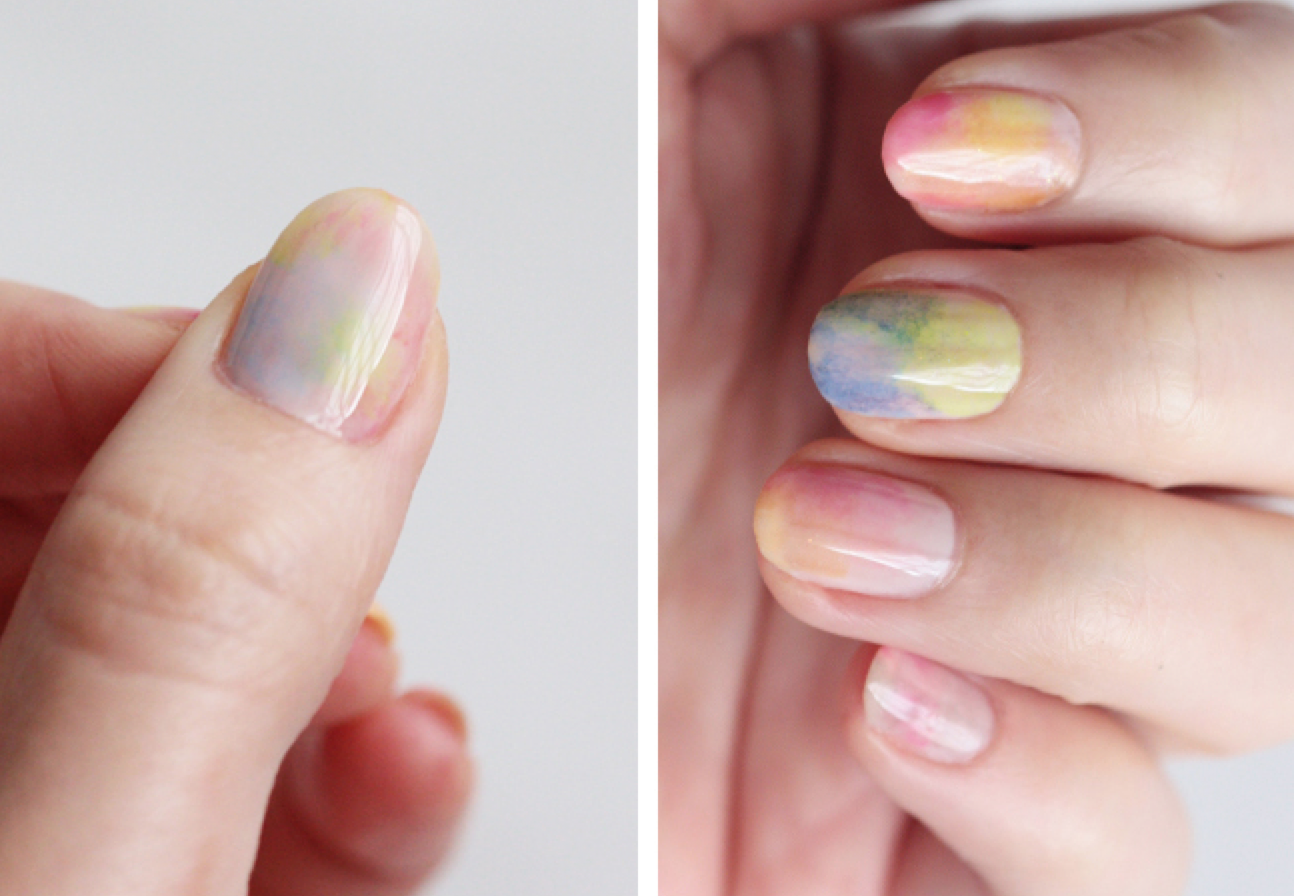
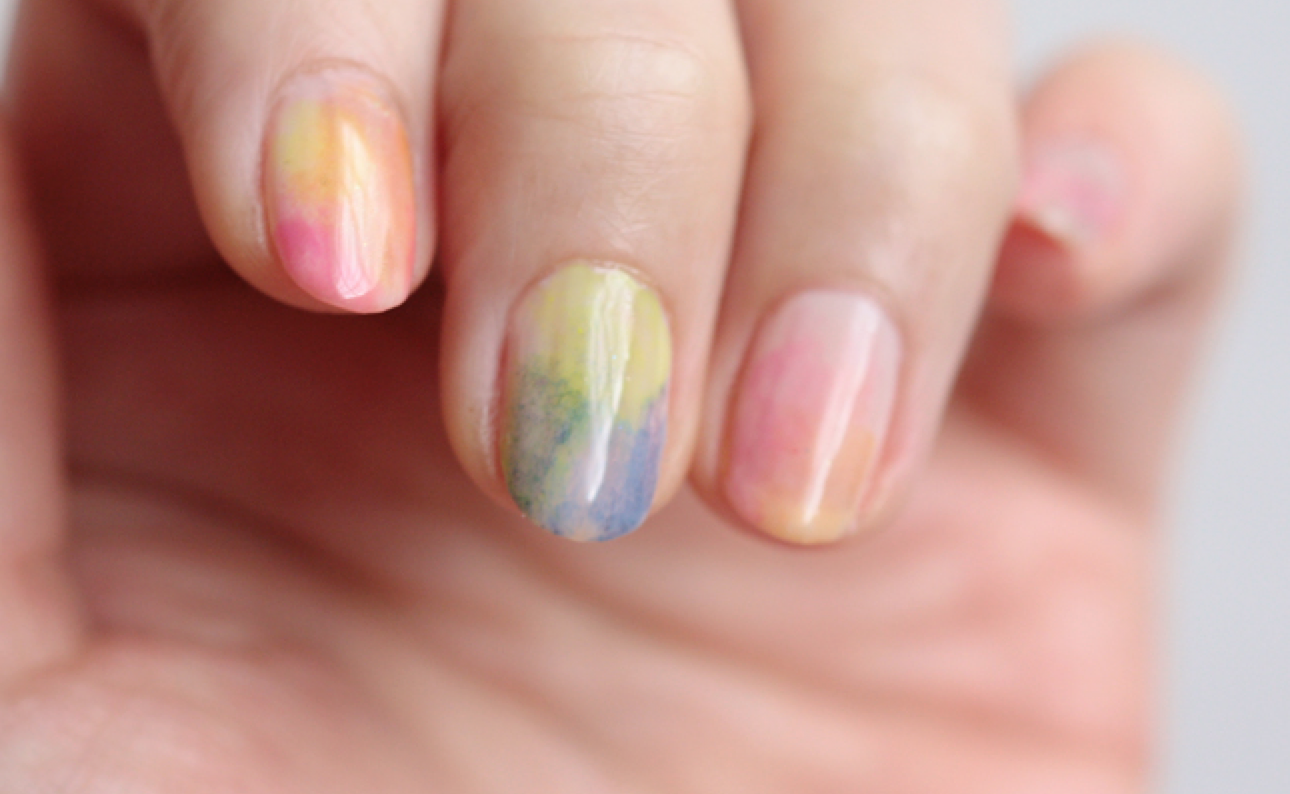
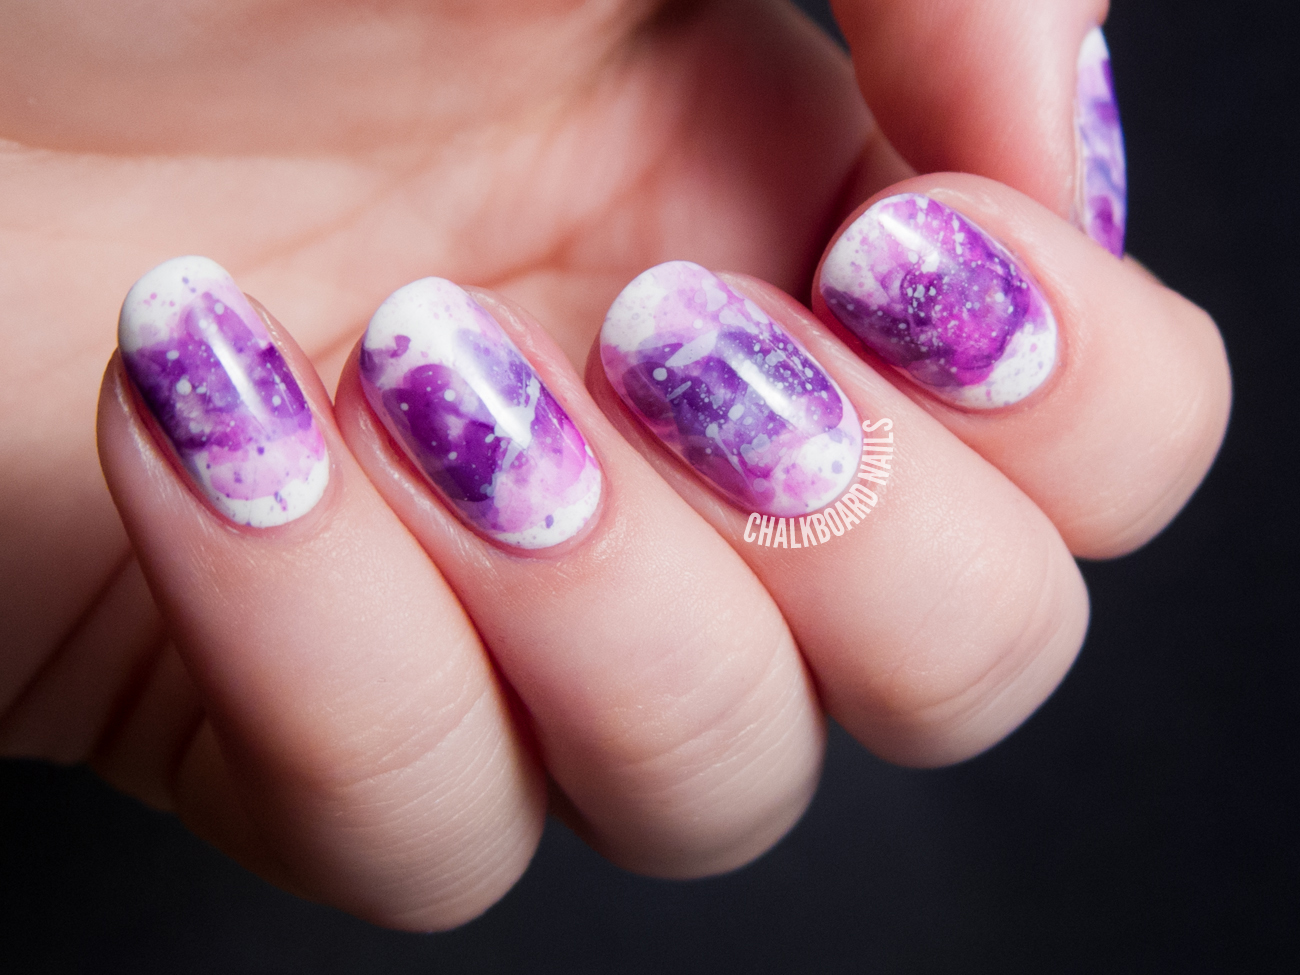
The watercolor nail polish design technique is a soft and delicate way to add color to your nails. It creates a dreamy, watercolor-like effect that is perfect for any occasion. To achieve this look, you will need a white nail polish as your base color, along with a few nail polish shades of your choice. Start by applying a base coat and letting it dry completely. Then, using a makeup sponge, dab a few drops of your chosen nail polish colors onto the sponge and gently press it onto your nails. Repeat this step with different colors until you achieve the desired look. For a more blended effect, you can use a small brush to gently blend the colors together while they are still wet. Finish with a top coat to seal in the design and give it a glossy finish.Watercolor Nail Polish Design Technique


Watercolor Nail Polish Design Technique


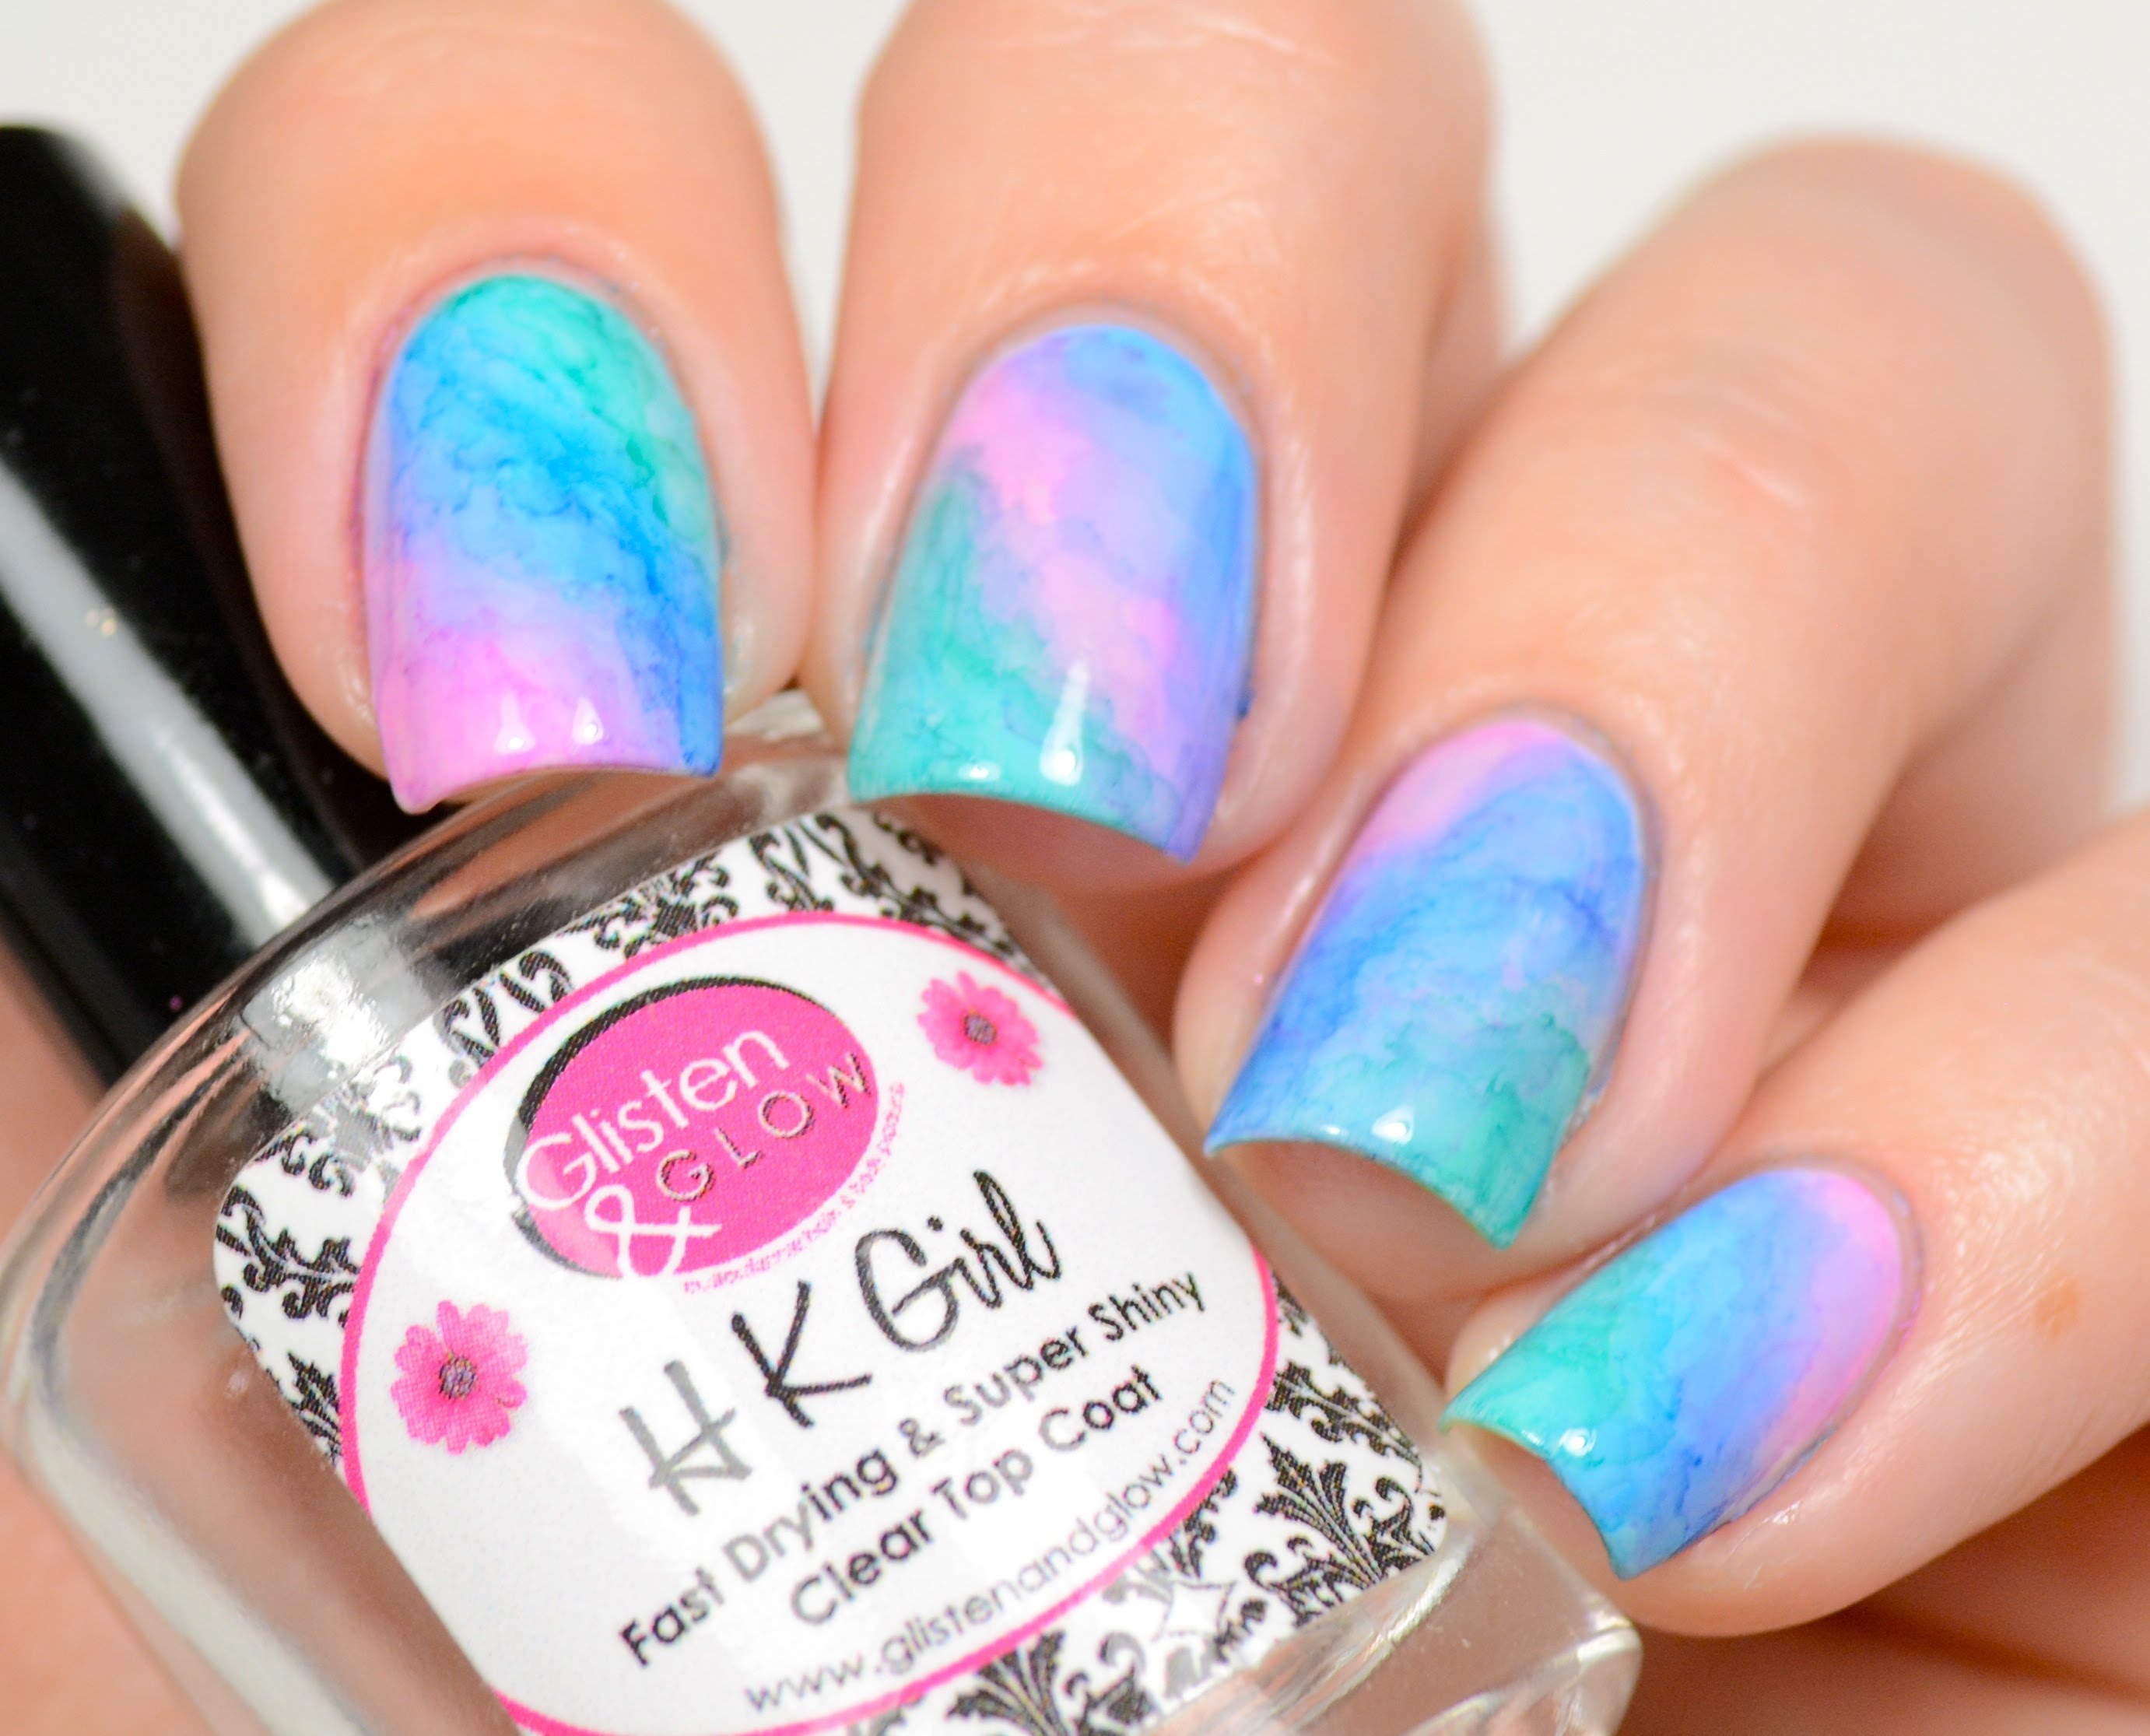

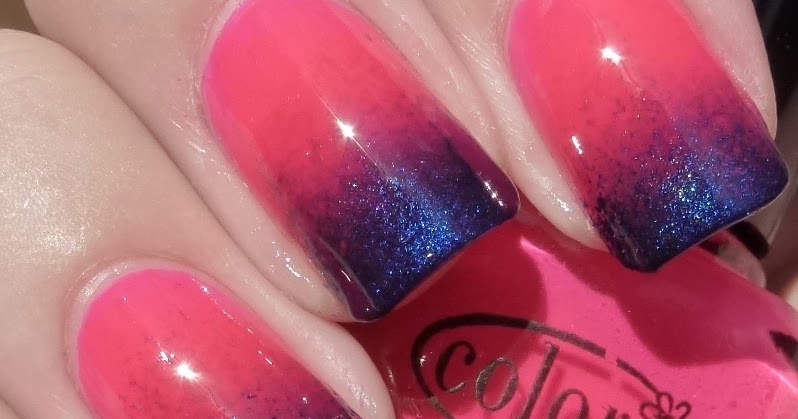
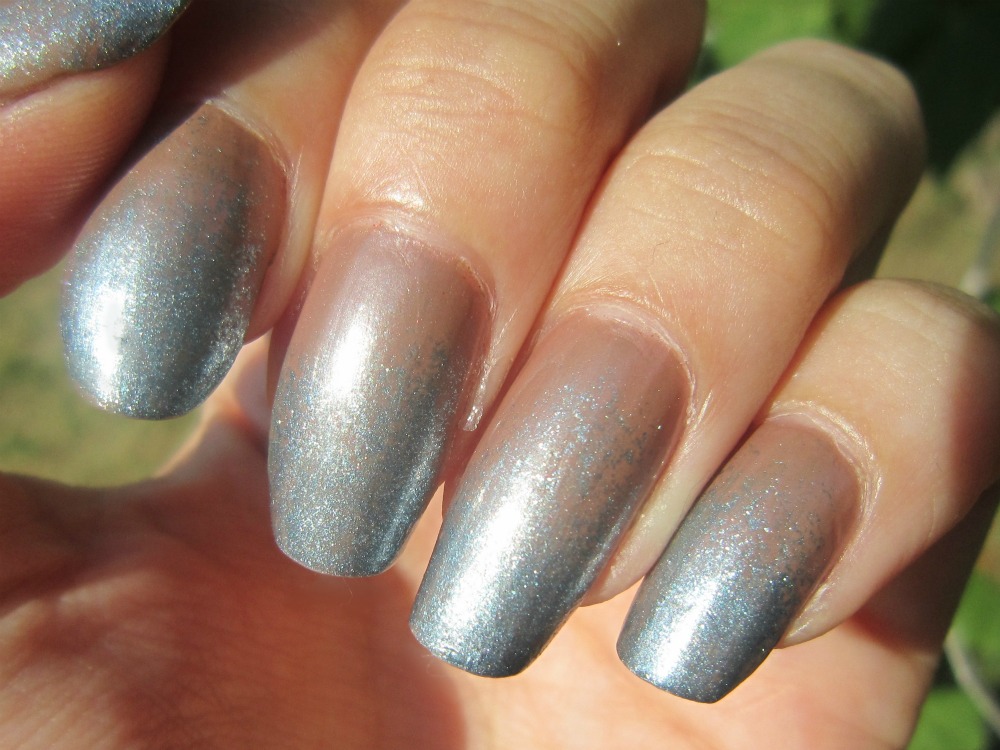
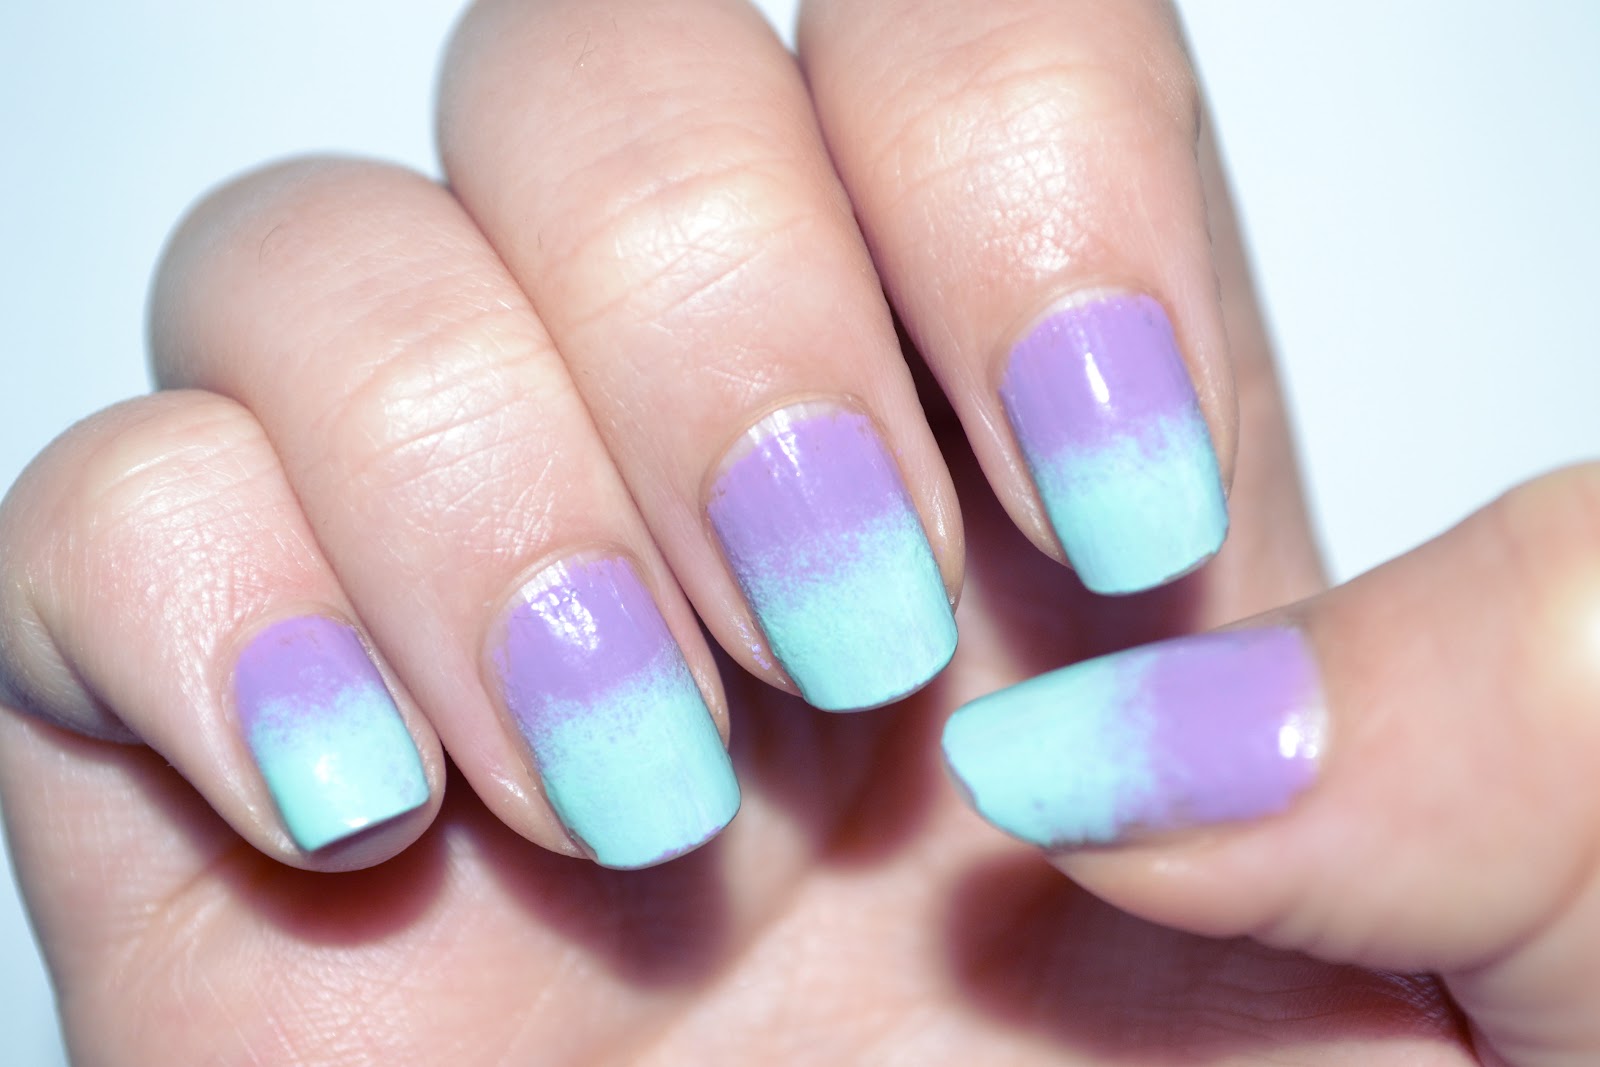
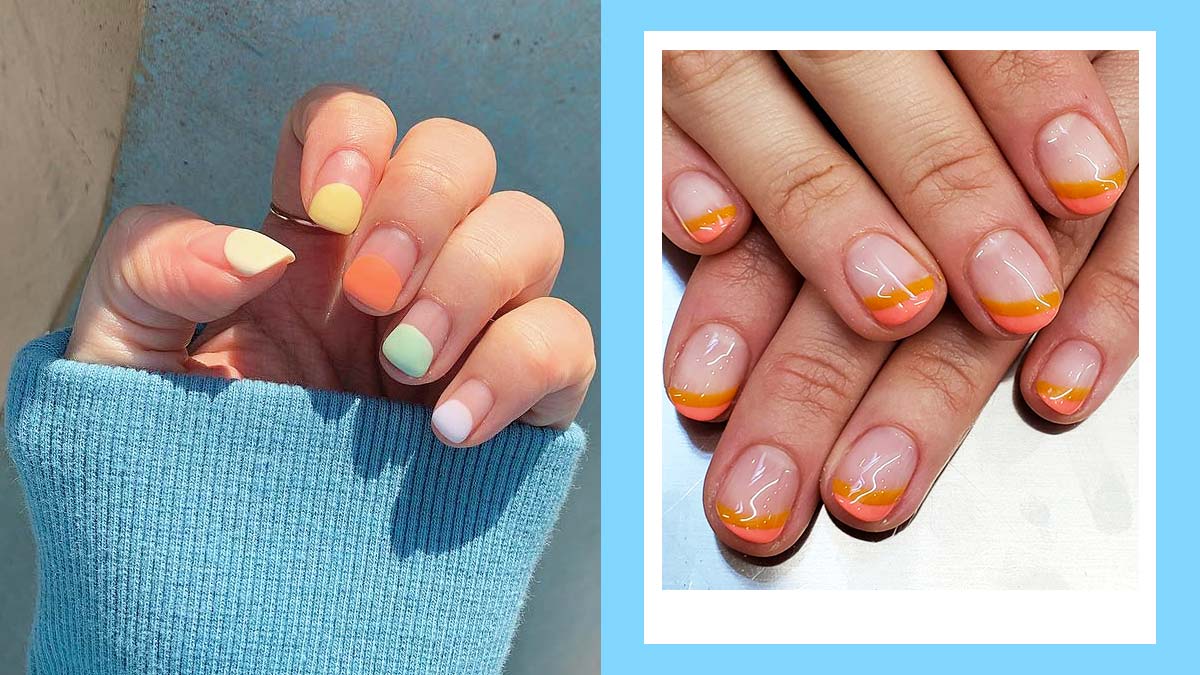
The gradient nail polish design technique is a simple and easy way to create a beautiful ombre effect on your nails. It involves blending two or more nail polish colors together to create a seamless transition of colors on your nails. To achieve this look, start by applying a base coat and letting it dry completely. Then, paint your nails with your lightest nail polish color and let it dry. Next, take a makeup sponge and dab a few drops of your darker nail polish color onto the sponge. Lightly press the sponge onto your nails, focusing on the tips and moving towards the base of your nails. Repeat this step until you achieve the desired gradient effect. Clean up any excess nail polish on your skin with a cotton swab dipped in nail polish remover, and finish with a top coat for a flawless finish.Gradient Nail Polish Design Technique


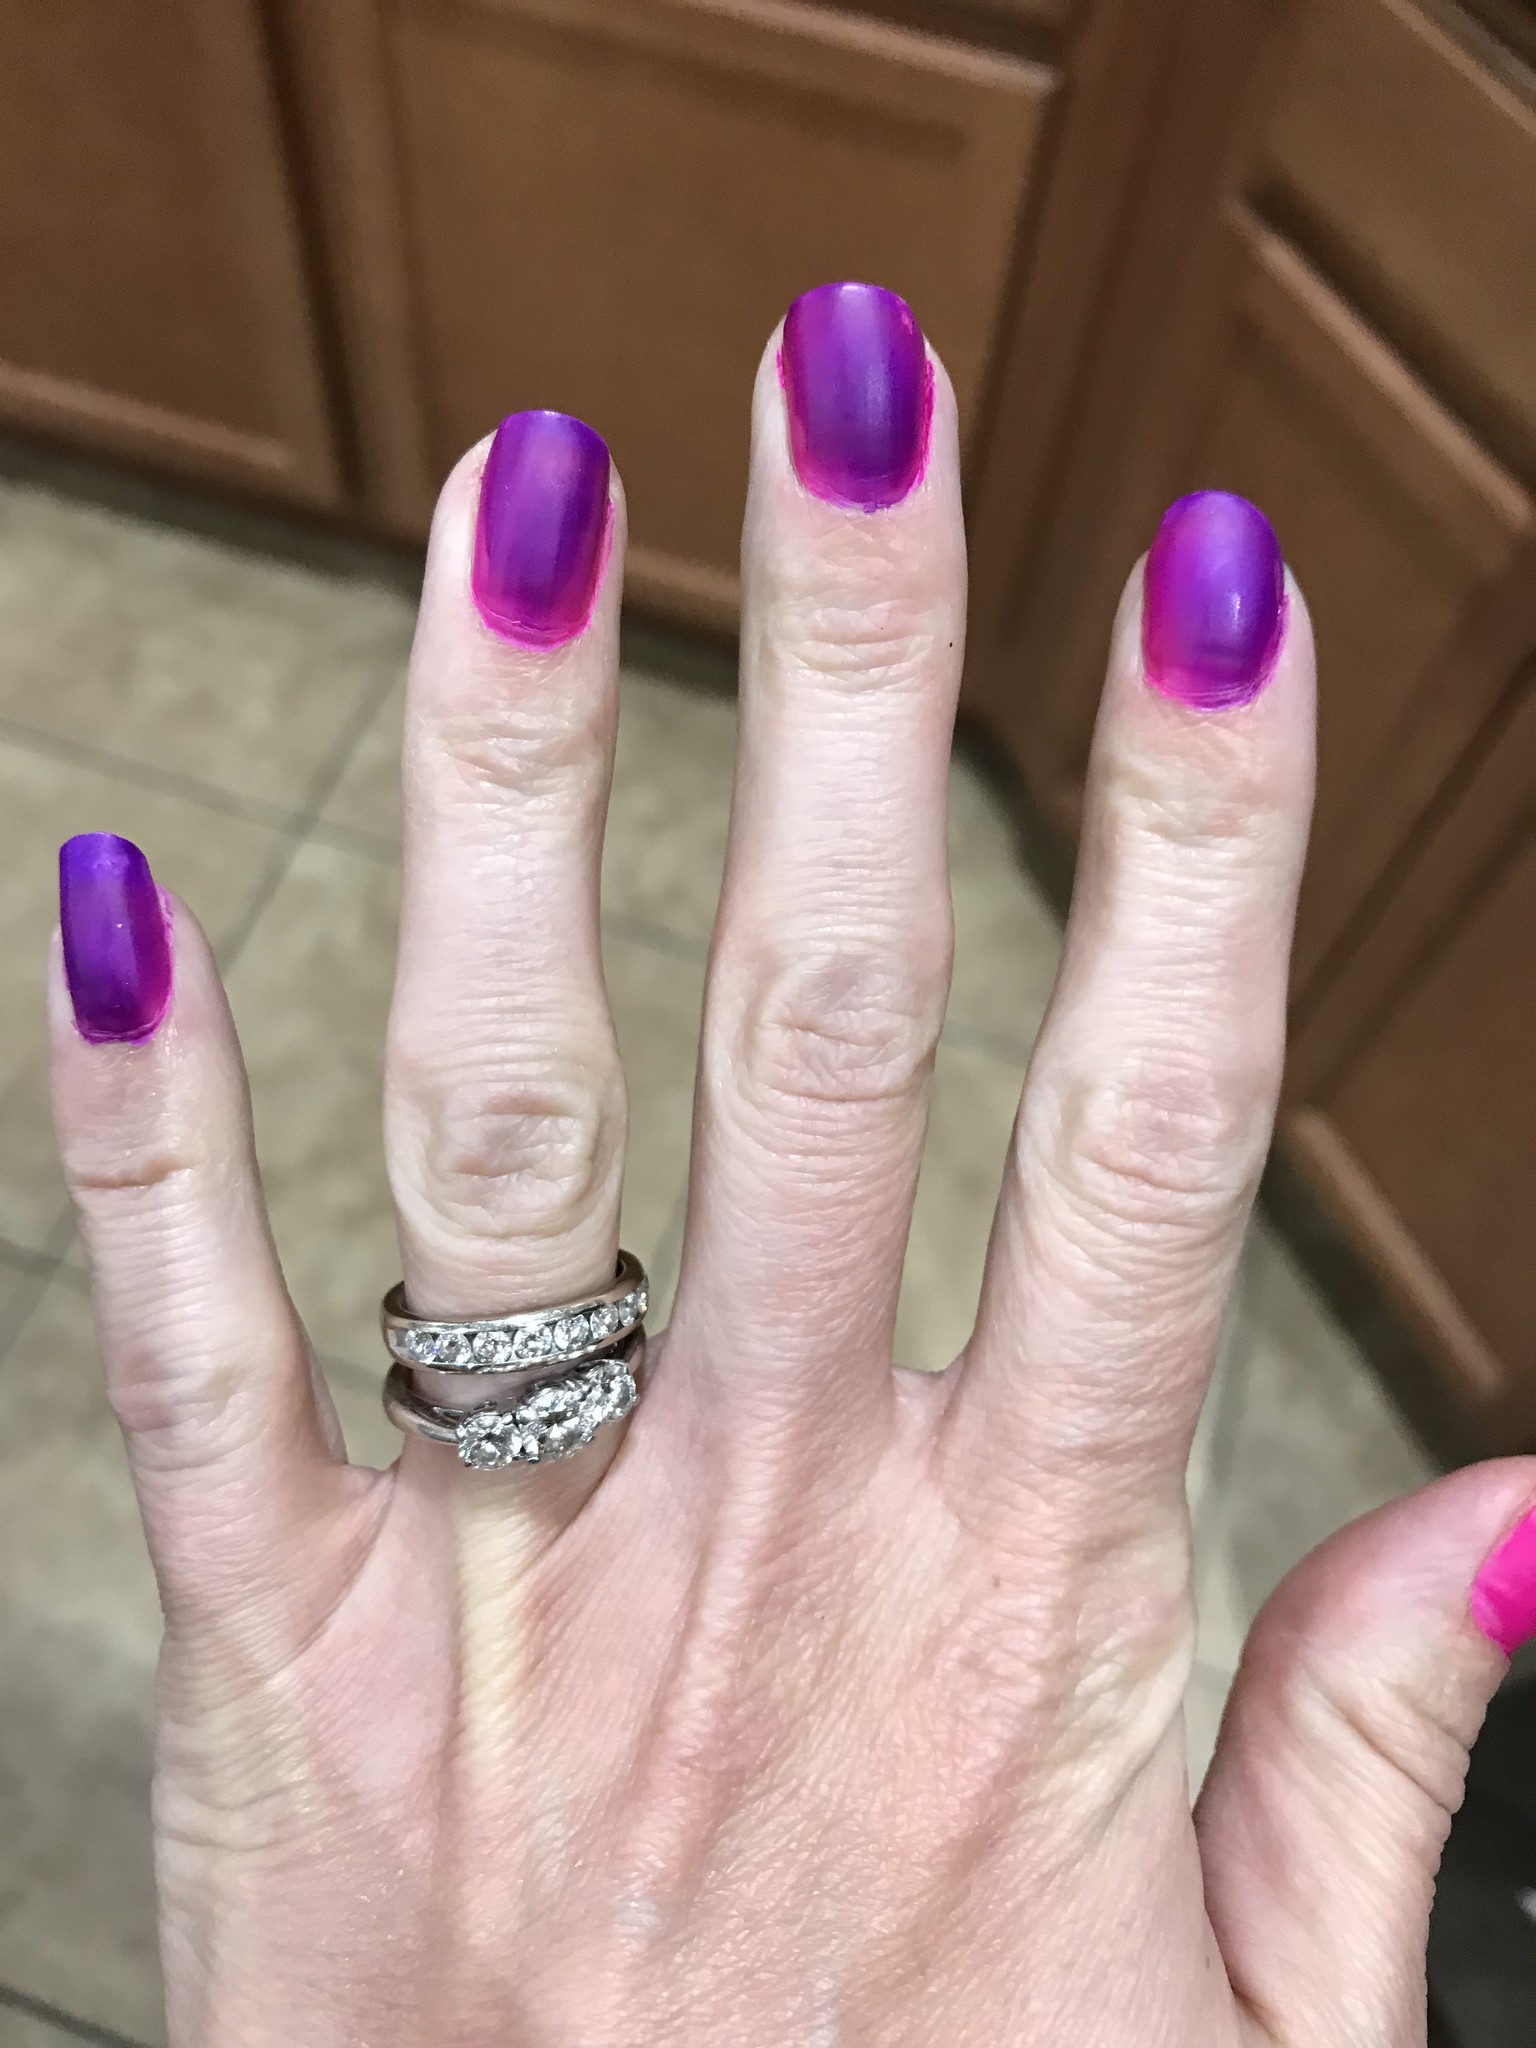
Gradient Nail Polish Design Technique


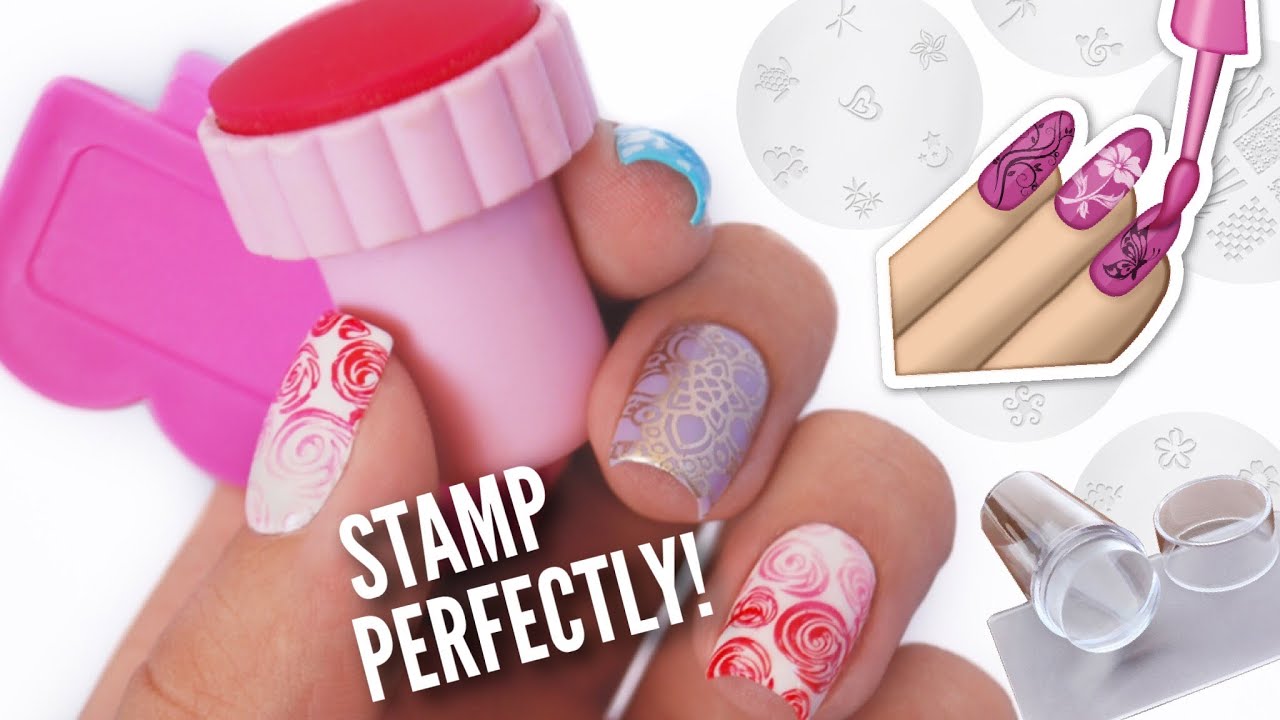
The stamping nail polish design technique is a fun and easy way to create intricate designs on your nails. It involves using special nail polish stamping plates and a stamping tool to transfer designs onto your nails. To achieve this look, start by applying a base coat and letting it dry completely. Then, apply a layer of nail polish onto the stamping plate, using a scraper to remove any excess nail polish. Quickly press the stamping tool onto the design, then transfer it onto your nail by gently pressing the stamping tool onto your nail. Repeat this step with different designs and colors to create a unique and intricate nail design. Finish with a top coat to seal in the design and give it a glossy finish.Stamping Nail Polish Design Technique


Stamping Nail Polish Design Technique


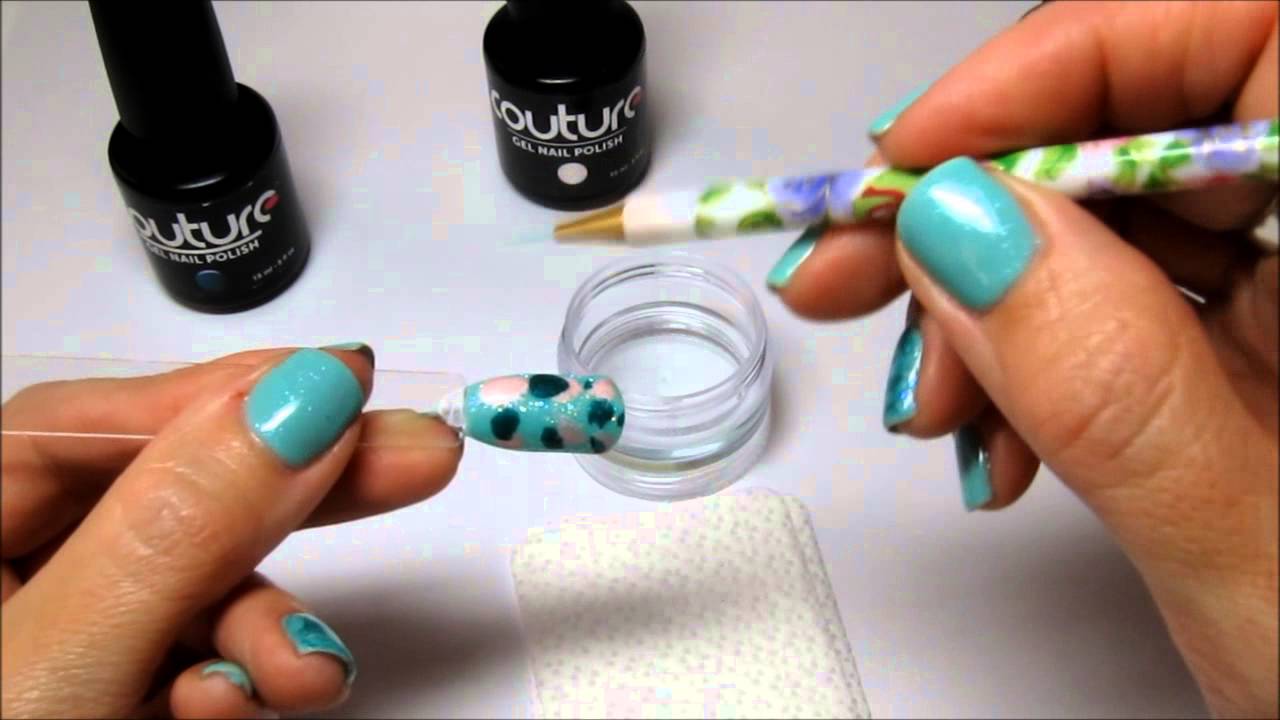
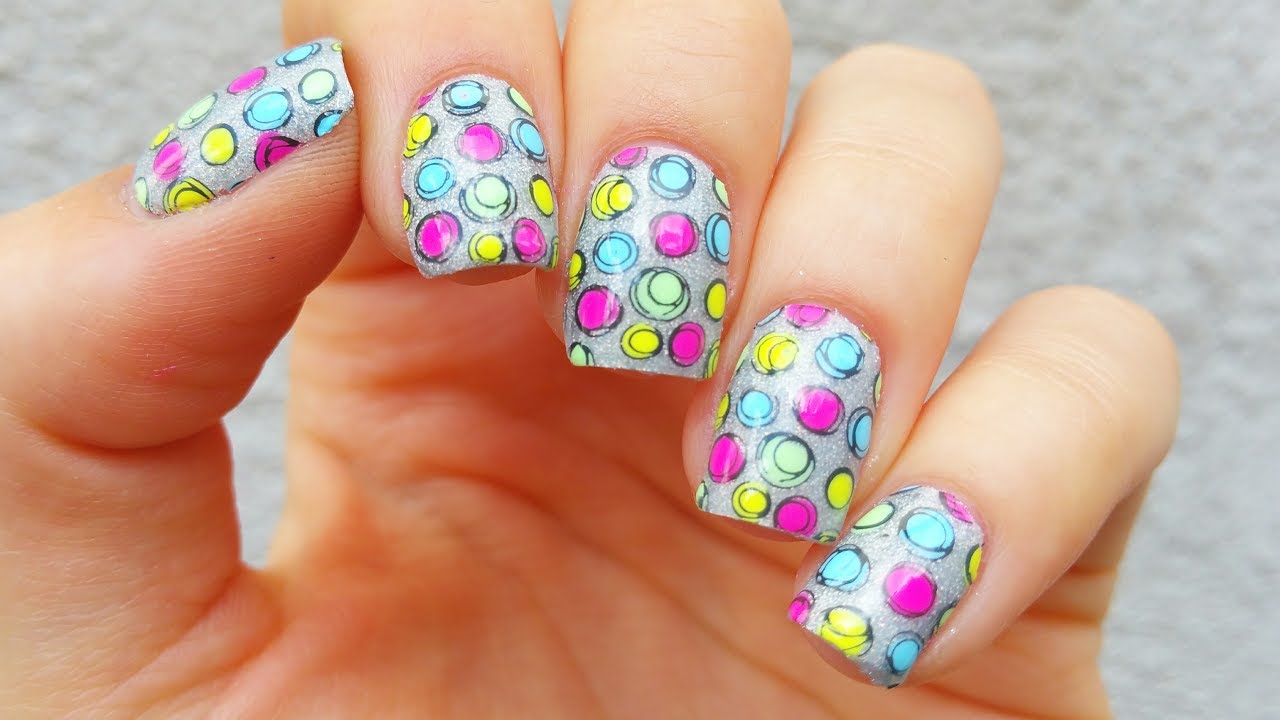
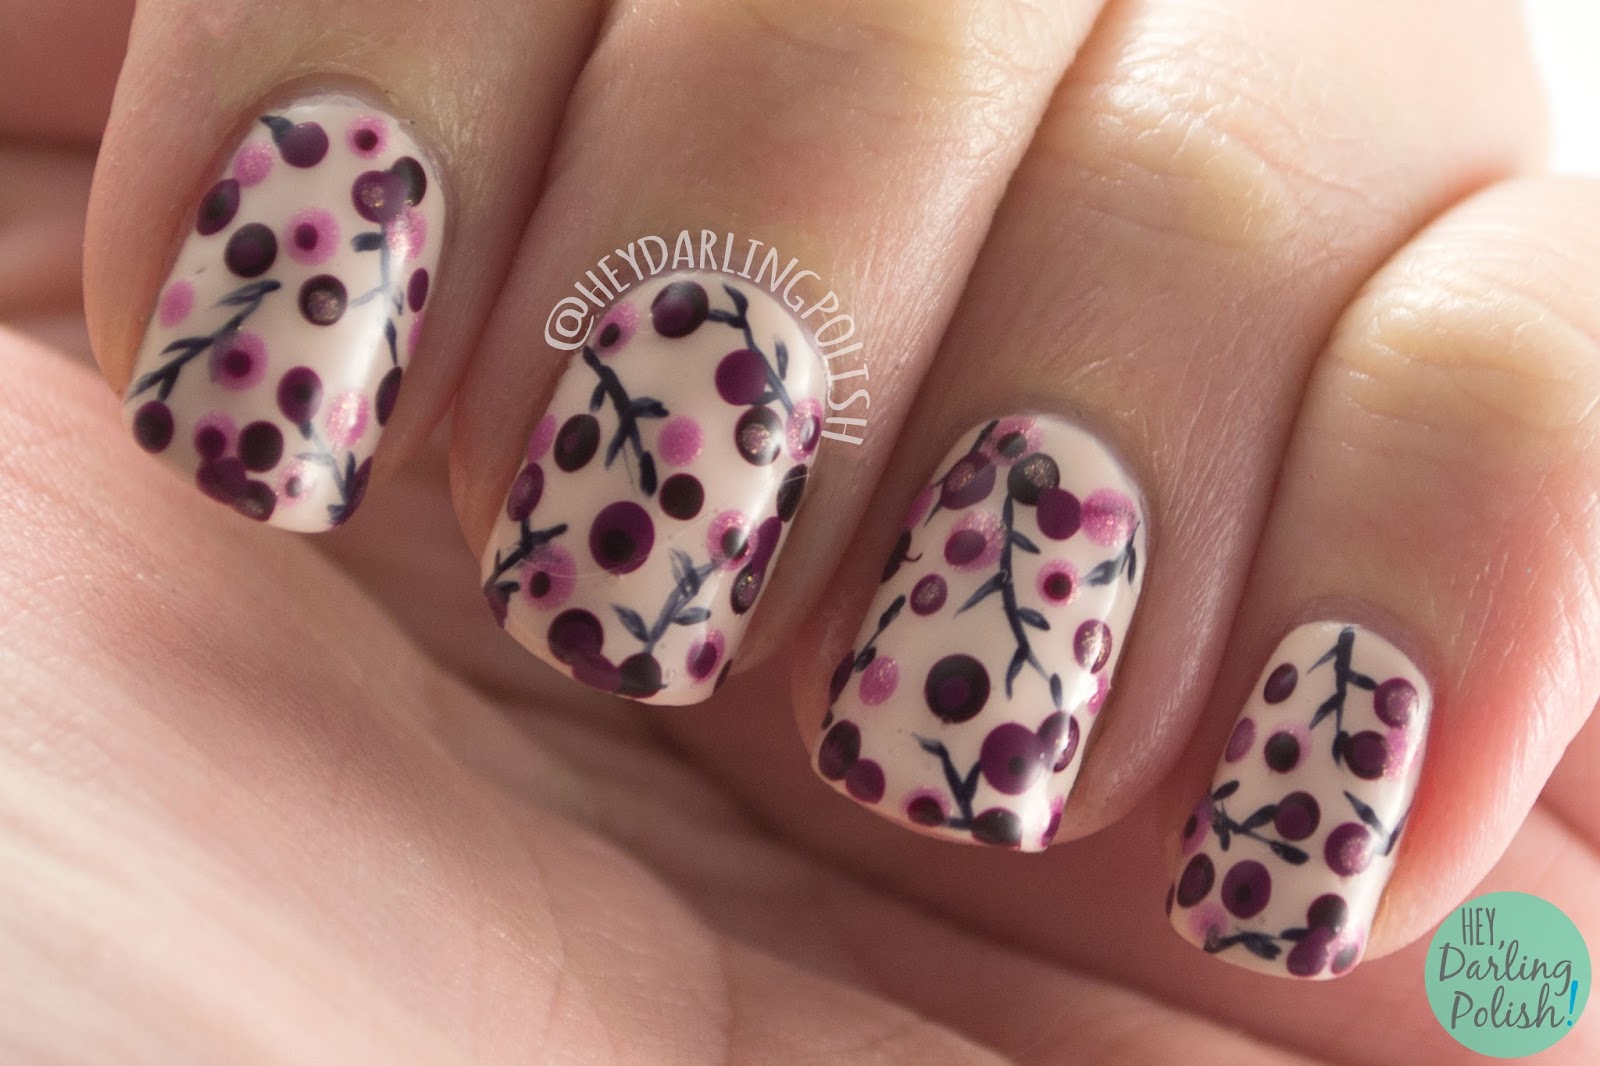
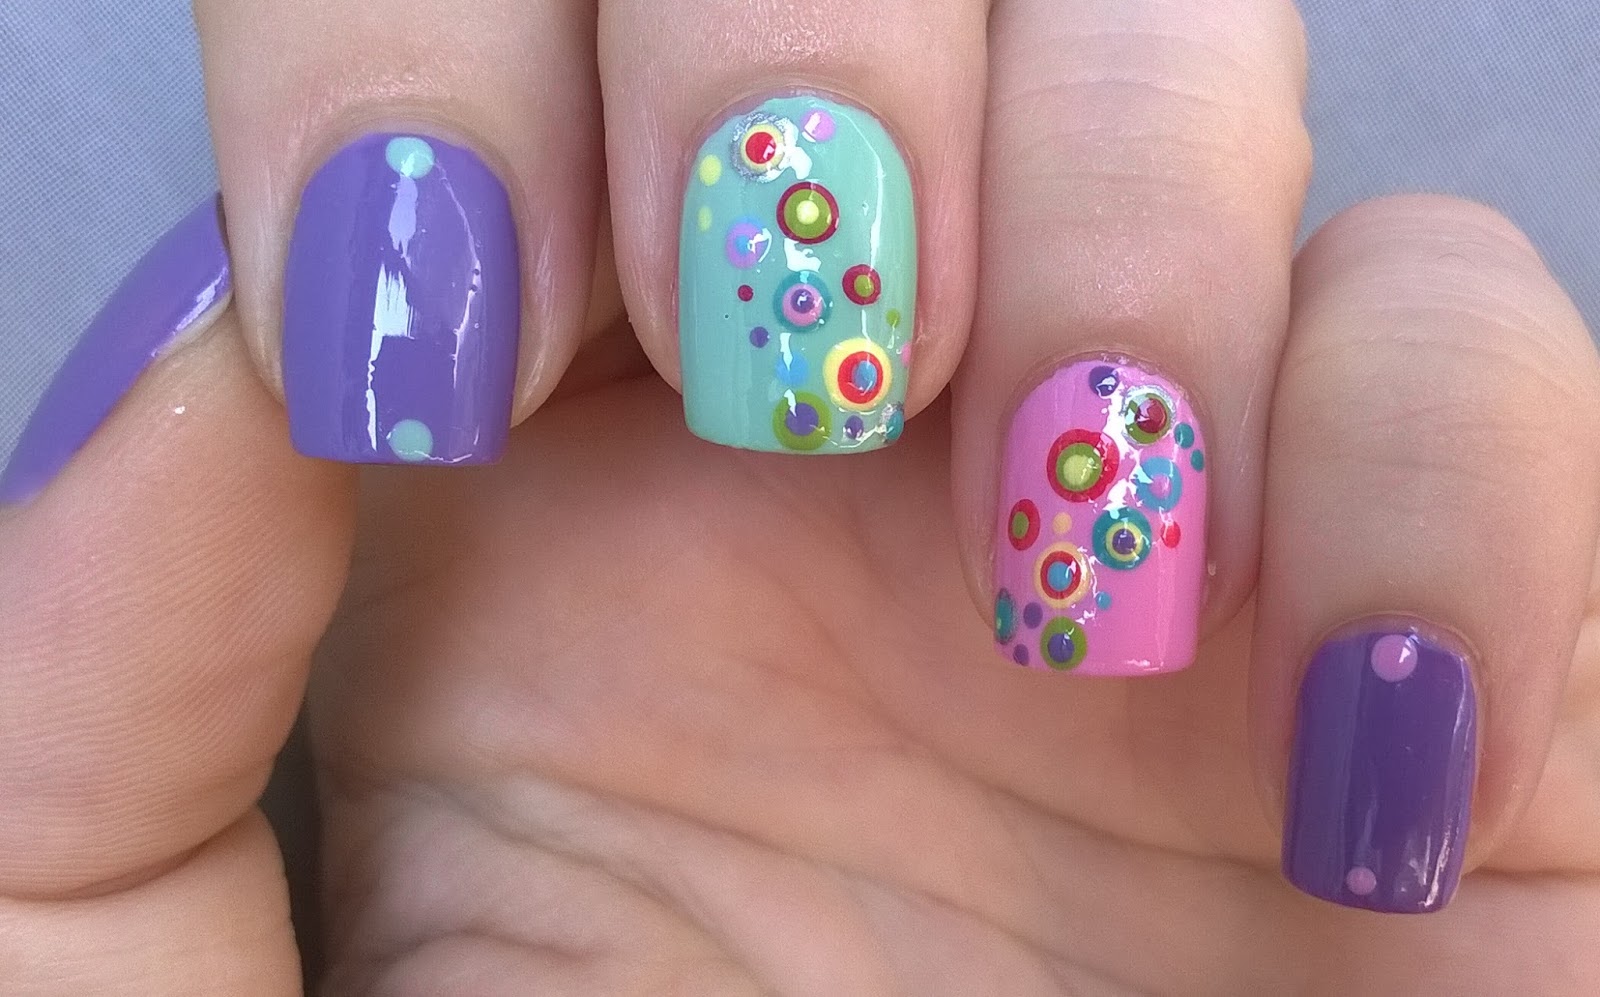
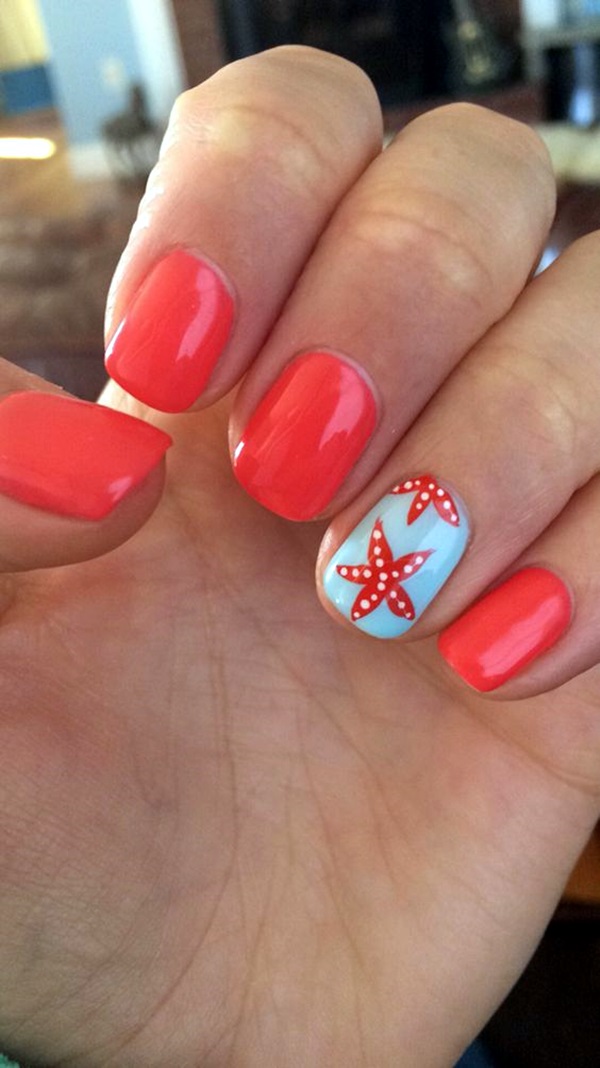
The dotting nail polish design technique is a simple and versatile way to add some fun to your nails. It involves using a dotting tool or a toothpick to create different sized dots on your nails, creating endless design possibilities. To achieve this look, start by applying a base coat and letting it dry completely. Then, dip the end of a dotting tool or a toothpick into your chosen nail polish color and gently press it onto your nails to create dots. You can create a polka dot design, a gradient dot design, or even use dots to accent other nail designs. The possibilities are endless with this technique. Finish with a top coat for a flawless finish.Dotting Nail Polish Design Technique


Dotting Nail Polish Design Technique


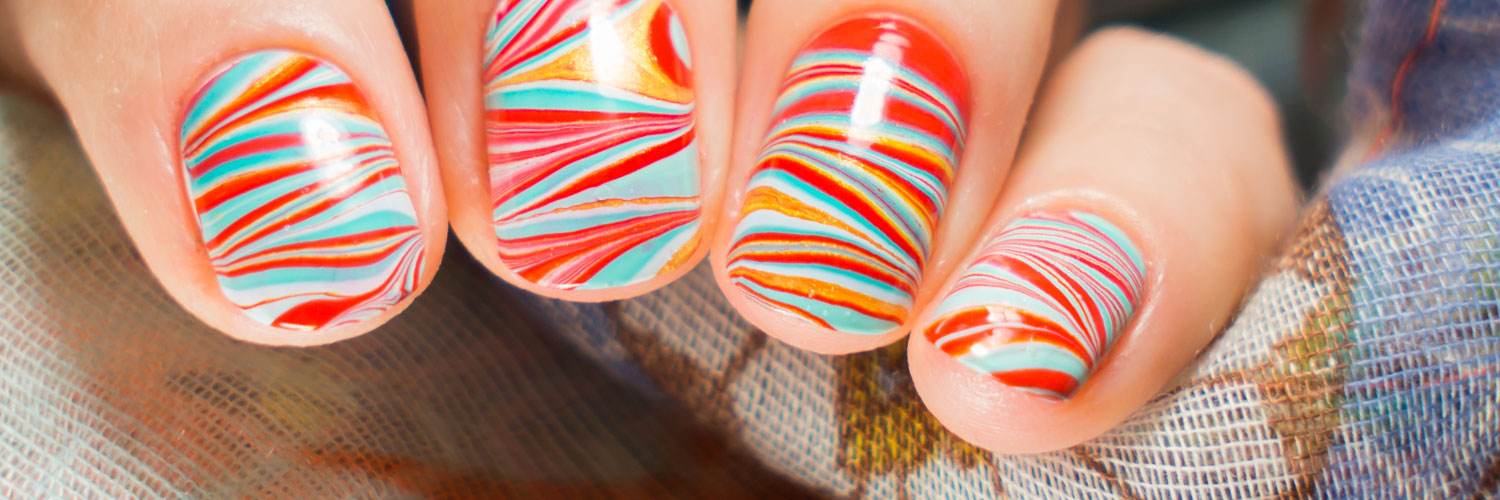
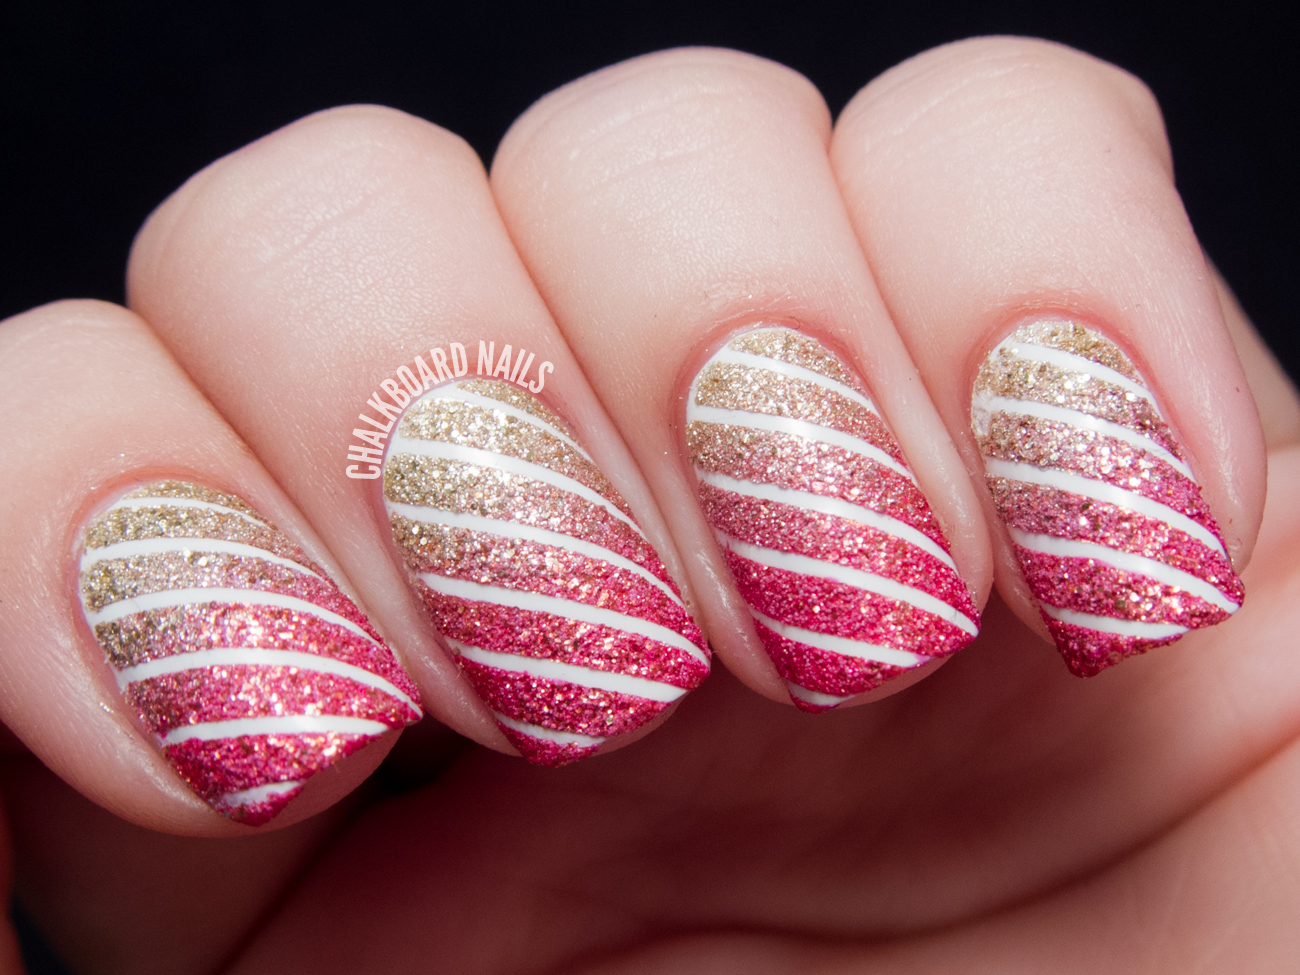
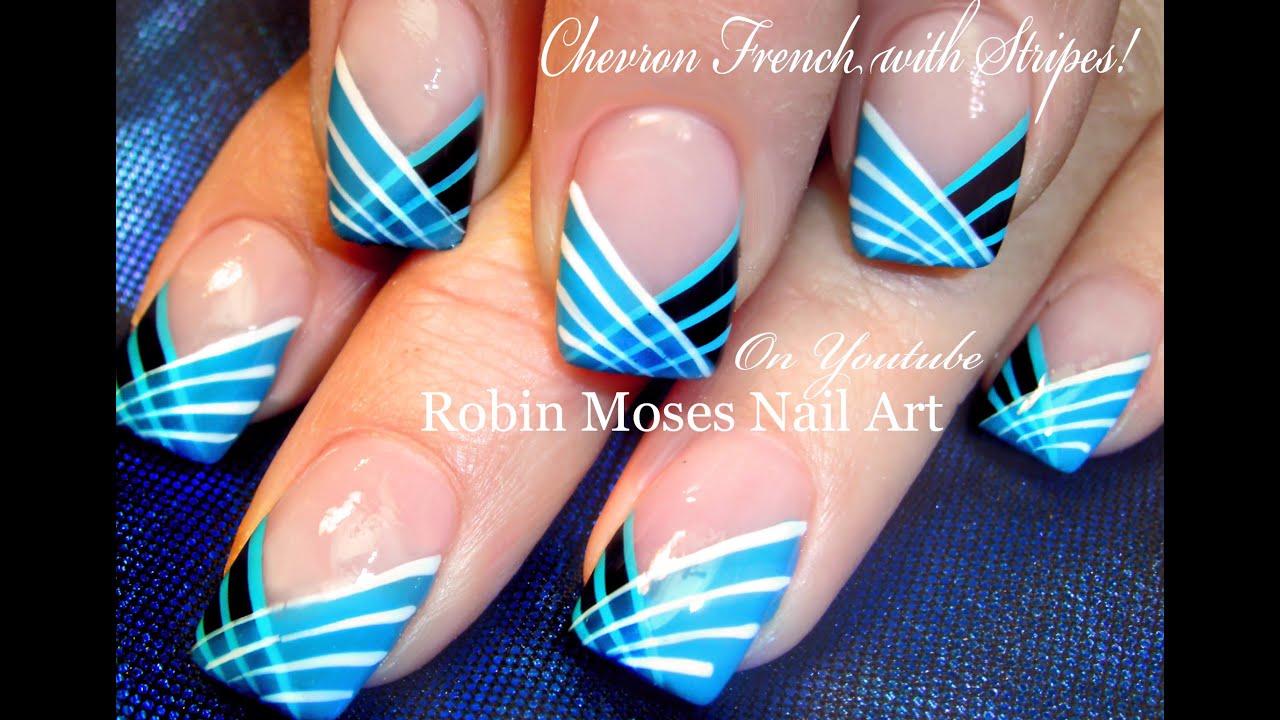
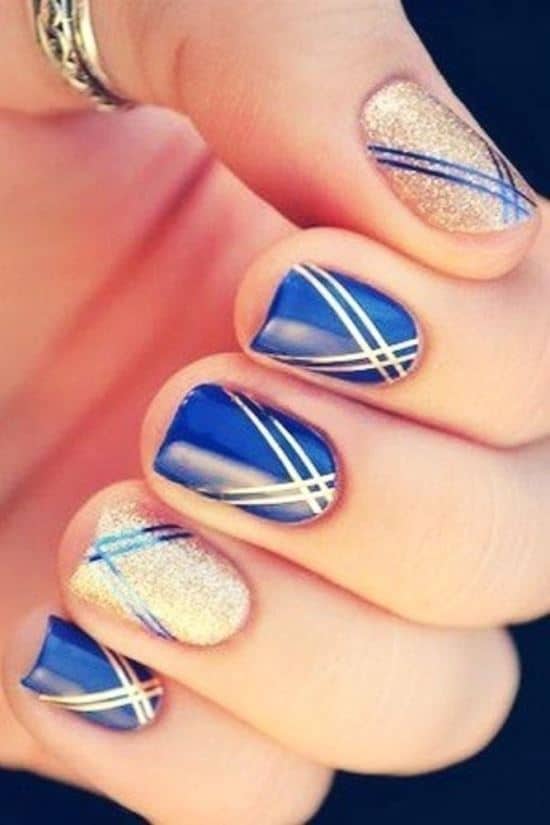
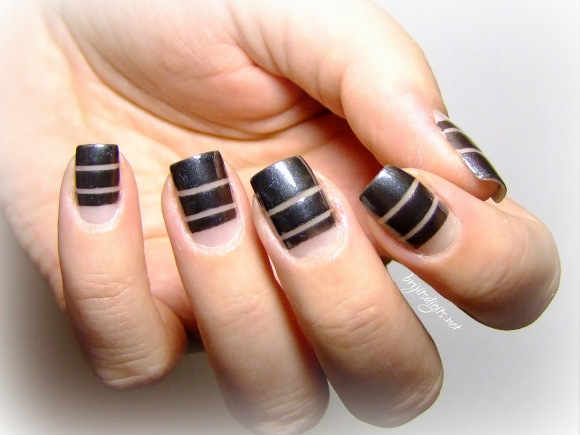
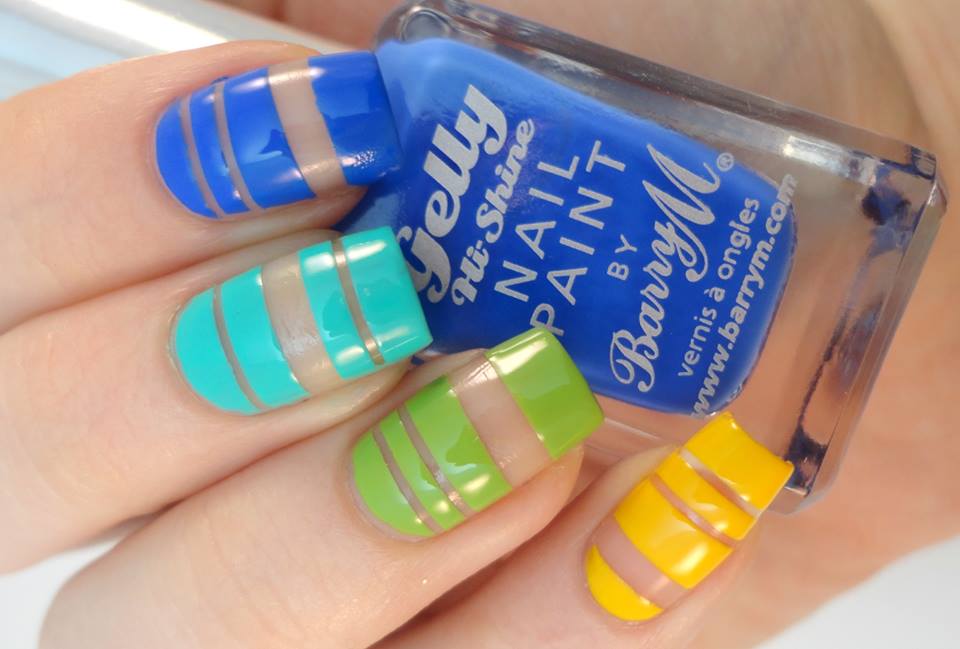
The striping nail polish design technique is a simple and easy way to create bold and graphic designs on your nails. It involves using striping tape or a thin brush to create straight lines and shapes on your nails. To achieve this look, start by applying a base coat and letting it dry completely. Then, using striping tape or a thin brush, create straight lines or geometric shapes on your nails. You can also use different nail polish colors to create a colorful and unique design. Once your design is complete, remove the striping tape and clean up any excess nail polish on your skin with a cotton swab dipped in nail polish remover. Finish with a top coat to seal in the design and give it a glossy finish.Striping Nail Polish Design Technique


Striping Nail Polish Design Technique
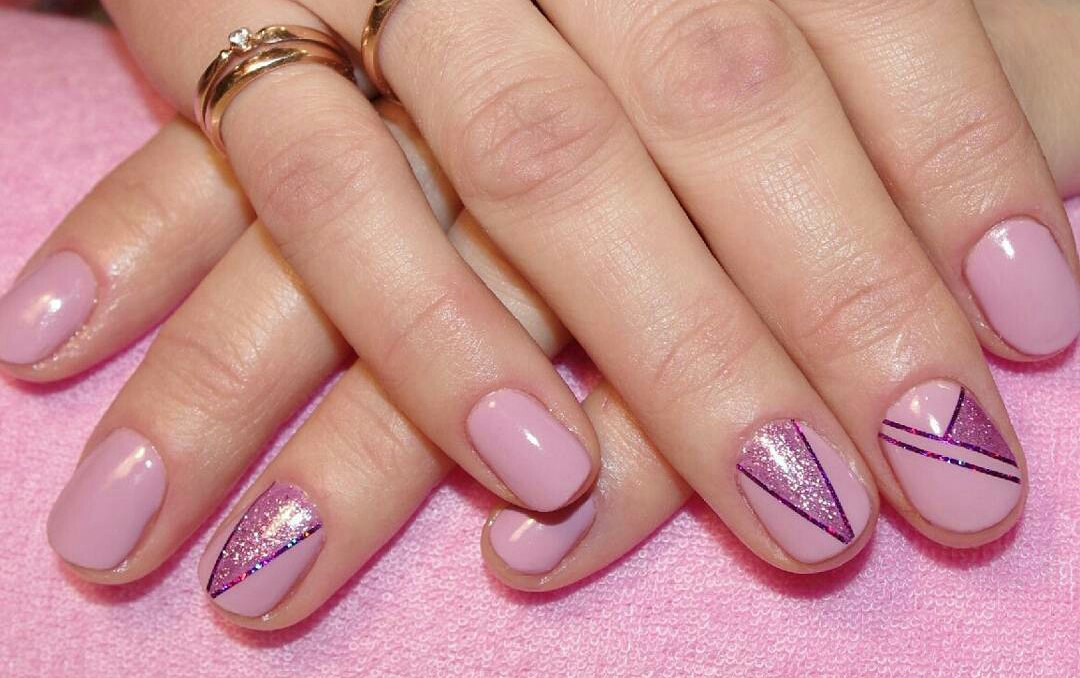


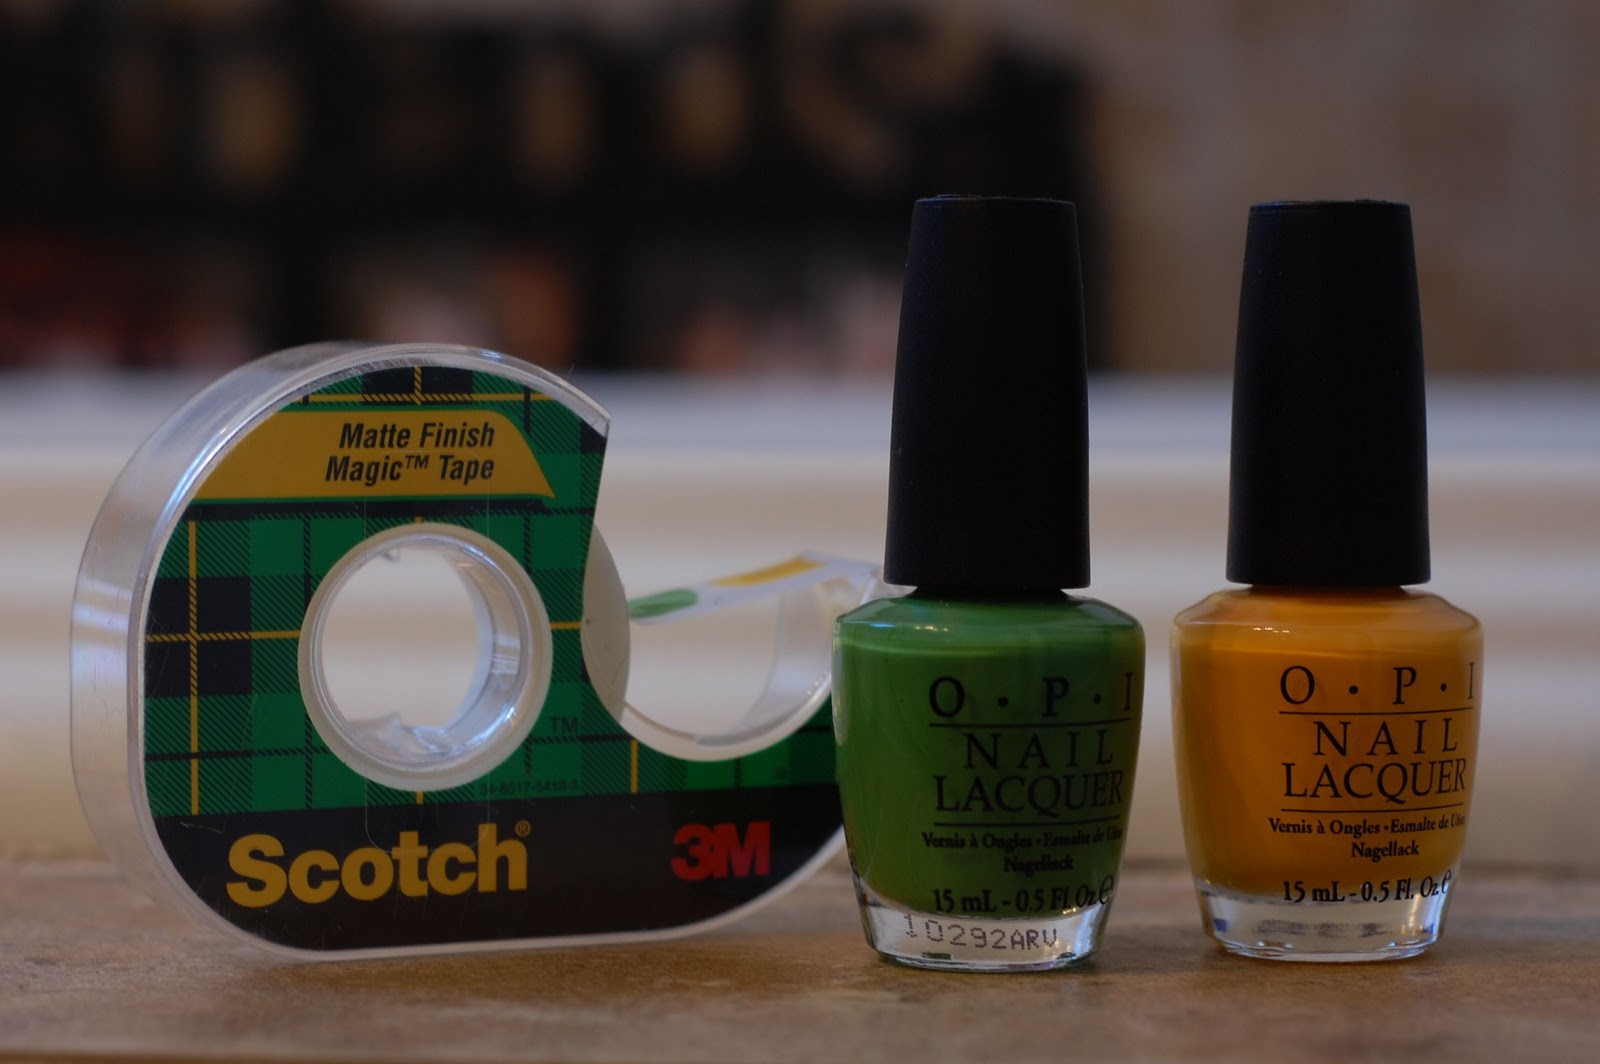
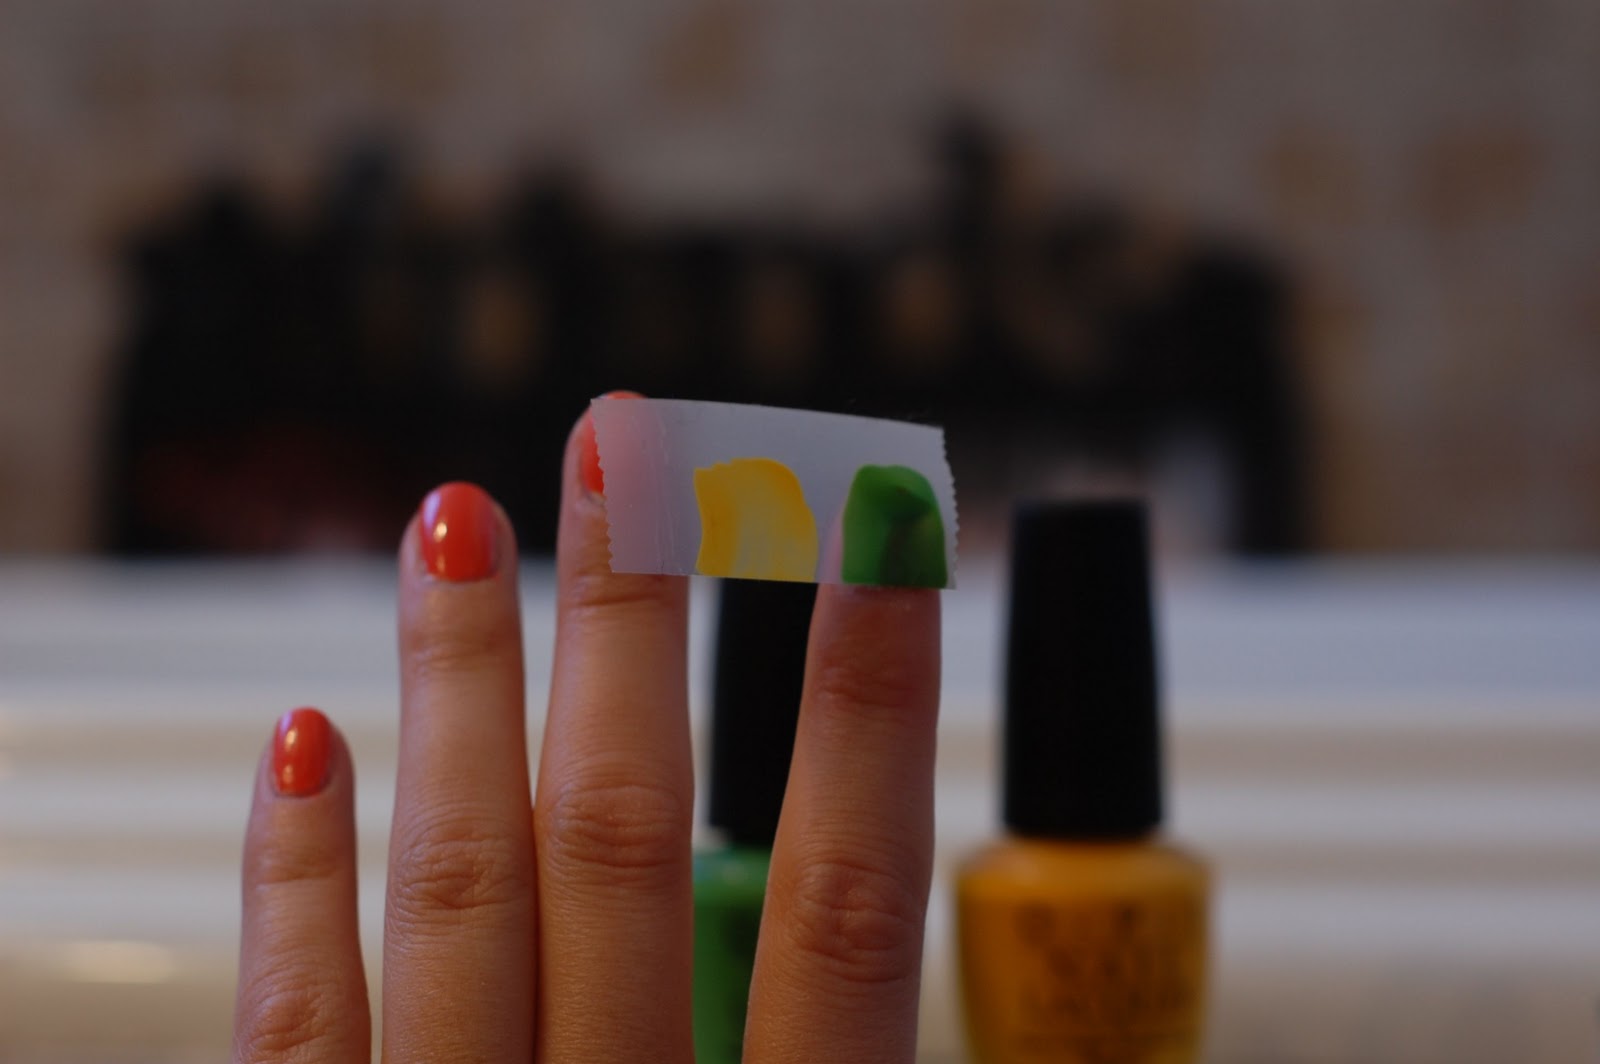
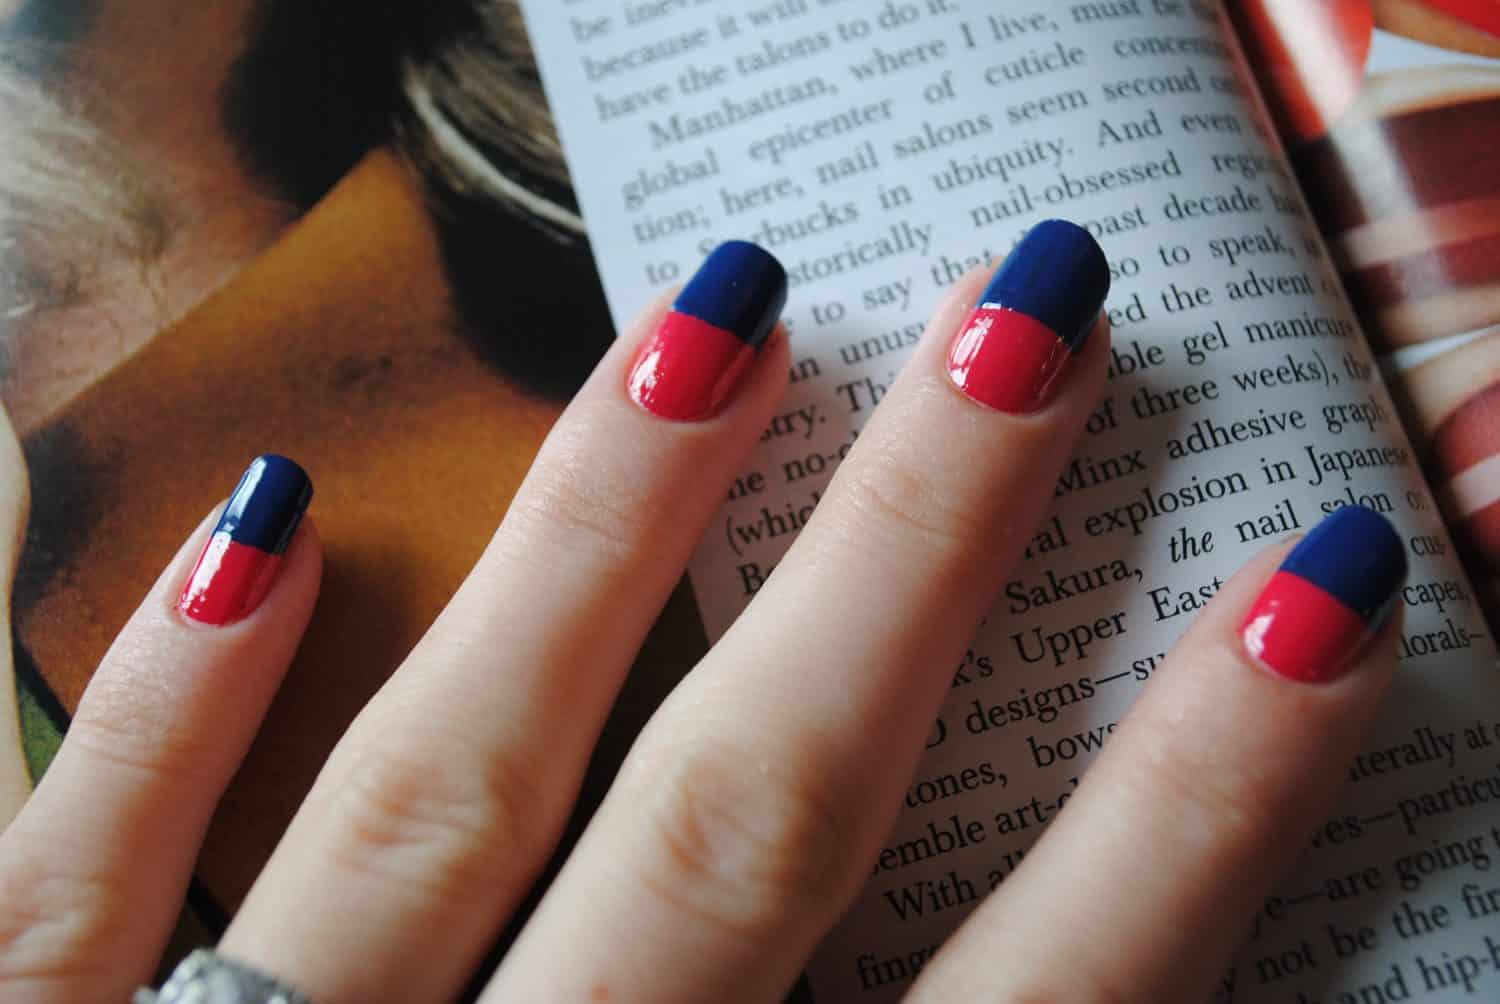
The tape nail polish design technique is a simple and easy way to create clean and precise designs on your nails. It involves using tape to create different shapes and patterns on your nails. To achieve this look, start by applying a base coat and letting it dry completely. Then, cut small strips of tape and place them on your nails to create your desired design. You can create stripes, triangles, or even use tape to create negative space designs. Once your design is complete, gently peel off the tape and clean up any excess nail polish on your skin with a cotton swab dipped in nail polish remover. Finish with a top coat to seal in the design and give it a glossy finish.Tape Nail Polish Design Technique


Tape Nail Polish Design Technique


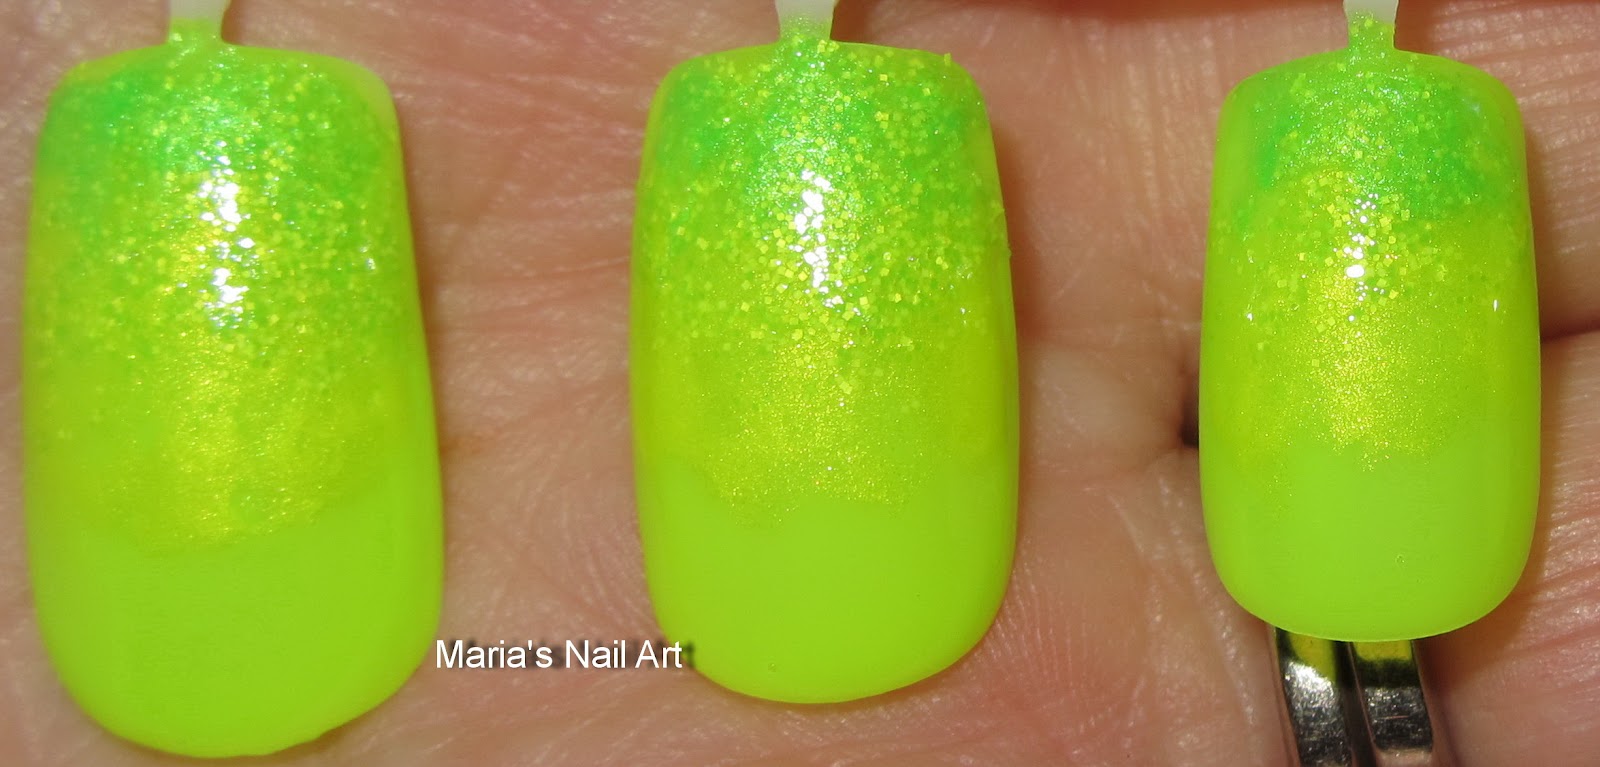
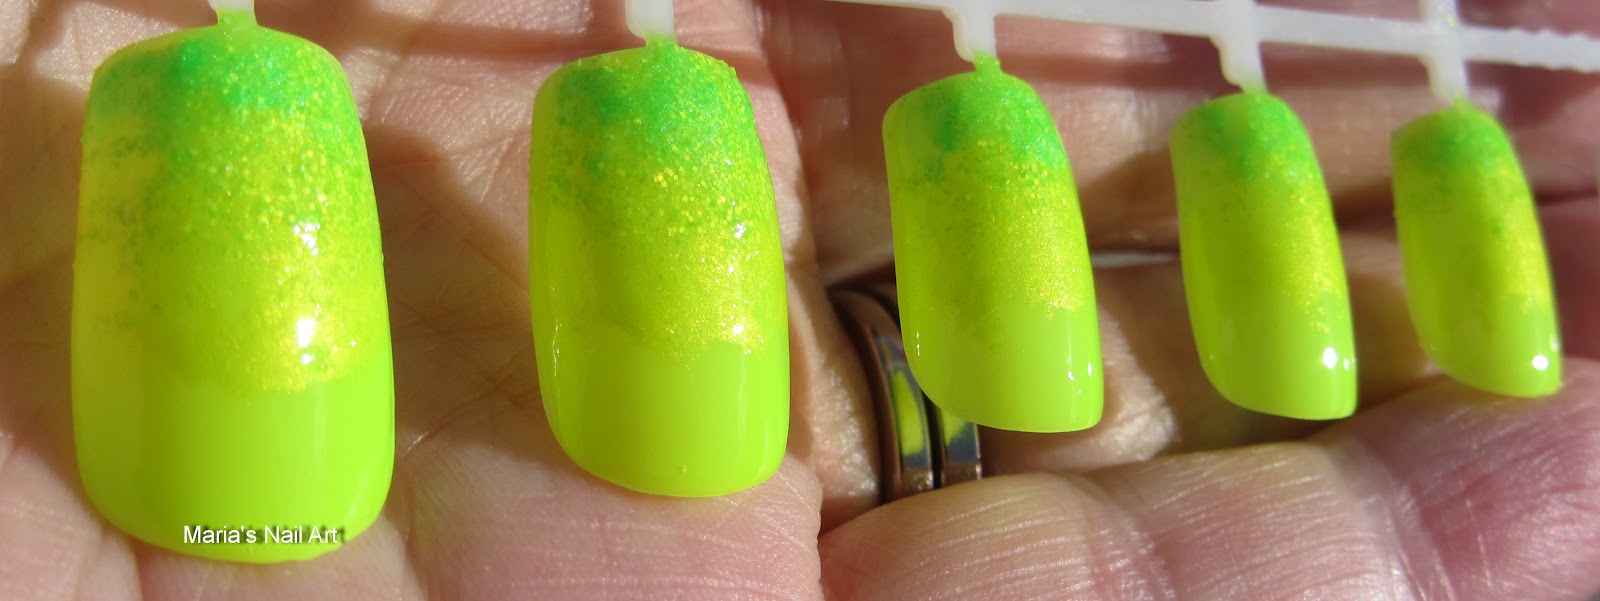
The sponging nail polish design technique is a fun and easy way to create a unique and textured look on your nails. It involves using a makeup sponge to create a gradient effect with different nail polish colors. To achieve this look, start by applying a base coat and letting it dry completely. Then, dab a few drops of your chosen nail polish colors onto a makeup sponge and gently press it onto your nails, focusing on the tips and moving towards the base of your nails. You can also use different shades of the same color to create a more subtle gradient effect. Finish with a top coat to seal in the design and give it a glossy finish.Sponging Nail Polish Design Technique

Sponging Nail Polish Design Technique


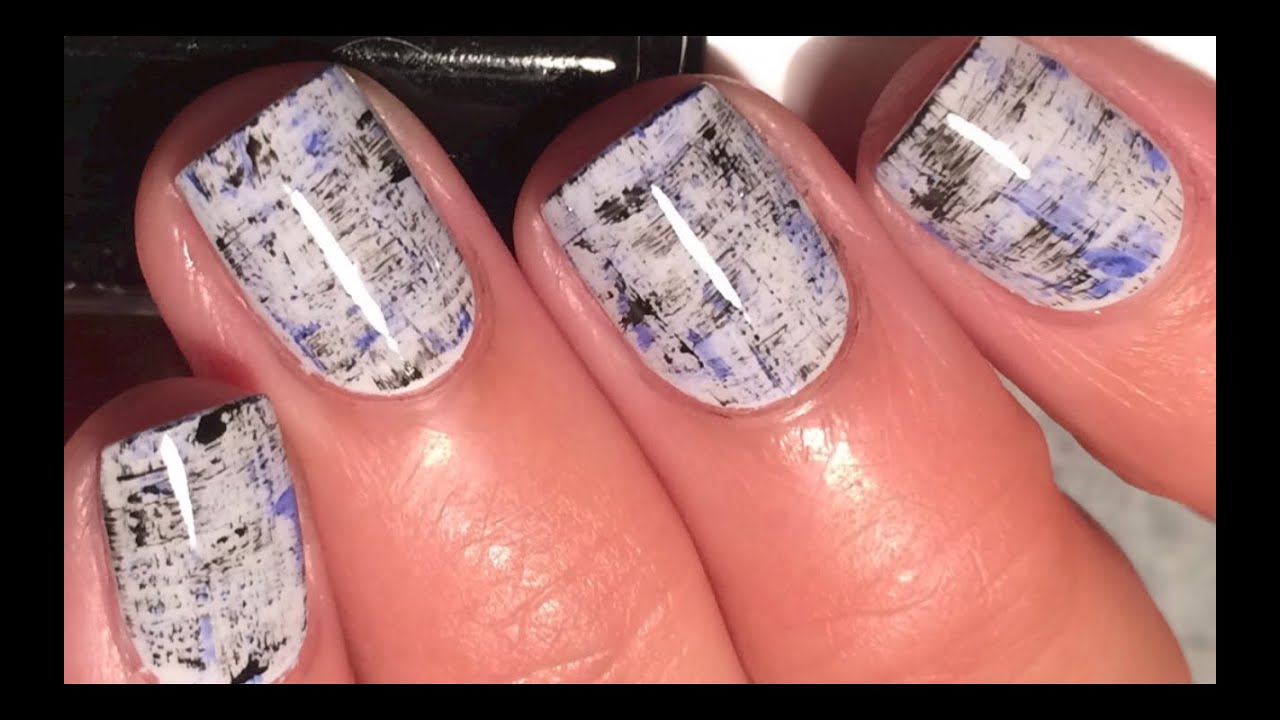
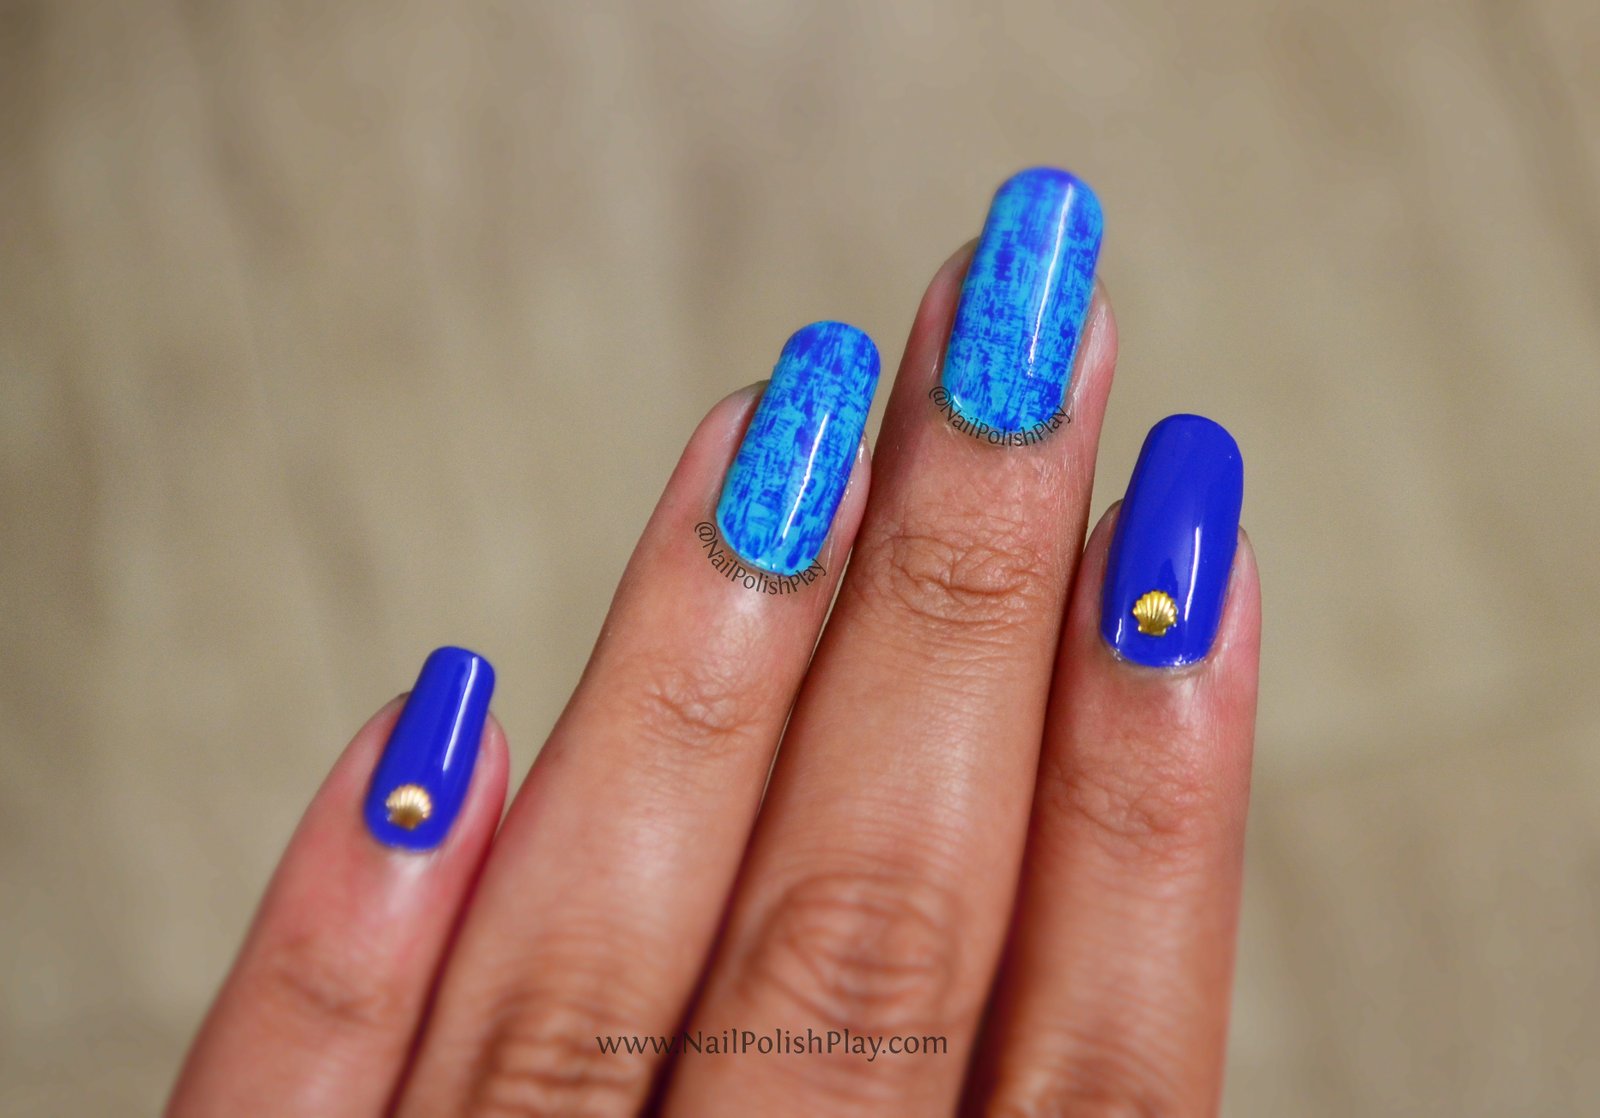
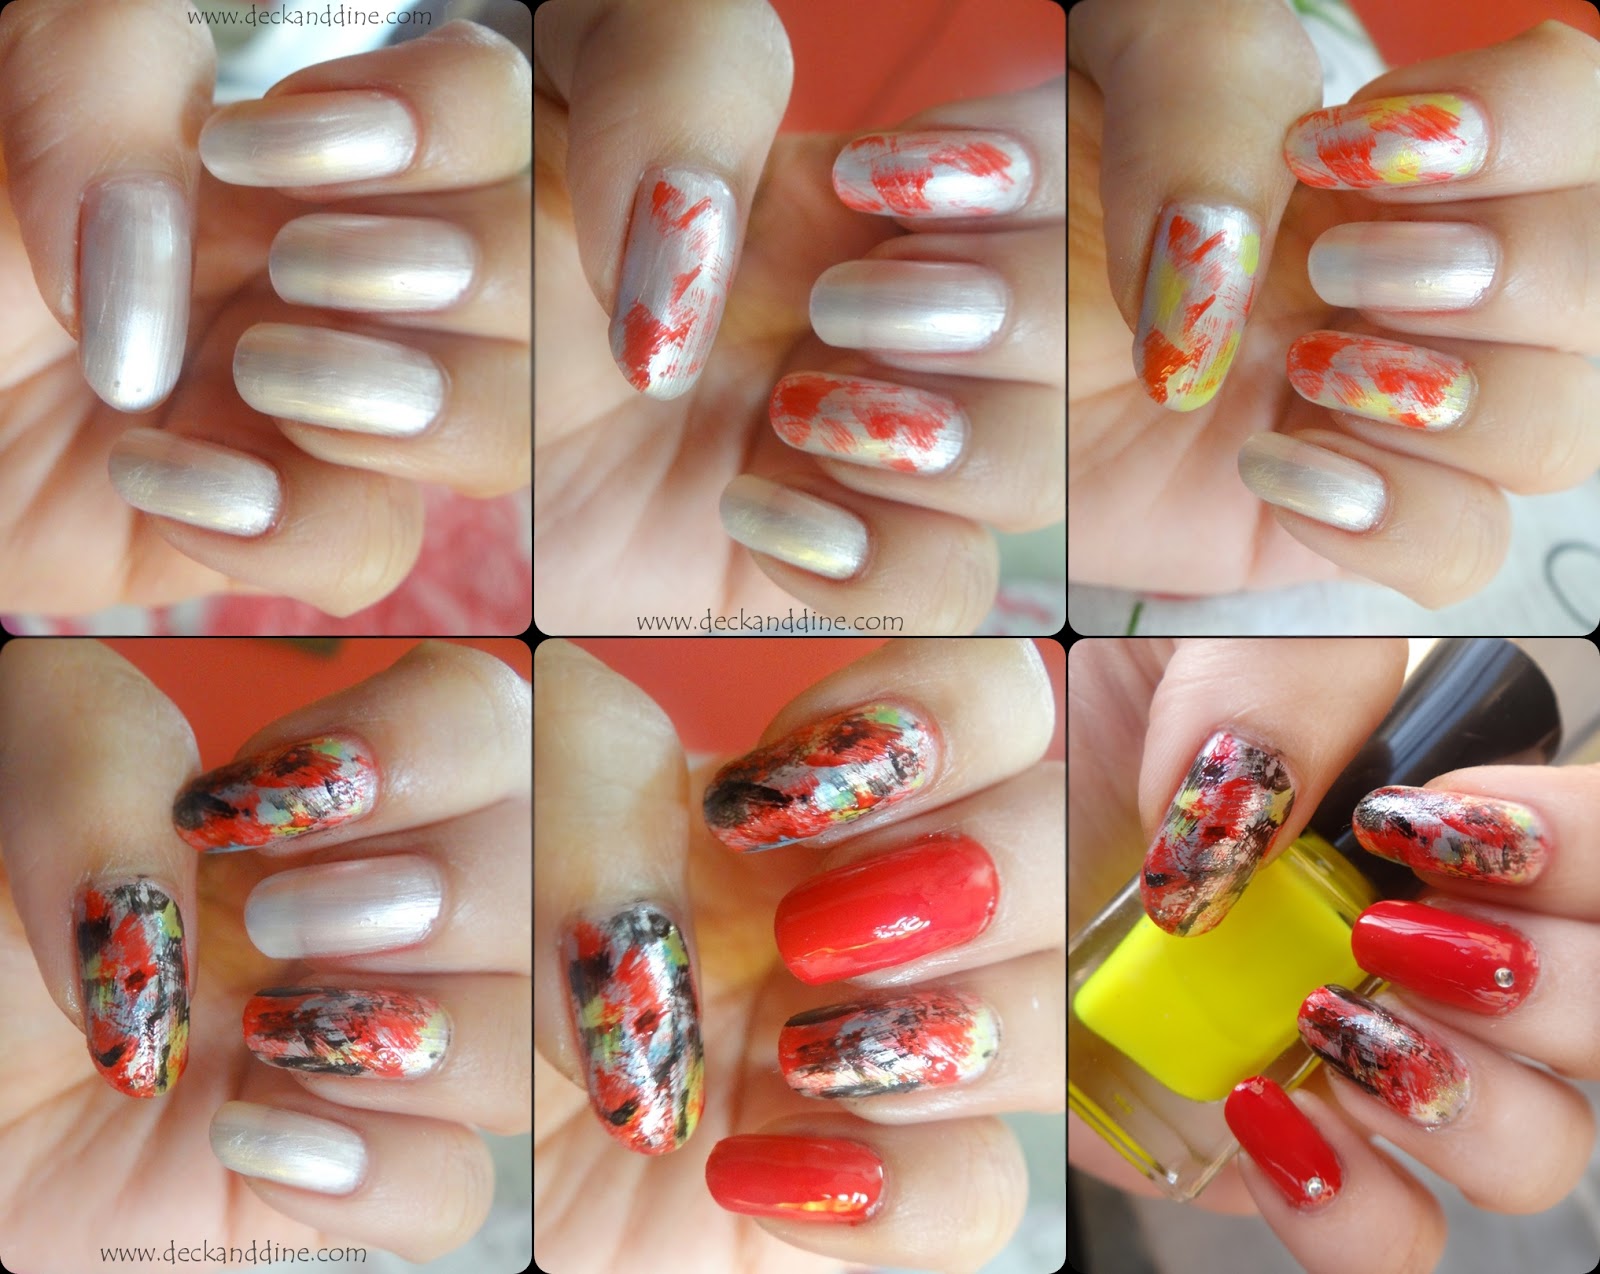
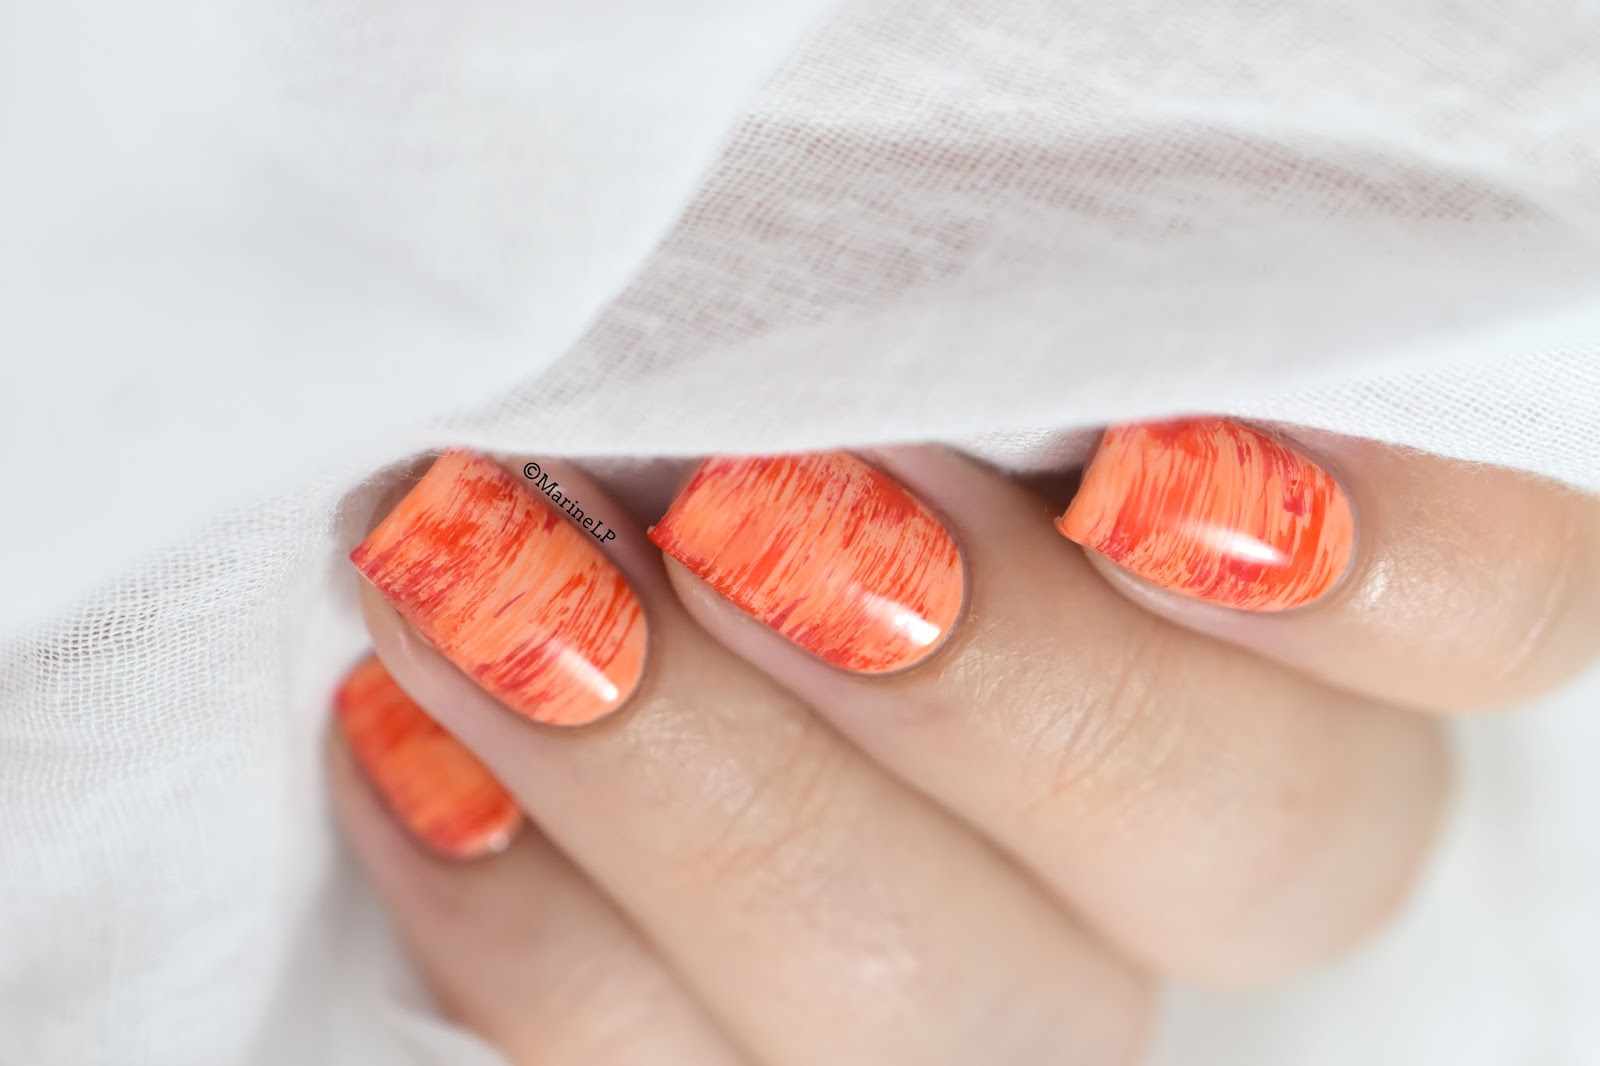
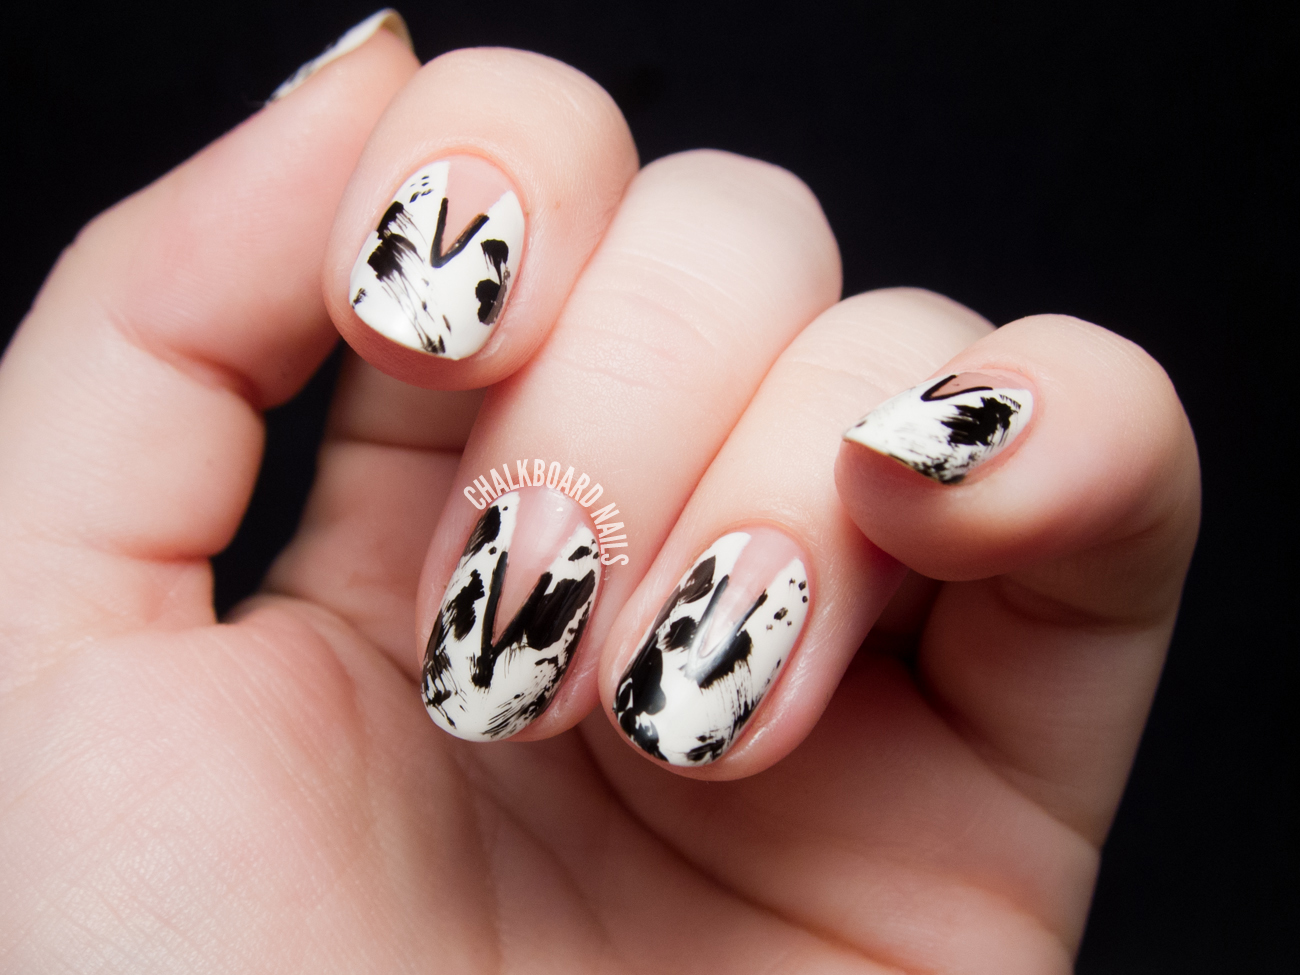
The dry brush nail polish design technique is a simple and easy way to create a distressed and grungy look on your nails. It involves using a dry brush to create a streaky effect with different nail polish colors. To achieve this look, start by applying a base coat and letting it dry completely. Then, wipe off most of the nail polish on your brush and lightly brush it onto your nails in a horizontal or vertical motion. Repeat this step with different colors until you achieve the desired look. You can also use a small brush to add more nail polish in specific areas for a more defined look. Finish with a top coat to seal in the design and give it a glossy finish.Dry Brush Nail Polish Design Technique


Dry Brush Nail Polish Design Technique


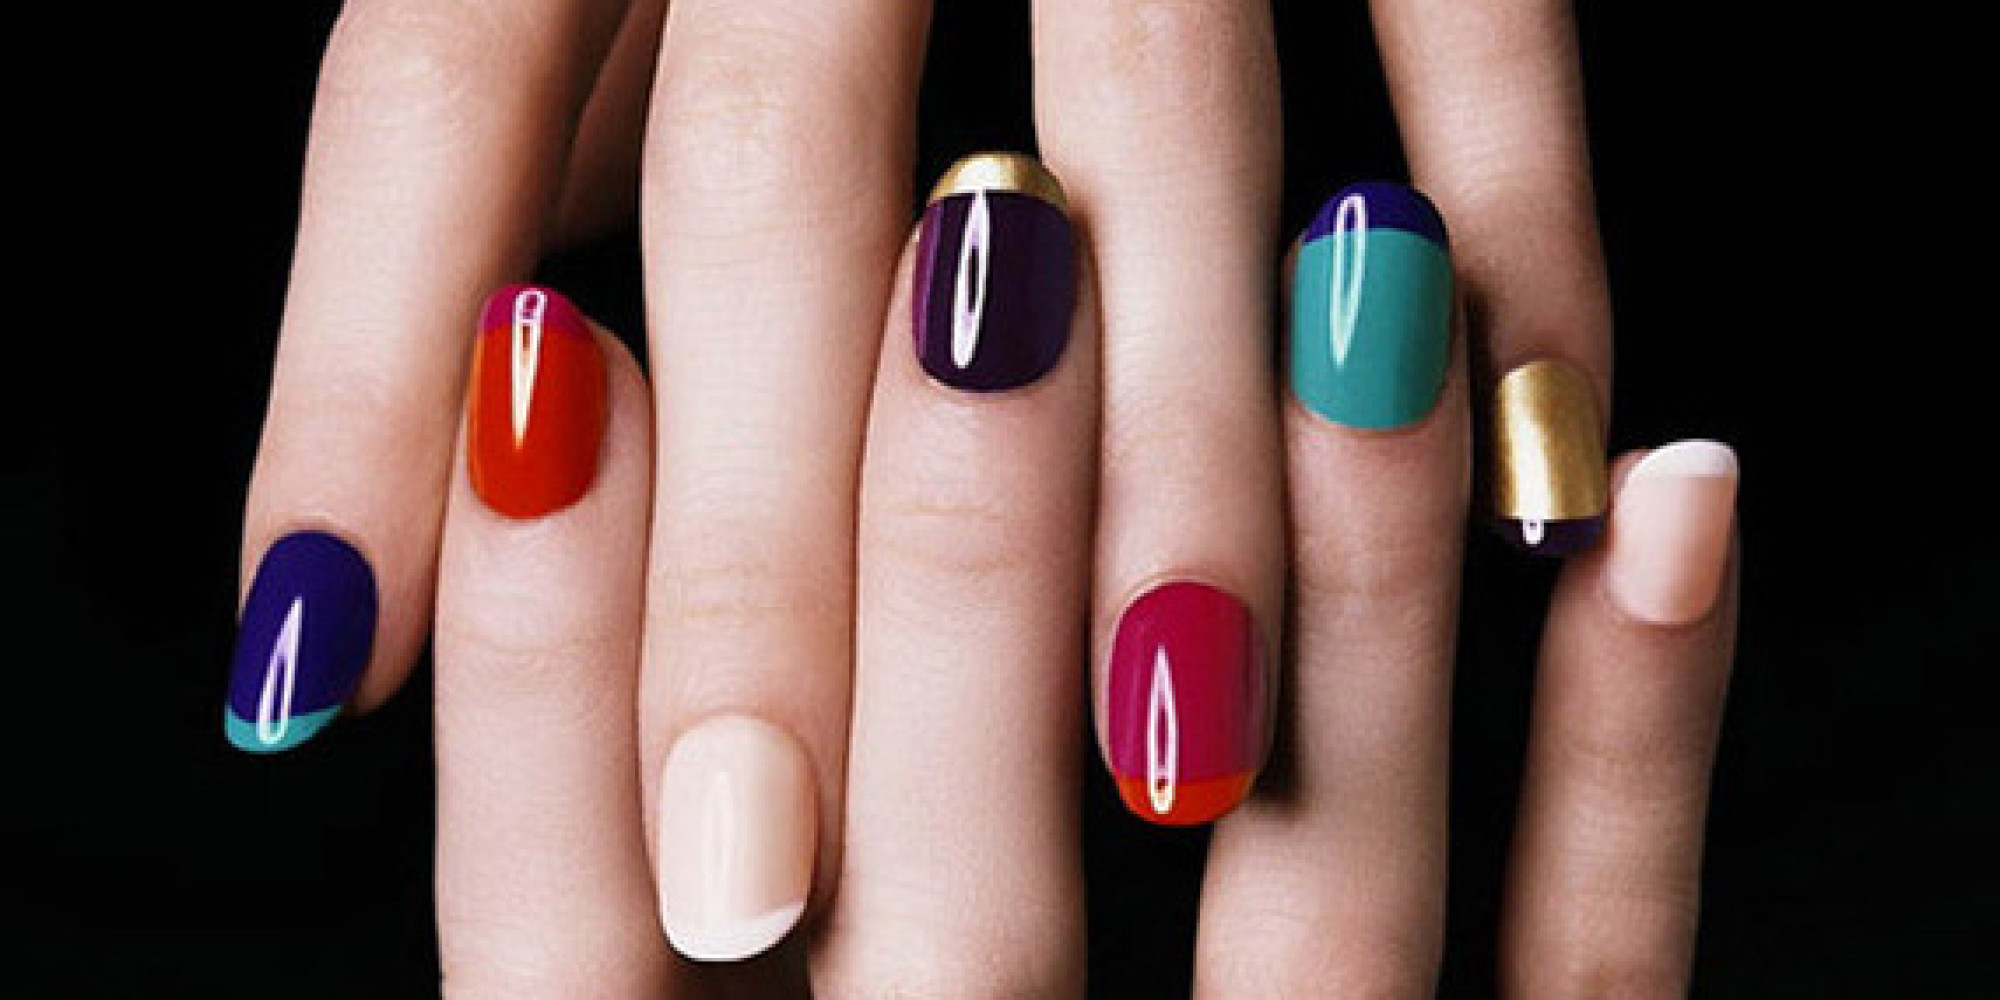
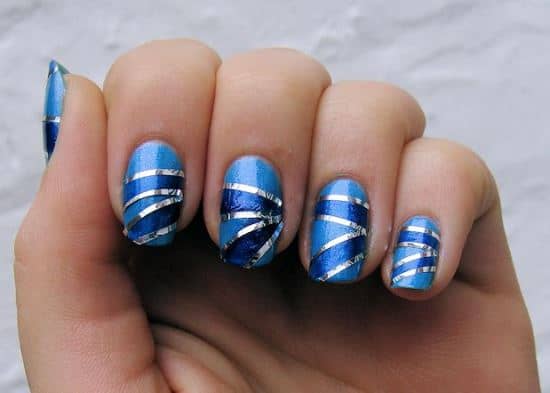
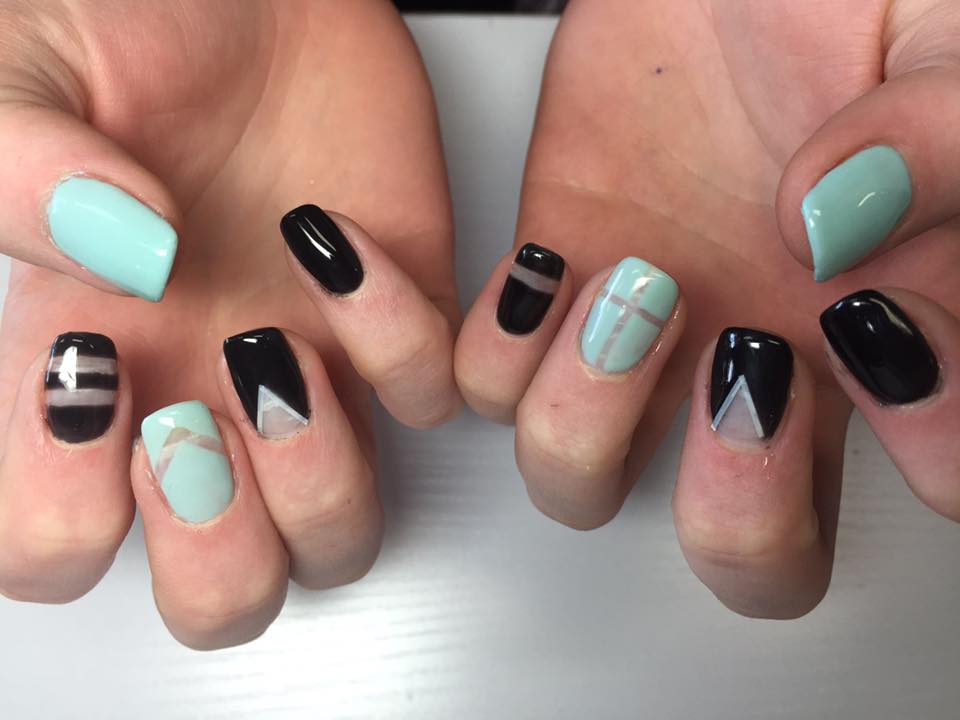
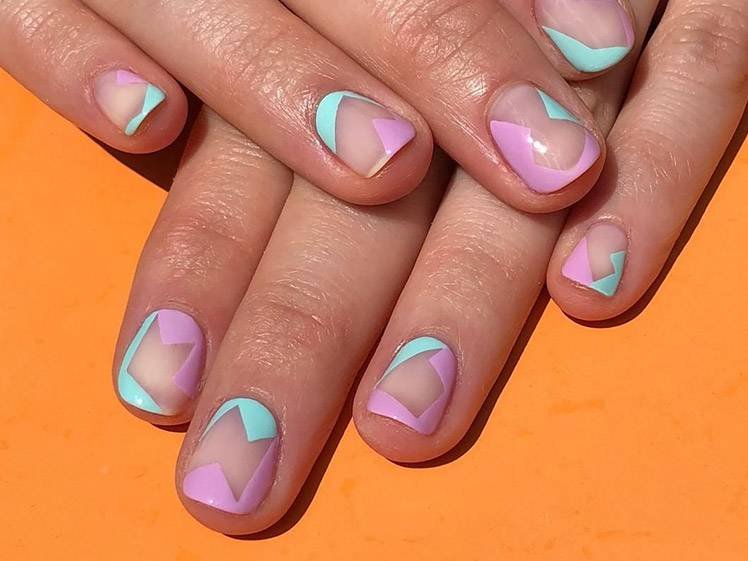
The negative space nail polish design technique is a modern and edgy way to add some interest to your nails. It involves leaving some parts of your nails bare to create a unique and minimalist design. To achieve this look, start by applying a base coat and letting it dry completely. Then, use tape or nail vinyls to create negative space on your nails. You can also use a small brush to fill in the empty spaces with different nail polish colors. Once your design is complete, remove the tape or nail vinyls and clean up any excess nail polish on your skin with a cotton swab dipped in nail polish remover. Finish with a top coat to seal in the design and give it a glossy finish.Negative Space Nail Polish Design Technique
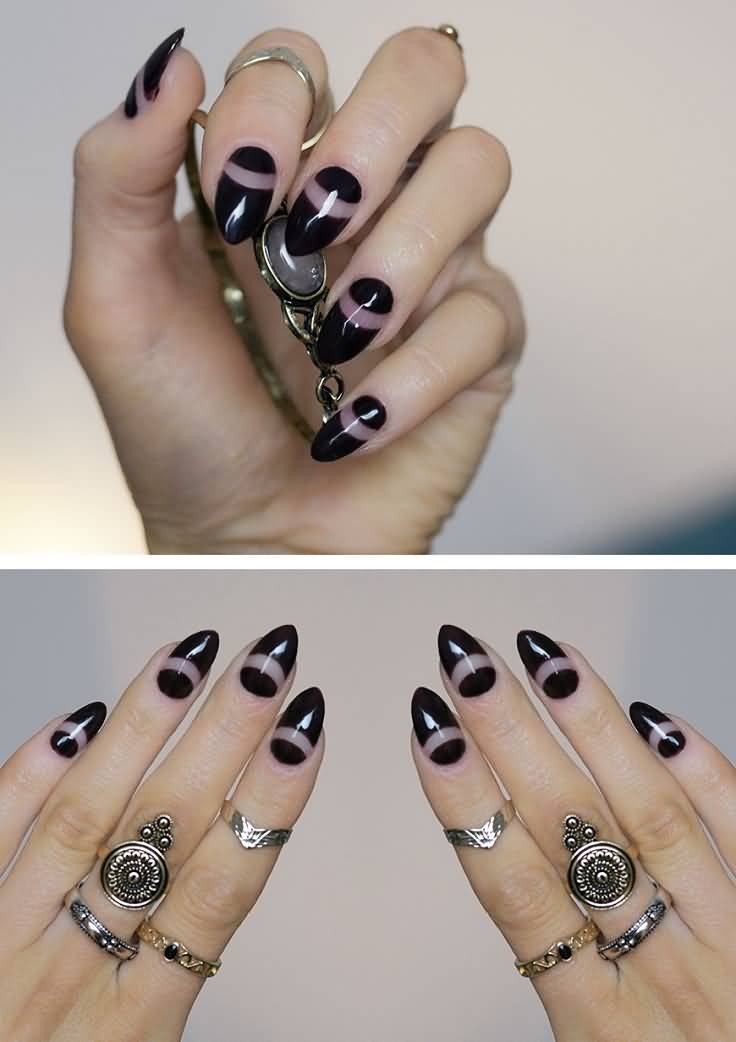


Negative Space Nail Polish Design Technique


Creating Dimension with Nail Polish: Techniques for Unique Nail Art

Adding Texture
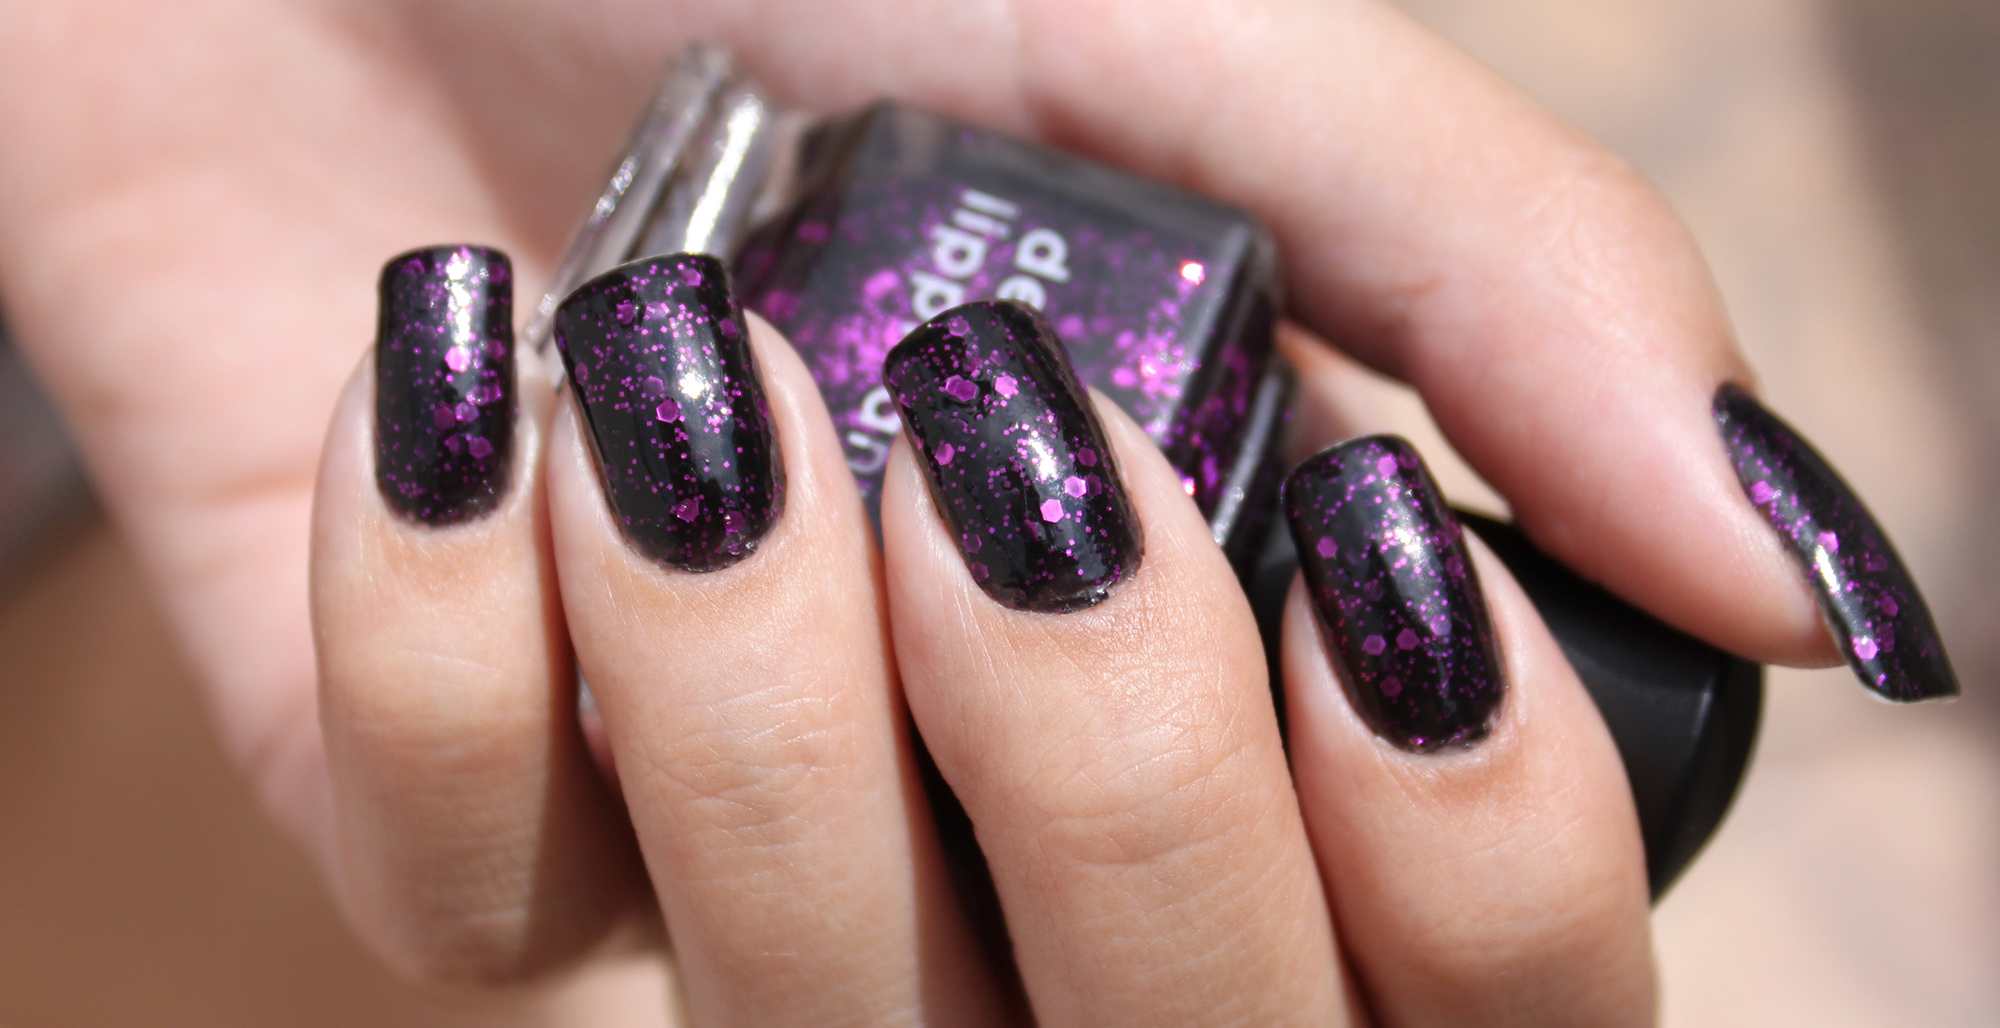
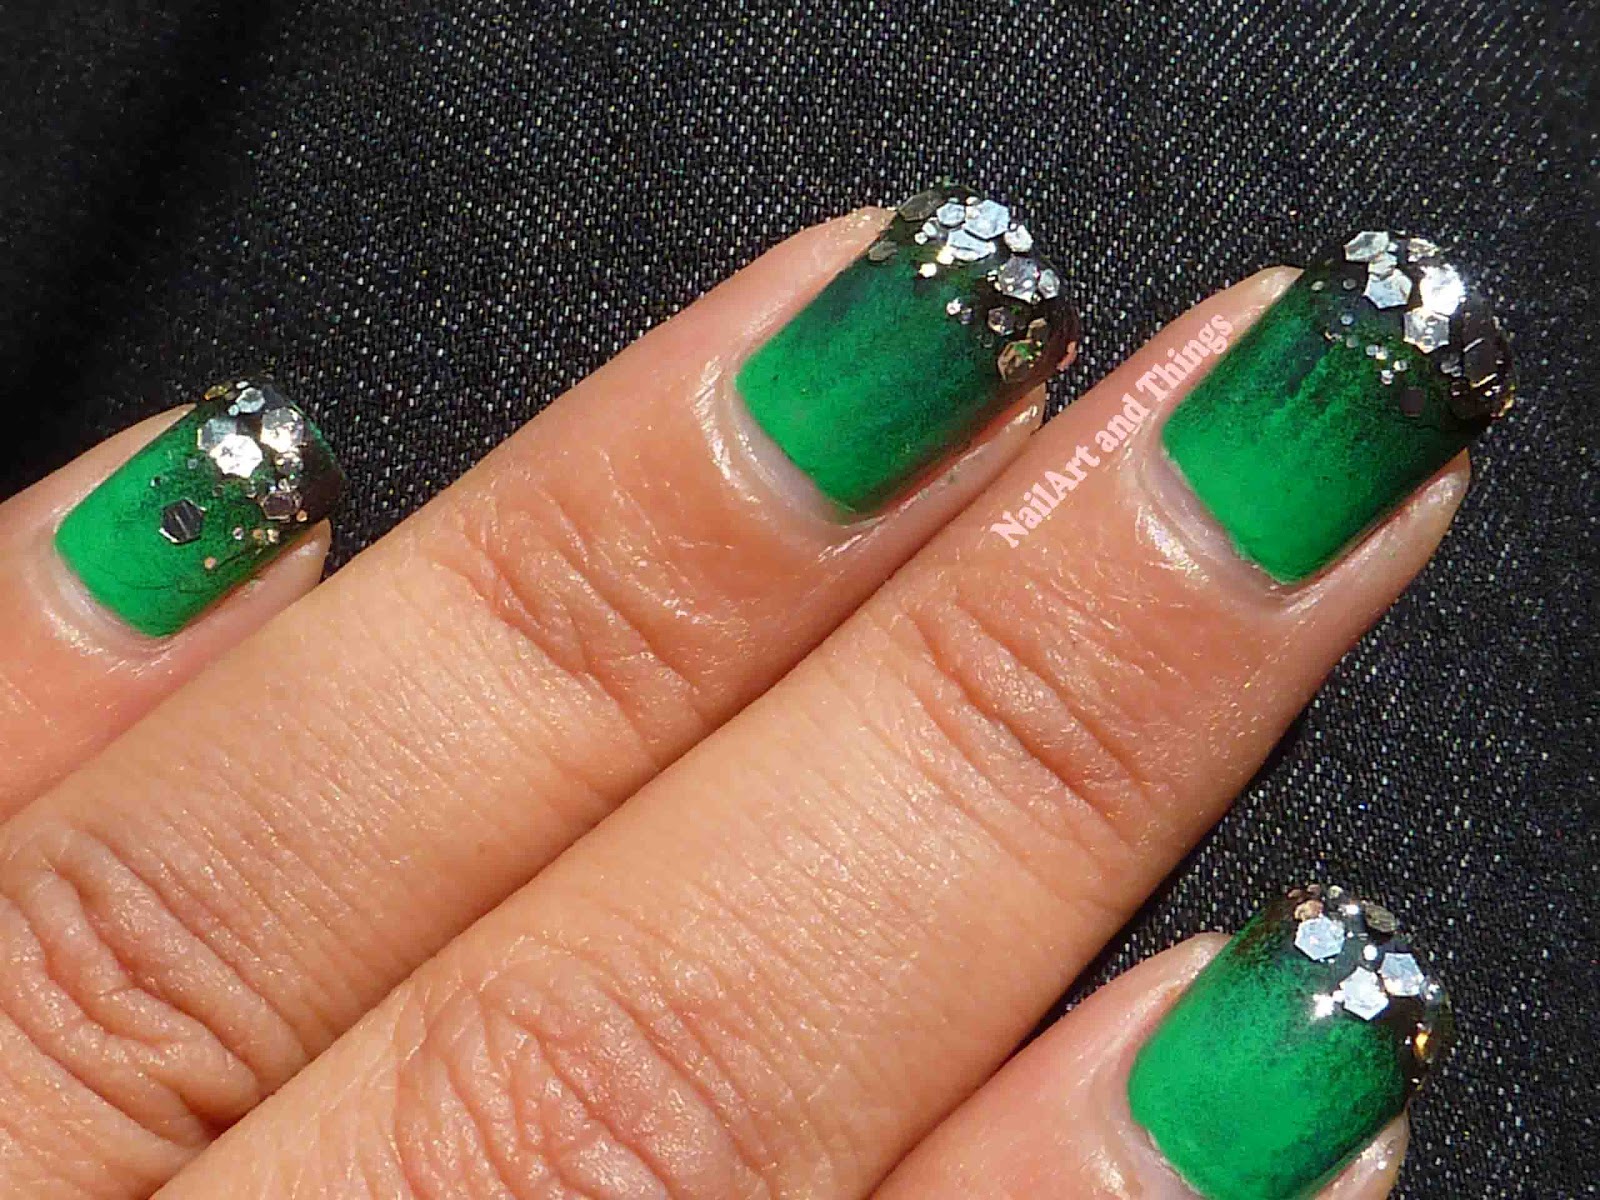
 One of the most effective ways to elevate your nail polish design is by adding texture. This can be achieved by using different types of polish such as matte, metallic, or glitter, or by incorporating 3D elements like jewels, studs, or rhinestones. You can also experiment with different techniques such as gradient or ombre designs, marble effects, or even creating a raised design with a dotting tool. Adding texture not only adds visual interest, but it also creates dimension to your nails, making them stand out and look more unique.
Playing with Patterns
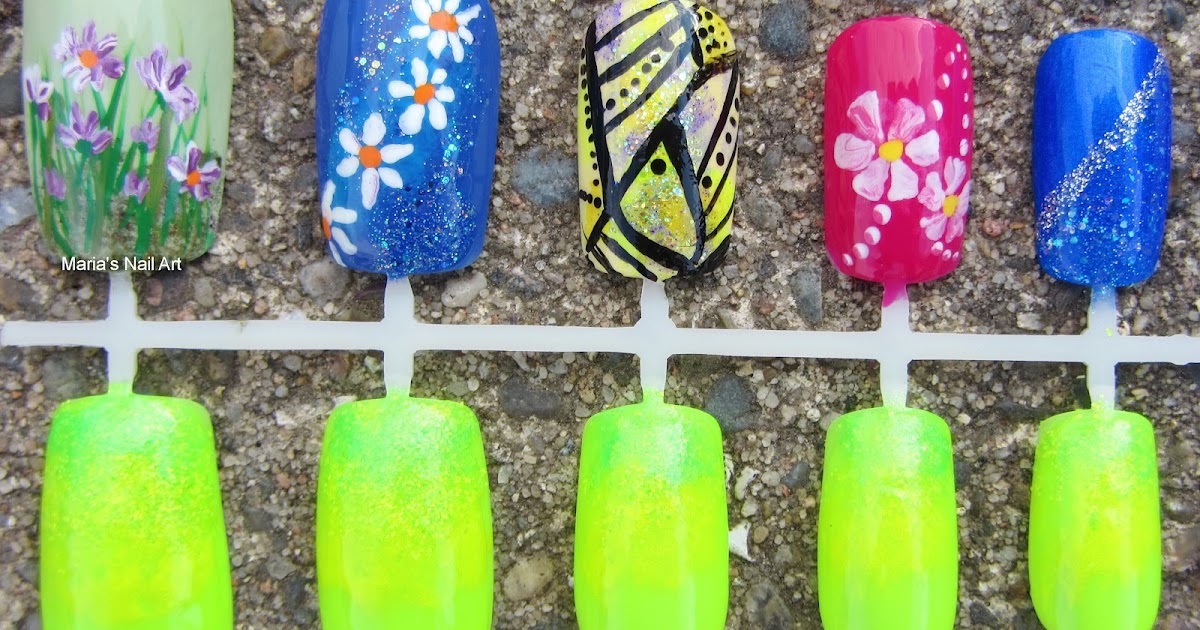
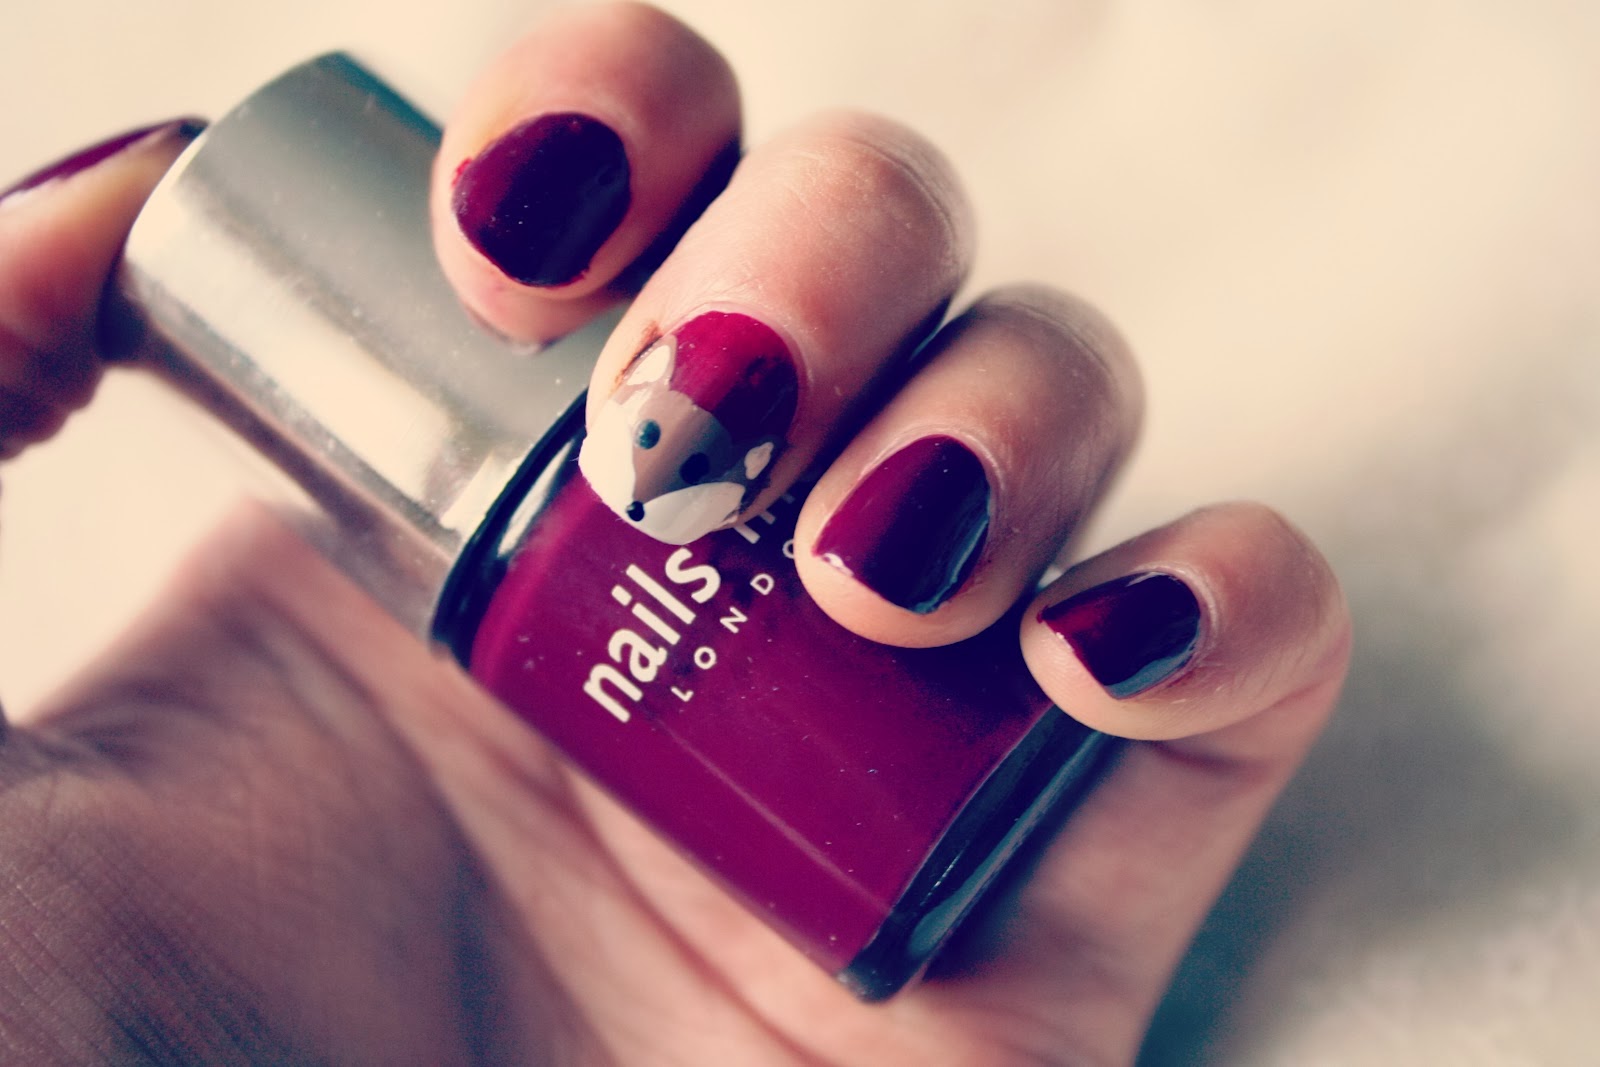
 Another great way to create a stunning nail polish design is by incorporating different patterns. You can use striping tape to create clean lines, or try your hand at freehand designs for a more personalized touch. Geometric designs, polka dots, or even animal prints are popular choices for creating eye-catching patterns on your nails. Don't be afraid to mix and match patterns for a more eclectic look, or stick to a cohesive theme for a more polished finish.
Using Negative Space
 For a modern and minimalist look, consider incorporating negative space into your nail polish design. This technique involves leaving parts of the nail bare, creating a contrast between the color of the polish and your natural nail. You can achieve this look by using tape or stickers to create clean lines, or by using a small brush to paint intricate designs. Negative space designs are not only visually appealing, but they also allow for your natural nail to shine through, making it a great option for those who prefer a more subtle look.
In conclusion
, creating unique nail polish designs is all about experimenting with different techniques and being creative. Incorporating texture, patterns, and negative space are just a few ways to elevate your nail art and make it stand out. Don't be afraid to try new things and have fun with your designs. With these techniques, you can turn your nails into a work of art.
For a modern and minimalist look, consider incorporating negative space into your nail polish design. This technique involves leaving parts of the nail bare, creating a contrast between the color of the polish and your natural nail. You can achieve this look by using tape or stickers to create clean lines, or by using a small brush to paint intricate designs. Negative space designs are not only visually appealing, but they also allow for your natural nail to shine through, making it a great option for those who prefer a more subtle look.
In conclusion
, creating unique nail polish designs is all about experimenting with different techniques and being creative. Incorporating texture, patterns, and negative space are just a few ways to elevate your nail art and make it stand out. Don't be afraid to try new things and have fun with your designs. With these techniques, you can turn your nails into a work of art.


