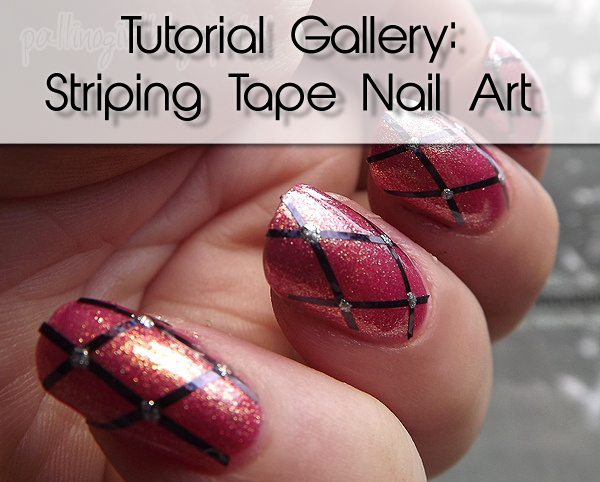
Nail striping tape is a versatile and fun tool that can take your nail art to the next level. Whether you're a nail art pro or just starting out, nail striping tape is a must-have in your nail art arsenal. With so many designs and patterns to choose from, the possibilities are endless. Here are our top 10 nail striping tape designs to inspire your next manicure.1. Nail Art Striping Tape Designs


1. Nail Art Striping Tape Designs

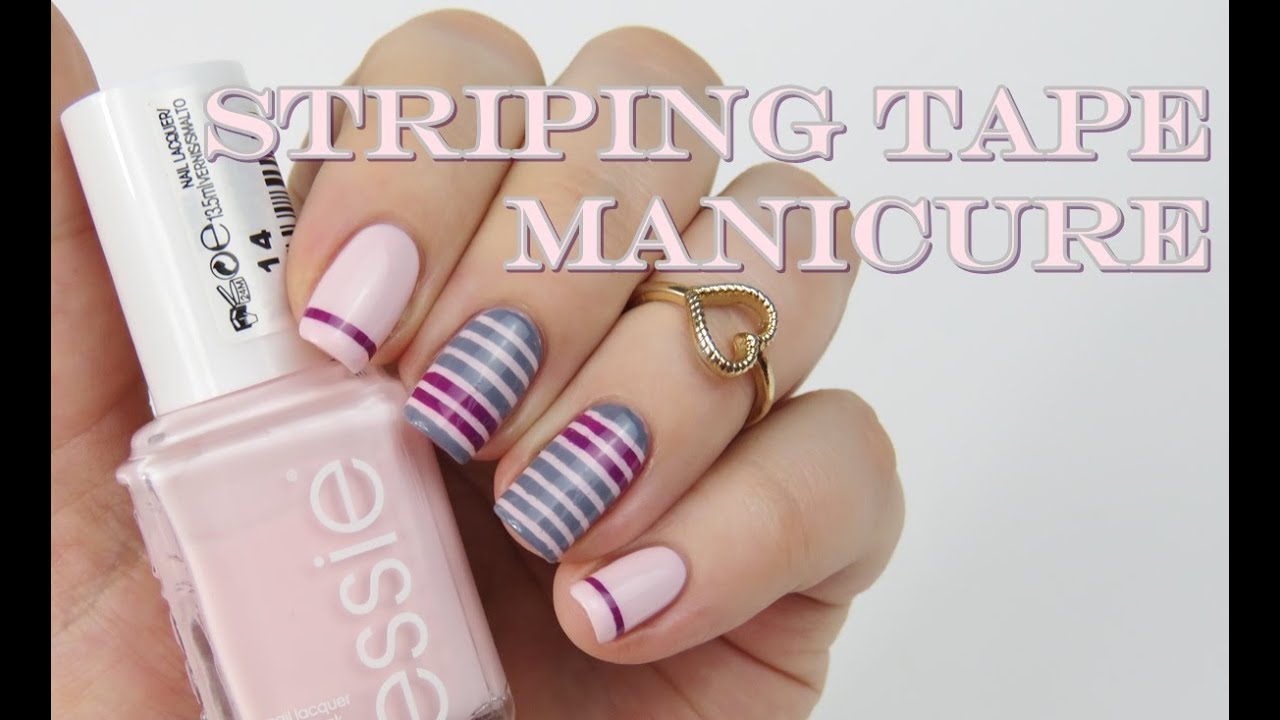
If you're new to nail art, using striping tape is a great way to create intricate designs without a lot of skill or experience. Striping tape is thin, adhesive tape that comes in various colors and widths. Simply apply the tape to your nails in the desired pattern, paint over it, then remove the tape to reveal a clean and crisp design. It's an easy and foolproof way to achieve professional-looking nail art.2. Easy Nail Art Designs with Striping Tape


2. Easy Nail Art Designs with Striping Tape

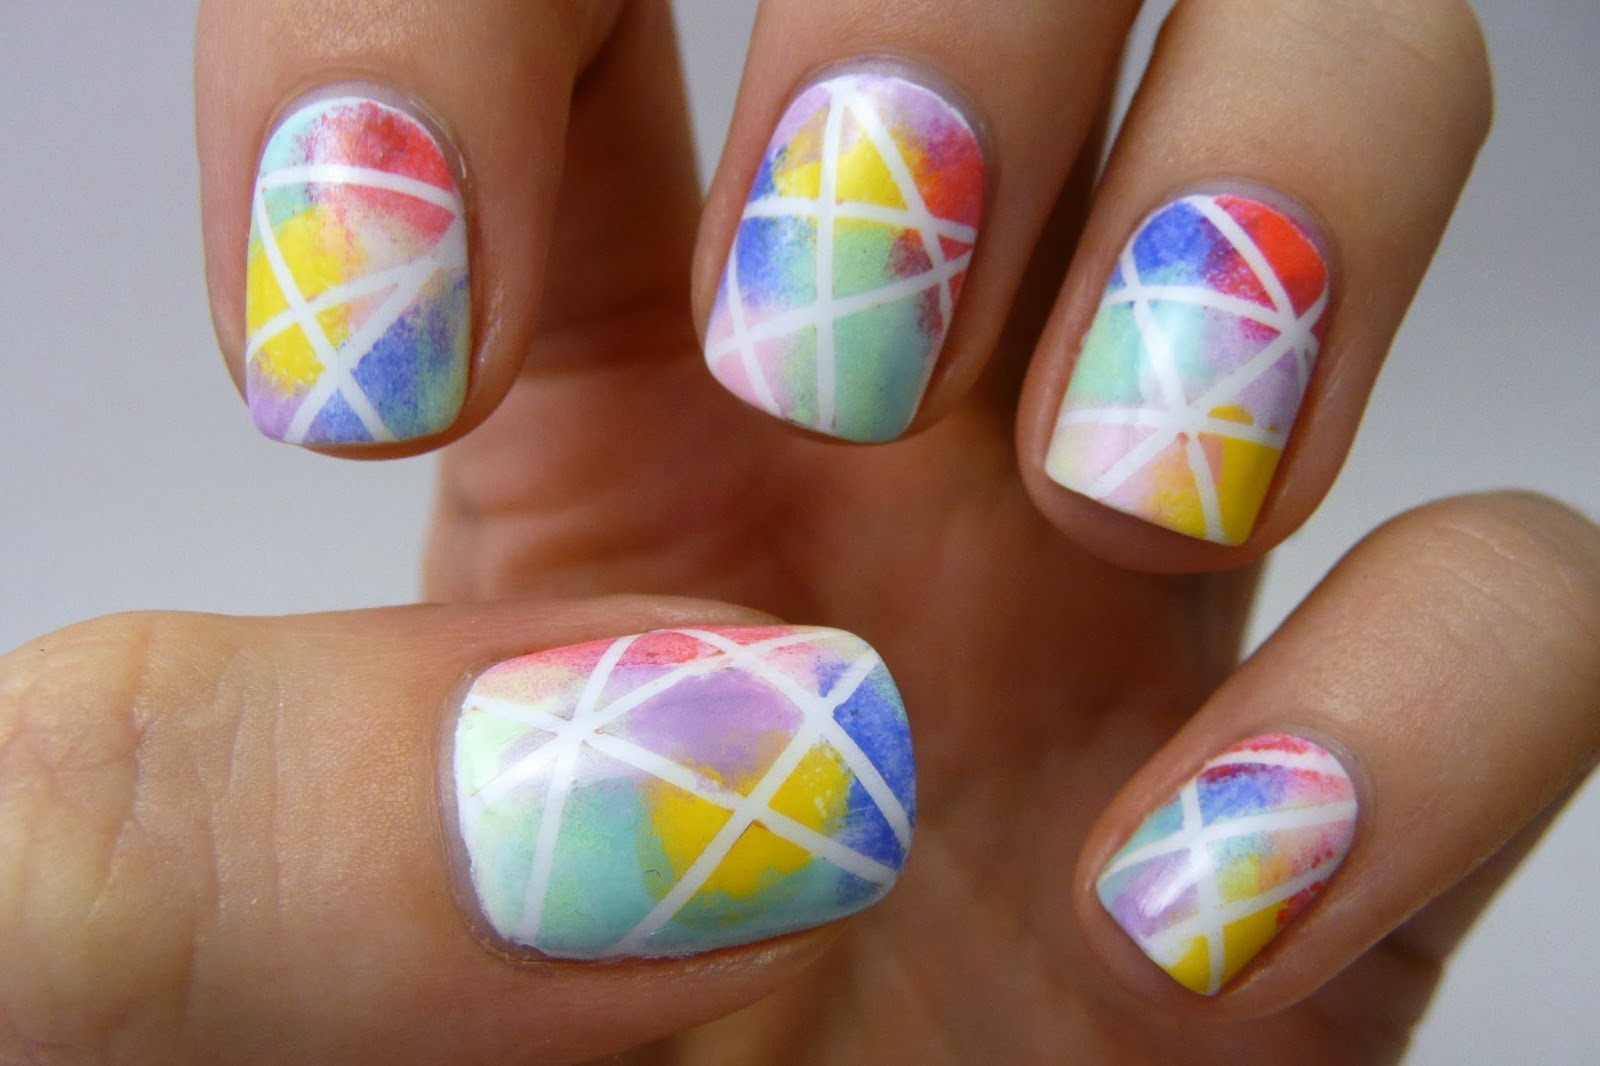
For those who are more advanced in nail art, striping tape offers endless possibilities for creativity. You can use it to create intricate patterns, geometric designs, or even mix and match with other nail art techniques like stamping or freehand painting. Let your imagination run wild and experiment with different colors, shapes, and patterns to create unique and eye-catching nail designs.3. Creative Nail Designs Using Striping Tape


3. Creative Nail Designs Using Striping Tape


One of the best things about DIY nail art is that you can achieve salon-quality results at home. With striping tape, you can create intricate and professional-looking designs with just a few simple steps. Plus, with a wide variety of designs and colors to choose from, you can easily customize your nail art to match your personal style or any occasion.4. DIY Nail Striping Tape Designs


4. DIY Nail Striping Tape Designs

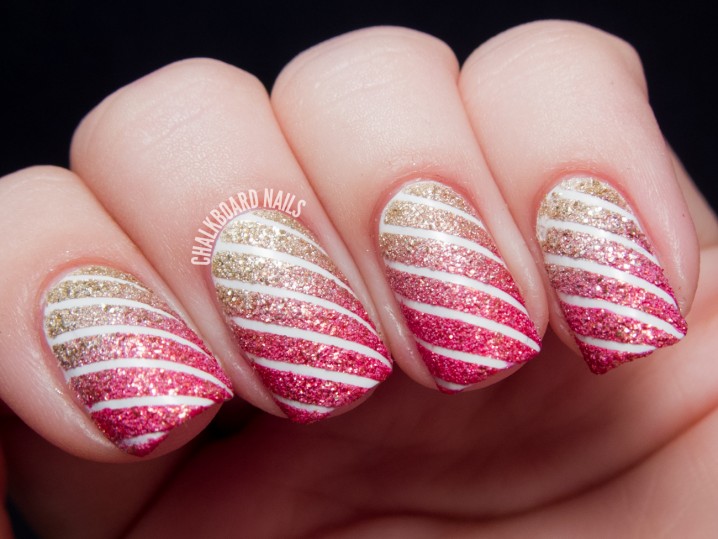
Striping tape doesn't have to be limited to just straight lines and geometric patterns. Get creative with your designs by using different widths, angles, and layering multiple colors and patterns. You can also use the tape to create negative space designs or use it as a guide for freehand painting. The possibilities are endless, and the results are always fun and unique.5. Fun and Unique Nail Designs with Striping Tape


5. Fun and Unique Nail Designs with Striping Tape


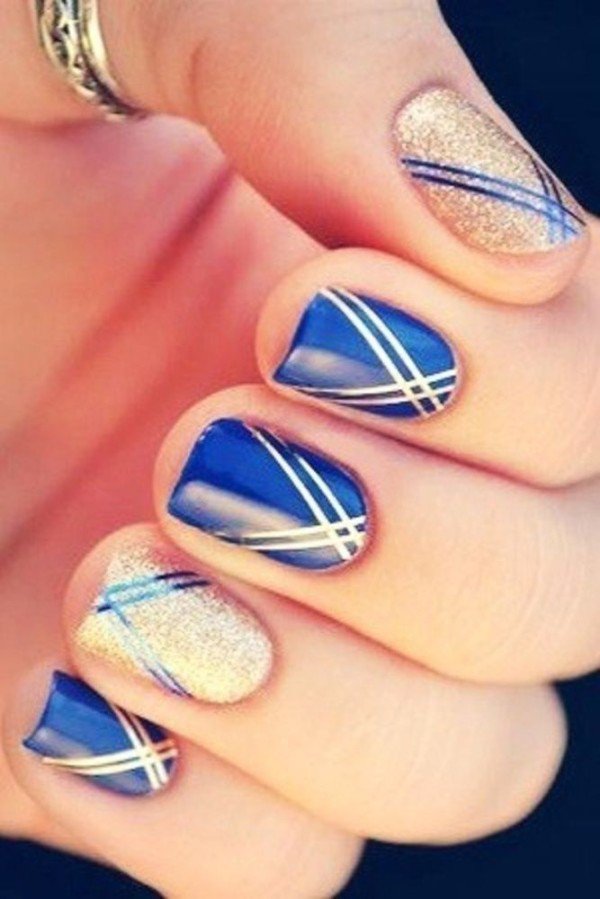
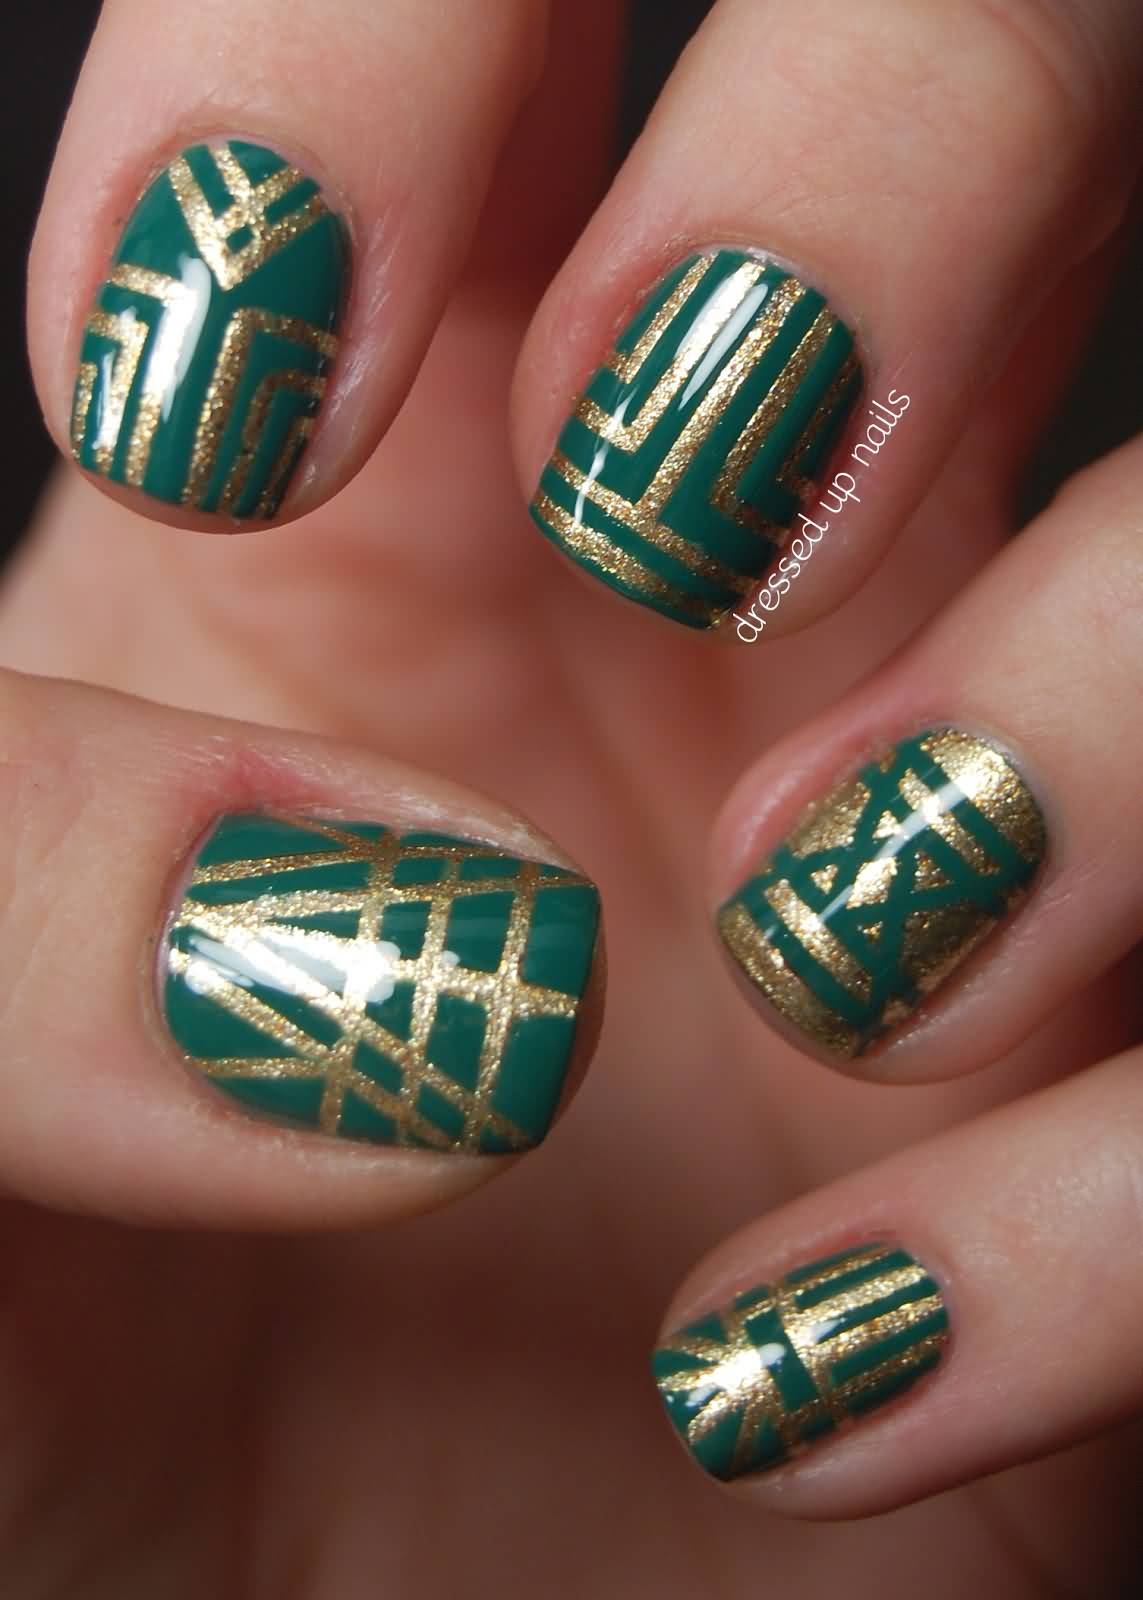
Who said striping tape is only for bold and colorful designs? You can also use it to create elegant and sophisticated nail art. Think thin gold or silver striping tape over a neutral base, or use it to create delicate and intricate lace patterns. With the right color combinations and placement, striping tape can add a touch of elegance to any manicure.6. Elegant Nail Designs Using Striping Tape

6. Elegant Nail Designs Using Striping Tape
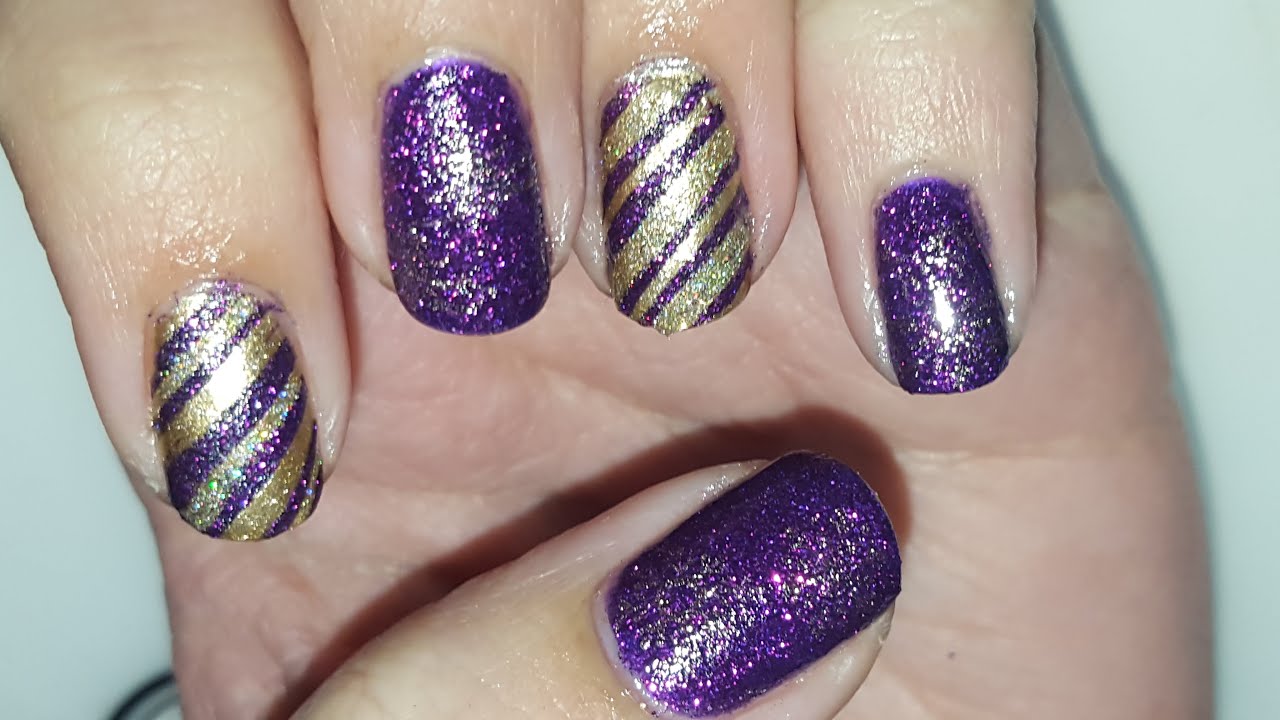
On the other hand, if you love bold and colorful nail art, striping tape is your best friend. You can create vibrant and eye-catching designs by layering different colors and patterns. Try using neon colors for a fun and summery look, or go for a rainbow effect by using striping tape in all the colors of the rainbow. The possibilities are endless, and the results are always bold and colorful.7. Bold and Colorful Nail Designs with Striping Tape


7. Bold and Colorful Nail Designs with Striping Tape
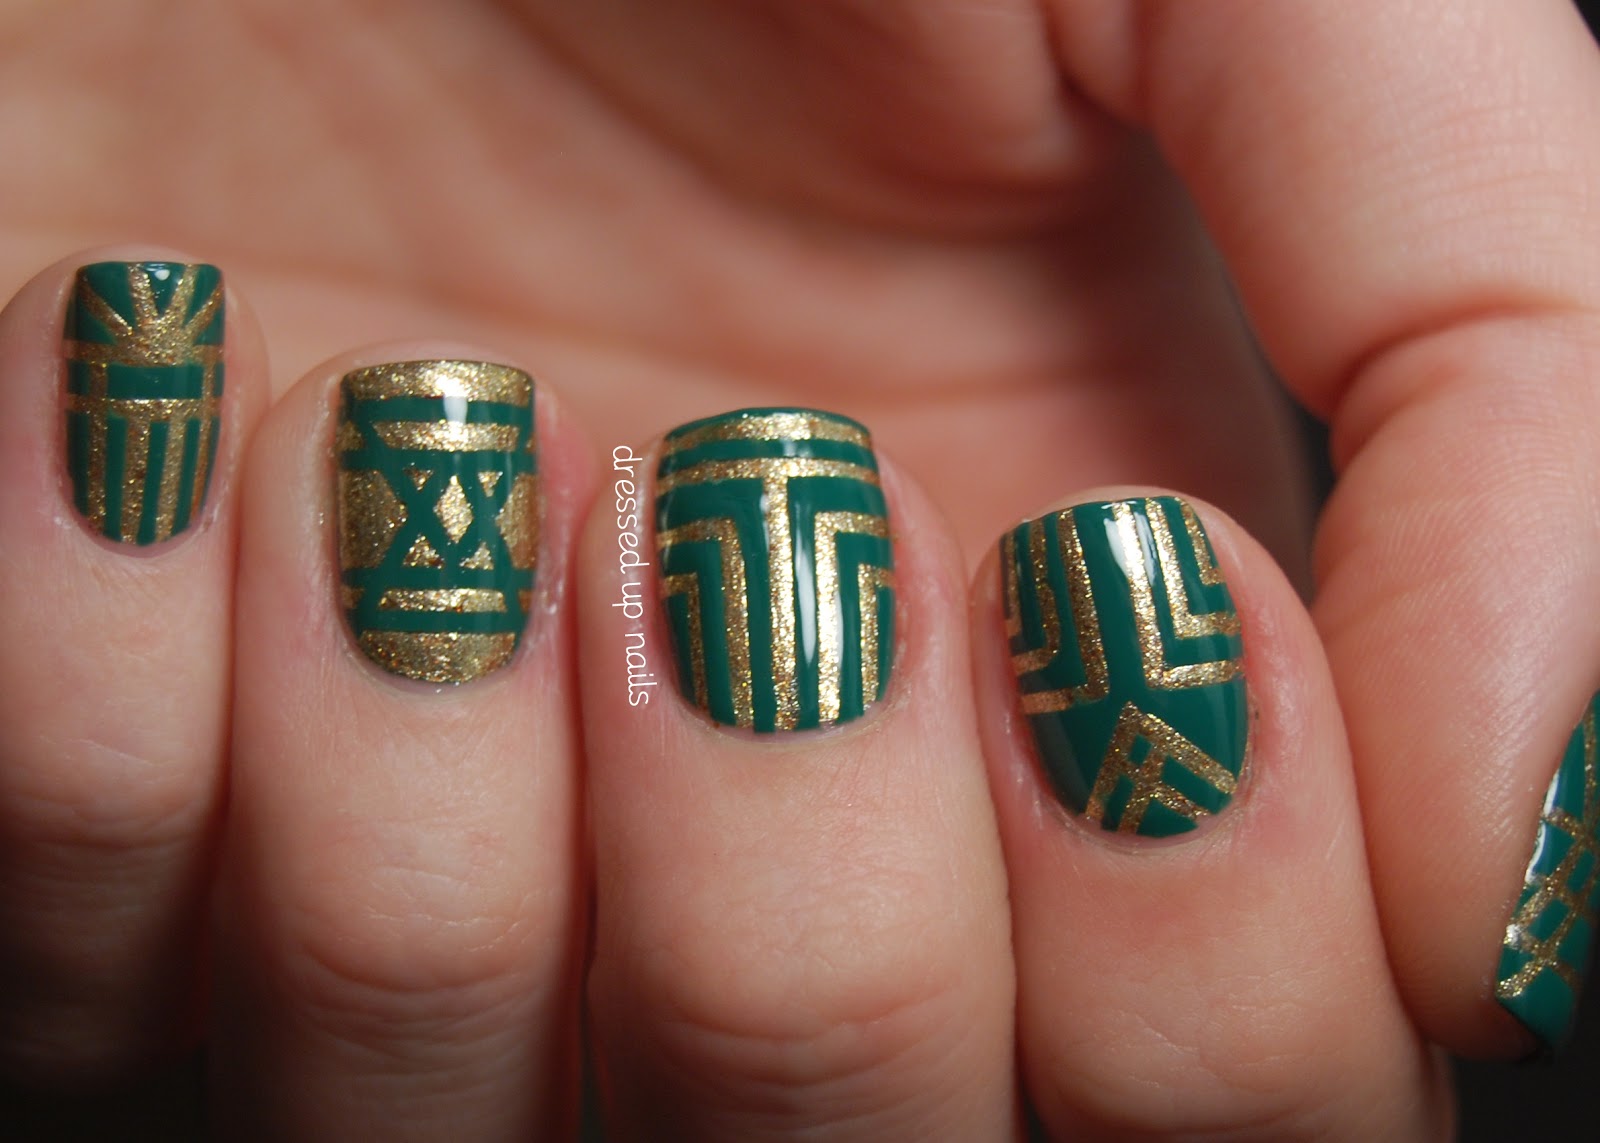

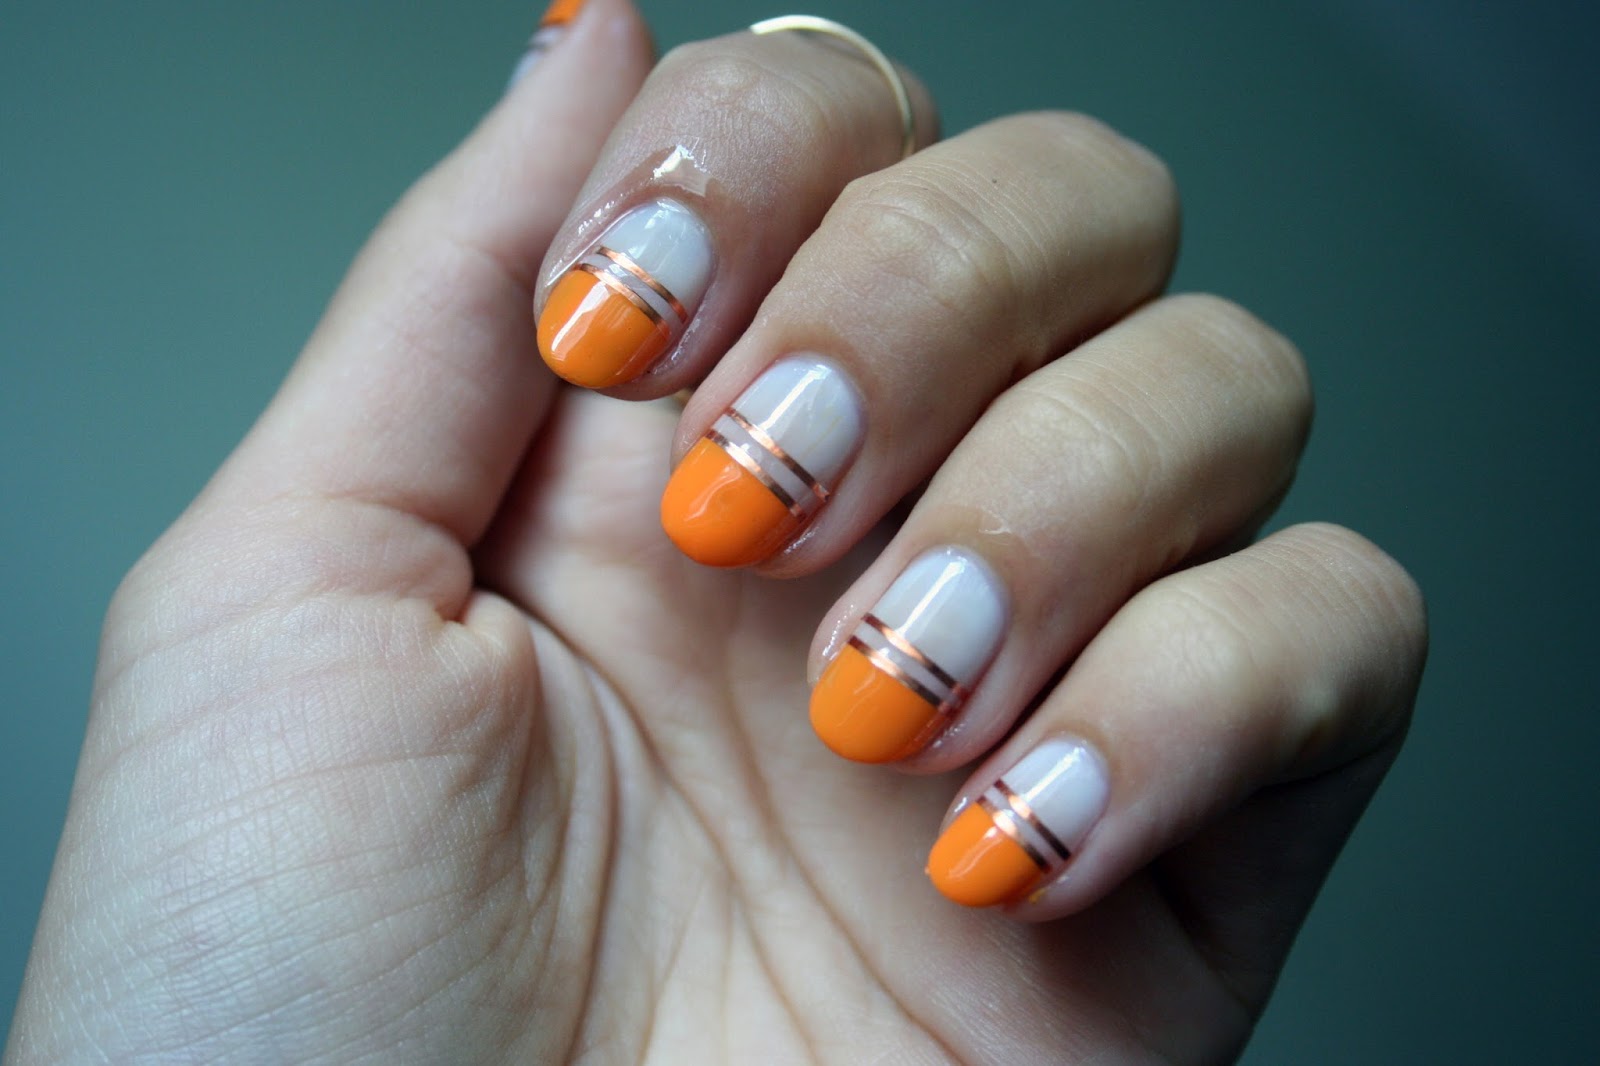
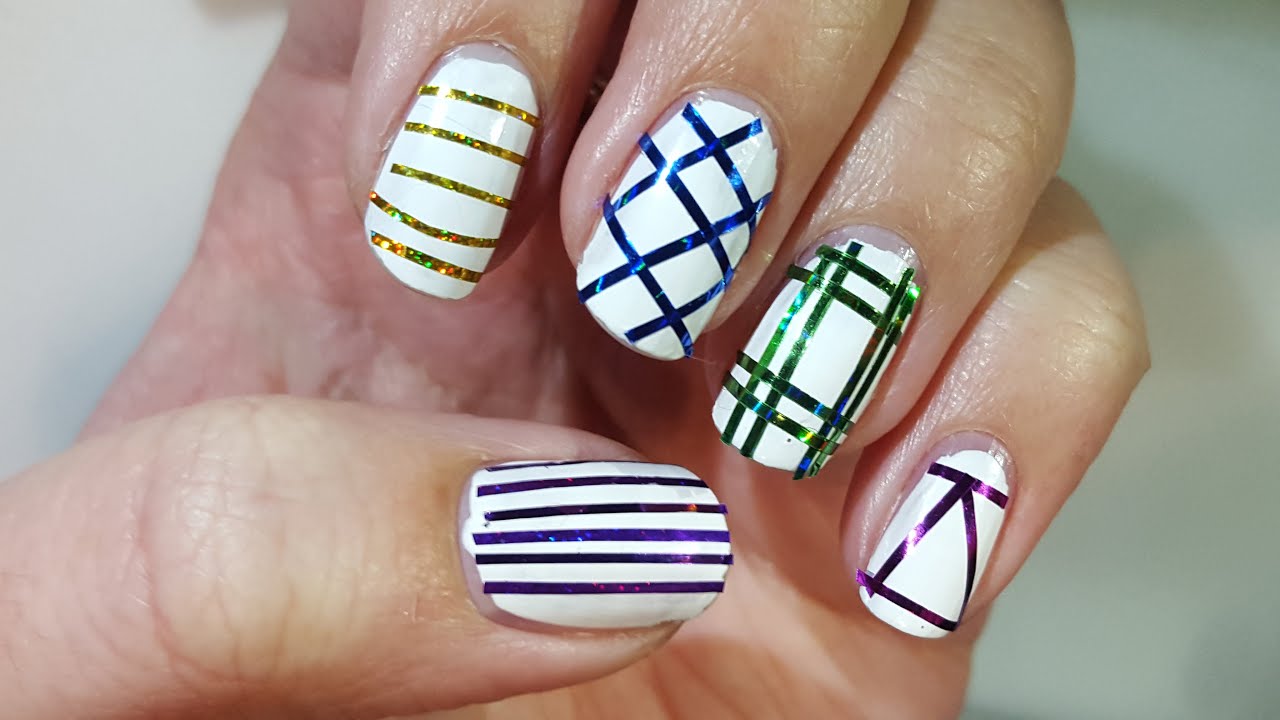
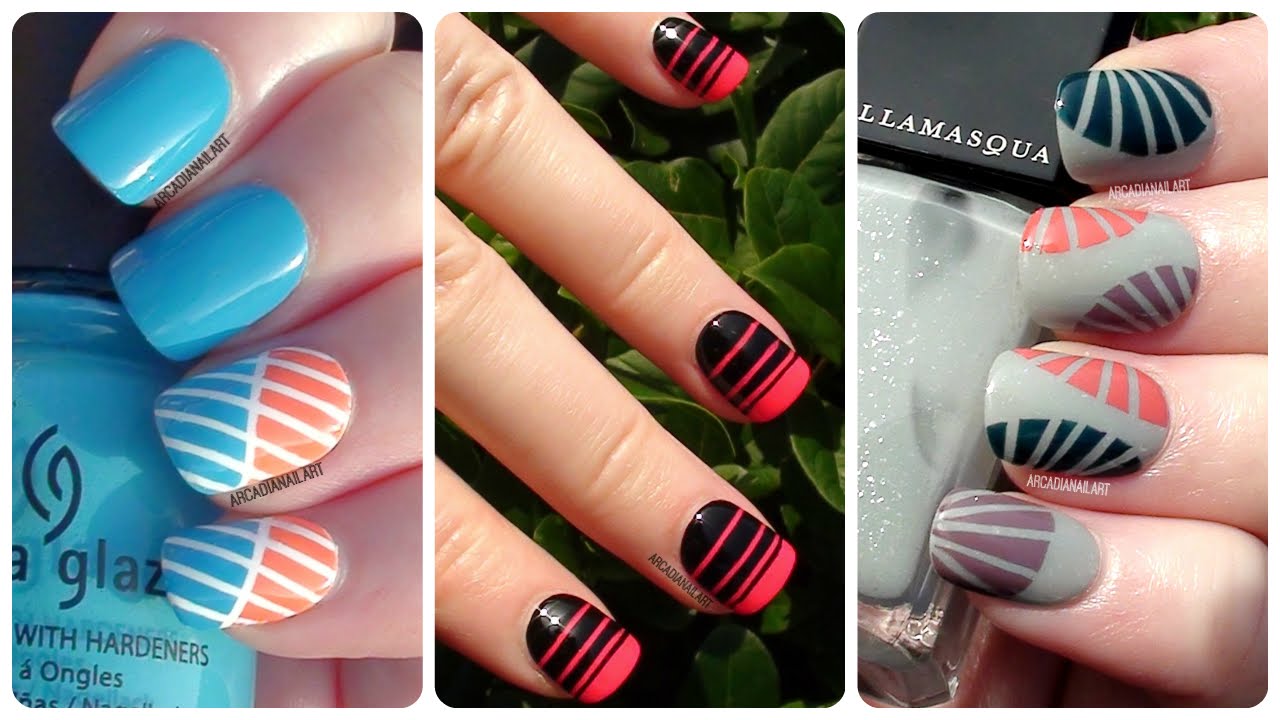
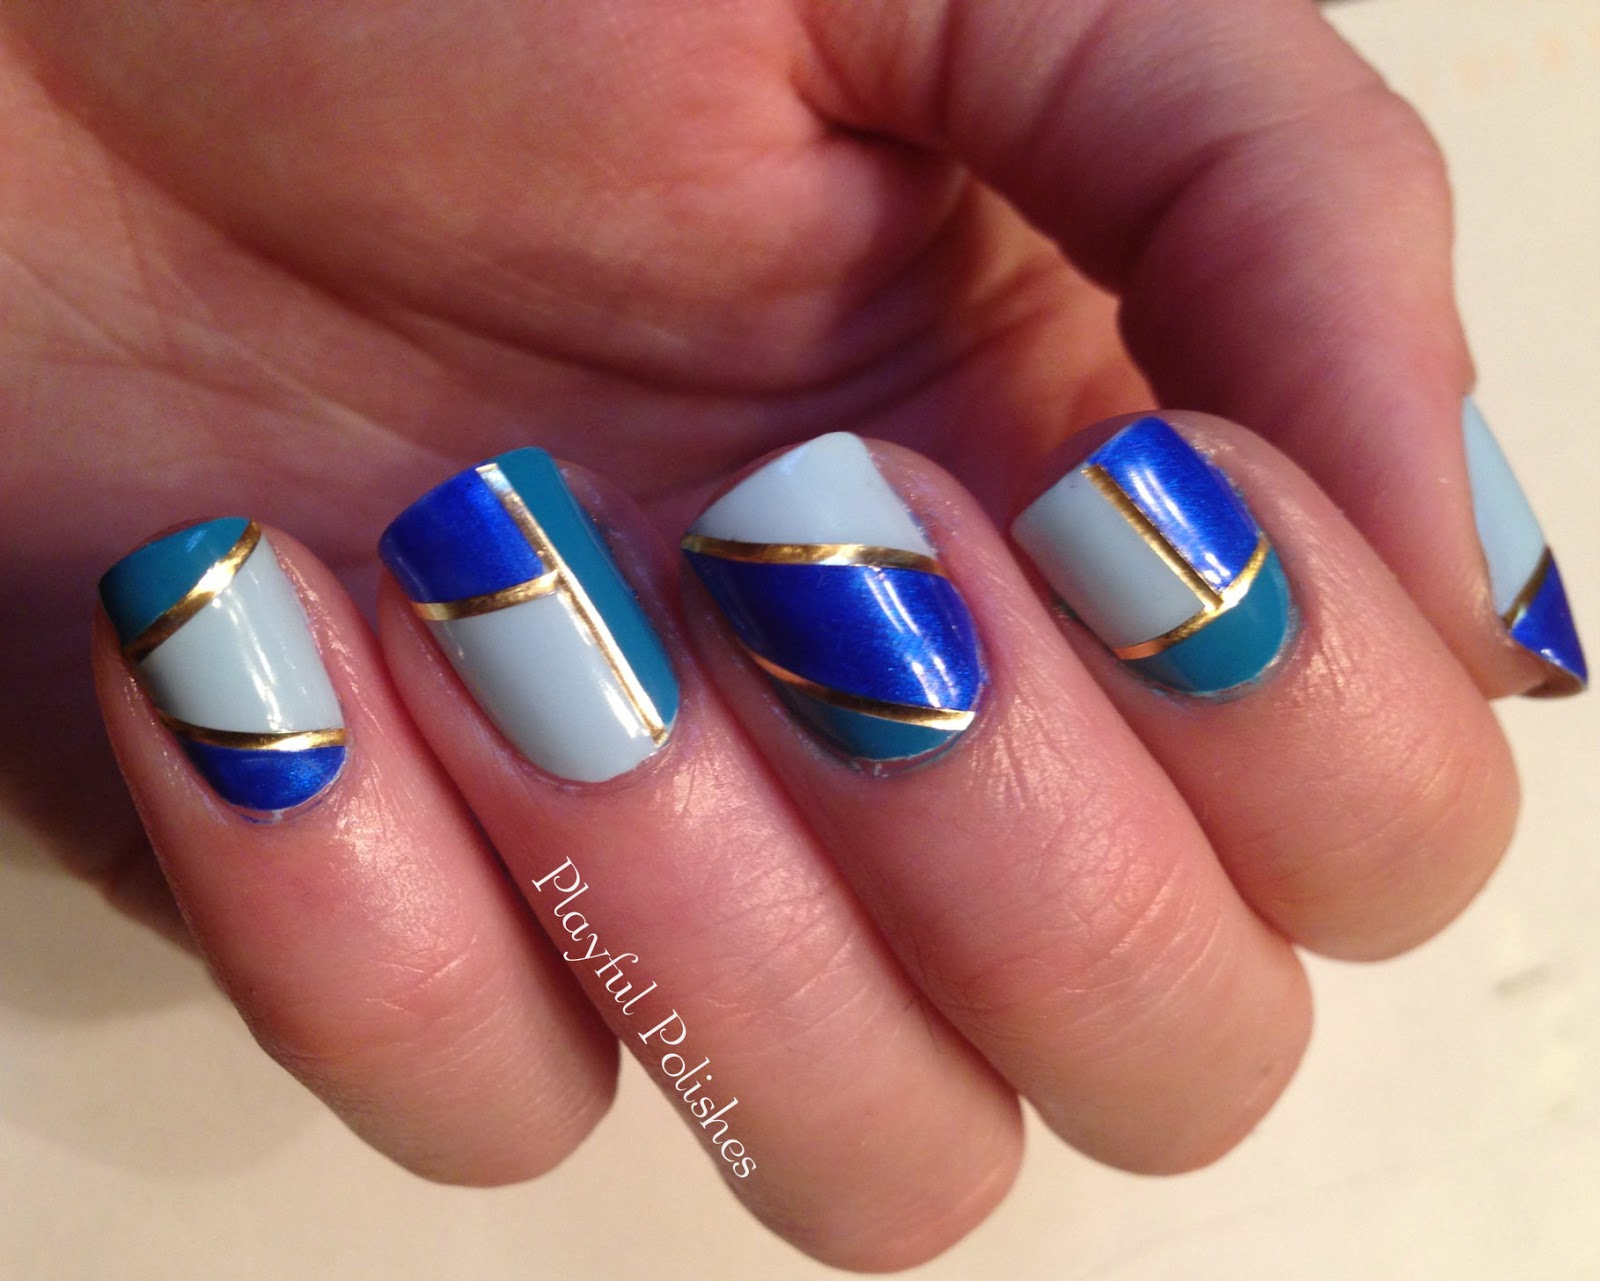
Geometric nail art has been a popular trend in recent years, and striping tape is the perfect tool to achieve it. Use the tape to create straight lines, triangles, or even intricate patterns like chevron or herringbone. You can also combine different colors and widths of striping tape to create a unique and modern geometric design.8. Geometric Nail Art Designs with Striping Tape


8. Geometric Nail Art Designs with Striping Tape
Who says flowers are just for spring? With striping tape, you can create beautiful and intricate floral designs all year round. Use the tape to create flower petals, stems, or even whole flower designs. You can also use different colors and layer the tape to add dimension and depth to your floral nail art.9. Floral Nail Designs Using Striping Tape
9. Floral Nail Designs Using Striping Tape
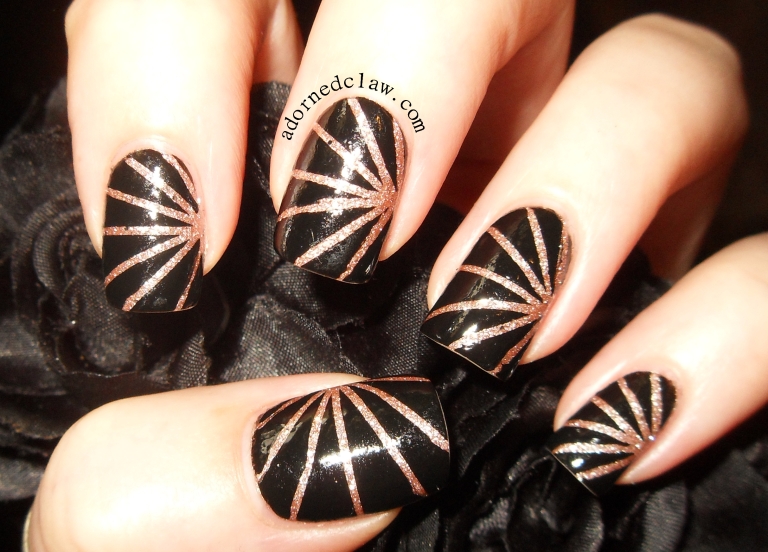
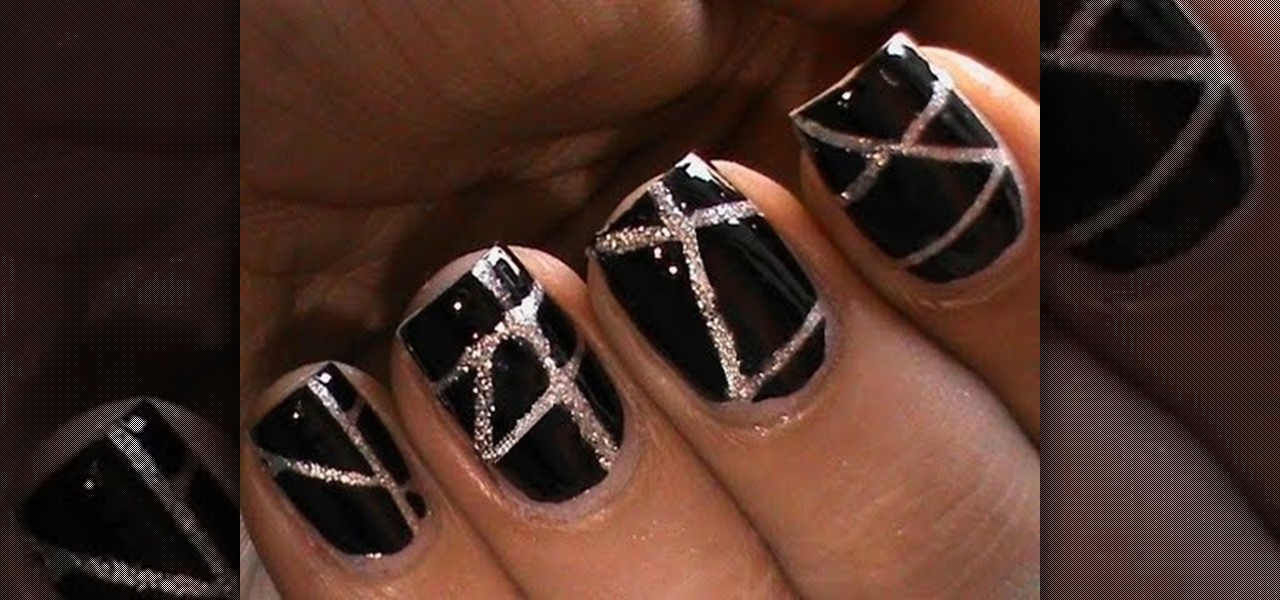
If you want to add a touch of edge and attitude to your nails, striping tape is the way to go. Use it to create bold and graphic designs, like lightning bolts, stripes, or even animal prints. You can also use black or metallic striping tape over a dark base for a cool and edgy look. Don't be afraid to experiment and let your inner rebel shine through your nail art.10. Edgy Nail Art Designs with Striping Tape

10. Edgy Nail Art Designs with Striping Tape

The Art of Nail Striping Tape Design: Elevating Your Manicure Game
Nail striping tape design has been a popular trend in the world of nail art for many years now. It is a simple yet effective way to elevate your manicure game and add a touch of creativity and sophistication to your nails. In this article, we will dive into the world of nail striping tape design, exploring its origins, techniques, and some tips and tricks to help you achieve the perfect nail look.
The Origin of Nail Striping Tape Design

The use of nail striping tape in nail art can be traced back to ancient Egypt, where women would use thin strips of gold to embellish their nails. However, the modern version of nail striping tape design was popularized in the 1980s when it was used to create intricate designs on nails for fashion shows and editorial shoots. Since then, it has become a staple in the nail art world, with different variations and techniques being developed over the years.
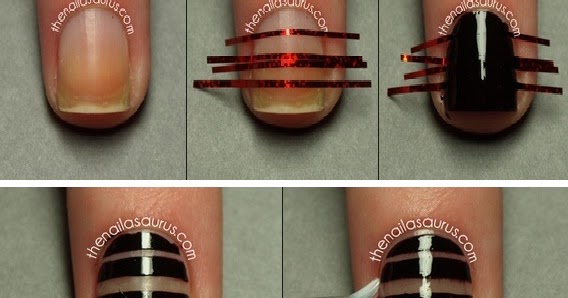
Techniques for Nail Striping Tape Design

The technique for creating nail striping tape designs is relatively simple, but it requires precision and patience. The first step is to apply a base coat on your nails and let it dry completely. Then, using a pair of tweezers or a striping tape dispenser, carefully place the tape on your nails in the desired pattern. You can create straight lines, geometric shapes, or even intricate designs by layering different tapes. Once the tape is in place, apply your desired nail polish color over it and let it dry. Finally, carefully peel off the tape to reveal your beautiful design.
Tips and Tricks for Perfect Nail Striping Tape Design
To ensure a flawless nail striping tape design, here are some tips and tricks to keep in mind:
- Choose a contrasting color for the tape to make the design stand out.
- Use a top coat to seal the design and make it last longer.
- Experiment with different tape widths and patterns to create unique designs.
- Practice on a piece of paper first to get the hang of placing the tape.
- Remove the tape while the polish is still wet for a clean edge.
With these tips and tricks, you can easily achieve a professional-looking nail striping tape design right at home.
In Conclusion

Nail striping tape design is a fun and creative way to add a unique touch to your manicure. With its origins dating back to ancient times, this technique has stood the test of time and continues to be a popular trend in the nail art world. By following the techniques and tips mentioned in this article, you can easily elevate your nail game and create stunning designs that will make your nails stand out.


