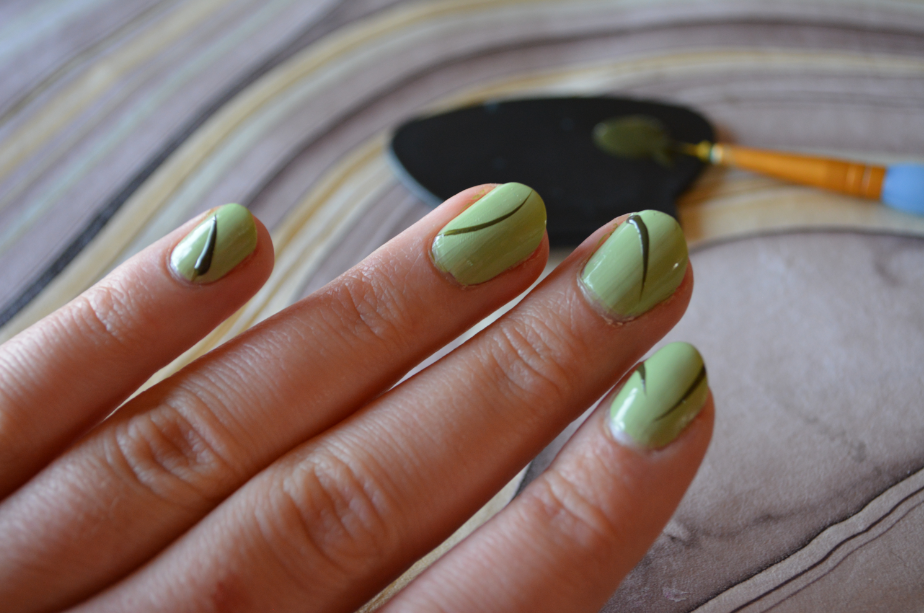
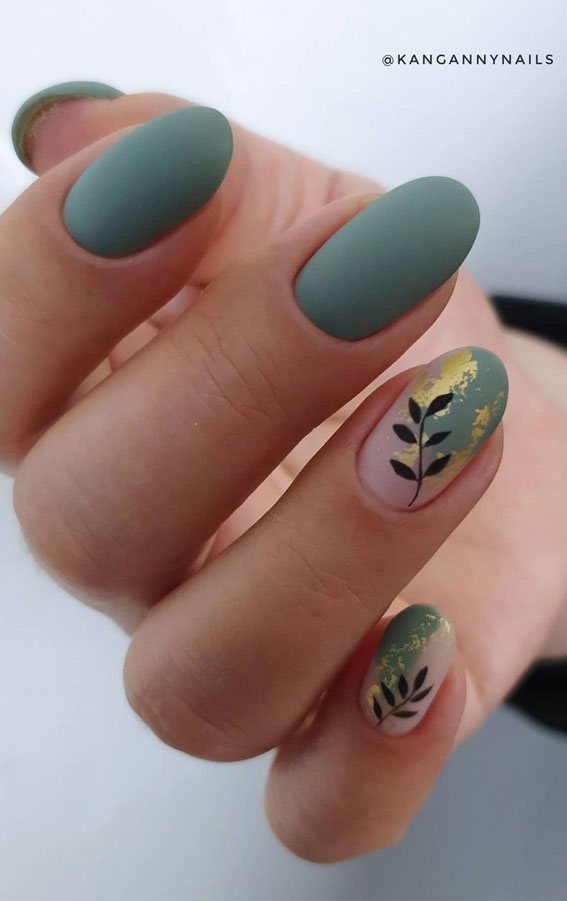
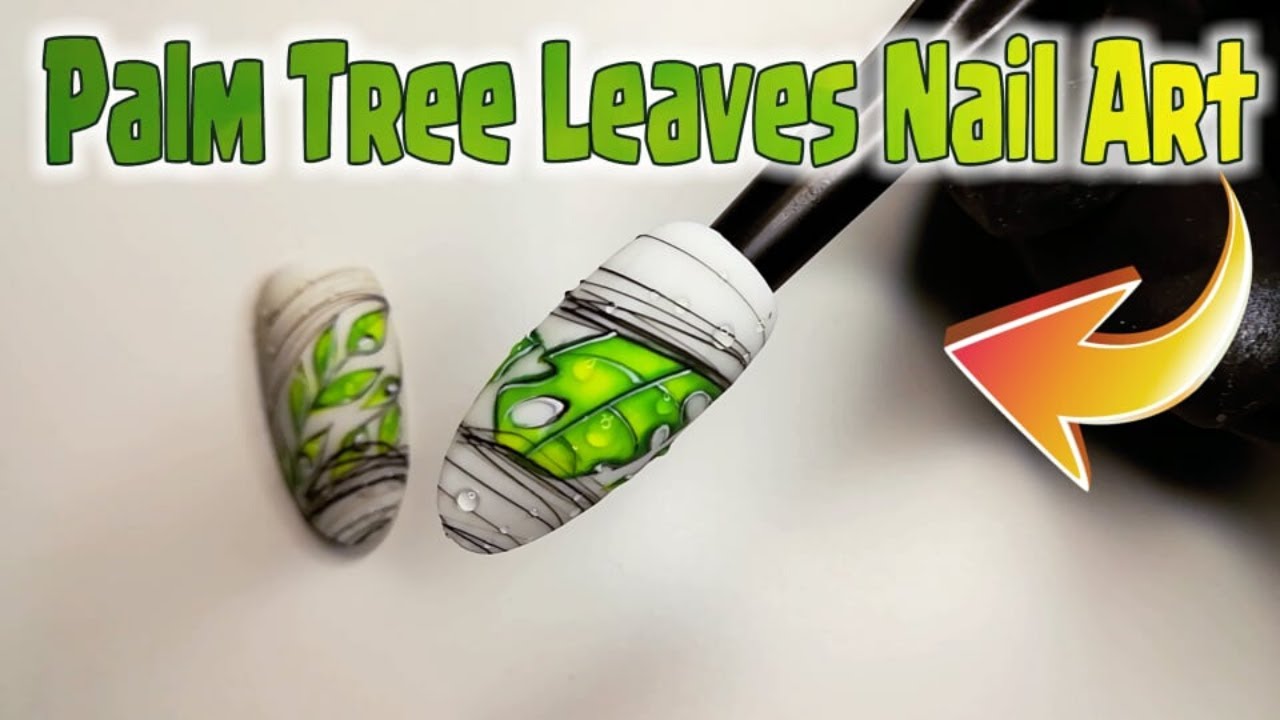
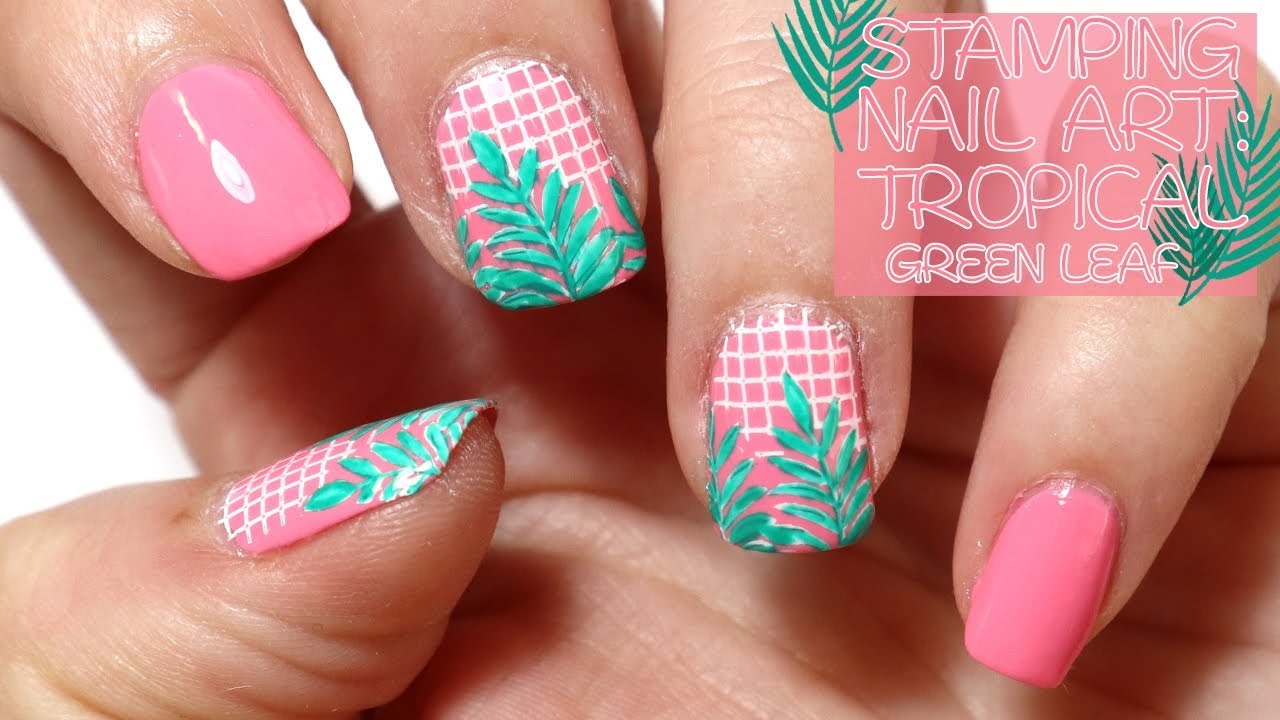
If you've been wanting to add a touch of nature to your nail art, then nail tip leaf design is the perfect choice for you. This tutorial will guide you through the steps to achieve a beautiful and unique leaf design on your nails. Start by preparing your nails with a base coat and choose your desired nail tip color. Nail tips with a natural or neutral color work best for this design, such as beige, light green, or light brown. Apply the nail tip color evenly on all your nails and let it dry completely. Next, take a thin nail art brush or a toothpick and dip it in a darker shade of green nail polish. With this, create a curved line starting from the side of your nail to the tip, resembling the shape of a leaf. Do this on all your nails. Now, it's time to add some dimension to the leaves. Take a metallic green nail polish and create small strokes on the edges of the leaves, giving them a shiny and realistic look. You can also use a leaf-shaped nail stencil for this step, which will give you perfectly shaped leaves with minimal effort. For the final touch, add a top coat to seal the design and give your nails a glossy finish. You can also add small rhinestones or glitter to add some sparkle and make the leaves stand out. Let your nails dry completely before going about your day with your stunning leaf nail tips.1. Nail Tip Leaf Design Tutorial


1. Nail Tip Leaf Design Tutorial


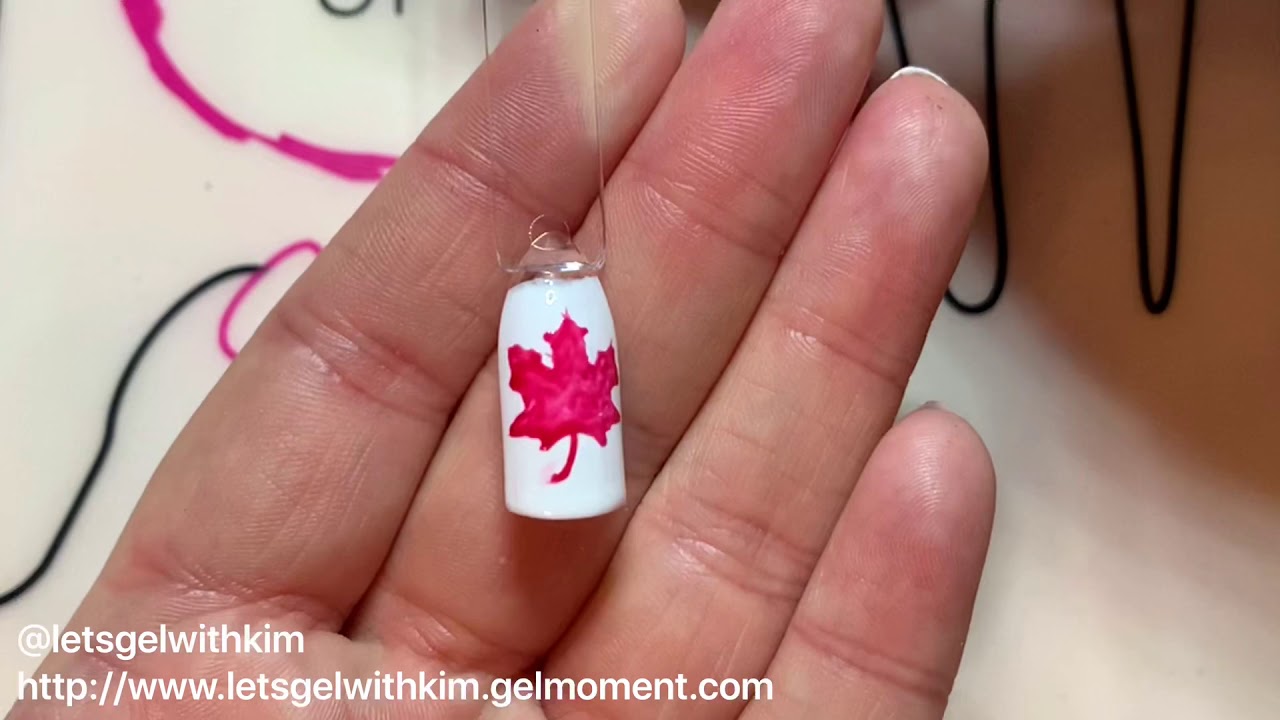
Leaf design nail tips are the perfect way to add a touch of nature to your nails. Whether you're going for a subtle and elegant look or a bold and eye-catching statement, there are endless options when it comes to leaf design nail tips. If you're new to nail art, leaf nail tip stickers are a great option. Simply apply them on top of your base color and seal them with a top coat. You'll have beautiful and intricate leaf designs on your nails without having to spend hours creating them. If you want to take it up a notch, leaf nail tip foil is a fun and creative way to add some shine to your nails. Apply a layer of foil glue on your nails and let it dry. Then, carefully place the foil on your nails and gently rub it to transfer the design. Finish with a top coat to seal the foil and enjoy your unique leaf nail tips. For those who love a bit of sparkle, leaf nail tip decals are a great choice. These thin and transparent stickers can be easily applied on your nails and can give the illusion of a hand-painted leaf design. You can also find decals with different colors and textures to add some variety to your nail tips. If you're looking for a more long-lasting option, leaf nail tip gel polish is the way to go. This type of polish is cured under a UV or LED lamp, giving you a durable and glossy finish. You can create intricate leaf designs with different colors and layers, making your nail tips truly unique.2. Leaf Design Nail Tips
2. Leaf Design Nail Tips


Don't have much time to spend on your nail art? No problem. This easy leaf nail art design will give you beautiful results without taking up much of your time. Start by choosing a light green nail tip color and apply it on all your nails. You can also use a neutral color, such as beige or light brown, for a more subtle look. Let your nails dry completely. Next, take a dark green nail polish and create small curved lines on the side of your nails, resembling the shape of a leaf. You can also use a thin nail art brush or a toothpick for this step. Make sure to leave some space between the leaves to avoid overcrowding the design. For added dimension, use a metallic green nail polish to add small strokes on the edges of the leaves. This will give them a shiny and realistic look. Finish the design with a top coat to seal the design and give your nails a glossy finish. And that's it! You now have a beautiful and easy leaf nail art design that will surely catch some attention.3. Easy Leaf Nail Art Design

3. Easy Leaf Nail Art Design


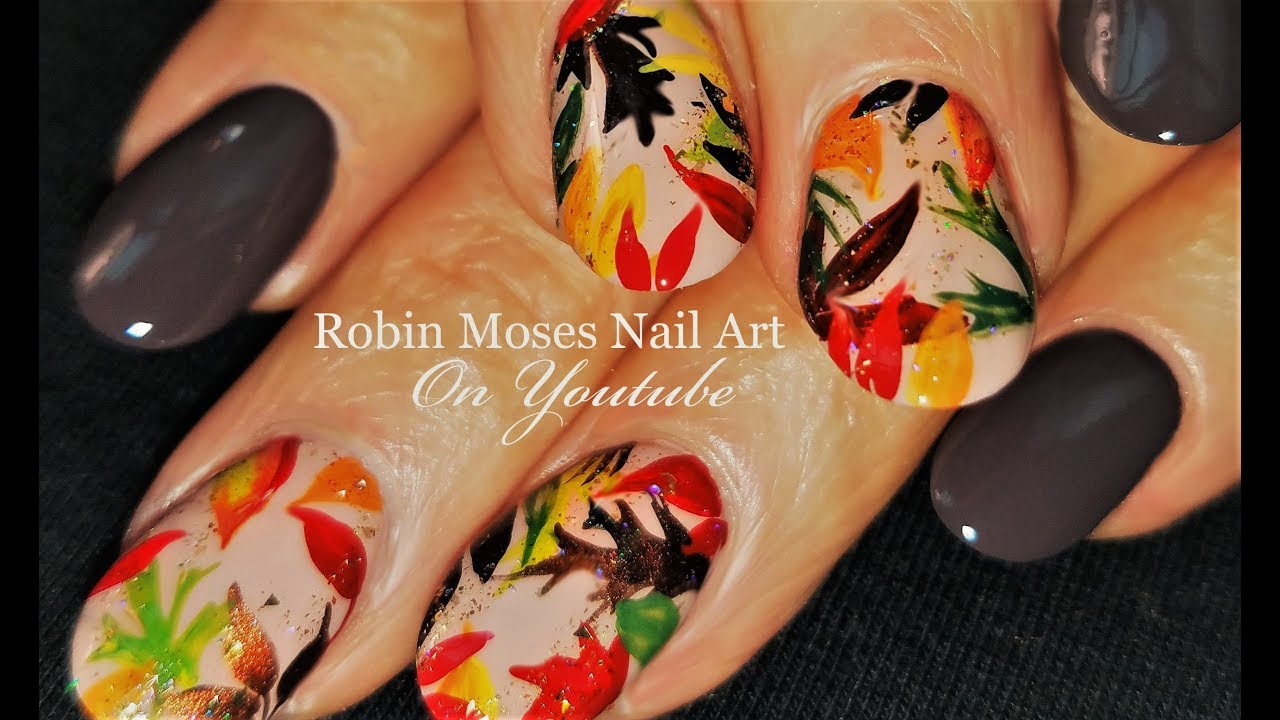


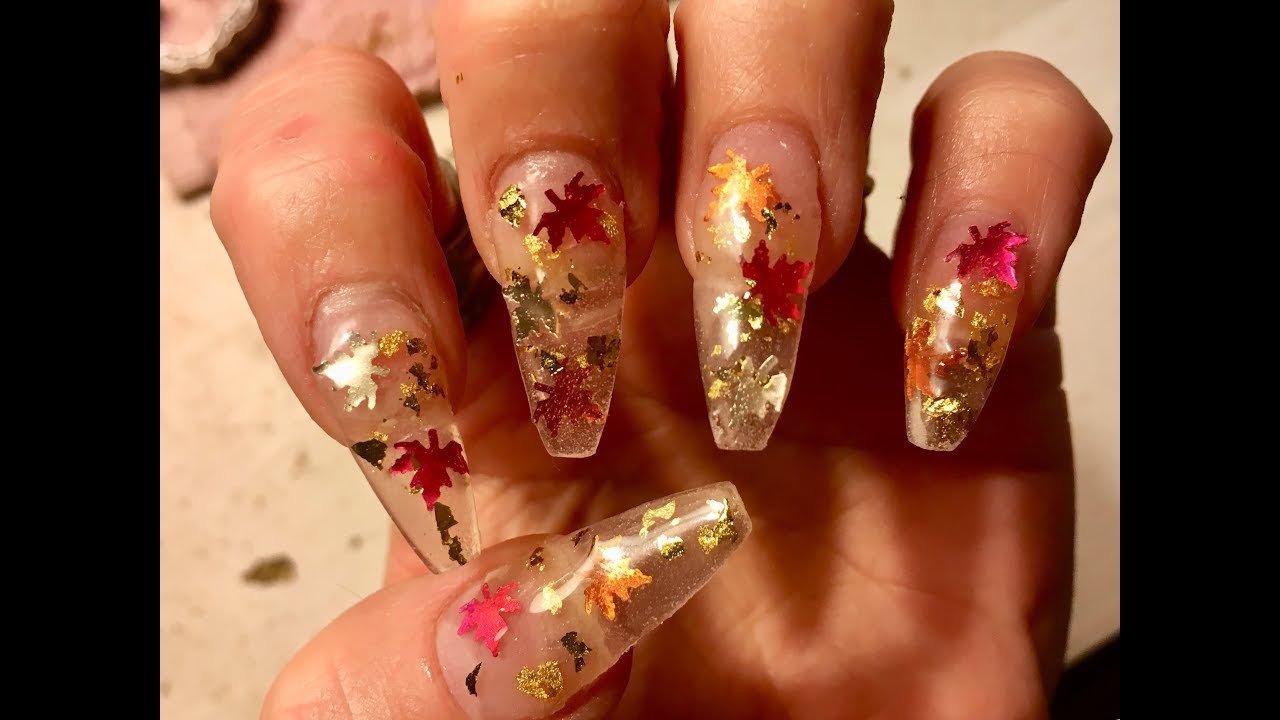
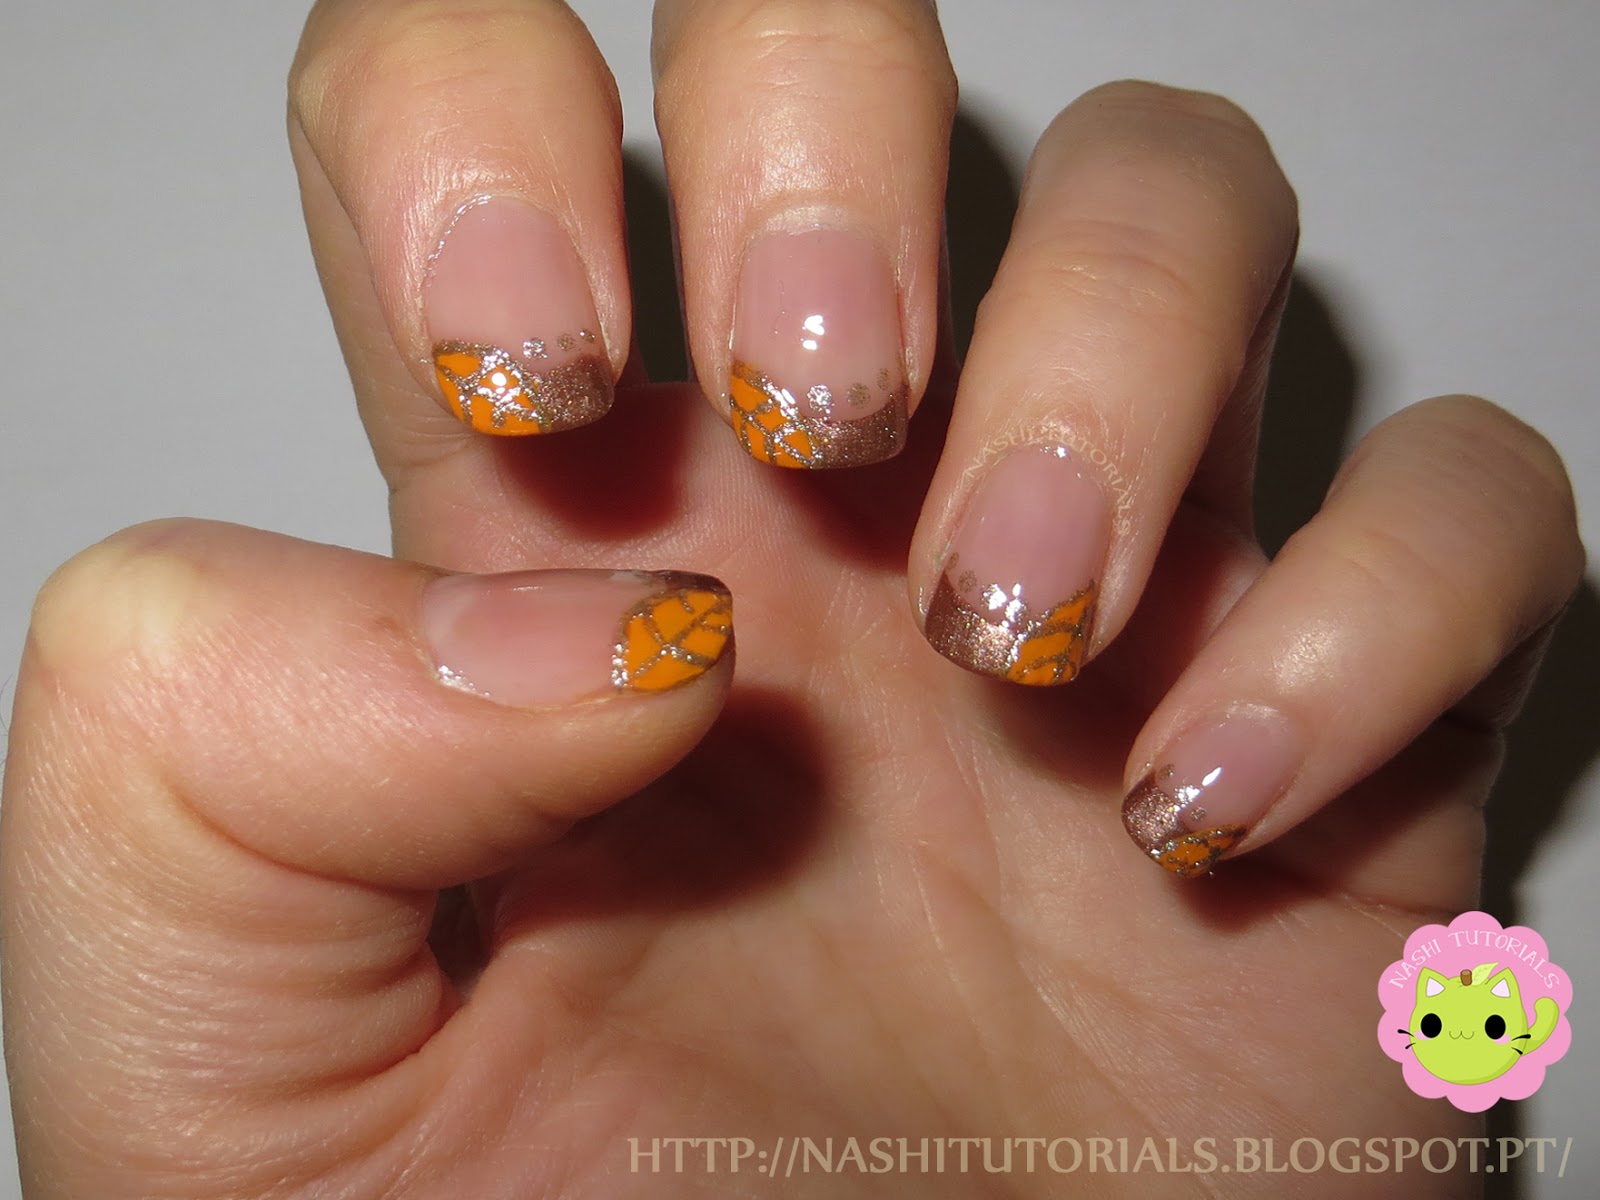
Fall is the perfect season to incorporate leaf designs into your nail tips. With the warm and earthy colors of the season, you can create stunning fall leaf nail tip designs that will make your nails stand out. Start by choosing a dark orange or burgundy nail tip color as your base. These colors represent the changing leaves of fall and will give your nails a warm and cozy feel. Apply the color evenly on all your nails and let it dry completely. Next, use a thin nail art brush or a toothpick to create small curved lines on the side of your nails, resembling the shape of a leaf. You can use different shades of green or yellow to give the design more depth and dimension. For a more playful look, add small dots or stripes with different fall colors on the edges of the leaves. This will give your nails a fun and unique touch. Finish with a top coat to seal the design and add some shine to your nails. Now you have beautiful fall leaf nail tips that will make you feel like you're carrying a piece of nature with you wherever you go.4. Fall Leaf Nail Tip Designs


4. Fall Leaf Nail Tip Designs


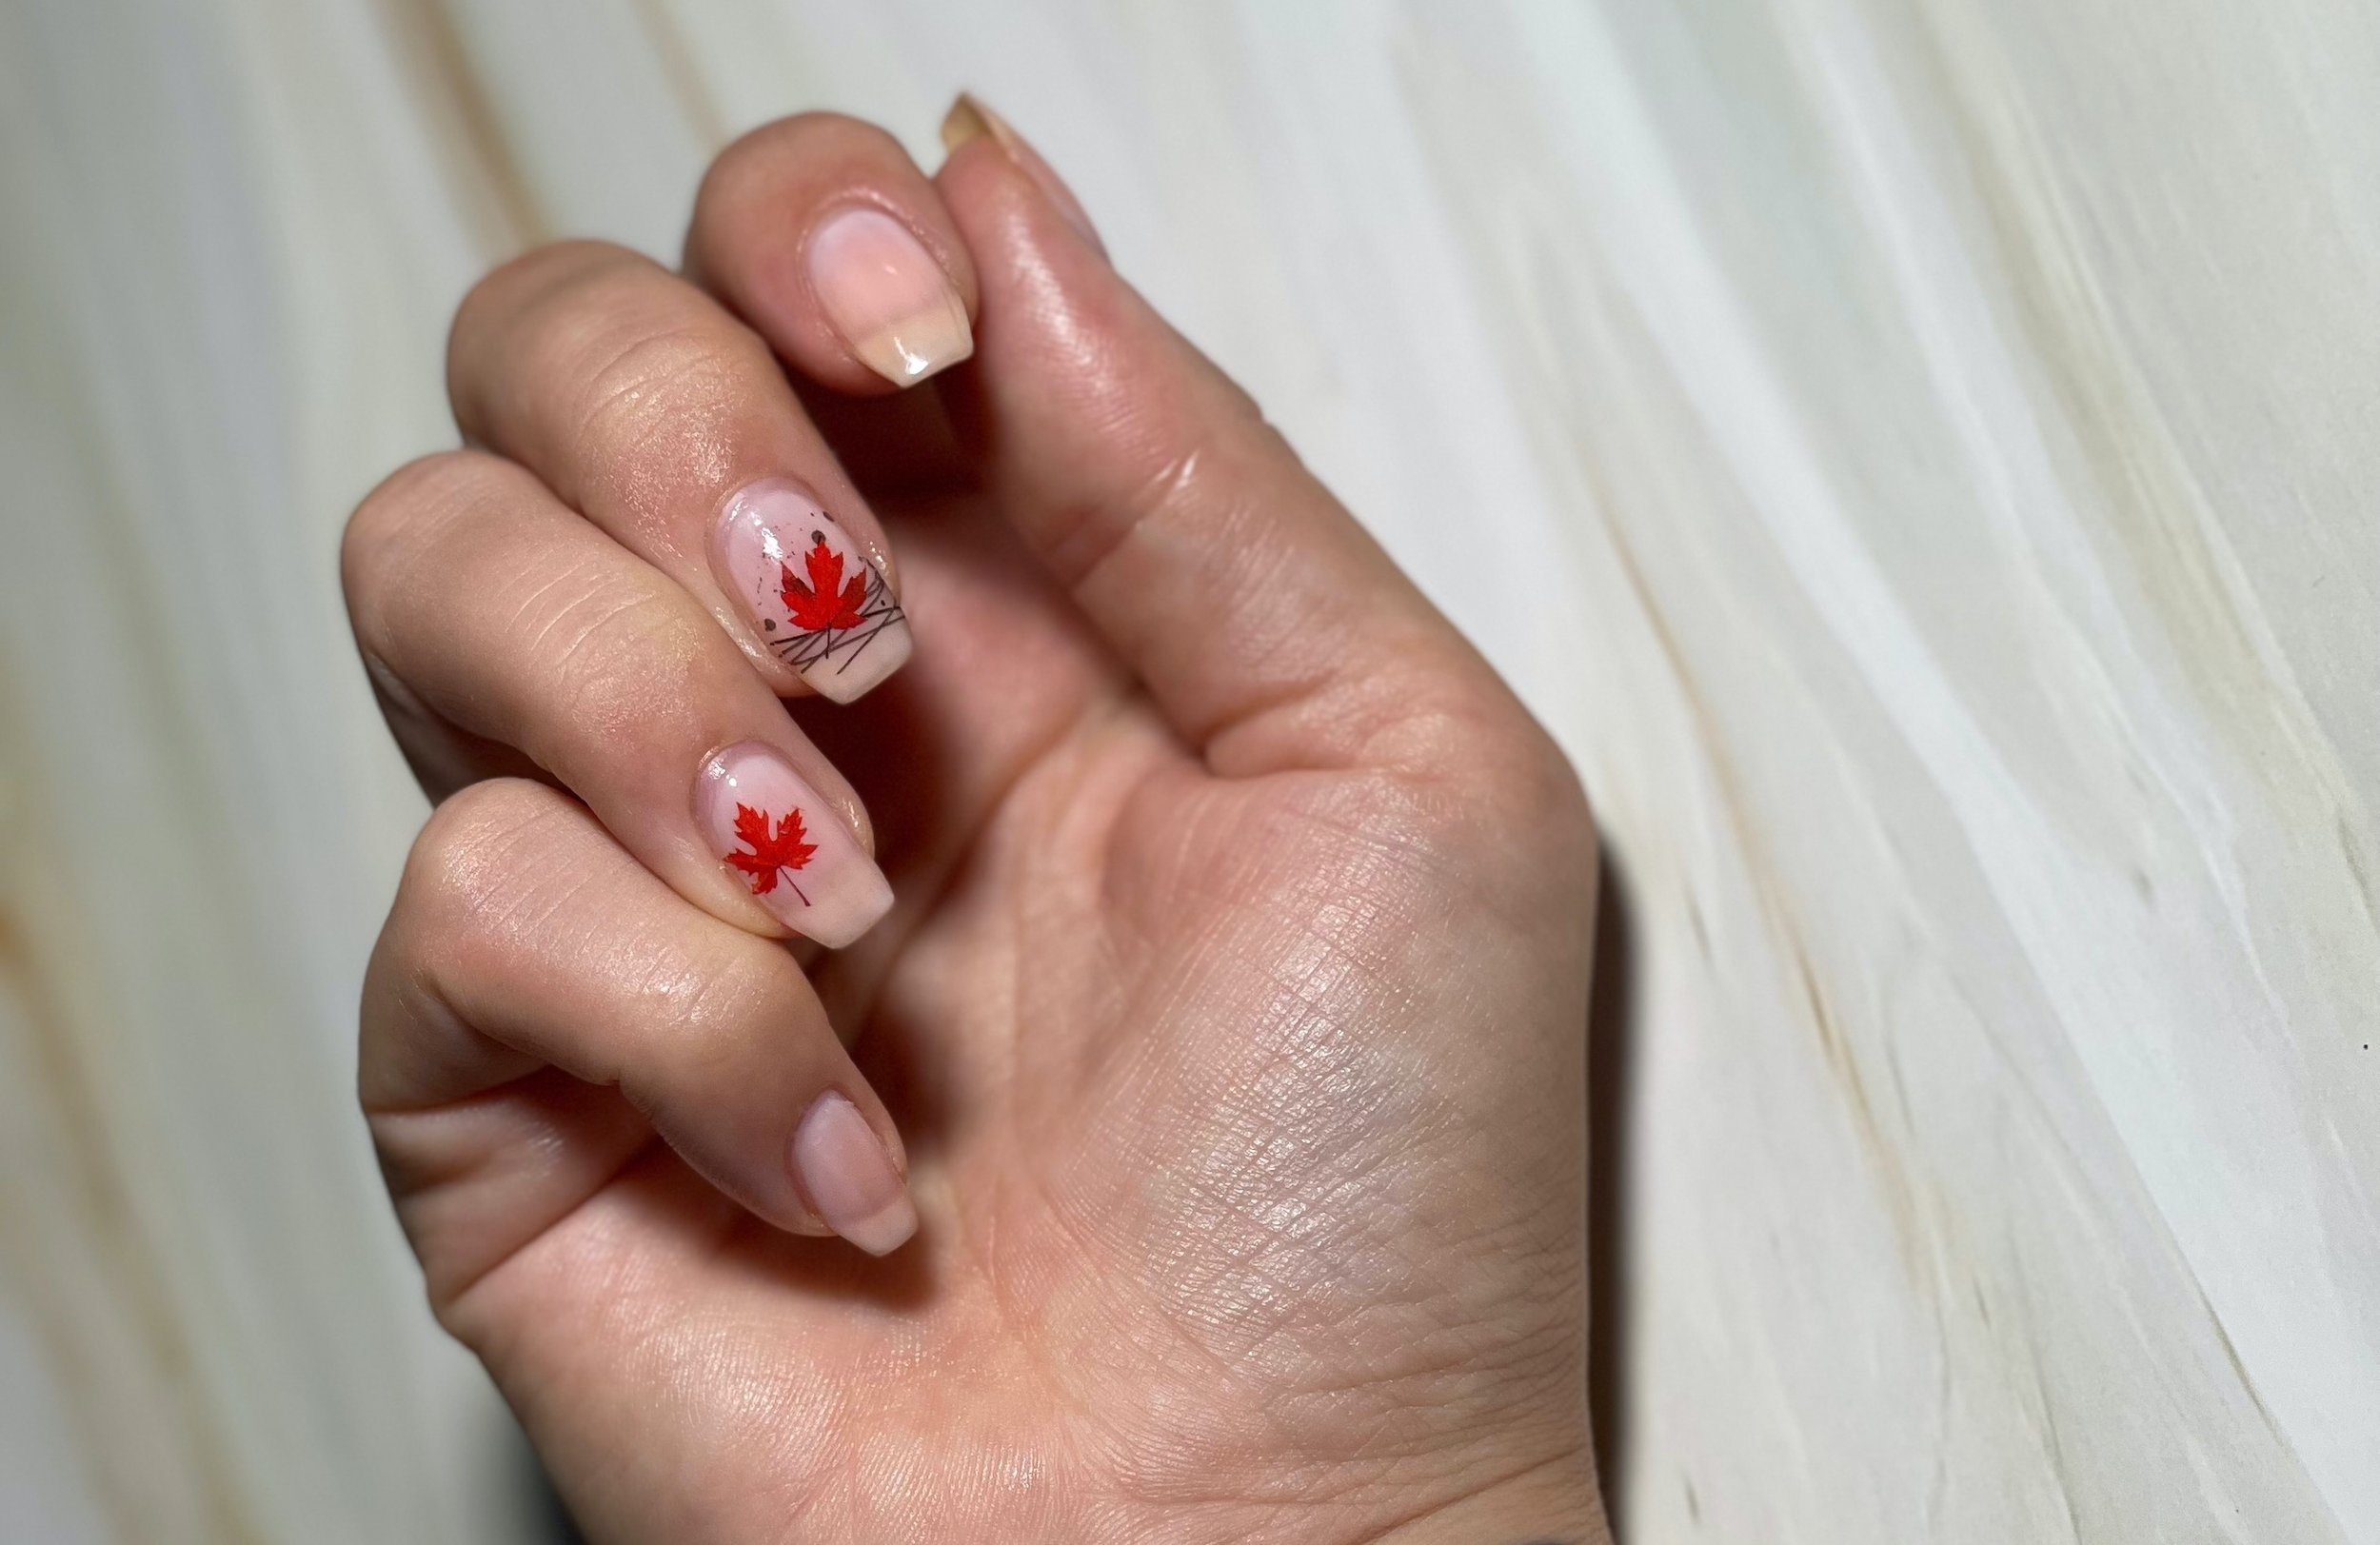

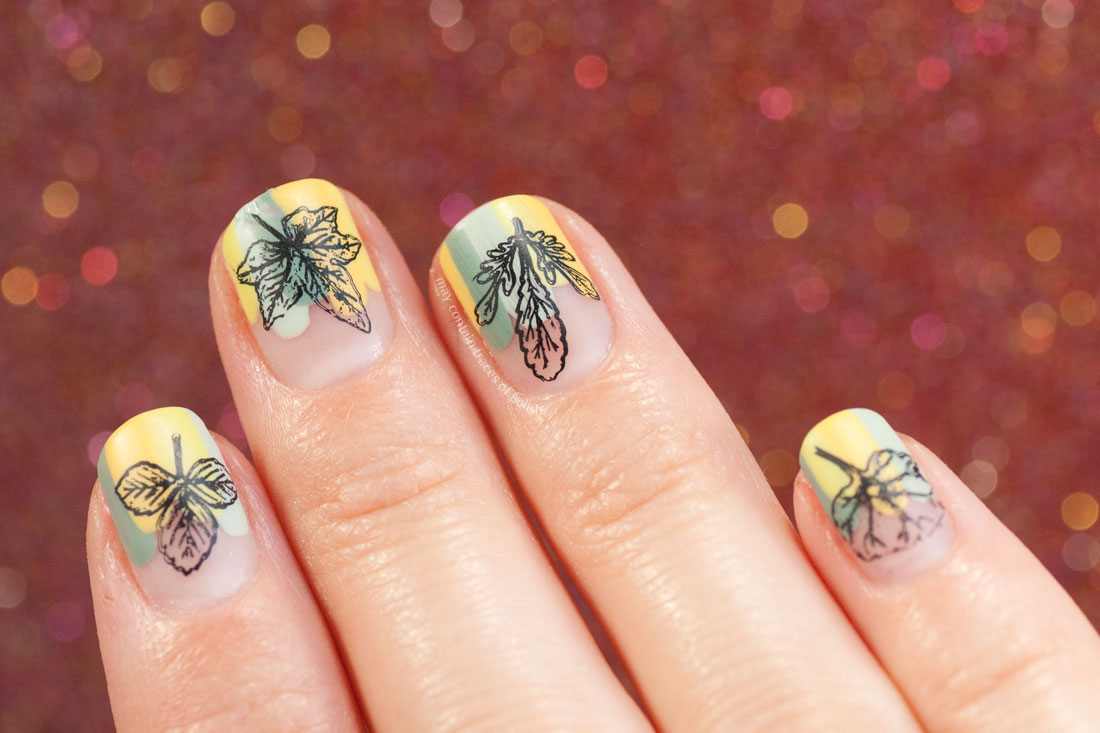
If you're not confident in your nail art skills but still want to achieve a beautiful leaf design on your nails, then leaf nail tip stickers are the perfect solution. Start by choosing your desired nail tip color and apply it evenly on all your nails. You can also use a neutral color, such as beige or light brown, to make the leaf design stand out. Once your base color is dry, simply peel off the leaf nail tip stickers and place them on your nails. You can also use tweezers to help with placement and avoid smudging the design. Seal the design with a top coat and you're all set! You'll have beautiful and intricate leaf designs on your nails in just a few minutes with these easy-to-use stickers.5. Leaf Nail Tip Stickers


5. Leaf Nail Tip Stickers


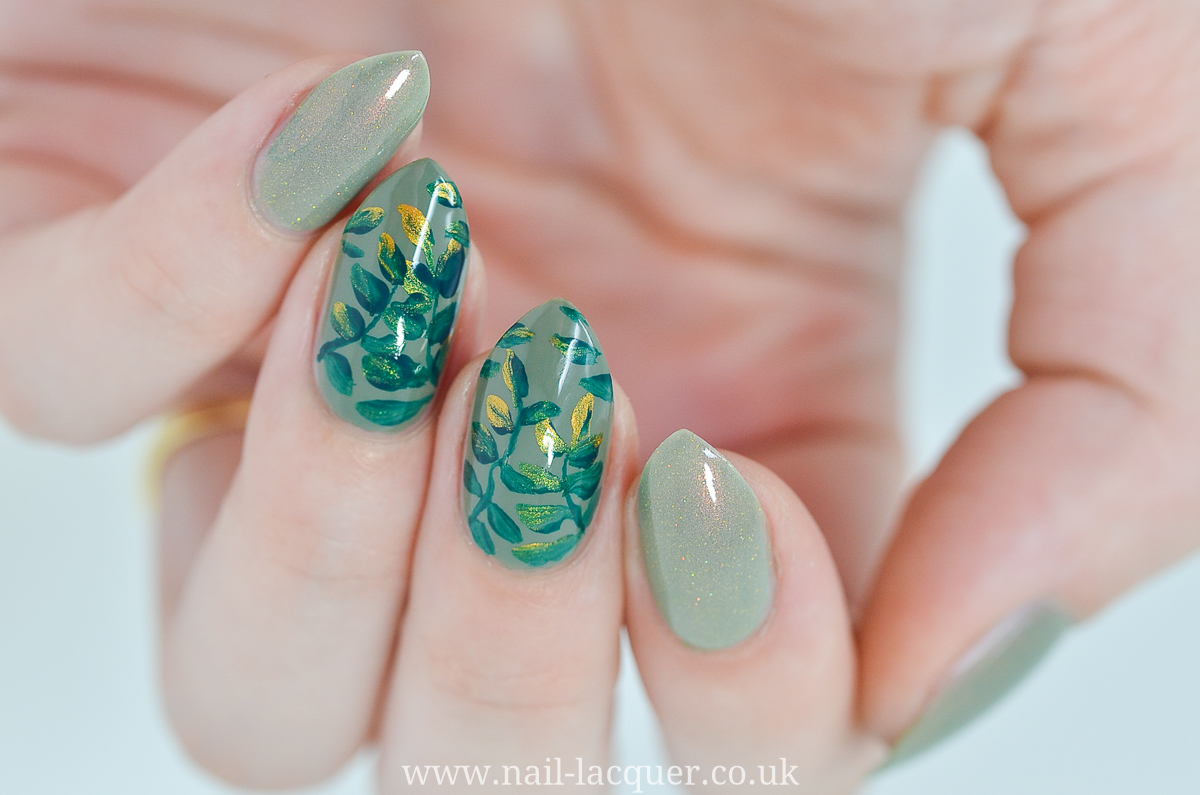
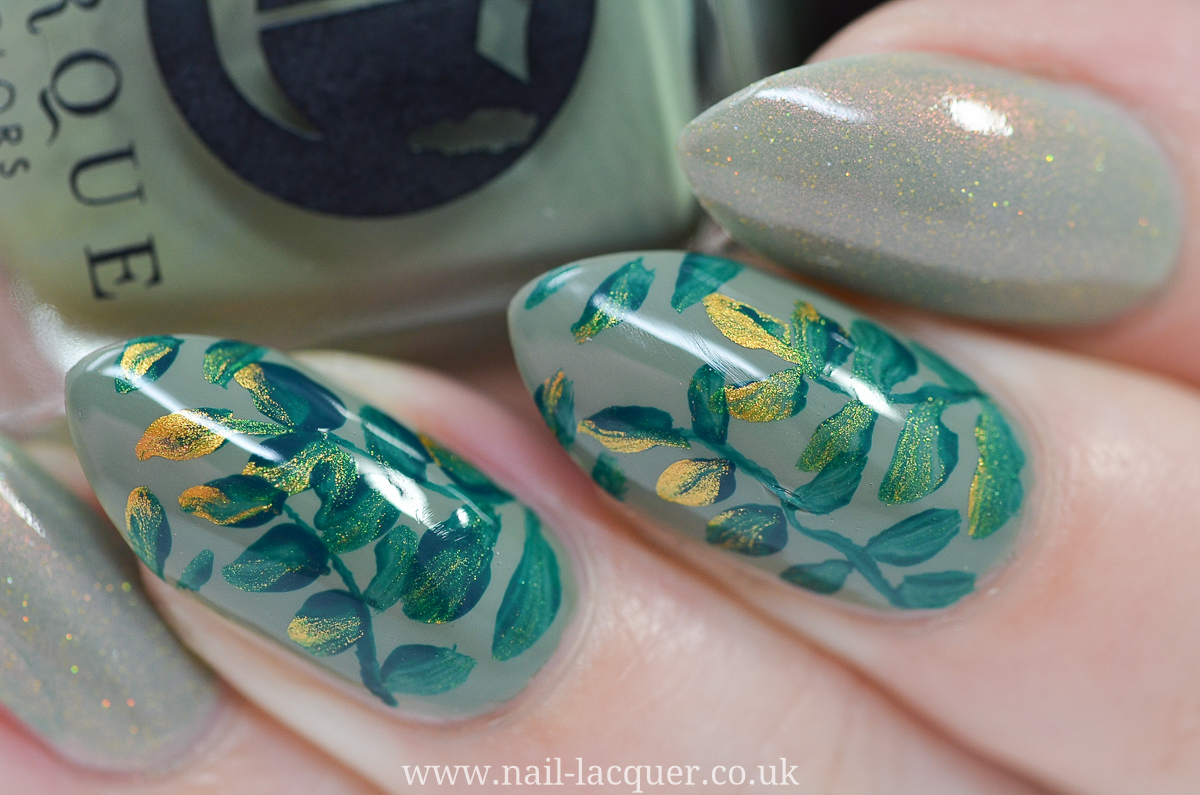
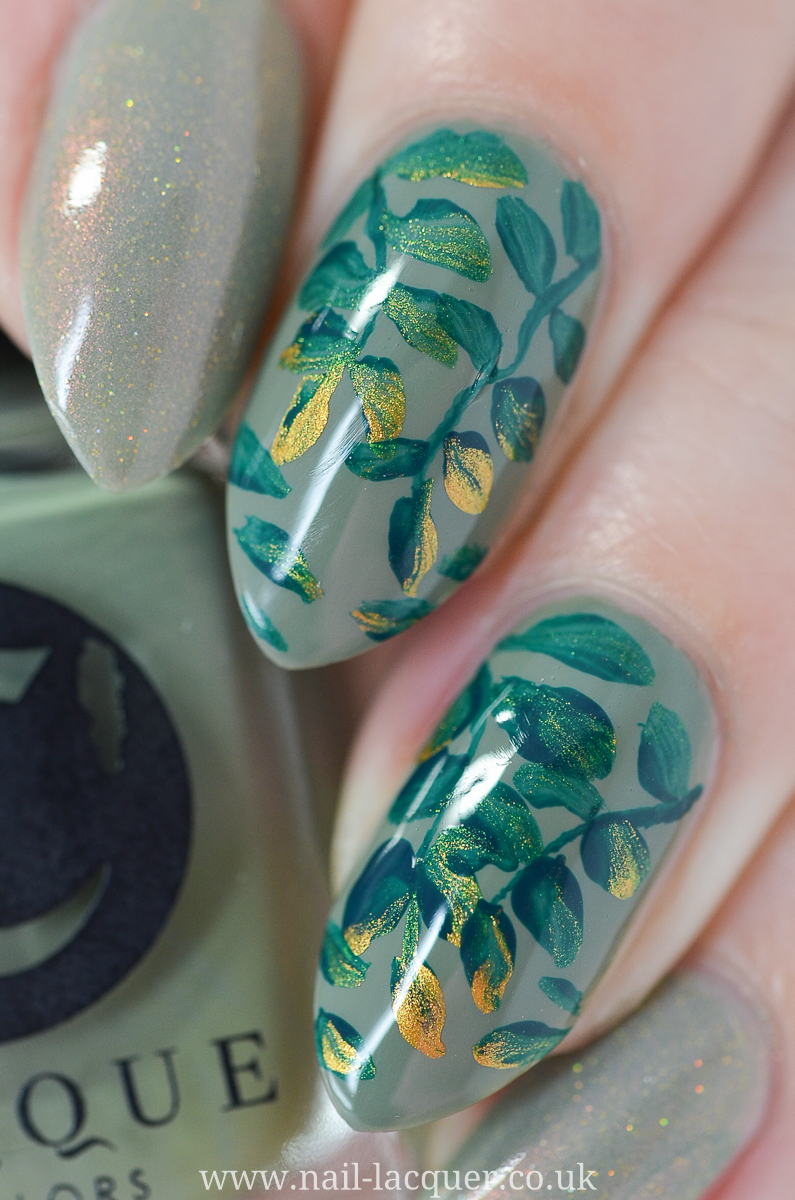
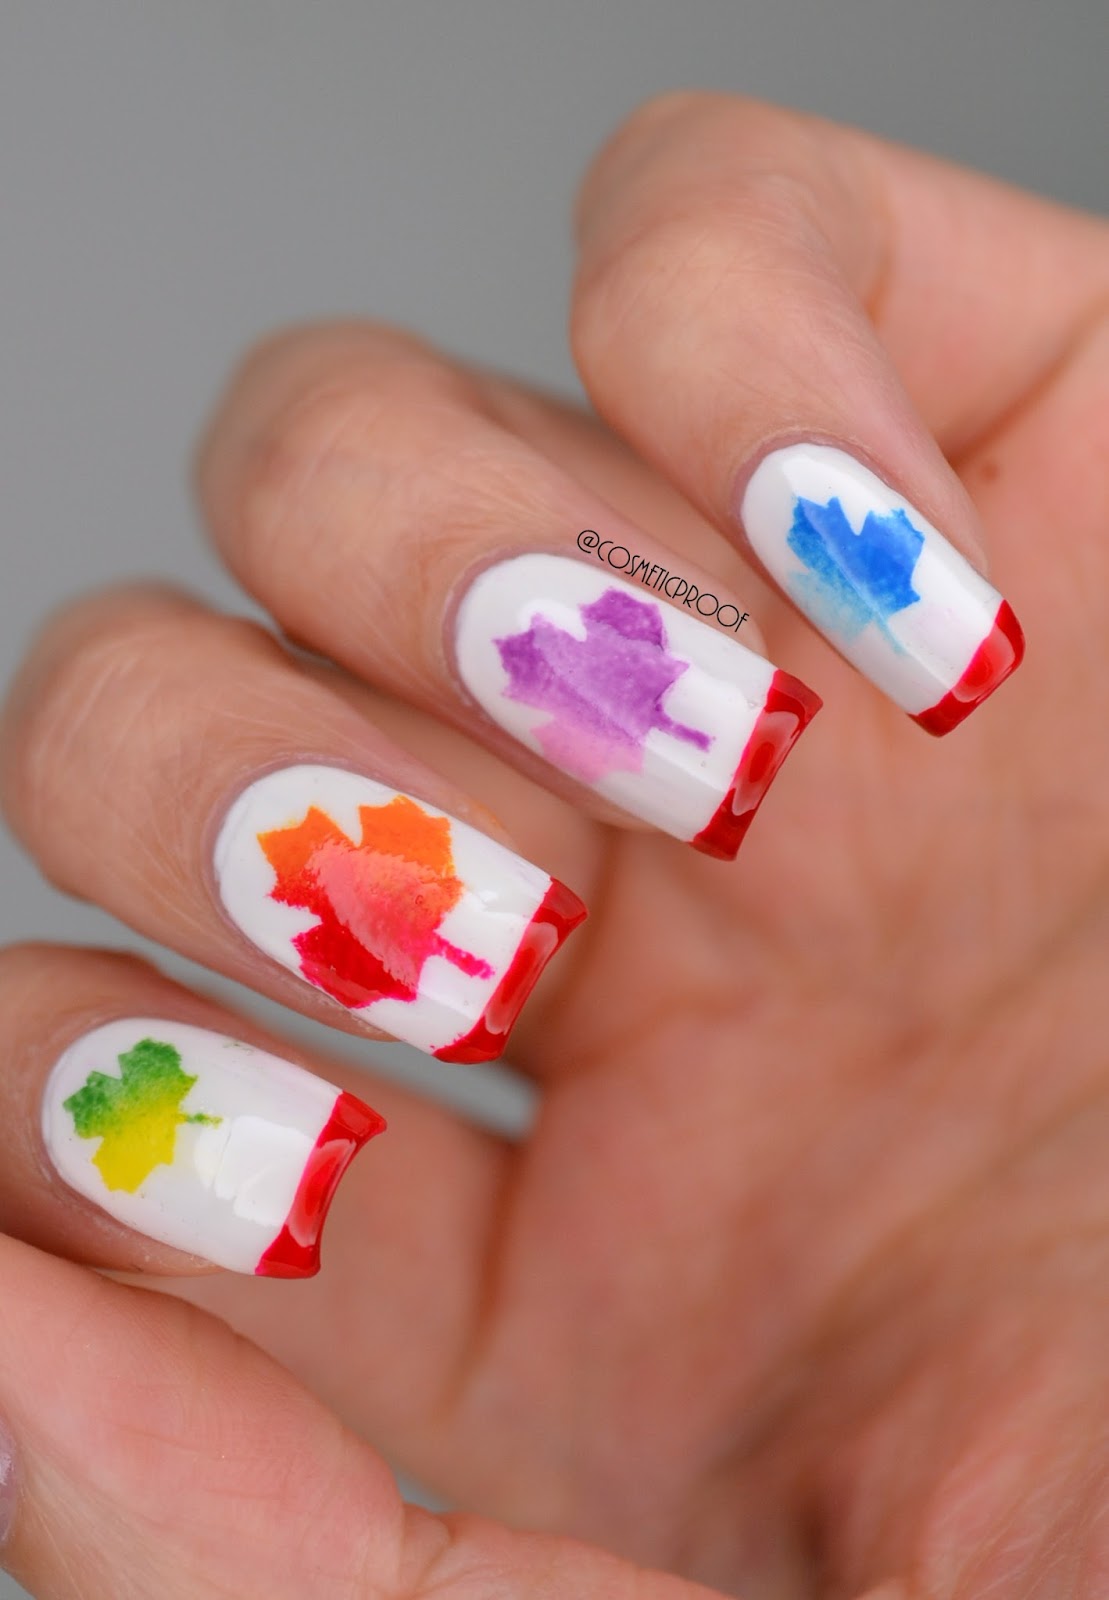
Why settle for one color when you can have a beautiful gradient leaf design on your nails? This design may seem complicated, but with a little patience and practice, you'll have stunning results. Start by choosing three different shades of green nail polish that complement each other. Apply the lightest shade on the bottom half of your nail, the medium shade on the middle part, and the darkest shade on the tip. With a thin nail art brush or a toothpick, create small curved lines on the side of your nails, resembling the shape of a leaf. You can use different shades of green or even some gold or bronze to add some shine to the design. For a more realistic look, add small dots or stripes with a metallic green nail polish on the edges of the leaves. This will give them a shiny and dimensional look. Finish with a top coat to seal the design and give your nails a glossy finish. This gradient leaf nail design will surely make your nails stand out and catch some attention.6. Gradient Leaf Nail Design


6. Gradient Leaf Nail Design


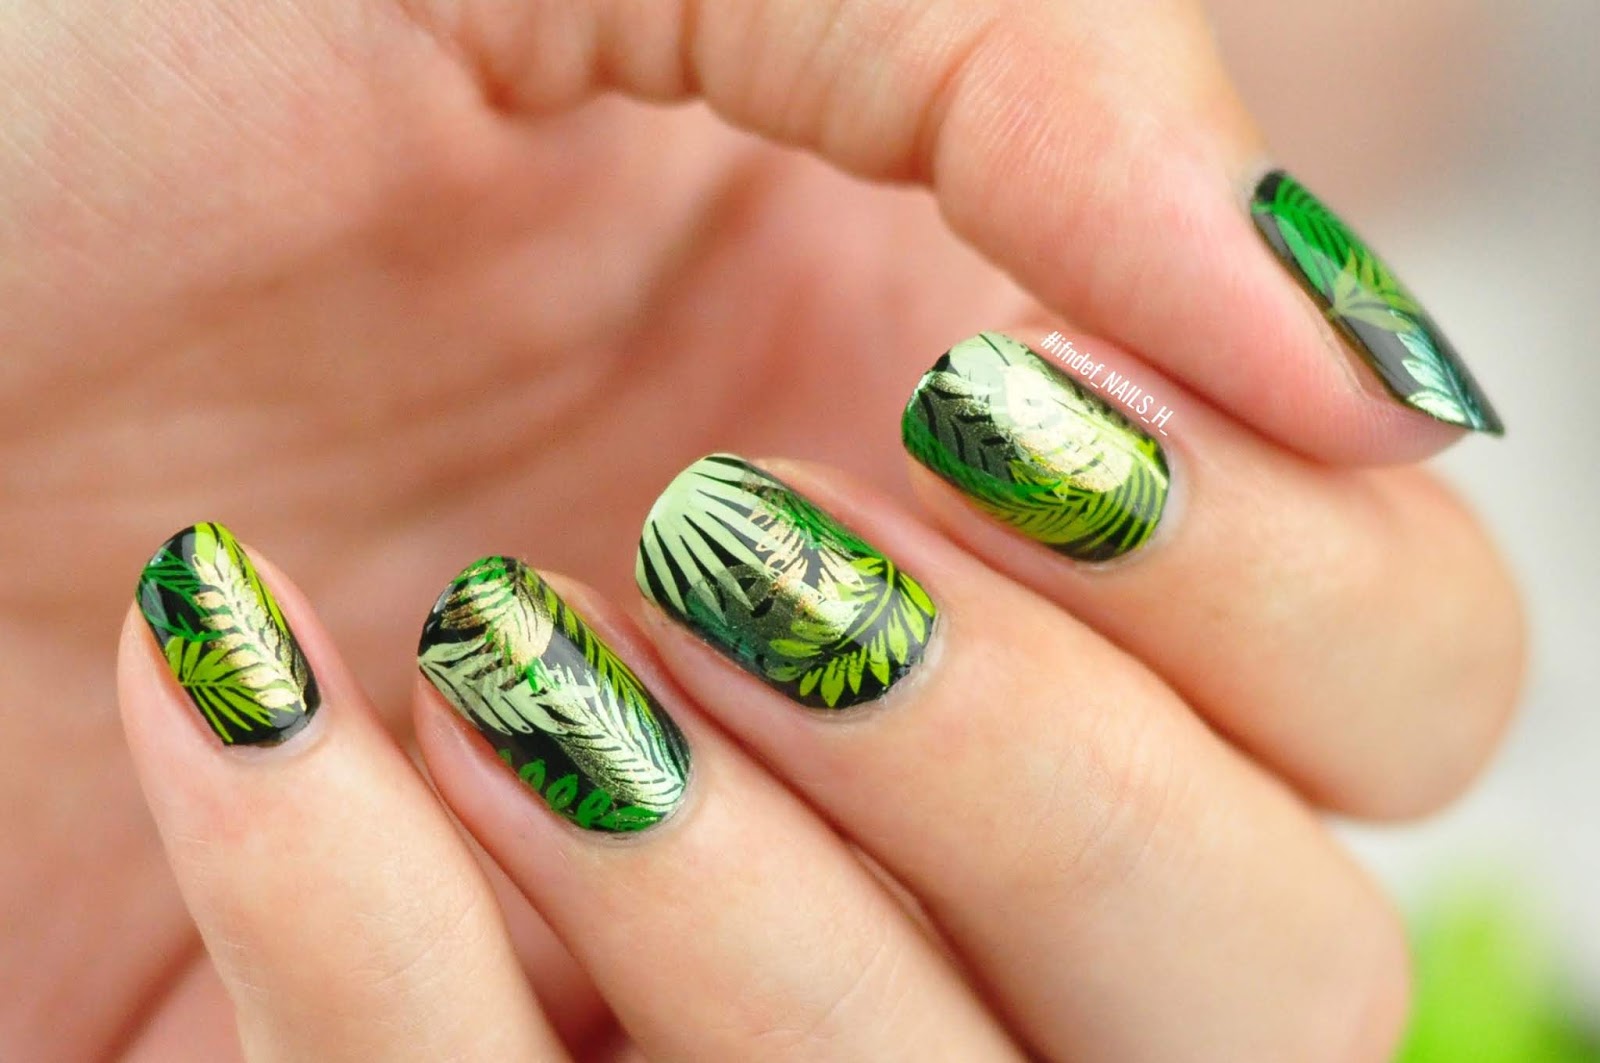
Adding foil to your leaf nail tips is a fun and creative way to make them stand out. With this technique, you can create unique and eye-catching designs on your nails. Start by choosing a base color for your nails. A light or neutral color will work best for this design. Apply it evenly on all your nails and let it dry completely. Next, apply a layer of foil glue on your nails and let it dry. Then, carefully place a piece of foil on your nail and gently rub it to transfer the design. You can use different colors and patterns of foil to create a unique and one-of-a-kind look. Once the foil is transferred, finish with a top coat to seal the design and add some shine to your nails. You'll have beautiful and shiny leaf nail tips that will surely make a statement.7. Leaf Nail Tip Foil


7. Leaf Nail Tip Foil


If you struggle with creating intricate designs on your nails, then a leaf nail tip stamp is a great tool to have. With this, you can easily transfer detailed leaf designs on your nails in just a few seconds. Start by choosing a light or neutral color for your base and apply it evenly on all your nails. Once it's dry, use a leaf nail tip stamp with your desired leaf design and press it on your nails. You can use different colors and patterns of nail polish on the stamp to create a unique and colorful look. Once the design is transferred, finish with a top coat to seal it and add some shine to your nails. With a leaf nail tip stamp, you can create beautiful and intricate designs on your nails without having to spend hours on it. It's a quick and easy way to achieve stunning nail tips.8. Leaf Nail Tip Stamp

8. Leaf Nail Tip Stamp

Leaf nail tip decals are another great option for those who prefer an easy and quick way to add a touch of nature to their nails. These thin and transparent stickers are easy to apply and give the illusion of a hand-painted design. Start by choosing a base color for your nails. A light or neutral color will work best to make the decals stand out. Apply it evenly on all your nails and let it dry. Next, peel off the leaf nail tip decals and place them on your nails. You can use tweezers to help with placement and avoid smudging the design. Once they're all in place, seal them with a top coat and enjoy your beautiful leaf nail tips.9. Leaf Nail Tip Decals


9. Leaf Nail Tip Decals

If you want a long-lasting and durable leaf design on your nails, then gel polish is the way to go. With this type of polish, you can create intricate and detailed leaf designs with different colors and layers. Start by choosing a light or neutral color for your base and apply it evenly on all your nails. Let it dry completely. Next, use a thin nail art brush or a toothpick and create small curved lines on the side of your nails, resembling the shape of a leaf. You can use different shades of green or even add some gold or silver for a more luxurious look. Once the design is complete, cure your nails under a UV or LED lamp to set the gel polish. You can also add some rhinestones or glitter to give your leaf design some extra sparkle. Finish with a top coat to seal the design and enjoy your beautiful and long-lasting leaf nail tips.10. Leaf Nail Tip Gel Polish


10. Leaf Nail Tip Gel Polish


The Versatility of Nail Tip Leaf Design in House Design

The Growing Popularity of Nail Tip Leaf Design
 In recent years, nail tip leaf design has become increasingly popular in the world of house design. This unique and versatile design has been making its way into homes around the world, bringing a touch of nature and elegance to any living space. From minimalist to bohemian styles, nail tip leaf design can be incorporated into various house designs, making it a must-have for any homeowner looking to add a touch of creativity and sophistication to their home.
The Beauty of Nail Tip Leaf Design
 Nail tip leaf design is inspired by the delicate shape and intricate details of leaves. This design involves using nail tips, which are small pieces of metal or plastic, to create a leaf-like pattern on walls, ceilings, or furniture. The result is a stunning and unique piece of art that adds texture and dimension to any room. Nail tip leaf design can also be combined with other design elements such as wood, mirrors, or lighting to create a visually appealing and cohesive look.
The Versatility of Nail Tip Leaf Design
 One of the main reasons for the growing popularity of nail tip leaf design is its versatility. This design can be used in various ways, allowing homeowners to get creative and incorporate it into their existing house design. Nail tip leaf design can be used as a statement wall or as an accent piece, adding a subtle touch of nature to a room. It can also be used to create a focal point in a space, drawing the eye and adding visual interest.
How to Incorporate Nail Tip Leaf Design into Your Home
 Incorporating nail tip leaf design into your home doesn't have to be a daunting task. With the right materials and a bit of creativity, you can easily add this design to your house. Start by choosing the right type of nail tips, whether it be metal or plastic, and the desired size. Next, plan out the design you want to create and gather any additional materials such as adhesive or paint. Finally, carefully apply the nail tips to the desired surface and watch as your house transforms into a work of art.
Nail tip leaf design
is more than just a trend; it's a timeless and versatile design that can elevate the look of any house. With its natural and elegant aesthetic, this design is here to stay and will continue to inspire homeowners to get creative and add a touch of nature to their living spaces. So why not incorporate nail tip leaf design into your home and see the beauty and uniqueness it can bring to your house?
Incorporating nail tip leaf design into your home doesn't have to be a daunting task. With the right materials and a bit of creativity, you can easily add this design to your house. Start by choosing the right type of nail tips, whether it be metal or plastic, and the desired size. Next, plan out the design you want to create and gather any additional materials such as adhesive or paint. Finally, carefully apply the nail tips to the desired surface and watch as your house transforms into a work of art.
Nail tip leaf design
is more than just a trend; it's a timeless and versatile design that can elevate the look of any house. With its natural and elegant aesthetic, this design is here to stay and will continue to inspire homeowners to get creative and add a touch of nature to their living spaces. So why not incorporate nail tip leaf design into your home and see the beauty and uniqueness it can bring to your house?


