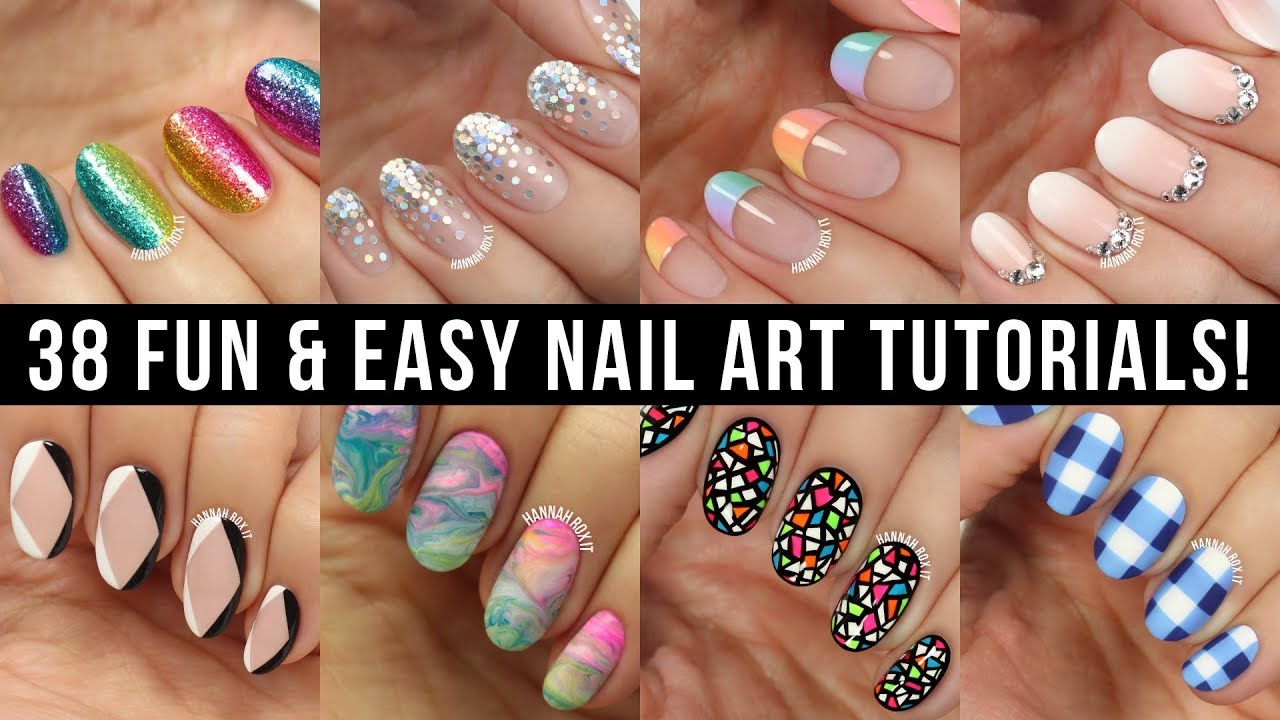
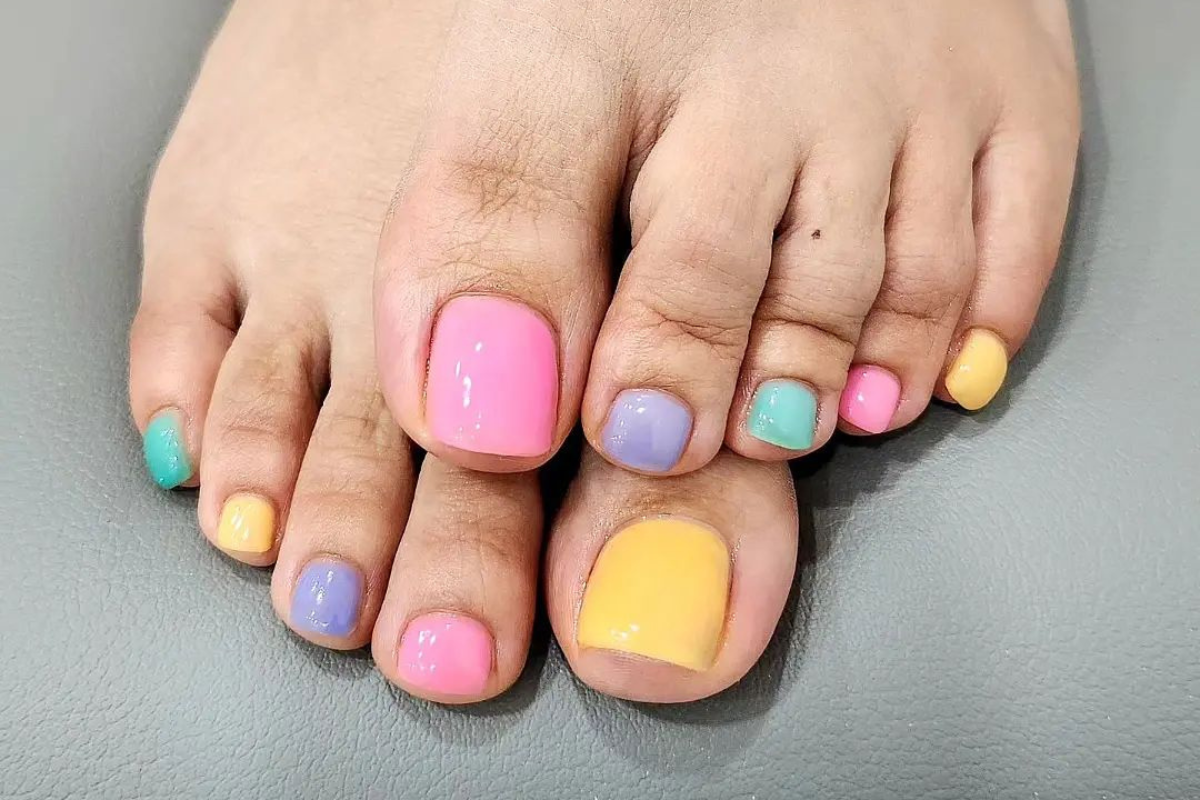
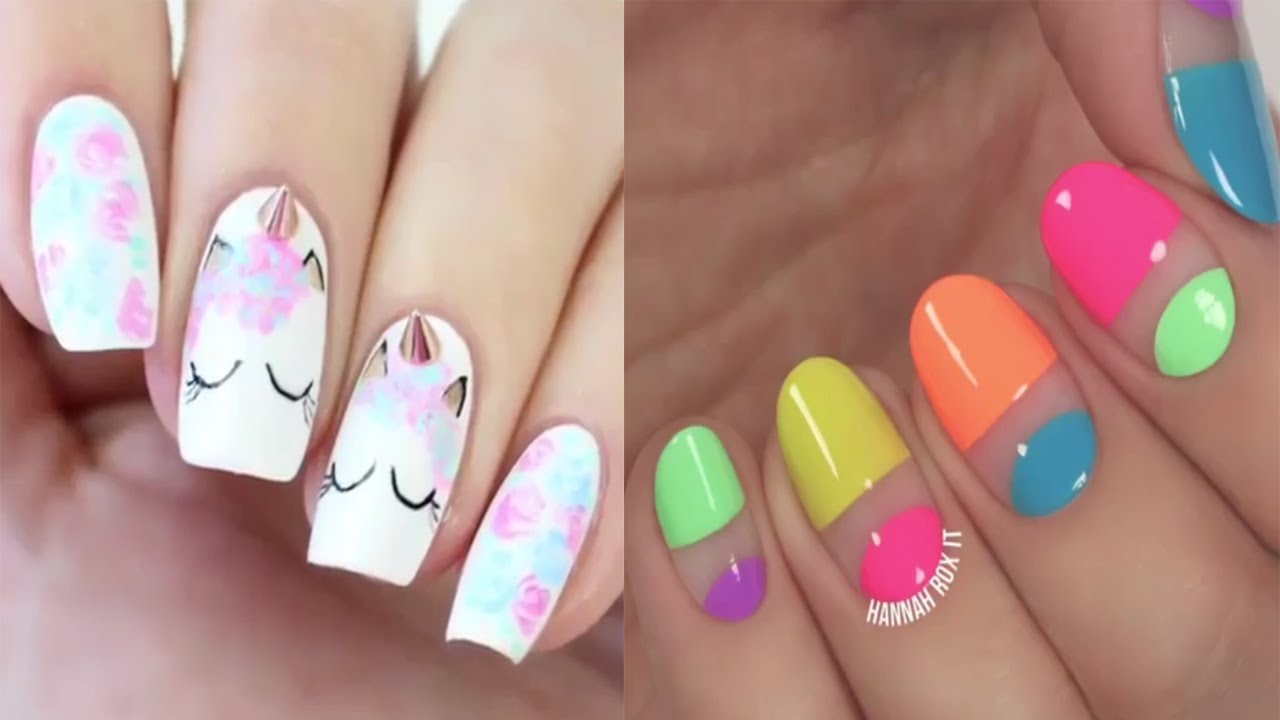
Are you a beginner at nail art and looking for some easy designs to try out? Look no further! We have compiled a list of 10 easy nail art designs that are perfect for beginners. Follow our step by step tutorials and you'll have beautiful nails in no time. First up, we have a simple polka dot design. Paint your nails with a light color such as white or pink. Then, using a bobby pin or a dotting tool, create dots on your nails with a contrasting color. Finish off with a top coat for a glossy finish. Next, try a geometric design. Paint your nails with a base color and let it dry completely. Then, using tape or striping tape, create geometric shapes on your nails. Fill in the shapes with a different color and remove the tape before the polish dries. Seal it with a top coat. For a fun and playful look, try a fruit nail art design. Paint your nails with a light color and let it dry. Then, using a thin brush, create small fruit shapes on your nails. You can go for strawberries, pineapples, watermelons, or any other fruit you like. Seal it with a top coat. Another easy design is a gradient or ombre effect. Paint your nails with a base color and let it dry. Then, using a makeup sponge, dab on a different color starting from the tip of your nail and working towards the base. You can experiment with different color combinations for a unique look. If you're feeling more adventurous, try a floral nail art design. Paint your nails with a light color and let it dry. Then, using a thin brush or a toothpick, create small flower shapes on your nails with a different color. Add some leaves and finish off with a top coat. For a chic and elegant look, try a French manicure with a twist. Paint the tips of your nails with a base color and let it dry. Then, using a thin brush, create a thin line above the colored tip with a different color. This adds a subtle pop of color to the classic French manicure. Next, we have a cute and easy heart nail art design. Paint your nails with a light color and let it dry. Then, using a thin brush or a toothpick, create small hearts on your nails with a different color. You can create a row of hearts or just one on each nail. Seal it with a top coat. For a more edgy look, try a marble nail art design. Paint your nails with a base color and let it dry. Then, using a plastic bag or cling wrap, dab on a different color onto your nails. This creates a marbled effect. You can add more colors for a more vibrant look. If you're short on time, try a simple glitter accent nail. Paint your nails with a base color and let it dry. Then, using a glitter nail polish, paint one or two nails with the glitter polish for a sparkly accent. Finish off with a top coat. Lastly, we have a cute and easy animal nail art design. Paint your nails with a base color and let it dry. Then, using a thin brush or a toothpick, create small animal shapes on your nails with a different color. You can try cats, dogs, pandas, or any other animal you like. Finish off with a top coat for a glossy finish.1. Easy Nail Art Designs for Beginners: Step by Step Tutorials


1. Easy Nail Art Designs for Beginners: Step by Step Tutorials


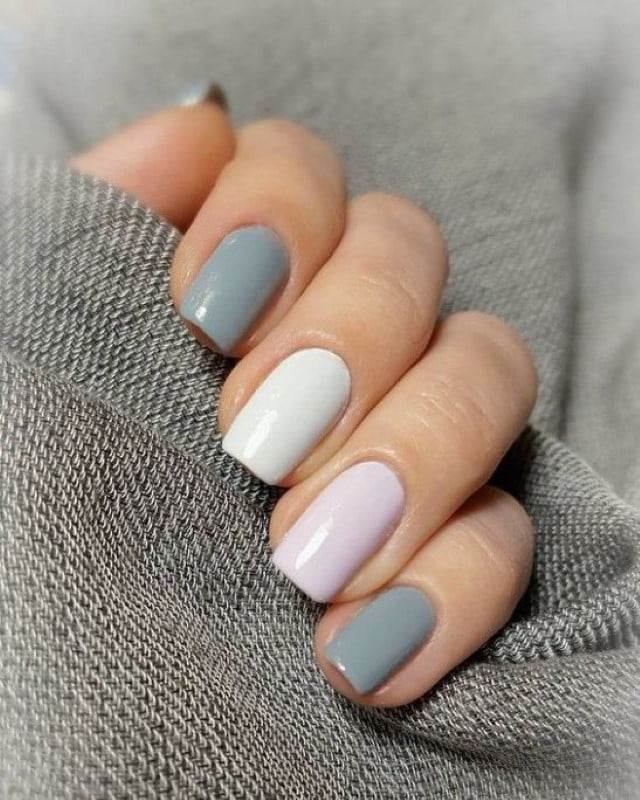
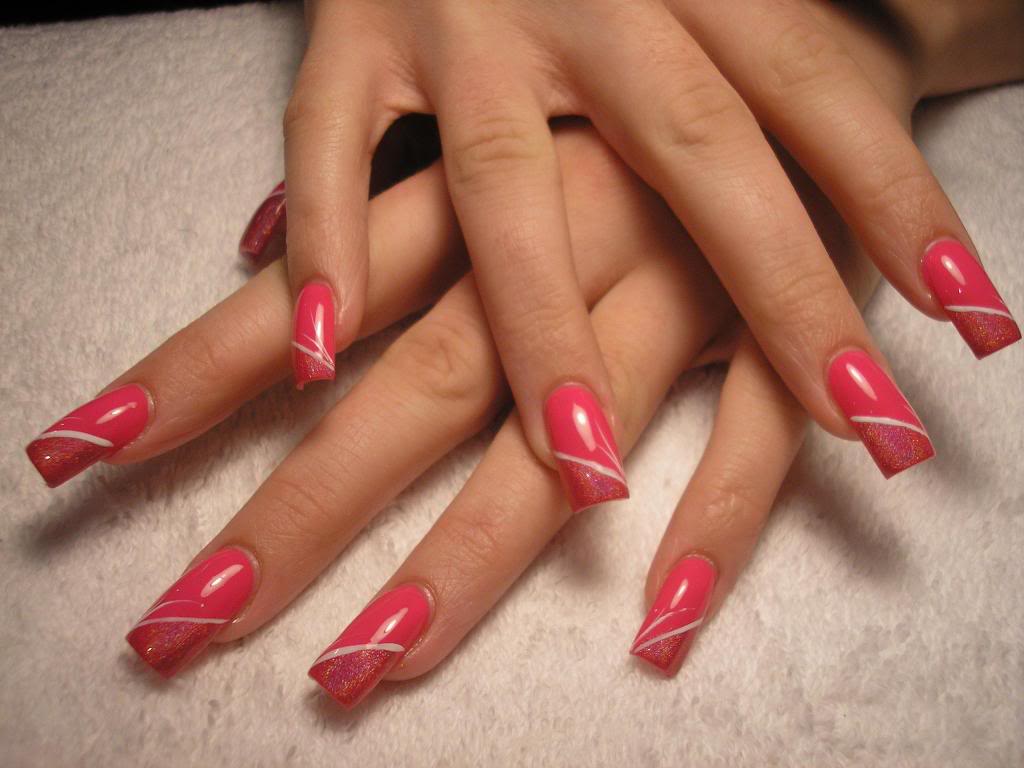
If you're looking for more nail art inspiration, we have 50 more ideas for you to try out. These designs are perfect for any occasion and are easy to recreate. First up, we have a watercolor nail art design. Paint your nails with a light color and let it dry. Then, using a small brush or a toothpick, create small splatters of different colors on your nails. This creates a beautiful and abstract design. For a fun and colorful look, try a rainbow ombre nail art design. Paint your nails with a light color and let it dry. Then, using a makeup sponge, dab on different colors in a rainbow formation. You can also use a toothpick to create the lines for a more defined look. Next, we have a cute and girly floral design. Paint your nails with a light color and let it dry. Then, using a small brush or a toothpick, create small flowers on your nails with a different color. Finish off with a top coat for a glossy finish. If you're feeling more adventurous, try a galaxy nail art design. Paint your nails with a dark color and let it dry. Then, using a small sponge, dab on different colors to create a galaxy effect. You can also add some glitter for a more sparkly look. For a simple and elegant look, try a half-moon manicure. Paint your nails with a base color and let it dry. Then, using a reinforcement sticker, create a half-moon shape at the base of your nail. Paint the rest of your nail with a different color and remove the sticker before the polish dries. Next, we have a chic and trendy negative space nail art design. Paint your nails with a base color and let it dry. Then, using a thin brush or a toothpick, create a design on your nails using your base color. This leaves a negative space on your nail for a unique look. If you're a fan of polka dots, try a reverse polka dot nail art design. Paint your nails with a light color and let it dry. Then, using a dotting tool or a toothpick, create dots on your nails with a dark color. Finish off with a top coat for a glossy finish. Another fun and colorful design is a splatter paint nail art. Paint your nails with a light color and let it dry. Then, using a straw, blow different colors onto your nails. This creates a messy and abstract design that is perfect for a casual look. For a more intricate design, try a lace nail art design. Paint your nails with a light color and let it dry. Then, using a small brush or a toothpick, create a lace pattern on your nails with a different color. This adds a delicate and feminine touch to your nails. Lastly, we have a cute and easy emoji nail art design. Paint your nails with a light color and let it dry. Then, using a small brush or a toothpick, create different emoji faces on your nails with a different color. This is a fun and playful design that is perfect for any mood.2. 50 Cute, Cool, Simple and Easy Nail Art Design Ideas for 2016


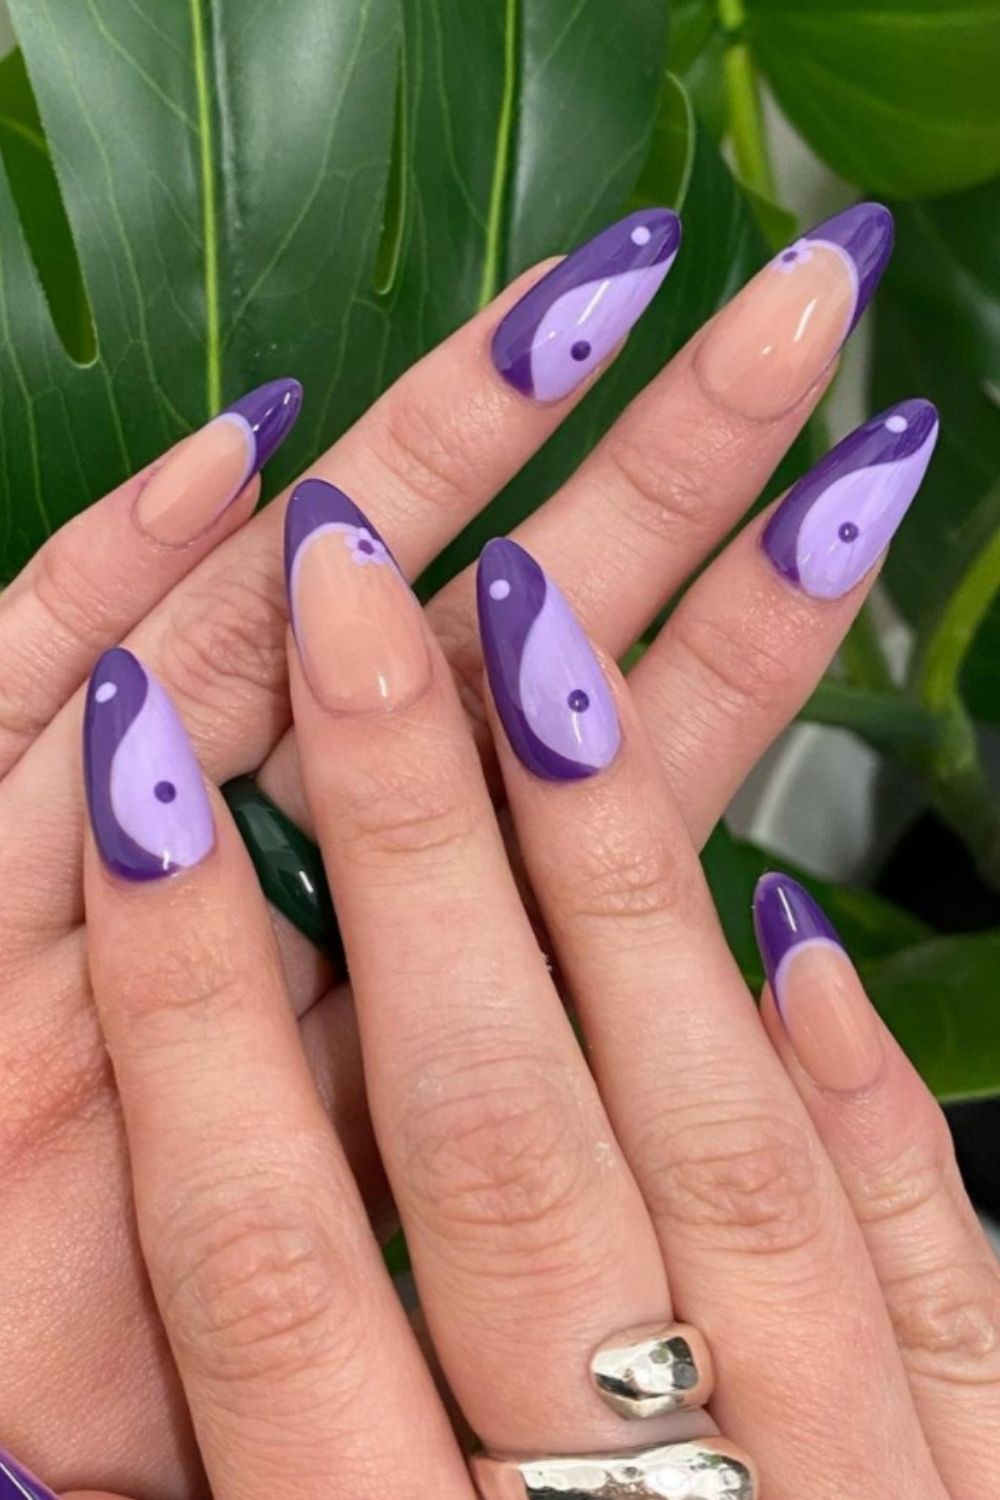
2. 50 Cute, Cool, Simple and Easy Nail Art Design Ideas for 2016
.jpg)


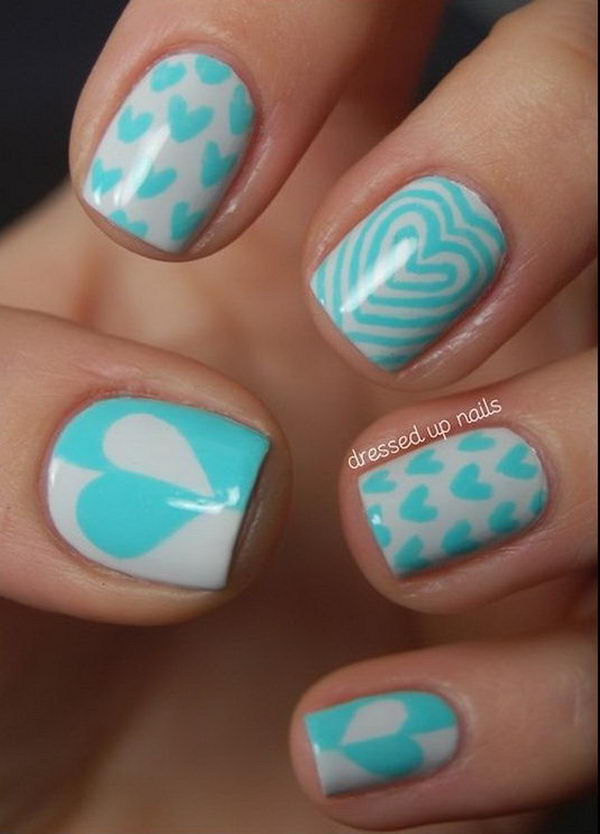
Don't want to spend money at the salon? No problem! Here are 20 amazing and simple nail designs that you can easily do at home. First up, we have a glitter gradient nail art design. Paint your nails with a light color and let it dry. Then, using a makeup sponge, dab on a glitter polish from the tip of your nail towards the base. This creates a beautiful and sparkly gradient effect. For a cute and playful look, try a cartoon nail art design. Paint your nails with a light color and let it dry. Then, using a small brush or a toothpick, create your favorite cartoon characters on your nails. You can try Minions, Hello Kitty, or any other character you like. If you're feeling more adventurous, try a tribal print nail art design. Paint your nails with a light color and let it dry. Then, using a thin brush or a toothpick, create different tribal patterns on your nails with a different color. This adds a unique and edgy touch to your nails. Next, we have a cute and simple heart accent nail design. Paint your nails with a light color and let it dry. Then, using a thin brush or a toothpick, create a small heart on one nail with a different color. This adds a subtle pop of color to your overall look. If you're a fan of minimalistic designs, try a simple line nail art. Paint your nails with a light color and let it dry. Then, using a thin brush or a toothpick, create a thin line down the middle of your nail with a different color. This adds a modern and chic touch to your nails. For a fun and summery look, try a pineapple nail art design. Paint your nails with a light color and let it dry. Then, using a thin brush or a toothpick, create small pineapple shapes on your nails with a different color. This is a cute and playful design that is perfect for the warmer months. Next, we have a simple yet elegant lace accent nail design. Paint your nails with a light color and let it dry. Then, using a lace sticker or a small piece of lace, place it on one nail and paint over it with a different color. Remove the lace before the polish dries for a delicate and feminine look. If you're short on time, try a simple glitter nail art design. Paint your nails with a light color and let it dry. Then, using a glitter nail polish, paint one or two nails with the glitter polish for a sparkly accent. This is a quick and easy way to add some glam to your nails. For a more edgy design, try a chevron nail art. Paint your nails with a light color and let it dry. Then, using tape or striping tape, create a chevron pattern on your nails. Fill it in with a different color and remove the tape. Finish off with a top coat for a sleek and modern look. Lastly, we have a cute and simple daisy nail art design. Paint your nails with a light color and let it dry. Then, using a dotting tool or a toothpick, create small daisies on your nails with a different color. Finish off with a top coat for a cute and feminine look.3. 20 Amazing and Simple Nail Designs You Can Easily Do At Home

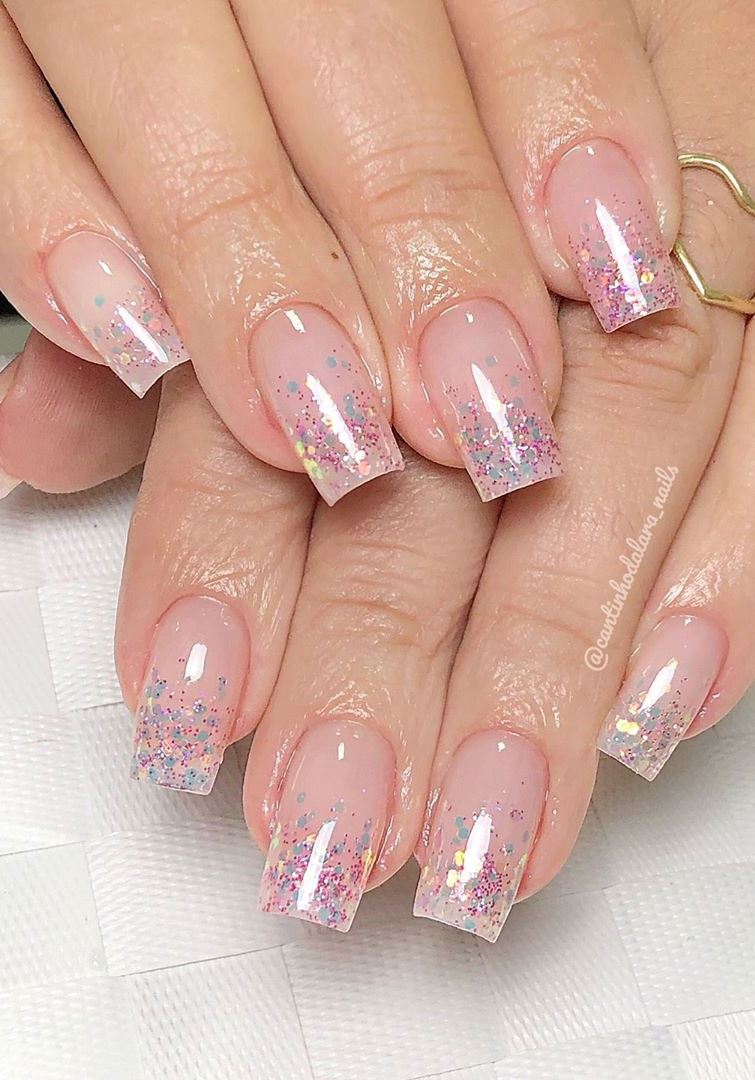

3. 20 Amazing and Simple Nail Designs You Can Easily Do At Home
:max_bytes(150000):strip_icc()/072922-beauty-nail-art-lead-2000-21de3481261e48a995c855269f9846ad.jpg)
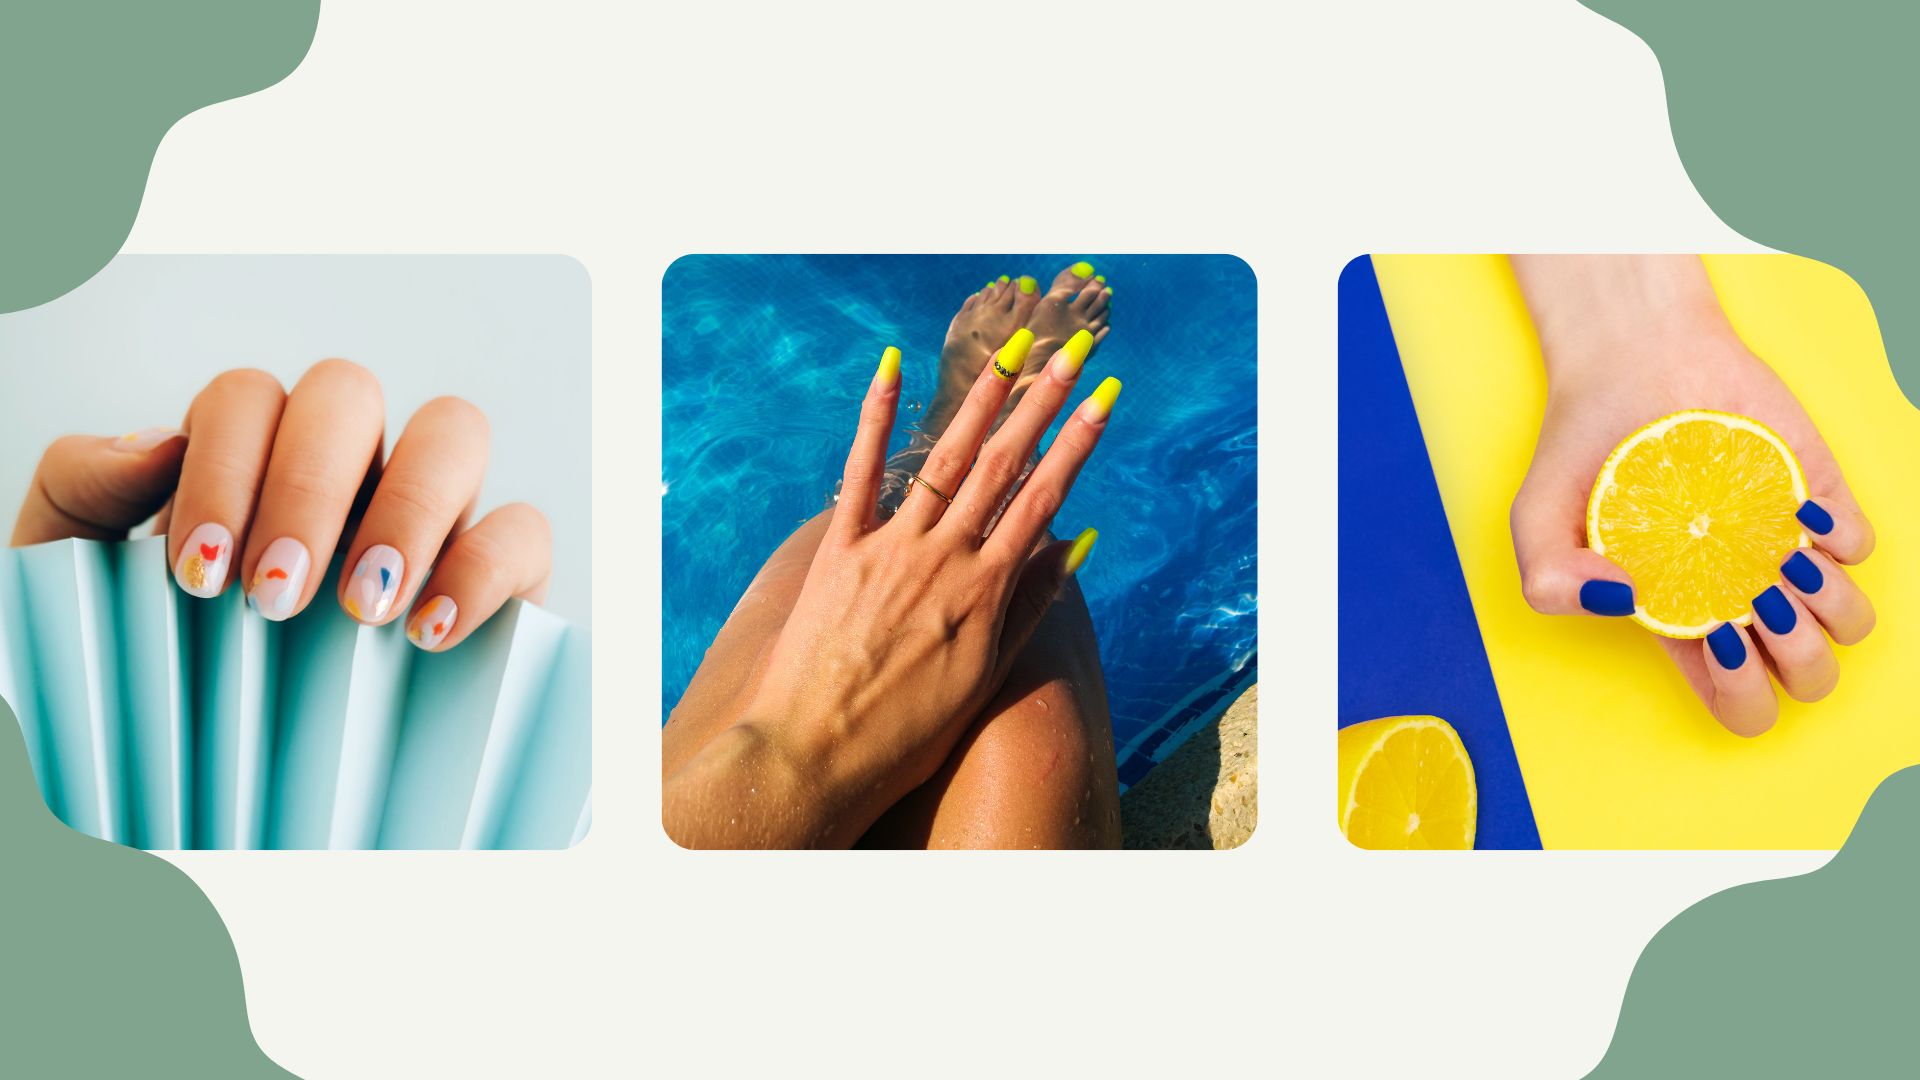


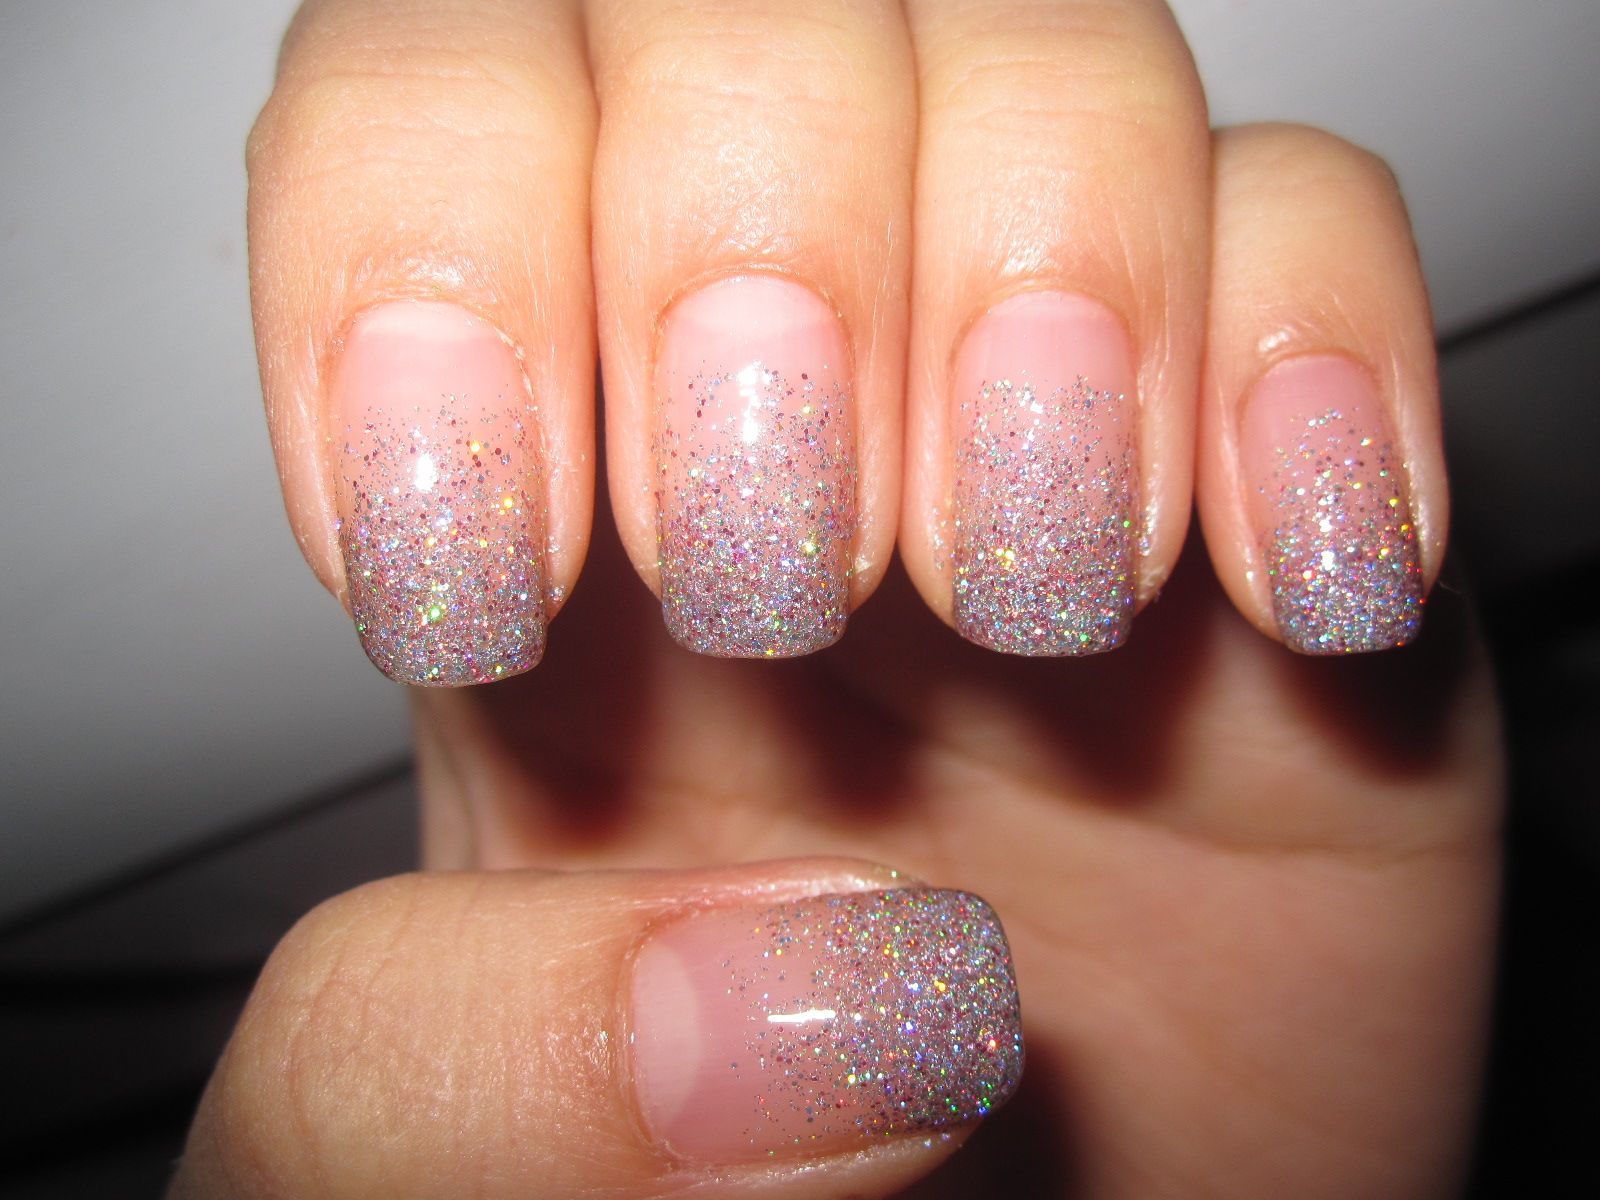
Are you a complete beginner at nail art? Don't worry, we have 30 easy designs that are perfect for beginners. First up, we have a simple glitter accent nail. Paint your nails with a light color and let it dry. Then, using a glitter nail polish, paint one or two nails with the glitter polish for a sparkly accent. This is a quick and easy way to add some glam to your nails. For a fun and playful look, try a fruit nail art design. Paint your nails with a light color and let it dry. Then, using a thin brush, create small fruit shapes on your nails. You can go for strawberries, pineapples, watermelons, or any other fruit you like. If you're feeling more adventurous, try a tribal print nail art design. Paint your nails with a light color and let it dry. Then, using a thin brush or a toothpick, create different tribal patterns on your nails with a different color. This adds a unique and edgy touch to your nails. Next, we have a cute and easy heart nail art design. Paint your nails with a light color and let it dry. Then, using a thin brush or a toothpick, create small hearts on your nails with a different color. You can create a row of hearts or just one on each nail. If you're a fan of minimalistic designs, try a simple line nail art. Paint your nails with a light color and let it dry. Then, using a thin brush or a toothpick, create a thin line down the middle of your nail with a different color. This adds a modern and chic touch to your nails. For a more intricate design, try a lace nail art design. Paint your nails with a light color and let it dry. Then, using a small brush or a toothpick, create a lace pattern on your nails with a different color. This adds a delicate and feminine touch to your nails. Next, we have a cute and easy animal nail art design. Paint your nails with a base color and let it dry. Then, using a thin brush or a toothpick, create small animal shapes on your nails with a different color. You can try cats, dogs, pandas, or any other animal you like. If you're short on time, try a simple glitter gradient nail art design. Paint your nails with a light color and let it dry. Then, using a makeup sponge, dab on a glitter polish from the tip of your nail towards the base. This creates a beautiful and sparkly gradient effect. For a more edgy look, try a marble nail art design. Paint your nails with a base color and let it dry. Then, using a plastic bag or cling wrap, dab on a different color onto your nails. This creates a marbled effect. You can add more colors for a more vibrant look. Lastly, we have a chic and elegant French manicure with a twist. Paint the tips of your nails with a base color and let it dry. Then, using a thin brush, create a thin line above the colored tip with a different color. This adds a subtle pop of color to the classic French manicure.4. 30 Easy Nail Designs for Beginners

4. 30 Easy Nail Designs for Beginners

Welcome to the ultimate guide for easy nail art designs for beginners. We have compiled 10 more designs for you to try out. First up, we have a watercolor nail art design. Paint your nails with a light color and let it dry. Then, using a small brush or a toothpick, create small splatters of different colors on your nails. This creates a beautiful and abstract design. For a fun and colorful look, try a rainbow ombre nail art design. Paint your nails with a light color and let it dry. Then, using a makeup sponge, dab on different colors in a rainbow formation. You can also use a toothpick to create the lines for a more defined look. Next, we have a cute and girly floral design. Paint your nails with a light color and let it dry. Then, using a small brush or a toothpick, create small flowers on your nails with a different color. Finish off with a top coat for a glossy finish. If you're feeling more adventurous, try a galaxy nail art design. Paint your nails with a dark color and let it dry. Then, using a small sponge, dab on different colors to create a galaxy effect. You can also add some glitter for a more sparkly look.5. 10 Easy Nail Art Designs for Beginners: The Ultimate Guide #5!
5. 10 Easy Nail Art Designs for Beginners: The Ultimate Guide #5!


Elevate Your Nail Game with These New Nail Art Designs

What is Nail Art?
 Nail art has become a popular trend in recent years, with more and more people looking for unique and creative ways to decorate their nails. It involves using different techniques, tools, and materials to create designs on the nails, transforming them into miniature works of art. From simple patterns to intricate designs, the possibilities are endless when it comes to nail art.
Why is Nail Art Design Step by Step Important?
 While getting your nails done professionally may seem like the easier option, learning how to create nail art designs step by step can bring a sense of satisfaction and personalization to your nail game. Plus, with the right techniques and tools, you can achieve professional-looking designs at home without breaking the bank. It also allows for a fun and creative outlet, making it a popular activity for people of all ages.
How to Get Started with New Nail Art Designs
 Before diving into the world of nail art, it's essential to have the right tools and materials. Some basics include nail polish, top coat, base coat, nail art brushes, dotting tools, and rhinestones or other embellishments. It's also helpful to have a steady hand, patience, and a bit of practice. But don't worry, with these new nail art designs step by step, you'll be a pro in no time.
Step 1: Choose Your Design
 The first step is to decide on the nail art design you want to create. You can find inspiration online, from fashion magazines, or even create your own unique design. Once you have a design in mind, gather all the necessary tools and materials.
Step 2: Prepare Your Nails
 Start by prepping your nails. Remove any old polish and shape your nails with a file. Apply a base coat to protect your nails and help the polish last longer.
Step 3: Apply the Base Color
 Choose a base color that will complement your design. Apply two coats of the base color and let it dry completely.
Step 4: Get Creative
 Now comes the fun part – creating your design. You can use nail art brushes, dotting tools, or even toothpicks to apply the design. Don't be afraid to experiment with different techniques and colors to achieve your desired look.
Step 5: Add Some Bling
 To take your design to the next level, add some embellishments such as rhinestones or glitter. Apply a top coat to seal in your design and add some shine.
Step 6: Finishing Touches
 Once your nails are dry, clean up any excess polish around the edges with a brush or q-tip dipped in nail polish remover. Apply cuticle oil to nourish your nails and keep them looking healthy.
Final Thoughts
 Nail art is a fun and creative way to express yourself through your nails. With these new nail art designs step by step, you'll be able to elevate your nail game and create stunning designs at home. So grab your tools, get creative, and have fun experimenting with different designs. Your nails will thank you!


