Are you ready to add a touch of natural wonder to your nails? Look no further than a Niagara Falls acrylic nail design! This stunning and unique nail art is sure to turn heads and make a statement. But don't worry, you don't have to be a professional nail artist to achieve this look. With our step-by-step tutorial, you'll be able to create beautiful Niagara Falls acrylic nails in no time! To start, you'll need to gather your supplies. You'll need acrylic nails, nail glue, nail file, nail buffer, blue, white, green, and silver acrylic paint, fine detail brush, toothpick, clear top coat, and nail polish remover. Once you have everything on hand, you're ready to begin!1. Niagara Falls Acrylic Nail Design Tutorial


1. Niagara Falls Acrylic Nail Design Tutorial


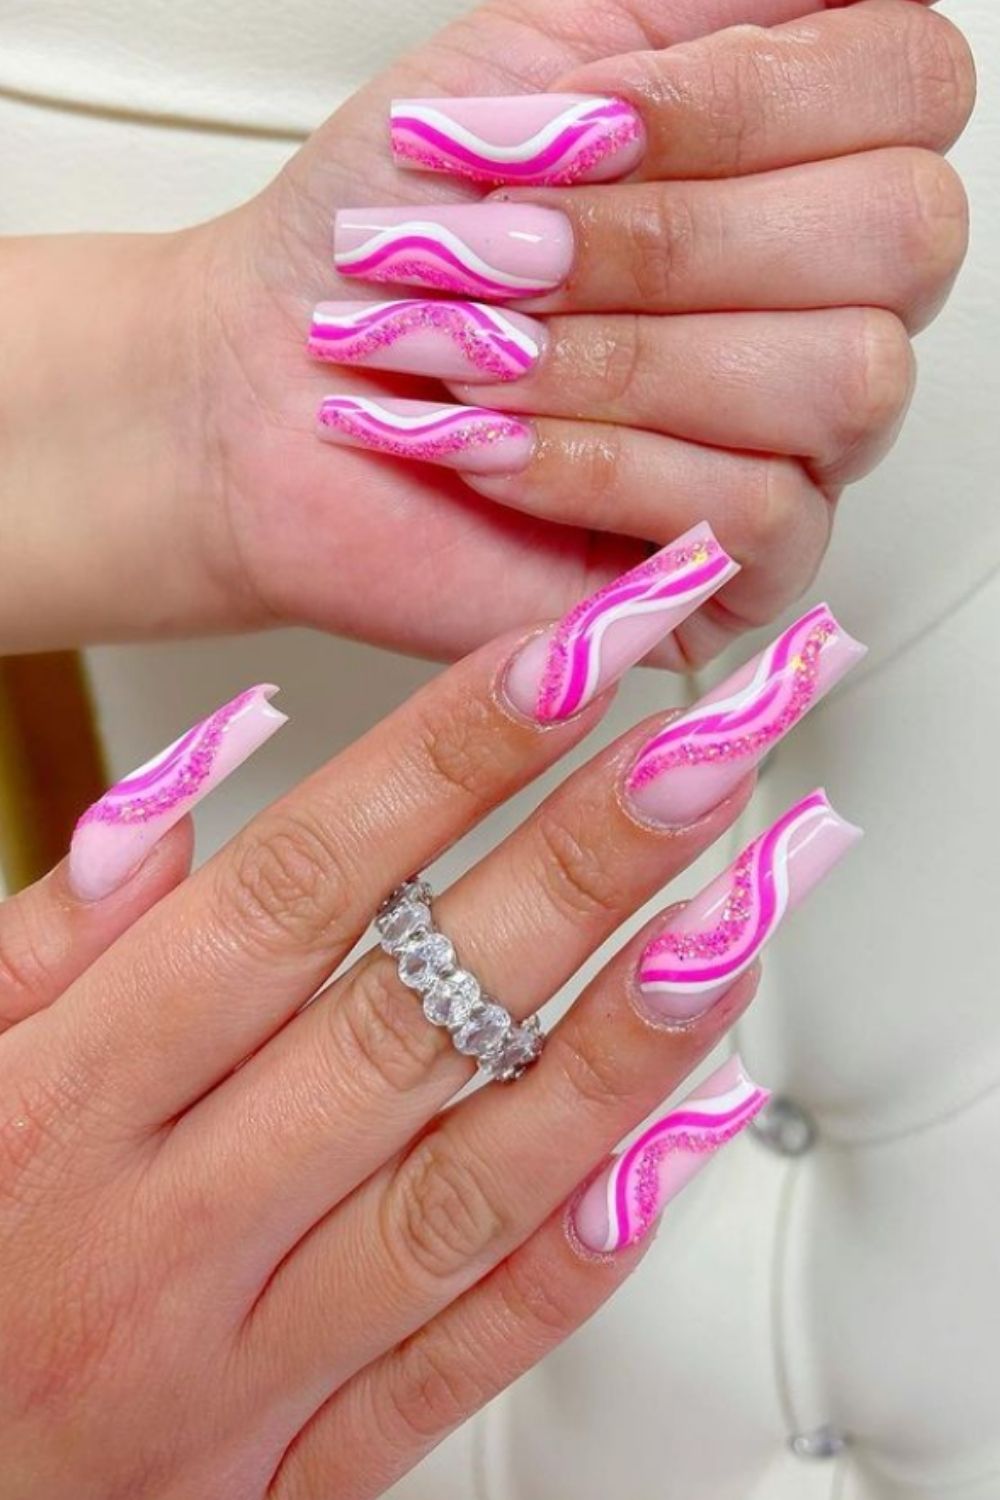
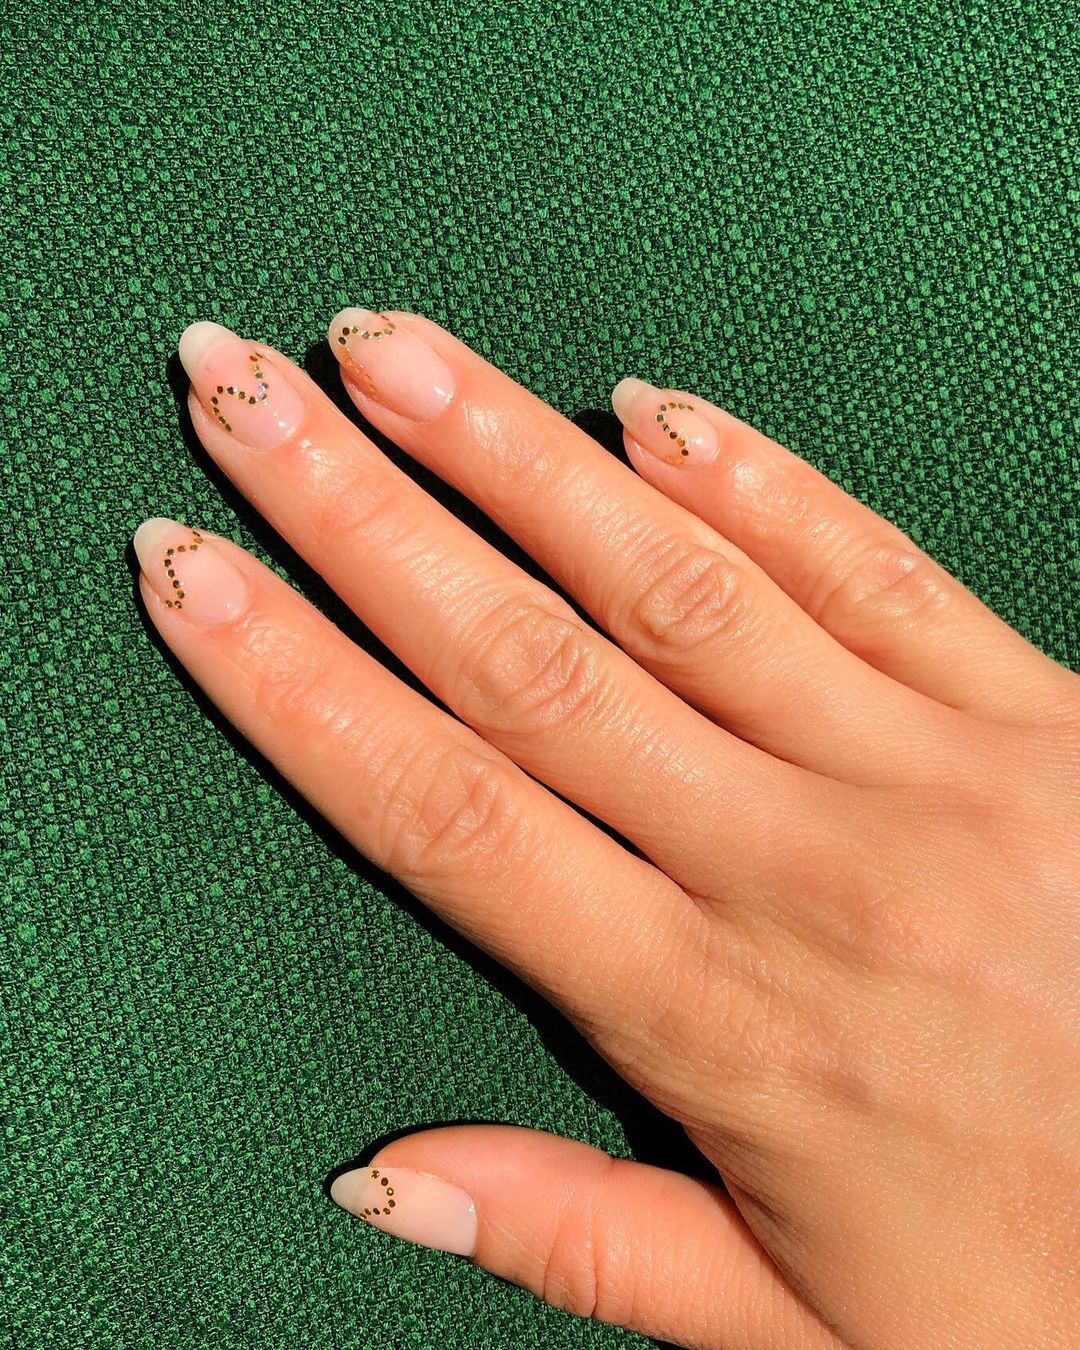
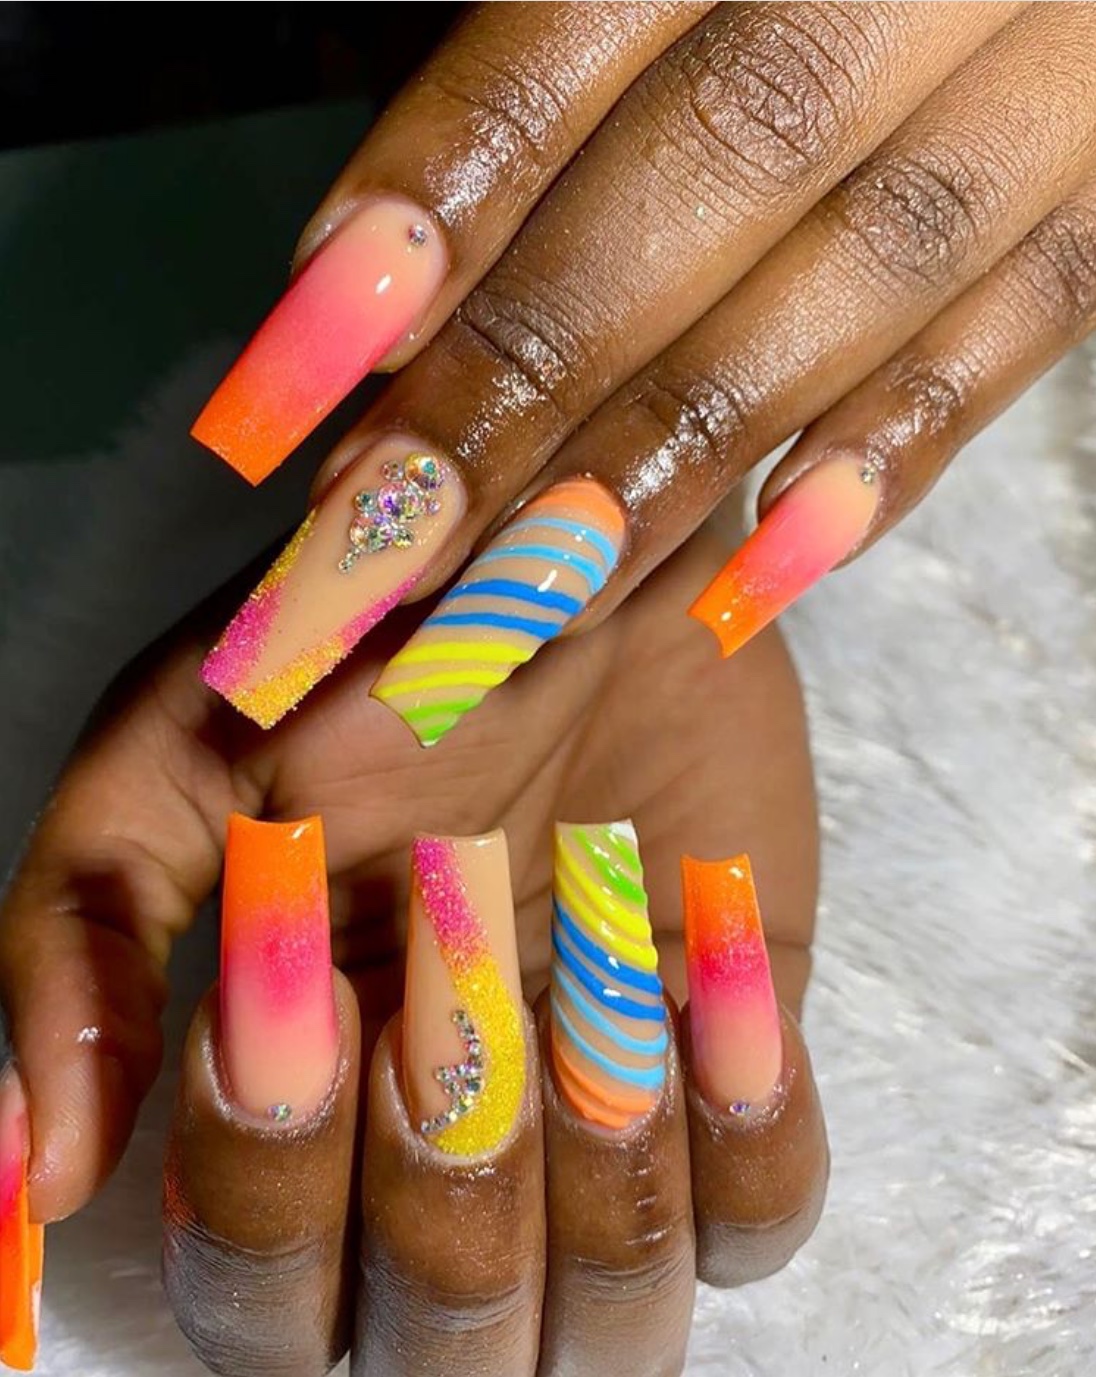
There are endless possibilities when it comes to creating a Niagara Falls acrylic nail design. You can opt for a simple and subtle design or go all out with a detailed and intricate look. Whichever route you choose, the end result is sure to be stunning. The blue and white hues of the waterfall, combined with the lush greenery and silver accents, make for a visually appealing and unique design. For a more subtle look, you can paint the waterfall design on just one or two accent nails and leave the rest a solid color. Or, for a bolder look, you can paint the waterfall on all of your nails. Whichever option you choose, your Niagara Falls acrylic nails will be eye-catching and beautiful.2. Stunning Niagara Falls Acrylic Nails


2. Stunning Niagara Falls Acrylic Nails


If you're feeling adventurous and want to add some extra elements to your Niagara Falls acrylic nails, there are plenty of design inspirations to draw from. You can add small birds flying over the waterfall, trees and foliage surrounding the falls, or even a rainbow in the sky. The options are endless and allow you to get creative with your design. Another idea is to incorporate a gradient effect into your design, mimicking the changing colors of the waterfall. You can do this by blending different shades of blue and green acrylic paint on your nails, starting from the tips and working your way down to the cuticle. This adds a unique and eye-catching twist to your Niagara Falls acrylic nails.3. Acrylic Nail Designs Inspired by Niagara Falls


3. Acrylic Nail Designs Inspired by Niagara Falls


Now, let's get into the step-by-step process of creating your own Niagara Falls acrylic nail design. First, prep your natural nails by pushing back your cuticles and shaping them with a nail file. Then, apply a thin layer of nail glue to your nails and press the acrylic nails onto your natural nails, holding them in place for a few seconds. Next, use a nail buffer to smooth out any rough edges and create a flat surface for your design. Then, paint your nails with a base coat of blue acrylic paint. Once dry, use a fine detail brush to paint the waterfall design on your nails, starting from the tips and working your way down. Use a toothpick to add small details such as the cascading water and trees. Once your design is complete, seal it with a clear top coat. This not only adds shine but also helps to protect your design and make it last longer. Finally, use a cotton swab dipped in nail polish remover to clean up any excess paint around your nails. And voila! You now have beautiful Niagara Falls acrylic nails.4. How to Create a Niagara Falls Nail Design


4. How to Create a Niagara Falls Nail Design


The best part about a Niagara Falls acrylic nail design is that you can customize it to your liking. If you prefer a more muted look, you can opt for a monochromatic design using shades of blue and white. Or, if you want to add a pop of color, you can use a bright green or even purple for the foliage and add a touch of gold or silver for some sparkle. Another idea is to add small rhinestones or glitter over your waterfall design to give it some extra dimension and texture. You can also mix and match different designs, such as incorporating a waterfall nail with a tree or bird design on another nail. The possibilities are endless, so have fun and let your creativity flow!5. Beautiful Acrylic Nails with a Niagara Falls Theme


5. Beautiful Acrylic Nails with a Niagara Falls Theme


If you're not confident in your freehand painting skills, don't worry. There are other ways to achieve a beautiful Niagara Falls acrylic nail design. You can use nail decals or stickers with a waterfall or nature theme to create your design. Or, you can use a stamping kit to transfer a pre-designed image onto your nails. You can also use acrylic nail molds to create a 3D effect of the waterfall on your nails. Simply fill the mold with acrylic powder and apply it to your nail. This adds an extra element of depth and realism to your design.6. Niagara Falls Nail Art Ideas


6. Niagara Falls Nail Art Ideas


For a truly scenic and realistic Niagara Falls acrylic nail design, you can use a technique called "reverse stamping." This involves creating a design on a stamping plate, filling it in with colored polish, and transferring it onto your nails. This technique allows you to create intricate and detailed designs without having to freehand them. There are many stamping plates available with Niagara Falls and nature-inspired designs that you can use for your acrylic nails. This method may take a bit more time and practice, but the end result is well worth it.7. Acrylic Nails with a Scenic Niagara Falls Design

7. Acrylic Nails with a Scenic Niagara Falls Design


To recap, here is a step-by-step guide to creating your own stunning Niagara Falls acrylic nails: 1. Prep your natural nails by pushing back your cuticles and shaping them with a nail file. 2. Apply a thin layer of nail glue to your nails and press the acrylic nails onto your natural nails, holding them in place for a few seconds. 3. Use a nail buffer to smooth out any rough edges and create a flat surface for your design. 4. Paint your nails with a base coat of blue acrylic paint. 5. Use a fine detail brush to paint the waterfall design on your nails, starting from the tips and working your way down. 6. Use a toothpick to add small details such as the cascading water and trees. 7. Seal your design with a clear top coat. 8. Use a cotton swab dipped in nail polish remover to clean up any excess paint around your nails. 9. Enjoy your stunning Niagara Falls acrylic nails!8. Step-by-Step Guide to Creating Niagara Falls Acrylic Nails


8. Step-by-Step Guide to Creating Niagara Falls Acrylic Nails


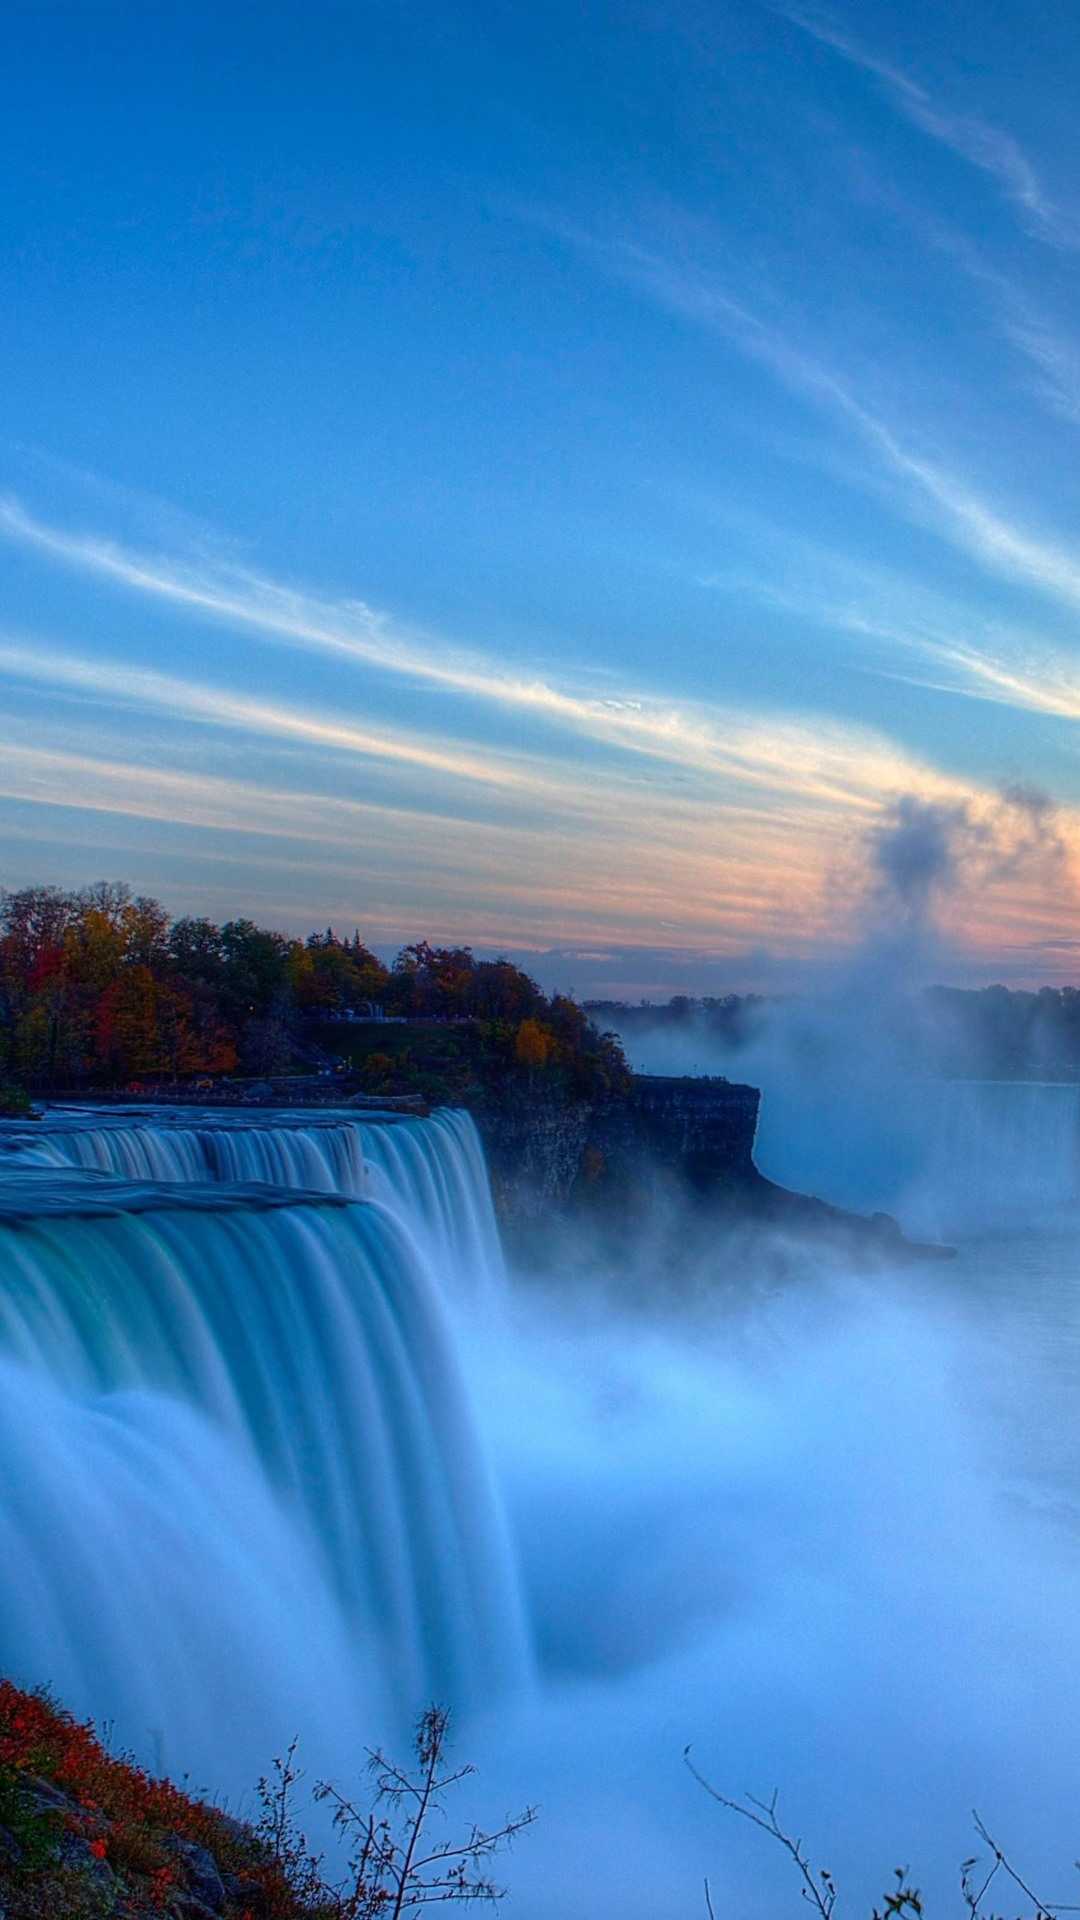
If you're still looking for some inspiration for your Niagara Falls acrylic nails, you can check out social media for ideas and tutorials. Many talented nail artists share their designs and techniques on platforms like Instagram and YouTube. You can also draw inspiration from photographs of Niagara Falls and nature in general. Take note of the colors, textures, and details that you can incorporate into your design. And don't be afraid to put your own spin on it and make it your own.9. Niagara Falls Nail Design Inspiration

9. Niagara Falls Nail Design Inspiration

For a unique and eye-catching twist on the classic Niagara Falls acrylic nail design, you can try a gradient effect. This involves blending different shades of blue and green acrylic paint on your nails to mimic the changing colors of the waterfall. To achieve this look, start by painting your nails with a base coat of the lightest shade of blue. Then, use a sponge to apply the other shades of blue and green on top of the base coat, starting from the tips and working your way down to the cuticle. This creates a smooth transition of colors, giving the illusion of a beautiful gradient.10. Acrylic Nails with a Twist: Niagara Falls Gradient Design

10. Acrylic Nails with a Twist: Niagara Falls Gradient Design


Niagara Falls Acrylic Nail Design: A Unique and Eye-catching Addition to Your Nails

The Inspiration Behind Niagara Falls Acrylic Nail Design
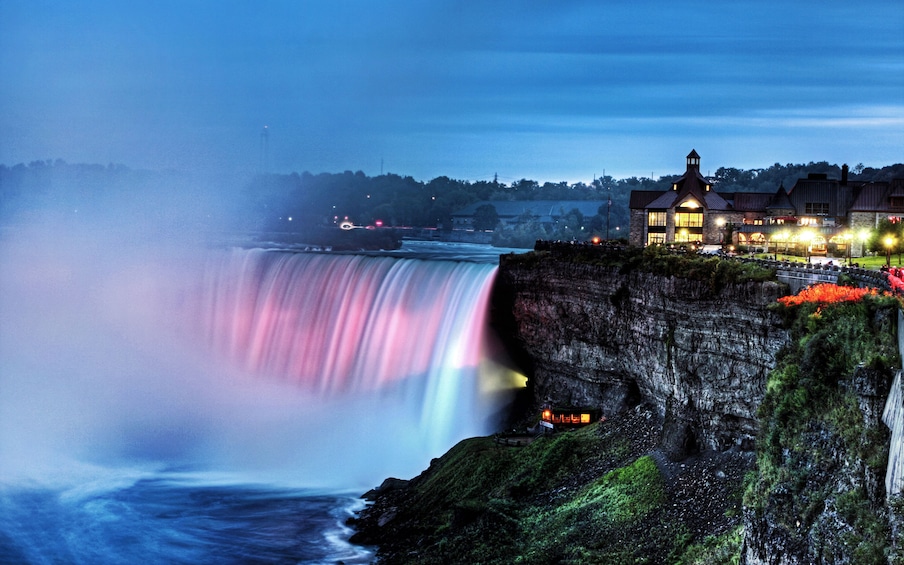
 When it comes to nail designs, there are endless options to choose from. From simple and classic to bold and intricate, there is something for everyone. But for those looking for a unique and visually stunning design, the Niagara Falls acrylic nail design is the perfect choice.
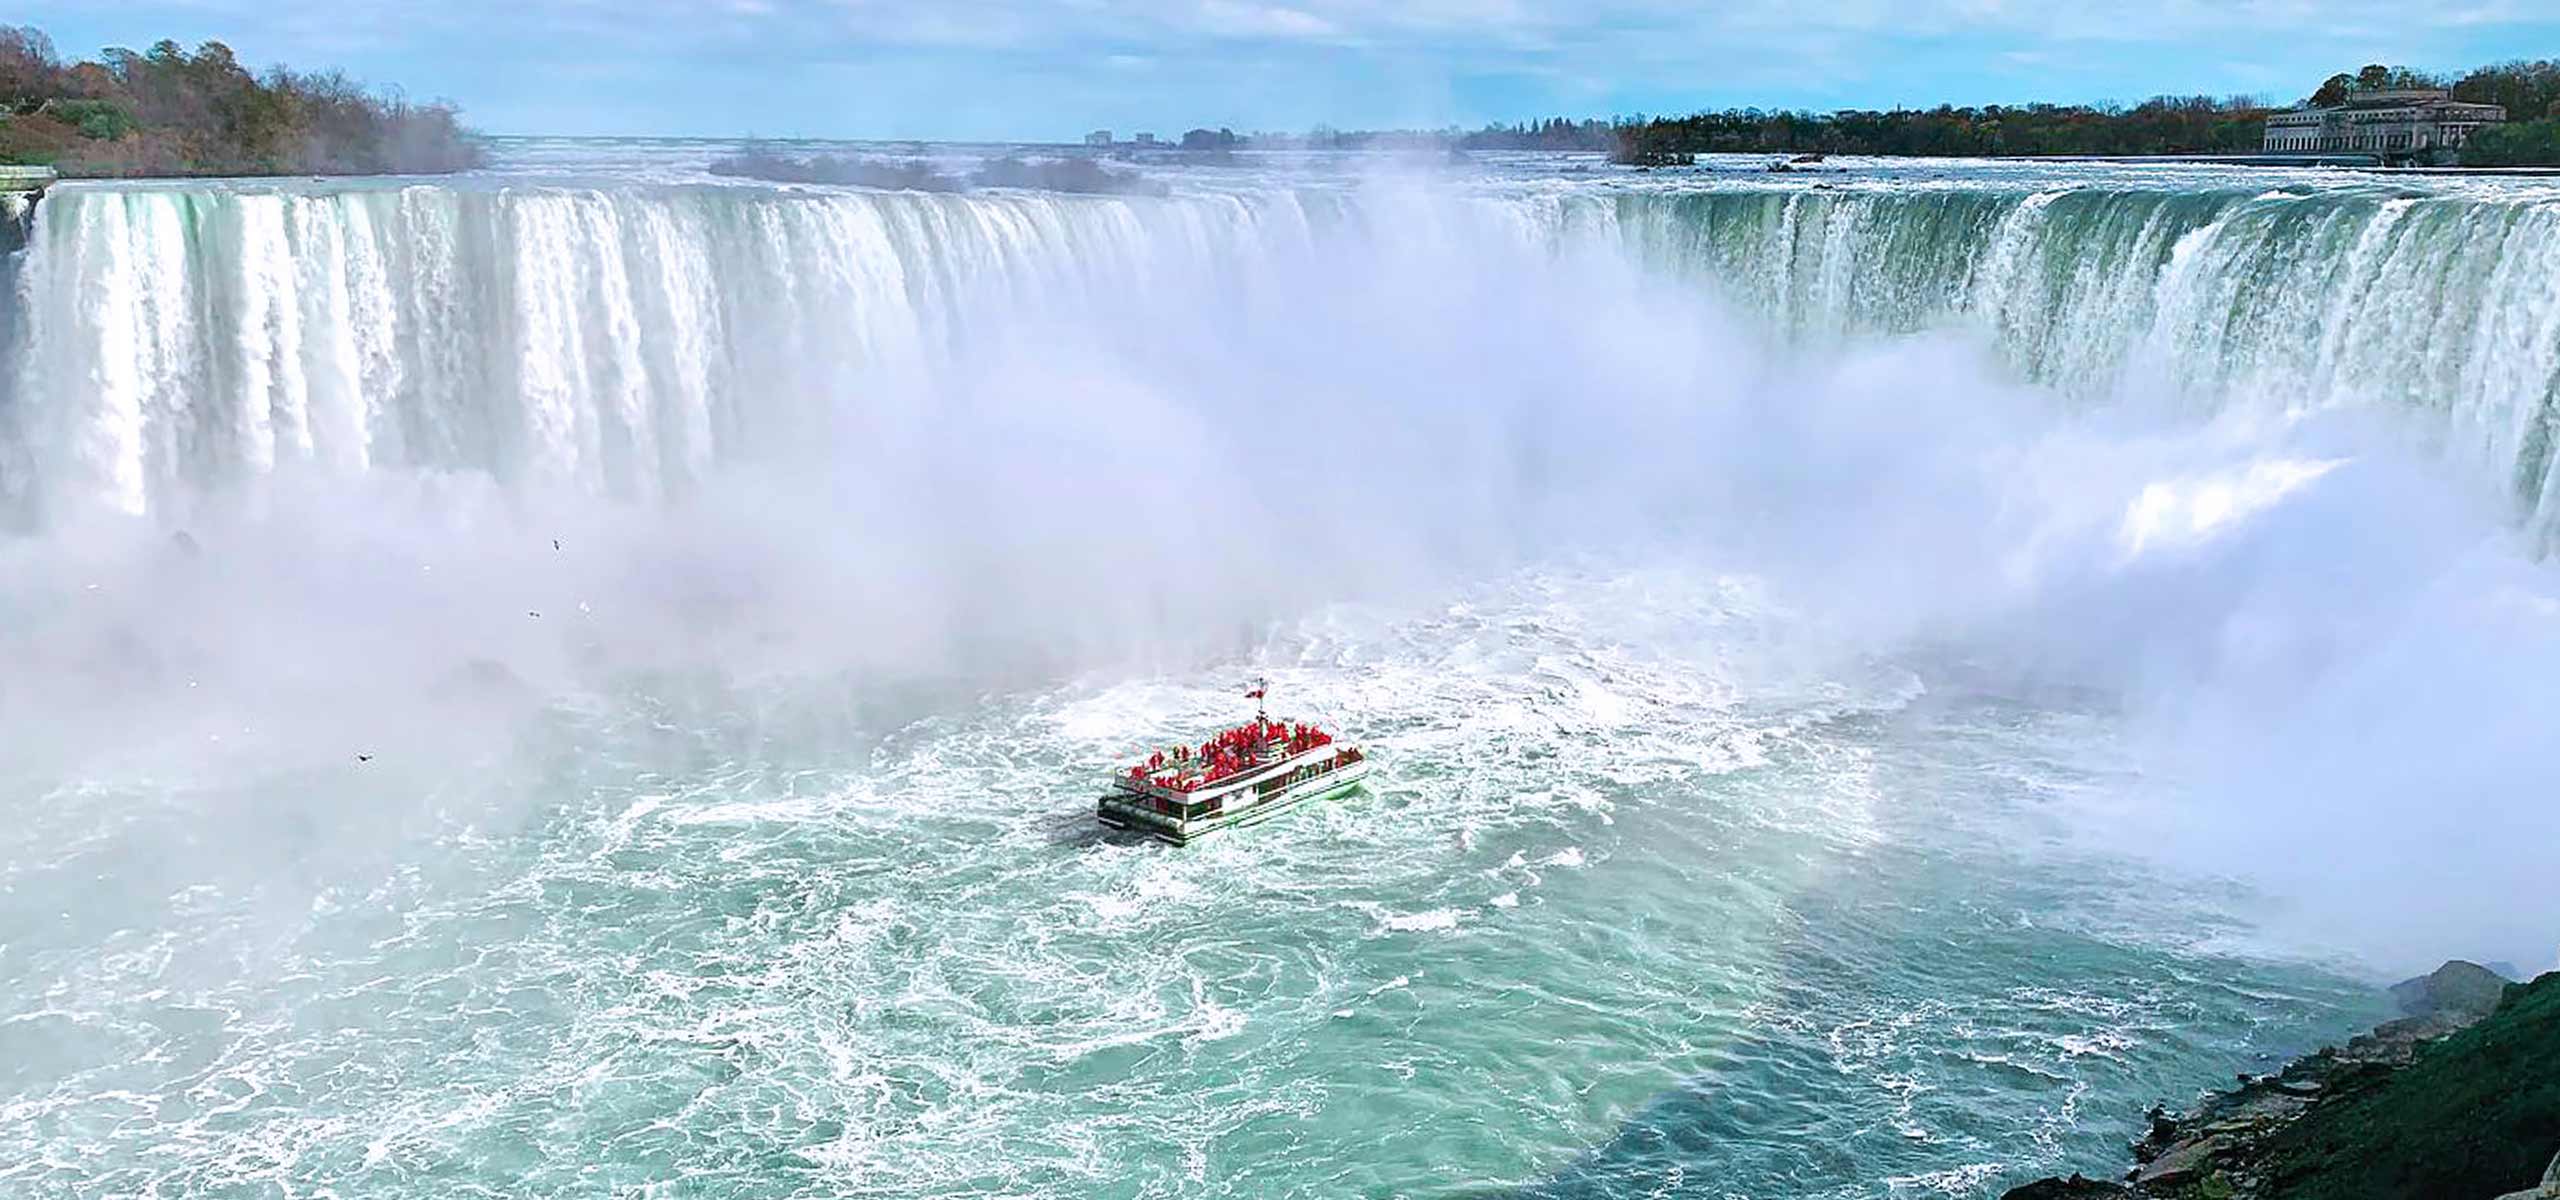
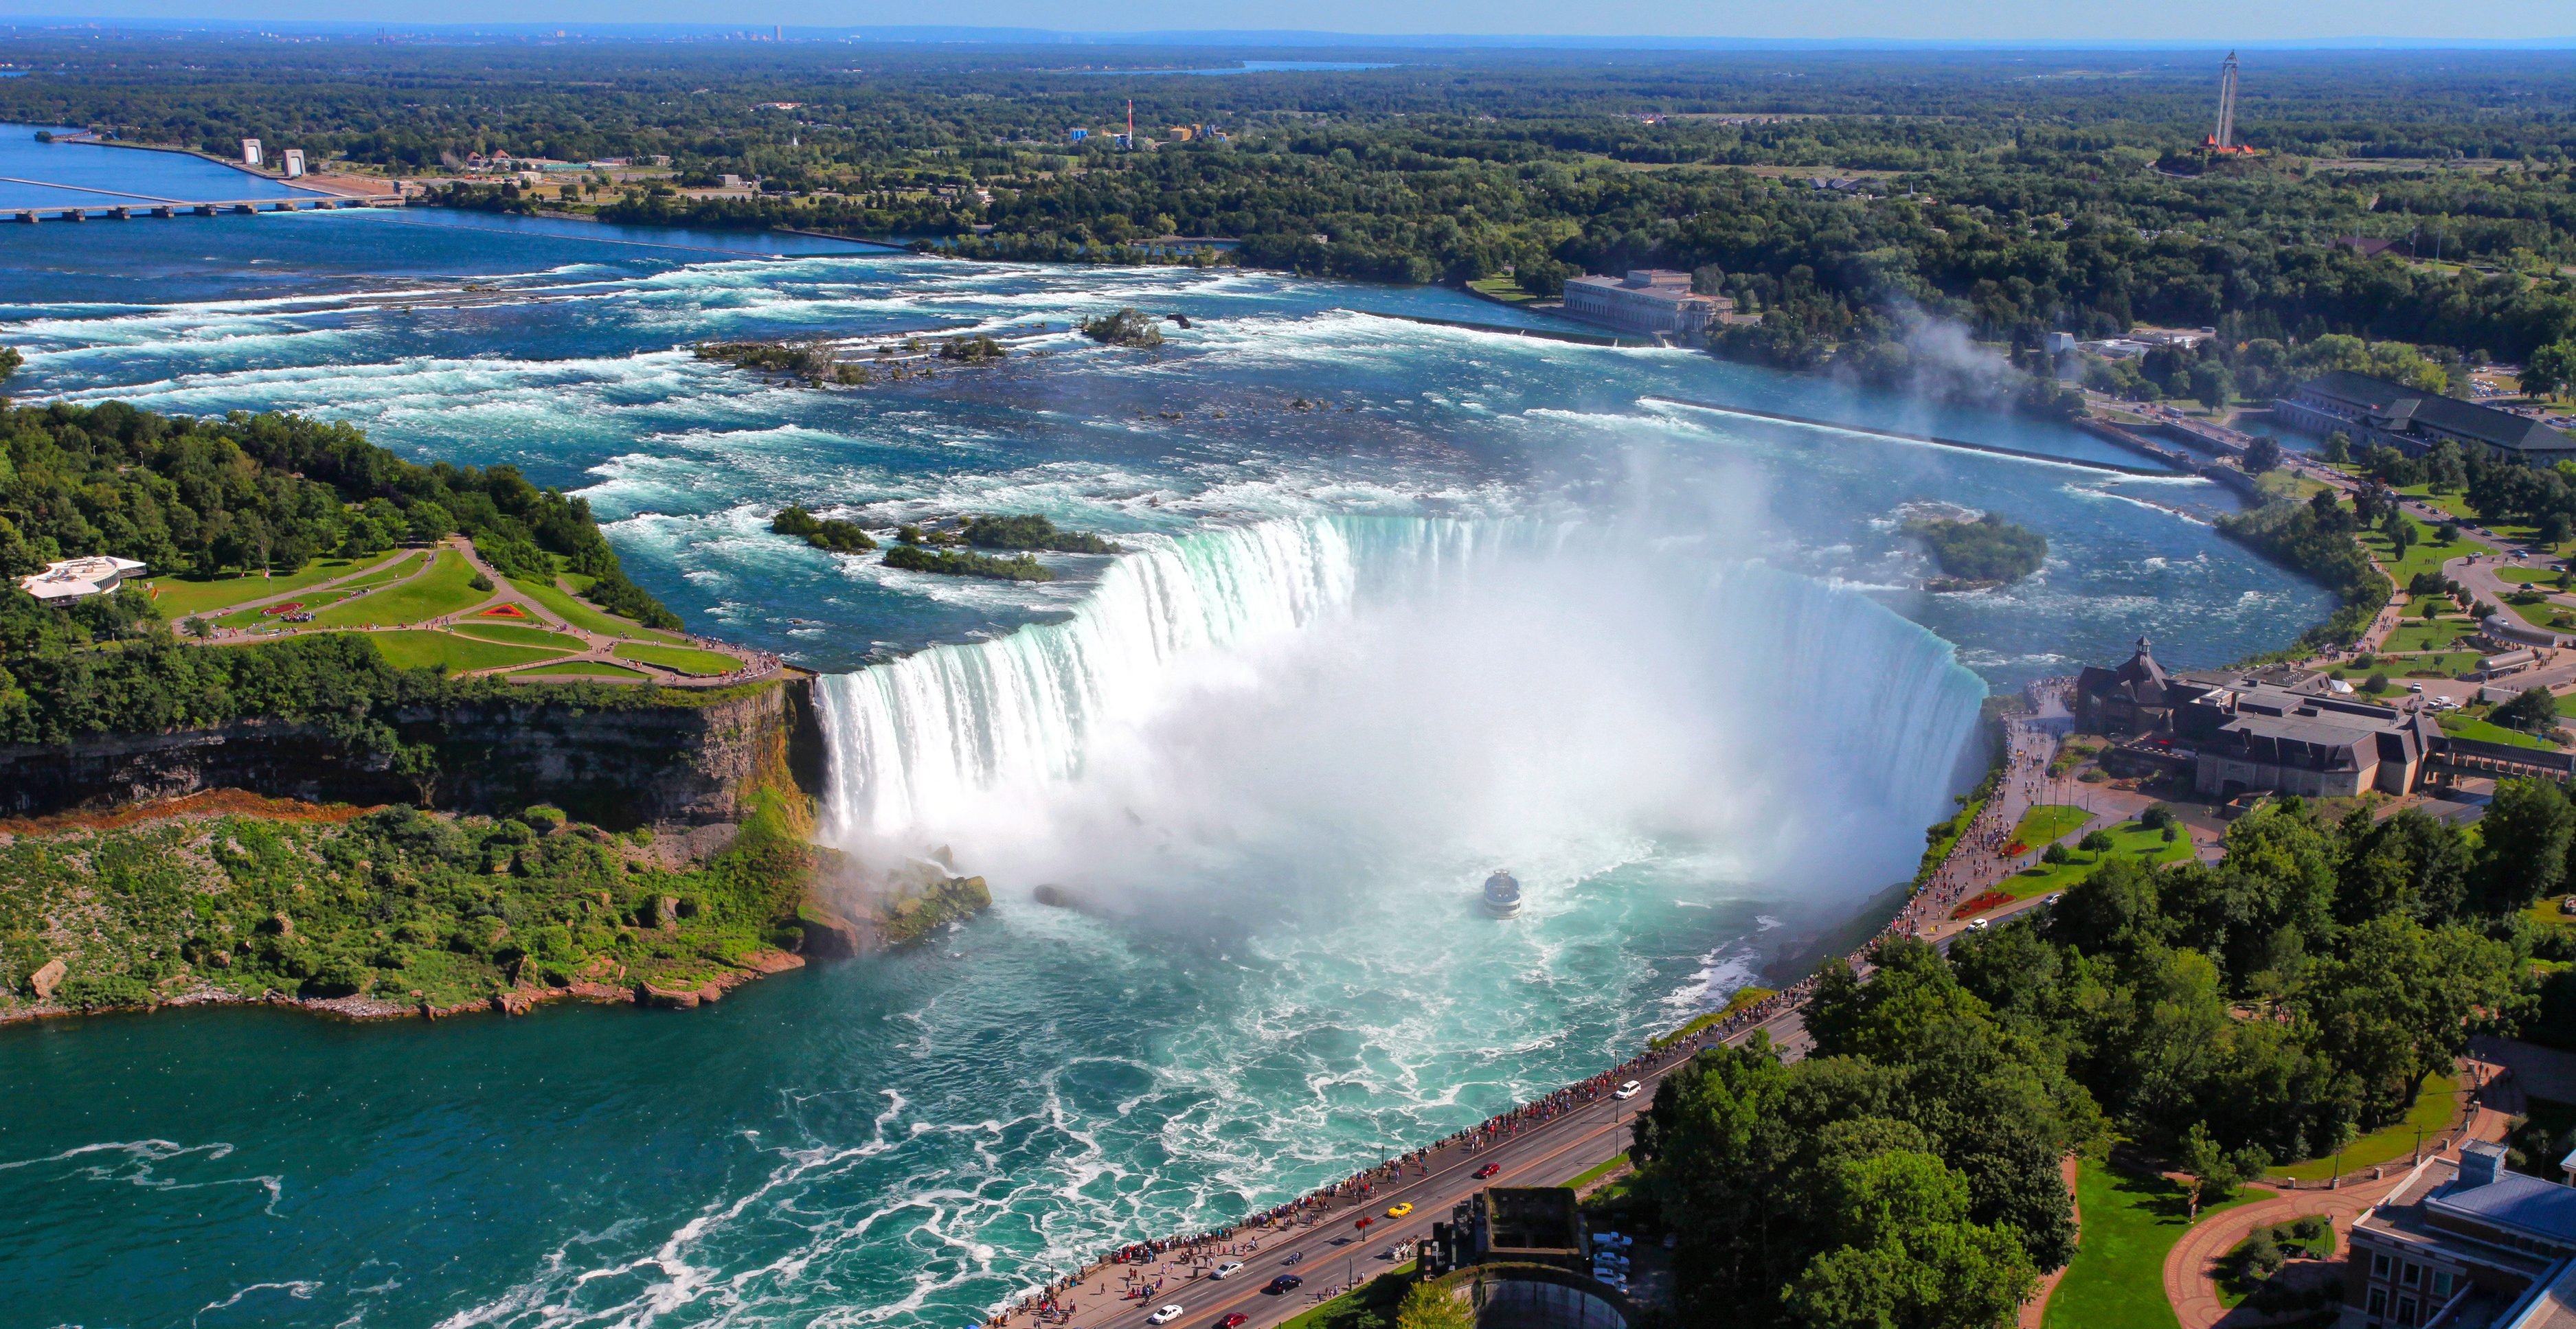
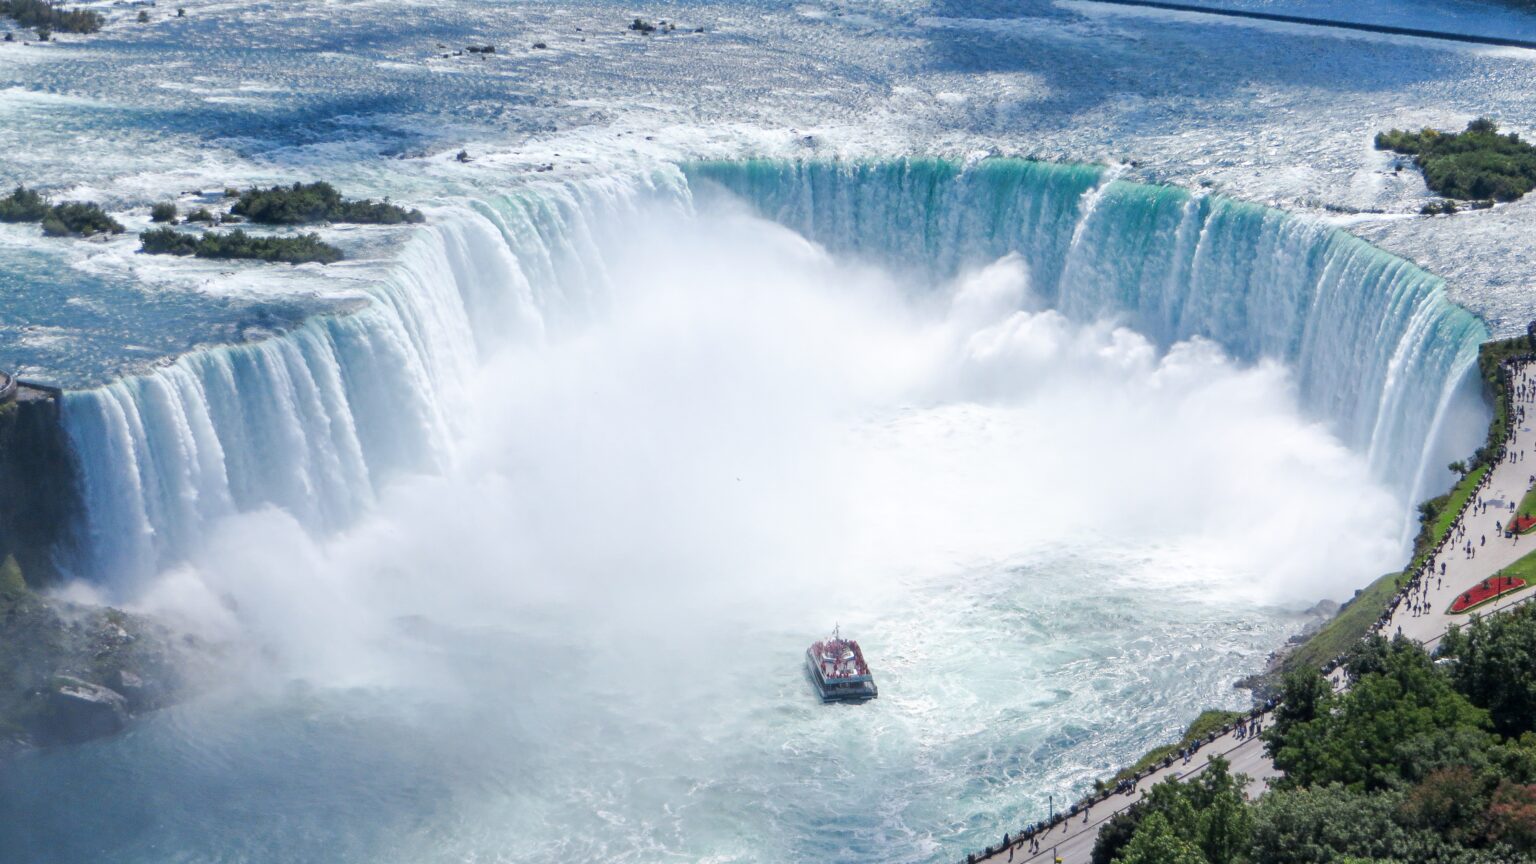
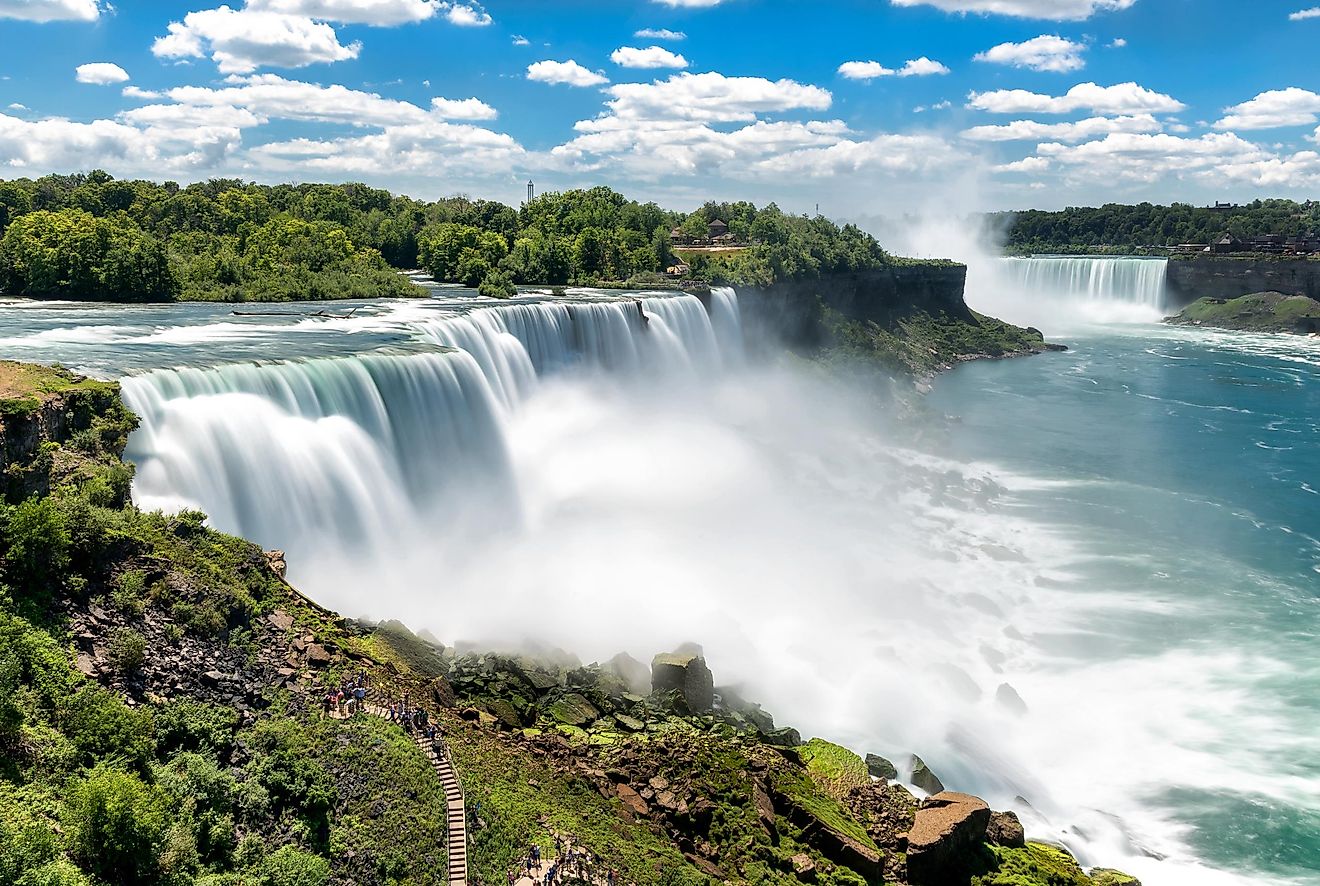
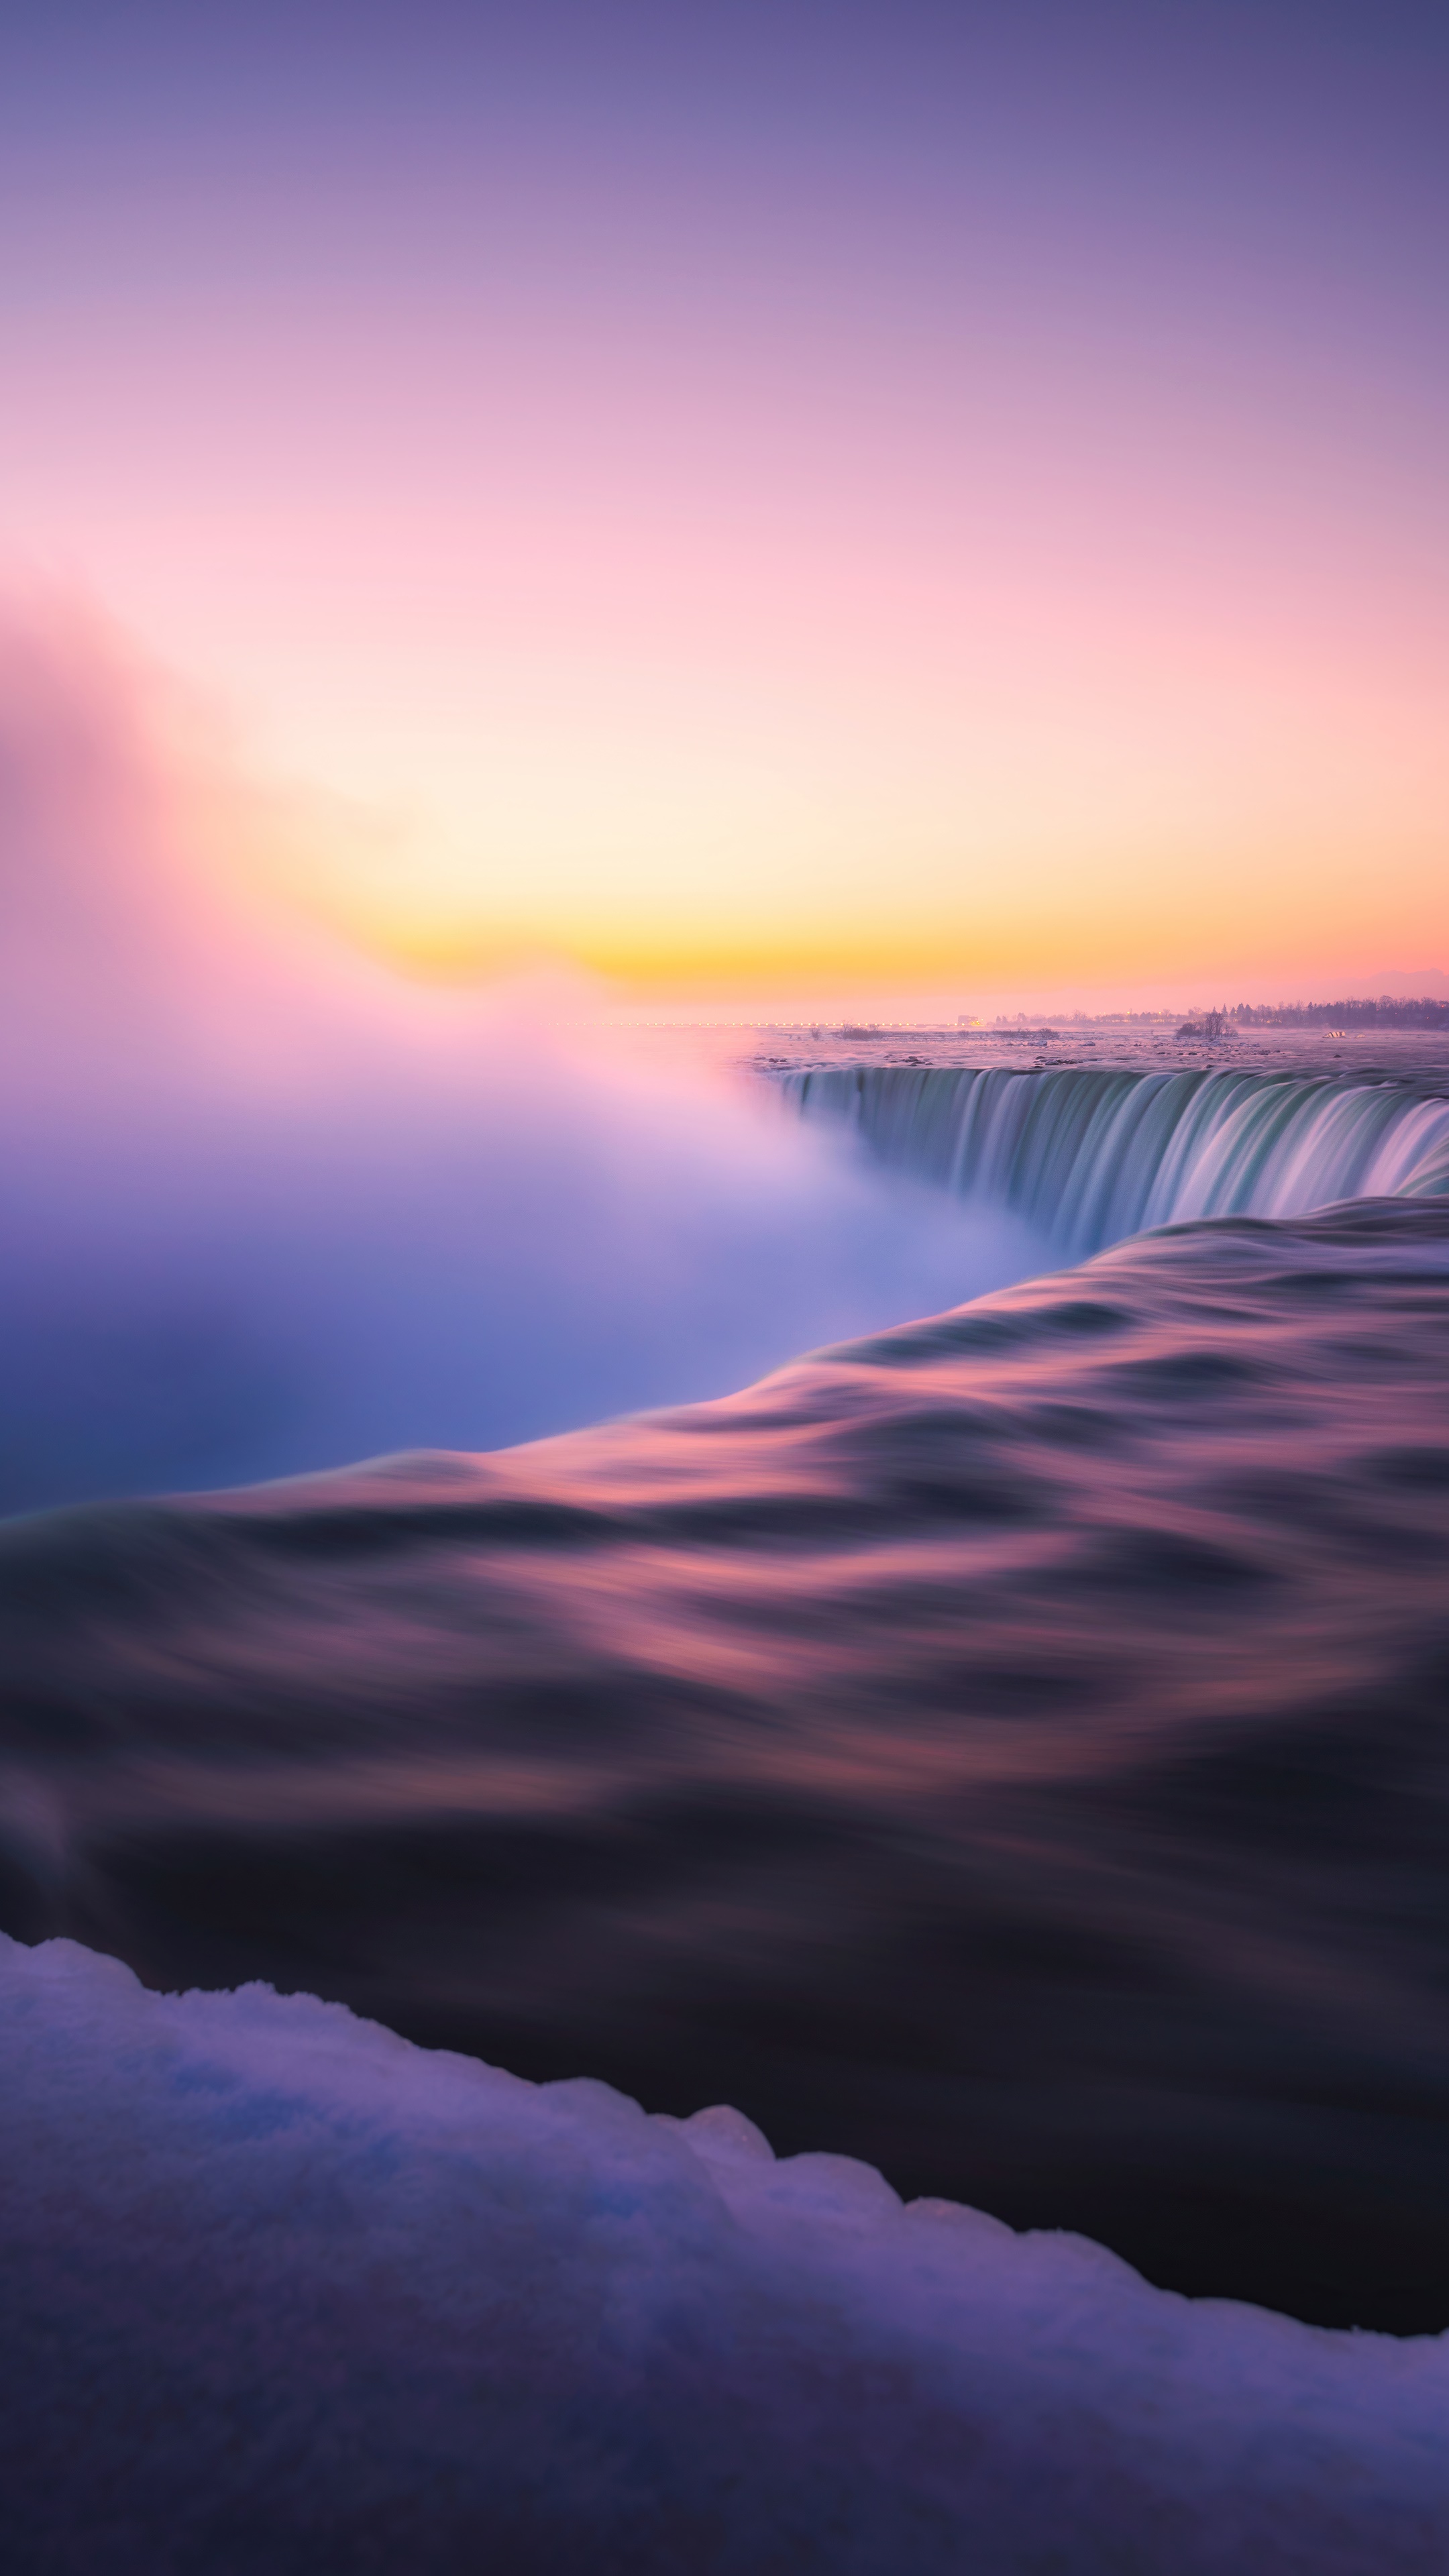
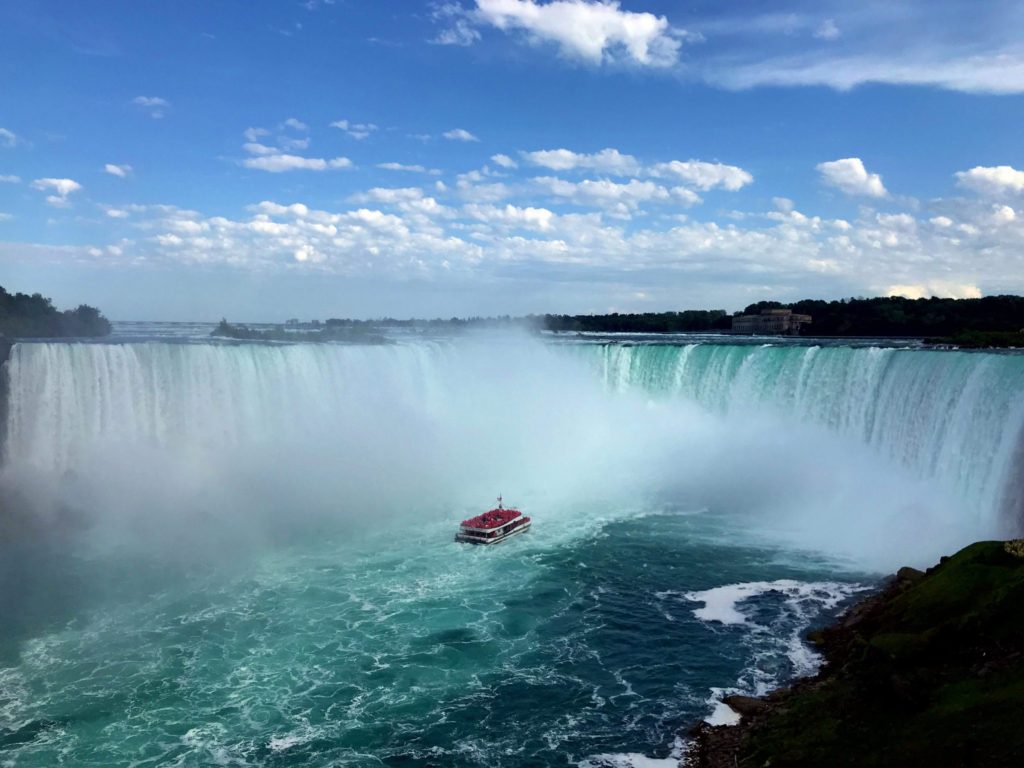
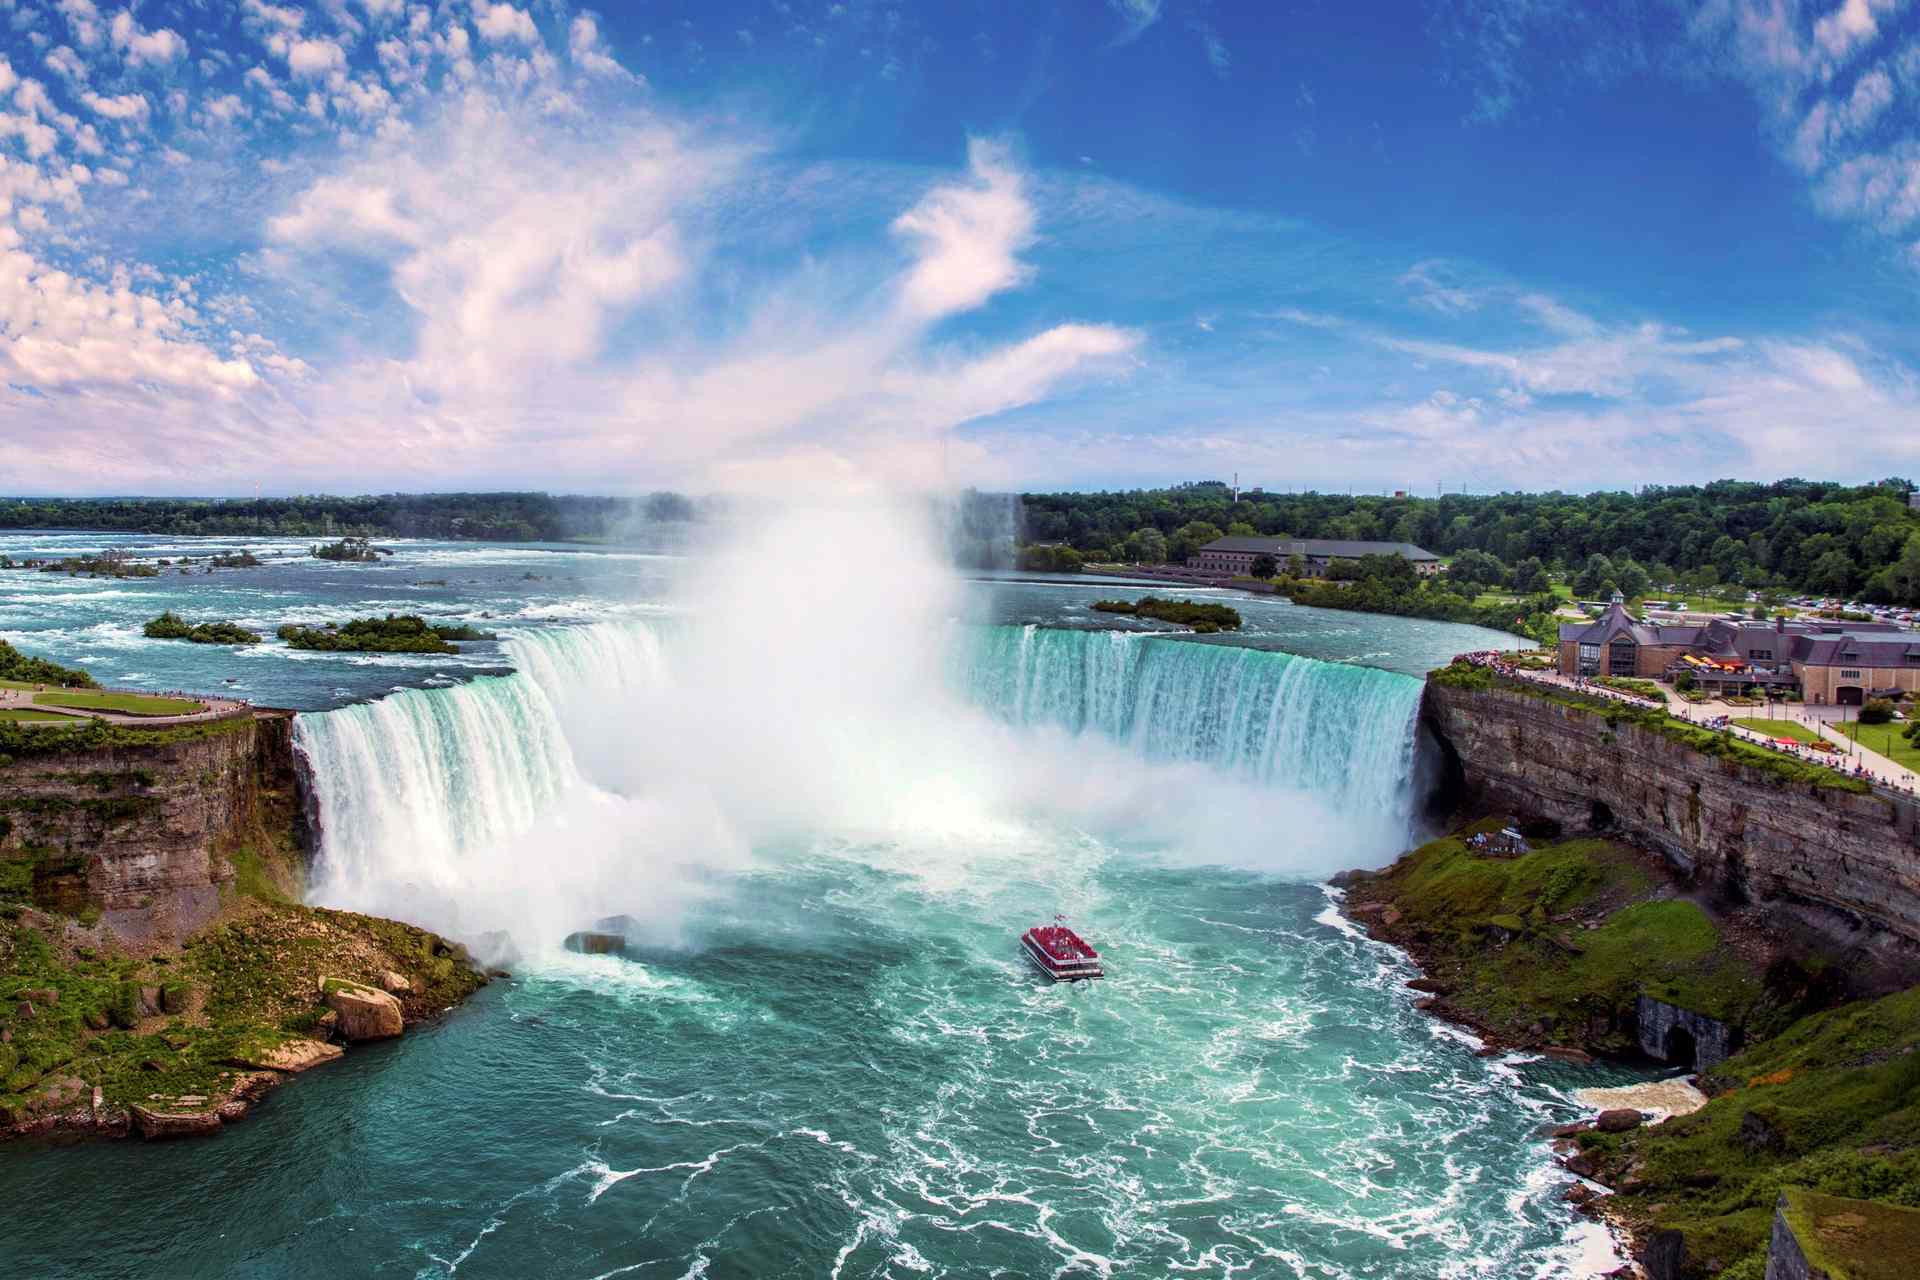
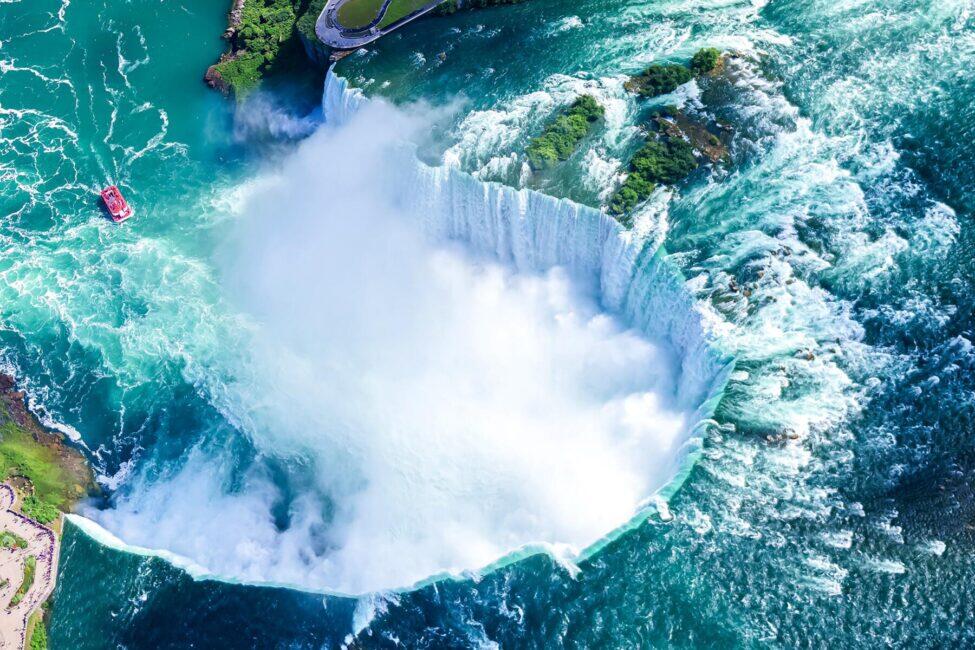
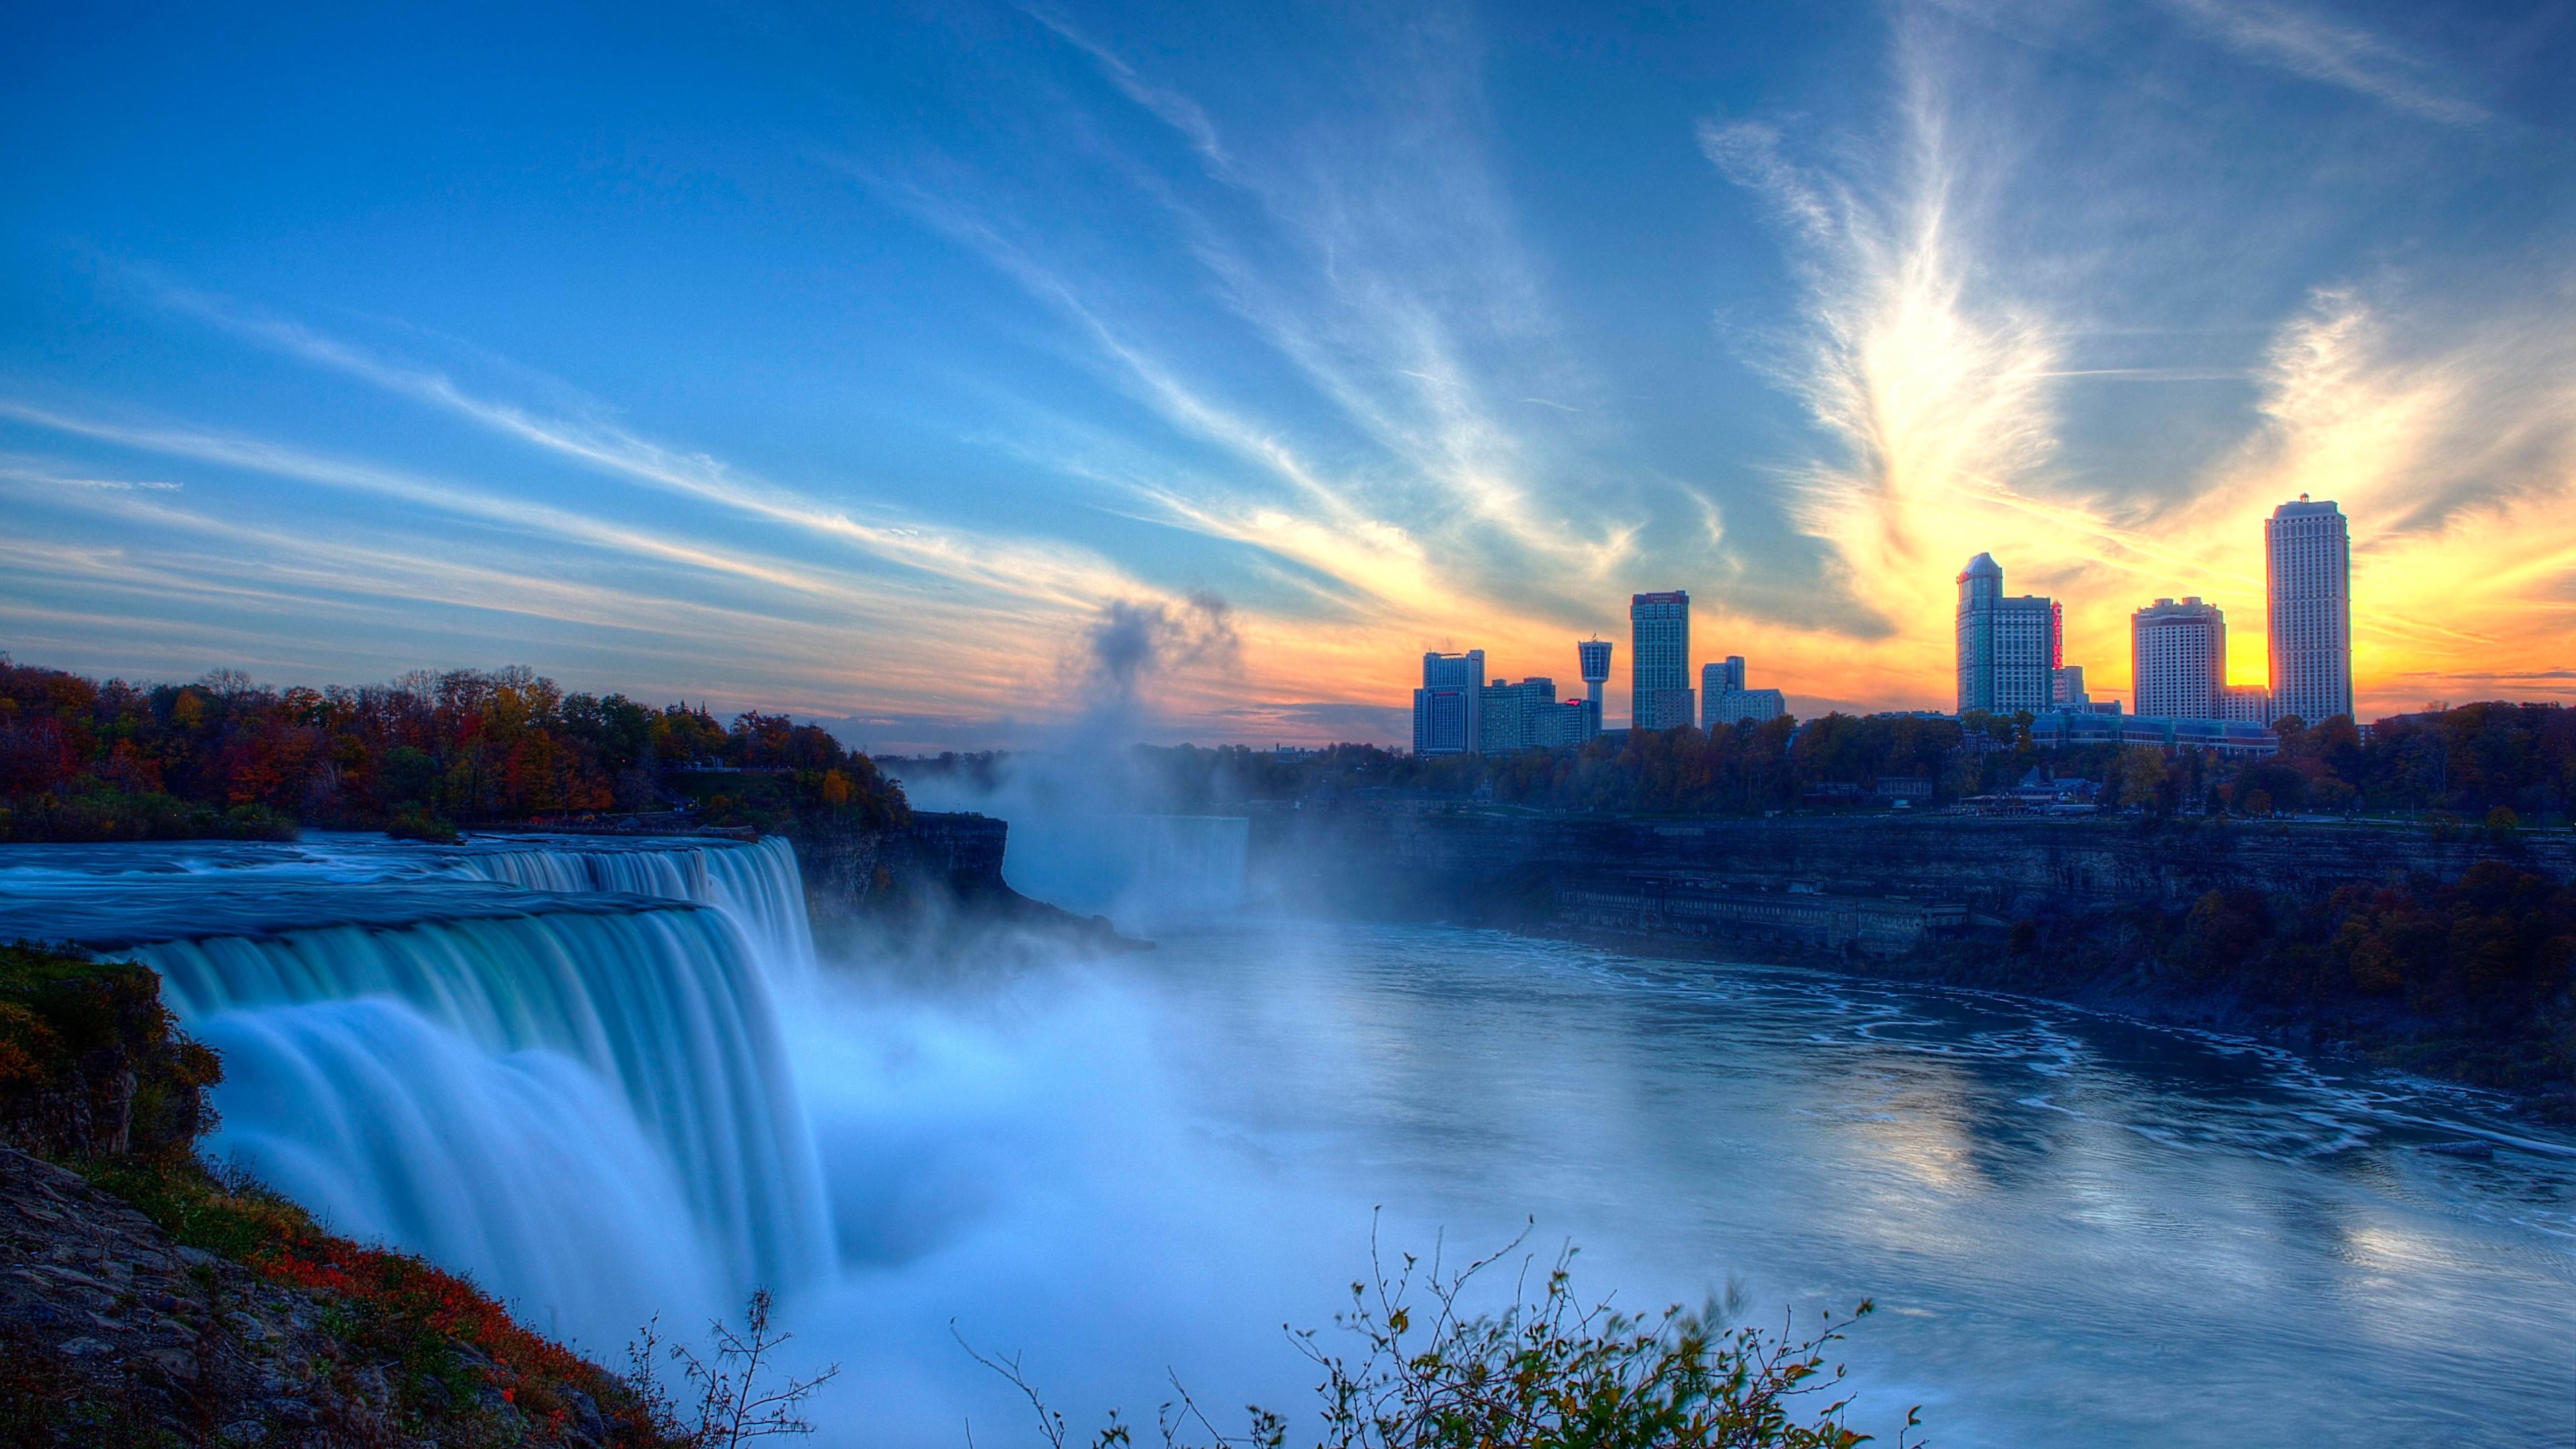
This design takes inspiration from one of the most iconic and breathtaking natural wonders in the world - Niagara Falls. With its cascading waterfalls and majestic beauty, it is no wonder that it has become a popular source of inspiration for many artistic creations, including nail designs.
When it comes to nail designs, there are endless options to choose from. From simple and classic to bold and intricate, there is something for everyone. But for those looking for a unique and visually stunning design, the Niagara Falls acrylic nail design is the perfect choice.
This design takes inspiration from one of the most iconic and breathtaking natural wonders in the world - Niagara Falls. With its cascading waterfalls and majestic beauty, it is no wonder that it has become a popular source of inspiration for many artistic creations, including nail designs.
The Process of Creating Niagara Falls Acrylic Nails
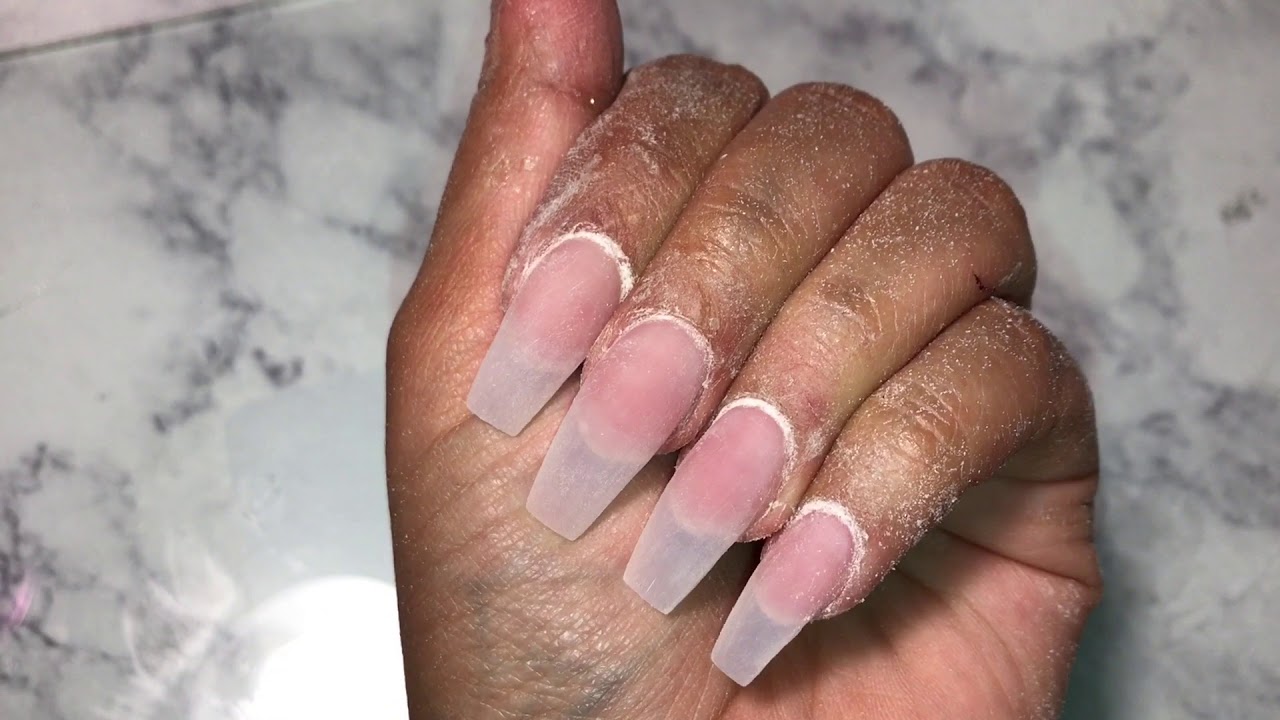
 To achieve the Niagara Falls acrylic nail design, a skilled nail technician uses a combination of acrylic powder and liquid to create a strong and durable base for the design. The acrylic is then shaped and filed to the desired length and shape.
Next, the technician will use a variety of tools and techniques to create the design. This can include using a fine brush to paint the iconic waterfalls and adding in glitter or rhinestones to mimic the shimmering water. The result is a stunning and realistic depiction of Niagara Falls on your nails.
To achieve the Niagara Falls acrylic nail design, a skilled nail technician uses a combination of acrylic powder and liquid to create a strong and durable base for the design. The acrylic is then shaped and filed to the desired length and shape.
Next, the technician will use a variety of tools and techniques to create the design. This can include using a fine brush to paint the iconic waterfalls and adding in glitter or rhinestones to mimic the shimmering water. The result is a stunning and realistic depiction of Niagara Falls on your nails.
Making a Statement with Your Nails
 The Niagara Falls acrylic nail design is not just a beautiful addition to your nails, but it also makes a statement. It shows that you are not afraid to be bold and creative with your style. It is a perfect choice for special occasions or just to add a touch of nature's beauty to your everyday look.
Moreover, this design is versatile and can be customized to fit your personal style. You can opt for a more subtle and elegant design or go all out with bold colors and intricate details. The possibilities are endless with this unique and eye-catching design.
In conclusion, if you want to make a statement with your nails and stand out from the crowd, the Niagara Falls acrylic nail design is the perfect choice. Not only is it a stunning and creative design, but it also pays homage to one of nature's most magnificent wonders. So why settle for ordinary nails when you can have a piece of Niagara Falls on your fingertips?
The Niagara Falls acrylic nail design is not just a beautiful addition to your nails, but it also makes a statement. It shows that you are not afraid to be bold and creative with your style. It is a perfect choice for special occasions or just to add a touch of nature's beauty to your everyday look.
Moreover, this design is versatile and can be customized to fit your personal style. You can opt for a more subtle and elegant design or go all out with bold colors and intricate details. The possibilities are endless with this unique and eye-catching design.
In conclusion, if you want to make a statement with your nails and stand out from the crowd, the Niagara Falls acrylic nail design is the perfect choice. Not only is it a stunning and creative design, but it also pays homage to one of nature's most magnificent wonders. So why settle for ordinary nails when you can have a piece of Niagara Falls on your fingertips?


