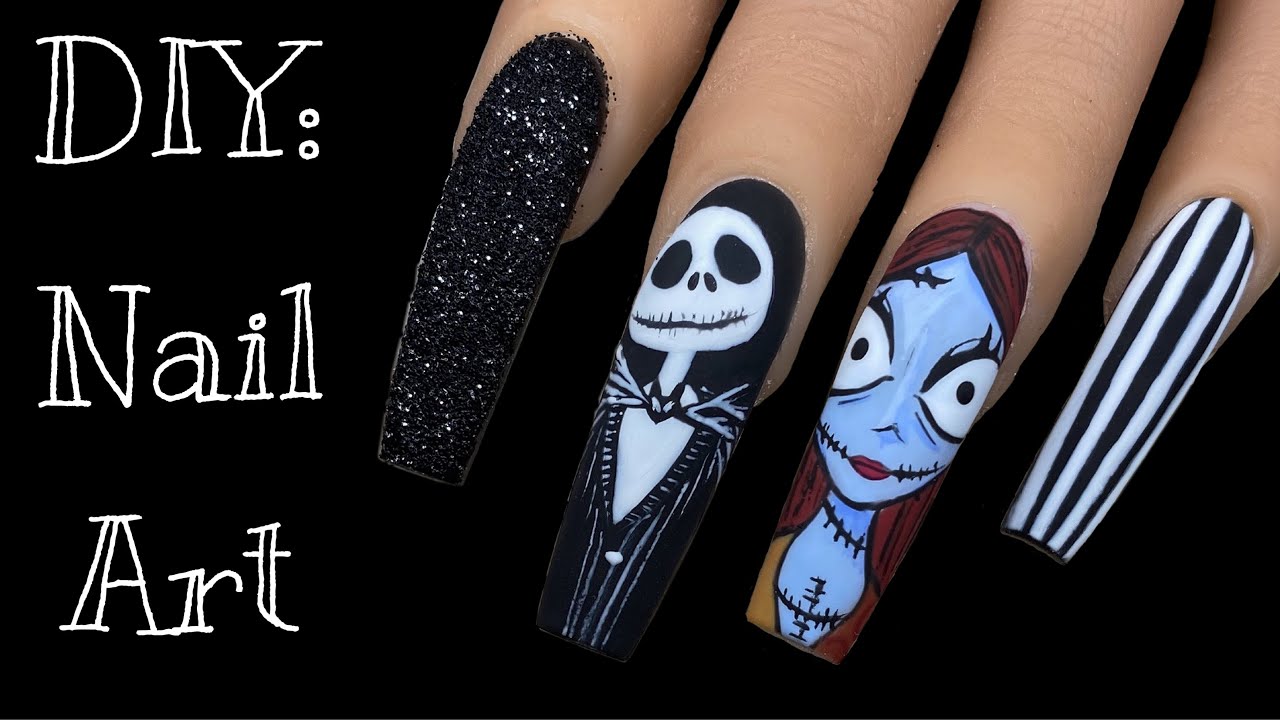
Get ready to nail your Halloween look with these step-by-step instructions for "Nightmare Before Christmas" inspired nail art. Get your brushes and polishes ready as we transform your nails into a spooky masterpiece. Start by applying a base coat to protect your natural nails. Then, using a black polish, paint each nail except for the ring fingers. These will be reserved for our Jack and Sally designs. Now, using a white polish, create a gradient effect on the remaining nails. This will serve as the background for our designs. For the Jack design, use a thin brush and white polish to create his iconic face on the ring finger. Don't worry about making it perfect, as Jack's face is meant to be a bit spooky and imperfect. Next, use a black polish to create the stitches on the remaining fingers. Simply paint vertical and horizontal lines to resemble stitches. You can also add a few small dots for a more realistic look. For Sally's design, use a thin brush and black polish to create her stitched lips on the ring finger. Then, use a thin brush and blue polish to create her eyes on the remaining fingers. Don't forget to add the white dots for her pupils. Finish off the look by adding a top coat to seal in your design and add shine. And there you have it, "Nightmare Before Christmas" inspired nails that will surely give you a spooktacular look!1. "Nightmare Before Christmas" Nail Art Tutorial: Create Spooky Nails with Jack and Sally!


1. "Nightmare Before Christmas" Nail Art Tutorial


If you're a fan of Tim Burton's classic movie "Nightmare Before Christmas," then these nail art designs are a must-try for you. Get ready to show off your love for this spooky and magical film with these fun and creative nail designs. For this design, start by applying a base coat to protect your natural nails. Then, using a black polish, paint each nail except for the ring fingers. These will be reserved for our Jack and Sally designs. Next, using a white polish, paint the tips of your nails to create a French manicure effect. You can also use a white nail art pen for more precision. This will serve as the base for our designs. Using a thin brush and black polish, create Jack's iconic face on the ring finger. Then, use a white polish to create the stitches on the remaining fingers. You can also add a few small dots for a more realistic look. For Sally's design, use a thin brush and black polish to create her stitched lips on the ring finger. Then, use a thin brush and blue polish to create her eyes on the remaining fingers. Don't forget to add the white dots for her pupils. Finish off the look by adding a top coat to seal in your design and add shine. These "Nightmare Before Christmas" inspired nails are perfect for any Halloween party or simply to show off your love for this beloved movie.2. "Nightmare Before Christmas" Inspired Nail Art: Add a Touch of Halloween Magic to Your Nails

2. "Nightmare Before Christmas" Inspired Nail Art


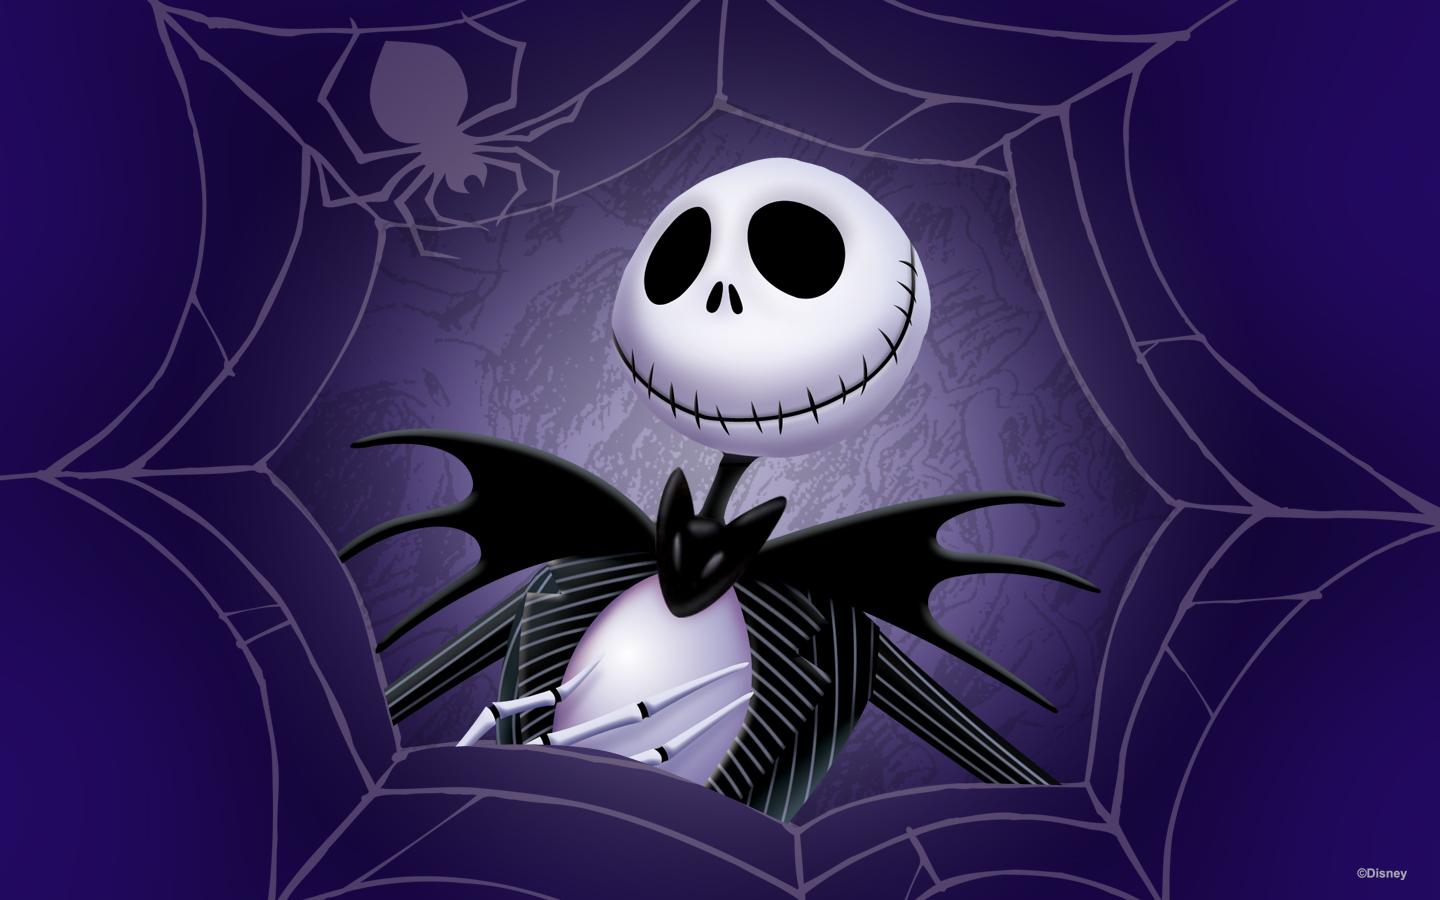
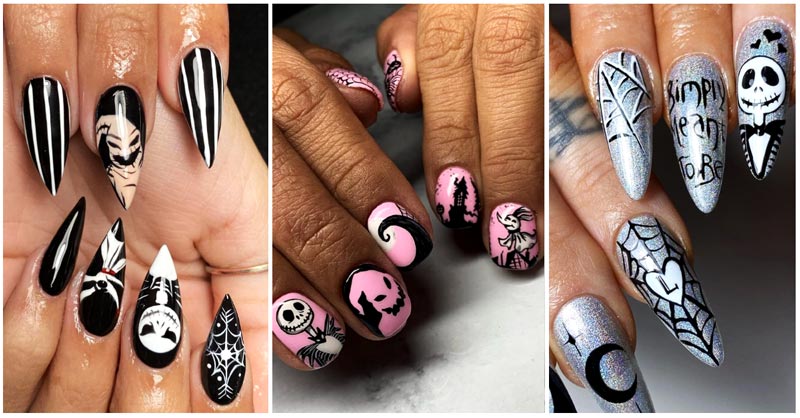
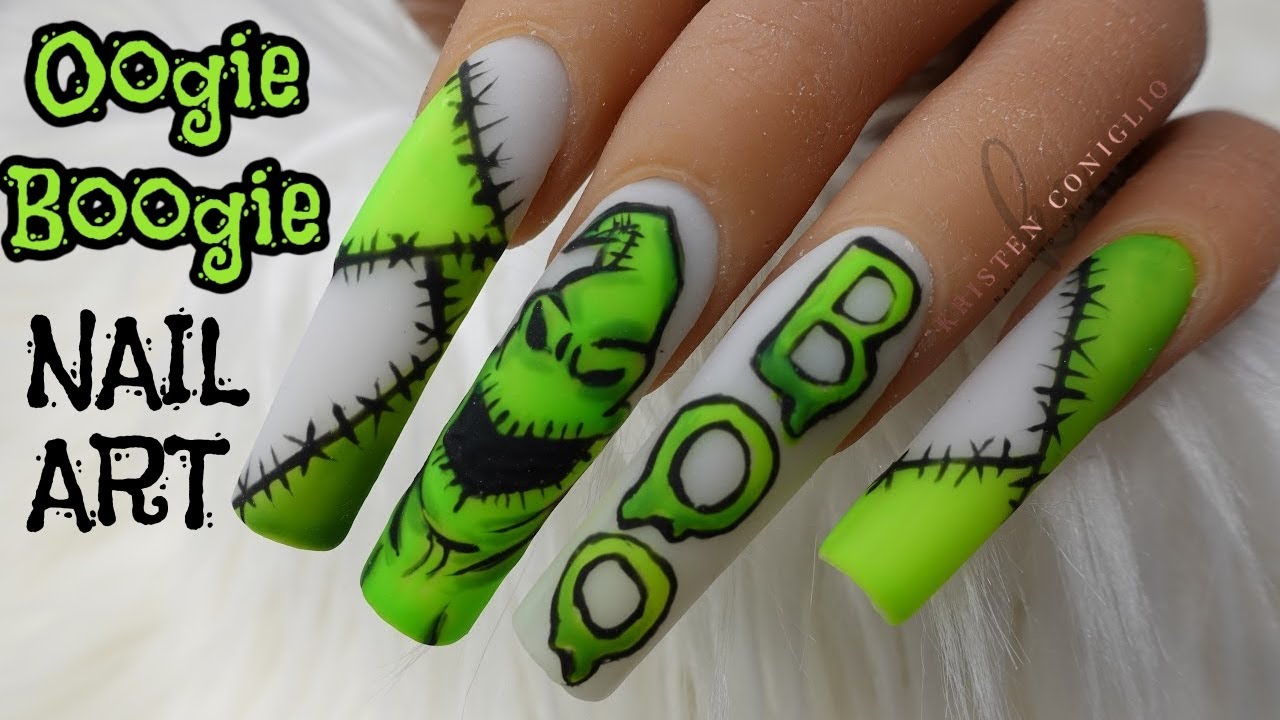
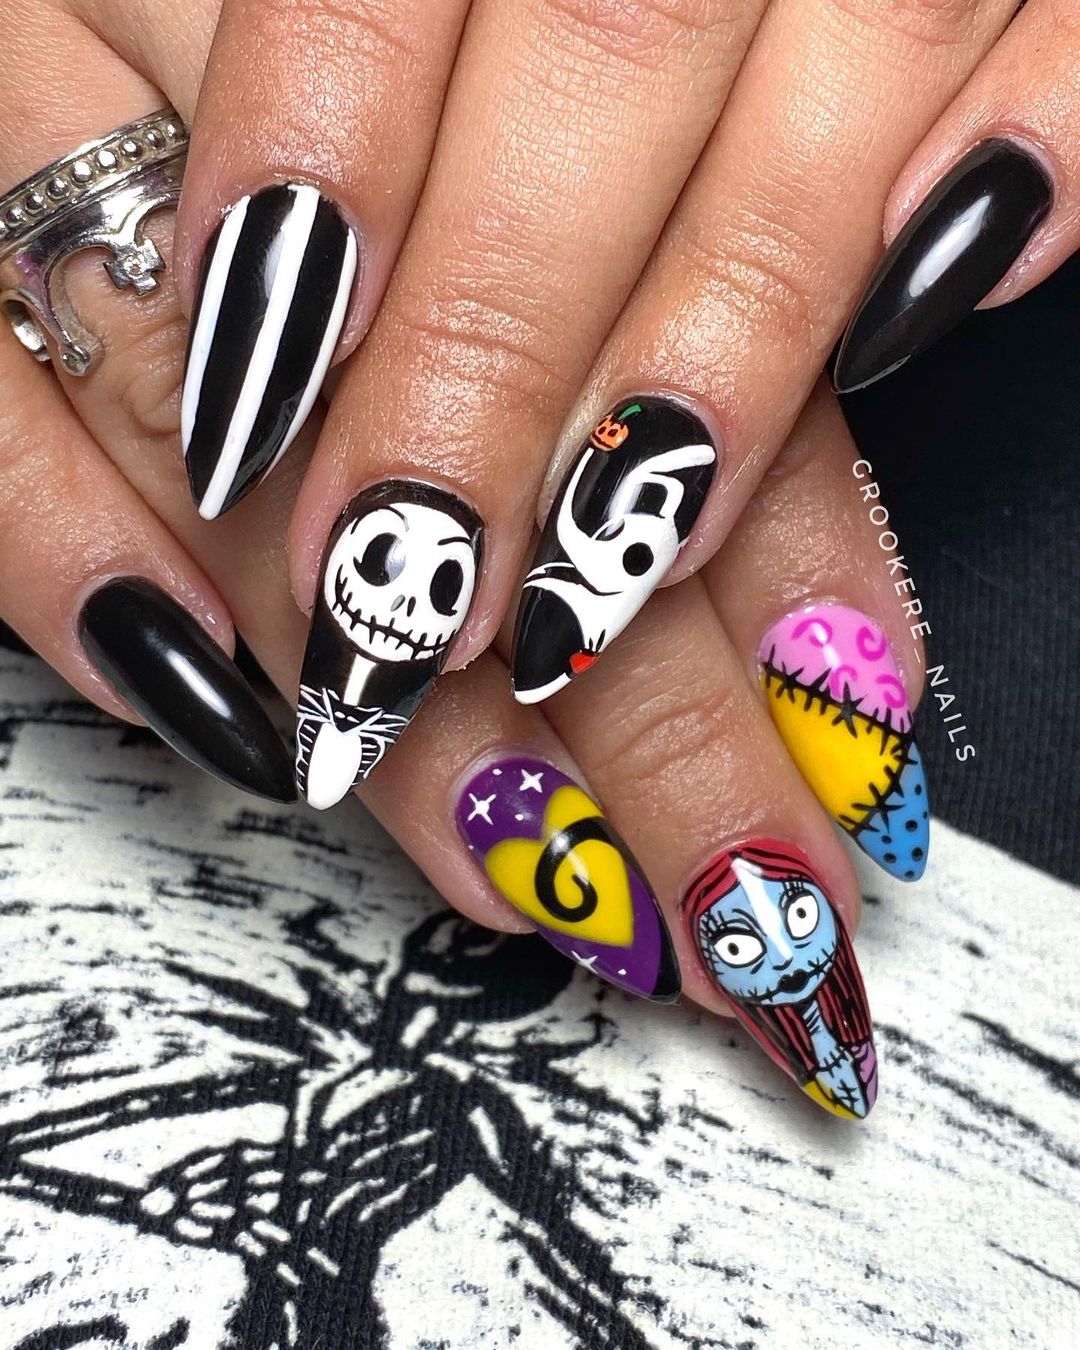
If you're a fan of hand-painted nail art, then this design is perfect for you. Get ready to bring Jack, Sally, and the rest of the "Nightmare Before Christmas" gang to life on your nails with this fun and creative hand-painted design. Start by applying a base coat to protect your natural nails. Then, using a black polish, paint each nail except for the ring fingers. These will be reserved for our Jack and Sally designs. Next, using a white polish, create a gradient effect on the remaining nails. This will serve as the background for our hand-painted designs. For Jack's design, start by painting his face on the ring finger using a thin brush and white polish. Then, use a black nail art pen to outline his face and add details such as his eyes and mouth. Don't worry about making it perfect, as Jack's face is meant to be a bit spooky and imperfect. For Sally's design, use a thin brush and black polish to create her stitched lips on the ring finger. Then, use a thin brush and blue polish to create her eyes on the remaining fingers. Don't forget to add the white dots for her pupils. For the remaining fingers, use a thin brush and black polish to create the silhouettes of Oogie Boogie, Zero, and the Mayor. You can also add small details such as the spiral hill and a full moon to complete the design. Finish off the look by adding a top coat to seal in your design and add shine. These hand-painted "Nightmare Before Christmas" nails will surely be the talk of any Halloween party.3. "Nightmare Before Christmas" Hand Painted Nail Design: Bring Your Favorite Characters to Life on Your Nails


3. "Nightmare Before Christmas" Hand Painted Nail Design


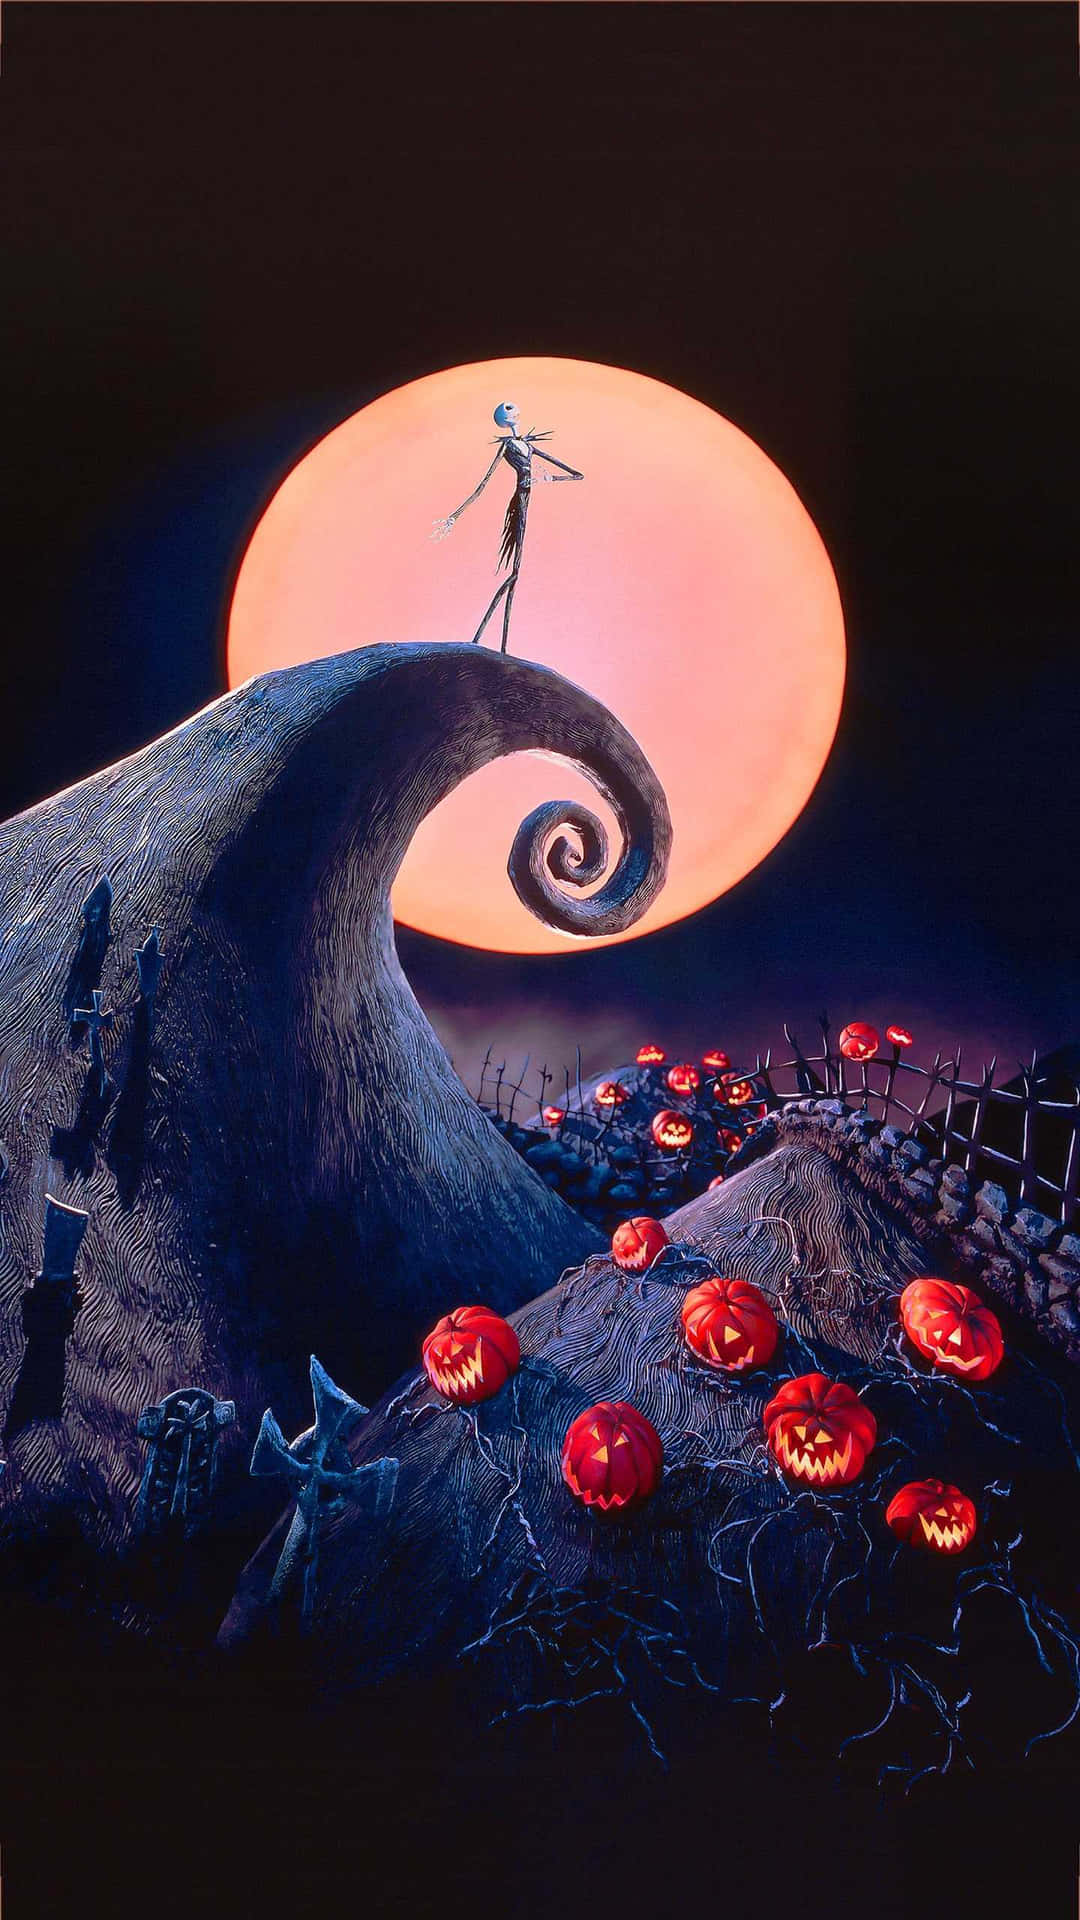
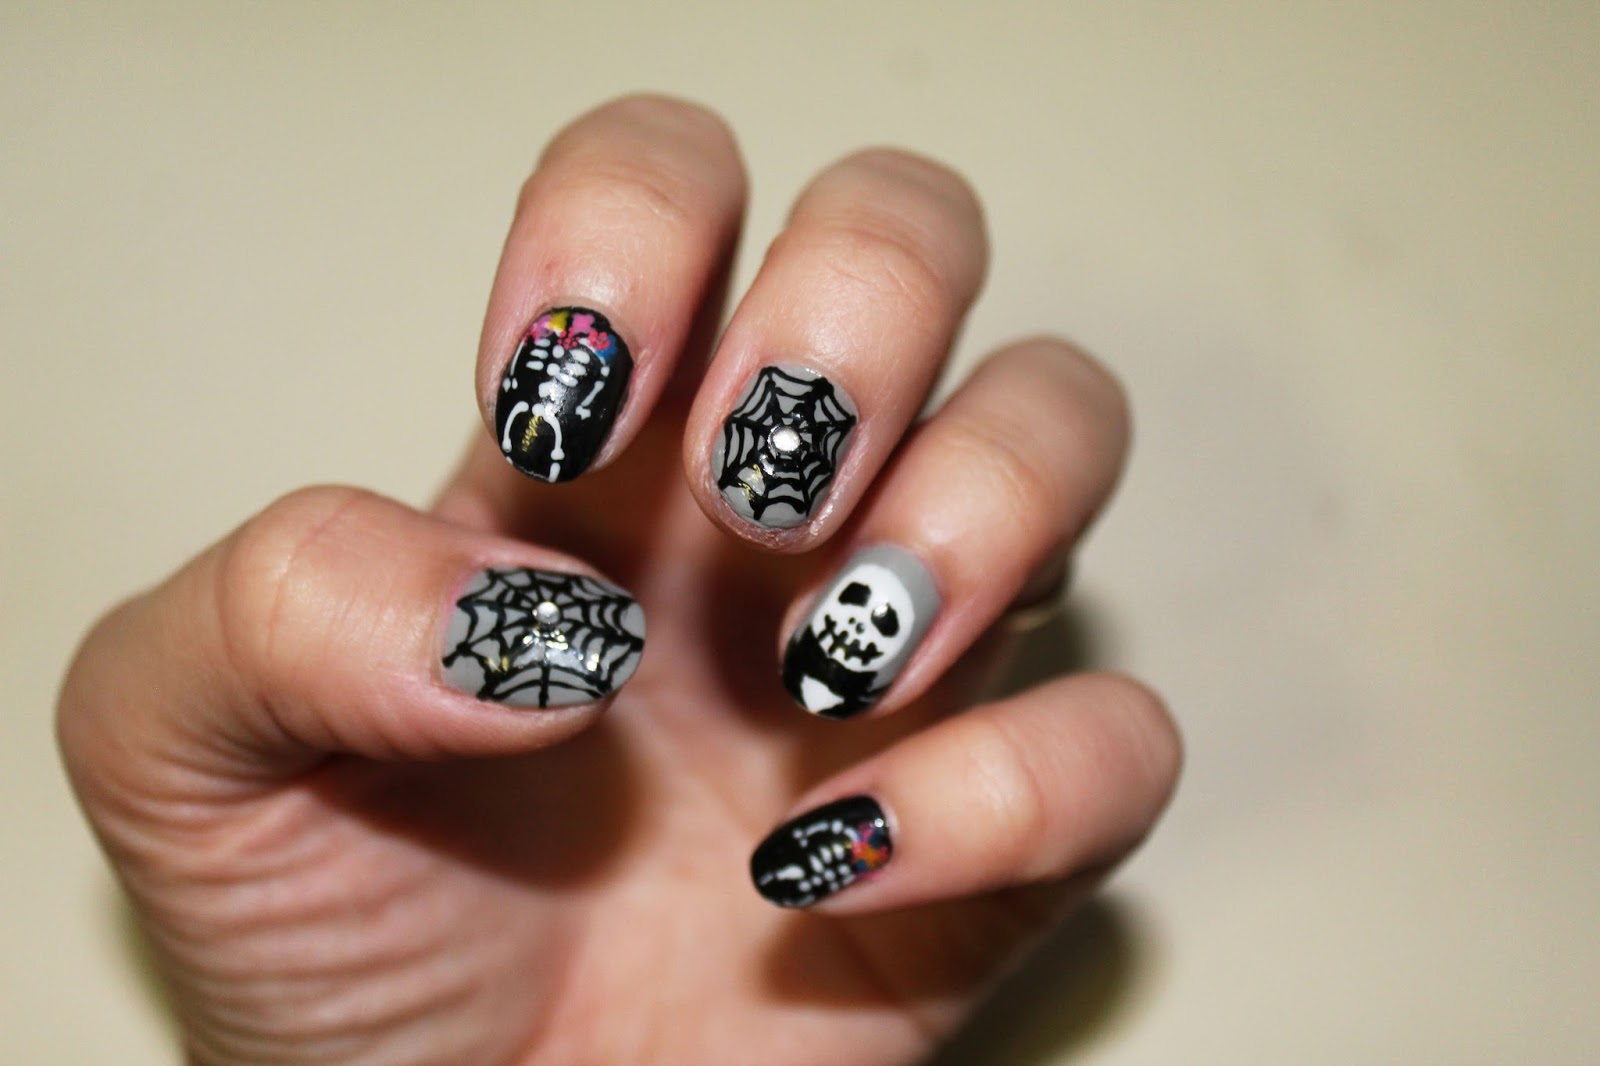
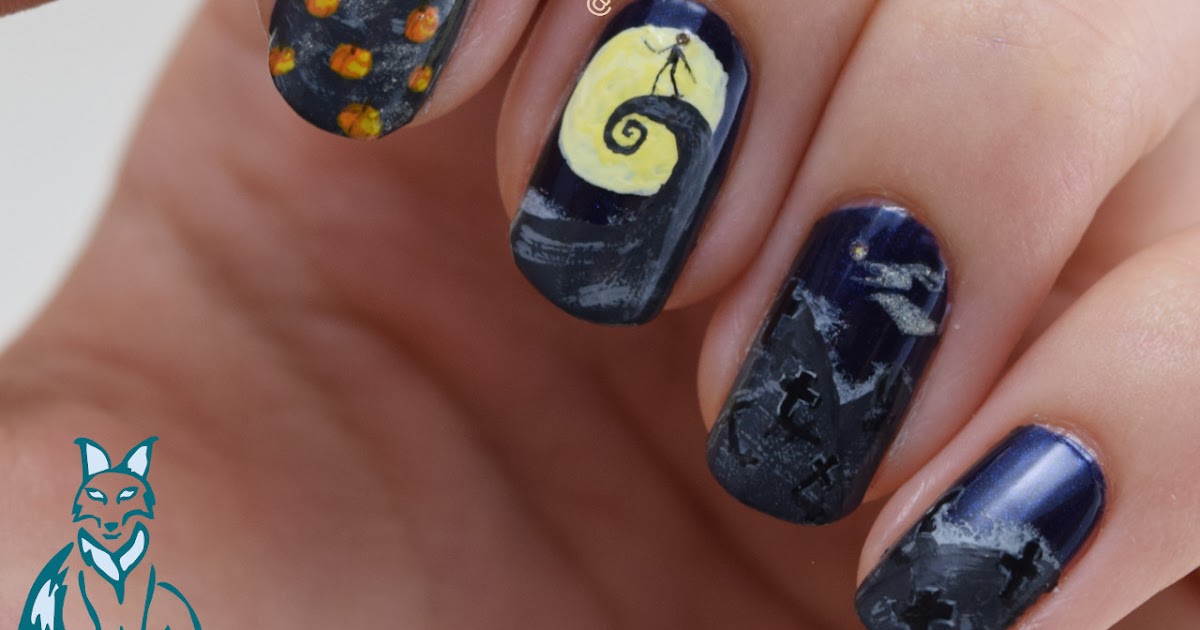
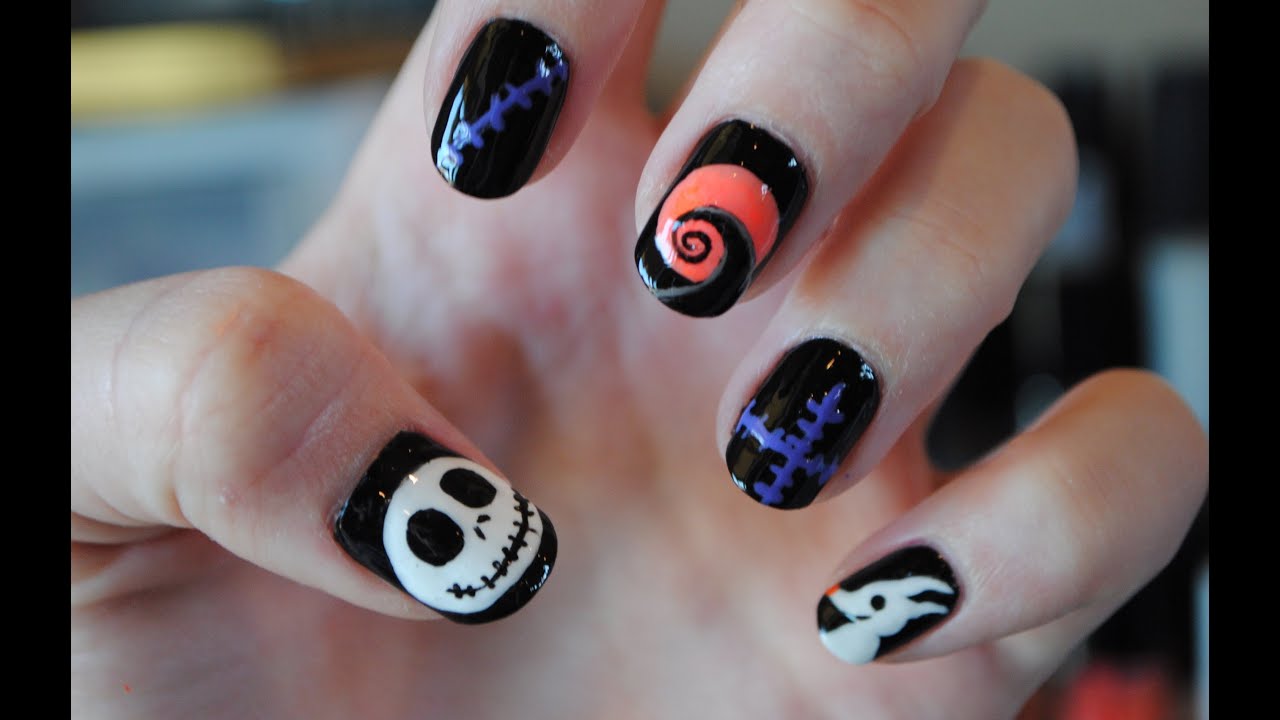
If you're looking for some nail design ideas to elevate your Halloween look, then "Nightmare Before Christmas" is the perfect inspiration. From hand-painted designs to simple and spooky nail art, these ideas are sure to give you the ultimate Halloween look. For a simple but spooky look, try painting your nails with a black polish and adding white stitches and Jack's face on one finger. You can also add a touch of glitter for some extra sparkle. If you're feeling more creative, try hand-painting the characters on your nails. You can even add a 3D effect by using some gel polish to create a raised design. For a more subtle look, try using a white polish for the base and adding small details such as Jack's face or the spiral hill using a black nail art pen. This design is perfect for those who prefer a more minimalistic look. And for the ultimate "Nightmare Before Christmas" inspired nails, try creating a different design on each nail. You can paint Jack and Sally on two fingers, use a gradient effect on another, and add spooky stitches and silhouettes on the rest. The possibilities are endless!4. "Nightmare Before Christmas" Nail Design Ideas: Spooky and Creative Designs for the Ultimate Halloween Look


4. "Nightmare Before Christmas" Nail Design Ideas


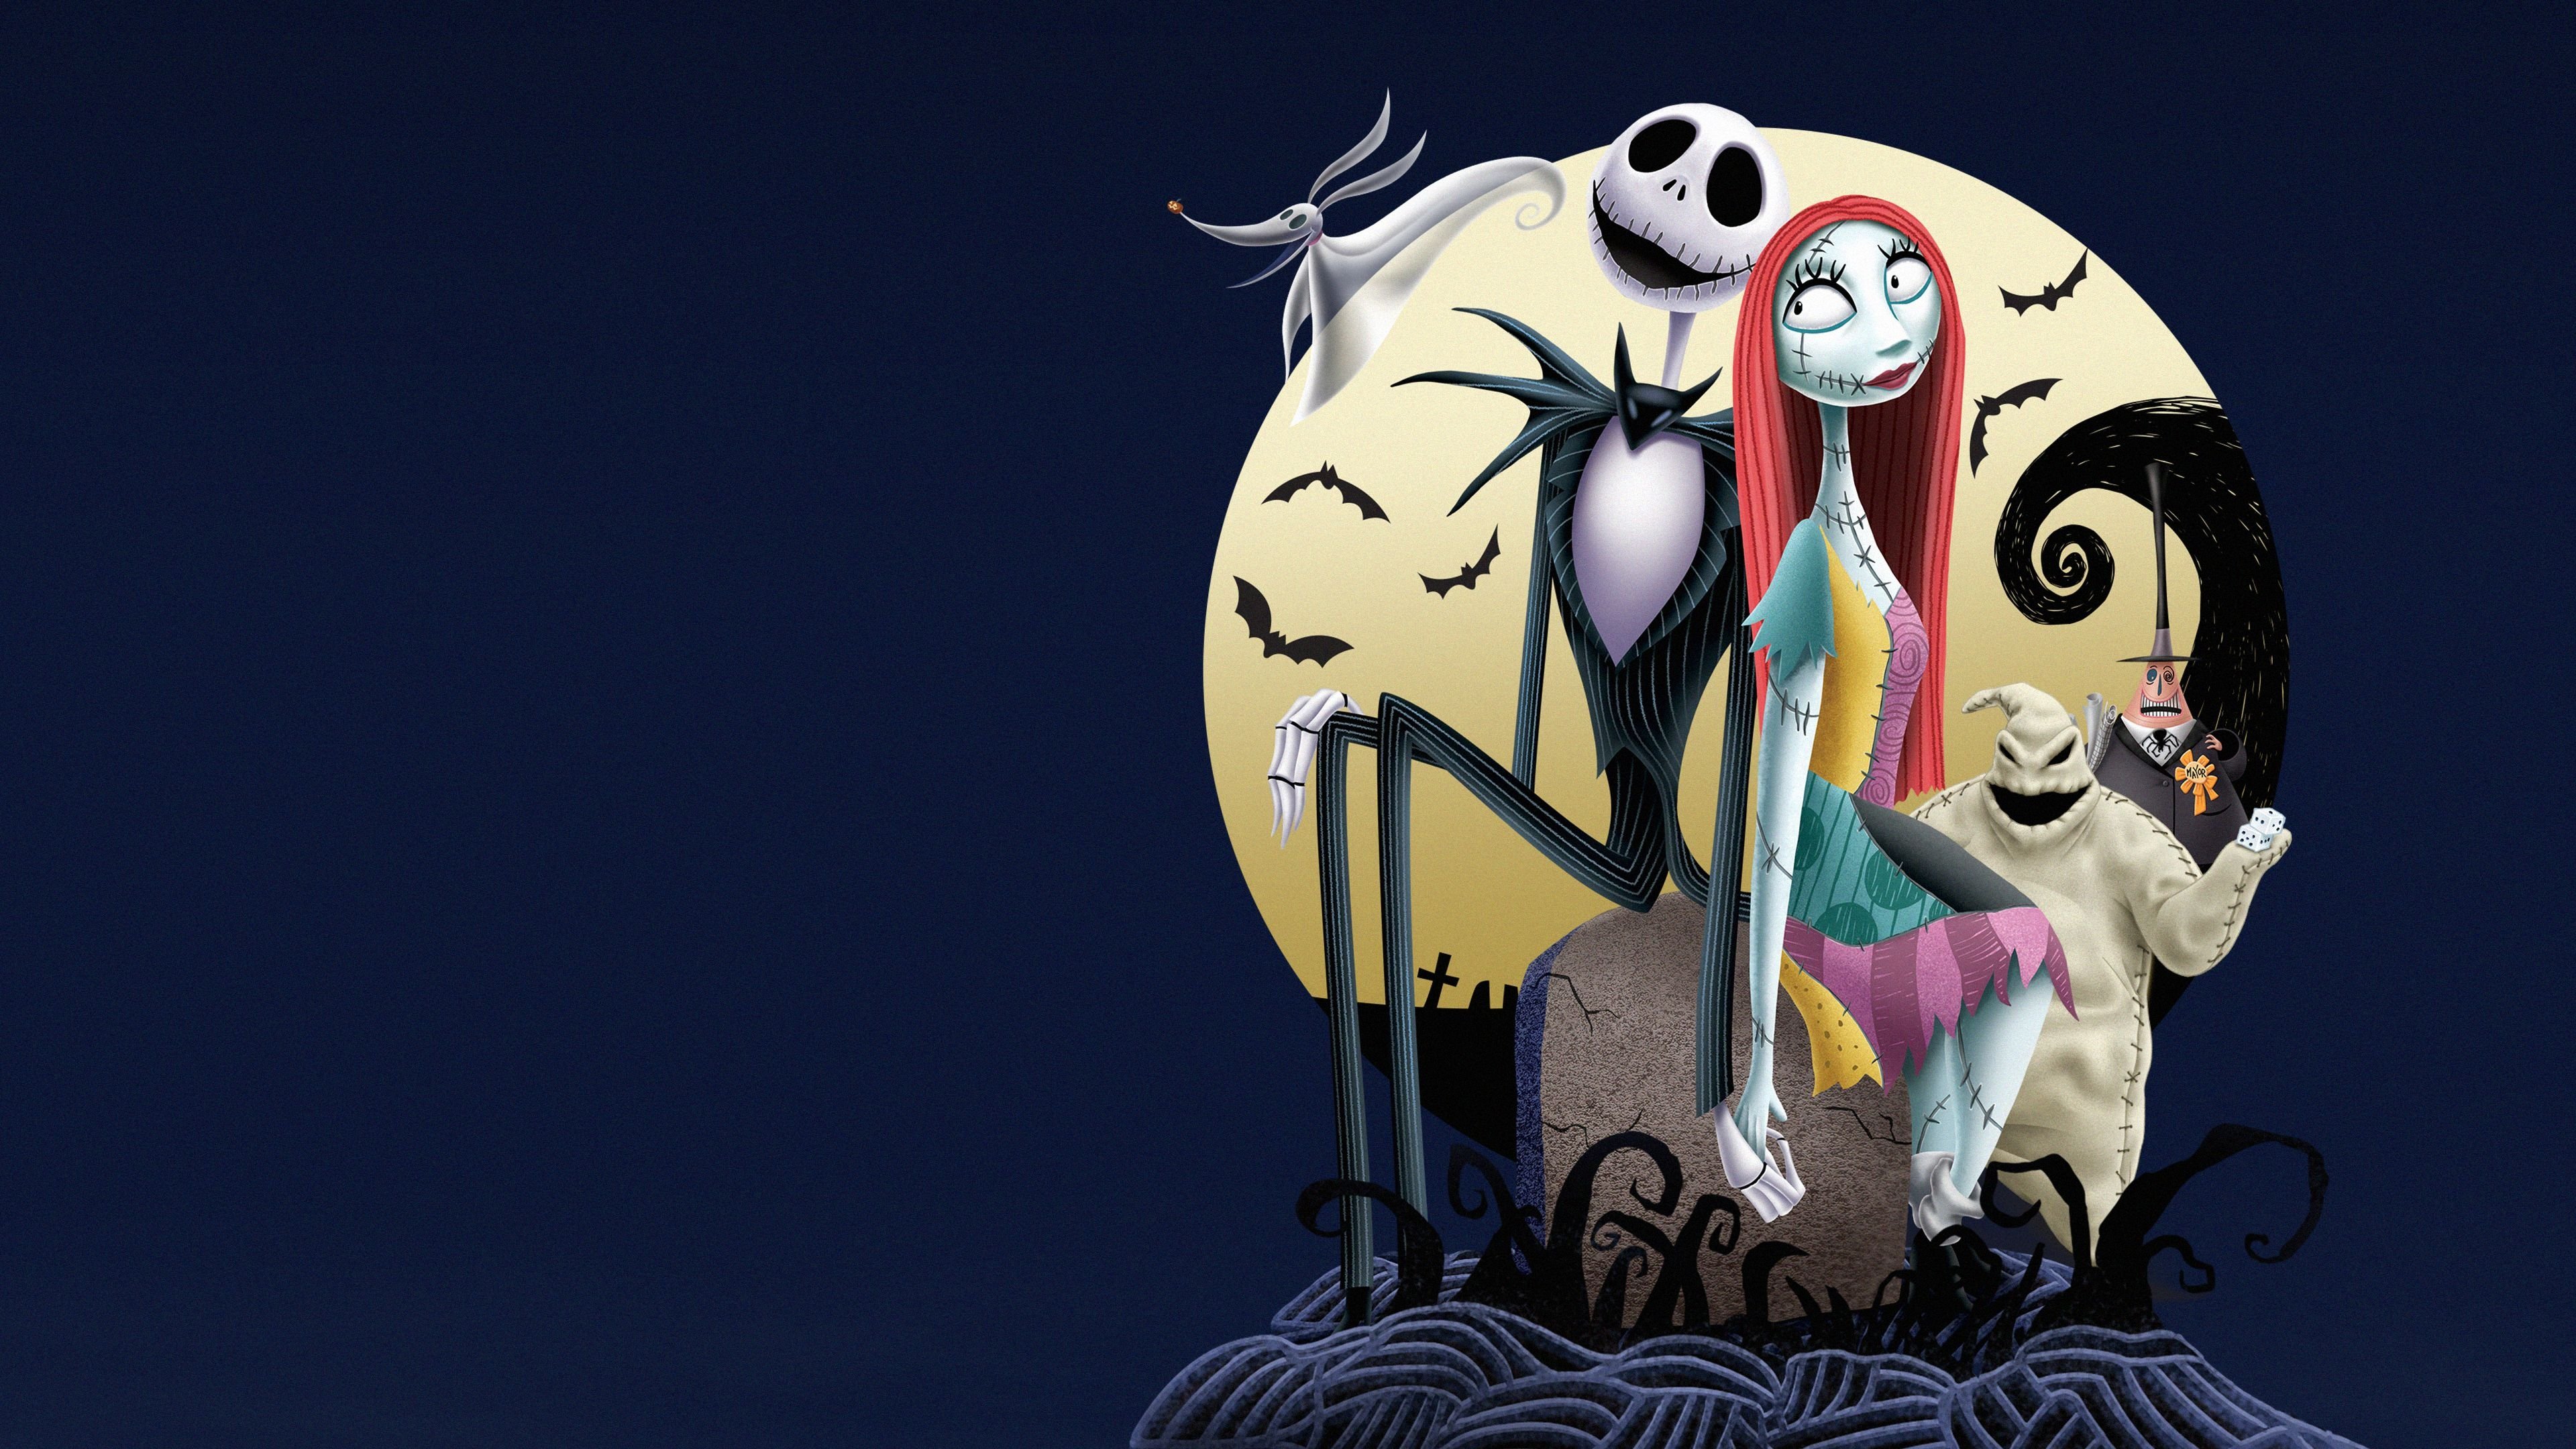
If you're still not sure which "Nightmare Before Christmas" nail design to try, then this compilation is for you. Get inspired by these amazing designs and find the perfect one to show off your love for this classic Halloween movie. From intricate hand-painted designs to simple and minimalistic nail art, this compilation has it all. You'll find designs featuring all your favorite characters, such as Jack, Sally, Oogie Boogie, and even the Mayor. You can also find inspiration for different nail shapes and lengths, from short square nails to long coffin nails. The possibilities are endless when it comes to "Nightmare Before Christmas" nail art, and this compilation will surely help you find the perfect design for your Halloween look.5. "Nightmare Before Christmas" Nail Art Compilation: A Collection of the Best Designs for Your Halloween Look


5. "Nightmare Before Christmas" Nail Art Compilation

Whether you're a fan of bold and intricate designs or prefer a more subtle look, these "Nightmare Before Christmas" nail art designs are sure to impress. Get ready to slay Halloween with these spooky and creative designs. For a bold and eye-catching look, try hand-painting Jack and Sally on your nails. You can even add some 3D elements, such as Jack's bow tie or Sally's hair, using some gel polish. If you prefer a more minimalistic look, try painting a simple Jack and Sally silhouette against a gradient background. You can also add some glitter for a touch of sparkle. For a more unique design, try painting the iconic spiral hill on your nails and adding details such as Jack's face and Oogie Boogie's silhouette. This design is perfect for those who want a subtle nod to the movie without being too obvious. No matter which design you choose, these "Nightmare Before Christmas" inspired nails are sure to make a statement and give you the ultimate Halloween look.6. "Nightmare Before Christmas" Nail Art Designs: Get Ready to Slay Halloween with These Spooky Nails

6. "Nightmare Before Christmas" Nail Art Designs


If you're new to nail art and want to try your hand at creating "Nightmare Before Christmas" inspired nails, then this tutorial is for you. With just a few simple steps, you'll have spooky and creative nails in no time. Start by applying a base coat to protect your natural nails. Then, using a black polish, paint each nail except for the ring fingers. These will be reserved for our Jack and Sally designs. Next, using a white polish, paint the tips of your nails to create a French manicure effect. You can also use a white nail art pen for more precision. This will serve as the base for our designs. Using a thin brush and black polish, create Jack's iconic face on the ring finger. Then, use a white polish to create the stitches on the remaining fingers. You can also add a few small dots for a more realistic look. For Sally's design, use a thin brush and black polish to create her stitched lips on the ring finger. Then, use a thin brush and blue polish to create her eyes on the remaining fingers. Don't forget to add the white dots for her pupils. Finish off the look by adding a top coat to seal in your design and add shine. With just a few simple steps, you'll have "Nightmare Before Christmas" inspired nails that are perfect for any Halloween party.7. "Nightmare Before Christmas" Nail Art Tutorial for Beginners: Create Spooky Nails in Just a Few Simple Steps


7. "Nightmare Before Christmas" Nail Art Tutorial for Beginners
For a more detailed tutorial on how to create "Nightmare Before Christmas" inspired nails, follow these step-by-step instructions. Get ready to transform your nails into a spooky masterpiece with just a few simple steps. Start by applying a base coat to protect your natural nails. Then, using a black polish, paint each nail except for the ring fingers. These will be reserved for our Jack and Sally designs. Next, using a white polish, create a gradient effect on the remaining nails. This will serve as the background for our designs. For Jack's design, start by painting his face on the ring finger using a thin brush and white polish. Then, use a black nail art pen to outline his face and add details such as his eyes and mouth. Don't worry about making it perfect, as Jack's face is meant to be a bit spooky and imperfect. For Sally's design, use a thin brush and black polish to create her stitched lips on the ring finger. Then, use a thin brush and blue polish to create her eyes on the remaining fingers. Don't forget to add the white dots for her pupils. For the remaining fingers, use a thin brush and black polish to create the silhouettes of Oogie Boogie, Zero, and the Mayor. You can also add small details such as the spiral hill and a full moon to complete the design. Finish off the look by adding a top coat to seal in your design and add shine. With these detailed instructions, you'll have the perfect "Nightmare Before Christmas" inspired nails in no time.8. "Nightmare Before Christmas" Nail Art Step by Step: A Detailed Tutorial to Help You Create the Perfect Halloween Nails
8. "Nightmare Before Christmas" Nail Art Step by Step
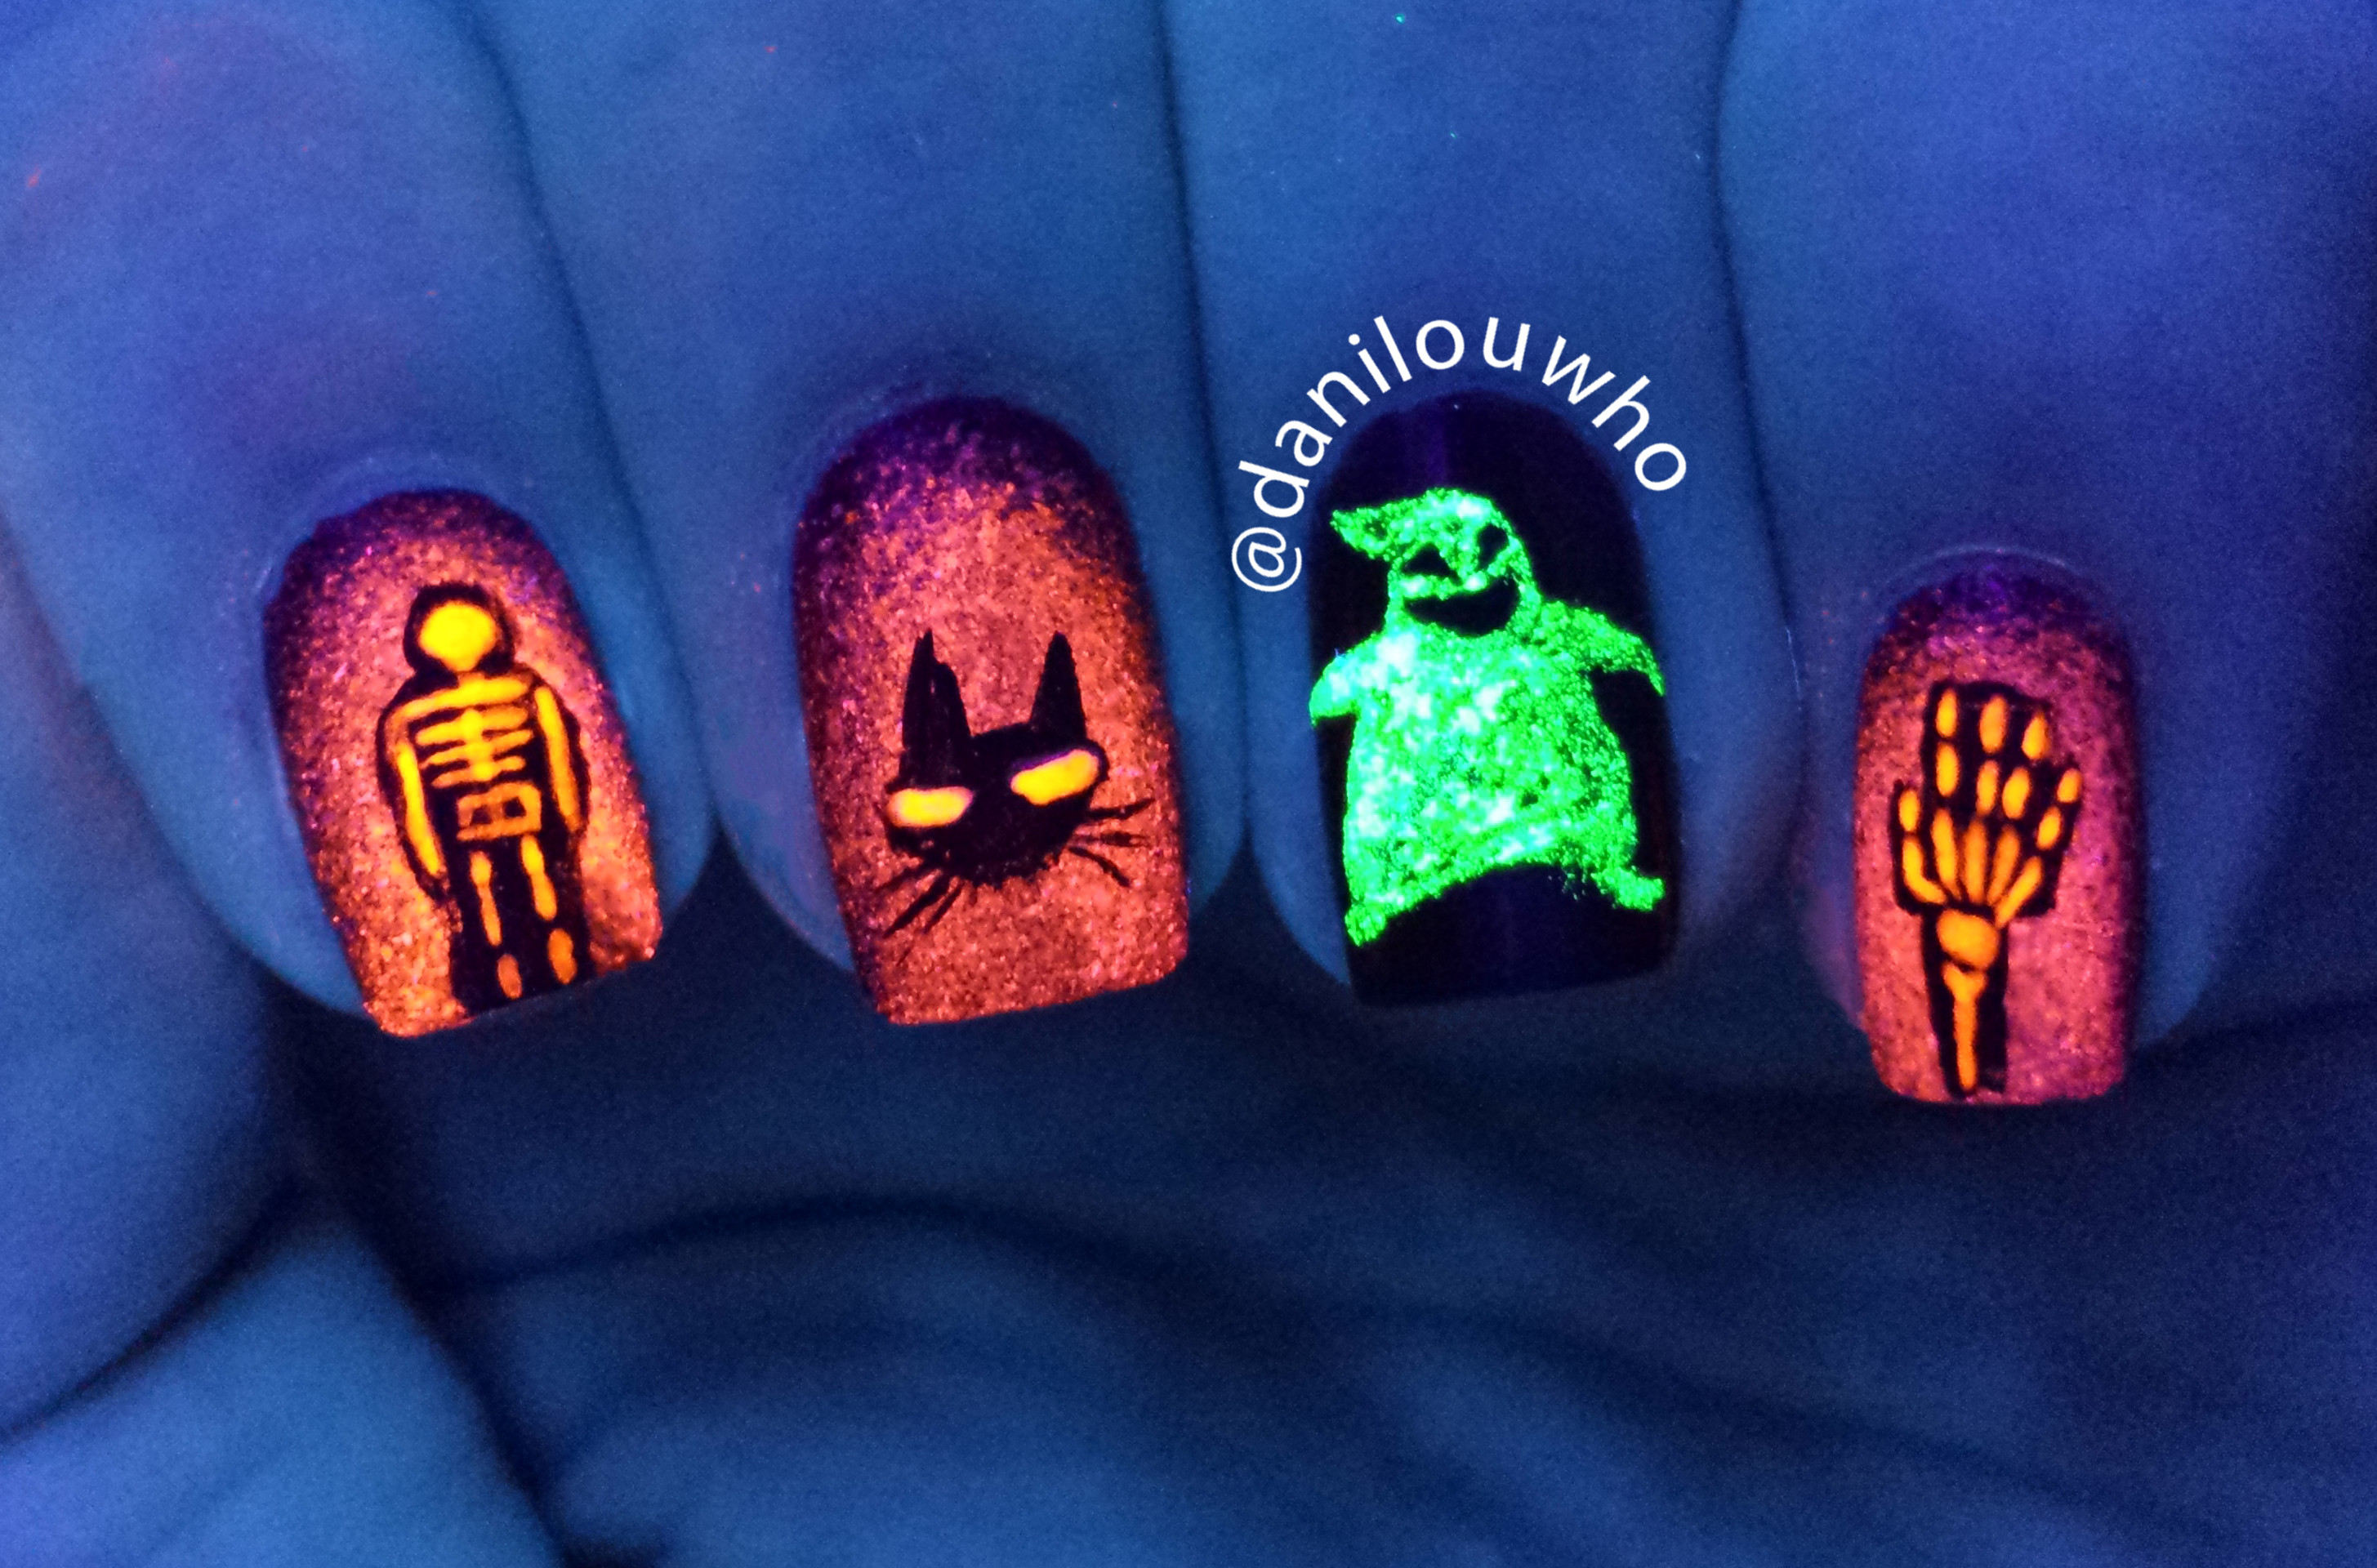
Who says you need long nails to rock a spooky Halloween look? These "Nightmare Before Christmas" nail art designs are perfect for short nails, so everyone can join in on the fun. For a simple and subtle design, try painting a black base with white stitches and Jack's face on one finger. You can also add a touch of glitter for some extra sparkle. If you're feeling more creative, try hand-painting the characters on your nails. You can even add a 3D effect by using some gel polish to create a raised design. For a more unique design, try painting the iconic spiral hill on your nails and adding details such as Jack's face and Oogie Boogie's silhouette. This design is perfect for those who want a subtle nod to the movie without being too obvious. No matter what design you choose, these "Nightmare Before Christmas" inspired nails will surely make a statement on your short nails and give you the ultimate Halloween look.9. "Nightmare Before Christmas" Nail Art for Short Nails: Spooky and Creative Designs for Every Nail Length

9. "Nightmare Before Christmas" Nail Art for Short Nails


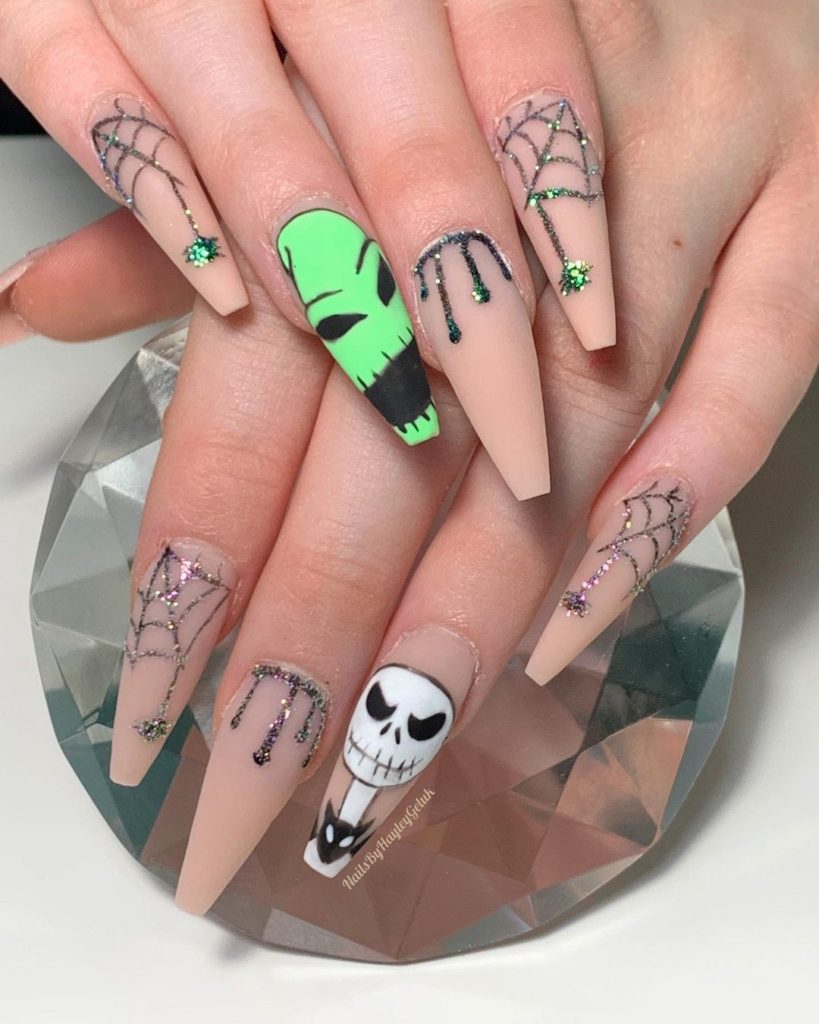
If you have long nails, then these "Nightmare Before Christmas" nail art designs are perfect for you. Get ready to transform your nails into a spooky masterpiece with these creative and intricate designs. For a bold and eye-catching look, try hand-painting Jack and Sally on your nails. You can even add some 3D elements, such as Jack's bow tie or Sally's hair, using some gel polish. If you prefer a more minimalistic look, try painting a simple Jack and Sally silhouette against a gradient background. You can also add some glitter for a touch of sparkle. For a more unique design, try painting the iconic spiral hill on your nails and adding details such as Jack's face and Oogie Boogie's silhouette. This design is perfect for those who want a subtle nod to the movie without being too obvious. No matter which design you choose, these "Nightmare Before Christmas" inspired nails will surely make a statement on your long nails and give you the ultimate Halloween look.10. "Nightmare Before Christmas" Nail Art for Long Nails: Transform Your Nails into a Spooky Masterpiece

10. "Nightmare Before Christmas" Nail Art for Long Nails

The Perfect Halloween House Design: Nightmare Before Christmas Painted Nails
A Unique Twist on Halloween Decor
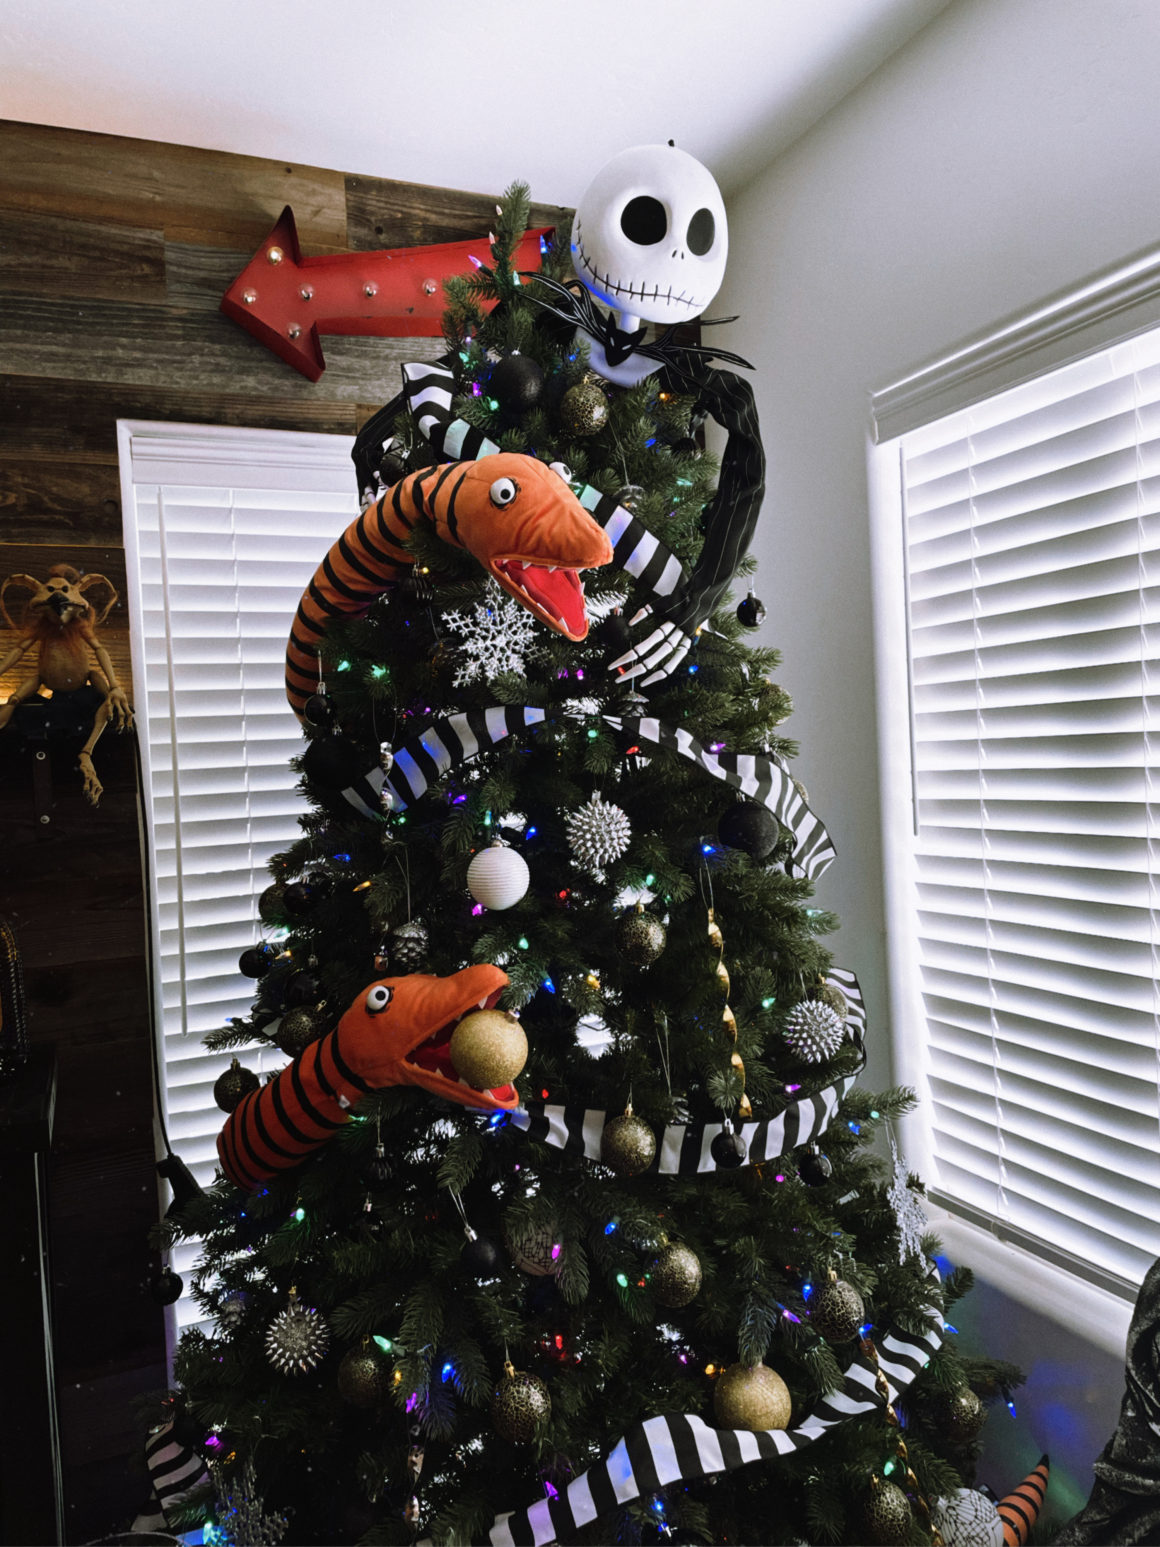
 As Halloween approaches, many people are looking for ways to add a spooky touch to their home decor. While traditional decorations like pumpkins and spiderwebs are always popular, why not try something different this year? Enter the Nightmare Before Christmas painted nail design – a unique and creative way to add a touch of Halloween to your home.
How it Works
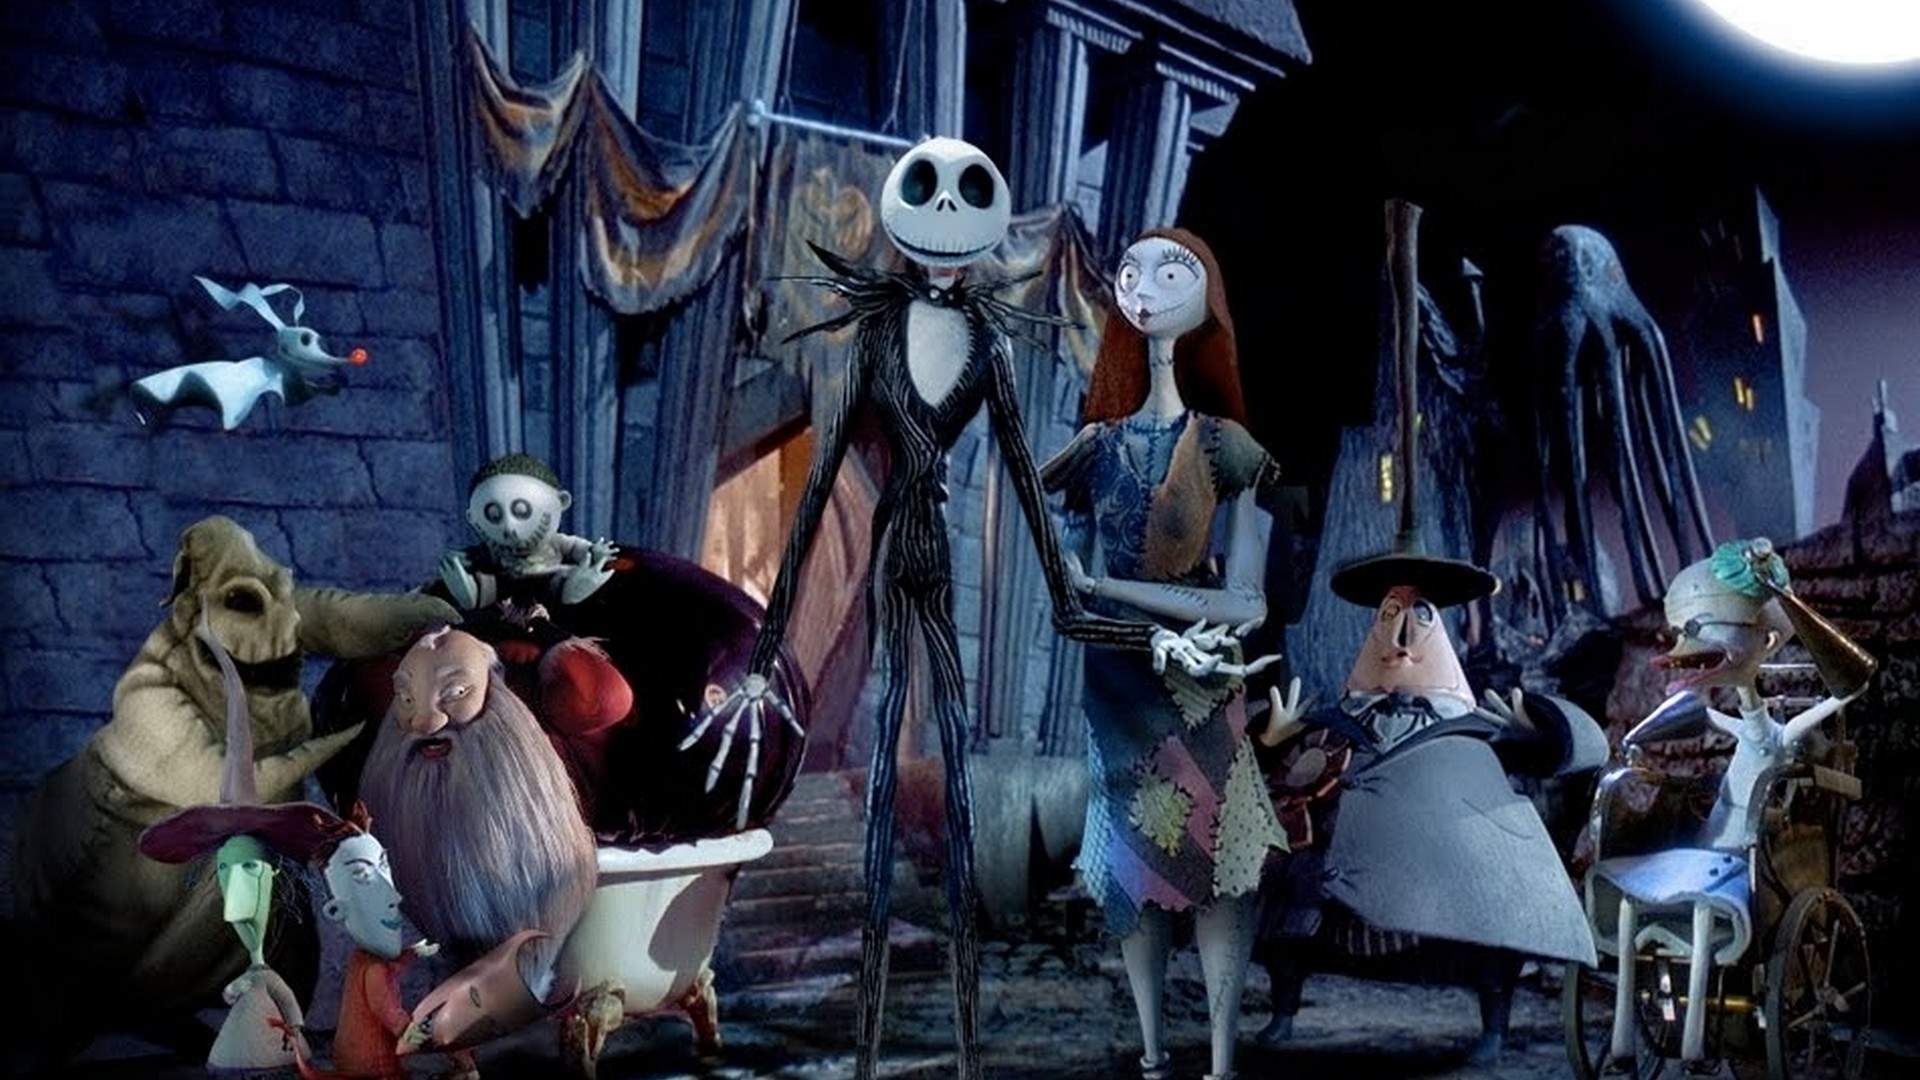
 The concept is simple – instead of painting your nails with the typical Halloween designs, opt for a themed design inspired by the beloved movie, "The Nightmare Before Christmas". This can include characters like Jack Skellington, Sally, and Oogie Boogie, as well as iconic symbols such as the Halloween Town gate and the famous spiral hill.
Bringing the Movie to Life
 Not only is this nail design a fun and creative way to celebrate Halloween, but it also adds a touch of nostalgia for fans of the movie. The detailed designs and vibrant colors bring the movie to life in a whole new way, making it the perfect addition to your Halloween decor.
Easy DIY Project
 One of the best things about this painted nail design is that it is easy to do yourself at home. With some basic nail polish colors and a steady hand, you can create your own spooky designs inspired by "The Nightmare Before Christmas". There are also plenty of tutorials and inspiration available online to help guide you through the process.
Perfect for Any Halloween Party
 Whether you're hosting a Halloween party or just looking to add some festive flair to your home, the Nightmare Before Christmas painted nail design is a must-try. Your guests will be amazed by the unique and creative touch you've added to your home, and it's sure to be a conversation starter.
In Conclusion
 Don't settle for the same old Halloween decorations this year – try something new and exciting with the Nightmare Before Christmas painted nail design. With its easy DIY process and nostalgic charm, it's the perfect addition to any Halloween celebration. So grab your nail polish and get ready to bring Halloween Town to life in your own home.


