Are you feeling nostalgic for your school days? Or perhaps you're a student looking for a fun and unique way to express your love for learning. Either way, notebook paper nail art is the perfect way to add a touch of academia to your nails. This trendy design is easy to recreate and will surely make a statement. Let's dive into the world of DIY notebook paper nails and find out how to achieve this look.1. Notebook Paper Nail Art: Creating a School-Inspired Manicure


1. Notebook Paper Nail Art


The beauty of notebook paper nail art is that it can be achieved at home with just a few simple tools. You don't need to be a professional nail artist to create this look - all you need is a steady hand and some patience. To get started, gather the following materials: Nail polish: Choose a white or off-white shade for the base color, and a black or blue polish for the lines. Toothpick: This will be used to create the lines on the paper. Top coat: A clear top coat will help seal and protect your design. Nail polish remover: This will come in handy for any mistakes.2. DIY Notebook Paper Nails: A Step-by-Step Guide


2. DIY Notebook Paper Nails


Step 1: Begin by painting your nails with the white or off-white polish. Apply two coats for a solid base color. Let it dry completely. Step 2: Using the toothpick, carefully draw a thin line across the center of your nail with the black or blue polish. This will be the line on the paper. Step 3: Next, create small horizontal lines on either side of the center line to mimic the lines on a notebook paper. Make sure to keep the lines straight and evenly spaced. Step 4: To add a more realistic touch, you can also create a small red margin line on the left side of the paper. This can be done with a toothpick or a thin nail art brush. Step 5: Once you're happy with the design, let it dry completely before applying a clear top coat. This will help seal and protect your design, ensuring it lasts longer.3. Notebook Paper Nail Tutorial: Let's Get Started!

3. Notebook Paper Nail Tutorial


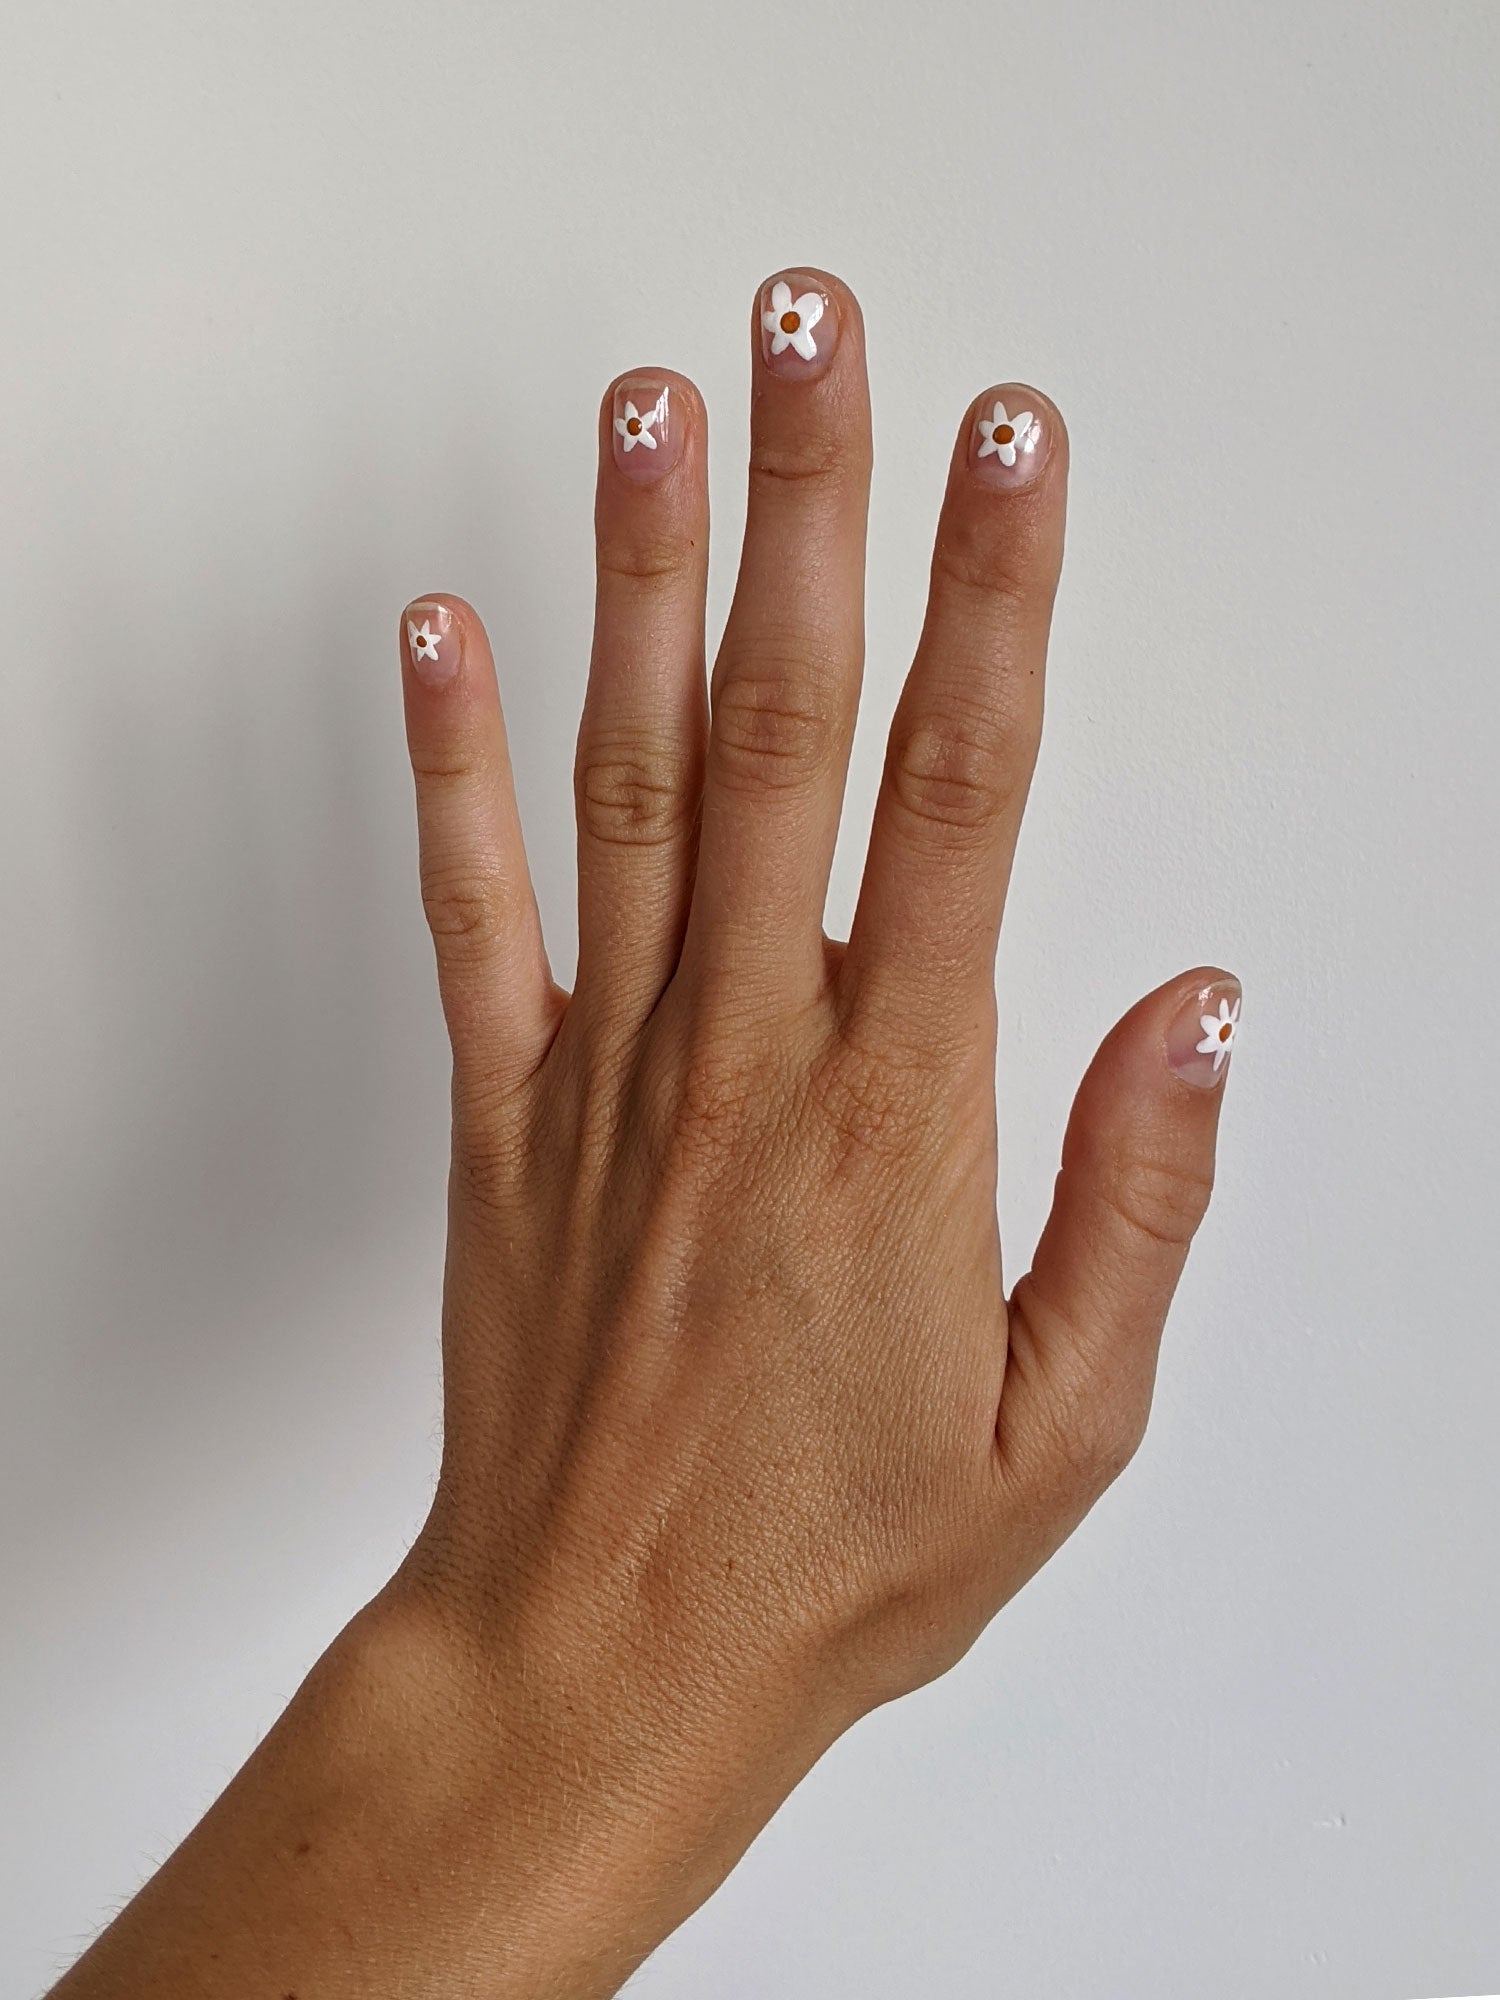
Now that you have the basic technique down, it's time to get creative with your notebook paper nail design. There are endless possibilities to make this design your own. Here are a few ideas to get you started: Highlighter nails: Use a neon yellow polish to create the center line and add a pop of color to your design. Math equations: If you're a math lover, try writing out your favorite equations on your nails. Personalized notes: Write a personal message or quote on your nails for a unique touch. Subject-specific nails: Show off your love for a specific subject by adding related symbols or illustrations to your design.4. Notebook Paper Nail Design Ideas: Get Creative!


4. Notebook Paper Nail Design Ideas


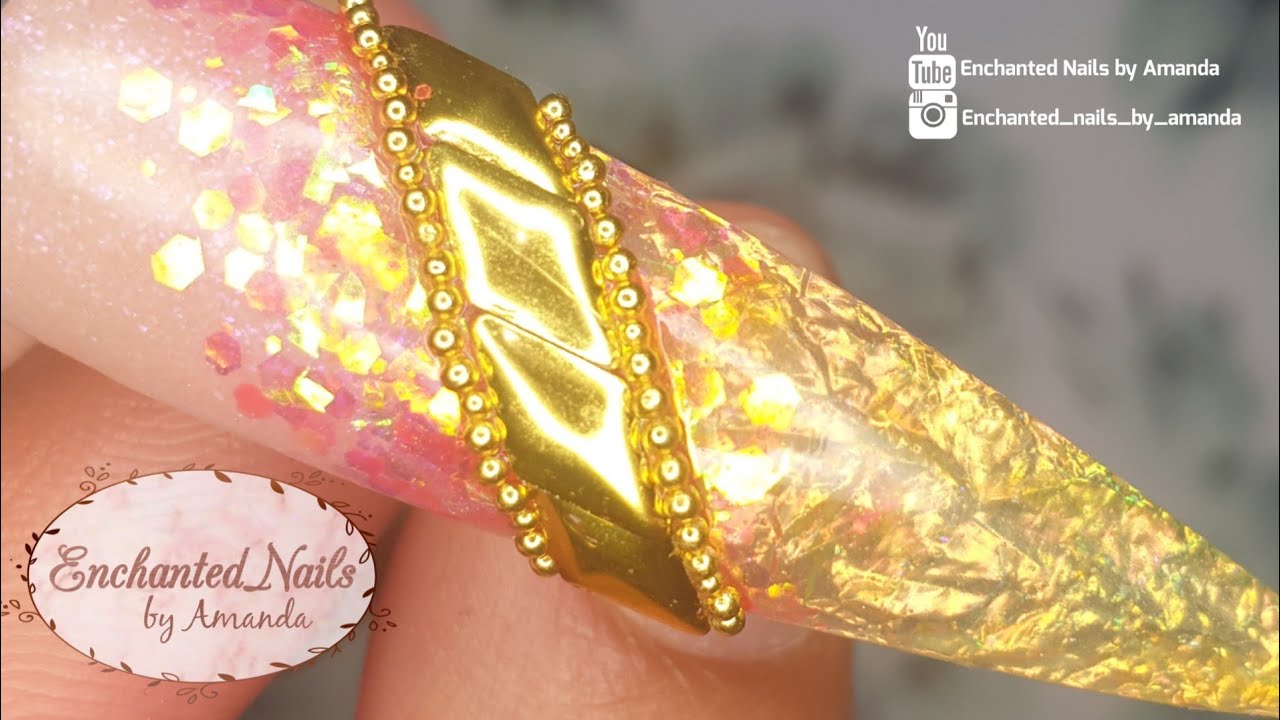
If you're new to nail art, don't be discouraged if your first attempt doesn't turn out perfectly. Practice makes perfect, and with a little patience and these tips, you'll be a pro in no time: Use a base coat: Applying a base coat before your polish will help your design last longer and prevent staining your nails. Take your time: This design requires precision, so don't rush it. Take your time, and if you make a mistake, use a toothpick or nail polish remover to fix it. Experiment with different colors: Don't limit yourself to just white and black - try different colors for a fun and unique twist on the classic design. Add embellishments: You can add small rhinestones or glitter to your design for some extra sparkle.5. Notebook Paper Nail Art Tutorial: Tips and Tricks

5. Notebook Paper Nail Art Tutorial

If you're in need of some inspiration, look no further than social media. Platforms like Instagram and Pinterest are filled with creative and unique notebook paper nail art designs. Here are a few of our favorites: Back-to-school nails: These nails feature a notebook paper design with added school-related illustrations like pencils and rulers. Minimalist nails: This design keeps it simple with just a white base and a single black line on each nail. Full-page nails: For a more dramatic look, try covering the entire nail with the notebook paper design, complete with holes for a three-hole punch. Colorful nails: Add a pop of color to your design by using bright and bold colors for the lines and margin.6. Notebook Paper Nail Art Designs: Inspiration from Social Media

6. Notebook Paper Nail Art Designs

Notebook paper nail art is not just for adults - it can also be a fun and creative activity for kids. This is a great way to keep them entertained and let their creativity shine. You can use non-toxic, child-friendly nail polish and supervise them as they create their own unique designs.7. Notebook Paper Nail Art Step by Step: A Fun Activity for Kids

7. Notebook Paper Nail Art Step by Step


If you're new to nail art, don't be intimidated by this design. It may look complicated, but with a little practice, anyone can achieve the perfect notebook paper nails. Start by keeping your design simple with just a few lines and gradually add more details as you get more comfortable with the technique.8. Notebook Paper Nail Art for Beginners: Start Simple

8. Notebook Paper Nail Art for Beginners
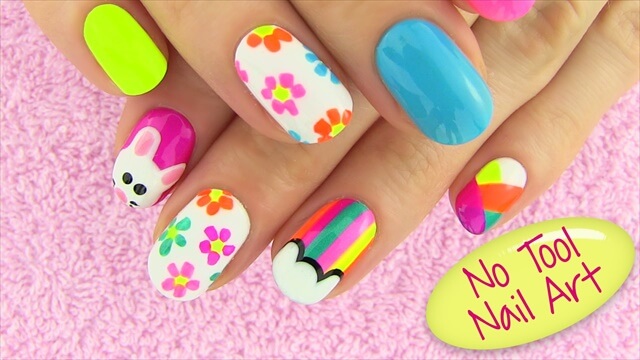
If you don't have nail art tools, don't worry - you can still achieve this look with everyday household items. Instead of a toothpick, you can use a bobby pin or a small paintbrush to create the lines. You can also use a clear tape to create a straight line as a guide for your design.9. Notebook Paper Nail Art Without Tools: A Budget-Friendly Option

9. Notebook Paper Nail Art Without Tools

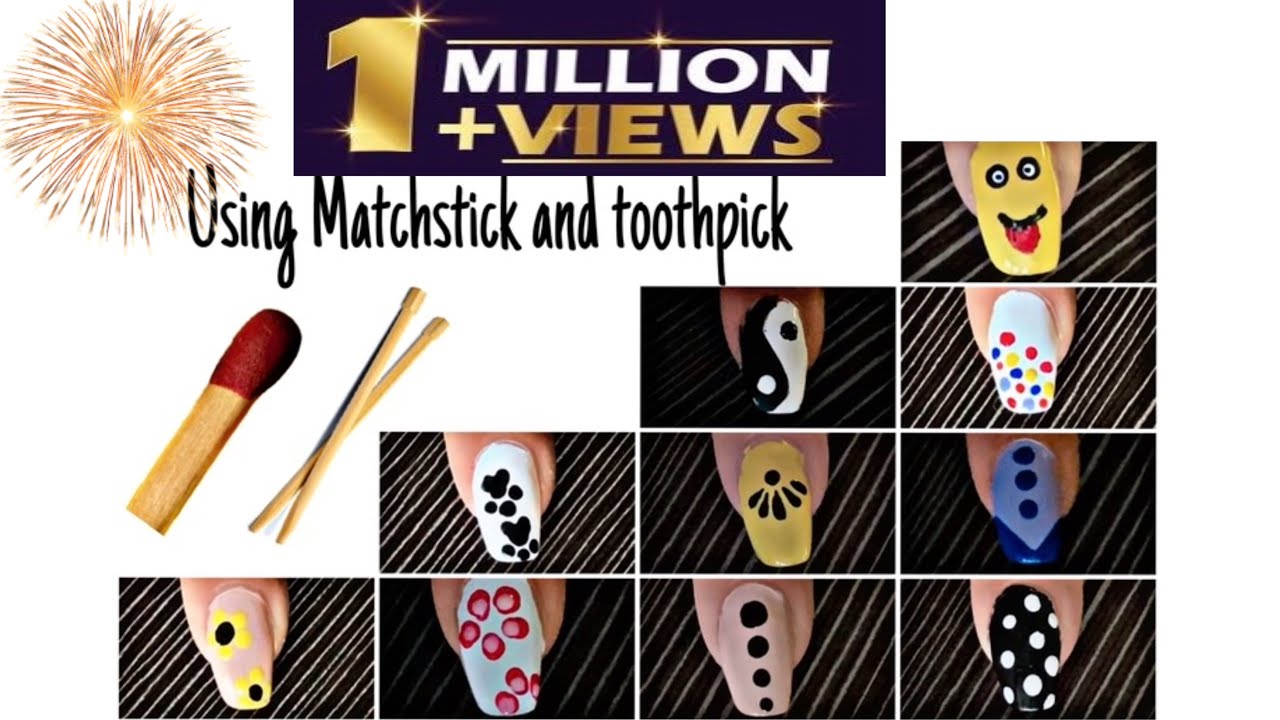
As mentioned earlier, a toothpick is the key to achieving the perfect notebook paper nail art. But did you know that you can also use it for other nail art designs? It can be used to create dots, lines, and even small designs. So don't throw away those old toothpicks just yet - they may come in handy for your next nail art adventure.10. Notebook Paper Nail Art Using Toothpick: A Versatile Tool


10. Notebook Paper Nail Art Using Toothpick


A Creative Twist: Notebook Paper Nail Design

Taking Inspiration from the Everyday
 When it comes to
nail design
, the possibilities are endless. From intricate floral patterns to bold geometric shapes, there is no shortage of inspiration to be found. However, sometimes the most stunning nail designs are the ones that are inspired by the everyday objects around us. One such example is the
notebook paper nail design
, which takes the simple lined paper we all used in school and transforms it into a unique and eye-catching manicure.
When it comes to
nail design
, the possibilities are endless. From intricate floral patterns to bold geometric shapes, there is no shortage of inspiration to be found. However, sometimes the most stunning nail designs are the ones that are inspired by the everyday objects around us. One such example is the
notebook paper nail design
, which takes the simple lined paper we all used in school and transforms it into a unique and eye-catching manicure.
A Playful and Nostalgic Design
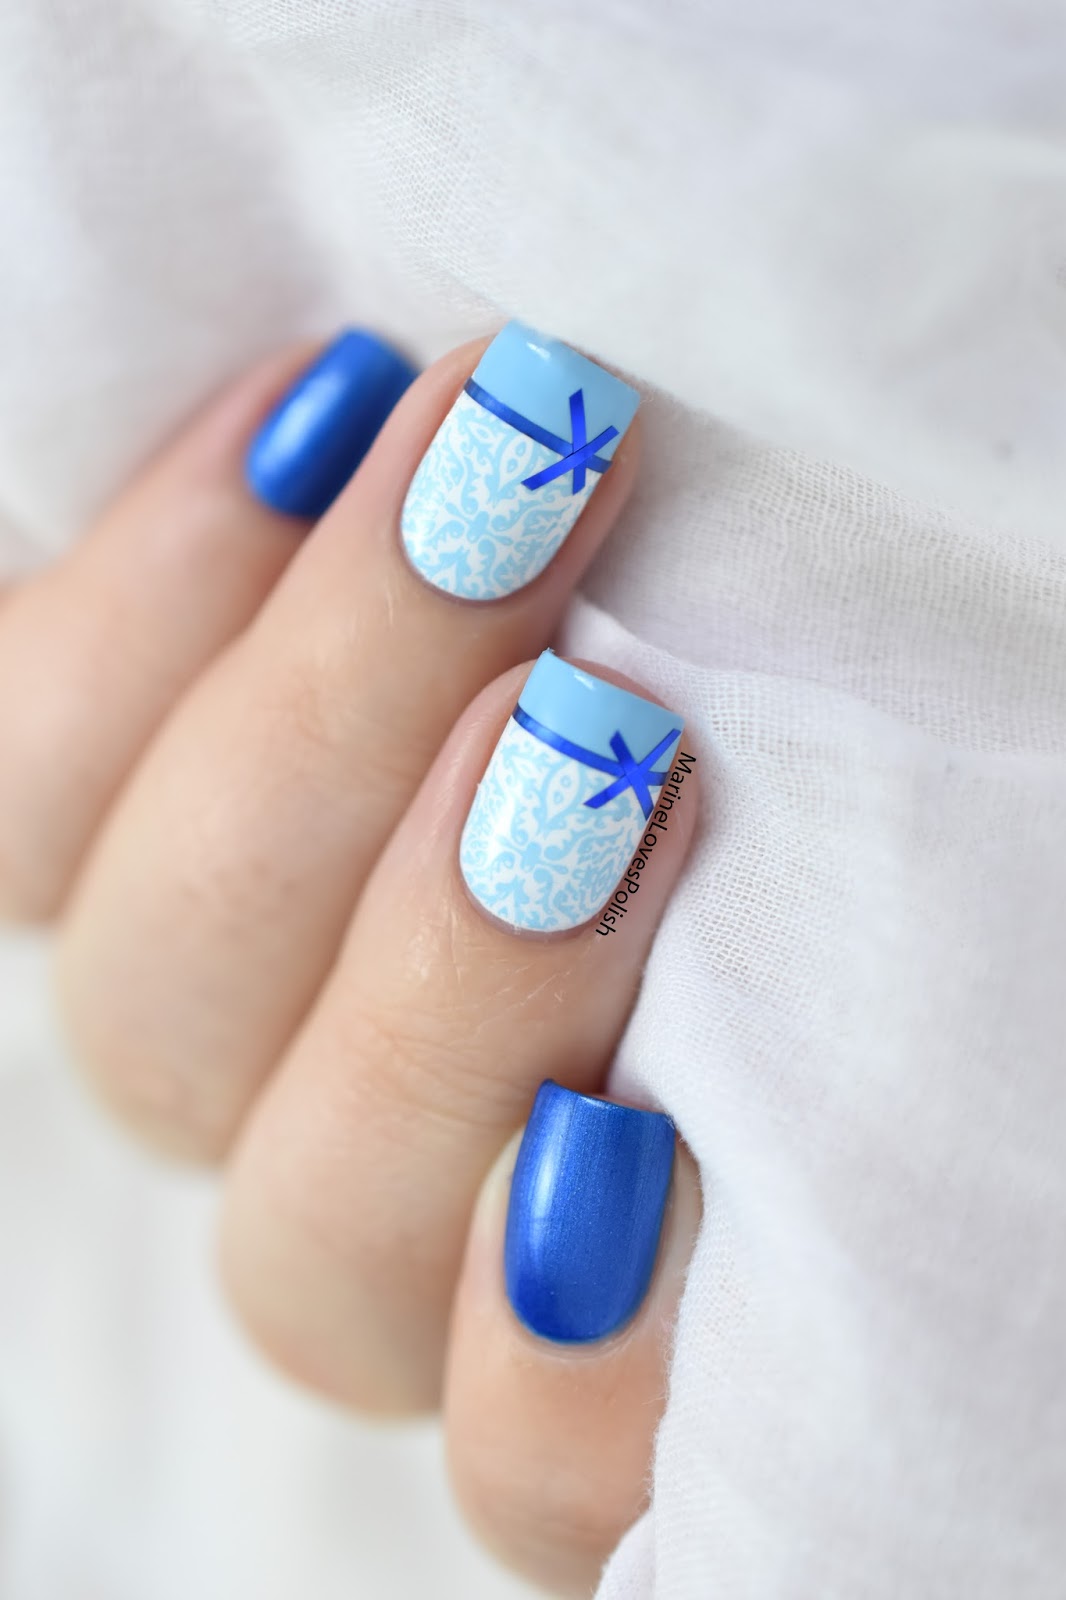
 The notebook paper nail design is a playful and nostalgic take on traditional nail art. It utilizes the classic blue and red lined paper with a white background to create a fun and whimsical look. The design can be achieved by using either nail polish or nail wraps, making it accessible to both professional nail artists and DIY enthusiasts. By incorporating this design into your nail repertoire, you can add a touch of nostalgia and playfulness to your overall look.
Making a Statement
 In addition to its playful nature, the notebook paper nail design also makes a statement. It is a bold and unique choice that will surely catch the eye of those around you. Whether you're heading to a casual outing or a formal event, this design is versatile enough to be worn on any occasion. It's a perfect way to add a touch of personality to your outfit and showcase your creativity.
A Design for All
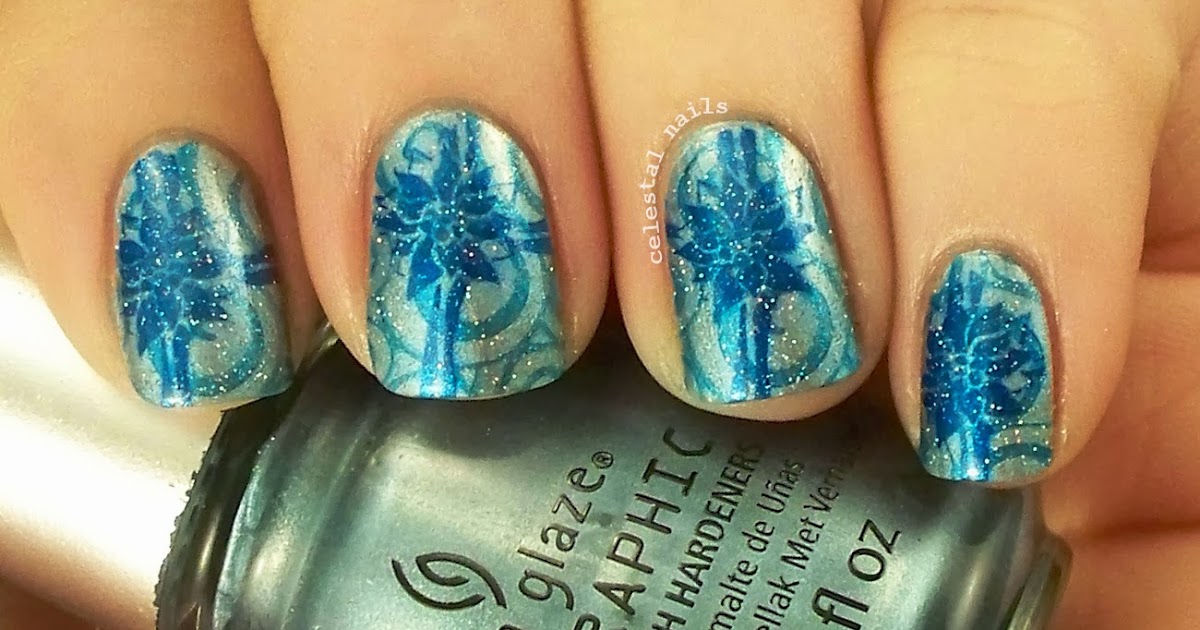
 One of the best things about the notebook paper nail design is that it can be customized to suit anyone's style. From a simple and subtle design to a more elaborate and intricate one, the options are endless. You can also play around with different colors, such as using black or neon lines instead of the classic blue and red. This allows for a unique and personalized look that is tailored to your preferences.
In conclusion, the notebook paper nail design is a creative and unique take on traditional nail art. It's a playful and nostalgic design that can make a statement and be customized to suit anyone's style. So why not give it a try and add a fun twist to your nail game?
One of the best things about the notebook paper nail design is that it can be customized to suit anyone's style. From a simple and subtle design to a more elaborate and intricate one, the options are endless. You can also play around with different colors, such as using black or neon lines instead of the classic blue and red. This allows for a unique and personalized look that is tailored to your preferences.
In conclusion, the notebook paper nail design is a creative and unique take on traditional nail art. It's a playful and nostalgic design that can make a statement and be customized to suit anyone's style. So why not give it a try and add a fun twist to your nail game?


