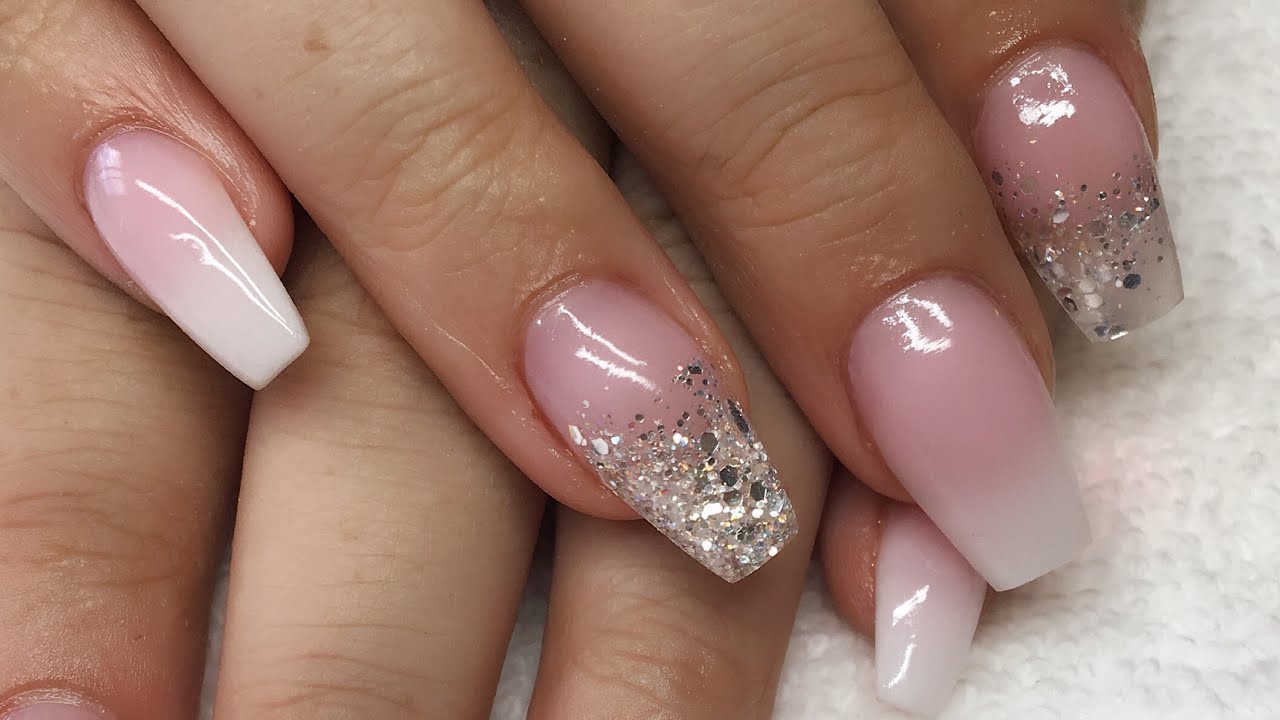
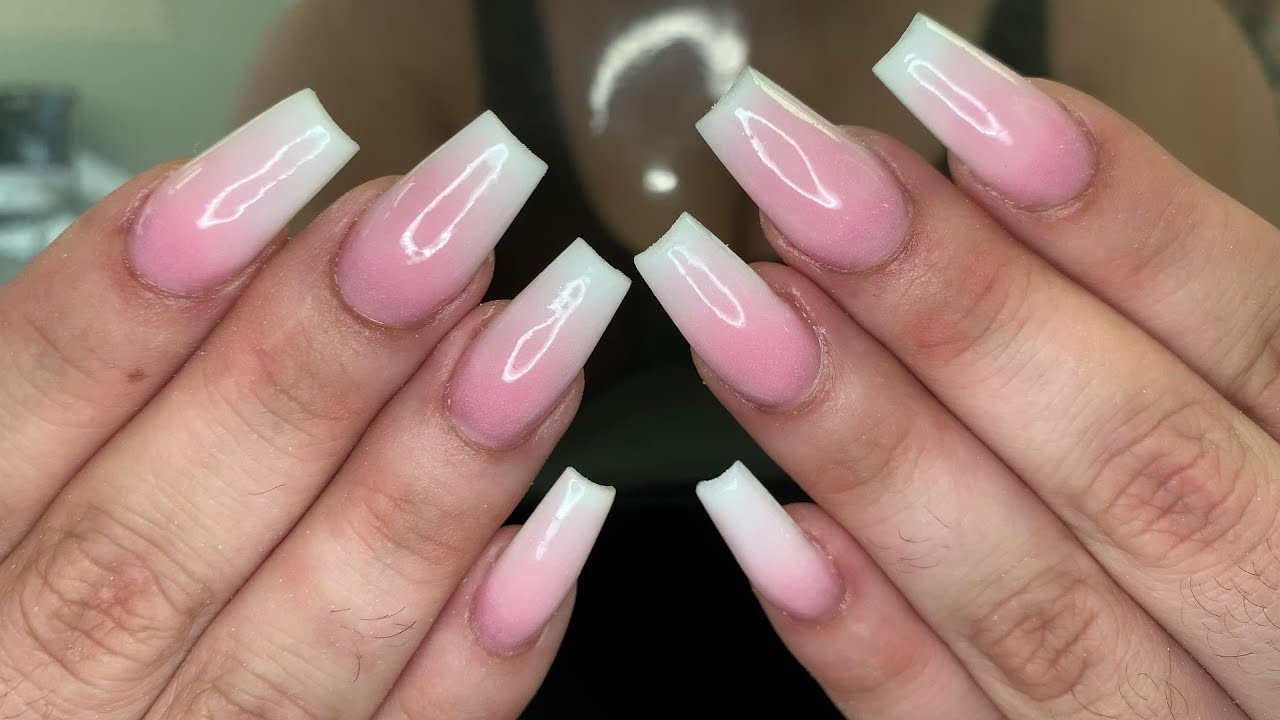
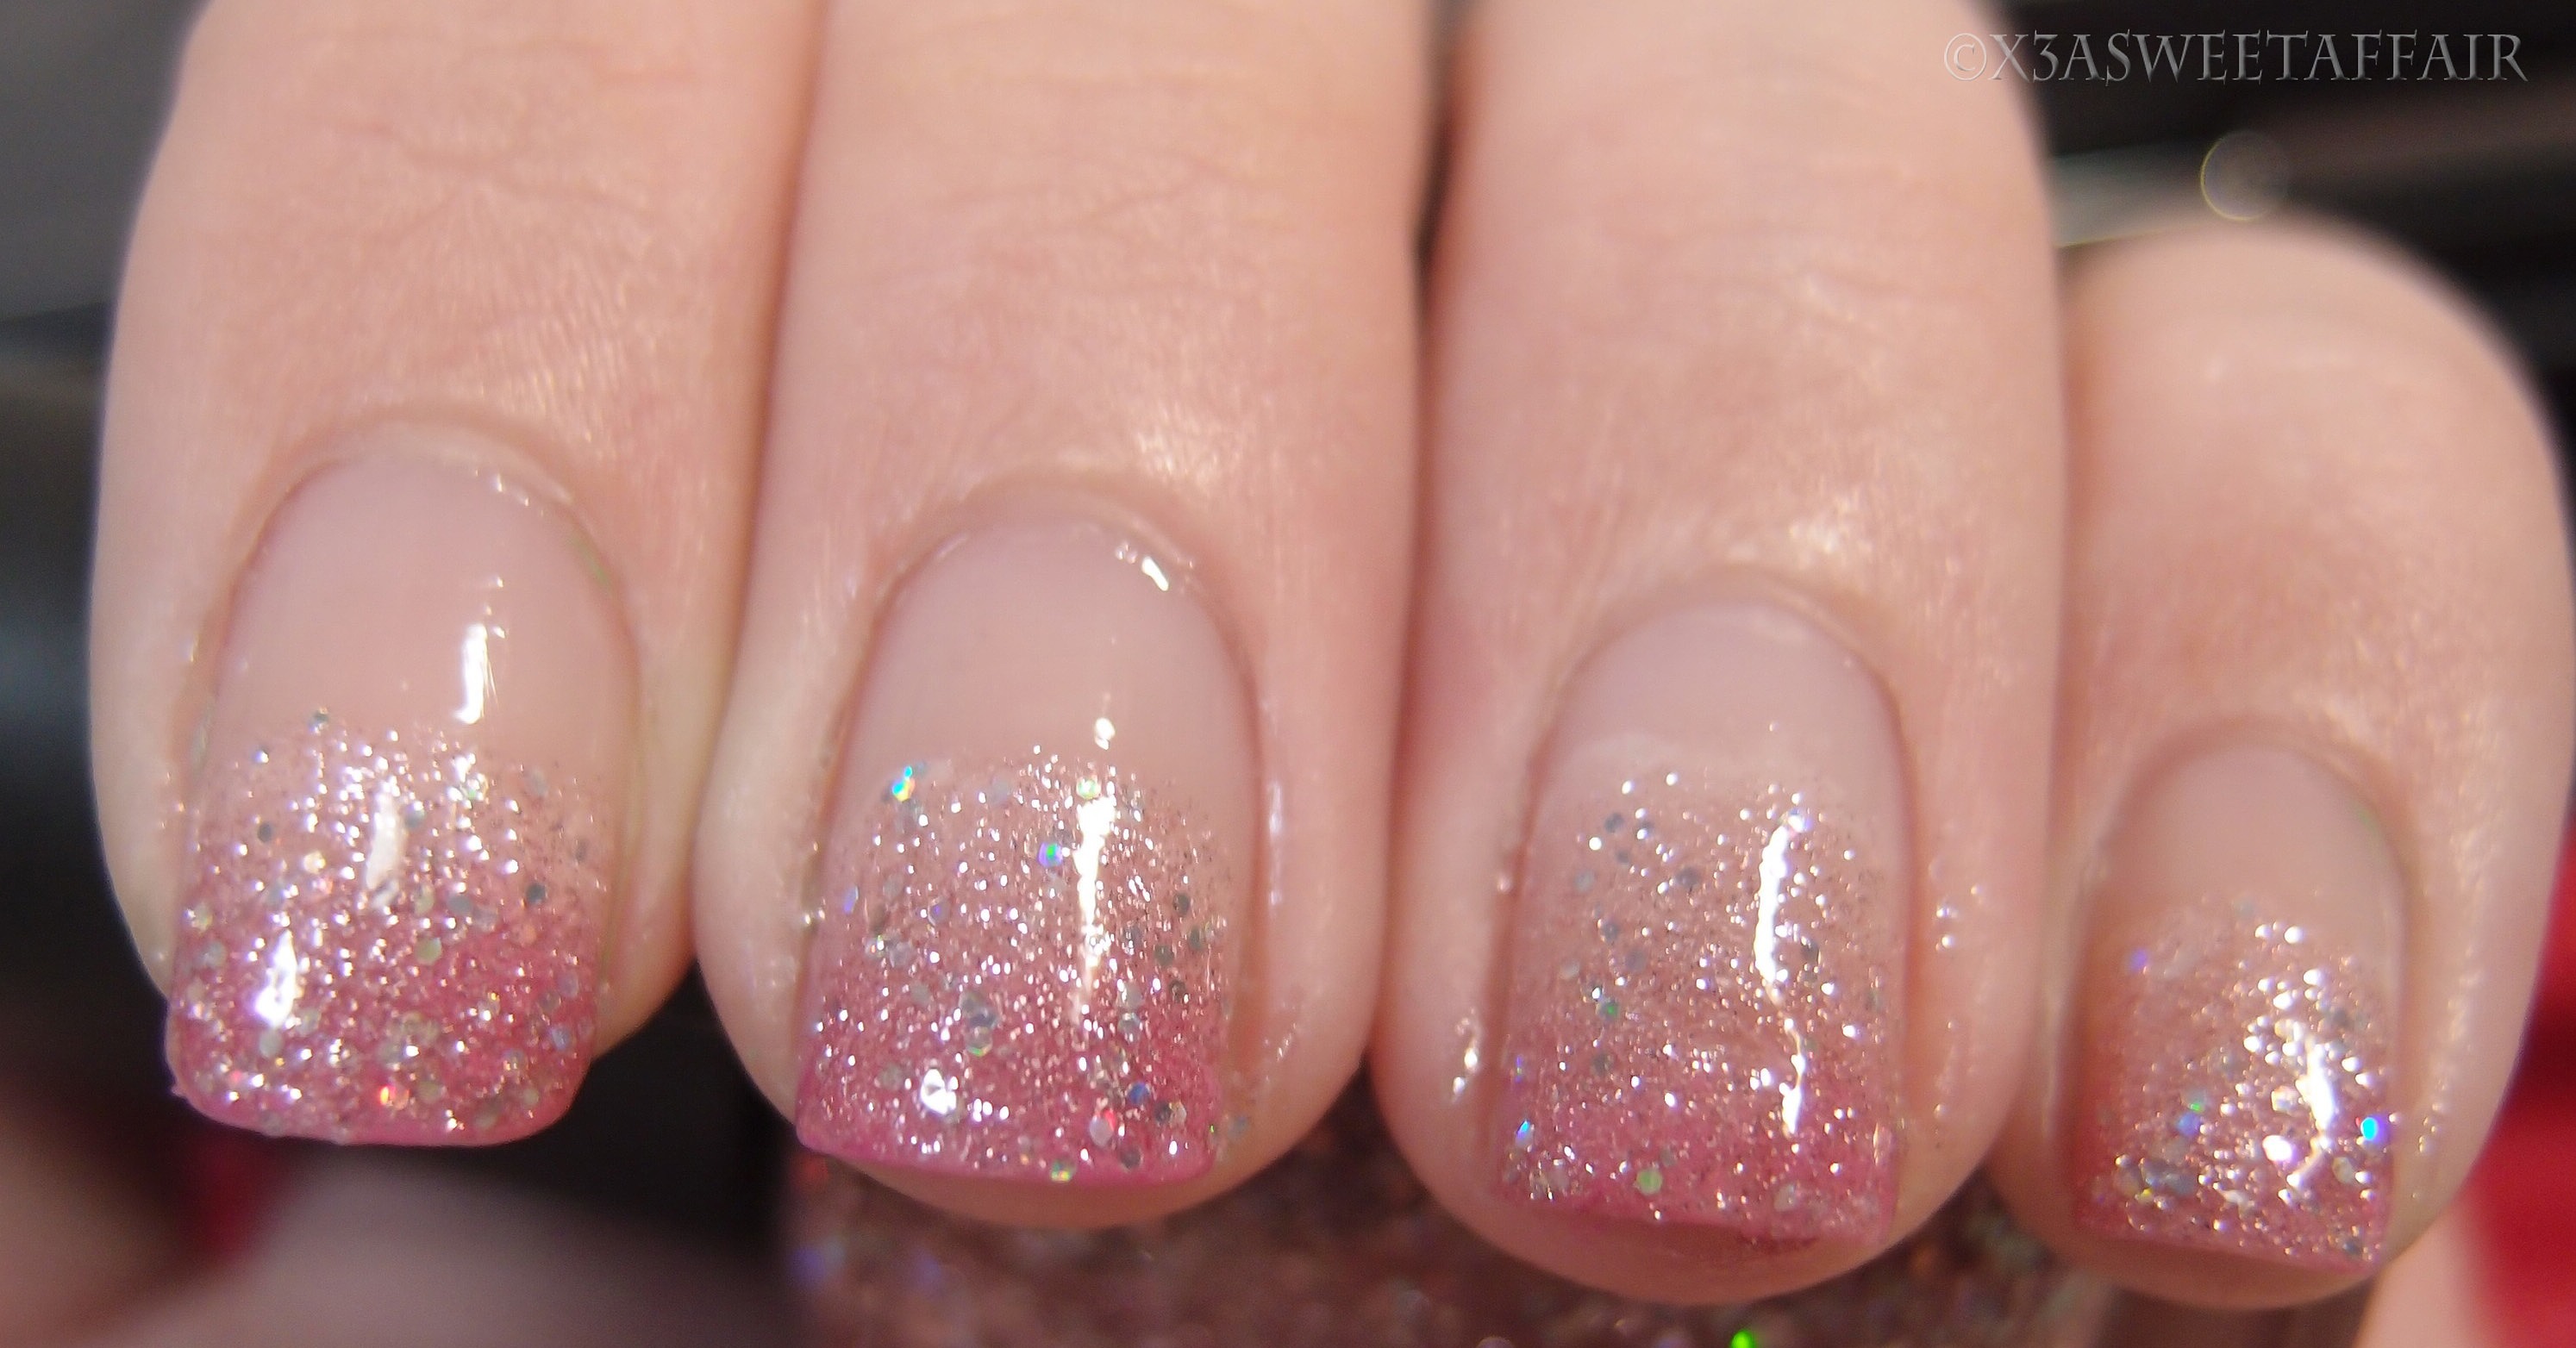
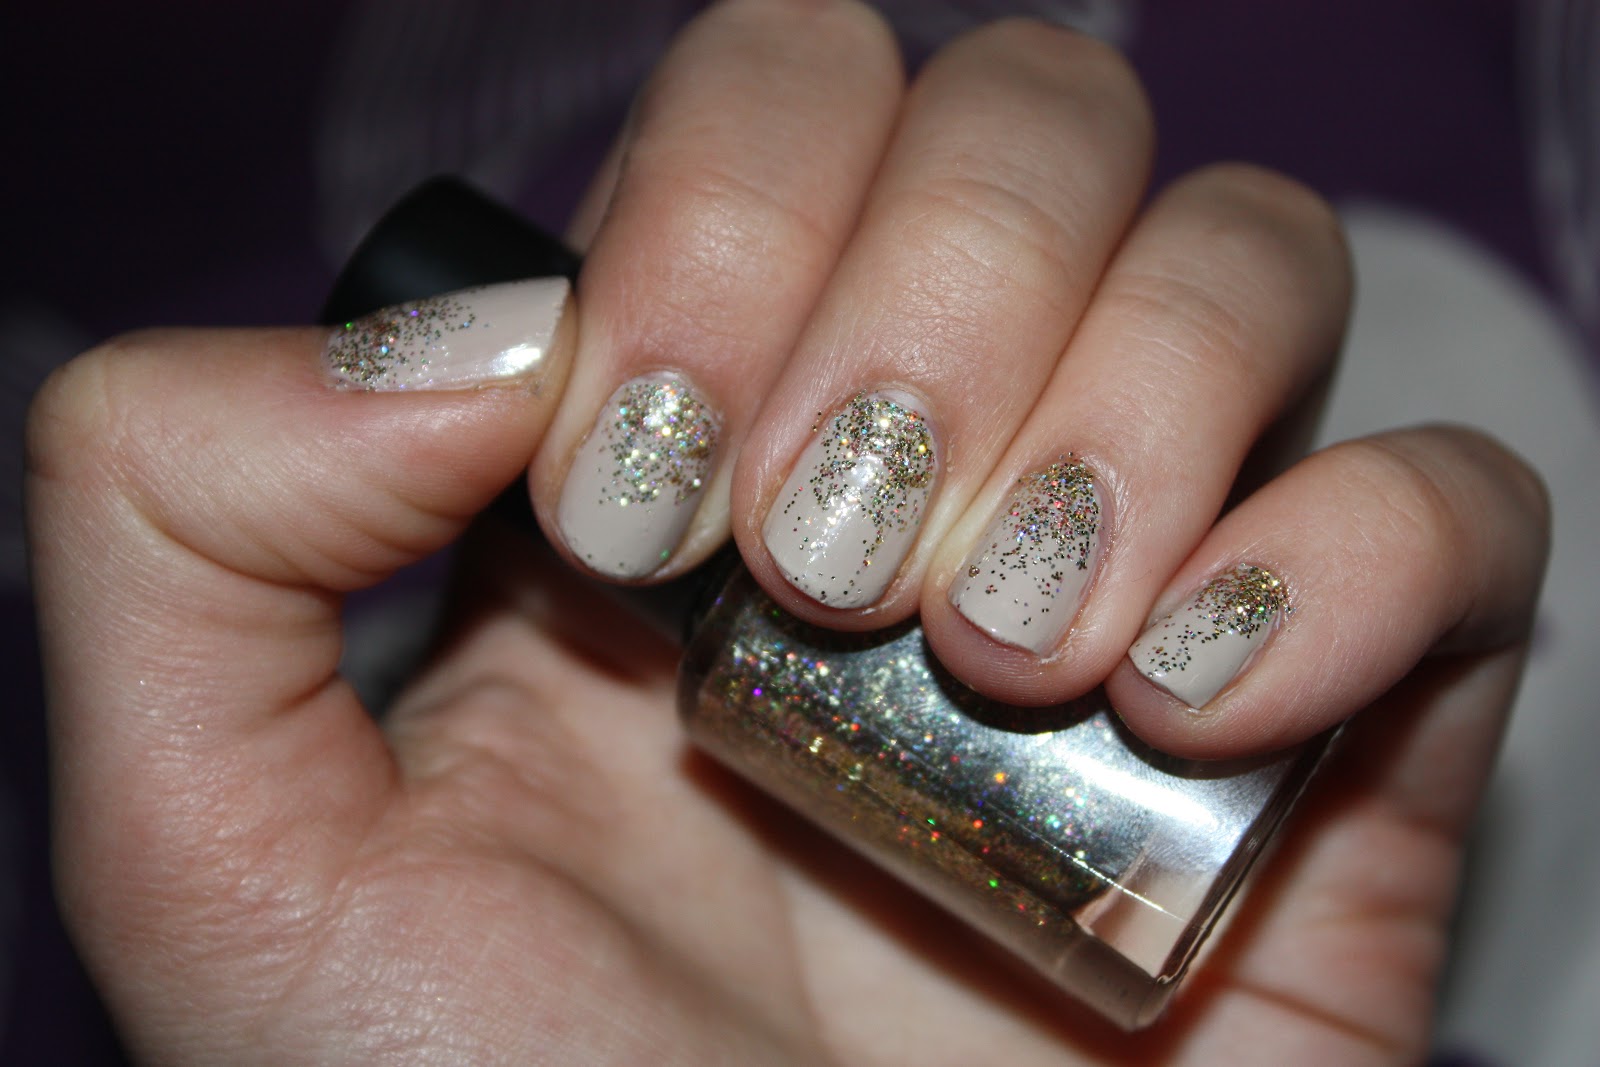
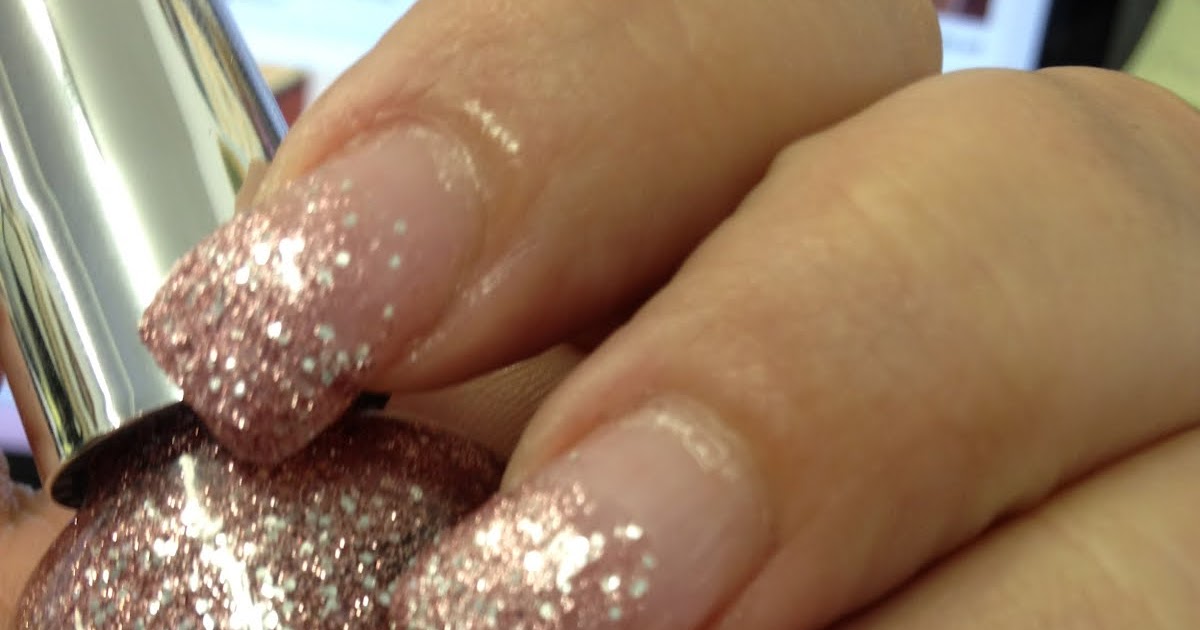
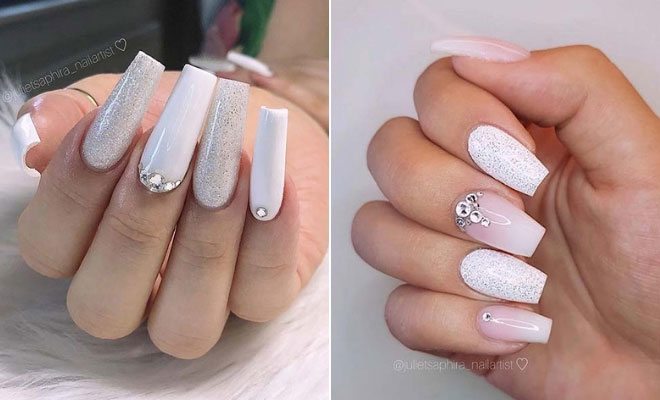
Creating the perfect ombre glitter nails may seem like a daunting task, but with the right tutorial, you can achieve stunning results in no time. Start by gathering all the necessary materials, including a base coat, two or more nail polish colors, and glitter. Apply the base coat and let it dry before moving onto the ombre effect. Using a makeup sponge, dab your chosen colors onto the sponge in a gradient pattern, with the lightest color at the top and the darkest at the bottom. Press the sponge onto your nail in a gentle rolling motion to create the ombre effect. Once dry, apply a glitter topcoat for a dazzling finish.1. Ombre Glitter Nails Tutorial


1. Ombre Glitter Nails Tutorial


.jpg)
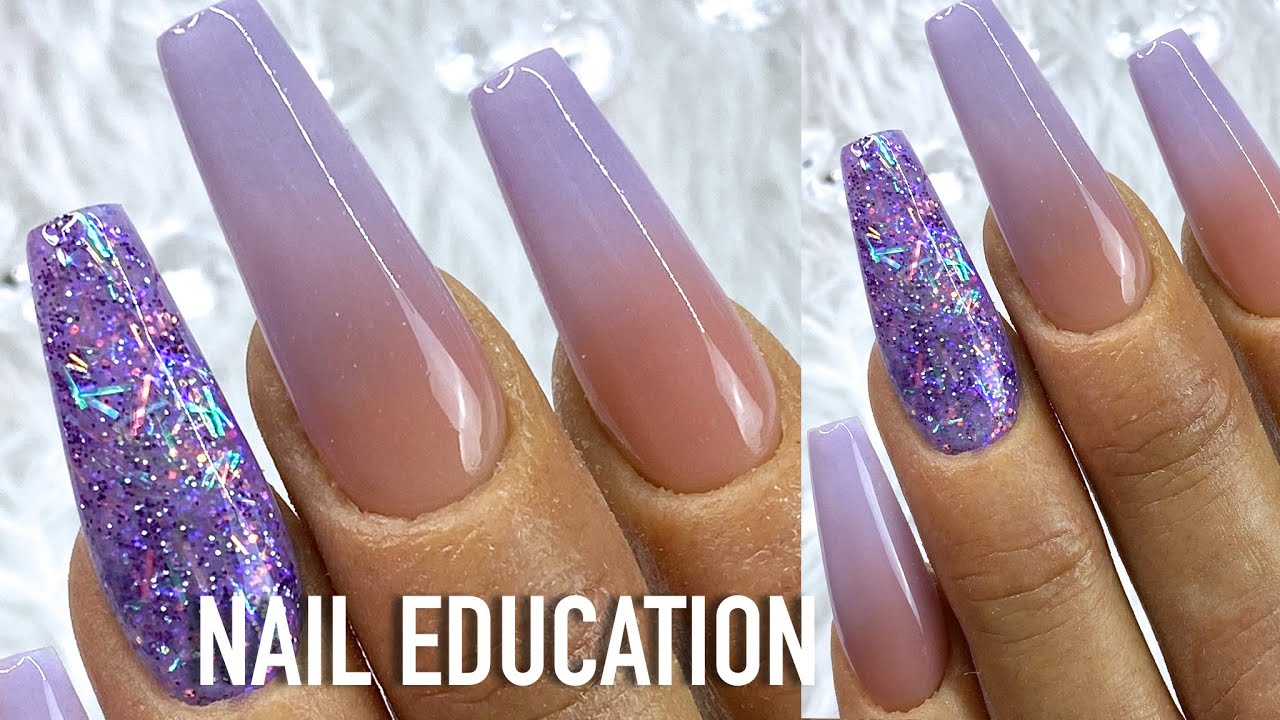
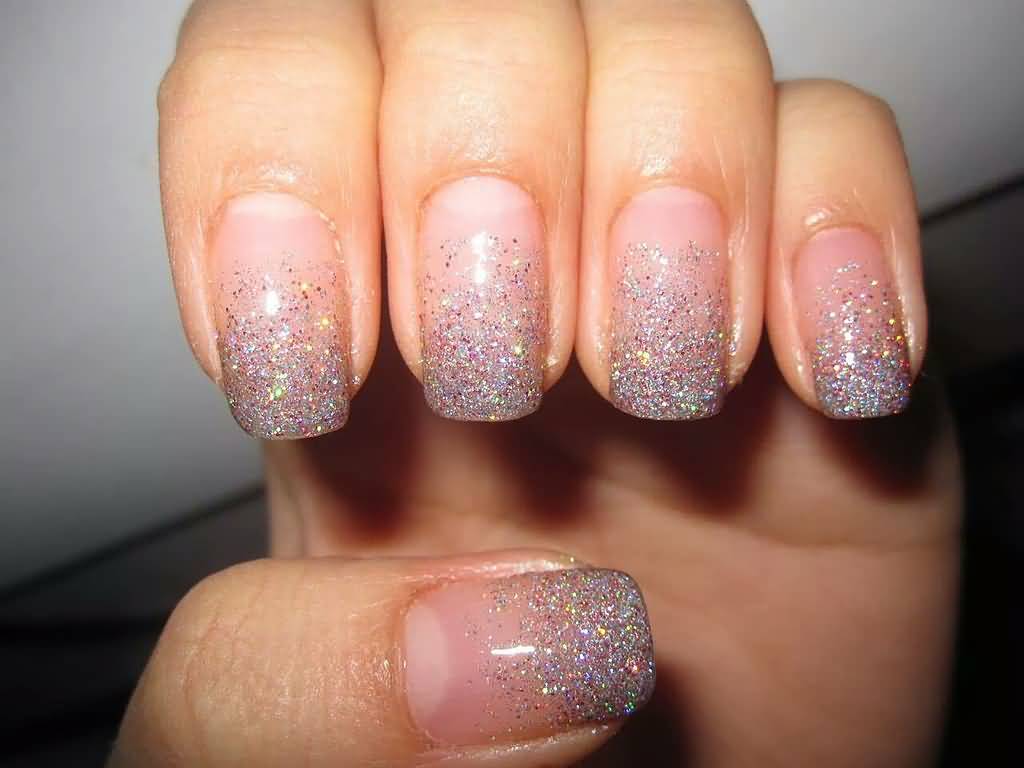
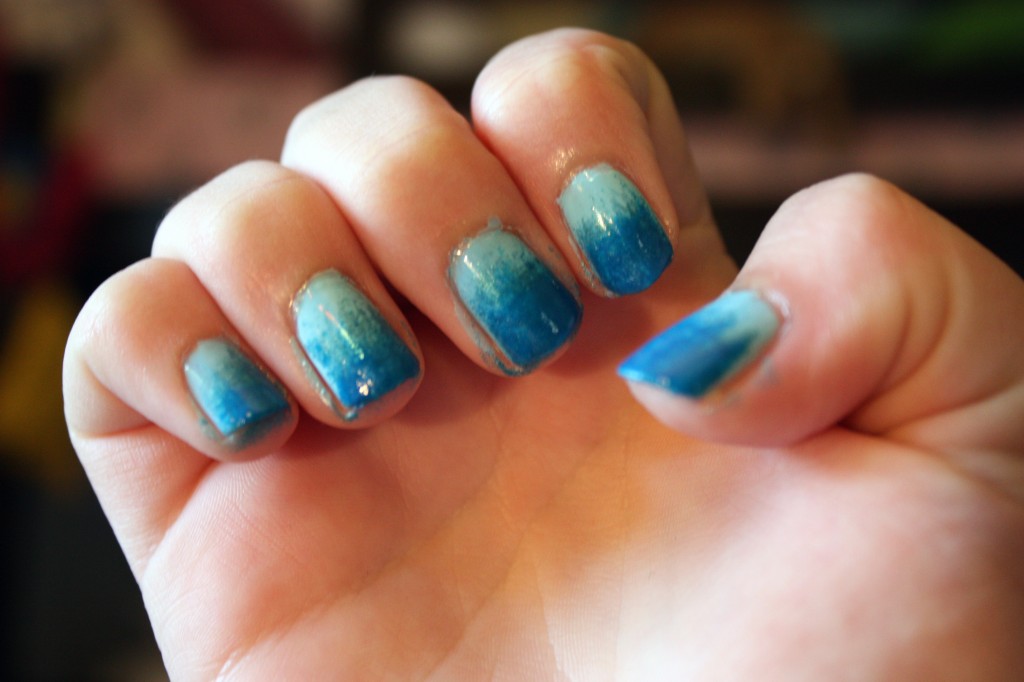
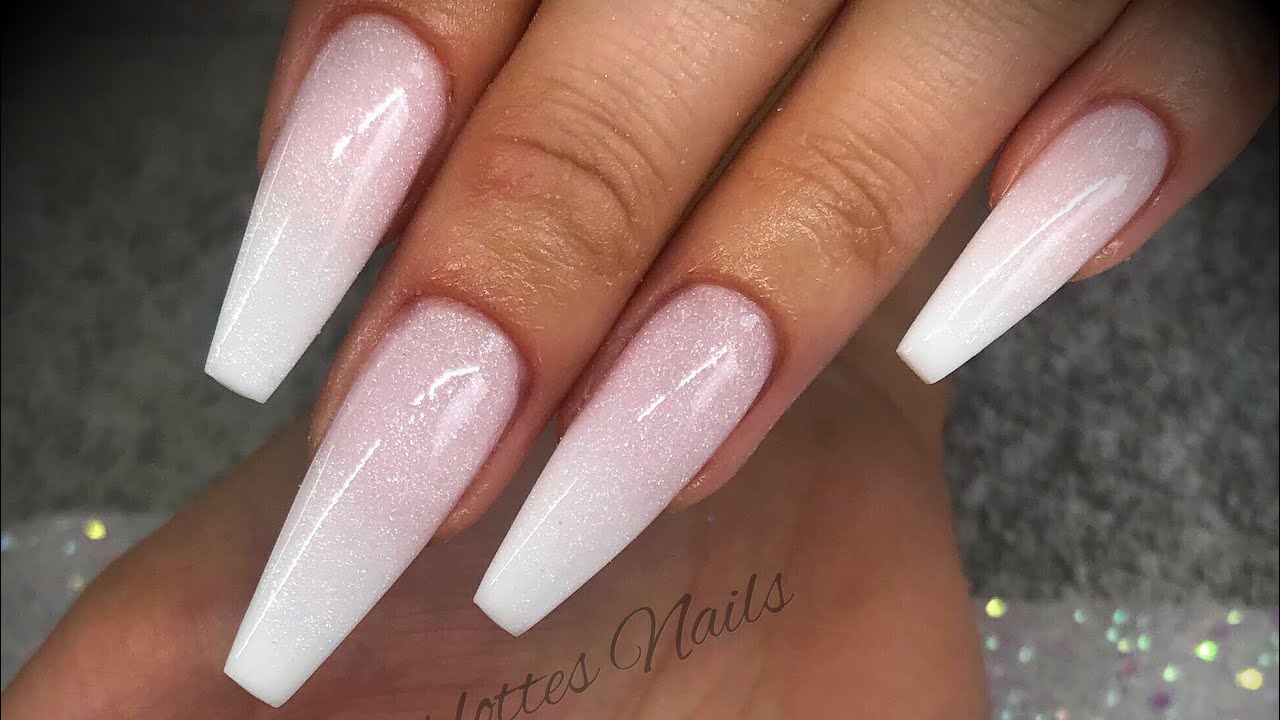
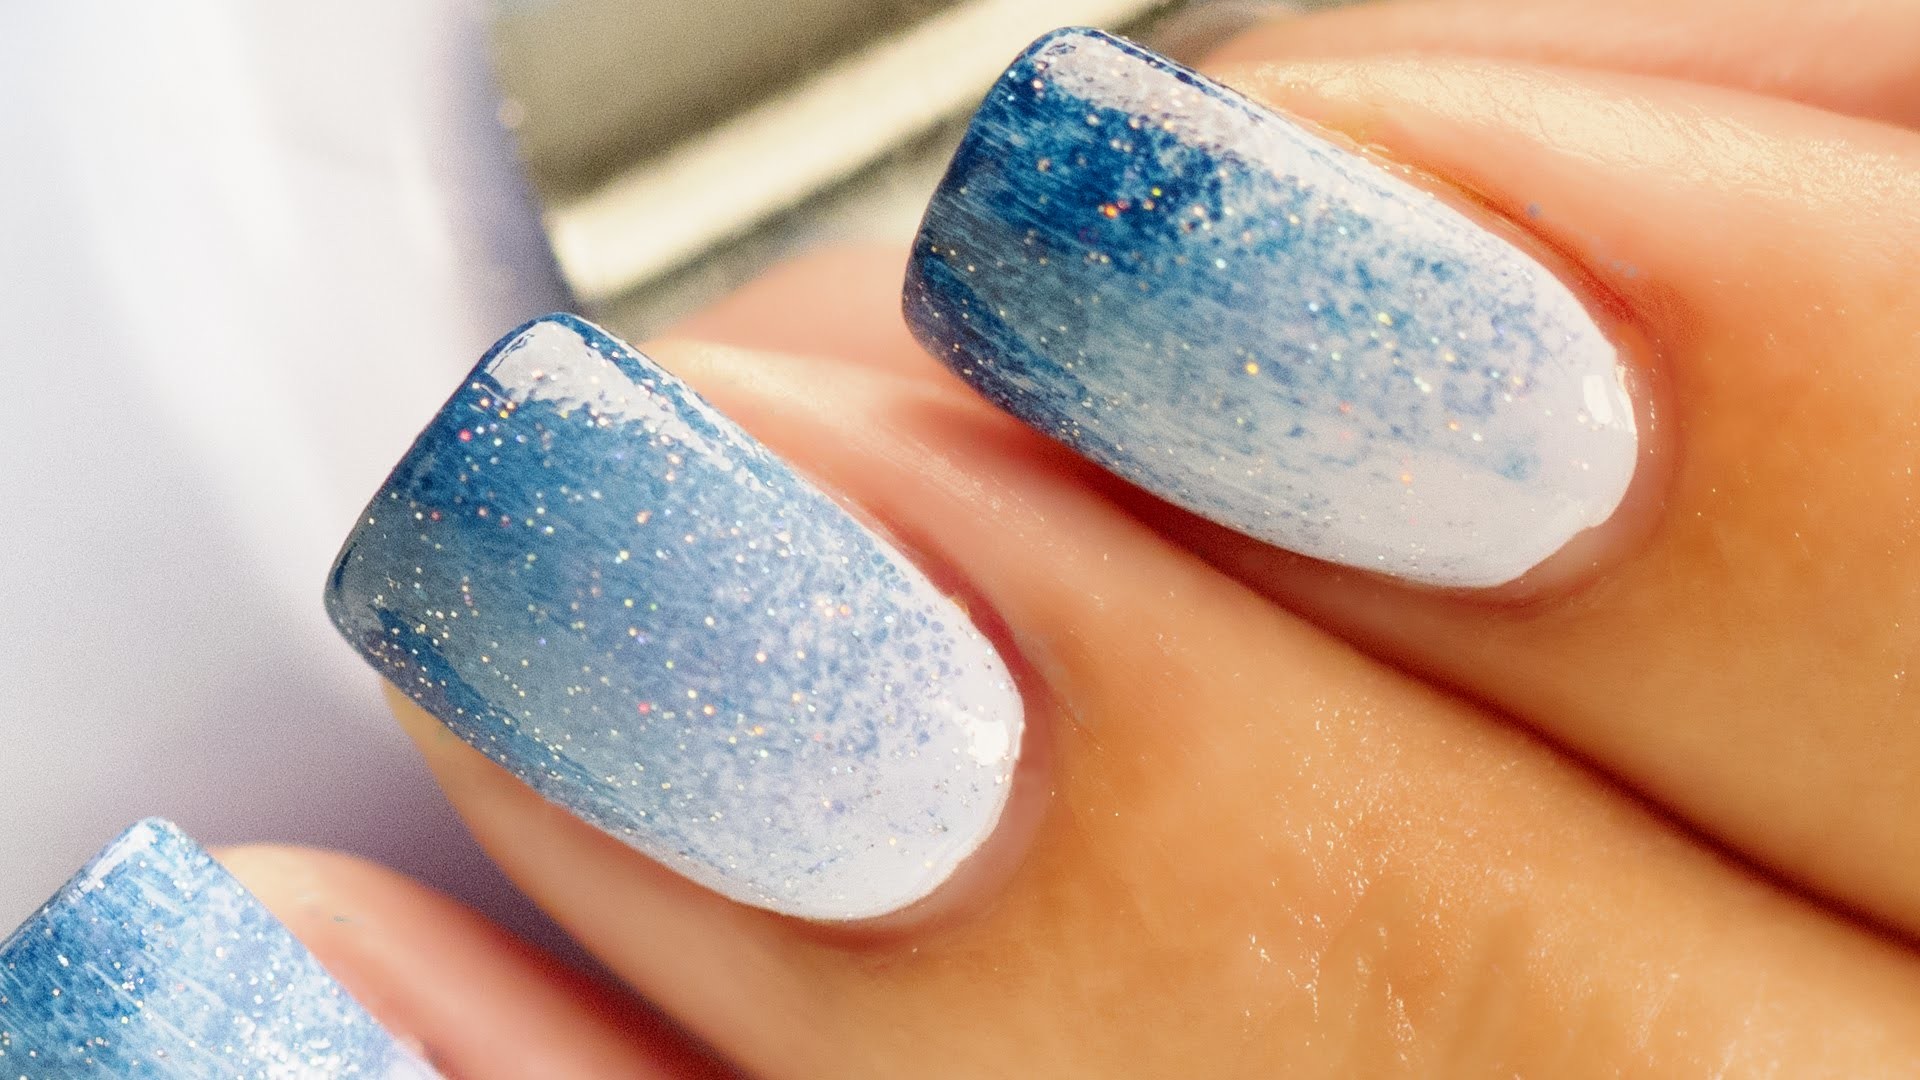
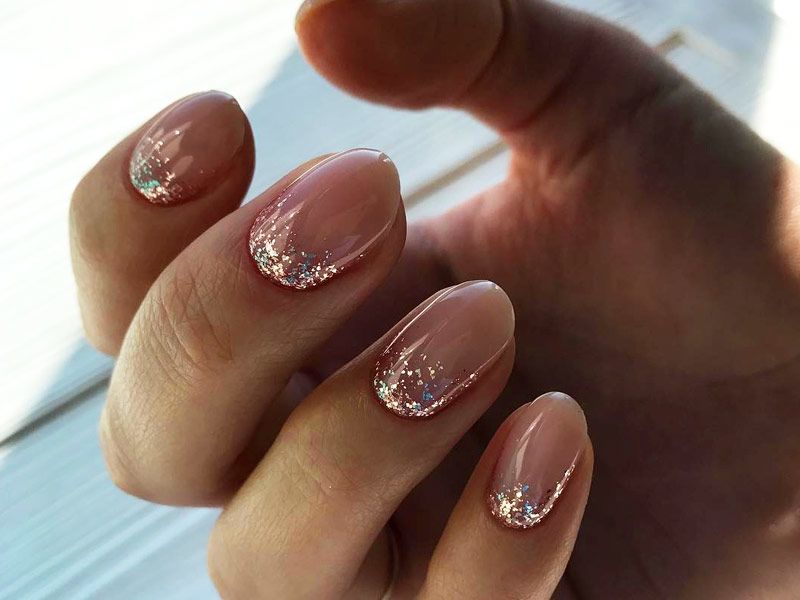
There are endless design options when it comes to ombre glitter nails. You can choose to create a gradient effect on each individual nail, or mix and match different glitter colors for a unique look. You can also incorporate other nail art techniques, such as adding rhinestones or using nail stamping plates, to create a one-of-a-kind design. Get creative and experiment with different designs to find the perfect ombre glitter look for you.2. Ombre Glitter Nails Designs

2. Ombre Glitter Nails Designs


If you're new to ombre glitter nails, it's important to follow a step-by-step guide to ensure the best results. Start by prepping your nails with a base coat and letting it dry. Then, follow the steps for creating the ombre effect using a sponge and your chosen colors. Once the ombre effect is dry, apply a glitter topcoat and let it dry completely. Finish off with a topcoat to seal in your design and add shine. Remember to take your time and be patient throughout the process for the best outcome.3. Ombre Glitter Nails Step by Step


3. Ombre Glitter Nails Step by Step


You don't have to visit a salon to achieve stunning ombre glitter nails. With the right materials and techniques, you can create salon-worthy nails in the comfort of your own home. Invest in good quality nail polish and glitter, and follow a tutorial or guide for the best results. With practice, you'll be able to create beautiful ombre glitter nails at home like a pro.4. Ombre Glitter Nails at Home


4. Ombre Glitter Nails at Home

A makeup sponge is an essential tool for achieving the perfect ombre glitter nails. Its porous texture allows for a smooth blending of colors and creates a gradient effect. To use a sponge for ombre glitter nails, simply dab your chosen polish colors onto the sponge and press it onto your nail in a rolling motion. For a more intense glitter effect, dab the sponge in glitter before pressing onto the nail.5. Ombre Glitter Nails with Sponge


5. Ombre Glitter Nails with Sponge

If you want long-lasting ombre glitter nails, consider using gel polish. Gel polish is known for its durability and can last up to two weeks without chipping. Start by prepping your nails with a base coat, then follow the steps for creating the ombre effect with gel polish. Once the polish is cured with a UV or LED lamp, finish off with a topcoat for a high-shine finish.6. Ombre Glitter Nails with Gel Polish


6. Ombre Glitter Nails with Gel Polish


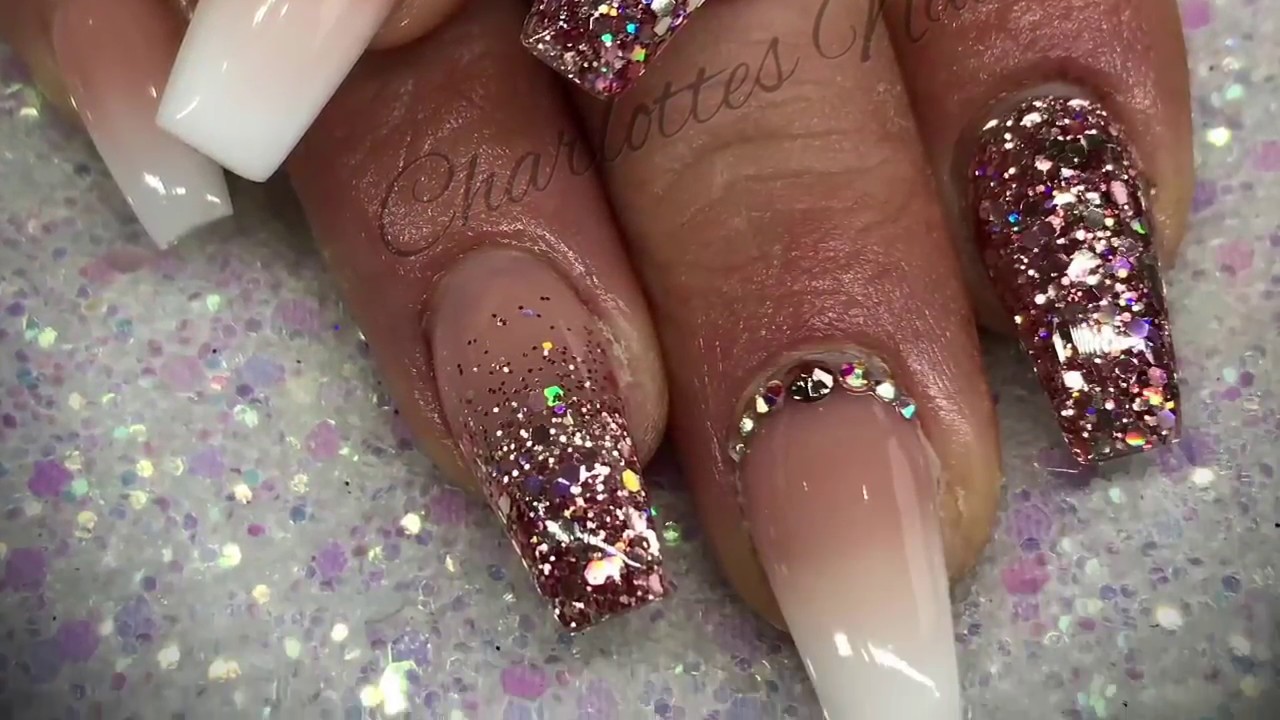
Acrylic nails are a popular choice for ombre glitter nails as they provide a strong base for the design and can be easily shaped and filed. Start by applying acrylic onto your nail and shaping it into the desired length and shape. Once the acrylic is dry, follow the steps for creating the ombre effect using regular nail polish or acrylic powder. Finish off with a topcoat for a glossy finish.7. Ombre Glitter Nails with Acrylic


7. Ombre Glitter Nails with Acrylic
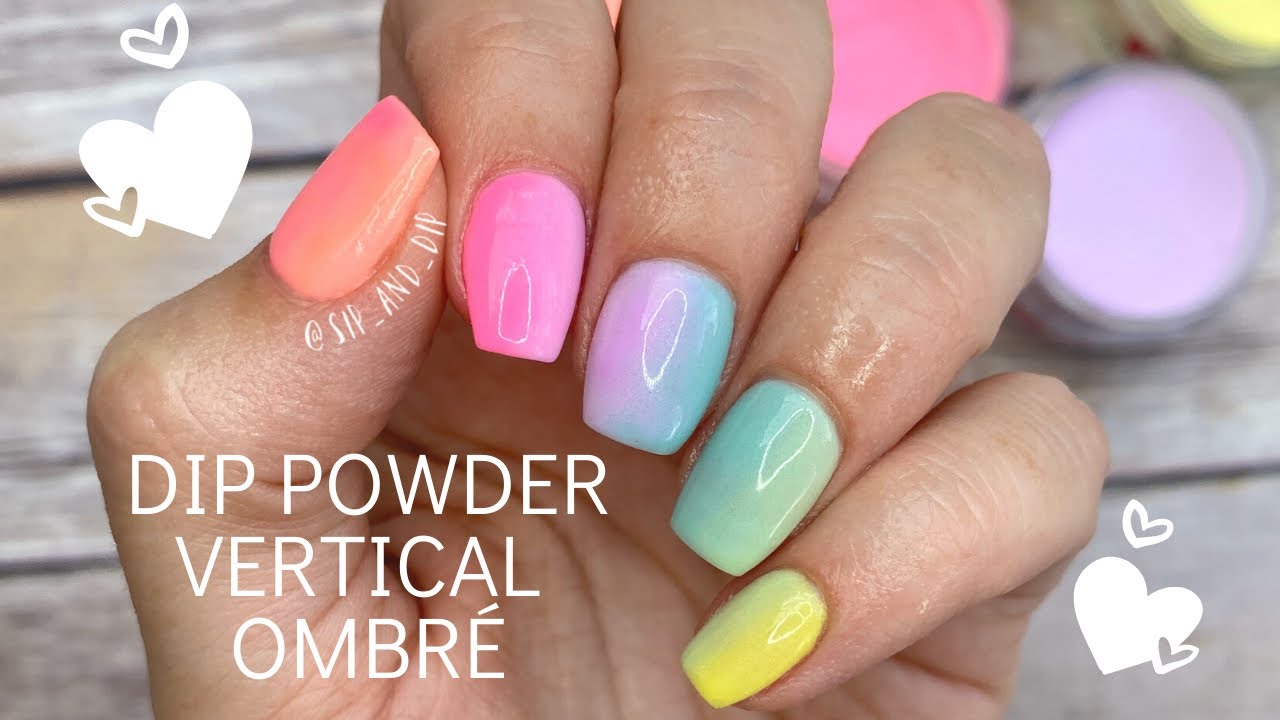
Dip powder is another long-lasting option for ombre glitter nails. It involves dipping your nails into a powder that hardens into a smooth finish. To achieve ombre glitter nails with dip powder, follow the steps for creating the ombre effect using regular nail polish or acrylic powder. Once the powder is cured, finish off with a topcoat for added shine.8. Ombre Glitter Nails with Dip Powder


8. Ombre Glitter Nails with Dip Powder
Short nails can also rock ombre glitter nails with the right techniques. Instead of creating the ombre effect on the entire nail, focus on the tips or use a smaller sponge for a more subtle gradient. You can also opt for a glitter accent nail or use glitter on just one of the nails for a chic and minimalistic look.9. Ombre Glitter Nails for Short Nails


9. Ombre Glitter Nails for Short Nails
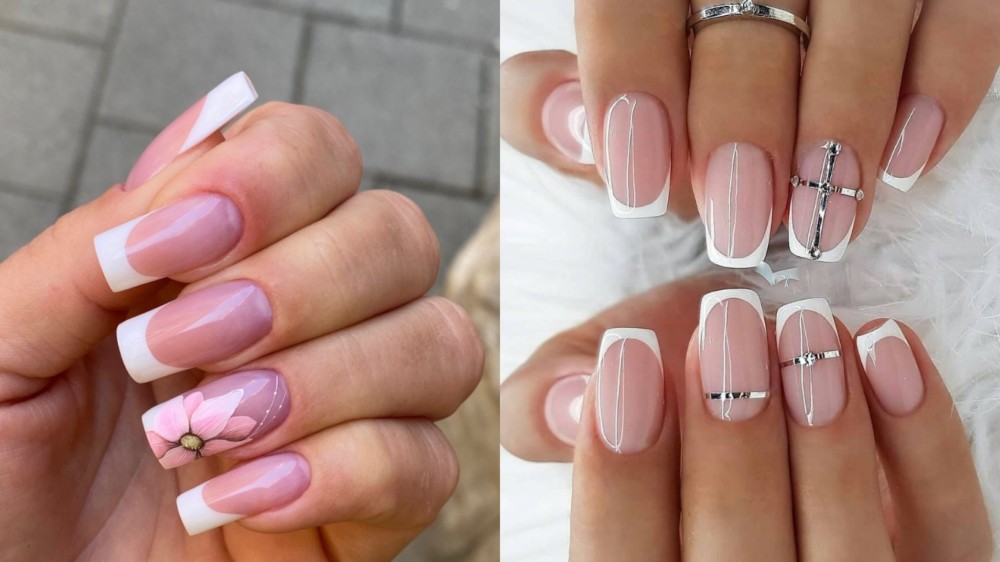
Long nails provide a larger canvas for creating ombre glitter nails, and you can really let your creativity shine. You can create a full ombre effect on each nail or mix and match different colors and designs. Long nails also allow for more intricate designs, such as incorporating nail art or using multiple shades of glitter for a multi-dimensional look.10. Ombre Glitter Nails for Long Nails


10. Ombre Glitter Nails for Long Nails


Creating a Statement with Ombre Glitter Nails

Adding a Touch of Sparkle to Your Manicure
 If you're looking for a way to add some glamour to your usual nail routine, look no further than ombre glitter nails. This trendy nail design has been taking the beauty world by storm and for good reason. It combines the eye-catching gradient effect of ombre with the dazzling sparkle of glitter, creating a statement manicure that is perfect for any occasion.
Ombre
refers to the gradual blending of one color into another, creating a beautiful gradient effect. This technique has been popular in hair and makeup for years but has now made its way onto our nails.
Glitter
, on the other hand, adds a touch of sparkle and shine that can elevate any nail look.
If you're looking for a way to add some glamour to your usual nail routine, look no further than ombre glitter nails. This trendy nail design has been taking the beauty world by storm and for good reason. It combines the eye-catching gradient effect of ombre with the dazzling sparkle of glitter, creating a statement manicure that is perfect for any occasion.
Ombre
refers to the gradual blending of one color into another, creating a beautiful gradient effect. This technique has been popular in hair and makeup for years but has now made its way onto our nails.
Glitter
, on the other hand, adds a touch of sparkle and shine that can elevate any nail look.
How to Achieve Ombre Glitter Nails
 Creating ombre glitter nails may seem daunting, but with the right tools and techniques, anyone can achieve this stunning look. Here's a step-by-step guide on how to get the perfect ombre glitter nails:
Step 1:
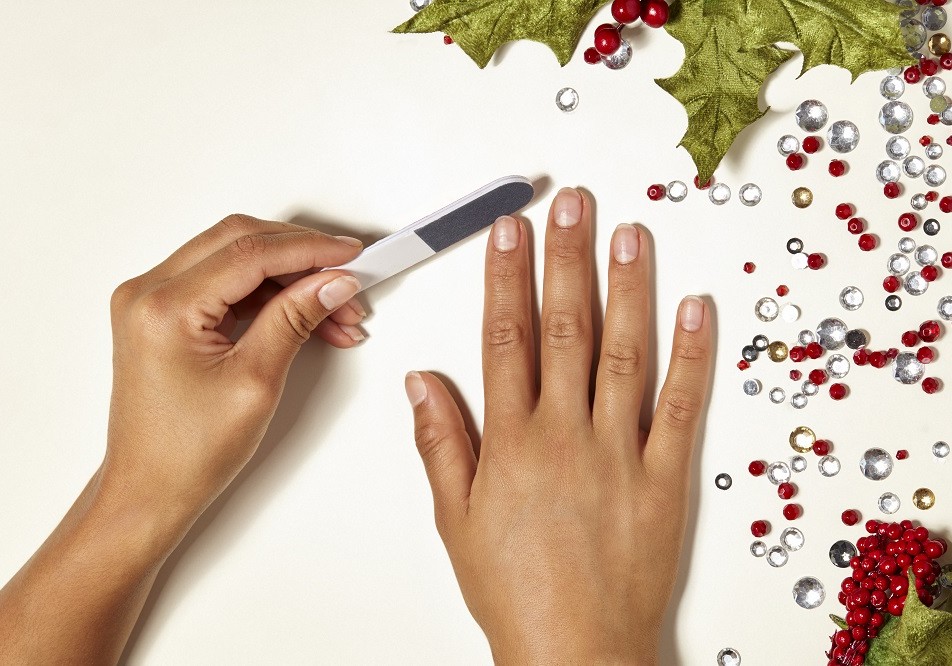
Start by prepping your nails. Trim and shape them to your desired length and file the surface of your nails to create a smooth base for the polish.
Step 2:
Apply a base coat to protect your nails and ensure your manicure lasts longer.
Step 3:
Choose your colors.
Ombre glitter nails
can be done with any two or more colors of your choice. Popular combinations include shades of pink, purple, and blue, but you can get creative and choose whatever colors speak to you.
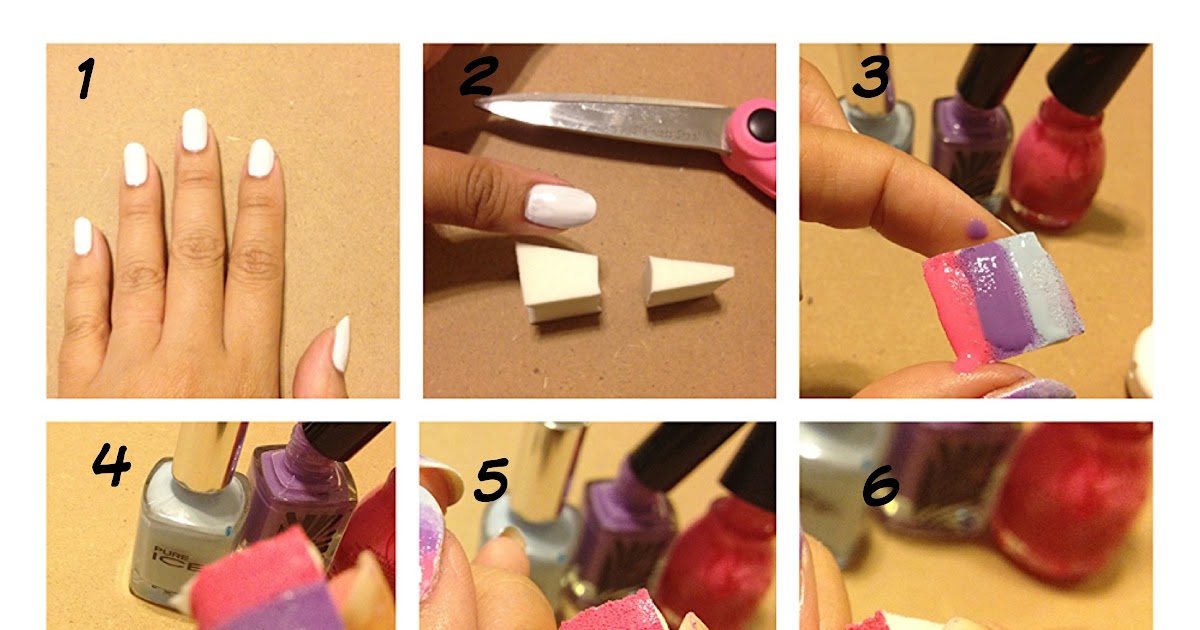
Step 4:
Using a makeup sponge, paint the colors of your choice in a horizontal stripe pattern. Make sure the colors overlap slightly to create a seamless blend.
Step 5:
Gently dab the sponge onto your nails in a rolling motion, starting from the cuticle and moving towards the tip. This will transfer the colors onto your nails and create the ombre effect.
Step 6:
Once the polish is dry, it's time to add the glitter. Dip a clean makeup brush into the glitter and gently tap it onto the tip of your nails, gradually working your way down. This will create a gradient effect with the glitter, adding just the right amount of sparkle.
Step 7:
Finish off with a top coat to seal in your design and add shine.
Creating ombre glitter nails may seem daunting, but with the right tools and techniques, anyone can achieve this stunning look. Here's a step-by-step guide on how to get the perfect ombre glitter nails:
Step 1:
Start by prepping your nails. Trim and shape them to your desired length and file the surface of your nails to create a smooth base for the polish.
Step 2:
Apply a base coat to protect your nails and ensure your manicure lasts longer.
Step 3:
Choose your colors.
Ombre glitter nails
can be done with any two or more colors of your choice. Popular combinations include shades of pink, purple, and blue, but you can get creative and choose whatever colors speak to you.
Step 4:
Using a makeup sponge, paint the colors of your choice in a horizontal stripe pattern. Make sure the colors overlap slightly to create a seamless blend.
Step 5:
Gently dab the sponge onto your nails in a rolling motion, starting from the cuticle and moving towards the tip. This will transfer the colors onto your nails and create the ombre effect.
Step 6:
Once the polish is dry, it's time to add the glitter. Dip a clean makeup brush into the glitter and gently tap it onto the tip of your nails, gradually working your way down. This will create a gradient effect with the glitter, adding just the right amount of sparkle.
Step 7:
Finish off with a top coat to seal in your design and add shine.
Rock Your Ombre Glitter Nails
 Now that you have achieved the perfect ombre glitter nails, it's time to show them off! This versatile and eye-catching design is perfect for any occasion - from a night out with friends to a special event. So go ahead and add a touch of sparkle to your manicure with ombre glitter nails.

/ScreenShot2020-03-31at1.58.38PM-ae9ee7fe8d81445a8441e1c2f240c267.png)
