Owls are known for their cuteness and mysterious aura, making them a popular choice for nail art designs. For those who want to add a touch of whimsy to their nails, a cute owl design is the perfect choice. With their big round eyes and fluffy feathers, these adorable creatures can be recreated on your nails in various ways. Cute owl nail art often features bright colors and playful elements such as hearts, flowers, and bows. You can also choose to have a single owl on each nail or create a scene with multiple owls perched on a branch. Whichever style you choose, a cute owl nail art design is sure to make your nails stand out.1. Cute Owl Nail Art Design


1. Cute Owl Nail Art Design


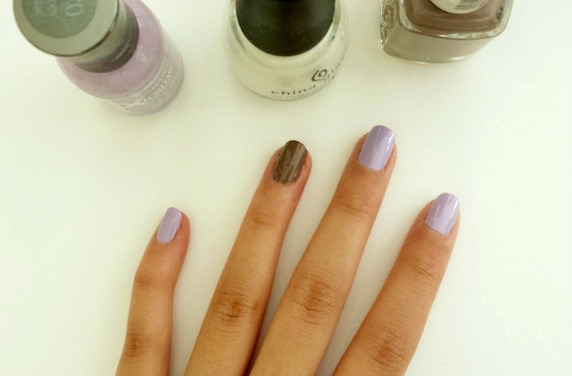


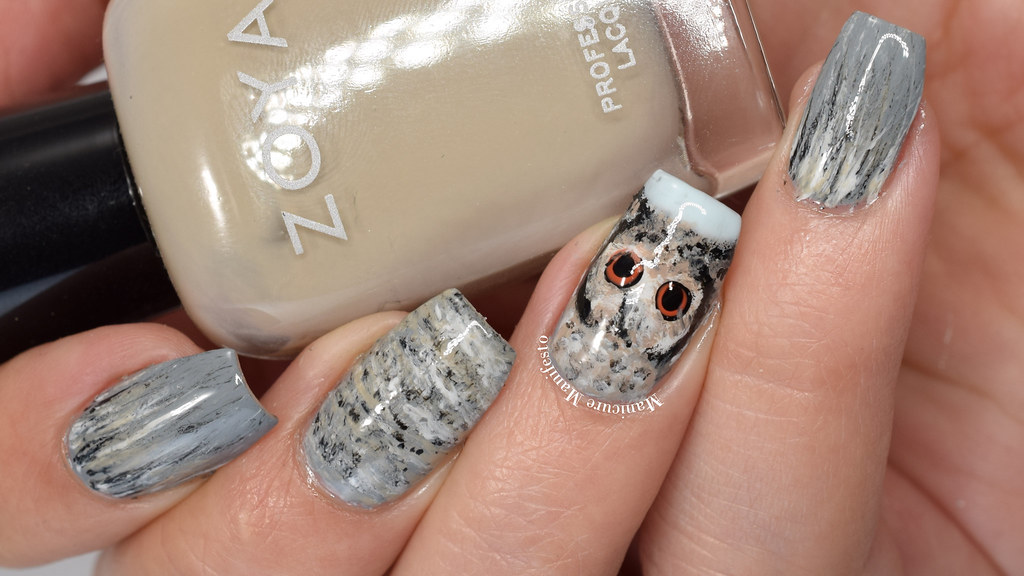
If you prefer a more subtle nail design, a simple owl nail art might be just what you need. This style usually incorporates minimal colors and designs, using only a few key elements to create the owl's features. For example, you can use a light brown color for the base and add small black dots for the eyes and a yellow triangle for the beak. Simple owl nail art is perfect for those who want to add a touch of nature to their nails without being too flashy. It is also a great option for those who are new to nail art and want to try out a design that is easy to recreate.2. Simple Owl Nail Art

2. Simple Owl Nail Art


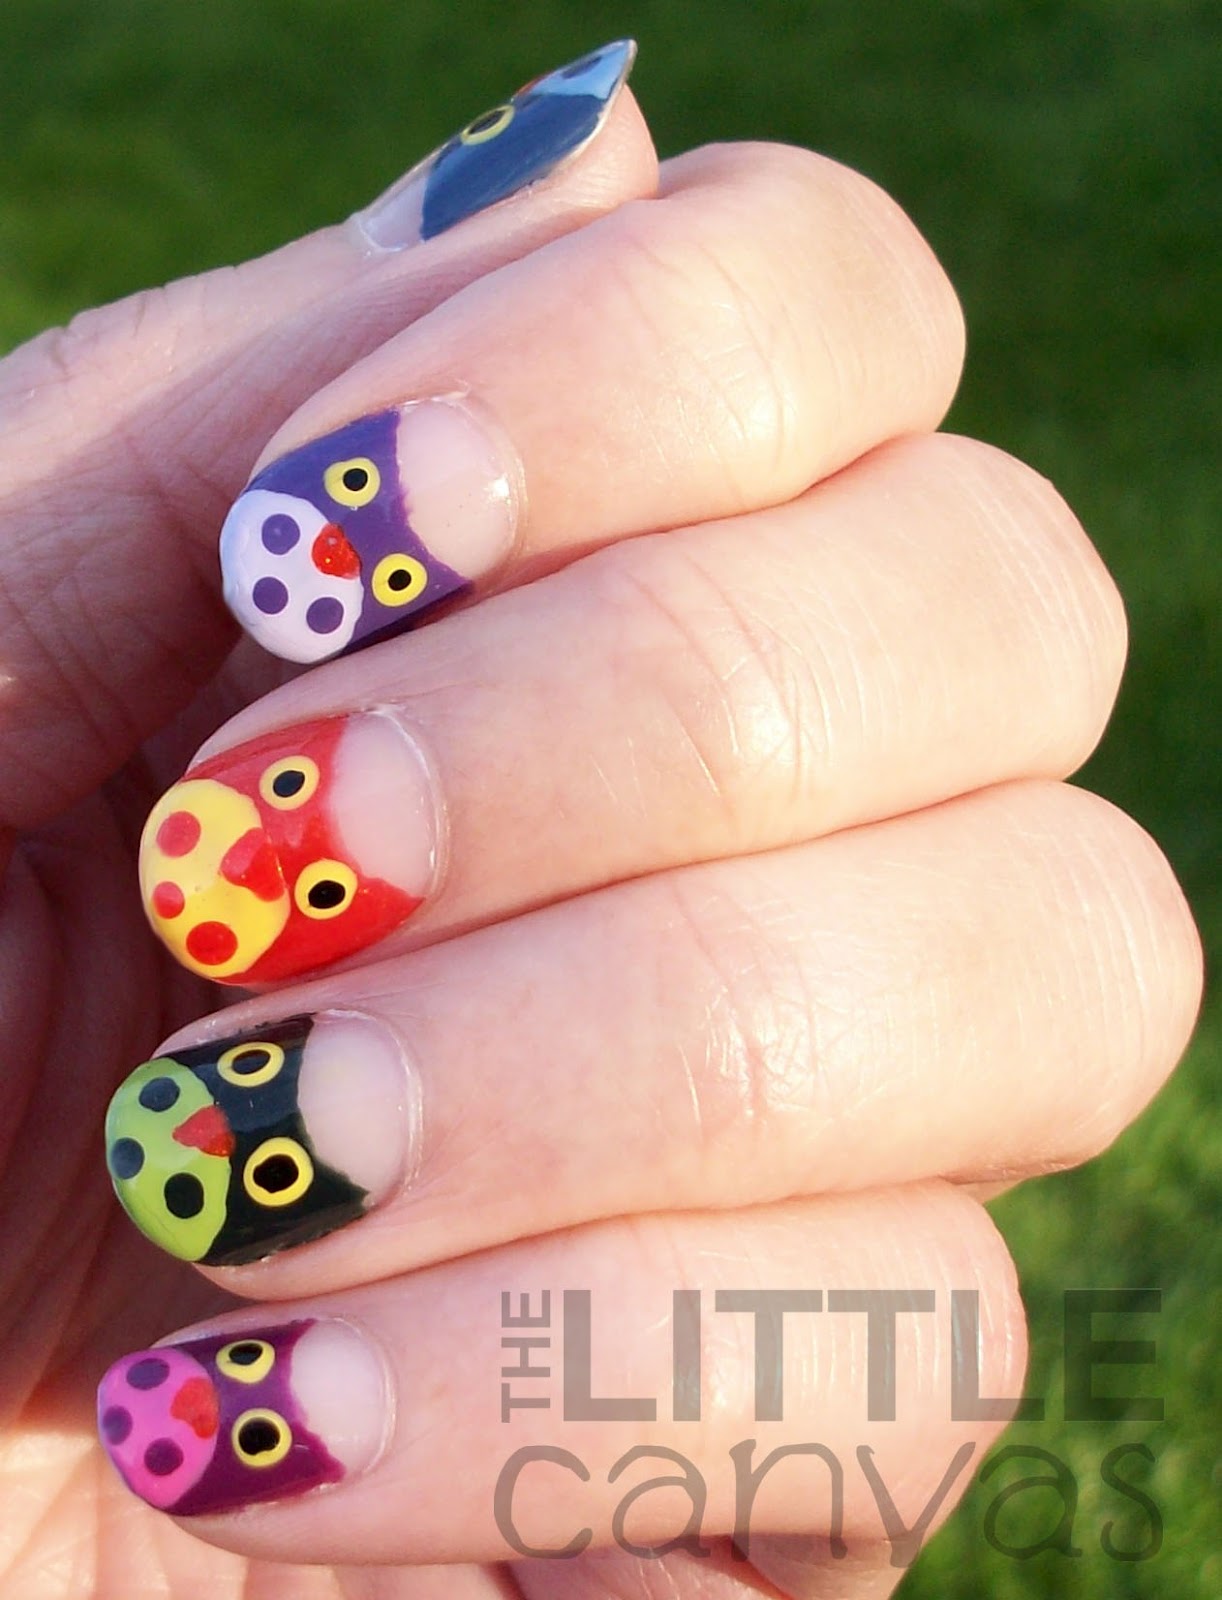
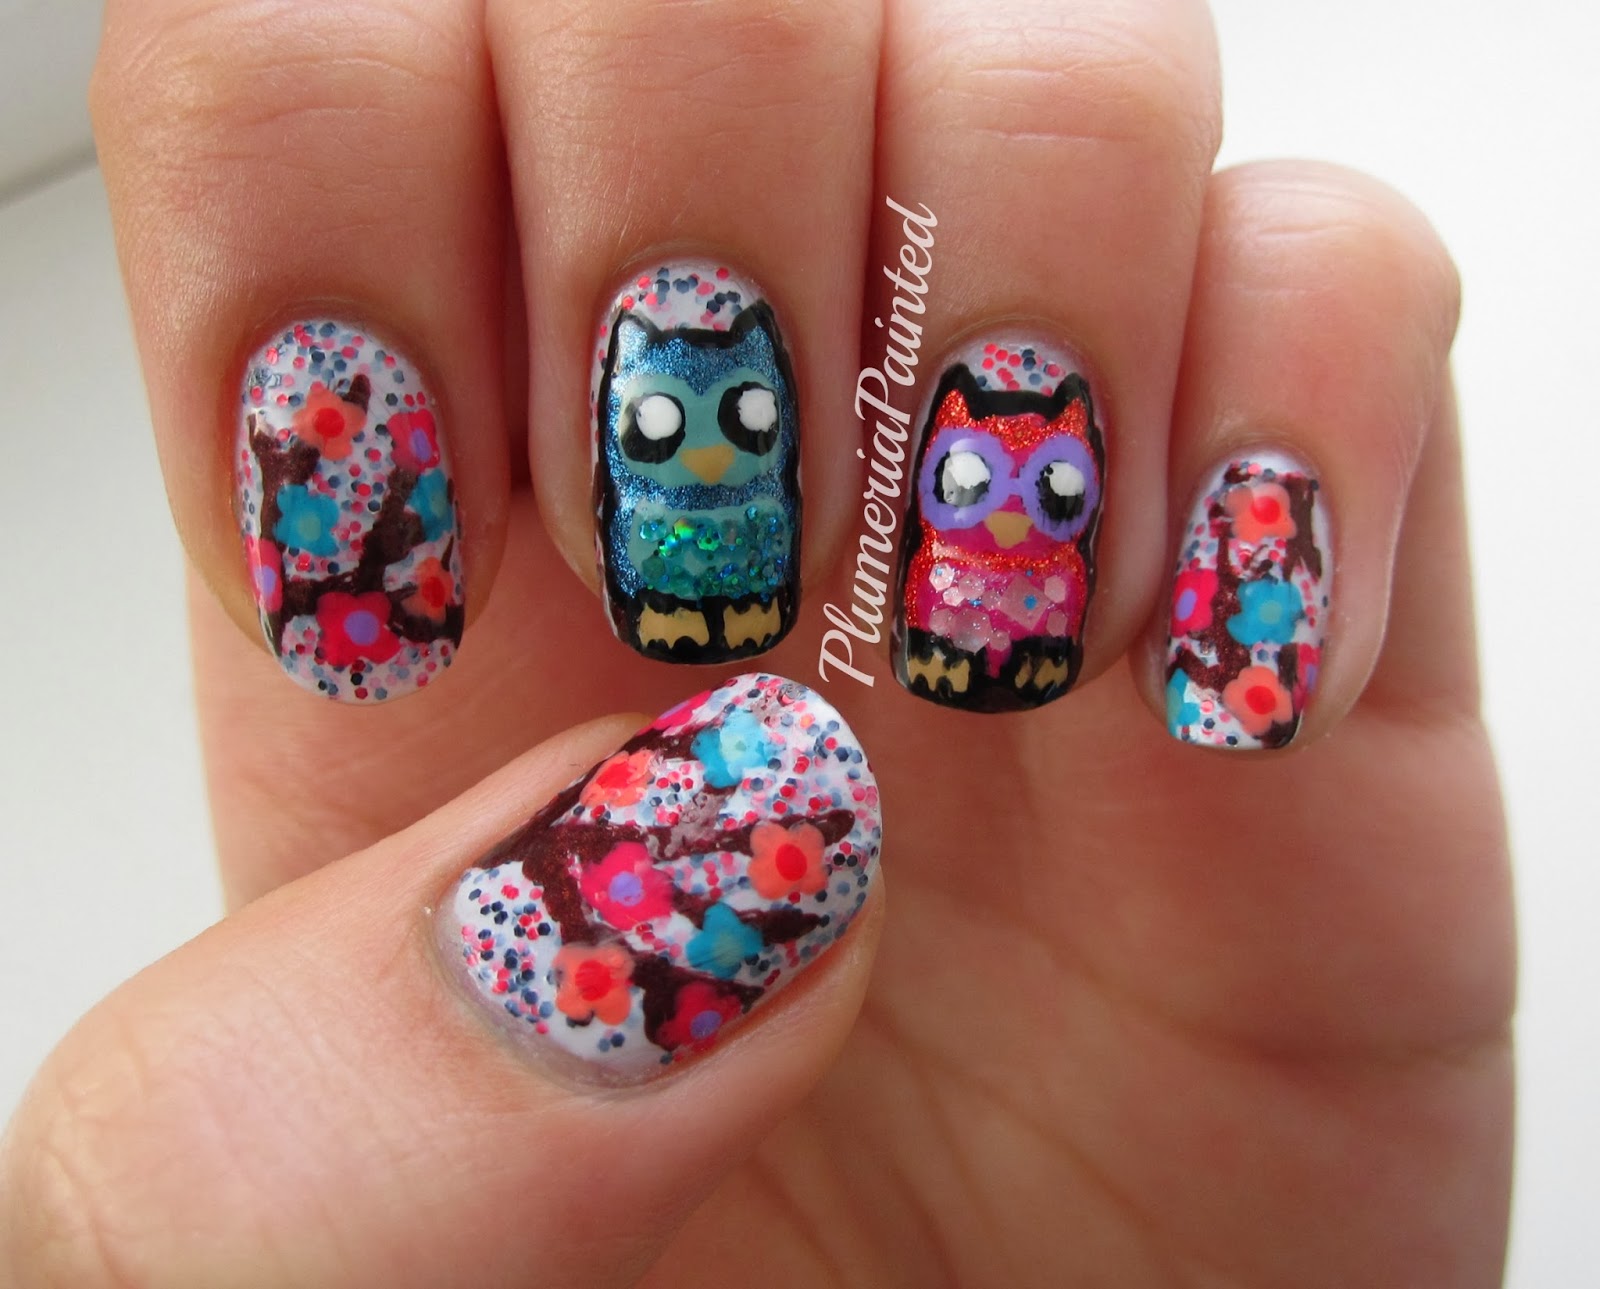
For those who love vibrant and eye-catching nail designs, a colorful owl nail design is the way to go. This style allows you to play with different colors and patterns to create a unique and colorful owl on your nails. You can use bright hues for the feathers and add fun patterns such as polka dots or stripes for a playful touch. Colorful owl nail designs are perfect for summer or when you want to add a pop of color to your outfit. You can also experiment with different color combinations to match your mood or the season.3. Colorful Owl Nail Design


3. Colorful Owl Nail Design


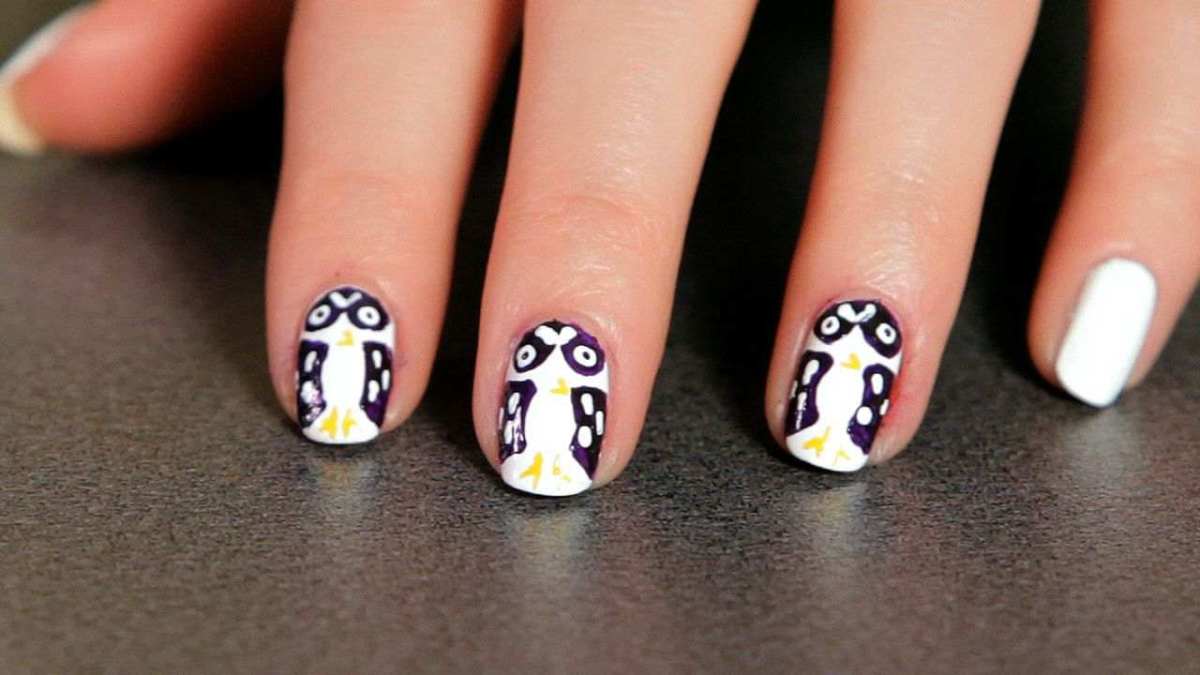
For a more edgy and unconventional look, tribal owl nail art is a great choice. This style usually features bold and intricate patterns inspired by indigenous cultures. The owl's features are often created using geometric shapes and lines, giving it a tribal and abstract look. Tribal owl nail art is perfect for those who want to make a statement with their nails. It requires a steady hand and some patience, but the end result is definitely worth it.4. Tribal Owl Nail Art


4. Tribal Owl Nail Art


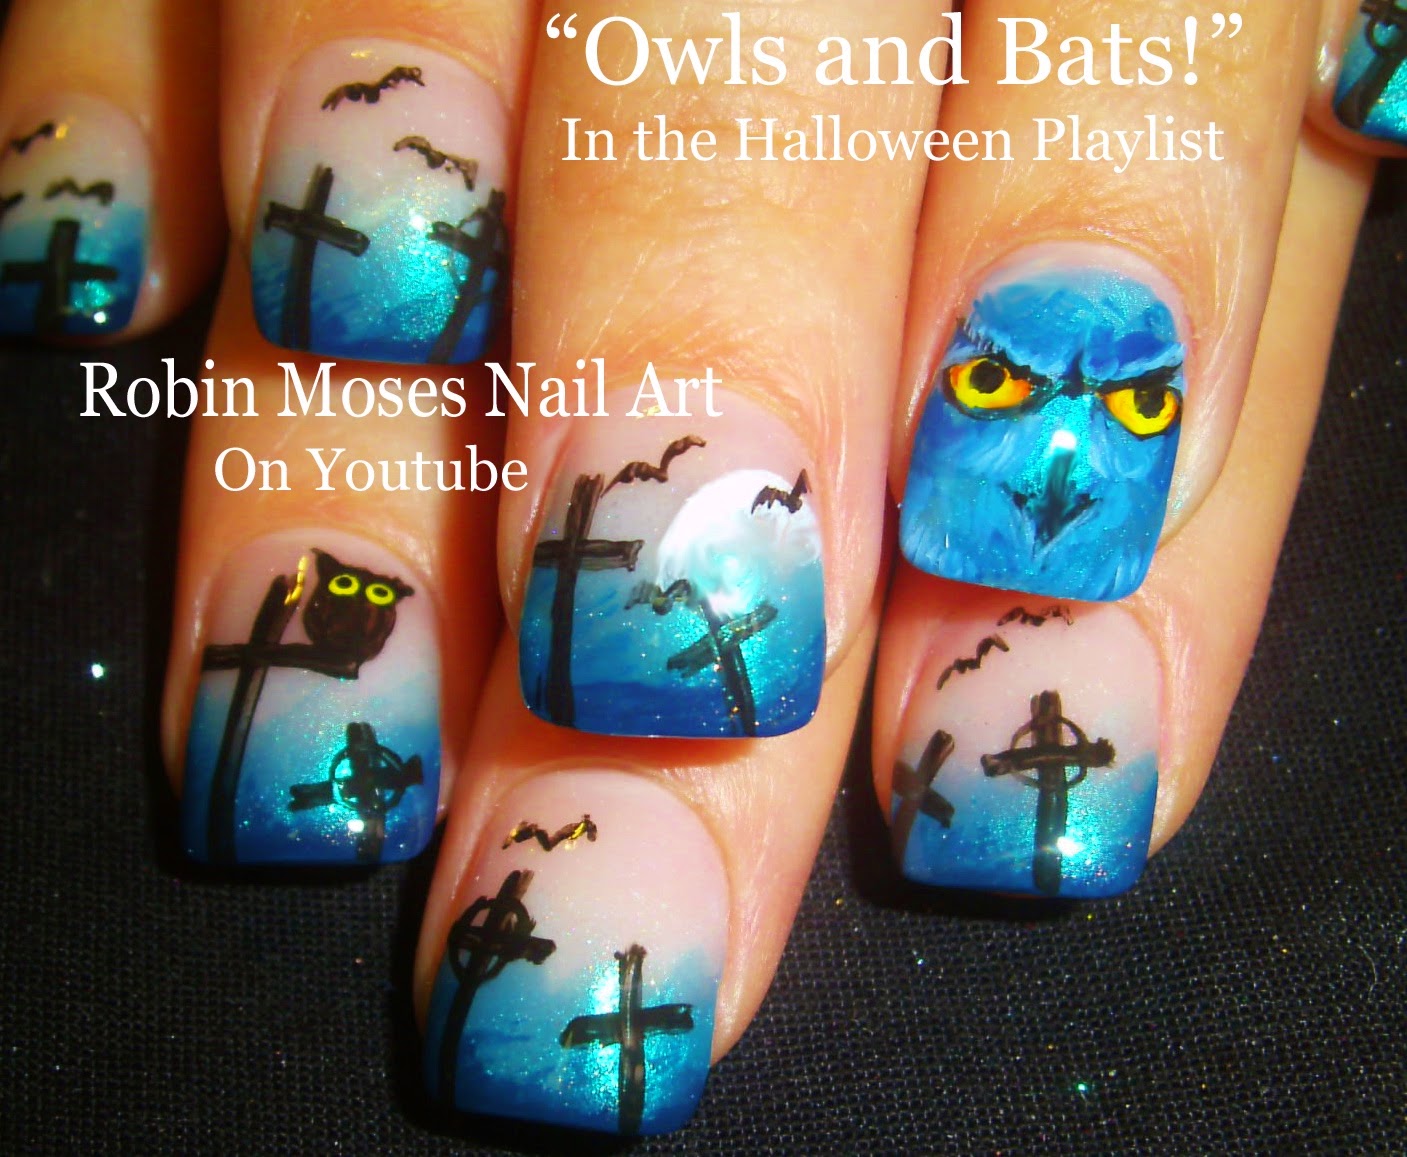
Whimsical owl nail designs are perfect for those who love a touch of fantasy and magic. This style often features dreamy and mystical elements such as stars, moons, and fairies. The owl's features are also exaggerated, with big eyes and long lashes, giving it a whimsical and cartoon-like appearance. If you want to add a touch of magic to your nails, a whimsical owl nail design is the way to go. It is also a great option for special occasions such as Halloween or themed parties.5. Whimsical Owl Nail Design


5. Whimsical Owl Nail Design

Geometric designs are a popular choice for nail art, and they can also be incorporated into an owl design. Geometric owl nail art often features clean lines and shapes to create the owl's features, such as triangles for the beak and circles for the eyes. The rest of the design can be kept simple or added with more geometric patterns for a unique look. This style is perfect for those who prefer clean and modern designs. It can also be easily recreated at home with the help of some tape and a steady hand.6. Geometric Owl Nail Art


6. Geometric Owl Nail Art

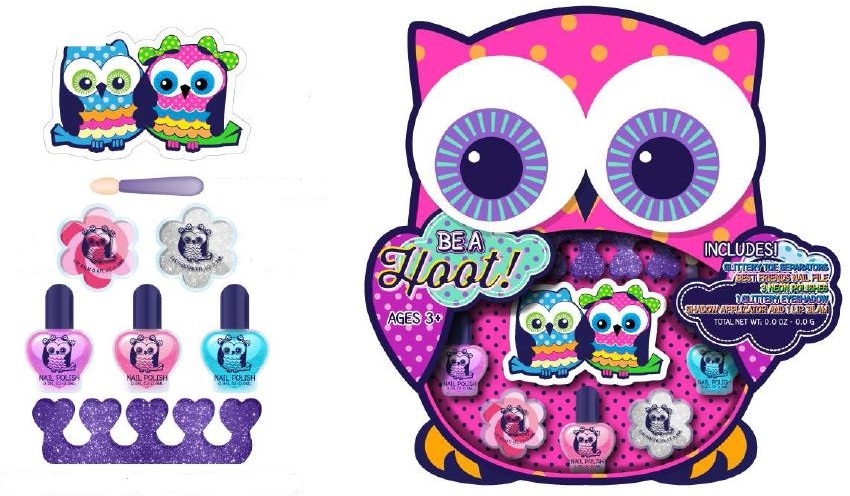
If you love all things sparkly and glamorous, a glittery owl nail design is the perfect choice for you. This style allows you to add a touch of glitter to your nails, creating a dazzling and eye-catching look. You can use glitter polish to create the owl's features or add glitter as an accent to the design. Glittery owl nail designs are perfect for special occasions or when you want to add some glamour to your everyday look. You can also experiment with different colors of glitter to match your outfit or mood.7. Glittery Owl Nail Design

7. Glittery Owl Nail Design
Halloween is the perfect time to get creative with your nails, and an owl design is a great choice for the occasion. Halloween owl nail art often features spooky elements such as cobwebs, bats, and pumpkins. The owl's features are also exaggerated to give it a more eerie and sinister look. If you want to add a Halloween twist to your owl nail design, you can also use dark and moody colors such as black, purple, and dark green. This style is perfect for Halloween parties or for those who love all things spooky.8. Halloween Owl Nail Art

8. Halloween Owl Nail Art

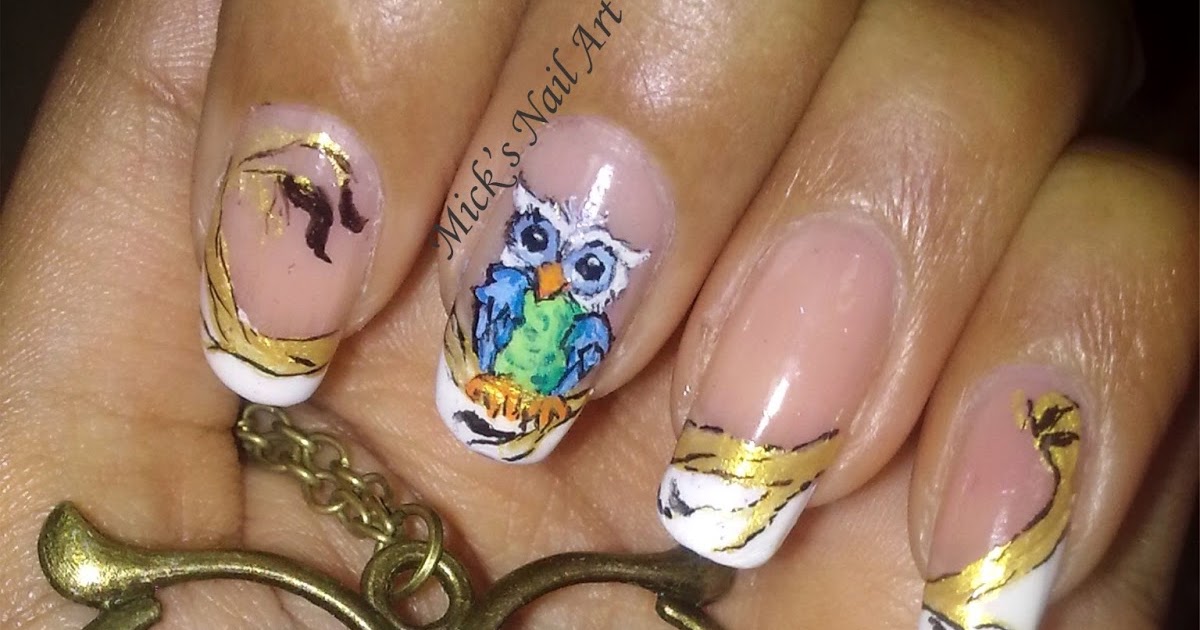
For a feminine and delicate look, a floral owl nail design is an excellent option. This style combines the beauty of flowers with the cuteness of owls, creating a charming and whimsical design. You can choose to add small floral details to the owl's feathers or create a whole scene with flowers and a perched owl. Floral owl nail designs are perfect for spring or when you want to add a touch of nature to your nails. You can also experiment with different types of flowers and colors to create a unique and personalized design.9. Floral Owl Nail Design
9. Floral Owl Nail Design
For a fun and playful look, cartoon owl nail art is the way to go. This style often features cute and cartoony versions of owls, with exaggerated features and bright colors. You can also add small details such as glasses, hats, or scarves to give the owl a unique and quirky personality. Cartoon owl nail art is perfect for those who want to add a touch of humor and playfulness to their nails. It is also a great option for kids or for those who are young at heart.10. Cartoon Owl Nail Art
10. Cartoon Owl Nail Art
Create a Unique and Adorable Look with Owl Nail Art Designs
 If you're looking for a fun and creative way to express your love for owls, why not incorporate them into your nail art? Owl nail art designs are a great way to add a touch of whimsy and cuteness to your look. Not only are they a unique way to show off your personality, but they are also perfect for any occasion - whether it's a casual outing or a special event. Let's take a closer look at how you can achieve this adorable look.
Gather Your Supplies
 Before you begin, make sure you have all the necessary supplies. You will need a base coat, top coat, colored nail polish, a thin brush, dotting tool, and a toothpick. For the owl design, you will also need white, black, and yellow nail polish.
Step 1: Start with a Base Color
 Apply a base coat to protect your nails and allow it to dry. Then, choose a base color for your nails, such as a neutral shade like nude or beige. This will serve as the base for your owl design.
Step 2: Create the Owl's Face
 Using a thin brush, create a semi-circle shape in the center of your nail with white nail polish. This will serve as the owl's face. Then, using a toothpick, create two small dots for the eyes with black nail polish. Next, use the dotting tool to add a yellow dot in the center of each eye for a pop of color.
Step 3: Add the Details
 Using the thin brush, add two small black triangles above the eyes for eyebrows. Then, create a small triangle shape for the beak with yellow nail polish. Using the toothpick, add two small dots on each side of the beak for nostrils. You can also add some feathers to the owl's face by creating small strokes with the thin brush and black nail polish.
Step 4: Complete the Design
 To finish off the design, add some small dots around the owl's face with black nail polish to create a feathery effect. You can also add some small dots in a different color for a fun touch. Finally, seal in your design with a top coat and allow it to dry completely.
With these simple steps, you can create a cute and unique owl nail art design that will surely turn heads. Don't be afraid to experiment with different colors and designs to make it your own. So go ahead and give this adorable nail art a try and show off your love for owls in a fun and stylish way!
To finish off the design, add some small dots around the owl's face with black nail polish to create a feathery effect. You can also add some small dots in a different color for a fun touch. Finally, seal in your design with a top coat and allow it to dry completely.
With these simple steps, you can create a cute and unique owl nail art design that will surely turn heads. Don't be afraid to experiment with different colors and designs to make it your own. So go ahead and give this adorable nail art a try and show off your love for owls in a fun and stylish way!


