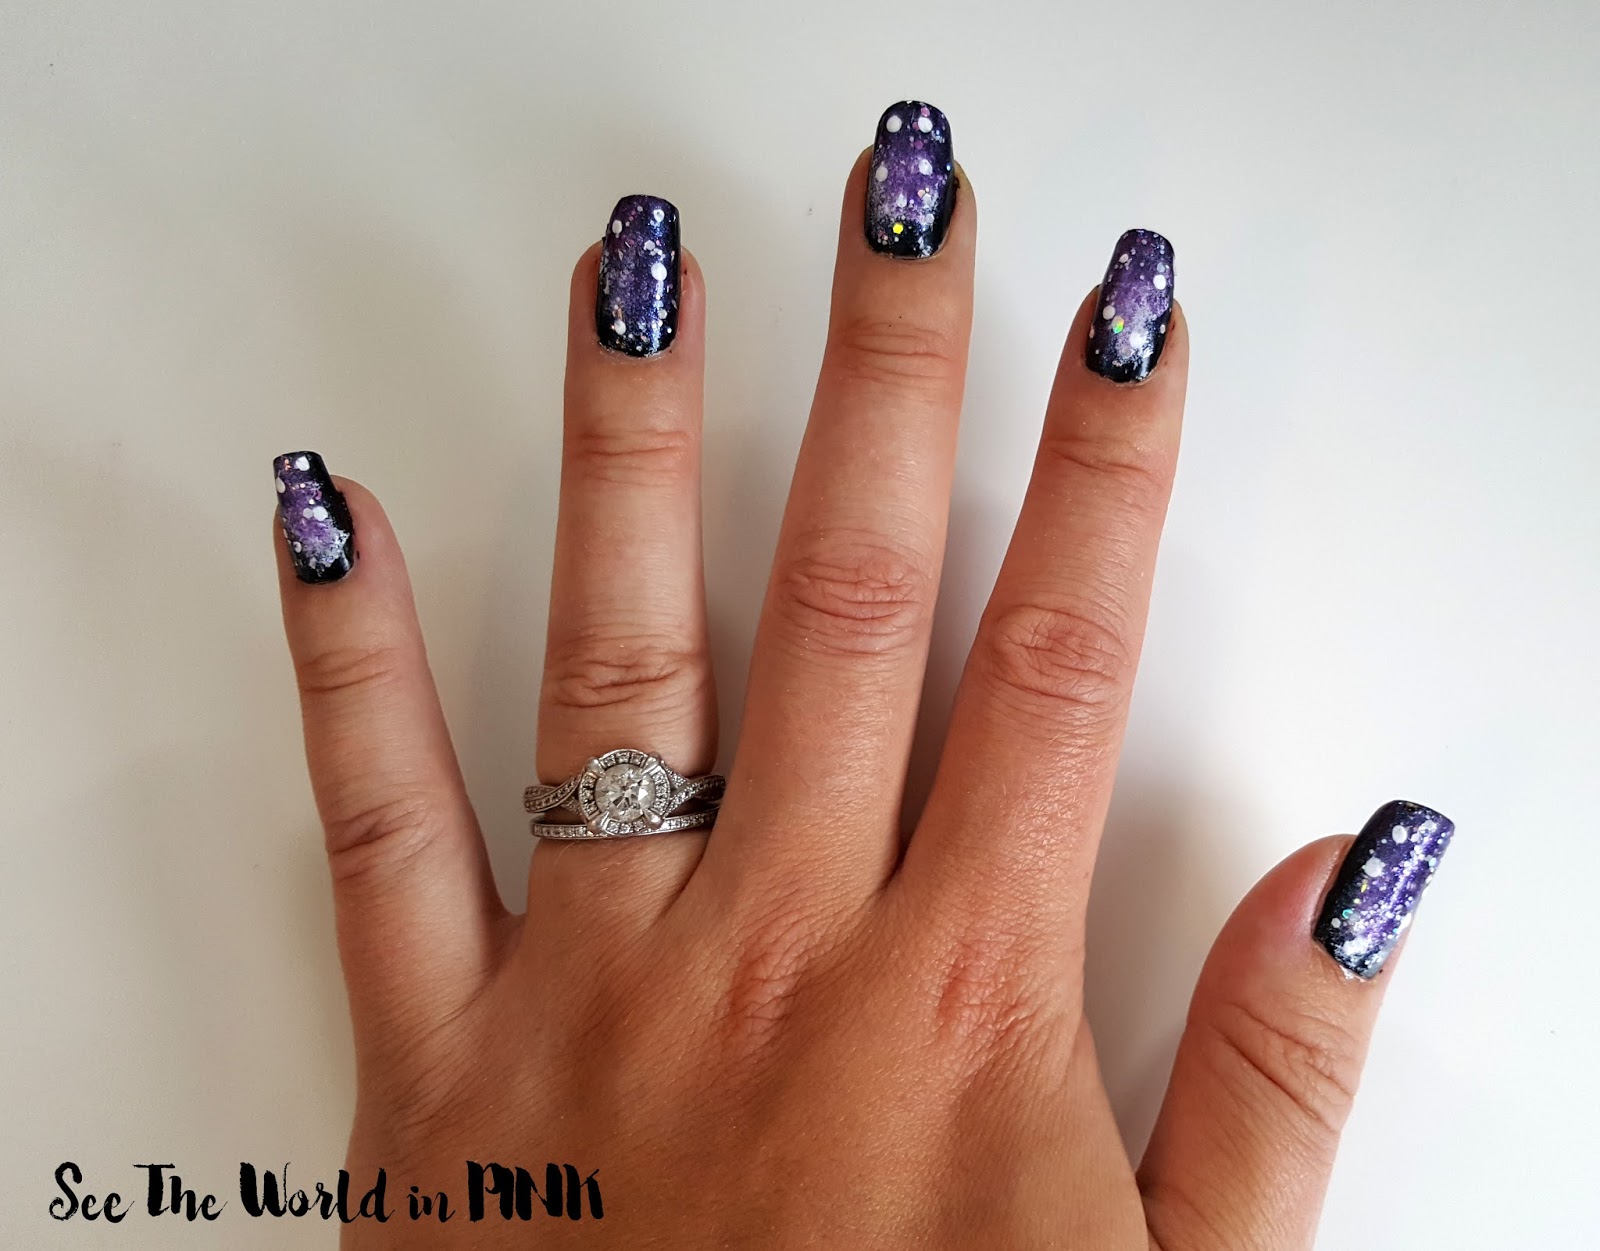
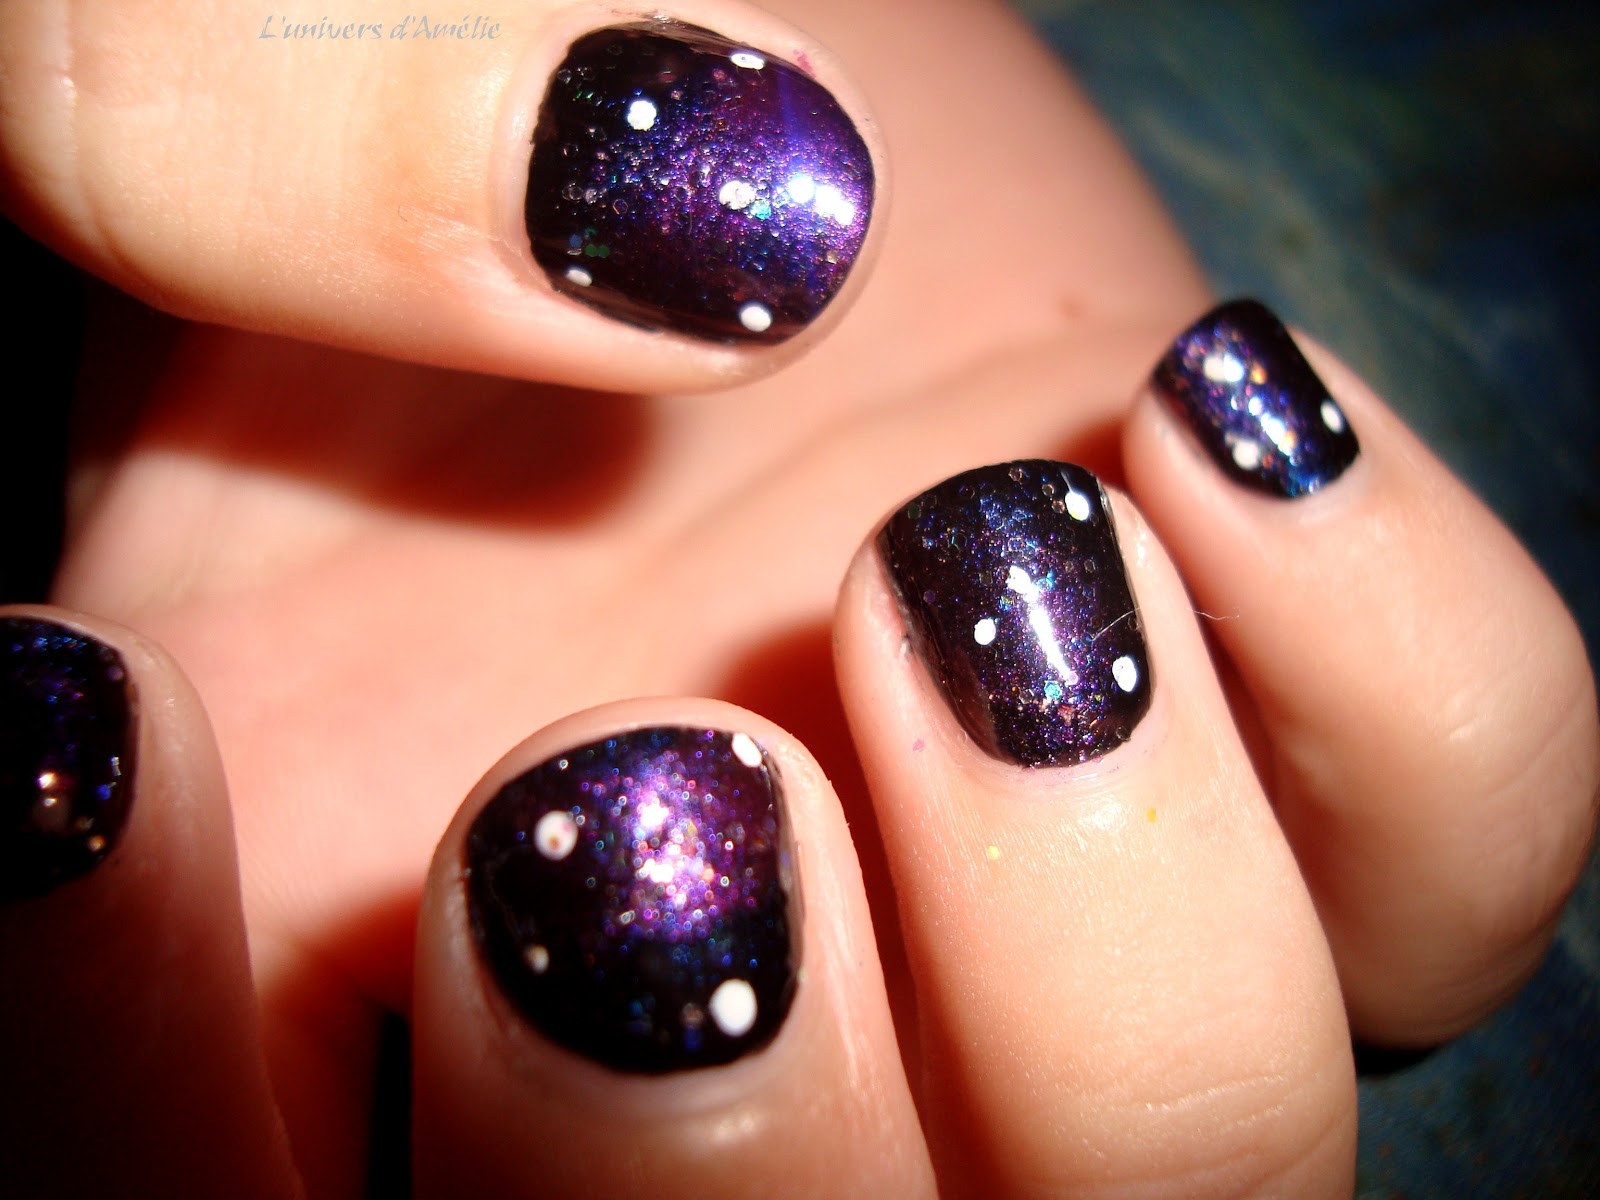
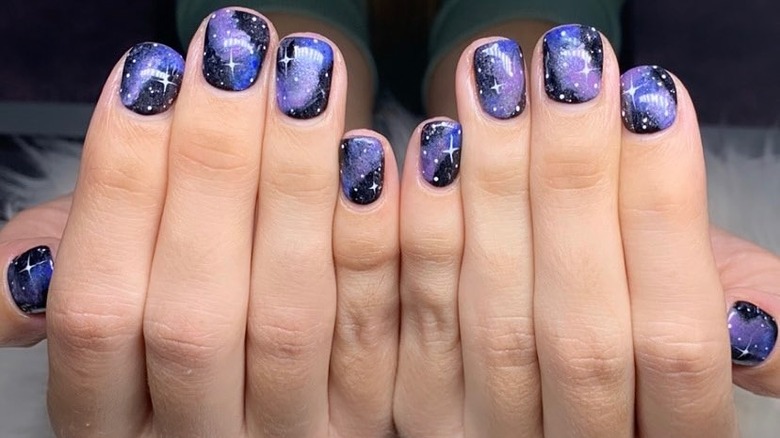
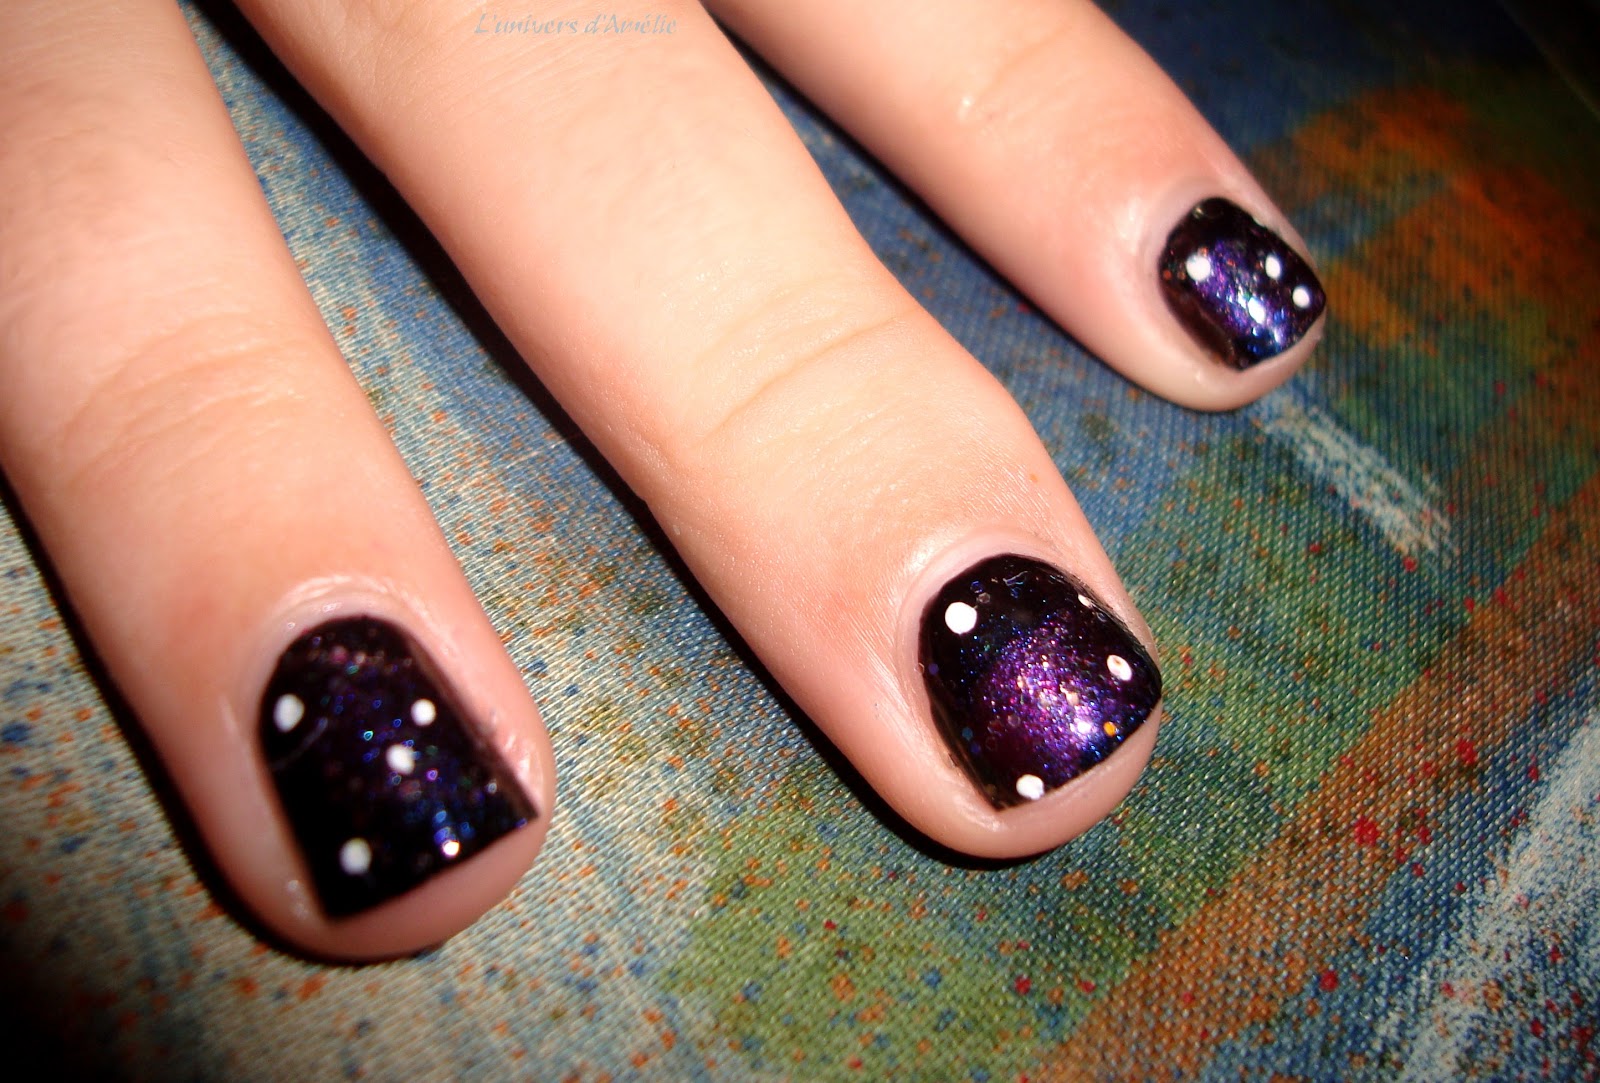
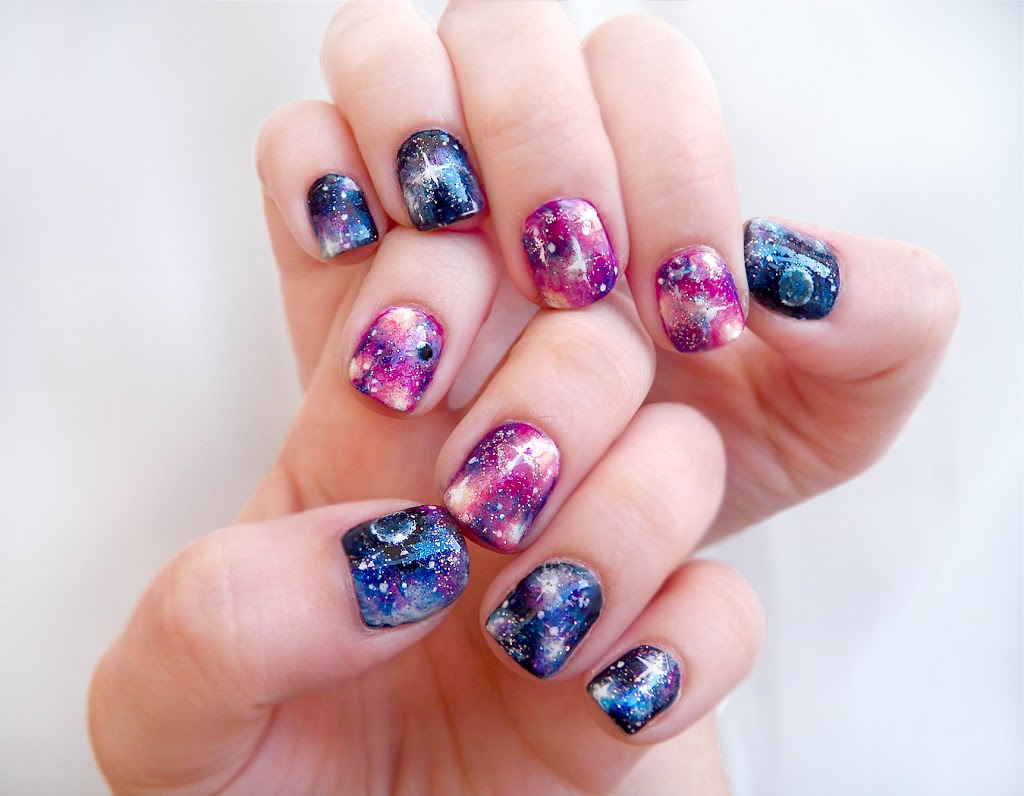
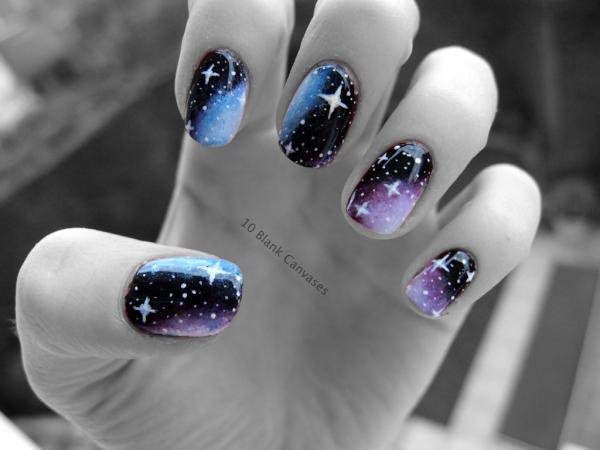
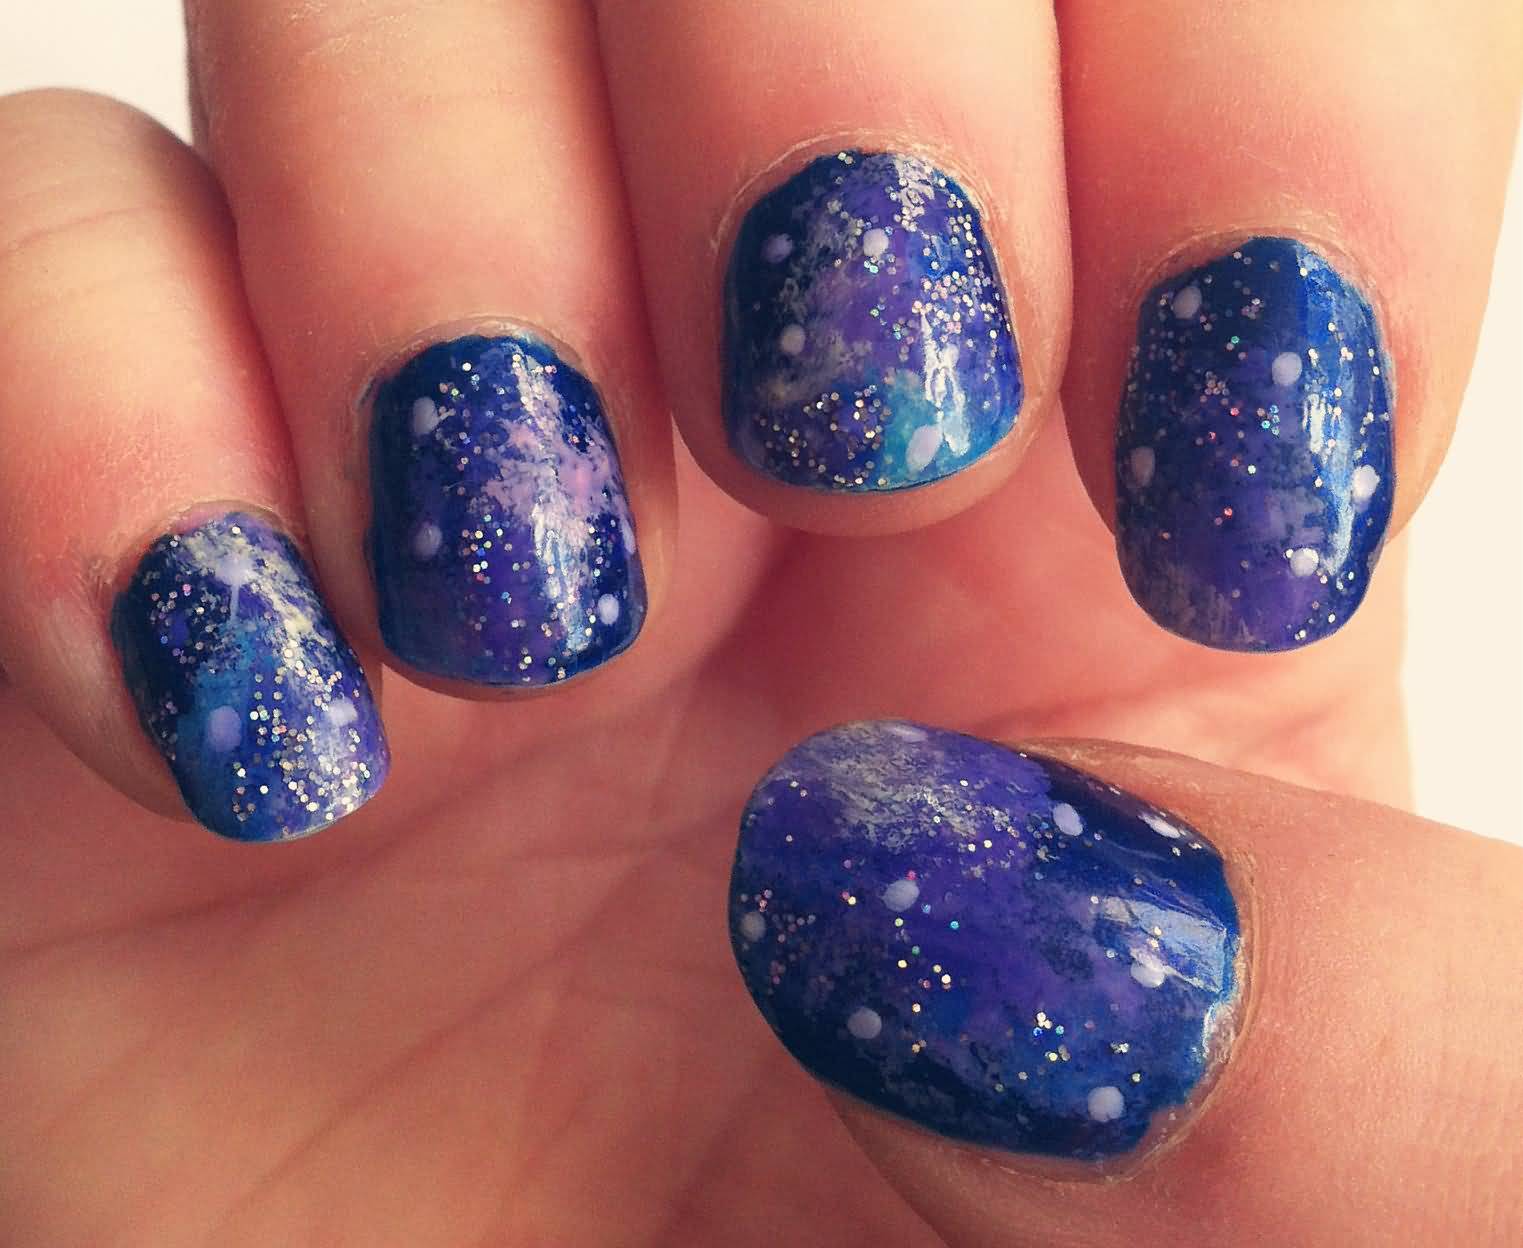
If you're new to the world of nail art, the thought of creating a galaxy design on your nails may seem daunting. But fear not, with a little guidance and practice, you can achieve a stunning galaxy nail art design that will impress all your friends. Start by painting your nails with a dark blue base color. Once it's dry, use a small sponge to dab on different shades of purple, pink, and white to create a galaxy-like effect. Don't worry about making it perfect, as the uneven texture will add to the overall look. Next, take a small brush and white nail polish to create stars on your nails. You can also use a dotting tool to add smaller stars in different sizes. For an extra touch, add some glitter to your design to make it sparkle like the night sky. Finish off with a clear top coat to seal in your design and give it a glossy finish. And there you have it, a beautiful galaxy nail art design that you can easily recreate at home.1. Galaxy Nail Art Design Tutorial | Nail Art For Beginners

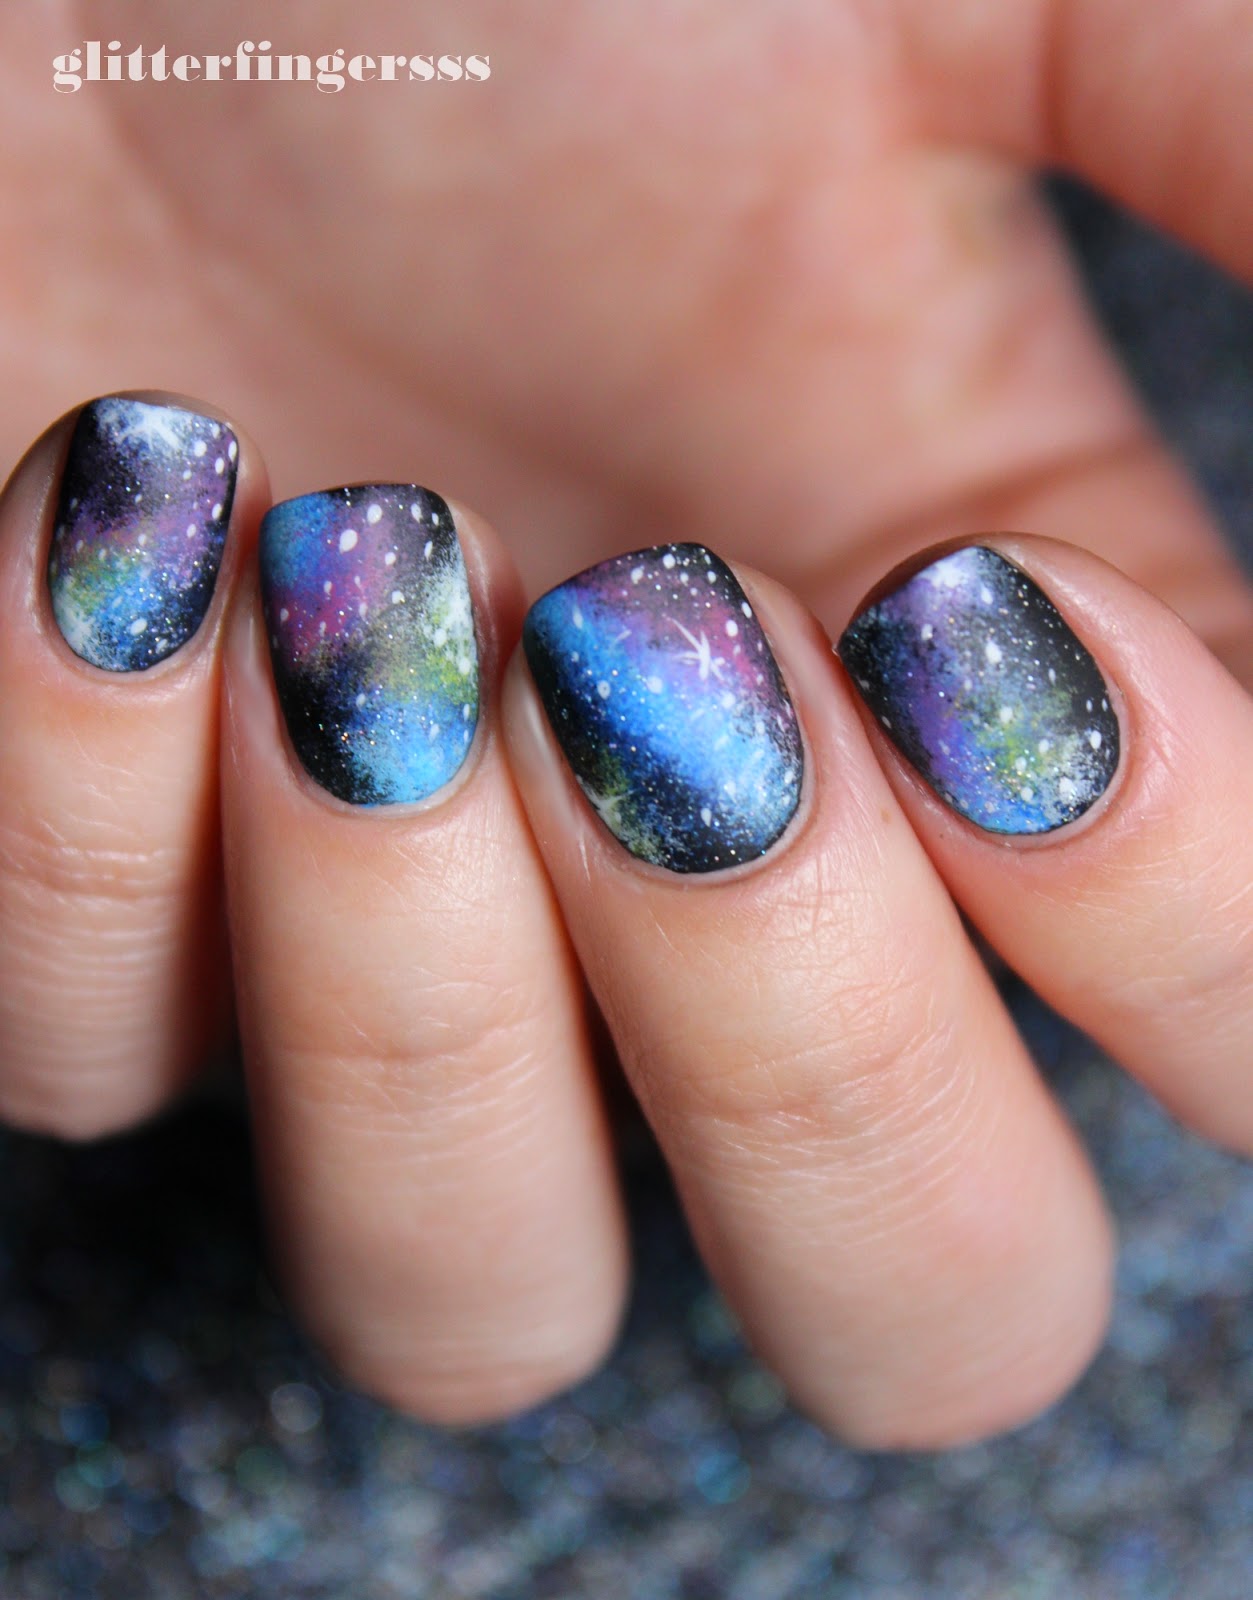

1. Galaxy Nail Art Design Tutorial
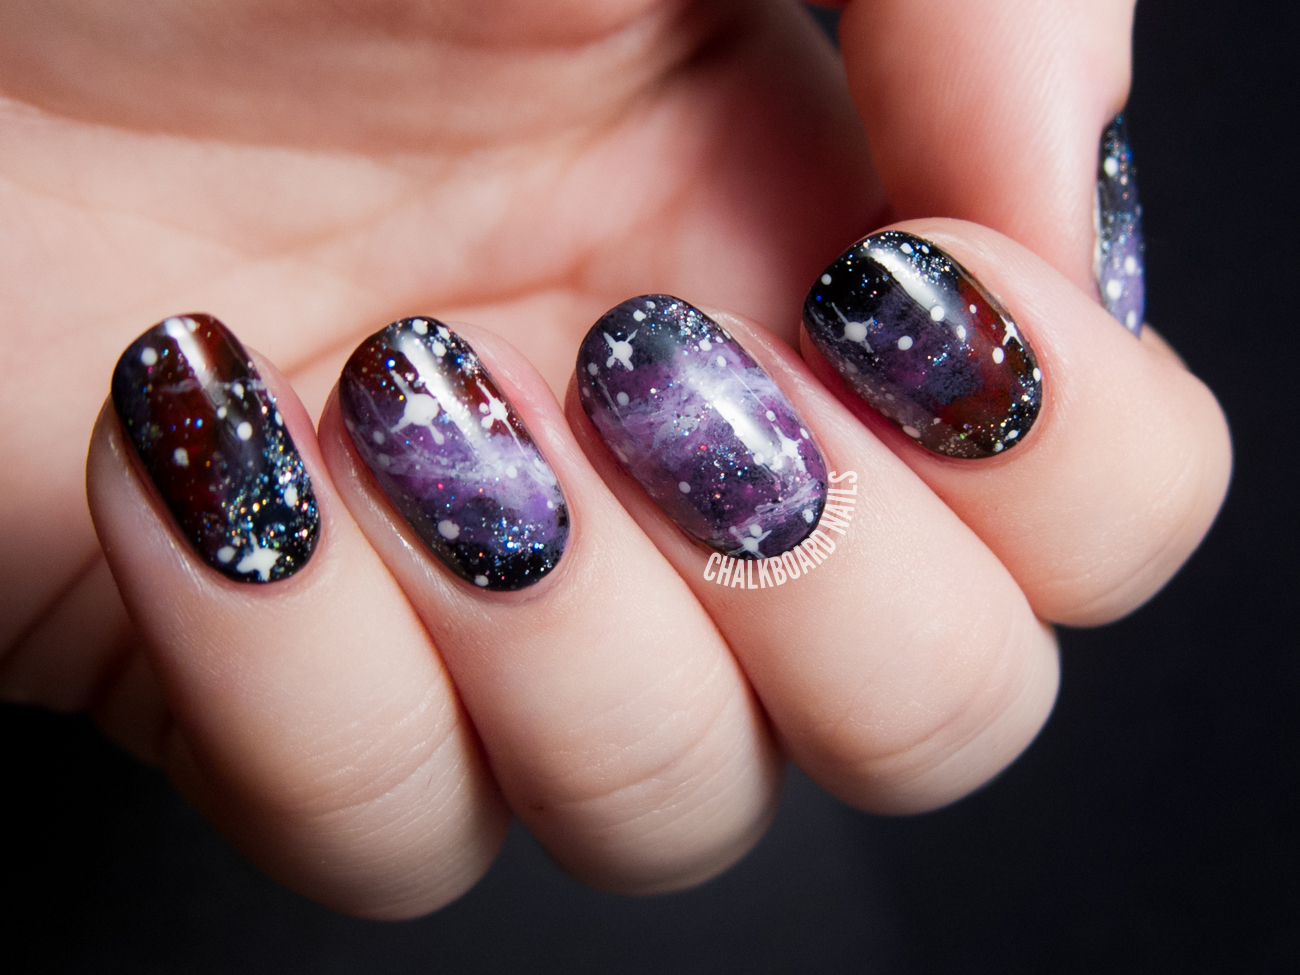


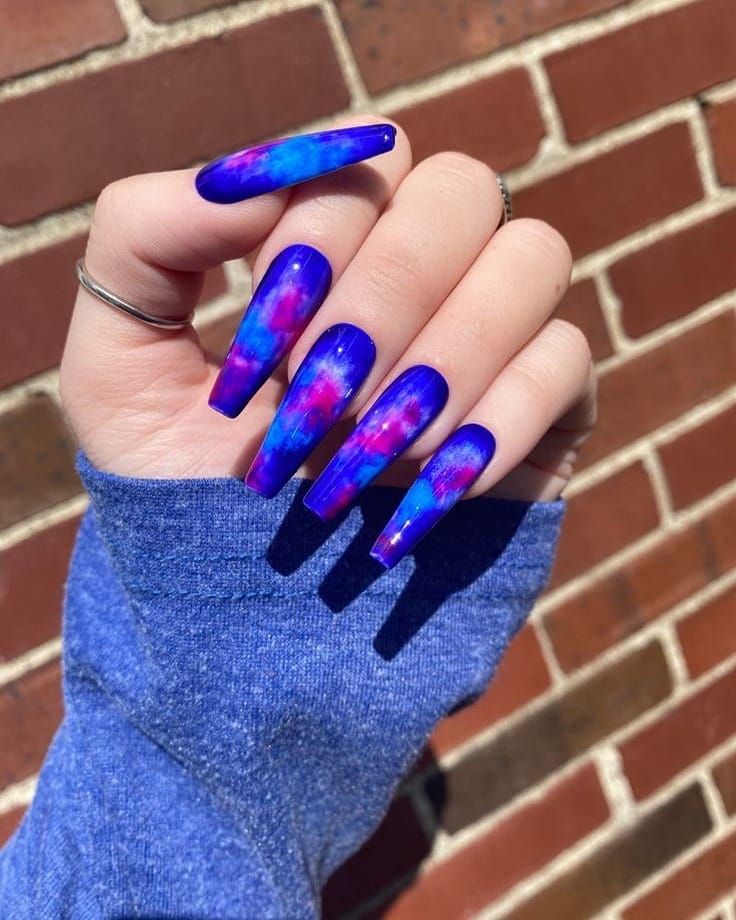
If you want to take your nail art game to the next level, a galaxy design is a perfect choice. It may seem complicated, but with the right techniques and products, you can create a stunning galaxy nail art design that will make you feel like a nail art pro. Start by choosing a dark base color for your nails. Black, navy blue, or dark purple are all great options. Once it's dry, take a sponge and dab on different shades of blue, purple, and pink to create a galaxy-like effect. Remember to leave some areas of the base color visible to add depth to your design. Next, use a thin brush and white nail polish to create stars on your nails. You can also add some constellations or nebulas for an extra touch. To make your design pop, add some glitter in various sizes and colors. Lastly, seal in your design with a clear top coat. This will not only give your nails a glossy finish but also protect your design from chipping. With a little patience and attention to detail, you can achieve a stunning galaxy nail art design that will make your nails stand out from the crowd.2. How to Create a Stunning Galaxy Nail Art Design


Nail Art For Beginners


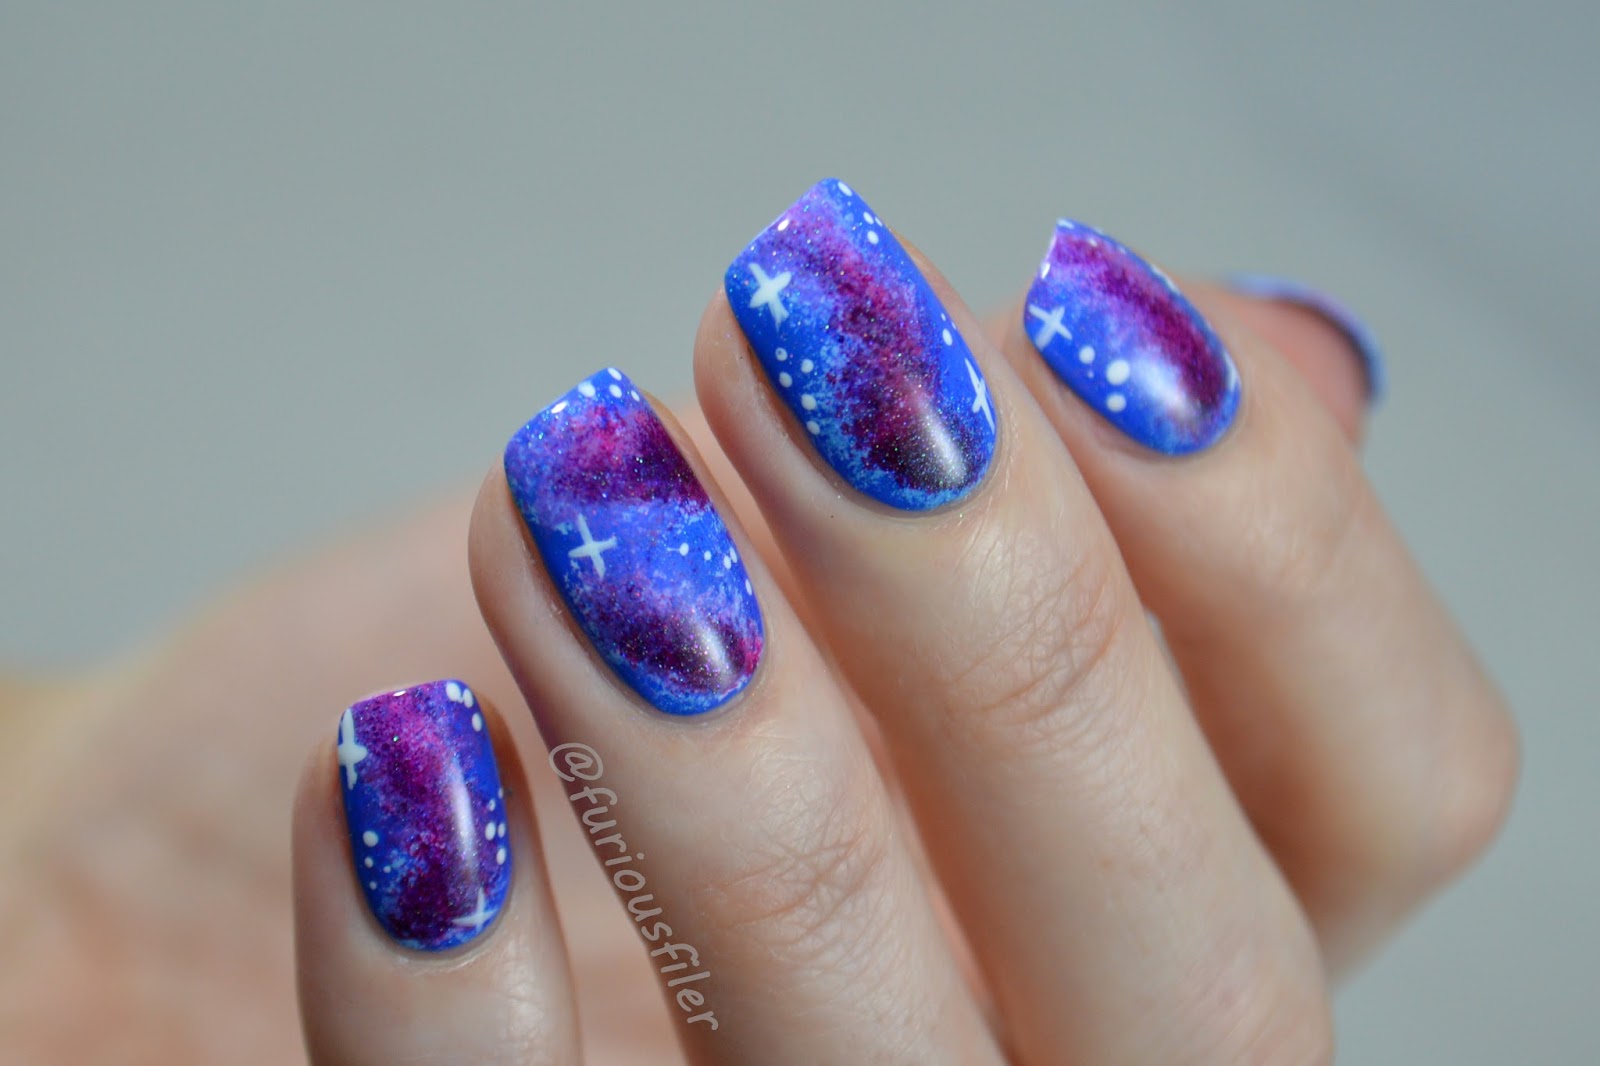
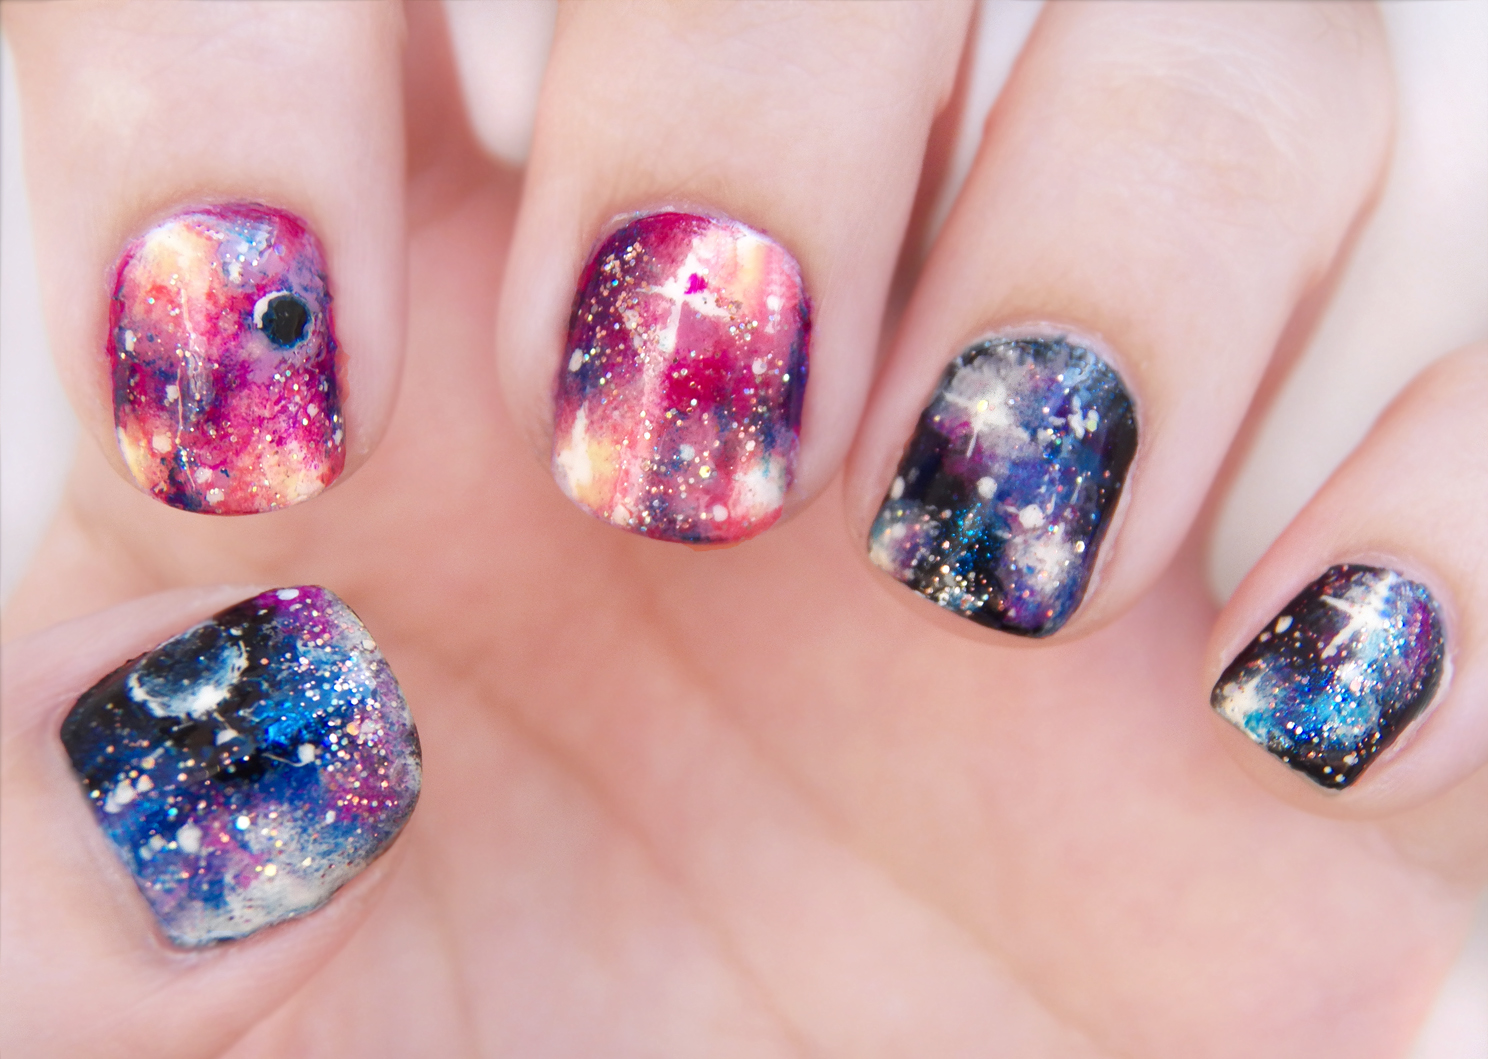
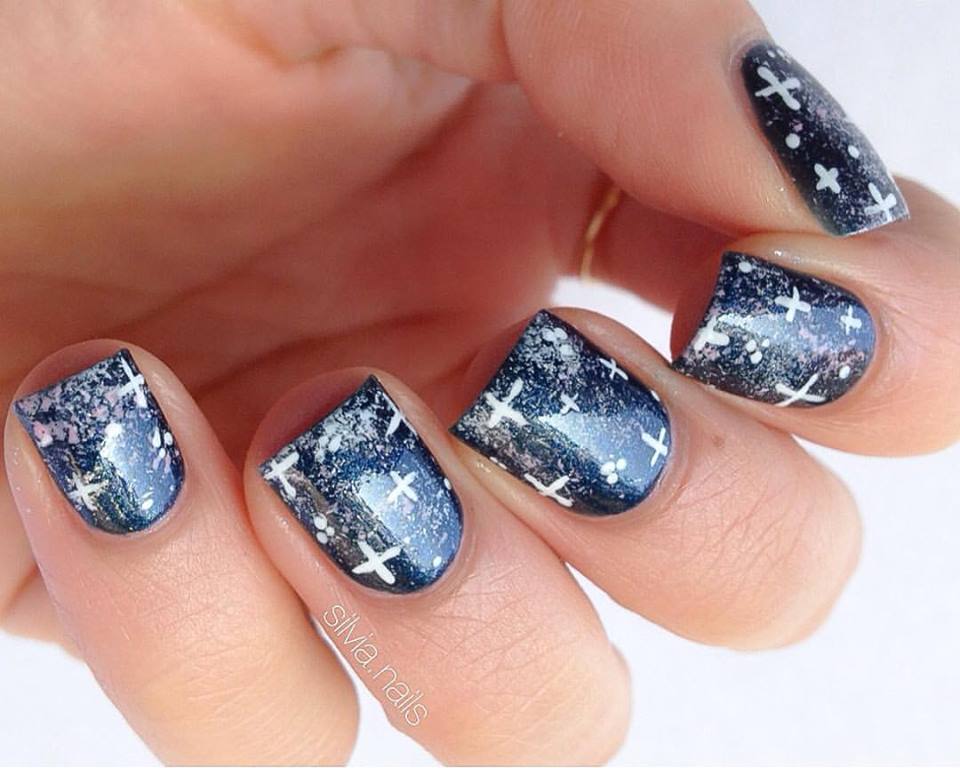
Looking for a fun and playful nail art design? Look no further than a galaxy design. This eye-catching and colorful design is perfect for any occasion, whether it's a night out with friends or a casual day at work. Start by painting your nails with a dark color of your choice. You can go for a classic black or get creative with a dark green or blue. Once it's dry, use a sponge to dab on different shades of purple, pink, and blue to create a galaxy-like effect. Don't worry about making it perfect, as the uneven texture will add to the playful vibe of the design. Next, use a small brush and white nail polish to create stars on your nails. You can also add some constellations or nebulas for an extra touch. To make your design even more playful, add some multicolored glitter in different sizes and shapes. Finish off with a clear top coat to seal in your design and give it a glossy finish. With these simple steps, you can achieve a fun and playful galaxy nail art design that will make your nails the center of attention.3. Playful Galaxy Nail Art Designs for Your Next Manicure


2. How to Create a Stunning Galaxy Nail Art Design

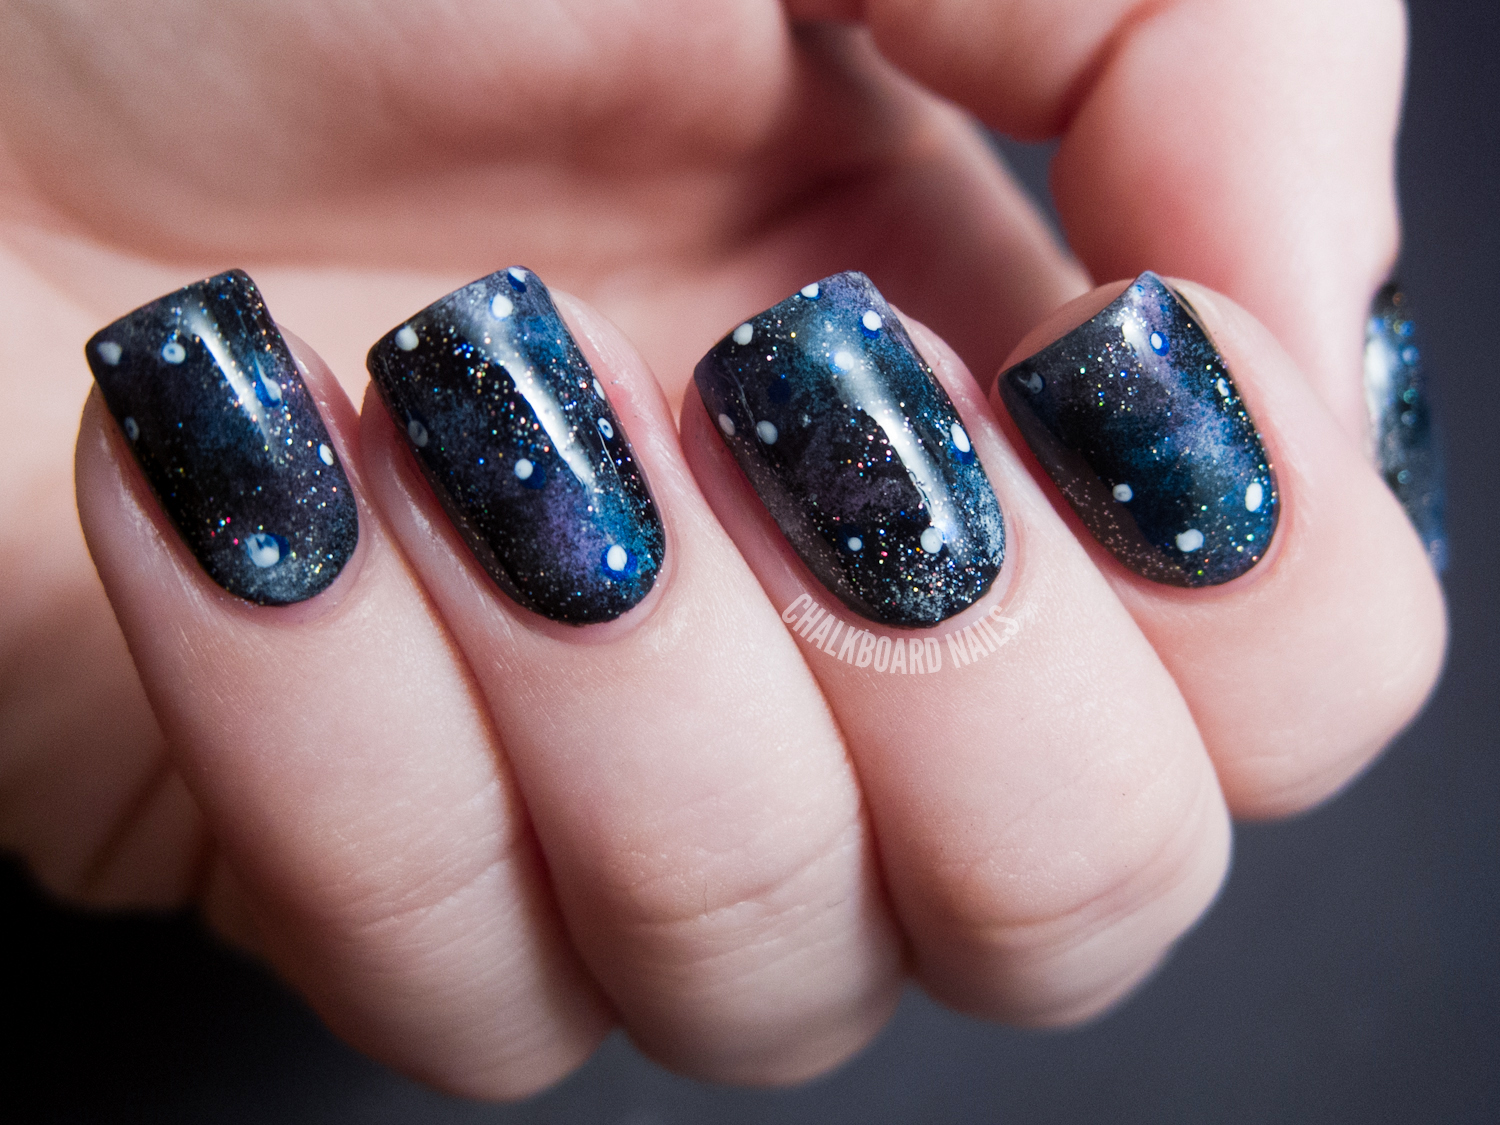
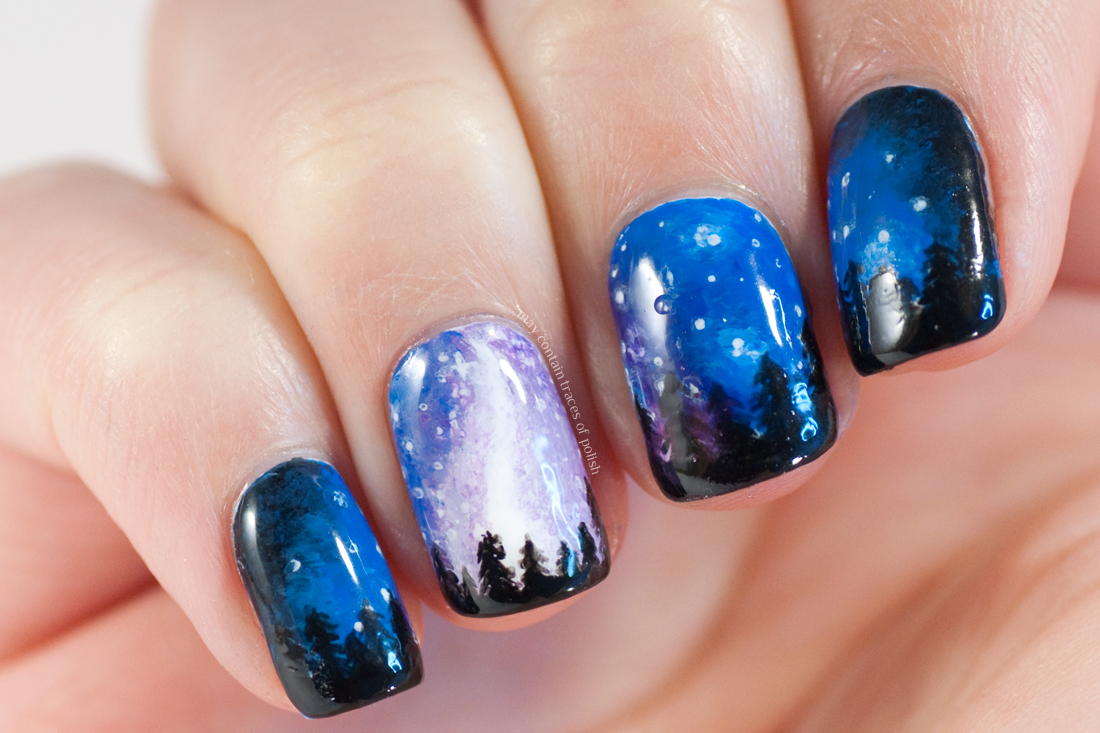
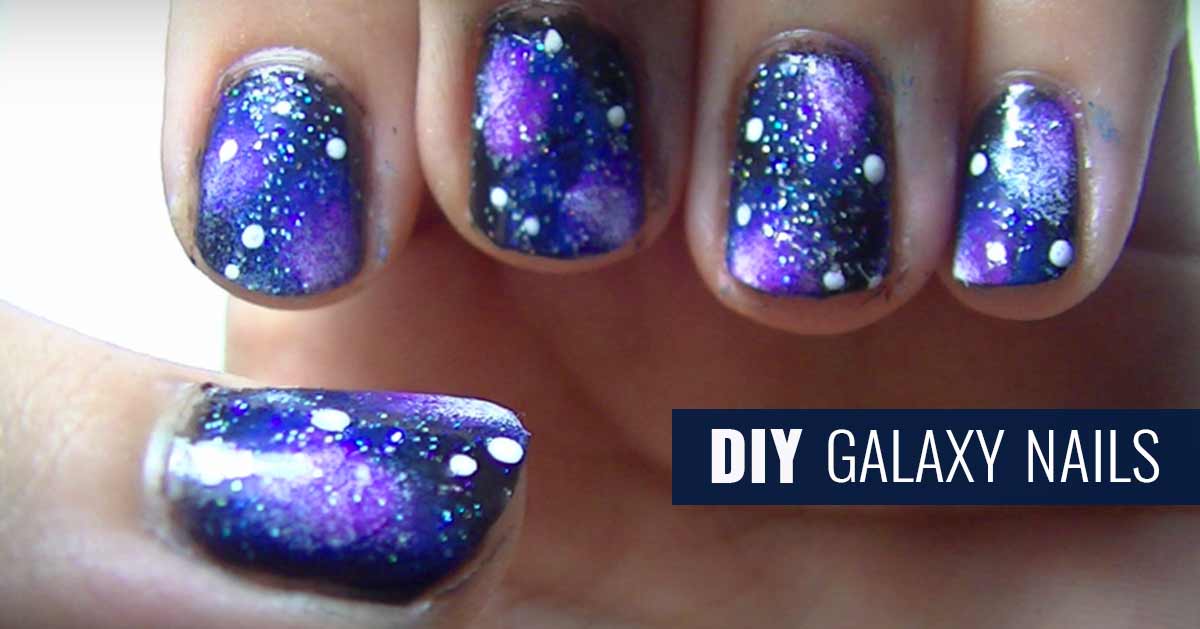
Creating a galaxy nail art design may seem overwhelming, but with this step-by-step guide, you can easily achieve a stunning design at home. Step 1: Start by painting your nails with a dark base color. Black, navy blue, or dark purple are all great options. Step 2: Once your base color is dry, use a sponge to dab on different shades of blue, purple, and pink to create a galaxy-like effect. Remember to leave some areas of the base color visible. Step 3: Use a thin brush and white nail polish to create stars on your nails. You can also add some constellations or nebulas for an extra touch. Step 4: Add some glitter in various sizes and colors to make your design pop. Step 5: Finish off with a clear top coat to seal in your design and give it a glossy finish. With these simple steps, you can achieve a stunning DIY galaxy nail art design that will make your nails look out of this world.4. Step-by-Step Guide to DIY Galaxy Nail Art Design

3. Playful Galaxy Nail Art Designs for Your Next Manicure

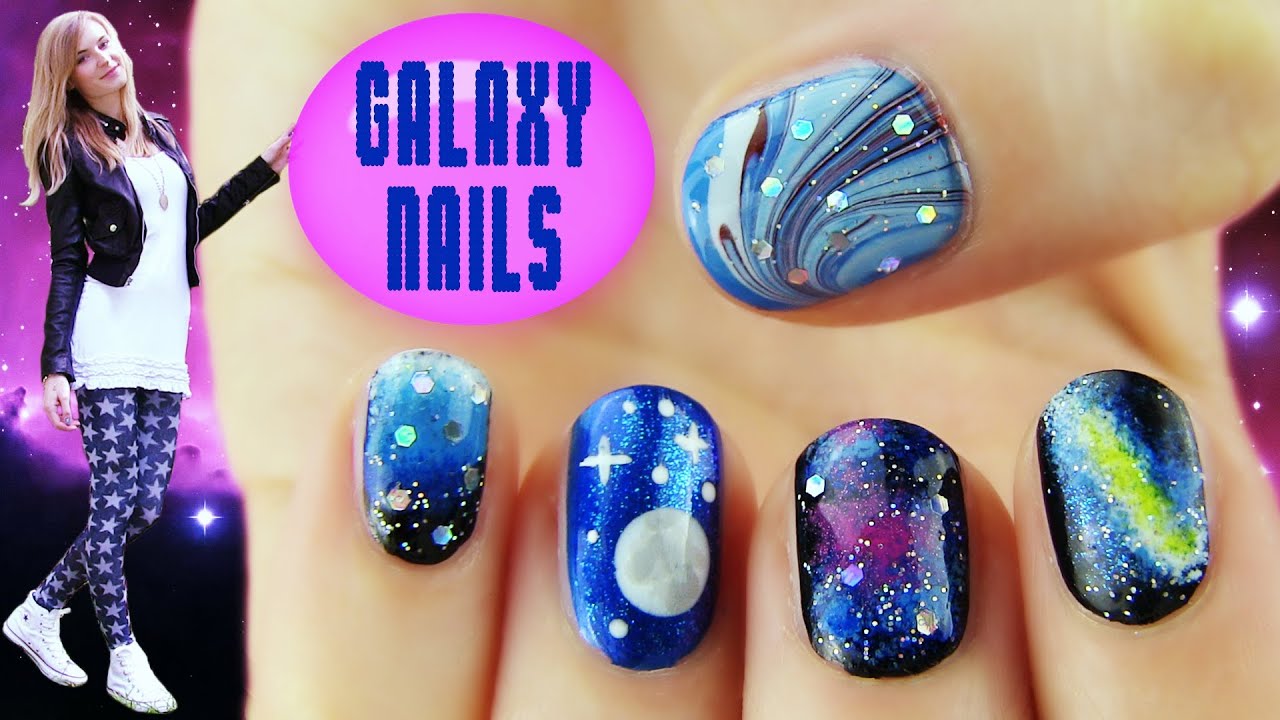
Looking for some inspiration for your next nail art design? Look no further than these 10 gorgeous galaxy nail art ideas. From subtle and elegant designs to bold and colorful ones, there's something for everyone to try. Idea 1: A classic black base with a galaxy-like ombre effect using shades of purple and blue. Idea 2: A pastel galaxy design with shades of pink, purple, and blue on a white base. Idea 3: A glittery galaxy design with a dark base and different sizes and colors of glitter. Idea 4: A one-nail accent design with a galaxy design on one nail and a solid color on the rest. Idea 5: A rainbow galaxy design with shades of all the colors of the rainbow. Idea 6: A star-studded design with white stars on a dark base. Idea 7: A galaxy French tip design with a dark base and a galaxy design on the tips. Idea 8: A galaxy design with constellations featuring stars and the zodiac signs. Idea 9: A galaxy design with a metallic finish using shades of silver and gold. Idea 10: A galaxy design with a 3D effect using gems and studs to create a starry sky look.5. 10 Gorgeous Galaxy Nail Art Ideas to Try

4. Step-by-Step Guide to DIY Galaxy Nail Art Design

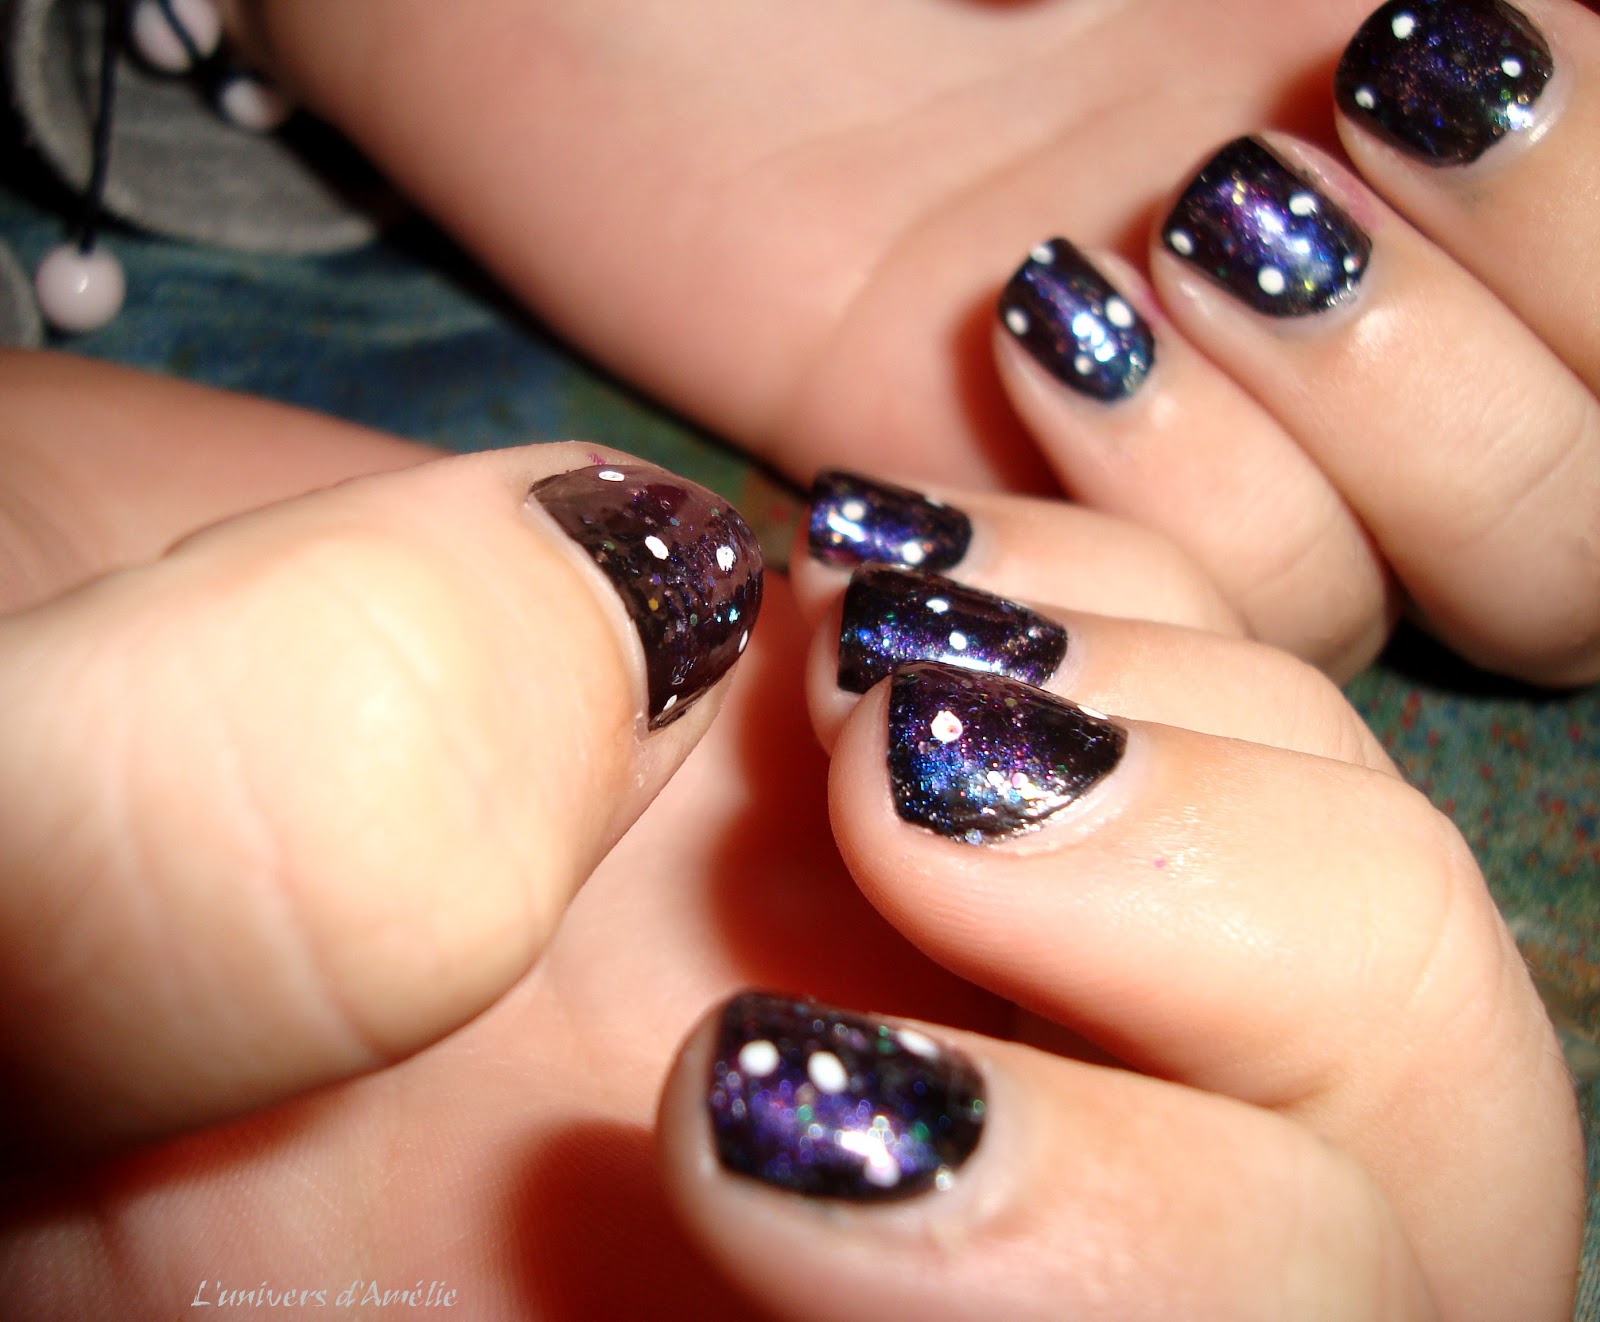
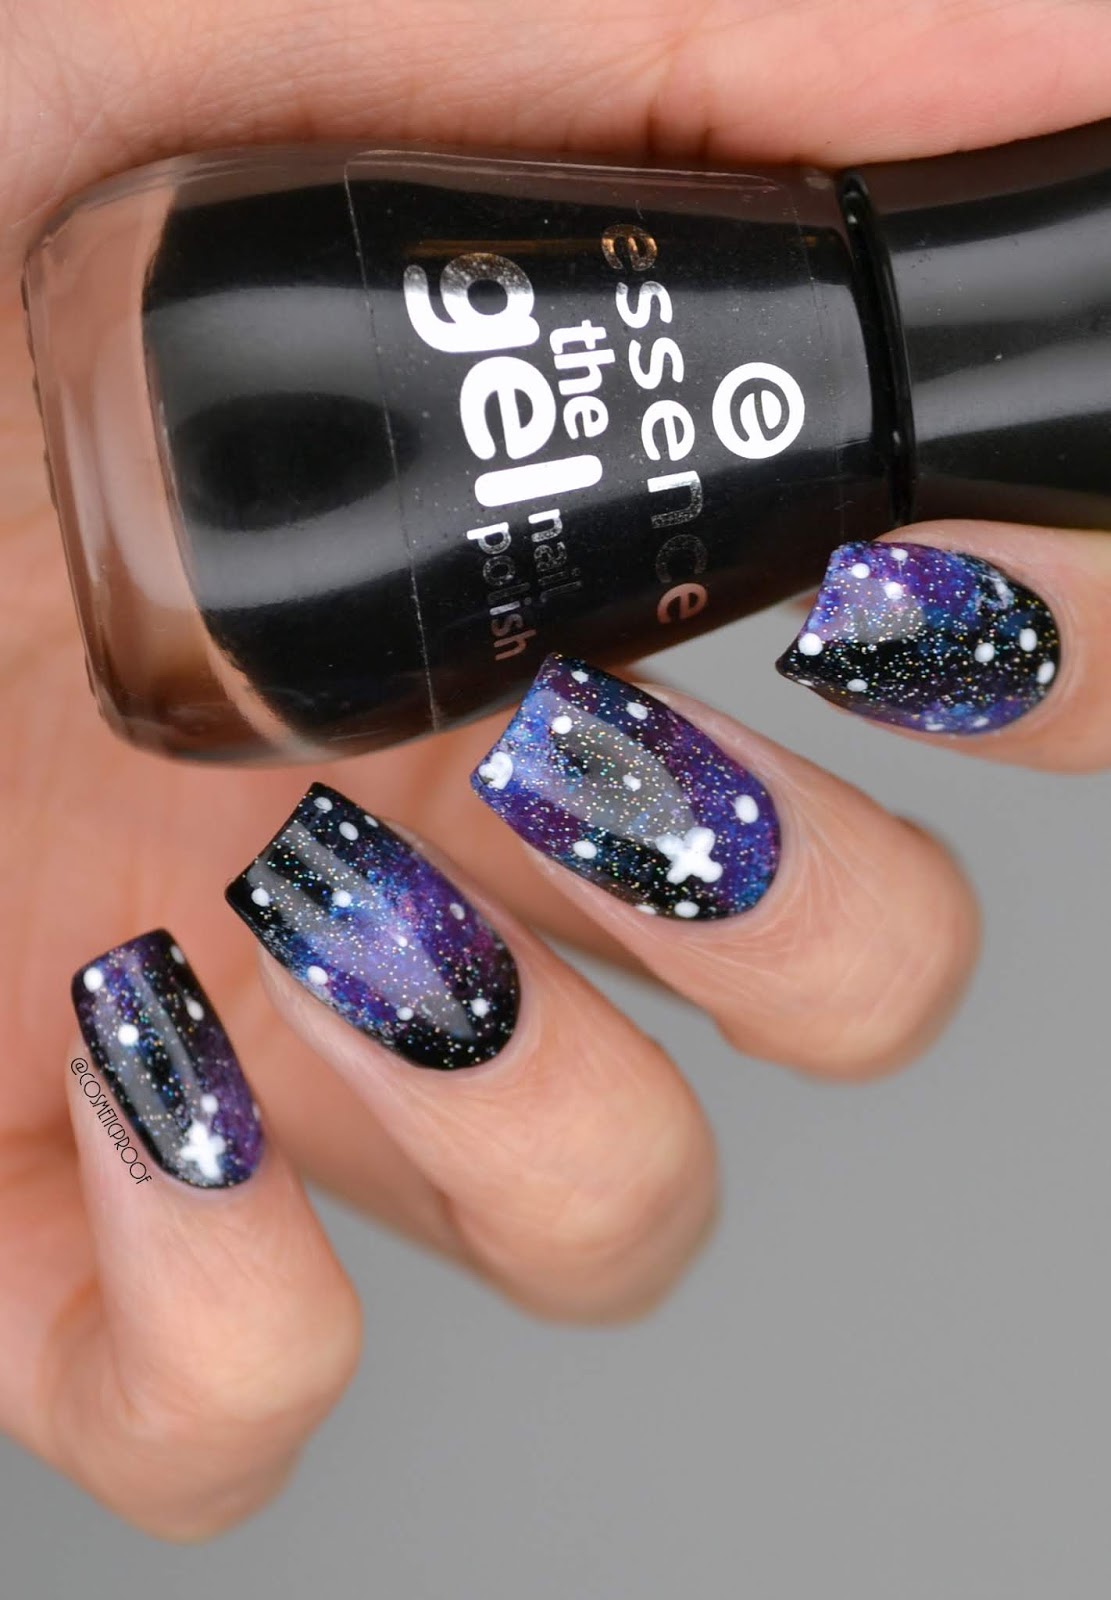
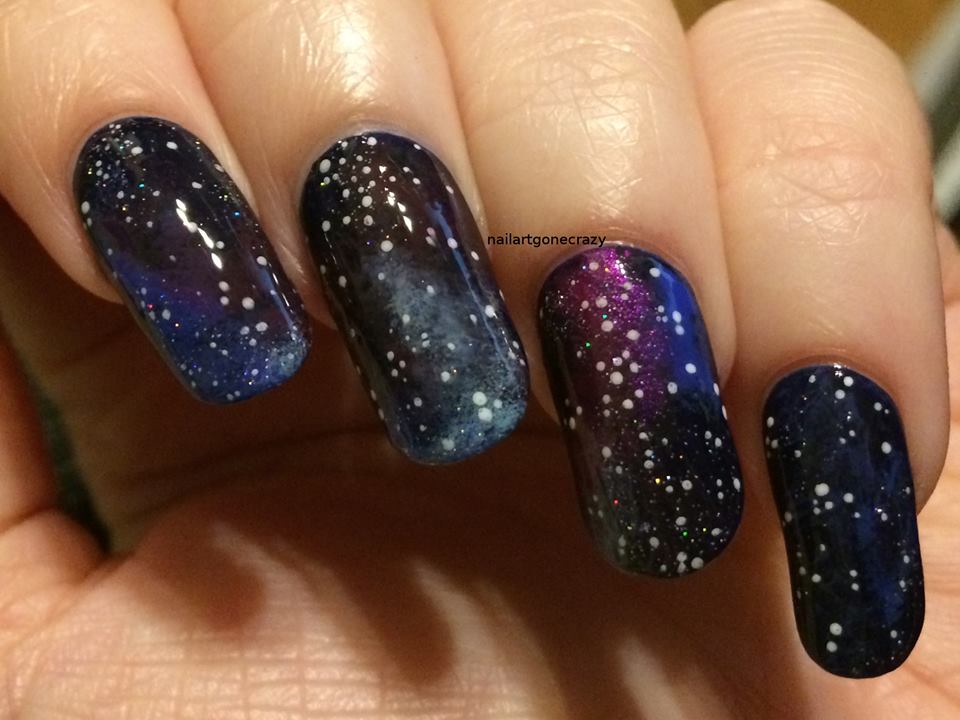
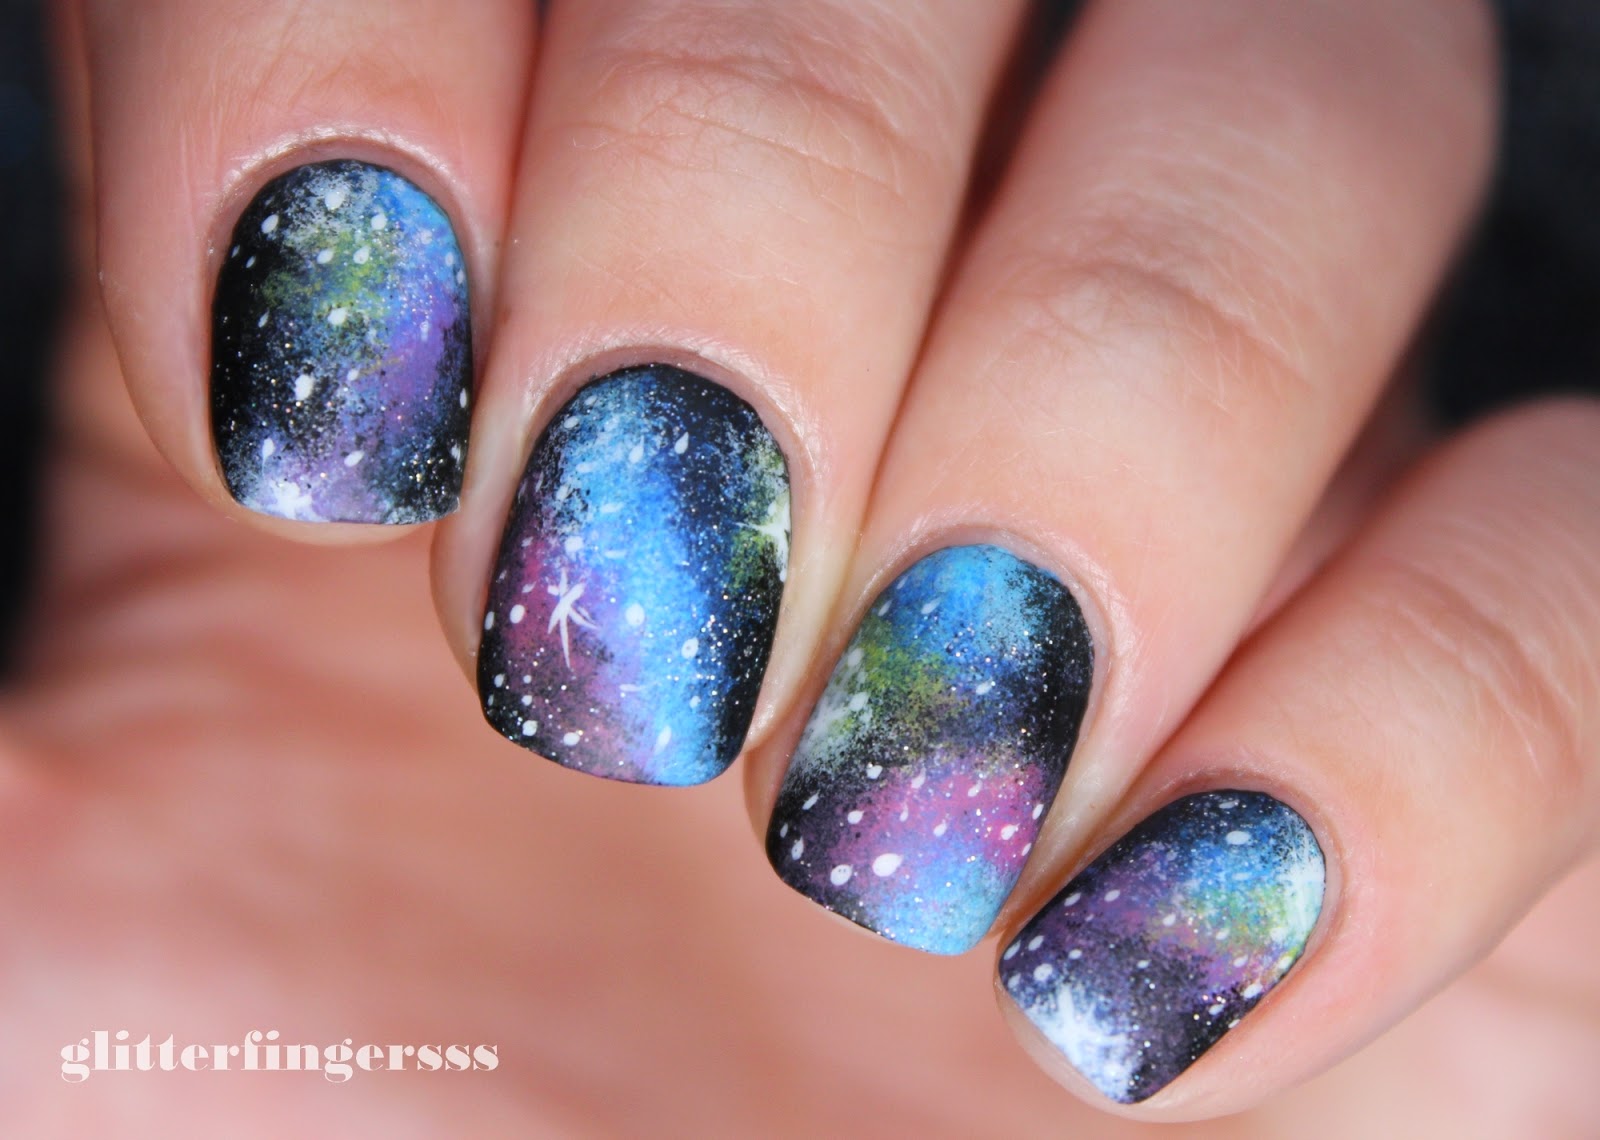
The sponge technique is a popular method used to create a galaxy nail art design. It gives a marbled effect that mimics the look of a galaxy. Here's how to achieve this design using a sponge. Step 1: Start by painting your nails with a dark base color such as black or navy blue. Step 2: Once it's dry, take a sponge and dab on different shades of blue, purple, and pink to create a galaxy-like effect. Remember to leave some areas of the base color visible. Step 3: For an extra touch, use a small brush and white nail polish to create stars on your nails. Step 4: Finish off with a clear top coat to seal in your design and give it a glossy finish. With this simple technique, you can achieve a beautiful galaxy nail art design in no time.6. Galaxy Nail Art Design Using Sponge Technique


5. 10 Gorgeous Galaxy Nail Art Ideas to Try

If you're looking for a playful and colorful nail art design, a galaxy design is the perfect choice. With its bright and bold colors, this design will make a statement and add a fun touch to any look. Start by painting your nails with a white base color. Once it's dry, use a sponge to dab on different shades of pink, purple, blue, and green to create a galaxy-like effect. Don't worry about making it perfect, as the uneven texture will add to the playfulness of the design. Next, use a small brush and white nail polish to create stars on your nails. You can also add some constellations or nebulas for an extra touch. To make your design even more colorful, add some multicolored glitter in various sizes and shapes. Finish off with a clear top coat to seal in your design and give it a glossy finish. With these simple steps, you can achieve a playful and colorful galaxy nail art design that is sure to brighten up your day.7. Playful and Colorful Galaxy Nail Art Designs


6. Galaxy Nail Art Design Using Sponge Technique
/cloudfront-us-east-1.images.arcpublishing.com/elespectador/CV3IIYBLJVGMHOZYNK5OPF3J5M.jpg)
Looking for a fun and easy nail art design for your little ones? A galaxy design is a perfect choice. With its bright colors and easy techniques, kids will love creating their own galaxy nails. Start by painting their nails with a white base color. Once it's dry, let them use a sponge to dab on different shades of pink, purple, blue, and green to create a galaxy-like effect. They can also use their fingers to smudge the colors and create a fun and playful look. Next, help them use a small brush and white nail polish to create stars on their nails. For an extra touch, they can use a dotting tool to add smaller stars in different sizes. To make their design even more fun, let them add some glitter in various sizes and colors. Finish off with a clear top coat to seal in their design and give it a glossy finish. With these simple steps, your kids can achieve a cute and easy galaxy nail art design that they'll be proud to show off.8. Easy Galaxy Nail Art Design for Kids

7. Playful and Colorful Galaxy Nail Art Designs


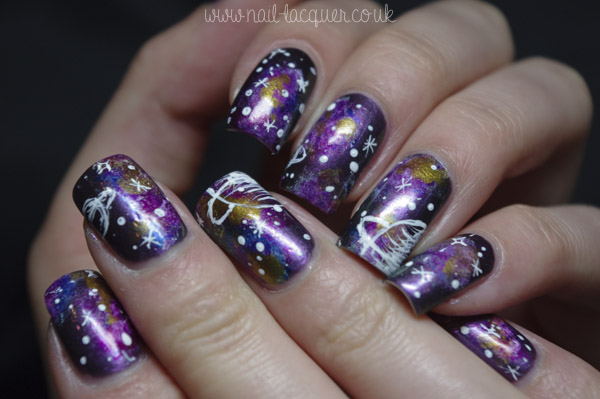
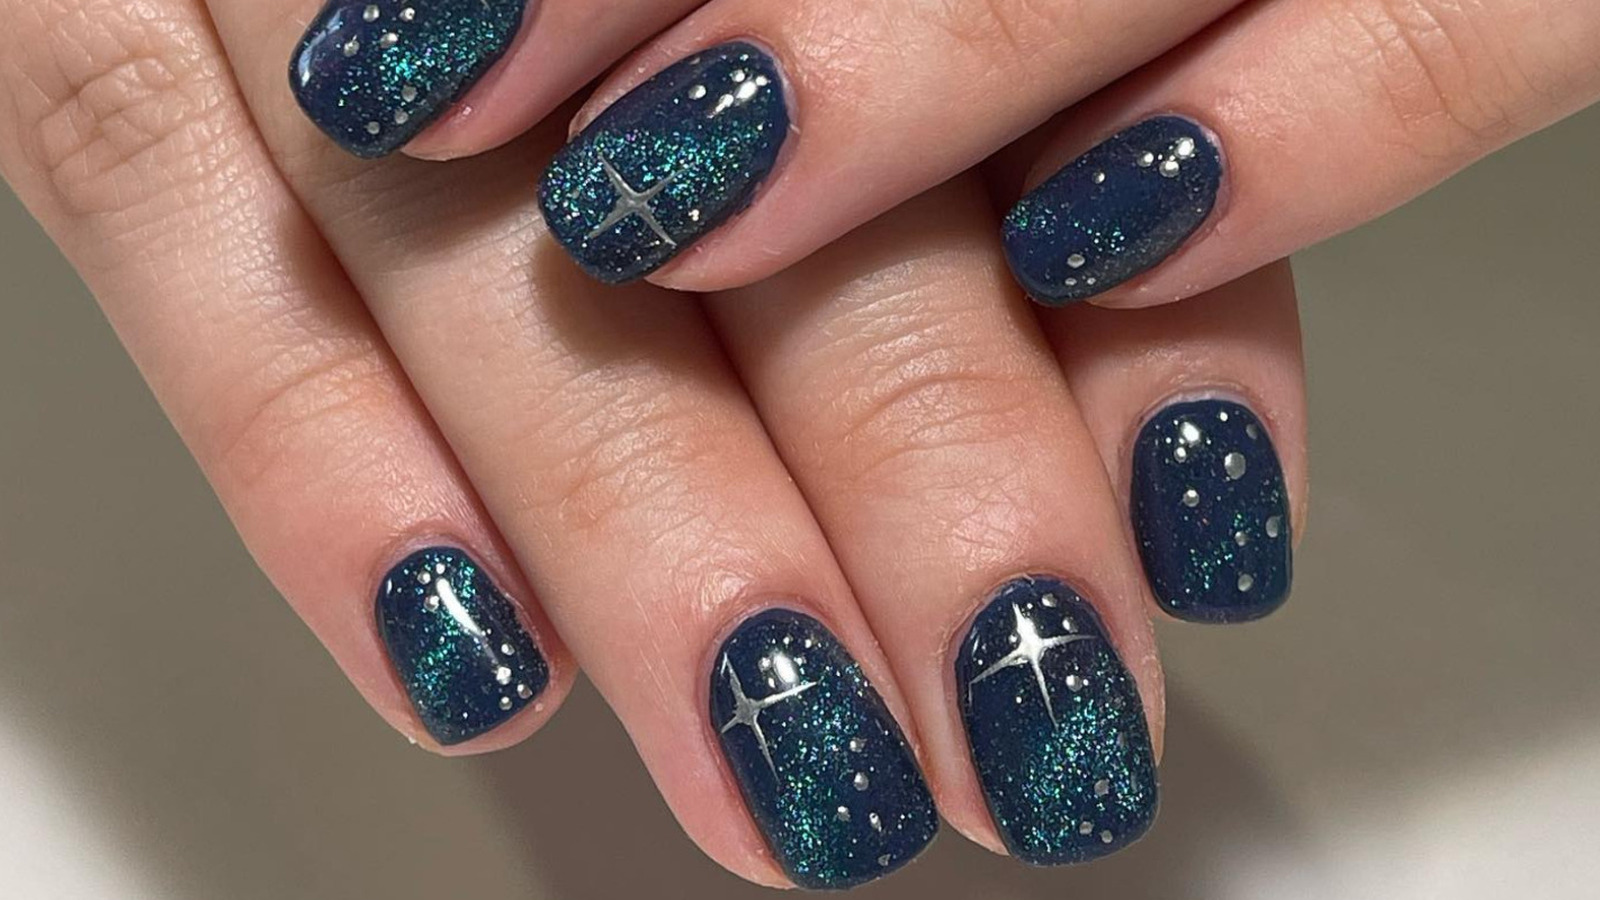
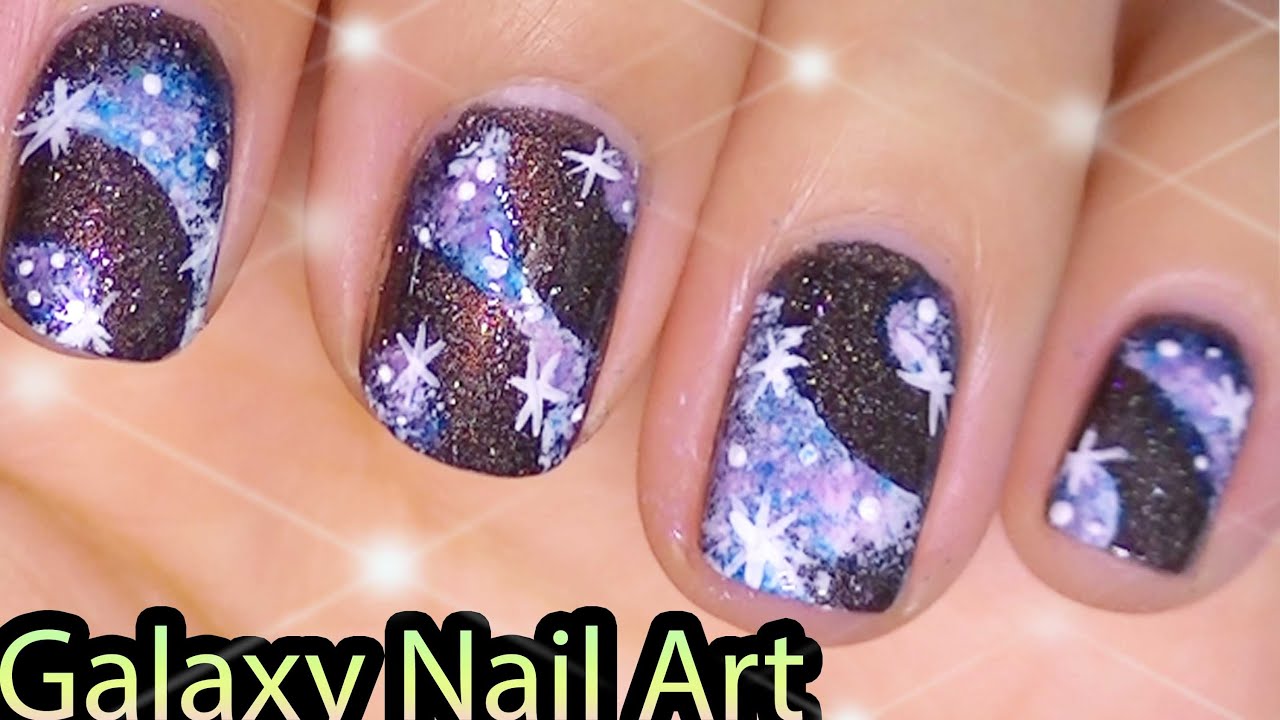
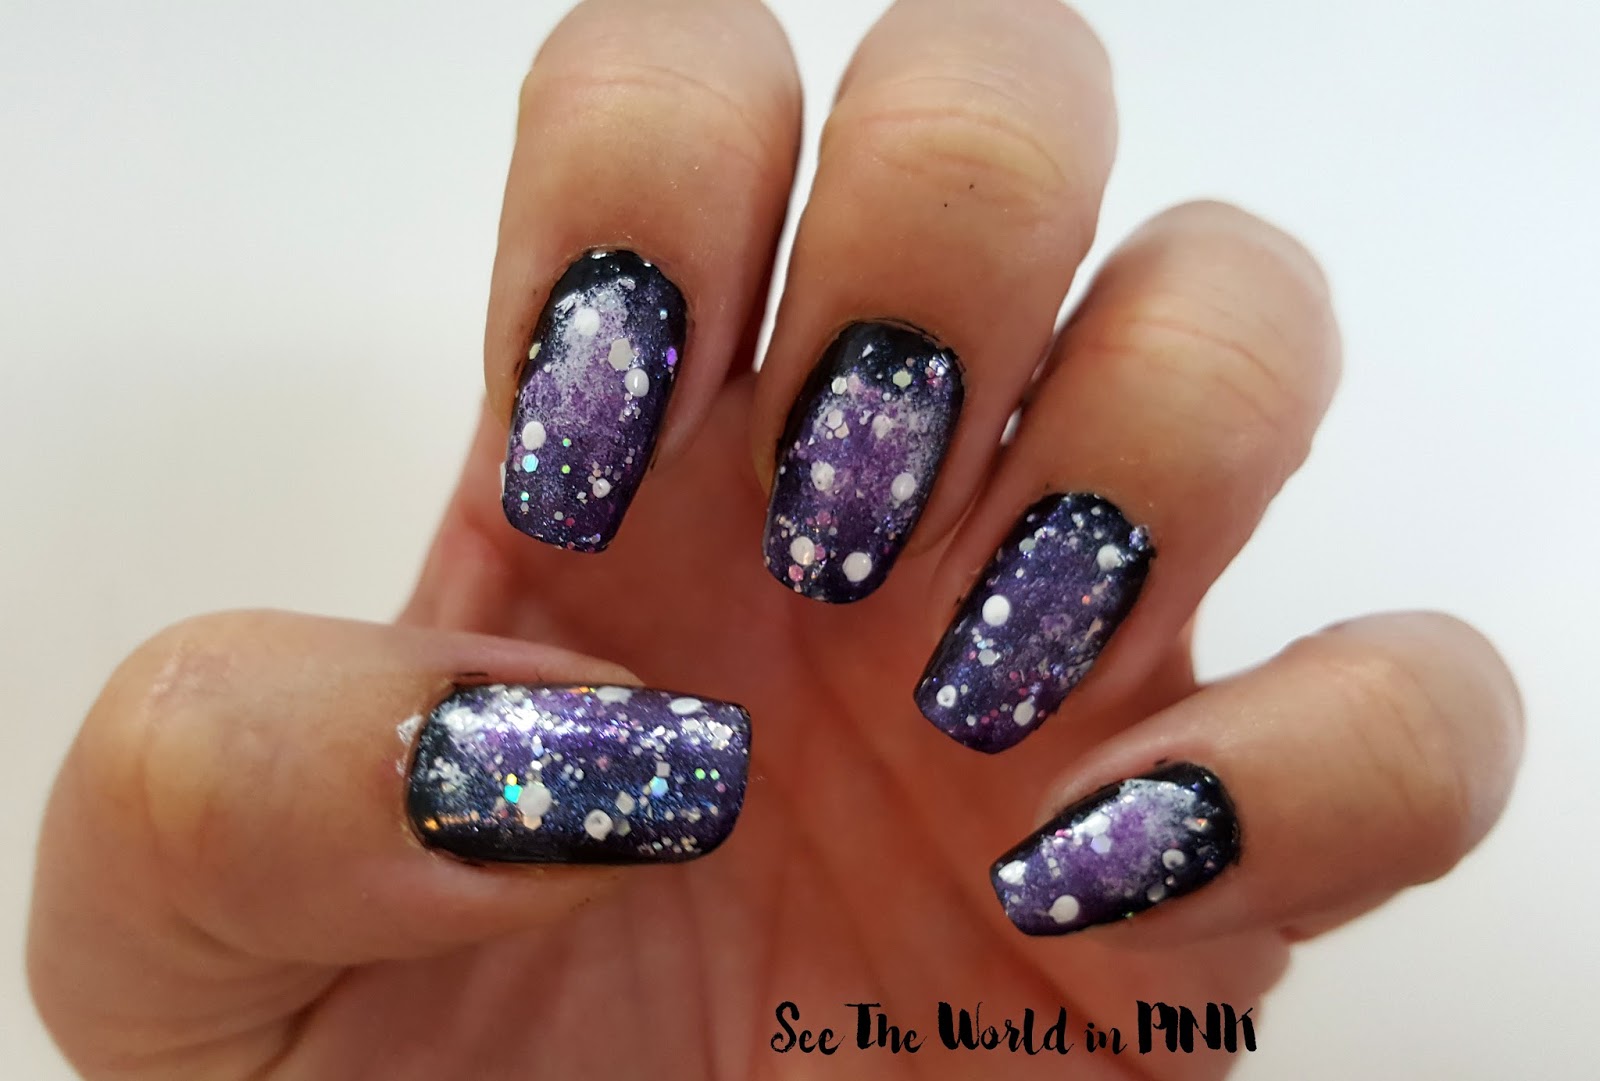
If you want to add some extra sparkle to your galaxy nail art design, incorporating glitter and stars is a must. Not only will this add dimension to your design, but it will also make it look more whimsical and magical. Start by painting your nails with a dark base color of your choice. Once it's dry, use a sponge to dab on different shades of purple, pink, and blue to create a galaxy-like effect. Don't worry about making it perfect, as the uneven texture will add to the overall look. Next, use a small brush and white nail polish to create stars on your nails. You can also use a dotting tool to add smaller stars in different sizes. For an extra touch, add some glitter in various sizes and colors to your design. Finish off with a clear top coat to seal in your design and give it a glossy finish. With these simple steps, you can achieve a stunning galaxy nail art design with a touch of sparkle and stars.9. Galaxy Nail Art Design with Glitter and Stars

8. Easy Galaxy Nail Art Design for Kids


Looking for a fun and trendy nail art design for teens? Look no further than a galaxy design. With its vibrant colors and playful vibe, this design is perfect for teens who want to make a statement with their nails. Start by painting your nails with a white base color. Once it's dry, use a sponge to dab on different shades of pink, purple, blue, and green to create a galaxy-like effect. Don't worry about making it perfect, as the uneven texture will add to the playful vibe of the design. Next, use a small brush and white nail polish to create stars on your nails. You can also add some constellations or nebulas for an extra touch. To make your design even more fun, add some multicolored glitter in various sizes and shapes. Finish off with a clear top coat to seal in your design and give it a glossy finish. With these simple steps, you can achieve a playful and fun galaxy nail art design that will make your nails stand out from the crowd.10. Playful and Fun Galaxy Nail Art Designs for Teens


9. Galaxy Nail Art Design with Glitter and Stars

Unleash Your Inner Space Explorer with Galaxy Nail Art Design
Become the Star of the Show
 Are you ready to take your nail game to the next level? Look no further than galaxy nail art design. This trend has taken the beauty world by storm, and for good reason. With its stunning combination of dark hues, glitter, and intricate designs, galaxy nails are the perfect way to add a touch of celestial beauty to your fingertips. Whether you're heading to a special event or just want to add some cosmic flair to your everyday look, galaxy nail art design is the way to go.
Get Ready to Rock the Universe
 Creating galaxy nails may seem intimidating, but with the right tools and techniques, anyone can achieve this mesmerizing look. Start by gathering your materials, including a base coat, dark-colored nail polish, a makeup sponge, glitter, and a top coat. Once you have everything you need, follow these simple steps to achieve your own stellar nails:
1. Prep Your Nails:
Begin by shaping and filing your nails to your desired length and shape. Then, apply a clear base coat to protect your nails and help the polish adhere better.
2. Create the Base:
Choose your favorite dark-colored nail polish, such as deep blue or purple, and apply it to your nails. This will serve as the backdrop for your galaxy design.
3. Sponge on the Stars:
Dip a small corner of your makeup sponge into white or silver nail polish and gently dab it onto your nails to create a starry effect. Don't worry about being too precise – the more random the placement of the stars, the better the end result will be.
4. Add Some Sparkle:
Sprinkle some glitter onto a clean makeup sponge and press it onto your nails, focusing on the areas where you applied the white or silver polish. This will add depth and dimension to your galaxy design.
5. Finishing Touches:
Once the polish has dried, apply a top coat to seal in your masterpiece and add a glossy finish. You can also use a small brush to add some fine details, such as tiny dots or swirls, to make your galaxy even more realistic.
Creating galaxy nails may seem intimidating, but with the right tools and techniques, anyone can achieve this mesmerizing look. Start by gathering your materials, including a base coat, dark-colored nail polish, a makeup sponge, glitter, and a top coat. Once you have everything you need, follow these simple steps to achieve your own stellar nails:
1. Prep Your Nails:
Begin by shaping and filing your nails to your desired length and shape. Then, apply a clear base coat to protect your nails and help the polish adhere better.
2. Create the Base:
Choose your favorite dark-colored nail polish, such as deep blue or purple, and apply it to your nails. This will serve as the backdrop for your galaxy design.
3. Sponge on the Stars:
Dip a small corner of your makeup sponge into white or silver nail polish and gently dab it onto your nails to create a starry effect. Don't worry about being too precise – the more random the placement of the stars, the better the end result will be.
4. Add Some Sparkle:
Sprinkle some glitter onto a clean makeup sponge and press it onto your nails, focusing on the areas where you applied the white or silver polish. This will add depth and dimension to your galaxy design.
5. Finishing Touches:
Once the polish has dried, apply a top coat to seal in your masterpiece and add a glossy finish. You can also use a small brush to add some fine details, such as tiny dots or swirls, to make your galaxy even more realistic.
Take Your Nails to Infinity and Beyond
 Galaxy nail art design is not just limited to dark hues and sparkly accents. You can also incorporate bold colors like pink, green, and yellow to create a more vibrant and unique galaxy design. You can also experiment with different techniques, such as using a toothbrush or a small sponge to create different textures and effects. The possibilities are endless, so let your creativity run wild and explore the vast universe of galaxy nail art design.
In conclusion, galaxy nail art design is a fun and creative way to express your love for the cosmos. With its stunning combination of dark colors, glitter, and intricate designs, it's sure to turn heads and make you feel like a star. So why wait? Grab your tools, let your imagination soar, and get ready to rock the universe with your very own galaxy nails.
Galaxy nail art design is not just limited to dark hues and sparkly accents. You can also incorporate bold colors like pink, green, and yellow to create a more vibrant and unique galaxy design. You can also experiment with different techniques, such as using a toothbrush or a small sponge to create different textures and effects. The possibilities are endless, so let your creativity run wild and explore the vast universe of galaxy nail art design.
In conclusion, galaxy nail art design is a fun and creative way to express your love for the cosmos. With its stunning combination of dark colors, glitter, and intricate designs, it's sure to turn heads and make you feel like a star. So why wait? Grab your tools, let your imagination soar, and get ready to rock the universe with your very own galaxy nails.


