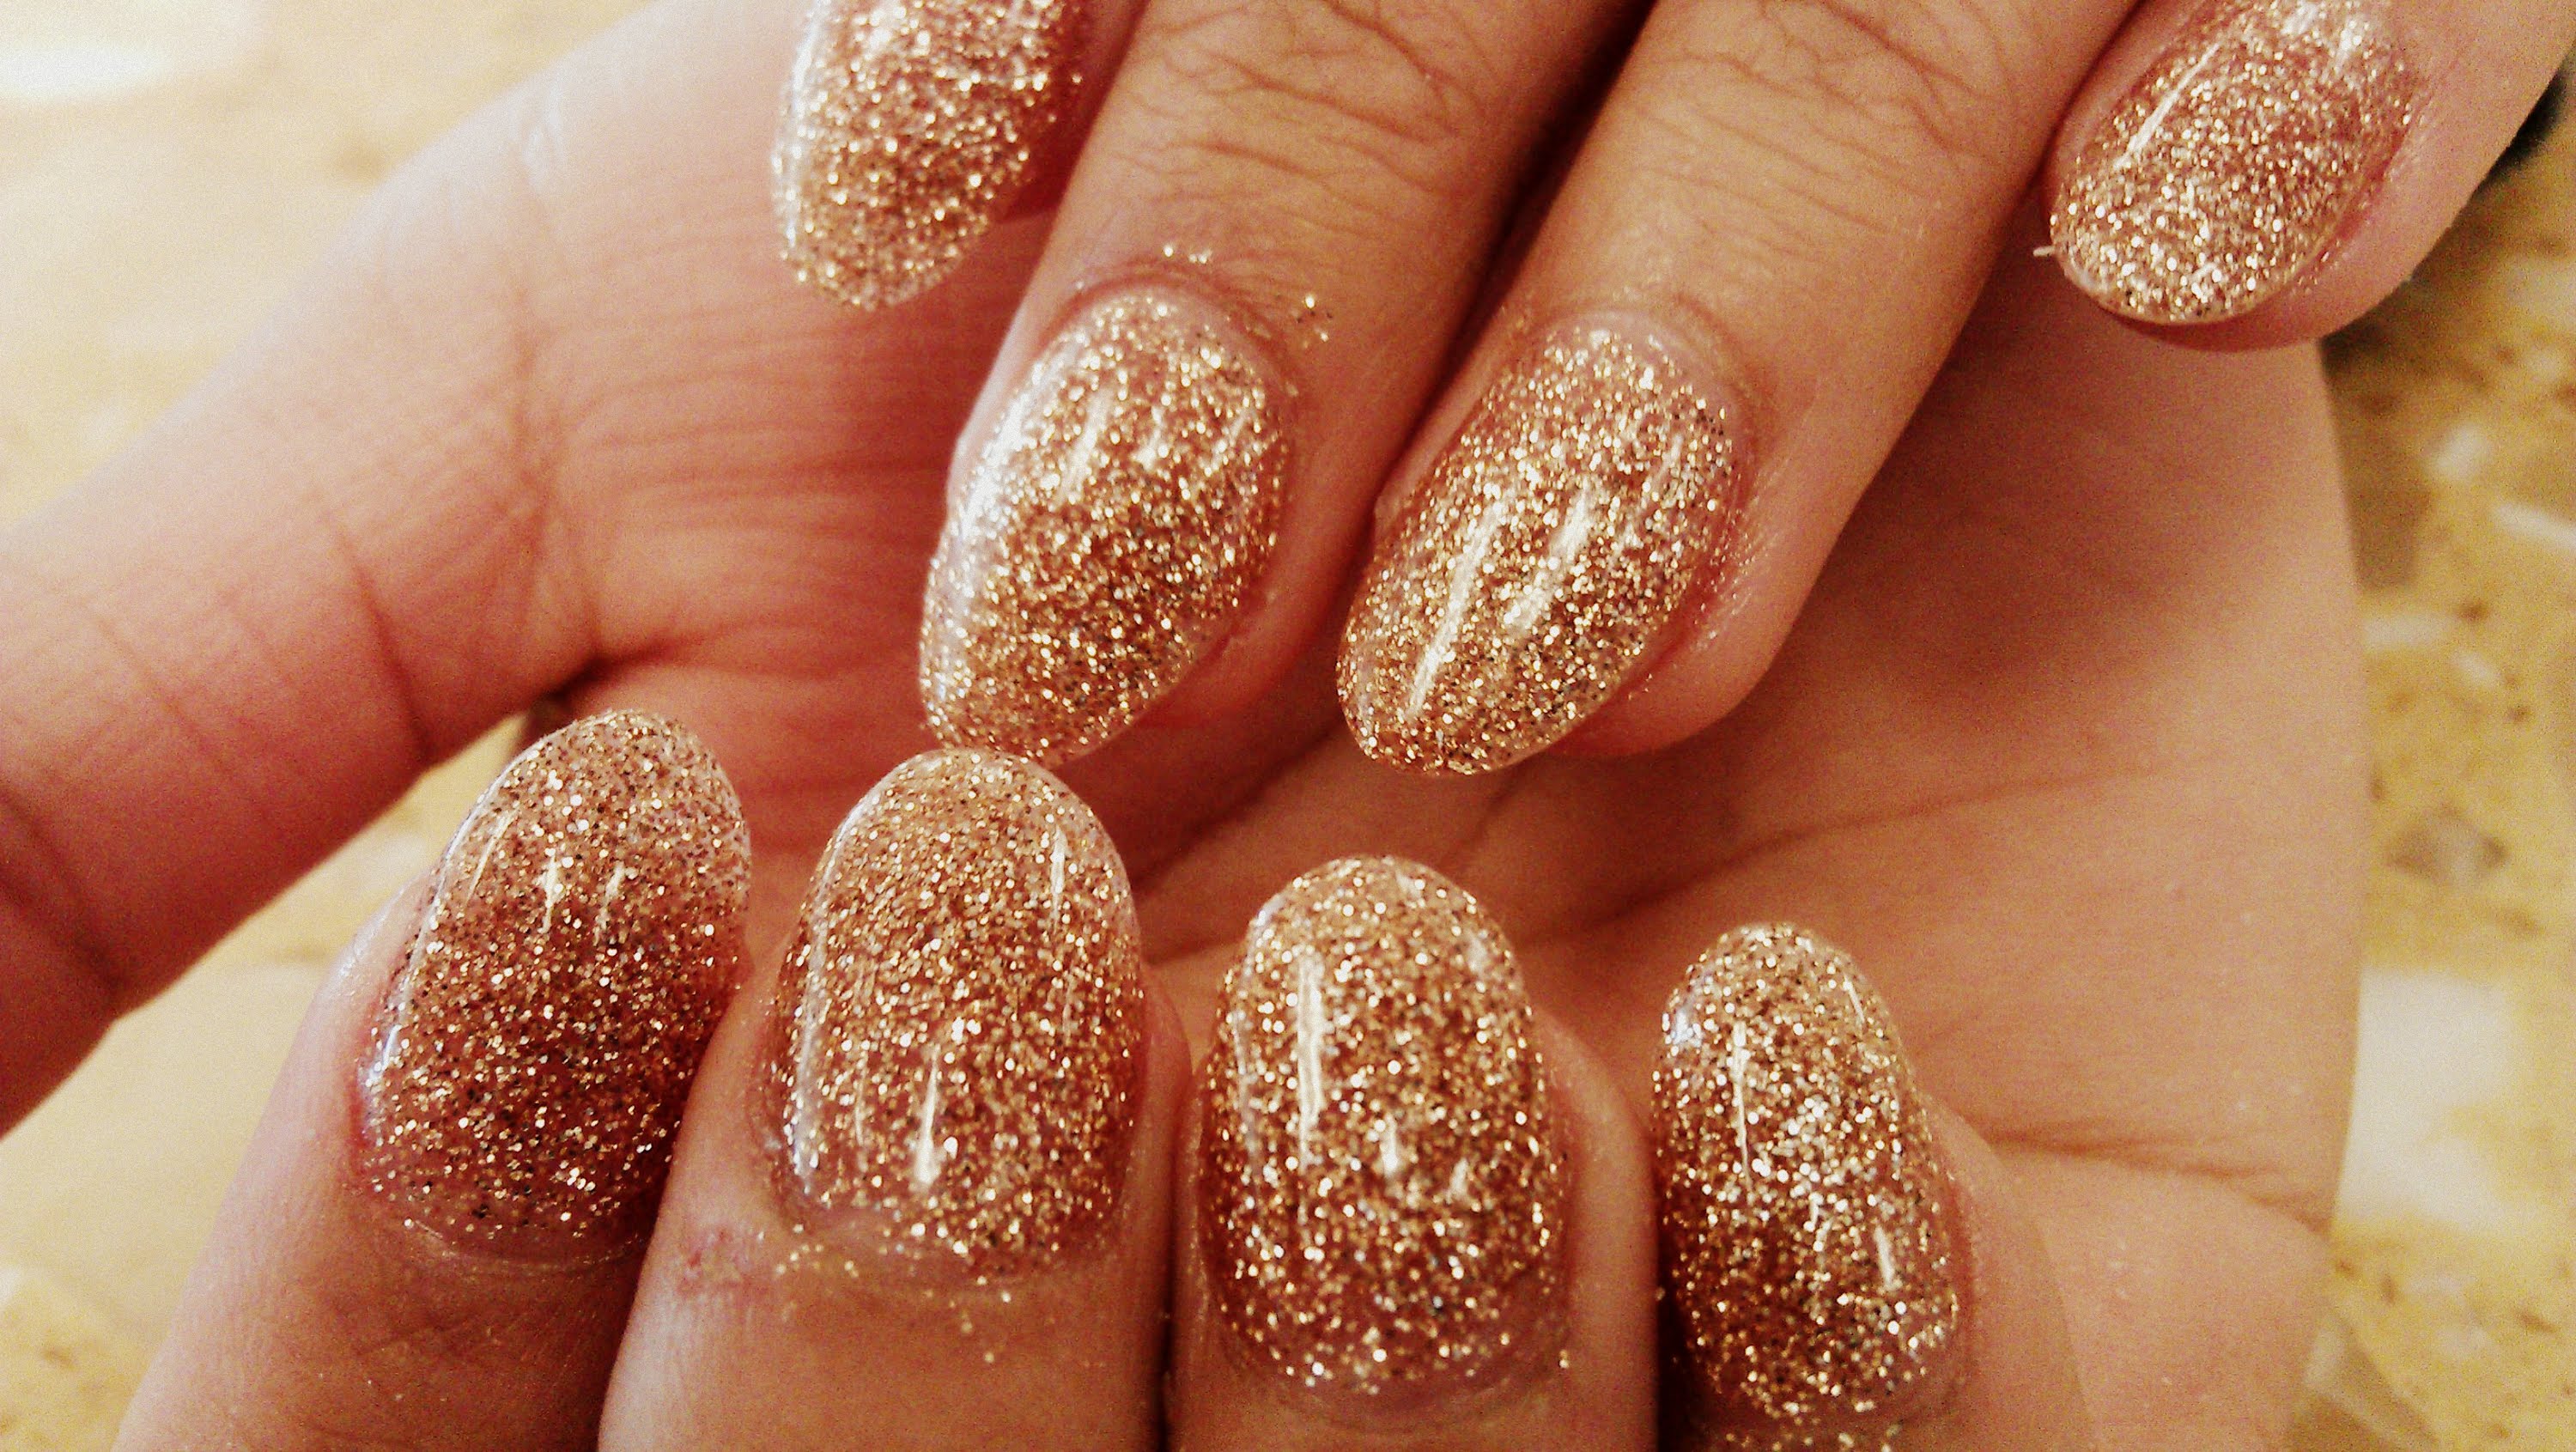
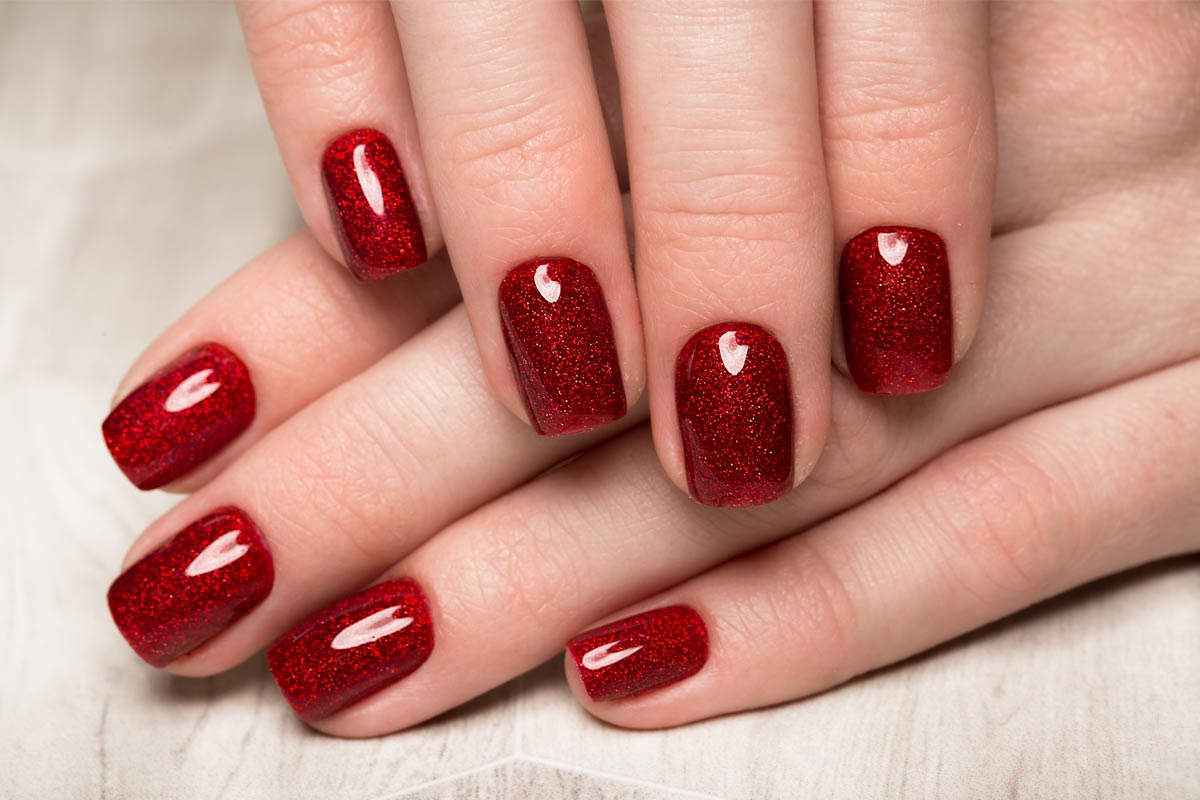
Get ready to add some sparkle to your nails with this stunning red and gold glitter nail art design. This look is perfect for a special occasion or just to add some glamour to your everyday style. Follow these easy steps to achieve this eye-catching design. Featured keywords: red and gold glitter, nail art design, step by step, special occasion, glamour, easy steps, eye-catching design Main keywords: red and gold, glitter, nail art, design, step by step, special occasion, glamour1. Red and Gold Glitter Nail Art Design Step by Step


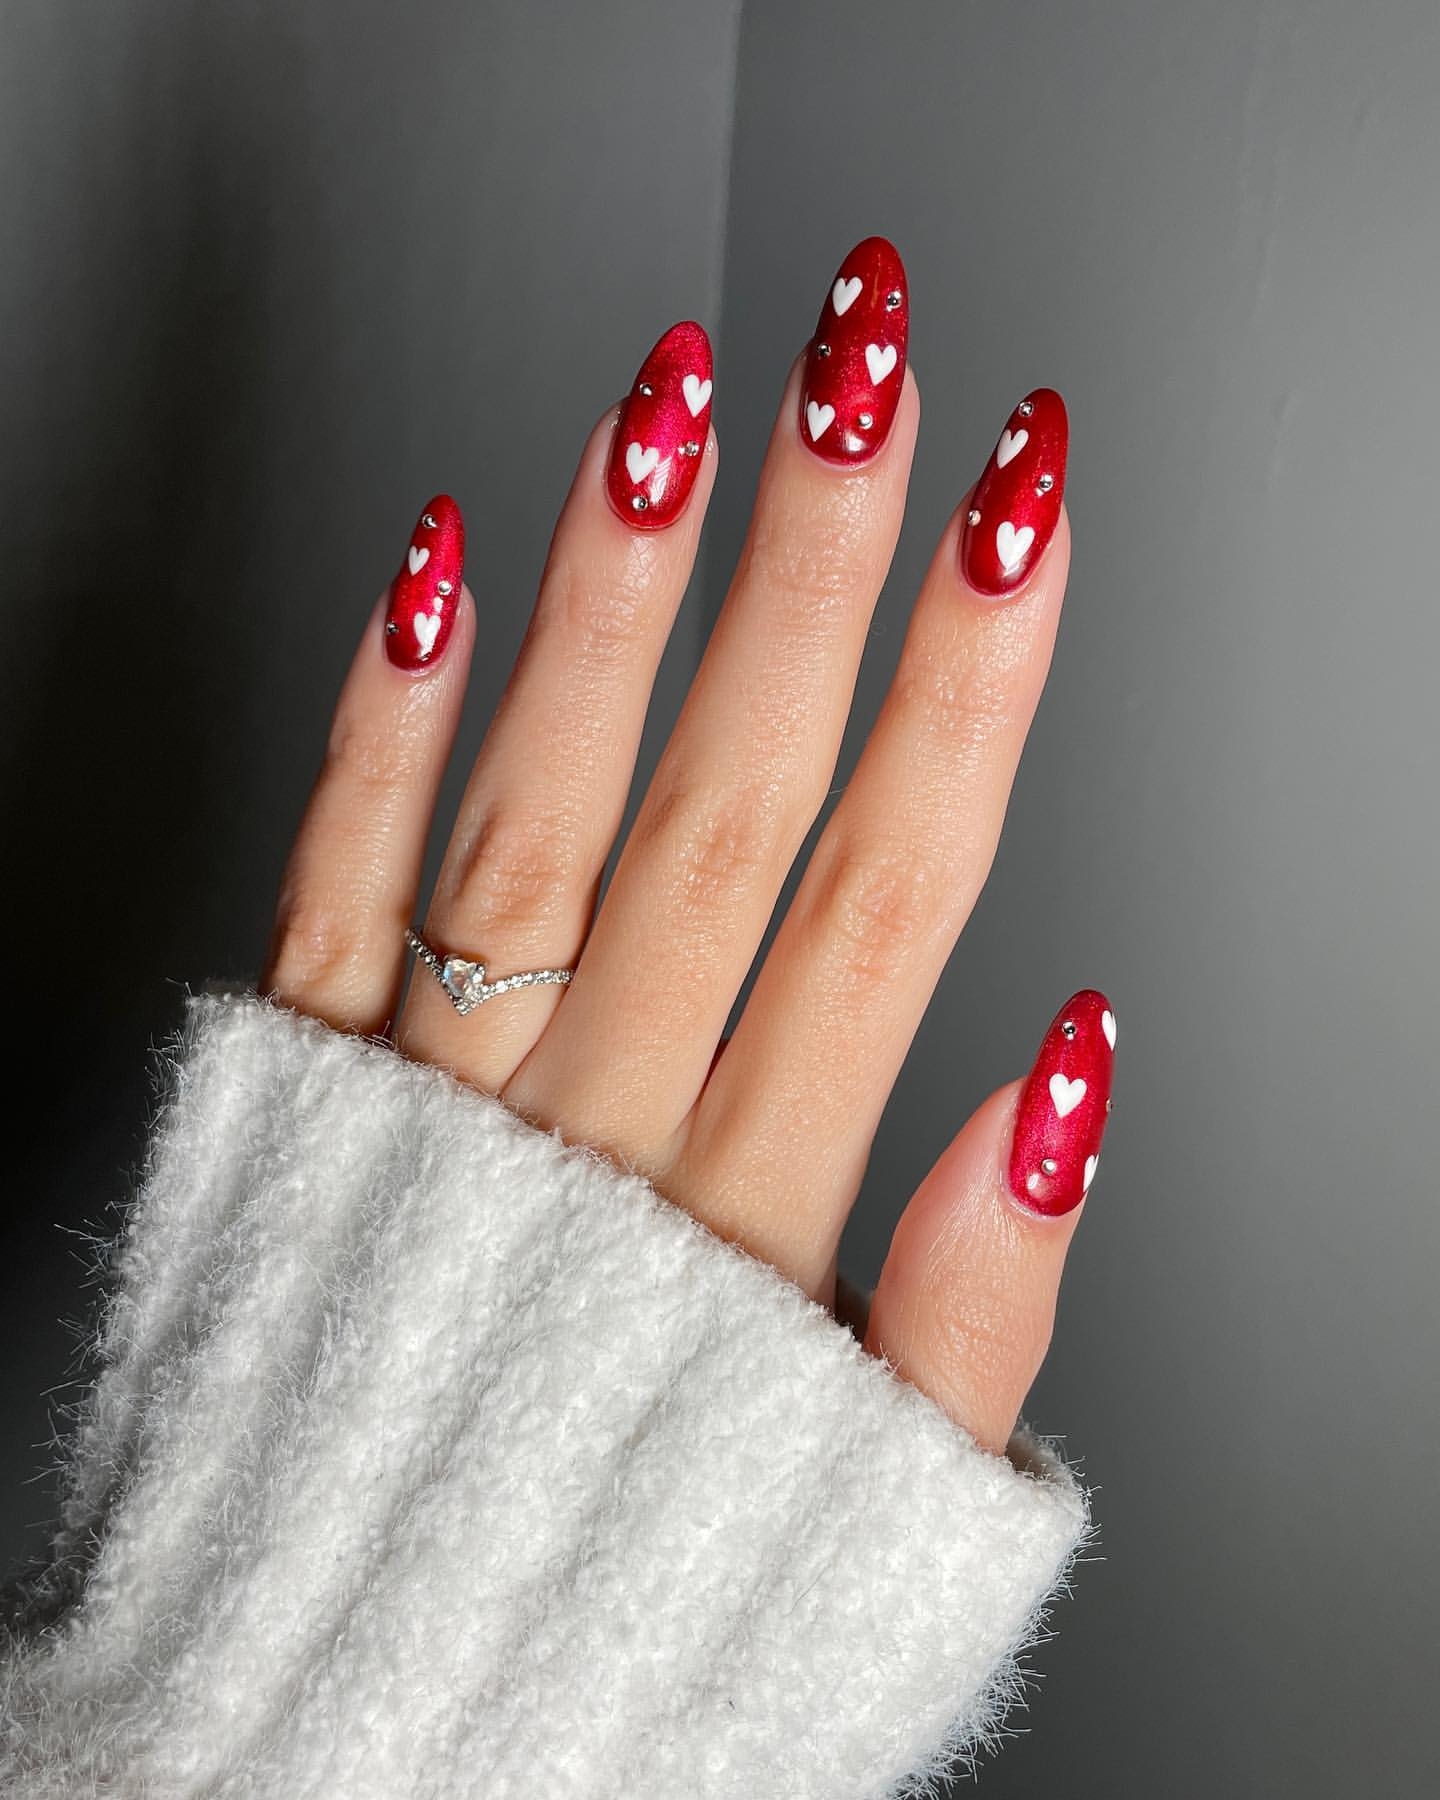
1. Red and Gold Glitter Nail Art Design Step by Step


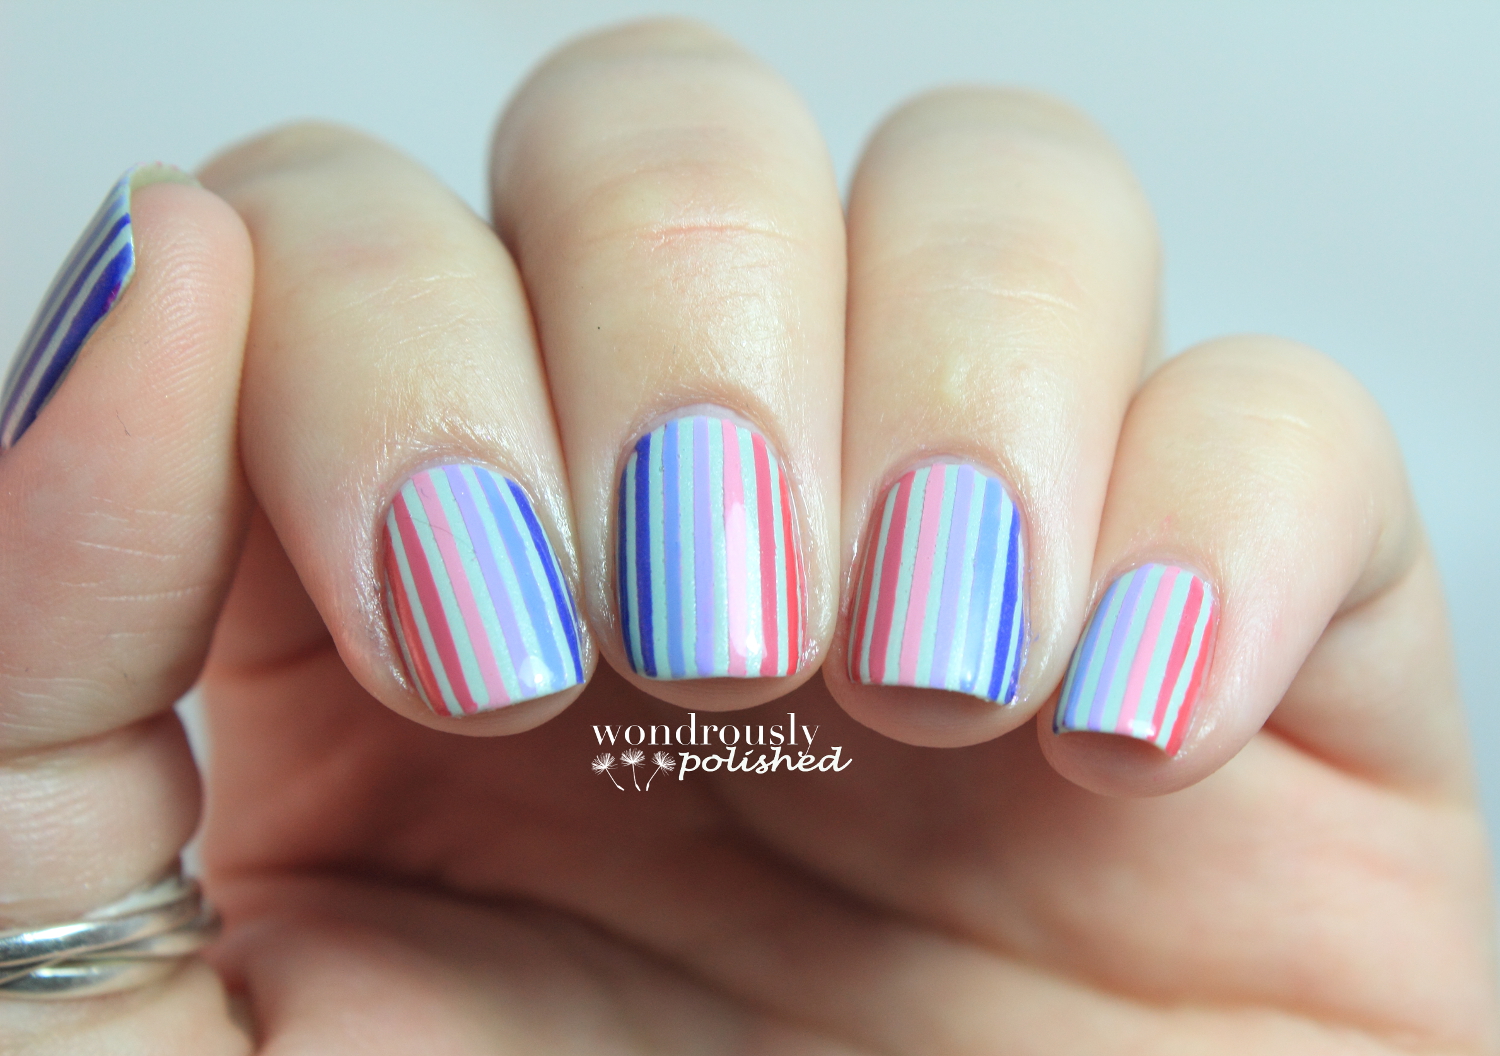
Stripes are a classic design that never goes out of style, and this red and white striped nail art is no exception. It's simple yet eye-catching, making it perfect for any occasion. Follow these easy steps to achieve this chic and timeless look. Featured keywords: red and white striped, nail art design, tutorial, classic, eye-catching, simple, chic, timeless Main keywords: red and white, striped, nail art, design, tutorial, classic, eye-catching, simple, chic, timeless2. Easy Red and White Striped Nail Art Design Tutorial


2. Easy Red and White Striped Nail Art Design Tutorial
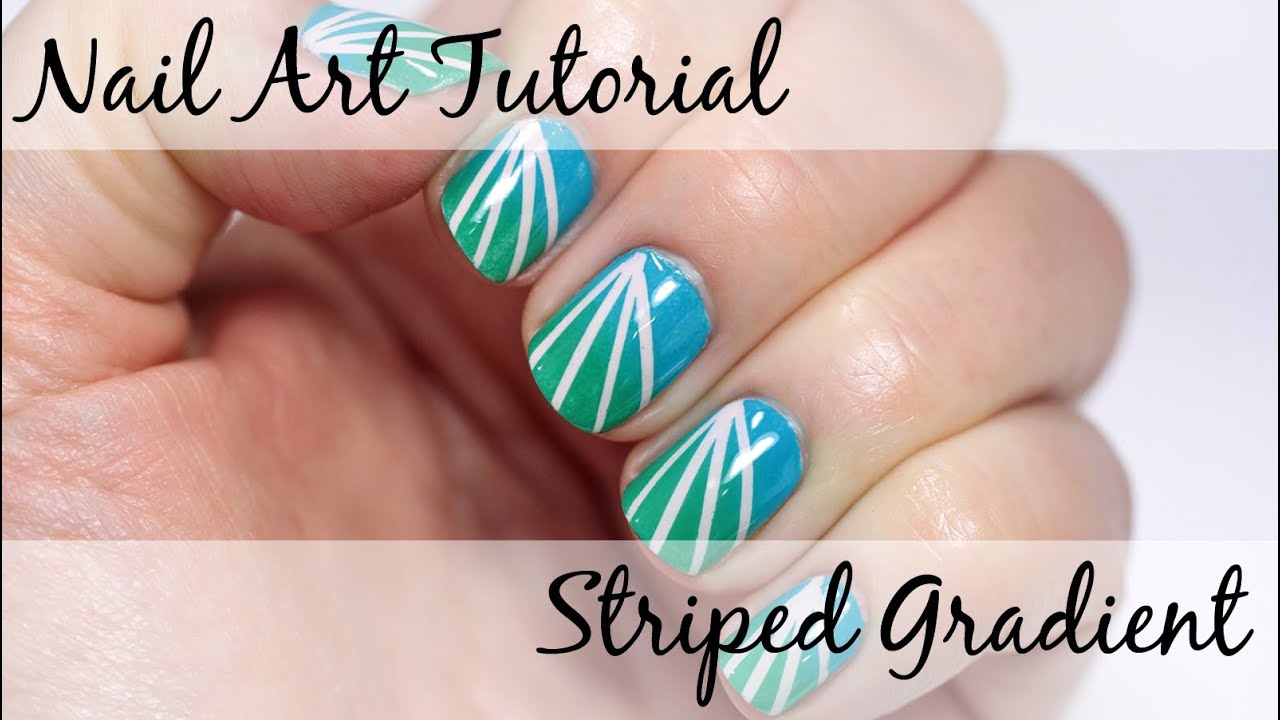


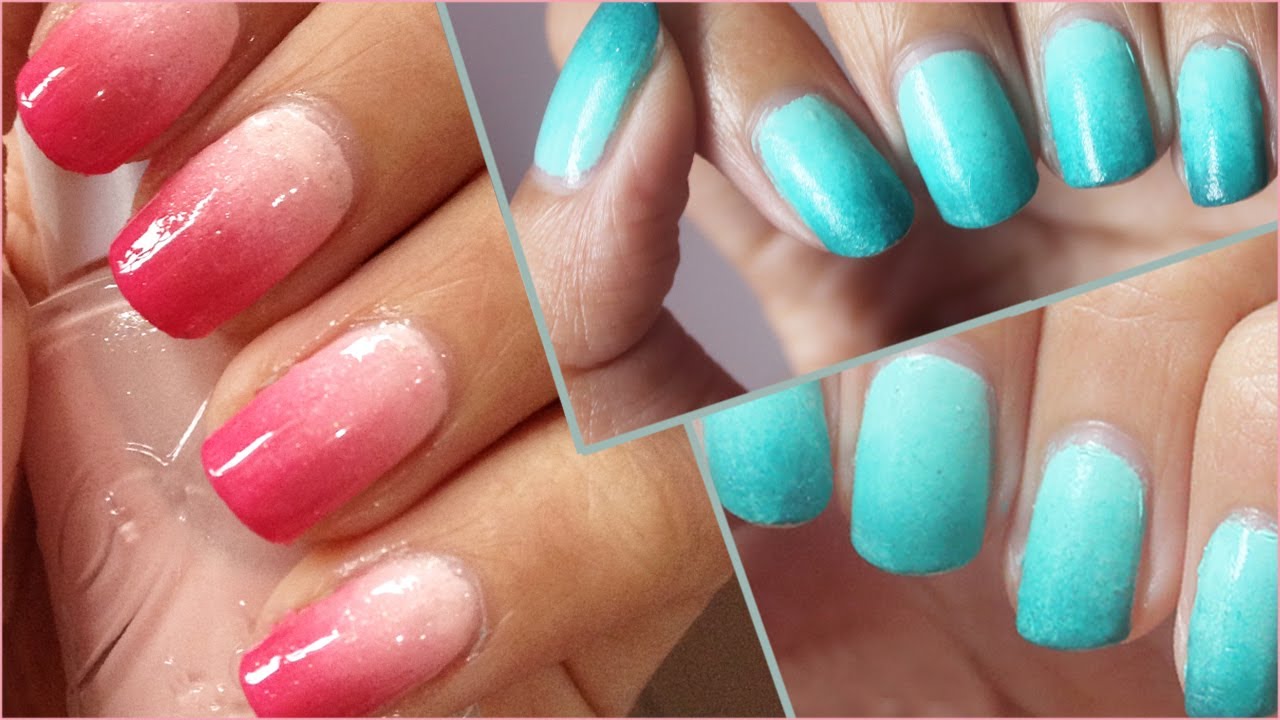
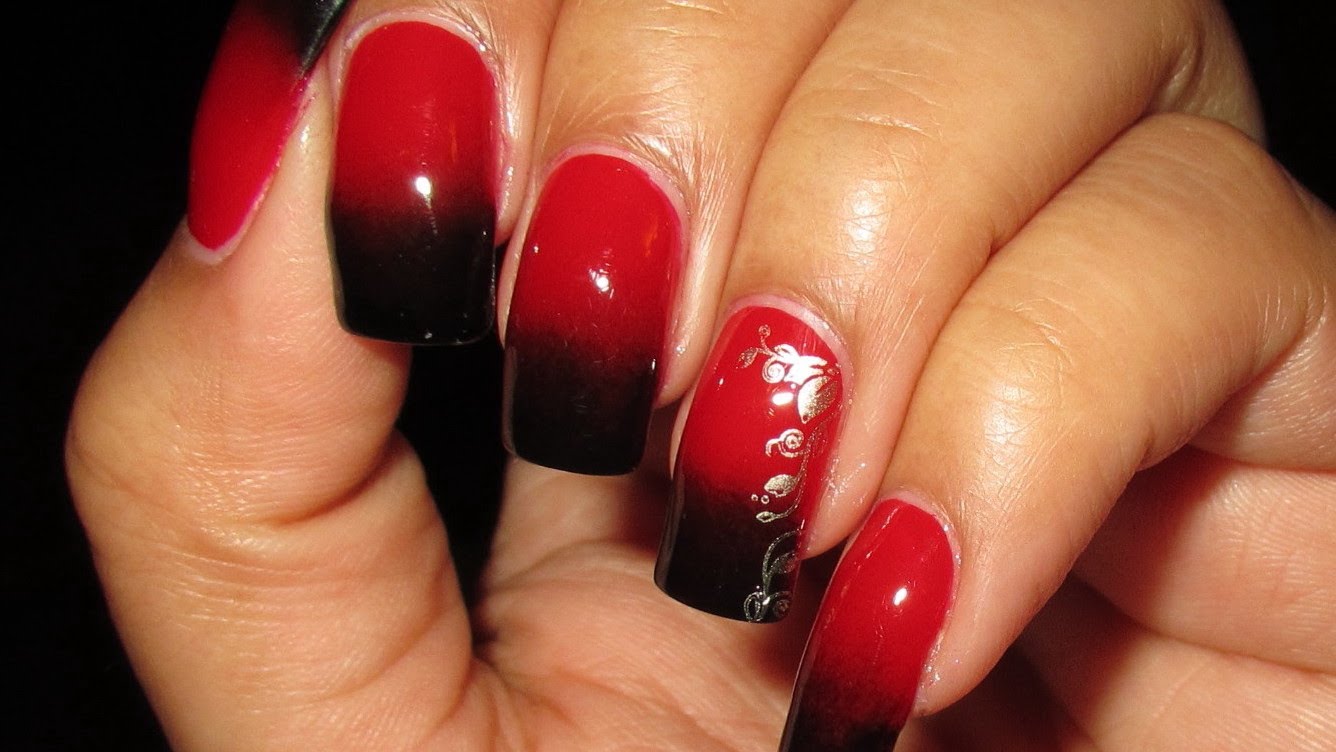
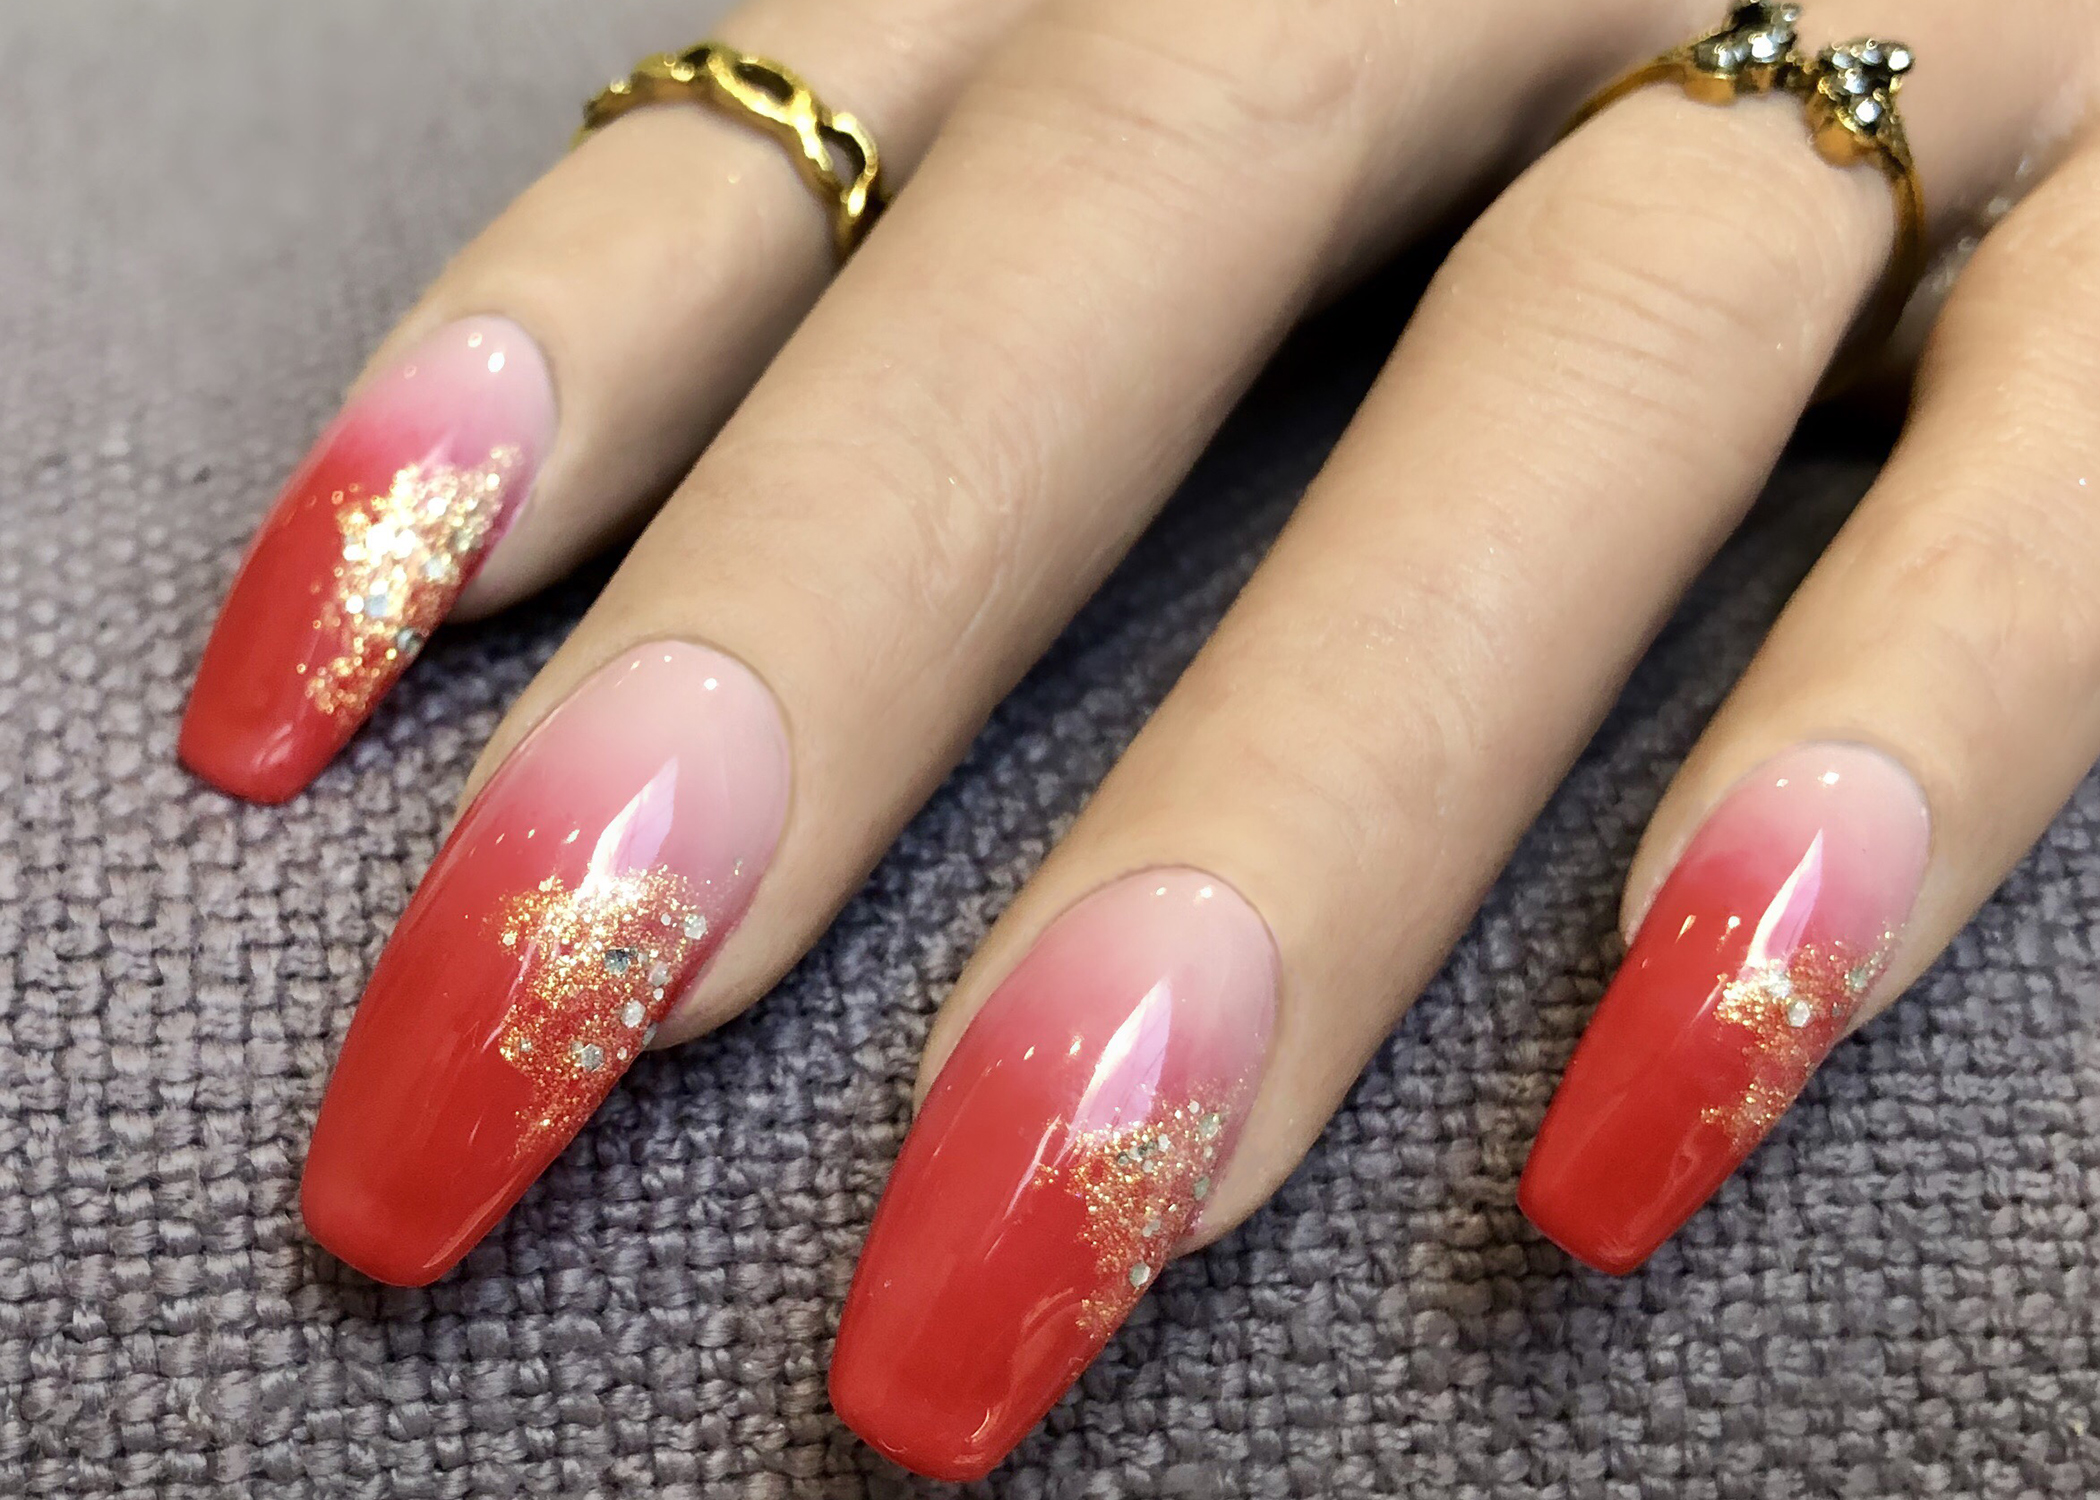
Ombre designs are all the rage, and this gradient red and pink design is a must-try for any nail art lover. It's a fun and playful look that will add some color to your nails. Follow these easy steps to achieve this gorgeous ombre design. Featured keywords: gradient red and pink, ombre nail art, design tutorial, must-try, nail art lover, fun, playful, color, gorgeous Main keywords: gradient, red and pink, ombre, nail art, design, tutorial, must-try, fun, playful, color, gorgeous3. Gradient Red and Pink Ombre Nail Art Design Tutorial

3. Gradient Red and Pink Ombre Nail Art Design Tutorial


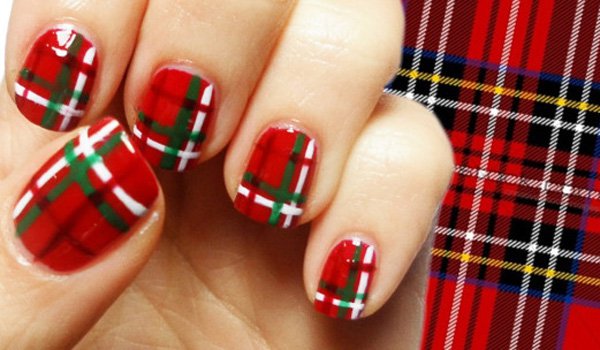
Plaid is a classic pattern that adds a touch of sophistication to any look. This red and black plaid nail art design is perfect for the fall and winter seasons. Follow these easy steps to achieve this chic and timeless look. Featured keywords: red and black plaid, nail art design, step by step, classic pattern, sophistication, fall and winter, chic, timeless Main keywords: red and black, plaid, nail art, design, step by step, classic pattern, sophistication, fall and winter, chic, timeless4. Red and Black Plaid Nail Art Design Step by Step


4. Red and Black Plaid Nail Art Design Step by Step


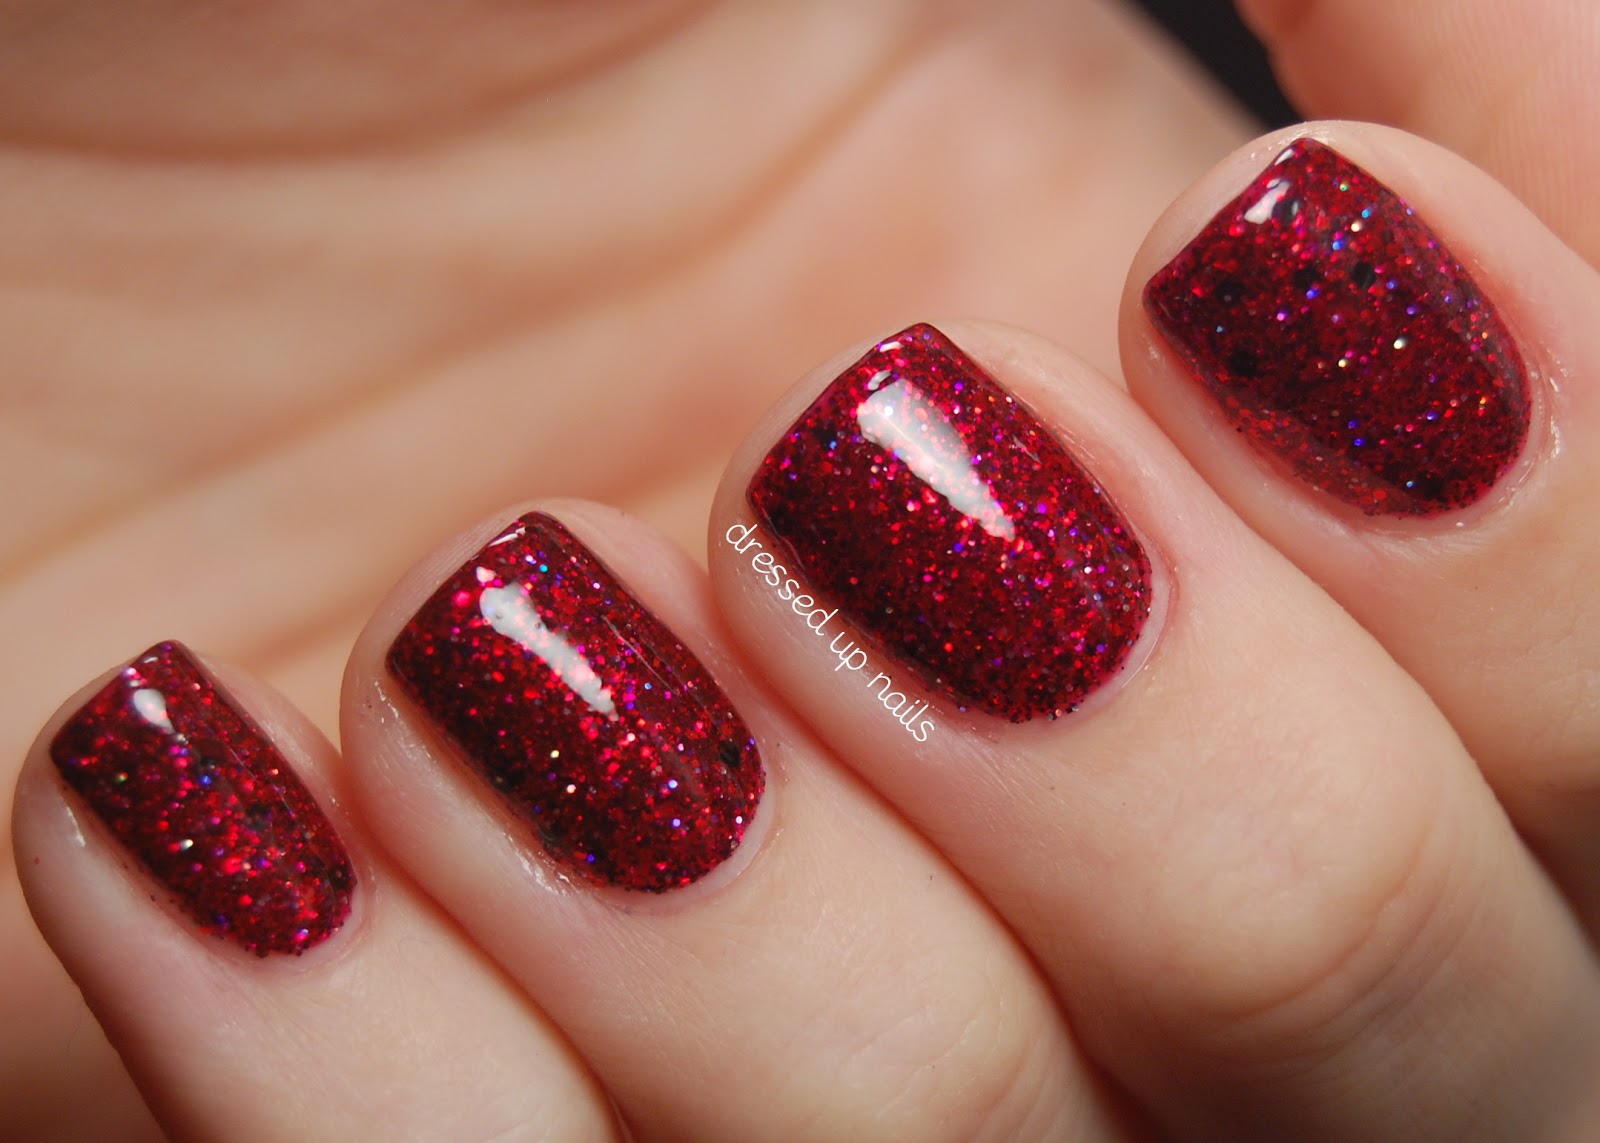
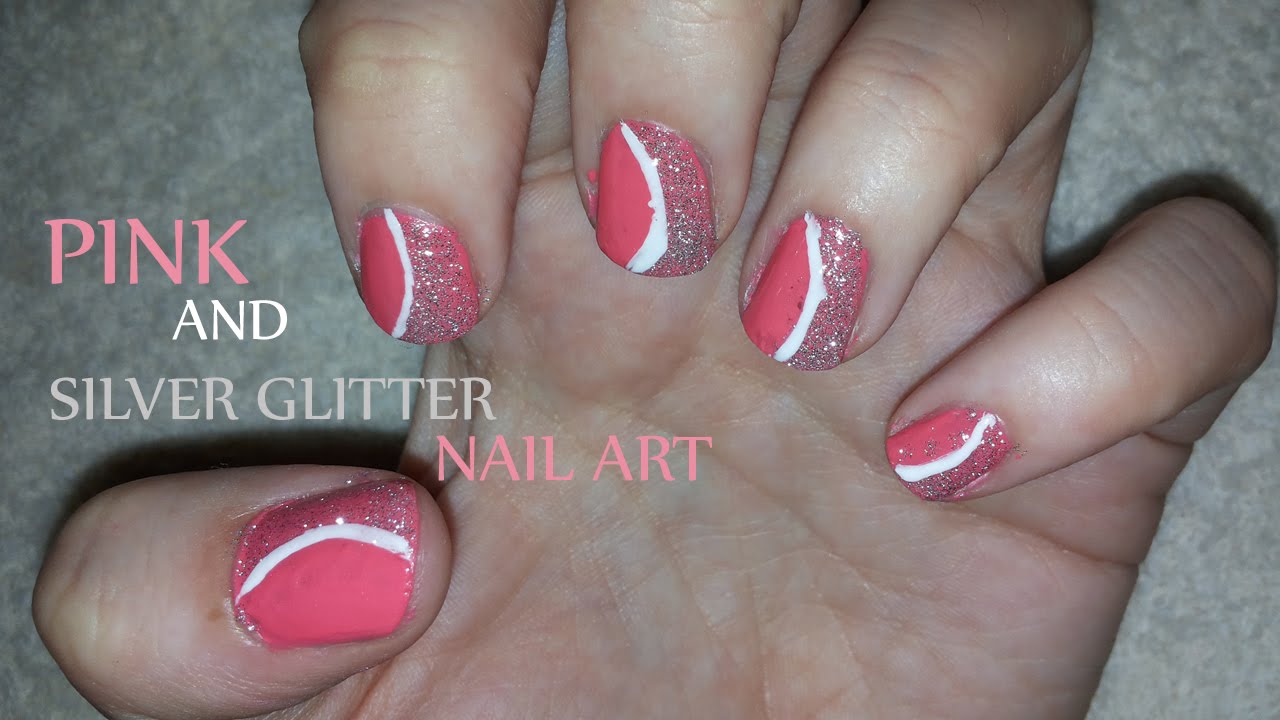
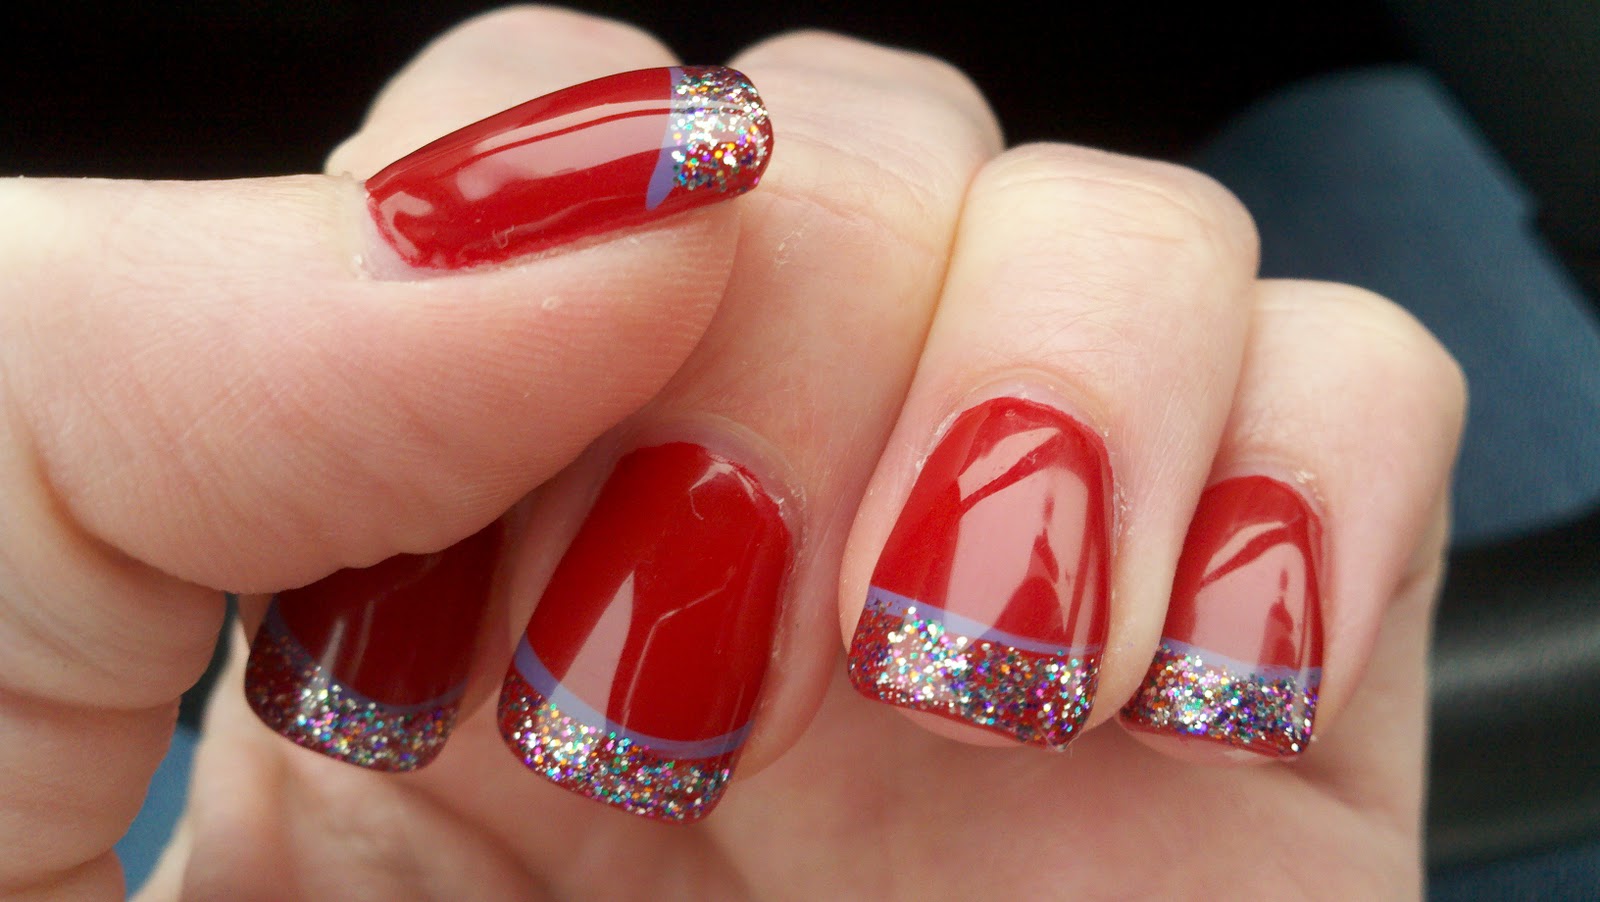
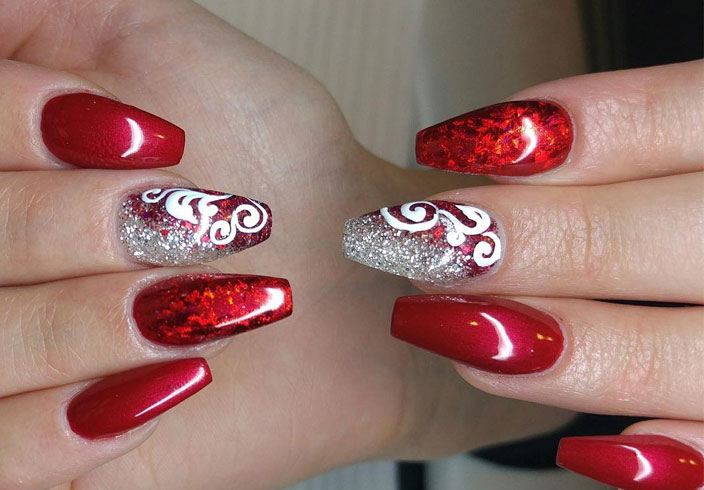
If you're looking for a simple yet glamorous nail art design, then this red and silver glitter design is the perfect choice. It's perfect for any occasion and will add a touch of sparkle to your nails. Follow these easy steps to achieve this stunning look. Featured keywords: simple red and silver, glitter nail art, design tutorial, glamorous, perfect choice, occasion, sparkle, stunning Main keywords: simple, red and silver, glitter, nail art, design, tutorial, glamorous, occasion, sparkle, stunning5. Simple Red and Silver Glitter Nail Art Design Tutorial


5. Simple Red and Silver Glitter Nail Art Design Tutorial


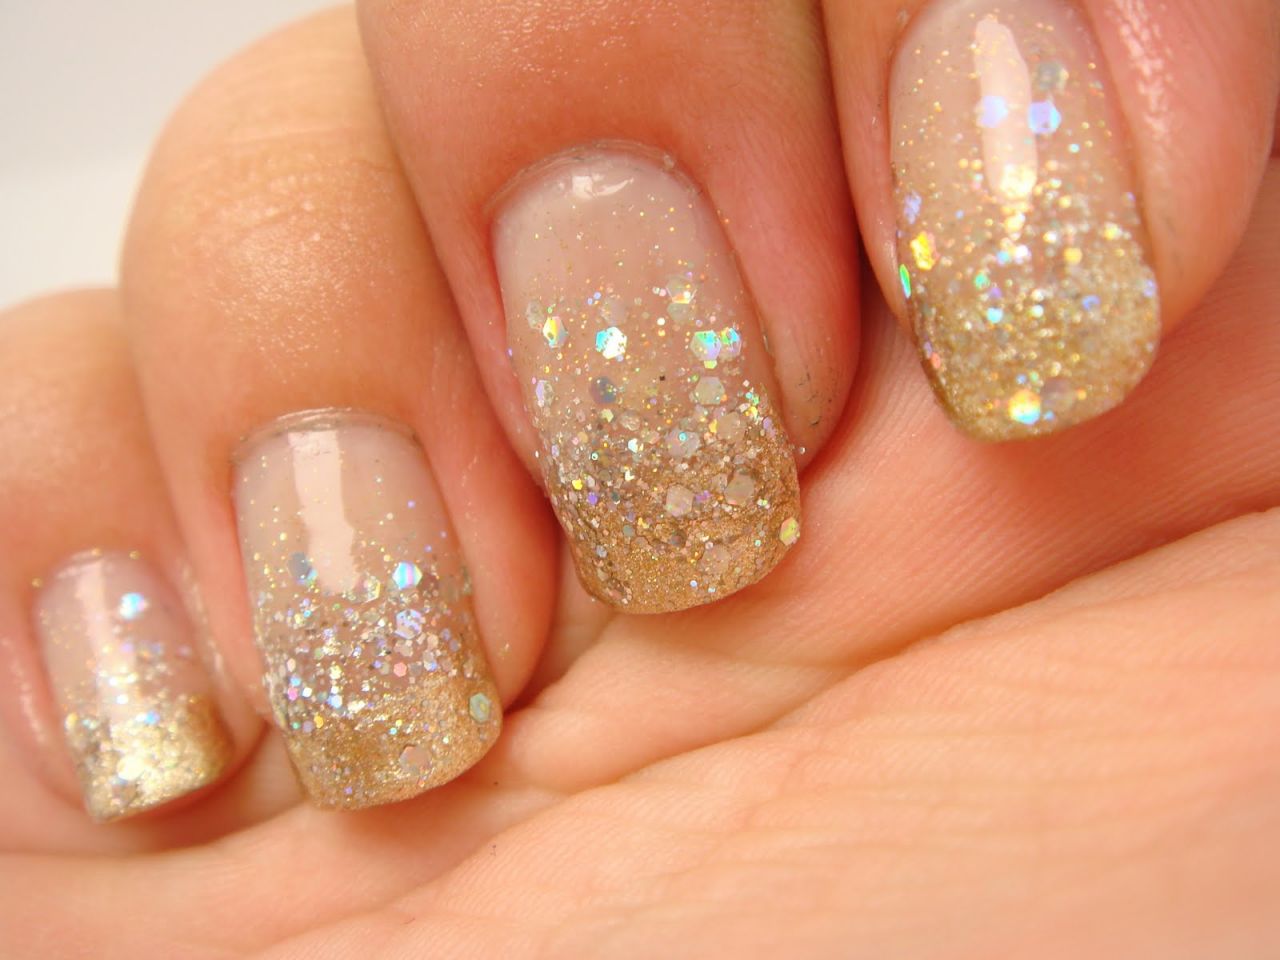
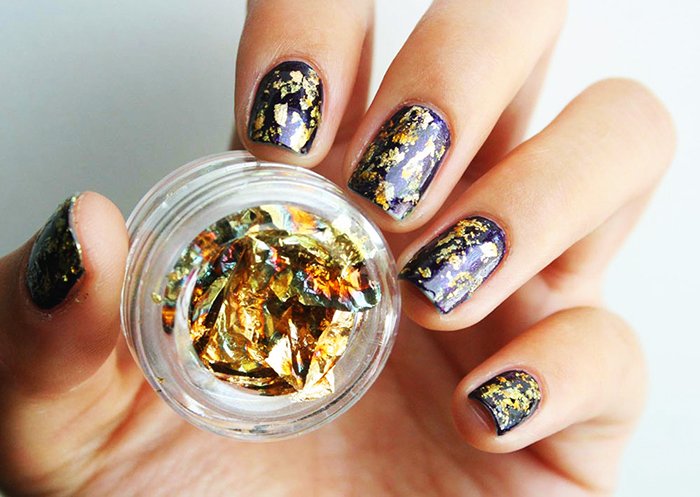
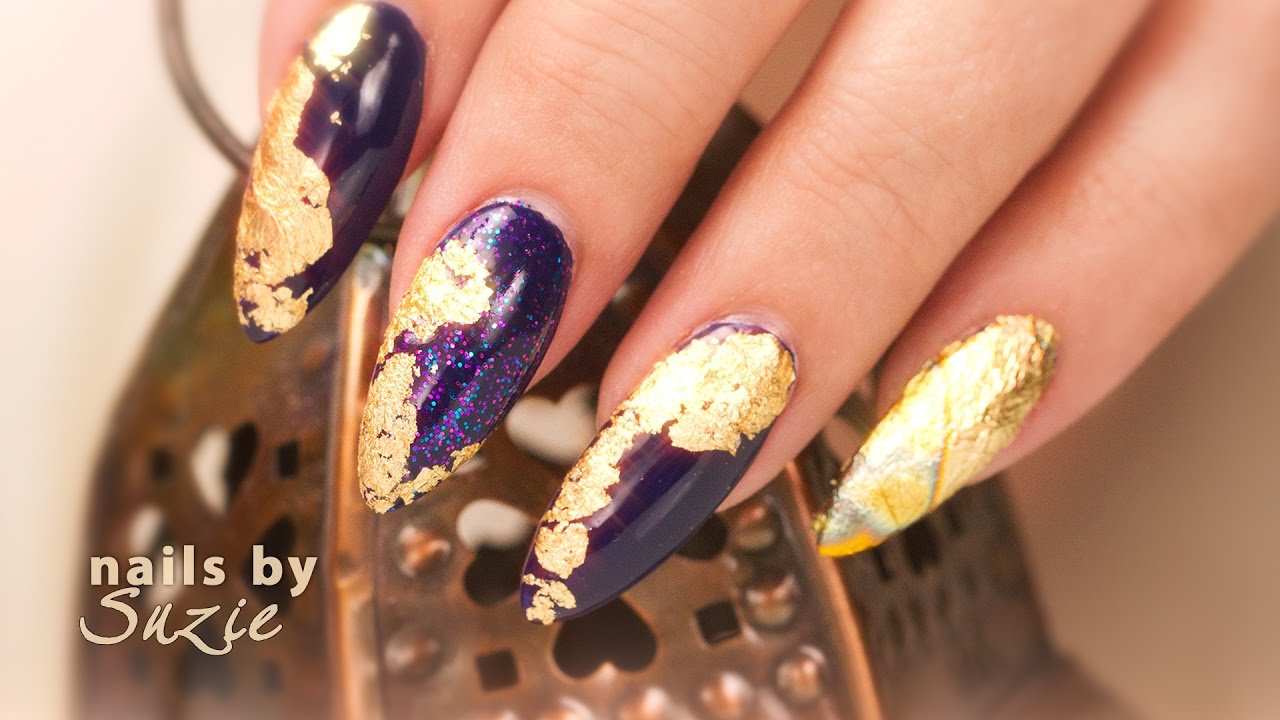
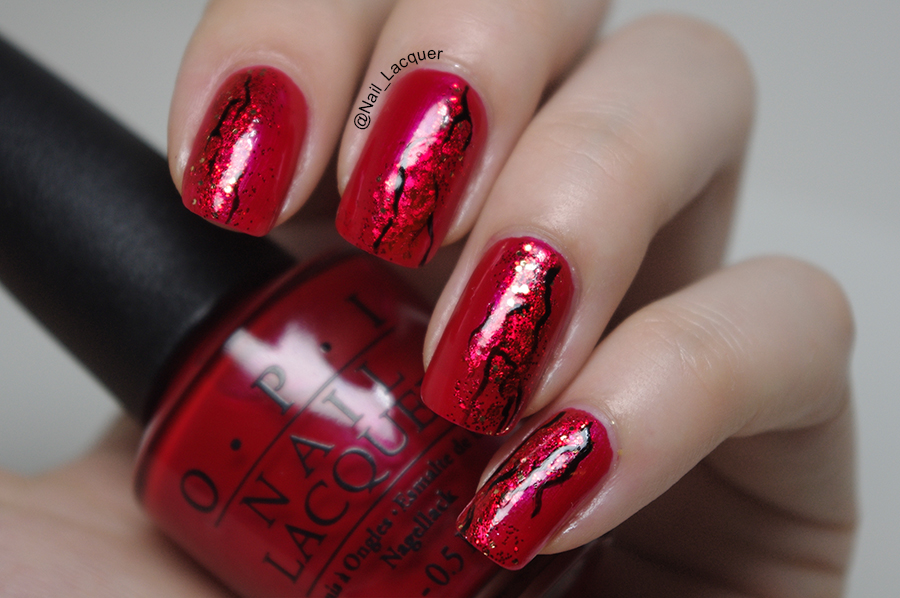
Foil designs are a fun and unique way to add some texture to your nails. This red and gold foil design is perfect for the holiday season or for a special event. Follow these easy steps to achieve this eye-catching look. Featured keywords: red and gold foil, nail art design, step by step, fun and unique, texture, holiday season, special event, eye-catching Main keywords: red and gold, foil, nail art, design, step by step, fun and unique, texture, holiday season, special event, eye-catching6. Red and Gold Foil Nail Art Design Step by Step

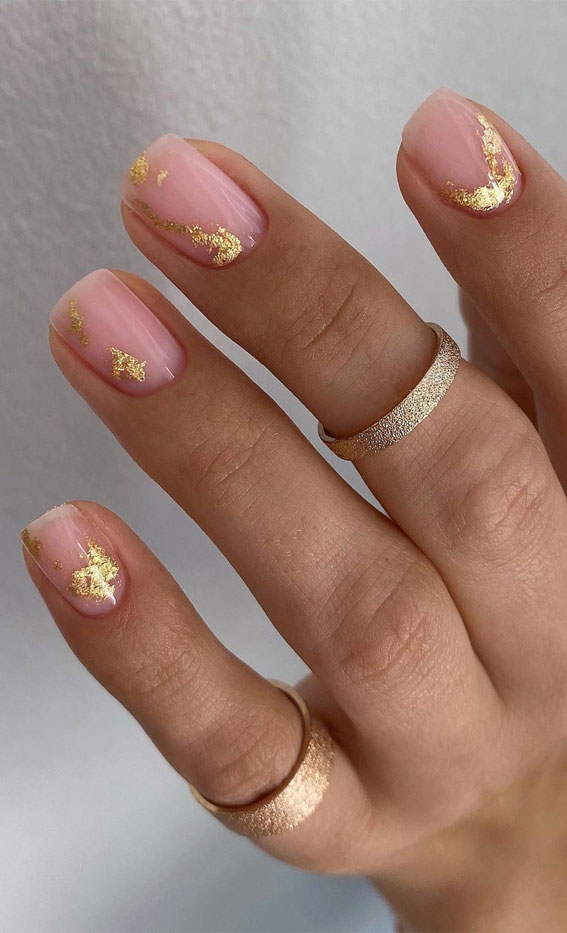

6. Red and Gold Foil Nail Art Design Step by Step


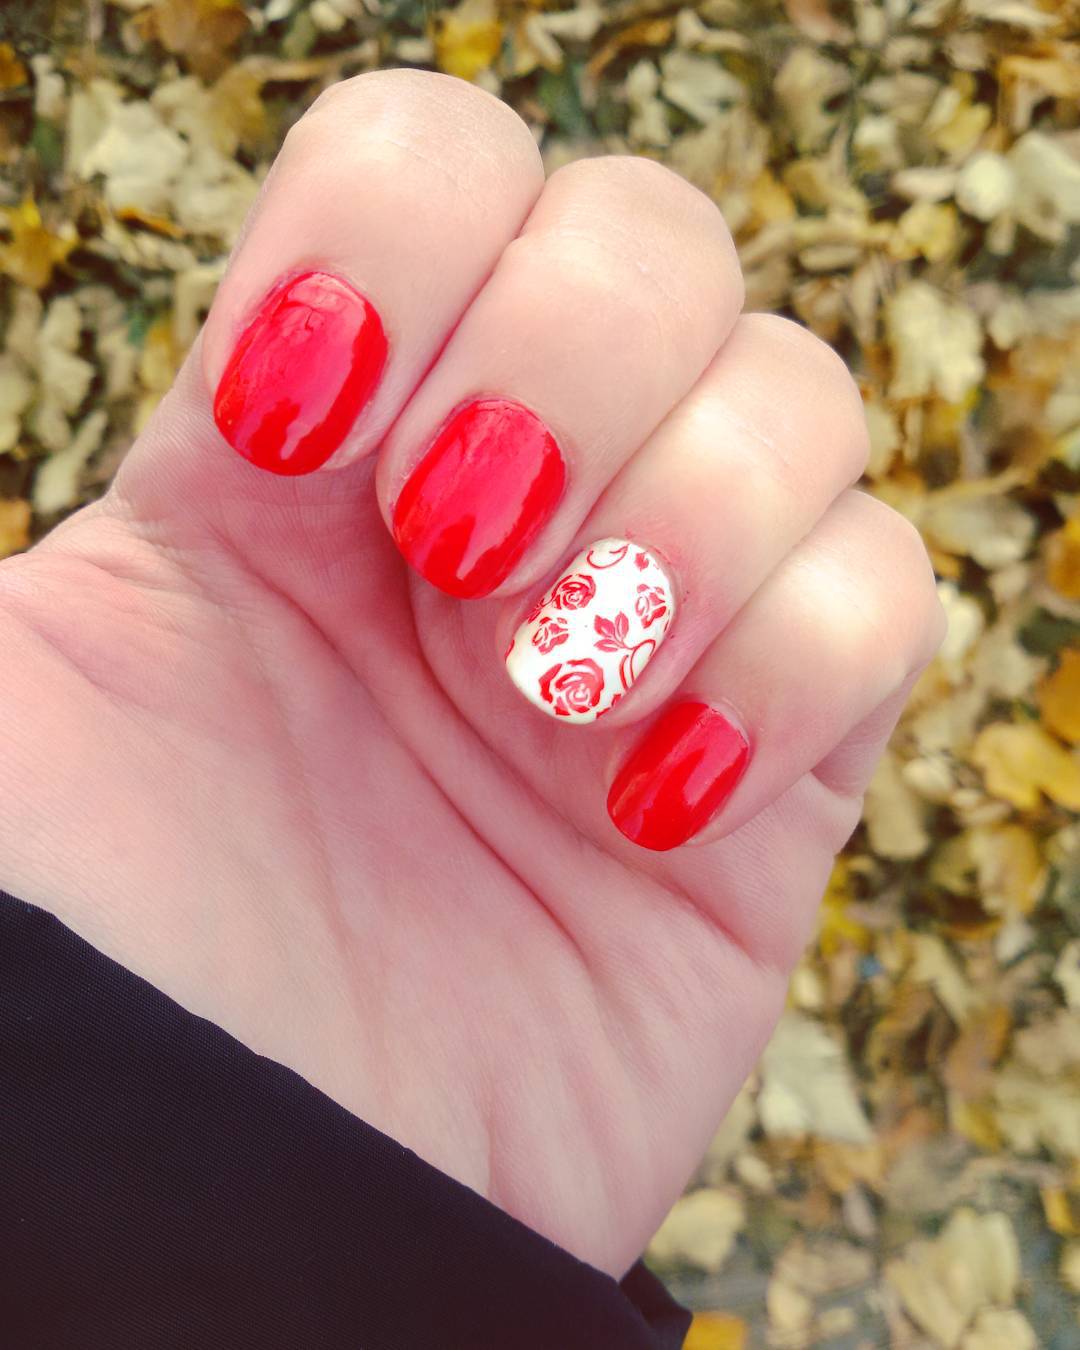
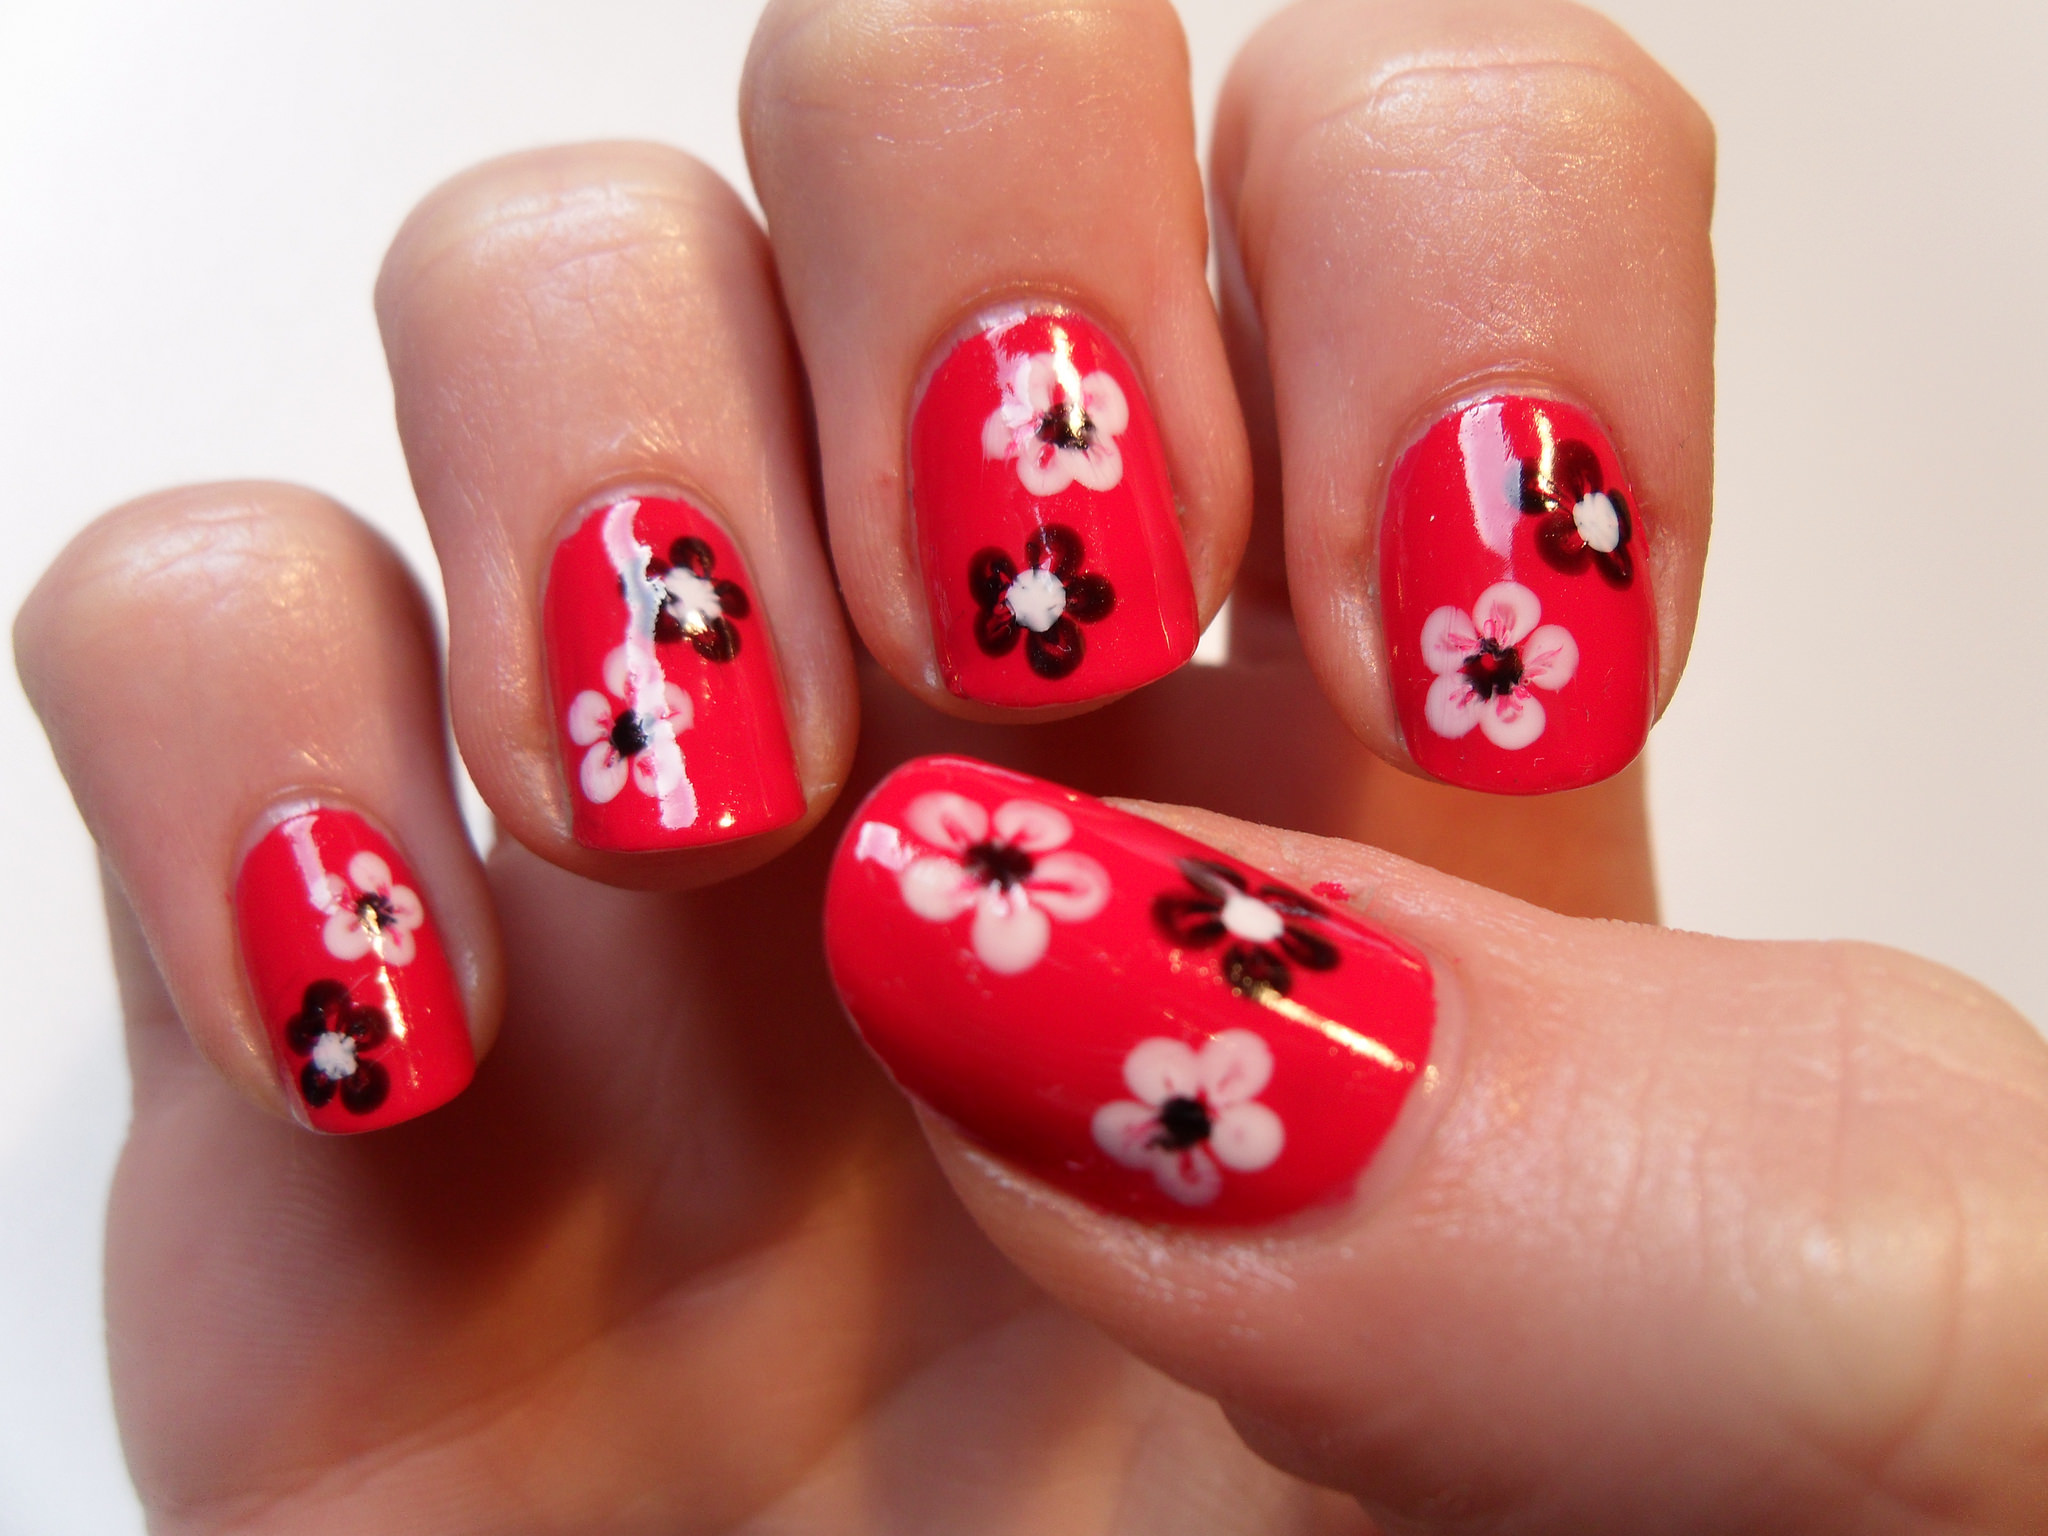
Floral designs are always a popular choice for nail art, and this elegant red and white floral design is no exception. It's a beautiful and delicate look that is perfect for any occasion. Follow these easy steps to achieve this stunning design. Featured keywords: elegant red and white, floral nail art, design tutorial, popular choice, beautiful, delicate, occasion, stunning Main keywords: elegant, red and white, floral, nail art, design, tutorial, popular choice, beautiful, delicate, occasion, stunning7. Elegant Red and White Floral Nail Art Design Tutorial

7. Elegant Red and White Floral Nail Art Design Tutorial


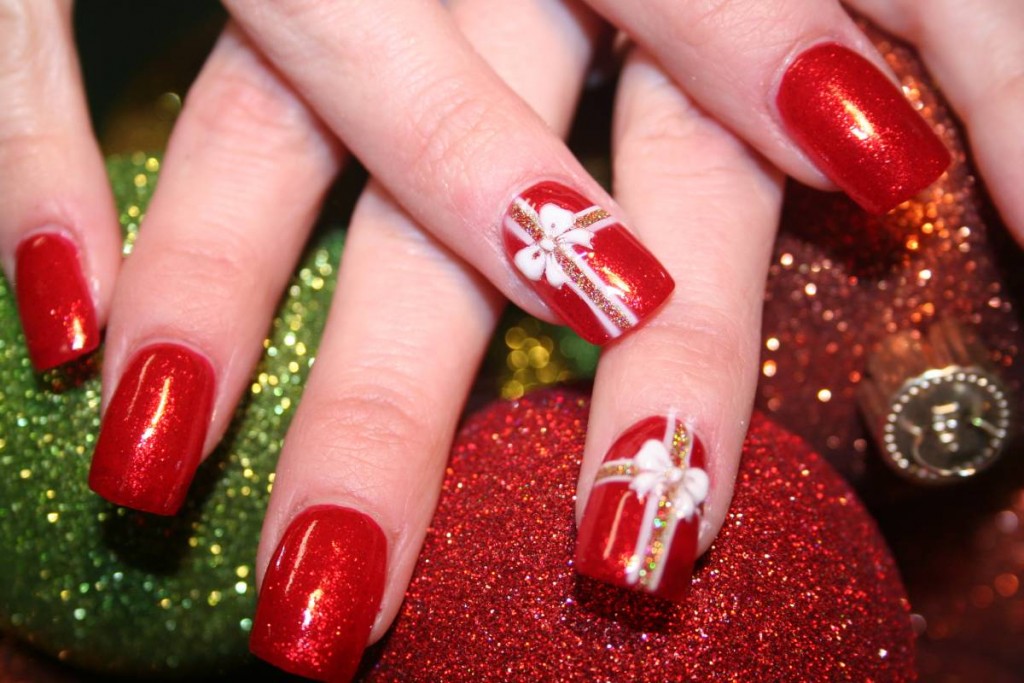
Get into the holiday spirit with this festive red and green Christmas nail art design. It's perfect for any Christmas party or just to add some cheer to your everyday look. Follow these easy steps to achieve this jolly design. Featured keywords: red and green Christmas, nail art design, step by step, holiday spirit, festive, Christmas party, cheer, jolly Main keywords: red and green, Christmas, nail art, design, step by step, holiday spirit, festive, Christmas party, cheer, jolly8. Red and Green Christmas Nail Art Design Step by Step

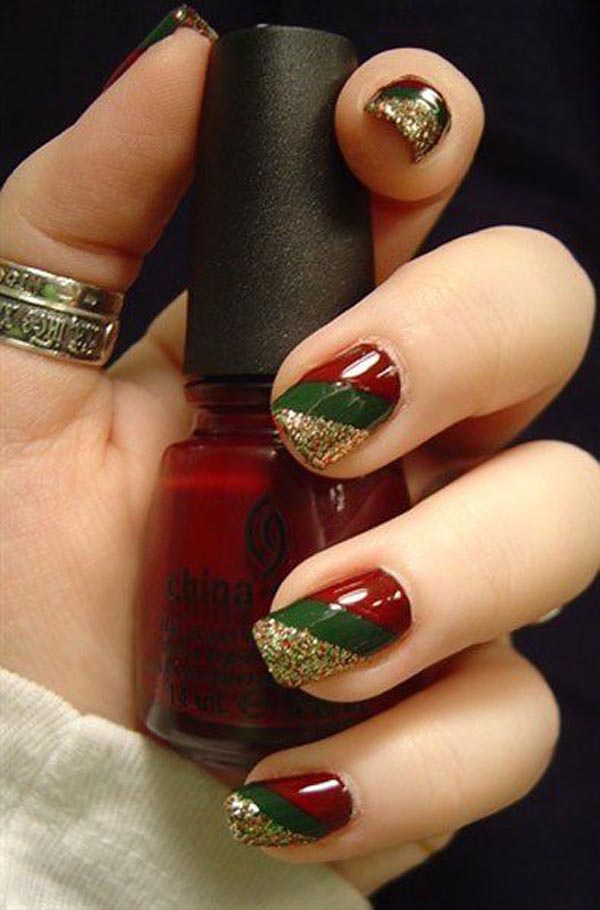
8. Red and Green Christmas Nail Art Design Step by Step


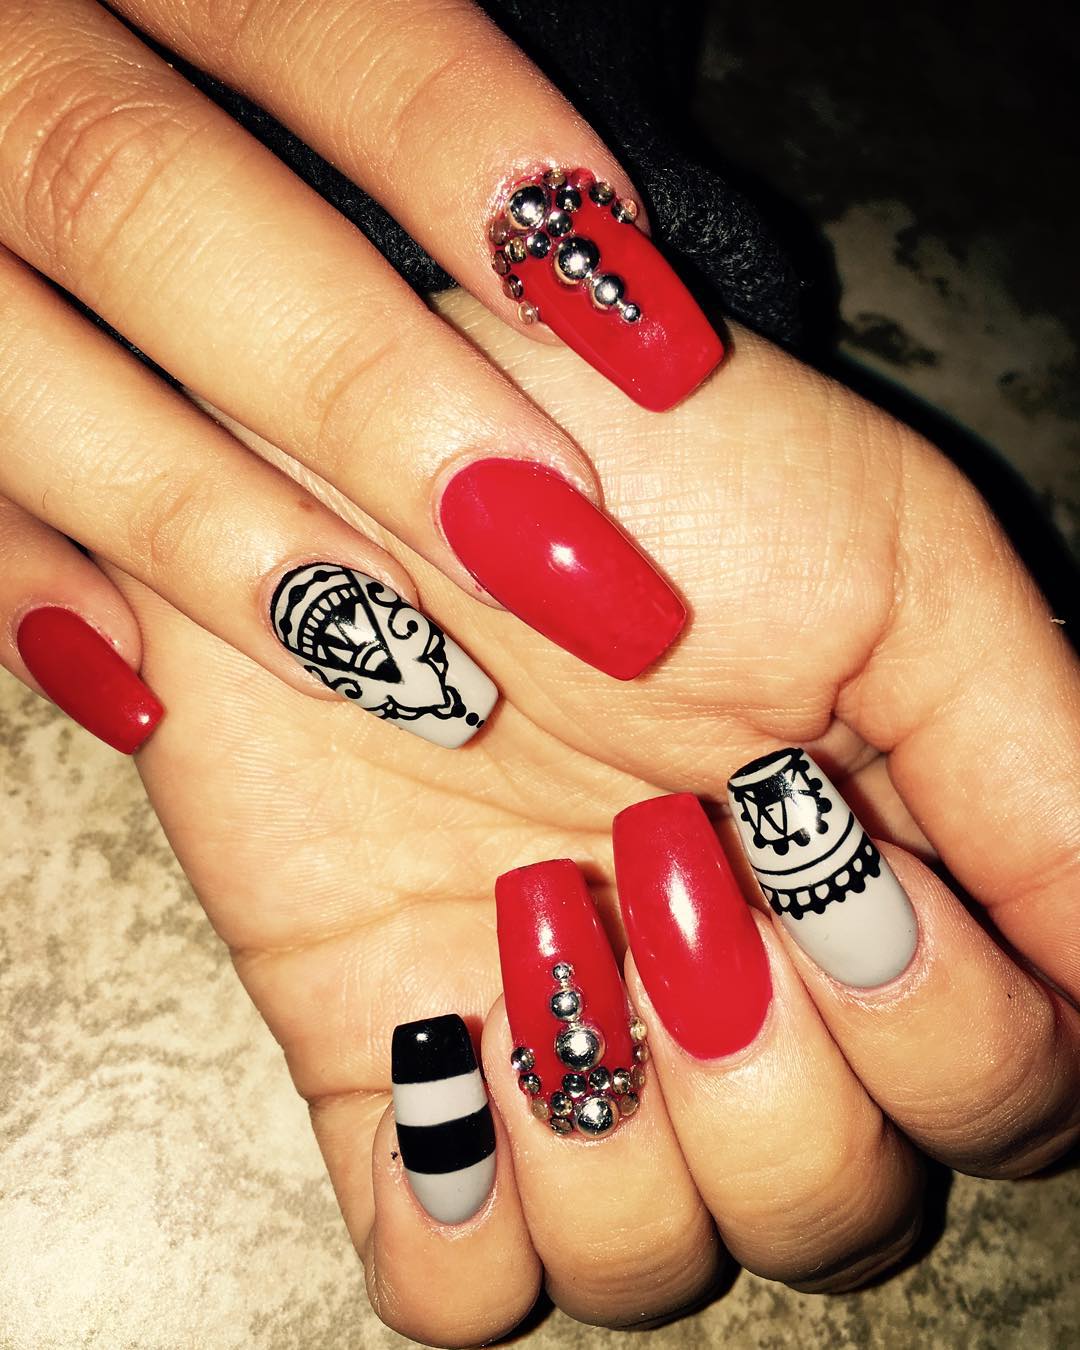
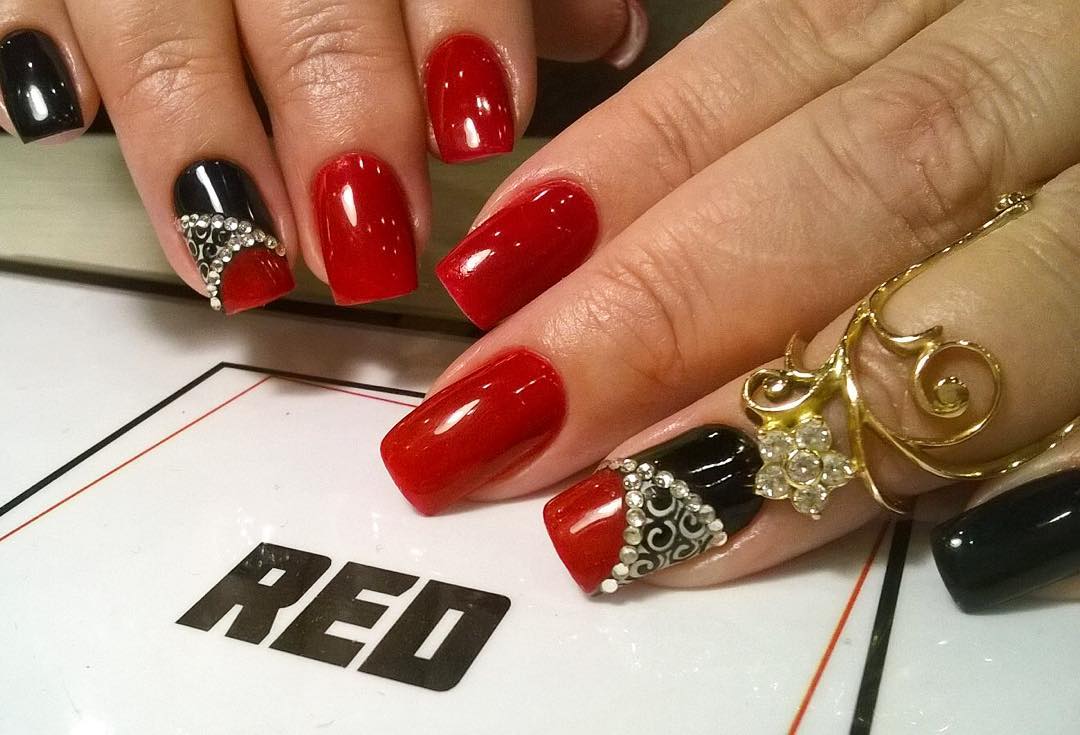
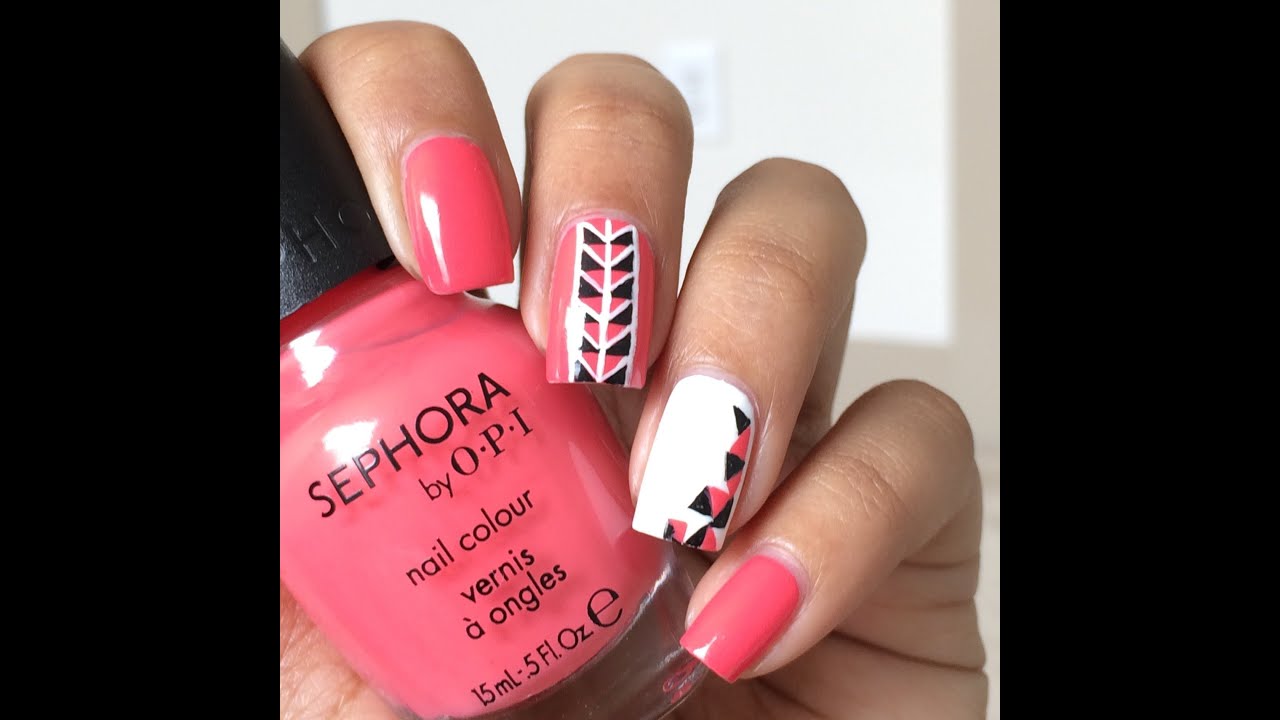
If you're looking for a bold and edgy nail art design, then this red and black geometric design is the perfect choice. It's a modern and unique design that will make a statement. Follow these easy steps to achieve this eye-catching look. Featured keywords: bold red and black, geometric nail art, design tutorial, edgy, perfect choice, modern, unique, statement, eye-catching Main keywords: bold, red and black, geometric, nail art, design, tutorial, edgy, modern, unique, statement, eye-catching9. Bold Red and Black Geometric Nail Art Design Tutorial

9. Bold Red and Black Geometric Nail Art Design Tutorial

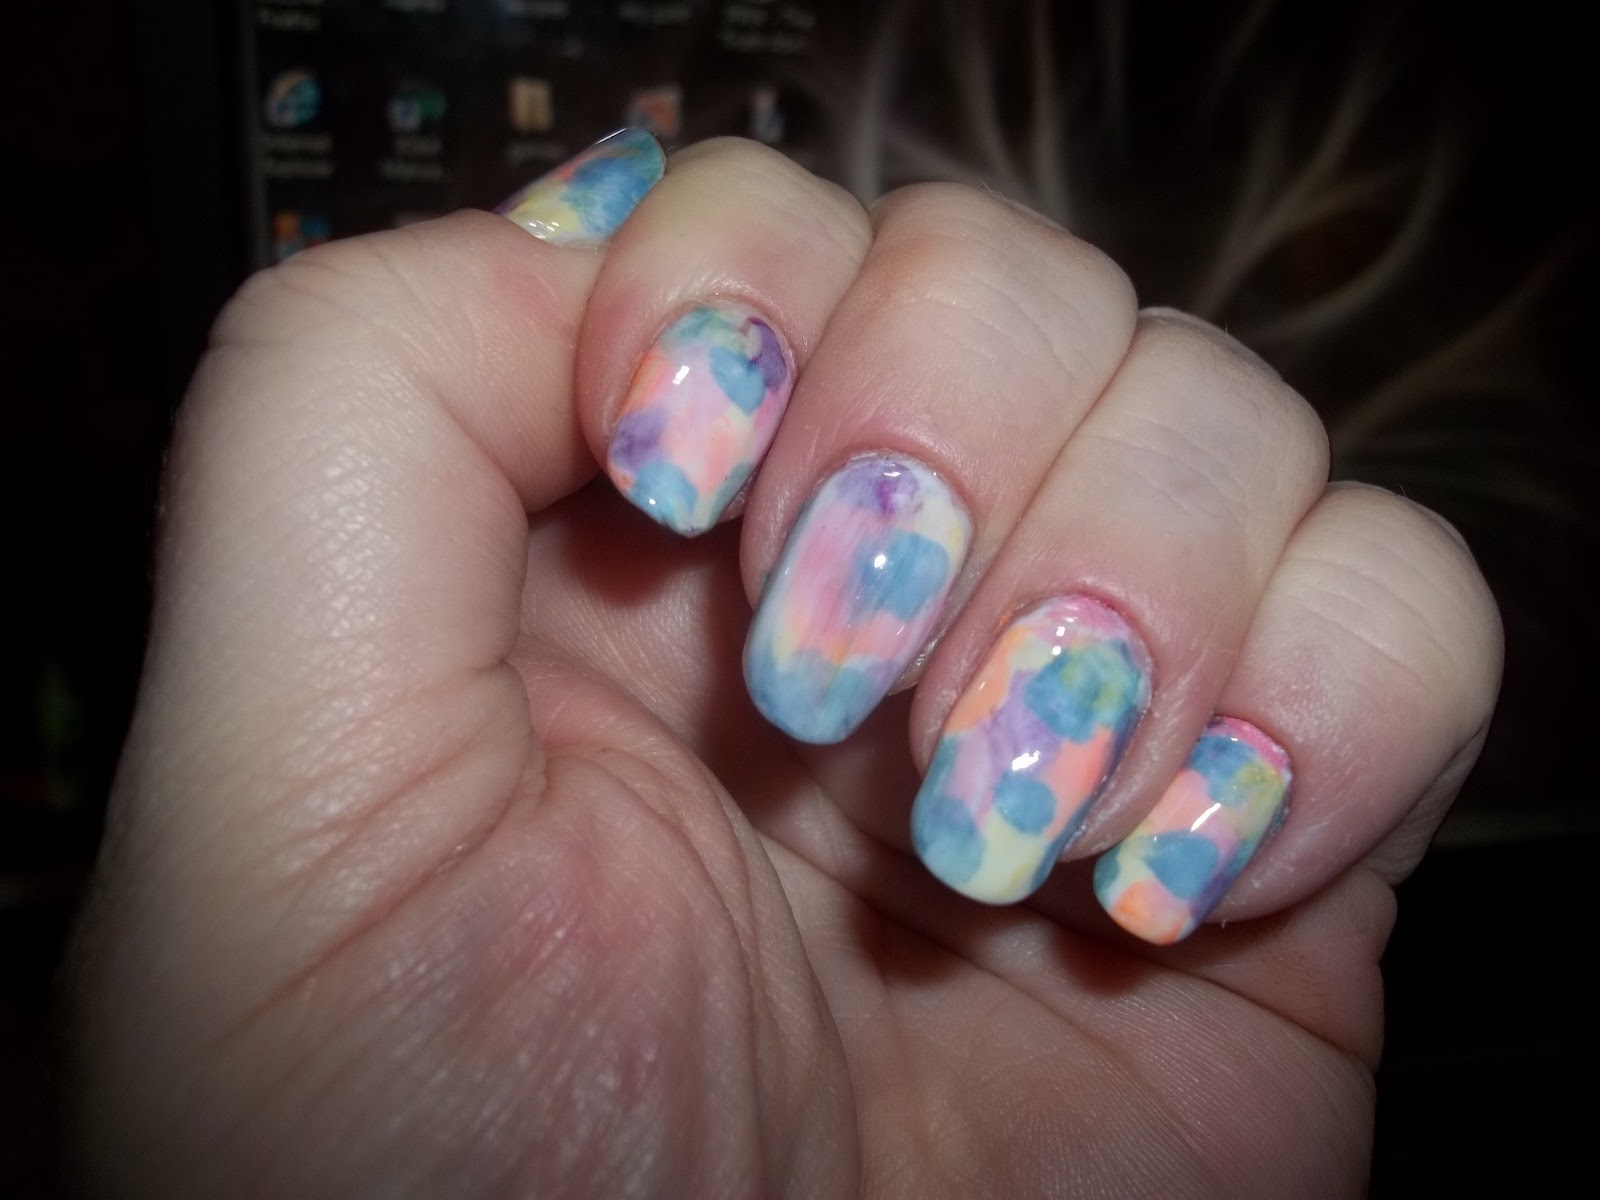
Watercolor designs are a popular choice for nail art, and this red and purple watercolor design is no exception. It's a beautiful and dreamy look that will add some color to your nails. Follow these easy steps to achieve this stunning design. Featured keywords: red and purple watercolor, nail art design, step by step, popular choice, beautiful, dreamy, color, stunning Main keywords: red and purple, watercolor, nail art, design, step by step, popular choice, beautiful, dreamy, color, stunning10. Red and Purple Watercolor Nail Art Design Step by Step
10. Red and Purple Watercolor Nail Art Design Step by Step


How to Perfect Your Red Nail Art Design: A Step by Step Guide

Choosing the Perfect Shade of Red
 When it comes to creating a stunning red nail art design, the first step is to choose the perfect shade of red.
Red
is a versatile color, with a wide range of shades from bright and bold to deep and rich.
Red
also has a variety of undertones, such as
warm
or
cool
, which can make a big difference in the overall look of your design.
Determining
the right shade for your skin tone and personal style is crucial in creating a
nail art design
that you'll love.
Some popular shades of red for nail art include
scarlet, ruby, cherry, and burgundy.
When it comes to creating a stunning red nail art design, the first step is to choose the perfect shade of red.
Red
is a versatile color, with a wide range of shades from bright and bold to deep and rich.
Red
also has a variety of undertones, such as
warm
or
cool
, which can make a big difference in the overall look of your design.
Determining
the right shade for your skin tone and personal style is crucial in creating a
nail art design
that you'll love.
Some popular shades of red for nail art include
scarlet, ruby, cherry, and burgundy.
Prepping Your Nails
 Before diving into the actual design, it's important to make sure your nails are prepped and ready for the
nail art
process. Start by shaping your nails to your desired length and filing any rough edges. Next, apply a base coat to protect your nails and ensure your design lasts longer.
For a red
nail art
design, consider using a clear or white base coat to make the red color pop.
Before diving into the actual design, it's important to make sure your nails are prepped and ready for the
nail art
process. Start by shaping your nails to your desired length and filing any rough edges. Next, apply a base coat to protect your nails and ensure your design lasts longer.
For a red
nail art
design, consider using a clear or white base coat to make the red color pop.
Get Creative with Designs
 Now comes the fun part, creating your red nail art design! There is no limit to the designs you can create with
red nail polish.
You can go for a classic
French tip
with a red twist, a
polka dot
design, or even
ombre
nails with shades of red. If you're feeling extra creative, consider adding
glitter
or
rhinestones
to your design for some extra sparkle and glam.
The key is to let your imagination run wild and create a design that reflects your personal style.
Now comes the fun part, creating your red nail art design! There is no limit to the designs you can create with
red nail polish.
You can go for a classic
French tip
with a red twist, a
polka dot
design, or even
ombre
nails with shades of red. If you're feeling extra creative, consider adding
glitter
or
rhinestones
to your design for some extra sparkle and glam.
The key is to let your imagination run wild and create a design that reflects your personal style.
Finishing Touches
 Once you've completed your red nail art design, it's time to add the finishing touches. Apply a top coat to seal in your design and prevent any chipping.
You can also use a cuticle oil to moisturize and nourish your nails.
Don't forget to clean up any excess polish around your nails for a clean and professional look.
Once you've completed your red nail art design, it's time to add the finishing touches. Apply a top coat to seal in your design and prevent any chipping.
You can also use a cuticle oil to moisturize and nourish your nails.
Don't forget to clean up any excess polish around your nails for a clean and professional look.
In conclusion, creating a stunning red nail art design is all about choosing the right shade, prepping your nails, and getting creative with designs. By following these simple steps, you'll be able to achieve a professional and eye-catching nail art design that is sure to turn heads.


