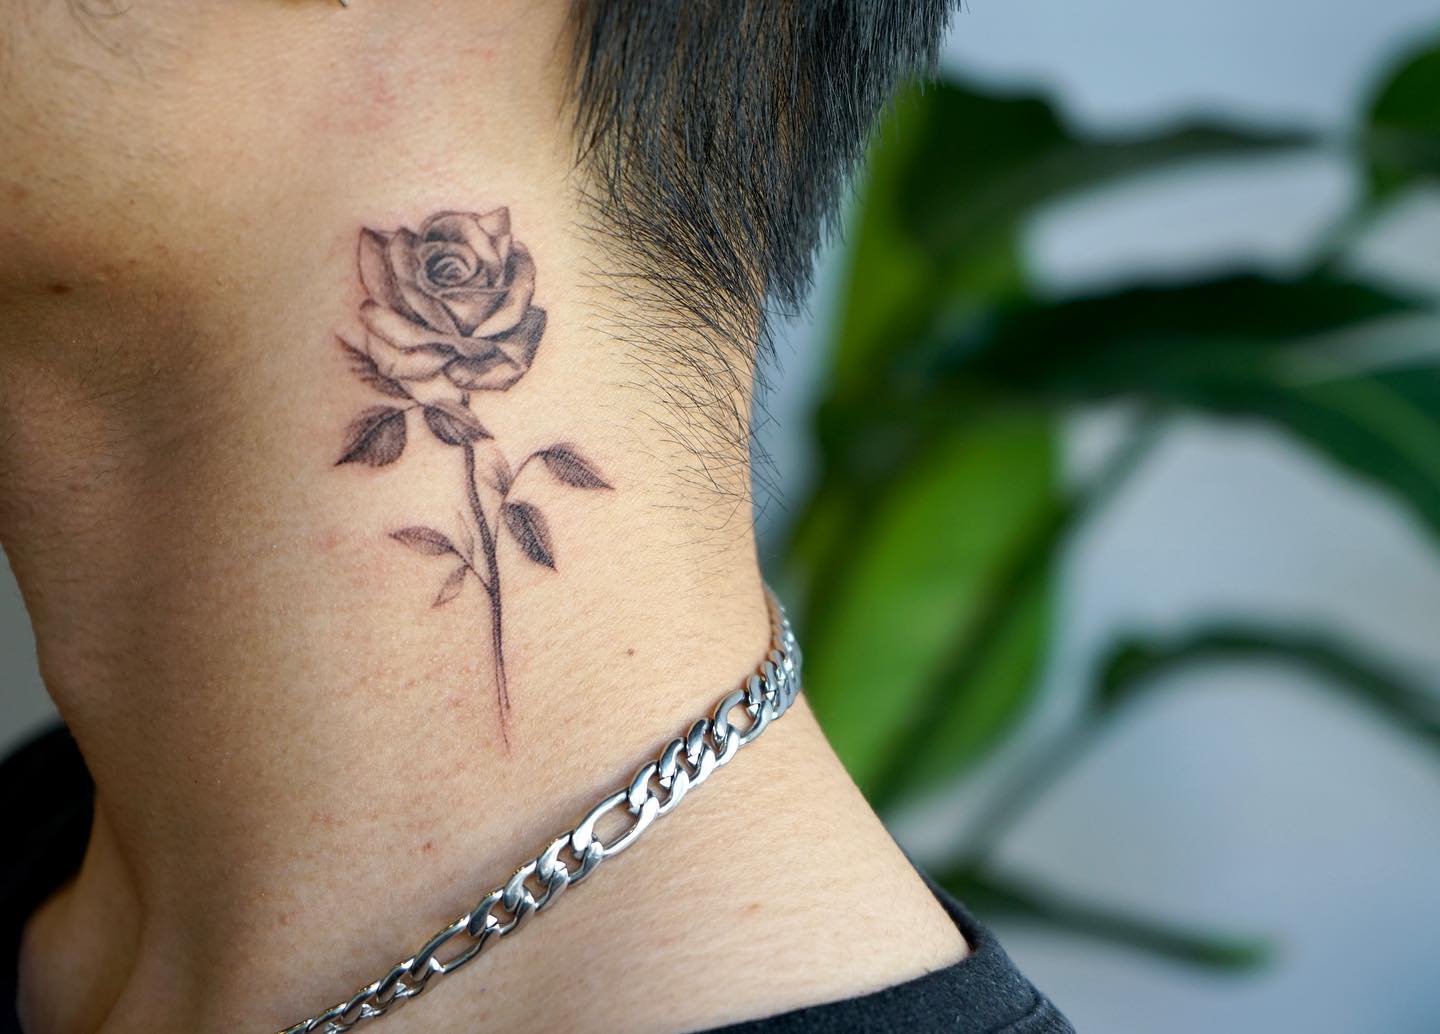
Looking for a new and unique nail design to try out? Look no further than the rose and thorn nail art. This design combines the delicate beauty of a rose with the edginess of thorns, creating a stunning and eye-catching look. Don't worry if you're not a nail art pro, we've got you covered with this easy-to-follow tutorial. To start, gather all the necessary tools and materials, including a base coat, top coat, red and green nail polish, toothpicks, and a small detailing brush. Begin by applying a base coat to protect your natural nails. Once dry, paint your nails with a base color. We recommend a light pink or nude shade to make the rose and thorn design pop. Next, using the red nail polish, create small dots in a circular shape on your nail. These will be the base of your rose. Then, using the detailing brush, add thin, curved lines around the dots to create the petals of the rose. Use a toothpick to create small dots on the edges of the petals to mimic the texture of a real rose. Once the rose is complete, it's time to add the thorns. Using the green nail polish, create small triangle shapes near the base of the rose. Then, use the toothpick to add small lines around the triangles to give them a thorny appearance. Repeat this process on all of your nails. Finally, finish off your rose and thorn nail art with a top coat to seal in the design and add shine. And there you have it, a beautiful and unique nail design that is sure to turn heads.1. Rose and Thorn Nail Art Tutorial


1. Rose and Thorn Nail Art Tutorial


If you're looking for a more dramatic and edgy take on the rose and thorn nail design, look no further than the black rose and thorn nail design. This dark and bold design is perfect for those who want to make a statement with their nails. To achieve this look, start by applying a black base coat to all of your nails. Once dry, use a small detailing brush and white nail polish to create the outline of a rose on each nail. Then, using a toothpick, create small dots along the outline to give the rose a textured appearance. Next, use the detailing brush and white nail polish to create small, thin lines around the rose to give the appearance of petals. Use a toothpick to add small dots around the edges of the petals to mimic the texture of a real rose. Repeat this process on all of your nails. For the thorns, use a small detailing brush and black nail polish to create small triangle shapes near the base of the rose. Then, use a toothpick to add small lines around the triangles to give them a thorny appearance. Finish off with a top coat for shine and protection. This black rose and thorn nail design is perfect for a night out or any occasion where you want to make a bold statement with your nails.2. Black Rose and Thorn Nail Design


2. Black Rose and Thorn Nail Design


For a luxurious and elegant twist on the rose and thorn nail design, try out the red and gold rose and thorn nail design. This stunning combination of colors is perfect for any special occasion or if you just want to add a touch of glamour to your nails. To begin, apply a base coat to protect your nails. Once dry, paint your nails with a rich red nail polish. Then, using a small detailing brush and gold nail polish, create the outline of a rose on each nail. Use a toothpick to add small dots along the outline to give the rose a textured appearance. Next, use the detailing brush and gold nail polish to create small, thin lines around the rose to give the appearance of petals. Use a toothpick to add small dots around the edges of the petals for added texture. Repeat this process on all of your nails. For the thorns, use a small detailing brush and black nail polish to create small triangle shapes near the base of the rose. Then, use a toothpick to add small lines around the triangles to give them a thorny appearance. Finish off with a top coat for shine and protection. The red and gold color combination adds a touch of luxury and sophistication to the classic rose and thorn nail design.3. Red and Gold Rose and Thorn Nail Design


3. Red and Gold Rose and Thorn Nail Design

If you're a fan of minimalistic and understated nail designs, the simple rose and thorn nail design is perfect for you. This design is easy to create and adds just the right amount of detail to your nails. To achieve this look, start by applying a base coat to protect your nails. Once dry, use a light pink nail polish to create small dots in a circular shape on each nail. Then, using a toothpick, create small lines around the dots to create the petals of the rose. Add a few dots around the edges of the petals for texture. For the thorns, use a small detailing brush and black nail polish to create small triangle shapes near the base of the rose. Then, use a toothpick to add small lines around the triangles to give them a thorny appearance. Finish off with a top coat for shine and protection. This simple rose and thorn nail design is perfect for everyday wear or for those who prefer a more subtle nail look.4. Simple Rose and Thorn Nail Design

4. Simple Rose and Thorn Nail Design


For those who love long and durable nails, the rose and thorn acrylic nail design is a must-try. This design combines the lasting power of acrylic nails with the beauty of the rose and thorn design. To start, visit a professional nail technician to have acrylic nails applied. Once the acrylic nails are in place, choose a light pink or nude nail polish to create the base color. Then, using a small detailing brush and red nail polish, create the outline of a rose on each nail. Use a toothpick to add small dots along the outline for texture. Next, use the detailing brush and red nail polish to create small, thin lines around the rose to give the appearance of petals. Use a toothpick to add small dots around the edges of the petals for added texture. Repeat this process on all of your nails. For the thorns, use a small detailing brush and black nail polish to create small triangle shapes near the base of the rose. Then, use a toothpick to add small lines around the triangles to give them a thorny appearance. Finish off with a top coat for shine and protection. The acrylic nails will not only make your rose and thorn design last longer, but they will also add strength and durability to your nails.5. Rose and Thorn Acrylic Nail Design


5. Rose and Thorn Acrylic Nail Design


For a long-lasting and shiny nail design, try out the rose and thorn gel nail design. This design uses gel polish, which is known for its durability and high shine finish. To start, visit a professional nail technician to have gel nails applied. Once the gel nails are in place, choose a light pink or nude nail polish for the base color. Then, using a small detailing brush and red gel polish, create the outline of a rose on each nail. Use a toothpick to add small dots along the outline for texture. Next, use the detailing brush and red gel polish to create small, thin lines around the rose to give the appearance of petals. Use a toothpick to add small dots around the edges of the petals for added texture. Repeat this process on all of your nails. For the thorns, use a small detailing brush and black gel polish to create small triangle shapes near the base of the rose. Then, use a toothpick to add small lines around the triangles to give them a thorny appearance. Finish off with a top coat for shine and protection. The gel polish will not only make your rose and thorn design last longer, but it will also give your nails a glossy and professional finish.6. Rose and Thorn Gel Nail Design


6. Rose and Thorn Gel Nail Design


The rose and thorn French tip nail design is a modern twist on the classic French manicure. This design adds a touch of elegance to the rose and thorn design, making it perfect for formal occasions. To achieve this look, start by applying a base coat to protect your nails. Once dry, choose a light pink or nude nail polish for the base color. Then, using a small detailing brush and red nail polish, create the outline of a rose on the tips of your nails. Use a toothpick to add small dots along the outline for texture. Next, use the detailing brush and red nail polish to create small, thin lines around the rose to give the appearance of petals. Use a toothpick to add small dots around the edges of the petals for added texture. Repeat this process on all of your nails. For the thorns, use a small detailing brush and black nail polish to create small triangle shapes near the base of the rose. Then, use a toothpick to add small lines around the triangles to give them a thorny appearance. Finish off with a top coat for shine and protection. This French tip design adds a touch of sophistication to the rose and thorn design, making it perfect for weddings, proms, or any formal event.7. Rose and Thorn French Tip Nail Design


7. Rose and Thorn French Tip Nail Design
For those who love bold and daring nail designs, the rose and thorn stiletto nail design is the way to go. This design is perfect for those with long and pointed stiletto nails, as it emphasizes the unique shape of the nails. To start, apply a base coat to protect your nails. Once dry, choose a light pink or nude nail polish for the base color. Then, using a small detailing brush and red nail polish, create the outline of a rose on each nail. Use a toothpick to add small dots along the outline for texture. Next, use the detailing brush and red nail polish to create small, thin lines around the rose to give the appearance of petals. Use a toothpick to add small dots around the edges of the petals for added texture. Repeat this process on all of your nails. For the thorns, use a small detailing brush and black nail polish to create small triangle shapes near the base of the rose. Then, use a toothpick to add small lines around the triangles to give them a thorny appearance. Finish off with a top coat for shine and protection. The stiletto shape adds a touch of edge and drama to the rose and thorn design, making it perfect for a night out or any occasion where you want to make a statement with your nails.8. Rose and Thorn Stiletto Nail Design

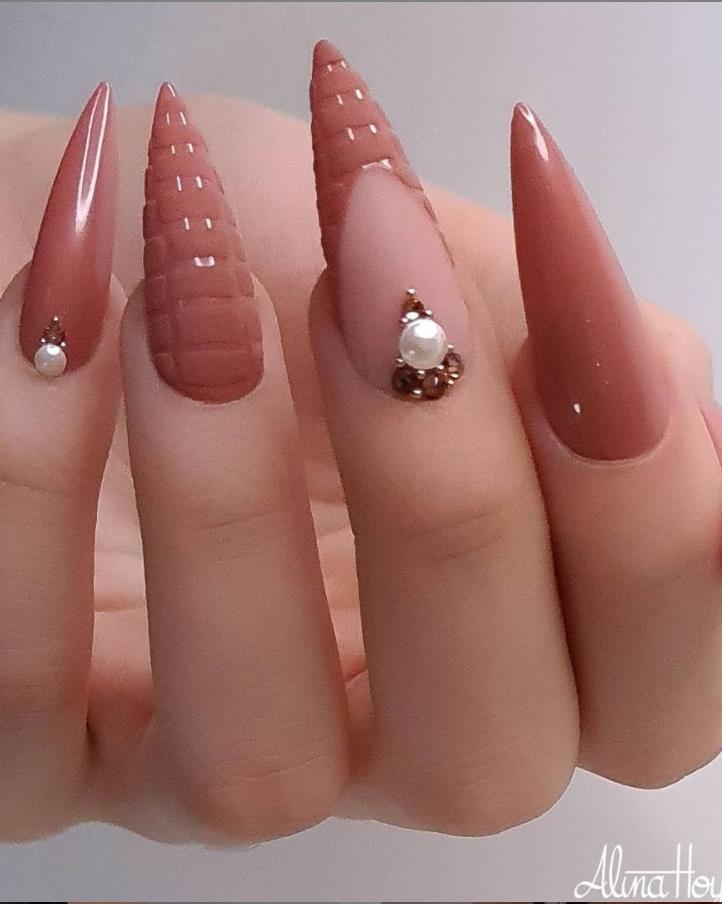
8. Rose and Thorn Stiletto Nail Design


If you're a fan of the ombre trend, you'll love the rose and thorn ombre nail design. This design combines the popular ombre technique with the beautiful rose and thorn design, creating a stunning and unique look. To achieve this design, start by applying a base coat to protect your nails. Once dry, use a light pink or nude nail polish to create the base color. Then, using a sponge, apply a gradient of red nail polish from the tips of the nails to the middle. Use a toothpick to add small dots of red nail polish to the tips to mimic the texture of a rose. Next, use a small detailing brush and red nail polish to create the outline of a rose at the base of the nails. Use a toothpick to add small dots along the outline for texture. Then, use the detailing brush and red nail polish to create small, thin lines around the rose to give the appearance of petals. Add a few dots around the edges of the petals for added texture. For the thorns, use a small detailing brush and black nail polish to create small triangle shapes near the base of the rose. Then, use a toothpick to add small lines around the triangles to give them a thorny appearance. Finish off with a top coat for shine and protection. The ombre effect adds a touch of modernity and trendiness to the classic rose and thorn design.9. Rose and Thorn Ombre Nail Design


9. Rose and Thorn Ombre Nail Design


The rose and thorn matte nail design is perfect for those who prefer a more subtle and understated look. The matte finish adds a touch of elegance and sophistication to the rose and thorn design. To achieve this design, start by applying a base coat to protect your nails. Once dry, choose a light pink or nude nail polish for the base color. Then, using a small detailing brush and black matte nail polish, create the outline of a rose on each nail. Use a toothpick to add small dots along the outline for texture. Next, use the detailing brush and black matte nail polish to create small, thin lines around the rose to give the appearance of petals. Use a toothpick to add small dots around the edges of the petals for added texture. Repeat this process on all of your nails. For the thorns, use a small detailing brush and black matte nail polish to create small triangle shapes near the base of the rose. Then, use a toothpick to add small lines around the triangles to give them a thorny appearance. Finish off with a matte top coat for a smooth and elegant finish. The matte finish adds a touch of sophistication to the classic rose and thorn design, making it perfect for any occasion.10. Rose and Thorn Matte Nail Design

10. Rose and Thorn Matte Nail Design

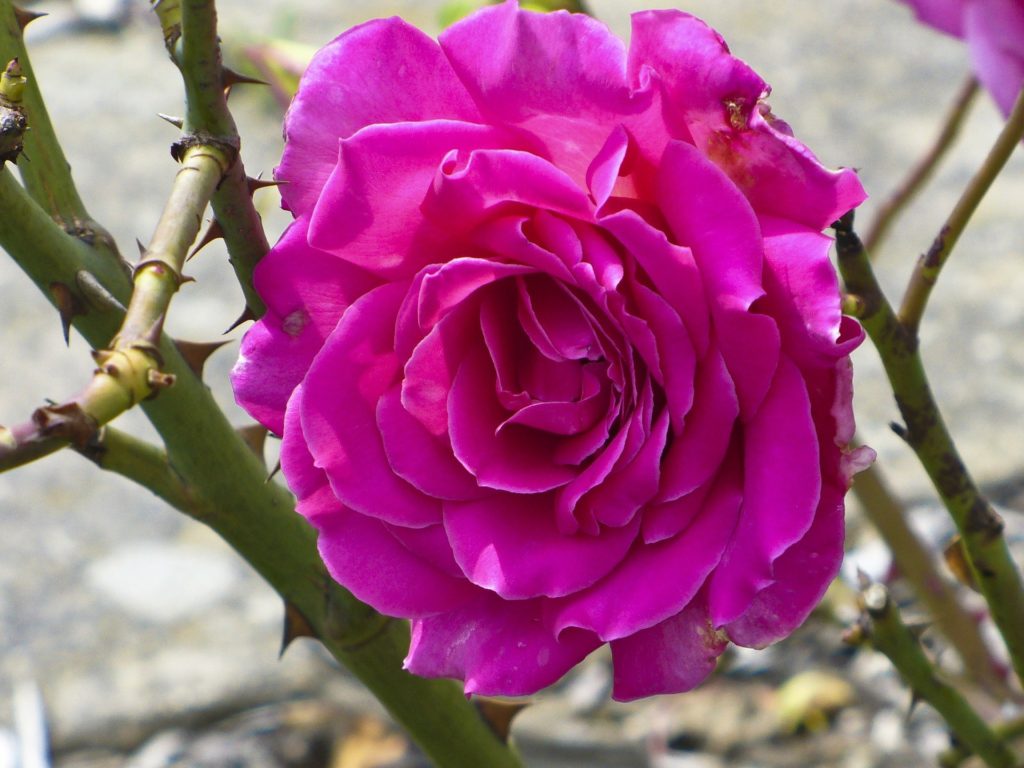
The Beauty of Rose and Thorn Nail Design

Introducing a Unique and Elegant House Design Trend
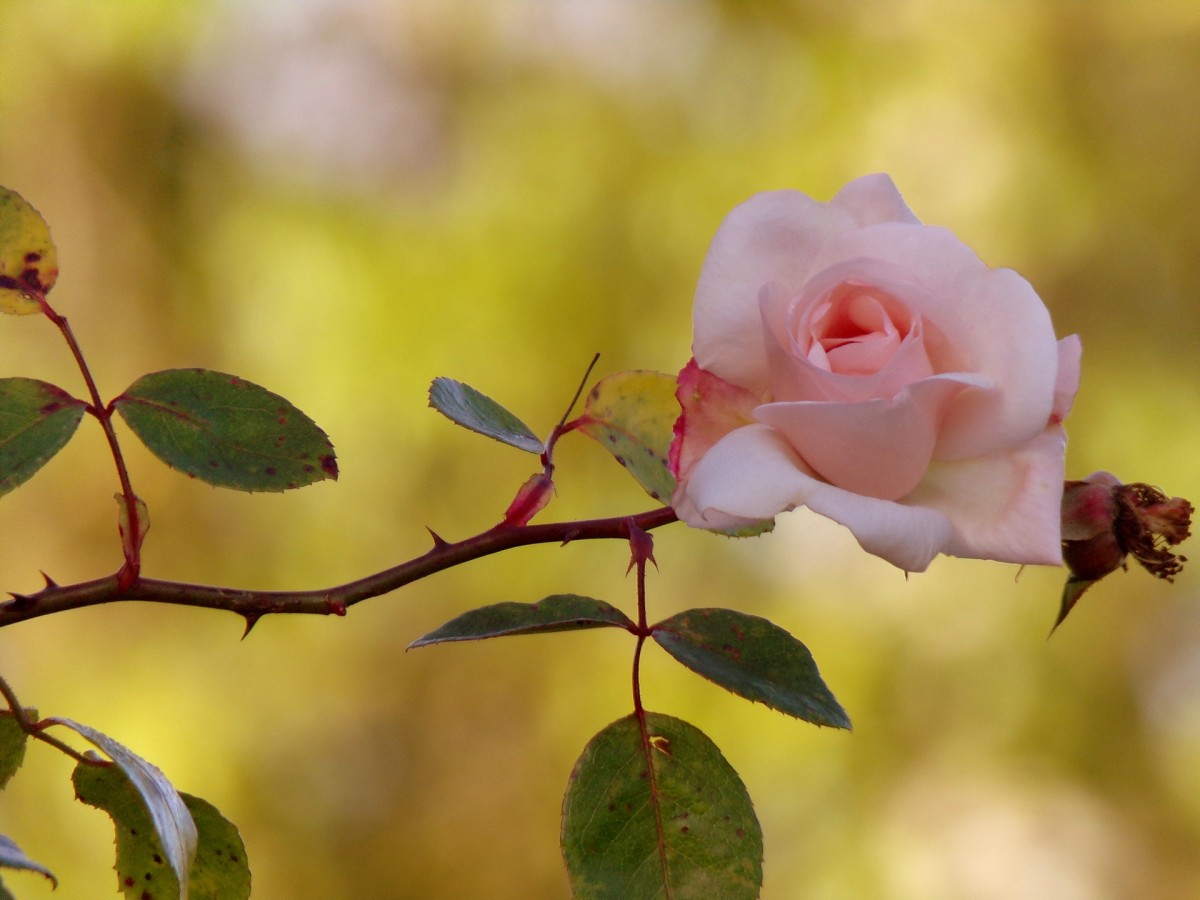
 The world of nail art is constantly evolving, with new trends and designs emerging every day. One such trend that has taken the beauty industry by storm is the rose and thorn nail design. This unique and elegant design has captured the hearts of many, and it's not hard to see why. The combination of delicate rose petals and sharp thorns creates a striking contrast that exudes both femininity and strength. Whether you're a fan of minimalist designs or bold statement looks, the rose and thorn nail design has something for everyone. Let's take a closer look at this trend and discover how you can incorporate it into your own home design.
The Symbolism Behind the Design
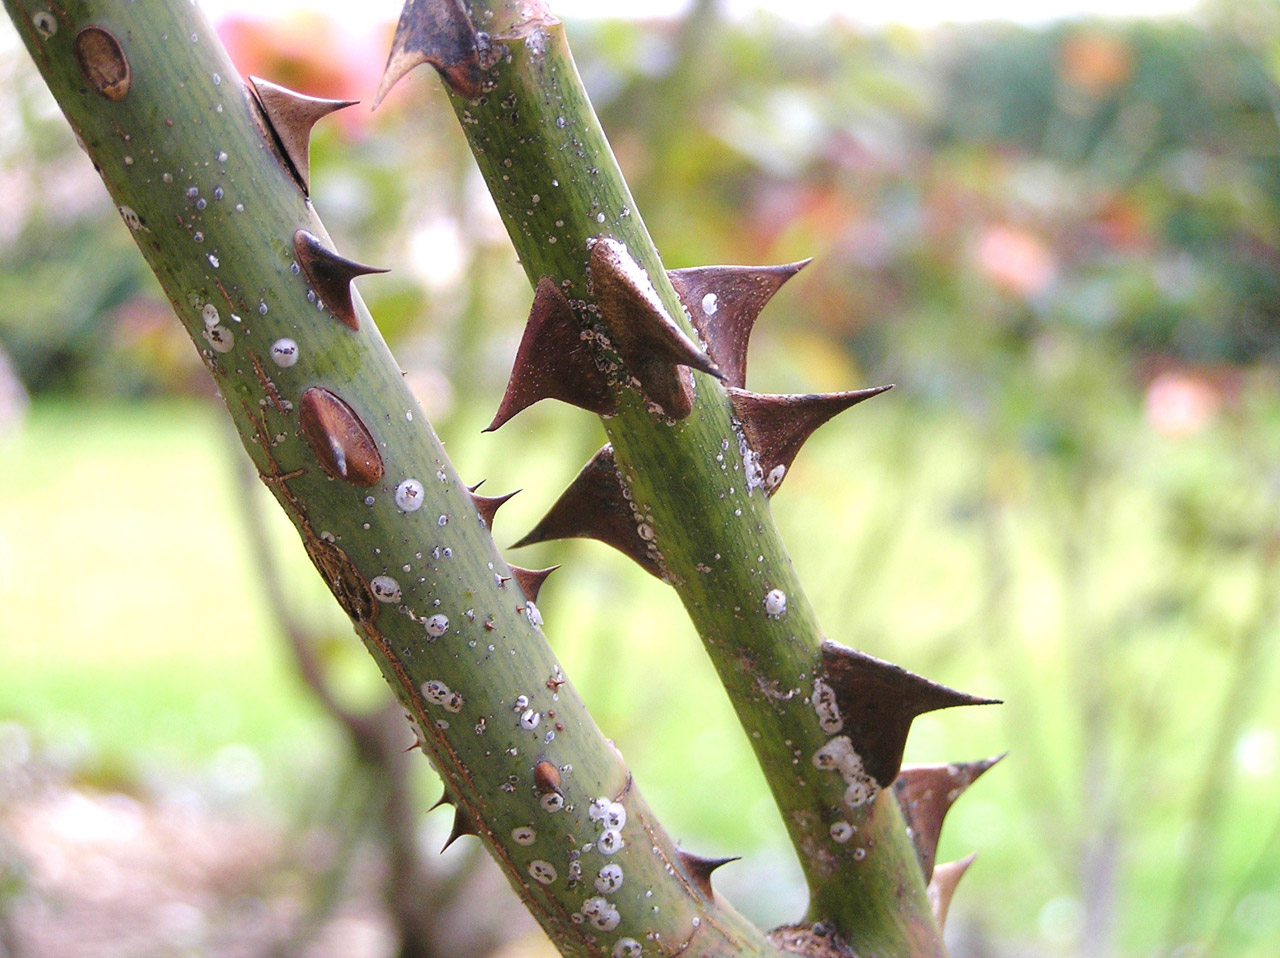
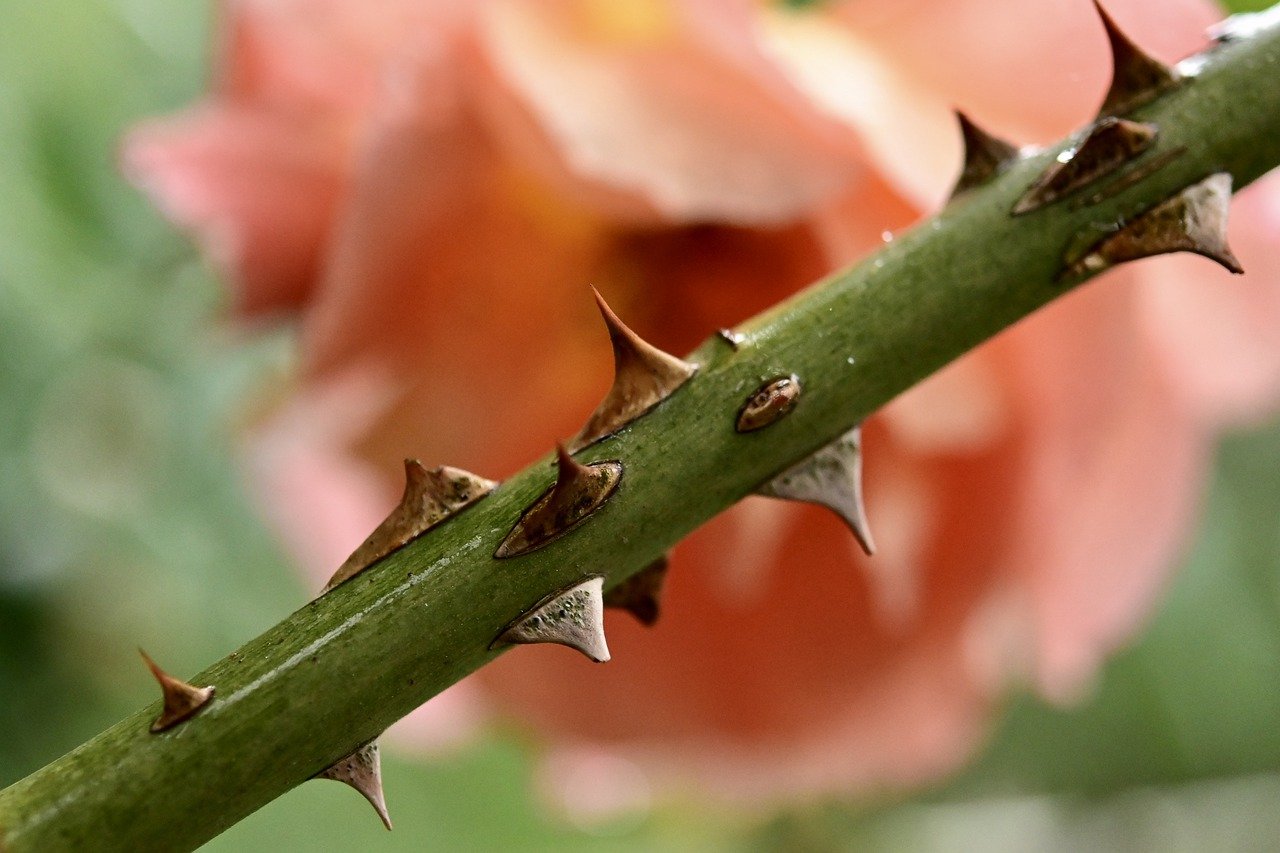 The rose and thorn design is not just visually appealing, but it also carries a deeper meaning. The rose is often associated with love, beauty, and passion, while the thorn symbolizes protection and resilience. When combined, these elements create a powerful message of balance and strength. This is why many homeowners are drawn to this design, as it reflects their personal values and beliefs. Not only does it add a touch of sophistication to any space, but it also serves as a reminder of the importance of finding balance in life.
Incorporating the Design into Your Home
 One of the great things about the rose and thorn nail design is its versatility. It can be incorporated into various aspects of your home, from walls and furniture to small decorative accents. For a subtle touch, consider painting a feature wall with a delicate rose and thorn design, or add a statement piece of furniture with this pattern. If you're feeling bold, you can even opt for a full rose and thorn wallpaper for a dramatic and eye-catching look. For a more understated approach, choose small decorative items such as candles, cushions, or artwork with this design to add a touch of elegance to any room.
In Conclusion
The rose and thorn nail design is more than just a trend; it's a symbol of balance, strength, and beauty. By incorporating this design into your home, you not only add a touch of sophistication and elegance, but you also infuse your space with a powerful message. So why not give this trend a try and see how it can transform your home into a beautiful and meaningful sanctuary. With its timeless appeal and versatile nature, the rose and thorn nail design is here to stay and will continue to inspire homeowners for years to come.
One of the great things about the rose and thorn nail design is its versatility. It can be incorporated into various aspects of your home, from walls and furniture to small decorative accents. For a subtle touch, consider painting a feature wall with a delicate rose and thorn design, or add a statement piece of furniture with this pattern. If you're feeling bold, you can even opt for a full rose and thorn wallpaper for a dramatic and eye-catching look. For a more understated approach, choose small decorative items such as candles, cushions, or artwork with this design to add a touch of elegance to any room.
In Conclusion
The rose and thorn nail design is more than just a trend; it's a symbol of balance, strength, and beauty. By incorporating this design into your home, you not only add a touch of sophistication and elegance, but you also infuse your space with a powerful message. So why not give this trend a try and see how it can transform your home into a beautiful and meaningful sanctuary. With its timeless appeal and versatile nature, the rose and thorn nail design is here to stay and will continue to inspire homeowners for years to come.


