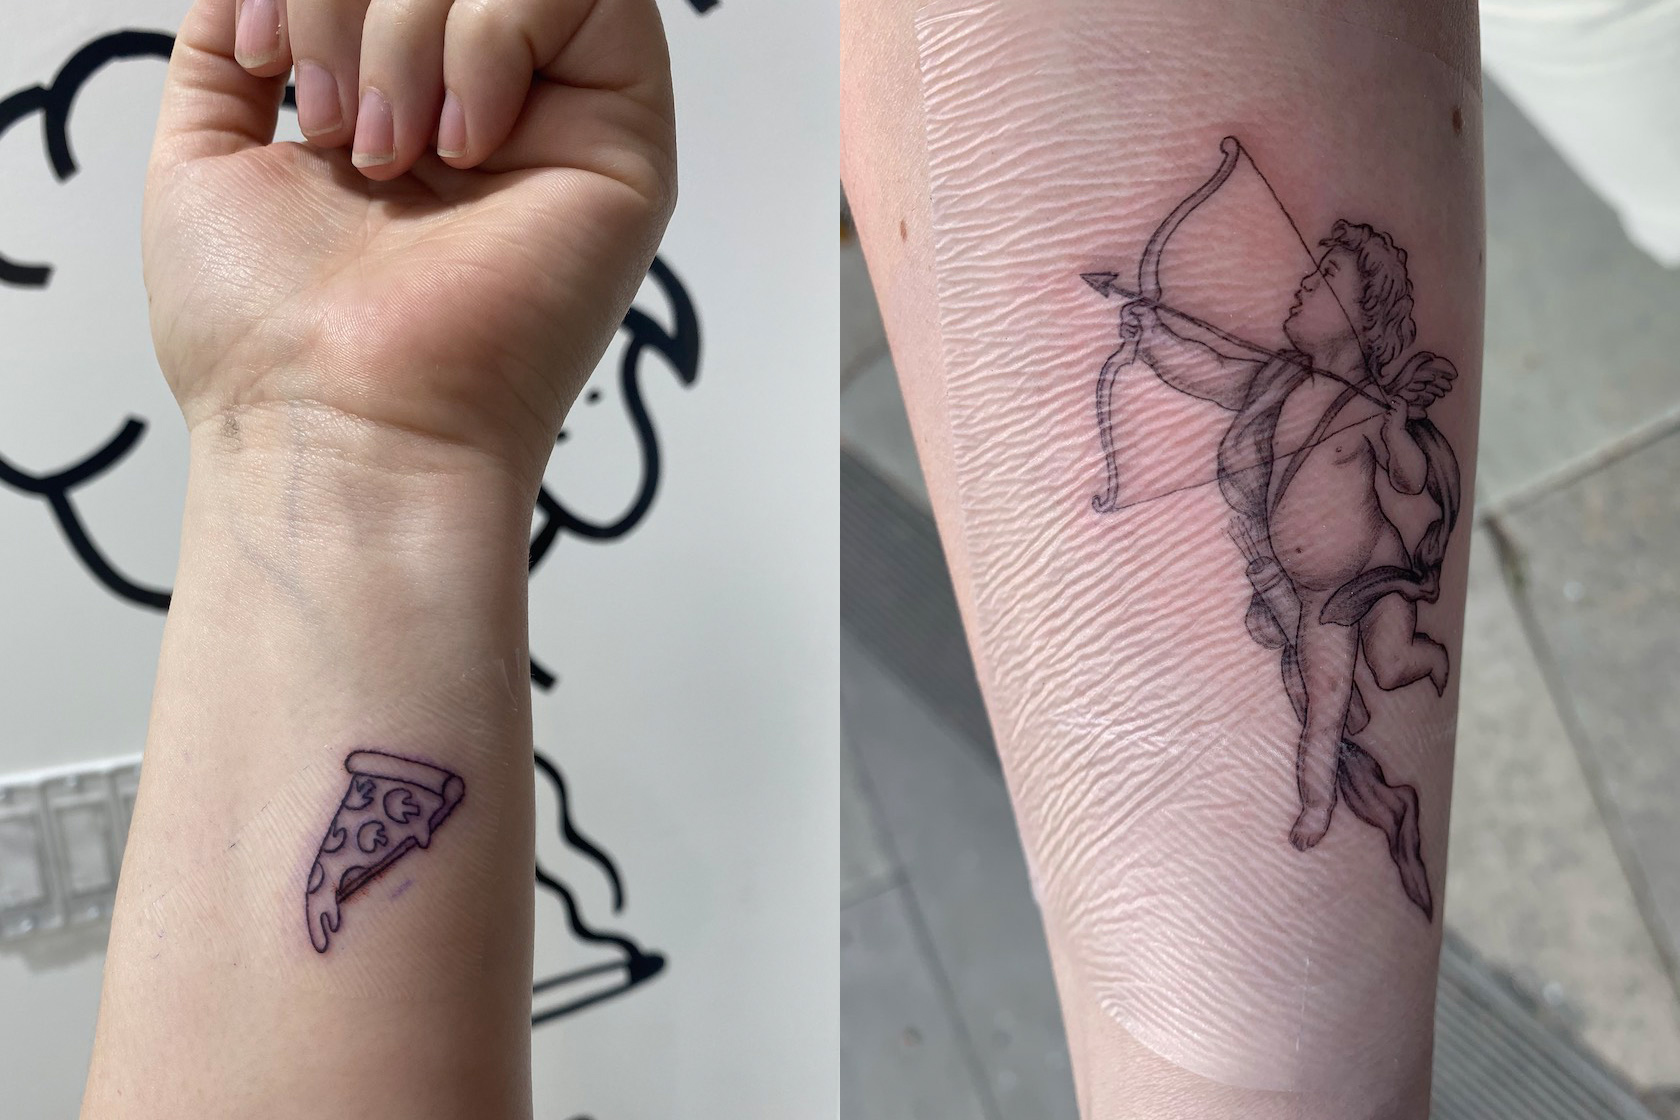
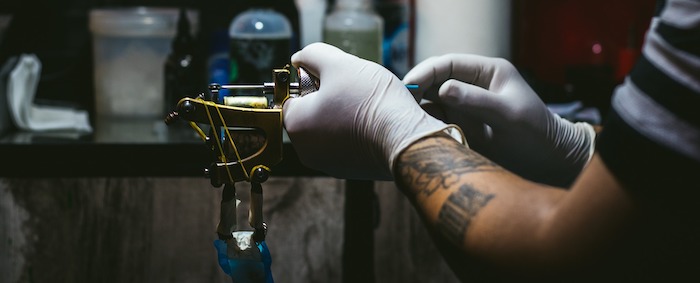
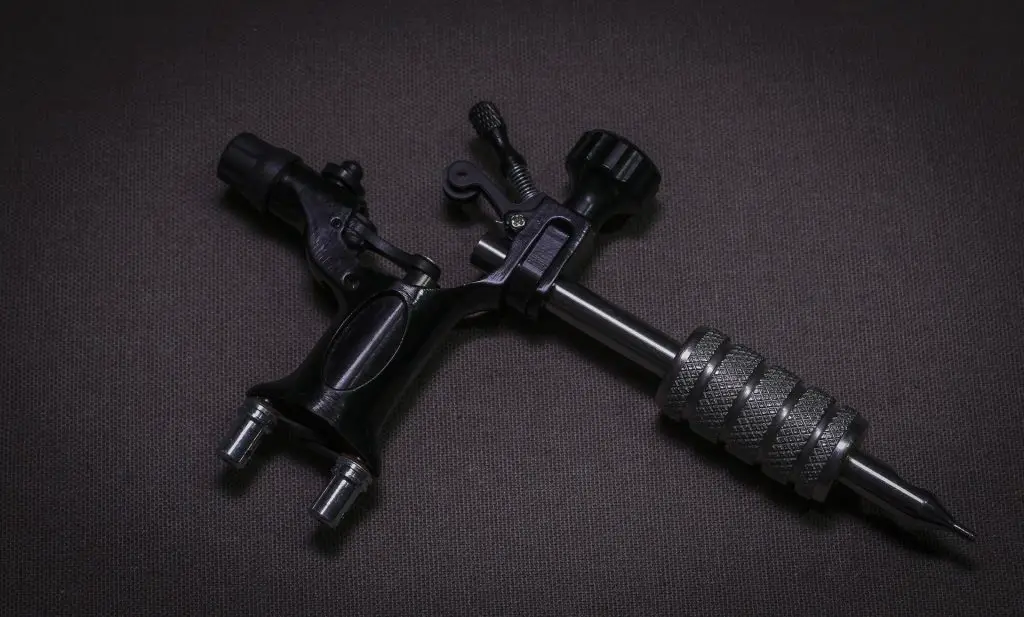
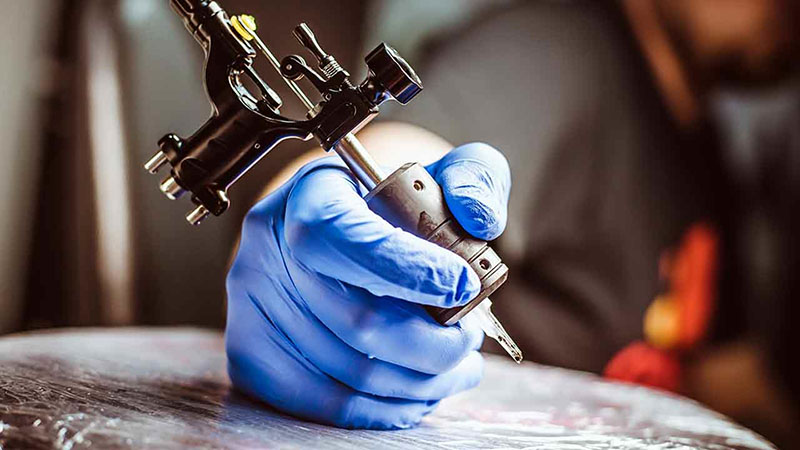
Setting up a tattoo gun properly is crucial for any tattoo artist, whether you’re a beginner or a seasoned pro. A well-functioning tattoo gun is essential for creating clean and precise lines, and ensuring a comfortable experience for both the artist and the client. If you’re new to tattooing, the process of setting up a tattoo gun may seem intimidating, but fear not – we’ve got you covered with this step-by-step guide on how to set up a tattoo gun.How to Set Up a Tattoo Gun: A Step-by-Step Guide


How to Set Up a Tattoo Gun: A Step-by-Step Guide

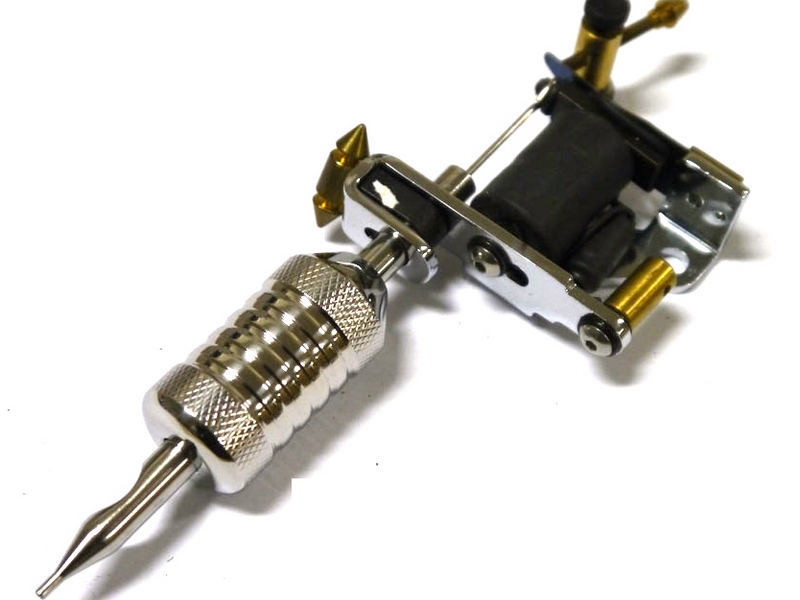

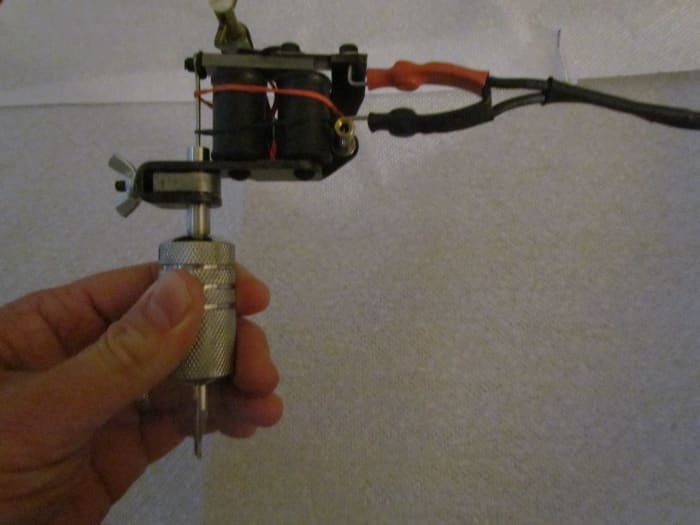
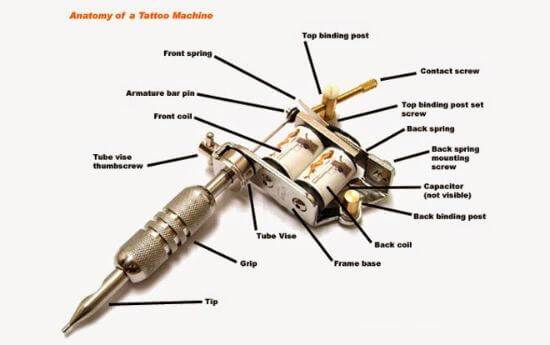
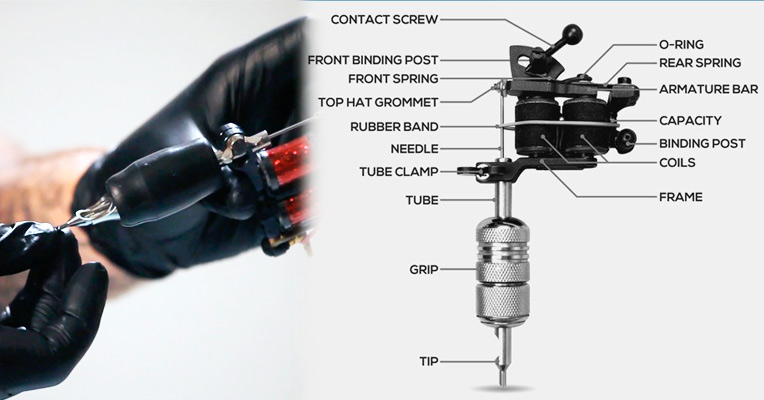
As a beginner, it’s important to take your time and familiarize yourself with all the components of a tattoo gun before attempting to set it up. This will help you understand the purpose of each part and how it contributes to the overall functioning of the machine. Take apart your tattoo gun and study each component, paying special attention to the needle and tube setup, as this is where most mistakes are made during the setup process.Tattoo Gun Setup: Tips and Tricks for Beginners

Tattoo Gun Setup: Tips and Tricks for Beginners

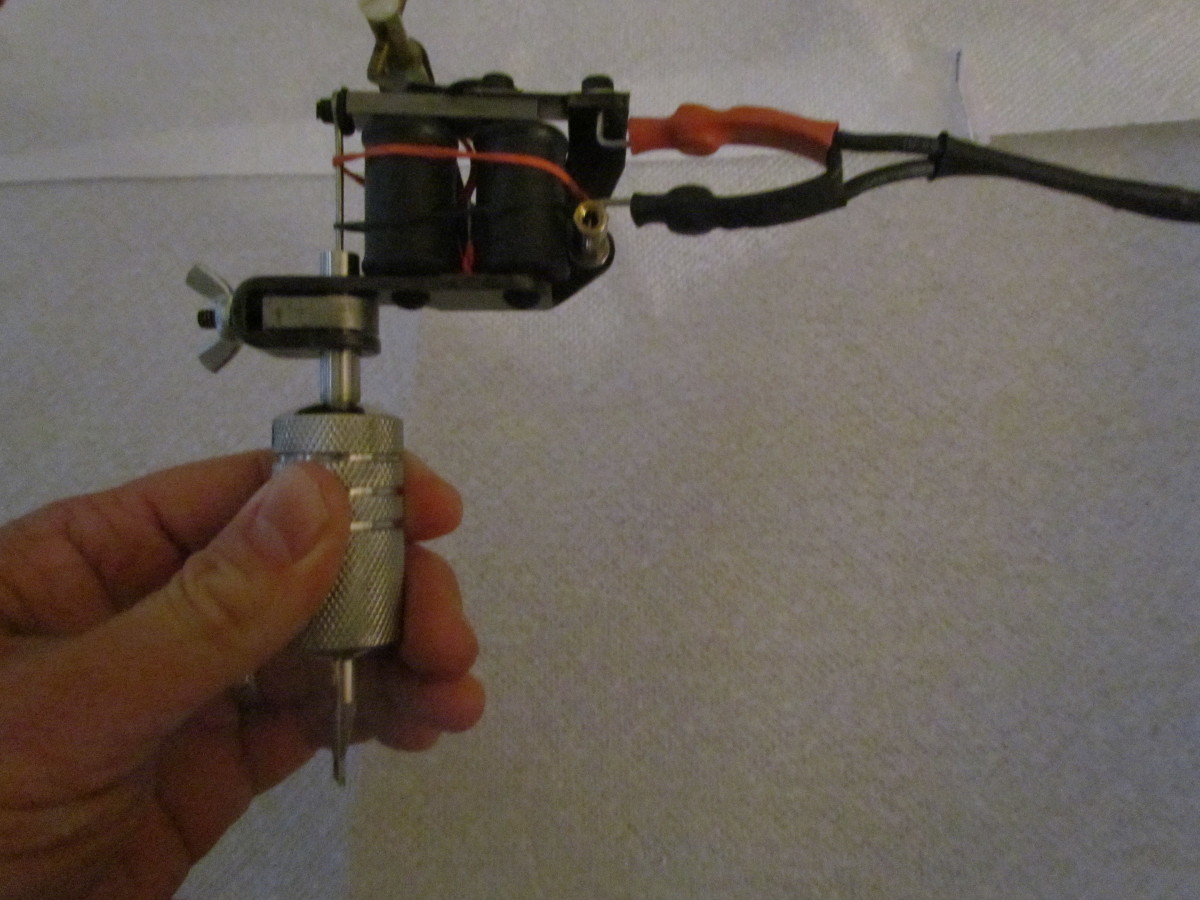

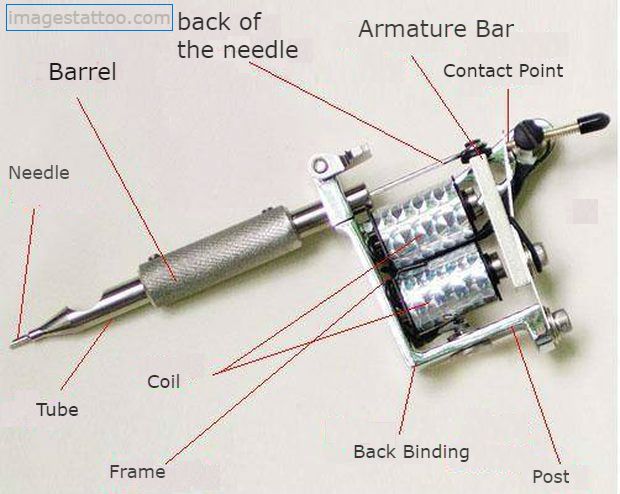


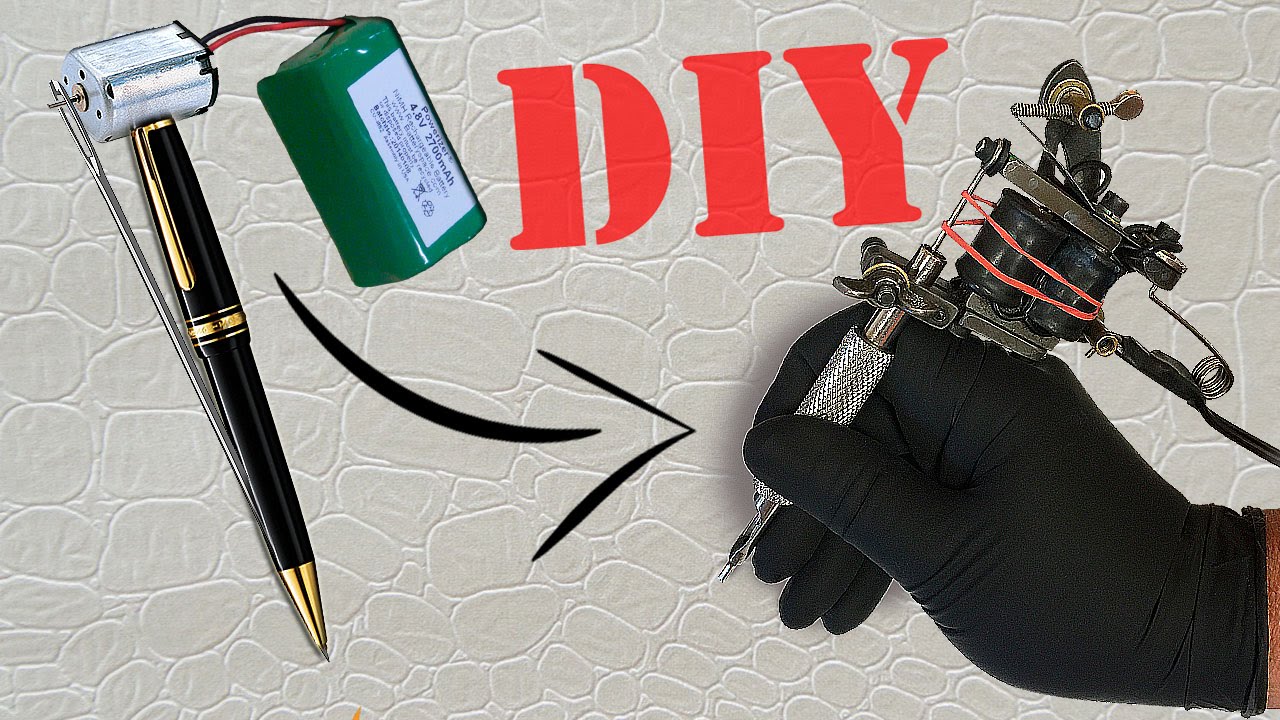
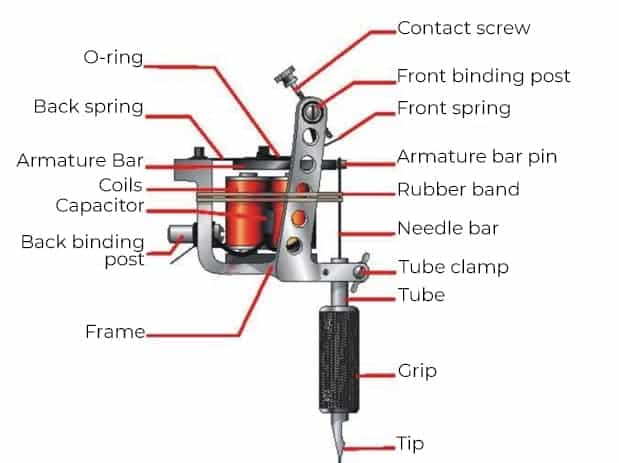
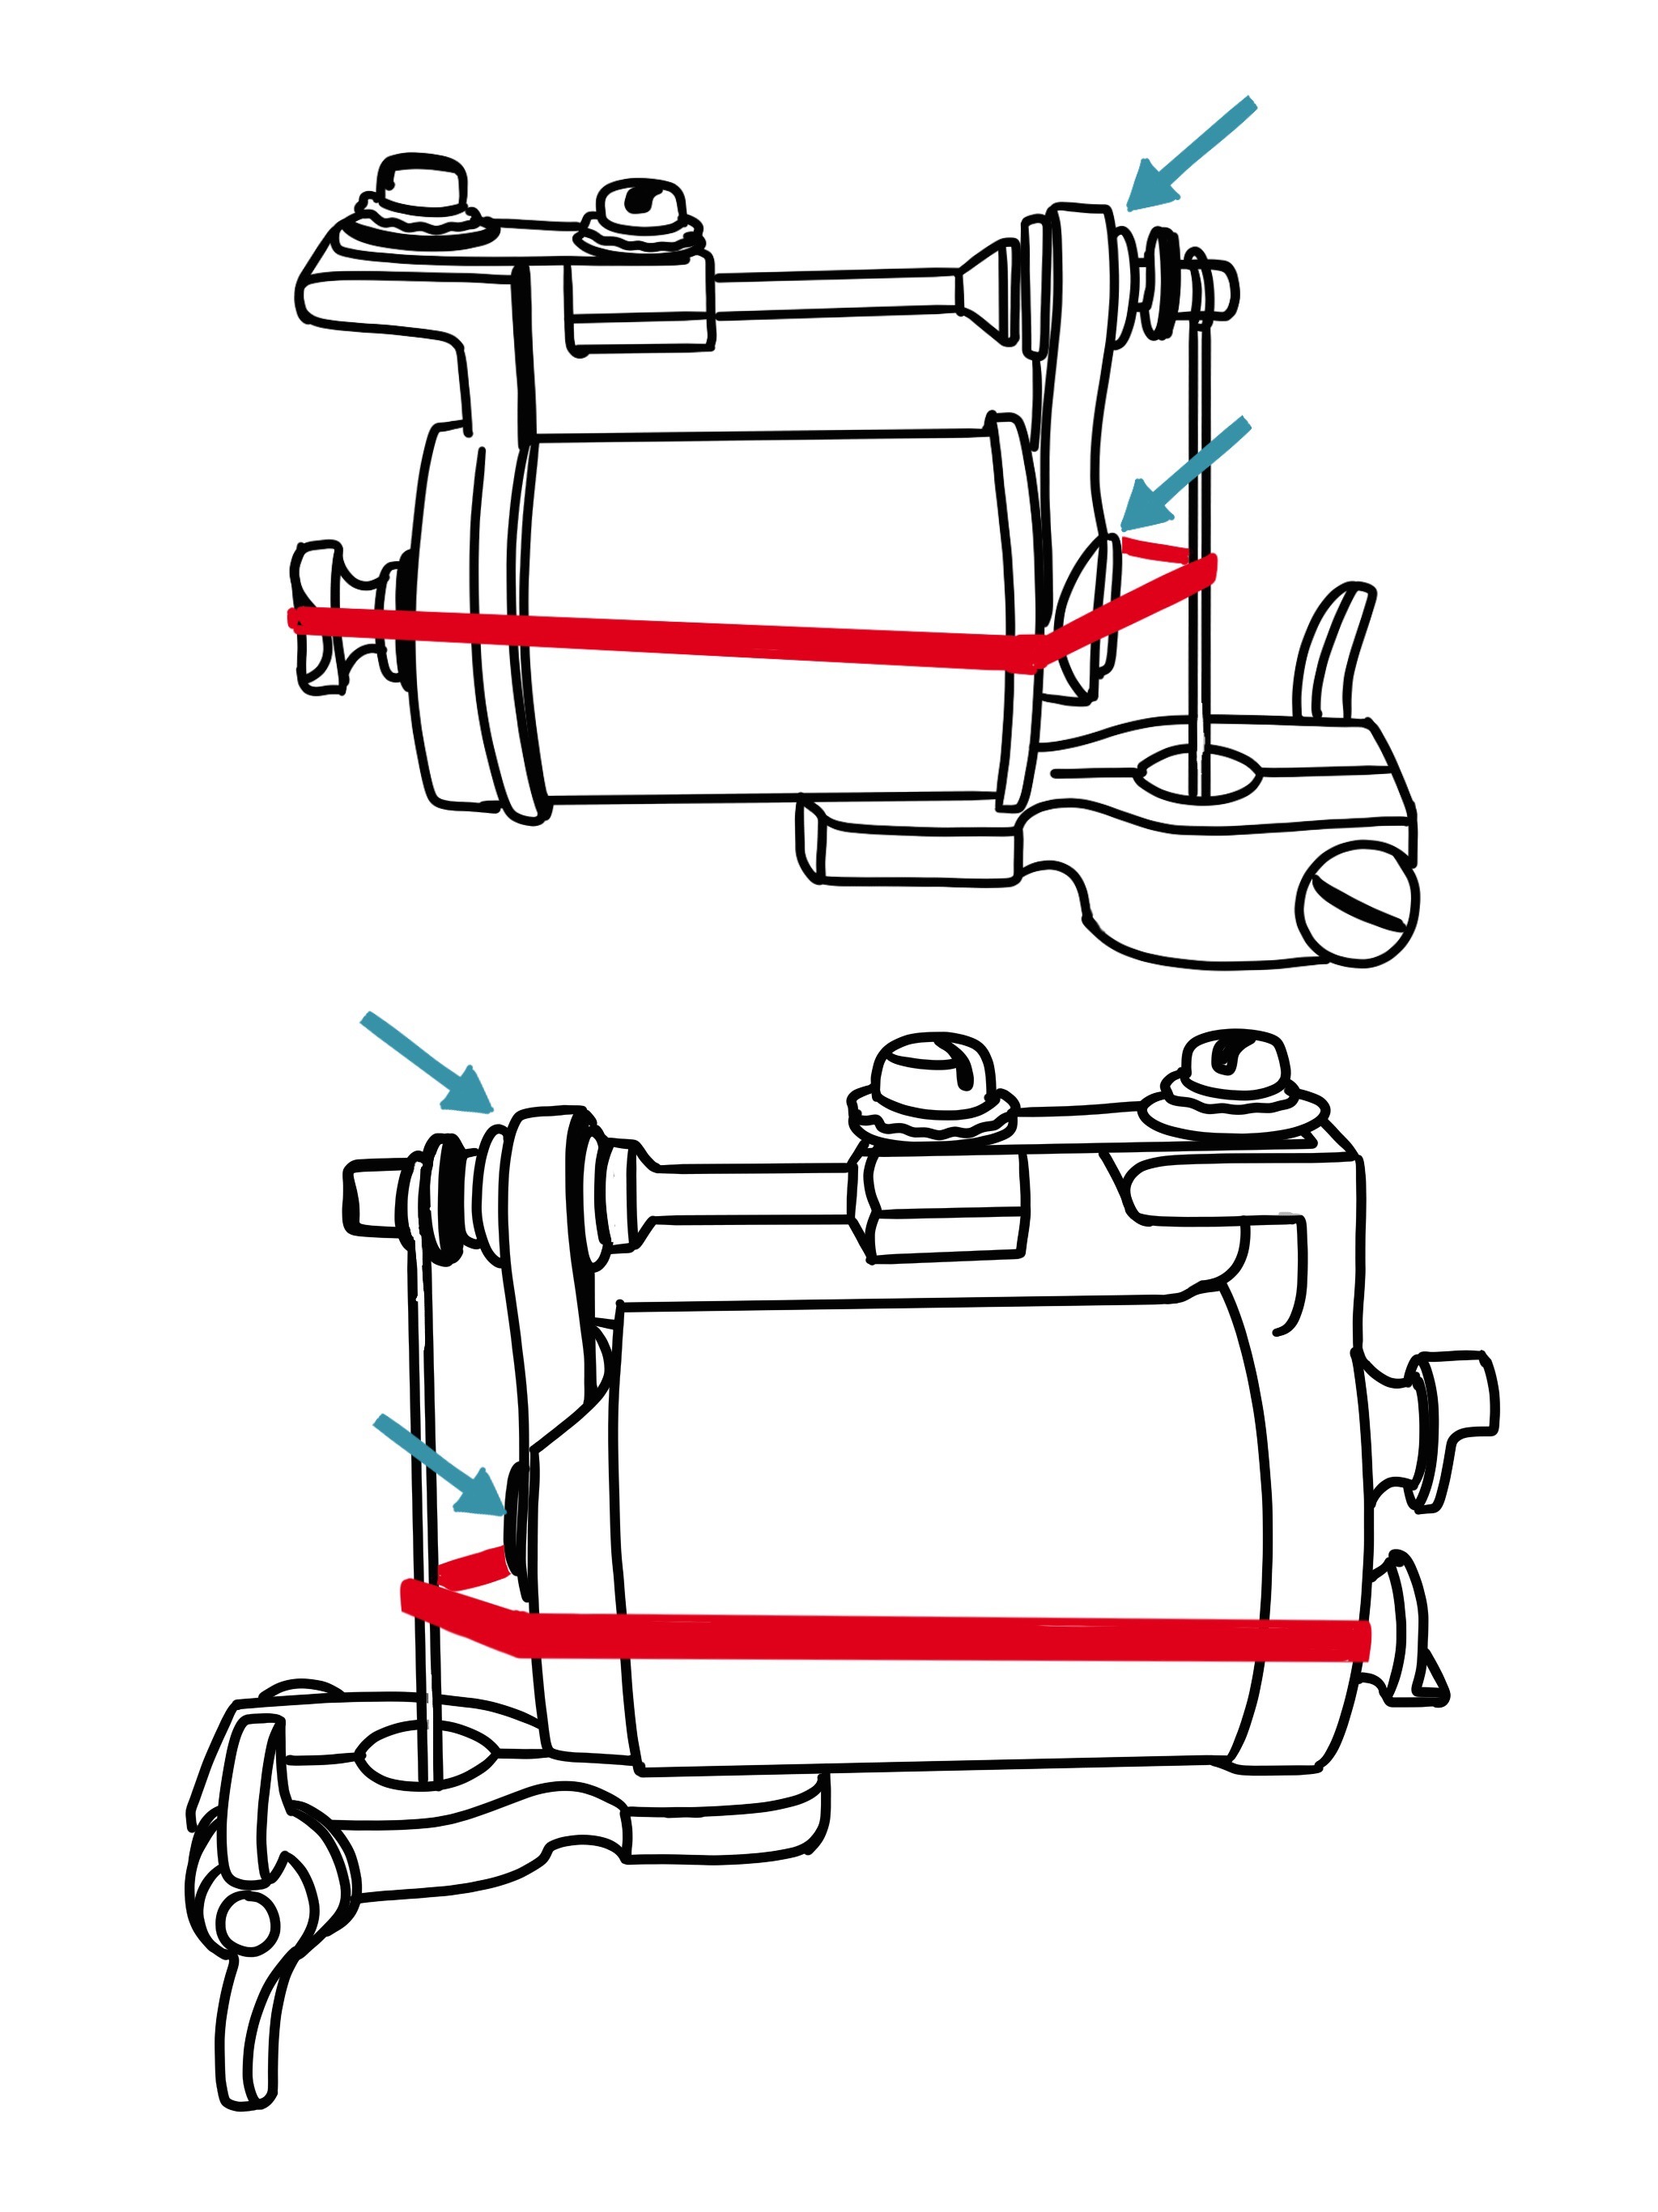
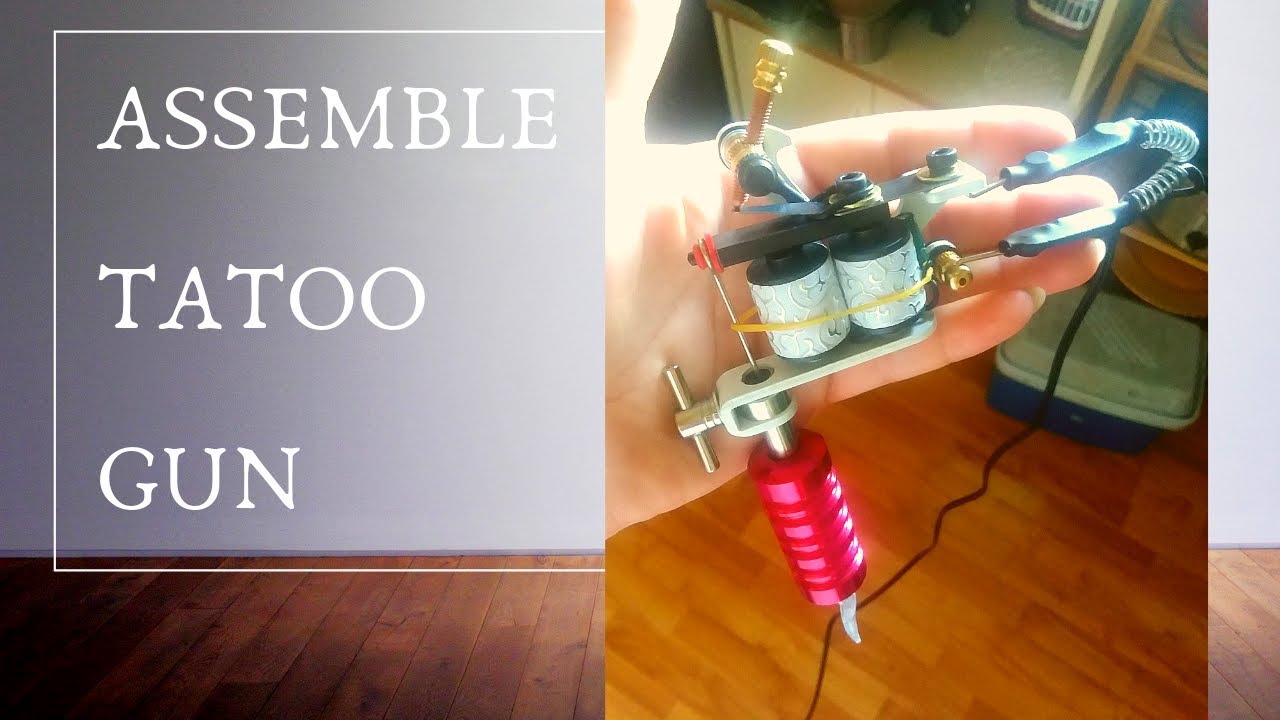
Now that you have a good understanding of the parts of a tattoo gun, let’s dive into the step-by-step process of setting it up. First, make sure you have a clean and well-lit workspace. You’ll also need some rubbing alcohol, paper towels, and gloves to ensure proper hygiene during the setup process. The first step is to attach the needle to the tube. Most tattoo needles come in individual packaging, so make sure you have the right needle size and configuration for your design. Once you have the needle, insert it into the tube and secure it tightly. Then, attach the tube to the tattoo gun by twisting it onto the armature bar. Next, you’ll need to fill the ink caps with your chosen tattoo ink. Use a dropper or a disposable cup to transfer the ink into the caps, making sure to use a separate cap for each color. Place the ink caps within reach of your workspace. Now it’s time to assemble the rest of the tattoo gun. Attach the tube and needle setup to the front of the gun, and secure it with the tube clamp. Then, attach the rubber bands to the armature bar and needle, keeping them in place and providing tension for the needle to move up and down. Finally, it’s time to test the machine. Connect the clip cord to the tattoo gun and the power supply, and turn on the power. Use the foot pedal to activate the machine and check the movement of the needle. If everything is working correctly, you’re ready to start tattooing.Setting Up Your Tattoo Machine: A Comprehensive Guide


Setting Up Your Tattoo Machine: A Comprehensive Guide


There are a few key things to keep in mind when setting up your tattoo gun. First, always make sure to use new, sterile needles for each client. This ensures the safety and hygiene of your clients and prevents the spread of any infections or diseases. Another important aspect is the tension of the needle. The needle should be tight enough to move smoothly but not so tight that it causes the machine to overheat. Adjust the tension as needed based on your machine’s performance. It’s also important to sterilize your tattoo gun and all its components before and after each use. This helps prevent the spread of bacteria and ensures a safe and clean environment for your clients.Tattoo Gun Setup: What You Need to Know

Tattoo Gun Setup: What You Need to Know

Proper tattoo gun setup is crucial for creating high-quality and safe tattoos. A poorly set up machine can result in uneven lines, bleeding, and even cause damage to the skin. Taking the time to set up your tattoo gun correctly will not only improve the quality of your work but also help establish a good reputation as a professional tattoo artist. Additionally, a well-maintained tattoo machine will last longer and save you money in the long run. Regularly cleaning and sterilizing your machine will prevent it from breaking down and needing costly repairs.The Importance of Proper Tattoo Gun Setup

The Importance of Proper Tattoo Gun Setup

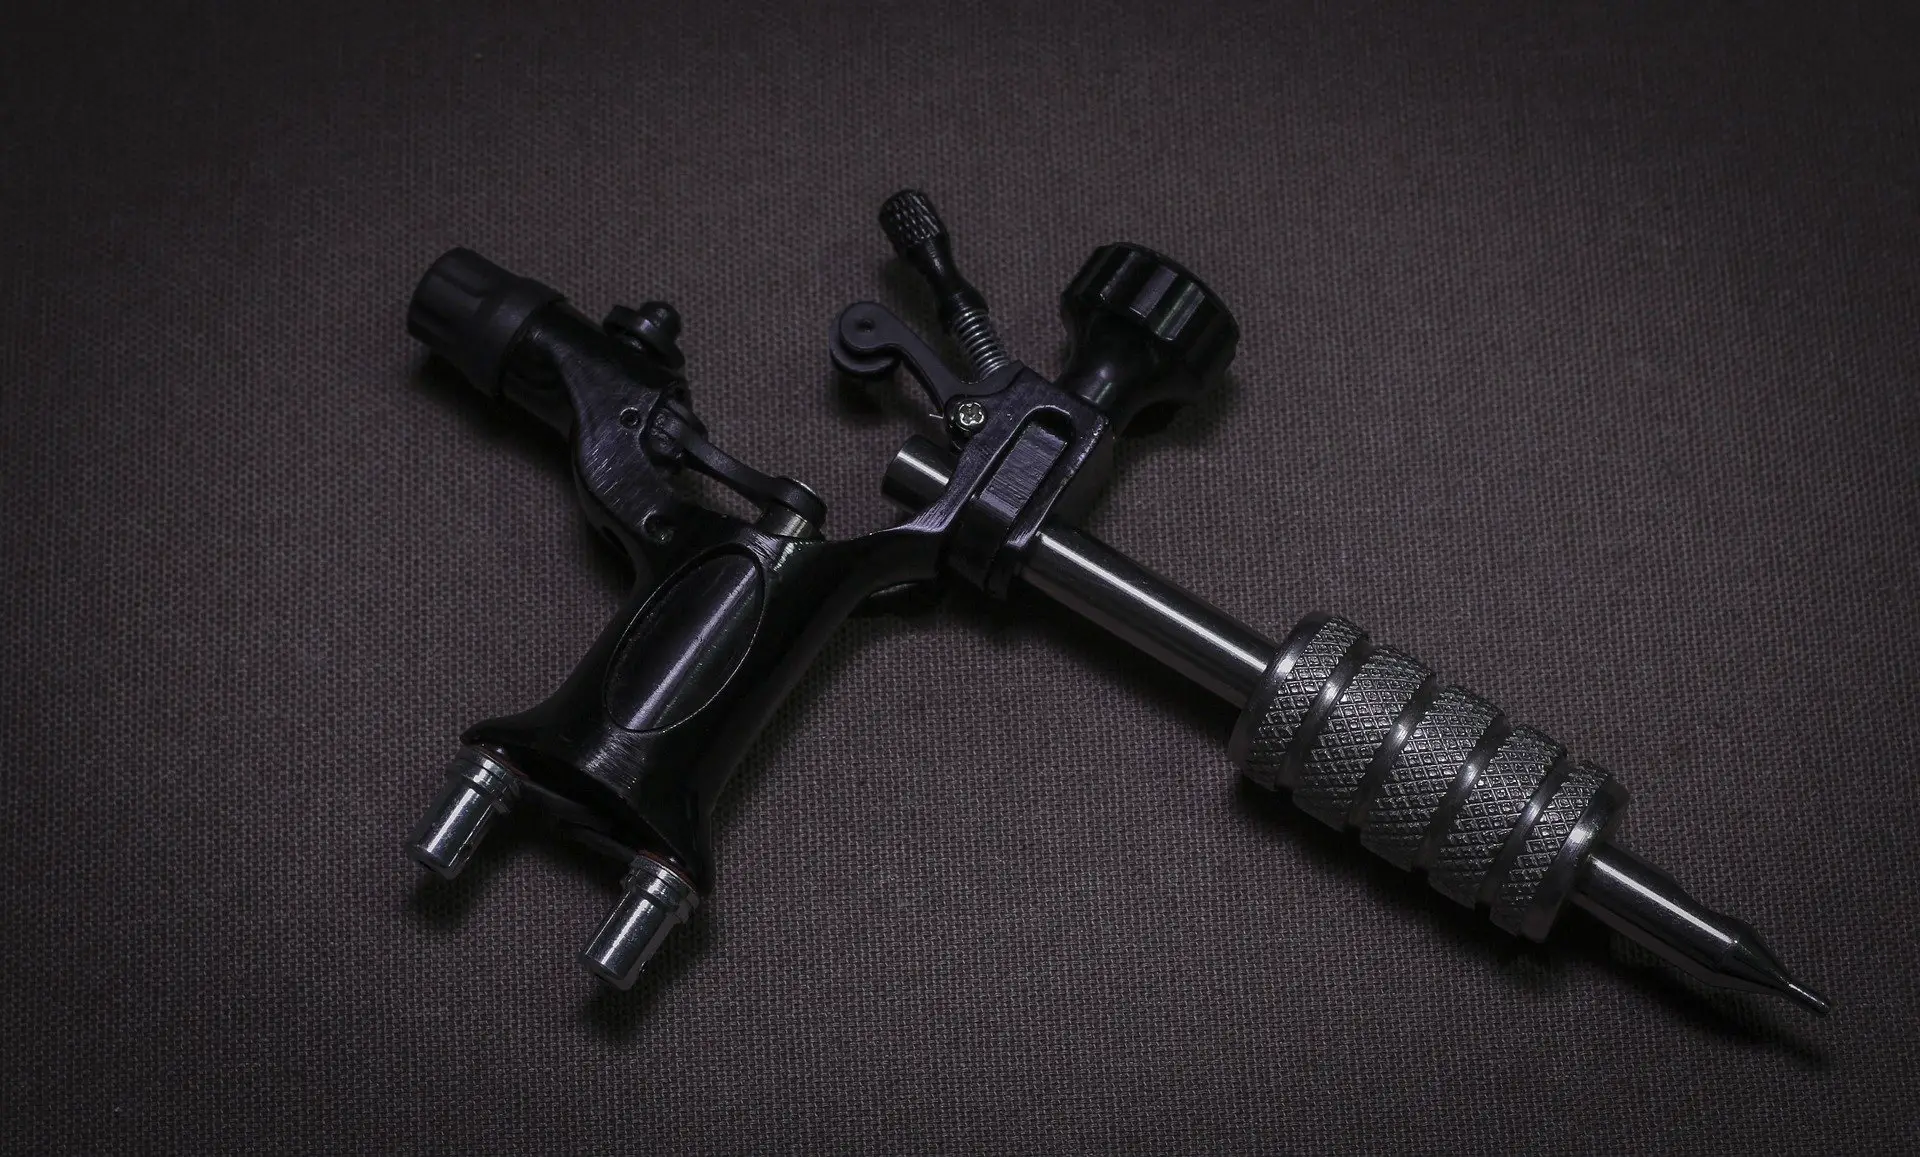
While setting up a tattoo gun may seem straightforward, there are some common mistakes that beginners make that can affect the quality of their work. These include not tightening the needle and tube setup enough, using dirty or damaged needles, and not properly sterilizing the machine. It’s also essential to make sure the needle is the right size and configuration for your design. Using the wrong needle can lead to a messy and uneven tattoo.Tattoo Gun Setup: Common Mistakes to Avoid
_p.jpg)
Tattoo Gun Setup: Common Mistakes to Avoid
To summarize, here is a step-by-step guide to setting up your tattoo gun: 1. Familiarize yourself with all the components of the tattoo gun. 2. Clean and sterilize your workspace, hands, and all equipment. 3. Attach the needle to the tube, then attach the tube to the tattoo gun. 4. Fill the ink caps with your chosen tattoo ink. 5. Attach the rubber bands to the armature bar and needle. 6. Test the machine to make sure it’s working correctly.Step-by-Step Guide to Setting Up Your Tattoo Gun


Step-by-Step Guide to Setting Up Your Tattoo Gun
Aside from the tattoo gun and needles, there are a few other tools and supplies you’ll need for proper setup and maintenance. These include rubbing alcohol, paper towels, gloves, ink caps, ink, and rubber bands. It’s also a good idea to have spare parts on hand in case of any malfunctions.Tattoo Gun Setup: Essential Tools and Supplies


Tattoo Gun Setup: Essential Tools and Supplies


If you encounter any issues with your tattoo gun during setup, don’t panic. Here are a few troubleshooting tips: - If the needle is not moving, check the tension and make sure it’s not too tight. - If the needle is moving inconsistently, check for any loose components and tighten them if needed. - If the machine is overheating, try adjusting the voltage on your power supply.Tattoo Gun Setup: Troubleshooting Tips

Tattoo Gun Setup: Troubleshooting Tips

Finally, to ensure your tattoo gun is functioning at its best, it’s important to regularly clean and maintain it. After each use, disassemble the machine and sterilize all parts with rubbing alcohol. Check for any wear and tear on the components and replace them as needed. By following these tips and properly setting up your tattoo gun, you’ll be on your way to creating stunning and safe tattoos for your clients. Remember to always prioritize hygiene and safety, and never stop practicing and honing your skills as a tattoo artist. Happy tattooing!How to Set Up a Tattoo Gun for Optimal Performance

How to Set Up a Tattoo Gun for Optimal Performance


Steps to Set Up a Tattoo Gun
Step 1: Gather Your Supplies
 To set up your tattoo gun, you will need the following supplies: a tattoo gun, needles, ink, gloves, rubbing alcohol, green soap, paper towels, and a power supply. Make sure all your supplies are clean and in good condition before starting.
Step 2: Assemble the Tattoo Gun
 Start by attaching the appropriate needle to the tattoo gun. Use a small needle for outlines and a larger needle for shading and filling. Next, attach the tube to the back of the gun and make sure it is secure. Then, screw on the grip to the front of the gun.
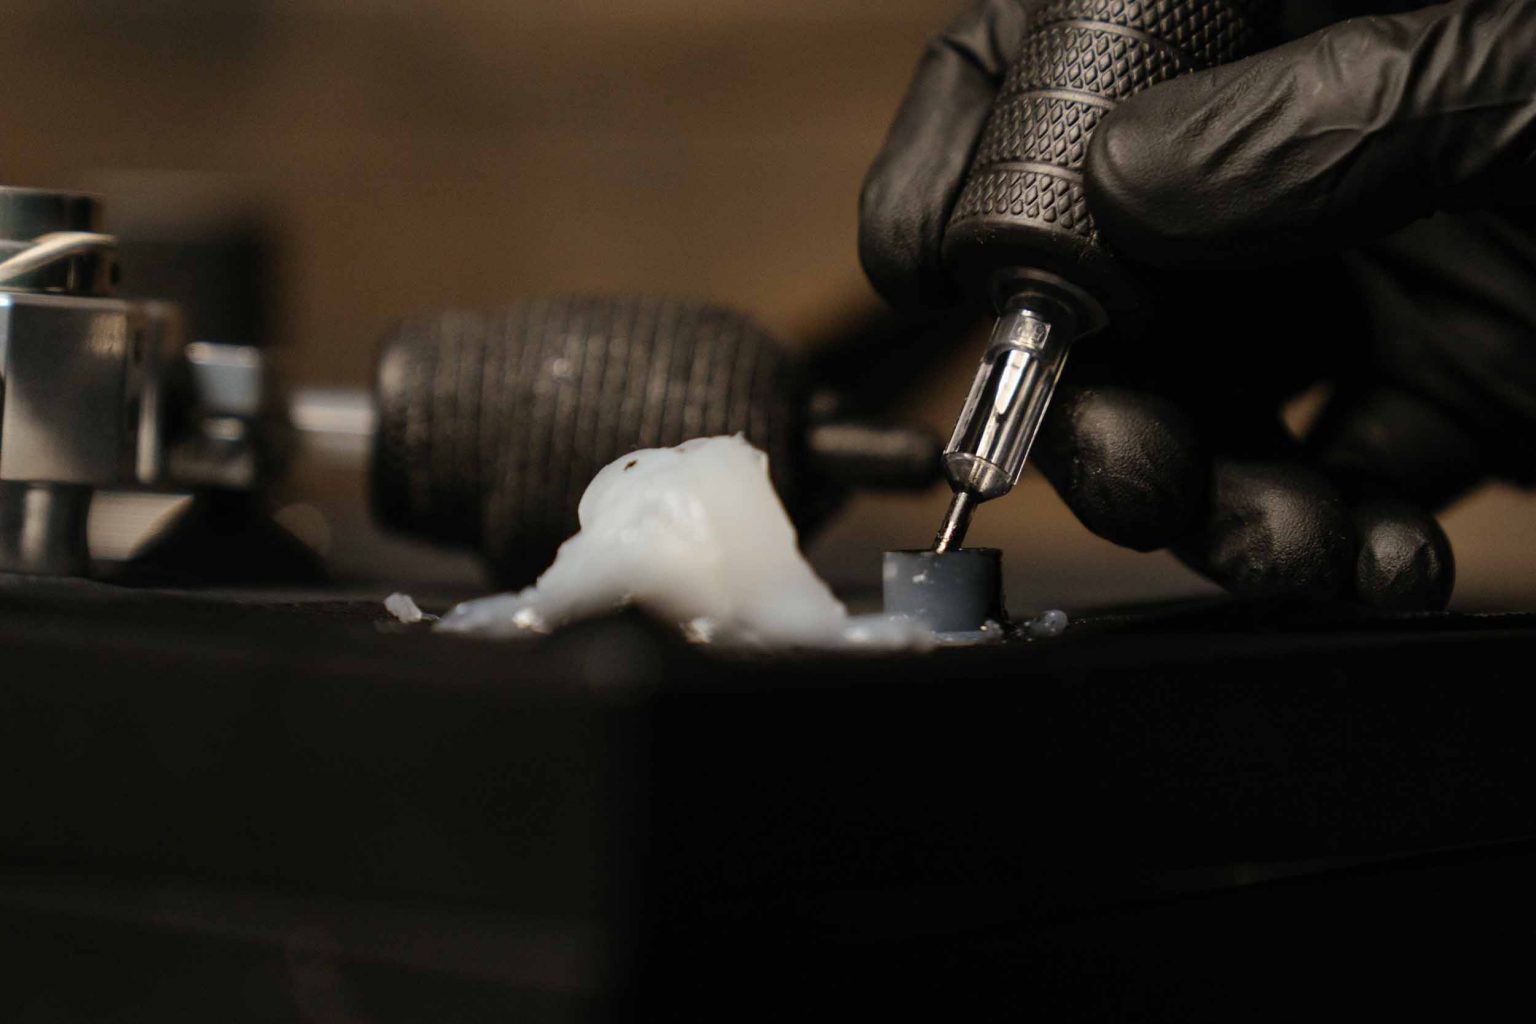
Step 3: Prepare the Ink
 Before loading the ink into the gun, make sure to shake the bottle well to ensure the color is evenly mixed. Then, carefully pour a small amount of ink into a disposable ink cup. Fill the cup about three-quarters full to avoid overflowing.
Step 4: Adjust the Power Supply
 Plug in the power supply and turn it on. The power supply controls the speed and intensity of the needle. Adjust the settings according to your preference and the type of tattoo you are creating.
Step 5: Sanitize Your Work Area
 It is essential to maintain a clean and sterile work environment when dealing with tattoos. Use gloves and wipe down your work area with rubbing alcohol. Keep green soap and paper towels nearby for cleaning the skin during the tattooing process.
Step 6: Test the Tattoo Gun
 Before starting on a client, test the tattoo gun on a piece of fruit or practice skin. This will help you get a feel for the gun and make any necessary adjustments before tattooing on skin.
Once you have completed these steps, you are ready to start tattooing!
Remember to always use clean needles and supplies and to dispose of them properly after each use. With proper setup and technique, you can create beautiful and lasting tattoos for your clients.
Before starting on a client, test the tattoo gun on a piece of fruit or practice skin. This will help you get a feel for the gun and make any necessary adjustments before tattooing on skin.
Once you have completed these steps, you are ready to start tattooing!
Remember to always use clean needles and supplies and to dispose of them properly after each use. With proper setup and technique, you can create beautiful and lasting tattoos for your clients.