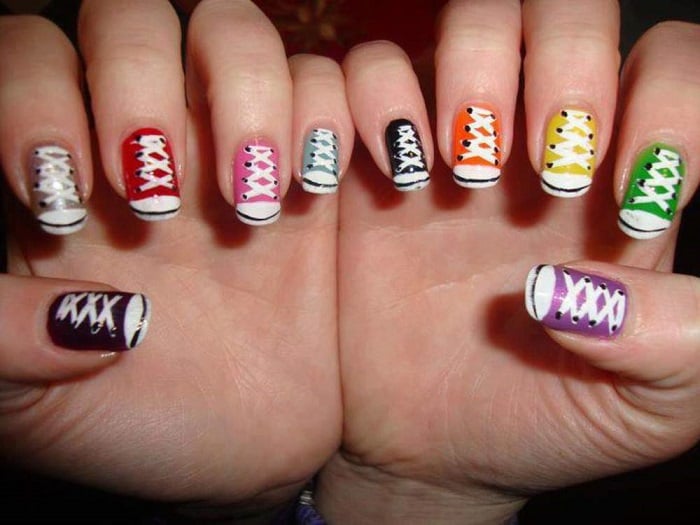
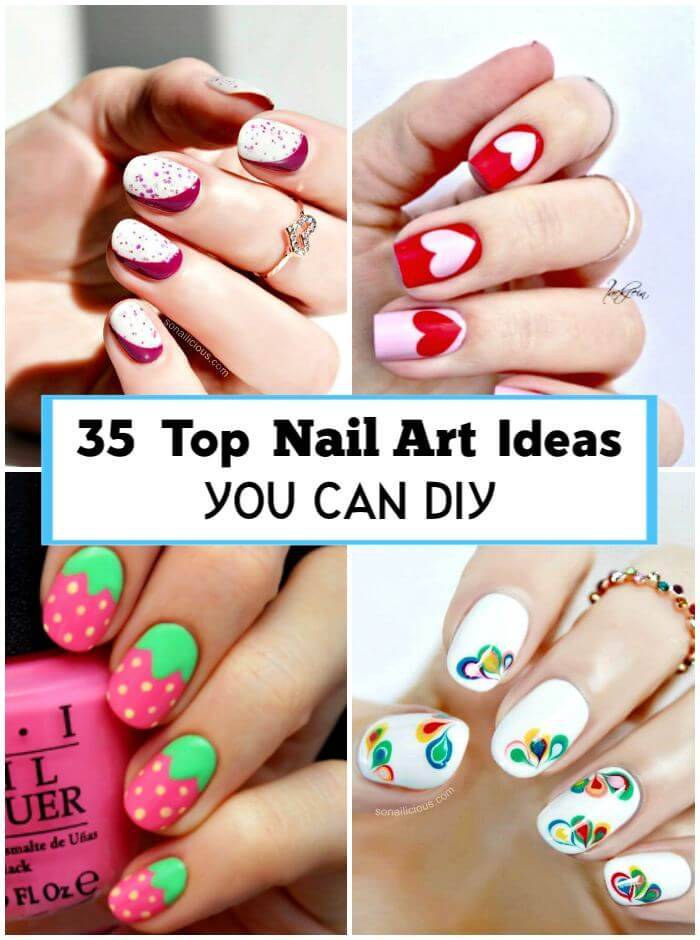
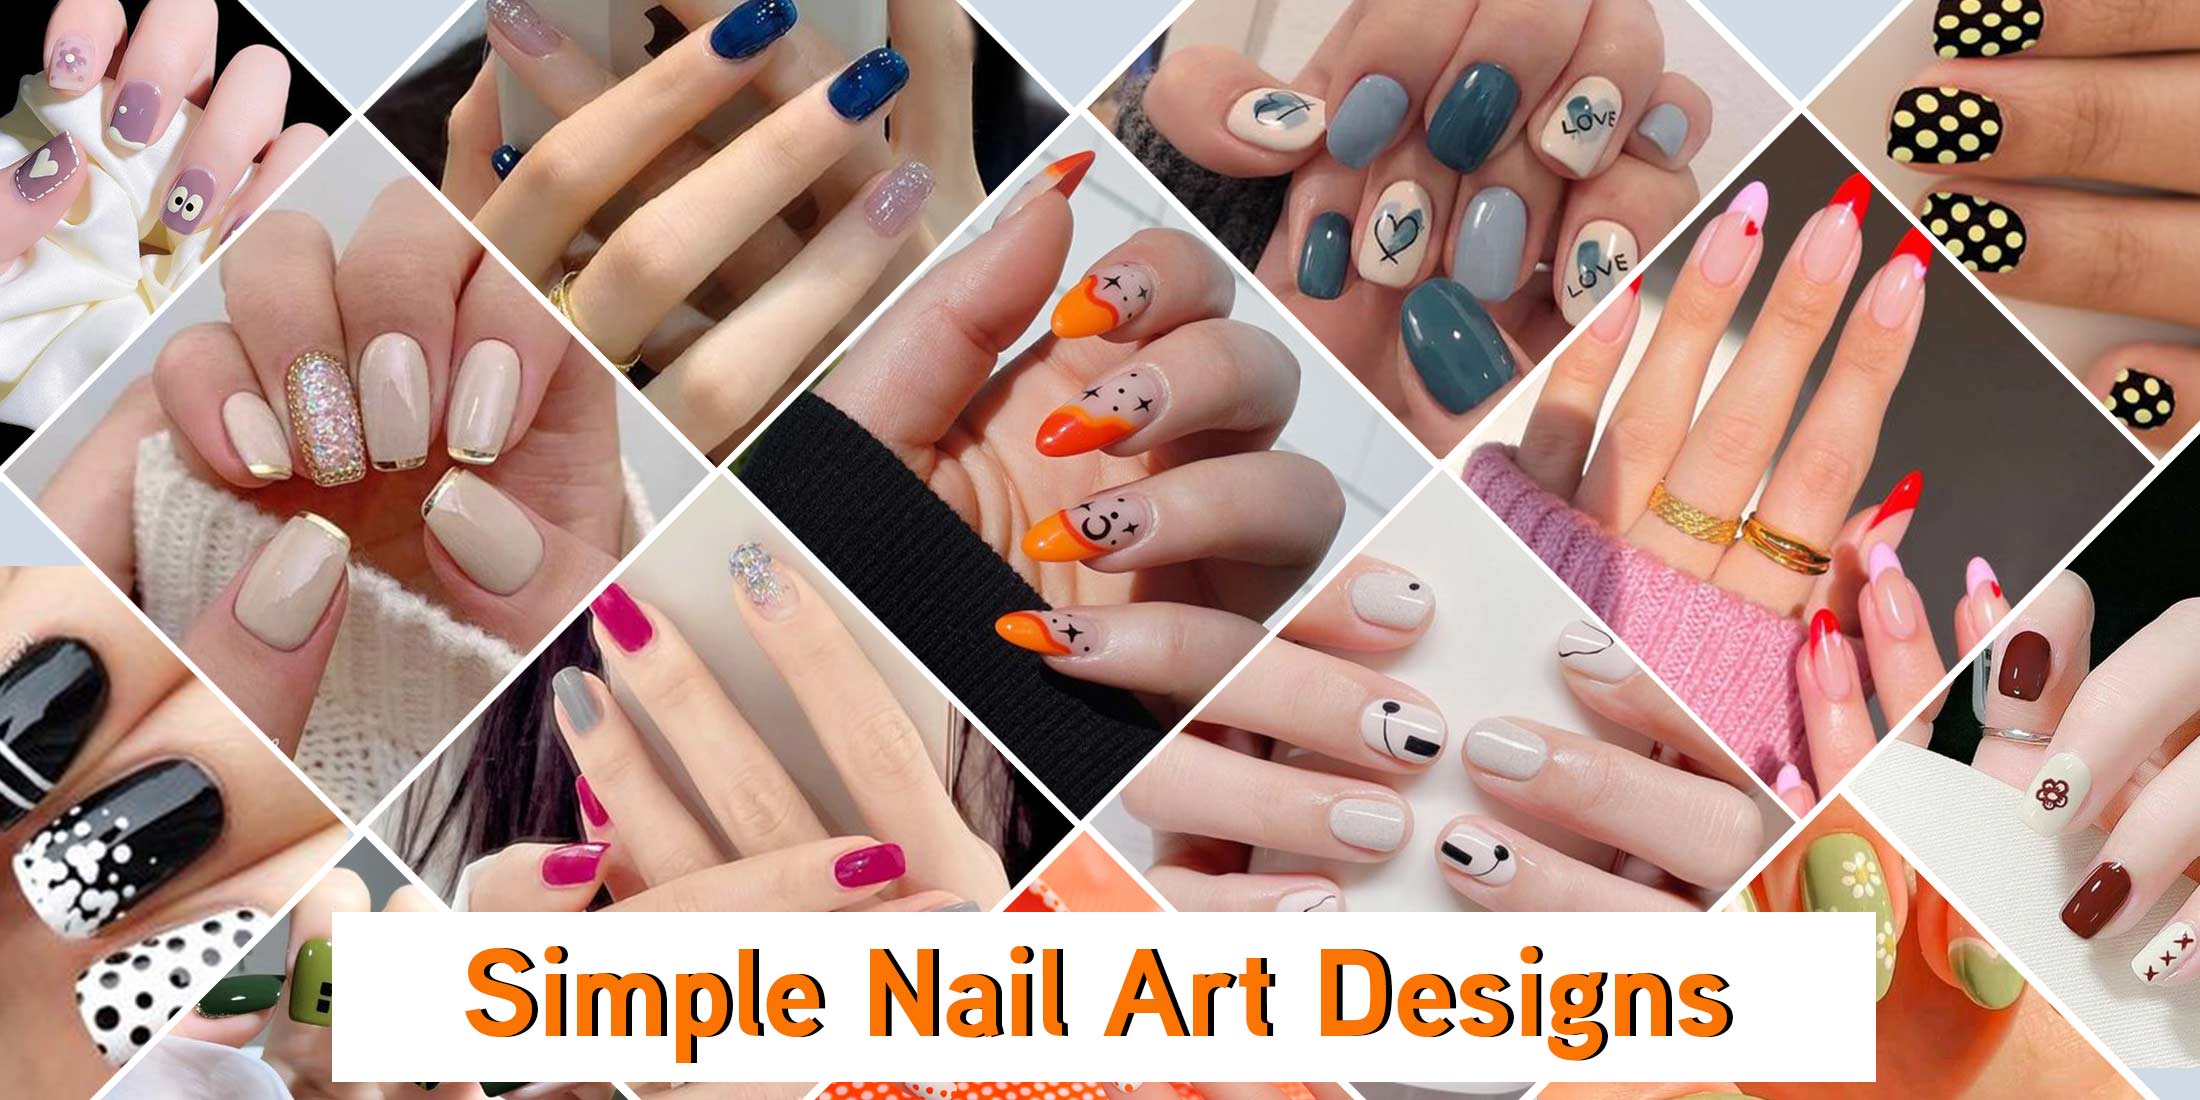
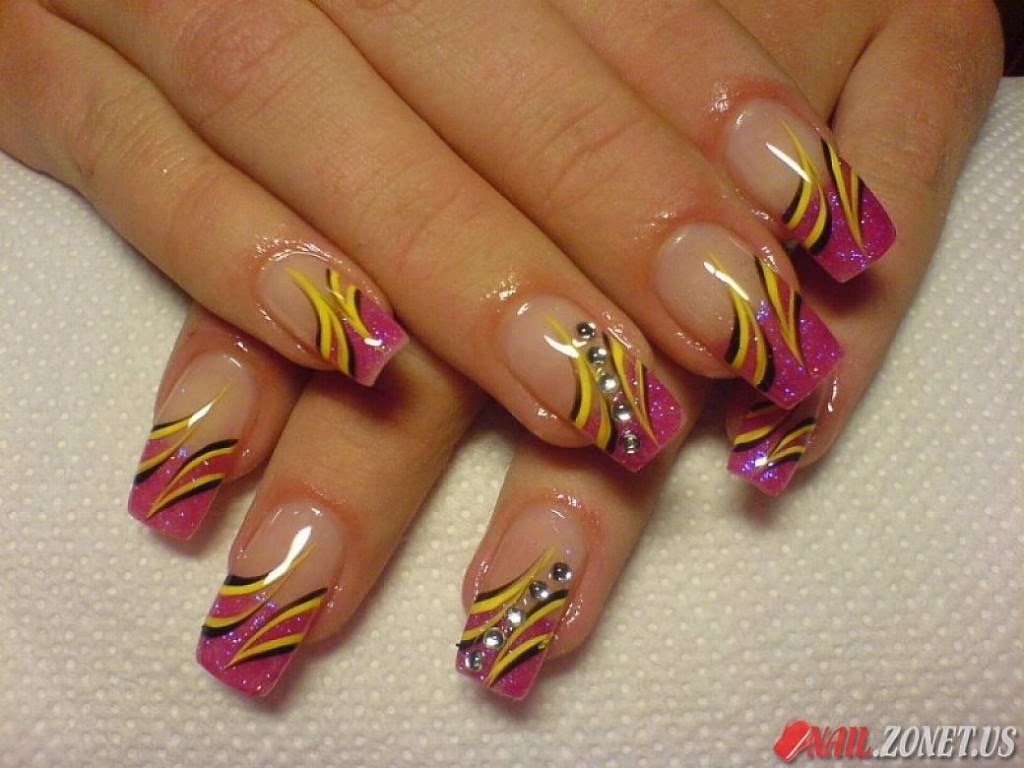
Are you looking for some easy and beautiful nail art designs that you can do at home? Look no further! We have compiled a list of 10 simple and stunning nail art designs that are perfect for beginners. Follow our step by step guide and you'll have gorgeous nails in no time.1. Simple and Beautiful Nail Art Design Step by Step


1. Simple and Beautiful Nail Art Design Step by Step


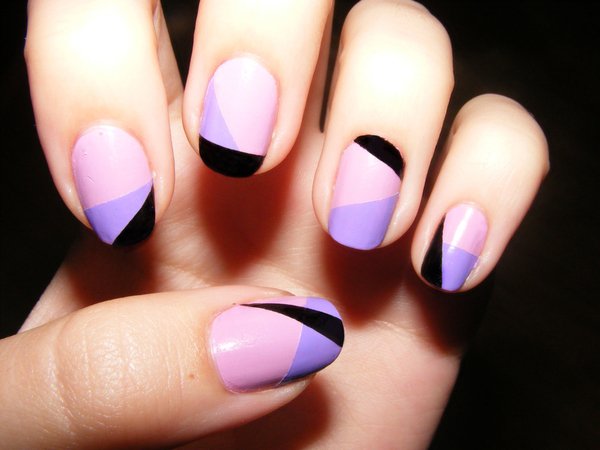
Don't be intimidated by intricate nail art designs, as a beginner you can still achieve stunning results with these easy ideas. Start with a base coat, then use a nail art pen or a toothpick to create simple patterns like dots or stripes. Finish with a top coat for a glossy finish.2. Easy Nail Art Designs for Beginners

2. Easy Nail Art Designs for Beginners


:max_bytes(150000):strip_icc()/072922-beauty-nail-art-lead-2000-21de3481261e48a995c855269f9846ad.jpg)


If you're a visual learner, watching step by step tutorials can be very helpful. There are plenty of online resources that offer detailed videos on how to achieve various nail art designs. You can also follow your favorite nail art bloggers on social media for inspiration and tutorials.3. Step by Step Nail Art Tutorials

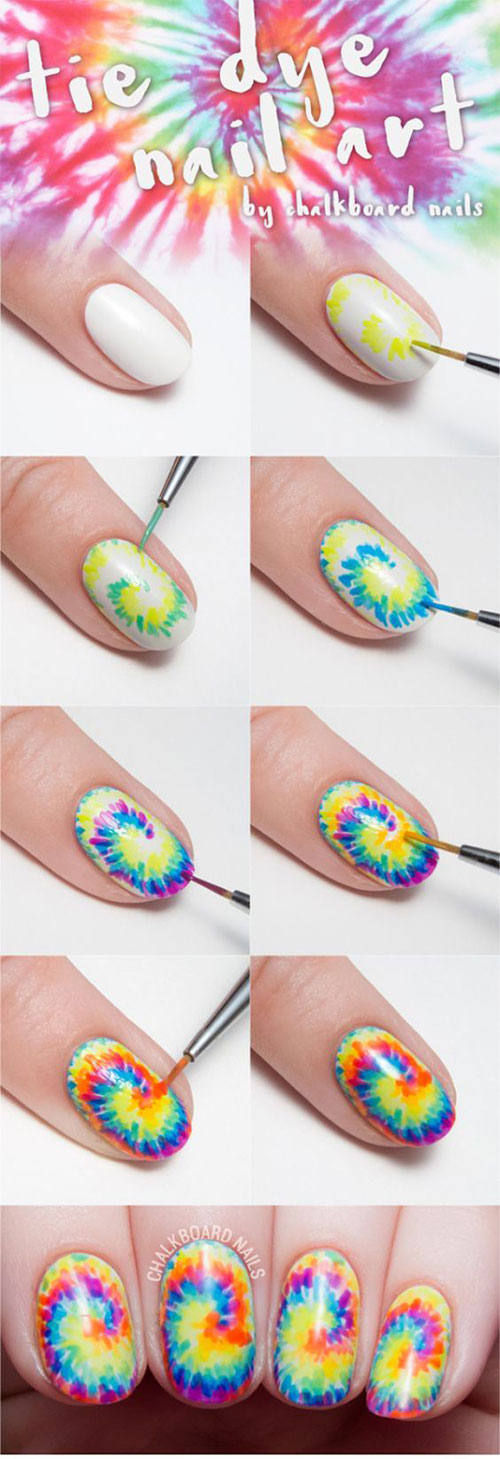

3. Step by Step Nail Art Tutorials


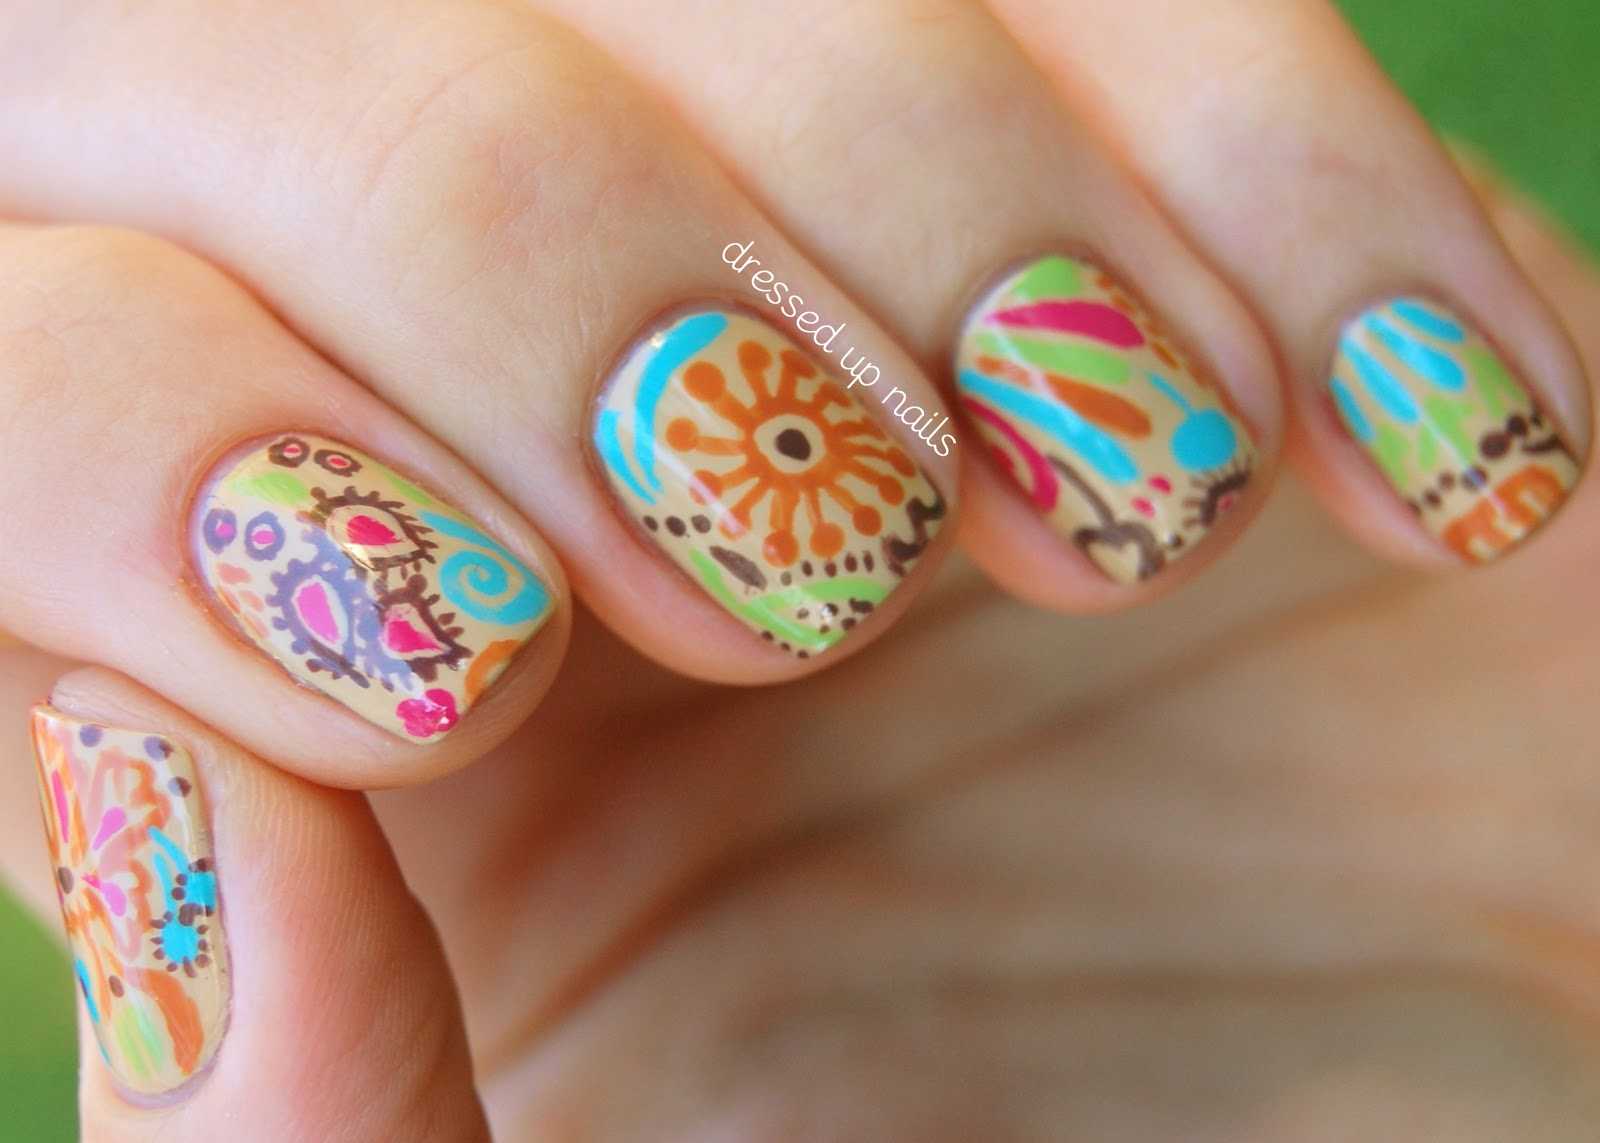
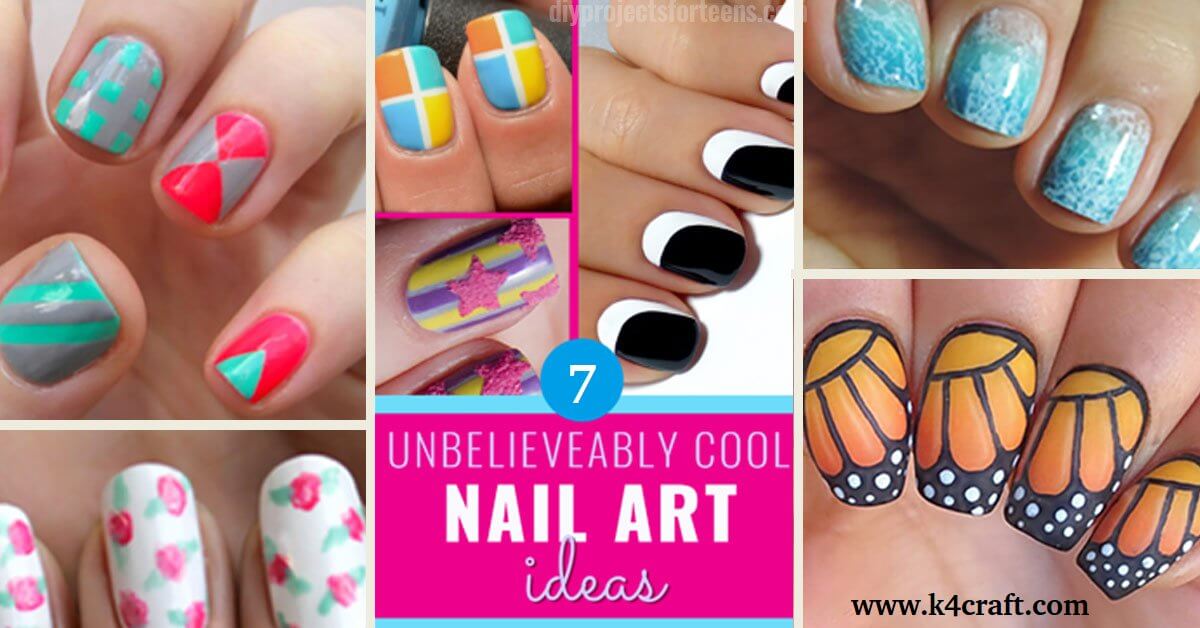
Why spend money at the salon when you can create beautiful nail art at home? With a few simple tools and some creativity, you can achieve salon-worthy results. Use striping tape to create geometric patterns, or try water marbling for a unique and colorful design.4. DIY Nail Art Ideas for Beginners

4. DIY Nail Art Ideas for Beginners


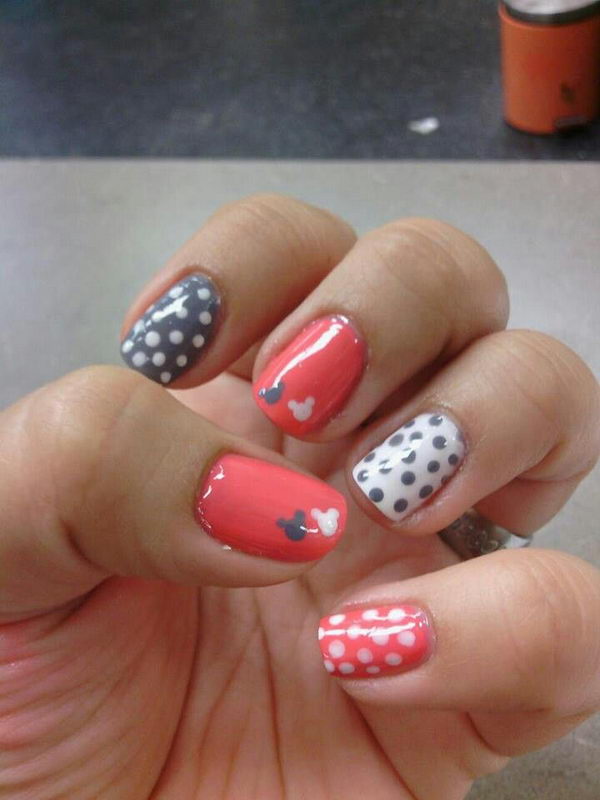
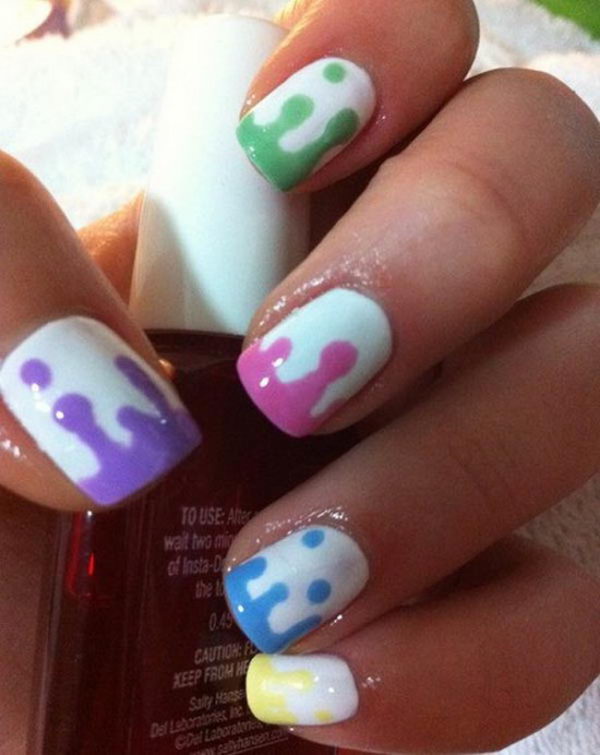
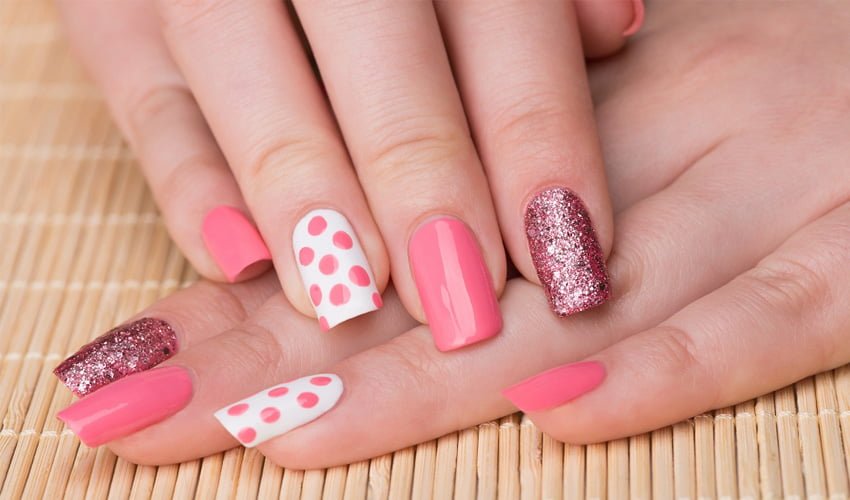
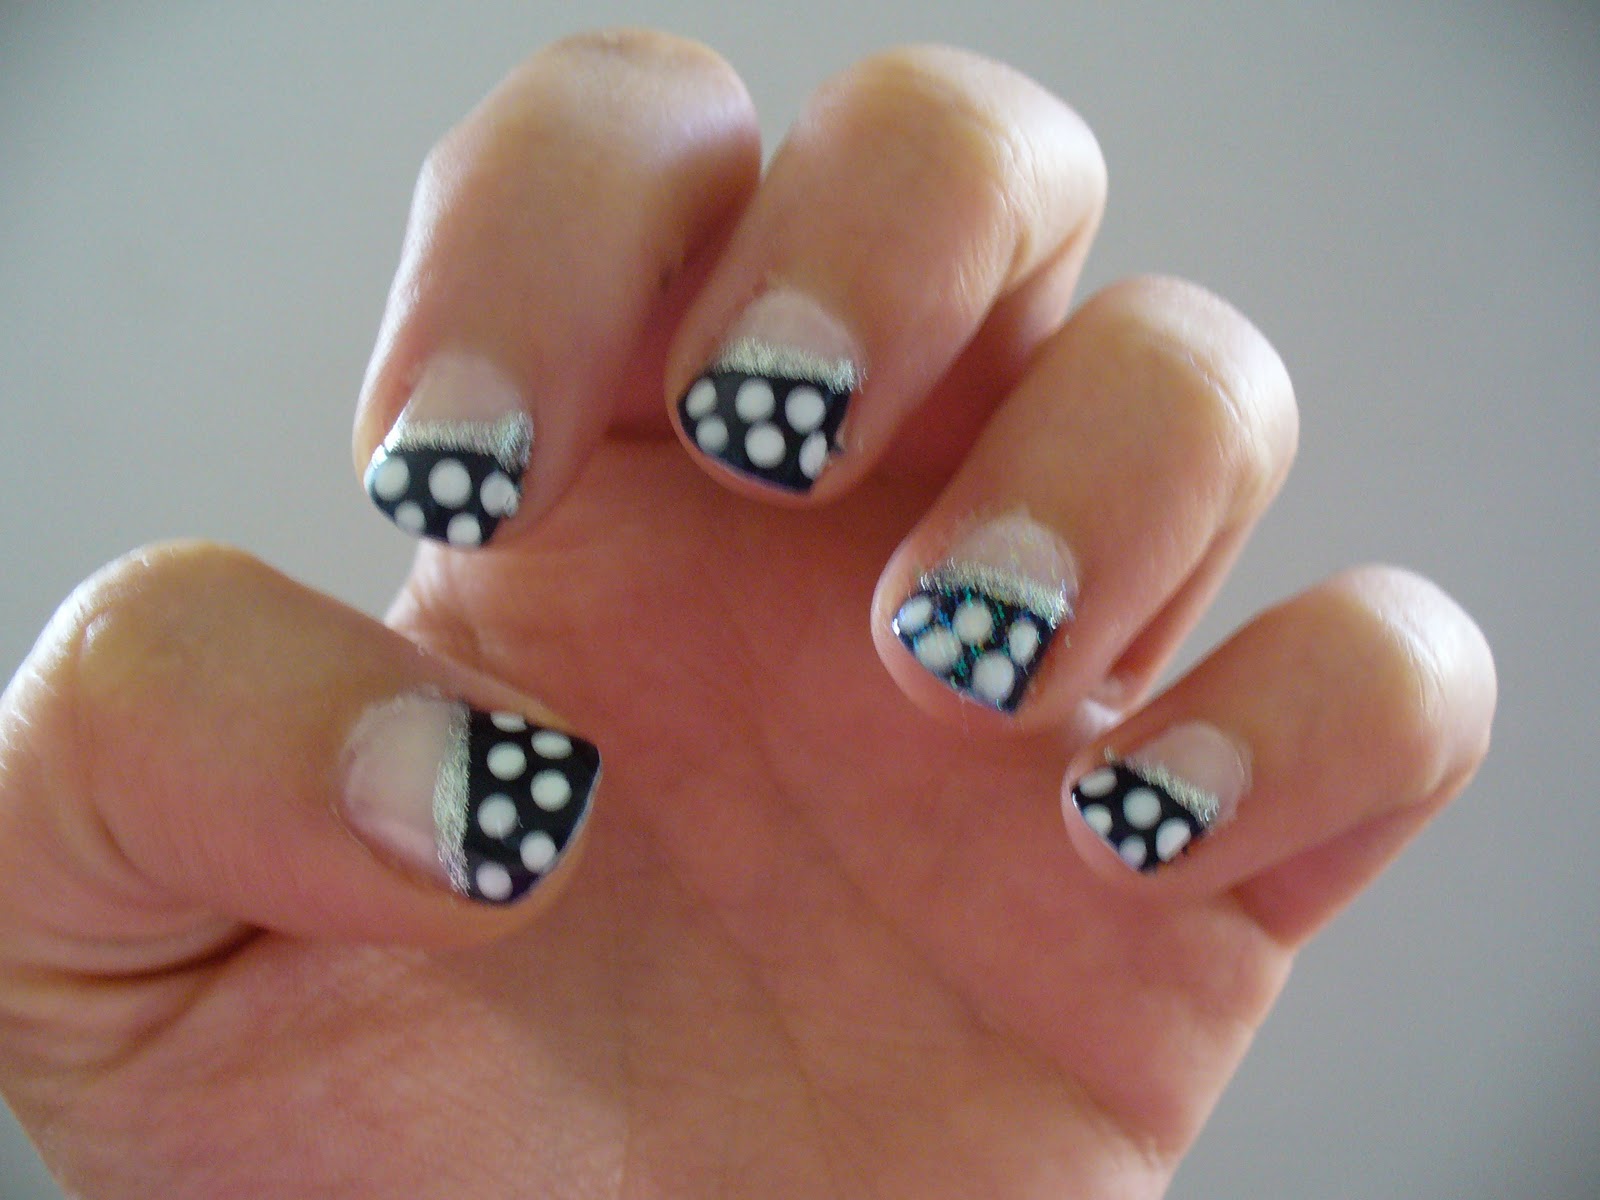
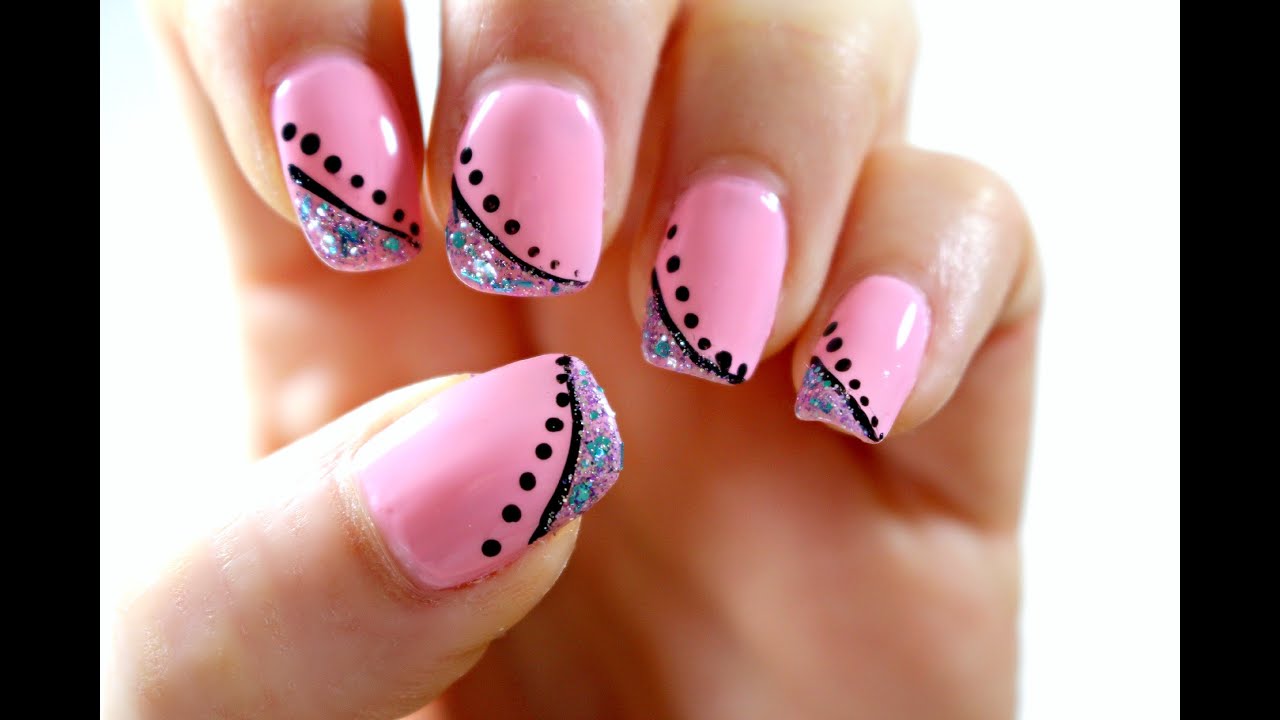
Nail art doesn't have to be complicated or time-consuming to be cute. You can achieve adorable designs with just a few simple steps. For example, use a dotting tool to create cute animal faces, or add a rhinestone to your nails for a touch of glamour.5. Cute and Easy Nail Designs for Beginners

5. Cute and Easy Nail Designs for Beginners


Don't have much time to spare? These quick and simple nail art designs are perfect for when you're in a rush. Try using nail stickers for instant nail art, or use nail wraps for a trendy and effortless look. You can also try creating a gradient effect using a makeup sponge and two different nail polish colors.6. Quick and Simple Nail Art Designs

6. Quick and Simple Nail Art Designs
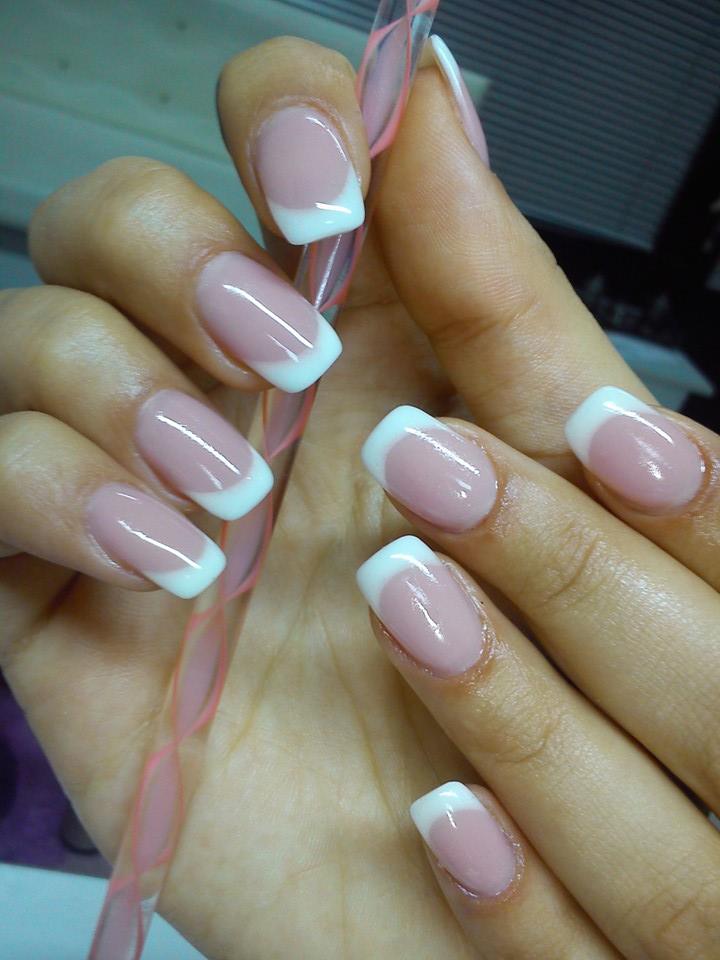
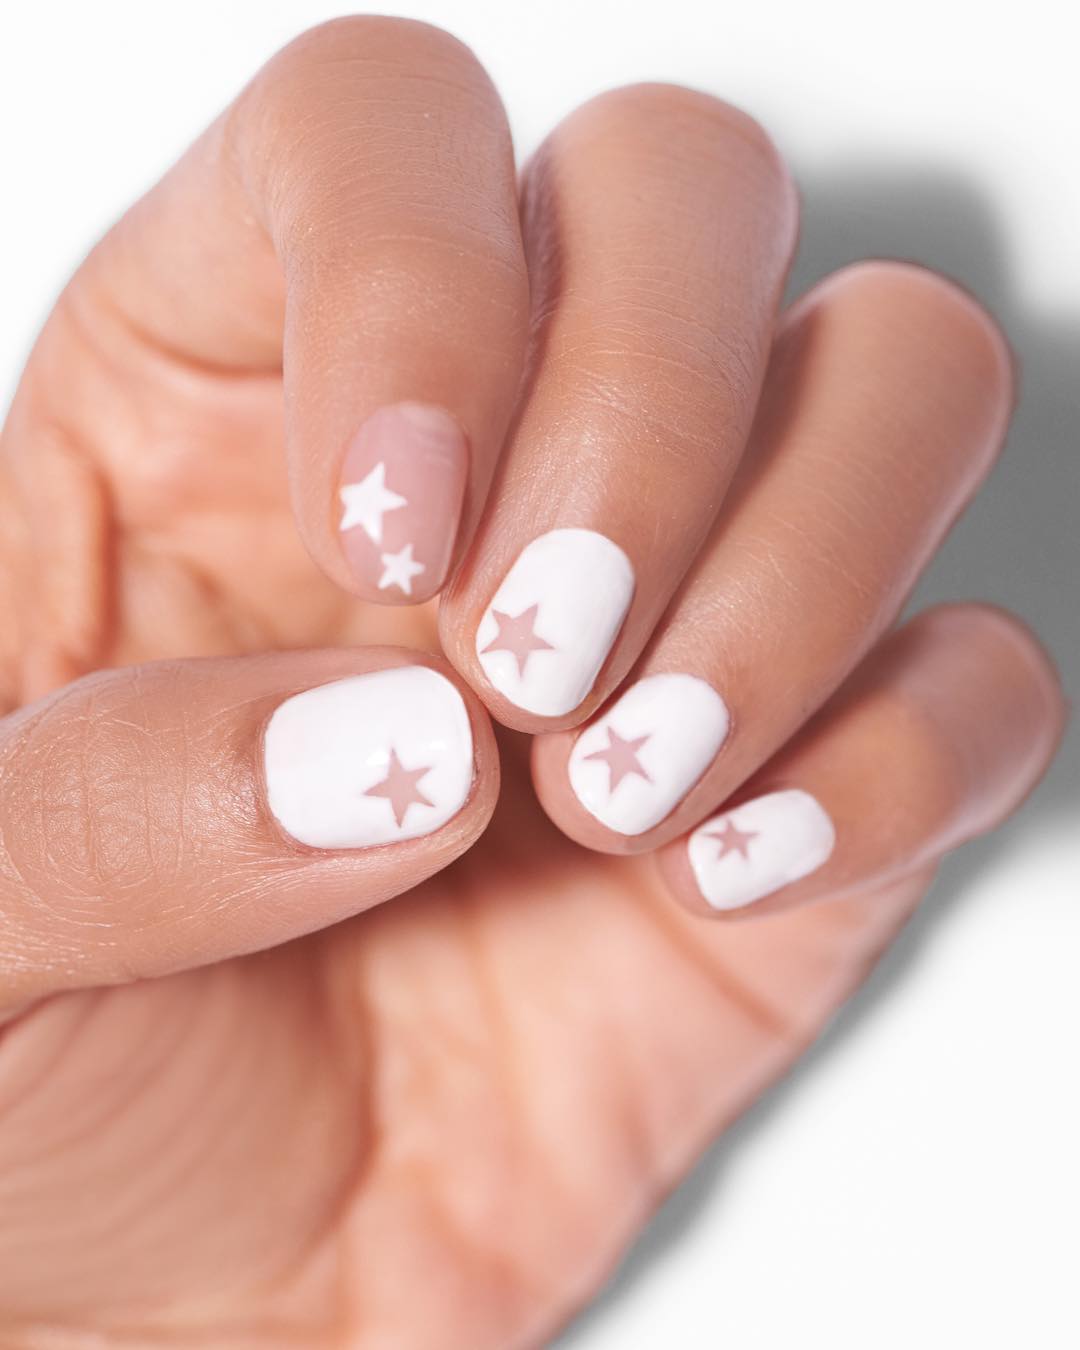
Short nails can be just as beautiful as longer ones, you just have to know how to work with them. For a chic and elegant look, try a French manicure or a half moon design. You can also use nail stamps to create intricate patterns on short nails.7. Beautiful Nail Art Designs for Short Nails
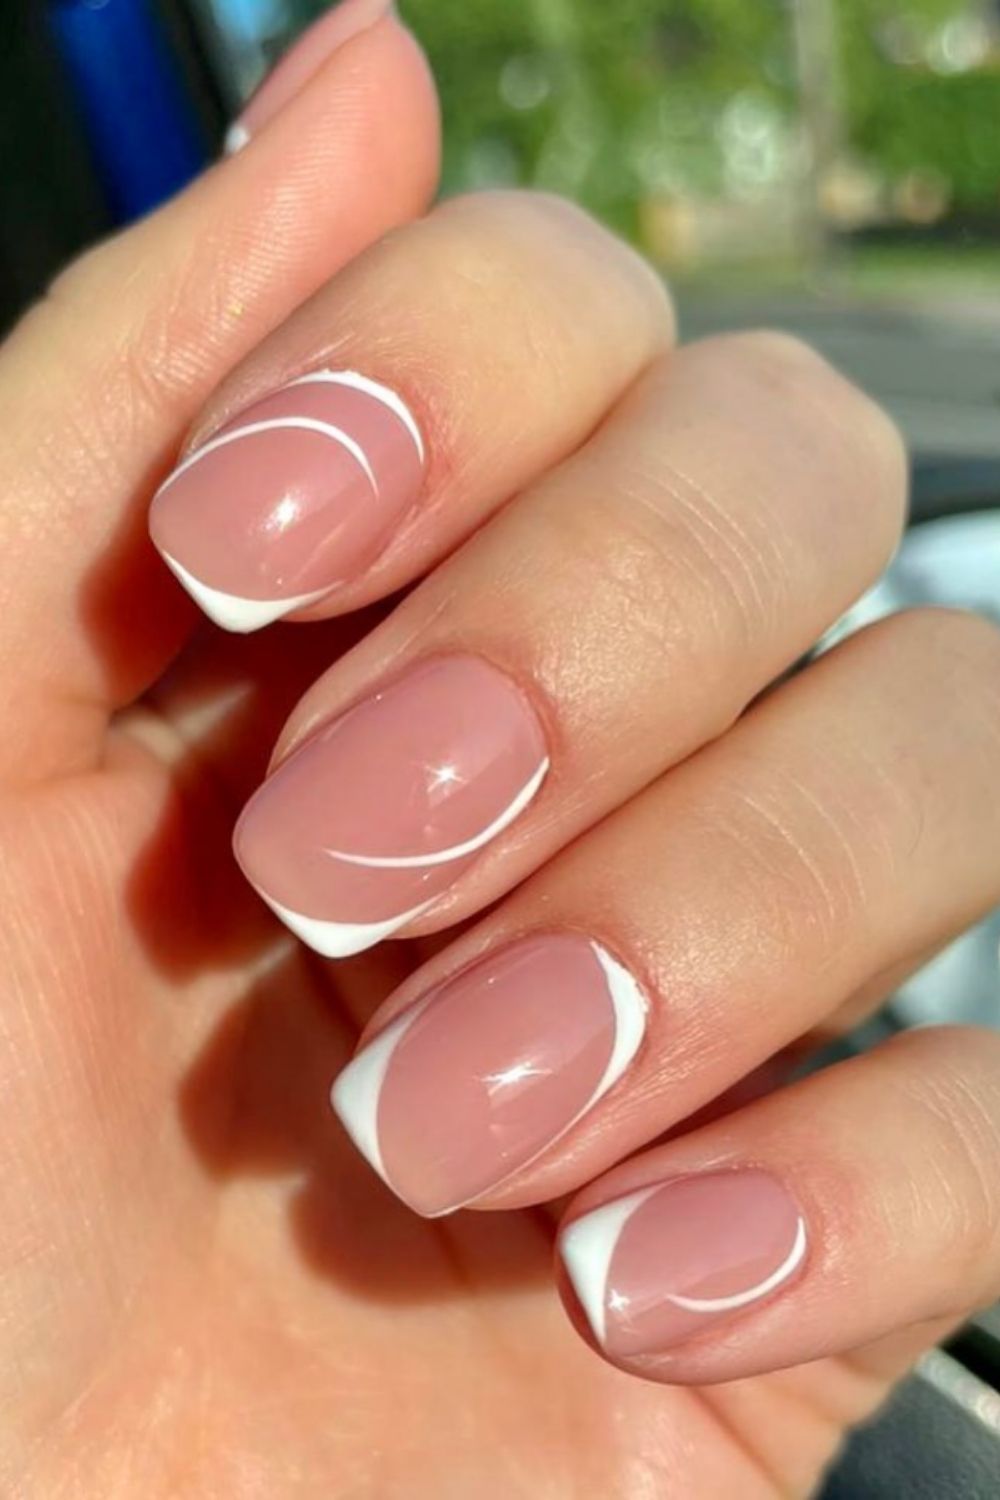

7. Beautiful Nail Art Designs for Short Nails


If you're new to nail art, it can be overwhelming to know where to start. But don't worry, we've got you covered with this step by step guide. First, make sure your nails are clean and trimmed. Then, follow our step by step instructions for the design of your choice. Finish with a top coat for a long-lasting finish.8. Step by Step Guide to Nail Art at Home


8. Step by Step Guide to Nail Art at Home


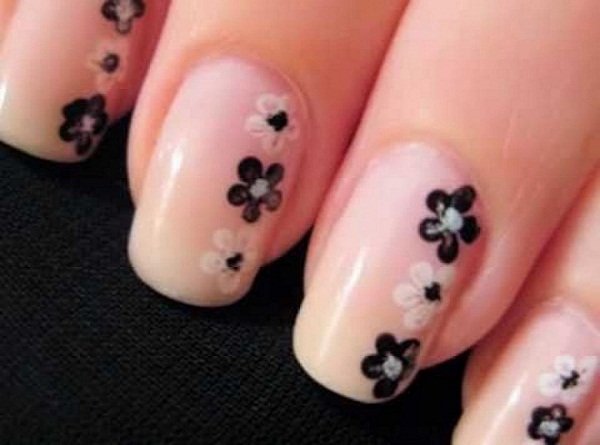
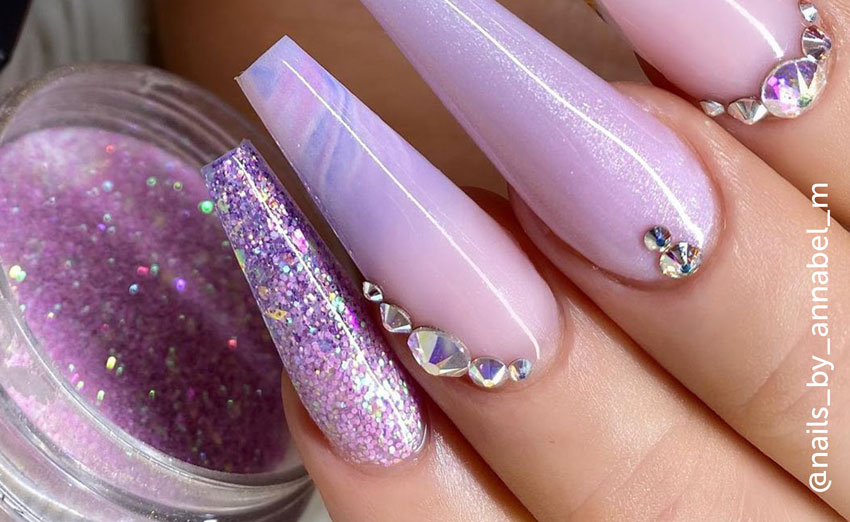
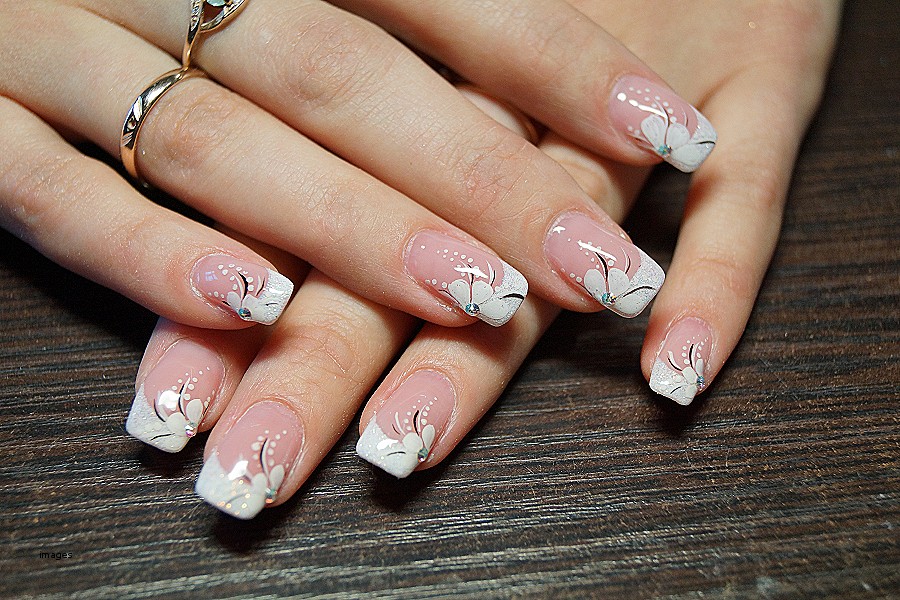
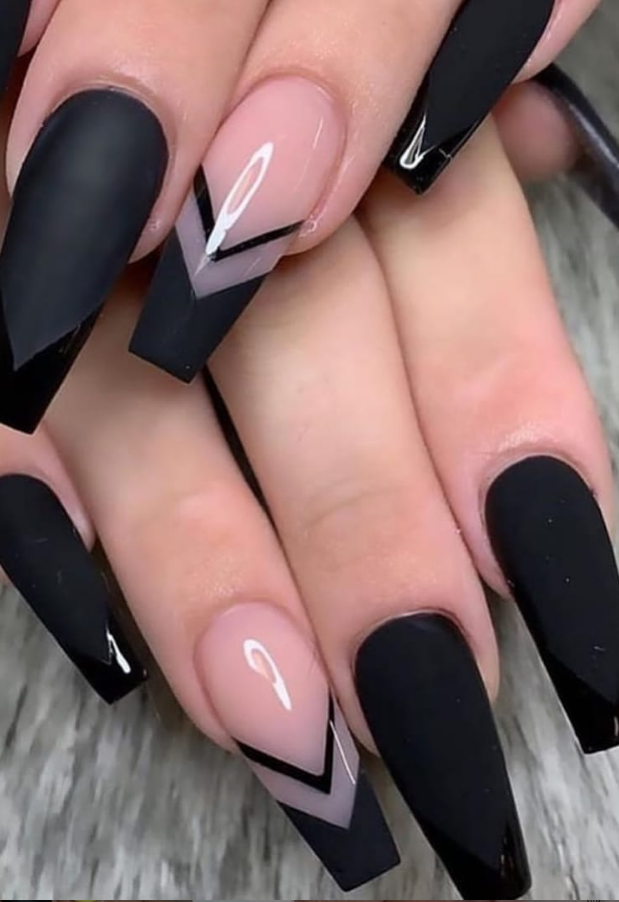
Attending a special event or occasion? Make your nails stand out with these elegant nail art designs. For a classic and sophisticated look, try a black and white design. You can also add glitter or pearls for a touch of glamour.9. Elegant Nail Art Designs for Special Occasions


9. Elegant Nail Art Designs for Special Occasions


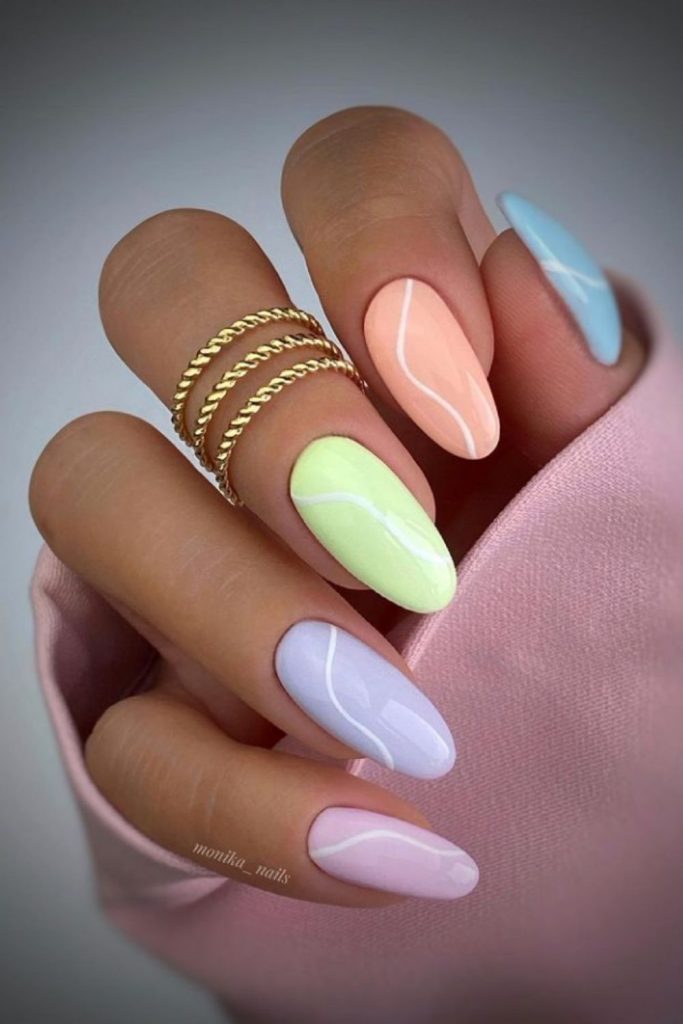
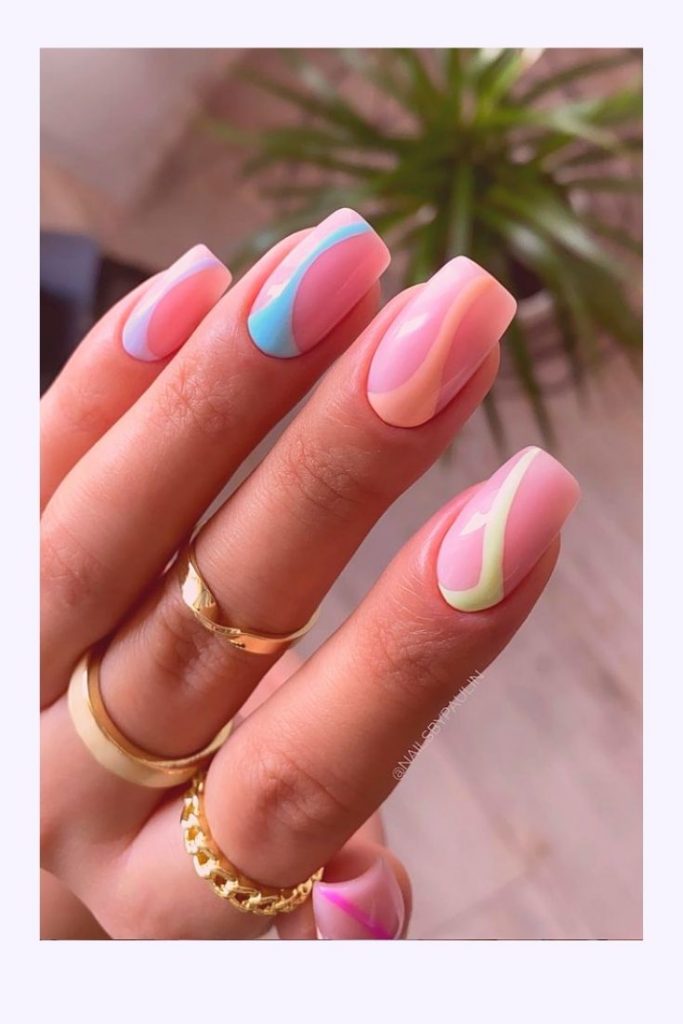
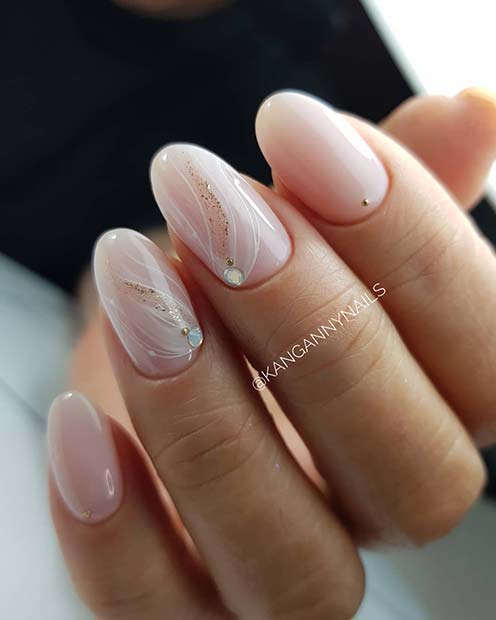
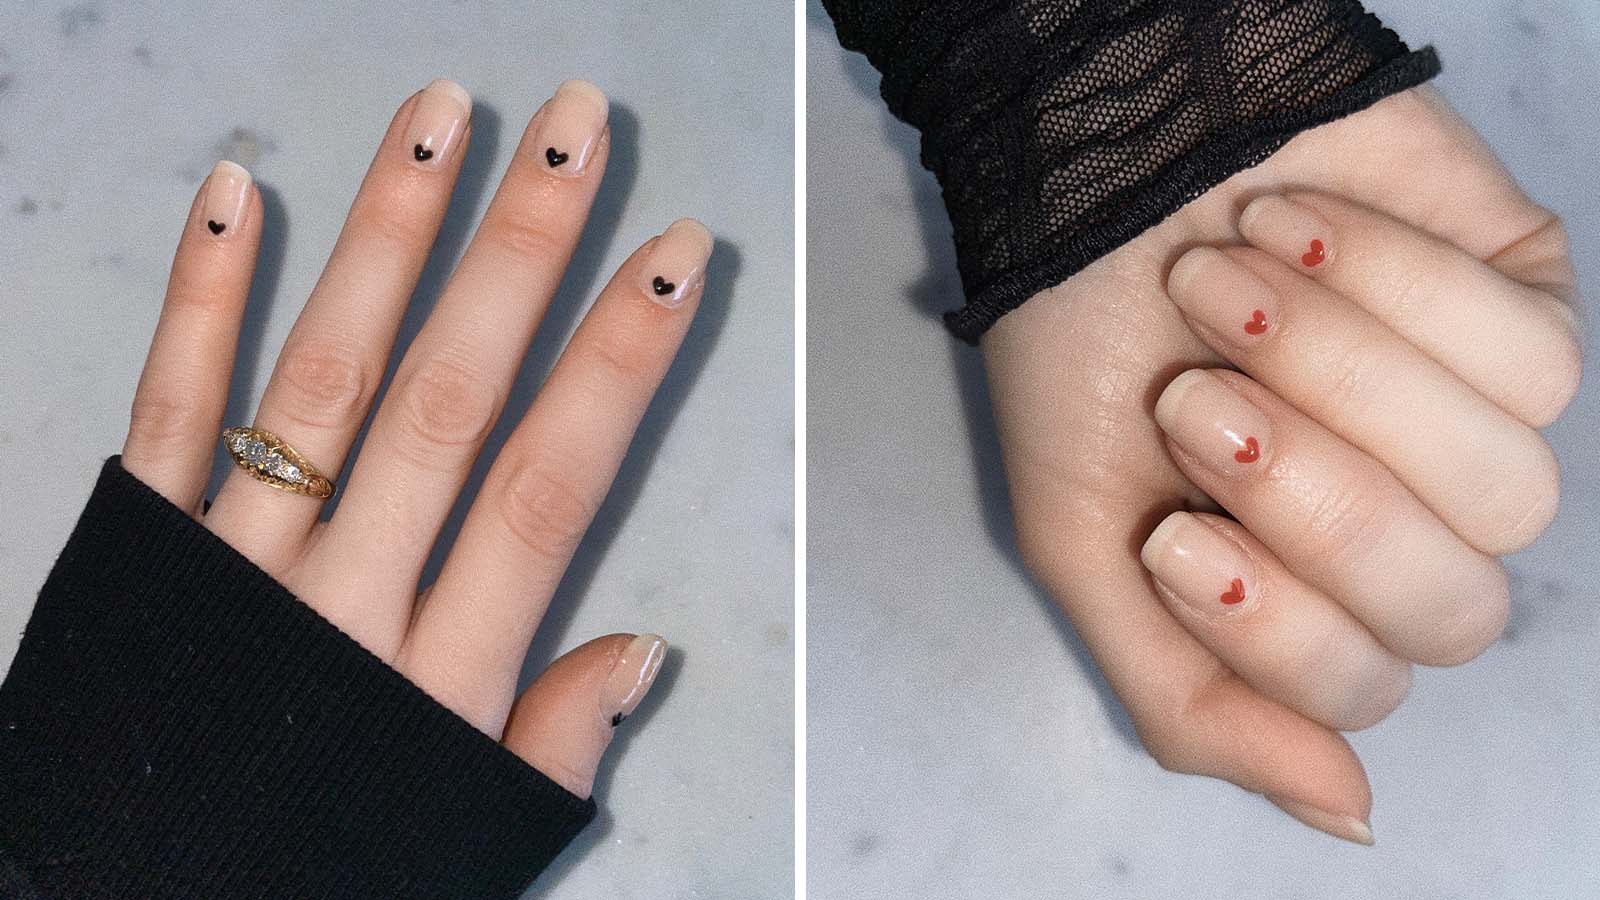
If you prefer a more understated look, these minimalist nail art ideas are perfect for you. Use negative space to create a simple yet stylish design, or try a single dot on each nail for a modern and chic look. You can also experiment with pastel colors for a soft and feminine vibe.10. Minimalist Nail Art Ideas for a Chic Look
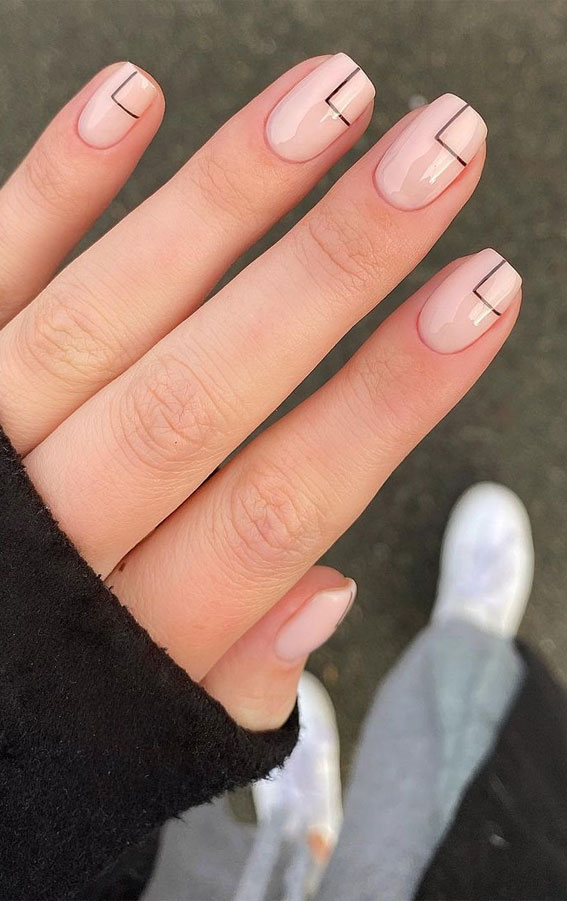
10. Minimalist Nail Art Ideas for a Chic Look

Adding a Pop of Color to Your Nail Art
Creating a Striking Contrast
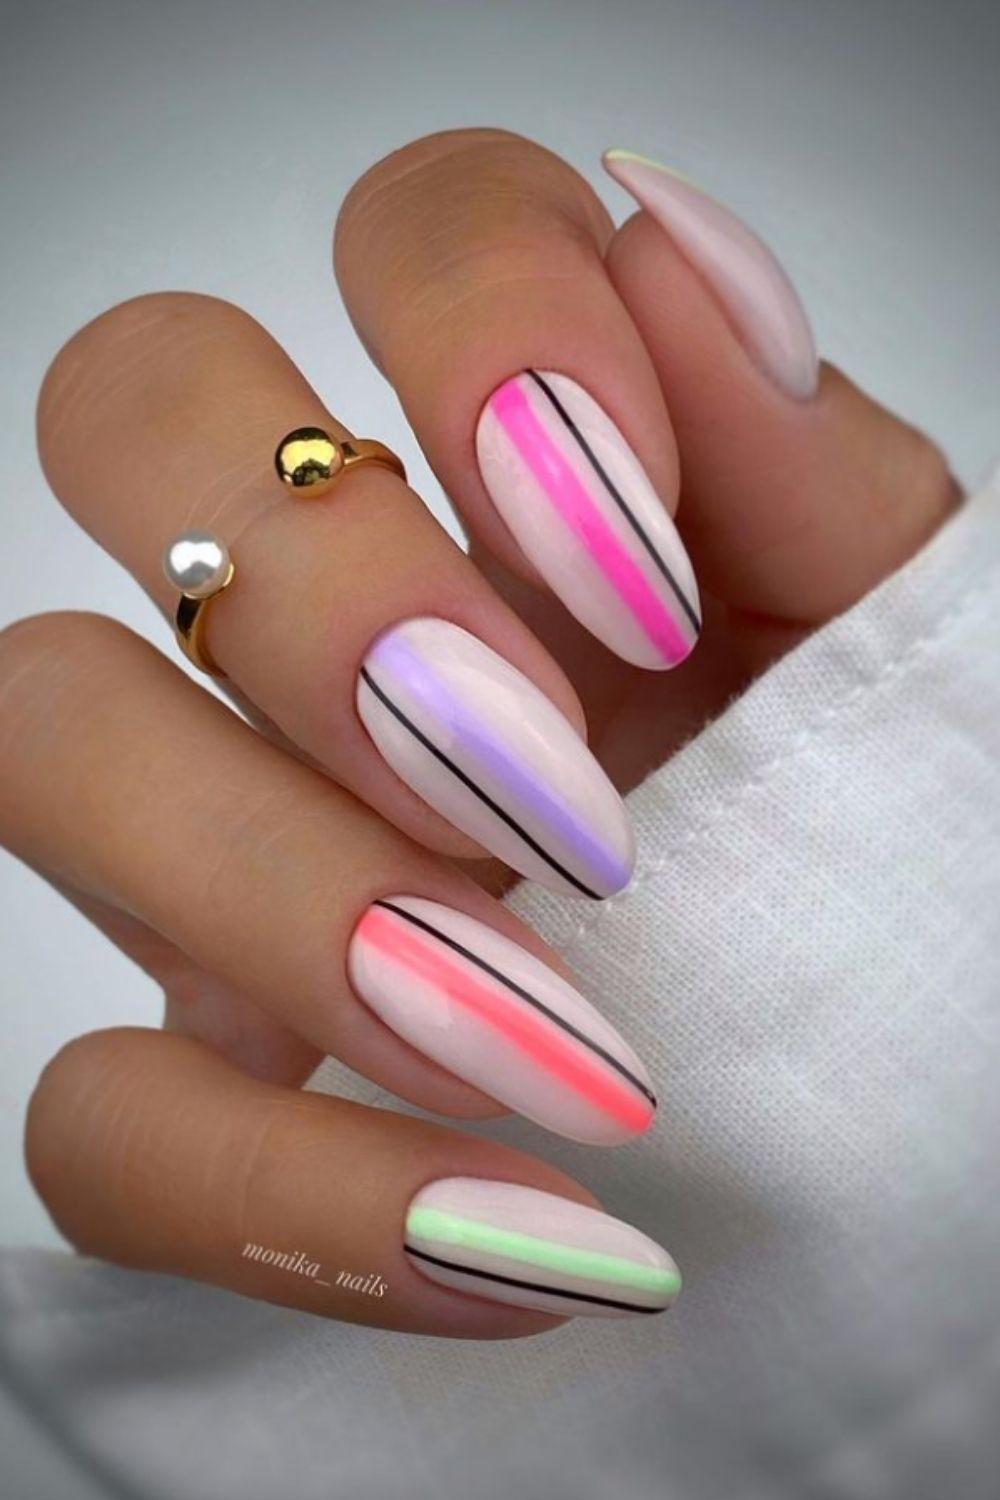
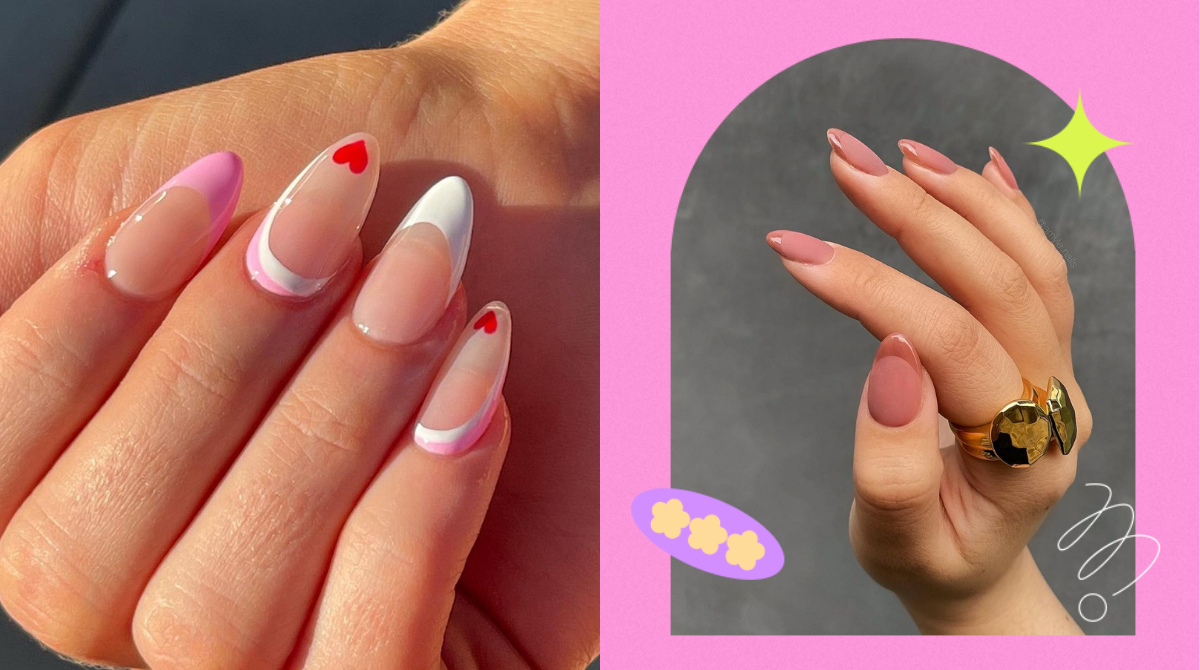
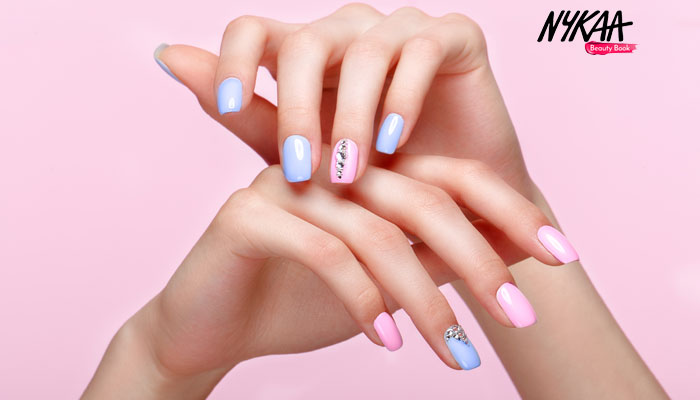
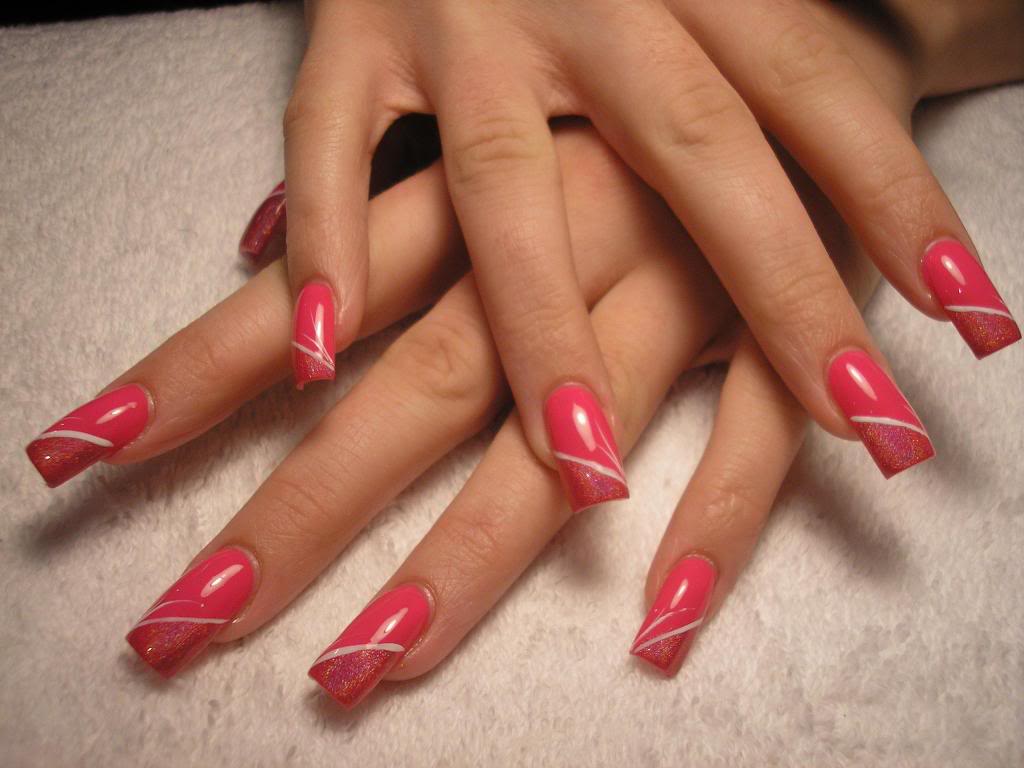
 If you're looking to add a little more personality to your nail art, why not try incorporating a pop of color? This simple yet effective technique can elevate your nail design to the next level and make it truly stand out.
Bold and vibrant colors
are perfect for making a statement and adding that extra touch of fun to your nails.
Reds, blues, and pinks
are popular choices for adding a pop of color, but feel free to experiment with any shade that catches your eye. This step-by-step guide will show you how to effortlessly incorporate a pop of color into your nail art design.
If you're looking to add a little more personality to your nail art, why not try incorporating a pop of color? This simple yet effective technique can elevate your nail design to the next level and make it truly stand out.
Bold and vibrant colors
are perfect for making a statement and adding that extra touch of fun to your nails.
Reds, blues, and pinks
are popular choices for adding a pop of color, but feel free to experiment with any shade that catches your eye. This step-by-step guide will show you how to effortlessly incorporate a pop of color into your nail art design.
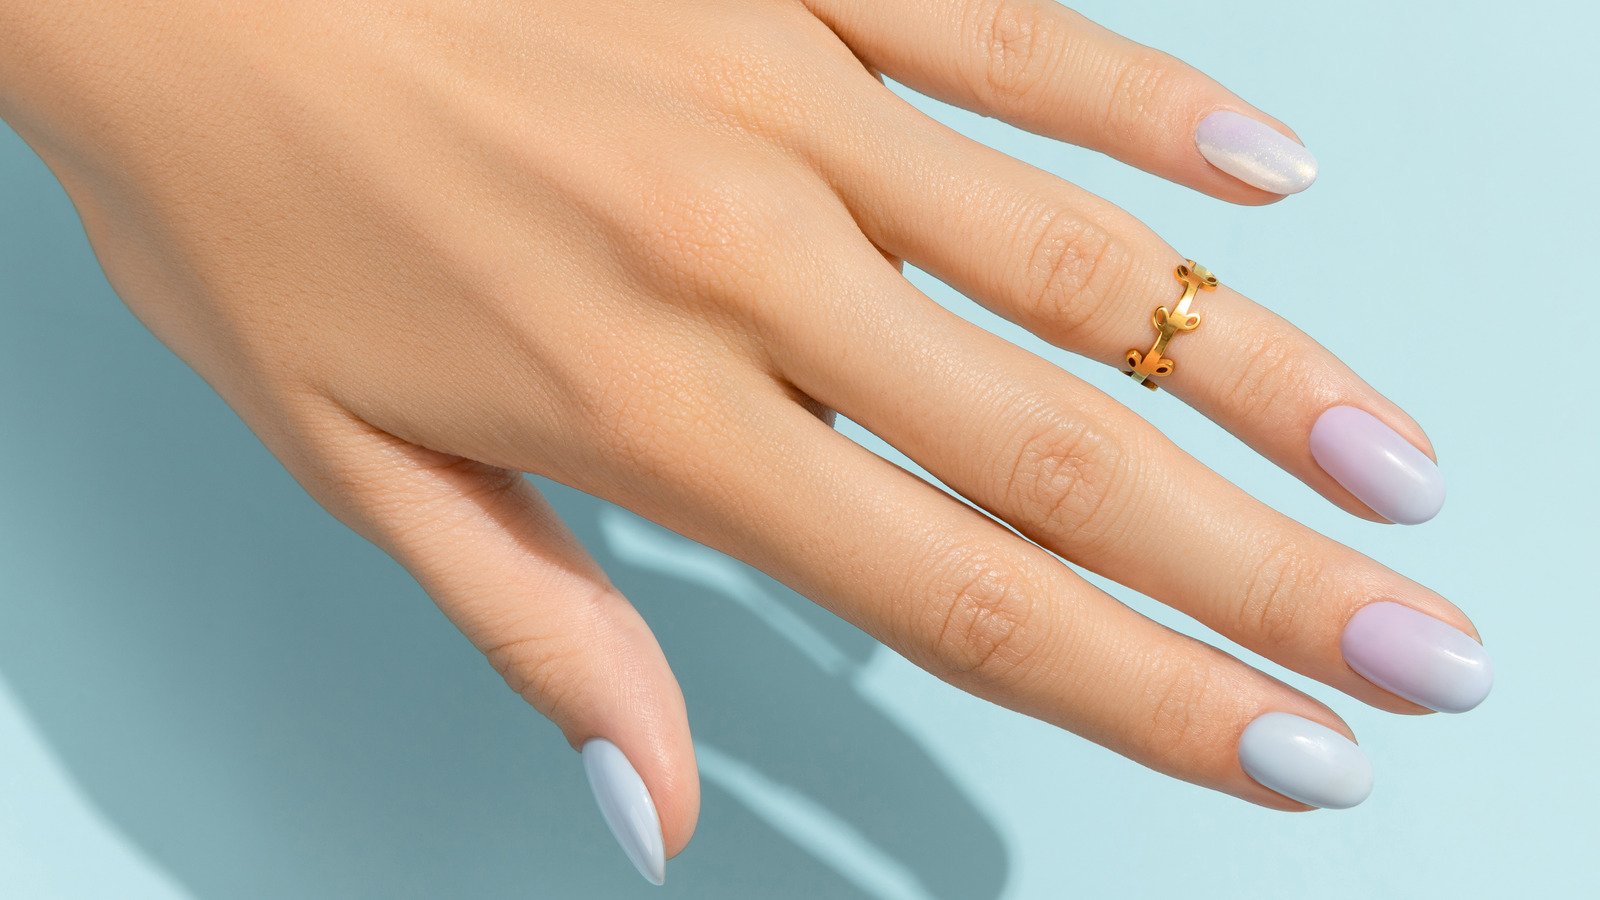
Step 1: Choose Your Base Color
 Before adding a pop of color, you'll need to start with a solid base color. This could be a
neutral nude
or
classic black
- whatever you prefer. Make sure your base color is fully dry before moving on to the next step.
Before adding a pop of color, you'll need to start with a solid base color. This could be a
neutral nude
or
classic black
- whatever you prefer. Make sure your base color is fully dry before moving on to the next step.
Step 2: Prep Your Nails
 To ensure your nail art lasts, make sure to properly prep your nails. This includes
trimming, shaping, and buffing
to create a smooth canvas for your design.
To ensure your nail art lasts, make sure to properly prep your nails. This includes
trimming, shaping, and buffing
to create a smooth canvas for your design.
Step 3: Choose Your Pop of Color
 Select your desired pop of color and make sure it's a shade that complements your base color. You can use a
nail polish
or
nail art pen
for this step.
Select your desired pop of color and make sure it's a shade that complements your base color. You can use a
nail polish
or
nail art pen
for this step.
Step 4: Add Your Pop of Color
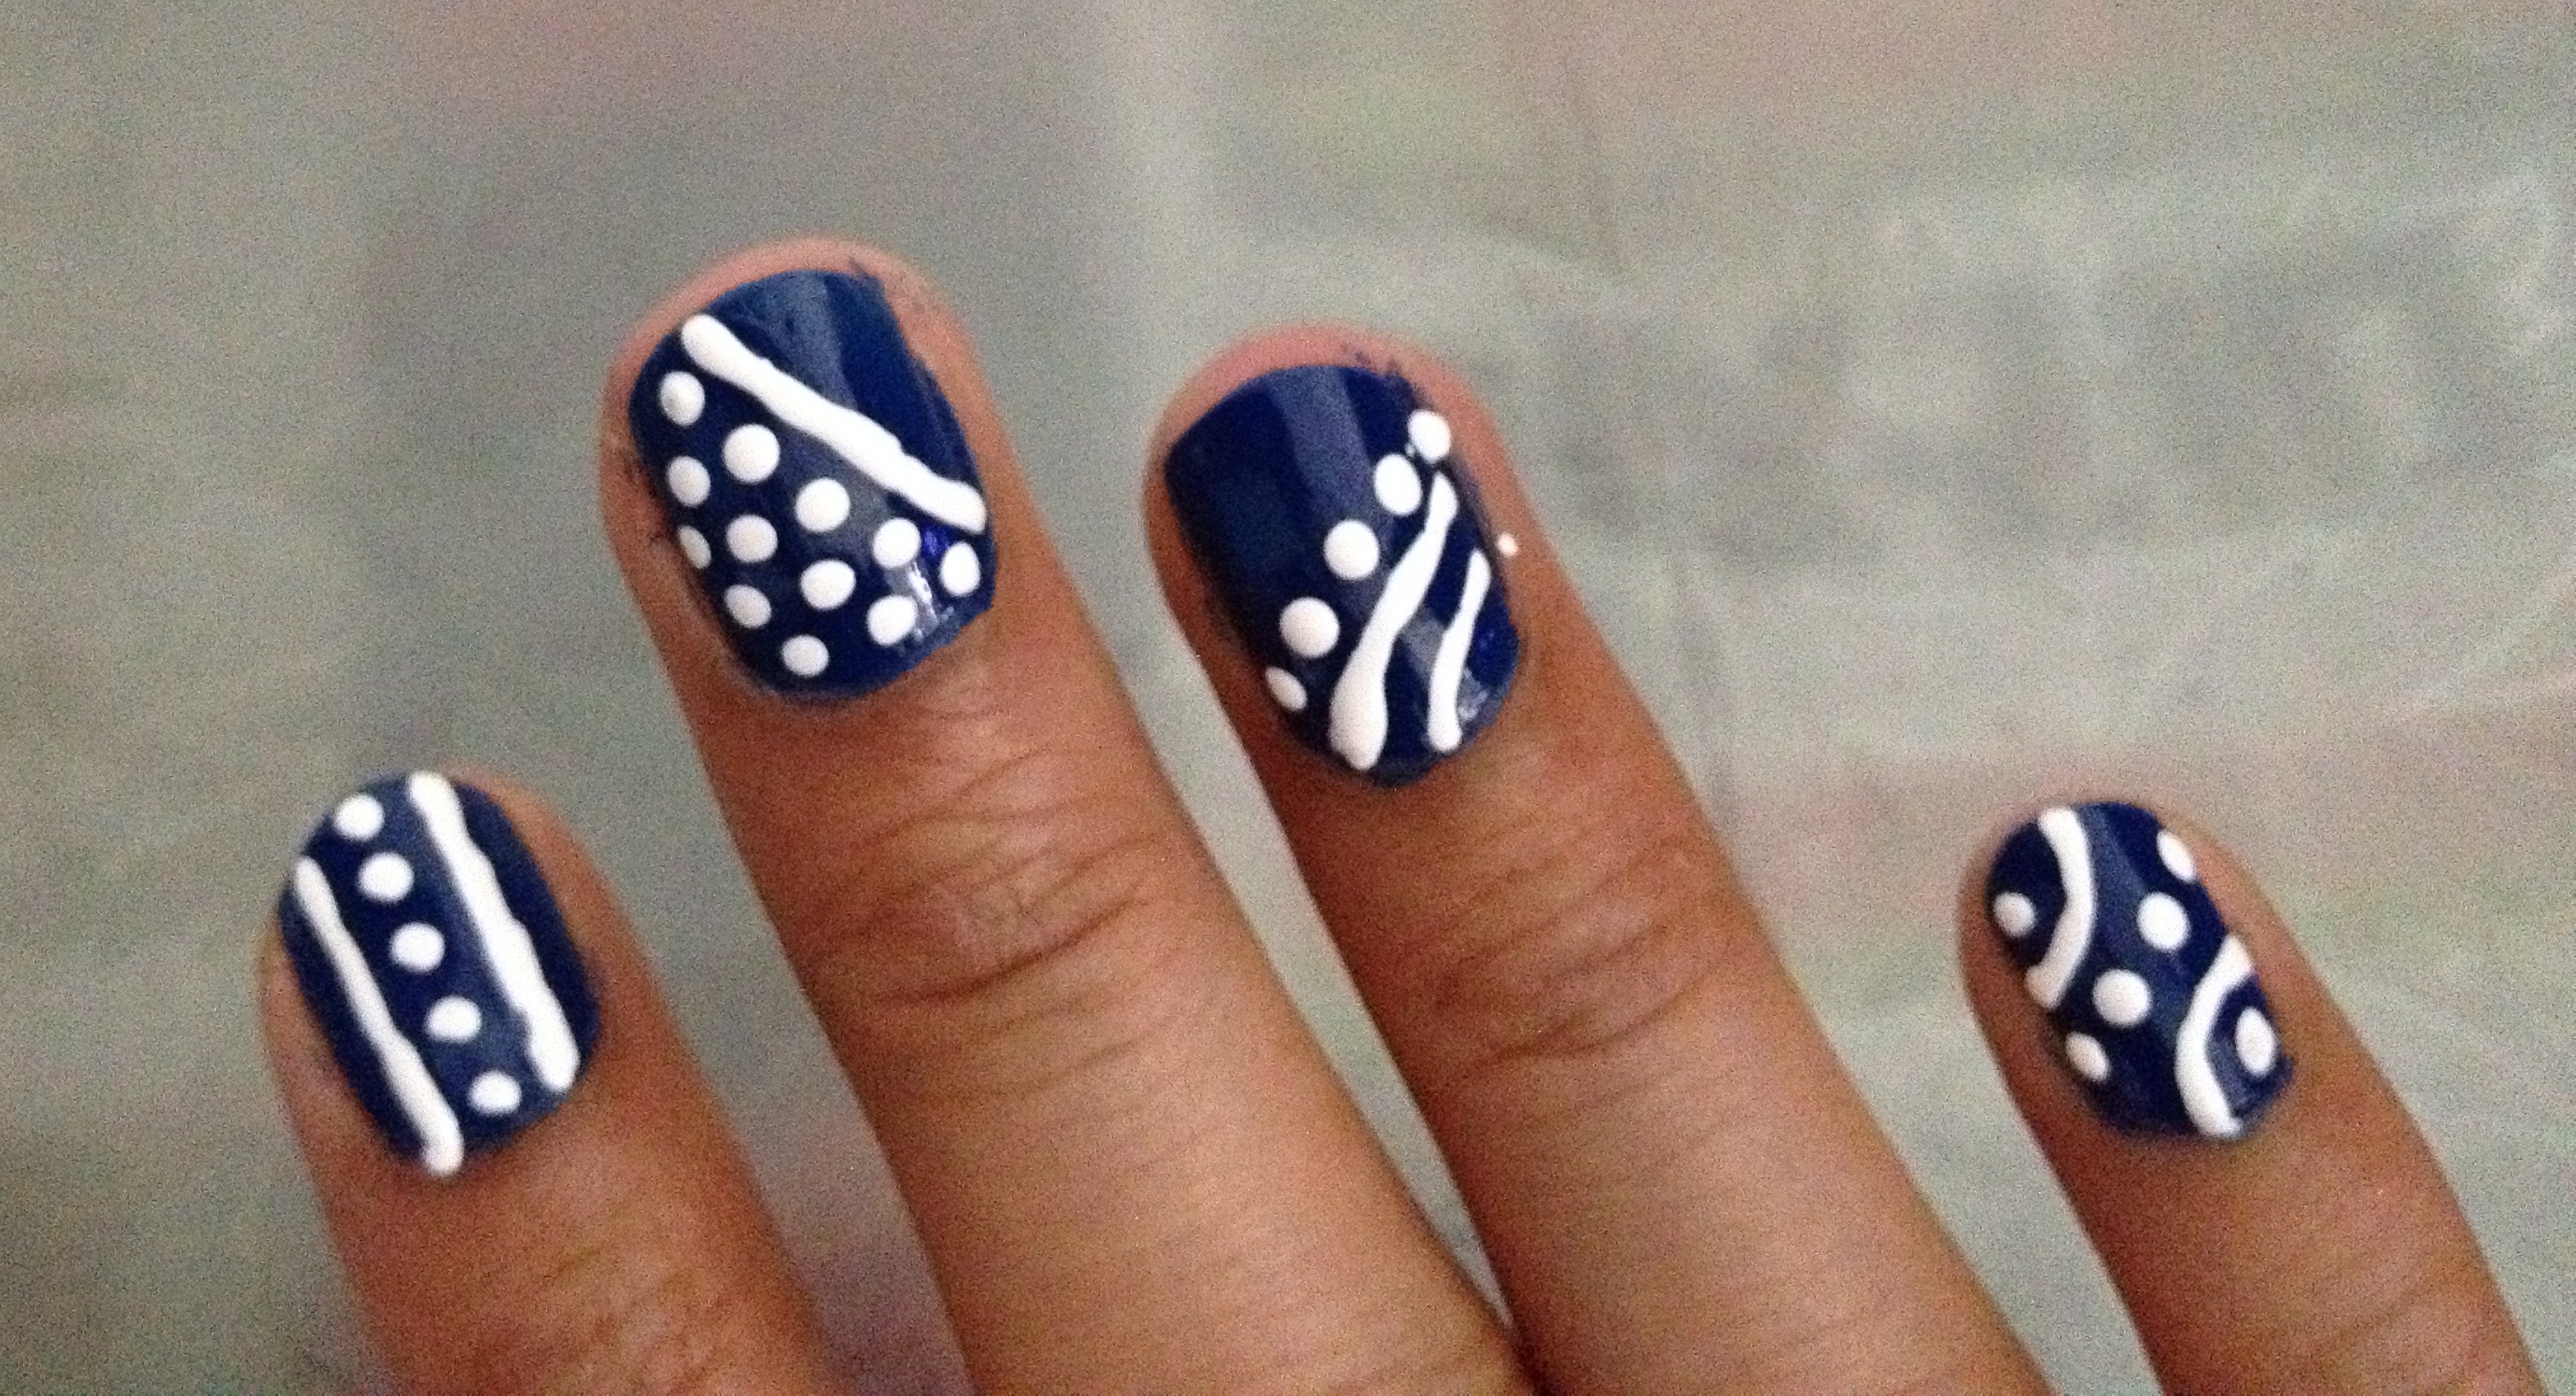
 Now comes the fun part - adding your pop of color! You can get creative with this step by adding
stripes, dots, or even a small design
using your chosen color. You can also opt for a
gradient effect
by starting with a small amount of color and gradually building it up towards the tips of your nails.
Now comes the fun part - adding your pop of color! You can get creative with this step by adding
stripes, dots, or even a small design
using your chosen color. You can also opt for a
gradient effect
by starting with a small amount of color and gradually building it up towards the tips of your nails.
Step 5: Seal in Your Design
 To ensure your pop of color stays put, seal in your design with a
clear topcoat
. This will also give your nails a beautiful shine.
To ensure your pop of color stays put, seal in your design with a
clear topcoat
. This will also give your nails a beautiful shine.
Step 6: Let Dry and Enjoy!
 Make sure to let your nails dry completely before using your hands. Once dry, your nails will be
eye-catching and unique
with the perfect pop of color.
Make sure to let your nails dry completely before using your hands. Once dry, your nails will be
eye-catching and unique
with the perfect pop of color.
With these simple steps, you can easily incorporate a pop of color into your nail art design. Whether it's for a special occasion or just to add a little something extra to your everyday look, this technique is sure to impress. So why not give it a try and let your nails do the talking?


