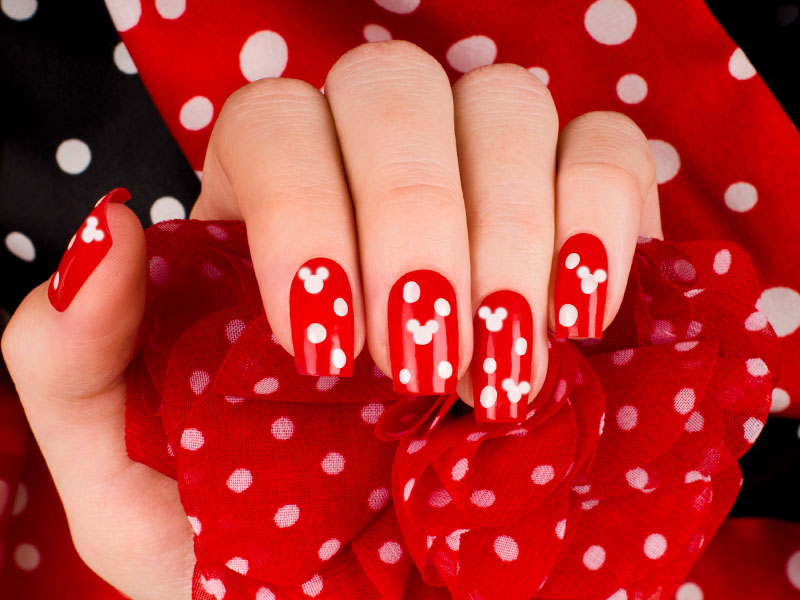
If you're a fan of Disney's iconic mouse, you'll love these simple Mickey Mouse nail designs. They are perfect for any occasion, whether you're going to a Disney-themed party or just want to add a touch of whimsy to your everyday look. And the best part? They are easy to recreate at home with just a few simple steps. To start, you'll need a few basic nail polish colors: black, white, and red. You can also add in some glitter or other fun colors to make it your own. You'll also need a thin nail brush and a dotting tool, which can be a toothpick or a bobby pin. Start by painting your nails with a base color. You can choose any color you like, but black and white work best for a classic Mickey Mouse design. Once your base color is dry, use the thin nail brush to create Mickey's iconic ears at the top of your nail. You can make them as big or as small as you like, just make sure they are symmetrical. Next, use the dotting tool to create two small circles in the lower half of your nail, just below the ears. These will be Mickey's buttons. You can use white or red polish for this step, depending on the color of your base. Finally, use the dotting tool again to add two small dots on either side of the ears to create Mickey's eyes. You can also use the thin nail brush to draw on a small smile below the eyes. And just like that, you have a simple Mickey Mouse nail design that is sure to make you smile!1. Simple Mickey Mouse Nail Design Tutorial


1. Simple Mickey Mouse Nail Design Tutorial


If you're not confident in your nail art skills, don't worry! This easy Mickey Mouse nail art is perfect for beginners. All you need is some black and white nail polish, a thin nail brush, and a dotting tool. Start by painting your nails with a white base color. Once it's dry, use the thin nail brush to create Mickey's ears at the top of your nail. You can make them big or small, it's up to you! Next, use the dotting tool to create two small circles in the lower half of your nail for Mickey's buttons. For a twist on this simple design, you can also add a pop of color by creating Mickey's ears and buttons in a bright red or even a glittery silver. This will make your nails stand out and show off your love for Mickey Mouse. And if you're feeling extra creative, you can even add in some other Disney characters like Minnie Mouse, Donald Duck, or Goofy. The possibilities are endless with this easy Mickey Mouse nail art!2. Easy Mickey Mouse Nail Art


2. Easy Mickey Mouse Nail Art
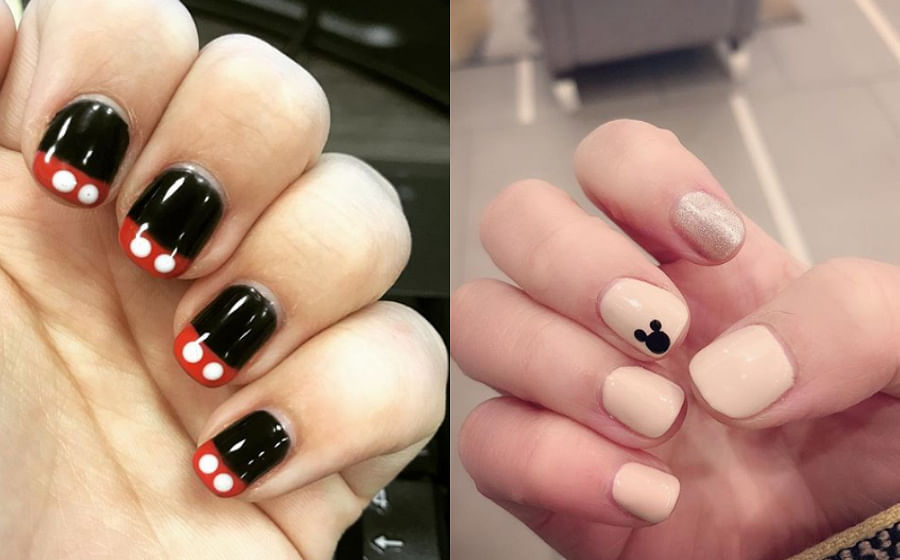


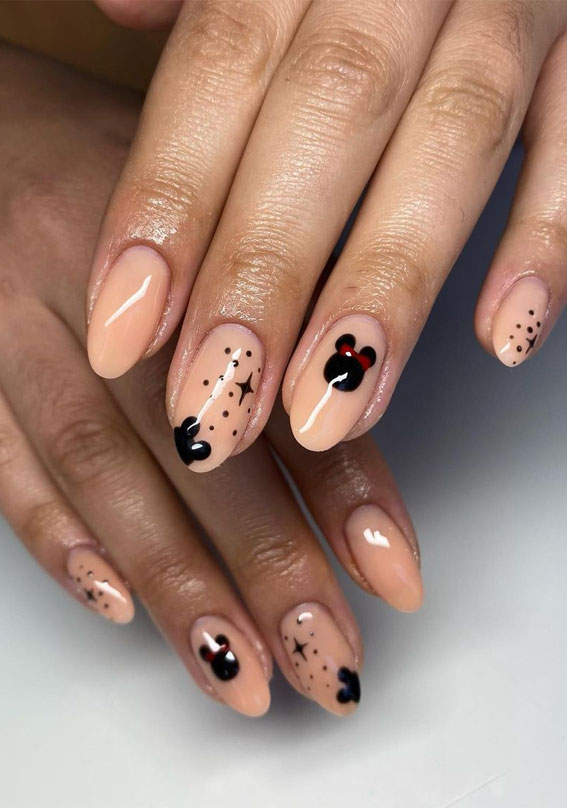
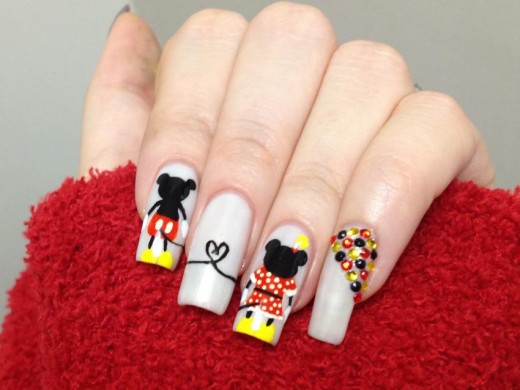
If you prefer a more subtle approach to your nail art, these minimalist Mickey Mouse nails are perfect for you. With just a few simple lines and dots, you can create a chic and understated look that still pays homage to everyone's favorite mouse. Start with a neutral base color like nude or light pink. Once it's dry, use a thin nail brush to create Mickey's ears at the top of your nail. Then, use the dotting tool to add two small dots for his buttons. You can also add a small heart for Minnie's bow if you'd like. For a more modern twist, you can also create a negative space design by leaving some of your nails bare and only painting Mickey's ears and buttons on a few nails. This will add a unique and stylish touch to your minimalist Mickey Mouse nails.3. Minimalist Mickey Mouse Nails


3. Minimalist Mickey Mouse Nails


If you're new to nail art, it can be intimidating to try more complex designs. But with this Mickey Mouse nail design for beginners, you'll be able to create a fun and playful look without any fuss. Start by painting your nails with a base color of your choice. Once it's dry, use a black nail polish and a dotting tool to create Mickey's ears at the top of your nail. Then, use a white nail polish and the dotting tool to create his buttons. You can also add a small red heart for Minnie's bow. If you're feeling confident, you can also add in some other Disney characters or even create a scene with Mickey and his friends. But even with just the classic Mickey Mouse design, your nails will look adorable and perfect for any Disney lover.4. Mickey Mouse Nail Design for Beginners


4. Mickey Mouse Nail Design for Beginners


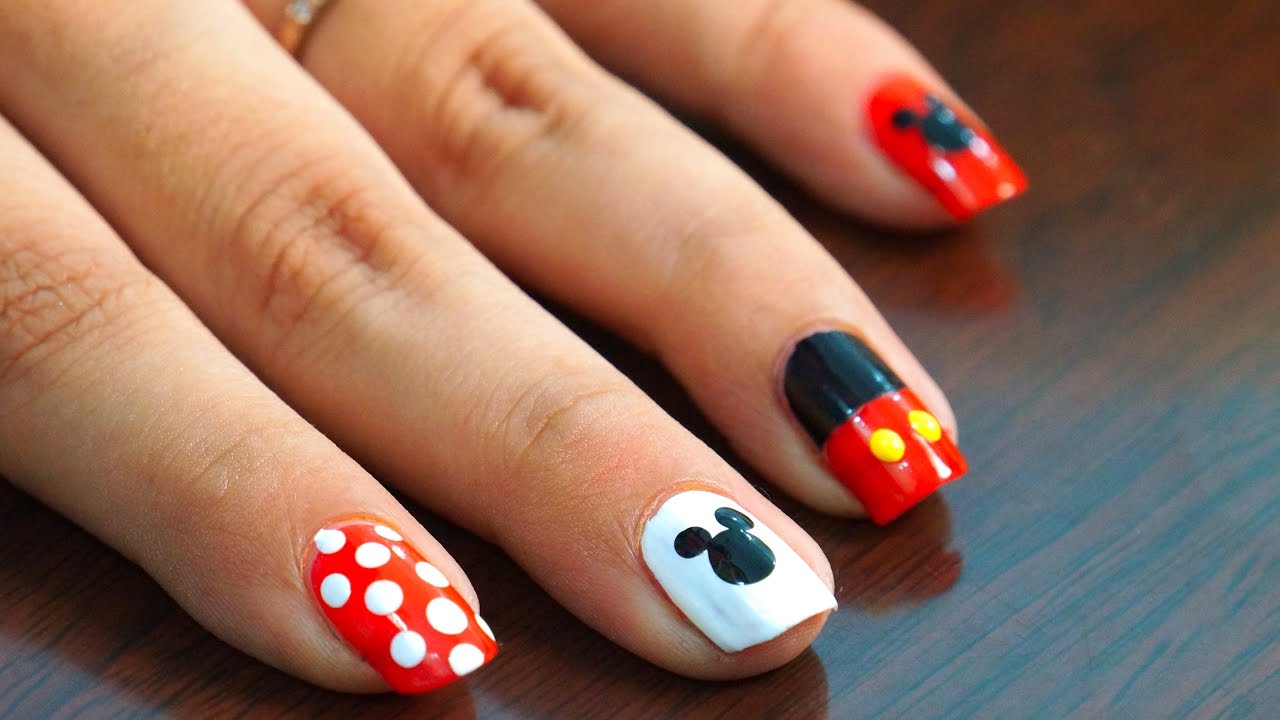
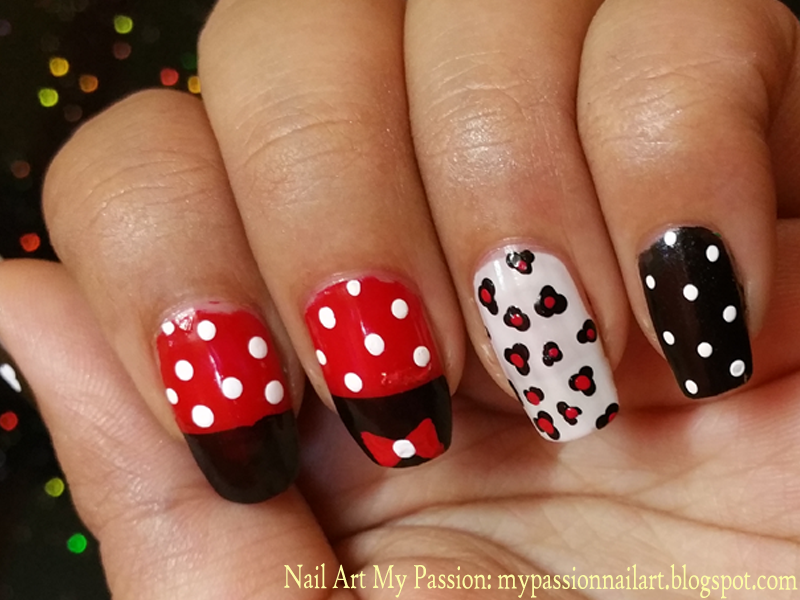
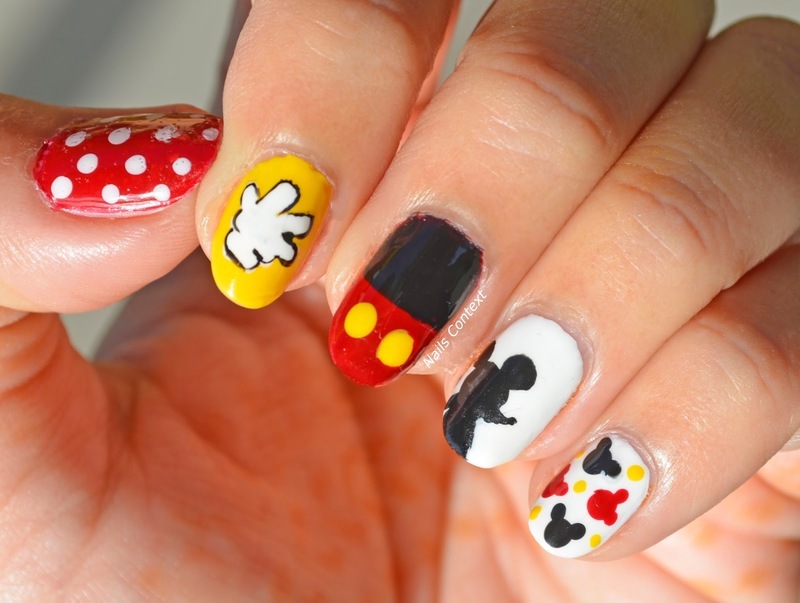
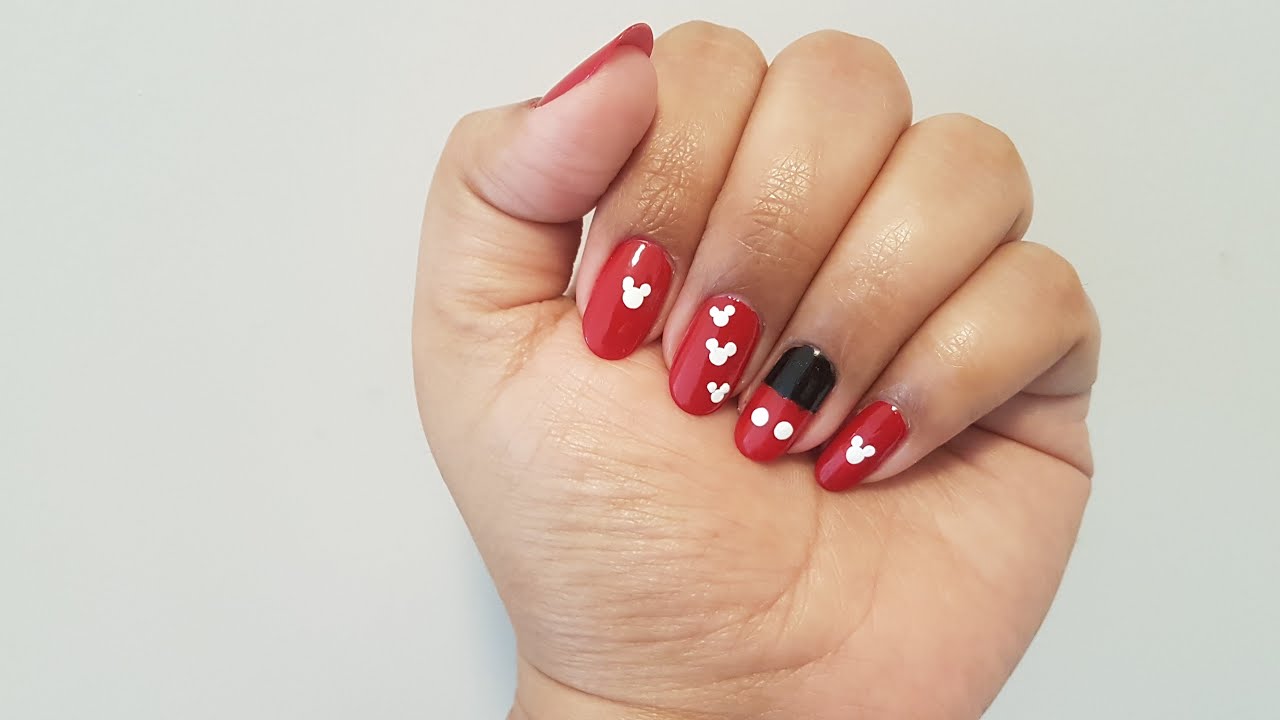
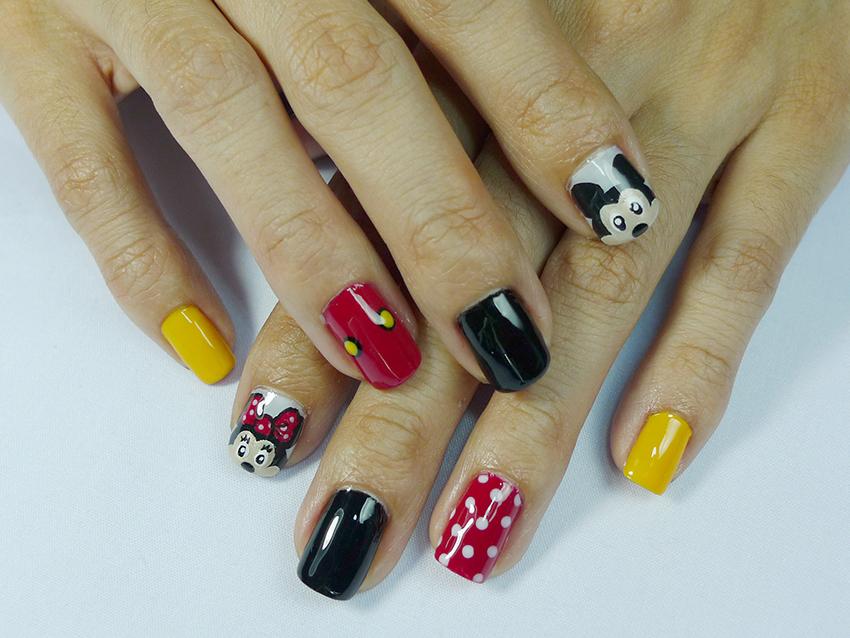
If you want to take your Mickey Mouse nails to the next level, try this cute and simple design that features the iconic mouse on every nail. It's perfect for a Disney-themed party or just to show off your love for Mickey. Start by painting each nail with a different color. You can use red, black, white, or any other color that reminds you of Mickey Mouse. Once they're dry, use a thin nail brush to create Mickey's ears at the top of each nail. Then, use a dotting tool to add two small dots for his buttons. To make your nails even cuter, you can also add a small heart for Minnie's bow on one or two of your nails. And with all the different colors, your cute and simple Mickey Mouse nails will stand out and be the talk of the party.5. Cute and Simple Mickey Mouse Nails


5. Cute and Simple Mickey Mouse Nails


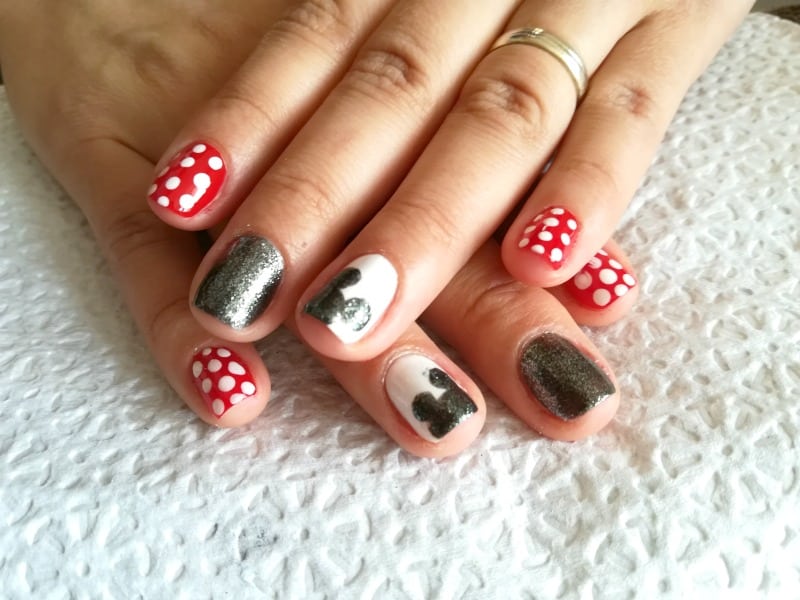
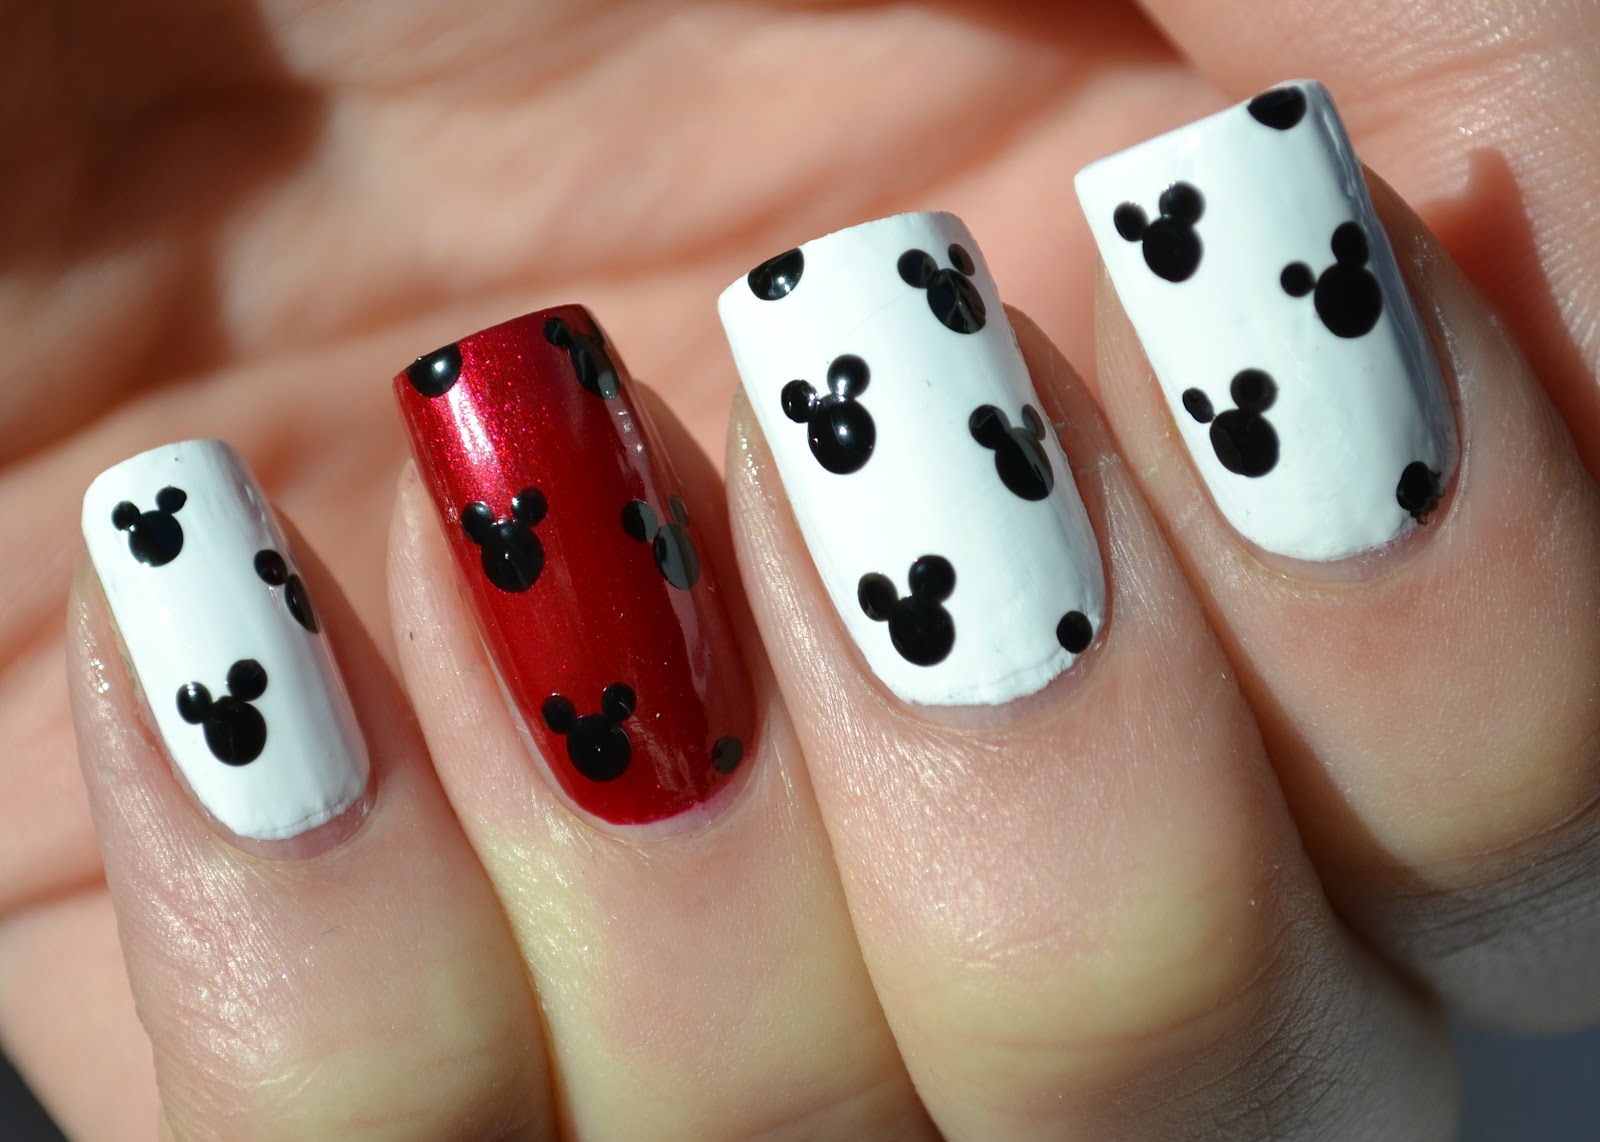
If you love the classic black and white look, this Mickey Mouse nail design is perfect for you. With just two colors, you can create a bold and timeless look that is sure to make a statement. Start by painting your nails with a black base color. Once it's dry, use a white nail polish and a thin nail brush to create Mickey's ears at the top of your nail. Then, use a dotting tool to add two small white dots for his buttons. You can also add in some black and white polka dots on a few nails to add some extra fun to this classic design. And if you want to add a pop of color, you can also paint one or two nails with a bright red or yellow polish.6. Black and White Mickey Mouse Nail Design

6. Black and White Mickey Mouse Nail Design


For a fun and bold look, try these red and black Mickey Mouse nails. They are perfect for a Disney vacation or just to show off your love for the iconic mouse. Start by painting your nails with a bright red base color. Once it's dry, use a black nail polish and a thin nail brush to create Mickey's ears at the top of your nail. Then, use a dotting tool to add two small dots for his buttons. To make your nails even more festive, you can also add some glitter or rhinestones to a few nails. This will add some sparkle and make your red and black Mickey Mouse nails stand out even more.7. Red and Black Mickey Mouse Nails

7. Red and Black Mickey Mouse Nails


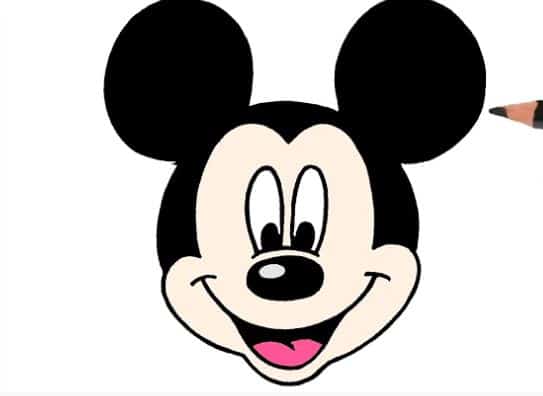
If you're a fan of nail stamping, you'll love this Mickey Mouse nail design. It's quick, easy, and looks great on both short and long nails. Start by painting your nails with a white base color. Once it's dry, use a black nail stamping polish and a Mickey Mouse stamping plate to create Mickey's face on each nail. You can also add a small red heart for Minnie's bow on one or two nails. If you don't have a nail stamping kit, you can also recreate this design by using a black nail polish and a thin nail brush to draw on Mickey's face. It may take a little longer, but the end result will be just as cute.8. Mickey Mouse Nail Stamping Design


8. Mickey Mouse Nail Stamping Design


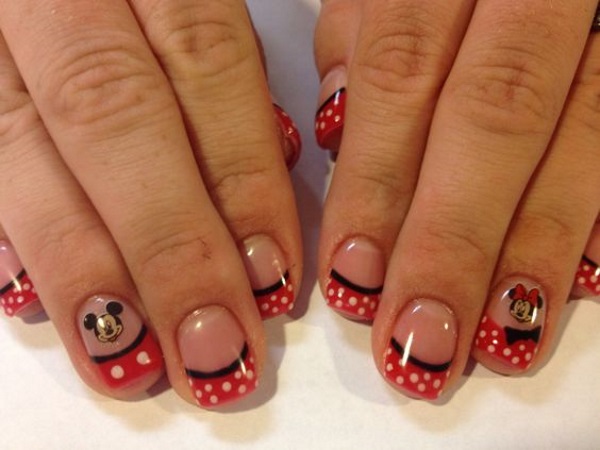
Add a touch of elegance to your Mickey Mouse nails with this French tip design. It's perfect for a special occasion or just to elevate your everyday look. Start by painting your nails with a light pink or nude base color. Once it's dry, use a black nail polish and a thin nail brush to create Mickey's ears at the tip of each nail. Then, use a dotting tool to add two small dots for his buttons. You can also add a small red heart for Minnie's bow on one or two nails for a pop of color. And with the French tip design, your Mickey Mouse nails will look chic and sophisticated.9. Mickey Mouse French Tip Nails


9. Mickey Mouse French Tip Nails


If you're feeling creative, there are endless possibilities for Mickey Mouse nail art. You can mix and match different colors, designs, and characters to create a unique and fun look that is all your own. Try using different colors for Mickey's ears and buttons, or add in other Disney characters like Donald Duck or Goofy. You can also create a scene with Mickey and his friends or even add in some glitter or rhinestones for some extra sparkle.10. Mickey Mouse Nail Art Ideas

10. Mickey Mouse Nail Art Ideas
Adding Some Fun to Your Nails: Simple Mickey Mouse Nail Design

Elevate Your Nail Game with Mickey Mouse
 When it comes to nail designs, there are endless possibilities to choose from. From intricate patterns to bold colors, the options are endless. However, if you're looking for a fun and playful design, then a simple Mickey Mouse nail design is the way to go. This iconic cartoon character has been beloved by both children and adults for generations, making it the perfect inspiration for your next nail art. Not only is it easy to recreate, but it also adds a touch of nostalgia to your overall look. So why not give it a try?
Getting Started: The Basics
 Before diving into the design, it's important to have the right tools and materials. Make sure to have a base coat, top coat, black and red nail polish, white nail polish, a thin brush, and a dotting tool on hand. These are the essentials needed to achieve the perfect Mickey Mouse nail design.
Start by applying a base coat to protect your nails and create a smooth surface. Once the base coat is dry, apply two coats of red nail polish to all your nails except for the ring finger. For the ring finger, use white nail polish as the base color. This will be the canvas for your Mickey Mouse design.
Before diving into the design, it's important to have the right tools and materials. Make sure to have a base coat, top coat, black and red nail polish, white nail polish, a thin brush, and a dotting tool on hand. These are the essentials needed to achieve the perfect Mickey Mouse nail design.
Start by applying a base coat to protect your nails and create a smooth surface. Once the base coat is dry, apply two coats of red nail polish to all your nails except for the ring finger. For the ring finger, use white nail polish as the base color. This will be the canvas for your Mickey Mouse design.
Creating the Iconic Ears
 To create the iconic Mickey Mouse ears, use a thin brush and black nail polish to draw two small circles on the white base color of your ring finger. Make sure the circles are evenly spaced and have a similar size. Don't worry if they're not perfect, as this adds to the charm of the design.
The Finishing Touches
 Once the black circles are dry, use a dotting tool and white nail polish to add two small dots within the black circles. This creates the illusion of Mickey Mouse's iconic buttons. Once everything is dry, finish off with a top coat to seal in the design and give it a glossy finish.
Final Thoughts
 A simple Mickey Mouse nail design is a fun and playful way to add some character to your nails. Whether you're a Disney fan or just looking for a cute and easy design, this is the perfect option for you. So gather your tools, put on some Mickey Mouse music, and get ready to have some fun with your nails.


